Old Collingwood
-
Posts
12,106 -
Joined
-
Last visited
Content Type
Profiles
Forums
Gallery
Events
Everything posted by Old Collingwood
-
 Evening all, Next stage I decided to do was one of the many sub assemblies - namely the front funnel stack, this sits on a square ventilation unit (assume thats what it is) nice to see the funnels are one piece, mind you there is still a seam and the pips where its cut away still needed careful sanding/scraping, I decided to limit the PE on these as I did not see the need or want to wreck the details by trying to bite off more than I can chew, so the only PE on/in the funnels was goung inside - yep the rounded walkway, that was simply placed inside then a watered mix of PVA brushed on. I let it set then hand painted a couple of layers of Flat Back on the inside, I then glued the funnel down onto the sub assembly. Next considered the funnel top - I looked at the PE sections for it on the fret - "No Way" I compared it to the plastic part and in fairness there is not a lot in it the Flyhawk plastic rendition is really good - so that was glued in place, next are a set of Five extrnal vents pipes that sit in holes around the base of the funnel - slightly fiddly as they need the taper on the ends angled outwards, with a tiny bit of glue added at there tops Two of them done so far were pushed in place. No pics as my battery was flat. OC.
 -
Allan I guess that would be determined by what the actual thickness was of the actial part of the real ship, then just converted down into scale, hope that helps. OC.
- 505 replies
-
- 1
-

-
- vanguard models
- Sphinx
- (and 1 more)
-
Hello From A Newbe In Connecticut
Old Collingwood replied to Freebird's topic in New member Introductions
Hi Rick, welcome to the club from UK, you should settle in well - we are a very warm bunch with a great sense of humour and hundreads of years of knowledge. OC. -
I was going to add my Five Pence worth - with my Greyhound build - I just kept on adding brushed on layers onto the lower hull - till I was happy with the finish, if a smooth (grain less) finish is what you are after - I found it took several coats to achieve this (that was with a hairy stick mind) OC.
- 505 replies
-
- 1
-
-
- vanguard models
- Sphinx
- (and 1 more)
-
It was our Tenth Anniversary yesterday the admiral and myself (isn't that Silver), any way we had a quiet day in and I cooked us a Curry. OC.
-
Thank you Mark, yep - deffo small, when I take my optovisor a glasses of I can't find the thing. OC.
-
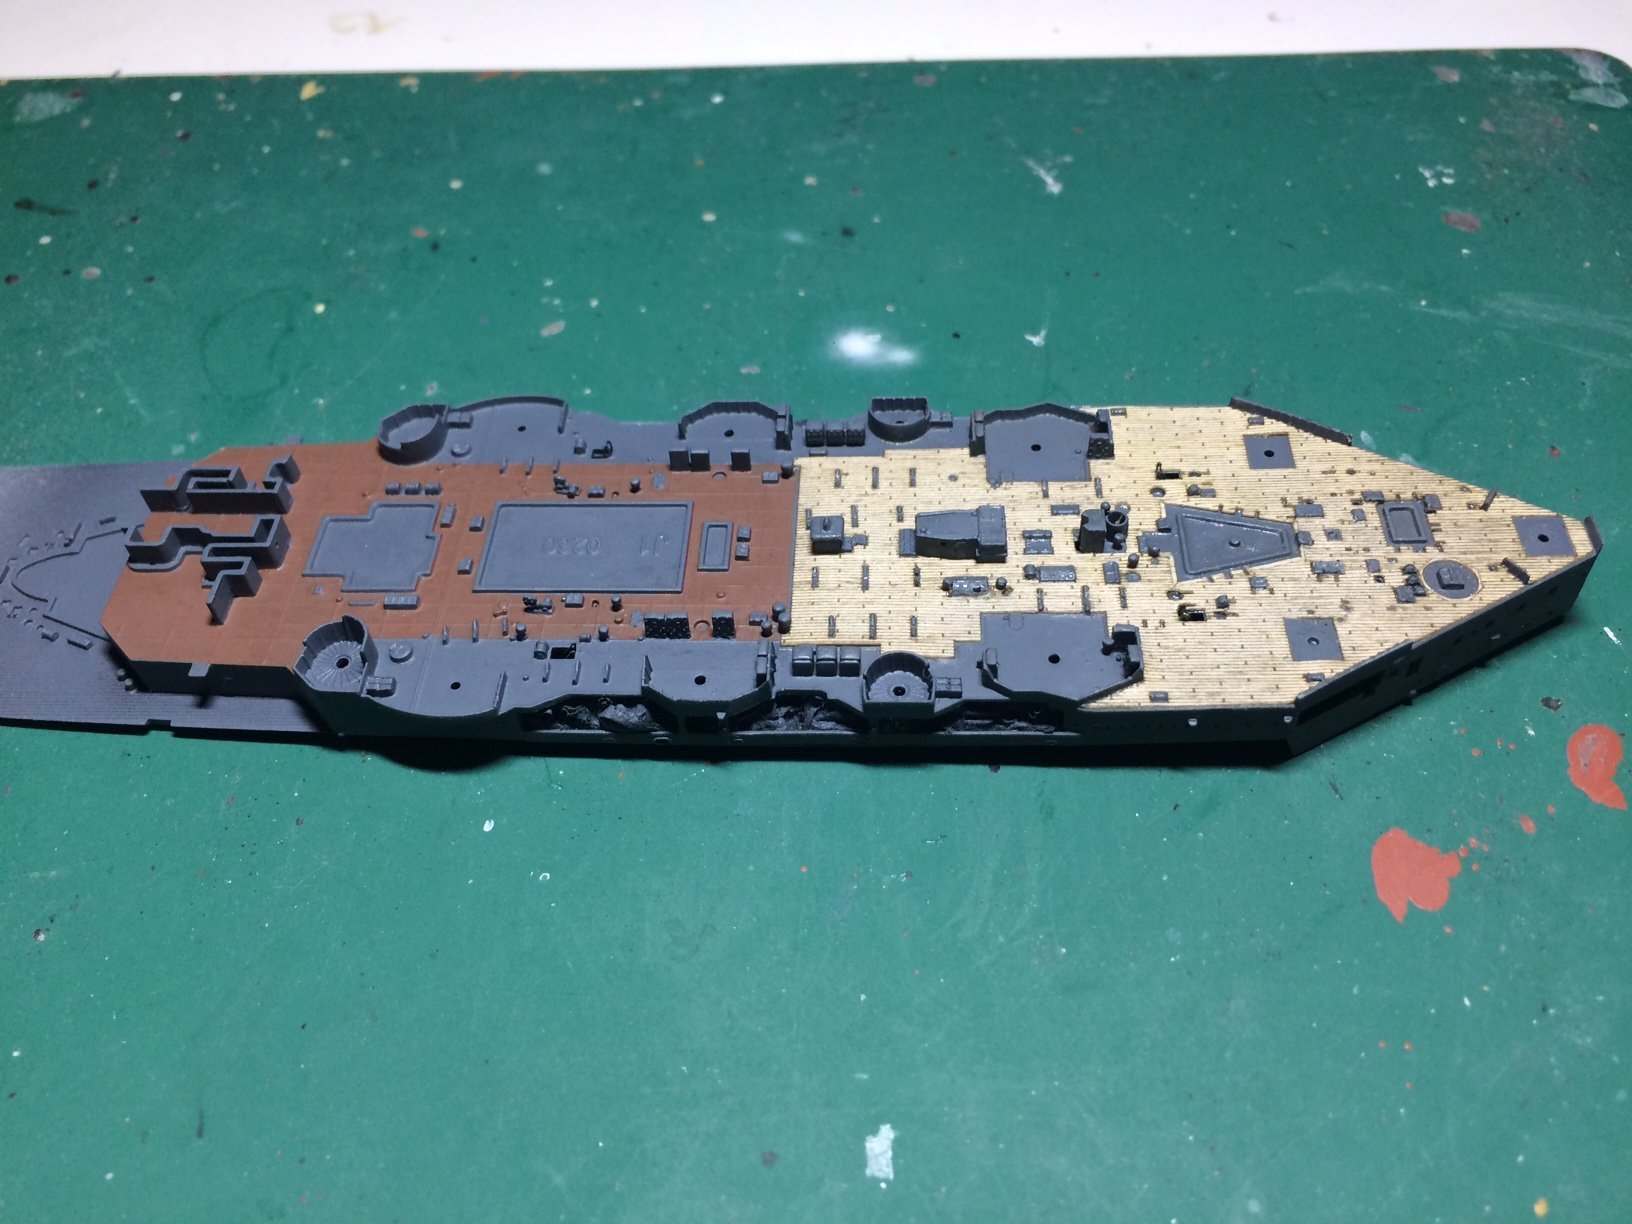
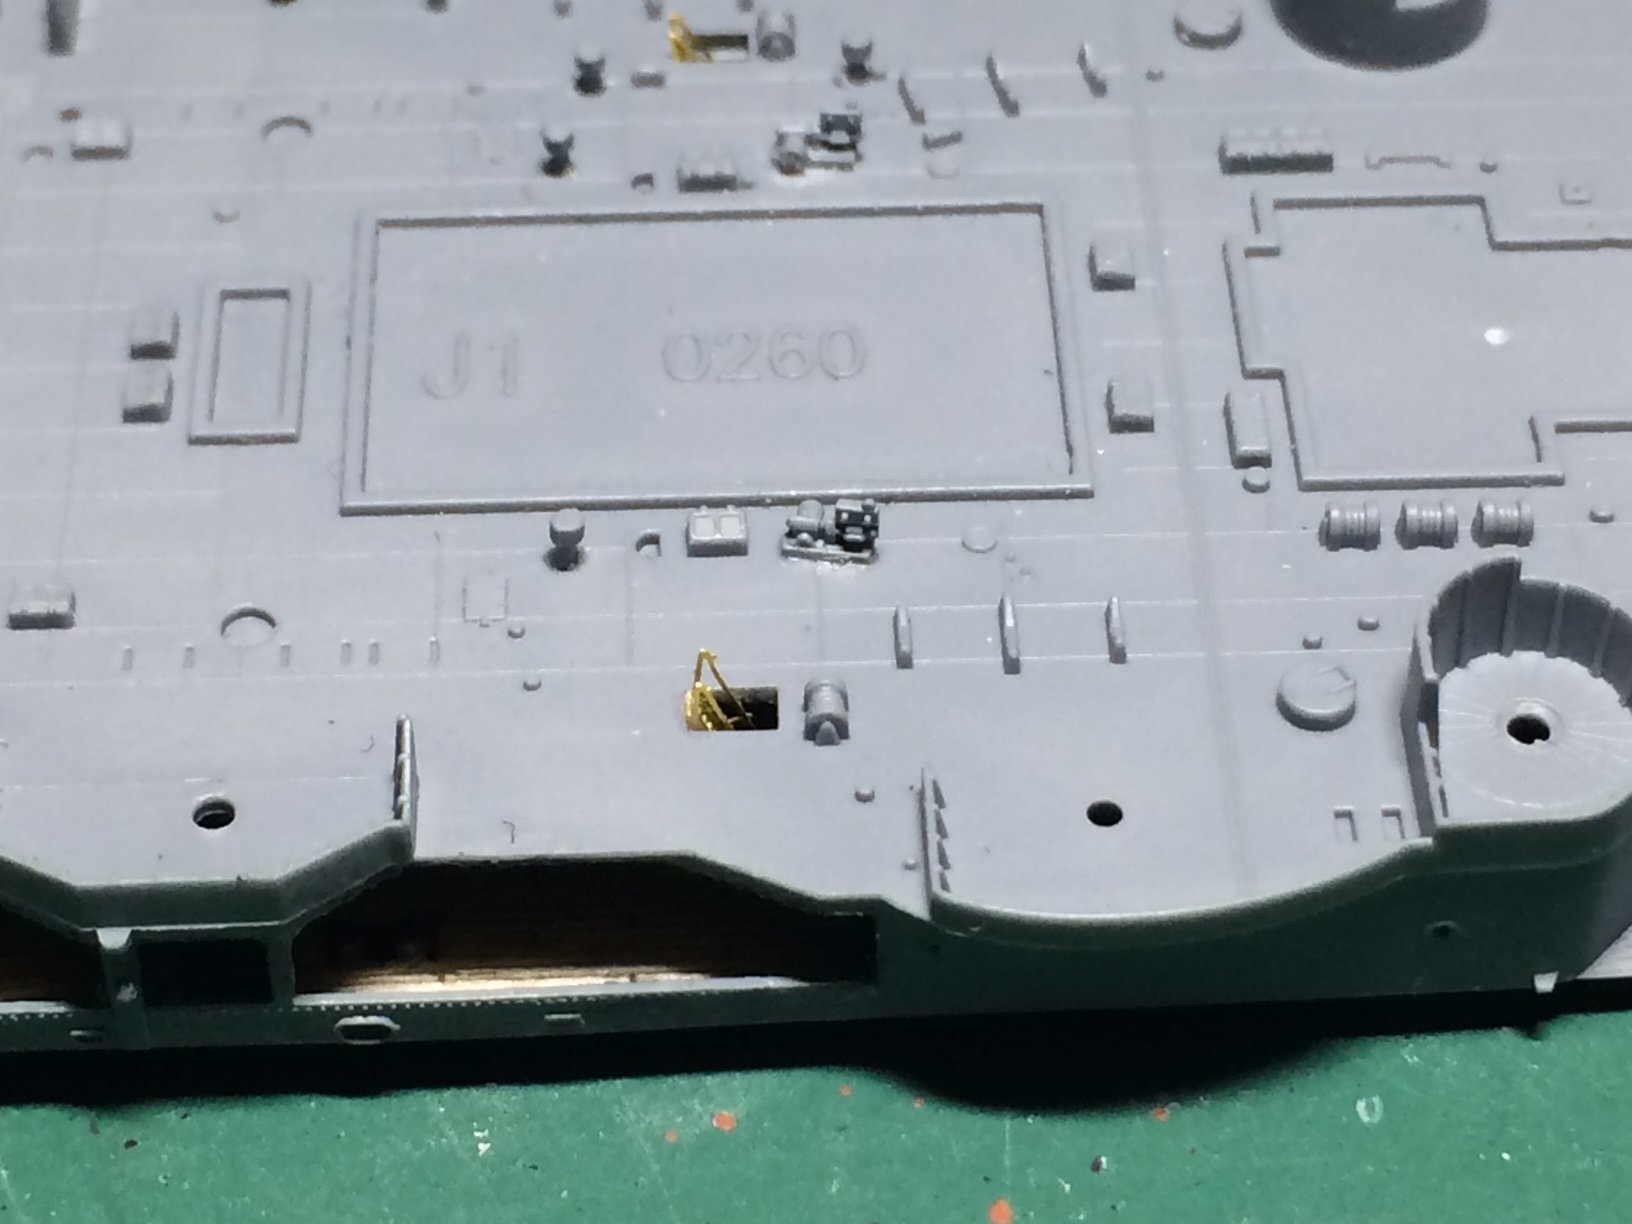
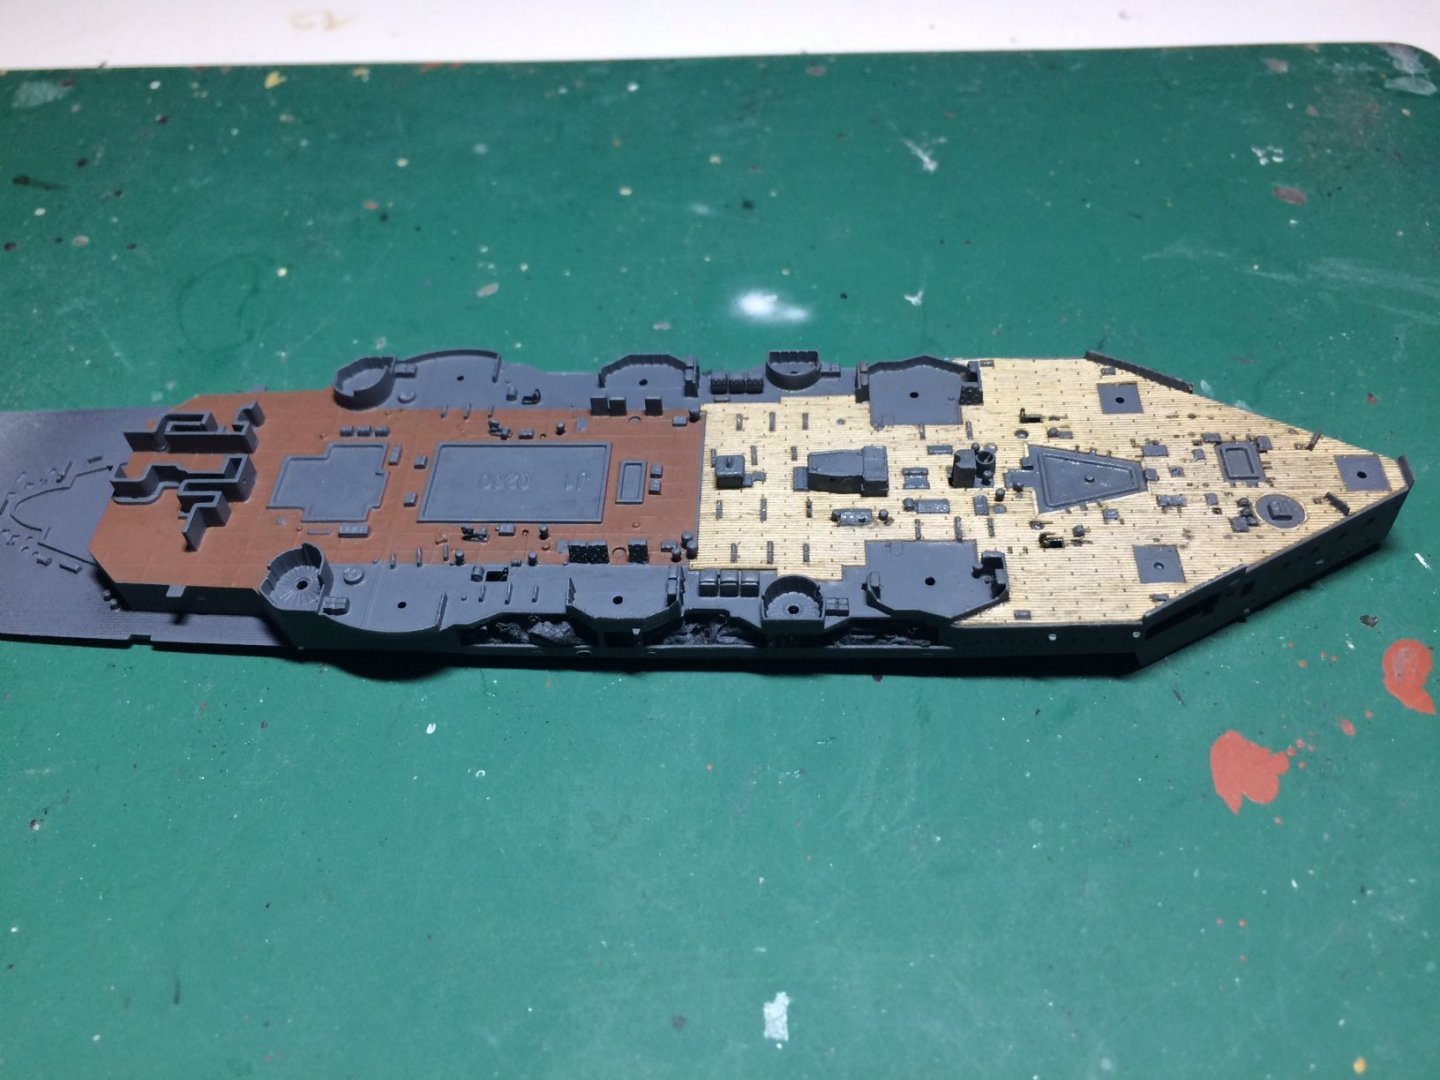
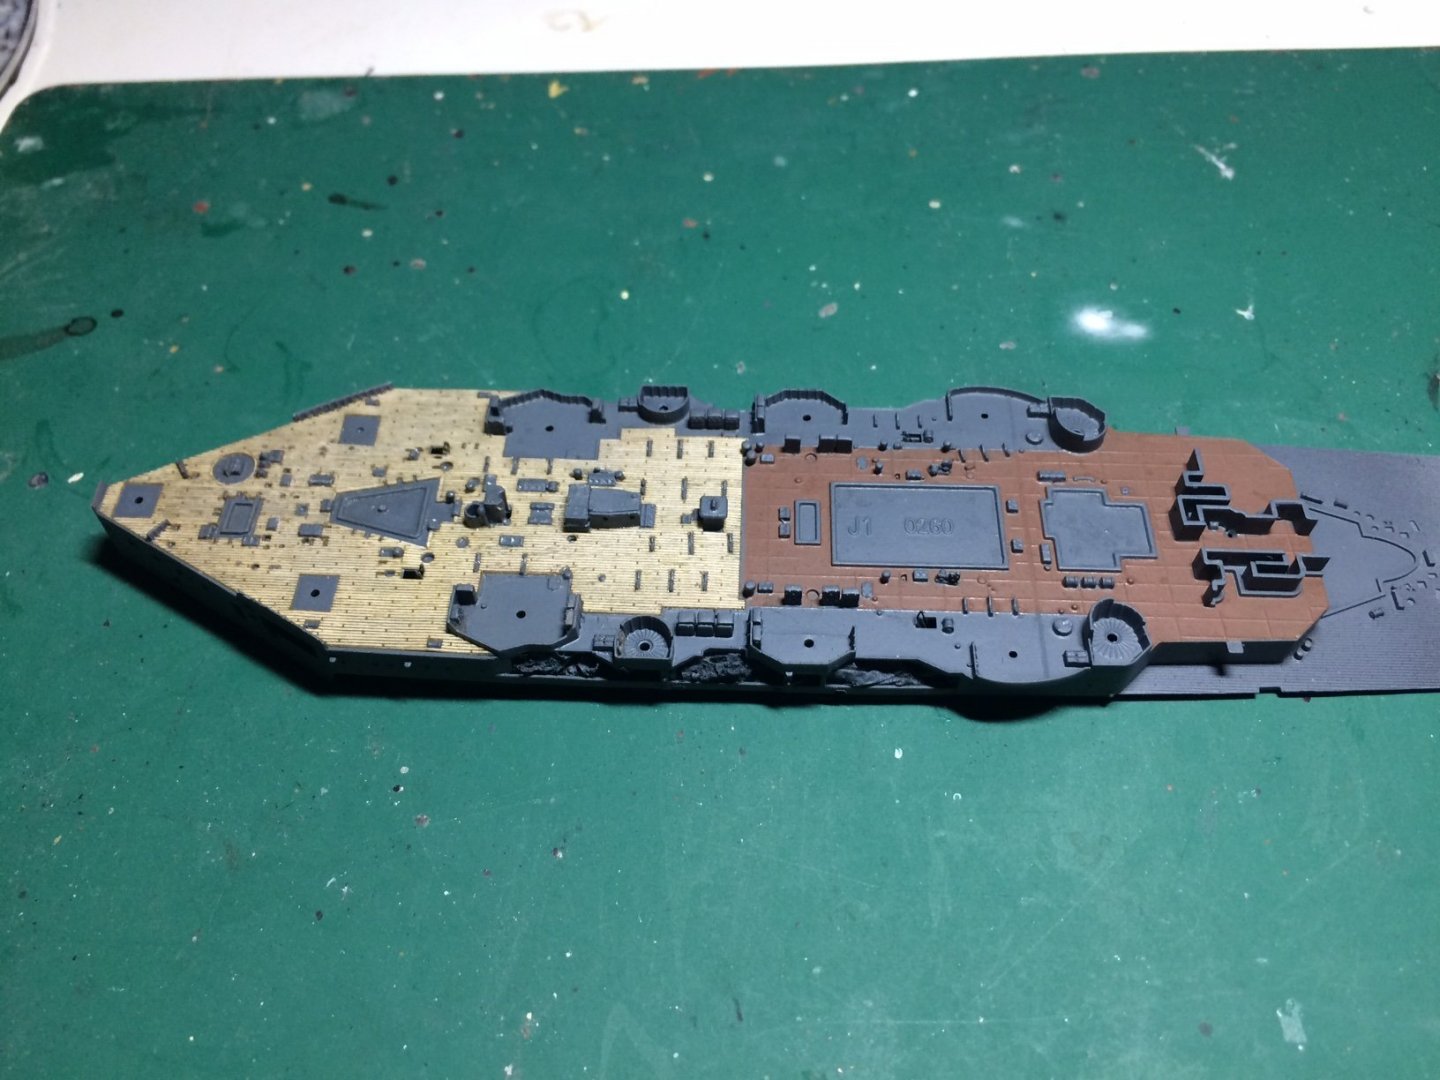
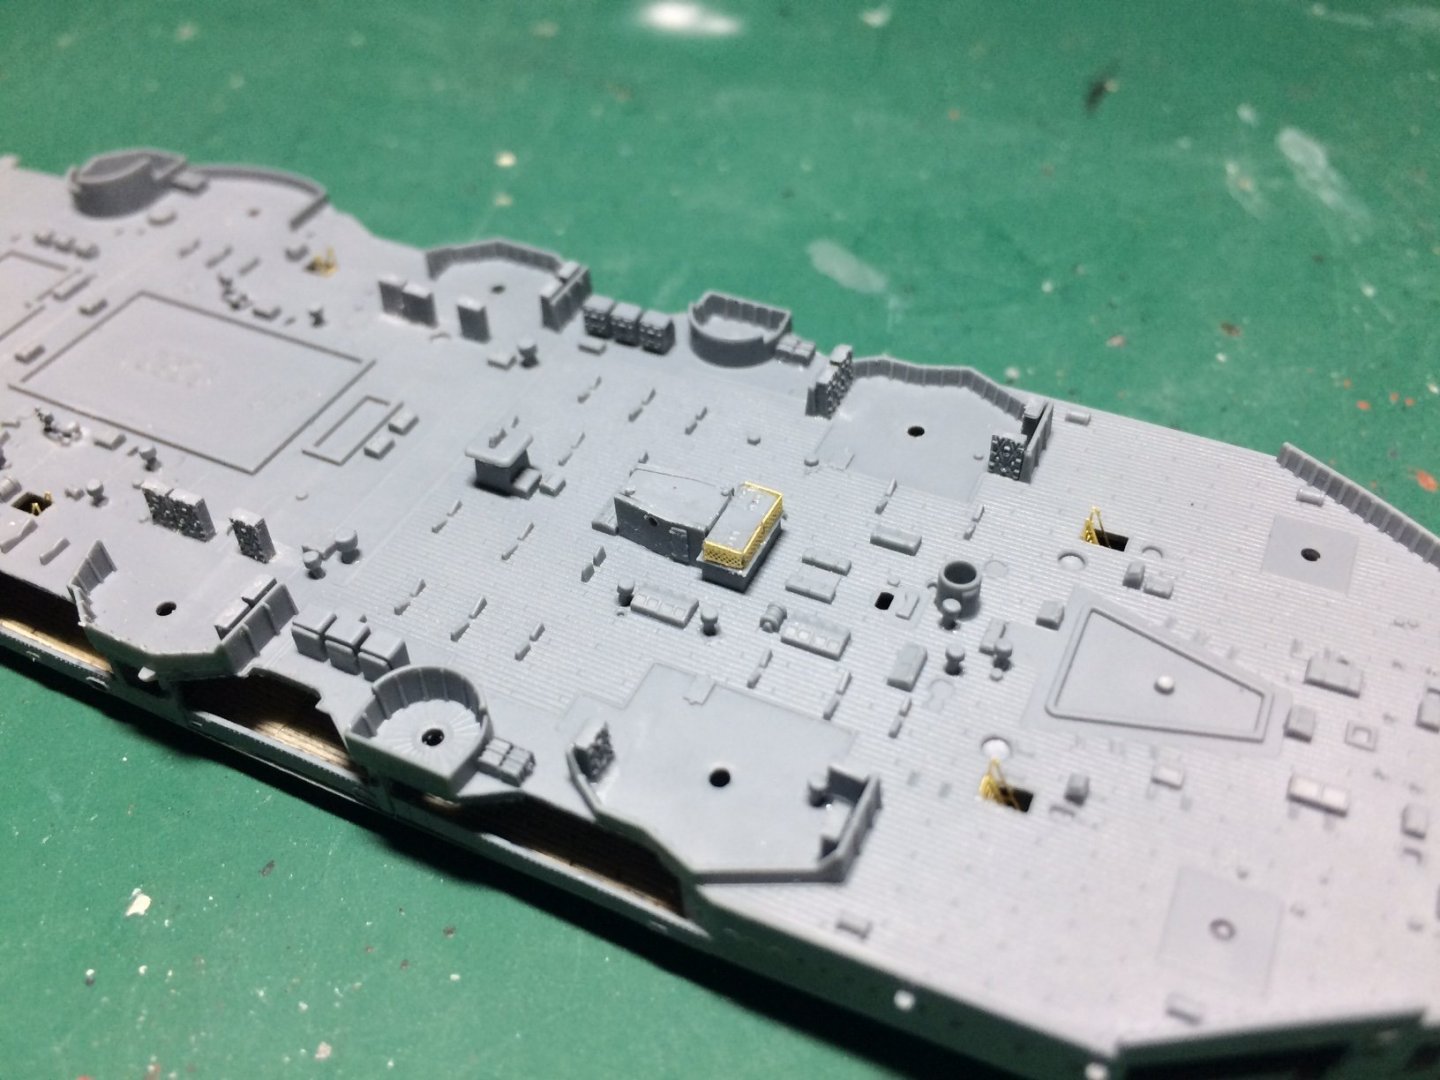
Evening all, You know I did wood decking on my Warspite build? well discovering 1/700 is a different animal - talk about fiddly, so what have I done? first I primed the whole weatherdeck area, then after drying I found my AP507A mixed some into my airbrush and sprayed a few thin coats over, it needs a small amount of light sanding on a few hi spots, then after letting it dry, I then mixed up some Corticene by mixing Brown, Buff and some Red, then I brushed it on keeping it to the outer edges of the Corticene. I was on a roll so I decided to have a go at the decking section to the rear of the deck, as I said - talk about fiddly and delicate. So this is the outcome so far. OC.
-
I'm liking that kevin, that wood paintwork has come out really well, and the weathering is really nice. OC.
-
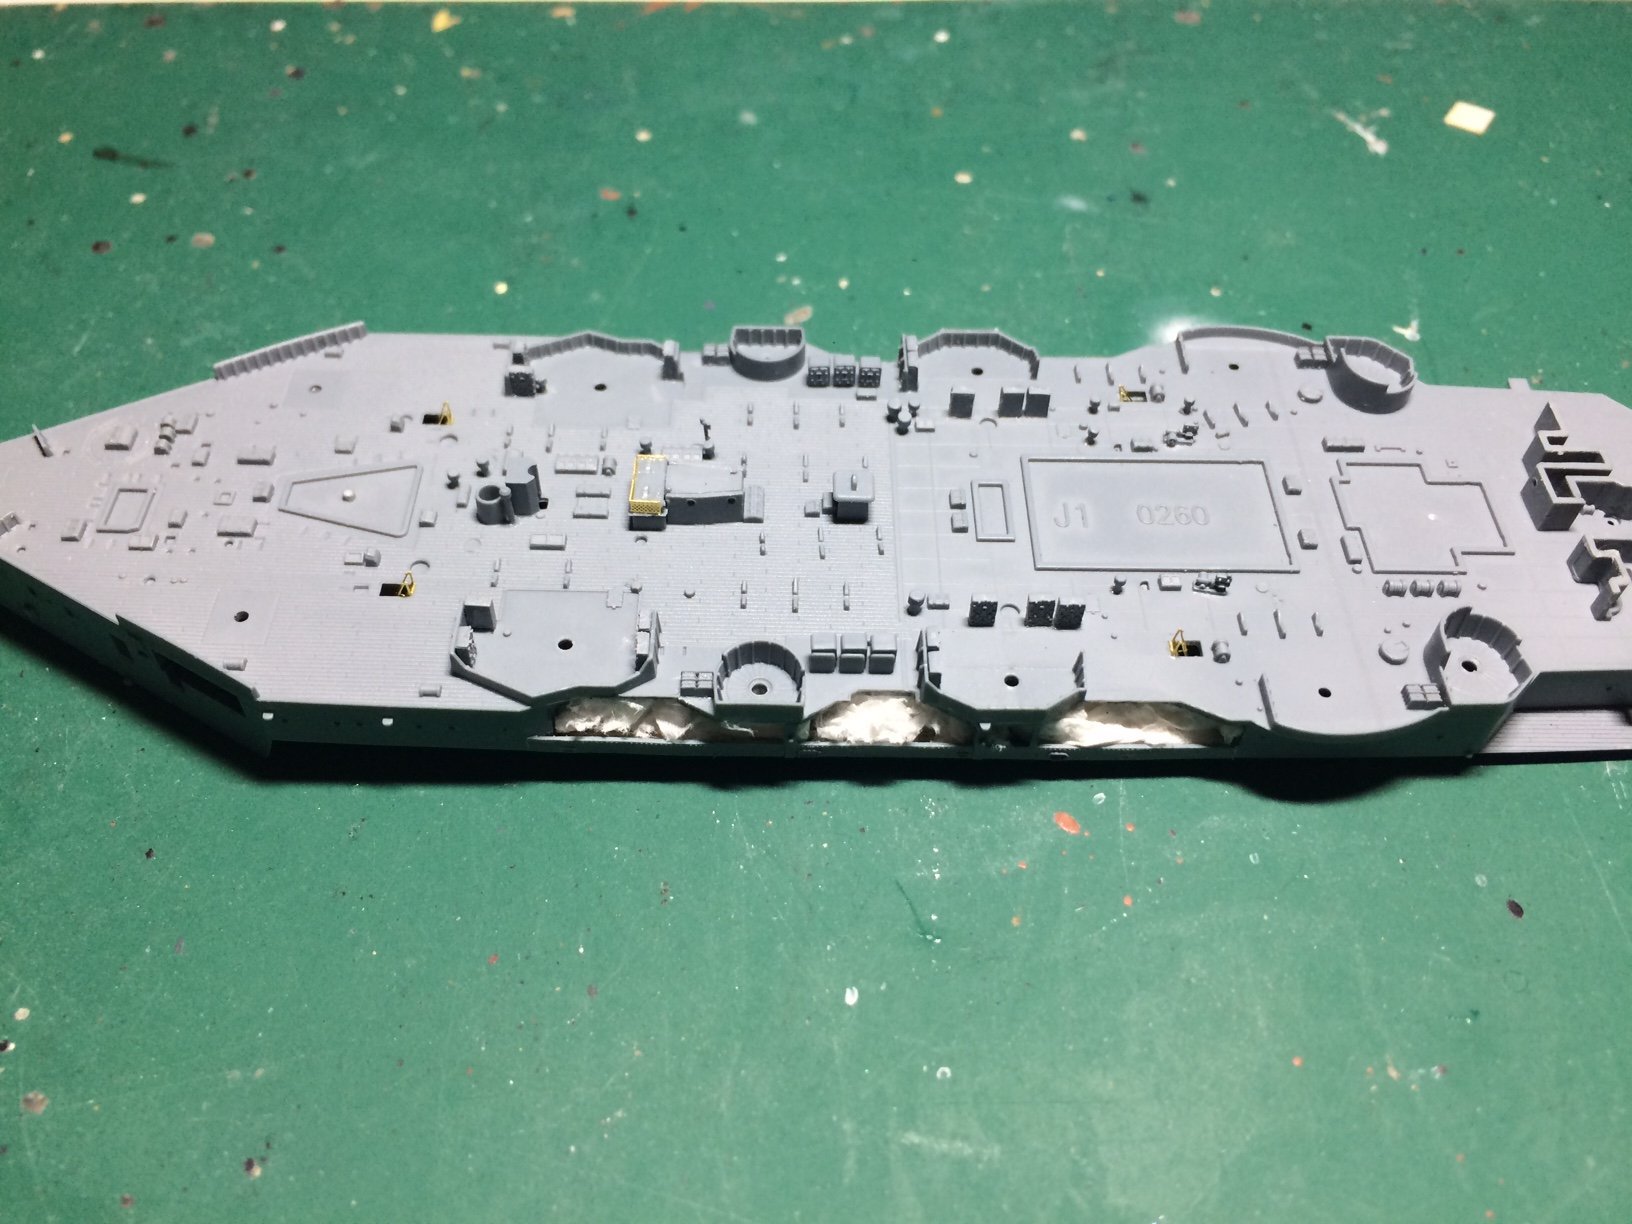
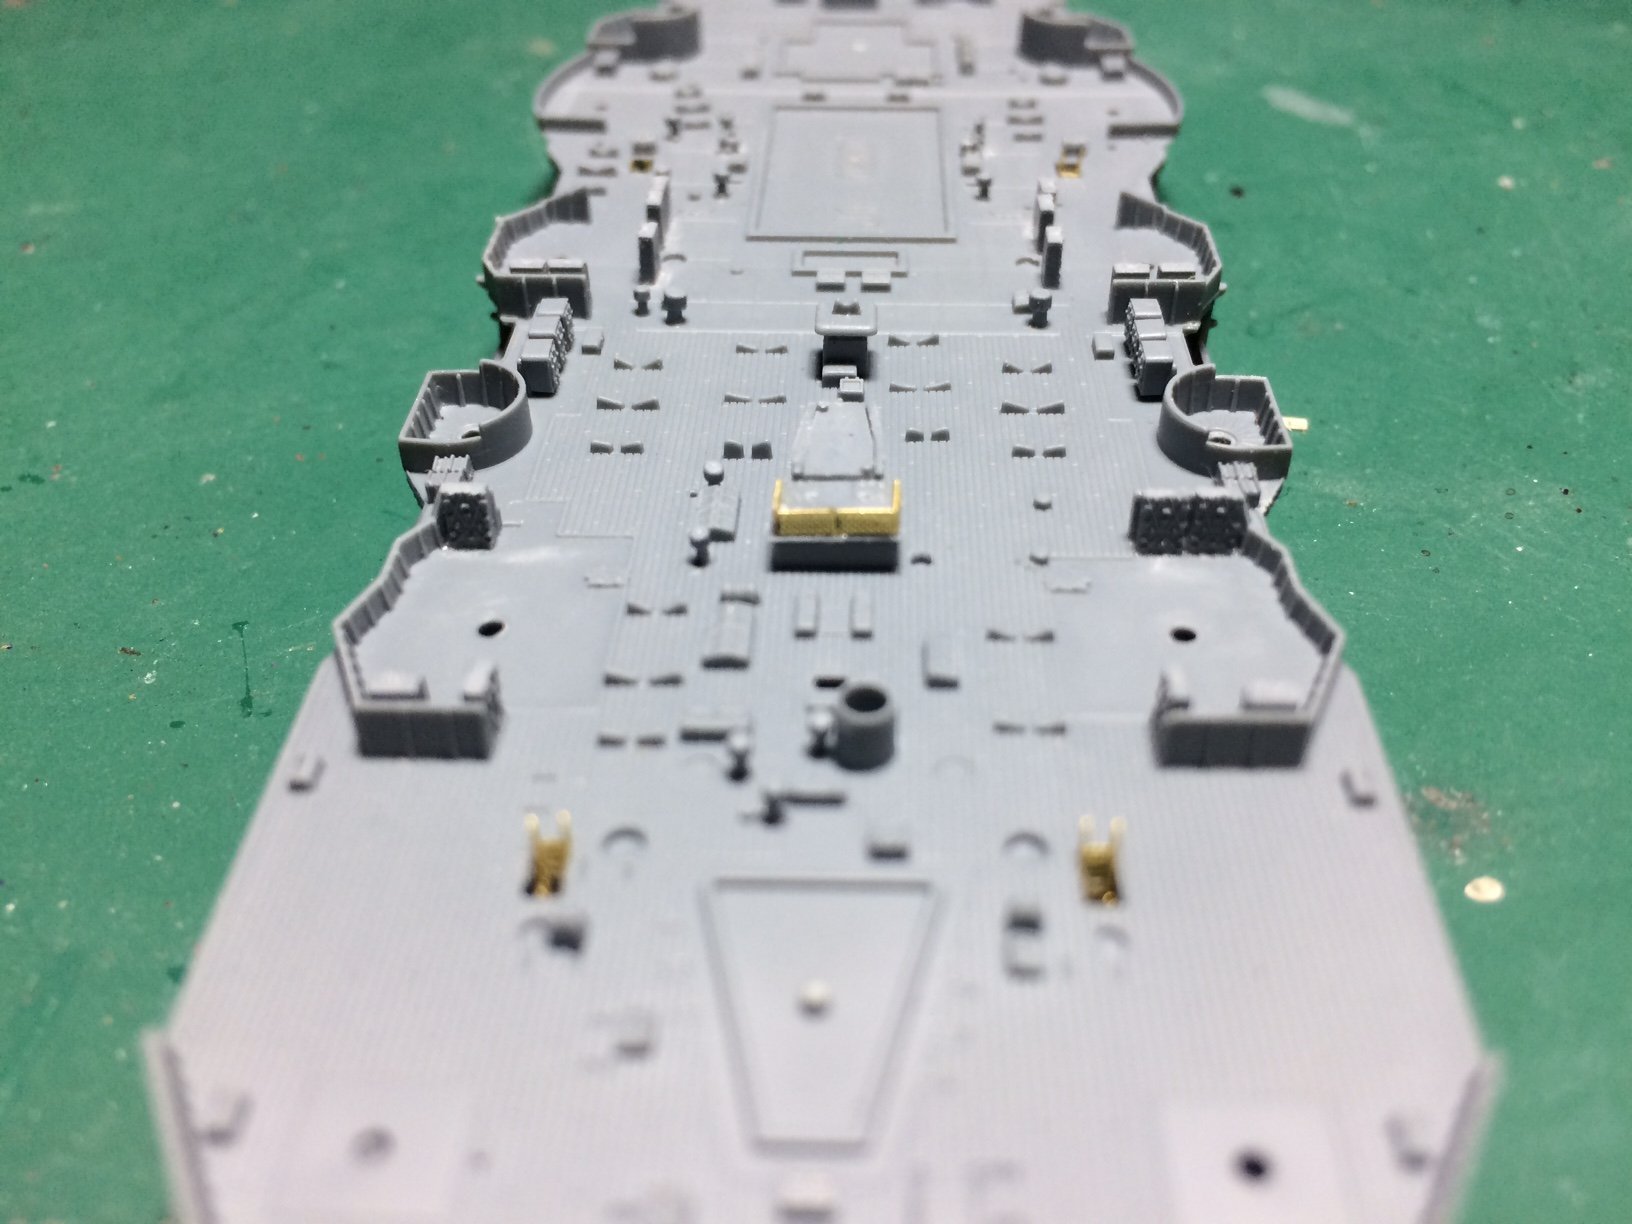
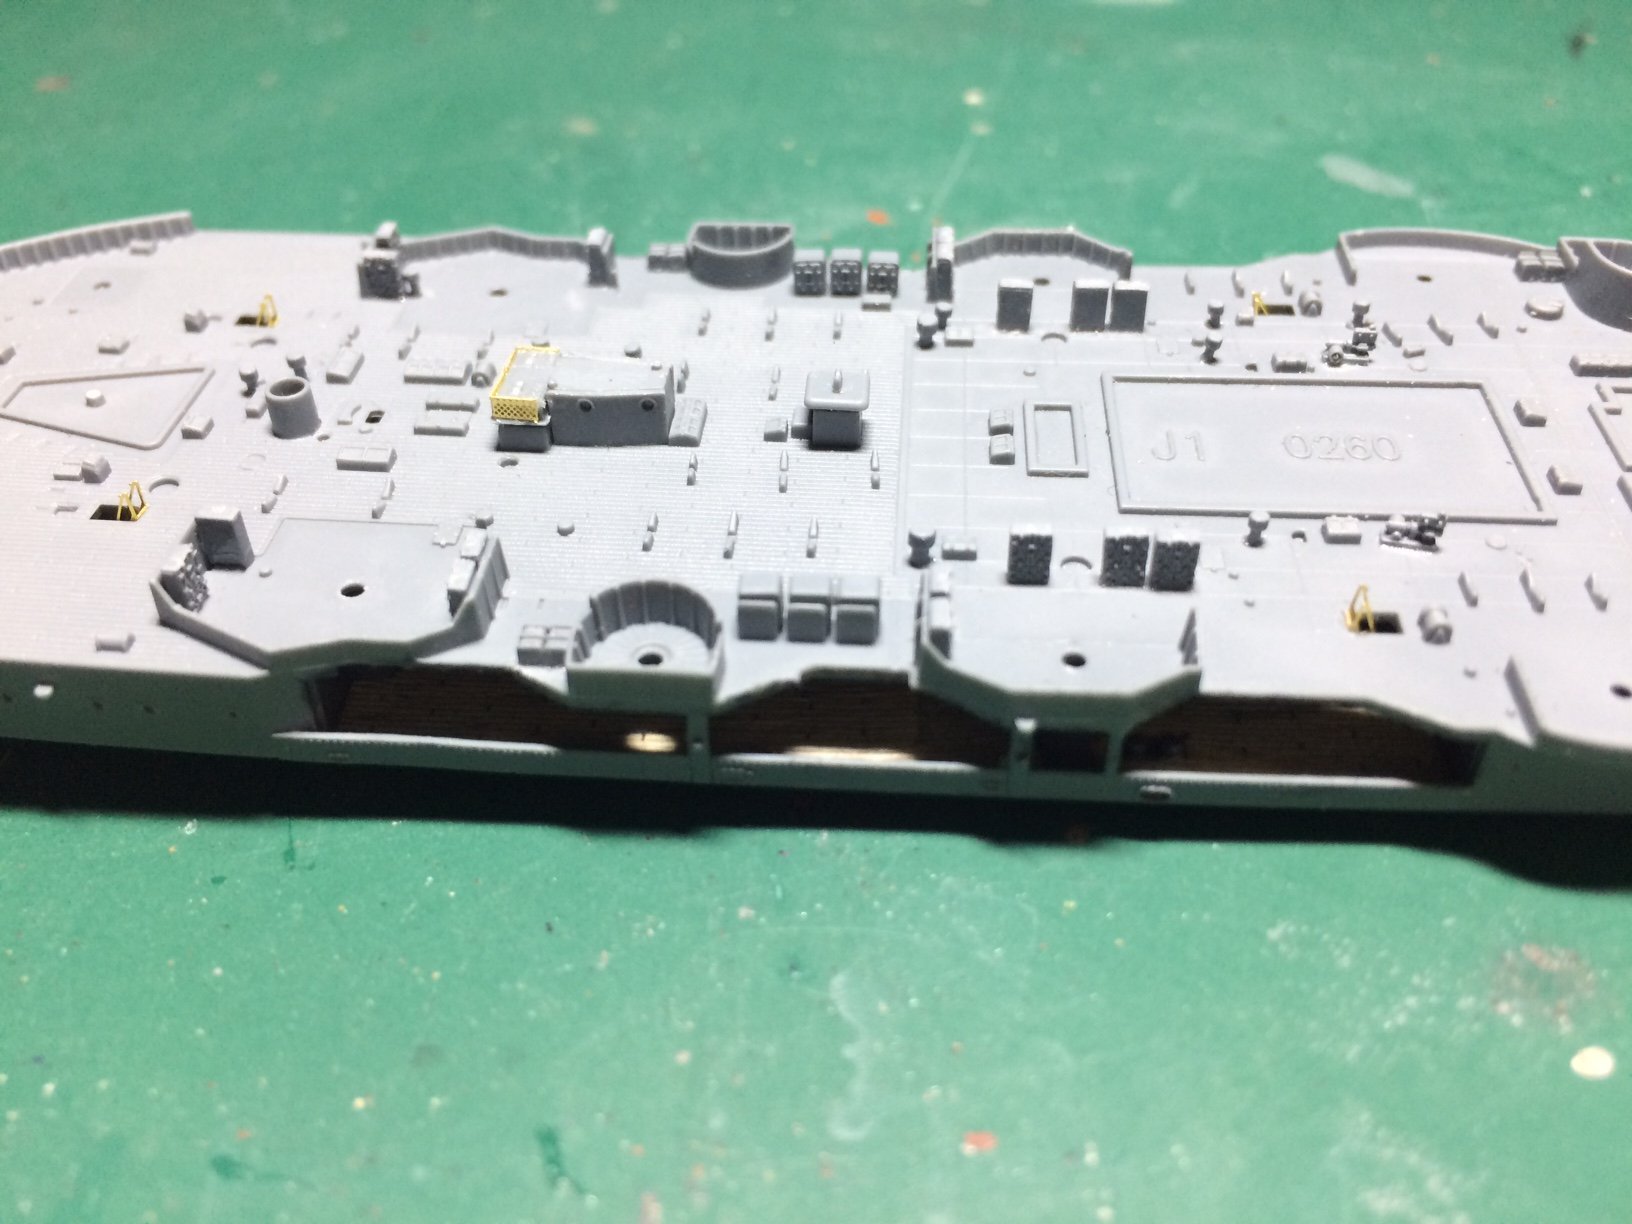
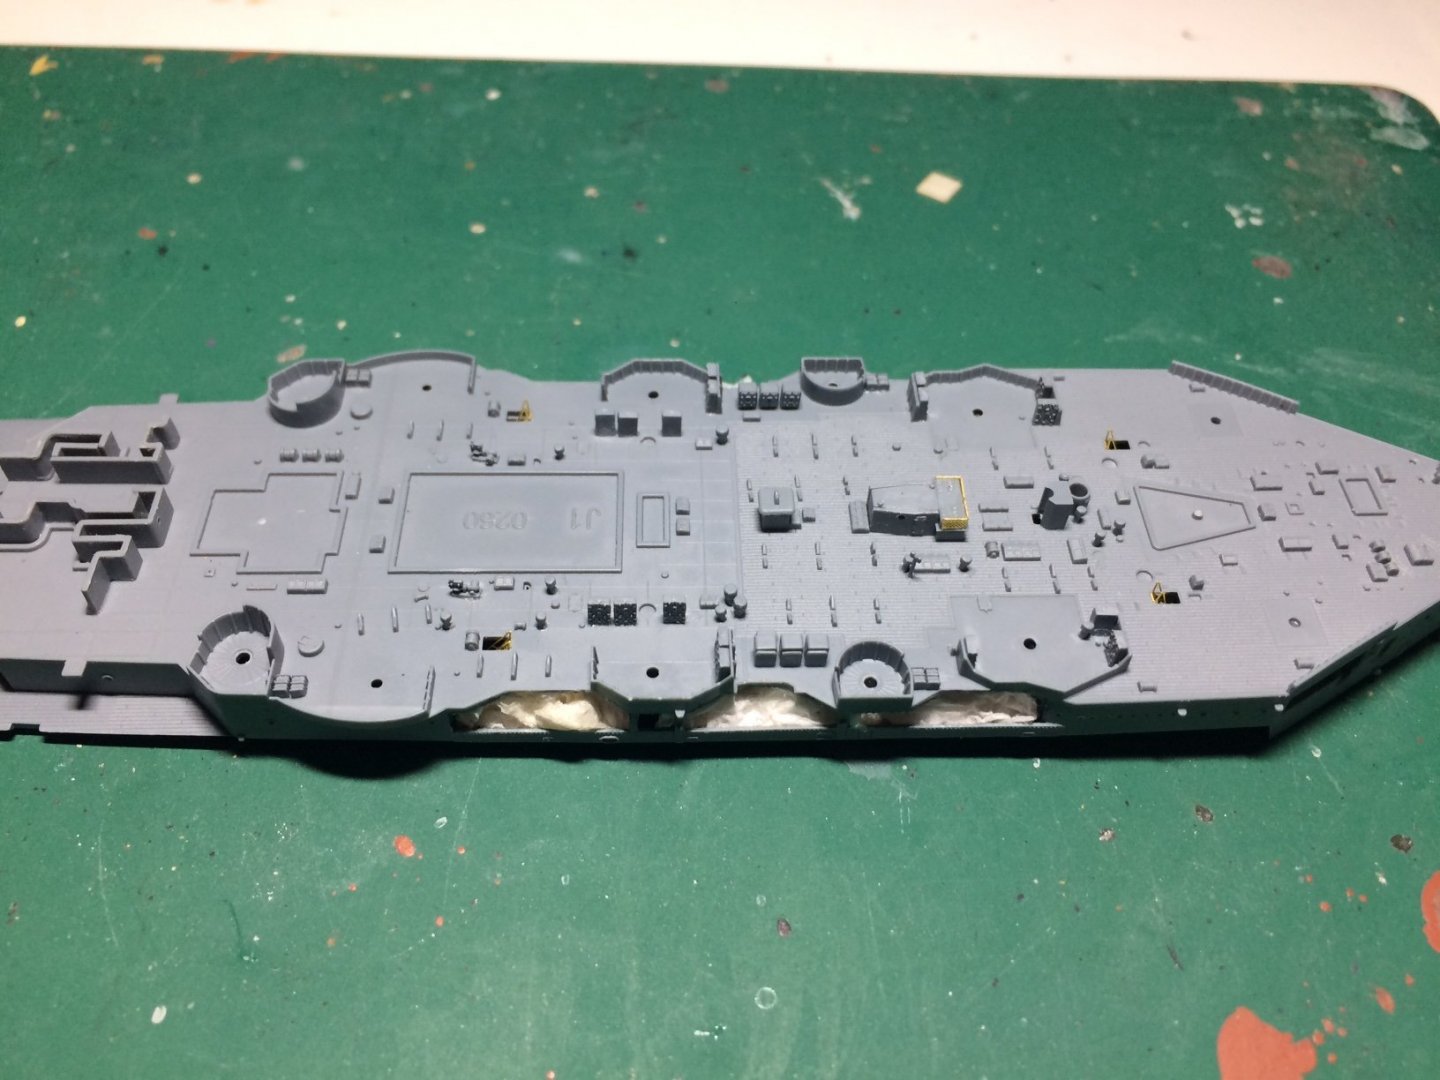
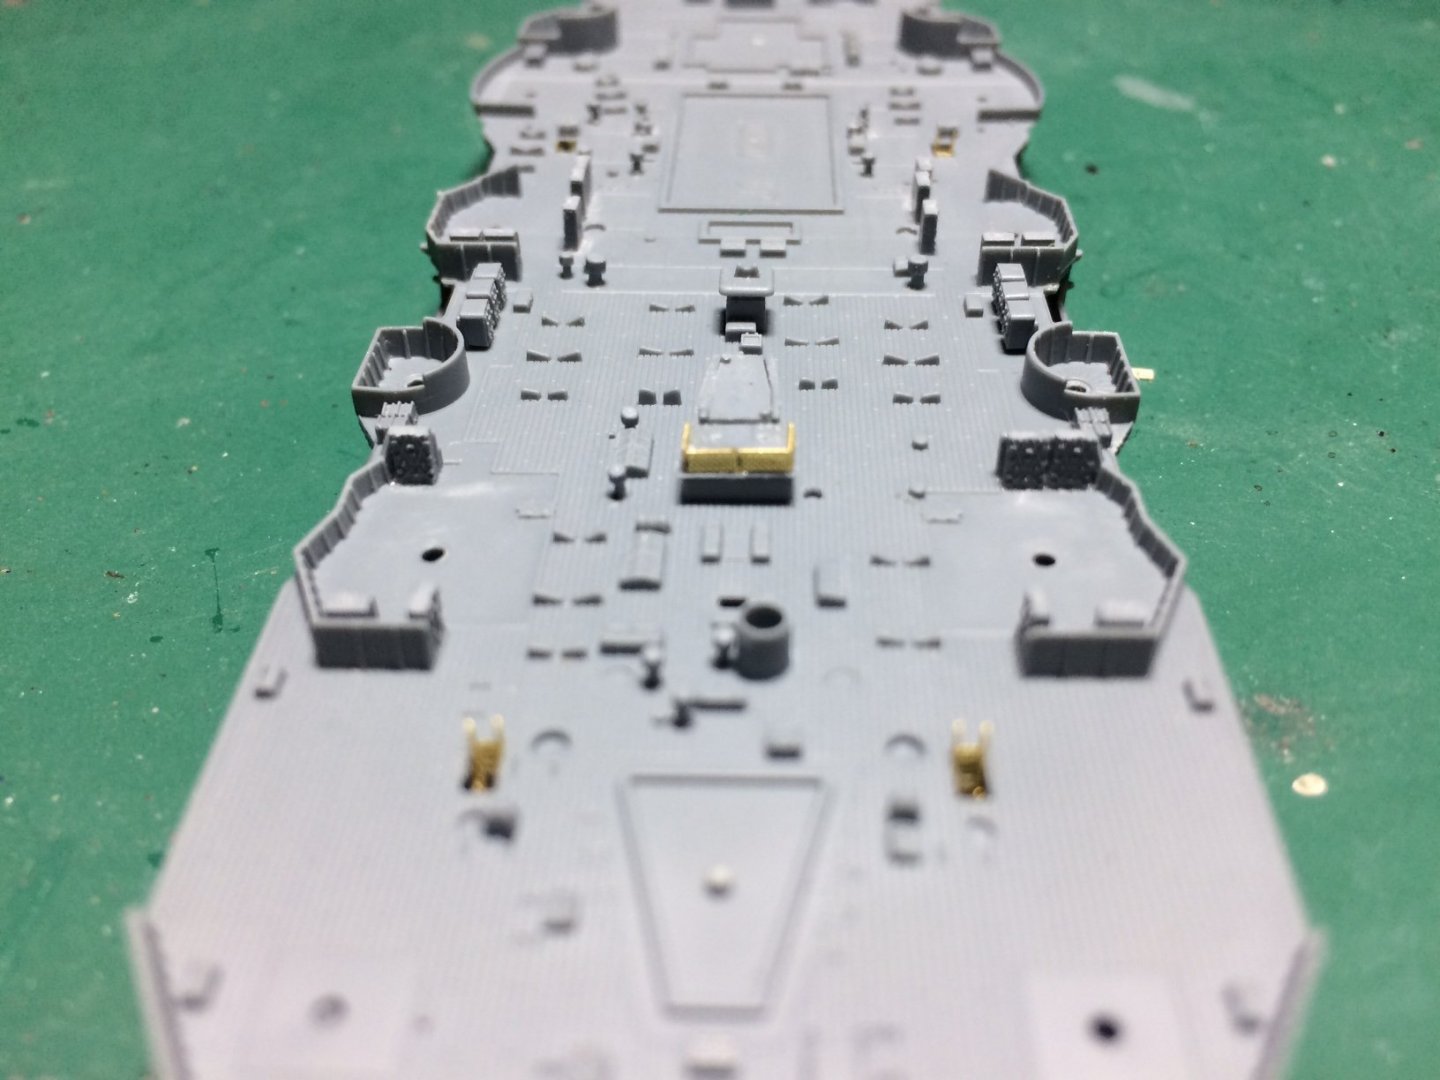
Evening all, some more progress - I finished putting the smaller items on the weather deck, and even stuffed the gaps under where the decking is, its now ready for priming then the first coat of Dark Grey, then I can paint on some corticene, before fitting the wood deck to the rear part of the weather deck. OC.

-
Amazing work - truly outstanding. OC.
-
Wow mate - that is amazing what you are doing - there are so many complex curves - and using paper card - seriously can't get my head round it, keep going you are doing superb. OC.
-
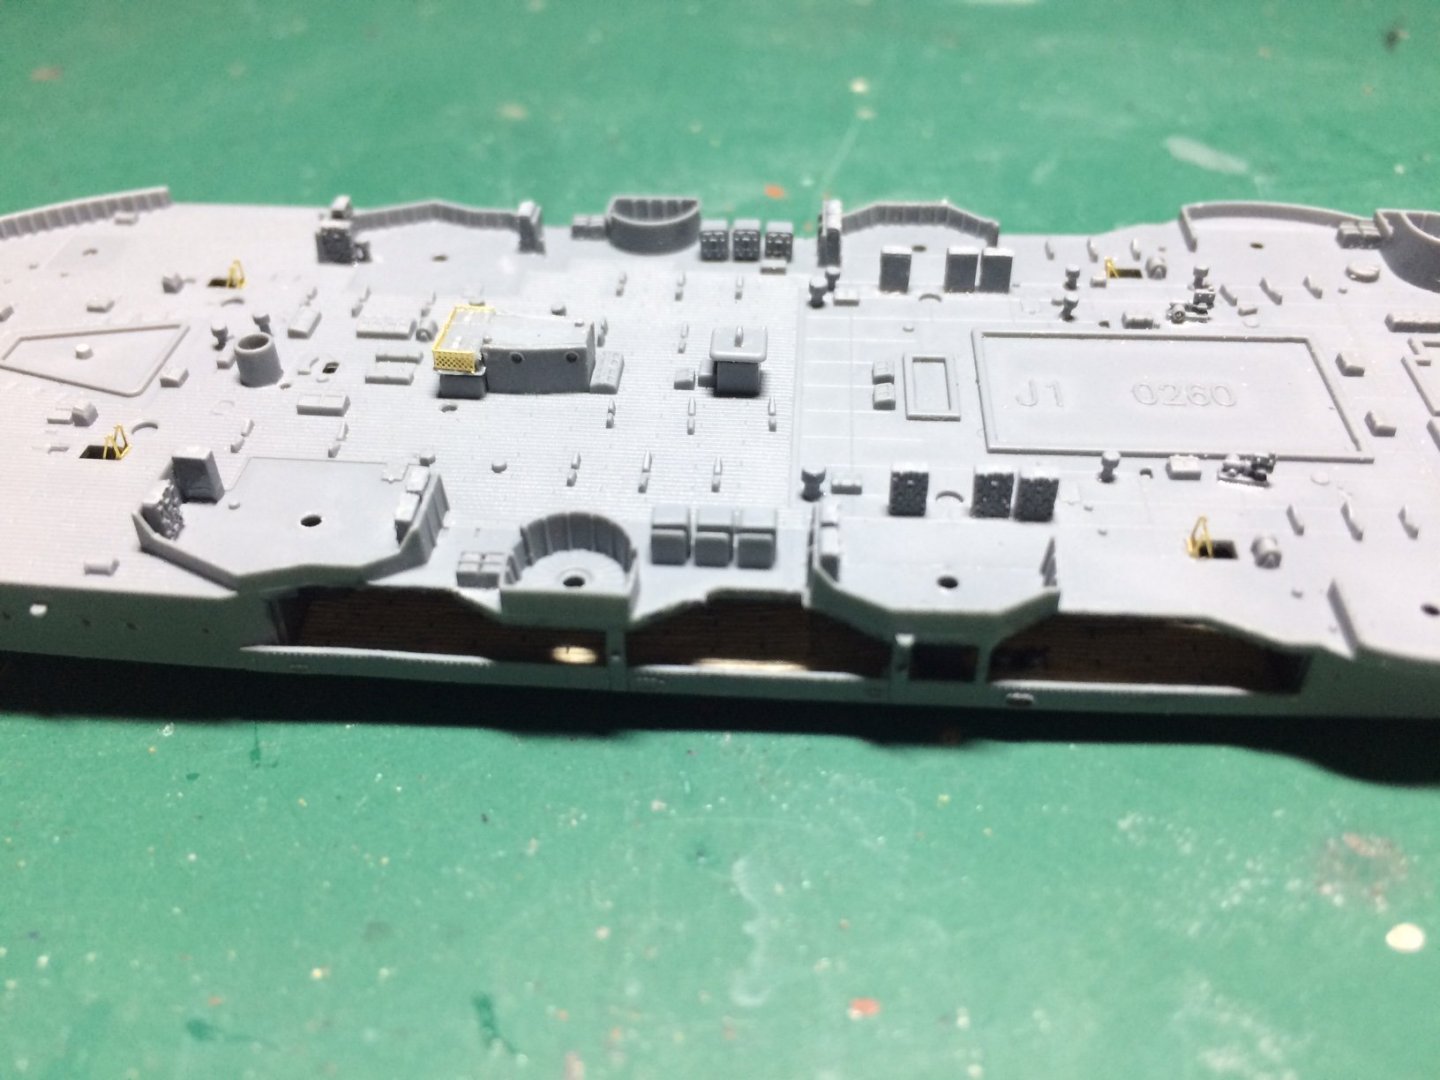
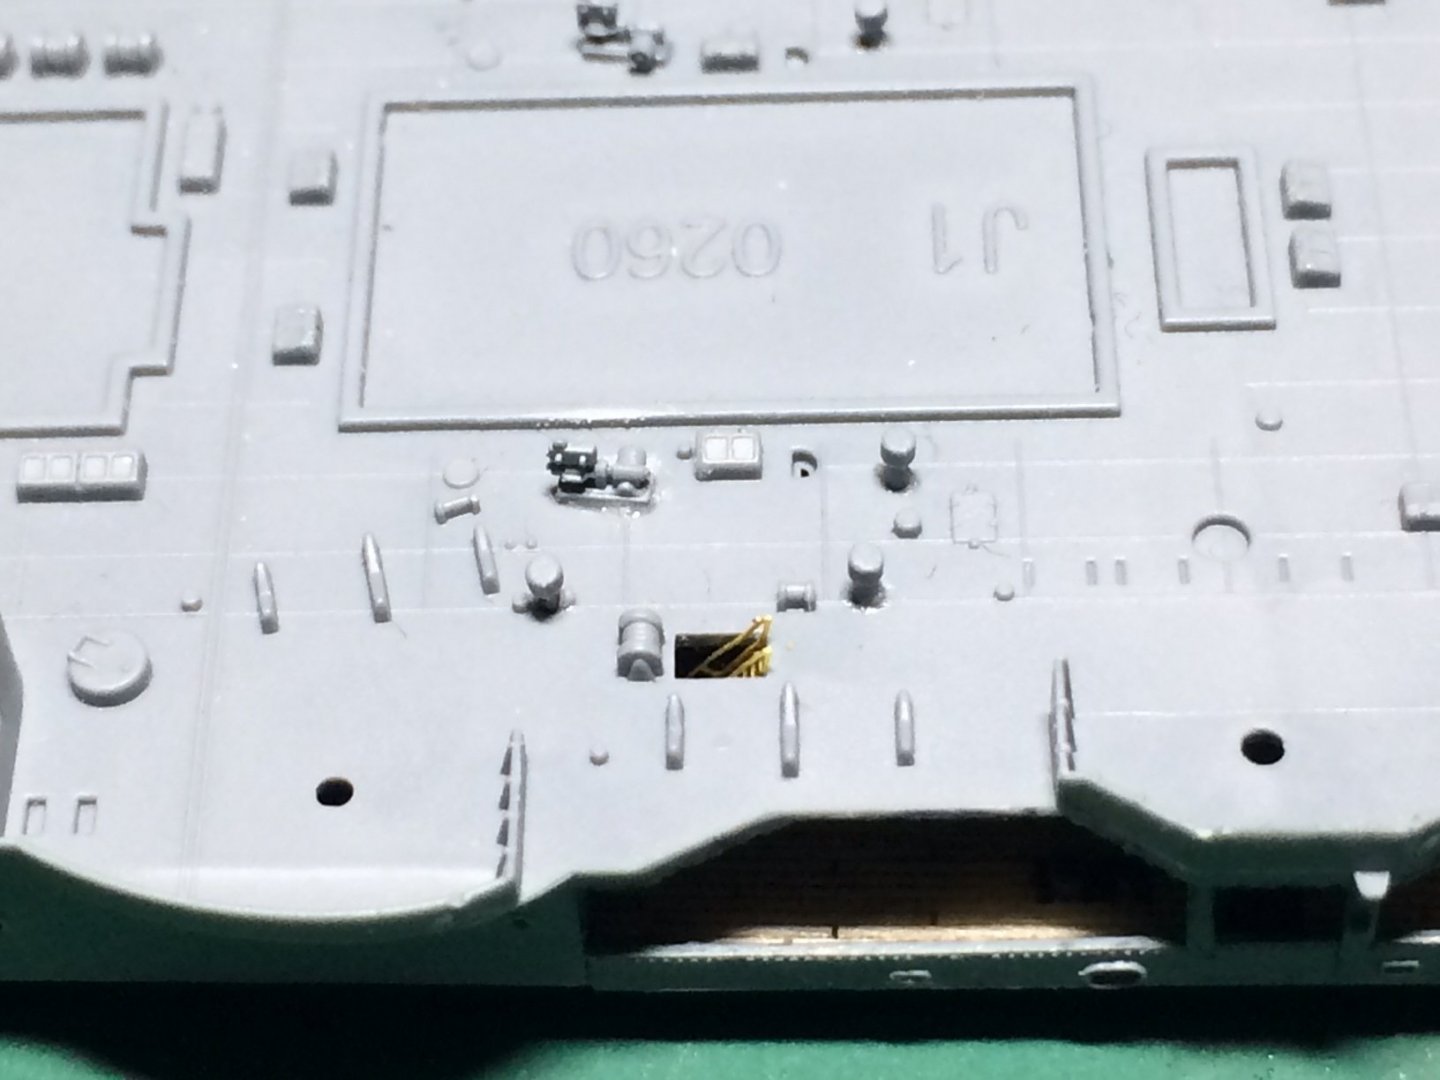
Evening all, more work dome today - ammo lockers an dmore ammo lockers - some details and a PE vent. OC.
-
I forgot to mention - when I unwrapped the hull parts - they were bent up like a banana and the extreme bow nose point was crushed in, I was able to straighten the hull parts using the hair dryer pushing down on my table, and the nose section I pulled out with a round file - but it has left a slight split but that should fill with putty - no doubt from the crush the box got in transit. OC.
-
Tim could you use a punch to bury the pin then put a tree nail in ontop of it? OC.
-
Another splendid little tank - really nice mate. OC.
-
Really nicely done Alan - they all look really smart. OC.
-
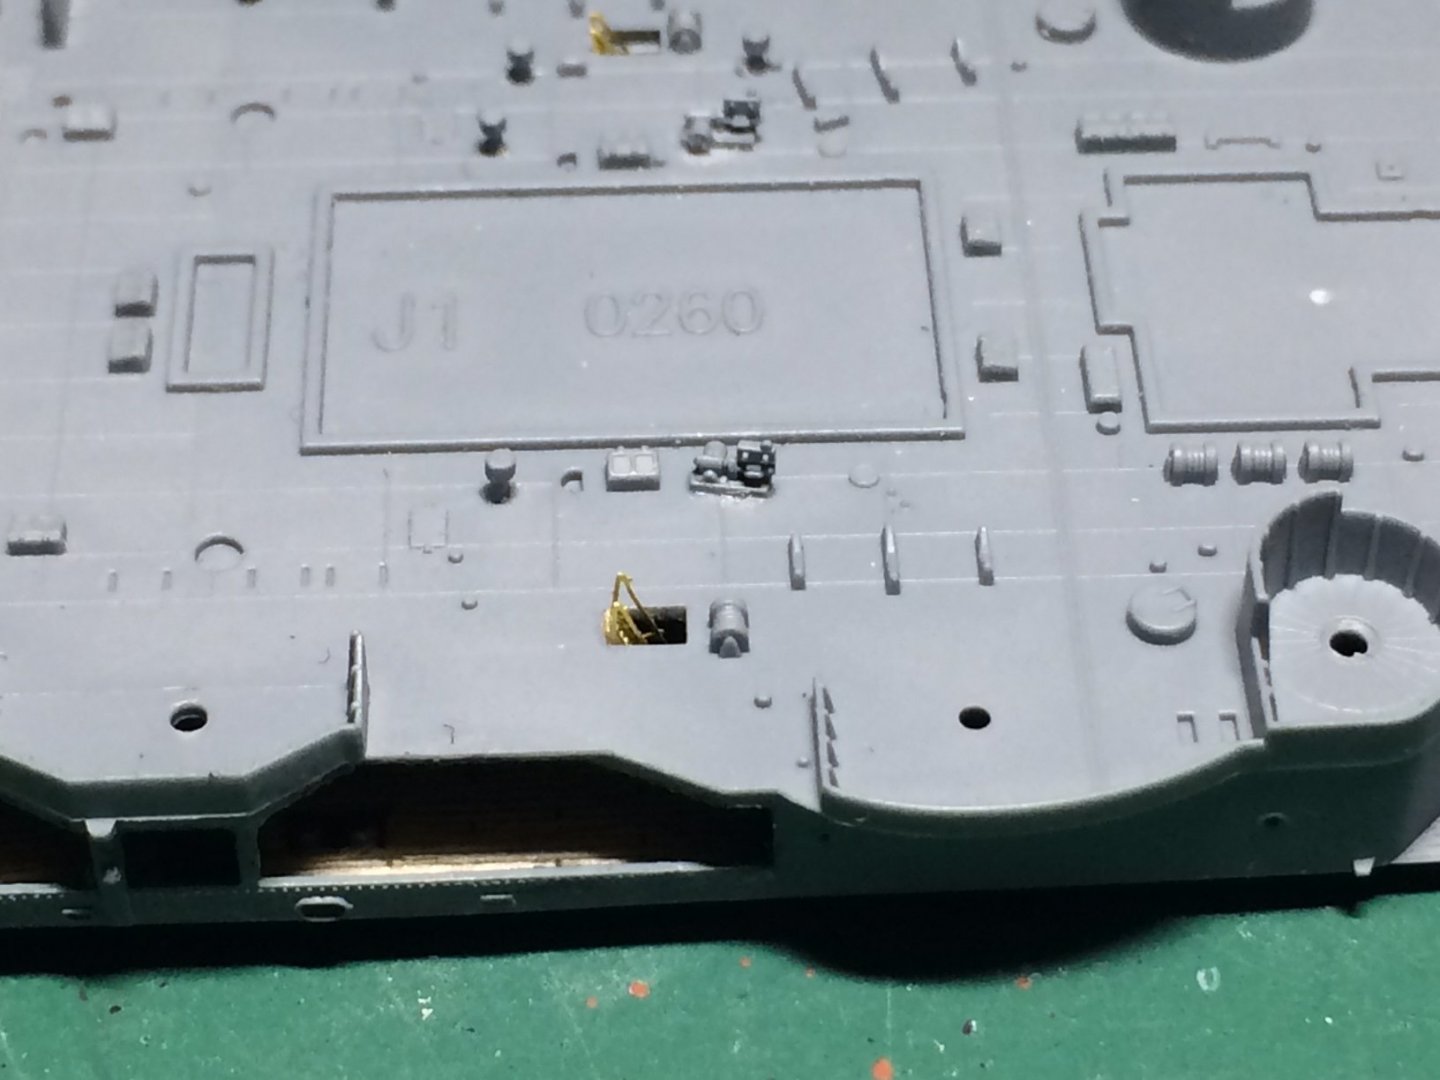
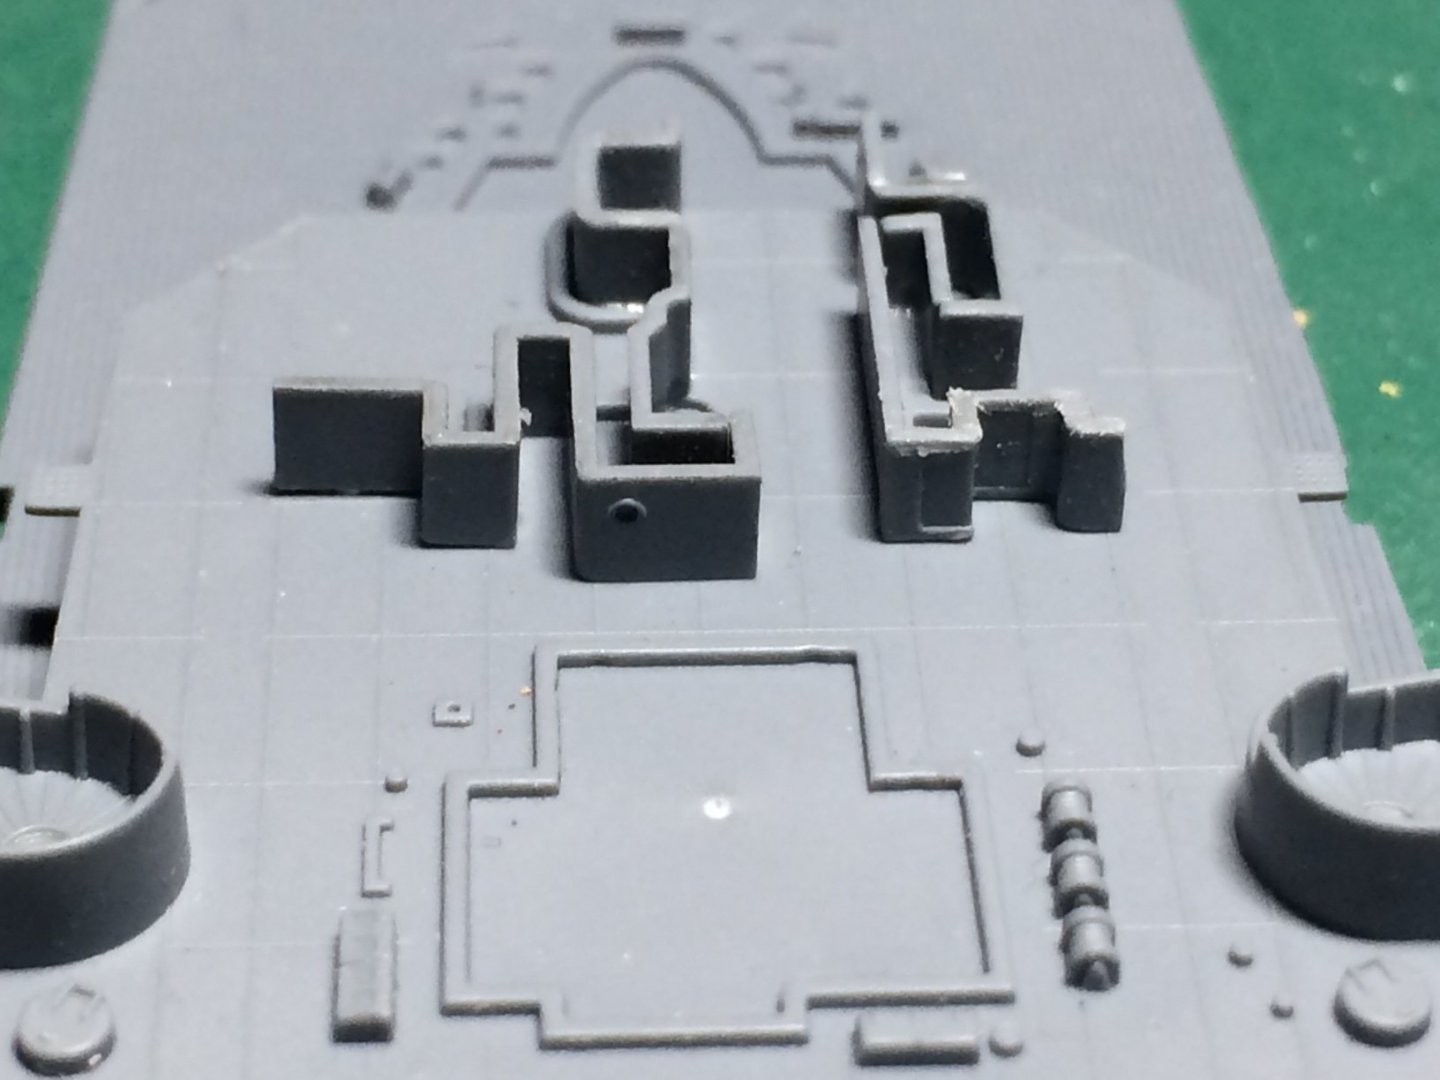
Evening all - more work in "Little land" this time attaching some inner walls for the front assembly, I also fitted some tiny mushroom vents - just over 1mm tall each. OC.
- 510 replies
-
- 12
-
-
Absolutley Amazing work - thank you so much for choosing us to show us your skills and imagination. OC.