Old Collingwood
-
Posts
12,104 -
Joined
-
Last visited
Content Type
Profiles
Forums
Gallery
Events
Everything posted by Old Collingwood
-
 Wowzer mate - there is some serious stuff in that box - whats the plan - straight out the box build - an extra detail build - a dio? lends its self to so many Ideas only limited by your own Imagination. Gonna be great I can feel it in my water... OC.
 -
This is like a little baby version of when I built my Warspite build - anyone remember that one - OC.
-
Thanks Mike, even thinking a head to the weather deck - fix all the little bits like ammo lockers etc etc then paint all over first or leave them off paint / mask for the other colour then paint then fit the smaller parts - keeping the seperate build assemblies built and painted as su assemblies - lots of options.... OC.
-
Little confesion - during doing the decking pieces I managed to dislodge one of the stairs - yep it got crushed, but I was able to bend the handrails back and re glue it in place. OC.
-
That is looking so sweet. OC.
-
Thanks Mark, I will be honest - when I cut the wood section/s from the sheet and looked at it, I thought "no way wil I fit that in there" thats what made me come up with the idea to cut it into sections. OC.
-
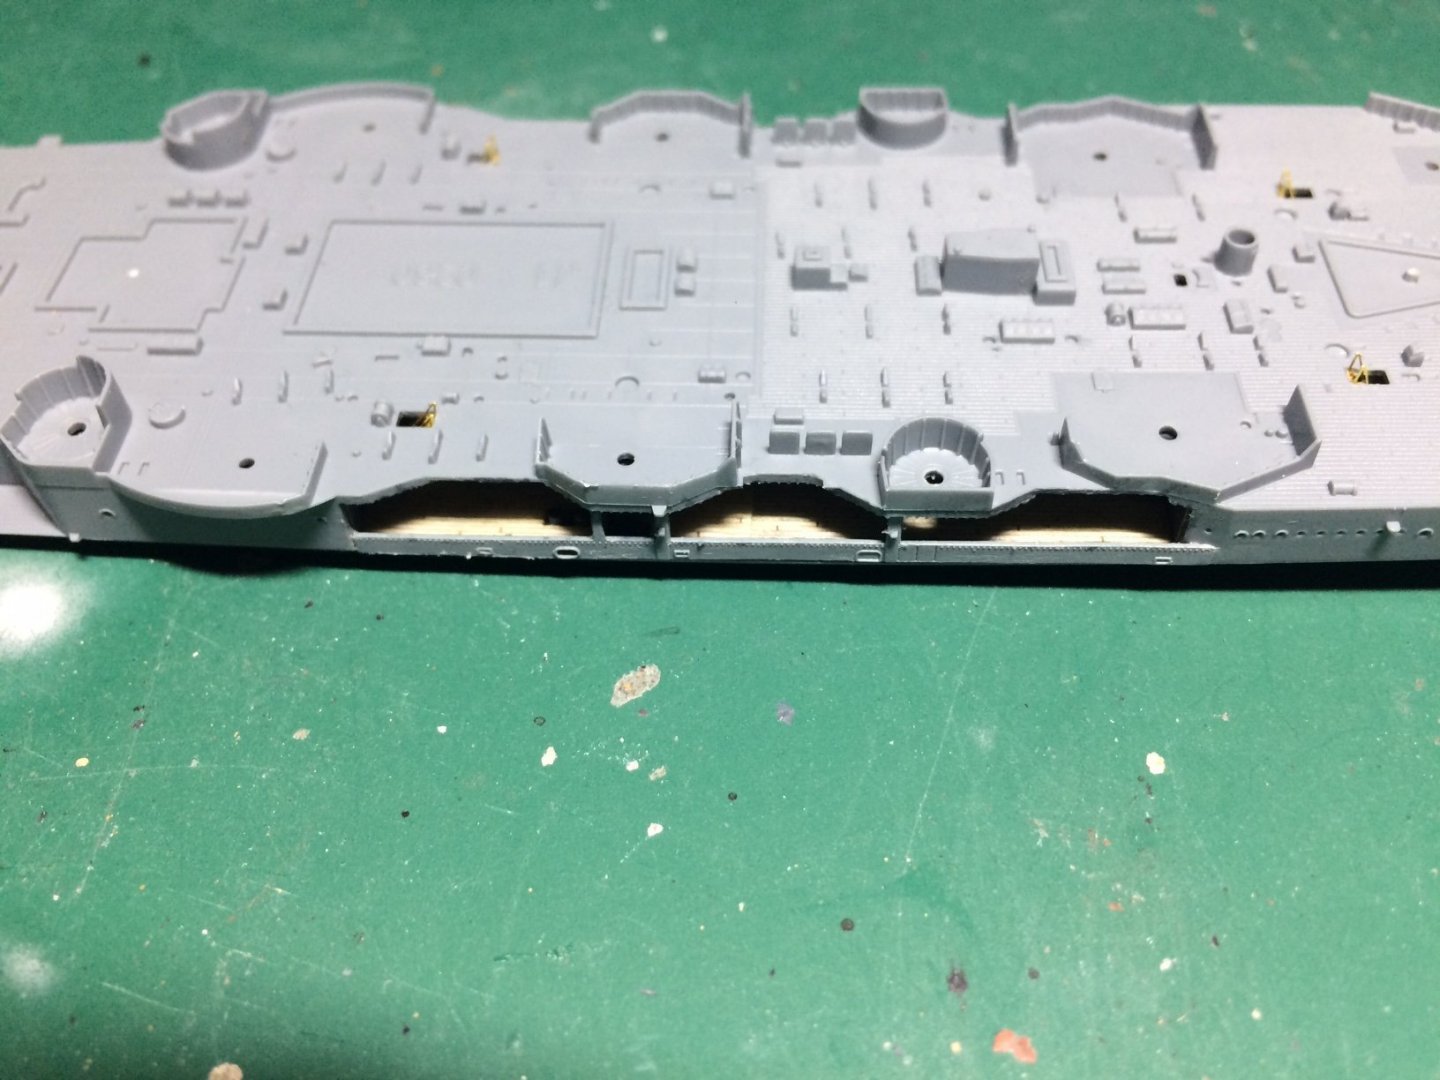
Evening all, I think I have recovered my little problem - I used my wood decking I was able to cut the strips down to fit around the frame work, then instead of peeling the backing paper off - I glued them down using PVA - that allowed me some time to move them around, I also added a few washes of watery PVA on top to seal them in. OC.

-
Think I have done a boo boo but its too late to do anything about it - that area under the top mid shaip area - Should have been planked even have it in my wood decking pieces but can't get in there now "blobby heck"...... OC.
-
Thanks mate, I should just about be able to airbrush them if I "Carefully" control the airbrush end close to the gap. OC.
-
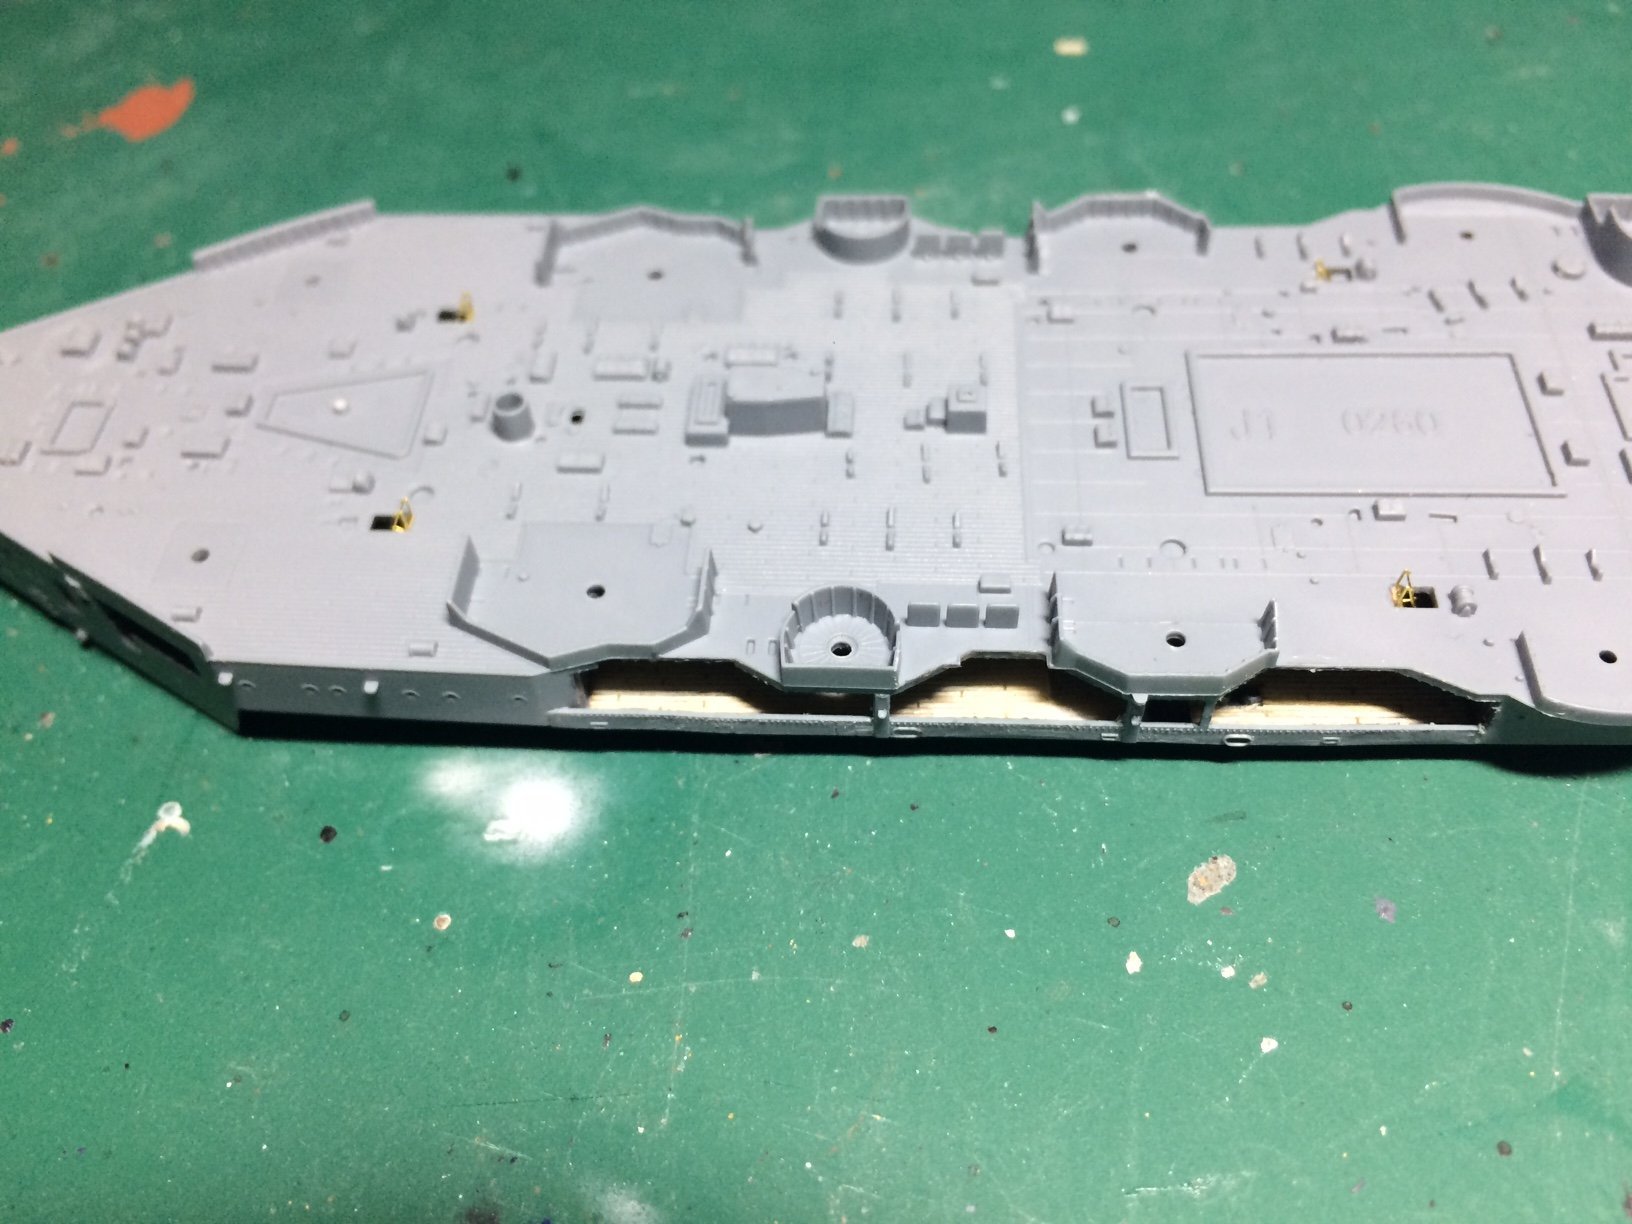
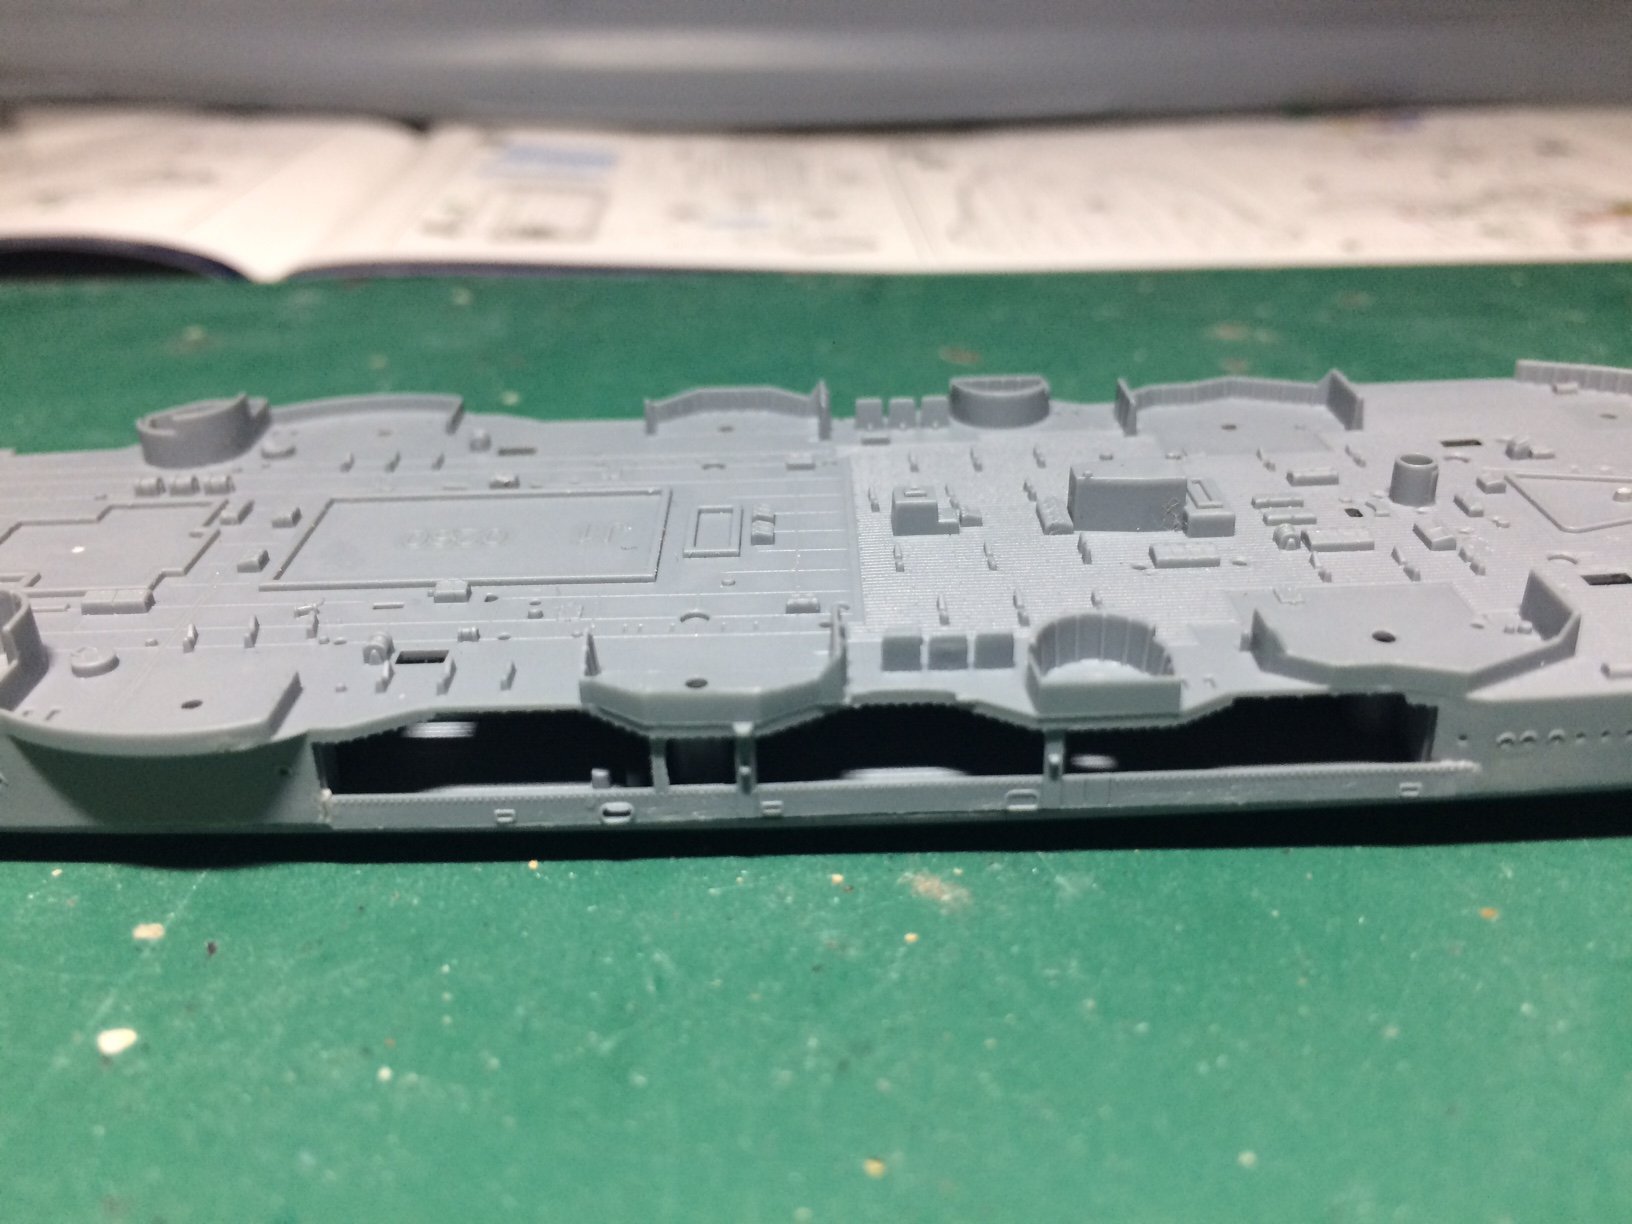
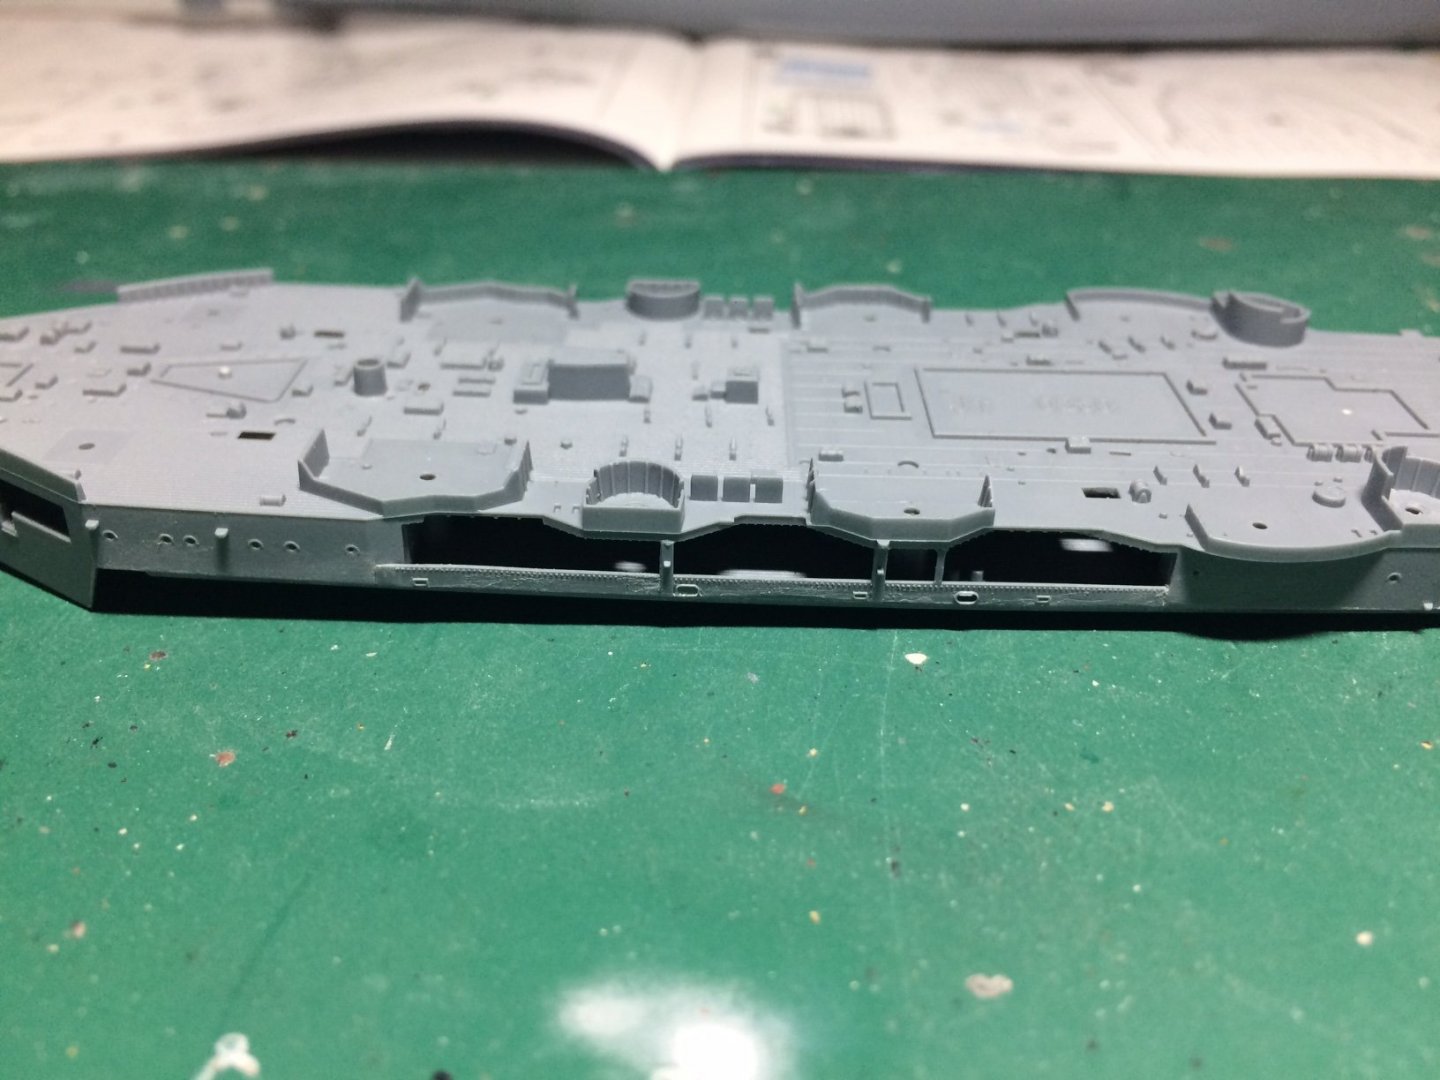
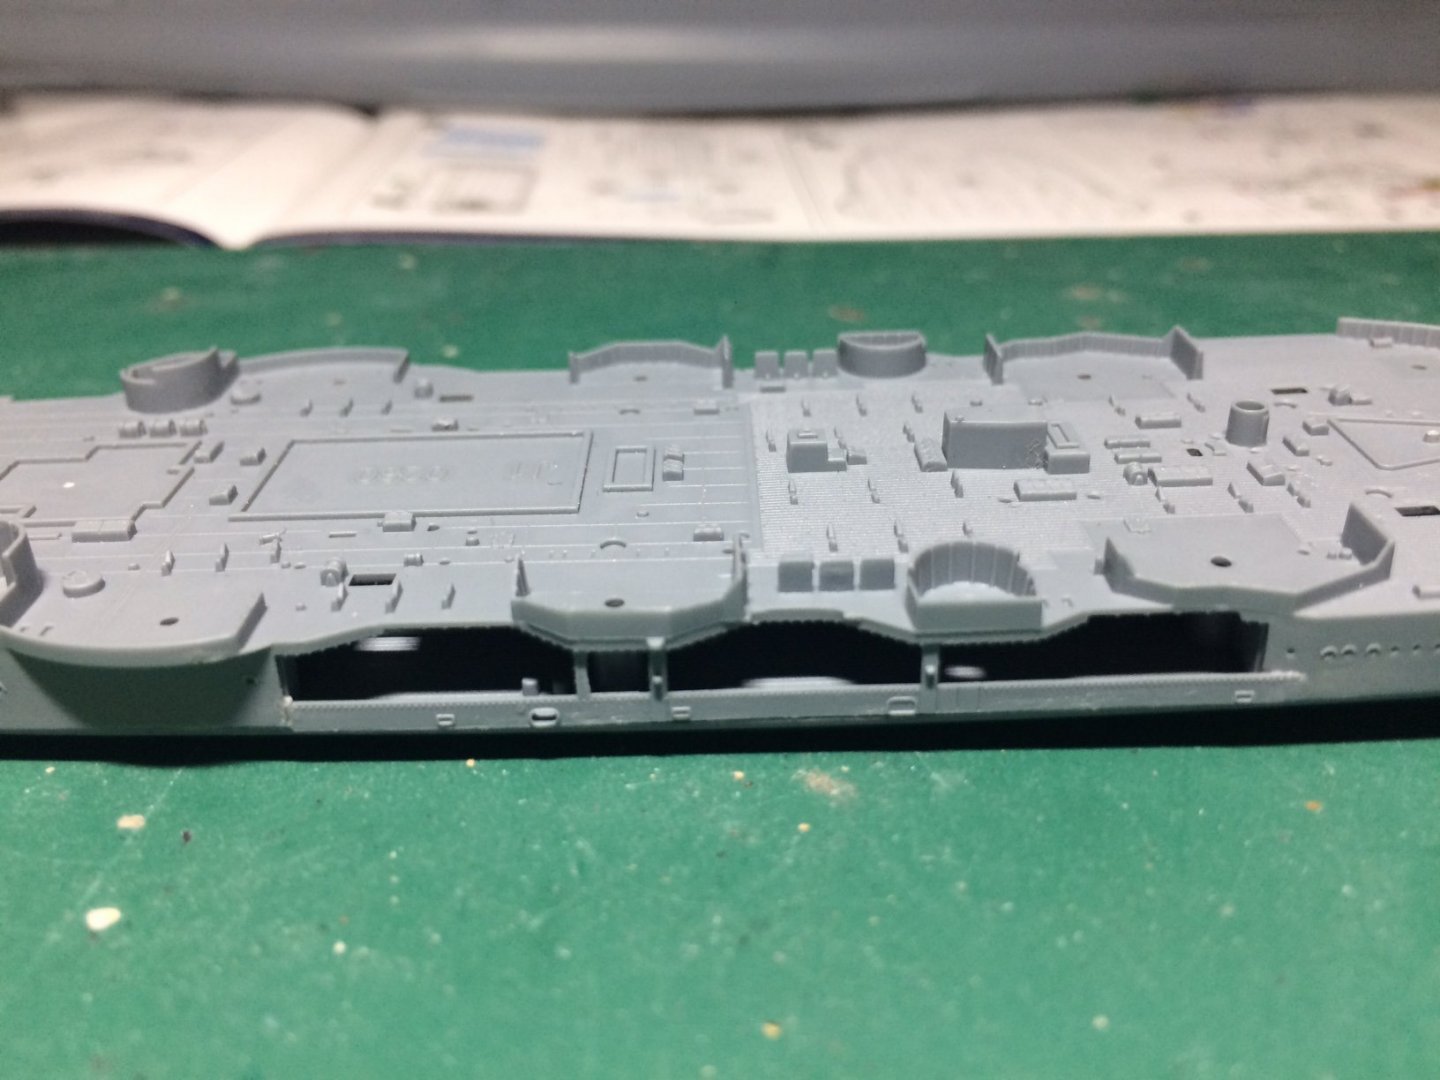
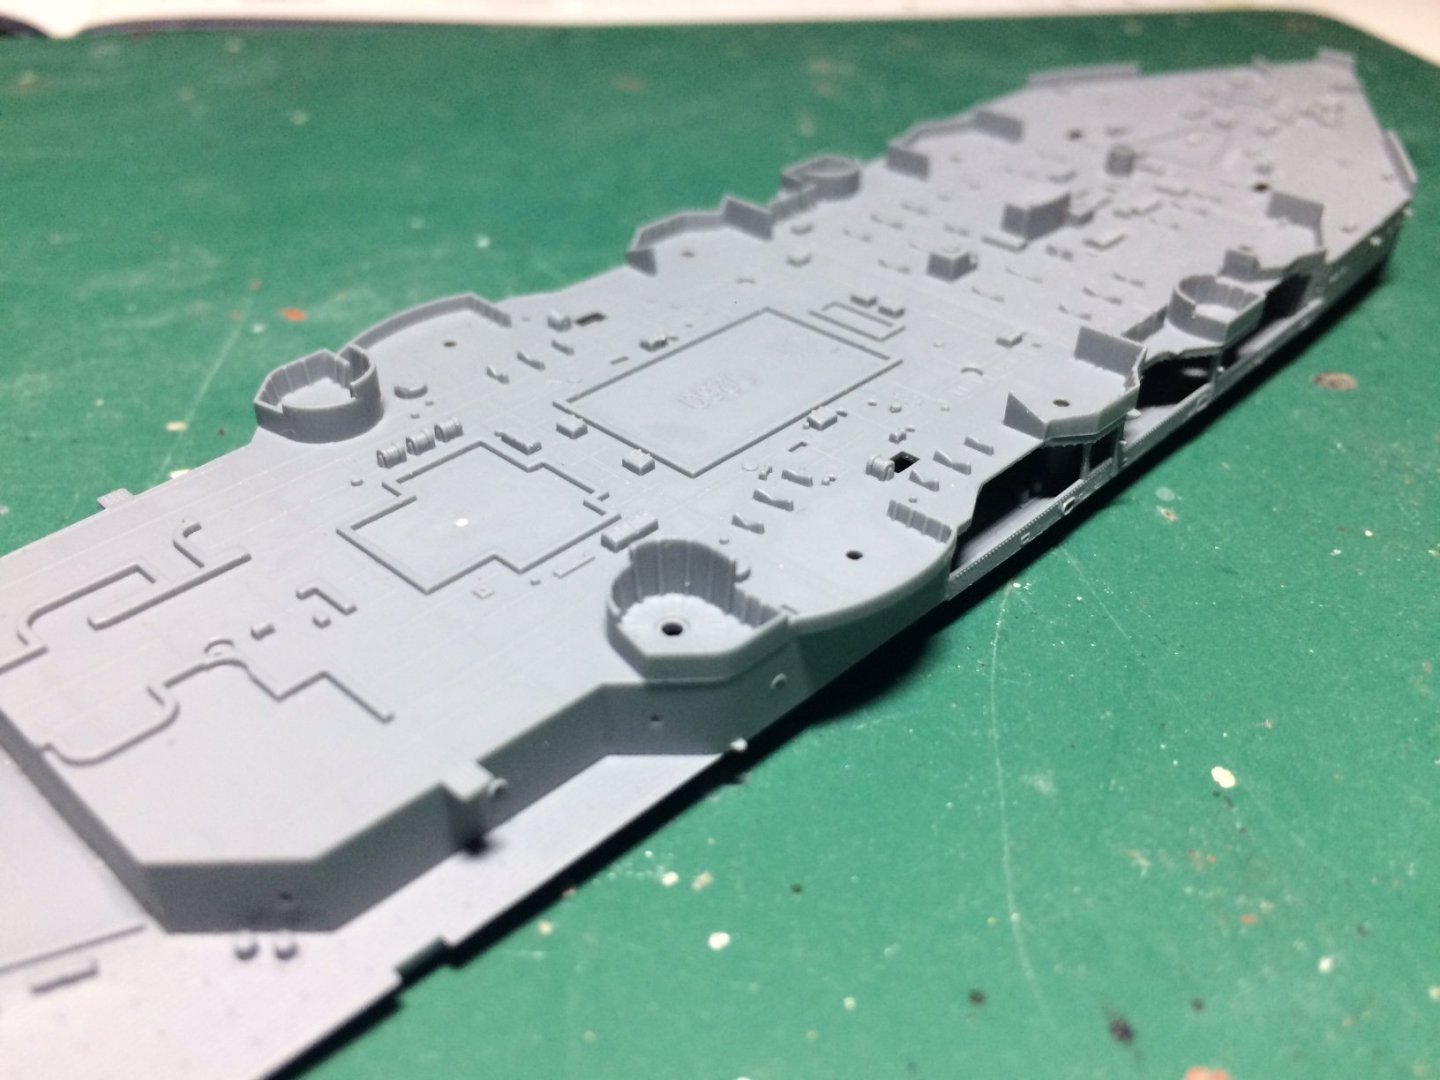
For anyone who gets this kit - watch out for the Two pieces that are shown in the pics above - they are the the side bulkheads but in the model are about 2mm wide and no real way of getting a secure bond at the one end hence why it looks like it has dropped - when its on the hull its not too bad as I can push it all down to lign up. OC.
-
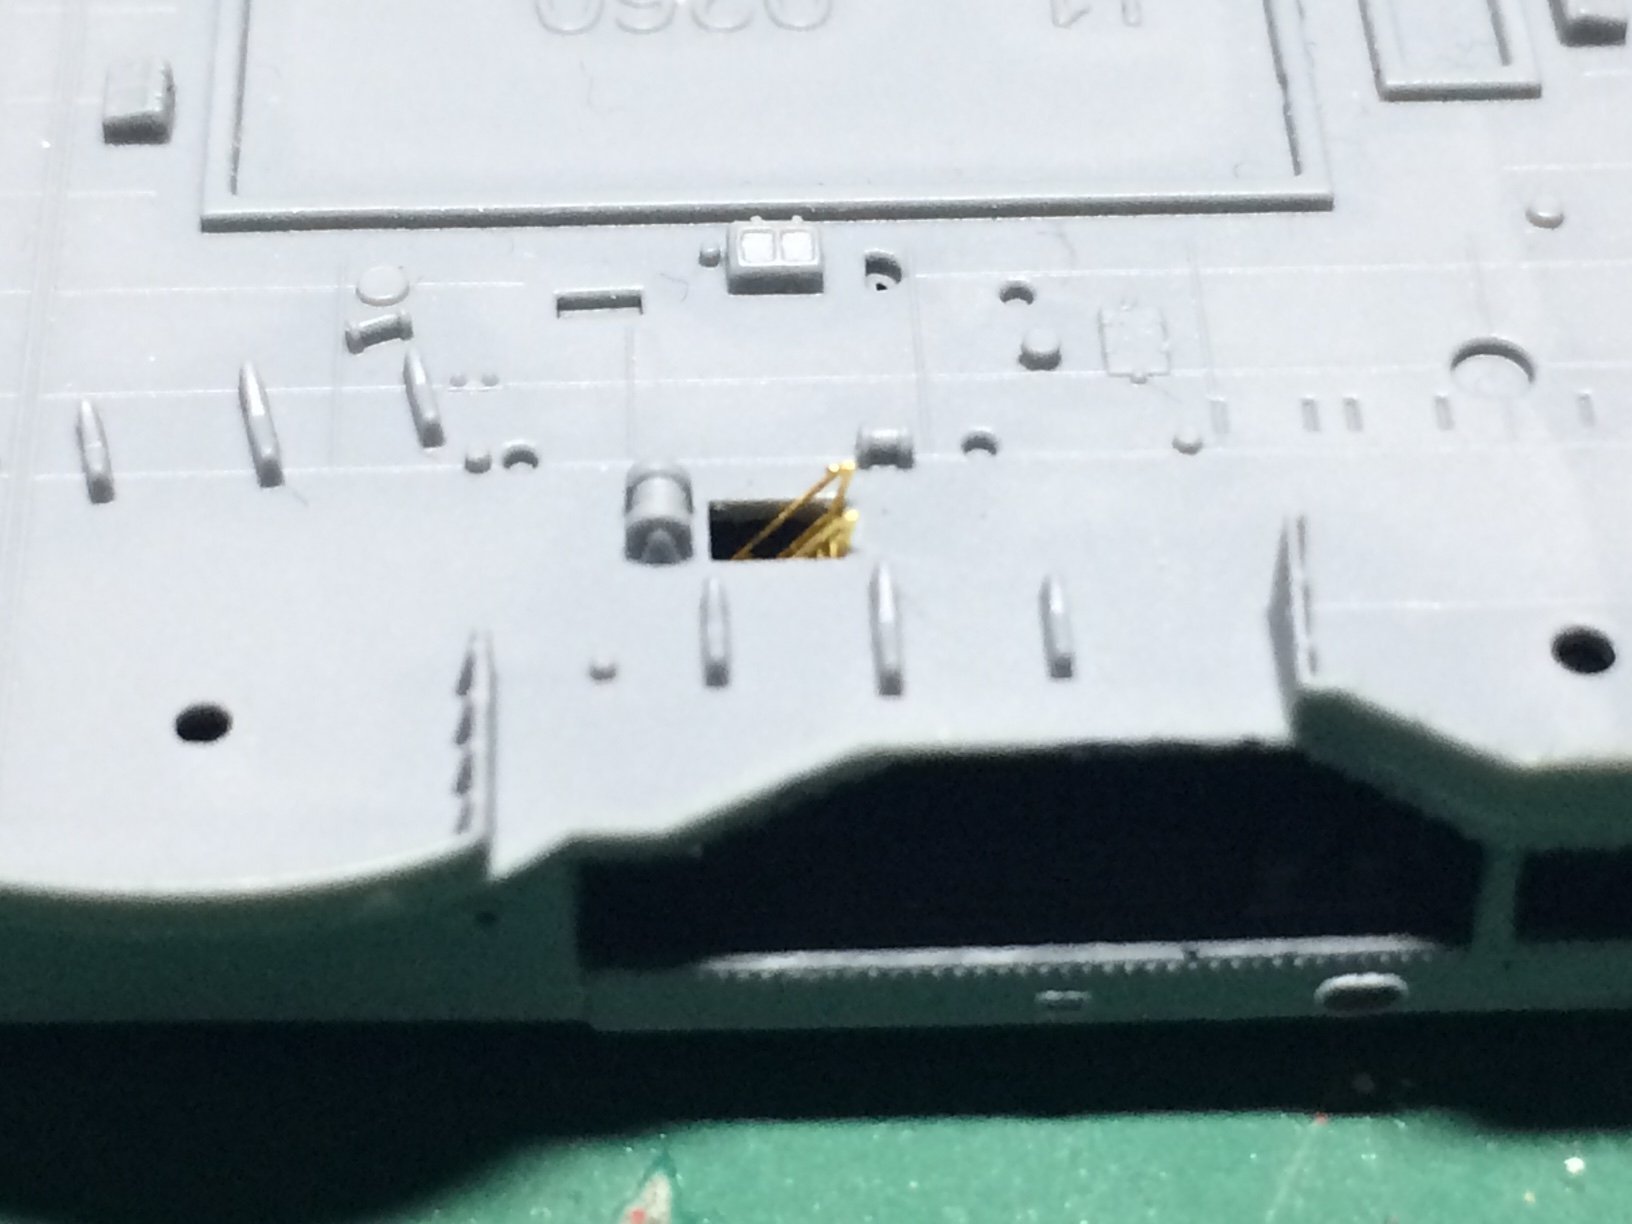
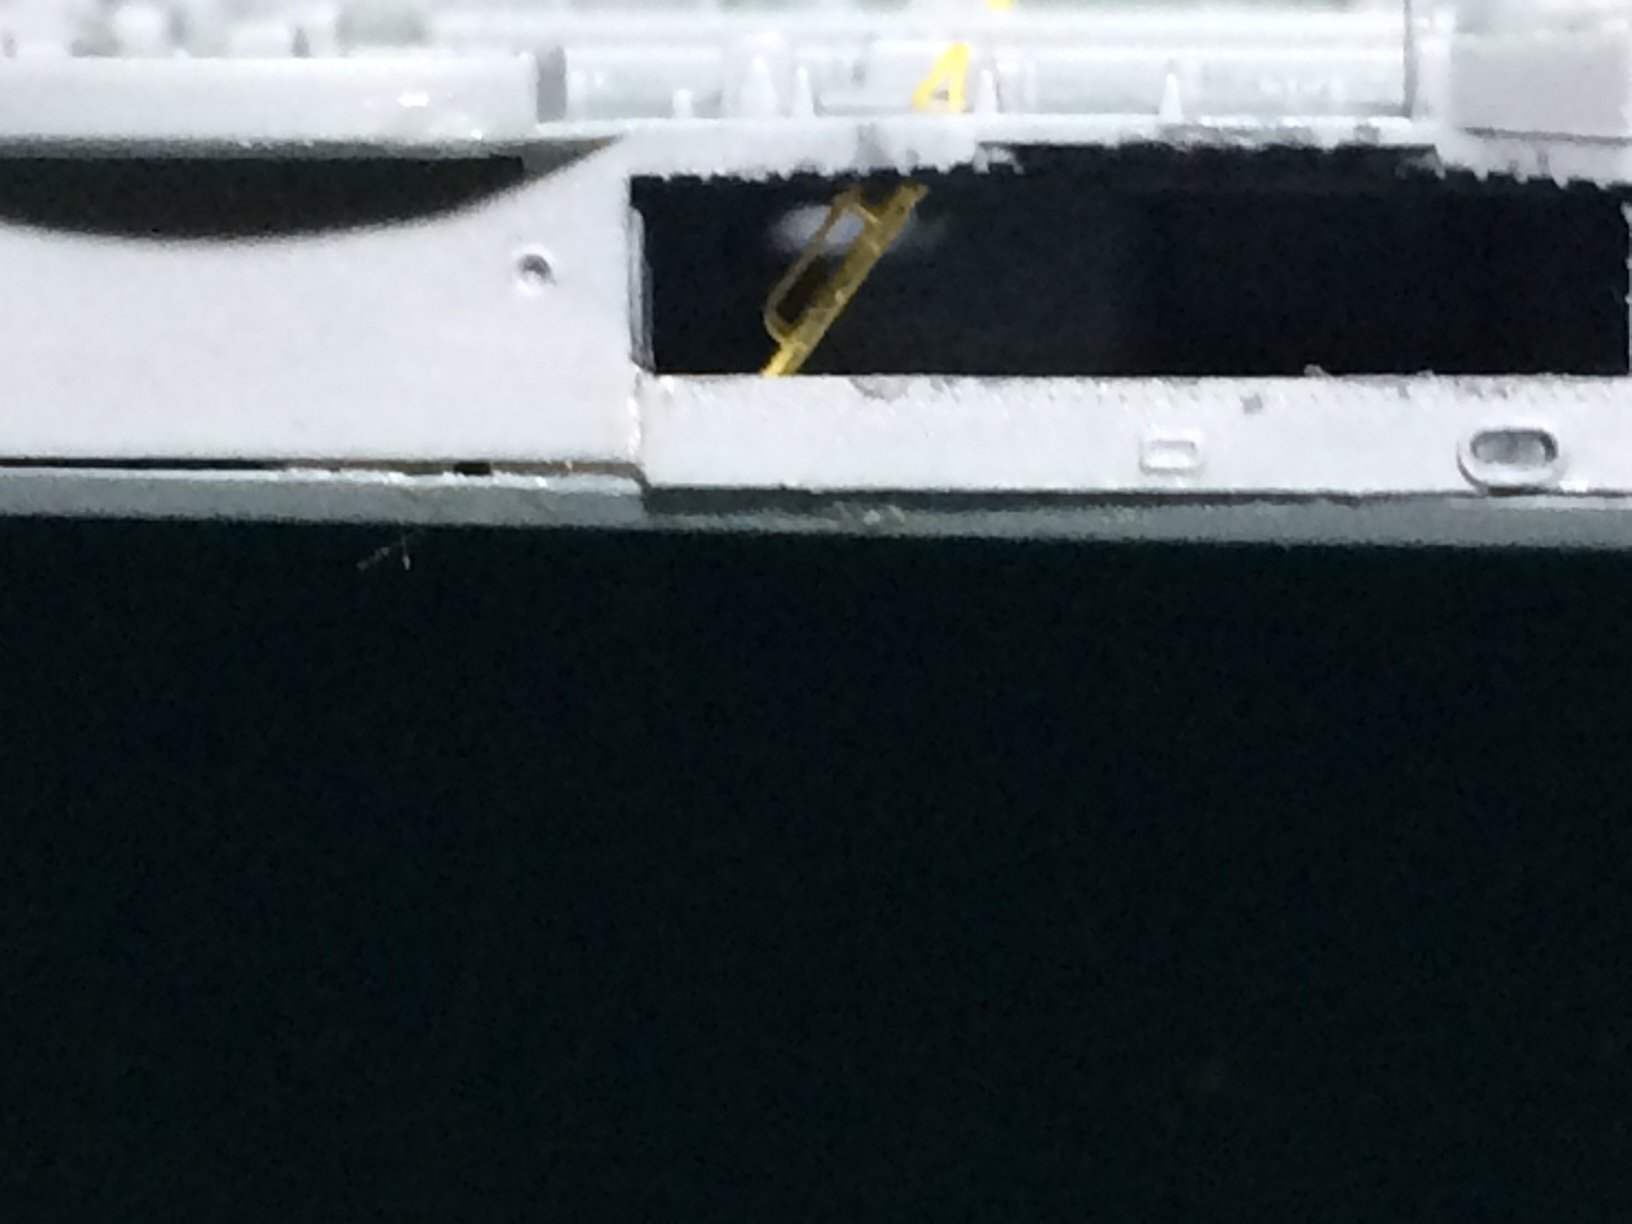
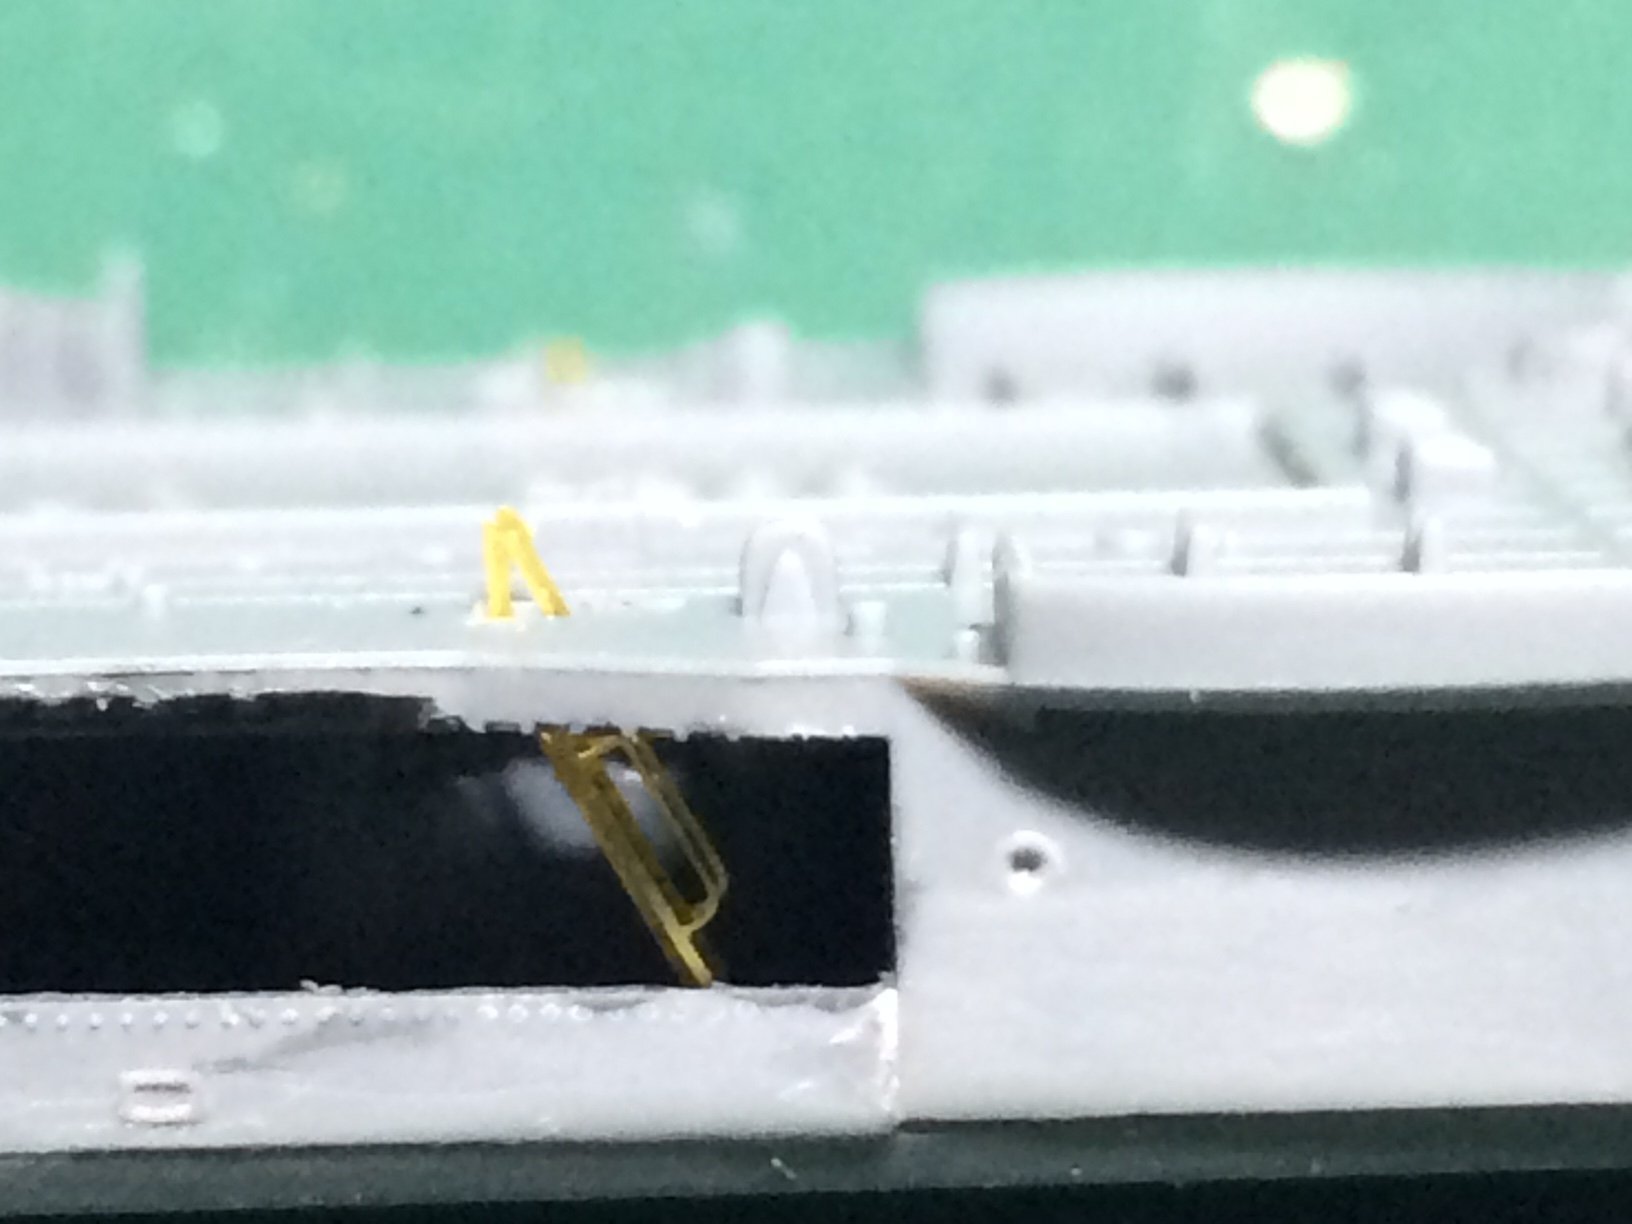
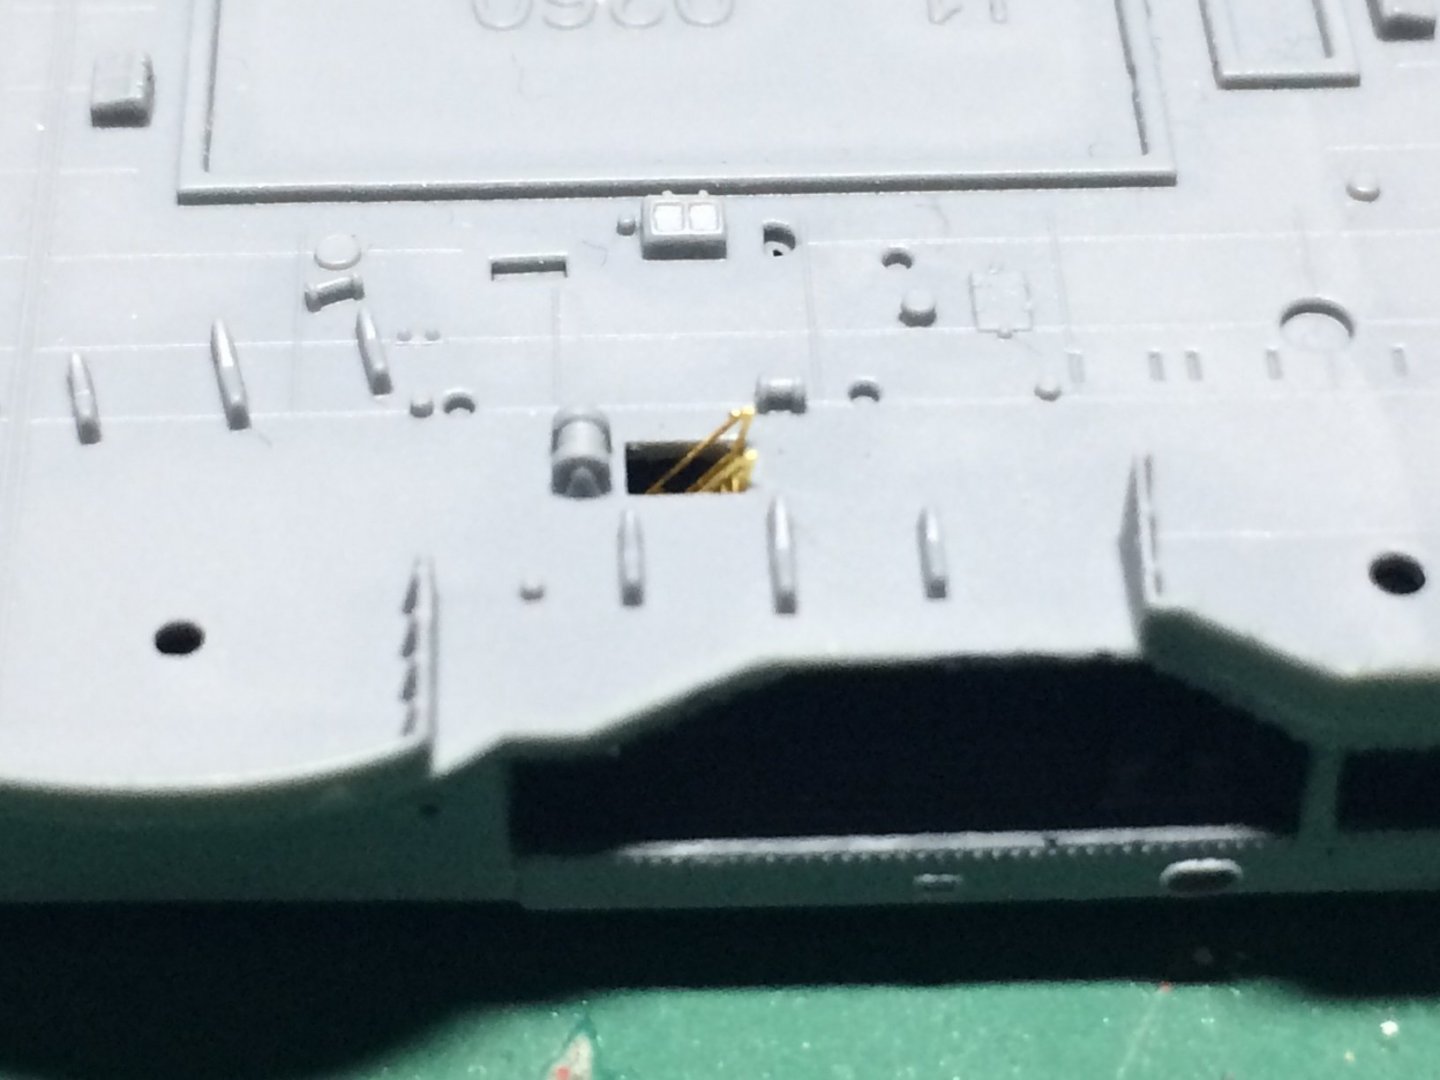
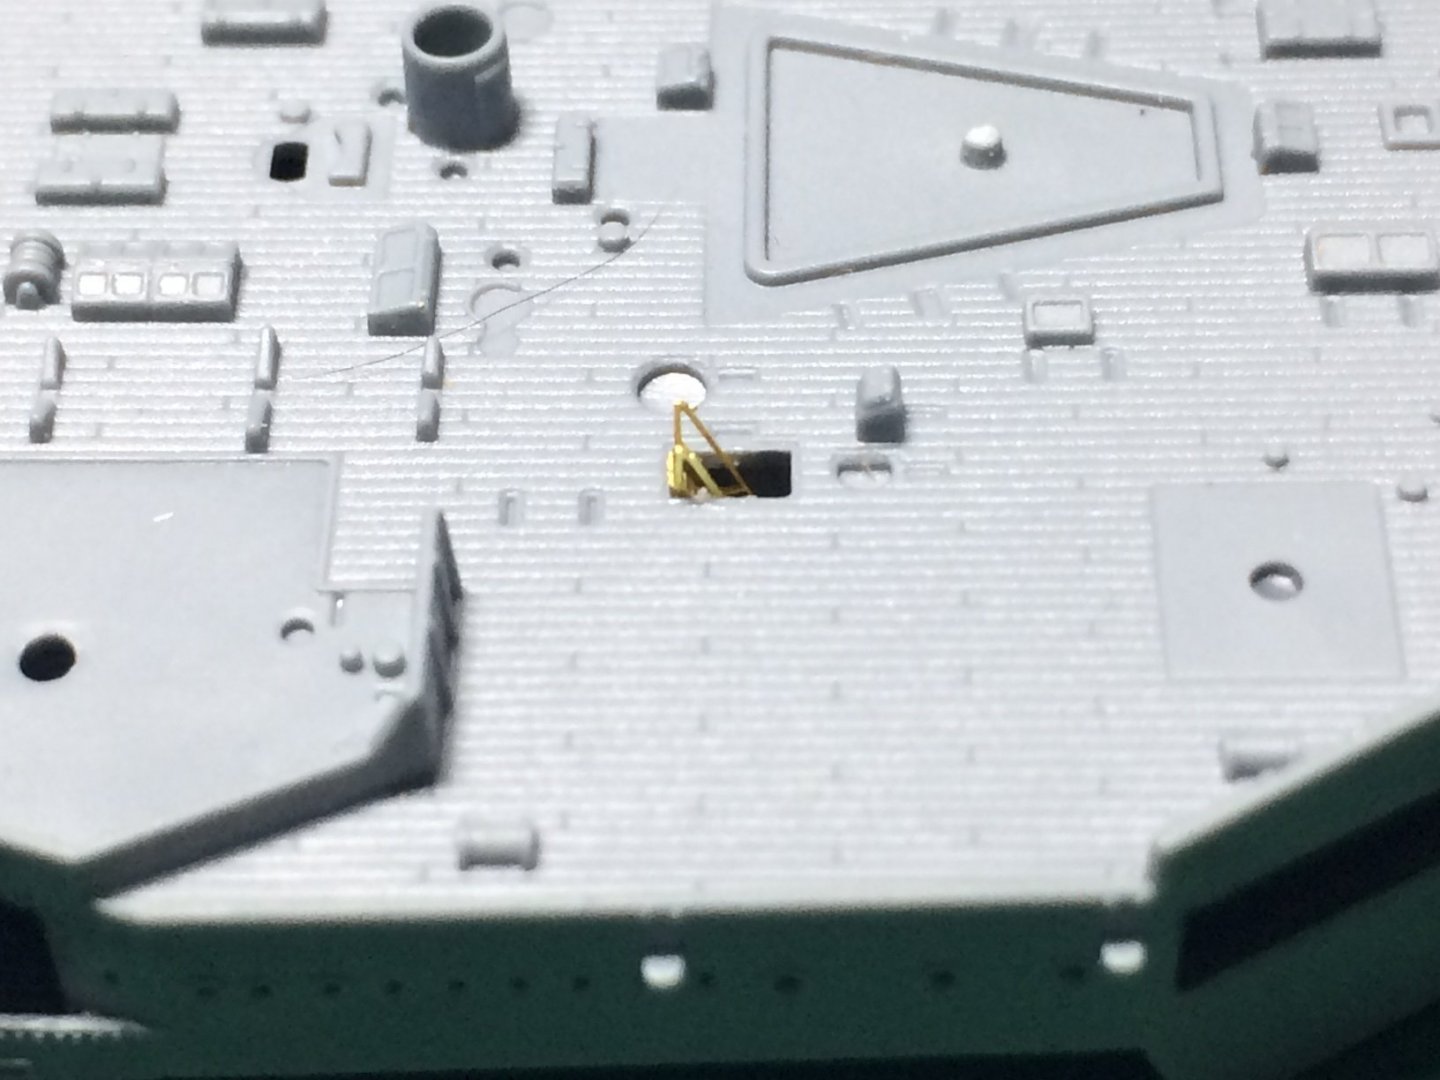
Evening all, so I tackled the inside painting sitution - I was able to to get a fine brush inside and paint the areas AP507A, next I had a go at "Little Land" PE - first was to fit Four ladders, they cut away from the fret quite easy as the PE is quite thin, I used my normal mode for bending - hold in place with tweezers and bend with my knife blade then tiny bit of CA using some fine wire - then placed. OC.


- 510 replies
-
- 12
-

-

-
I will just have to give it a go or use one of my fine brushes, I wanted to fix it down as the Two edges that were glued on were so delicate and I could see them breaking off. I went on the Hood official website and found out the info regarding the lower deck under the boat deck - they say it was not wood, so I thought that makes it easier, always a problme with fine delicate kits. OC.
-
Yep I hear you Mike, lots of instructions to "Drill hear cut that" but no wording to say if its needed and why? and I agree with the PE there are a seperate set of instructions to use, guess we need both instructions out at the same time to cross reference between them. OC.
-
Hi Craig, hope thanks giving is going well for you and the family, yep thought I would make a start on her, yep I brought the delux kit and got a discount from the same seller to have the wood deck sent with it, I think I will be ok with the upper in place as I understand the deck below the upper was painted Dark Grey/Semtex or similar, and the wood deck fits in front on the forecastle area and ontop under the boats, so my Idea is to add all the small parts / ladders etc first then I will prime and AP507A Dark Grey all over and inside the lower deck (from where I can get it to spray in there) In an Ideal world I should have got the Flyhawk mask - but I was not aware of it when I brought the kit, so for the painting the upper deck Corticene / Semtex I will probably brush paint the Corticene on as I would imagine It would not have been really smooth, that way I can carefuly cut in around the fittings and possibly put a fine tape strip down for a straight edge. Well that the plan. OC.
-
Superb work Alan, that dusting sure makes a difference - loving what you are doing. OC.
-
Looking really good now - what a difference - so pleased for you mate. OC.
- 460 replies
-
- 4
-
-
- Finished
- Flower-class
- (and 1 more)
-
Evening all, did a bit more this evening - I put the rest of the inner roof supports, then Two side pieces were fitted - very delicate work, then I glued the main section down onto the deck. OC.
- 510 replies
-
- 13
-
-
Lovely job Alan. OC.
-
Evening all, I did abit more on my Hood this eve - firstly I drilled a few port holes (not many) as I want to portray here getting ready for action, should have seen the size of drill bit I needed tiny ....... Then following the instructions it calls for work on the underside of the roof of the main deck - these contain some nice details that need gluing in place. Pic also shows the lovely moulded details on to top of the main deck. OC.
-
You know mate - I can't wait till you start your mast work on this (I know you will) if your building so far has anything to go by it will be superb. OC.