Old Collingwood
-
Posts
12,106 -
Joined
-
Last visited
Content Type
Profiles
Forums
Gallery
Events
Everything posted by Old Collingwood
-
 Thanks Mark, I just use Windows media player for vids. OC.
- 1,090 replies
-
- 2
-

-
- showcase models
- vendetta
- (and 2 more)
-
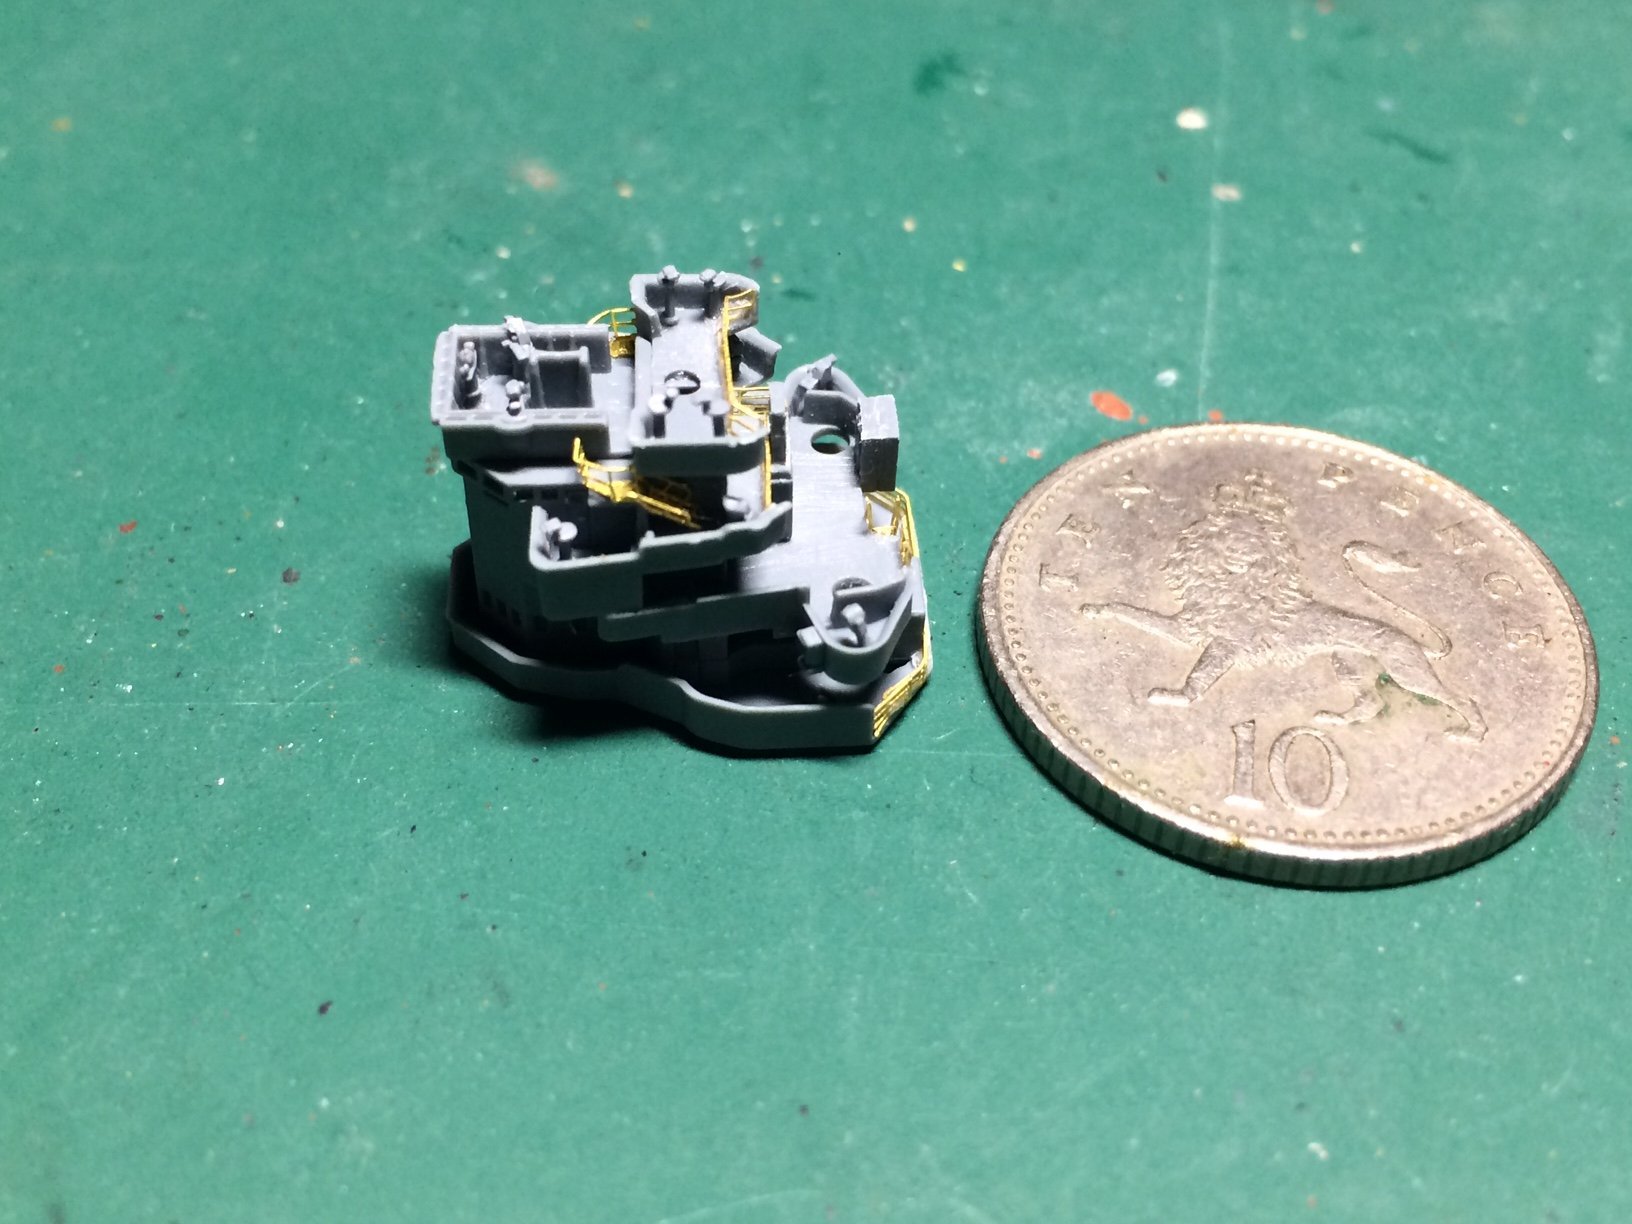
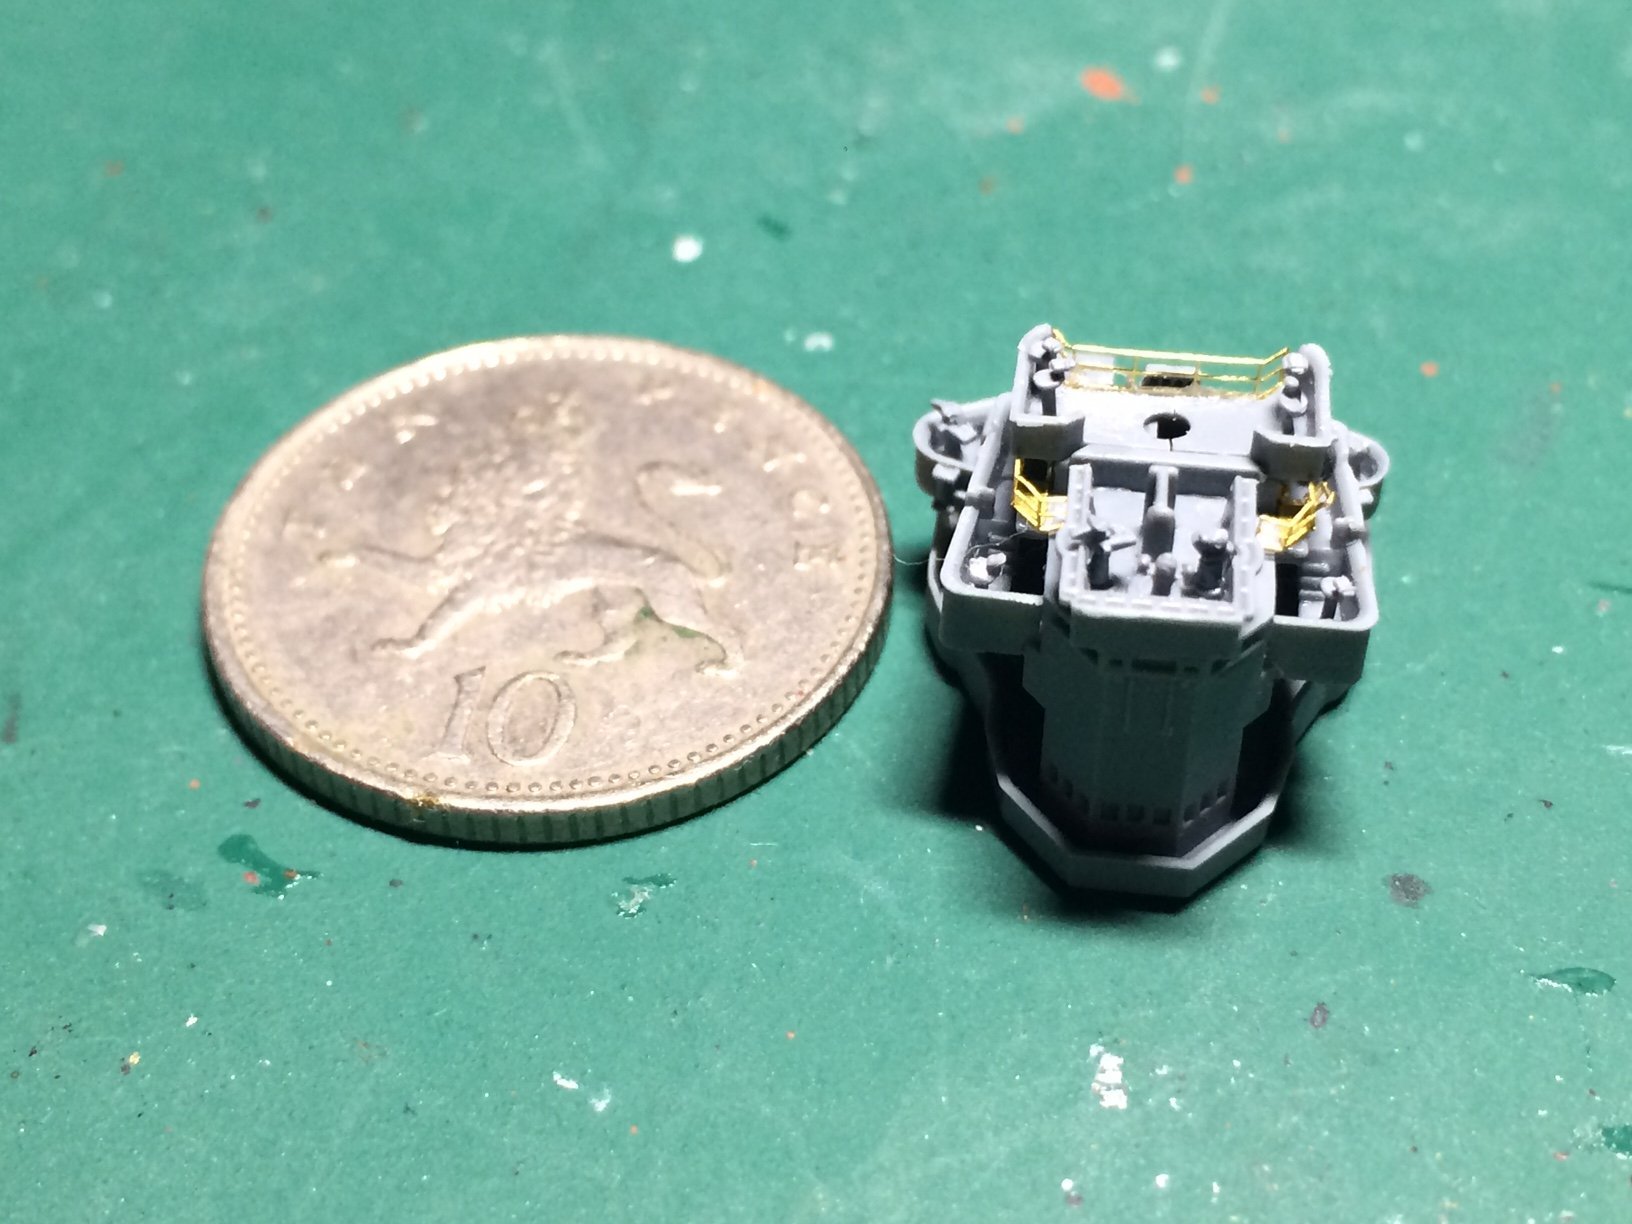
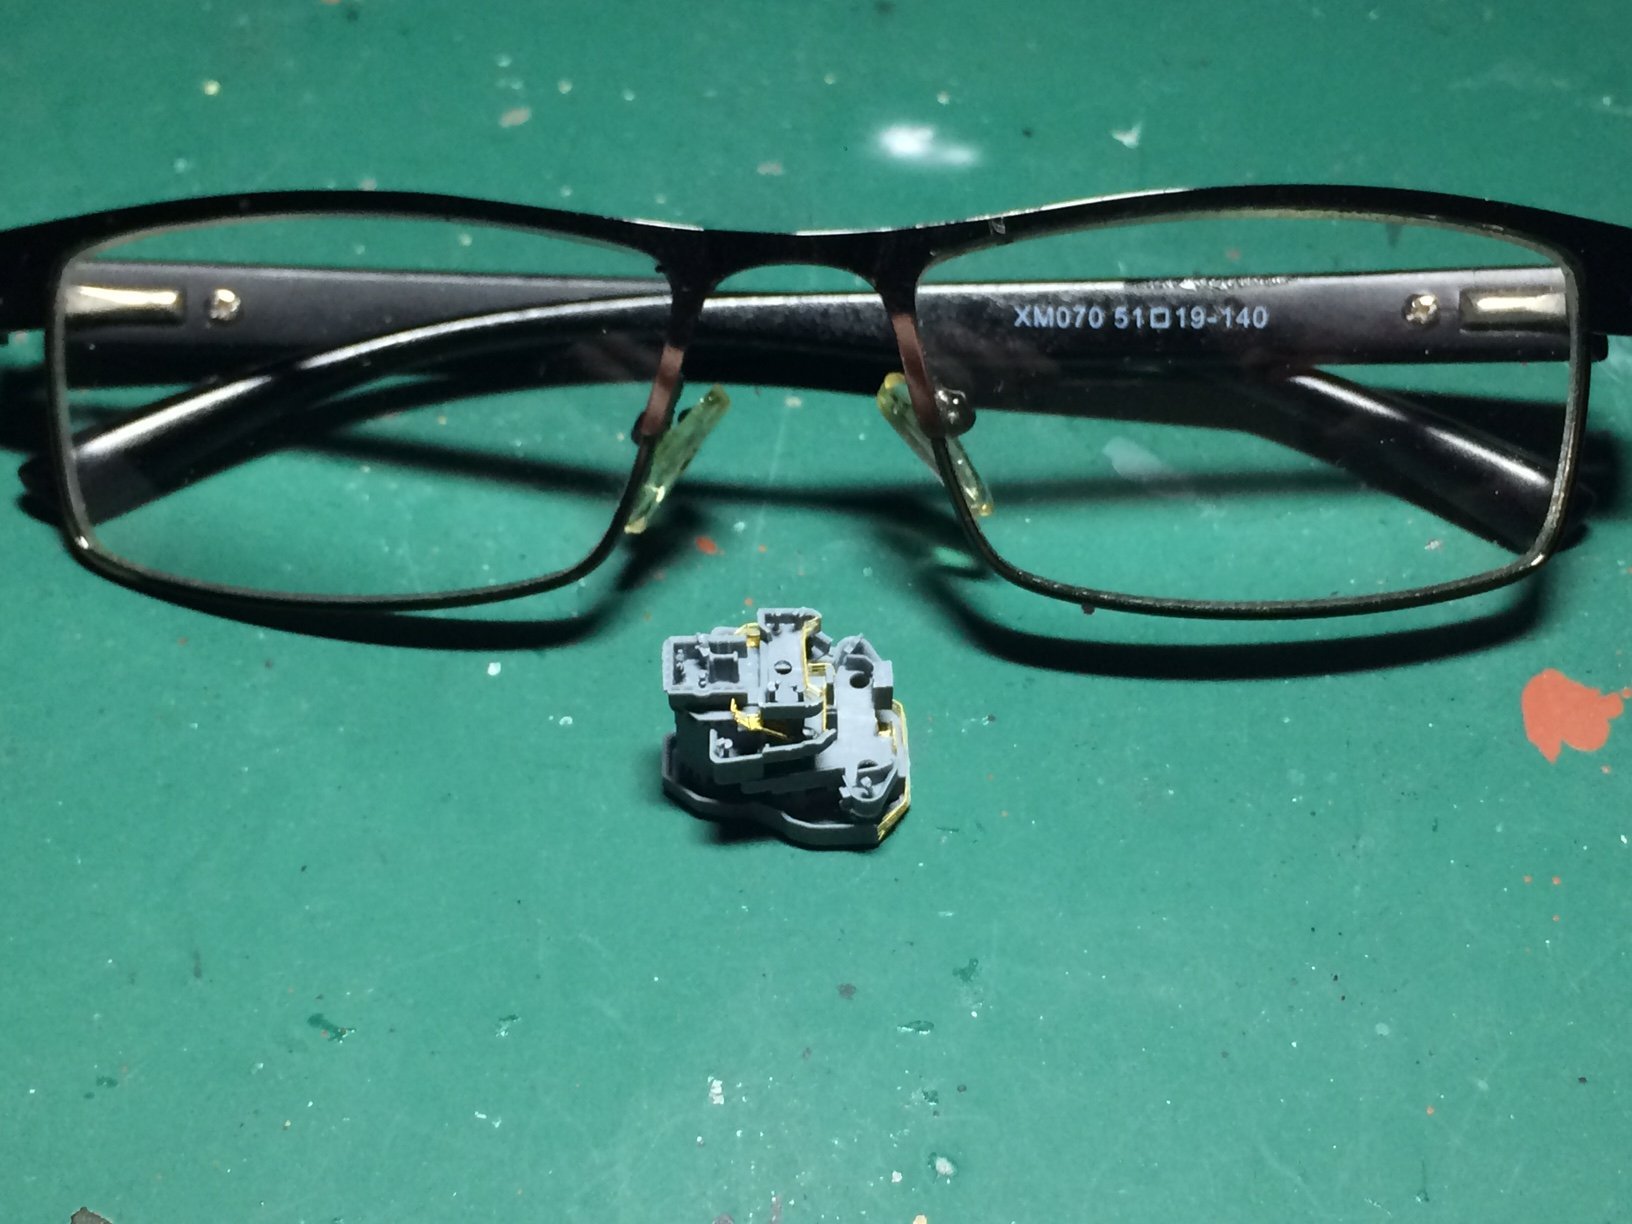
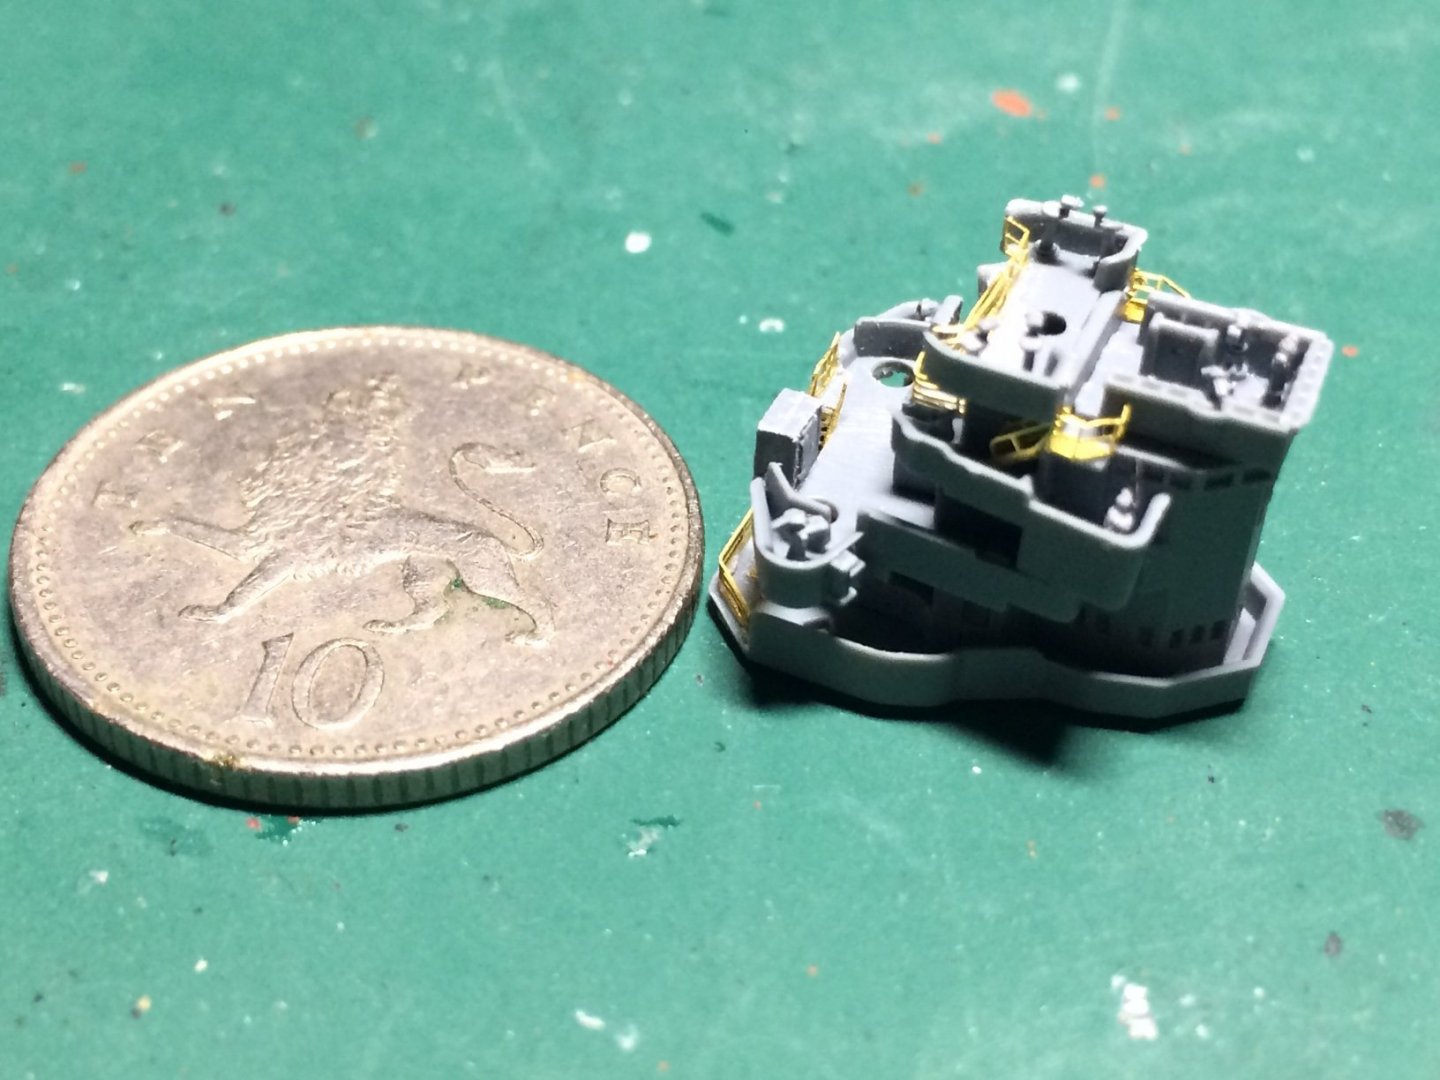
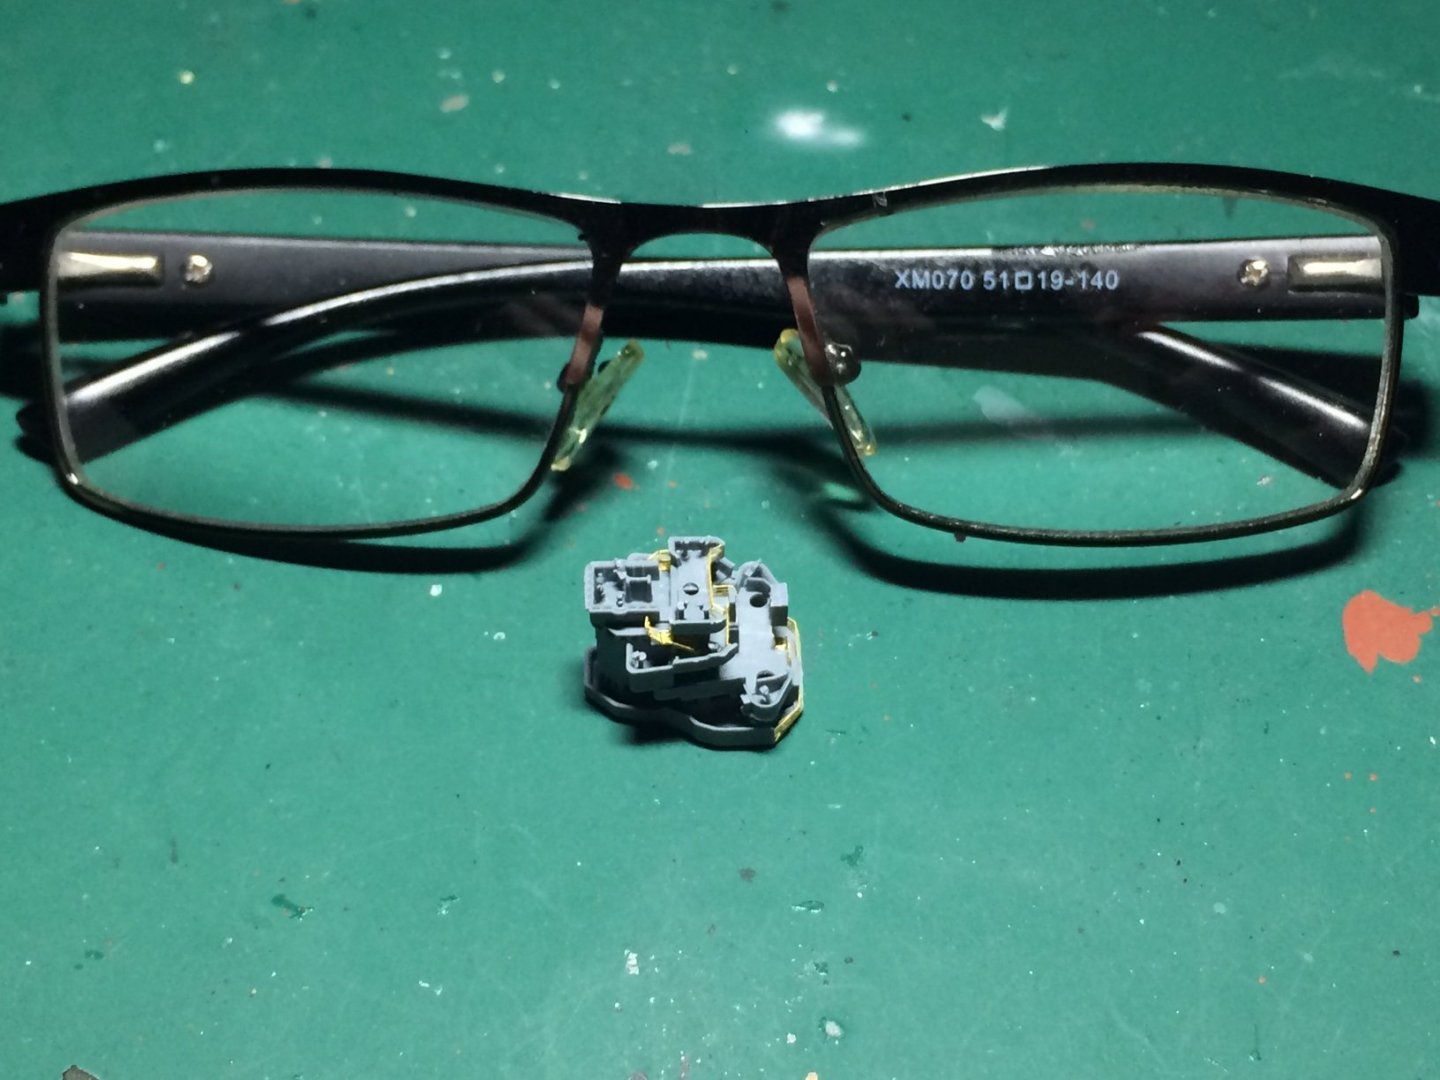
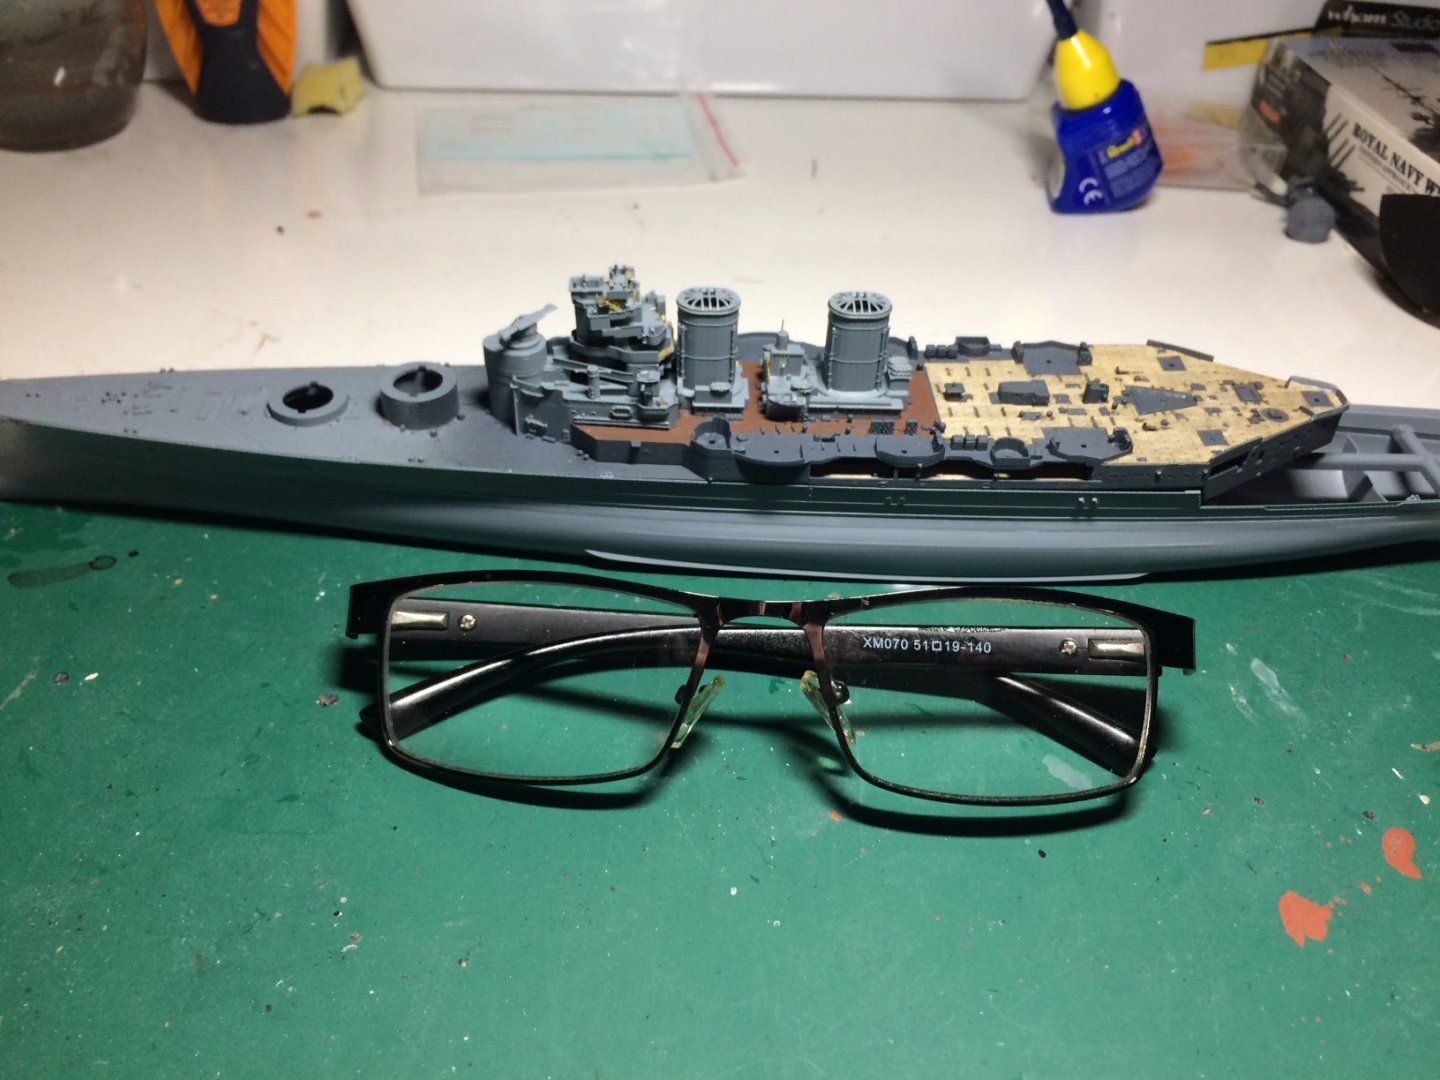
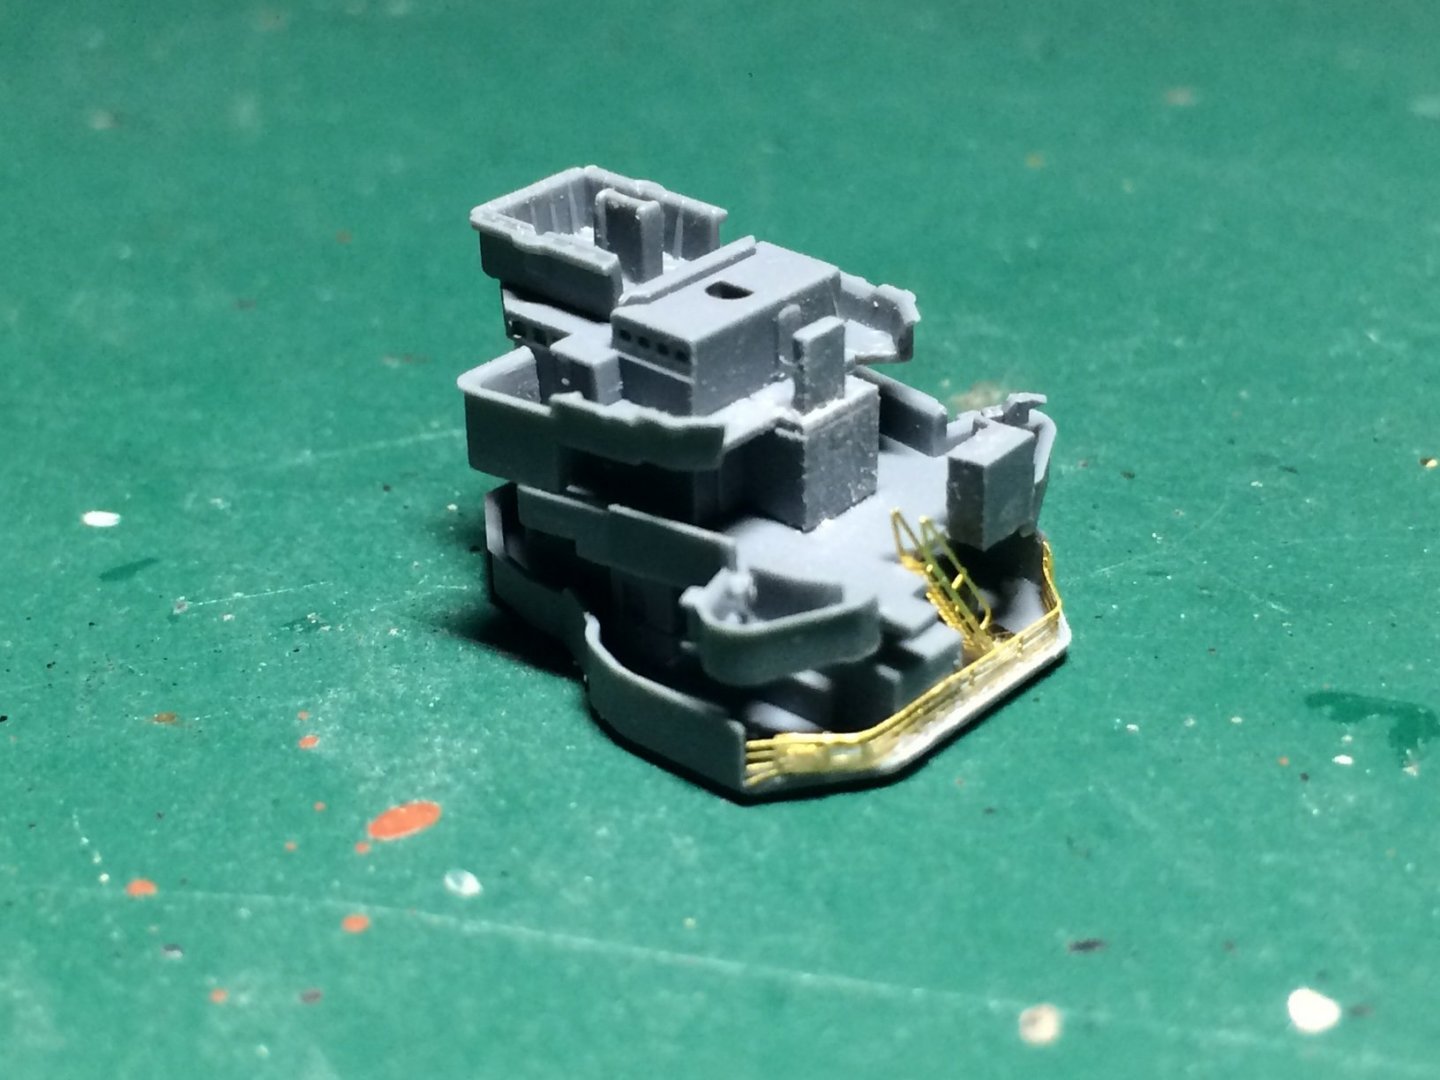
Evening all, a bit more done this evening - I added a few bits to the Bridge and a bit more PE, I have added a few items in the pic for scale the coin in a Ten Pence Piece and my glasses. OC.


- 510 replies
-
- 12
-
-
Still nothing showing Greg the play bar moves but no animation. OC.
- 1,090 replies
-
- 2
-
-
- showcase models
- vendetta
- (and 2 more)
-
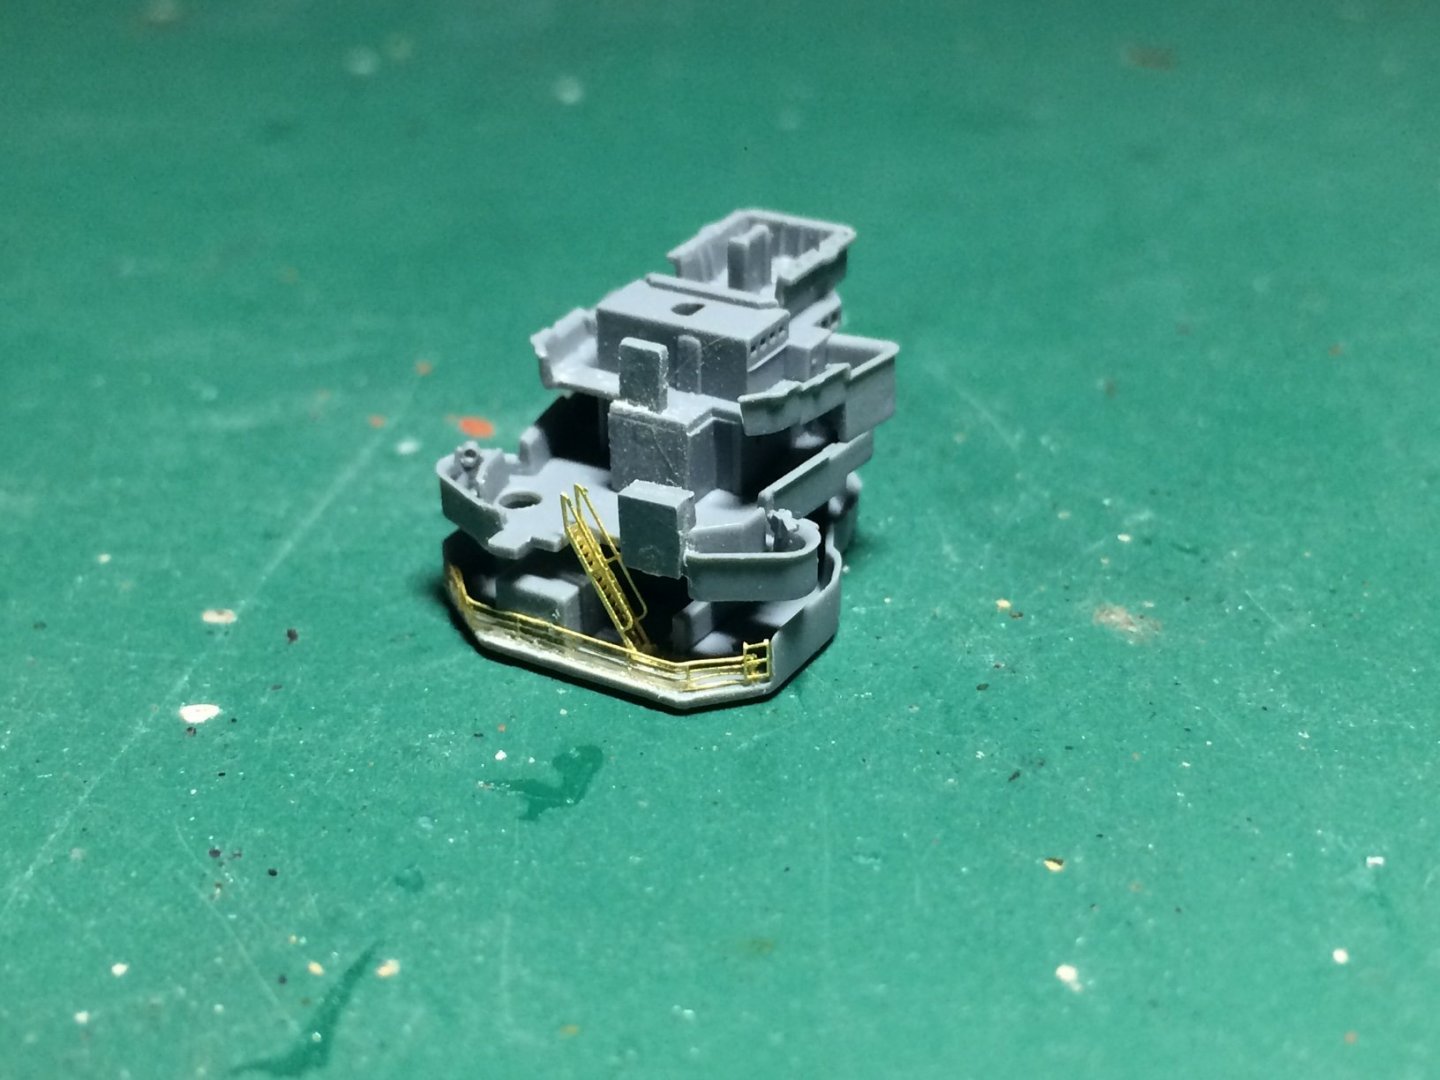
Thank you kindly Mike, boy is it fiddly and delicate - and can not be rushed, I use the old fashioned way to remove and bend the PE - sharp blade then blade and tweezer flat end to hold the PE while I use the blade to bend it, then holding it with tweezers to glue in place is tricky - takes great skill to keep my hand still enough during this. OC.
-
Yep - I have put a swear box on the side of my table - bet we would all fill one with our builds or discover words we never knew exsisted. Good to see you back on here mate. OC.
- 505 replies
-
- 5
-
-
- vanguard models
- Sphinx
- (and 1 more)
-
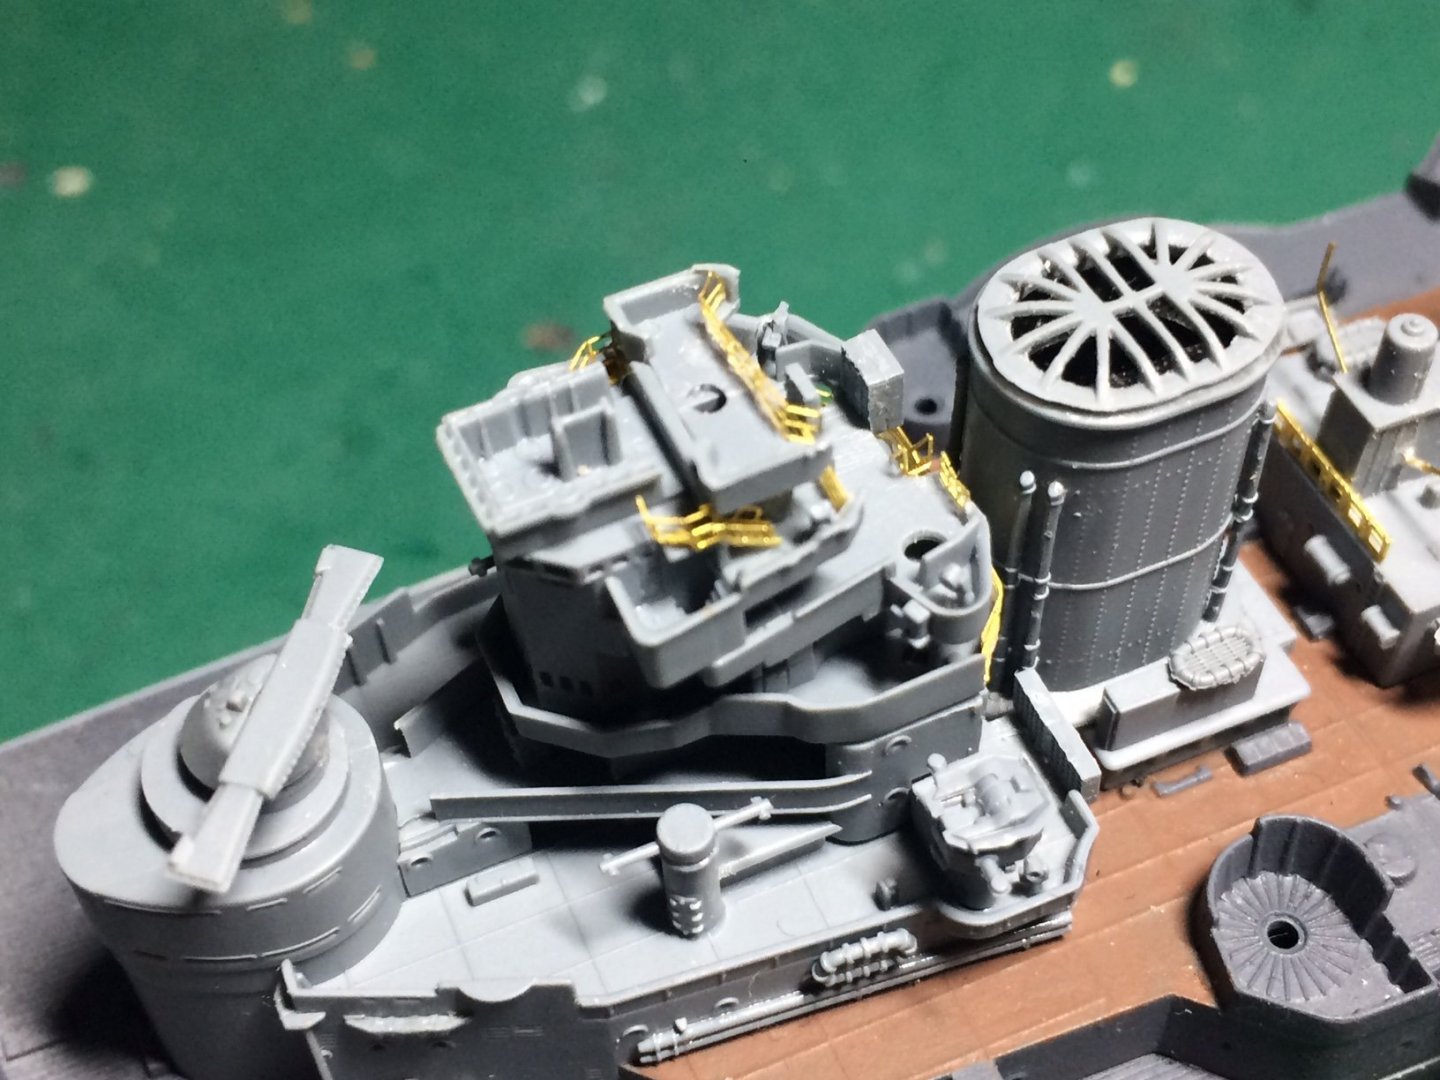
Thank you kindly Alan, just to think there is Four seperate sub-assemblies making up the conning tower - each section will be airbrushed then brush painted Corticene. The binoculars - I might try to use some of my acrylic water to create the lenses .........." I dont think so" lol. OC.
-
Welcome to the Model zone - what a good start you have made - looks like you are off to a fine start, looking forward to more of your build. OC.
- 33 replies
-
- 4
-
-
- tamiya
- king george v
- (and 1 more)
-
That is some collection Greg - Superb work mate. OC.
- 1,090 replies
-
- 4
-

-
-
- showcase models
- vendetta
- (and 2 more)
-
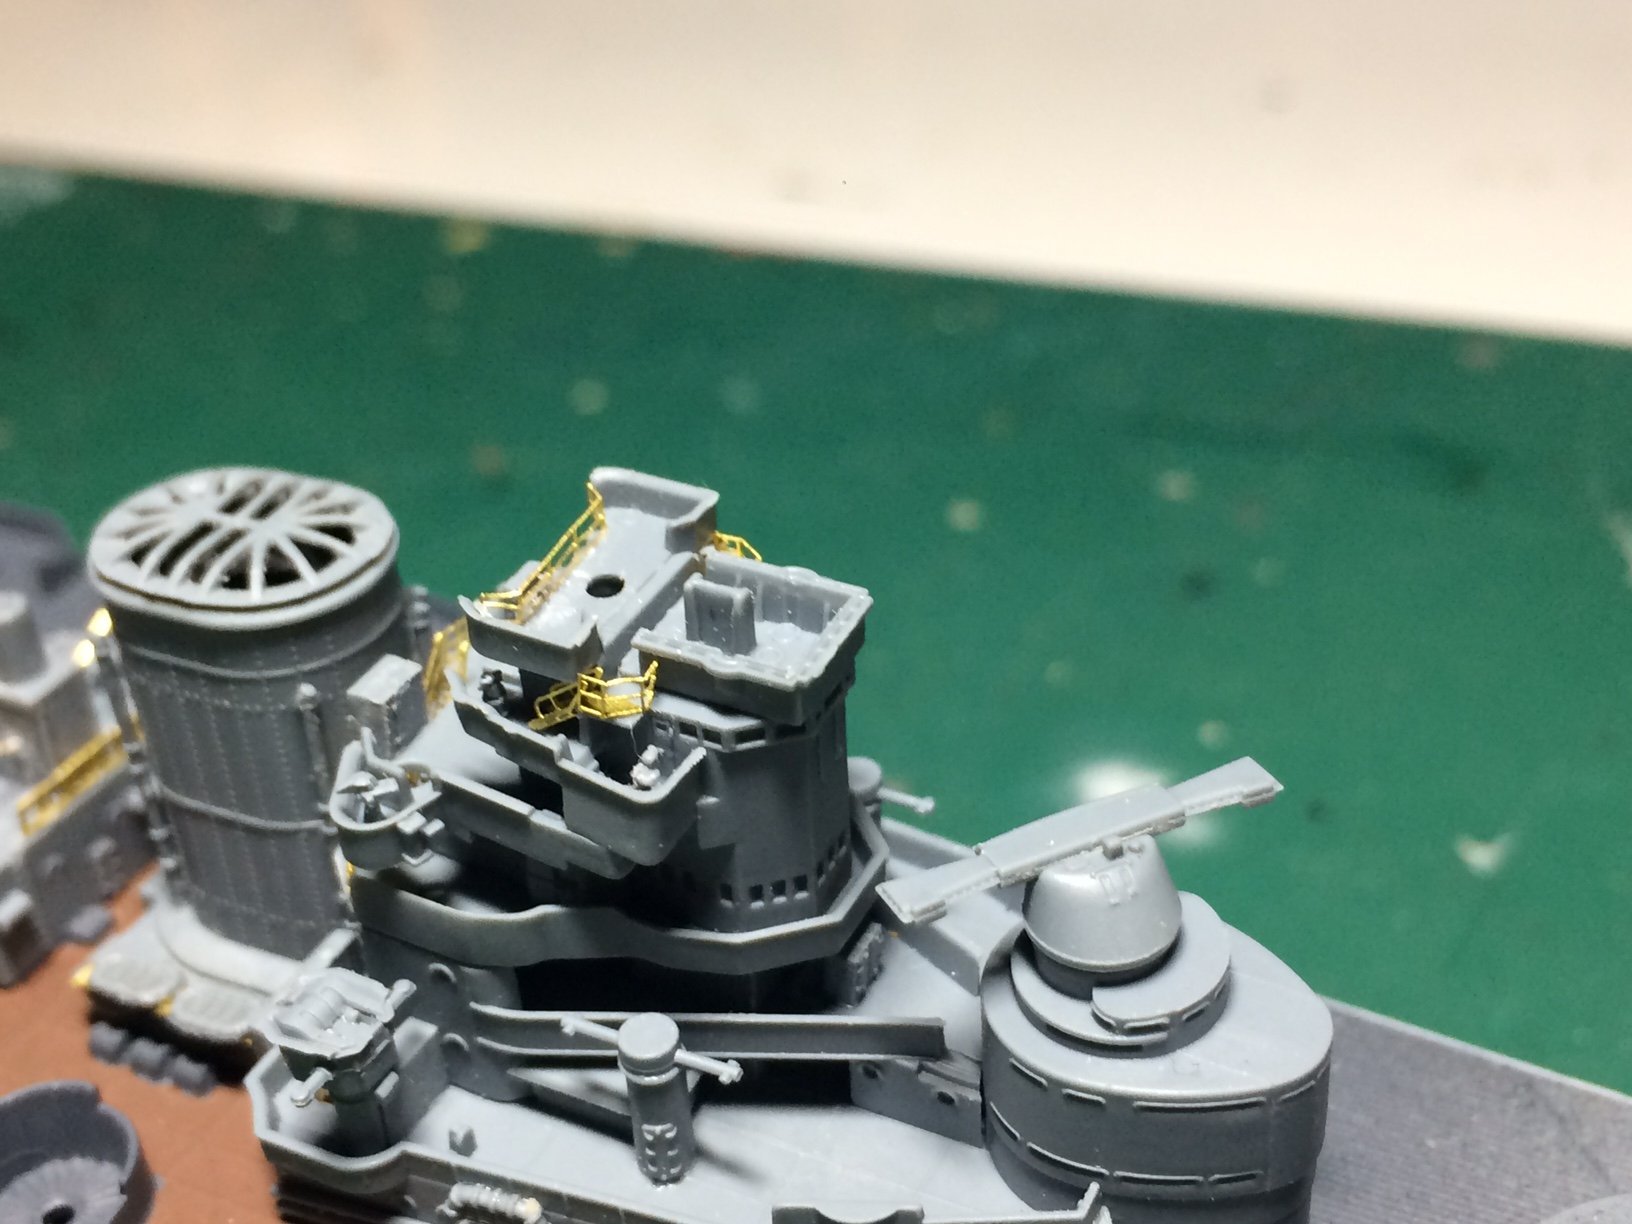
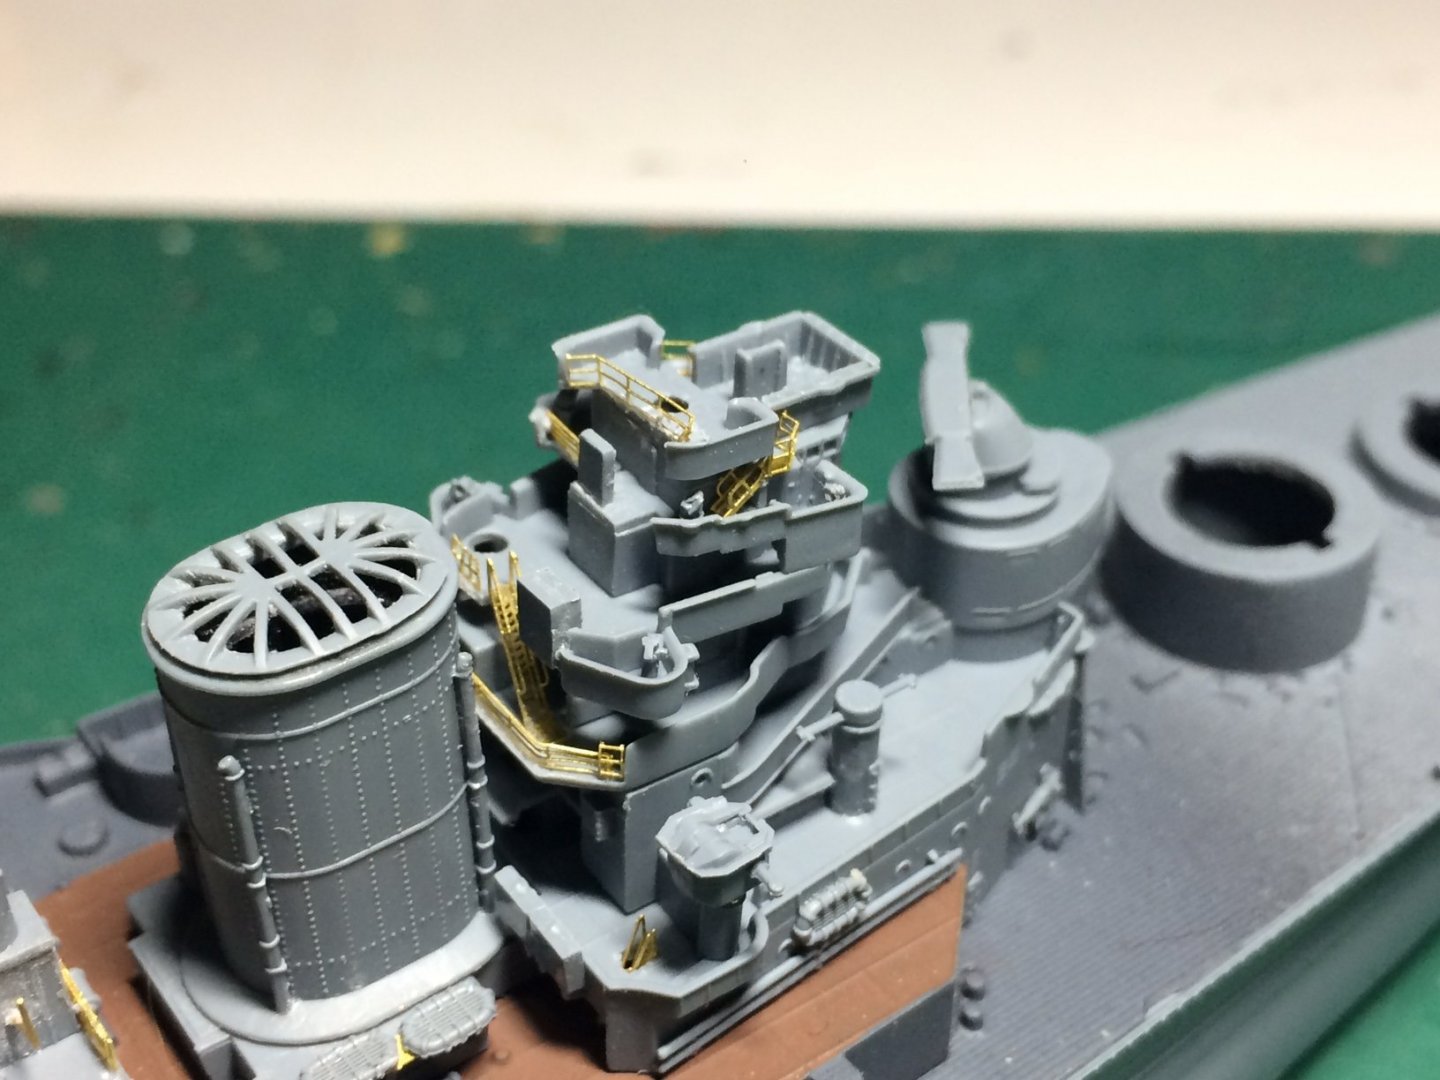
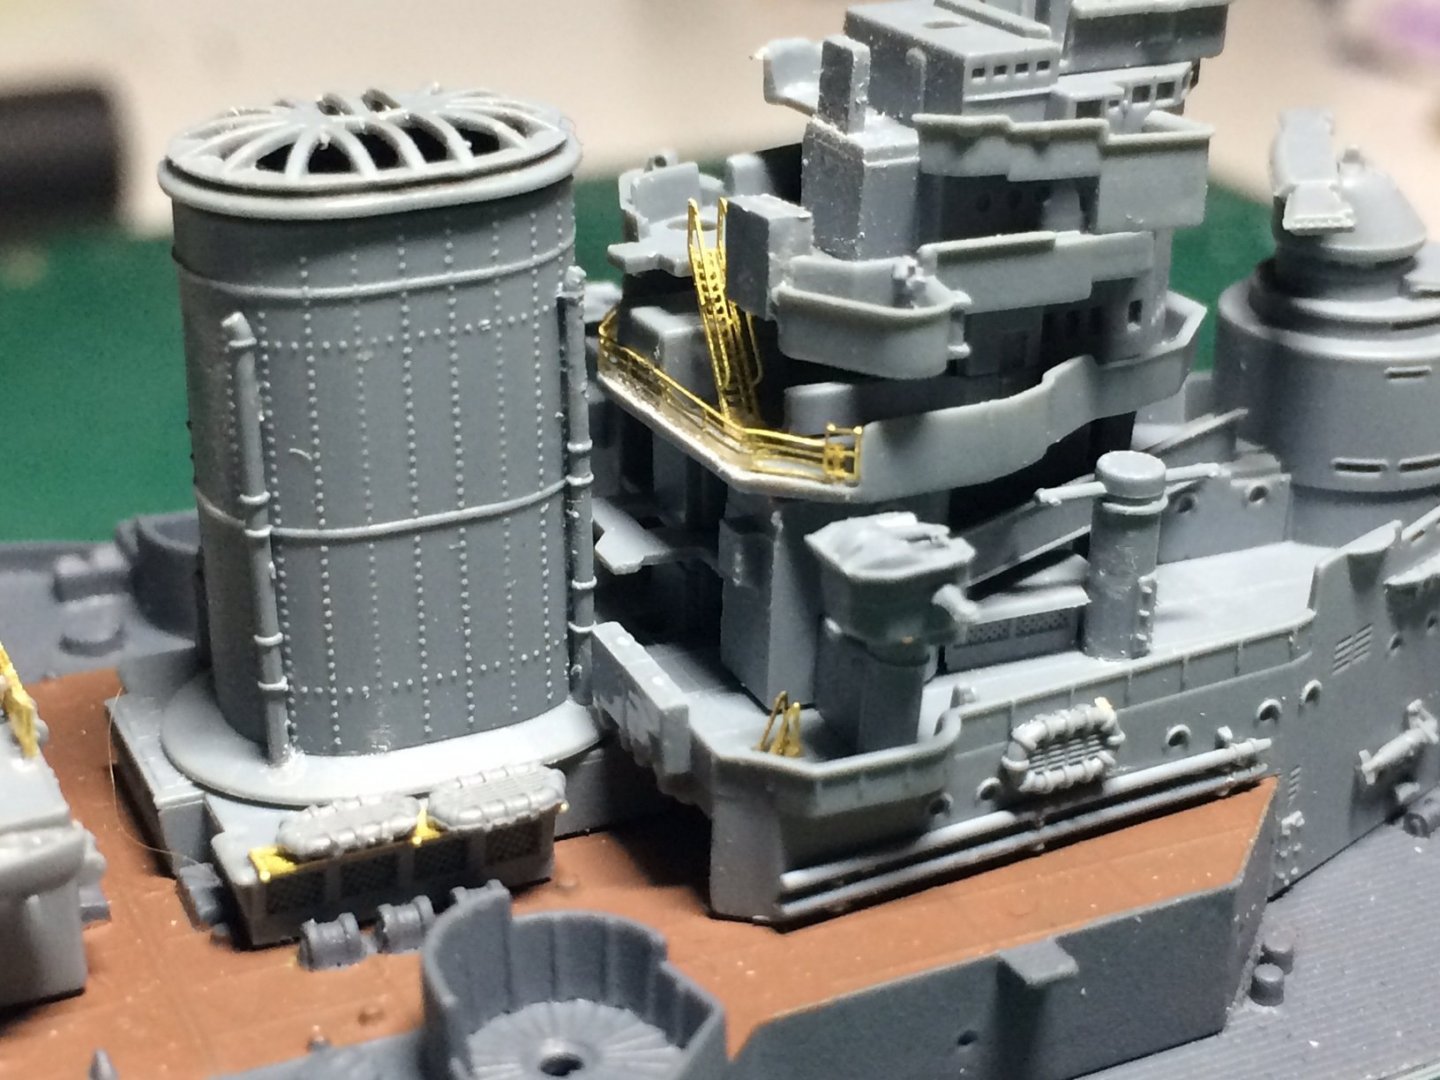
Evening all, I did a bit more work with my tissue origami still on the conning tower - so more rails and ladders oh and a few details - binocular stands etc. OC.

-
Hi all, I had my normal Saturday off so I could relax infront of the tv, anyway onwards on Sunday where I will be battling with somemore Paper Extreme (PE) with a few more sections of Railings and short ladders on the conning tower. OC.
-
I so love your detail and painting Greg - its getting to a ridiculous stage now where the model is merging into realism - due to a craftsman's skill - lovely to watch. OC.
- 1,090 replies
-
- 6
-
-
-
- showcase models
- vendetta
- (and 2 more)
-
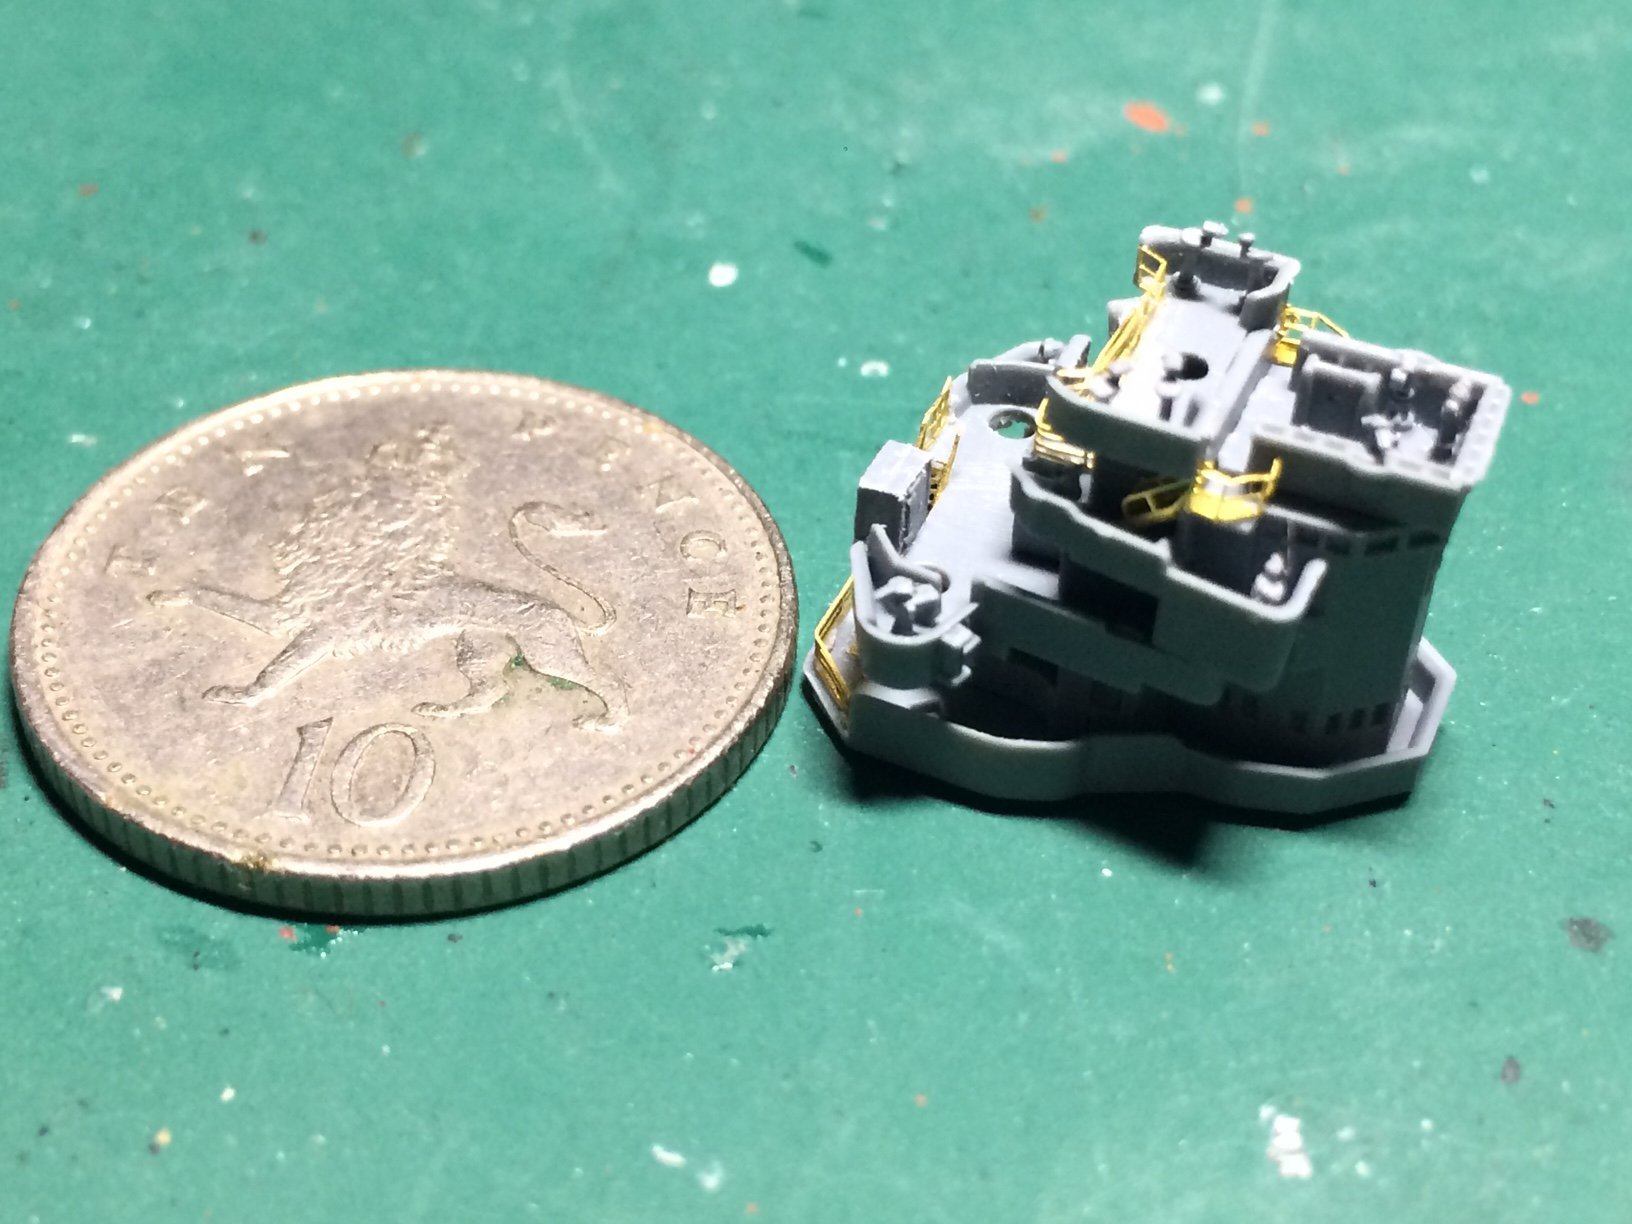
Just did a calculation - those railings are a Huge 1.2mm tall - no wonder thay are hard to handle. OC.
-
Evening all, today was "trying the impossible" time - bending and fitting some conning tower rails, I fitted one of the ladders - that was "easy peazy" but the rails - boy was it difficult as its all ready been mentioned this PE is tissue paper thin and if a fold line is bent to much it breaks off, I am not even attempting to fit a couple of levels up - but think what I have fitted is ok. OC.
- 510 replies
-
- 14
-
-
Thats coming along really well Alan - love the touch with the headlamps - I did similar on my Chally 2 build I used a bit of that acrylic clear water I have, you really are mamking a really interesting looking vehicle here. OC.
-
Thank you kindly Alan, yep all the small parts are seperate - takes the utmost skill just to cut them away from the spru's - then you have to hope they dont "ping off" mind you I have found a certain way of gluing them down - I make a small pool of glue on the side of my cutting mat then while holding the part with my teezers I touch the part to be gluid in the glue then place it down, if I tried to use the Revell glue needle even that is too wide and too much glue would come out on the area to be glued. OC.