Old Collingwood
-
Posts
12,106 -
Joined
-
Last visited
Content Type
Profiles
Forums
Gallery
Events
Everything posted by Old Collingwood
-
 What i could do is to turn her into an ex BDRT thats no longer used or needed and the old girl is stuffed in the corner of a hanger waiting to scrapped after having her blades removed to go on a flying sister. OC.
 -
Thank you kindly Lou, food for thought food for thought. OC.
-
Thank you all, will have to have a think as its kind of knocked my mojo a bit, will be honest I nearly had a paddy and was tempted to throw it (literally) but I calmed down after saying a few choice words that made the air blue $$$$$$$$ etc. Very simple what caused the problem - I first (way back) part painted it with Tamiya Laquar rattle cans, then I airbrushed over the top my Acrylic paint (that was the good stage) then I put on my decals onto a flat surface (very bad idea) then I used far too much Acrylic Clear top coat to try to flatten down the decals, then wiping with a damp cloth was not a good idea. OC.
-
Amazing work - superbly done. OC.
-
Don't think I will bother with rotors - might just stick her in the bottom of my cabinet like she is. OC.
-
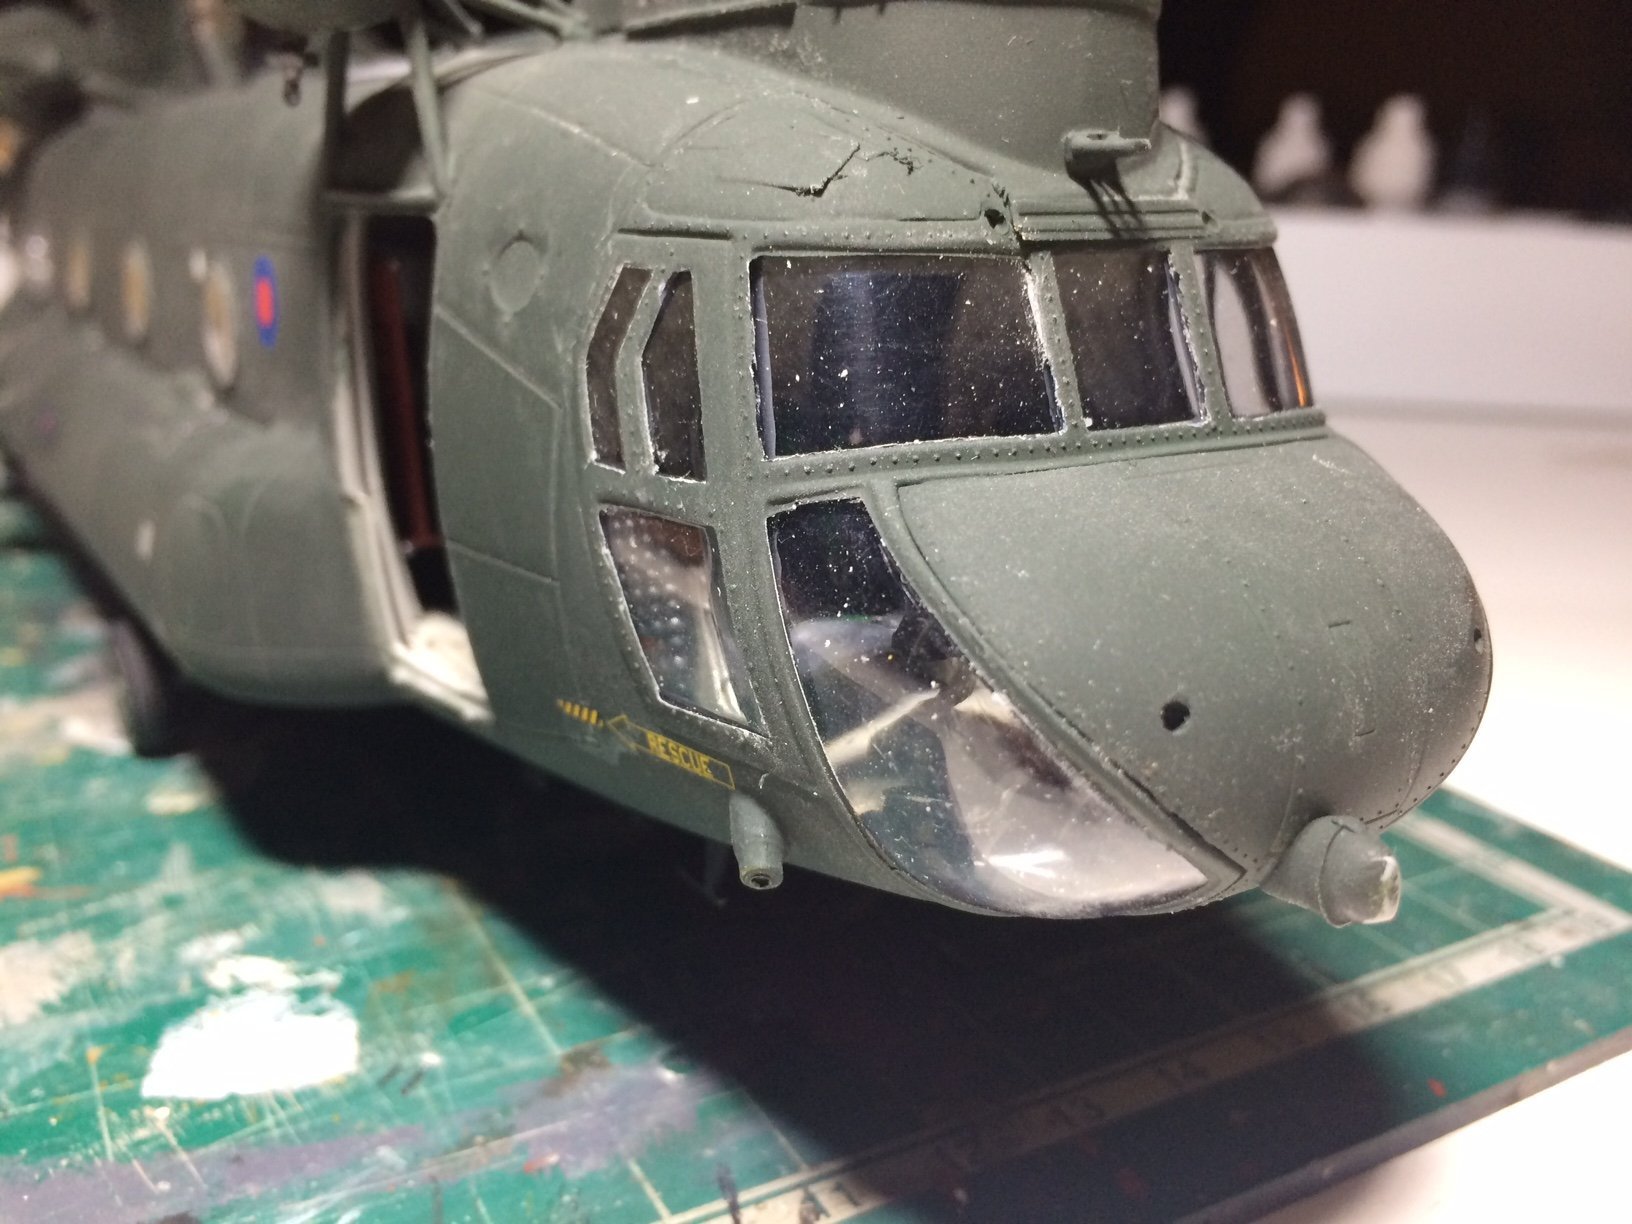
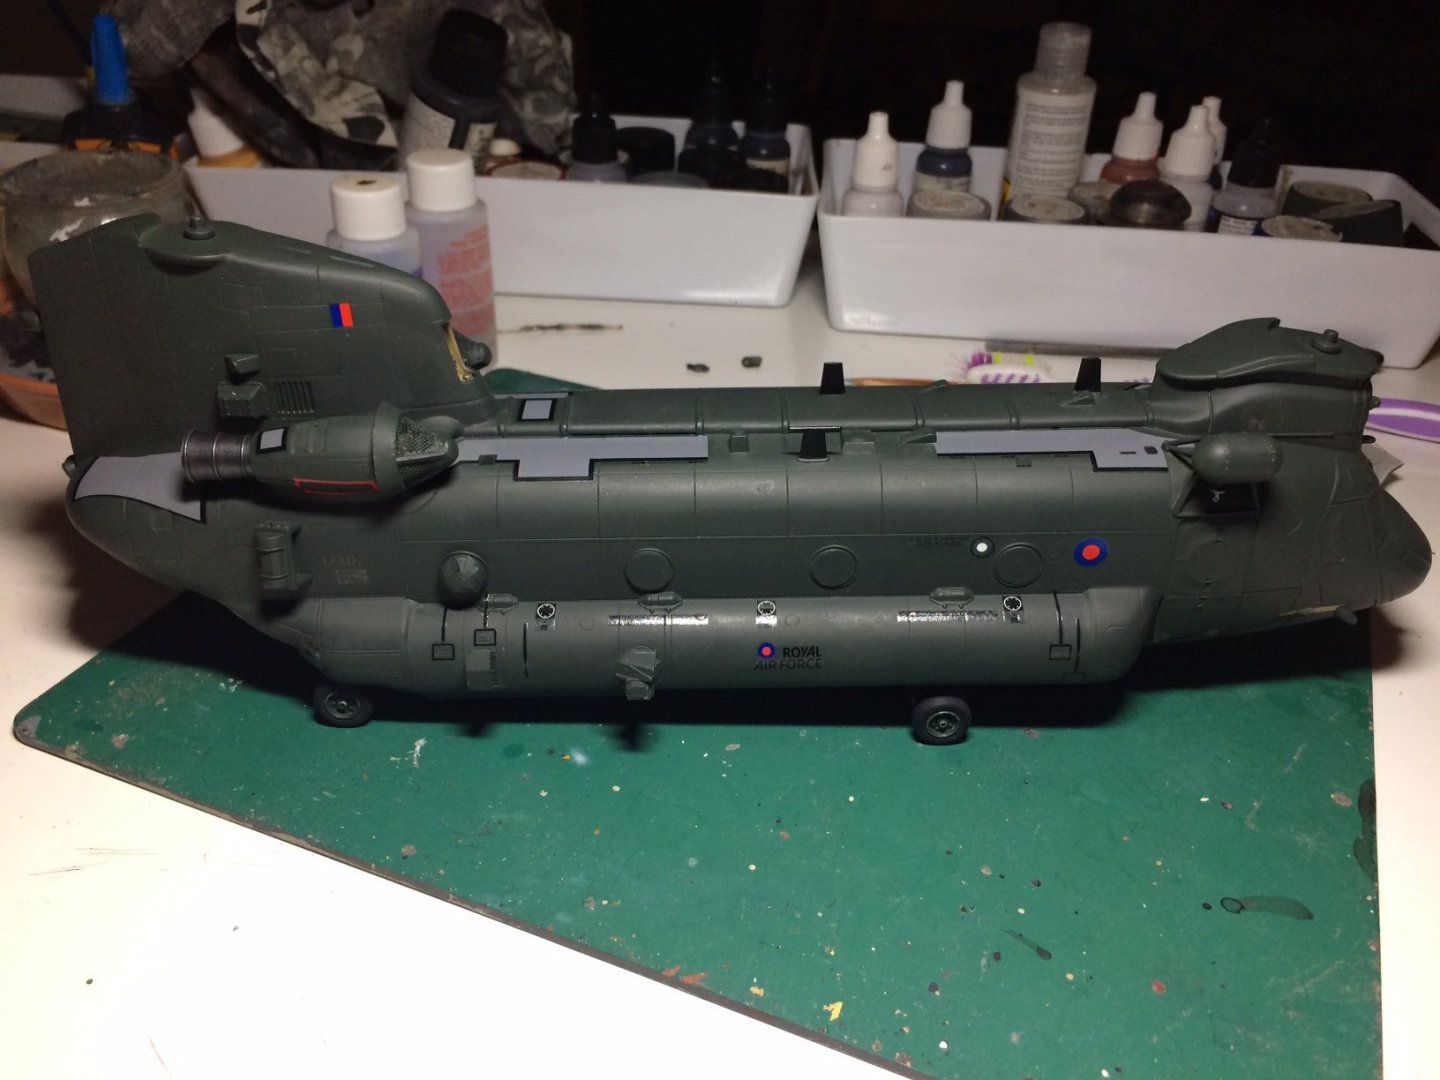
Evening all, Well that Gremlin has struck again - First I wiped down my wokka then tried to remove any dust from it (kind of worked) then I set up my spray booth and compressor/airbrush, I work close to our back door in our living room for ventilation as the acrylic paint still kicks out some vapour, any way I mixed some of my Ammo Lucky Acrylic flat and started sparying over - in a misting style at first, I then dried it with the dryer between coats, I must have filled the airbrush bowl about Eight times, the trouble was the decals were been akward and not flatting down. All the flat coat started to pool - not in a running fashion but creating a gravely surface, so I decided to stop at that point - put the airbrush away and the booth, and examine the wokka. So I thought trying a wet rag over it might help to smooth out the rough areas - yep it did but took too much off and made the whole thing a mix of very flat and shiny with most of the decals back to being shiny. I decided to just put it down to experience and make it look like a well used machine - so I started un - masking her, second gremlin arrived - dust on the inside of every piece of galzing (It looks terrible). So its being scrappped, the only thing that can be gained from it - some airbrush experince. Thats Two aircraft kits on the bounce that have gone this way. Gonna stick to my waterloo figures I think and that M1 I still have to build. OC.


- 283 replies
-
- 10
-

-

-
Thank you so much Denis - so very kind of you. OC.
-
Thank you kindly Mike. OC.
-
That looks Amazing Chris - so much skill in doing that - and must be delicate hand work not to dent/crush the side - Superb work. OC.
-
I was working it out - its my Silver Tenth Anniversary as a member in our Precious Forum this month, I signed up in the mk1 one MSW before the crash building the part works Di Agostini HMS Vic and got a fair way with the hull before the crash. My sig photo is one of the small boats from the build. OC.
-
Thank you so much Mark. OC.
-
Thank you kinly Alan. OC.
-
Thank you so much Craig, yes I know I should have sprayed a gloss coat over it before the decs - reason I didn't - I havn't got any, but I am sure they will blend in with the flat coats. OC.
-
D9R by Kevin - Meng - 1/35 - PLASTIC - started 2015
Old Collingwood replied to Kevin's topic in Non-ship/categorised builds
I agree with Mark mate - excellent weathering work - really looks spot on. OC. -
Excellenty done mate - not the easiest of things to do from scratch. OC.
-
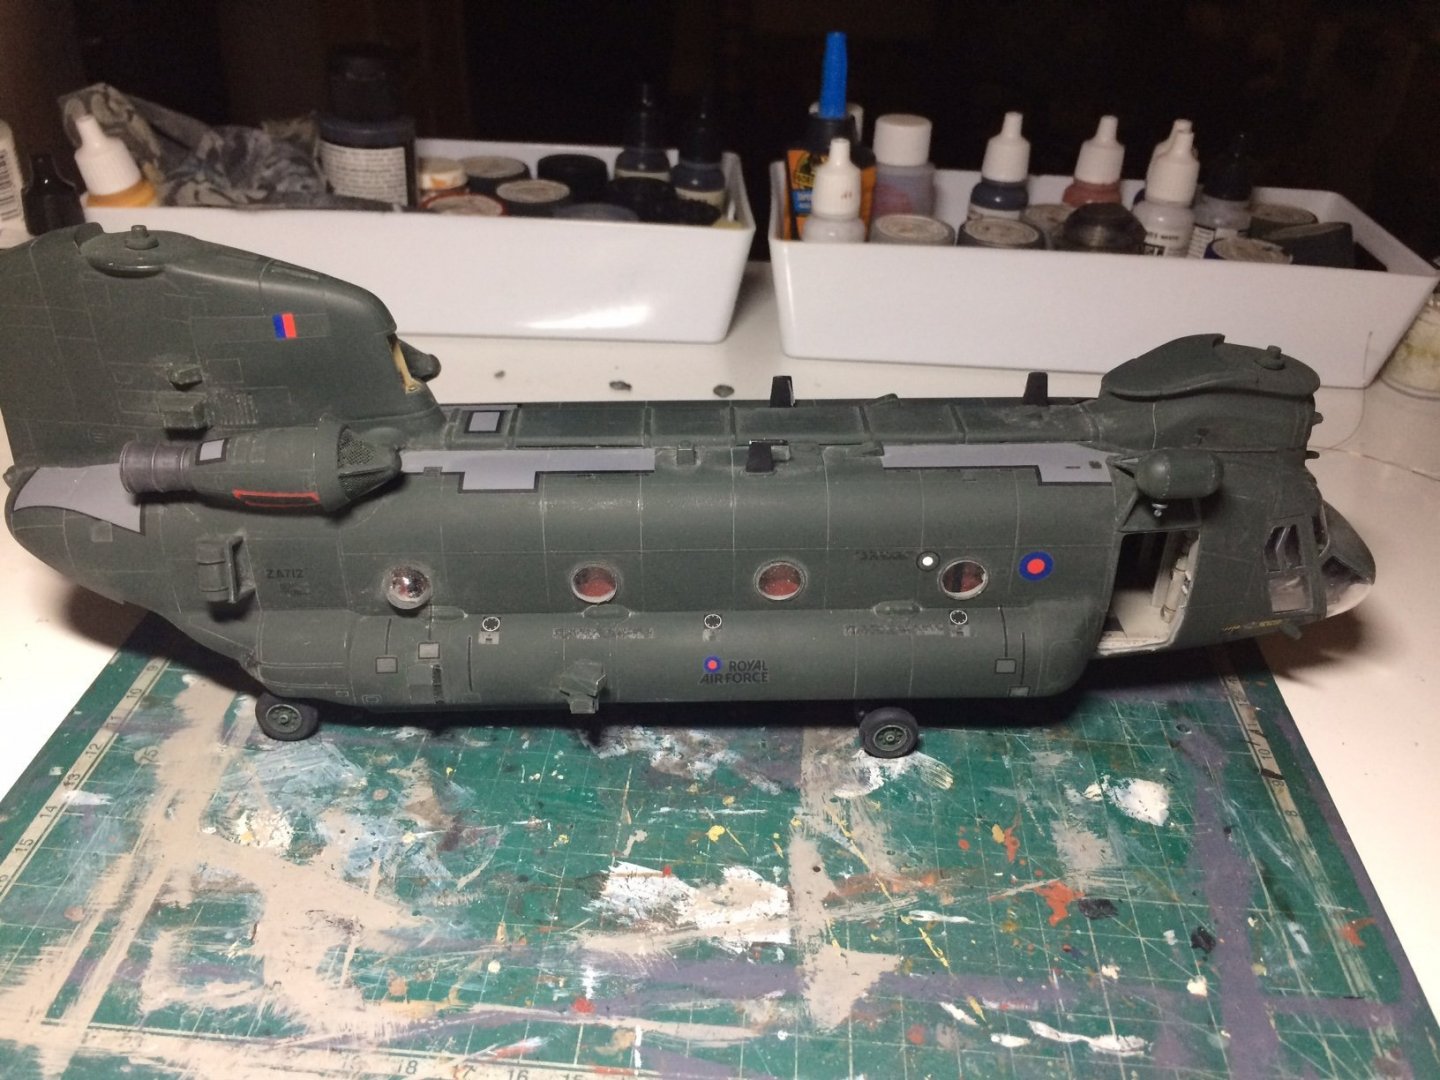
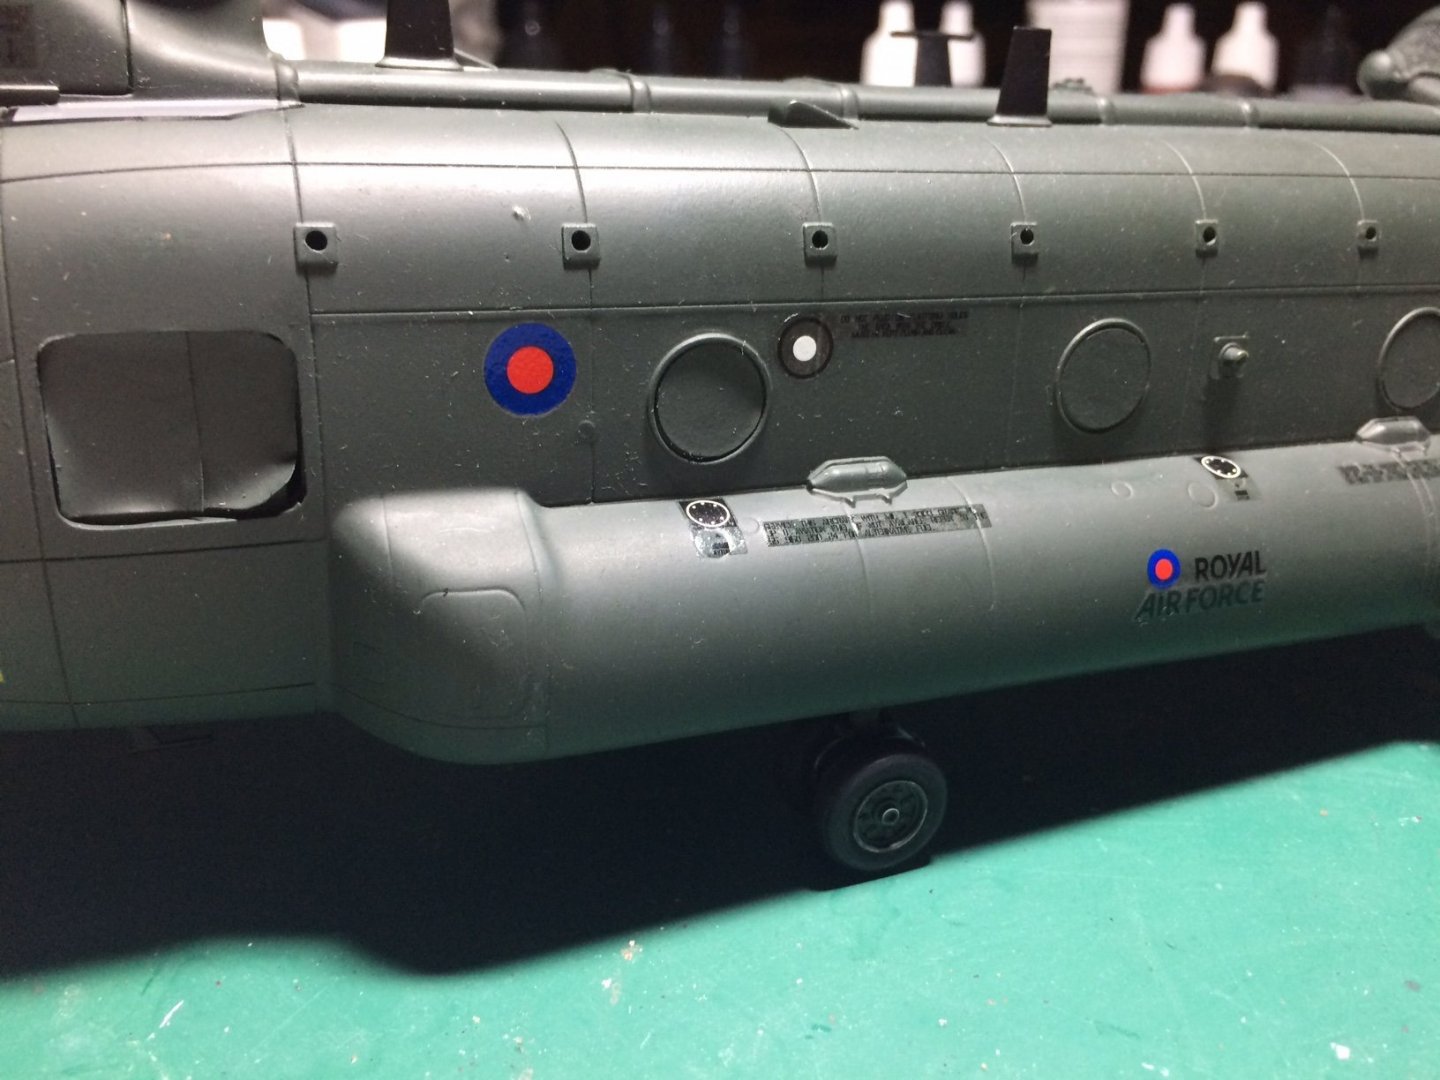
Evening all, right the decaling is finished ok its silvered a wee bit going ontop of a flat surface, but a few flat coats sprayed over should hide that and kill the shine from the decs, the rear walkway ones got several coats of micro sol and settled down quite nice, so next job after letting the decals adhere is to spray the flat coats on. OC.

- 283 replies
-
- 11
-
-
Thank you Phil, still a long way to go yet. OC.
-
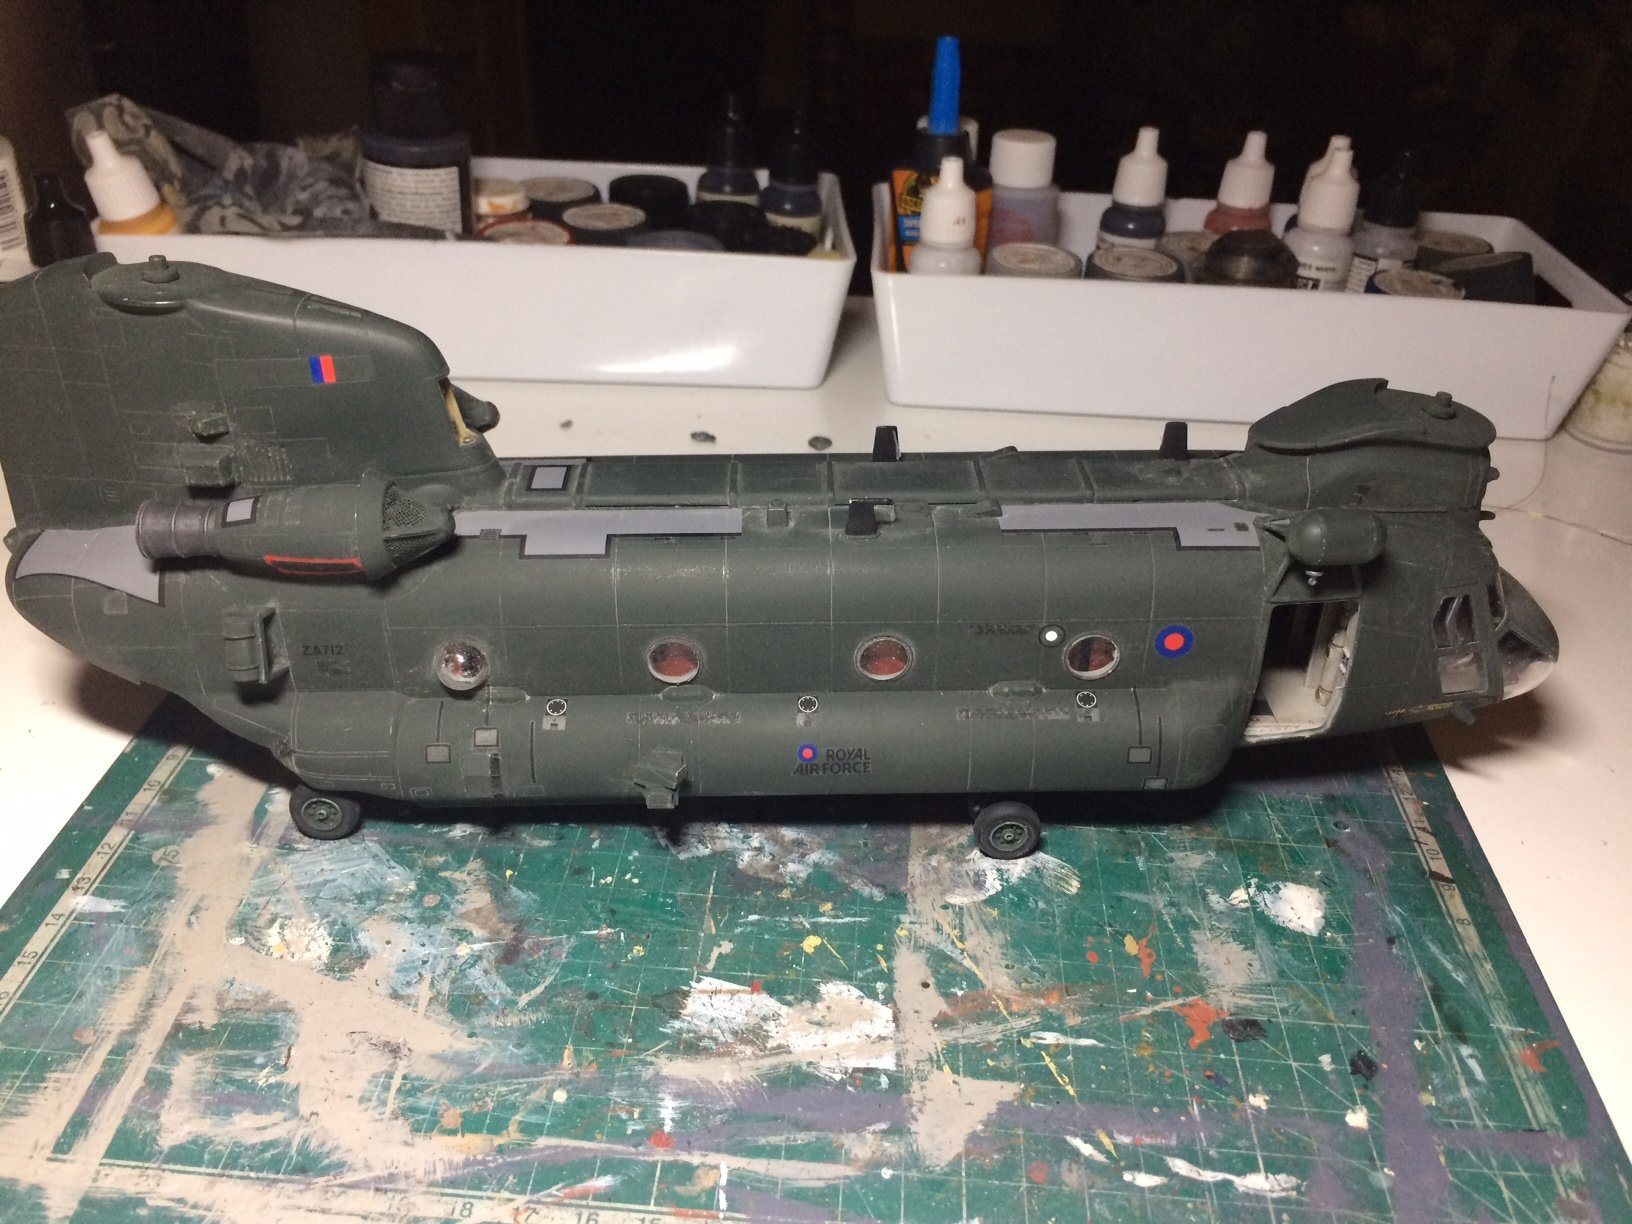
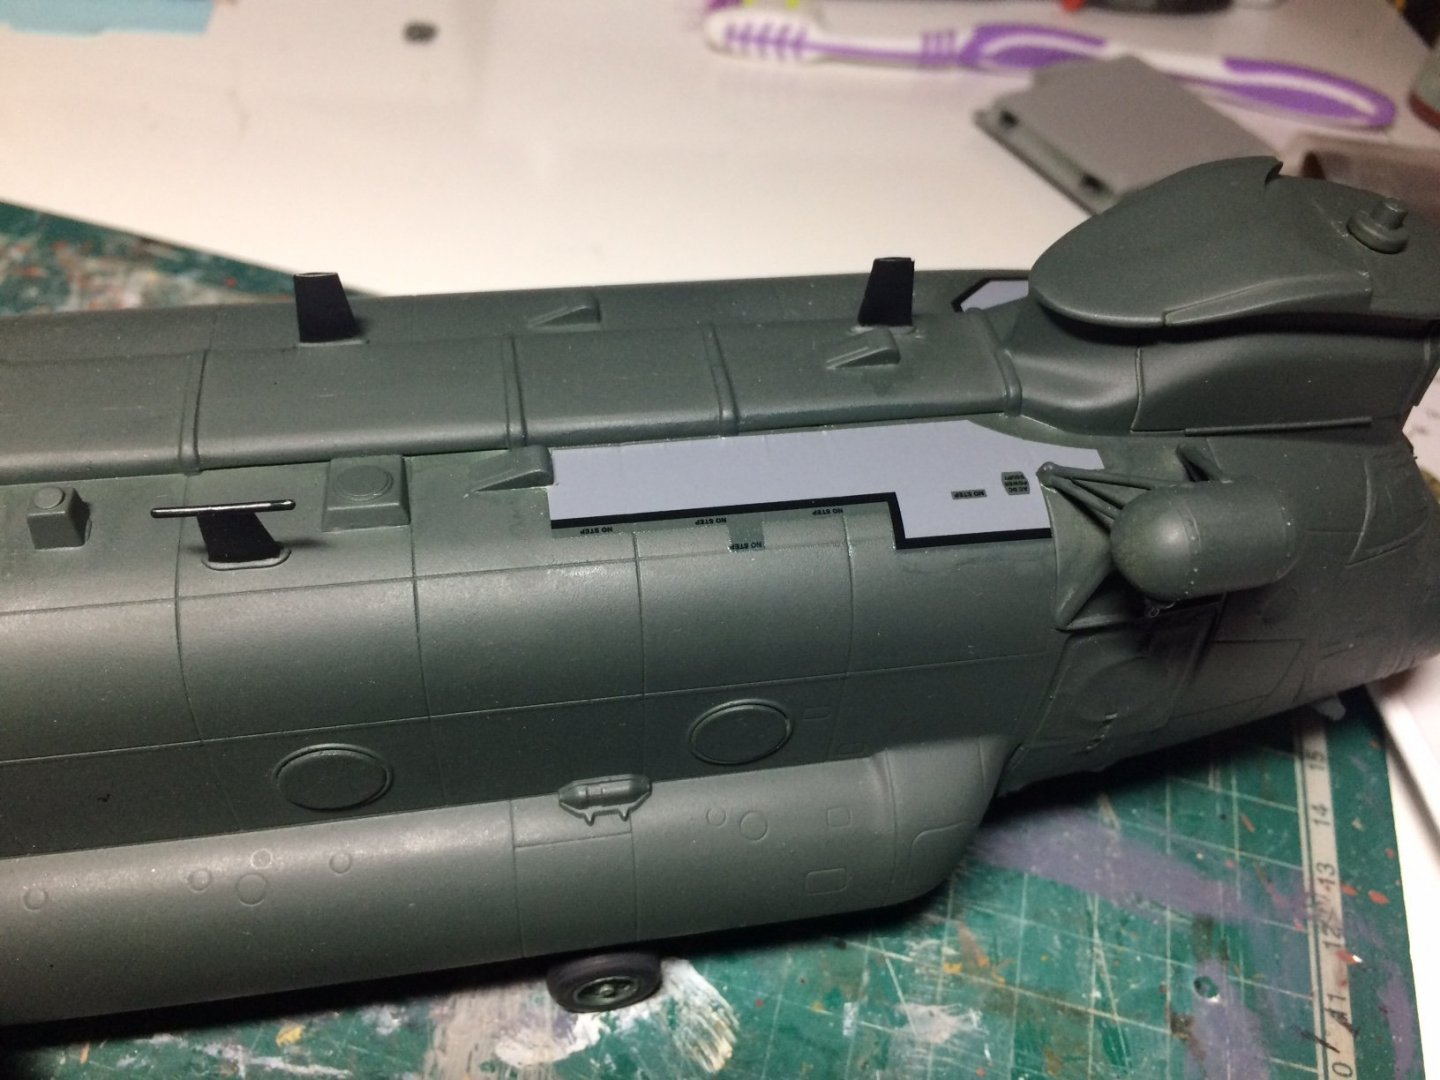
Evening all, more progress on this - I assembled / painted and fitted the Six wheels, then next stage is to fit the decals before adding the last of the delicate parts, some of the decals have to adhere to some curves - so I have used quite a lot of Micro Set then Sol to get them to settle down - always a nervous stage seeing them crinkle up while they are shrinking down. OC.
- 283 replies
-
- 11
-
-
Dont know if you have the link to Bovington? but here is the link - https://tankmuseum.org/ OC.
-
That pit looks Superb. OC.
-
Another excellent build and another one for you to get your eyes on when you visit the Tank Museum at Bovington, here is theirs - OC.
- 29 replies
-
- 10
-
-
Just keep at your own pace - back off if you need to - main thing (with all of us) is to enjoy it - also think we discover things about our abilities as we go along. Keep at it mate - is a credit to you. OC.
- 460 replies
-
- 2
-

-
-
- Finished
- Flower-class
- (and 1 more)
-
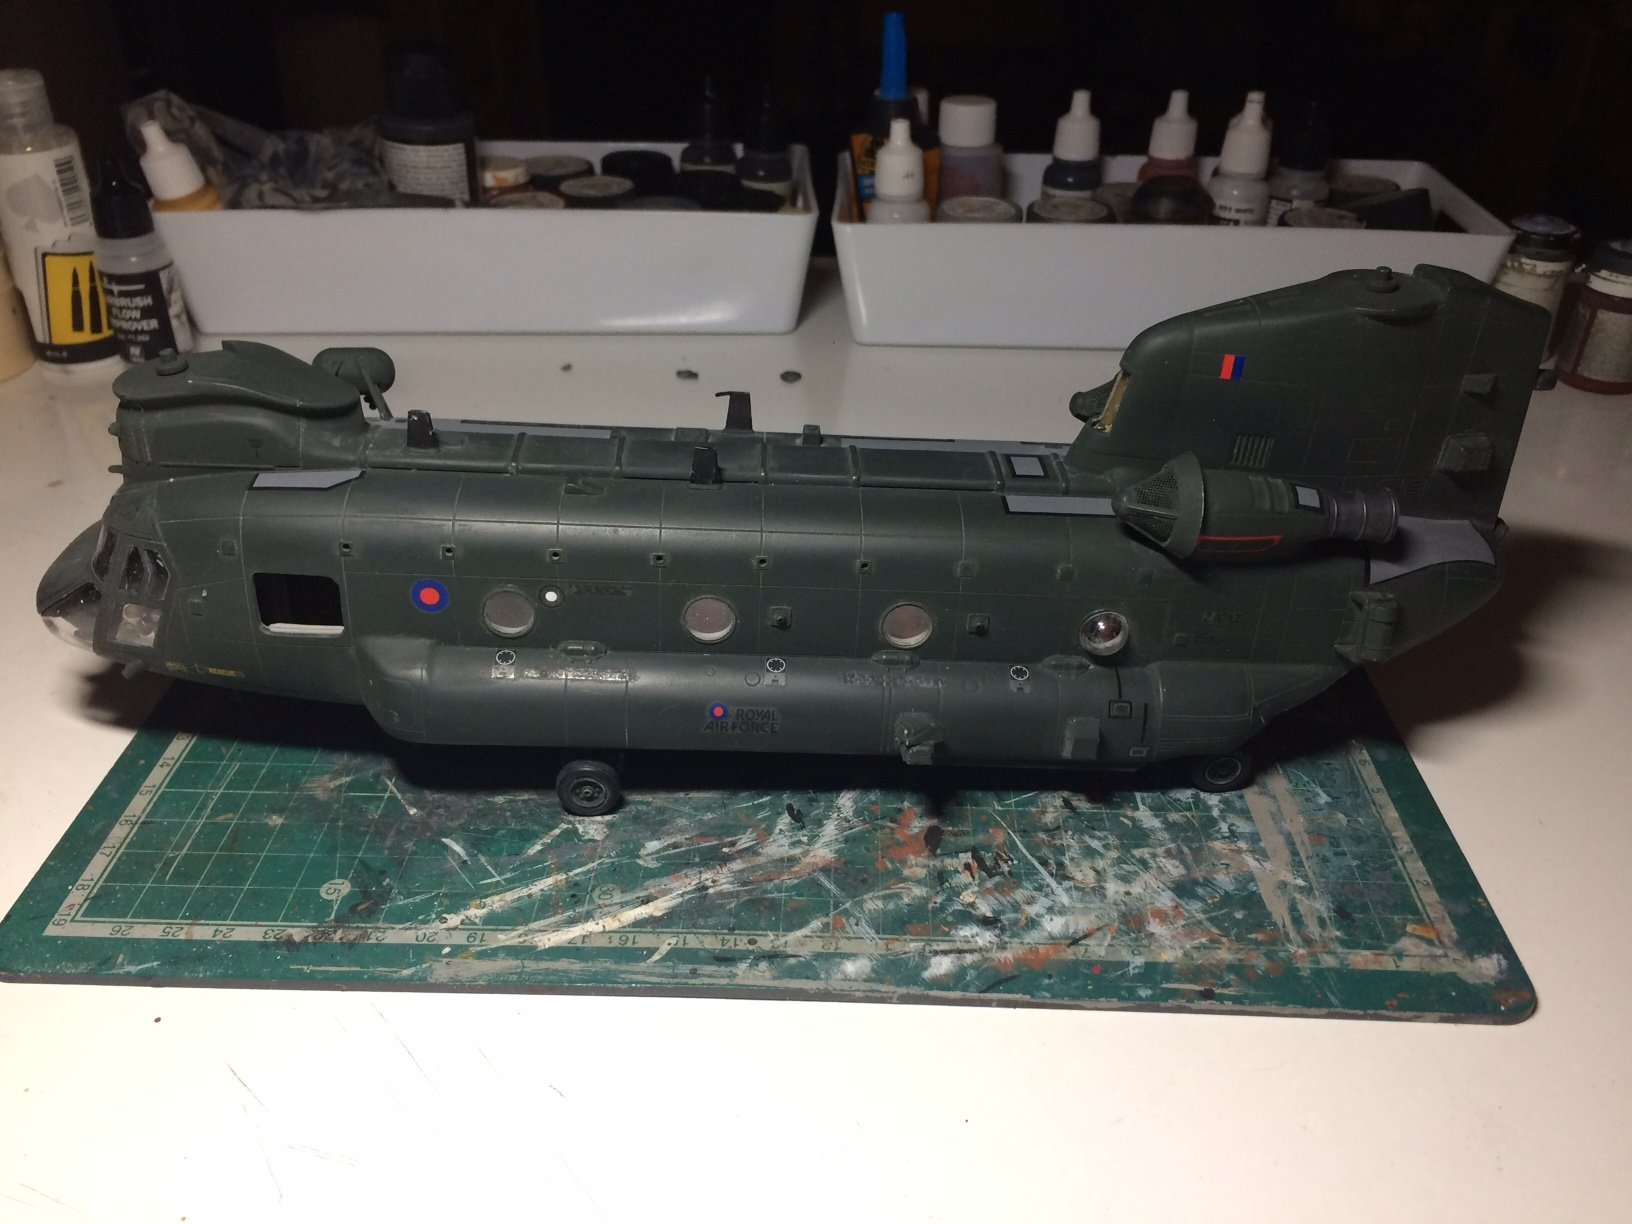
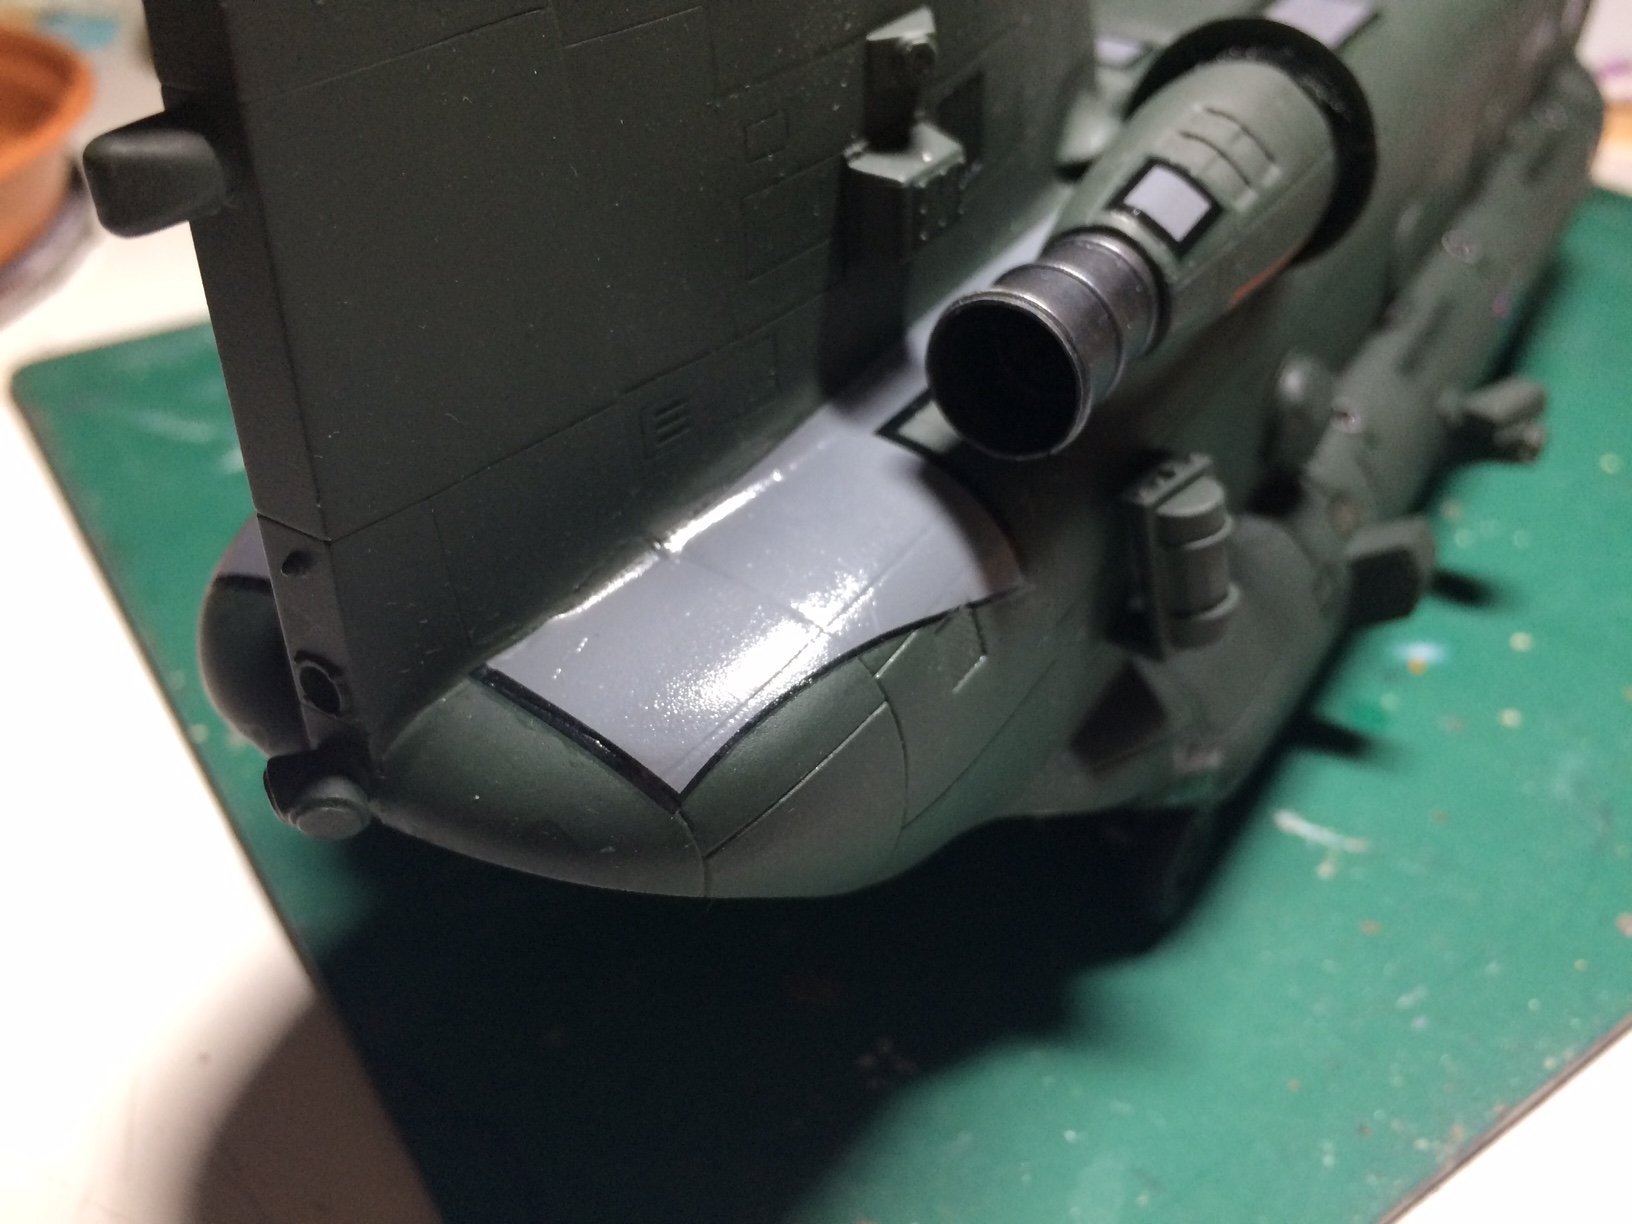
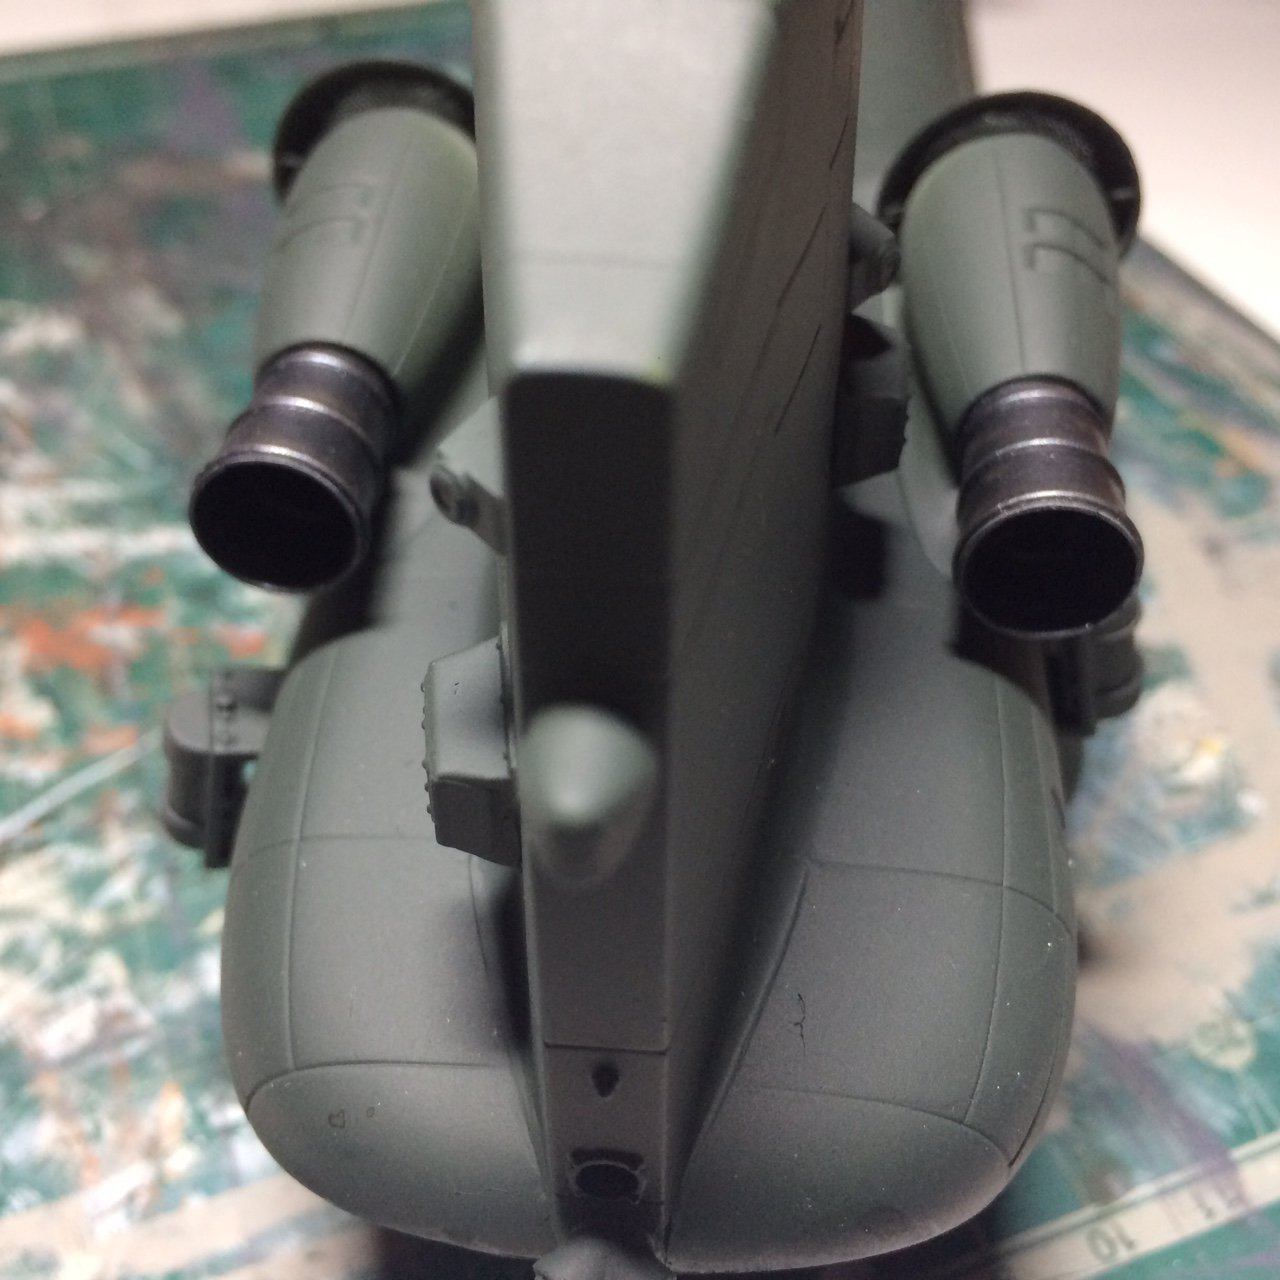
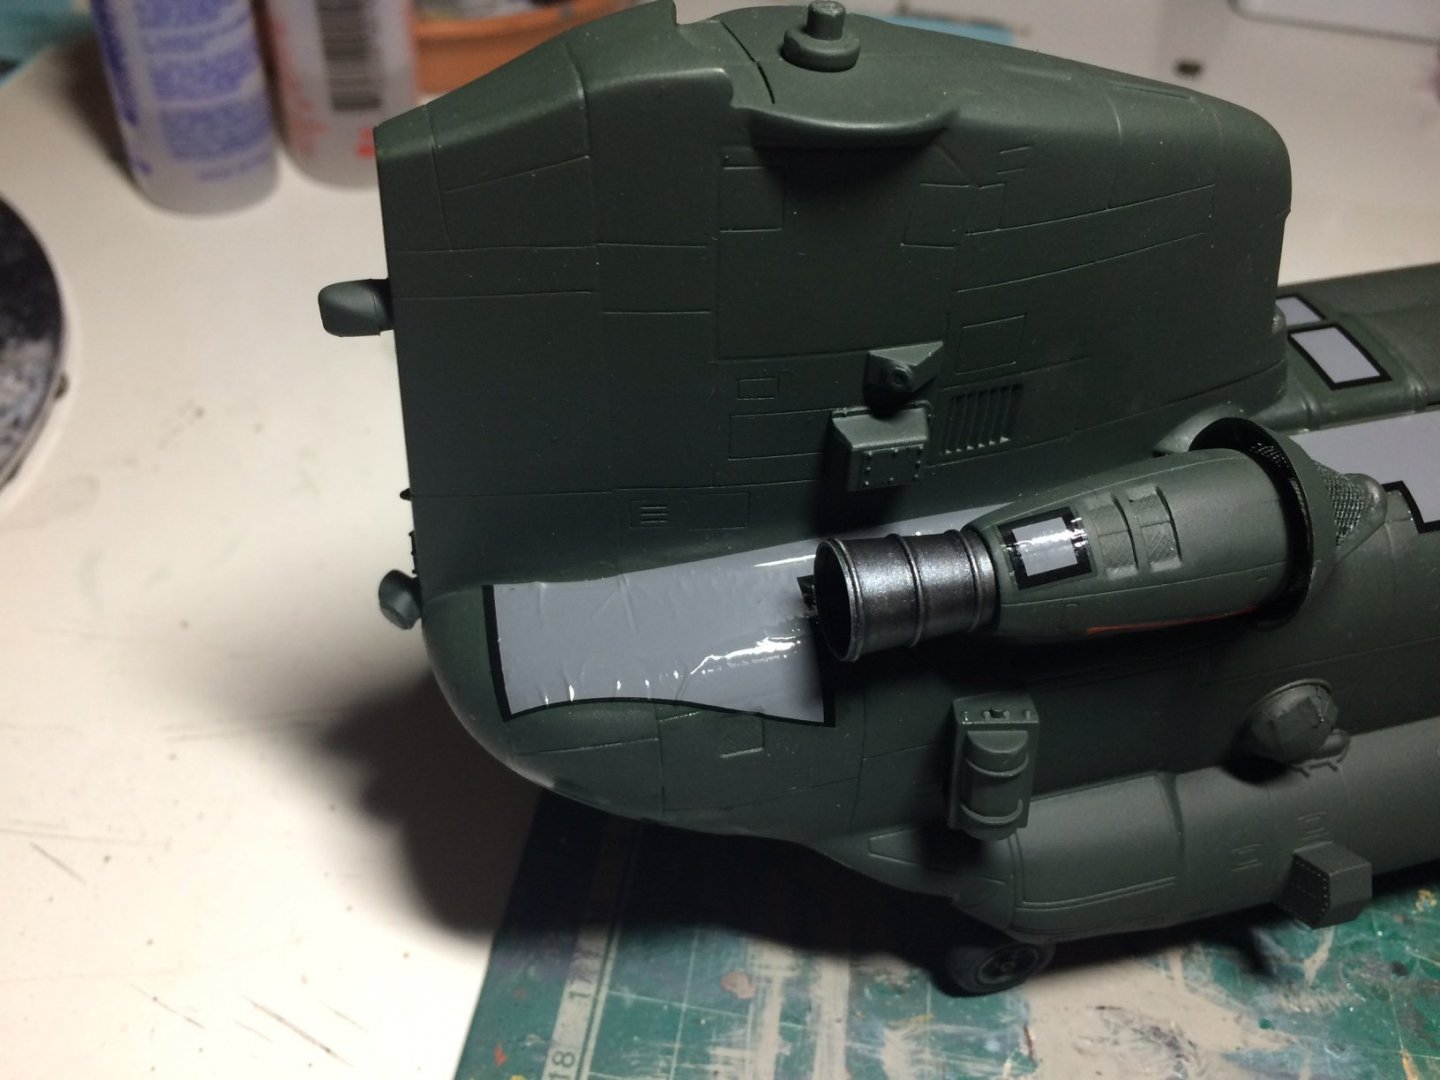
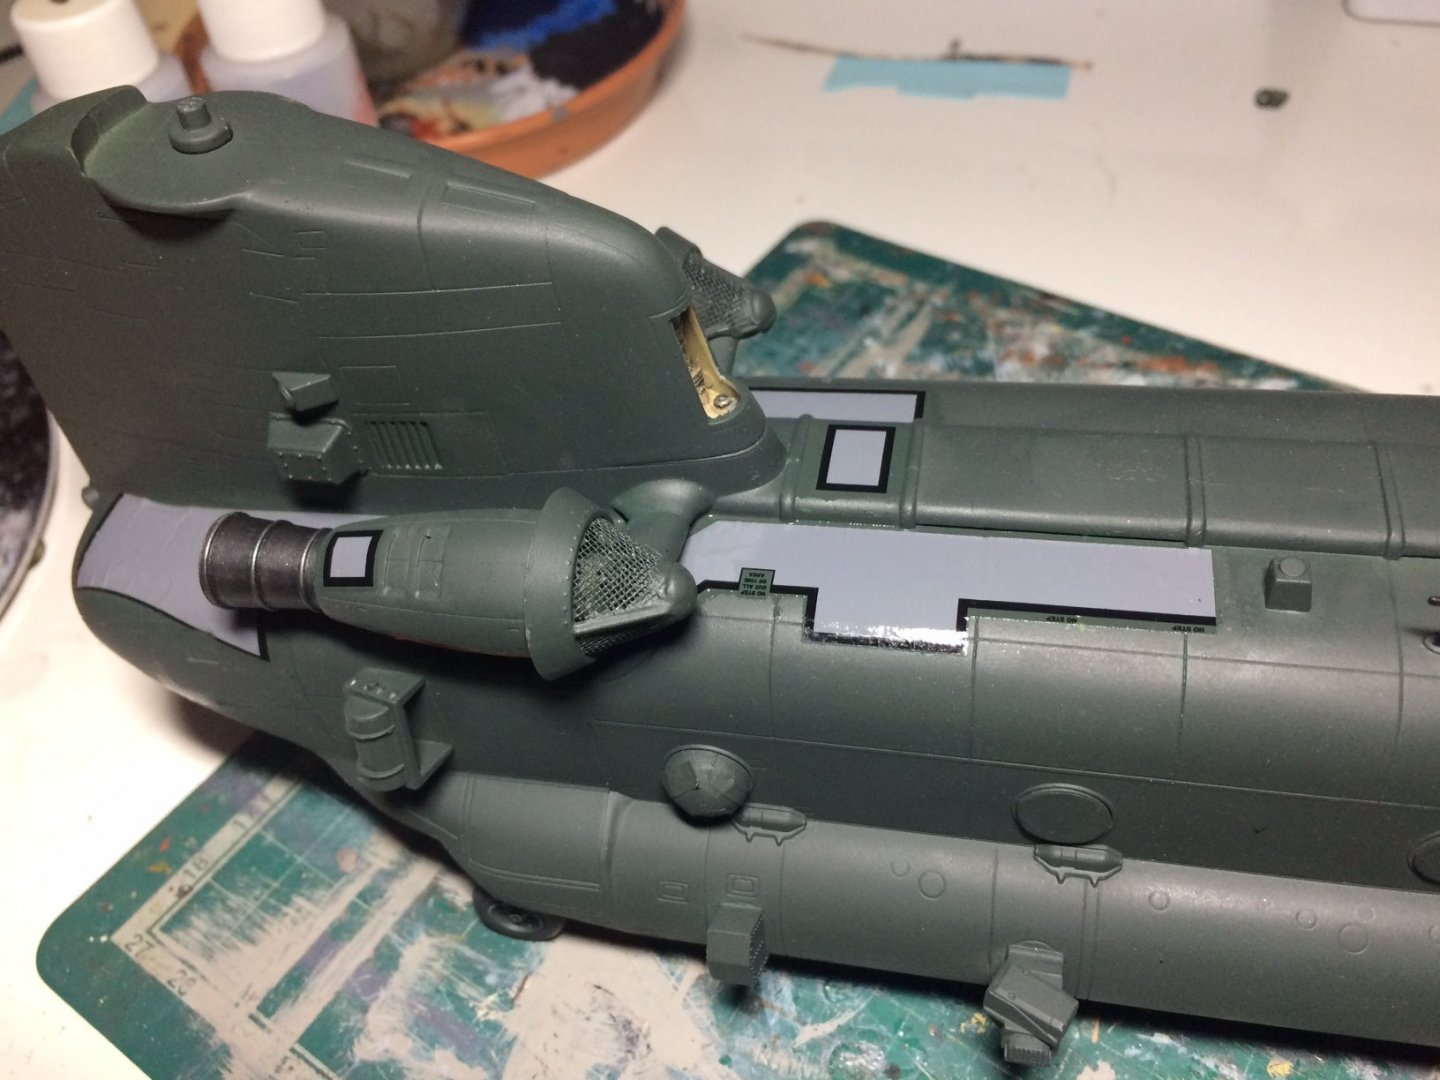
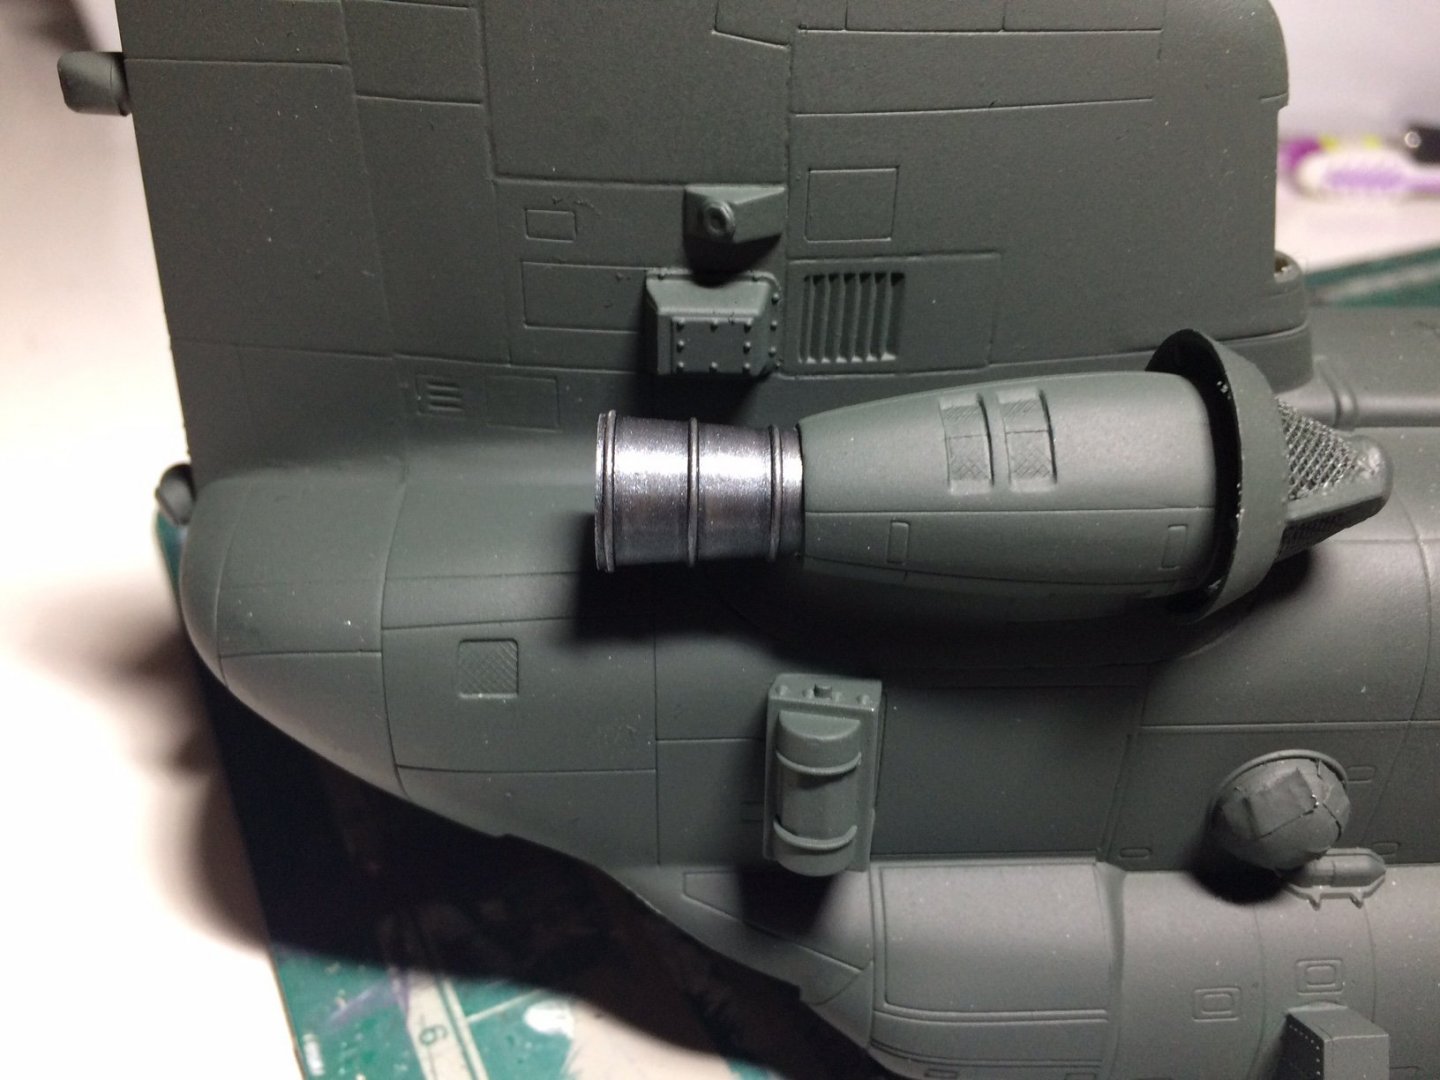
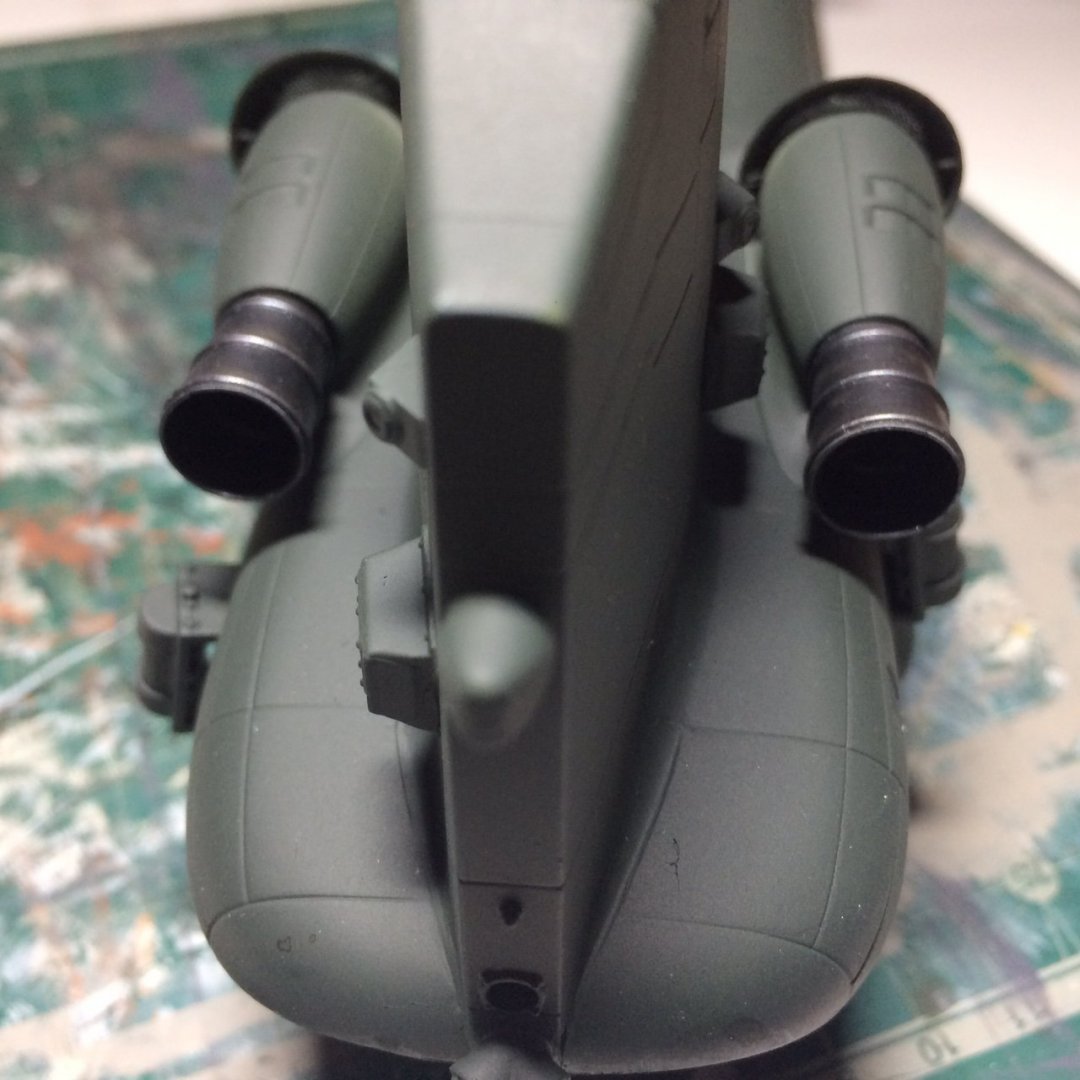
Evening all, some more progress tonight - I pulled the rear ramp masking off and painted the rear leg area and the edging then added a bit of wash, next I painted and fitted the Two engine exhausts. OC.
- 283 replies
-
- 12
-
-
That looks lovely Dan - what a great combinations of fine painting and panel lines. OC.