Old Collingwood
-
Posts
12,104 -
Joined
-
Last visited
Content Type
Profiles
Forums
Gallery
Events
Everything posted by Old Collingwood
-
 I decided to paint the belts already fitted - they didn't turn out too bad, I have finished the other Two and found painting the belts easier when not glued down to the floor. OC.

- 283 replies
-
- 11
-

-
Indeed bro. OC.
-
I may actually just paint the ones that are molded on - going by this pic off the net (not mine) OC.

-
Thanks Ken, the ones already on the backs are molded on but not very good - I could have a go at replicating some with tamiya tape, might work. OC.
-
You have the patience of a saint - then some, Fantastic. OC.
- 322 replies
-
- 2
-
-
- enterprise
- caf
- (and 1 more)
-
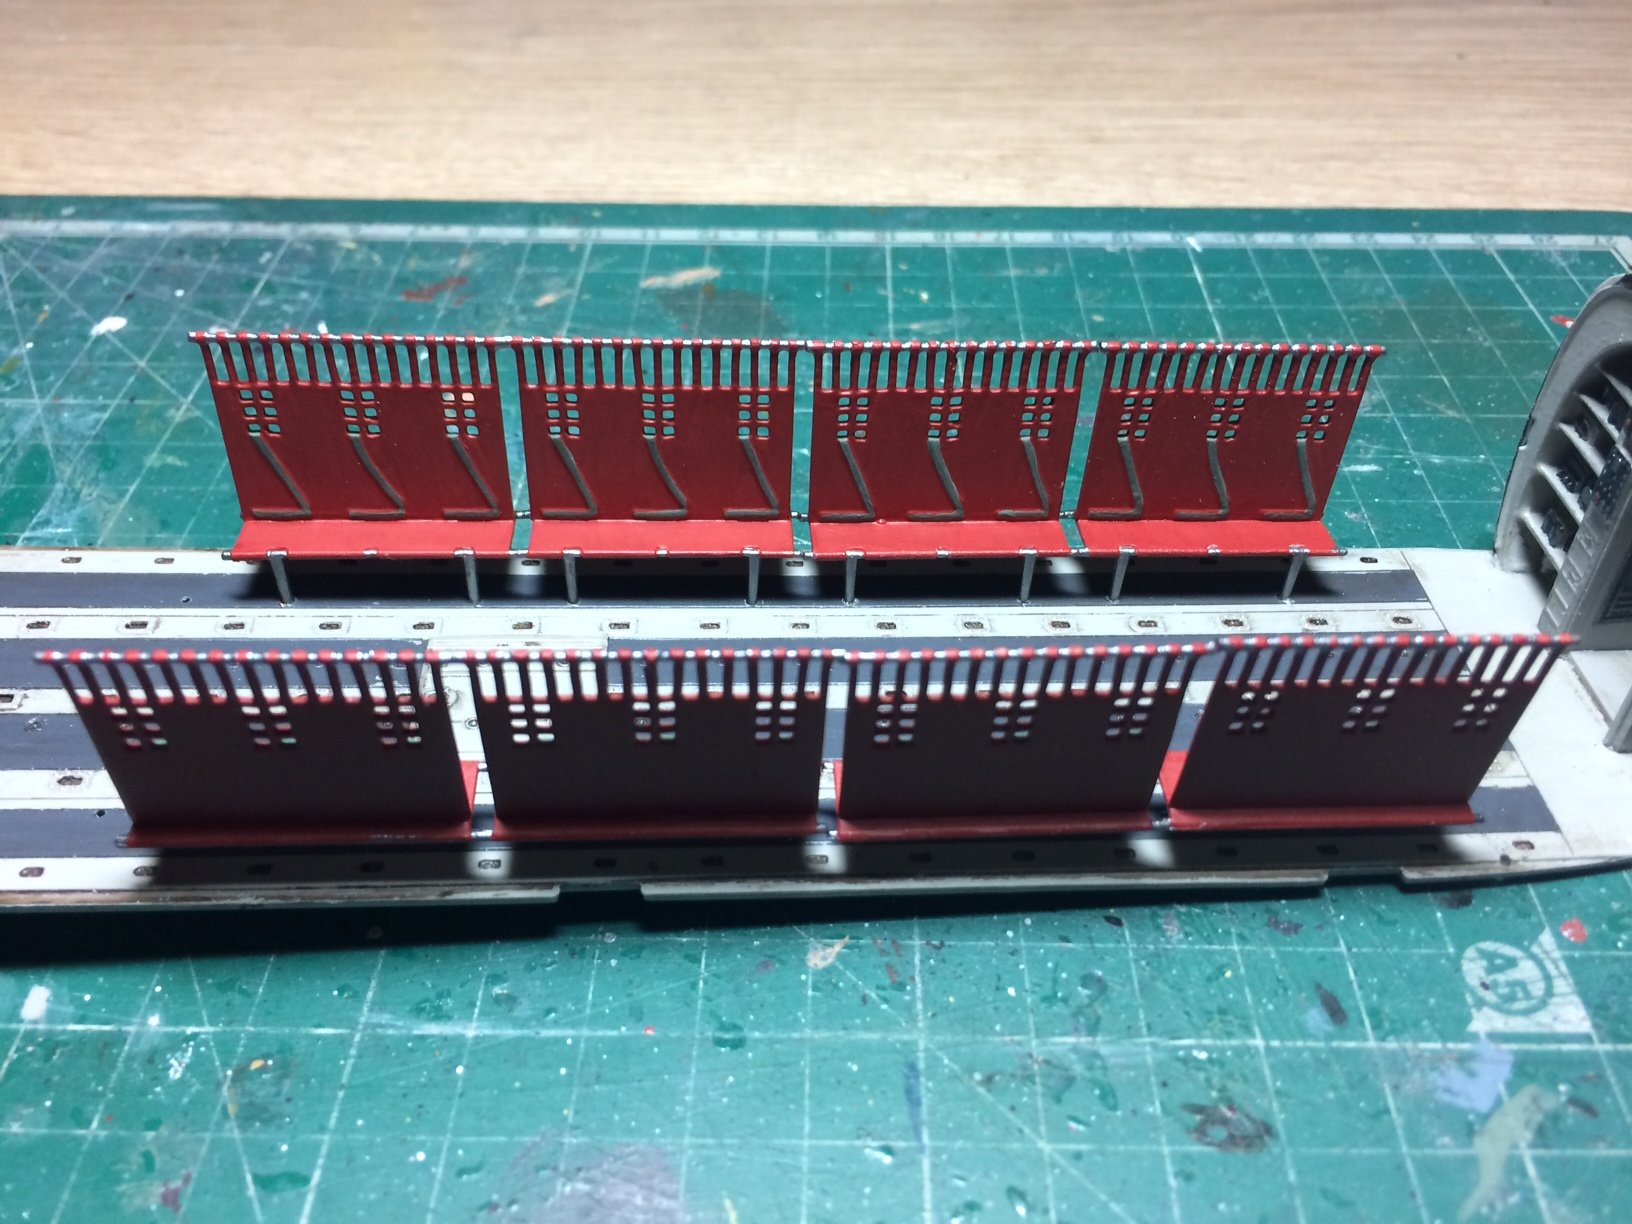
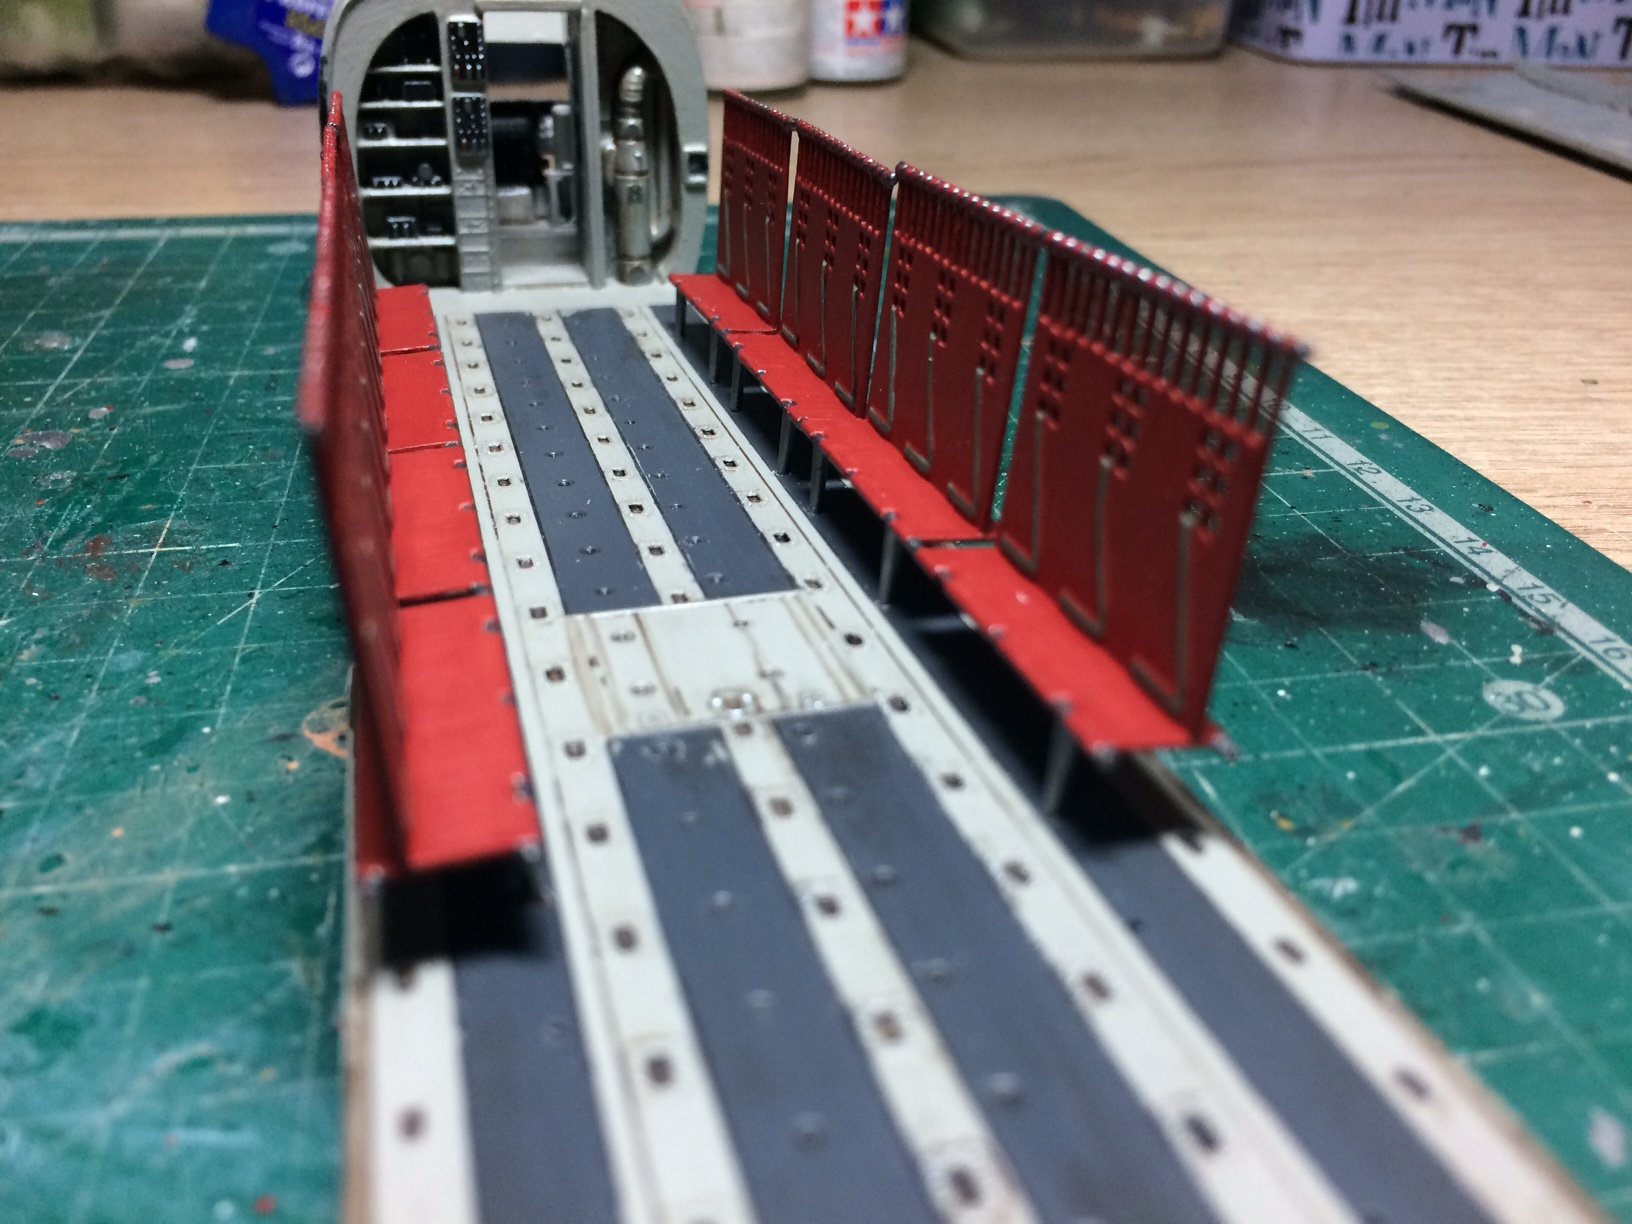
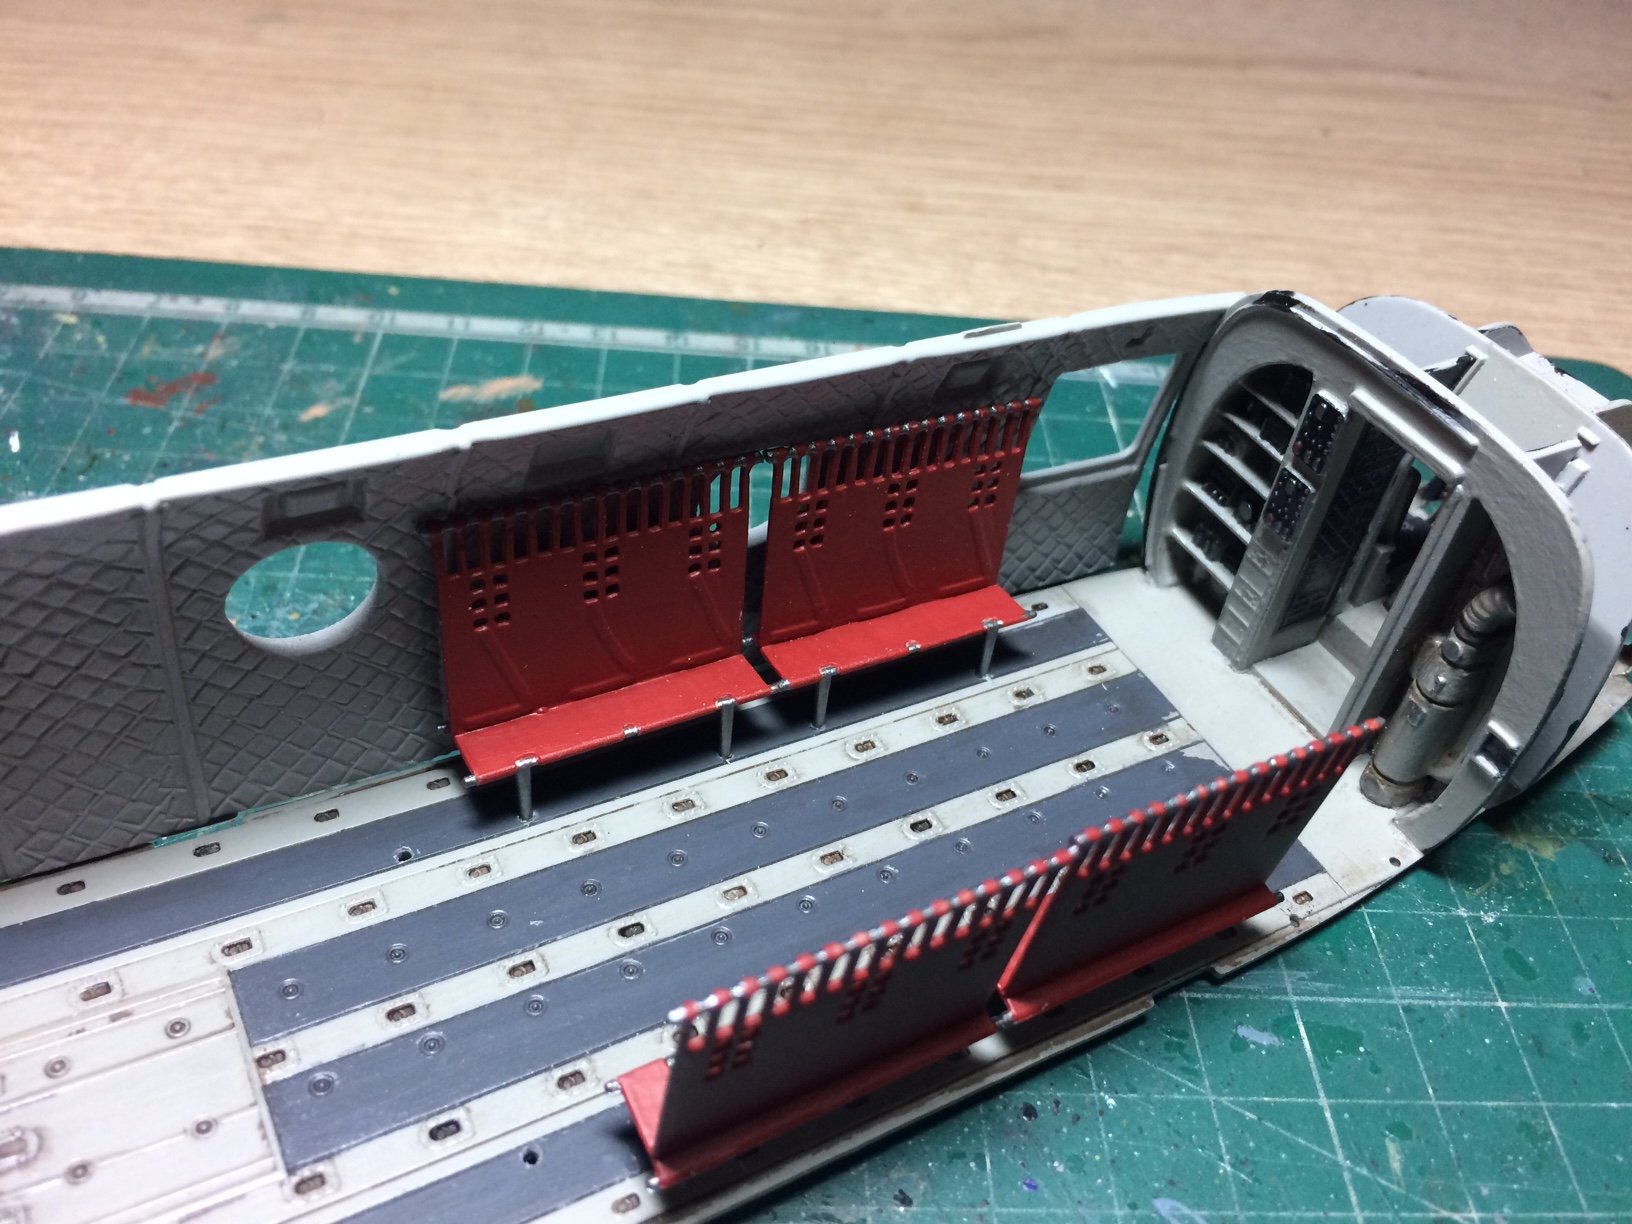
Just sorted my pics out of my current stage - I have started working on the fabric bench seats in the cabin, these are plastic and are painted flat Red and Alum - I will place a few rows and leave the end sections in the up position (just for a bit of variety). The inner hull section is just leaned against the seat to show how it will go. OC.


- 283 replies
-
- 11
-
-
Thank you kindly bro. OC.
-
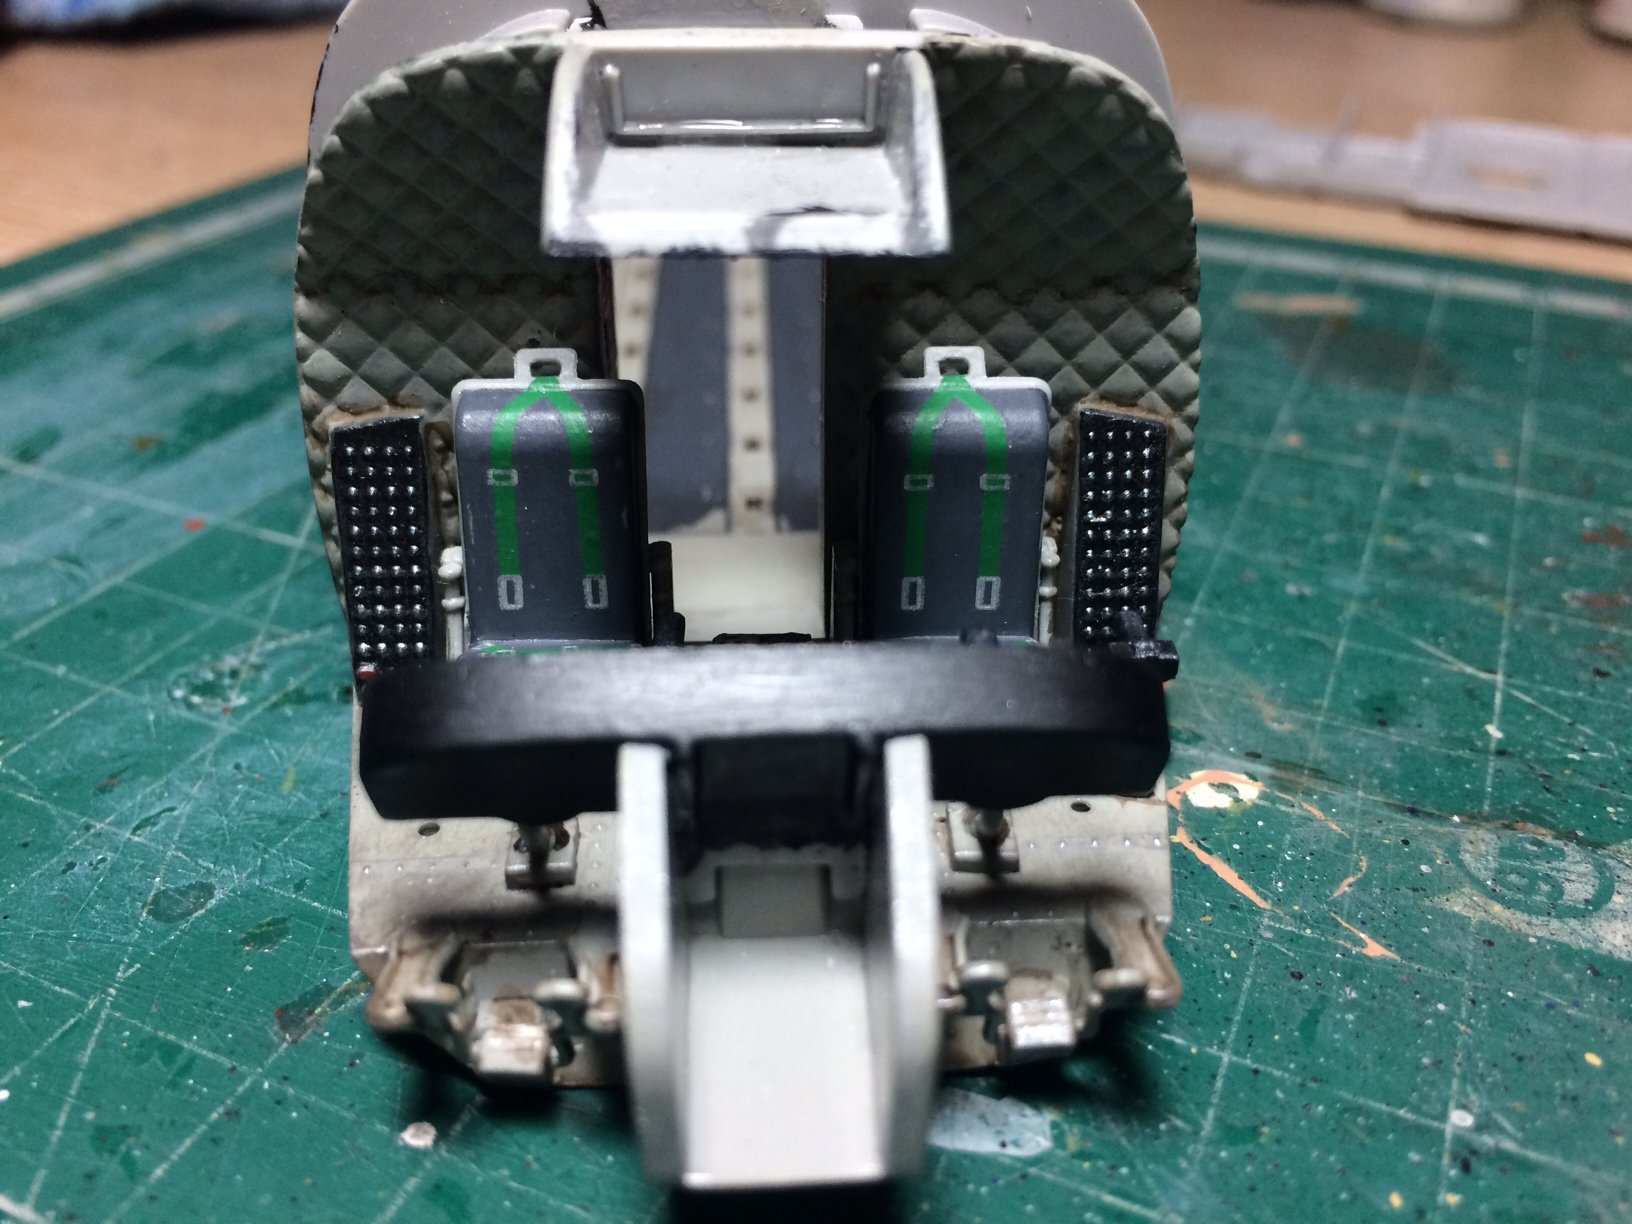
Evening all, so - more work has been done (you know me I don't like to rush things) anyway I finished off the cockpit by painting the seat cushions a nice mid Grey colour, then when Dry I fiited the decal seat belts (no fuss to these - not as good as pe ones) then I brushed on a few coats of flat clear to blend them in - then I fitted the pedals (Four part buddies they were). Then after painting and weathering these I gave the whole area another coat or Two of top coat, then the cockpit bulkhead was glued in. OC.

-
Come on Ron, you know you have an audience. OC.
-
I'm "abit" late to the party but it came to me - Isn't the Marry Rose similar? could you not use her plans to help with your hull planking? OC.
- 740 replies
-
- 1
-
-
- Tudor
- restoration
- (and 4 more)
-
Kaiyuan Temple by RichieG - CAF Model - 1/75 - WOOD
Old Collingwood replied to RichieG's topic in Non-ship/categorised builds
One can really see the Inter- locking nature of it - wonderful stuff. OC. -
That is so nice of you mate - to be fair its not a bad kit. OC.
-
Thank you Mike. OC.
-
Amazing work you have put so much effort into this amazing build you should be so Proud. Congratulations. OC.
-
Keep an eye on your wood decks - mine had a habbit of trying to lift slightly around fittings - just a case of making sure its all pressed down. Looking really good. OC.
-
I would also have said - the aging of the roofs/materials as timbers bend and sag with age (I have seen it myself with old/er buildings you should have seen the roof in our old 17th century cottage we used to live in, it would have made a good roller coaster. OC.
-
Not sure if this might be of use - its decribes and shows the main RN colours - scroll down till you see POW (Ita alphabetical) OC. https://www.sovereignhobbies.co.uk/pages/british-royal-navy-colour-schemes
- 211 replies
-
- 3
-
-
- prince of wales
- tamiya
- (and 2 more)
-
Just found your build - the hull planking with the first planking (I assume you will be laying a second layer of planks over the top as its normal procedure) is always a tricky/fiddly/nerve racking procedure - even the pro's like to get it out of the way. With your deck You have done a fine job - its neat and tidy and as others have said its easily sanded even with pencil in between the planks as the sanding action cleans as you are going. Keep at it you are doing fine. OC.
- 26 replies
-
- 4
-
-
- First Build
- lady nelson
- (and 2 more)
-
I don't want to tie up EG's log with my rambling but I had to reply to Jack - I had the same about 9 years ago, went in for a pre arranged Hiatus Hernia op the surgeon debated doing it as a "Key Hole" job but in the end I was just sliced open (about a 6 Inch cut in my groin) same as your self no lifting for so many weeks but I was lucky I was out the same day, all is fine now apart from ocassional sensations from the wire gause they put in. Take good care of yourself. OC.
-
Sorry to hear that brother sincelely/warmly hope all is well with your admiral now. OC.
-
So well said Michael.👍 OC.
-
I would imagine that extra strengthening will add strength to the join, I remember my late farther building an R/C boat for me - he basicaly over engineered the hull - strengthening the hull and applying coat after coat of dope to the inside and outside hull followed by about 100 layers of paint. OC.