HOLIDAY DONATION DRIVE - SUPPORT MSW - DO YOUR PART TO KEEP THIS GREAT FORUM GOING! (83 donations so far out of 49,000 members - C'mon guys!)
×


Old Collingwood
-
Posts
12,104 -
Joined
-
Last visited
Content Type
Profiles
Forums
Gallery
Events
Everything posted by Old Collingwood
-
 Certainly is mate, Biggest kit I will have built in plastic outside my Pearl. OC.
 -
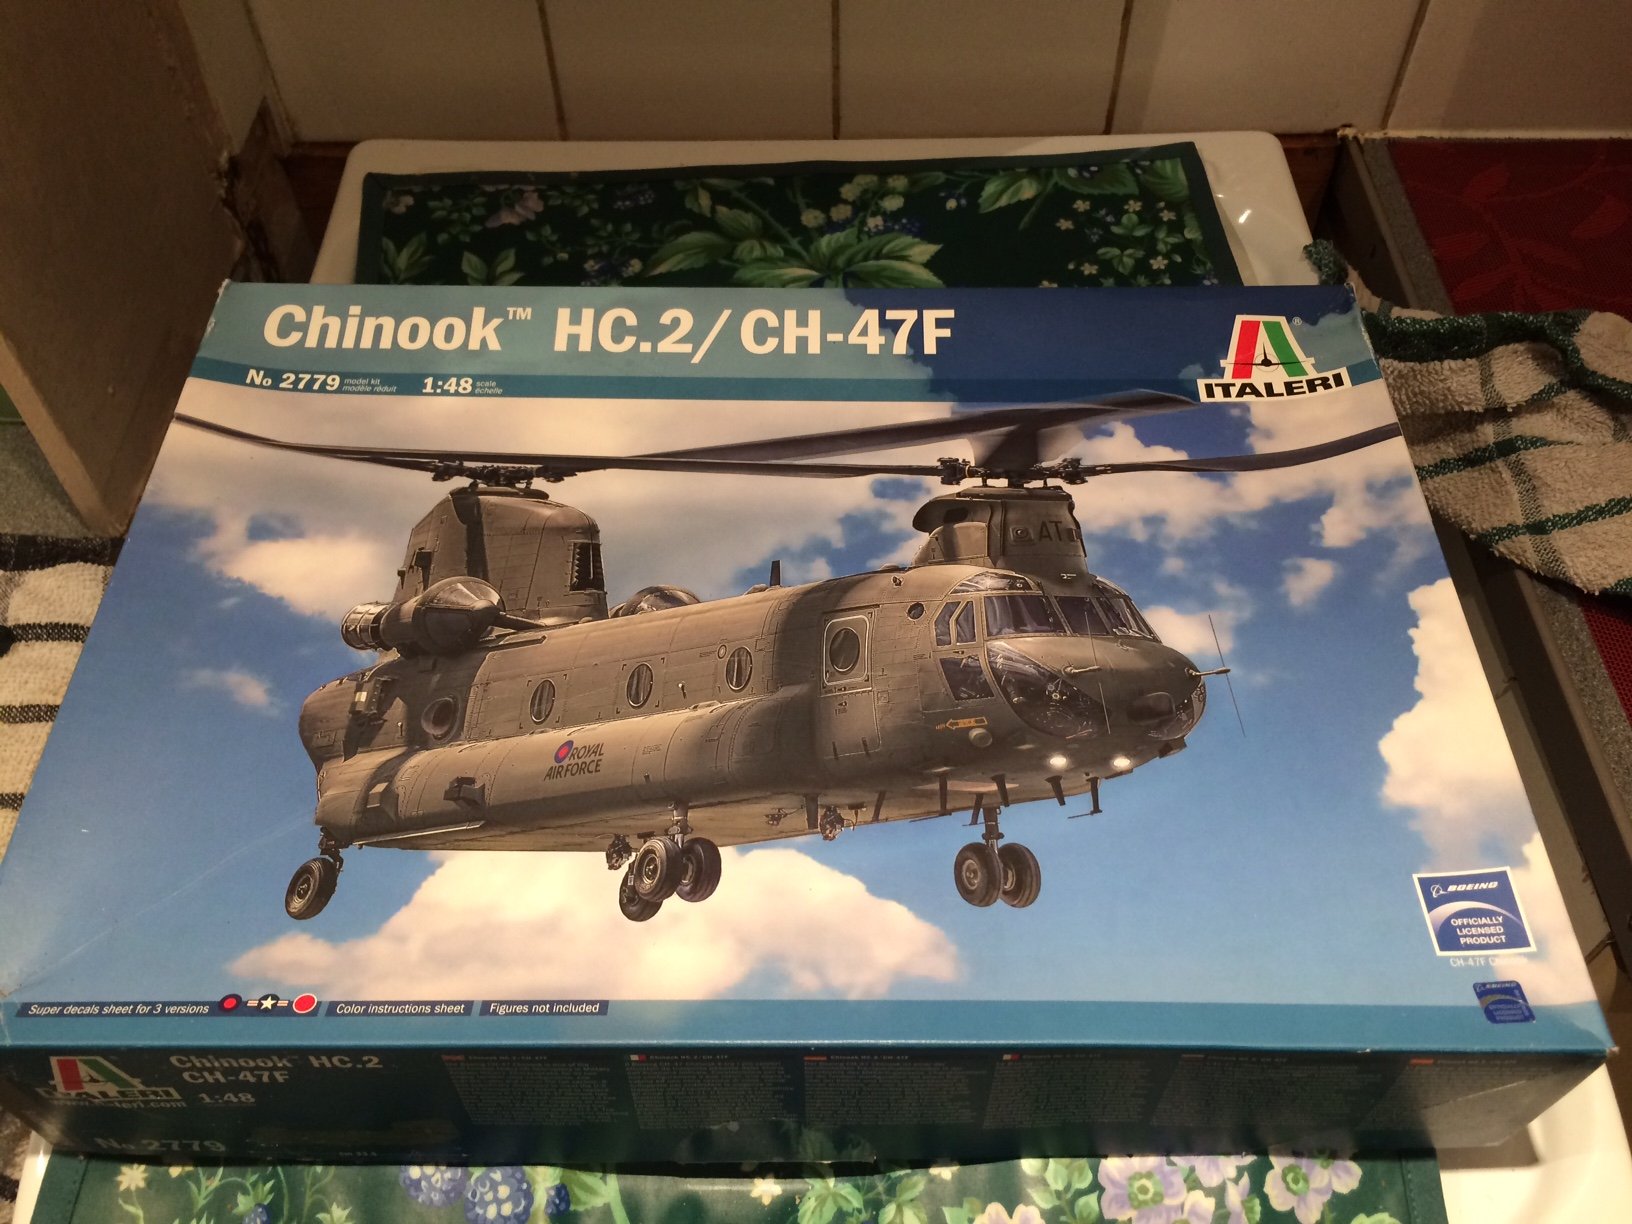
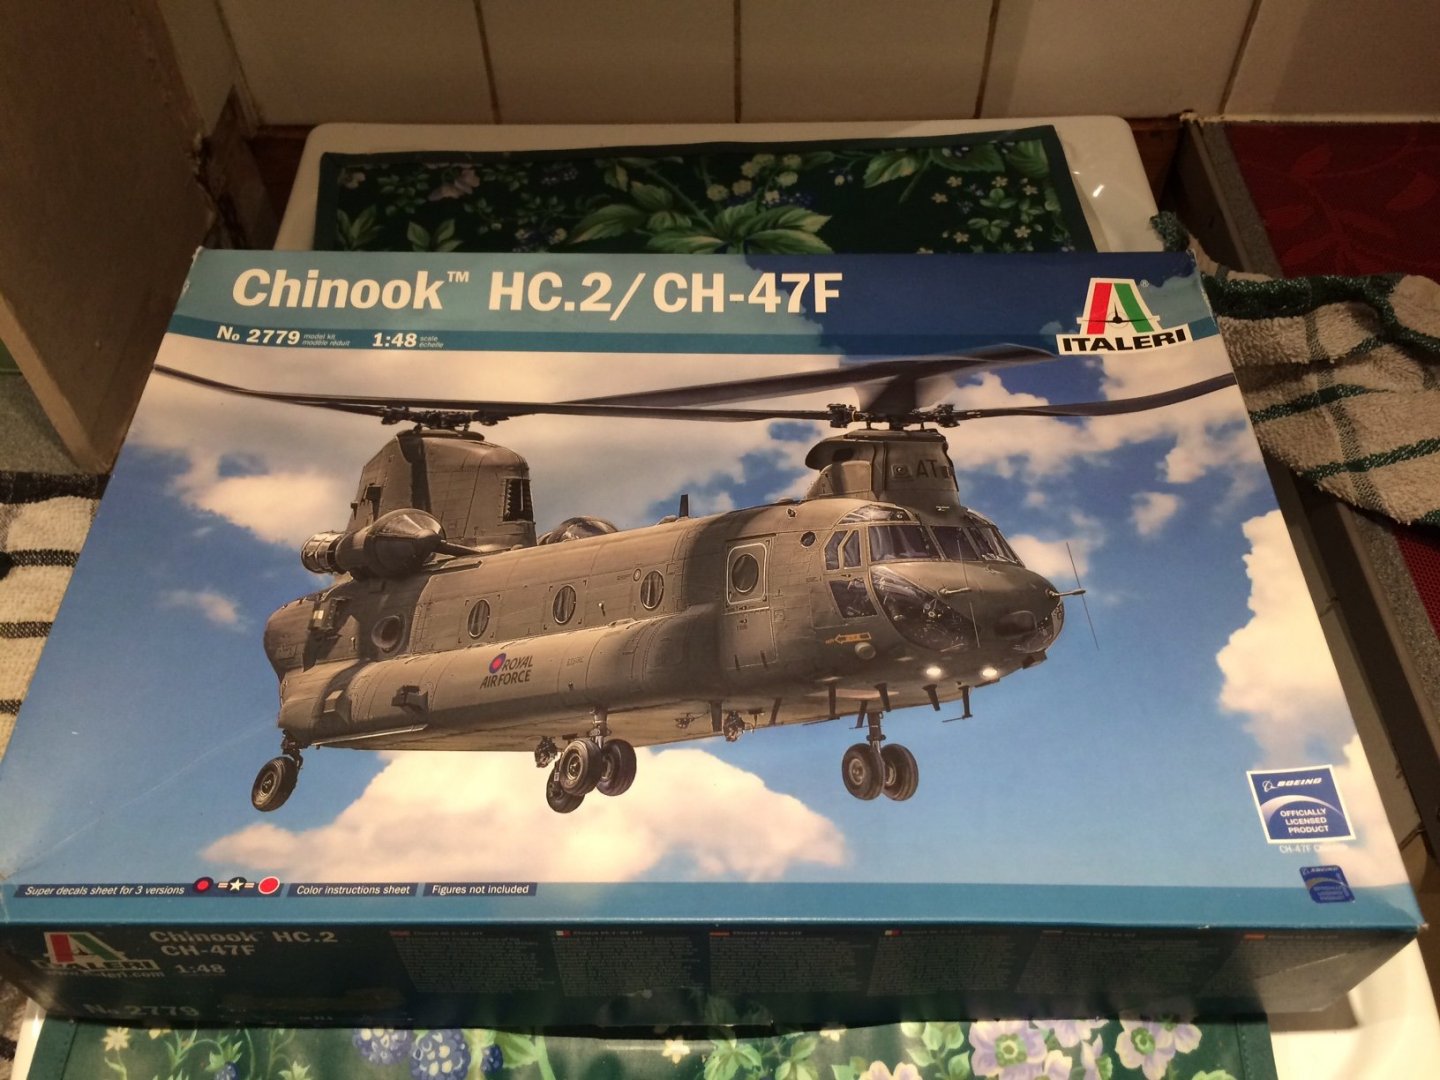
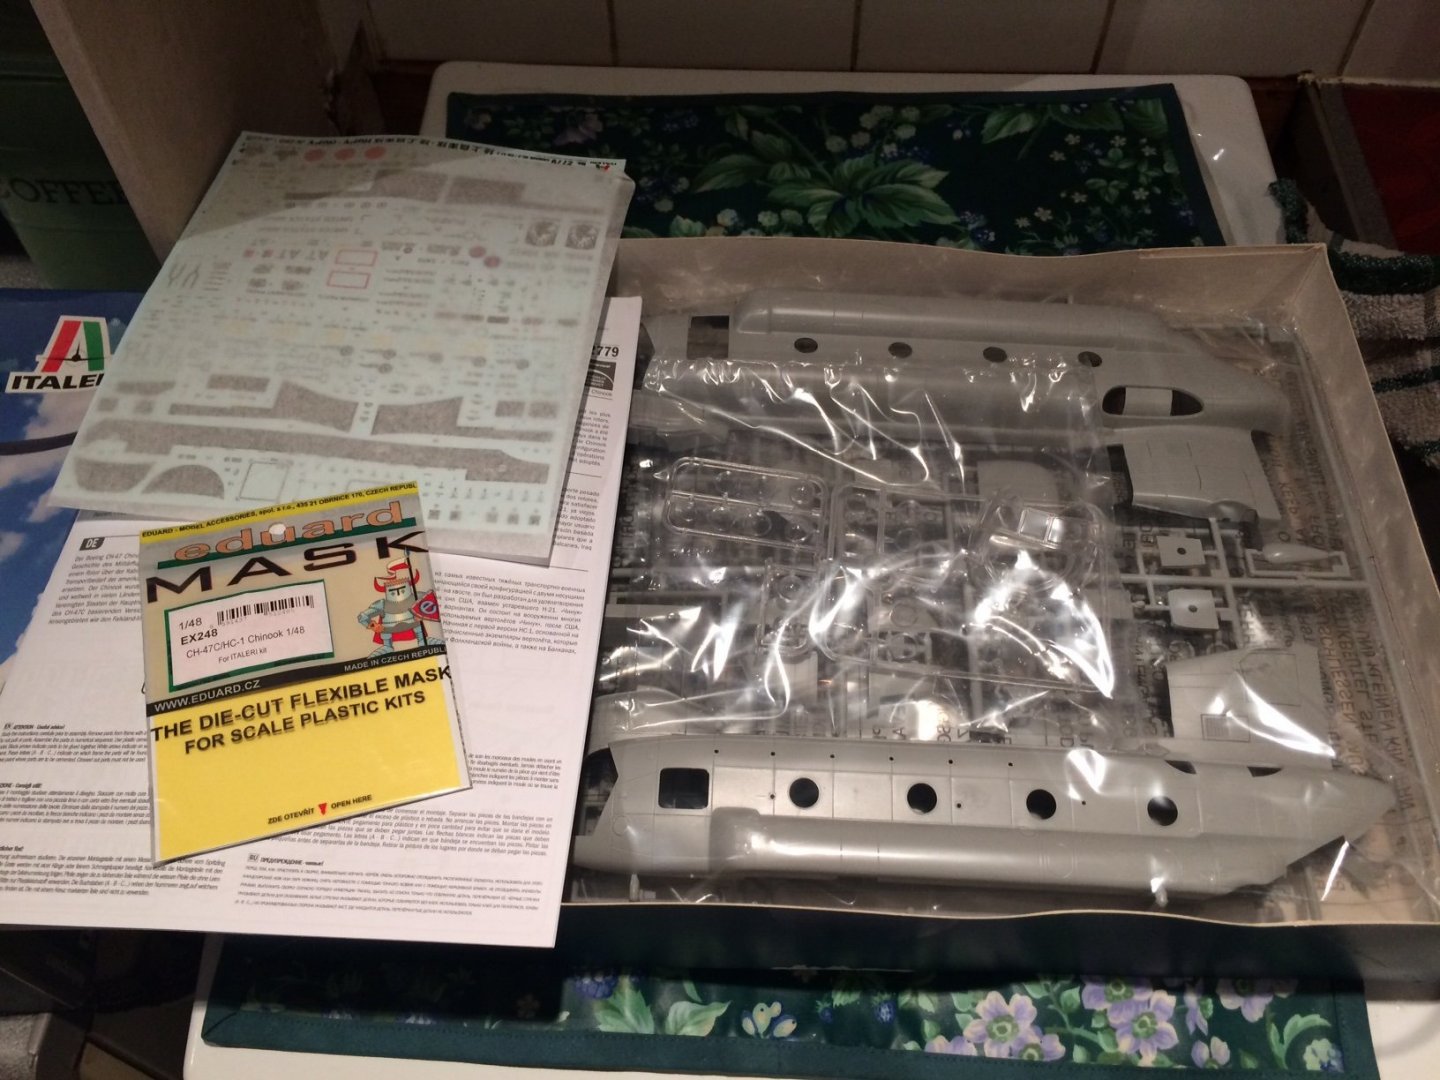
Can I introduce my next build from my old stash I told you about - I will build her more or less straight out of the box, but I will try to do some extra detailing if I can - the inner cabin lends itself and frankly cries out to be super detailed. Buckle in for this one - as it might take some building it looks big in the box - so it will take some skill to bring it to life. OC.
- 283 replies
-
- 11
-

-
Thank you so much Kevin - I think its that case of creating a feel for whats being painted, that old saying of "Practice make perfect" OC.
-
Thanks Ken. OC.
-
So................Its Finished. Thank you All for all the Very Kind interest and comments - and simply just following along. OC.

- 194 replies
-
- 13
-
-
Thank you kindly mate, not finished yet (Shar anyway) OC.
-
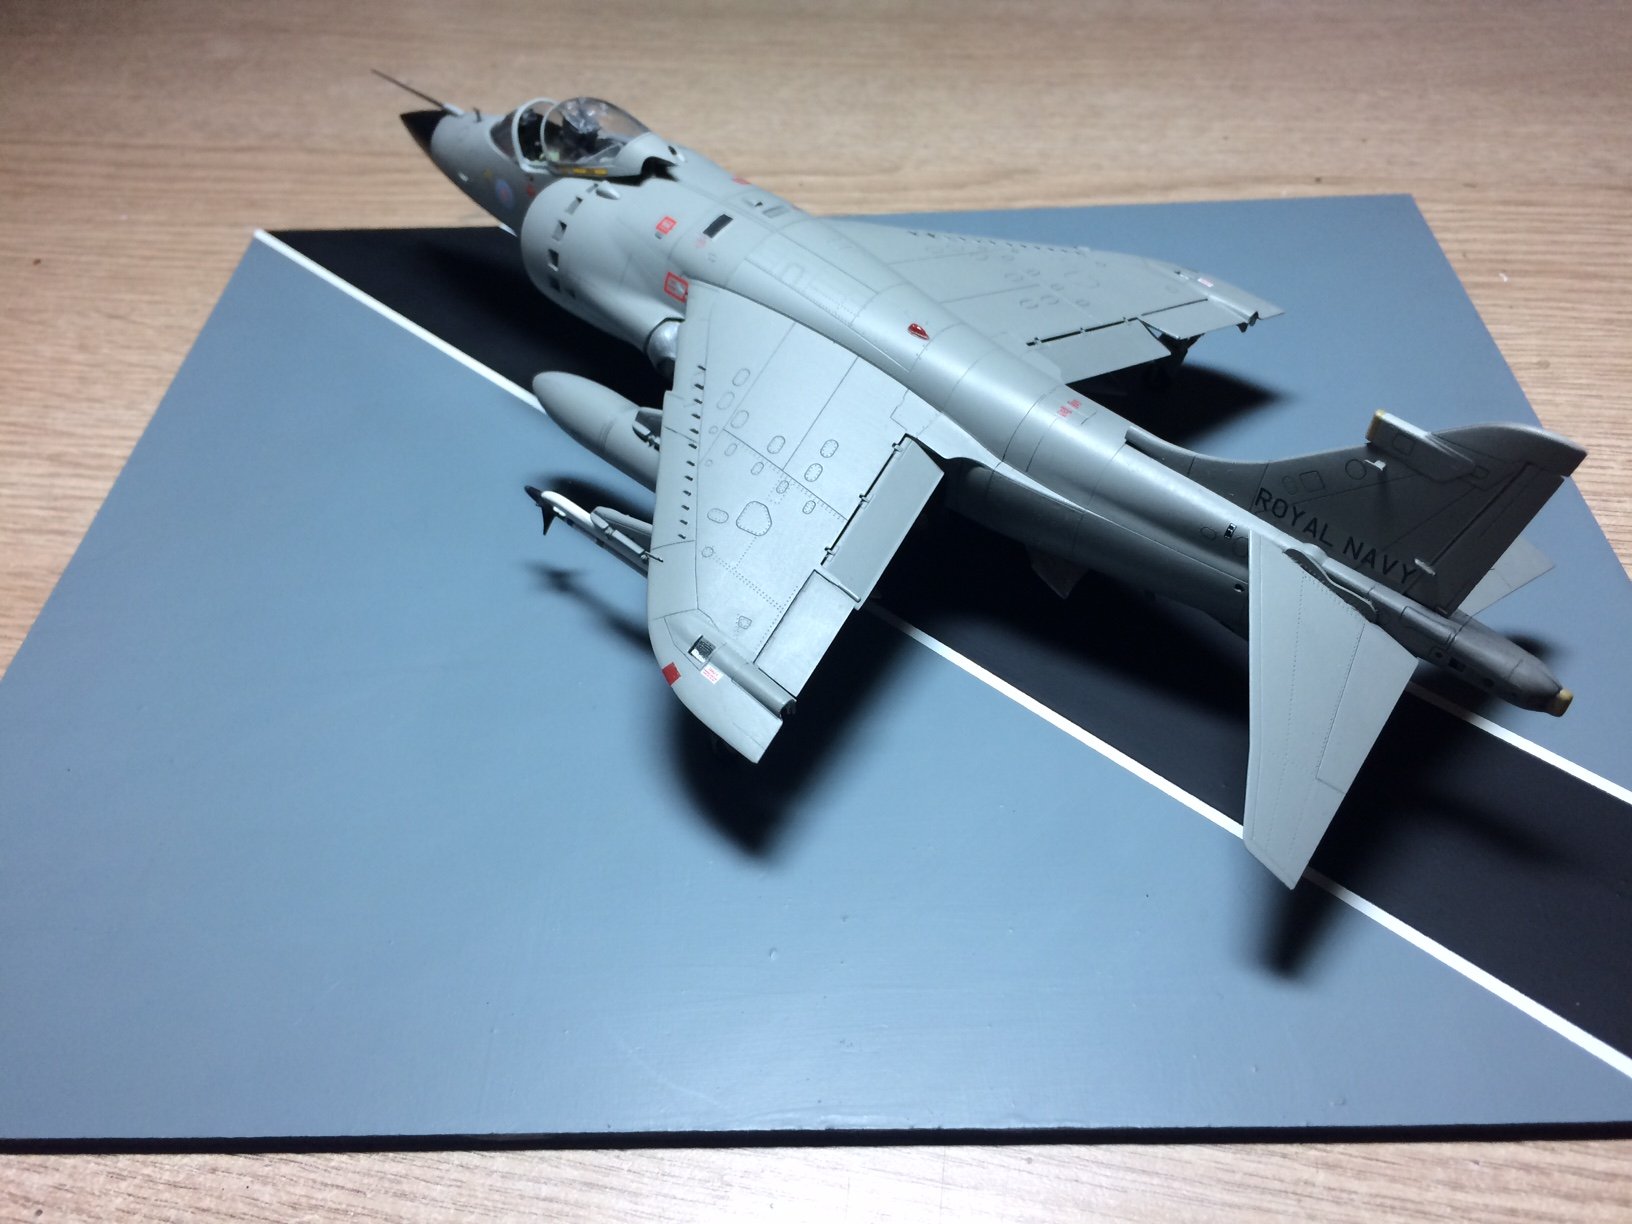
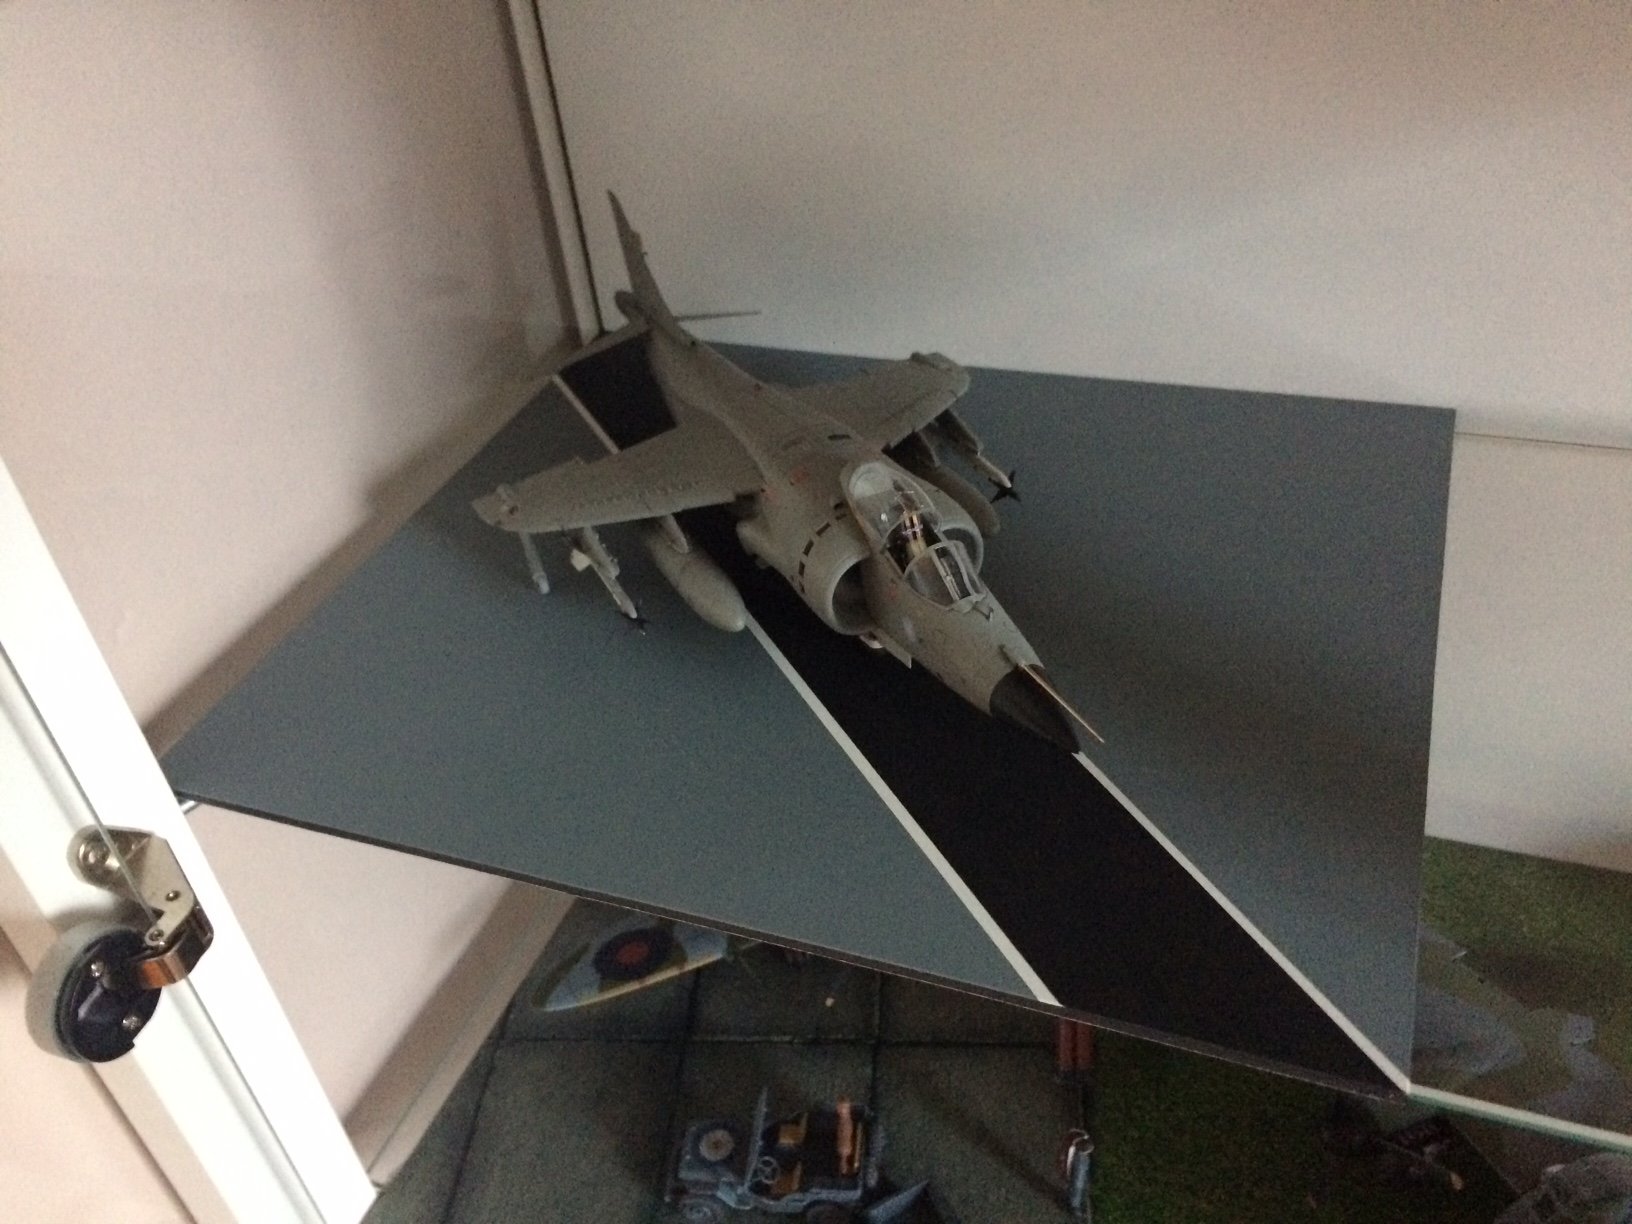
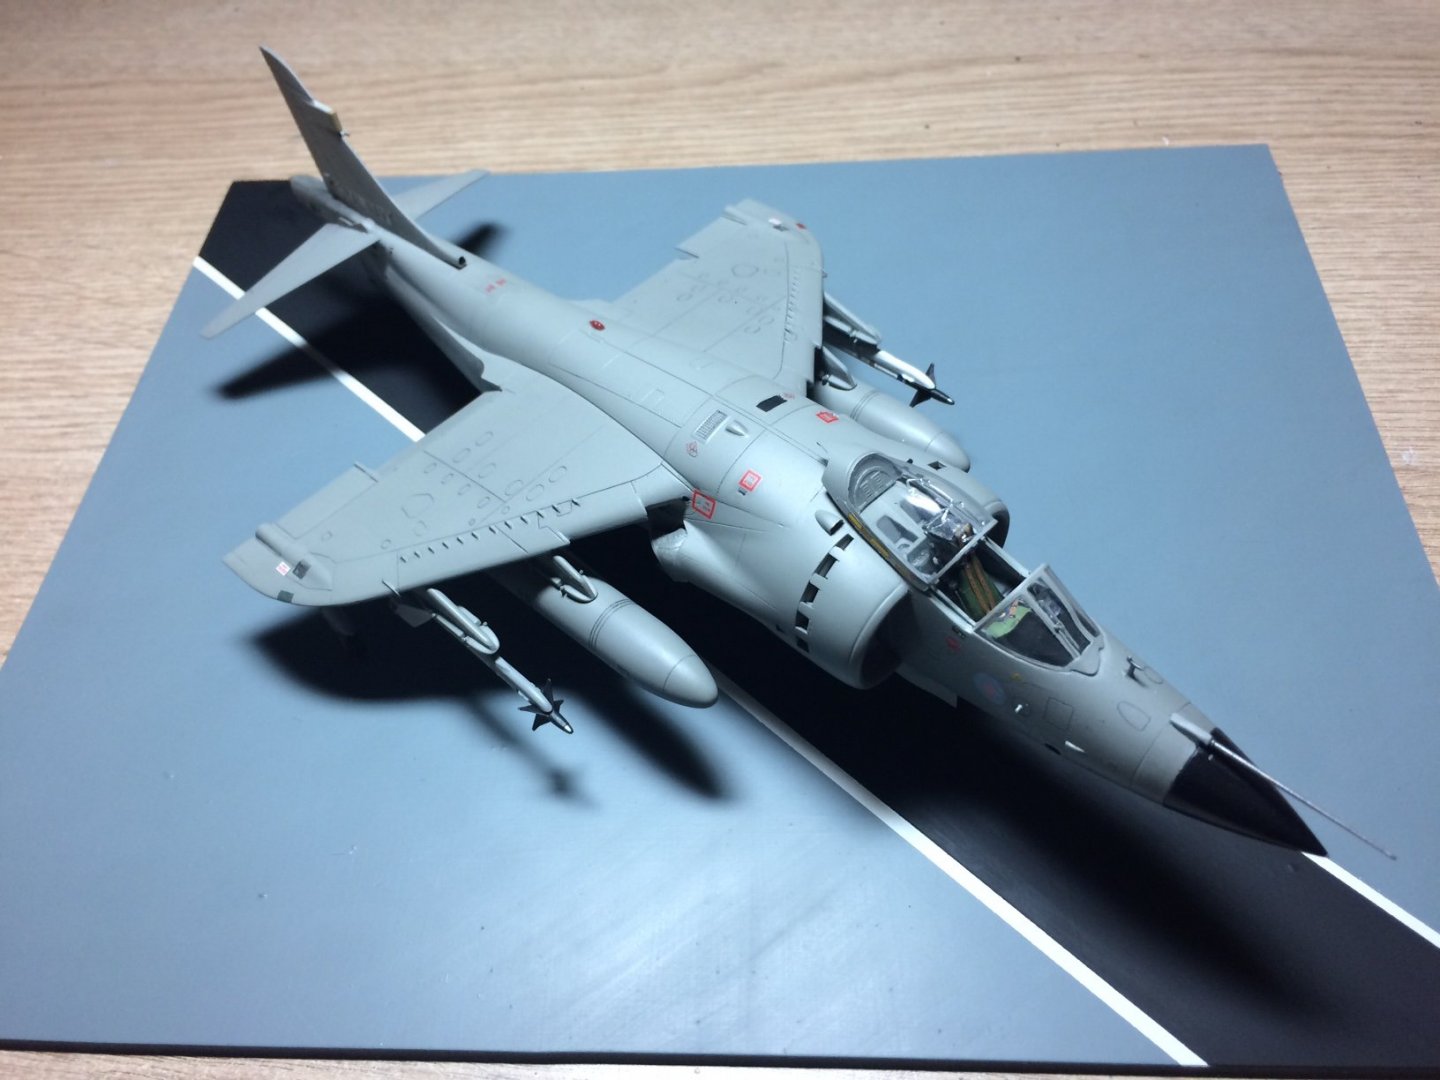
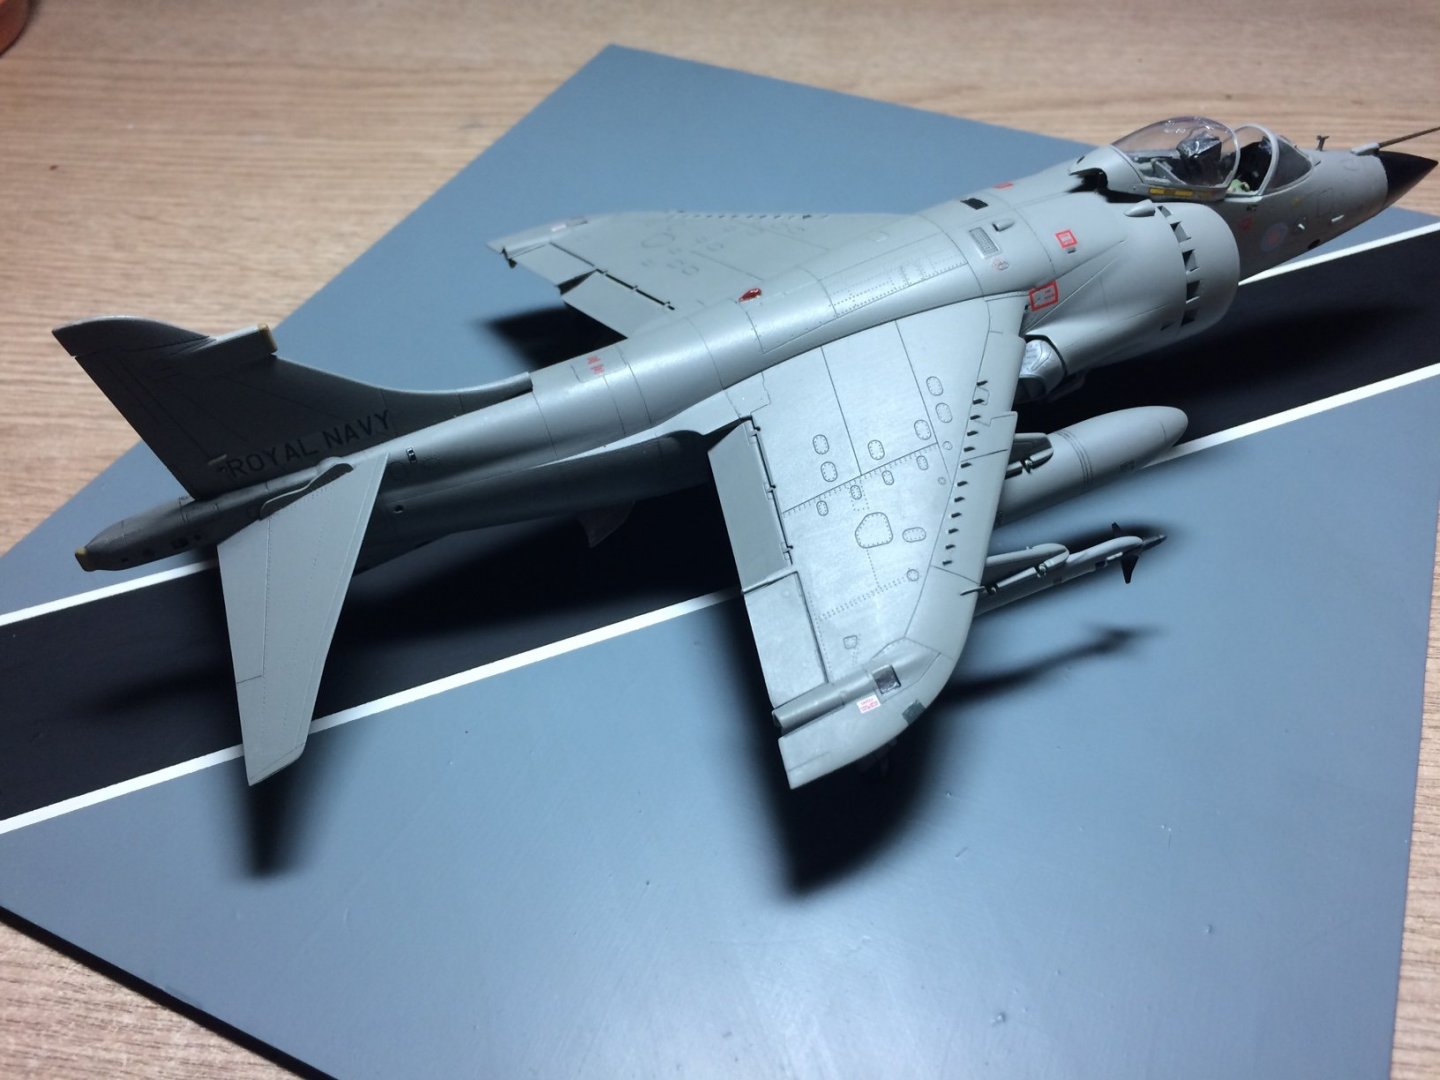
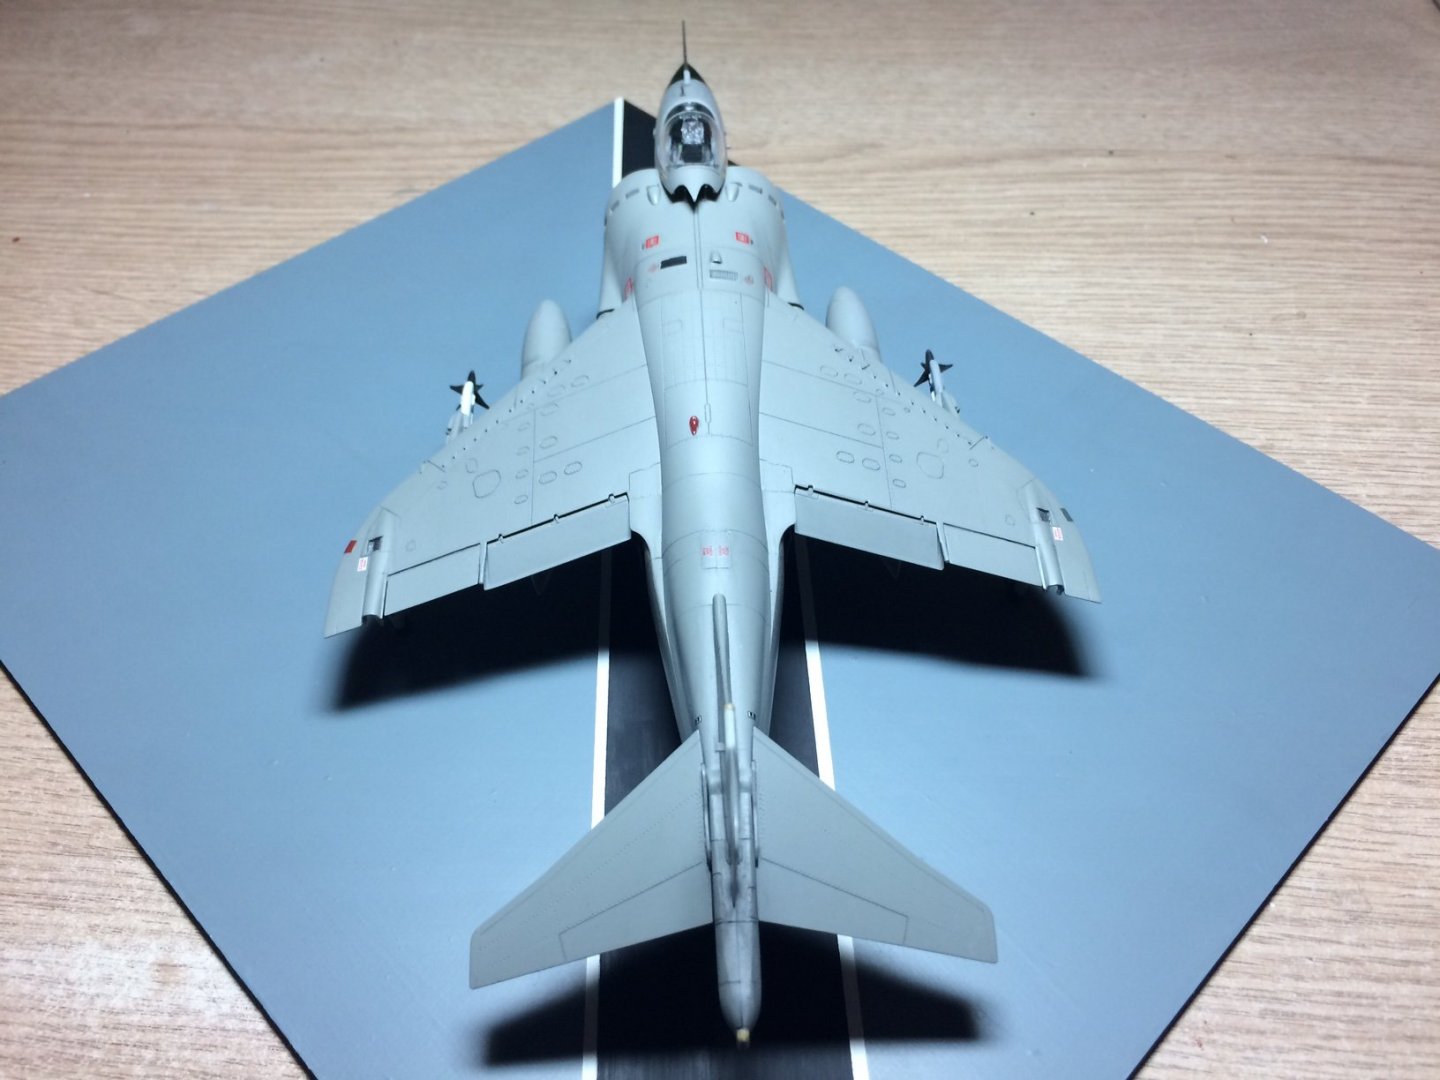
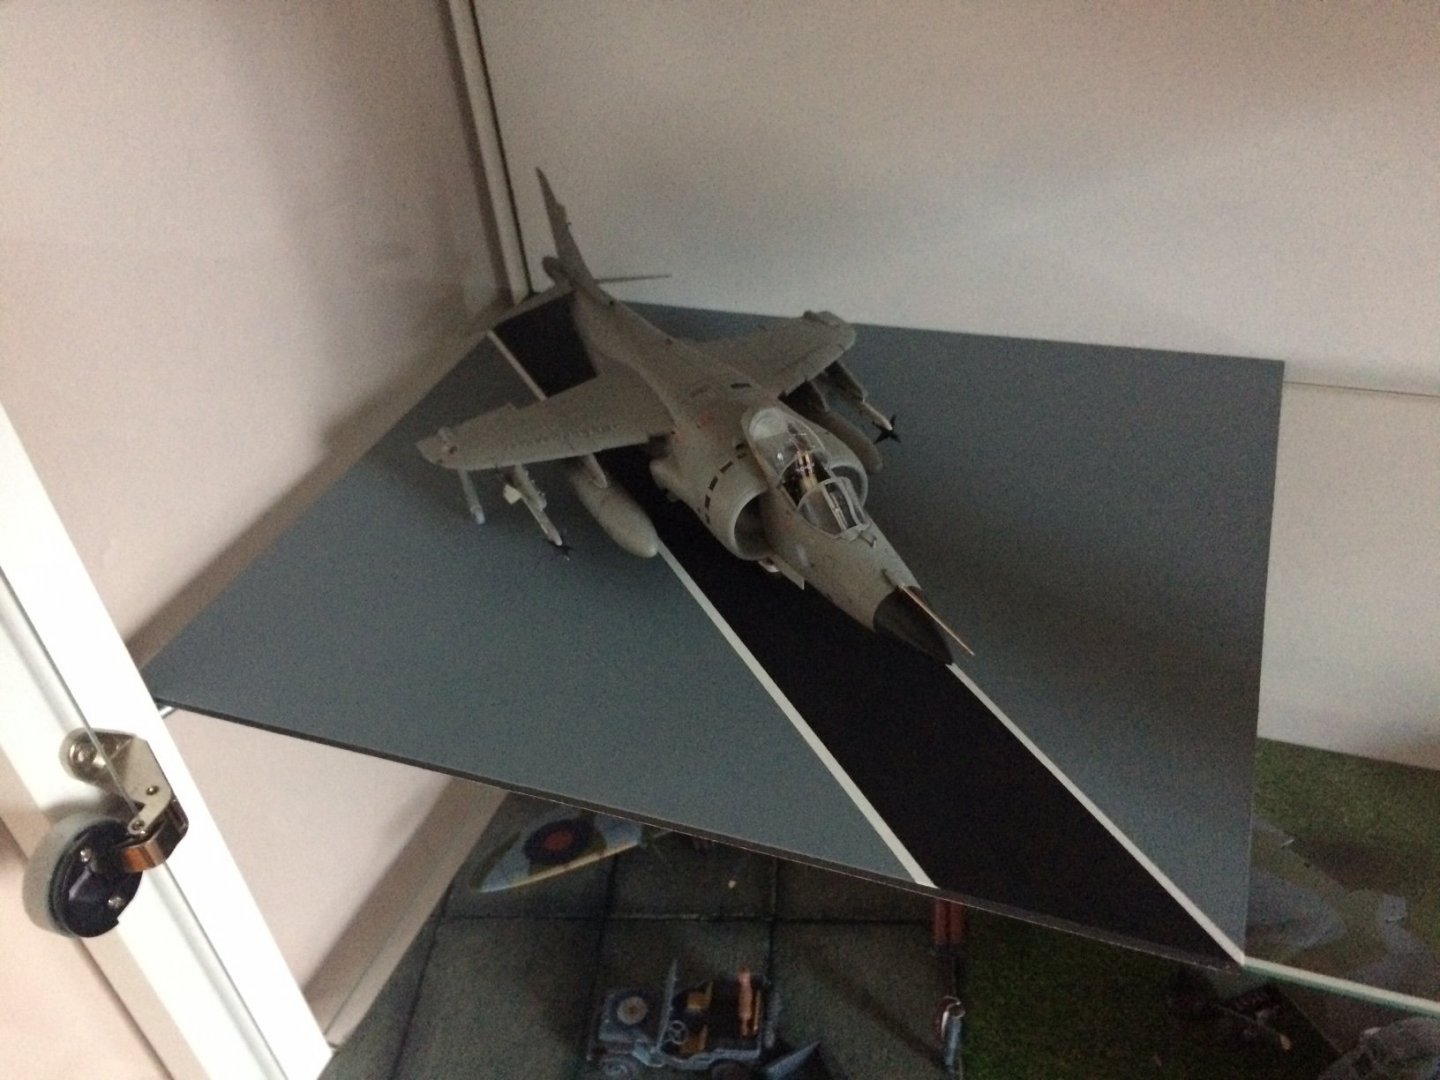
Evening all, I have finished on the base - I taped up for the dark Grey/Black center then when dry I trimmed the board to fit inside my cabinet, still have a bit of tidy up to do on the Shar - then I can move onto something else possibly from my old stash..........😉 OC.
-
I have a we bit more to do on my SHAR and base then I will either continue with some more figures as I have a few in my stash or I might supprise a few and start something else I also have in my stash from weay back (think I mensioned my stash somewhere) OC.
-
Sorted a grand way of keeping my completed figures safe till they are ready to be displayed - it did have sweets inside but now has a really good use. OC.
-
Think I have spoken to the Author or tried to. OC.
-
Thanks Ken, having that breather - fresh eyes really helps, I think when you are pushing so hard on a model and things start to go wrong - a break certainly helps even if just for a few minutes. OC.
-
Those swivals really came out nice - add another level of busyness to her. OC.
- 436 replies
-
- 1
-
-
- vanguard models
- alert
- (and 1 more)
-
Thanks mike, read below/above. OC.
-
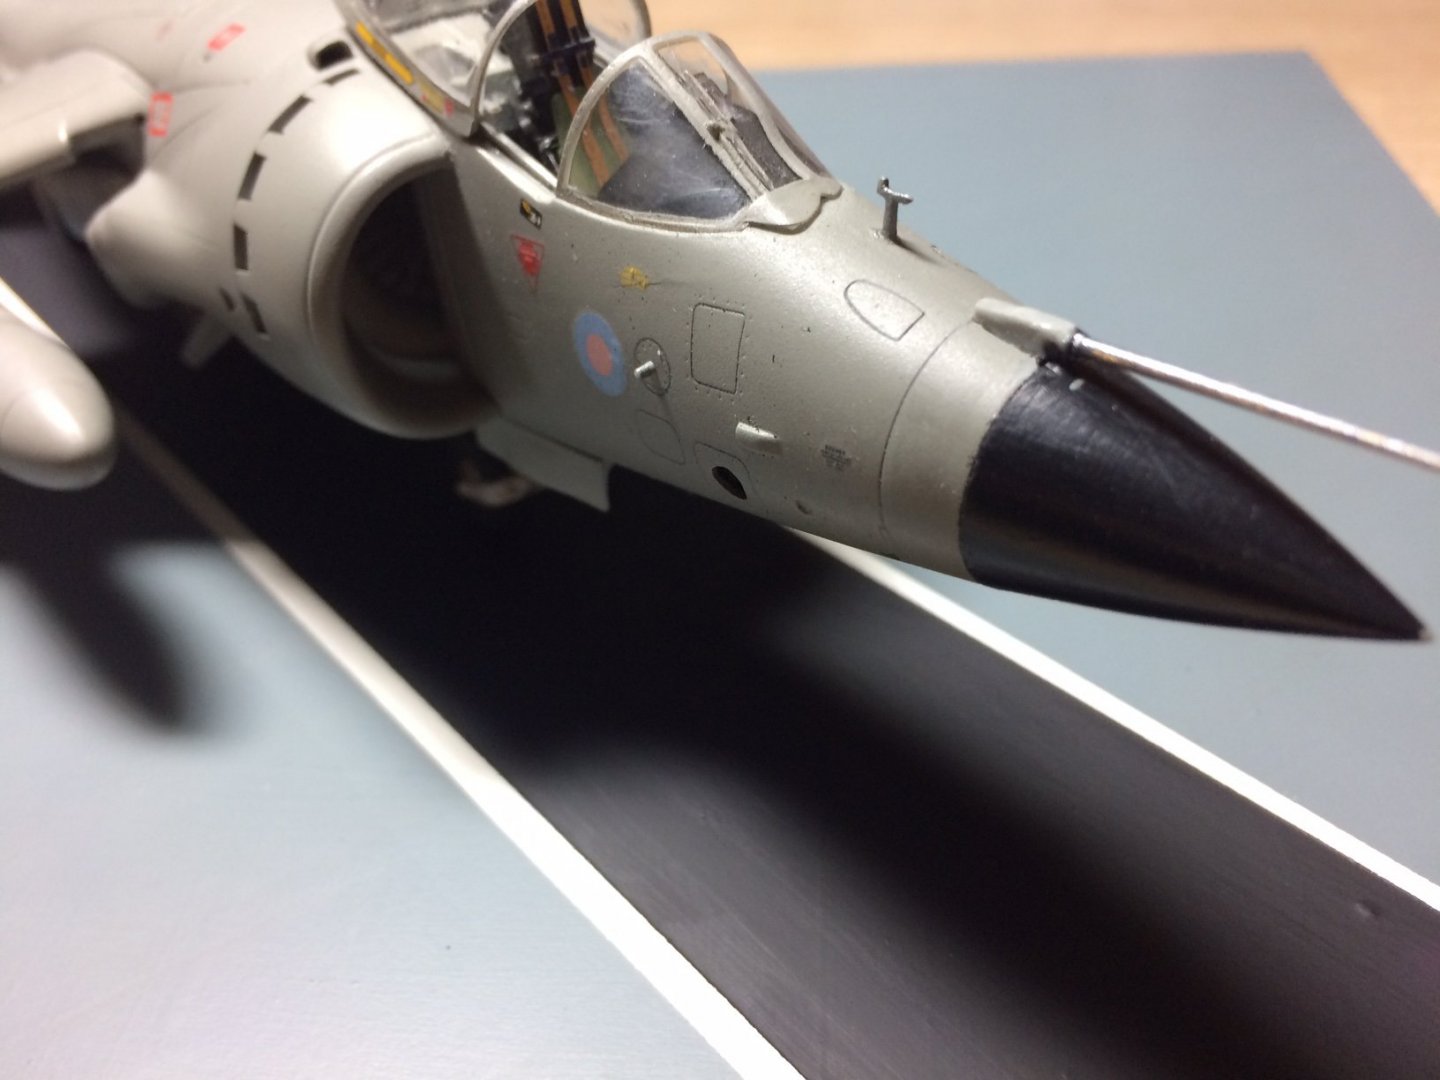
Evening all. before I do a briefing about my status with the build - this is what the admiral said to me about todays antics - "You should stop making model planes" reason being - I decided to carry on putting some masked White lines on the board thats simulating HMS Hermes deck - its going very well, I put it aside to dry and noticed that the pitot tube on SHAR was drooping even further, so it had to be corrected some how - out came my gummed up bottle of ca glue - its gone like a treacle now stiff and stringy, I had no choice but to try to use a fine bit of stiff wire and dab it in the glue then try to smear it around where the pitot tube is attached (did I say it was a mess) "yep even more mess caused" streaks of ca strings down the nose cone and a few blobs also, yet the pitot was still not secure. No choice but to pull the pitot out and attempt to sand down the nose cone, it took a good sanding and polishing to get it smooth, then where the pitot enters I sanded it back and made a fresh tiny hole - then I brushed onto the cone a few layers of my Vallejo Black surface primer, this went on quite well as it tends to self level, but after force drying it I then buffed it abit to smooth out a few brush marks. I had thrown away the ca as it was now no good and had caused enough trouble, so I had to use a bit of my Revell plastic glue to secure the pitot tube - I agian used heat to kind of melt the join and trap the pitot tube pin that makes the joint. While all this was happening I also managed to knock the front u/c leg off (it fell into the carpet jungle) and also one of the sidewinders cam un glued, I found both and simply re glued them. Hence the admirals comments above. OC.
-
Thats what I use on my figures.👍 OC.
-
Its RN anti fouling Red - its supposed to be almost like a mix between flat Red and Brick Red. OC.
-
Per, the boot line in real life would have been about 8 feet wide on Battleships of that tonnage. OC.
-
Thank you kindly Edward. OC.
-
Could also try this company - https://www.perry-miniatures.com/product_info.php?cPath=23_28_55&products_id=3576 I use them a lot. OC.
-
Thanks Ken, Im hoping to set her on a deck type scene - may later add a ladder / pilot and possibly a tug - that will be next year though. OC.
-
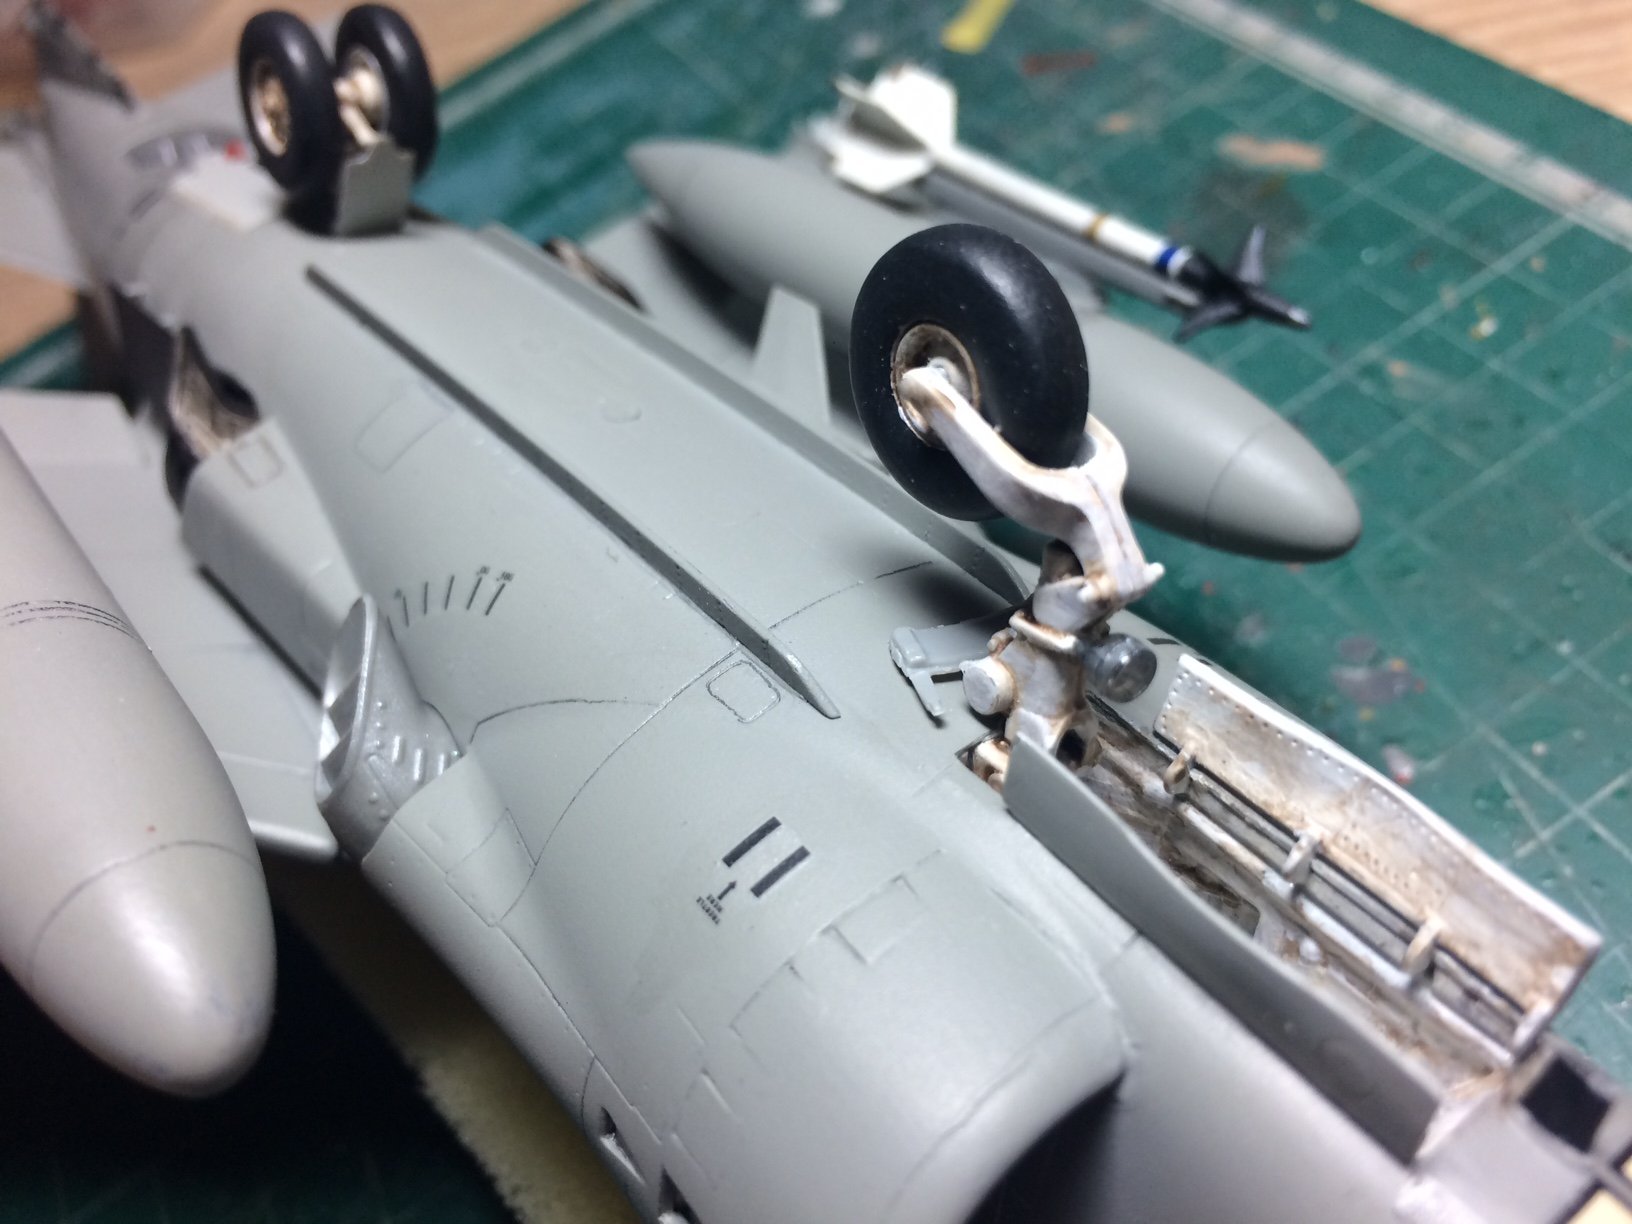
Evening all, Thank you all for all the likes and comments, Right straight in with some progress and a little laugh - I had finished attaching the main and front u/c units got then lined up and flattened the tyres for weight, then somehow I managed to drop the plane onto the floor 😦 I expected the worst - but the only damage was the pitot tube had come away, bit of a pain as my ca glue has gone thick and wont smooth into place, I had to use some as the pitot is metal, I managed to smear a bit around the break but it was not a smooth as I wanted - oh well best left alone. Next job today was to work on the Two outrigger legs - simple? - not quite, glued in place and even added flat spots under the wheels, but they were two high and were pushing the main u/c unit off the floor by the eqv of a bout a foot, so some fiddling sanding under the outrigger units and re try, did this for some time - till one of them came un glued and fell to the ground🤬 you know those bins - it nearly got a plastic SHAR. Any way I can away from the table for a break - then later I returned with a new wind and tried again, the leg was re glued and forced dried with the dryer, then after it was set I continued till I got all sitting on the deck.🙂 They still need painting - but I decided I would have a go at simulating HMS Hermes deck using the section of board I have thats grassed on one side, I flipped it over and have started to lay some paint layers down, It needs a dark strip down the centerline and white edging bands - these will be masked up and painted by hand. So this is the current status - and a couple of pics... OC.
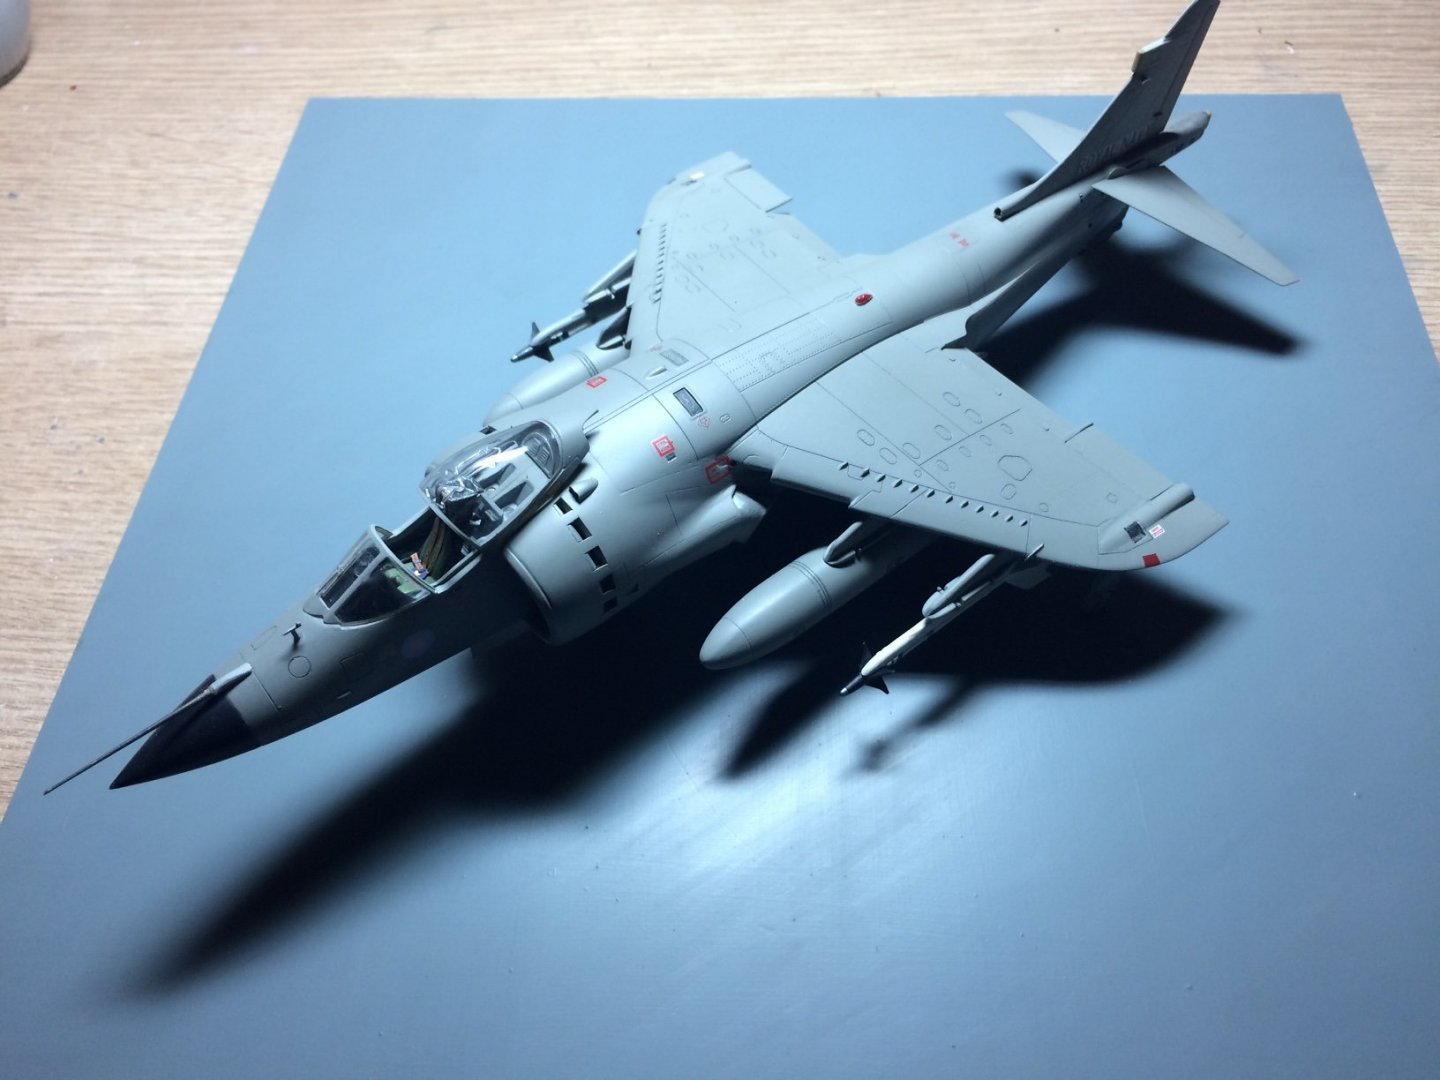

- 194 replies
-
- 11
-
-
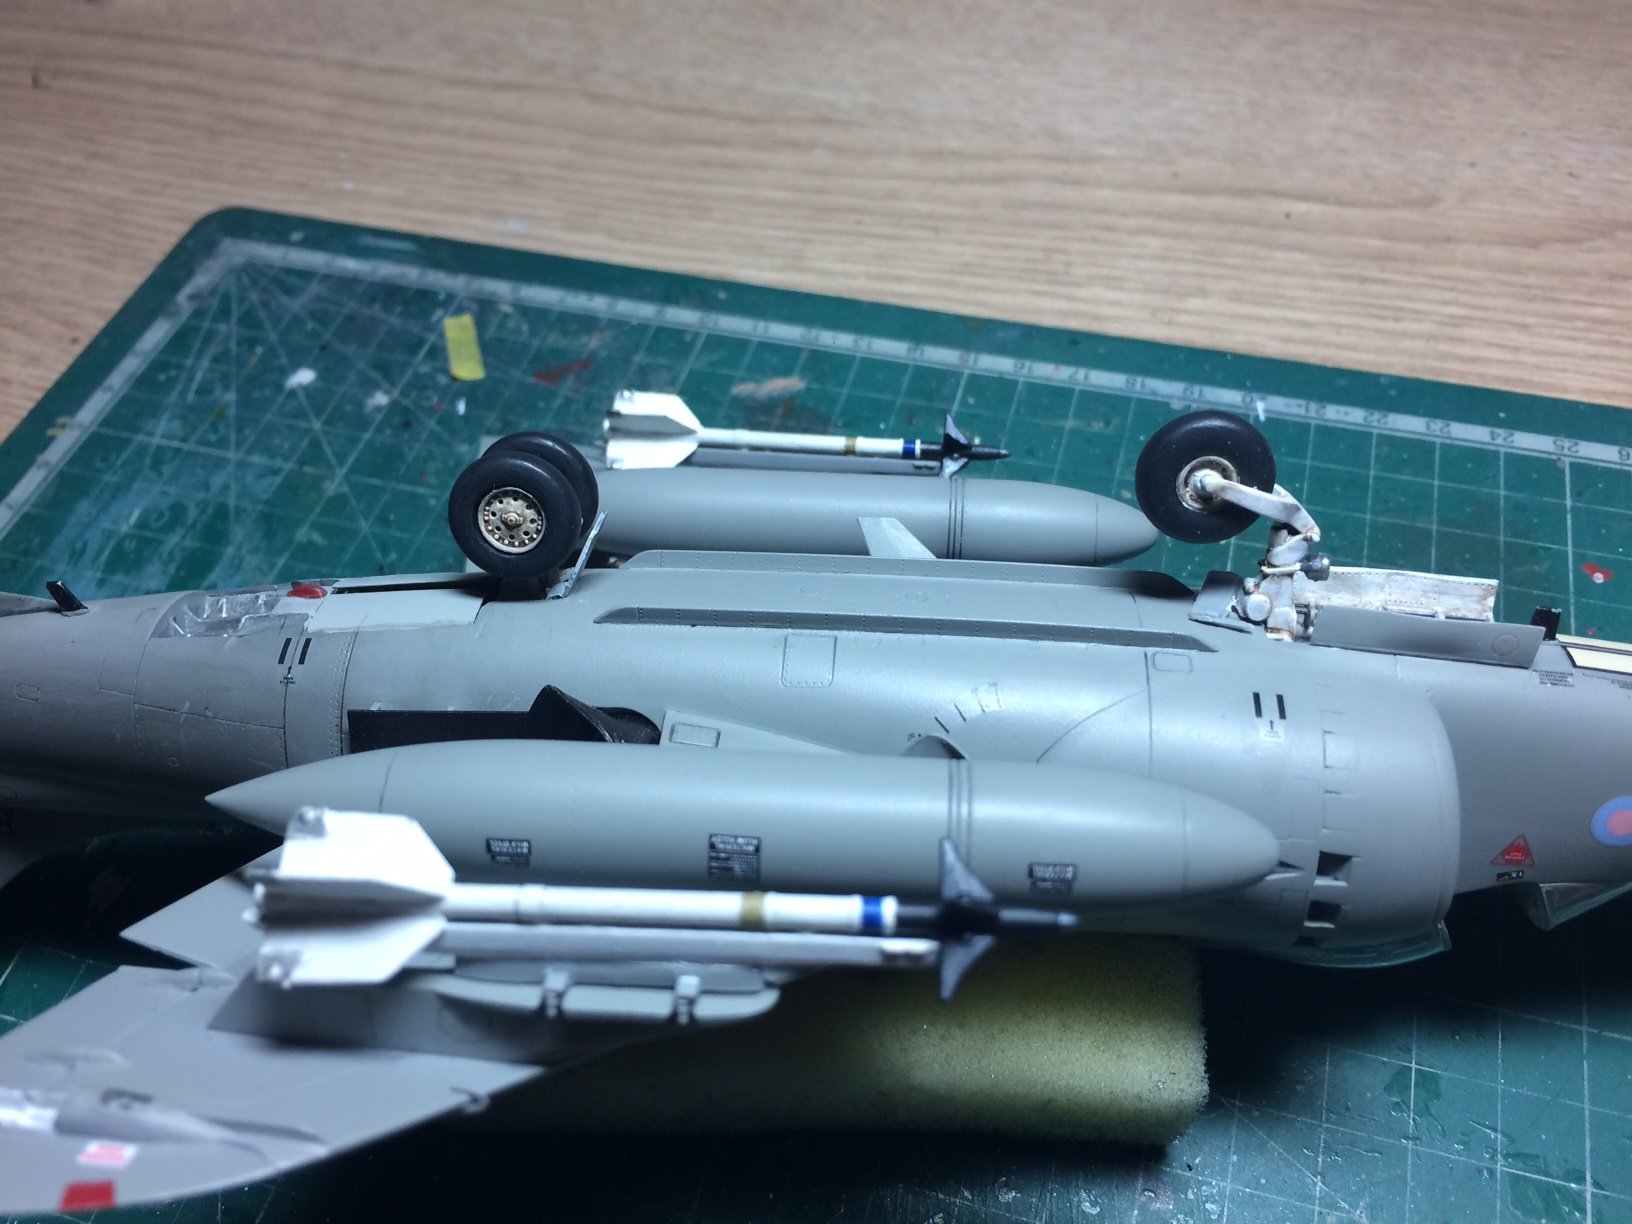
Evening all, I did abit more today concentrating on the U/C units these are built up in stages with painting and weathering in layers, I have been able to glue them in place letting them set before I work on the outrigger units - then it can be sat on its wheels. The main u/c doors were changed onboard Hermes as they had an issue with original ones (hence the colour shade difference)😉 # just noticed the front u/c small door has moved and will need re gluing.🤨 OC.


-
I think there are always some minor injuries - but dont think anything major, I always wanted to be an ECW reinactor but travel and things stopped it. OC.
-
I was at that actual event with my late farther - he took me when I was about 7 or 8 - I was blown away by all the colour / smell and noise. OC.
-
I was tempted to do a diorama on the English Cival War from the 1600's (May still one day) Centered around this - OC. Warwick castle-2.mp4