Old Collingwood
-
Posts
12,104 -
Joined
-
Last visited
Content Type
Profiles
Forums
Gallery
Events
Everything posted by Old Collingwood
-
 Very nice job. OC.
 -
Thank you Phil. OC.
-
Thank you kindly Phil. OC.
-
Excellent work Phil - the decals bring an already eaxcellent build to life. OC.
-
Evening all - a slight change of plan, I am going to finish her as XZ-457 as I saw here at Farnborough Airshow at the same time, both were 899sqn but the difference is - I have the decals for 457 but not for 439, I will also dispaly here (sidewinder equiped) as she was in the Falklands, its basically the same scheme just different decals. OC.
-
Thank you kindly Ken, I will have to give the decs a think after they are all on - as I took the masking off the canopy the paint finish is quite flat all over her and the decs are quite shiny, I have some Vallejo Acrylic Flat (Remember I was having issues with it on my Waterloo figures) I could try selective painting with it just over the decals with it by brush, I dont really want to have to mask up the canopy and front glazing area if I can avoid it. OC.
-
Thank you Edward. OC.
-
Evening all, The decaling begins starting with the stencils about a Zillion of them - I am starting at the front to avoid re handling, I started with the canopy side decals I then glued it down. OC.

- 194 replies
-
- 10
-

-
Thanks Ken, as I thought basically a Sidewinder minus the fins. OC.
-
Bit of a late progress report - I only managed and Hour on her to night just enough time to put some flat White in the outrigger wheel wells and start work converting the Aim 9 Lima Sidewinders in to traing rounds - this basically consisted off cutting the fins off and sanding a smooth round shape. No pics as I foregot to get the phone out - but I think you get the picture - or not or possibly do if you can imagine it😵 OC.
-
Like the addition of the figures. OC.
-
That is looking mighty fine Phil - really looks the business. OC.
-
Yep, I am using a fine pencil (the type with an extandable lead) I just sharpen a point on it with my sanding stick, then just follow the panel lines - and wet my finger and rub over the lines and wipe with a cloth. OC.
-
A bit more history on XZ-439 She was one of only Four SHAR's that did not take part in the Falklands, Four jets were kept back at RNAS Yeovilton on training purposes - I understand she was painted in the low viz scheme with markings in case they changed thier mind and sent them, she was the second SHAR built and was latter converted into a F/A2 version and was even sold at a later year to be flown on the airshow scene in the US. I am building her as I saw her at Farnborough Airshow 82 along with 190gal tanks and on the outer pylons Sidewinder acquisition round used for training purposes. OC.
-
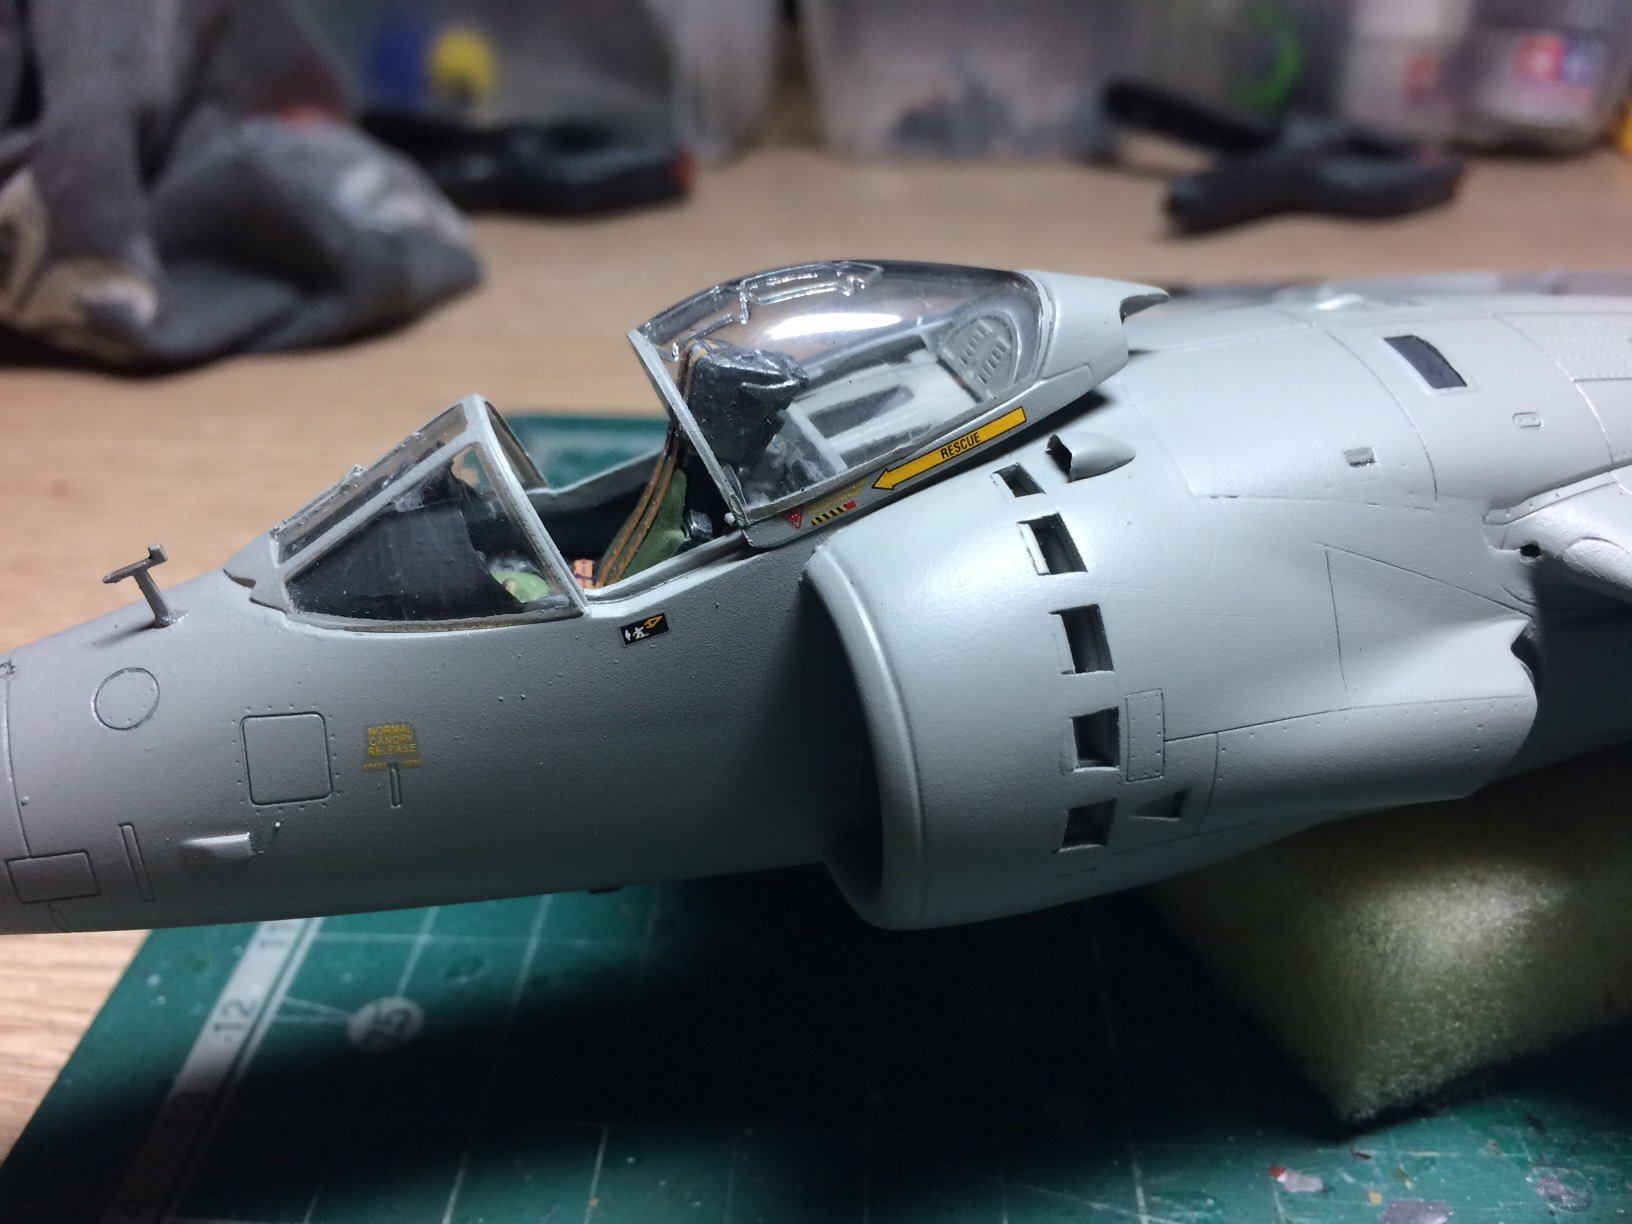
A little funny tail - the Yaw Vane on the nose near the cockpit, I keep knocking it off from handling the plane, its been off and back on about Four times now😞 OC.
-
Thanks Ken, it was hit or miss when that transparency part broke and loosing the other part down into the carpet (the carpet munster must have had a day off as I found it) - then it was a case of how I could fill in the missing piece - thankfully Vallejo putty came to the rescue. OC.
-
I'm not seeing that Bob. OC.
-
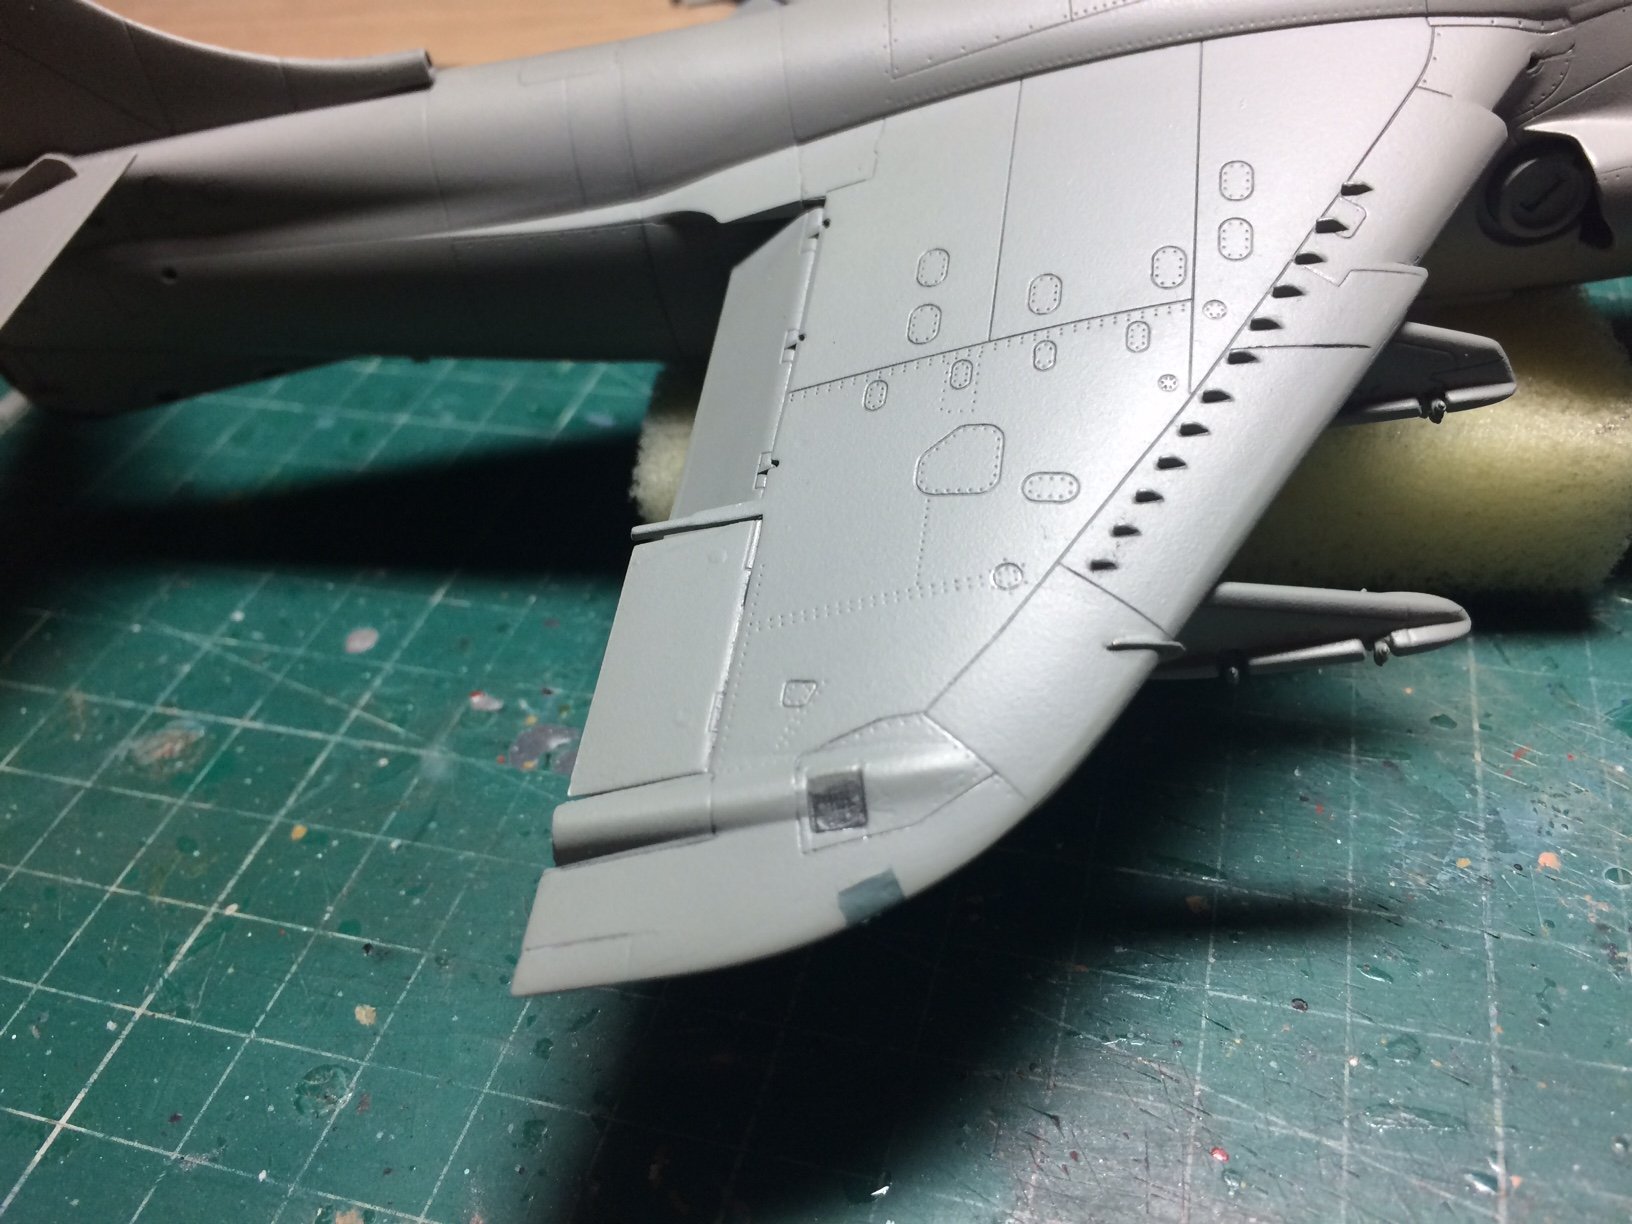
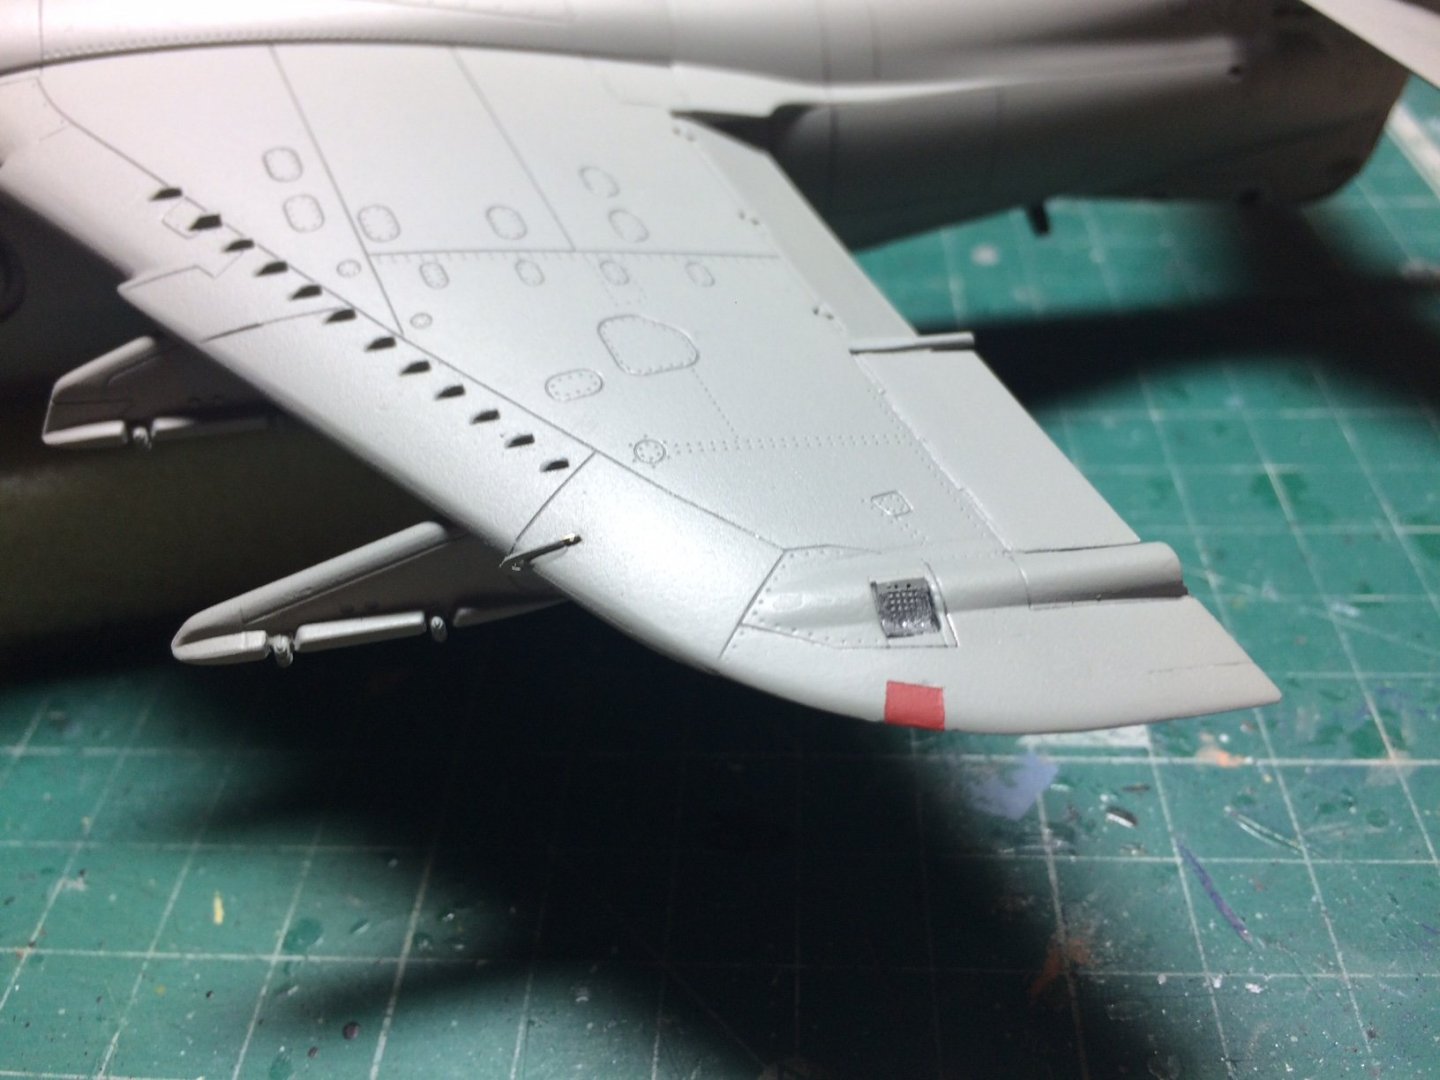
Evening all - right straight in where I left off those wing nav lights - firstly I took it outside and sprayed a couple of coats - primer then top coat, it turned out ok smooth without showing the nav lens details, then I brought it inside let it dry for a couple of hours, then after deciding it was dry enough - I maked up both wings to form the nav lens's, then a few coats of Green and red then the masks were removed. Seems ok I think. OC.

- 194 replies
-
- 11
-
-
I got a bit more done today - I started by painting the different fittings in Black, then I touched up the canopy farme edges and did a bit more detailing, then I decided to fit the tiny transparency parts - the top/bottom nav lights and the Two wing lights - here is where I encountered my first problem - "Boy are they fiddly to handle and position the right way round" hence I dropped the first one down onto the carpet joungle - took me a good Ten minutes to find it on my poorly knee, this was quickly glued in with a kind of - "You are going in even if your the wrong way round" then I turned to do the other side - same procedure but this time the tiny little thing snapped in Two, so I just glued the one half piece in and worked on filling the remaining cavity with Vallejo Putty, gently bit by bit assisted with heating and gentle sanding - then more filling/sanding "You see where this is going" there was a slight edge around the nav light covers with rivets - well not anymore as I had no way of controling the sanding over a small area. Anyway they are both smooth and uniform on both wingtips awaiting a quick blast of primer and top coat just over the extreme wing tips. When dry I will mask and paint to Two nav covers in Red and Green - best I can do. I will post some more pics after I have rescued this stage.....................Stay tuned. OC.
-
Superb work bob - really tidy really nice to watch. OC.
-
Thanks Ken, yep thats engraved into the transparency. OC.