Old Collingwood
-
Posts
12,106 -
Joined
-
Last visited
Content Type
Profiles
Forums
Gallery
Events
Everything posted by Old Collingwood
-
 I will have a look in the box later 🧐 OC.
 -
Join the club Joe - would love to follow your build. OC.
-
I Was thinking (Steady on I might use my single brain cell) lol, anyway I have that other Spit kit that is stashed in the cupboard - I might see if its rescue-able to build a RN Seafire from it after I have built this - "What say you shipmates"? OC.
-
Thats looking really nice - love the detail and history regarding the engine fire - puts a real persoanl take on the build. OC.
-
Couldn't agree more and Empire of the Sun. OC.
-
Really nice progress building into a Stunning replica. OC.
- 192 replies
-
- 2
-

-
- sovereign of the seas
- sergal
- (and 1 more)
-
Hiya mate, how could I have missed the start of this - my appologies, anyway I will pull up a bunk and follow along if I may. OC.
-
Excellent work Phil those pillare look the business. OC.
-
Just jumping in here to wish you and yours well - stay safe and well. OC.
-
Just thinking a head - I think I will mask up and attach the canopies tomorrow as they will protect the delicate cockpit parts - gun sight etc. OC.
-
Thanks Ken, yep Im really impressed by this kit. OC.
-
I feel your pain with cockpit canopy woes - It almost ended my Mossie build, thesee canopies seem to come so delicate where by the slightest touch and they break or not glue down well enough. Hope you get it sorted mate - fingers crossed you will. OC.
-
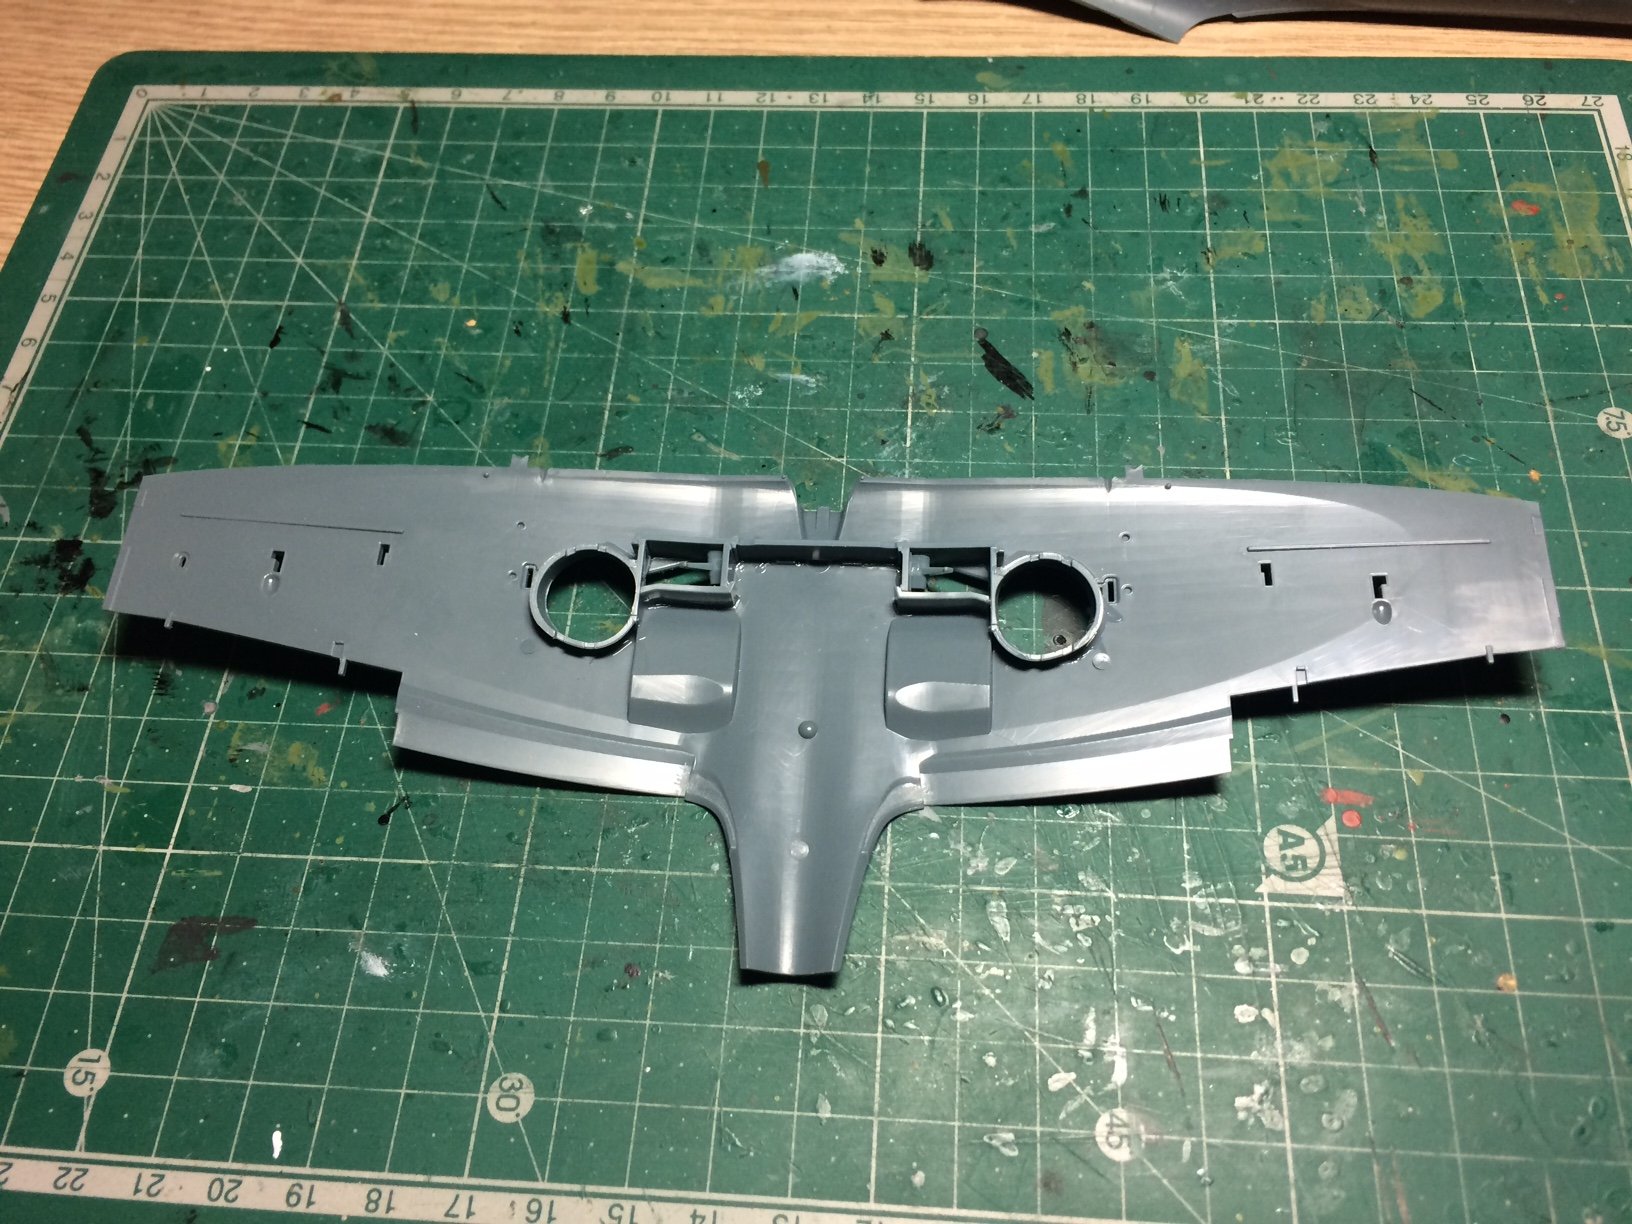
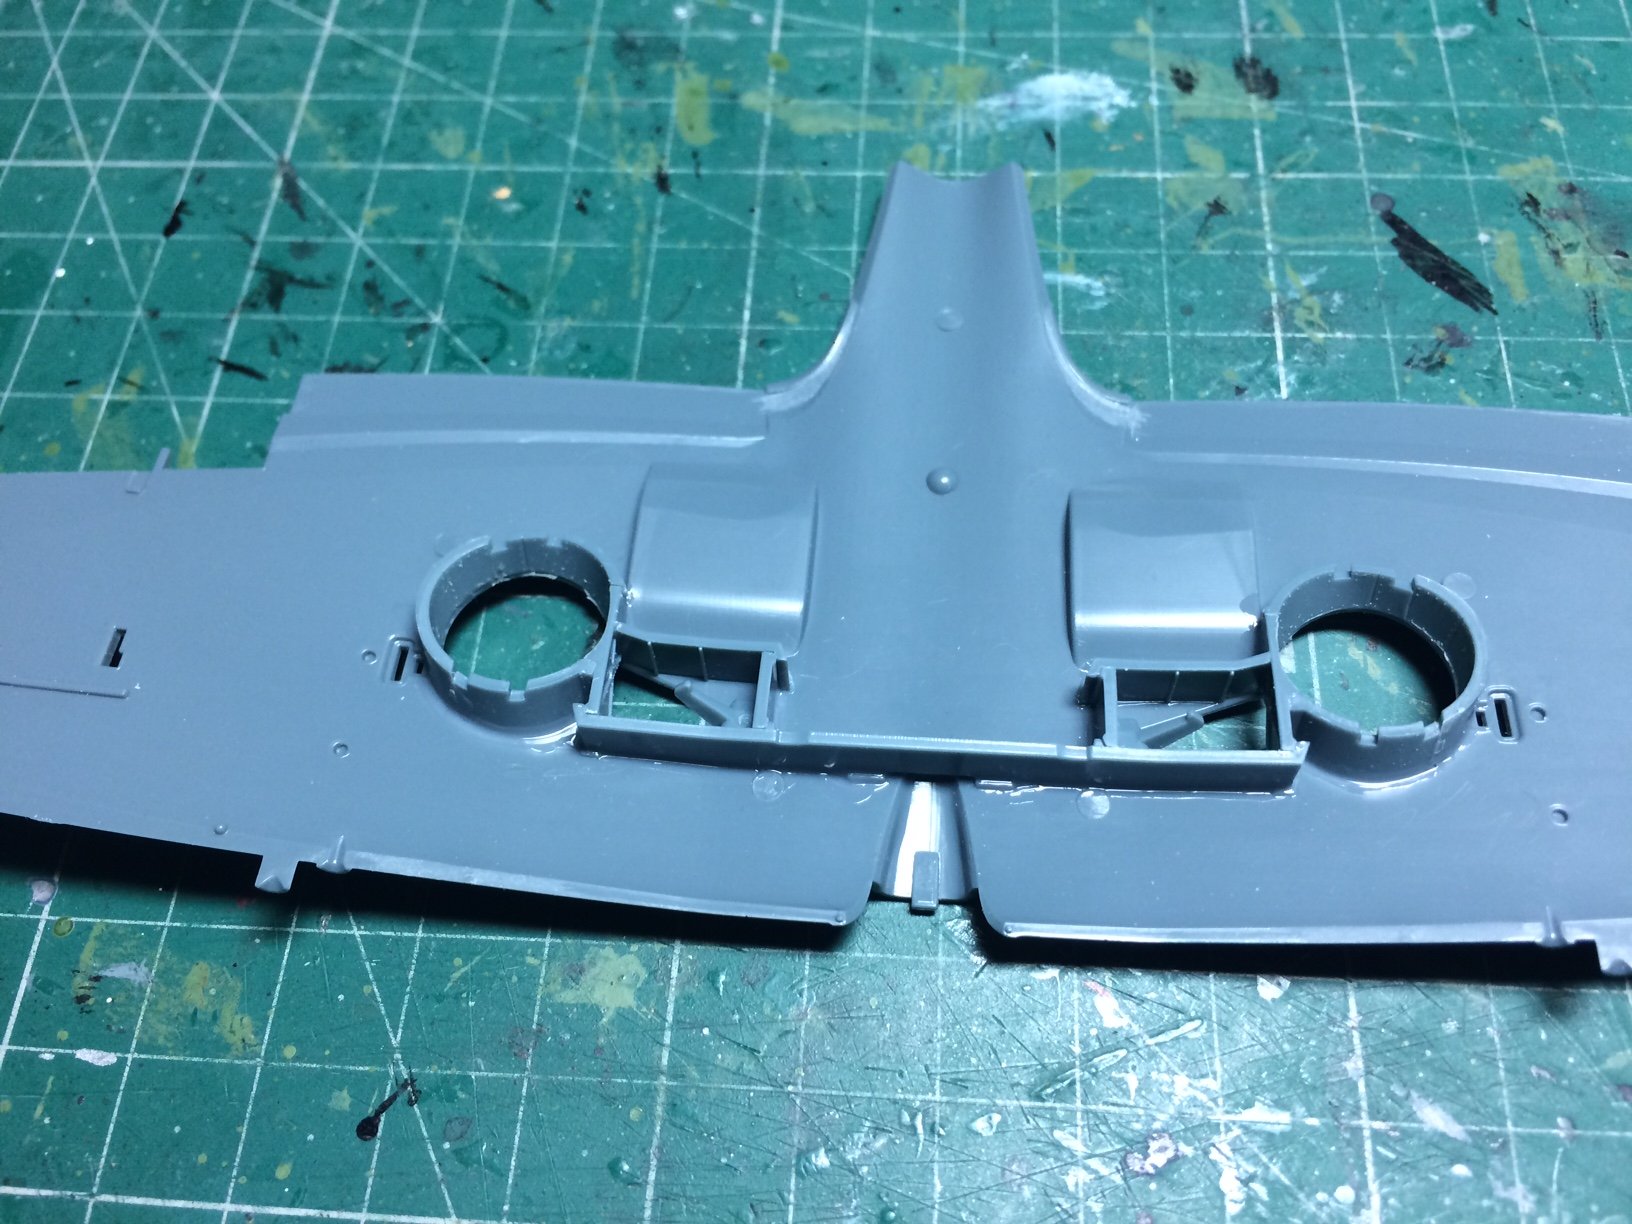
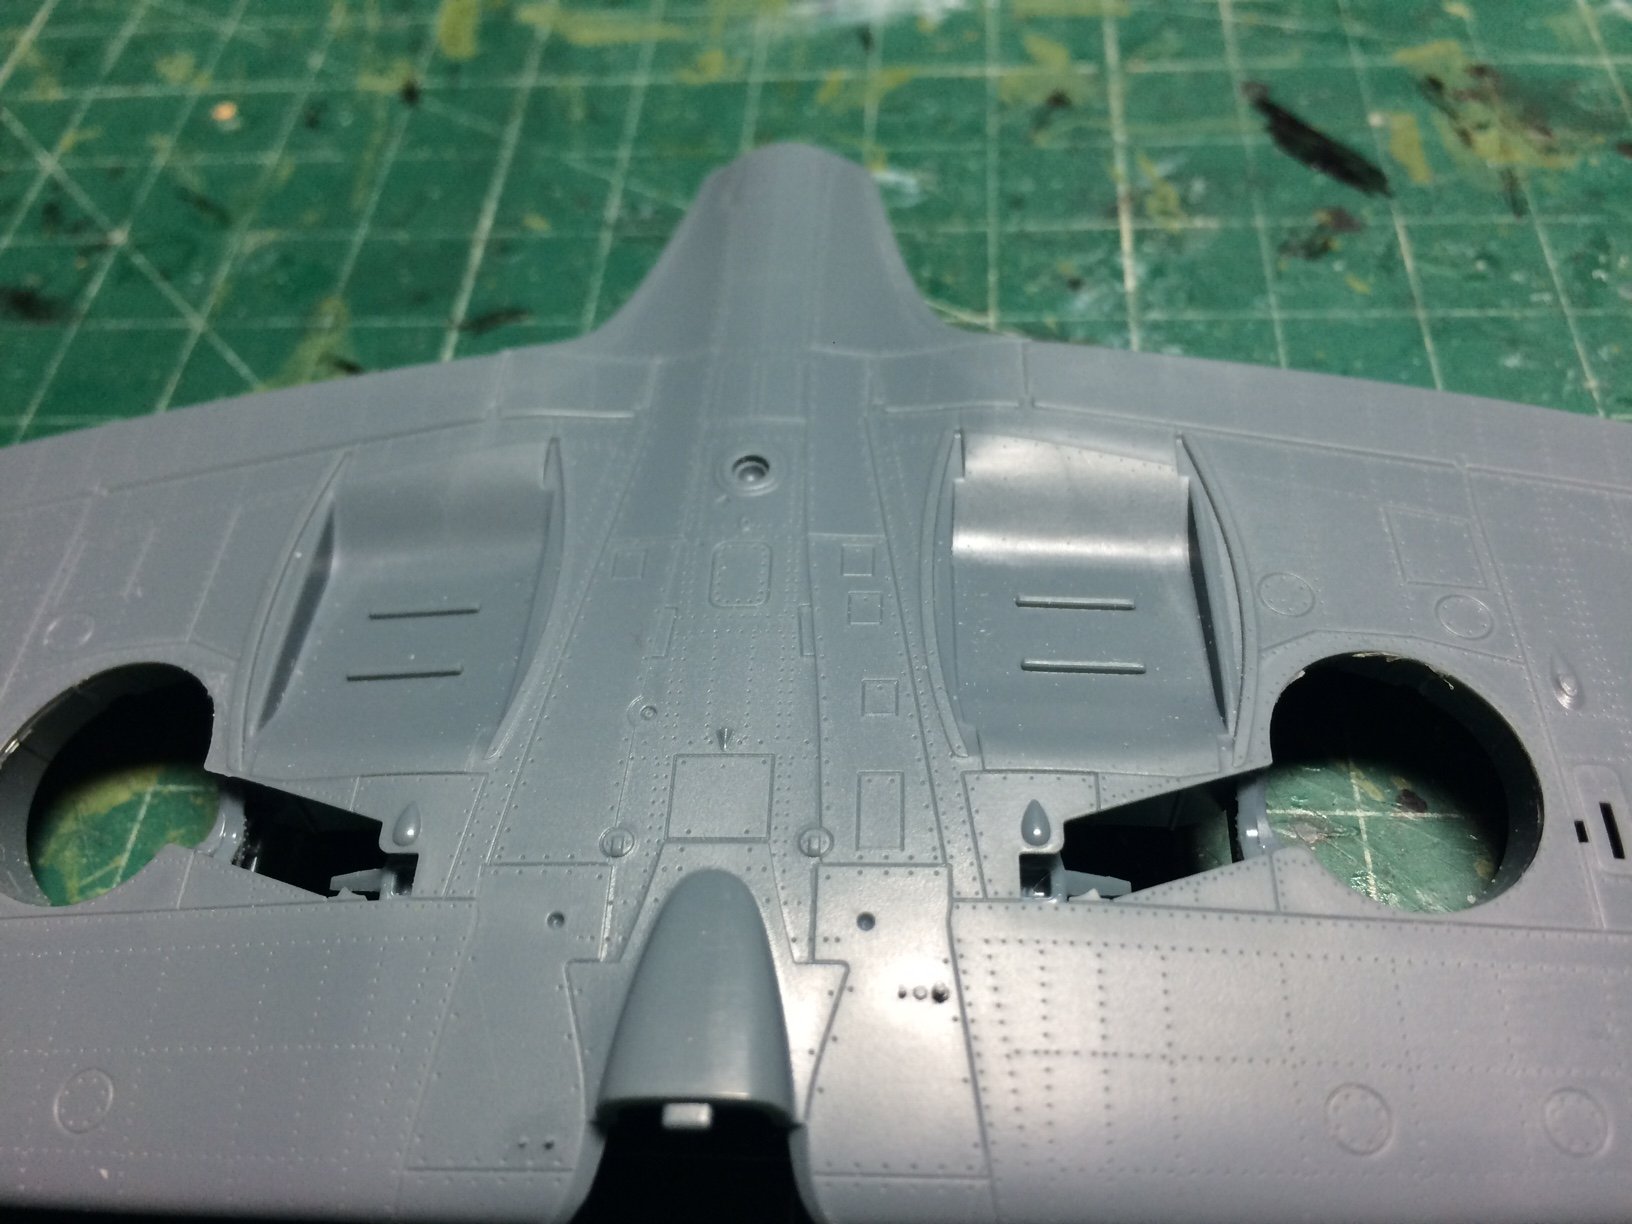
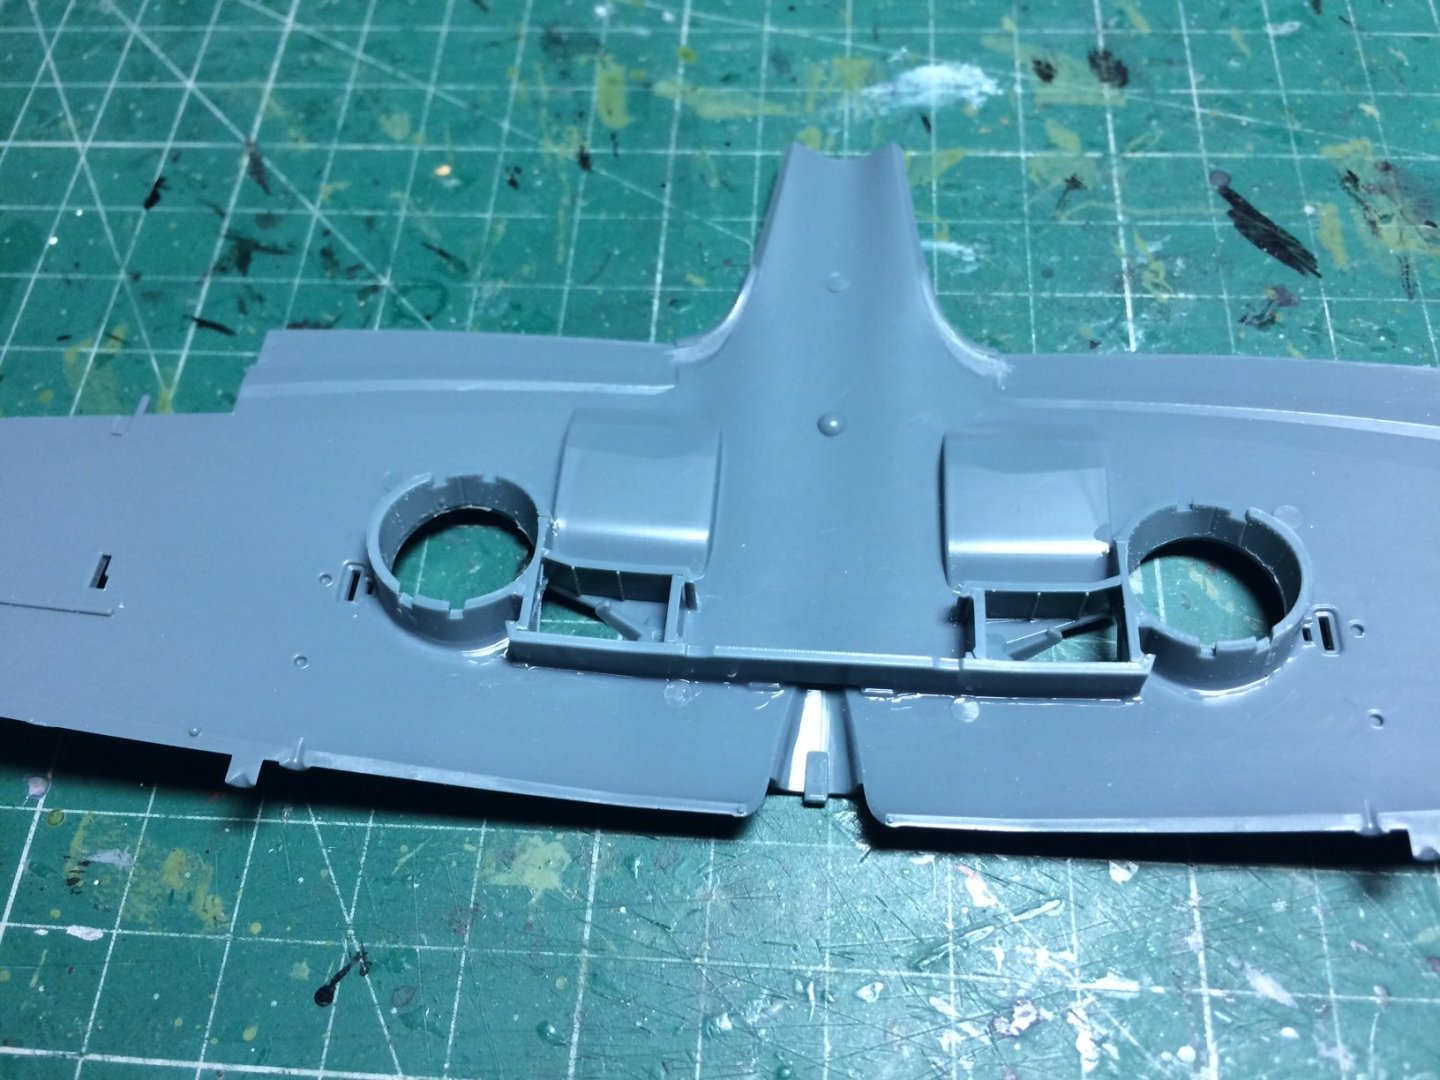
Hi all, right "Pictures-pictures-pictures" I did some light wet and dry sanding along the join seams (not a lot) then It was time to start on the lower wing section, this is a one piece unit except for the wing tips, fitted to this is a strut and weel well walls, these are made up in three sections each side, again very good fit and quality, to aid strength I ran some glue around the outsides. I thought I would include a pic to show the excellent fine detail on the bottom of the wing - this is evedent all over the model. OC.


- 298 replies
-
- 13
-
-
Looking great Edward - I love the colour contrast. OC.
-
Curtiss P-40B Warhawk by Asat- Airfix- 1/48
Old Collingwood replied to ASAT's topic in Non-ship/categorised builds
That is looking nice - so much detail crammed Into the space. OC. -
Bell UH-1H Huey By lmagna - Dragon - 1/35 - PLASTIC
Old Collingwood replied to lmagna's topic in Non-ship/categorised builds
Sounds like a good plan lou. OC. -
I hear you mate, the media doesn't help - if anything its making things feel worse, I try not to watch any of it, try to stay focused on coming on here keep your mind off the madness that the world has created. OC.
-
Bell UH-1H Huey By lmagna - Dragon - 1/35 - PLASTIC
Old Collingwood replied to lmagna's topic in Non-ship/categorised builds
Nice work lou, those belts look mighty fine mate. OC. -
Really nice work craig, it reaslly does look the business. OC.
-
No driving seat in a plane though. OC.
-
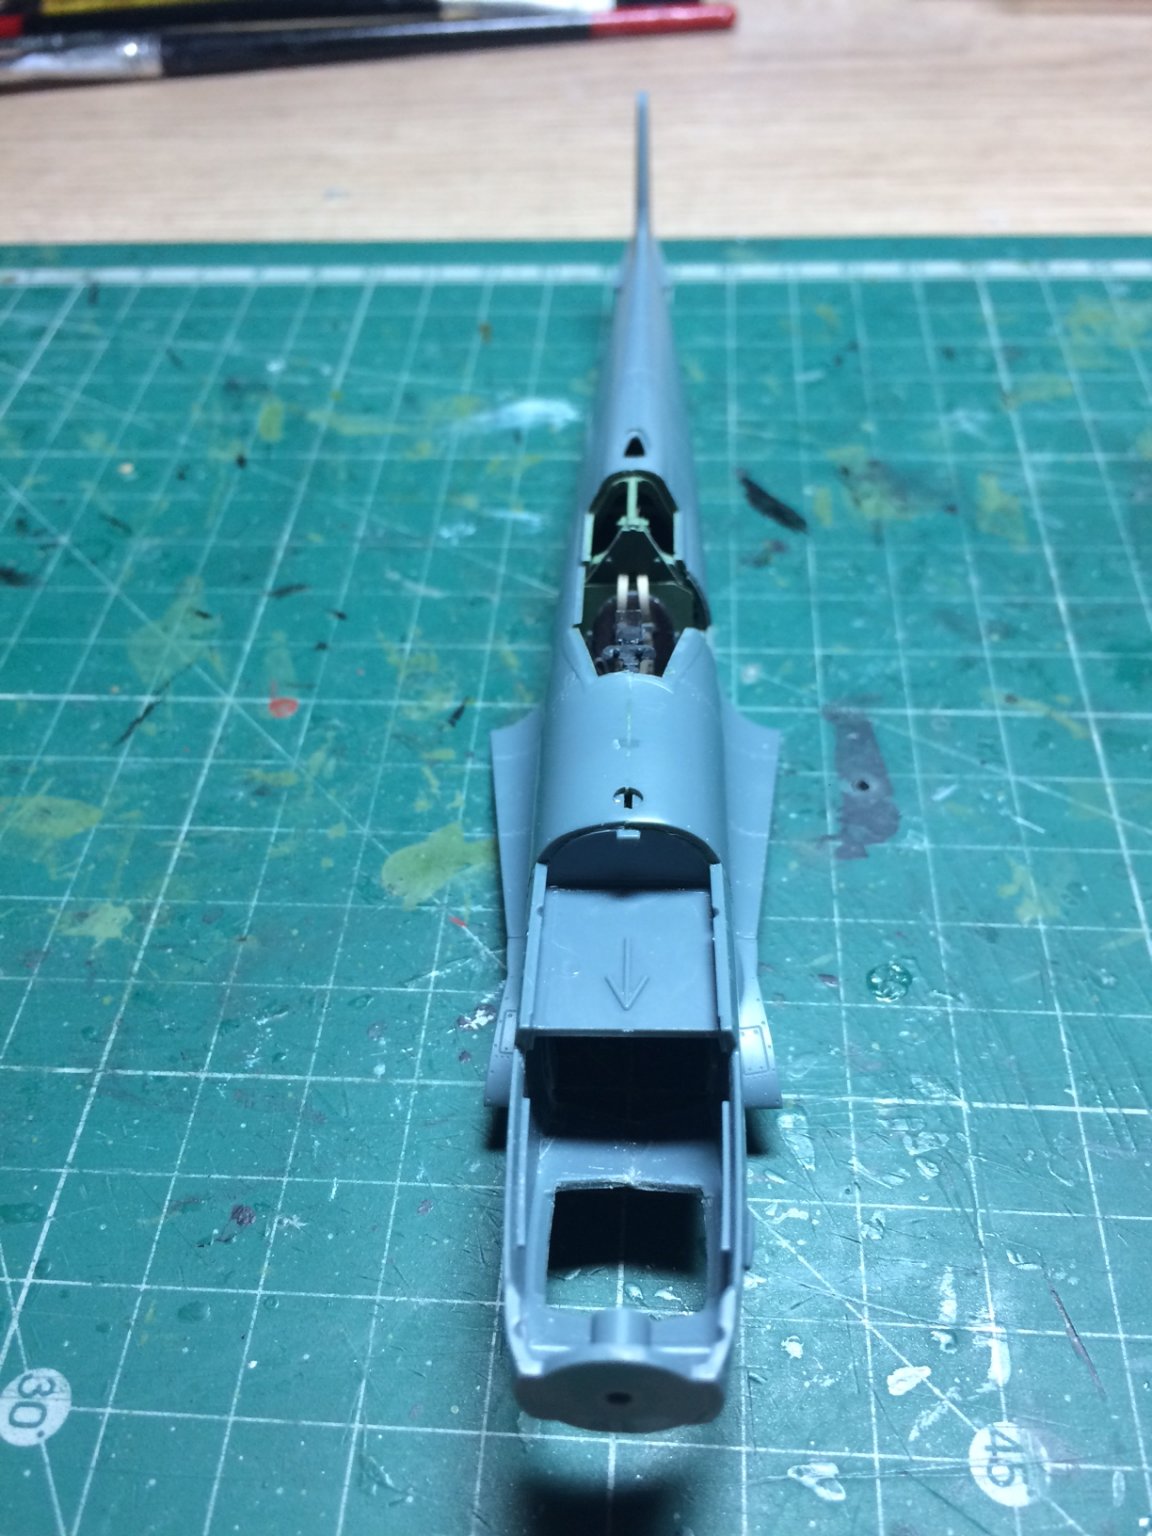
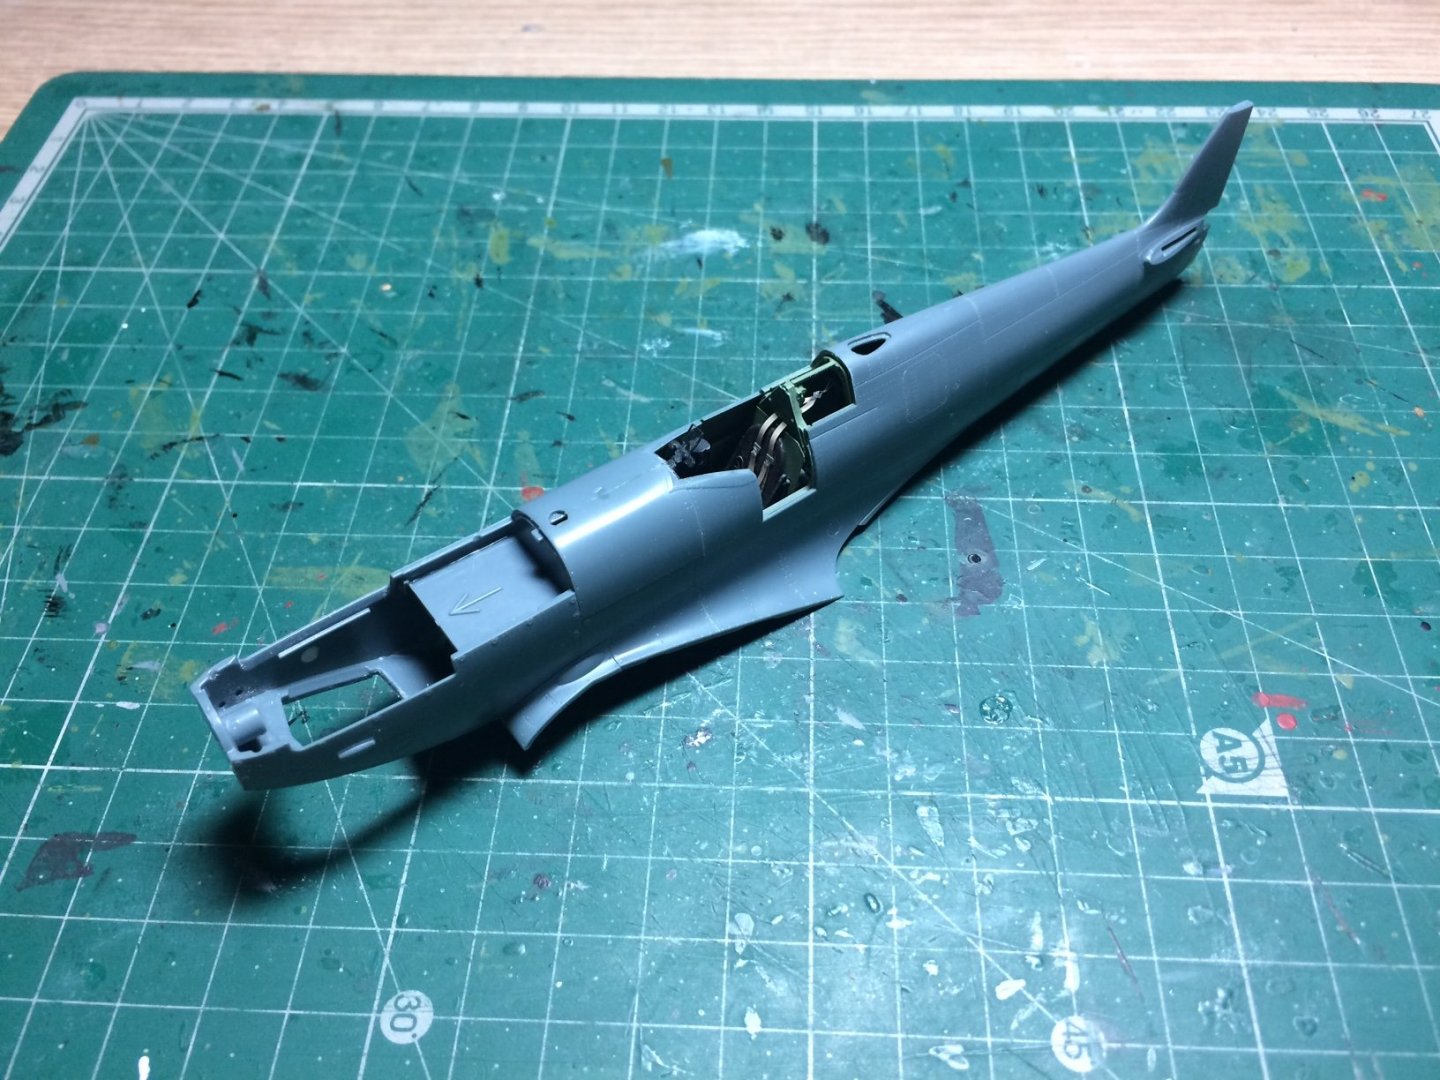
More progress - I closed up the fuselage - will need a bit of tidy up on the seams, but it went really well. Pictures when I have cleaned up the seams. OC.
-
Cockpit is better than no cockpit - imagine the pilot trying to fly without it🙃 OC.
-
Some nice detail there EG looking forward to seeing more (I understand your frustration over getting parts) I think the world will see a mass of kits made during this madness. OC.
-
Sitting here eagerly awaiting to see more mate.🙂 OC.
-
Thank you kindly Ken, what stands out about the kit is not just the fit of parts but also the quality of the plastic, its has a more solid feel to it yet in scale thickness. OC.