Old Collingwood
-
Posts
12,000 -
Joined
-
Last visited
Content Type
Profiles
Forums
Gallery
Events
Everything posted by Old Collingwood
-
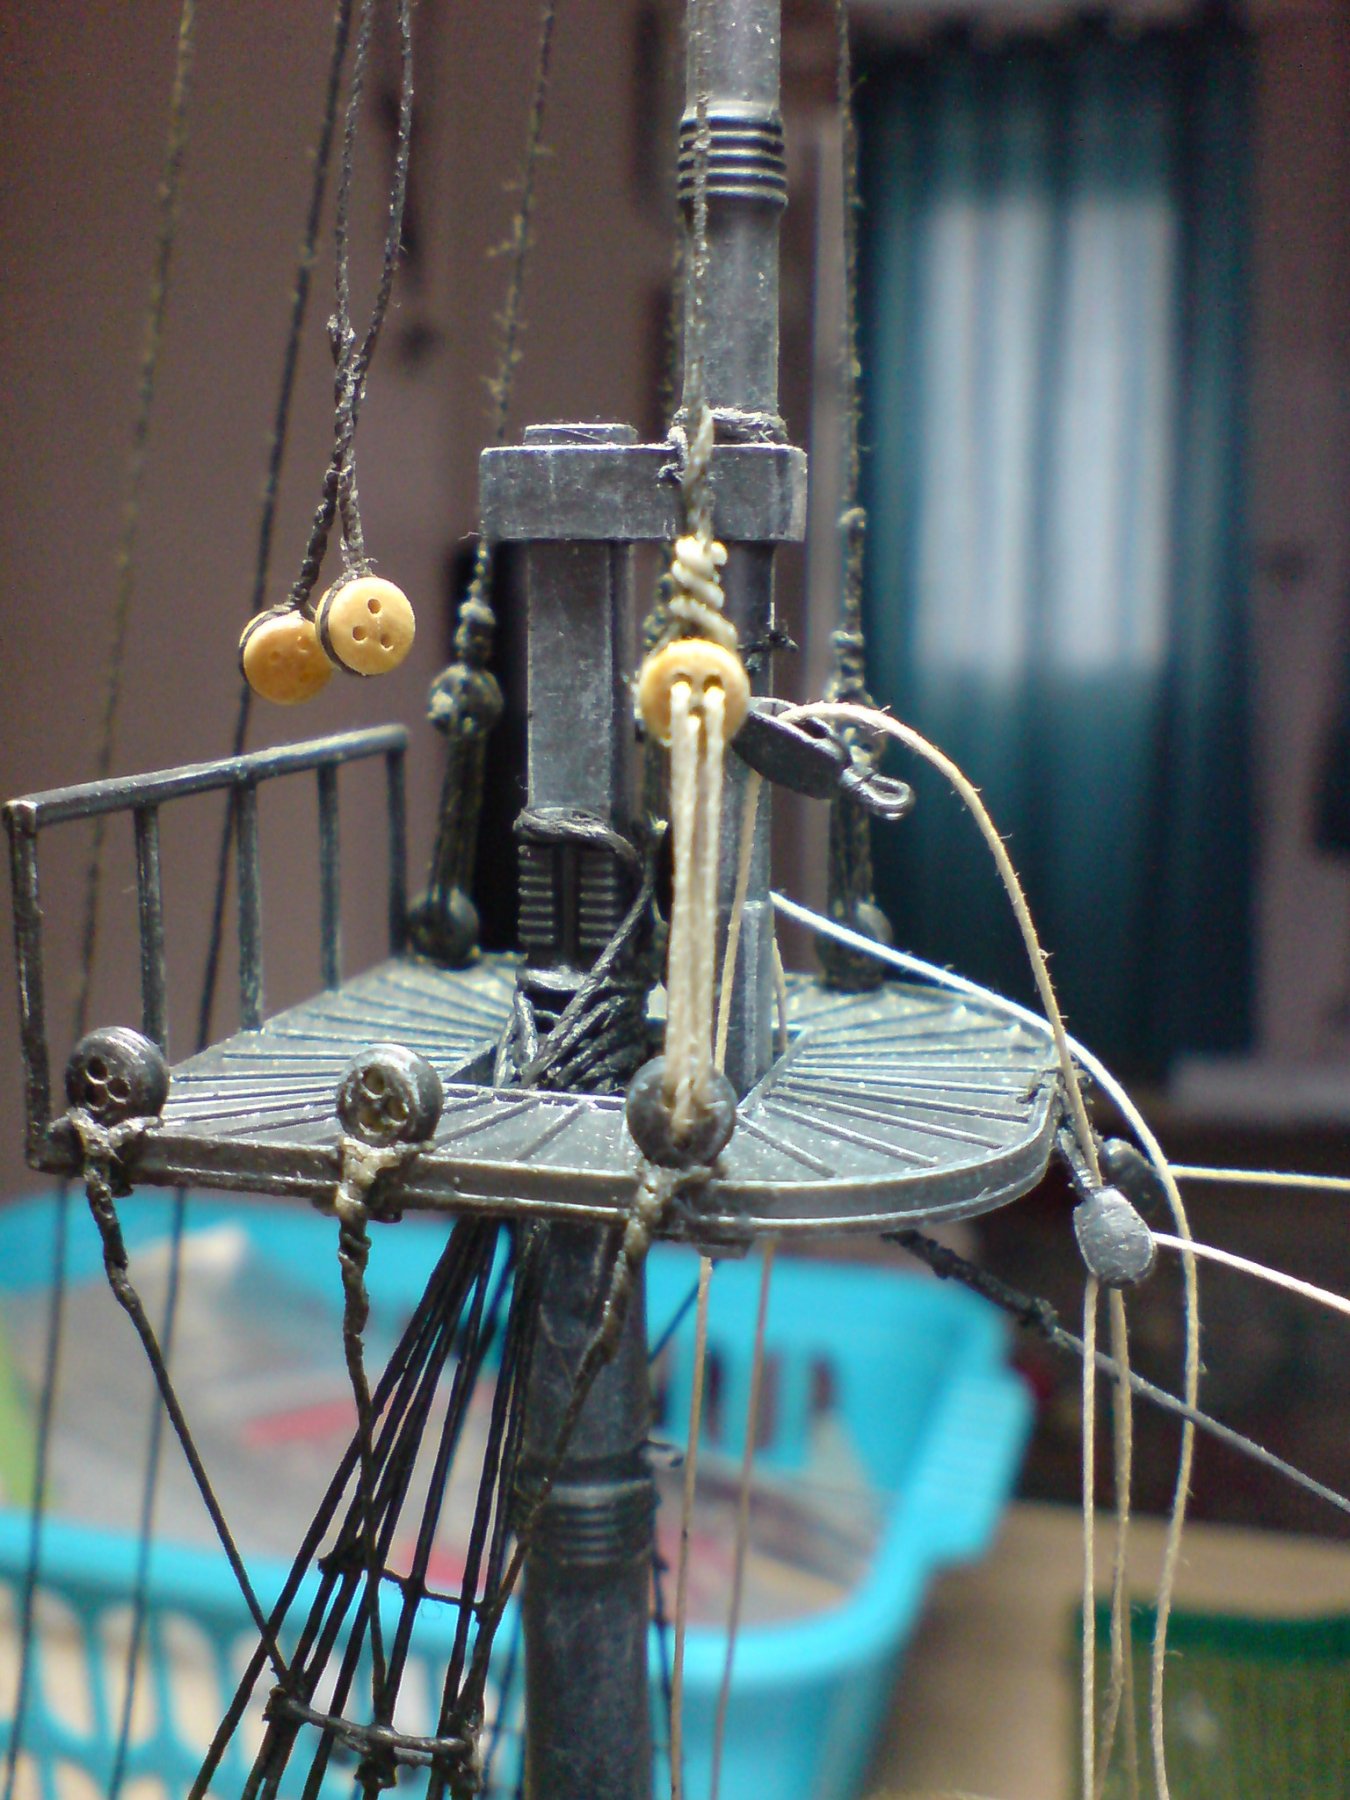
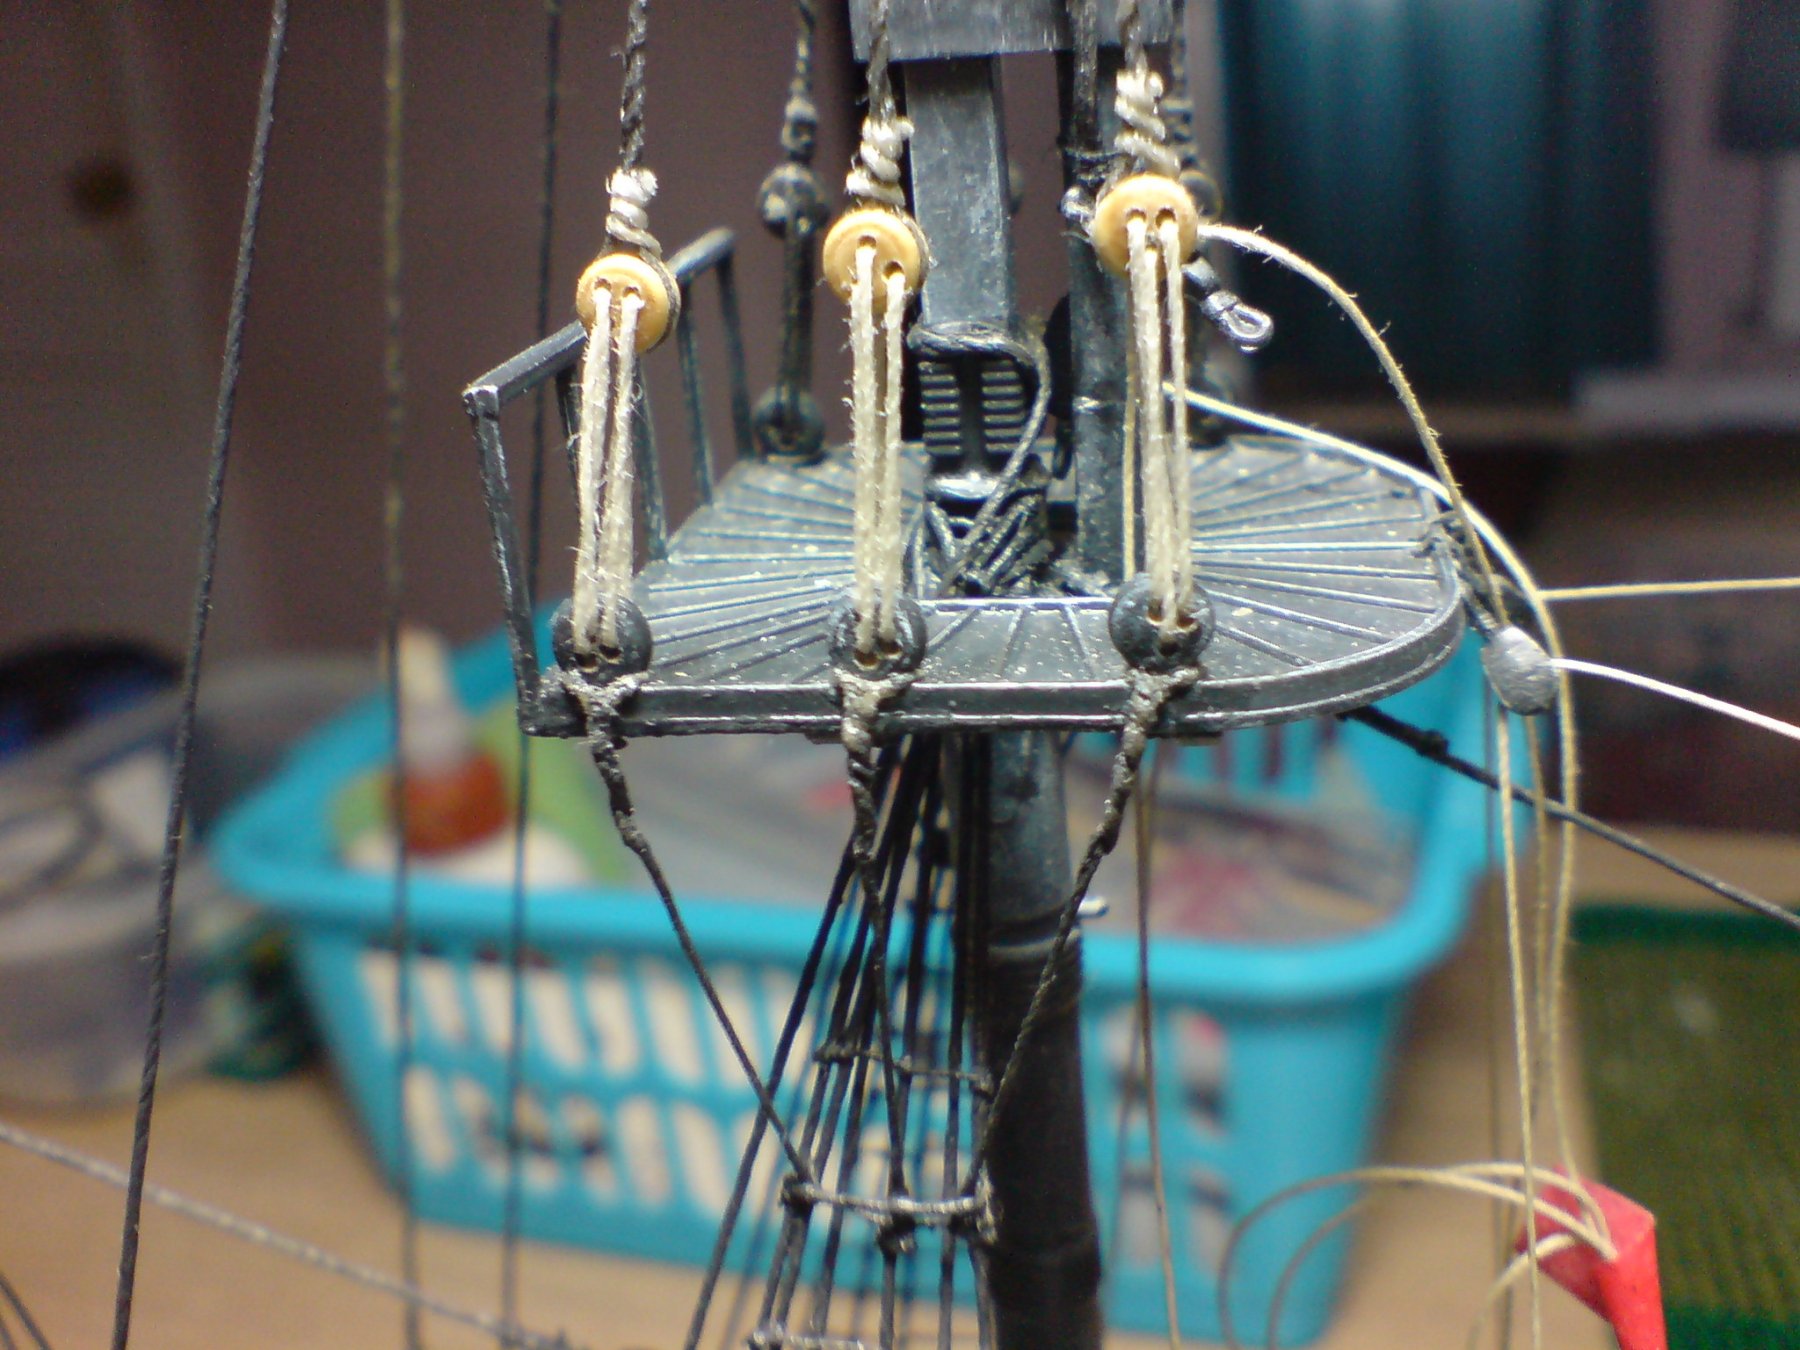
 More work again today (whats up with me - two days on the trot) anyway I managed to fit the mizzen deadeyes and tention them on both sides, only six more to do next on the mizzen tops. Pics show the deadeyes and an arty shot. OC.
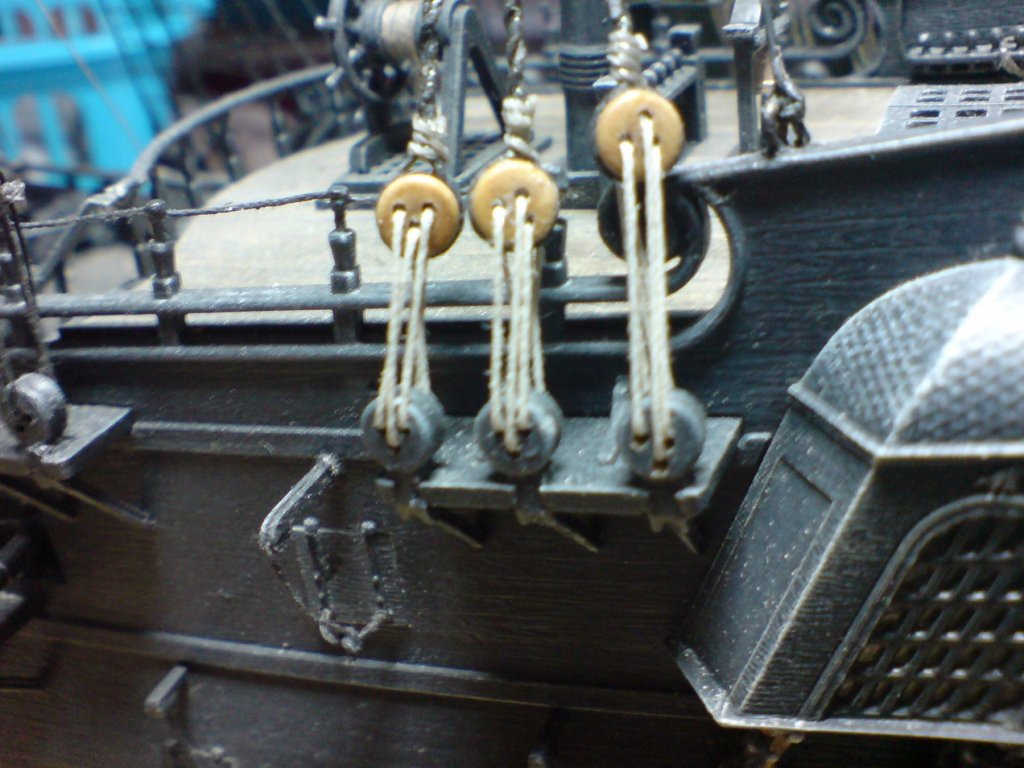

-
Thank you wallace, all the best with the tooth (bad subject of mine) thank you for the encouragement. OC.
-
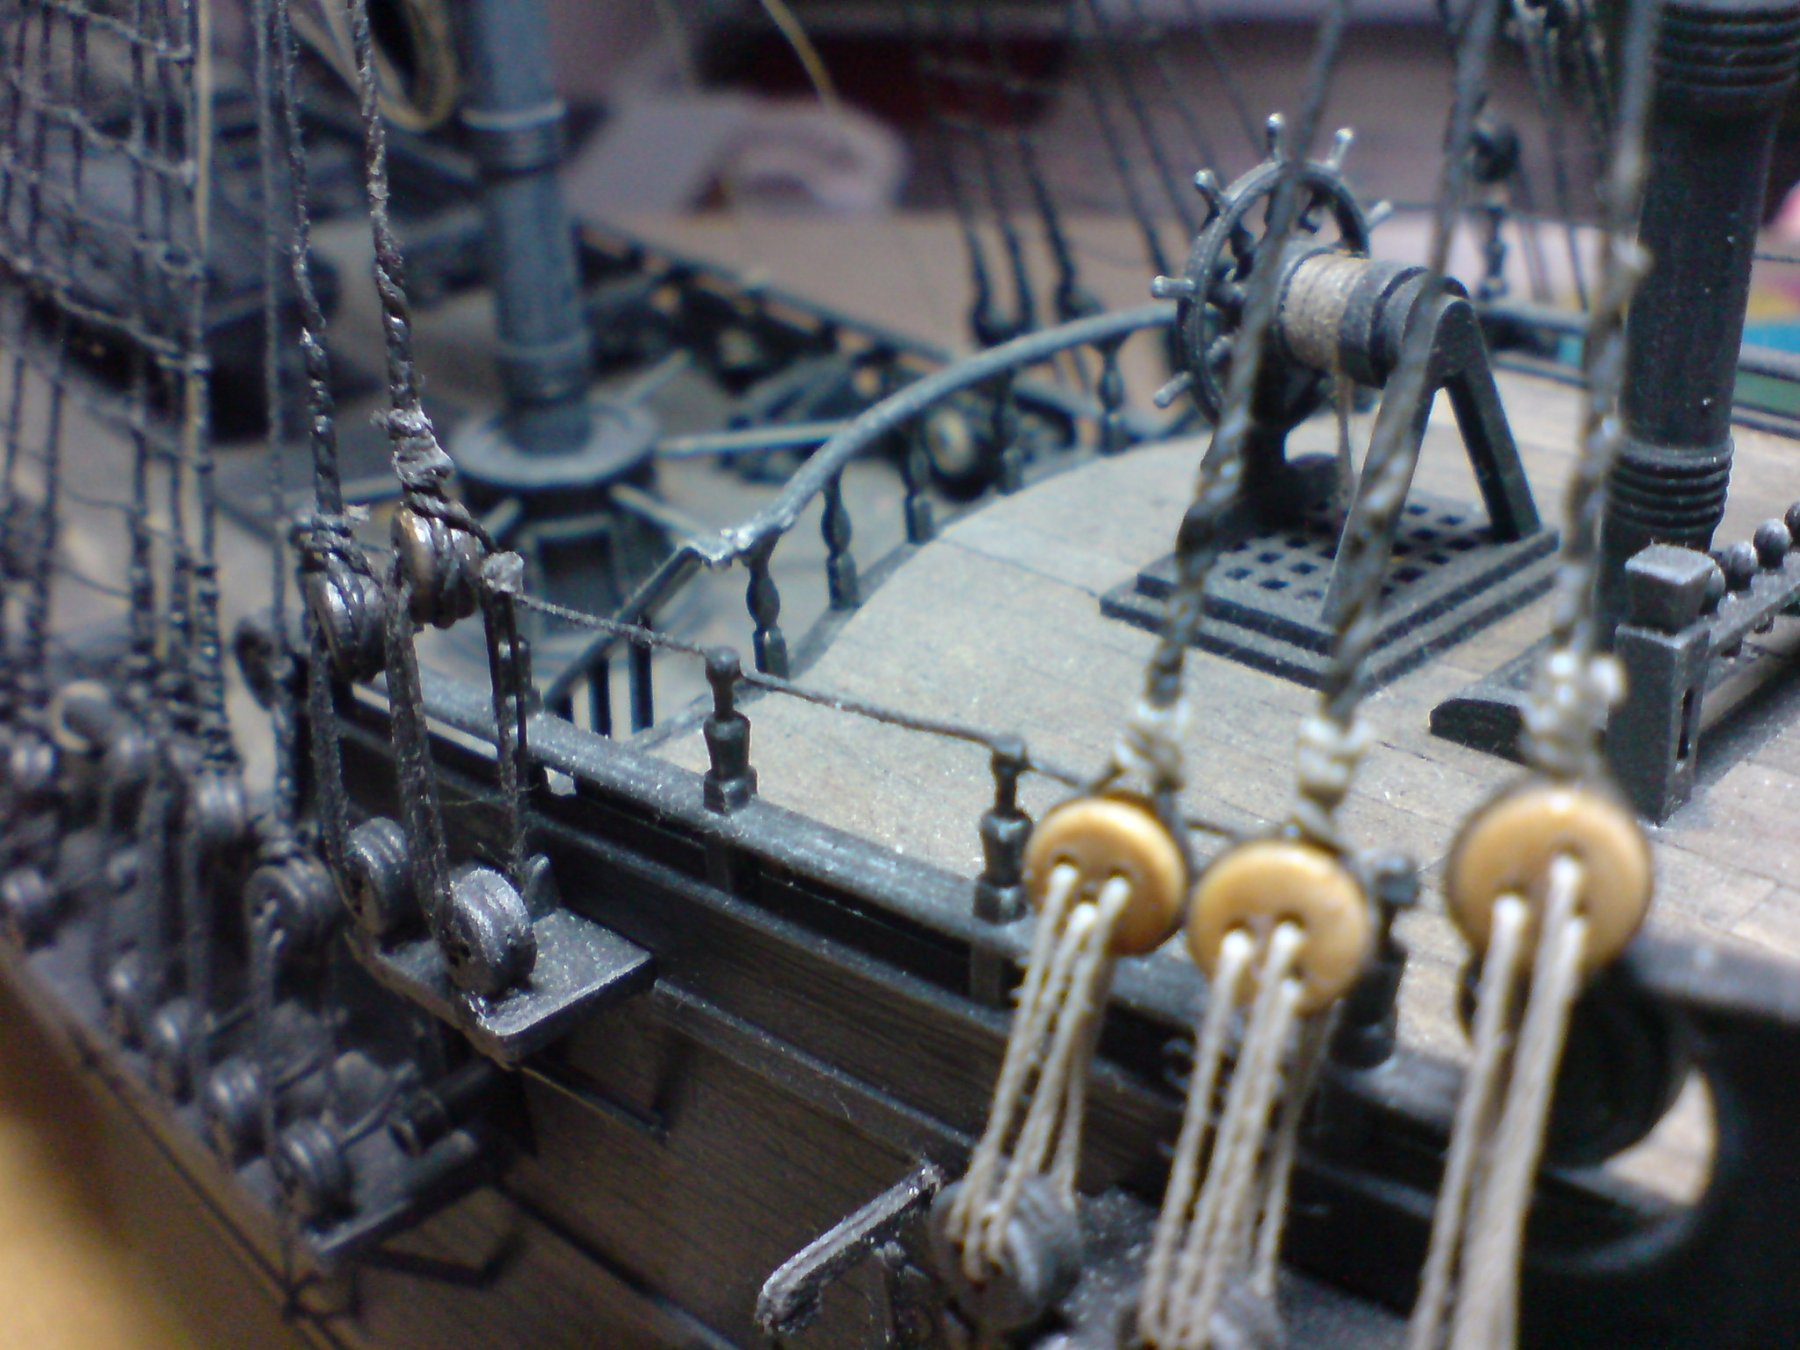
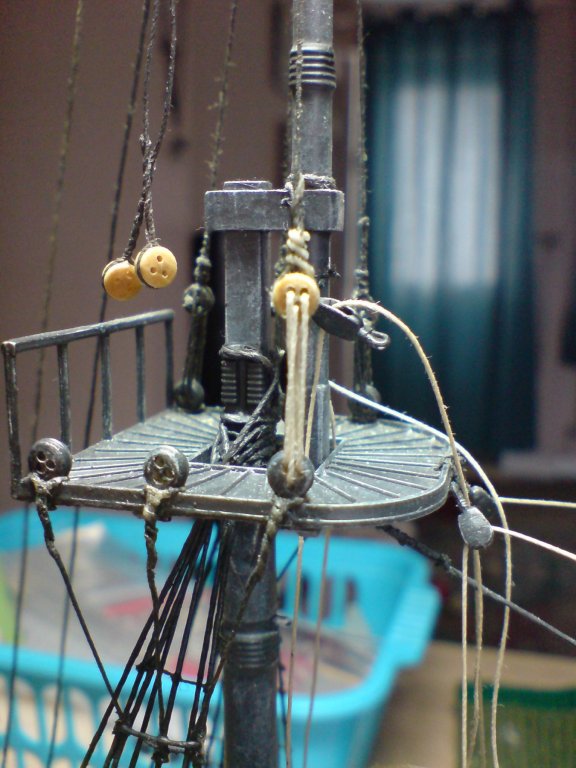
Hi all, I had a good bash at the pearl today first I got on the table just enough items needed, but also including my magnifier/light, first job was to blow away a few layers of dust (suppose it would have looked quite good being a dead ship with some dust) anyway I was kind of feeling a bit lost and took a while to get back into my stride and work out the best place to pick up from - I decided to continue with the main-upper shroud deadeyes, so same procedure as before - cut some thread, rubbed some watered pva into the thread to smooth out some of the fraying, then I ran my hand drill through the dead eye holes, next off was to lash the three deadeyes to the shroud ropes and secure with a smear of ca, then I lashed the two ends of the deadeyes together. So main upper shrouds attached - awaiting blackening and ratlines. Its good to be back. OC.

-
Thanks lou, I am especially pleased with the unit to keep them all safe and dust free. OC.
-
Fine work mate , keep the updates coming in loving the start of this build. OC.
-
Well done denis - what a lovely piece of work certainly should be pride of place in your home. OC.
-
I foregot to say phil - its the small scale extras that you are adding to your vic that are making her stand out, and as we all discover its a slow progress but with thought - that makes all the difference - loving your attention to detail. OC.
-
Thank you kindly wallace, like wise with you and yours, good to hear about your new set up - will be good to see your updates up and running again all the best. OC.
-
Four spars completed place next to thier plastic counterparts. Sorry for the photo quality - I had my cam phone on the wrong setting hence being out of focus. OC.

-
Excellent work. OC.
-
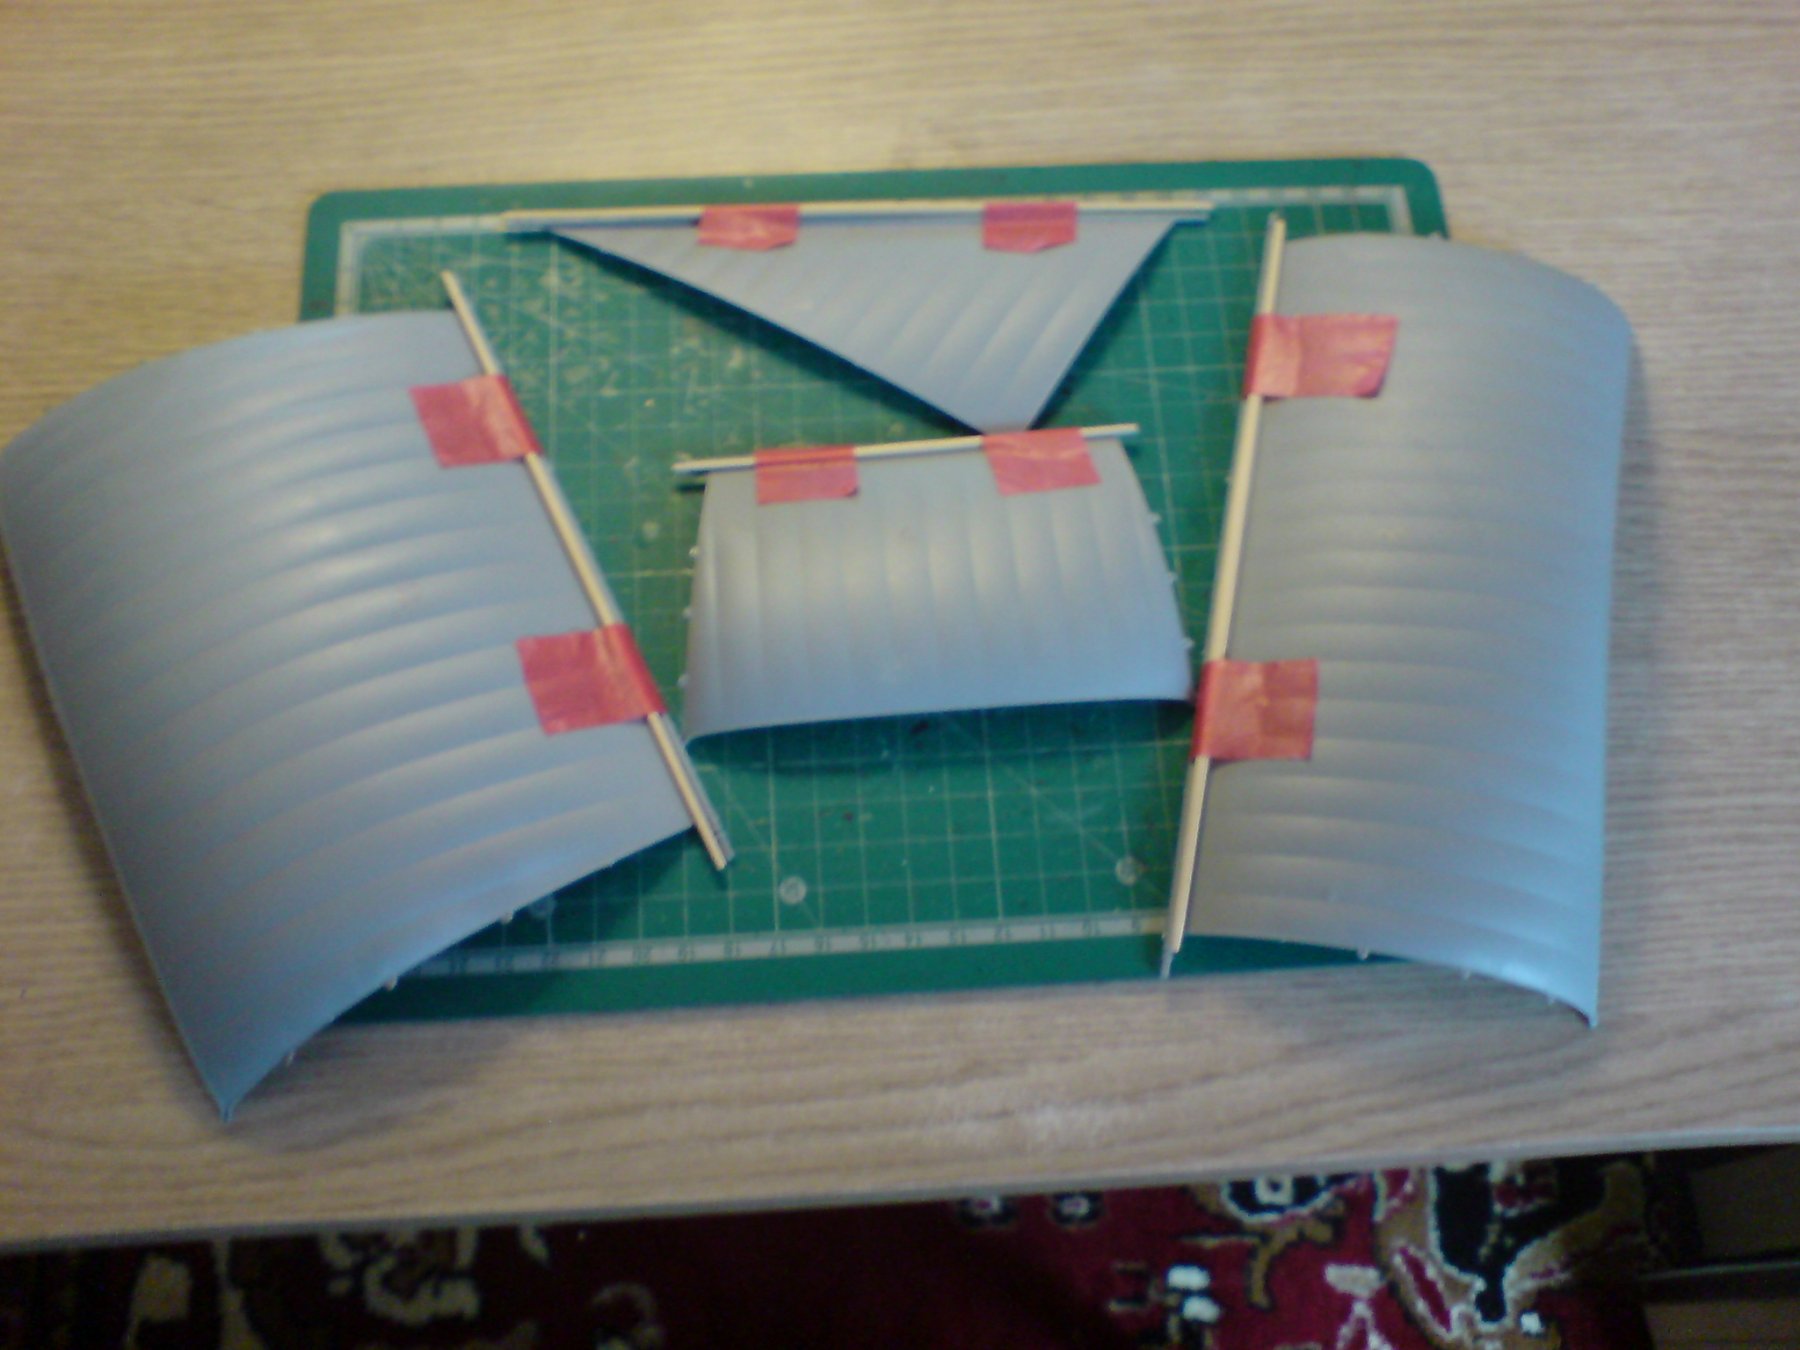
Good day all, I actually managed to get a bit more done on the pearl today (dont faint) I got the plastic spar/sail assemblies out including the wood dowels I have, first I maked the length compared to the plastic ones then I cut to length, next I marked each end from the center where the tapper starts, then I used to scraping tool I have to scrape away the dowel till I reached close on the shape I was after, this was followed up with a gentle sanding till it was how I wanted it. So an hours work and one more spar completed minus the fittings. OC.
-
Thats great work at that scale - really looking nice with all the details now, and dont the planes so add to it. OC.
-
Hi all, Fingers crossed I will un cross my fingeres as they were really saw being crossed - so with un - crossed fingeres I will continue with my build - fingeres crossed (or not as the case may be) Anyway....... I intend to work on the remaing spars as to be honest I do not have the room to fully set up the table with all my bits and pieces tool and the like, so I will just get out what I need from my little store and work on shaping the spars - that way I will be able to then get rid of the pre molded plastic spars/sails and create some space - fingers crossed (sorry) Thank you from the bottom of my crossed fingers for all the interest - wishes and likes. OC.
-
Great work mate, that hull will look superb 1/72 scale should help the fine detailing to really pop. OC.
-
I had to jump in here if EJ doesn't mind, with my peal build I put wood dowels inside the plastic masts and use wood spars, this helps to strengthen everything to do with the riging. OC.