Old Collingwood
-
Posts
12,104 -
Joined
-
Last visited
Content Type
Profiles
Forums
Gallery
Events
Everything posted by Old Collingwood
-
 Hi all, thank you all again for all the kind words - its what makes this site so special words of encouragement - really helps. So I sat at the table yesterday eve, working out my stratergy with the pearl and a little thought popped into my head, after looking at the actual film rendition of the pearl I thought "how about if I had built her like the film ship" that is - considerably different towards the top with all three masts cut short and also showing different attachments etc, then I thought it would take to much work and might look silly, although it would be scale correct going by the film ship. Keeping my mind active you see. OC.
 -
Keep going with it denis - its coming together. OC.
-
Really nice detailed work. OC.
-
I actually feel quite embarressed as the site is not supposed to be for people to open thier hearts - but the forum does feel like a family, as some may already know the situation with the admirals health, this is the main fundermantal reason to move - so as to be closer to a hospital for her regular treatment. OC.
-
Very fine work mate she is looking lovely - we all need to remember your are soldering the joints not simply gluing (that in itself is amazing) OC.
-
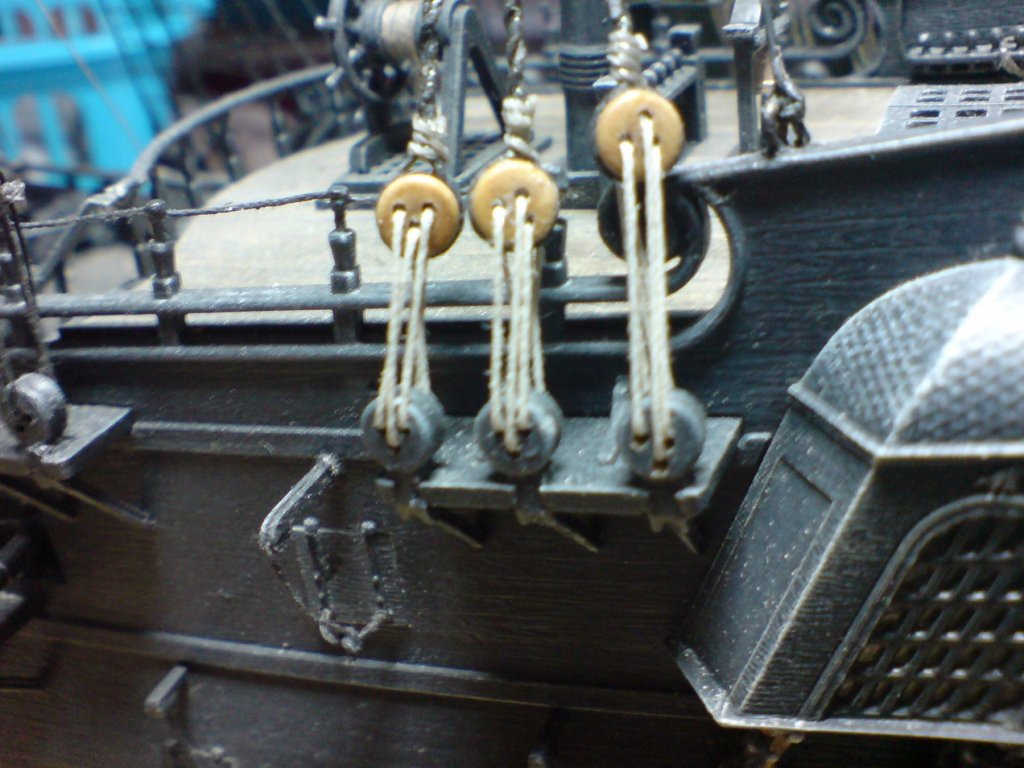
Hi all, I managed a small amount on the pearl today - nothing too much only blackening the dead eyes that I had fitted earlier, next job will be to work on the main upper ratlines then the mizzen lower ratlines I guess. Thank you for all the kind comments and likes. OC.
-
You are doing some fine work there - not always easy when doing scratch building. OC.
-
Thank you All for all the lovely replies, it isnt an eviction issue to be honest its other situations, we have not done anything to cause concern with our landlord all our rent has been paid on time and the house looked after, its for other reasons regarding health. Its a hard situation as we all like to put down roots and be steady. Spoke with the Admiral today and she wants the Pearl built and the other we will tackle when it happens. OC.
-
Hi all, Im currently stuck between a "rock and a hard place" because of a few problems where we live (we rent off a private landlord who owns the house) we may have to move out sooner rather than later, this may mean moving the cheapest way possible and into the cheapest type of rental accomodation we can find (usualy a shared house where you rent just the one room - and share the utilities - kitchen, bathroom etc). As this may require using the cheapest form of transport to move (train) it means we would only be able to take our minimal possesions with us, we had to move like this some years ago back then I was building HMS Victory before the old site crashed, anyway I had to leave it behind as it could not be taken on a train. So this was my dilema - if I should continue with the Pearl or not. This is my main worry again - not being able to take my kits already built (HMS Warpsite) and my part built Pearl, also my new display unit. Heart breaking to be honest. OC.
-
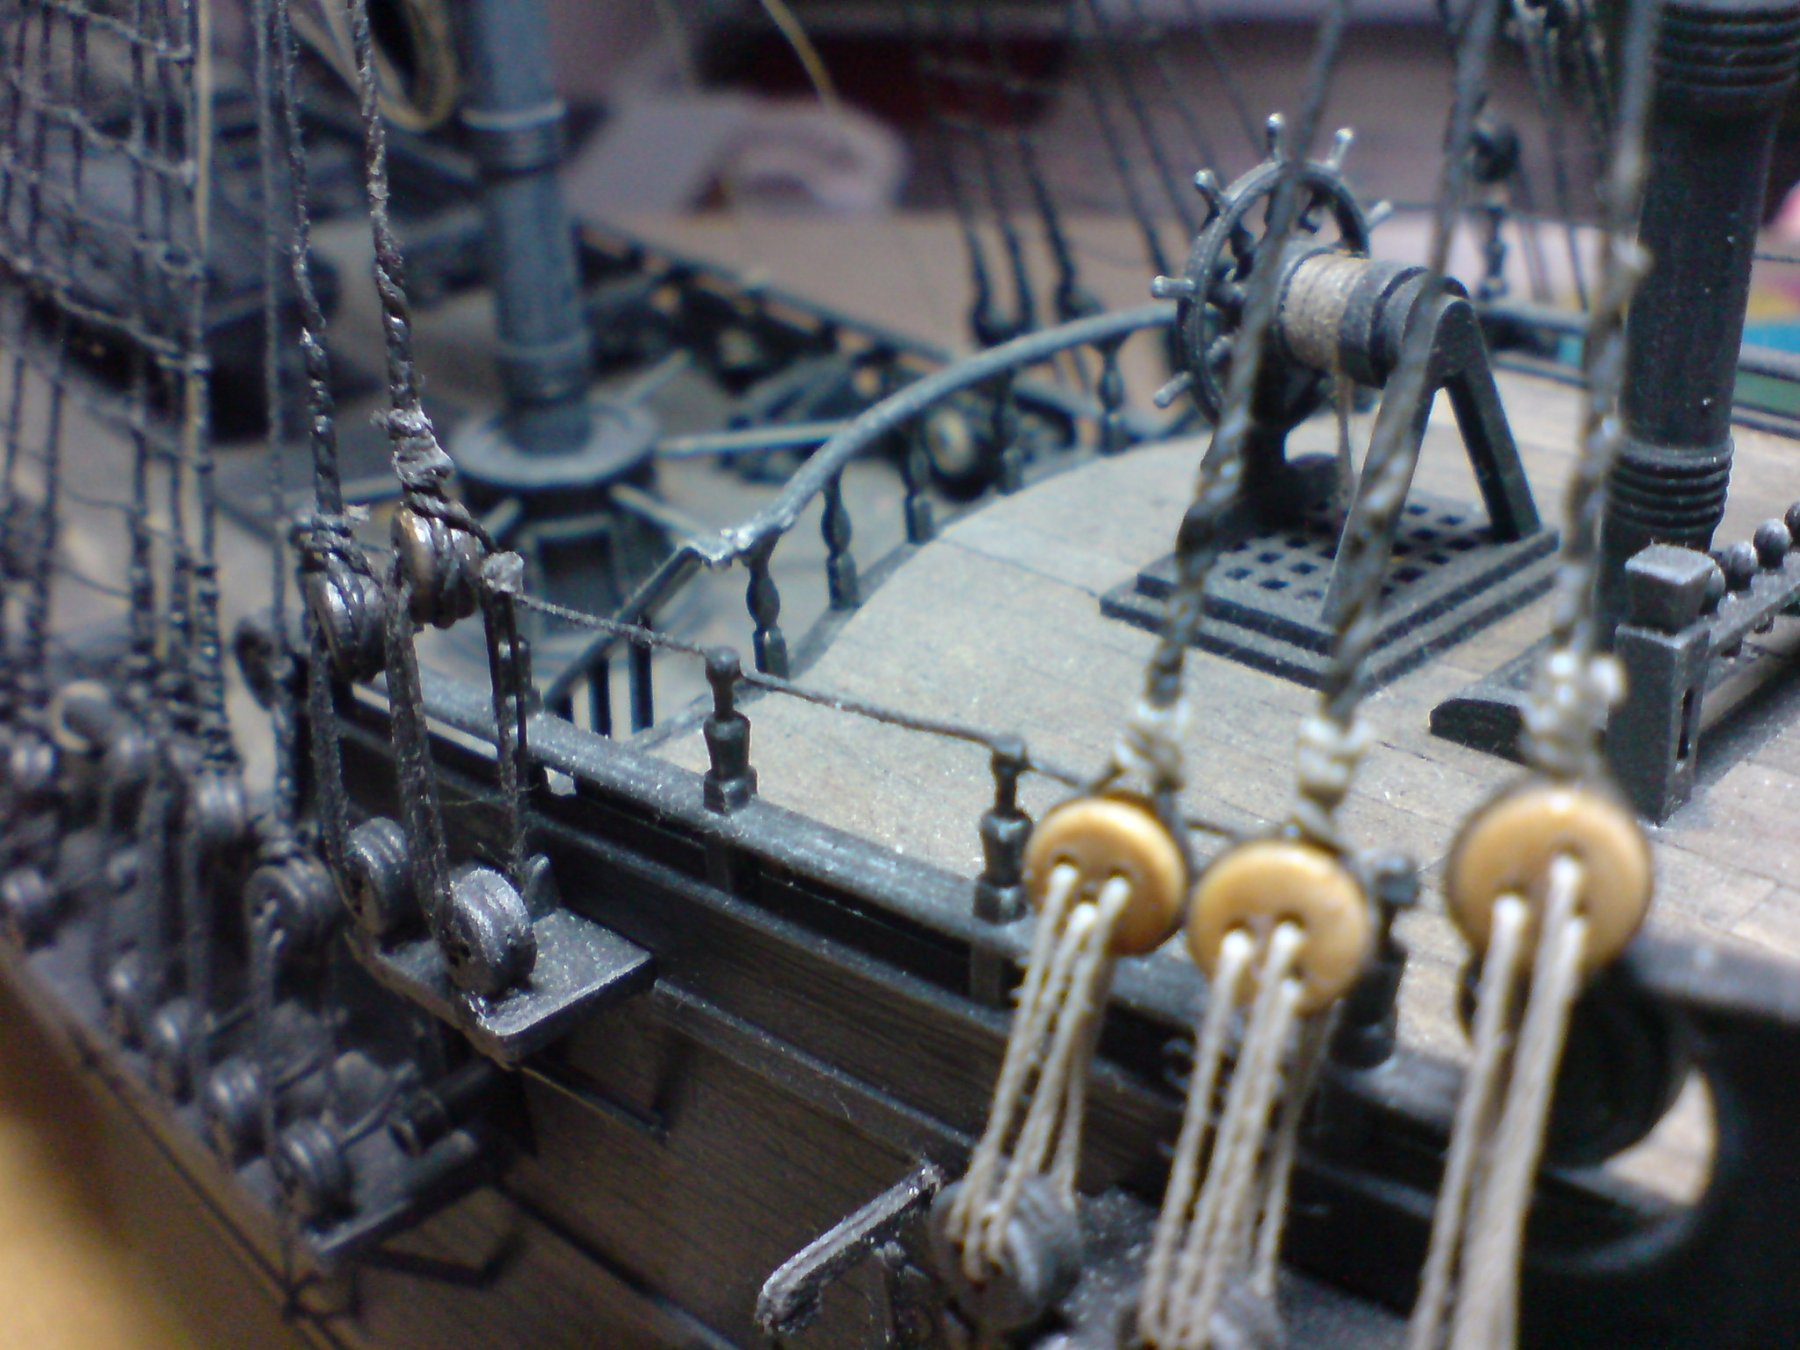
More work again today (whats up with me - two days on the trot) anyway I managed to fit the mizzen deadeyes and tention them on both sides, only six more to do next on the mizzen tops. Pics show the deadeyes and an arty shot. OC.