


Old Collingwood
-
Posts
12,104 -
Joined
-
Last visited
Content Type
Profiles
Forums
Gallery
Events
Everything posted by Old Collingwood
-
Welcome rusty, I have to agree with phil its quite a good starting kit, Im sure most would agree best action with it is to think your way through it stage by stage, try dry fitting in stages to get a feel for things, but most of all ask as many questions as you want even if you think it sounds daft or not important (we have all been there) most of all take your time and enjoy. OC.
-
Hi john welcome to the family, take your time our little world is easy going and a great place. OC.
-
Welcome nazir, your in good company here with skills as wide as the stars and knowledge that would fill many liberaries, feel at home take your time and just have fun. OC.
-
 Enough there to test the patience of a saint (I should know with the pearl) deffinatey getting there. OC.
 -
Superb workmanship. OC.
-
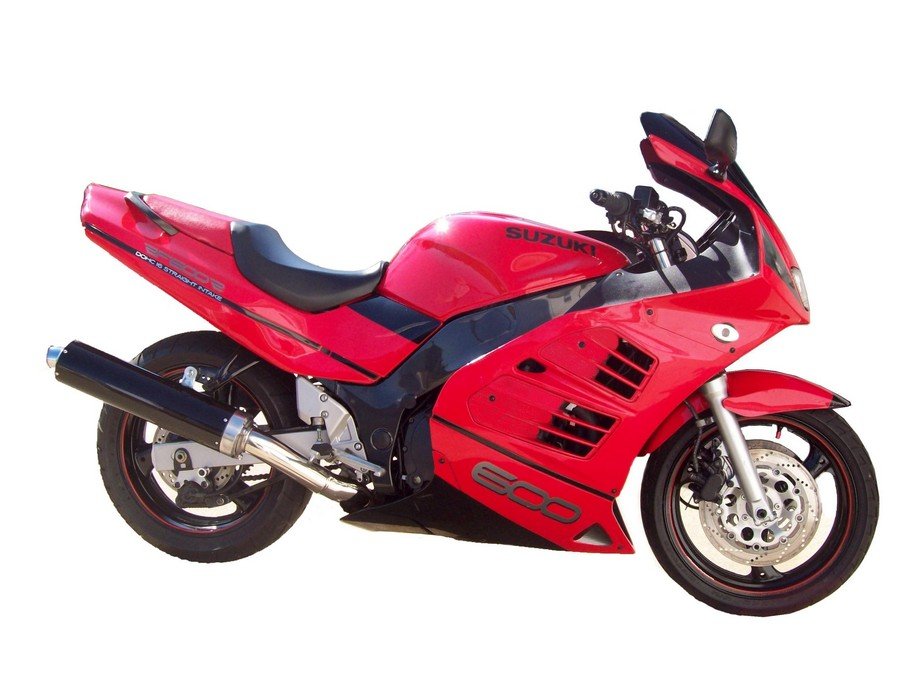
I was once a biker and used to own one of these - loved it. Stock photo not mine. OC.
-
Great work mark - I love the idea of the frame fillers strength+alignment+more surface area, I think its a brillaint idea. OC.
-
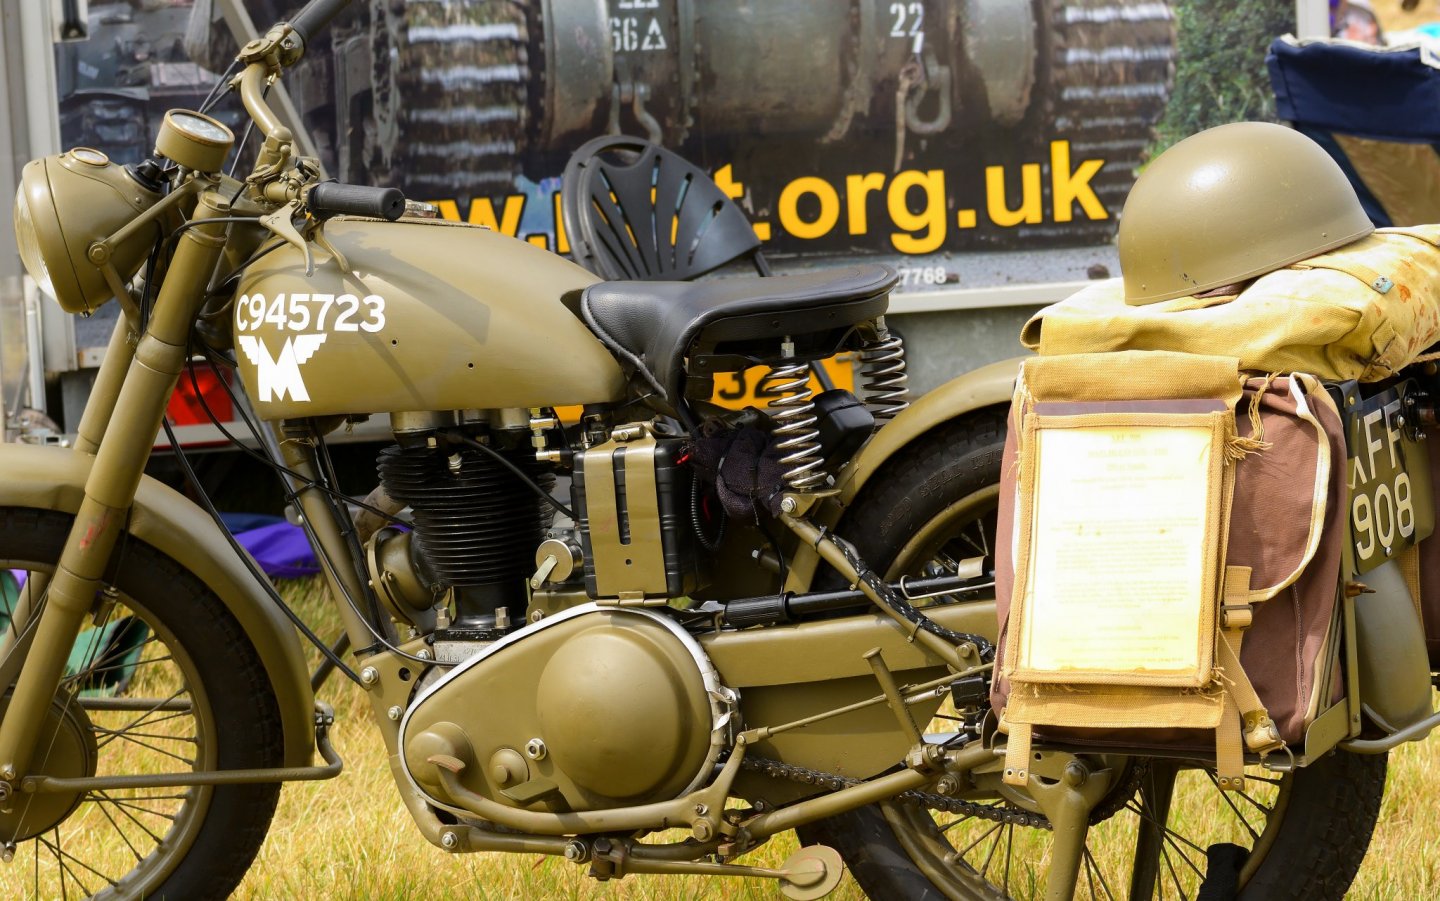
Glad I could be of help mate, its my pic taken at that last airshow I went to, I saw your post and thought - "hang on a minute I have a vet motor cycle pic". OC.
-
Different make I think but thought I would post it to you I dont know perhaps colour reference - OC.
-
I love the figurehead all that hard work really paid off - its not an easy game carving from scratch. OC.
-
I was just thinking the same as jeff - lovely work and great devices for securing the first planking. OC.
-
Very very nice work she will be a bute. OC.
-
You get through more builds than nelson had badges - keep it up. OC.
- 82 replies
-
- 1
-

-
- artesania latina
- cutty sark
- (and 1 more)
-
Looking great build at your own pace and comfort - no one is judging you here - we all learn somthing from everyone. OC.
- 20 replies
-
- 2
-
-
- prince of wales
- tamiya
- (and 2 more)
-
Welcome aboard - deffo space for you and your work in here - looking forward to seeing more. OC.
-
Welcome aboard it would be great to see your work, your amoungst a great company here, folk are just real nice here al the best. OC.
-
Superb work - that disruptive camo looks the part keep it up mate. OC.
-
Sorry to hear your woes denis - I was gonna suggest pasta, but I ate it all (not for the job you used wire for but to intice houdini out - heard he liked pasta) glad you got it sorted in the end. OC.
-
Great work and some very intersting research being learned - I too am very skeatchy when it comes to steam trains, the only thing I remember building with my farther was one of those large card ones - I lost interest and he finished it, had a couple of Hornby ones though as a kid. OC.
-
Another couple of areas I see kit manufactures laking - correct scale beam so the canons have the corect room for movement between the bulwarks and gratings, and also corect scale stairs as so many of them if converted to real life would have sailors struggling to clear the frames when going up or down stairs. OC.
-
Looking superb mate, so much fine datail really nice to watch. OC.
- 337 replies
-
- 3
-
-
- finished
- mountfleet models
- (and 1 more)
-
Thank you for explaining that - you are doing a really nice job and you research is really paying off. OC.
- 2,699 replies
-
- 3
-
-
- heller
- soleil royal
- (and 9 more)
-
Very impressive work mate - its more like an actual ship build than a scale replica. OC.
- 337 replies
-
- 4
-
-
- finished
- mountfleet models
- (and 1 more)
