Old Collingwood
-
Posts
12,106 -
Joined
-
Last visited
Content Type
Profiles
Forums
Gallery
Events
Everything posted by Old Collingwood
-
 Amazing work - Just amazing - words escape me, you must feel proud. OC.
- 41 replies
-
- 2
-

-
- artesania latina
- hms victory
- (and 1 more)
-
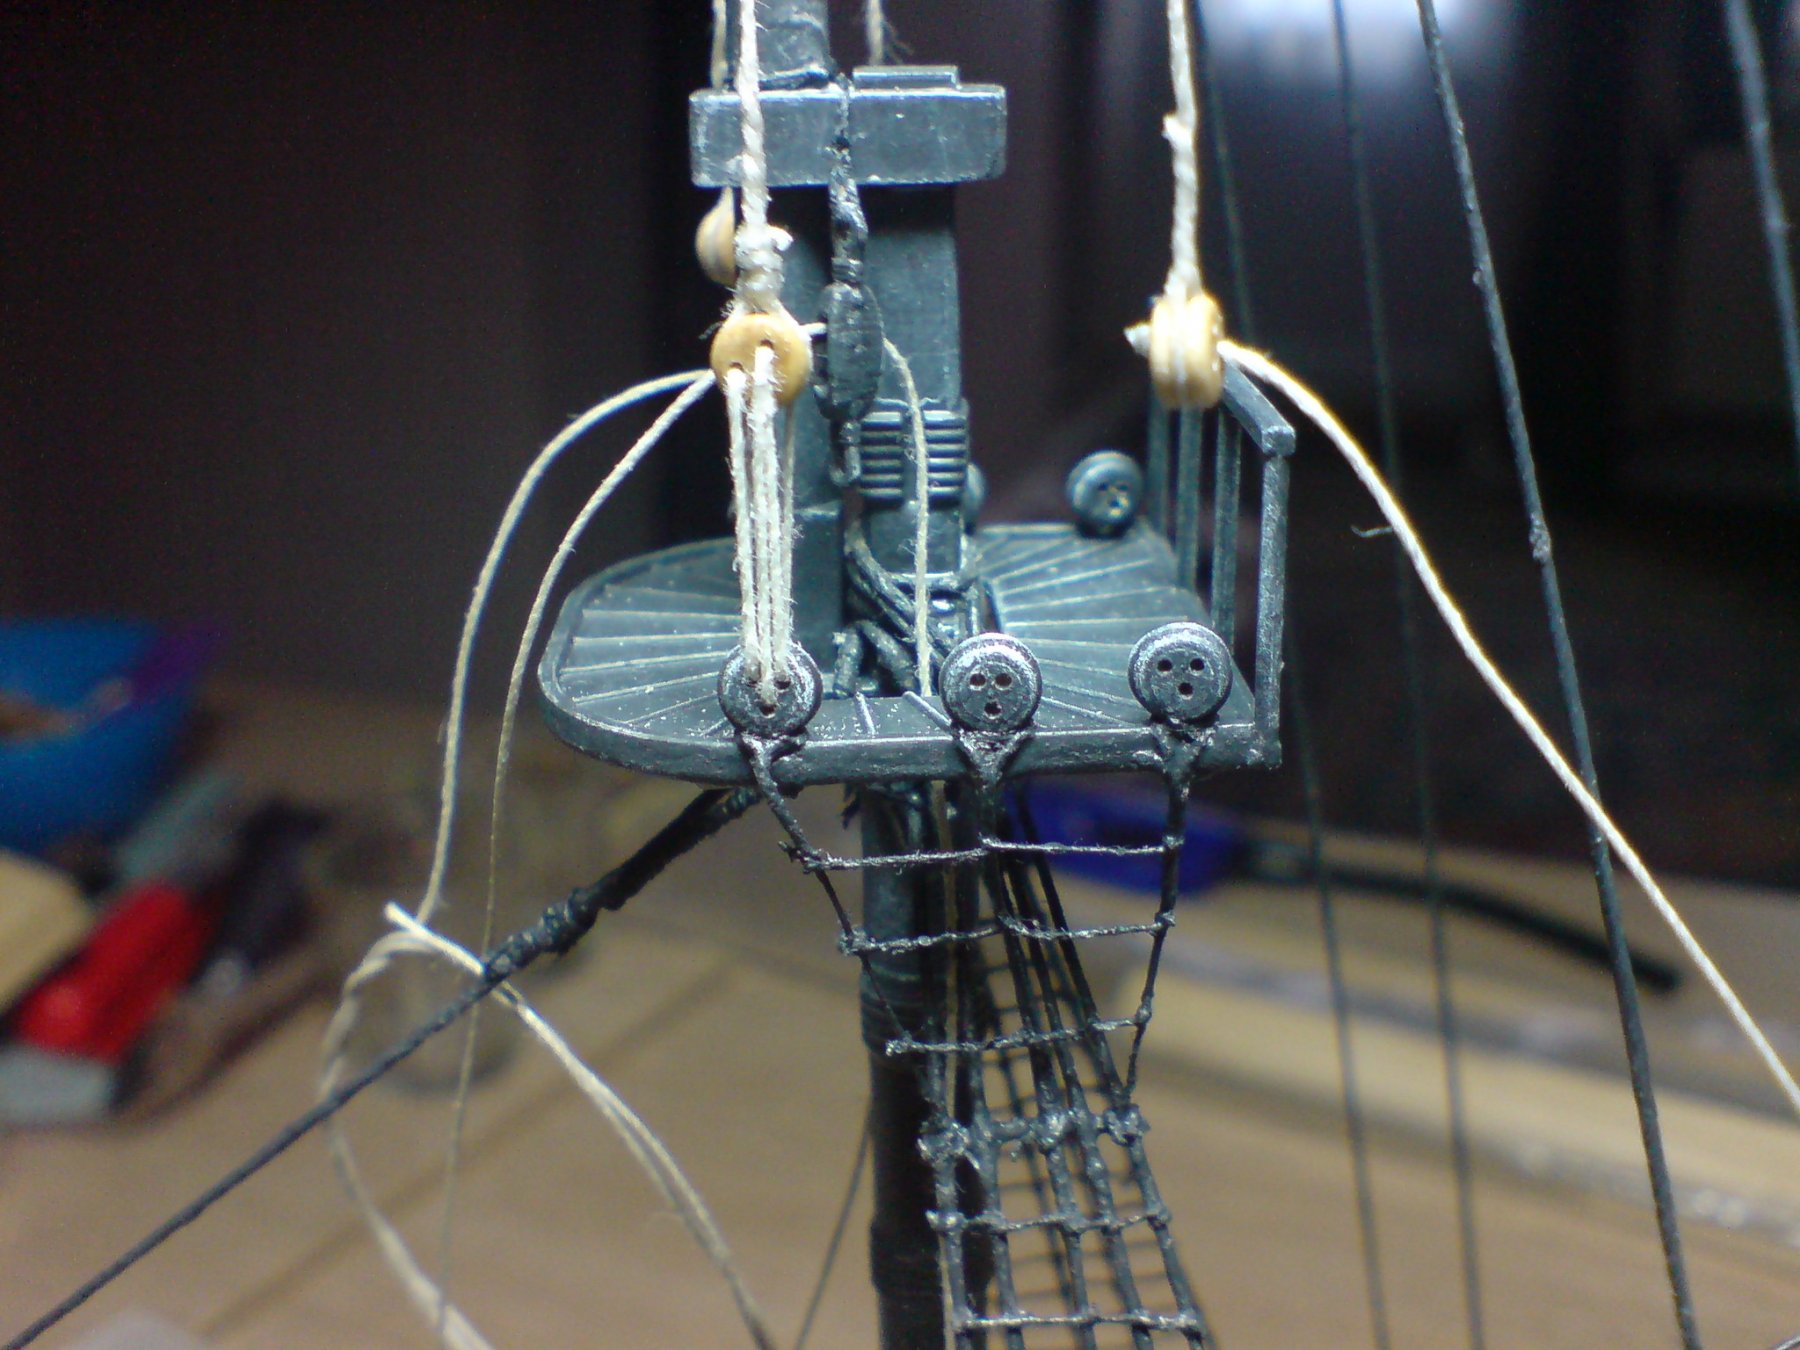
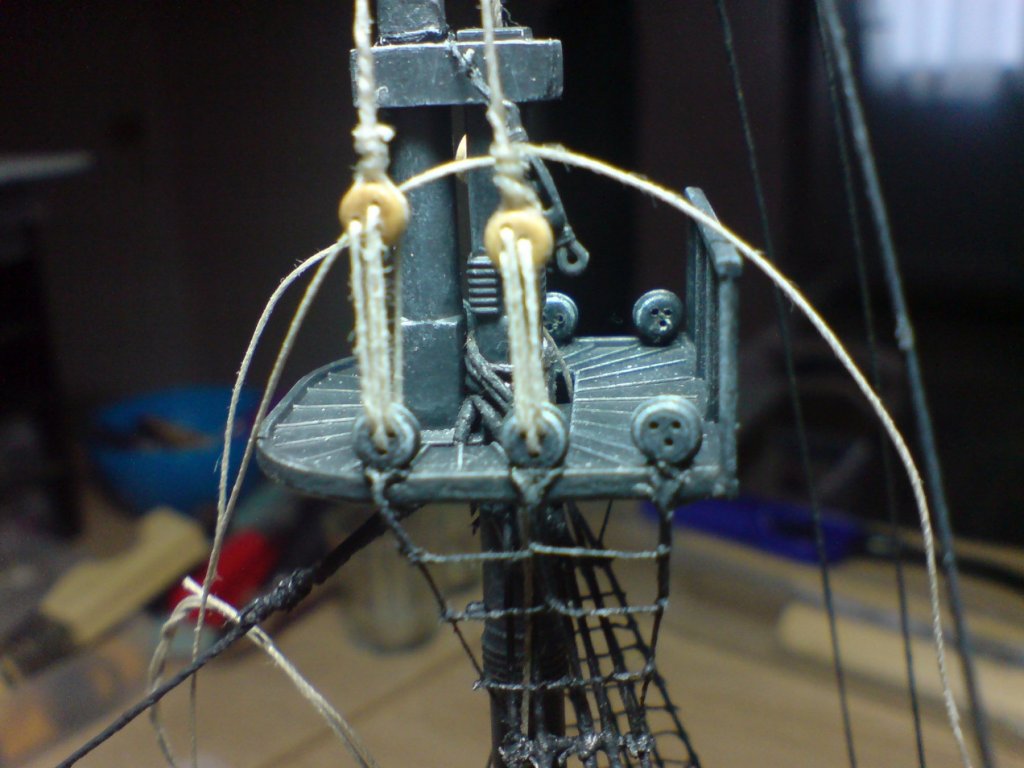
Evenng all, more work on the foremast - I completed the futtock shrouds, then started work on the upper mast shrouds - so far two completed on the one side. OC.

-
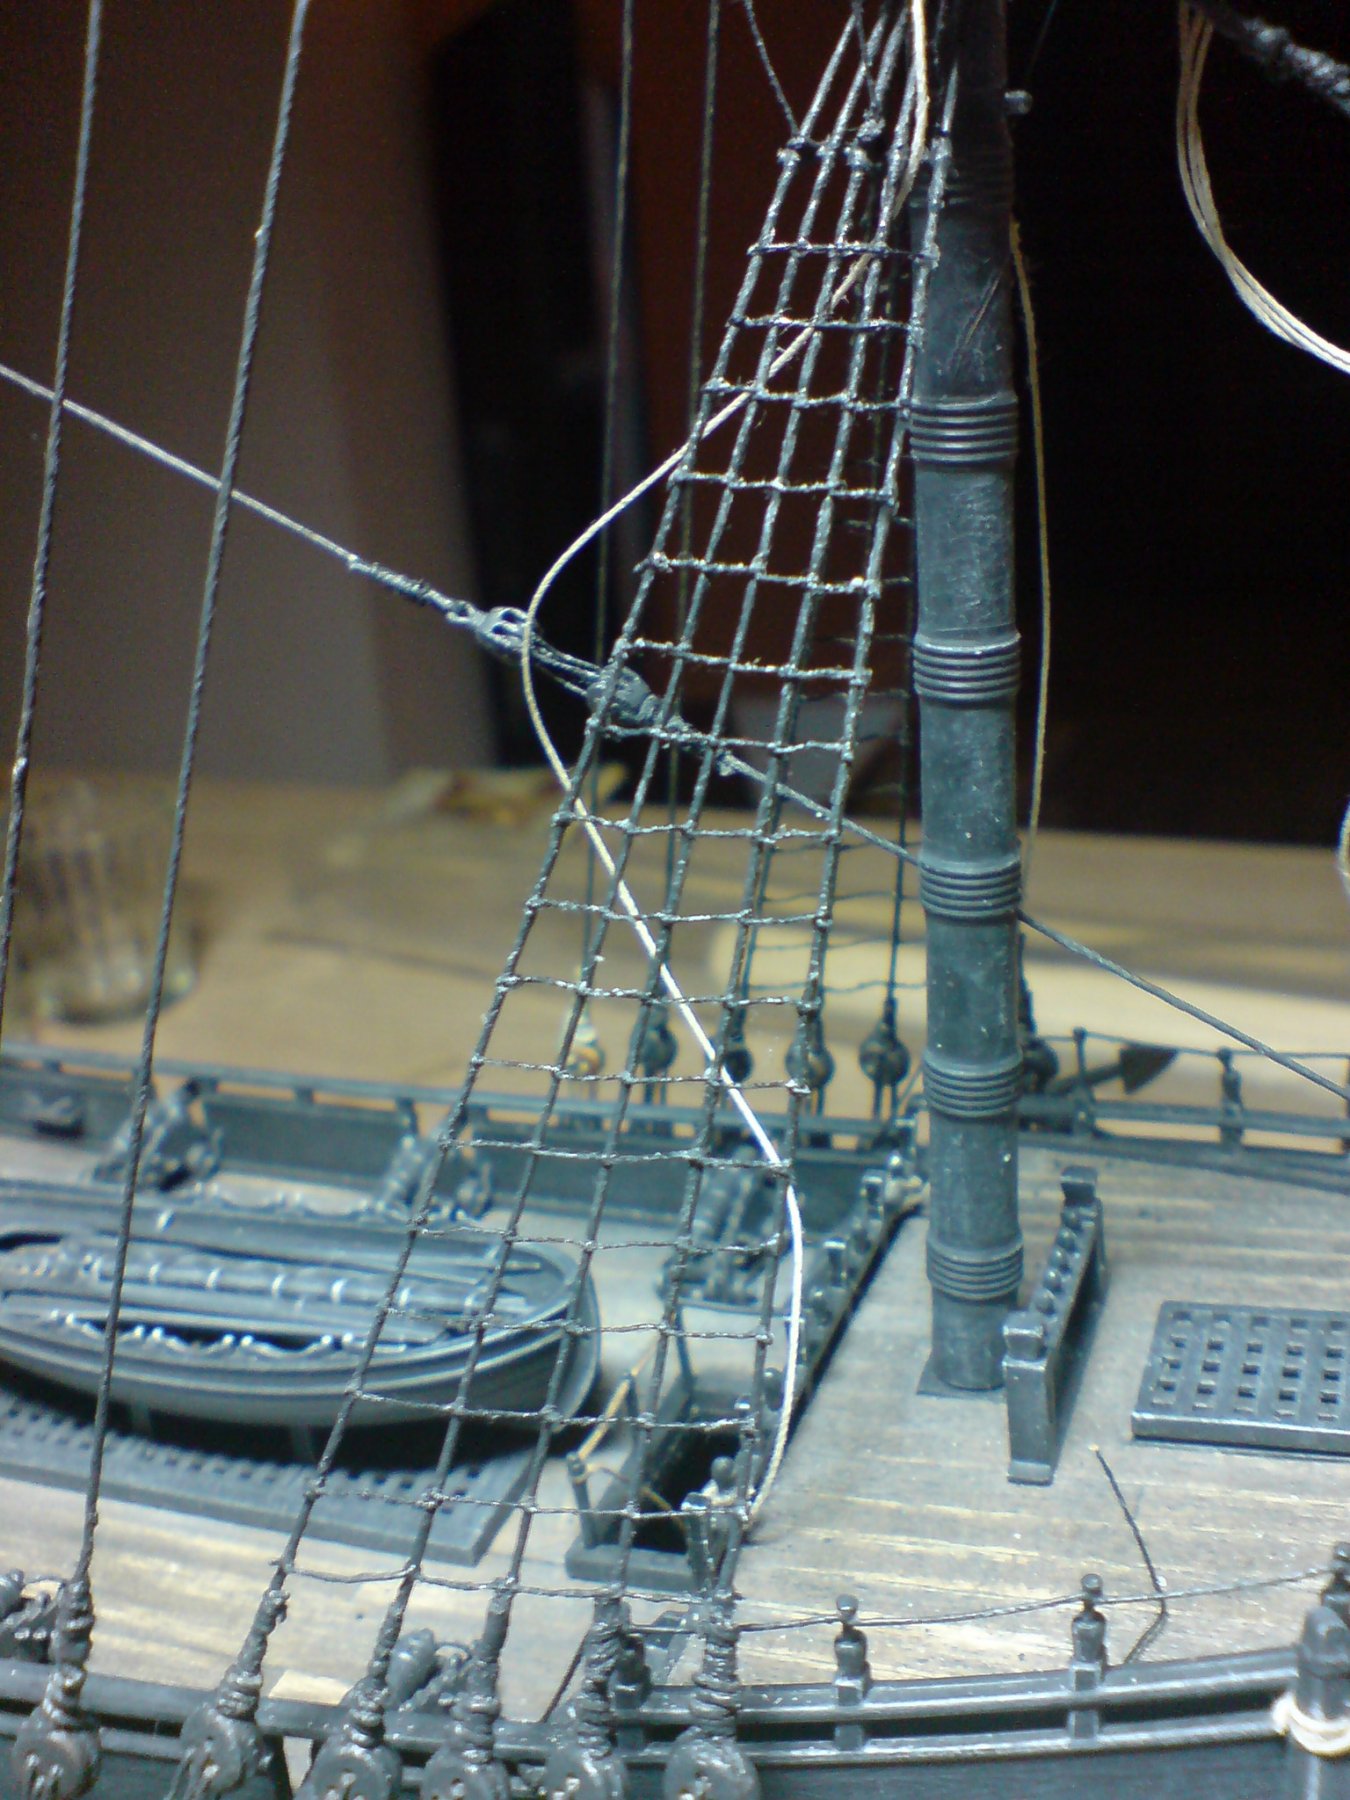
Right then folks - I have finished the ratlines on the lower foremast shrouds "Phewwwwww OC.


-
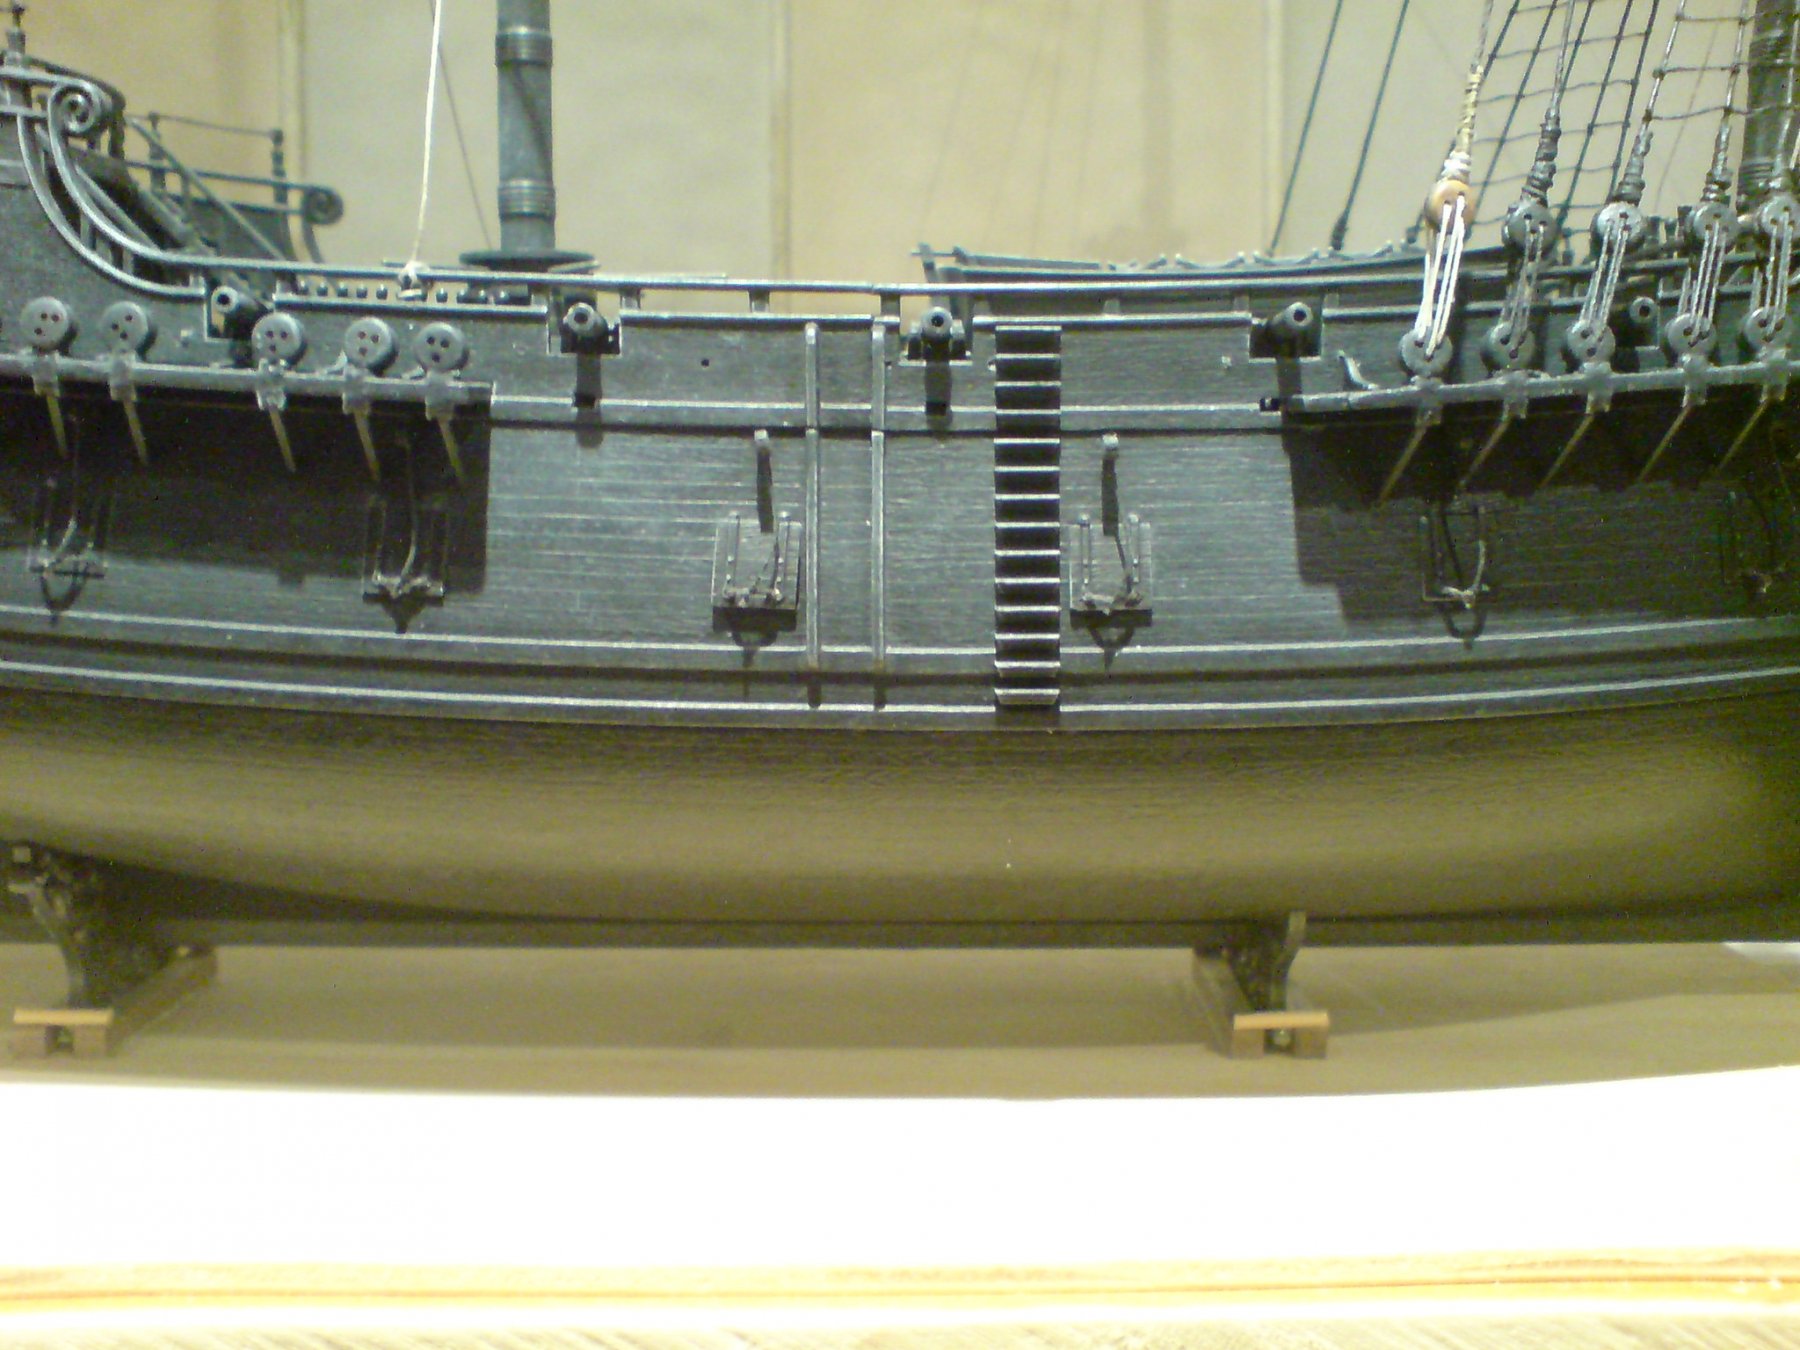
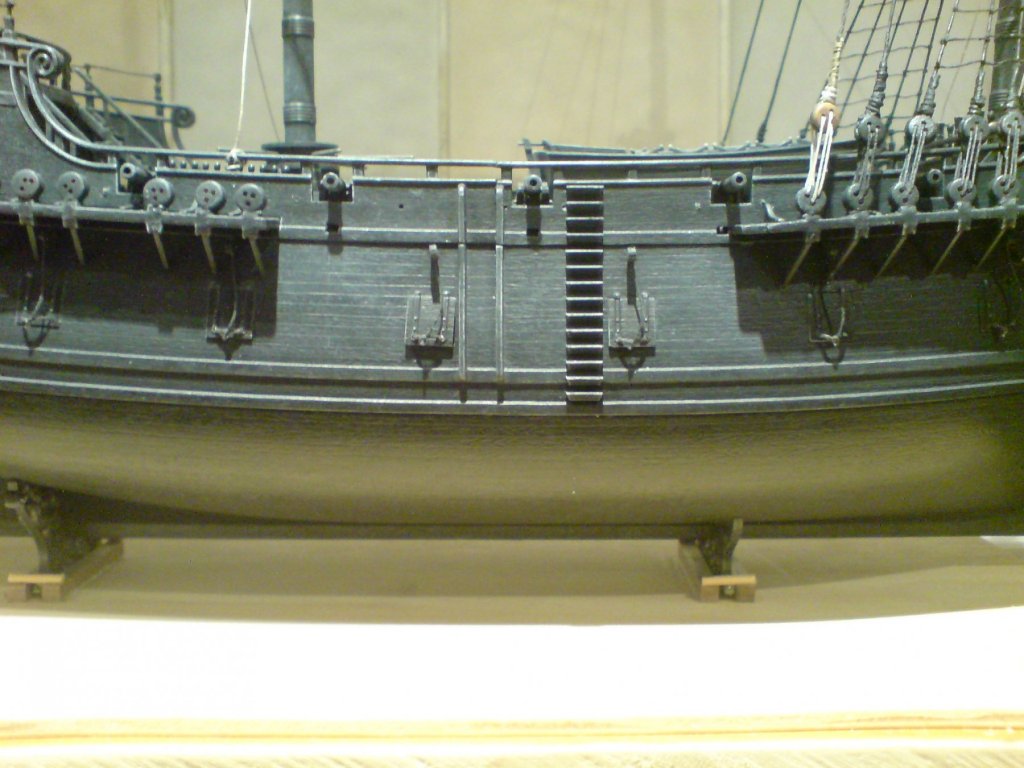
Still has a bit of a way to go yet till I get her completely flat - its seems to be taking several coats, yet still some of the areas are still what I would call a satin finish. OC.
-
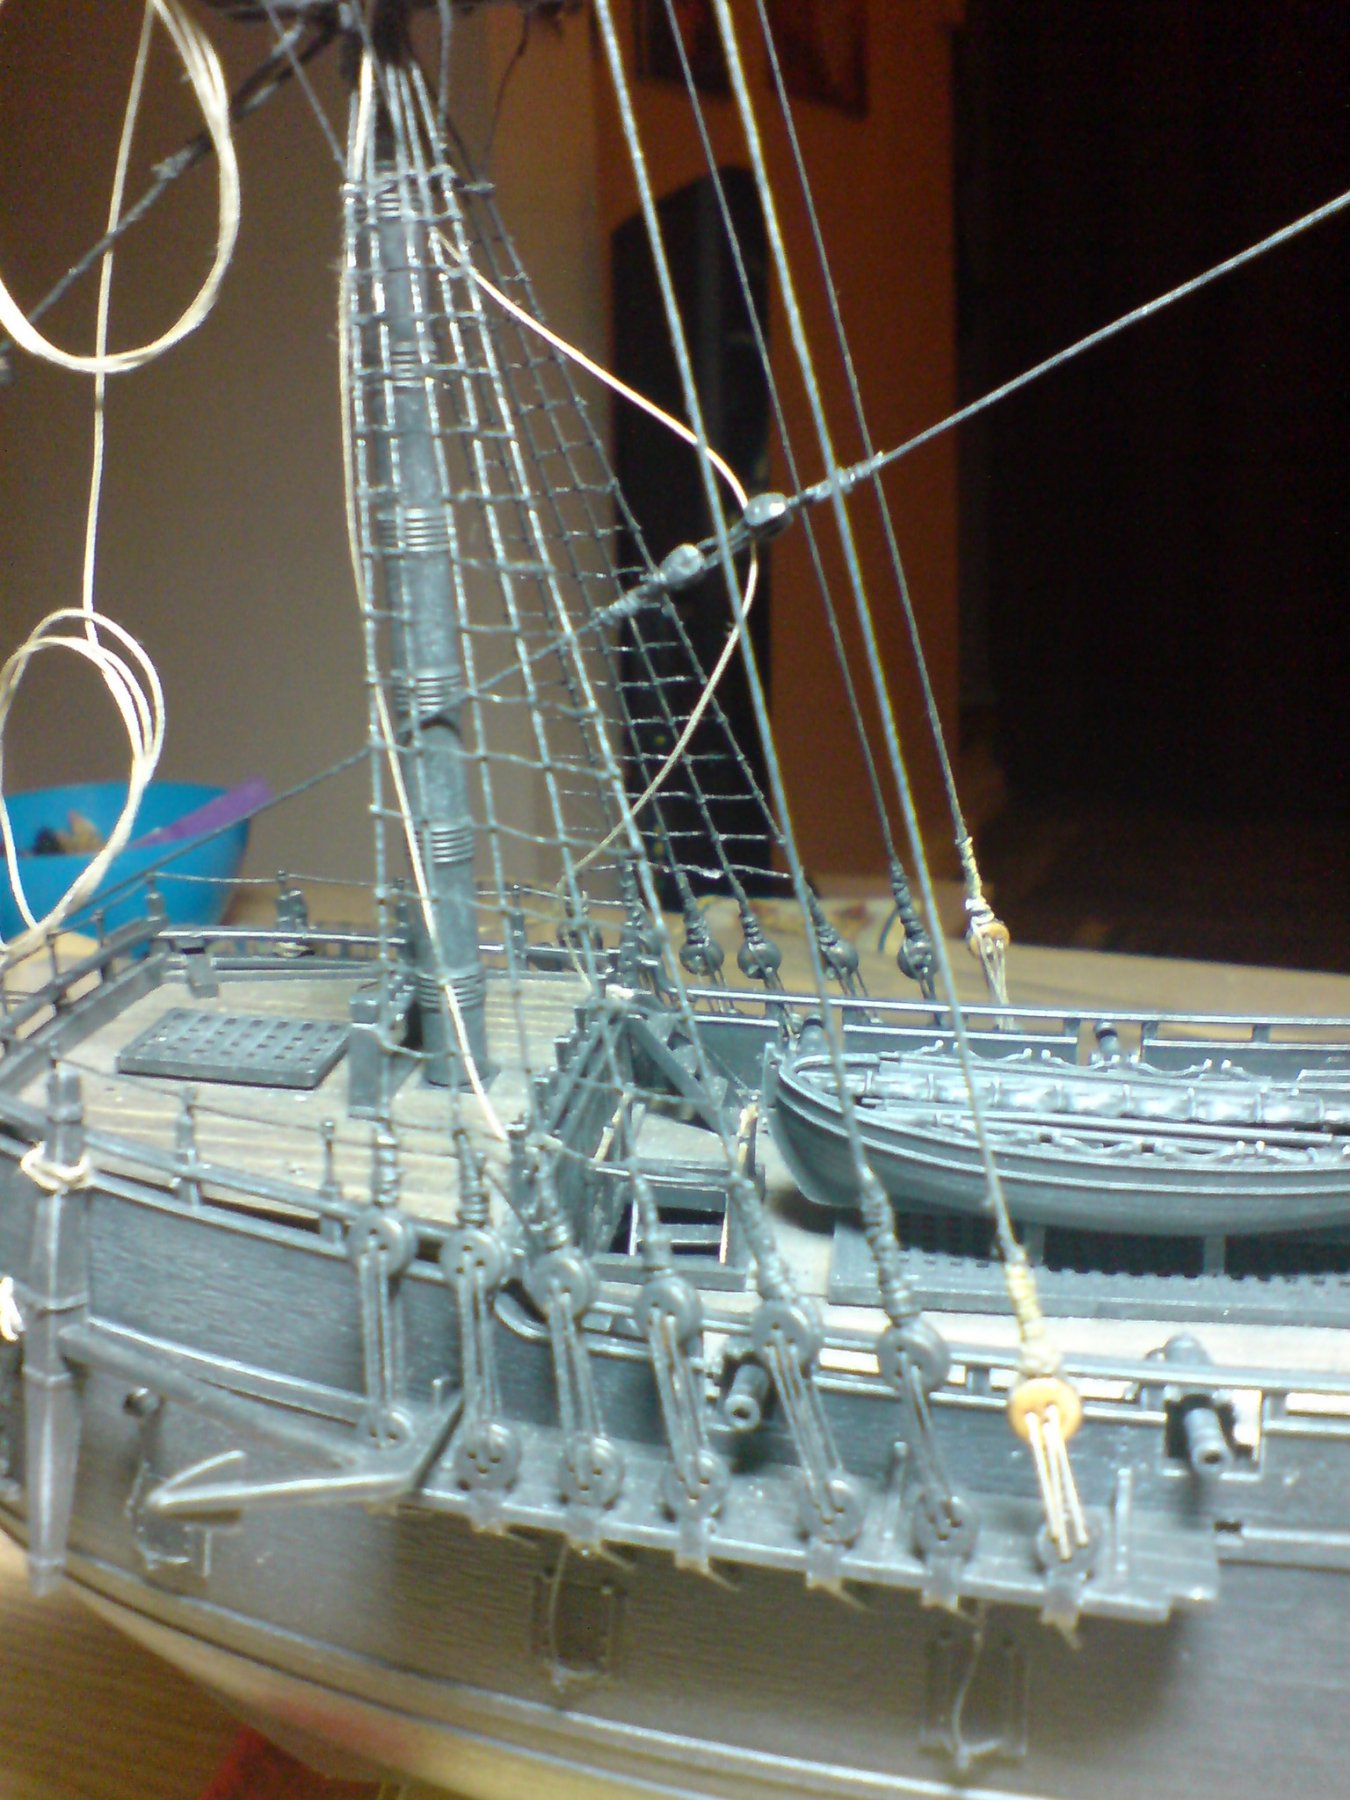
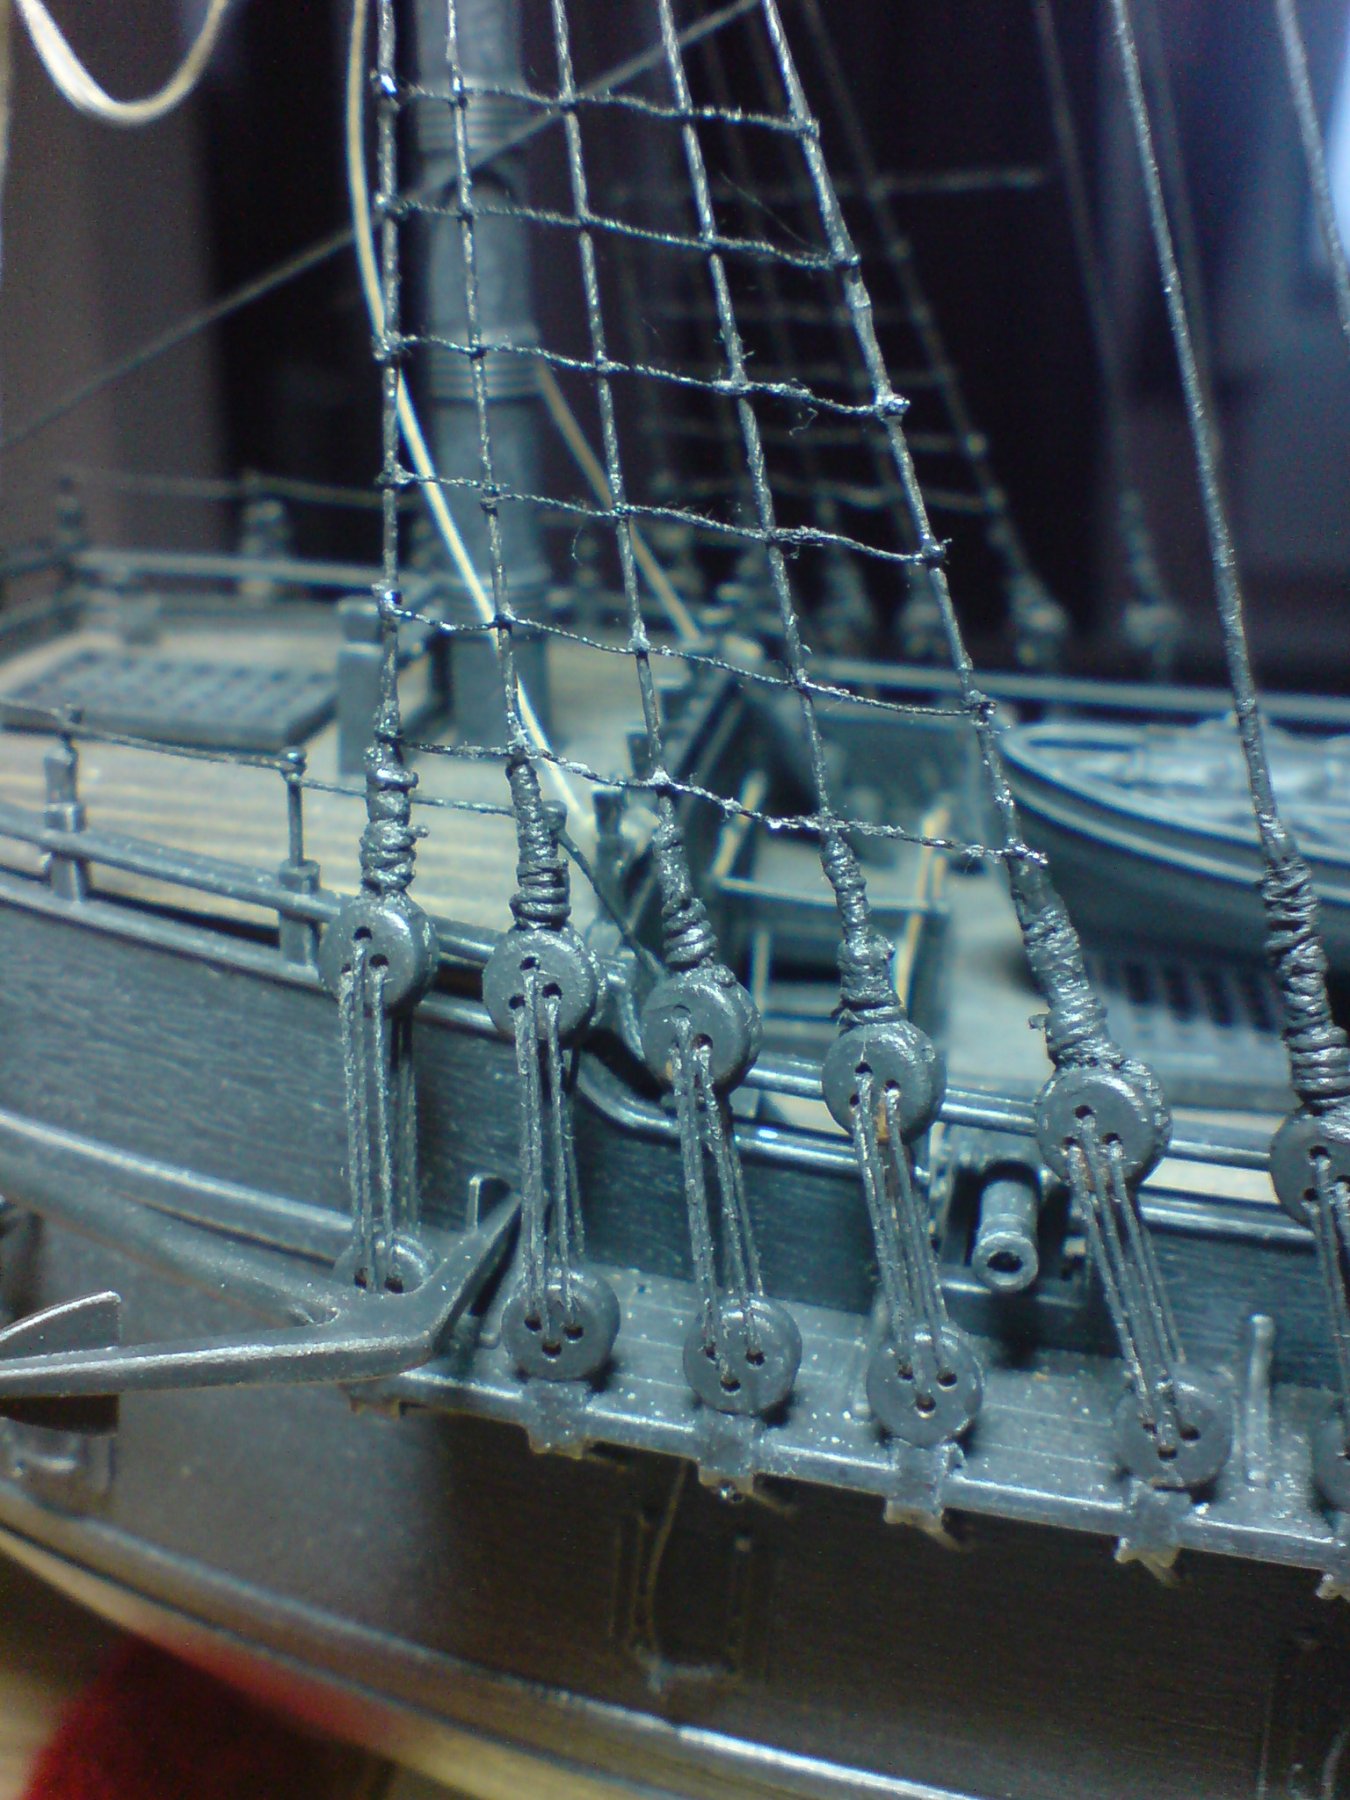
Evening all, I have completed attaching the two topgallant post tention ropes, down on to the two deadeyes - this means the foremast/bowsprit is now fully tentioned to each other, while I was in the mood I decided to give the whole ship several clear matt coats, to flatten everything down as the paintwork still had a bit of a sheen to her. Just the one (poor) photo. OC.
-
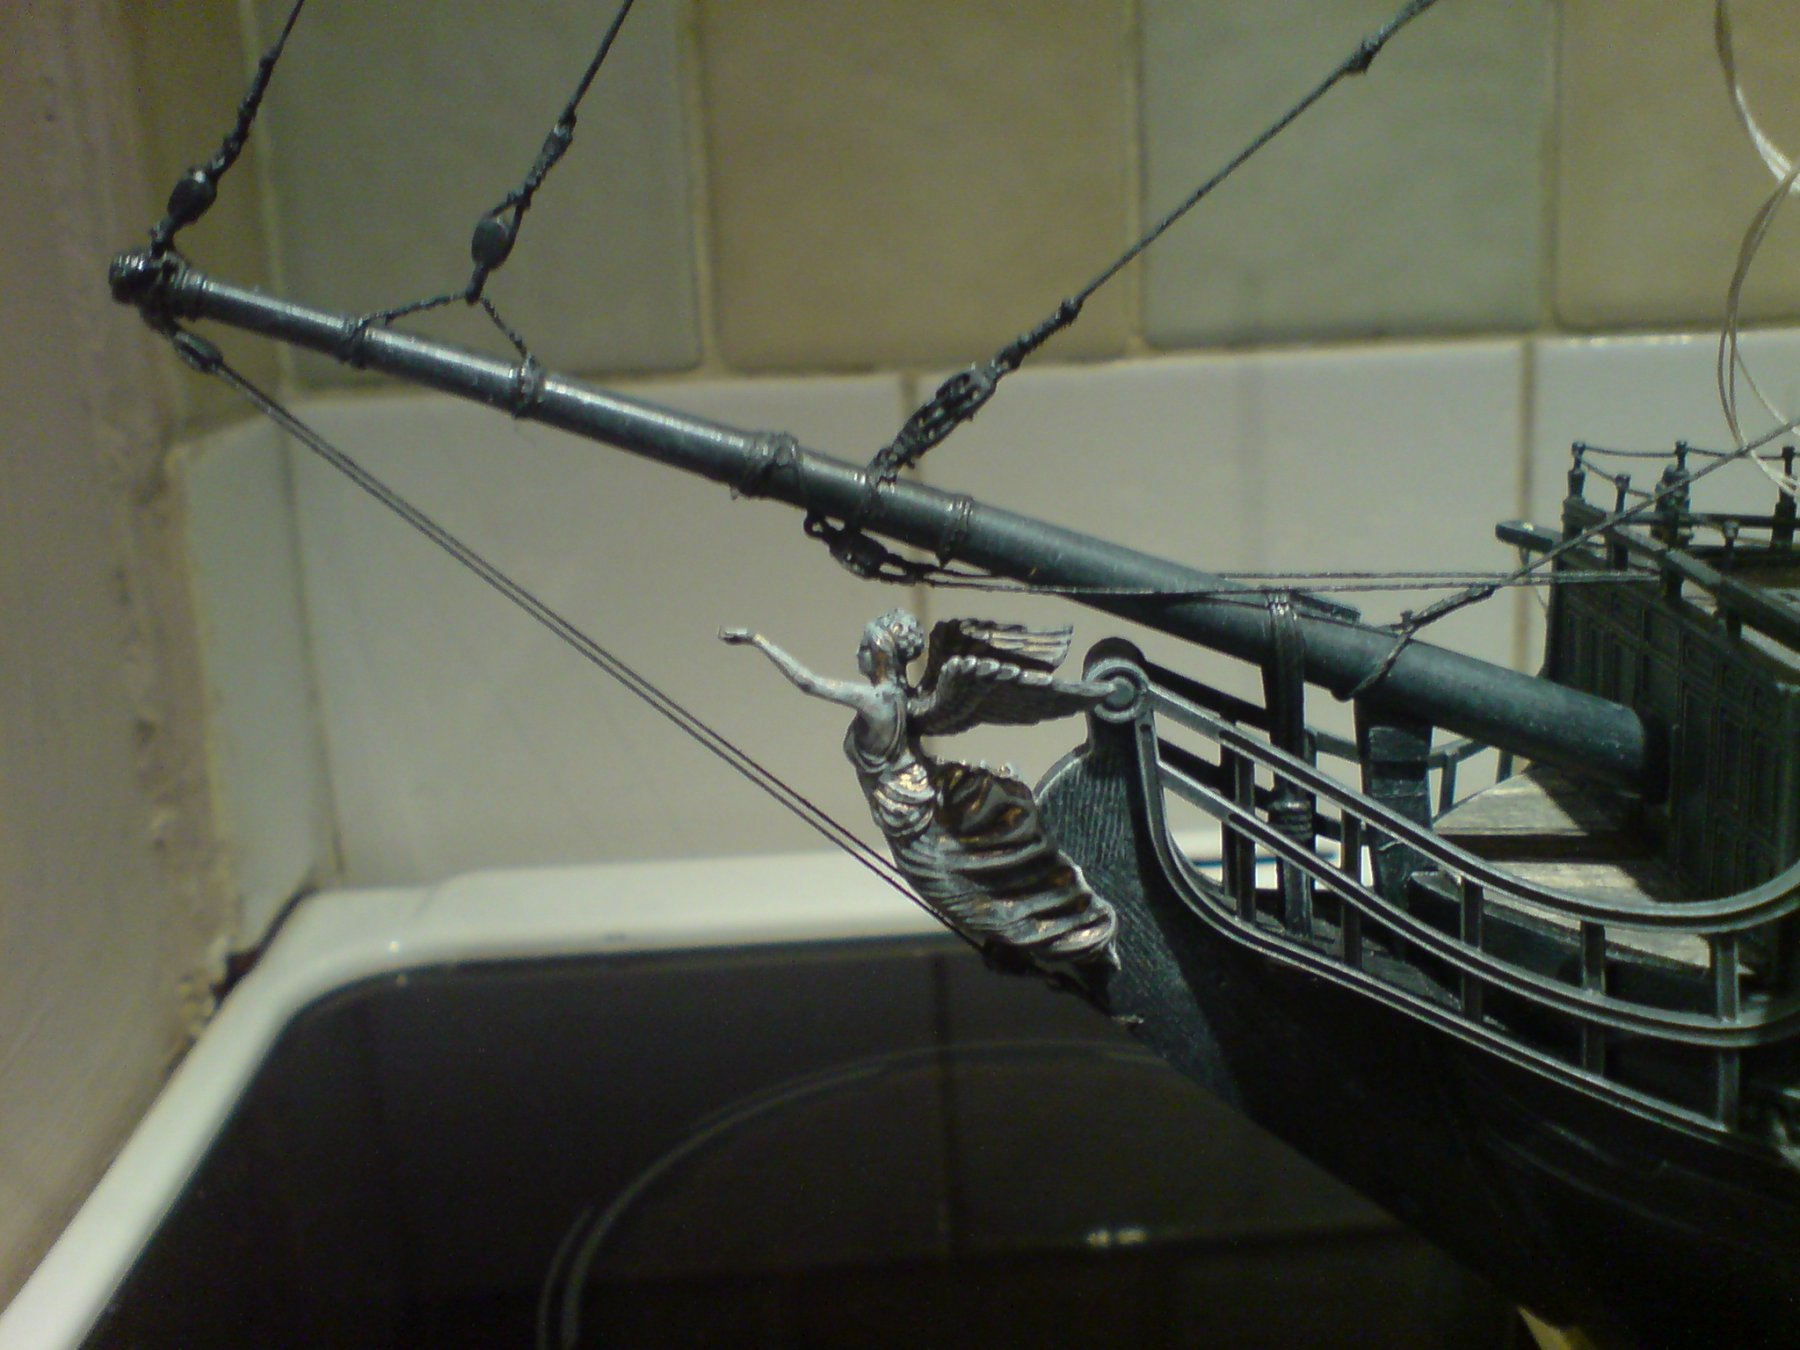
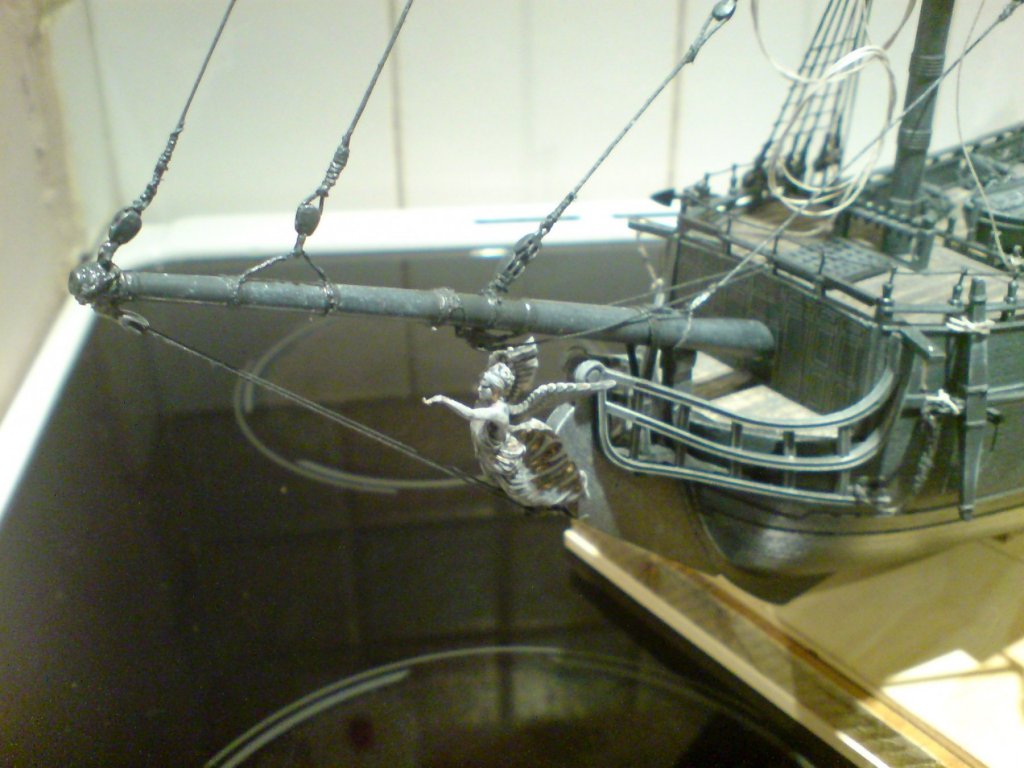
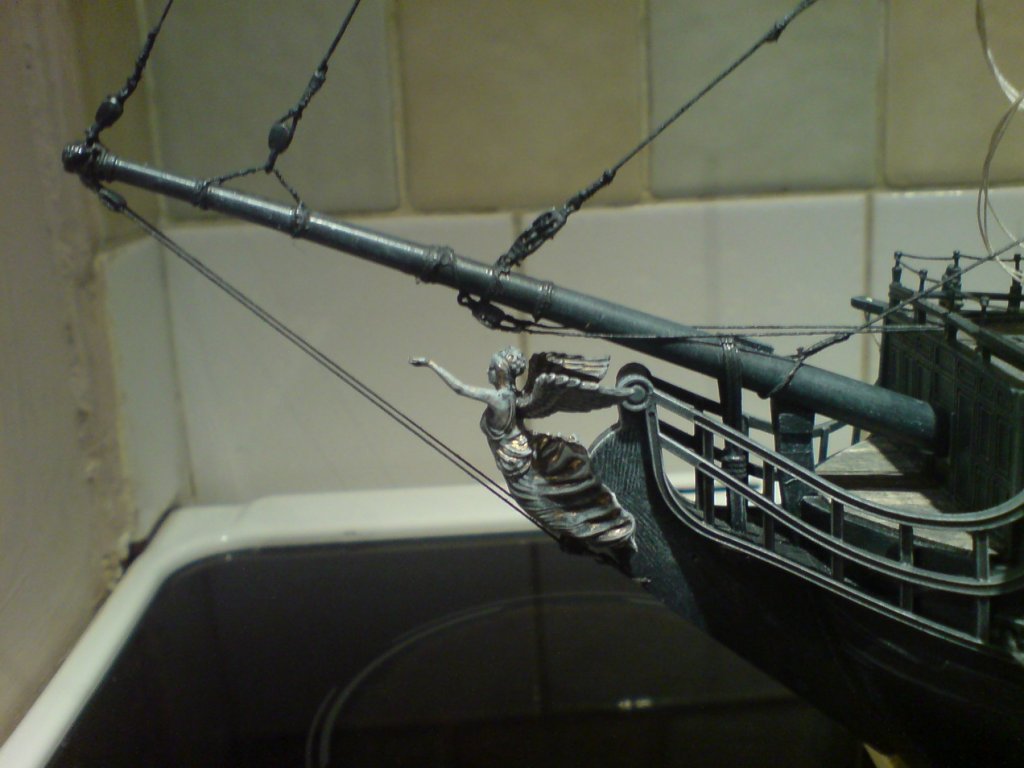
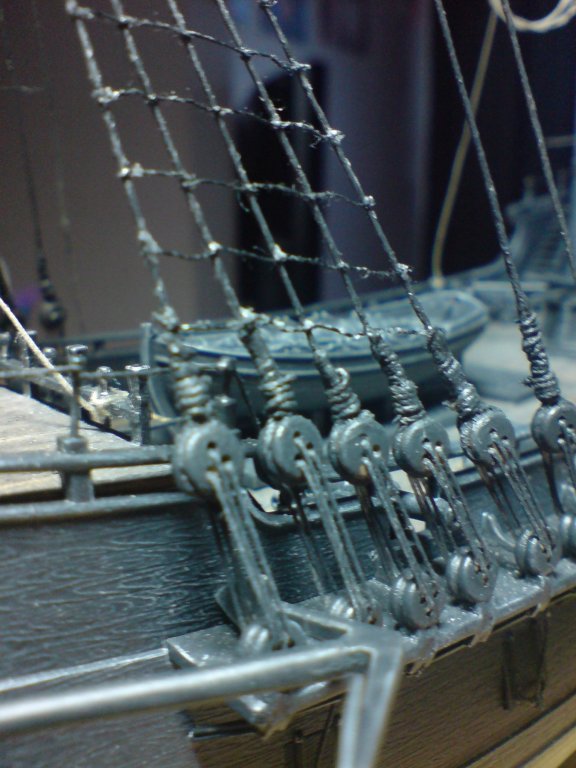
Evening all I decided today to re - do the bobstay on the bowsprit as the original was not tidy - so I cut away the old a re fitted some fresh ropes and blocks, then I tentioned them correctly - at the same time I fitted a fresh stay from the center of the bowsprit underneath and fitted around the forecastle railng. Looks a bit more supported now. Heres the pics - OC.
-
So - more ratlines to be done tomorrow then they will need a tidy up of thier ends, one thing did happen while I was working on them - I managed to break off the topgallant where it meets the topmast 🤧I was able to keep it in place due to the stays - I put loads of ca around the break and that seems to have done the trick........"Phewww.....🤞" OC.
-
Very nice work. OC.
-
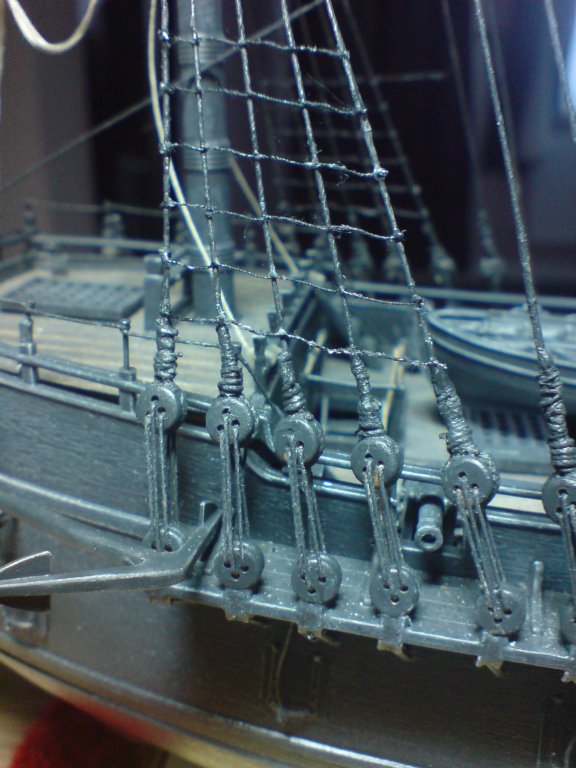
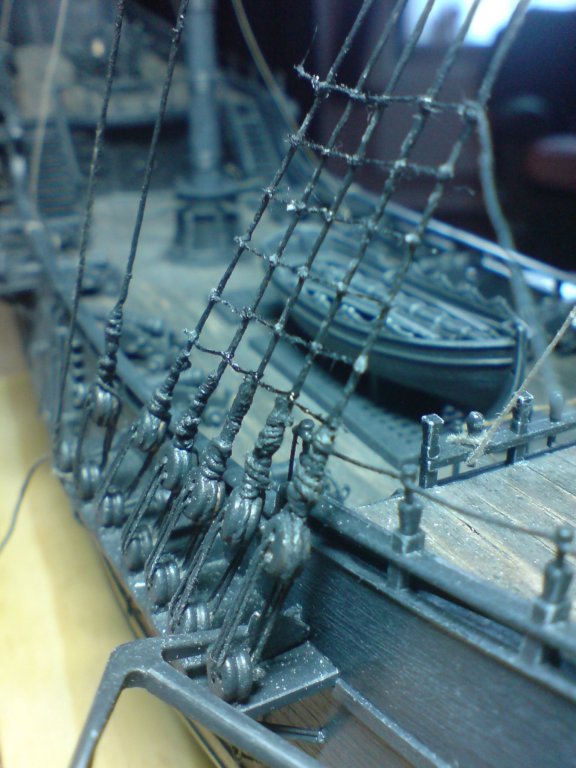
Evening all, firstly sincere thanks to all the likes/followers and comments - so onwards and upwards with the ratlines on the foremast, I decided to fit them by eyeball rather than making a paper mask, seems straight forward enough - just tricky as you need six pairs of hands to tie/ tention and glue the lines around each shroud, getting the spacing is fairly easy to do though - I have been rotating from side to side. Just a few pics. OC.
-
Fantastic work - a realy nice attractive finished job. OC.