HOLIDAY DONATION DRIVE - SUPPORT MSW - DO YOUR PART TO KEEP THIS GREAT FORUM GOING! (Only 13 donations so far - C'mon guys!)
×


Old Collingwood
-
Posts
12,098 -
Joined
-
Last visited
Content Type
Profiles
Forums
Gallery
Events
Everything posted by Old Collingwood
-
 Yep it is taking A lot more time and concentration but I think its paying off, its also a geat way to learn more about seamanship and nautical terms (before building the pearl if somone had mentioned a Lift - I would have thought - people getting in it to go up or down) OC.
 -
I realy like the idea with the wings - adds more interest to an already attractive build. OC.
-
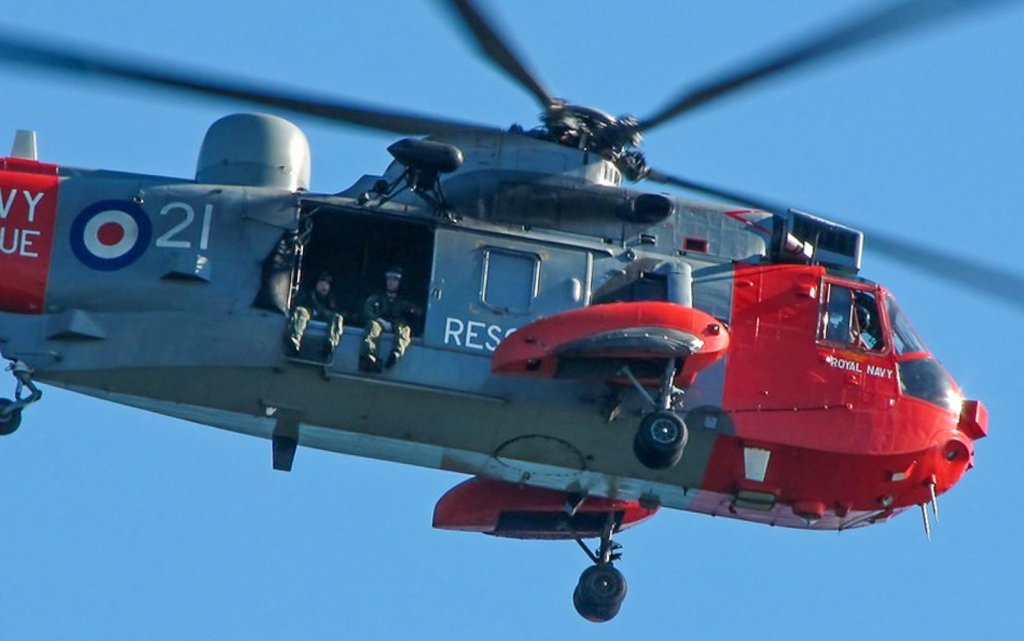
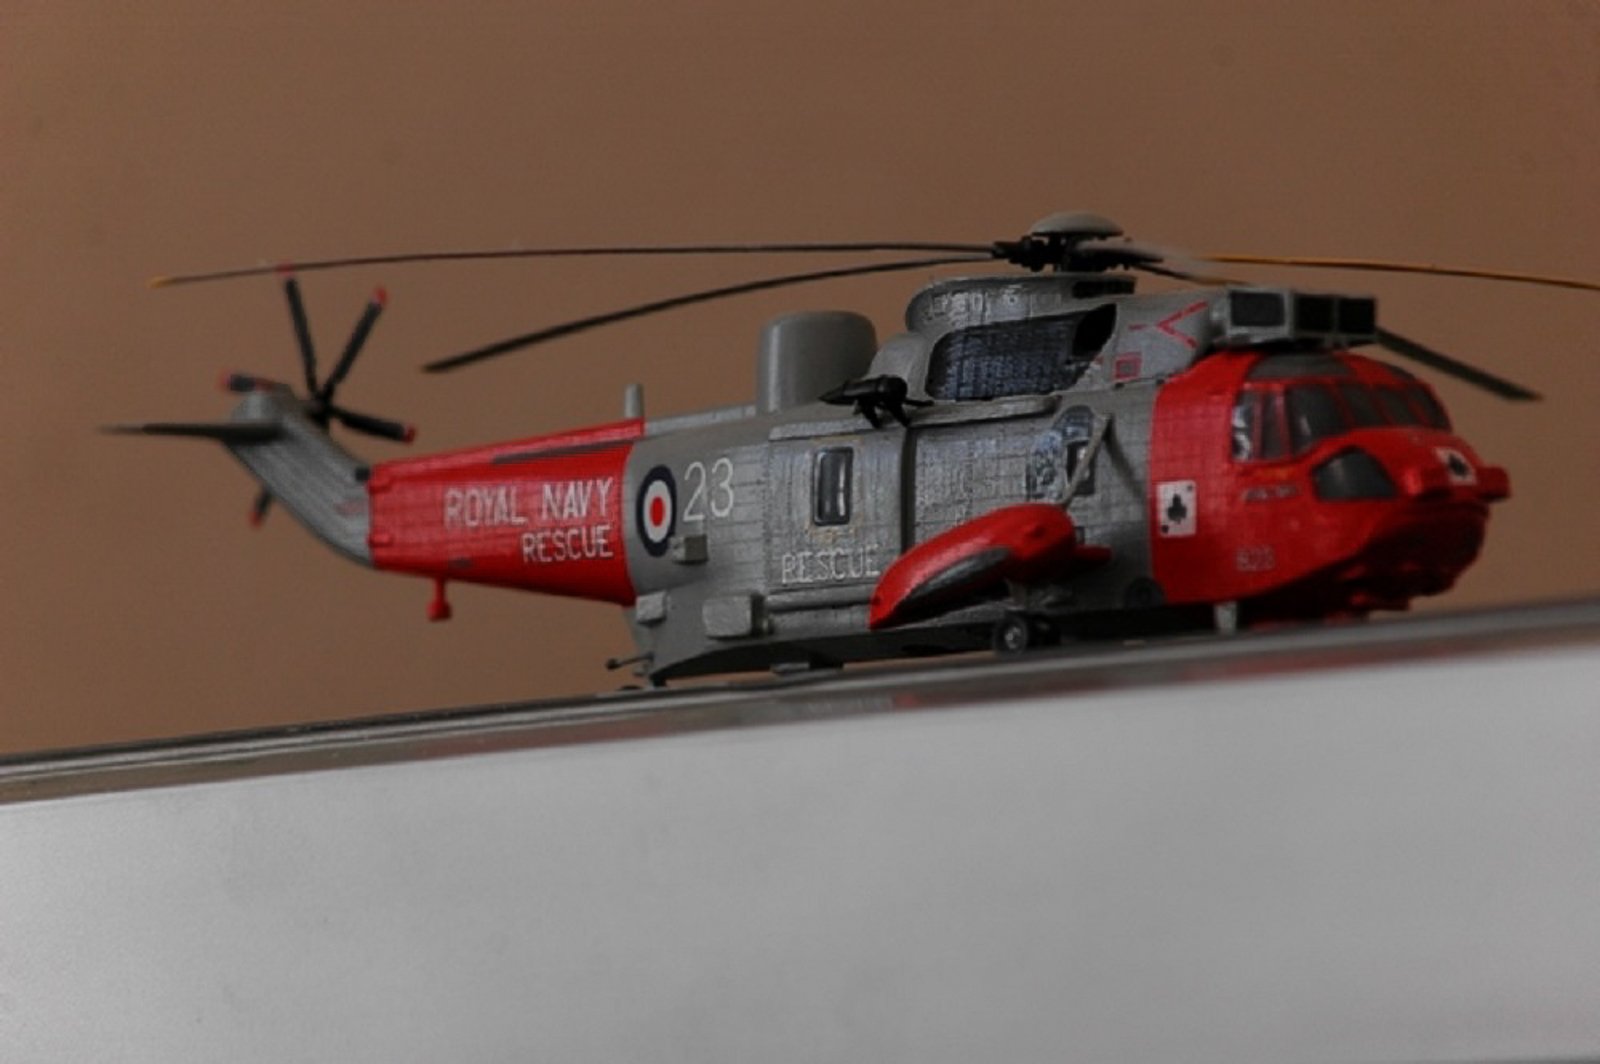
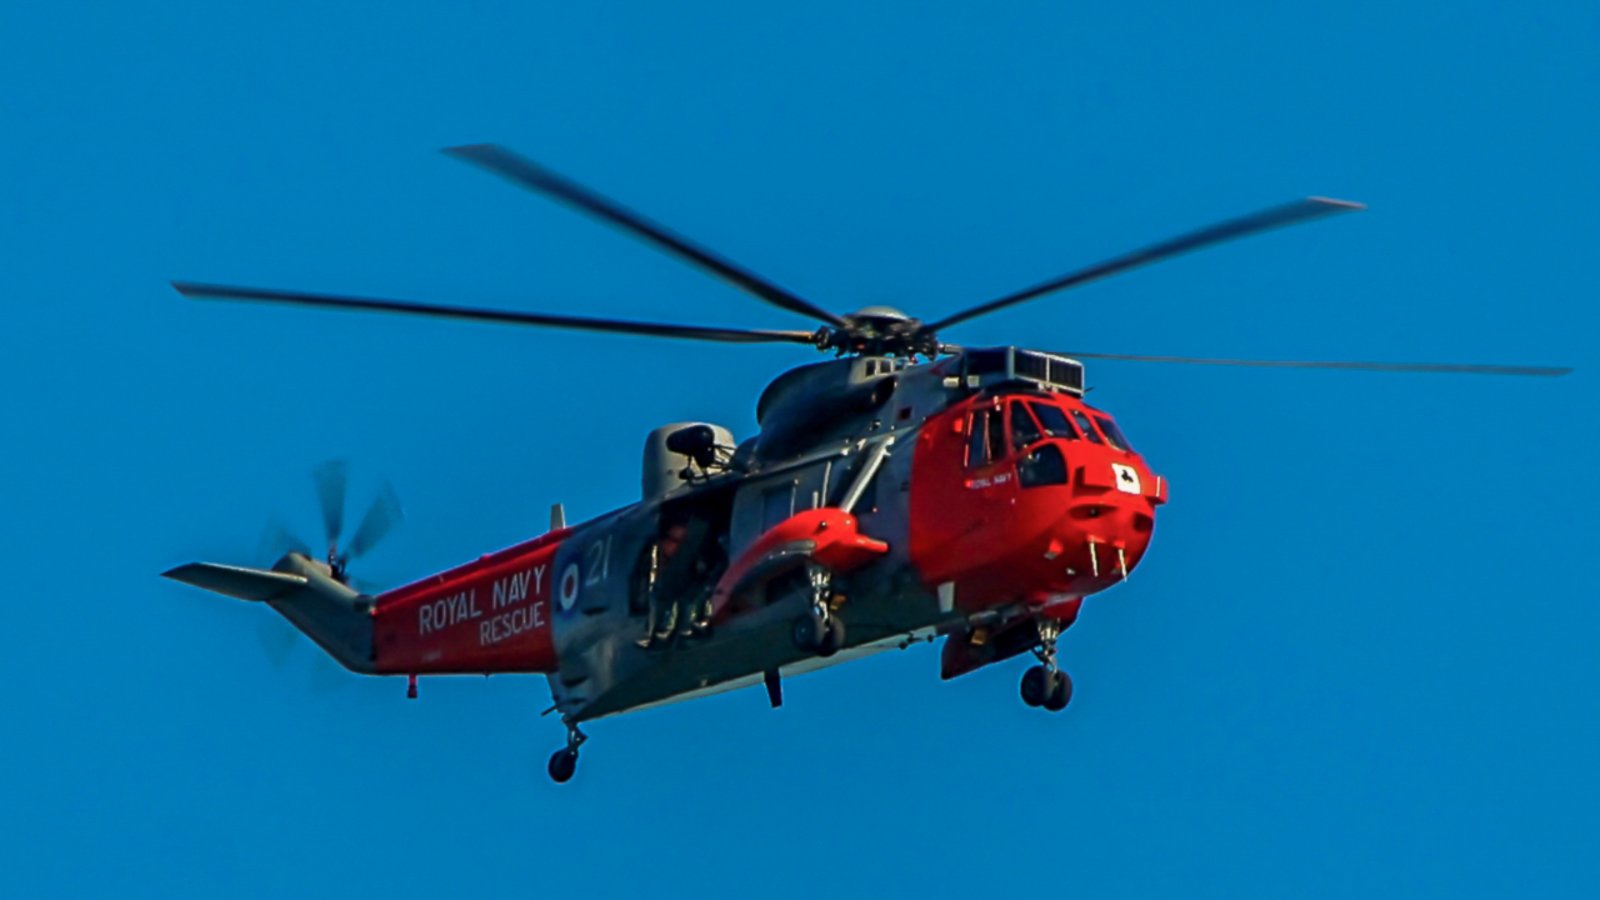
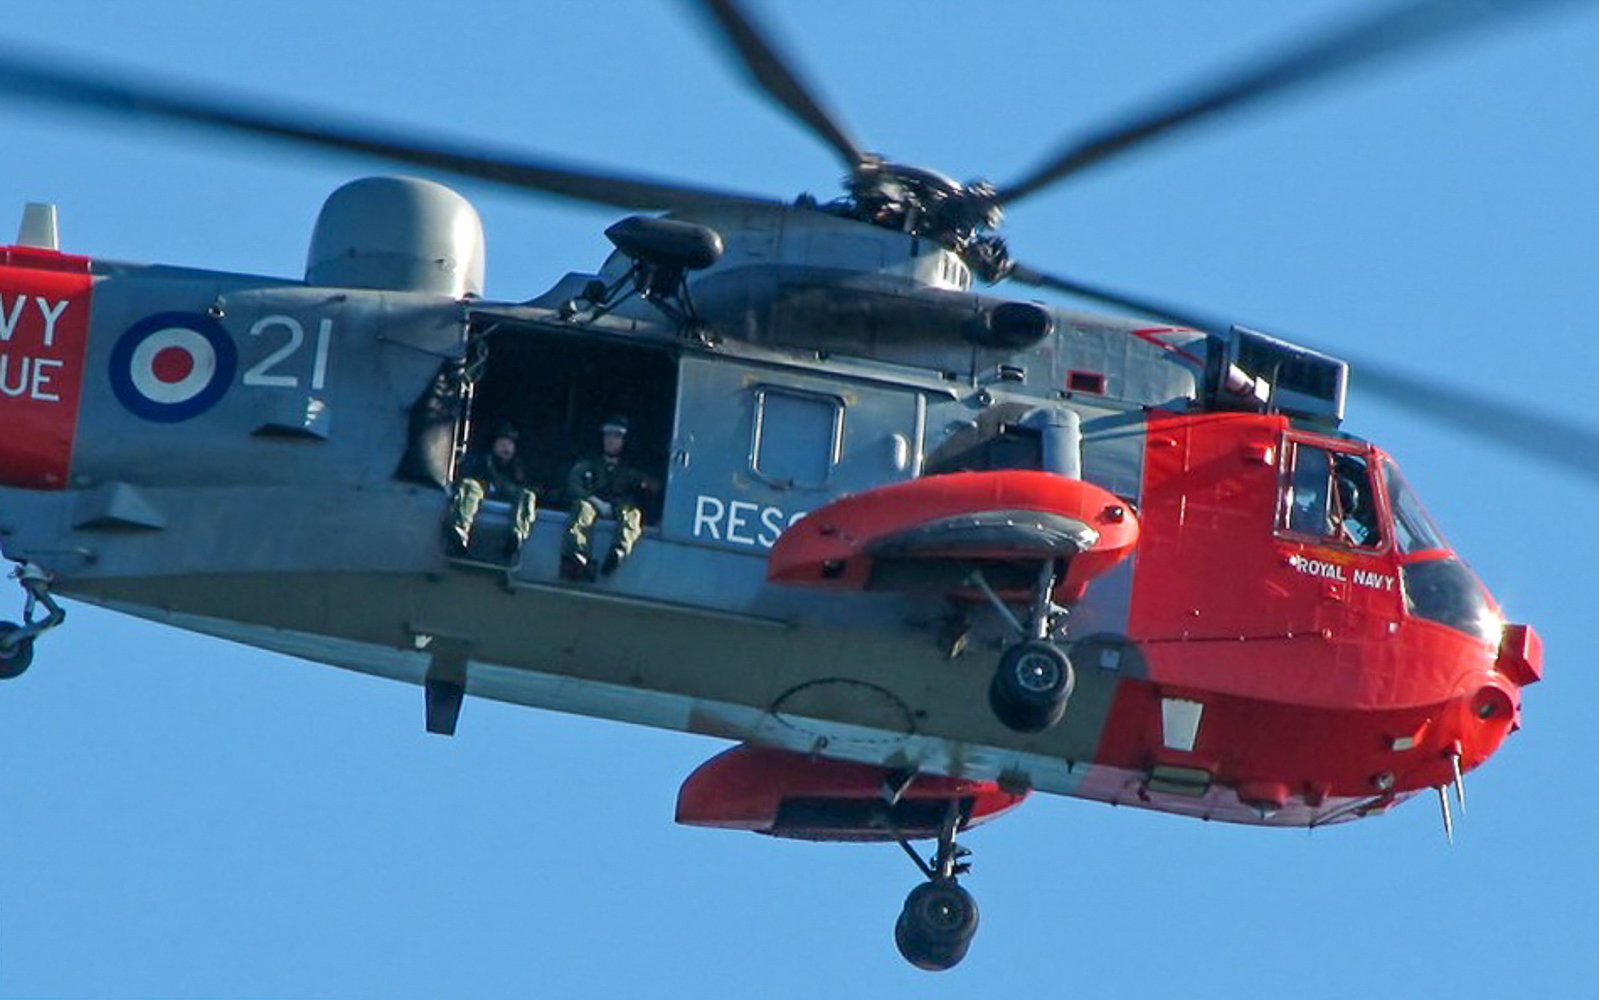
I thought I would show a kit I built straight out of the box, it was based on a real helicopter I used to see often, it fell together fairly quickly in about four days, I used tamiya enamel paints - satin finish I think. Anyway here is my old kit and the photos that I took of the real thing. OC.


- 4 replies
-
- 11
-

-
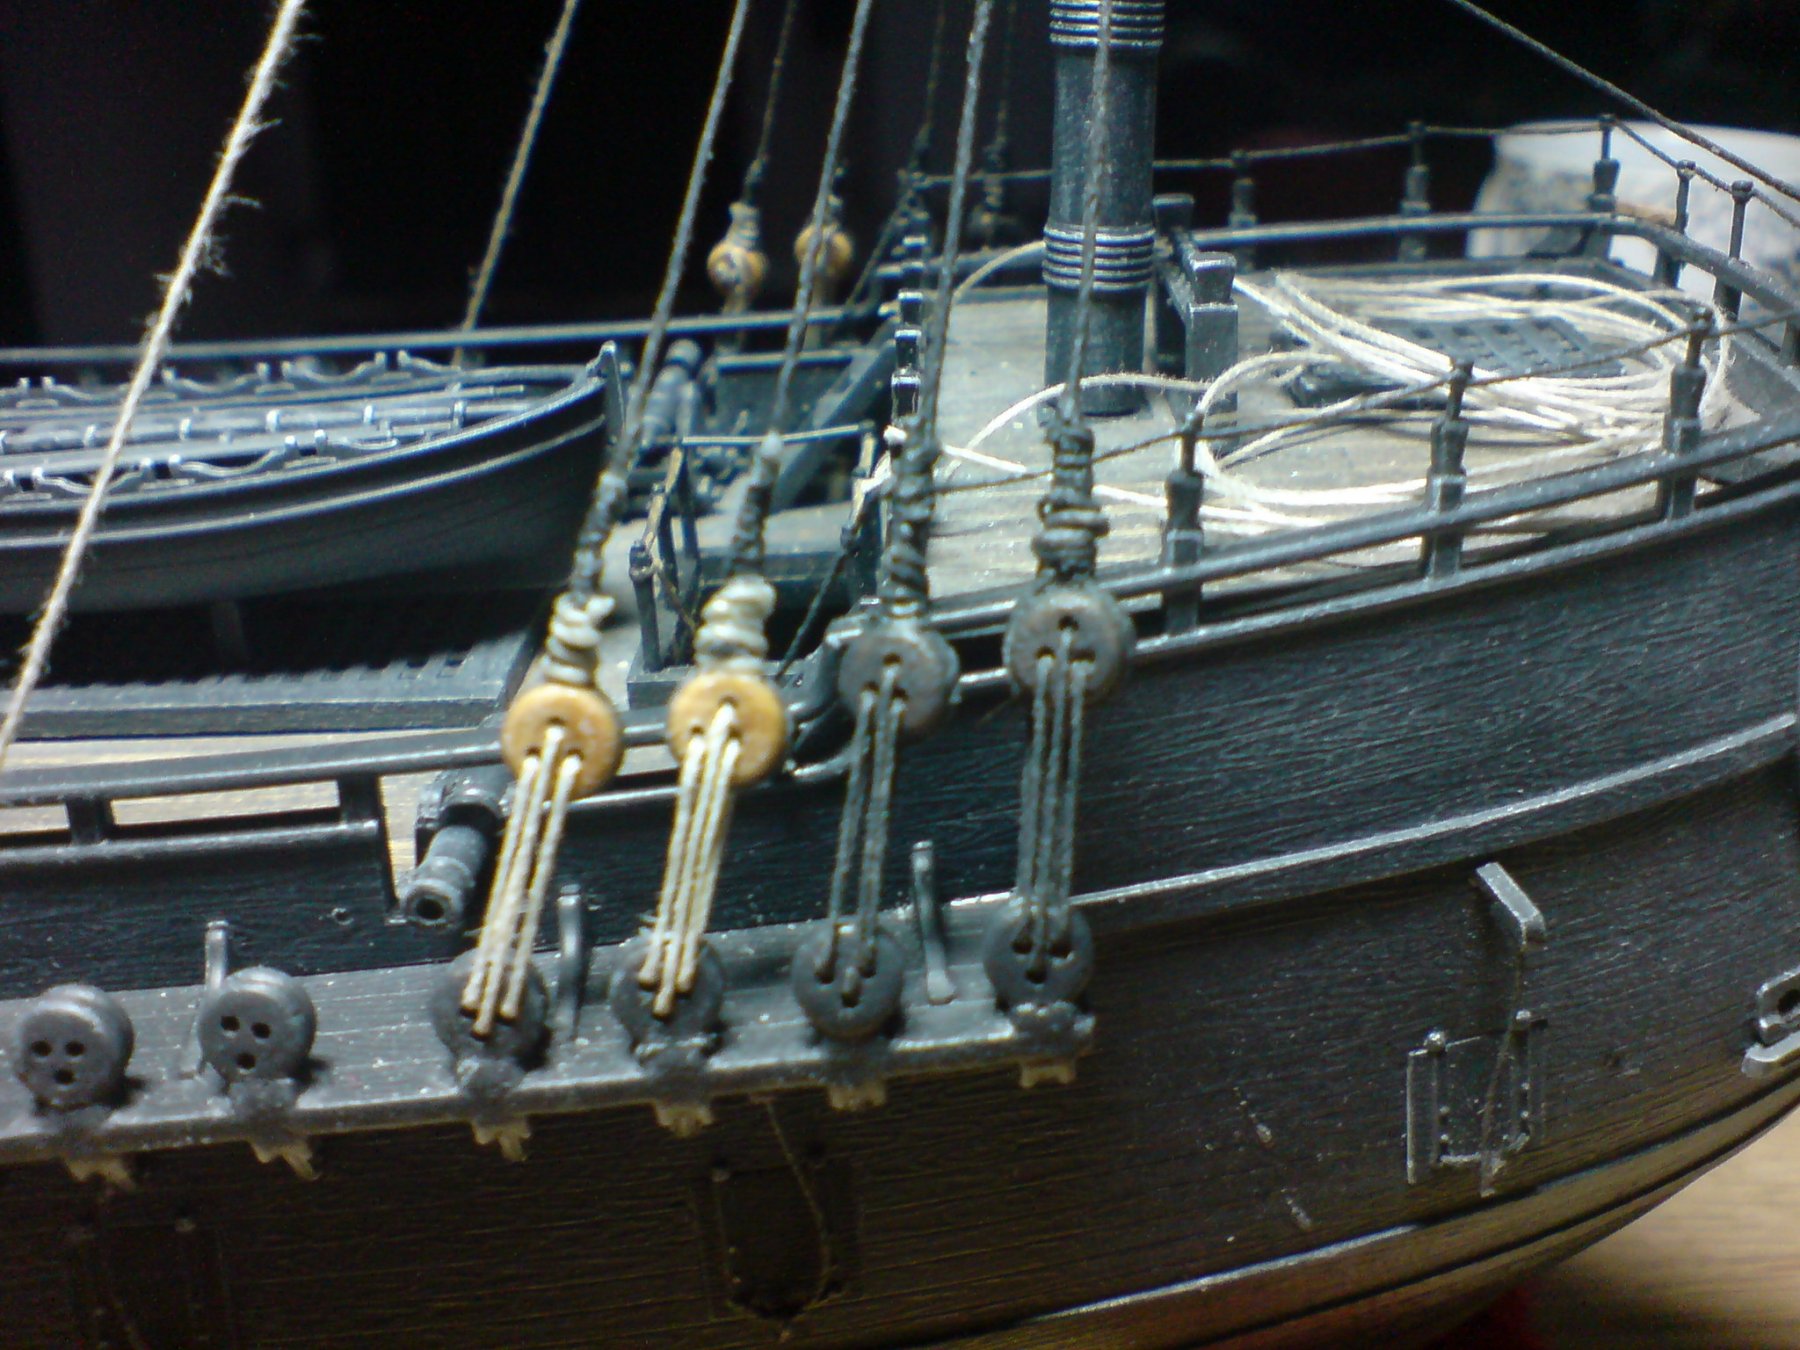
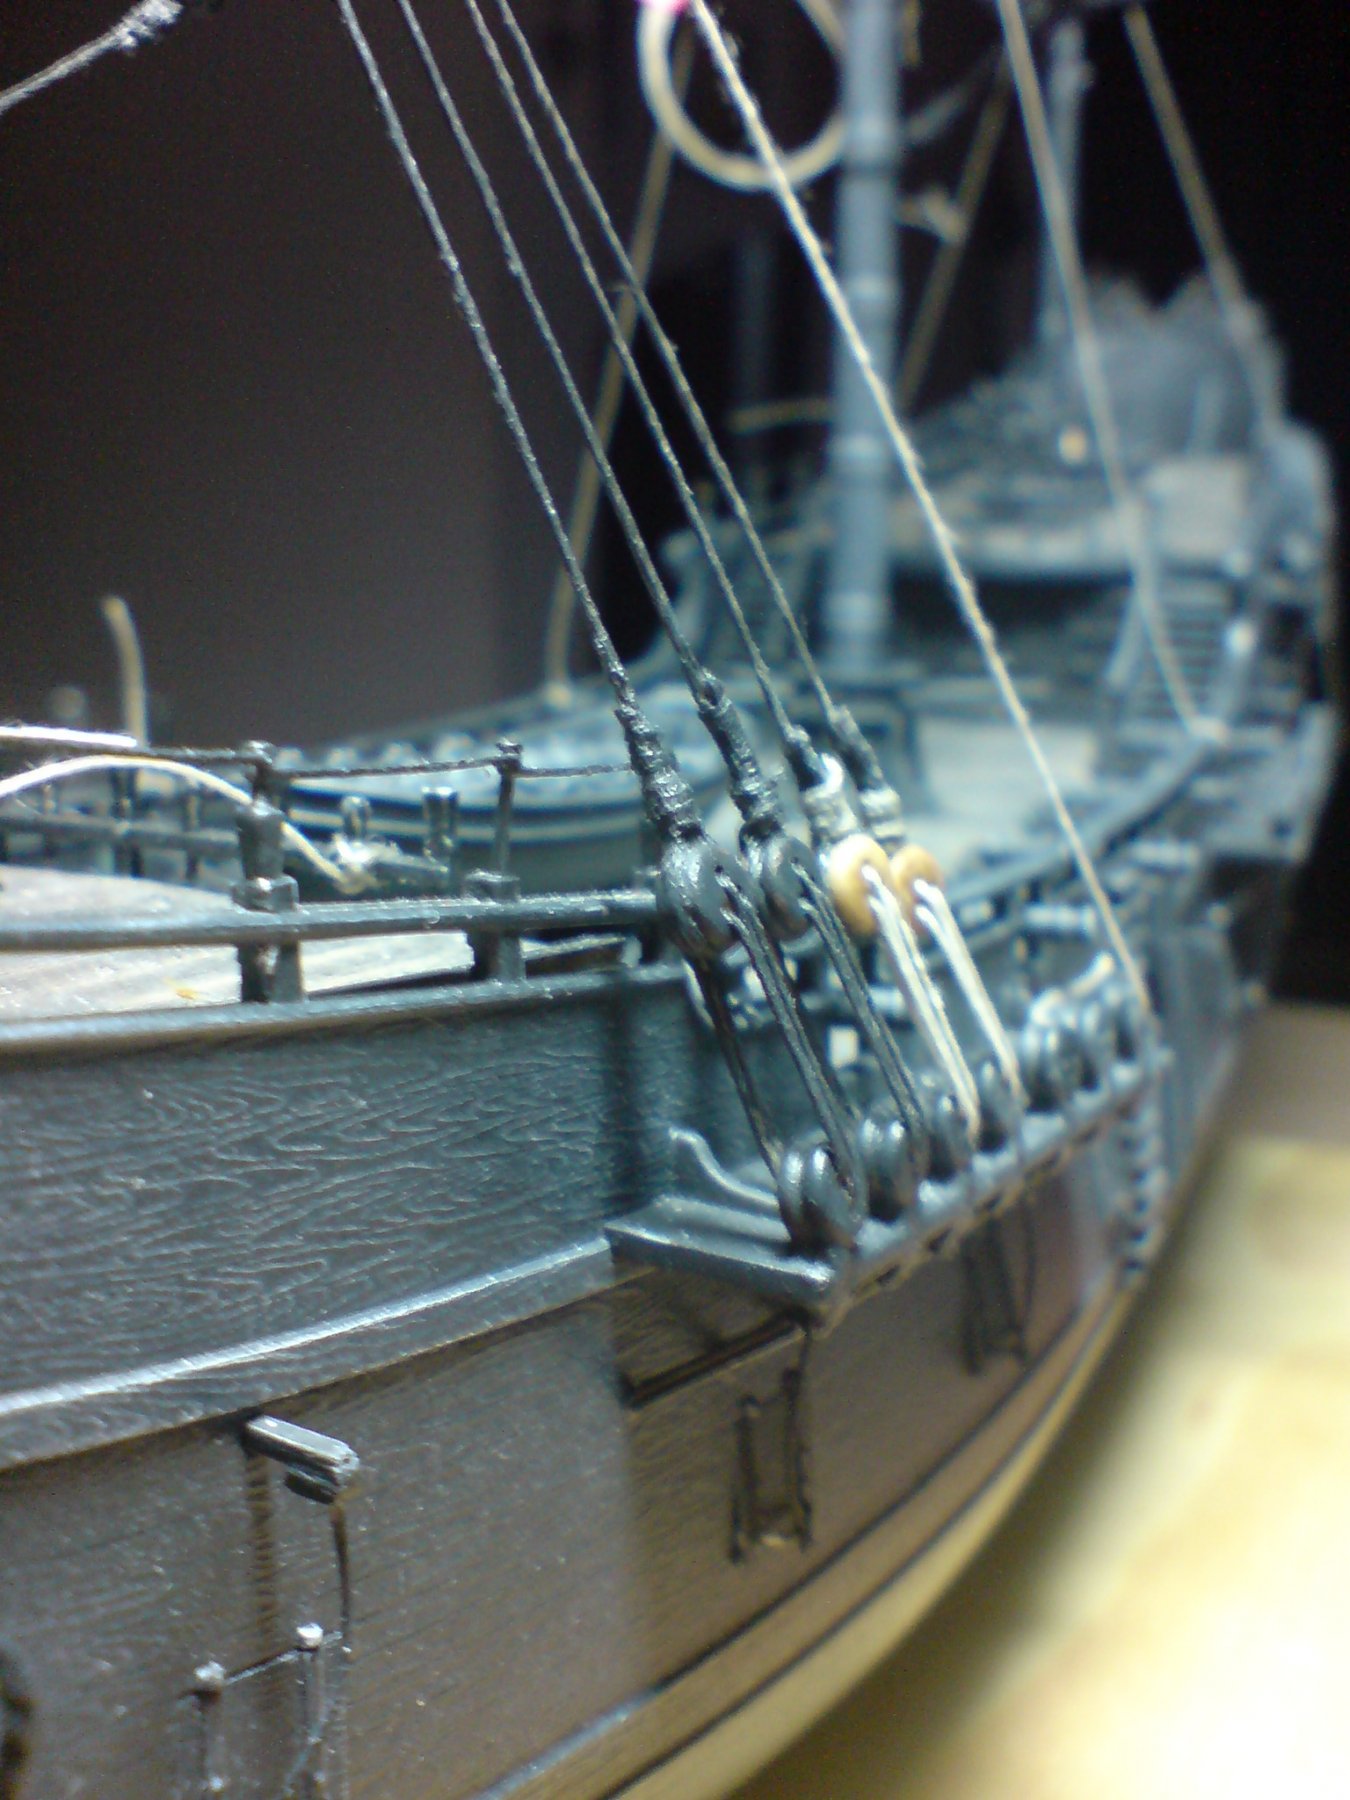
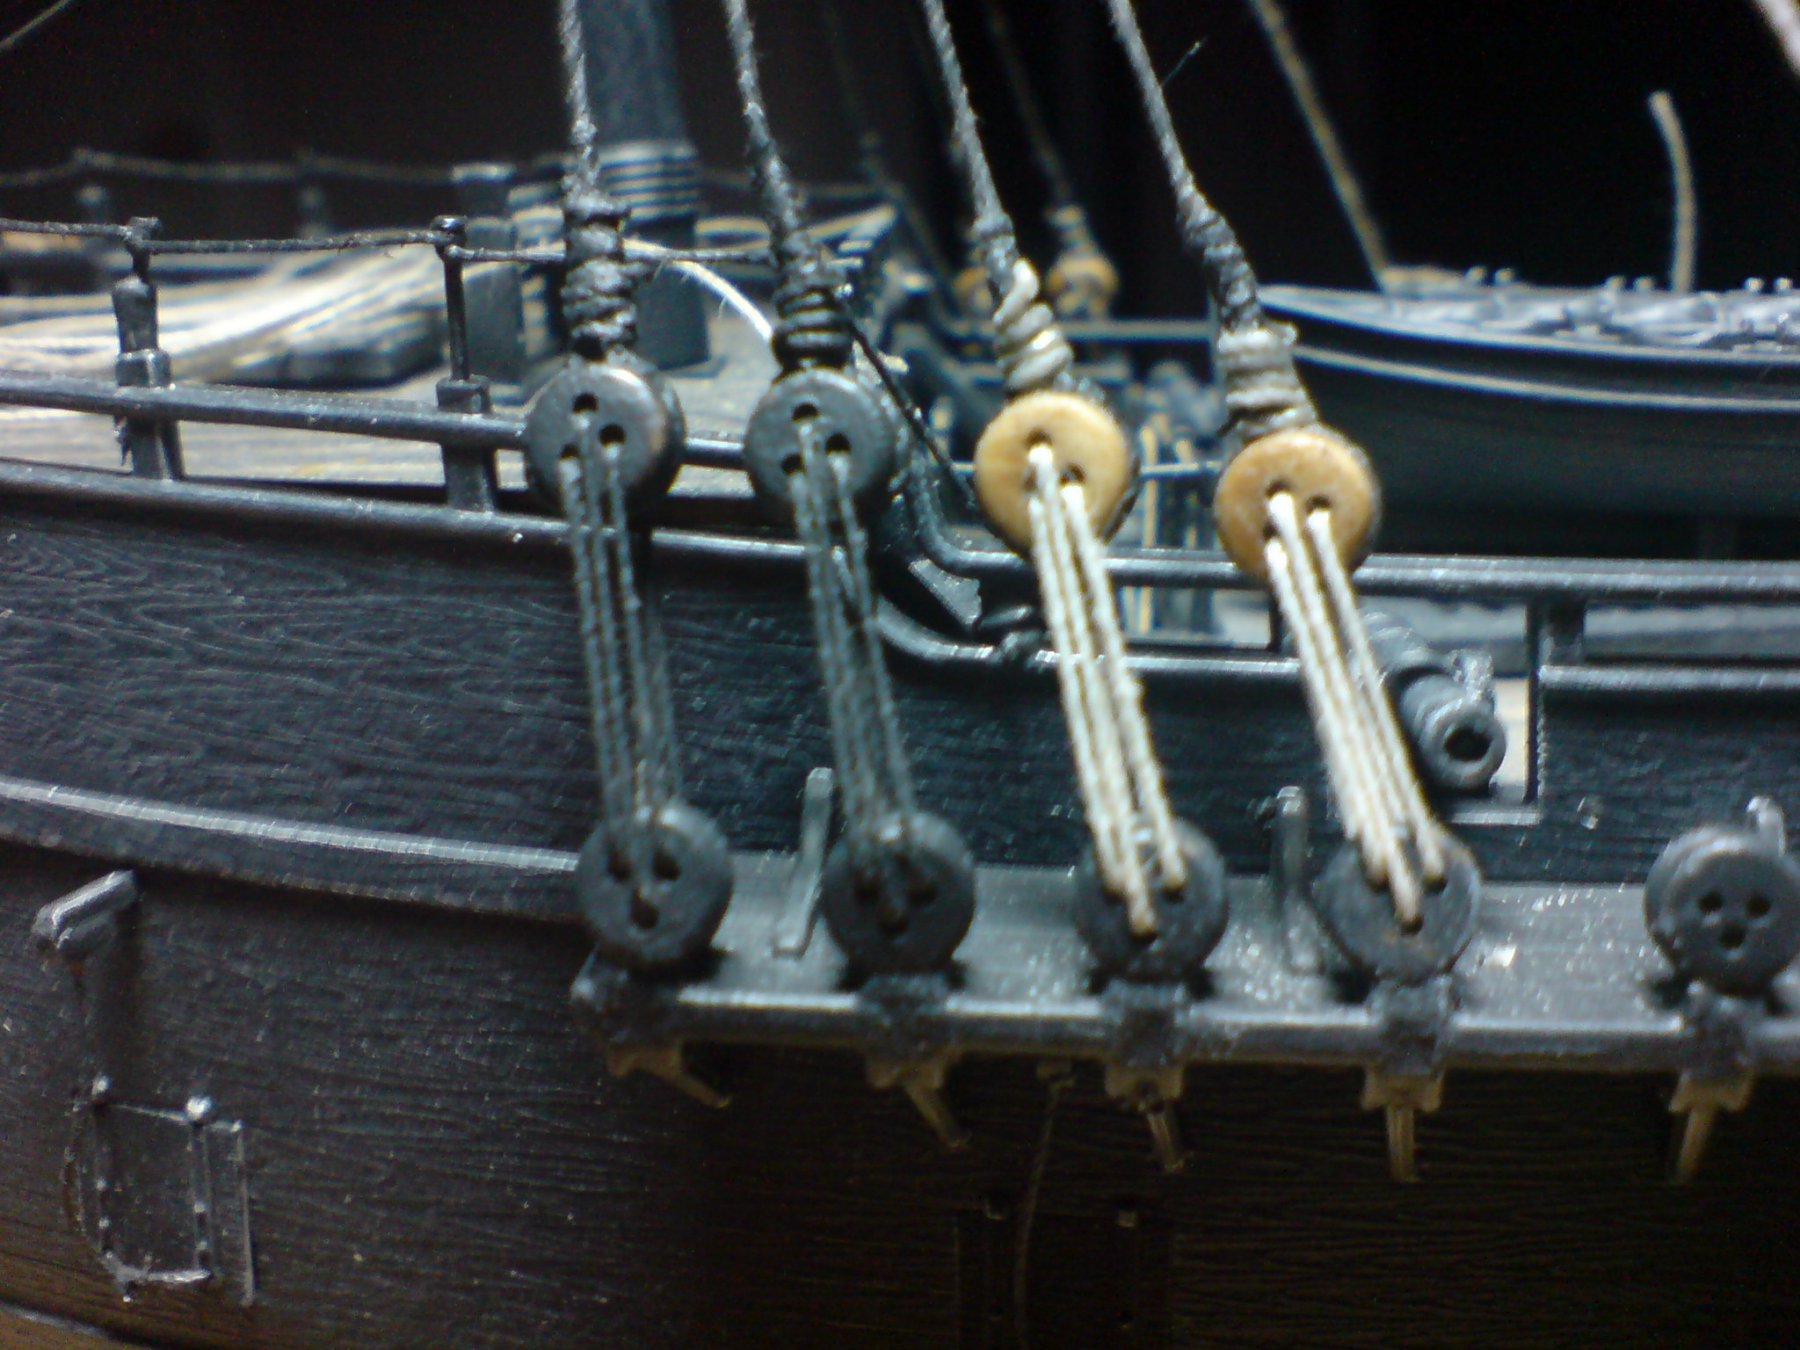
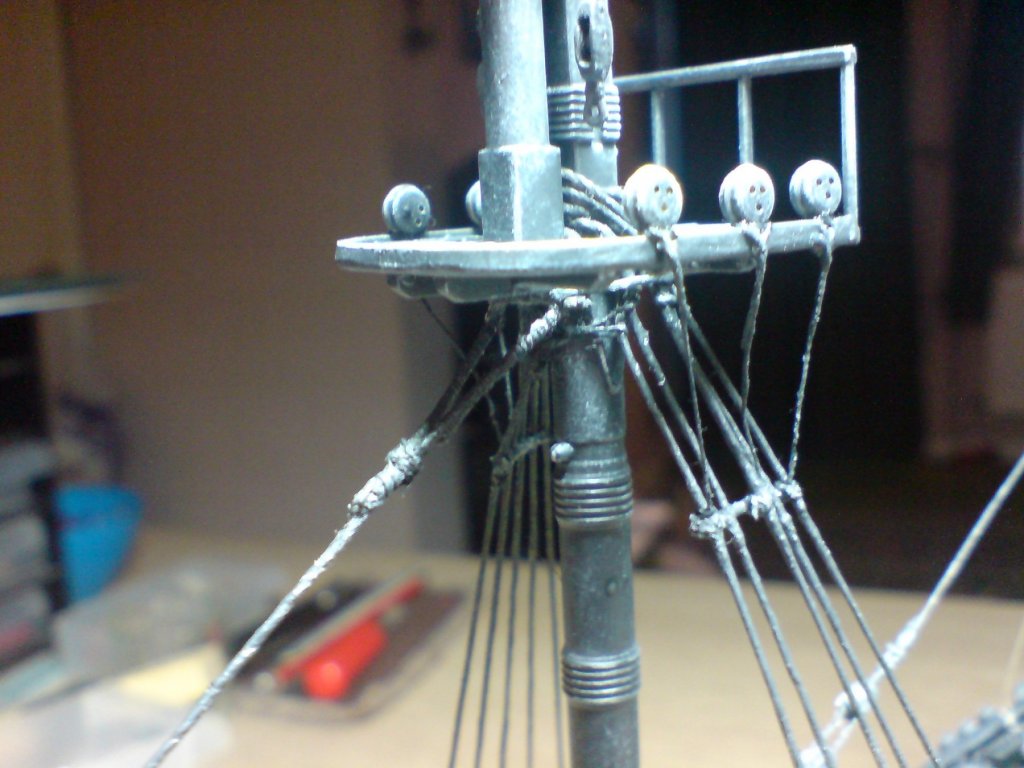
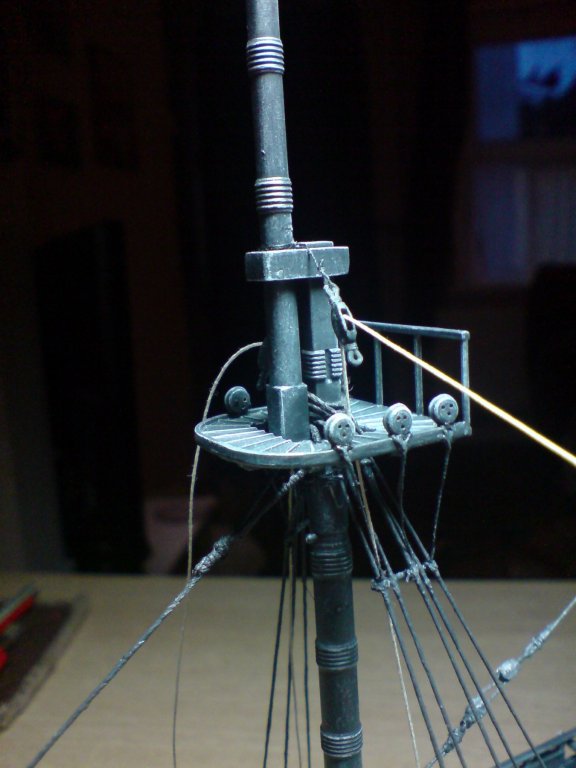
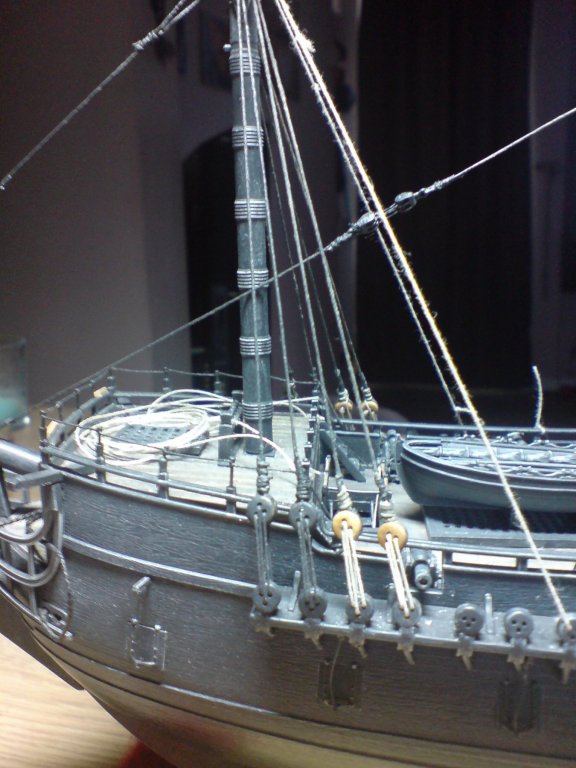
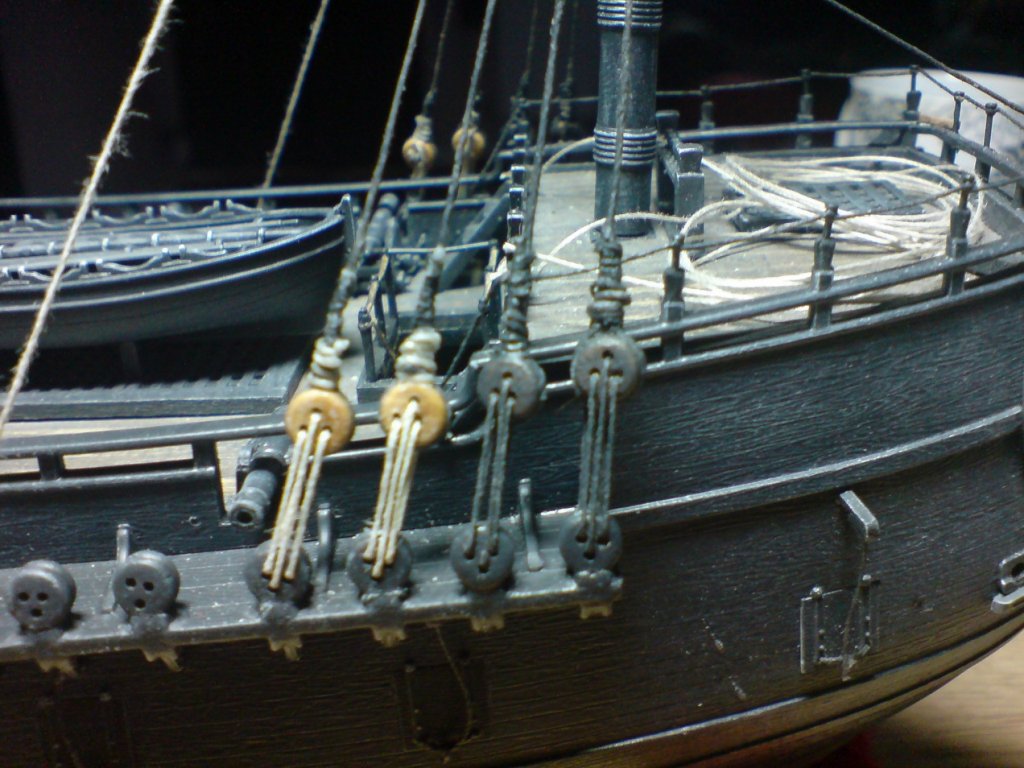
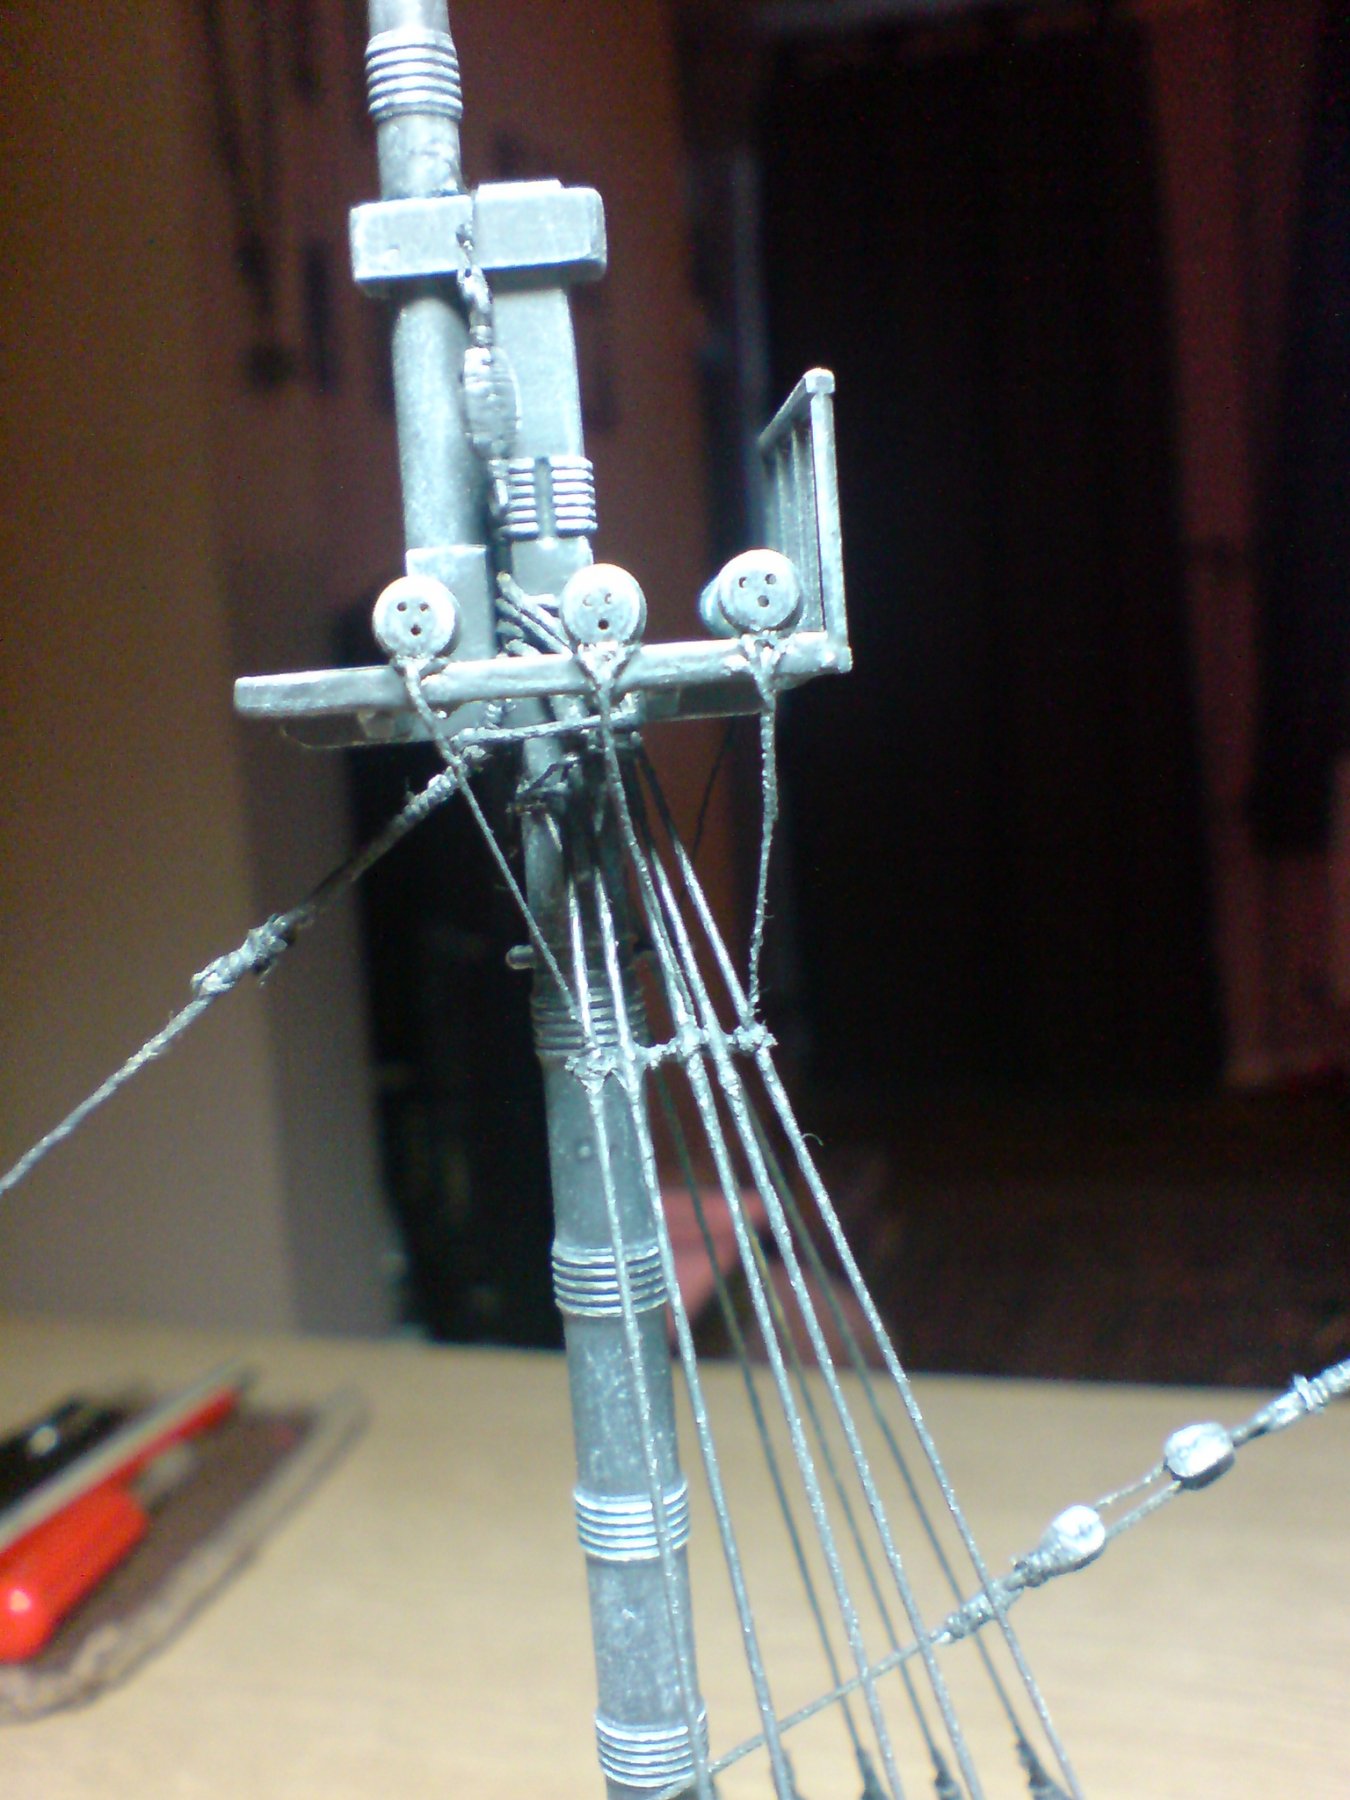
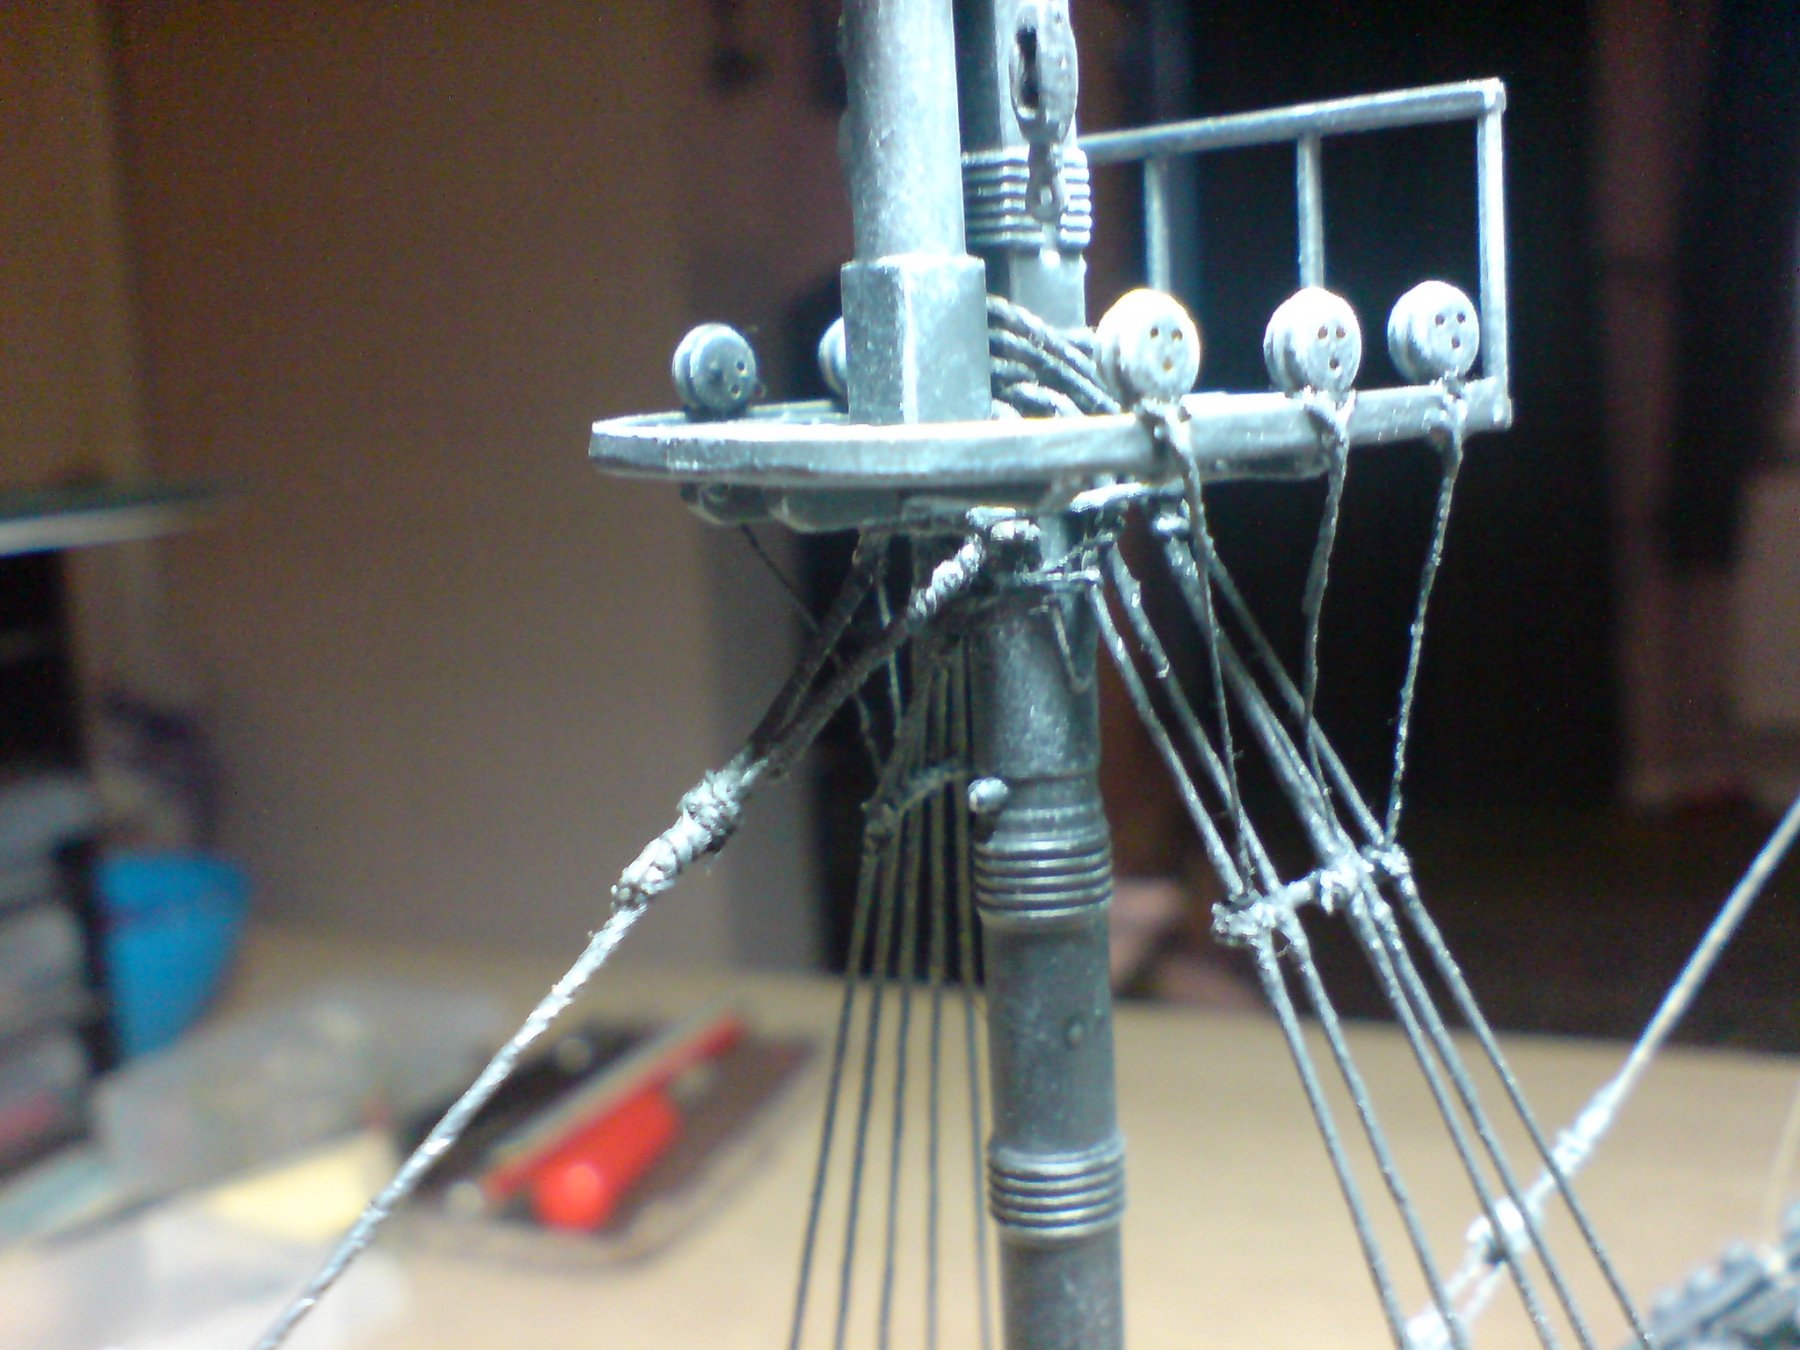
Evening all - more progress with the foremast, firstly I painted the lower deadeyes and ropes, then I did the same to the tops - after this was dry I worked on fitting the futtock shrouds, these were fine black tread treated with thin pva to stiffen and de -fuzz the rope, I then wrapped then around the base of the deadeyes - twisted them and added a dab of ca, this was repeated till all six were done. Next job was to create a sherpole on each upper section of the shrouds - I did this by using the same thickness of thread as used in the shrouds, I glued this with ca behind the shrouds, then when set I glued down the tops into position on the mast. A short coffee break then I set about attaching the futtock shrouds to the sherpole - this was done with a couple of tie overs then a dab of ca to lock them inlpace, I finished this off by trimming some ends. I then decided to test the action and position of the lifting tackle/blocks by routing the lifting rope up through the shrouds and the gaps in the tops, just about right I think. So heres a few pics including test fitting the lifting gear for the lower spar. OC.

.thumb.JPG.d829d499d59506f28d3ef13392aa2408.JPG)
-
Or/and the diff between a spit and a seafire. OC.
-
Dont get me started on counter rotating props lou, my late farther used to chat to me about them till I got the info. OC.
-
Very nice work mate - the more work we cram into a cockpit - the more we are pleased, doesn't matter most wont be seen, we know its there. OC.
-
Hi chris, I dont know the ship very well but I would suggest to rig the canon first and put the ladders in after - just seems a logical way to do it that way. OC.
-
Great to see you back Patrick with your beautiful build - all the best returning to her. OC.
-
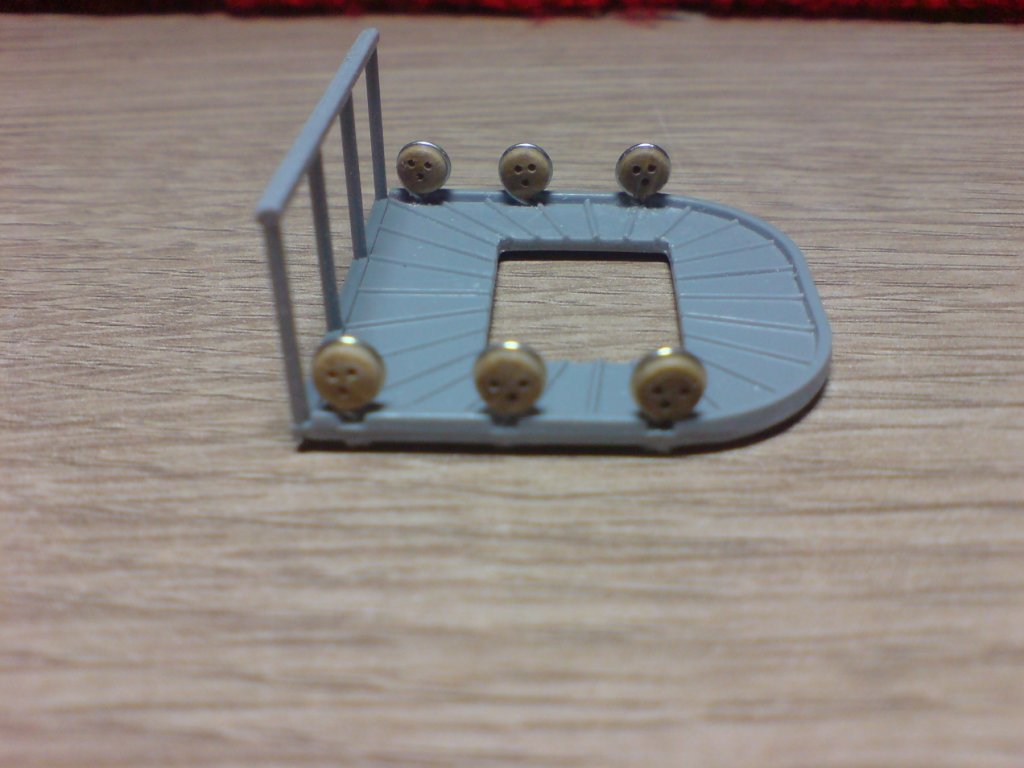
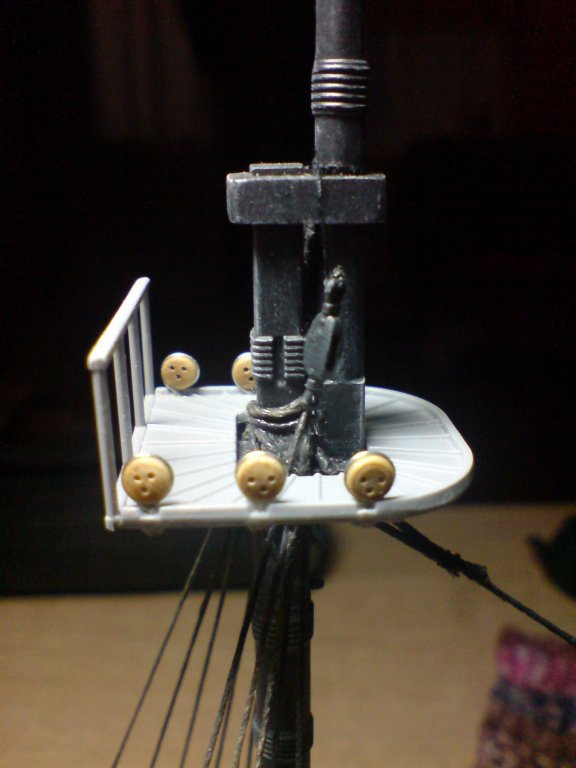
More work today - I finished off the foremast shrouds - then lashed them underneath the trestletrees to tighhen them up, then I cut away the temp tentioning rope. Next job was to work on the masttop - first I studied the smaller deadeyes I have (wood stock) I needed to find away to attach these - "Ah Ha" I have some fuse wire in different rate (thicknesses) - so I rapped the fuse wire around the deadeye and twisted the ends with pliers, I then pushed the end through a pre drilled hole in the deck of the masttop then added a dab of ca - so six deadeyes where fitted using the same system, and it was finished off with a railing. A few pics with one showing the tops dry fitted. OC.


-
Teeth is a sore point - but my fingers are doing fine collecting super glue nicely - when I smooth some of the threads where I have tied them off. OC.
-
Looking good - some nice detail there. OC.
-
Thank you so much for that my friend - just hoping the lack of level with them is not too bad. OC.
-
Good day all, sincerely thank you for all the likes and replies, So more work on the shrouds - this is not the most straight forward part of the build - keeping the deadeyes all level when under tension is not easy, also the tops of the shrouds where they rap around the mast heads - they tend to throw out the shrouds stopping them from laying flat with each other, I guess I will need to lash some some thread around the top of the shrouds to pull them all level. So four done on each side with two each painted as they should be - two more to be done, then onto the mainmast Heres the pics - OC.


-
Another excellent build - I have my chair all set up mate. OC.
-
You should be proud of that - what a fine job. OC.
-
She is looking Superb mate - the extra effort with the weathering sure makes all the difference. OC.
.JPG.9da45a08577ccae03dea2b0f23ab5bb2.JPG)