Old Collingwood
-
Posts
12,106 -
Joined
-
Last visited
Content Type
Profiles
Forums
Gallery
Events
Everything posted by Old Collingwood
-
 How about this - 🤩 http://www.anigrand.com/images/items/AA9001_C-5B/AA9001_C-5B_boxtop_large.gif
 -
TSR2, TSR2, TSR2.............. OC.
-
Looking Superb mate. OC.
-
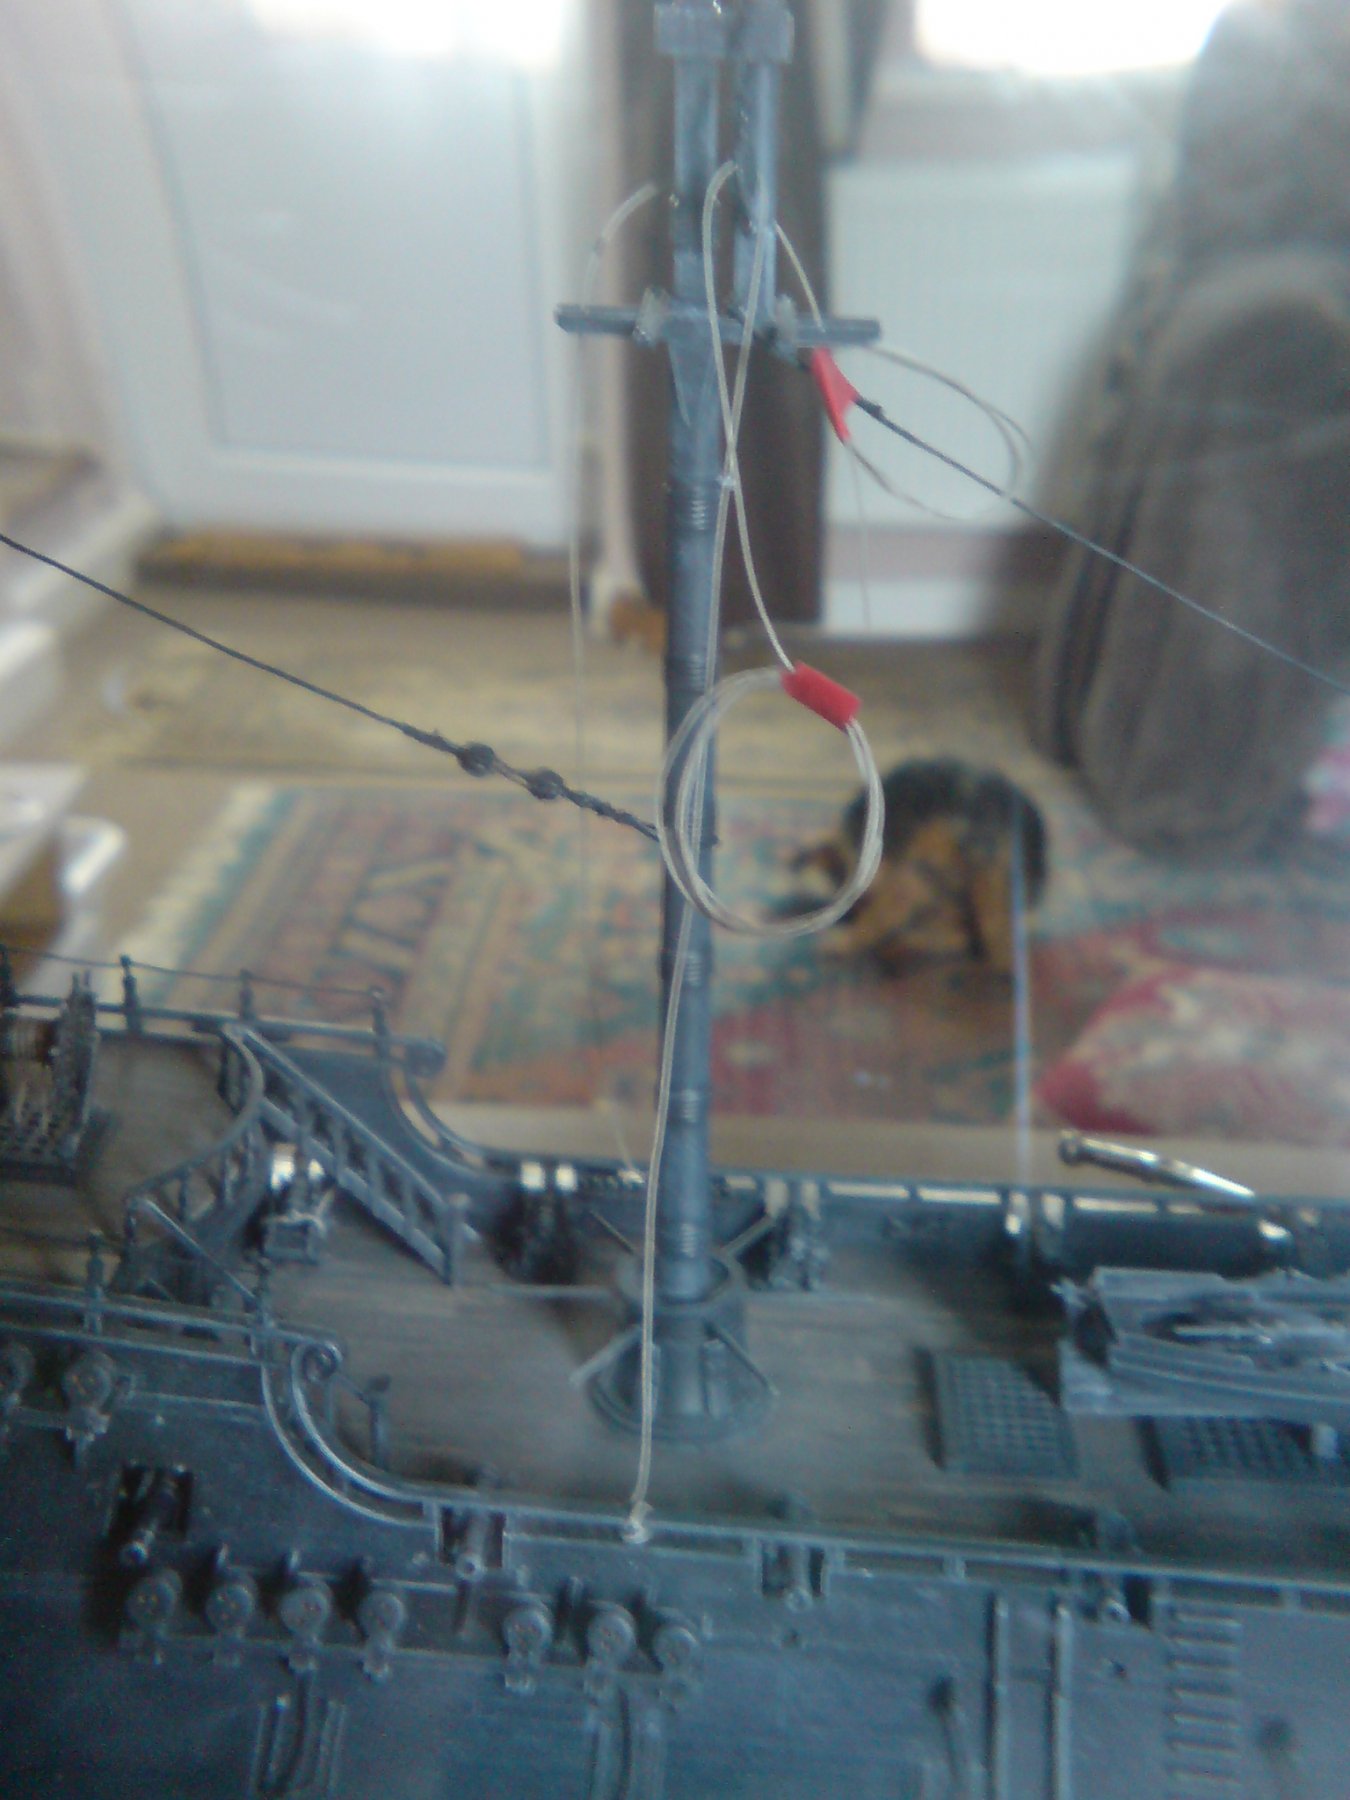
I used it already on the dowels I put inside the masts (to strengthen them) yep - just a case of scraping using the curved insode section of the blade, Its very sharp and did a great job, the idea is to do the same after making on the dowel each end where to start tapering it. OC.
-
Thats a great repair - I remember always having the same problem with kits of Harriers - with thier fron screen. OC.
-
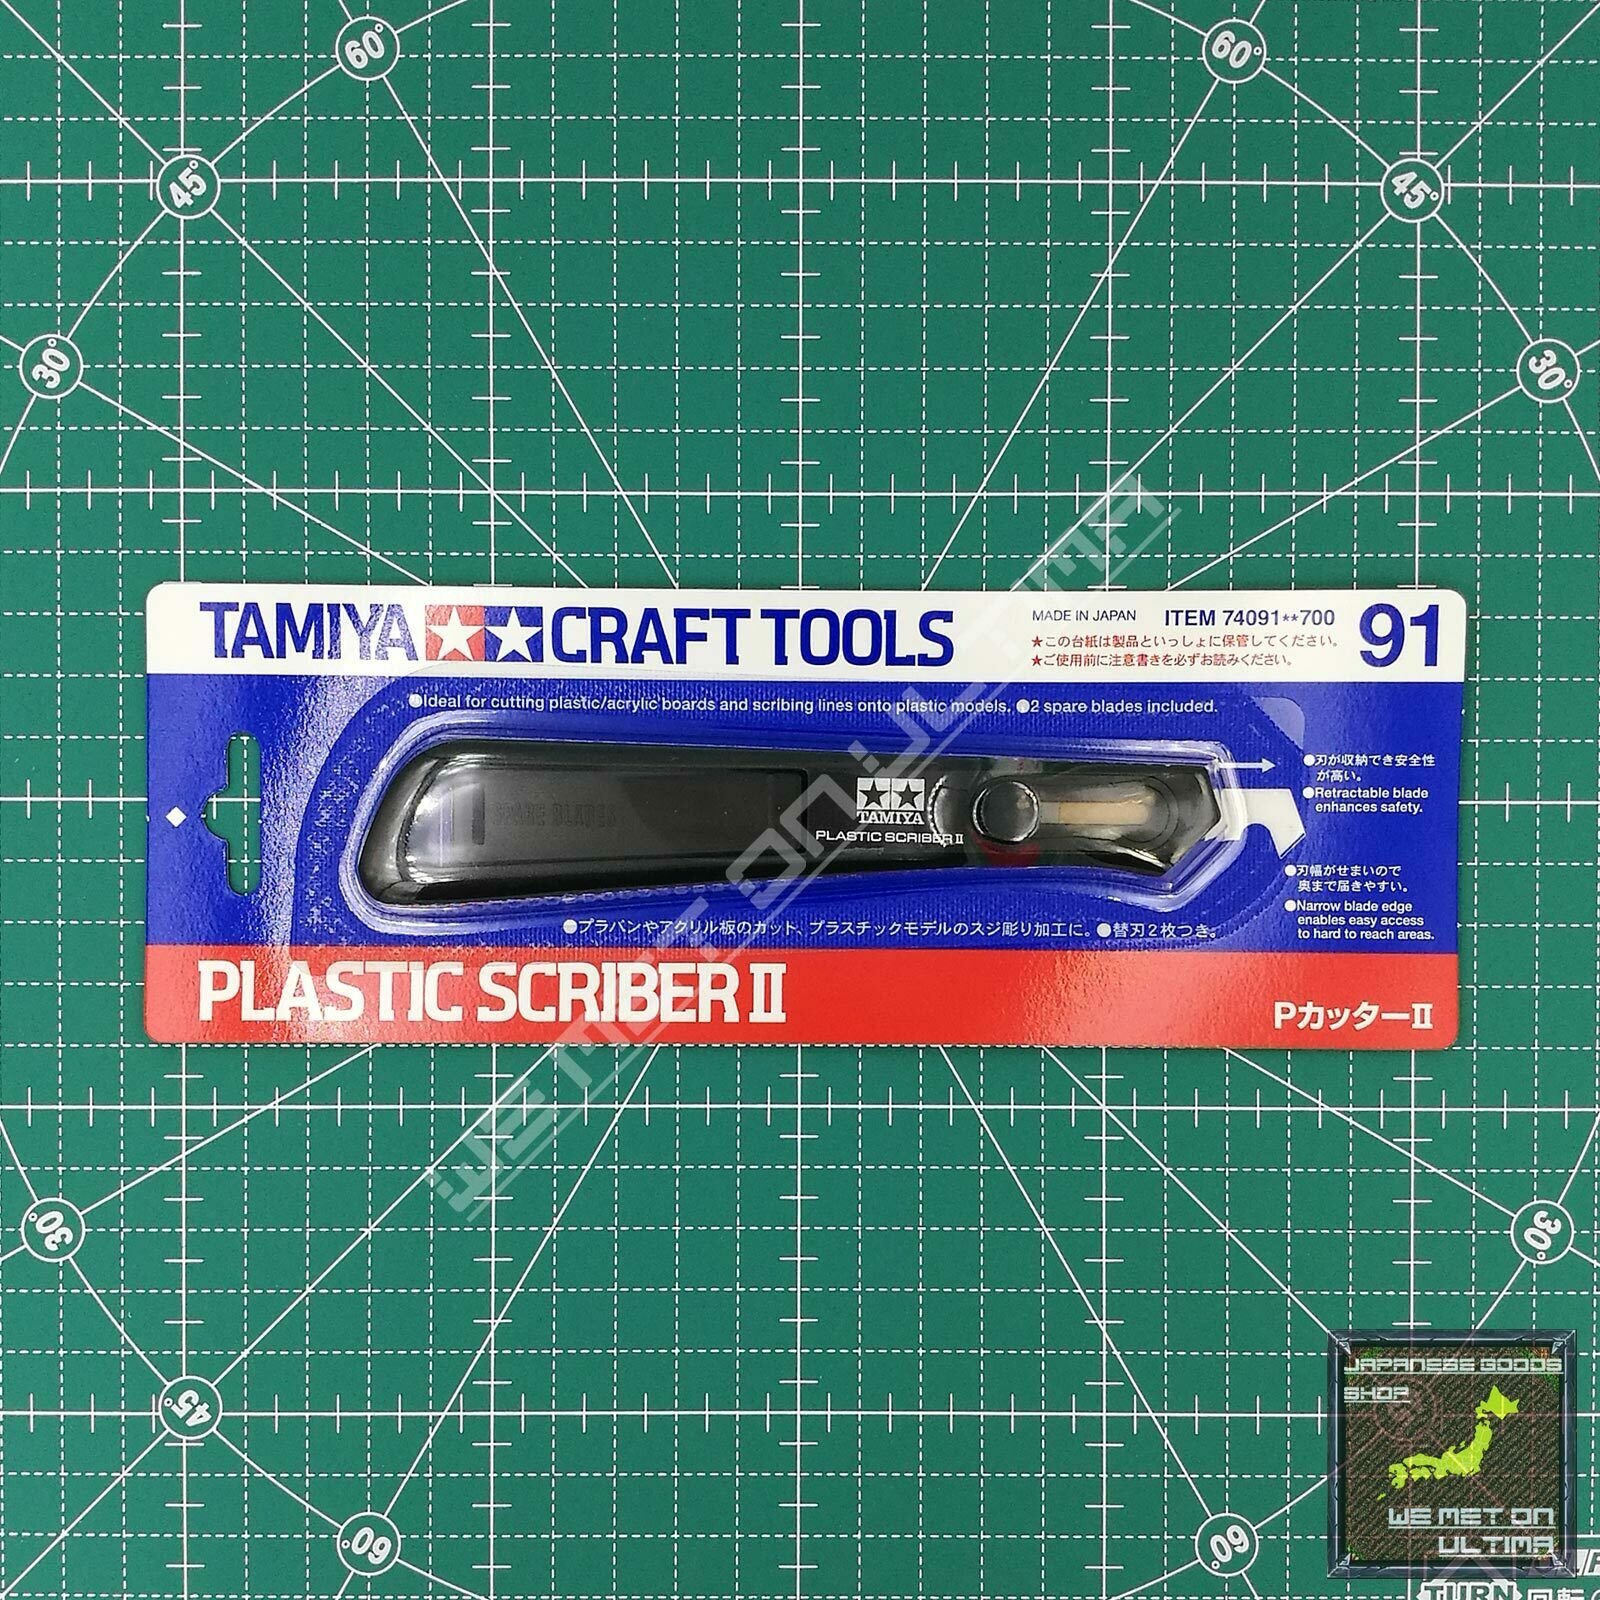
I have got a great new tool for shaping spars - its a rounded scraping tool that slides in and locks (extended or retracted) it will be great for shaping the tapers on my dowel spars. OC.
-
You mean for sanding plastic or even wood parts? I use nail sanding files - I have a mix of the flexible two sided ones and many that are thin with card in the center - I have beautiful nails now 🤣 OC.
-
Indeed - felt like the whole site was on hold over my magnifier episode - so glad full service has resumed. OC.
-
Saw a few at airshows in the 80s though. OC.
-
Yep me too Aurora - Black Manta etc and the TR3 (Poss Blackbird replacement) I once went with a group of aircraft spotters to a UK mil base Mildenhall as two Blackbirds were stationed there then, we camped out in a field under the runway hoping to see one of the aircraft depart, we never did as they were kept hid away in there hangars. OC.
-
Its some plane the TSR2 its massive when you stand next to it - yet such a tiny wingspan. OC.
-
TSR2 would be Brilliant, I have seen both survivors at Cosford and Duxford museums - amazing aircraft. OC.
-
Nah - you live in a model shop.🤩 OC.
-
Back to normal - toothpaste to the rescue - final result magnifier 1 finger 0 "ouch". View through magnifier after repair. OC.

-
Makes you realise what a special job - dry docking is getting the ship ligned up to catch those blocks. OC.
-
This is what makes our forum so special - we are like a family looking out for each other and helping where we can. OC.
-
Thanks for that lou, I have just been looking online at our local store to see what they have - not seen the above mentioned but they do have many others. OC.
-
Thank you wallace - I will pick some up tomorrow - just the plain simple unflavoured white variety? OC.