HOLIDAY DONATION DRIVE - SUPPORT MSW - DO YOUR PART TO KEEP THIS GREAT FORUM GOING!
×


Old Collingwood
-
Posts
12,097 -
Joined
-
Last visited
Content Type
Profiles
Forums
Gallery
Events
Everything posted by Old Collingwood
-
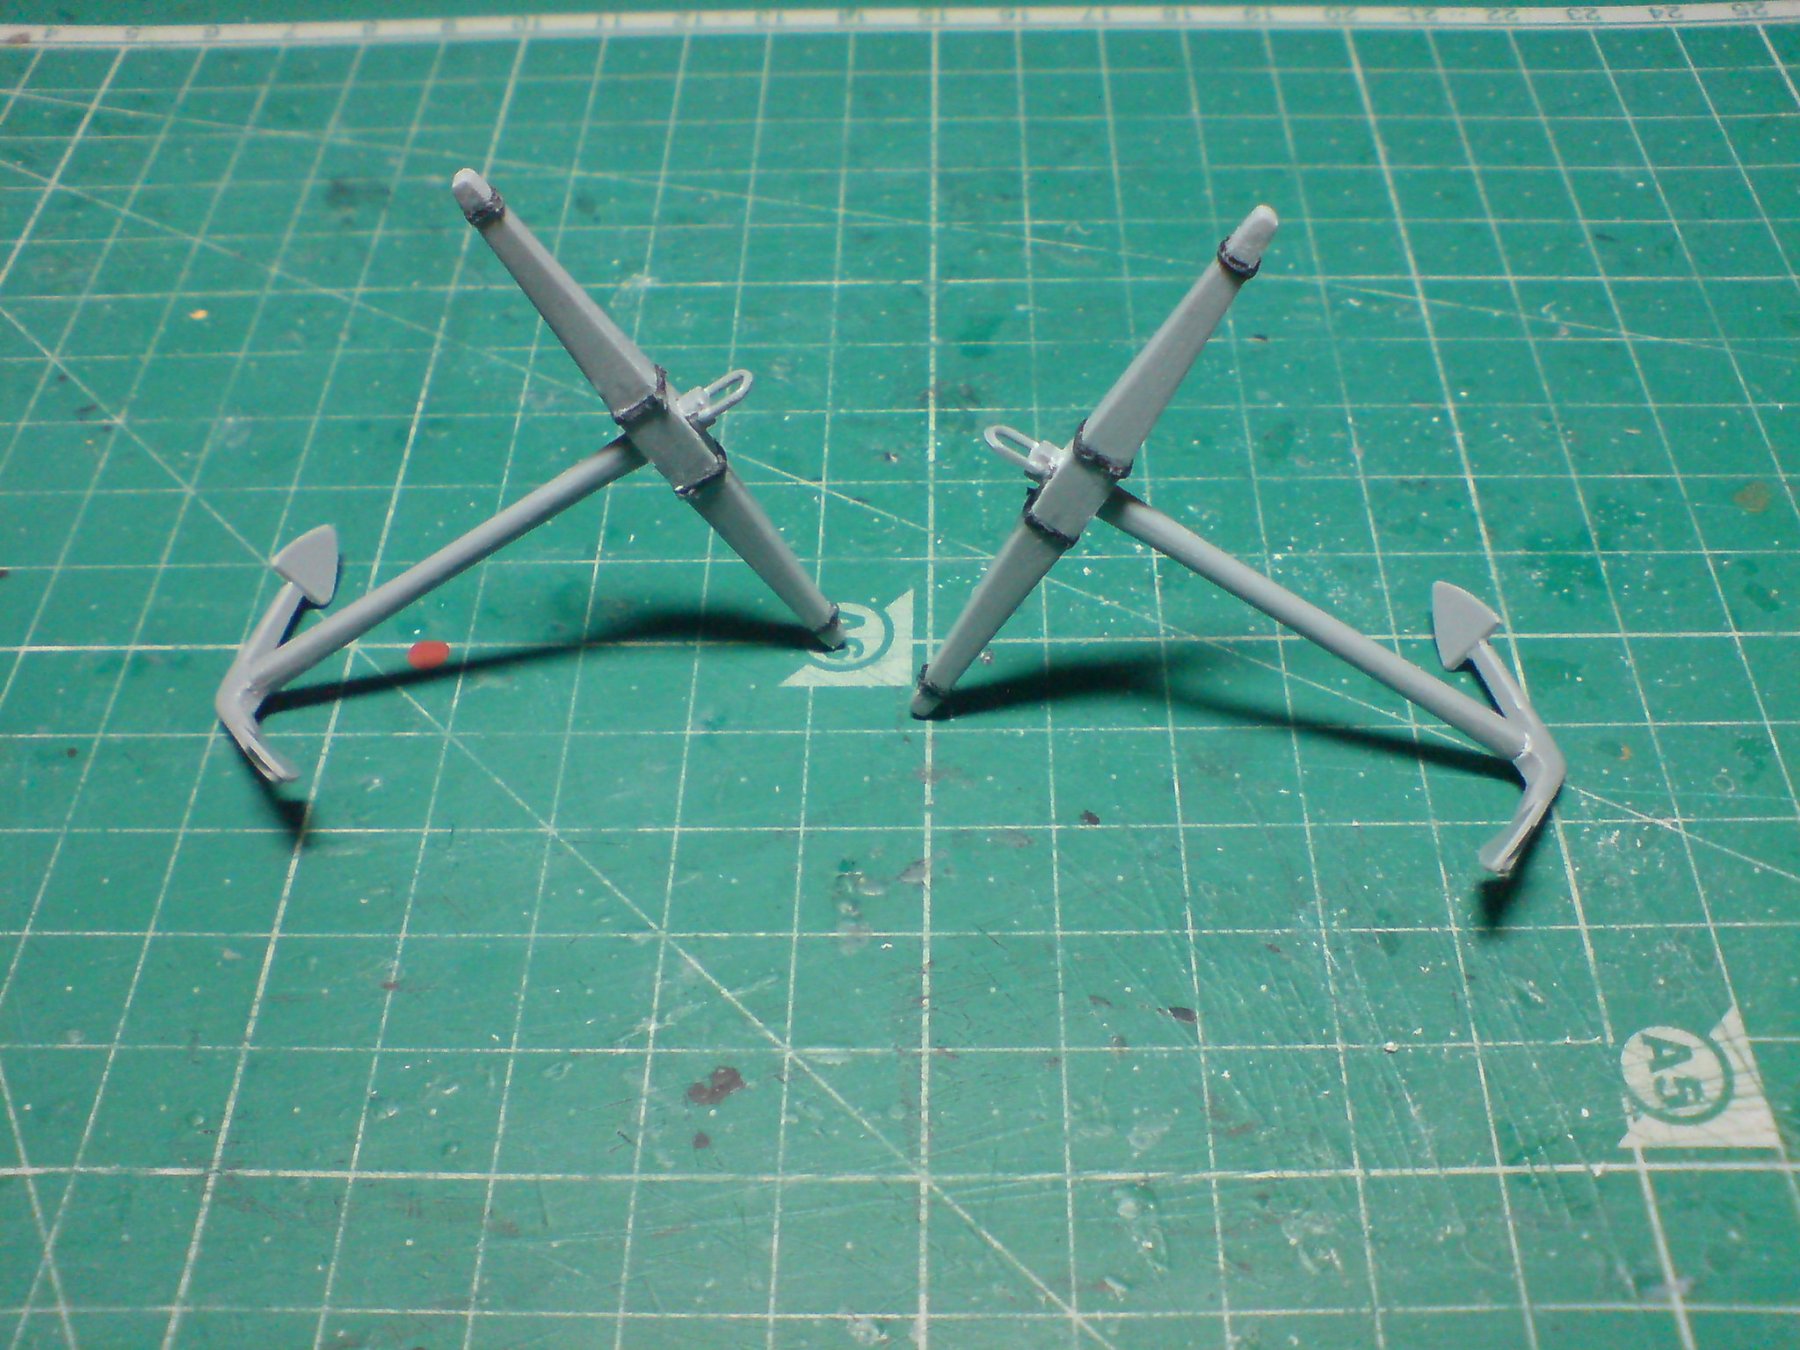
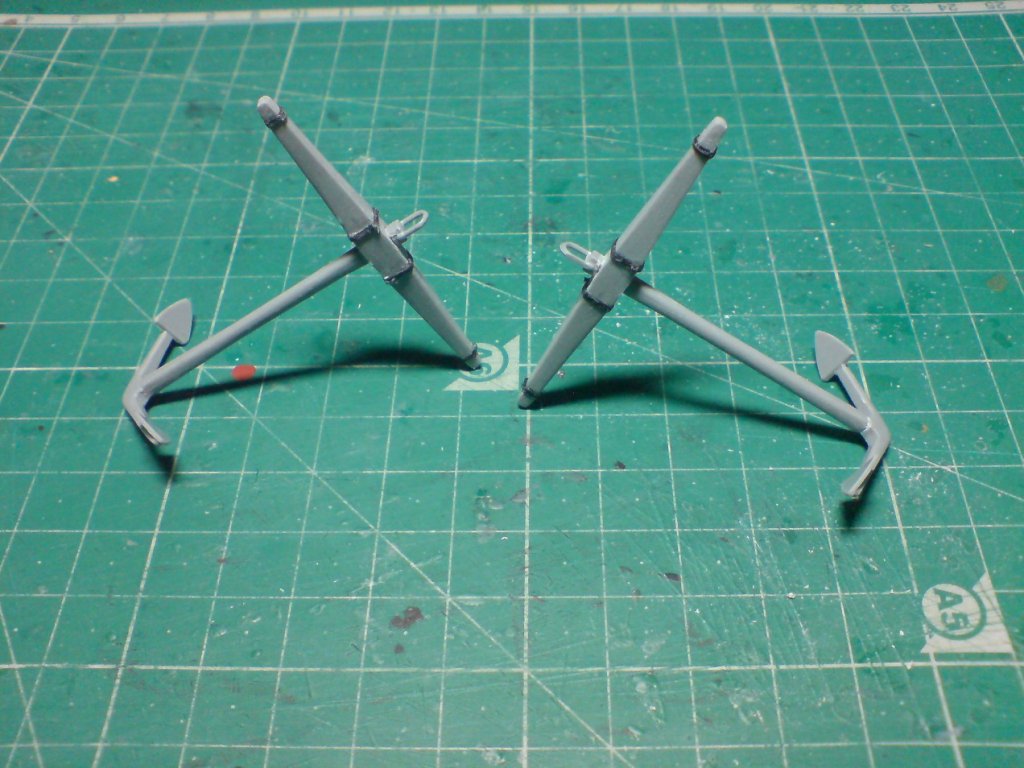
 Anchors, so today I assembled the two kit anchors each comes in four sections, first thing I had to do was round off the shank as it had a square section, I then did abit of smoothing to hard edges then I glued the arm to the shank, the stock was in two sections this was wrapped around the shank and glued, the stock had molded on lashing ropes - instead I sanded it all flat and lashed it myself using fine black thread. Next off painting/weathering. Just the two pics. OC.
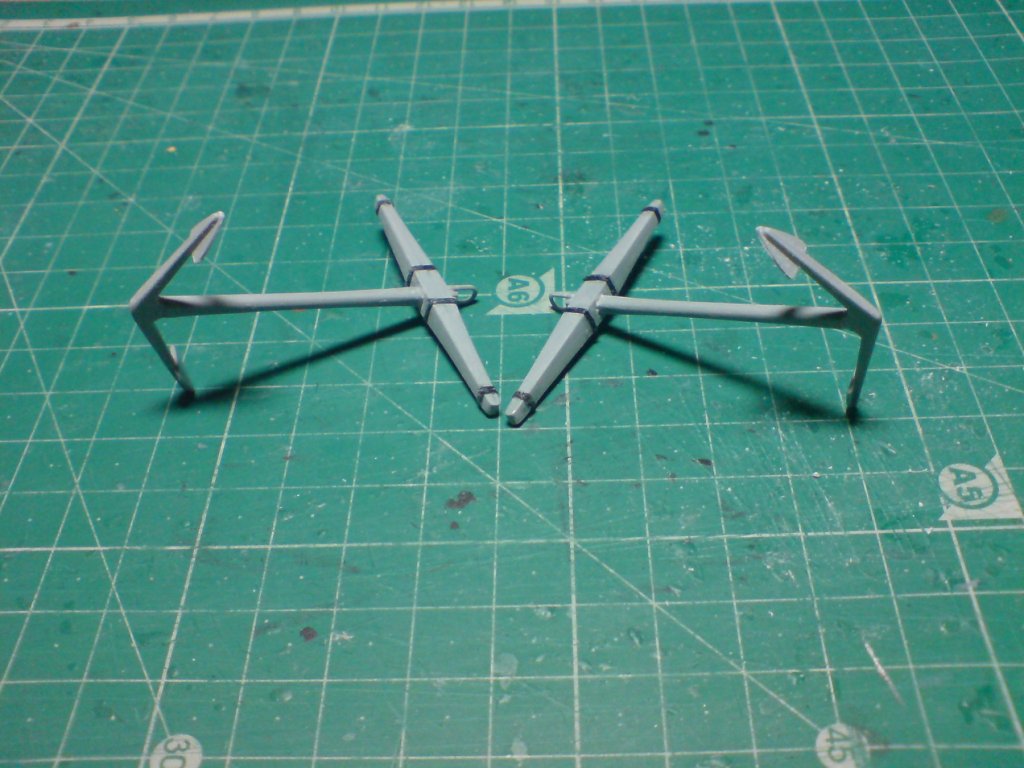
-
Probably already explained this - a cure for fraying threads used for our ropes - spread watered down pva into the thread between yor fingers, it smooths the thread yet it still reamins flexible. OC.
-
Really good work. OC.
-
Its great to bond the inside seams of a ships hull probably the same inside a planes fuselage. OC.
-
Thank you Piet, its amazing what can be done with an already very well constructed kit - it makes detailing it so much easier. OC.
-
Right then plan for tomorrow - Im going to try some knitting - only joking, I am "wait for it - wait for it" going to build/paint/weather and fit the anchors as the cables are there so is the cathead. OC.
-
Thank you so much for saying that mate - getting compliments like this is just so inspiring, and puts a smile on this pirates face OC.
-
Very nice finish mate. OC.
-
Thats a great repair mate as you say so much better than filling and sanding. OC.
-
Thank you denis, it was thrown together at a stage of none model building. OC.
-
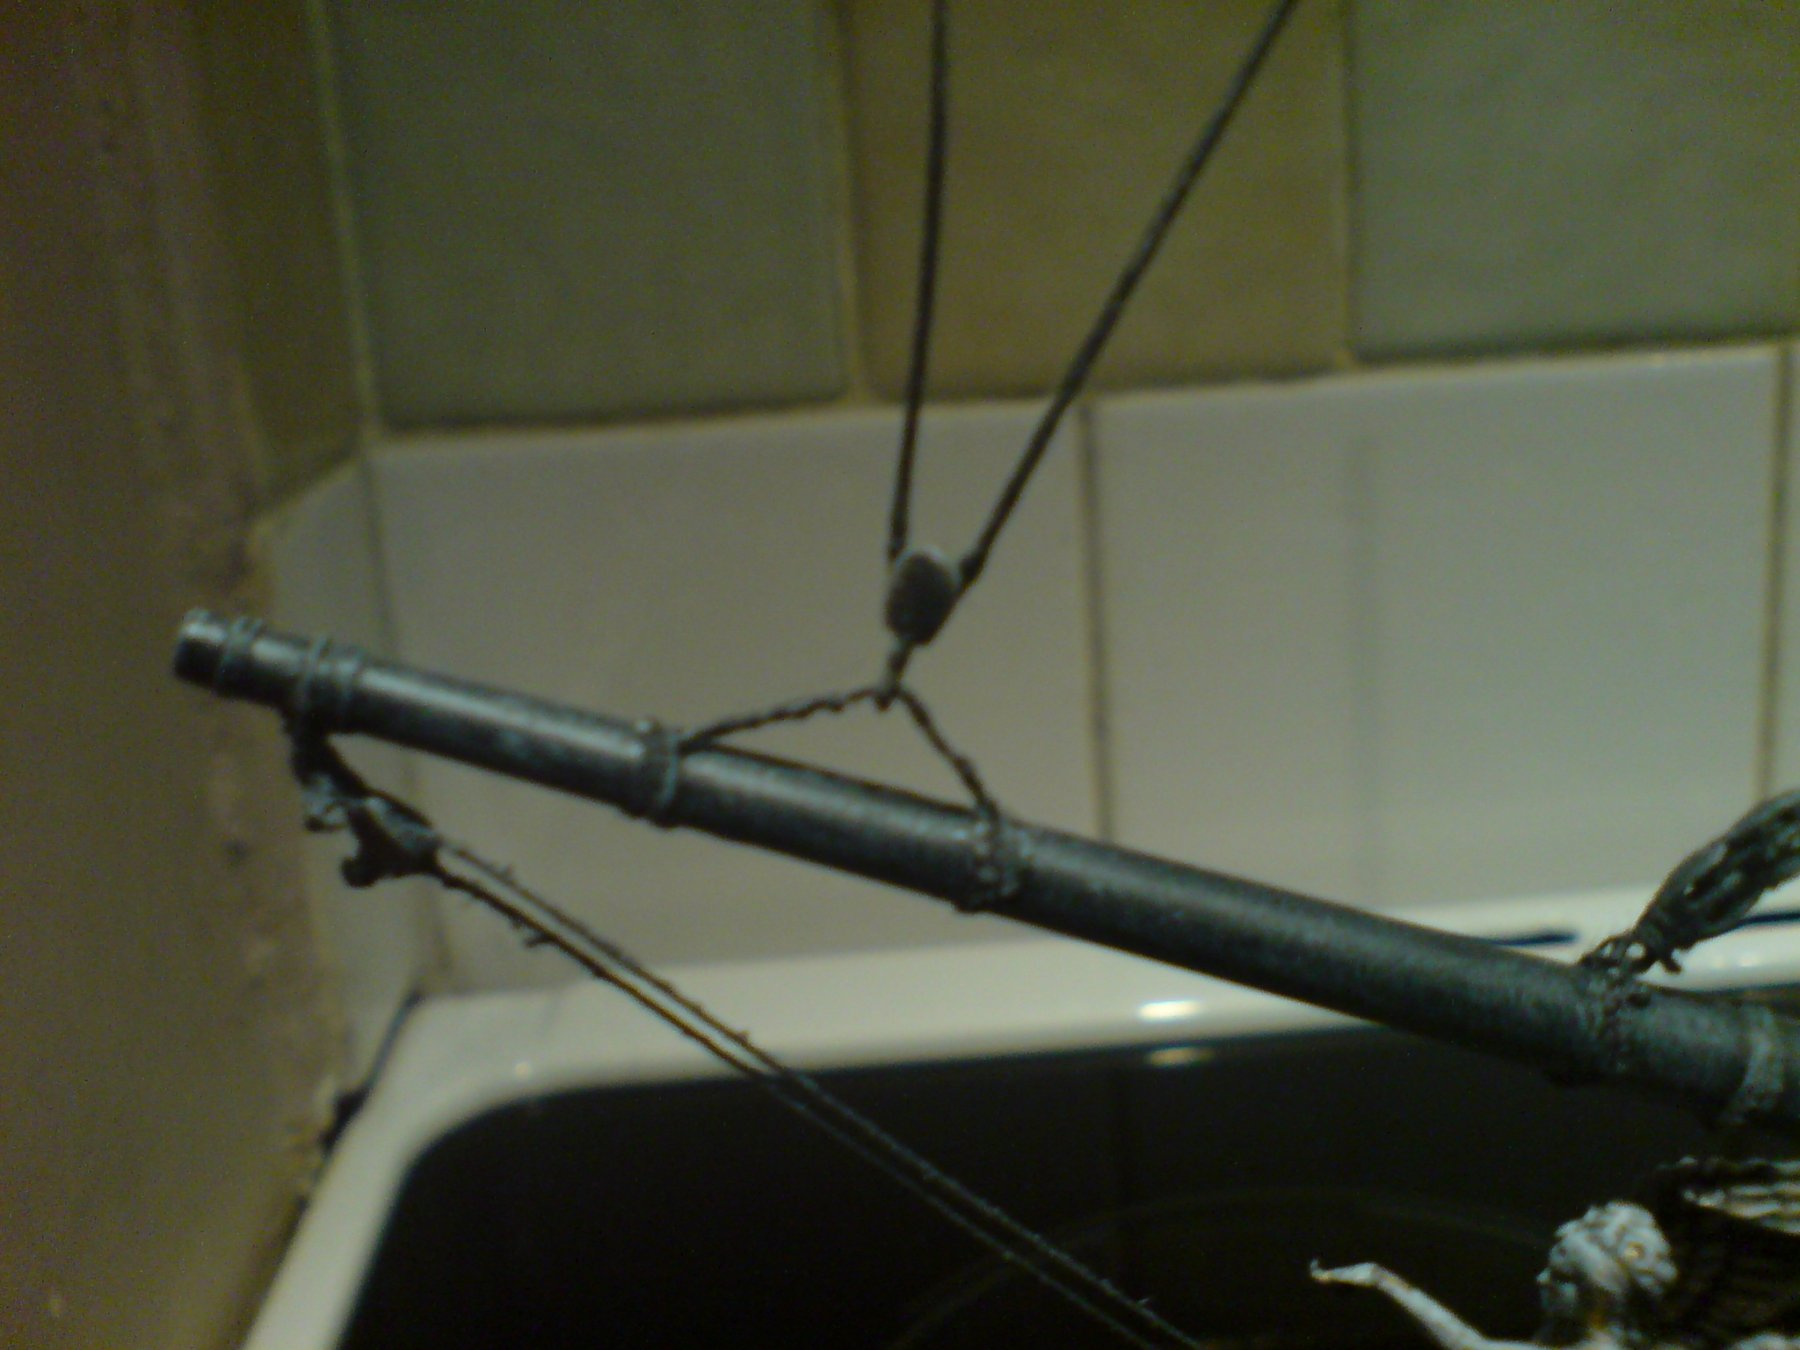
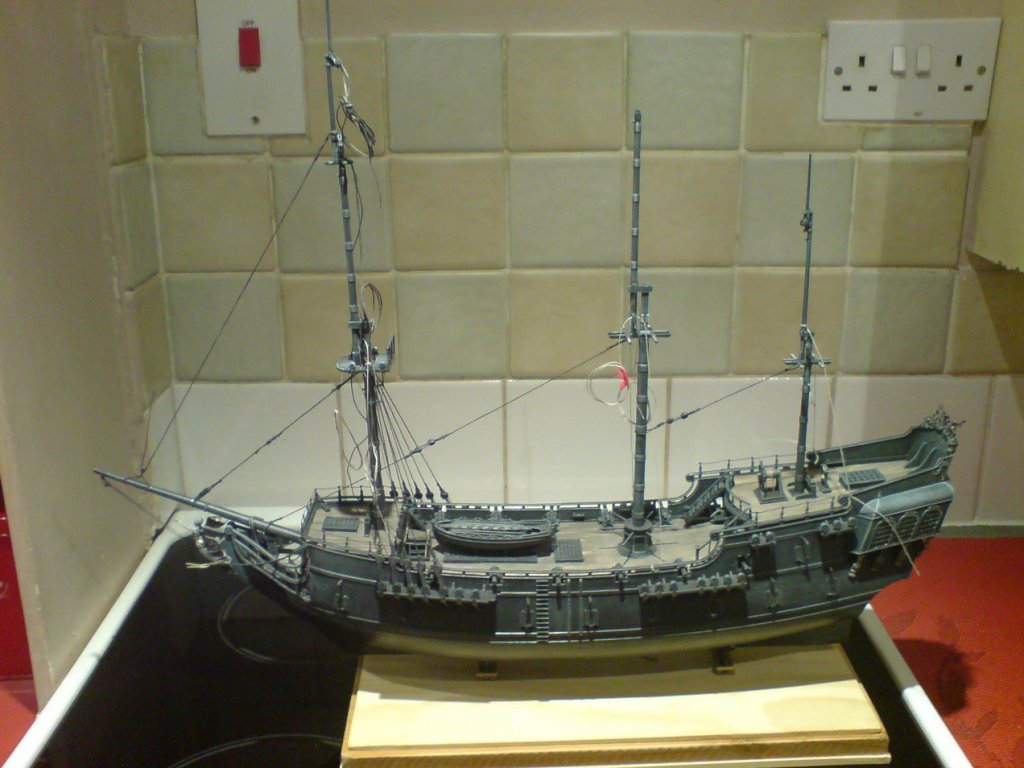
So I got my second wind - so I glued inplace the upper/topgallant mast - got it ligned up, then I constructed the front upper stay, first I built the bowsprit block attachment - this forms a triangler rig, then I lashed the top of the upper mast secured it with ca and ran the stay through the bowsprit block, it will be tentioned and lashed when I attach the four side stays down to the deadeyes. Three more pics. OC.


-
Thats what I thought mark - with the tention off all that standing rigging, I have even braced the inside of the main mast sections where they were two part sections. OC.
-
Good start on the build all the best. OC.
-
Like a scene from gullivers travels. OC.
-
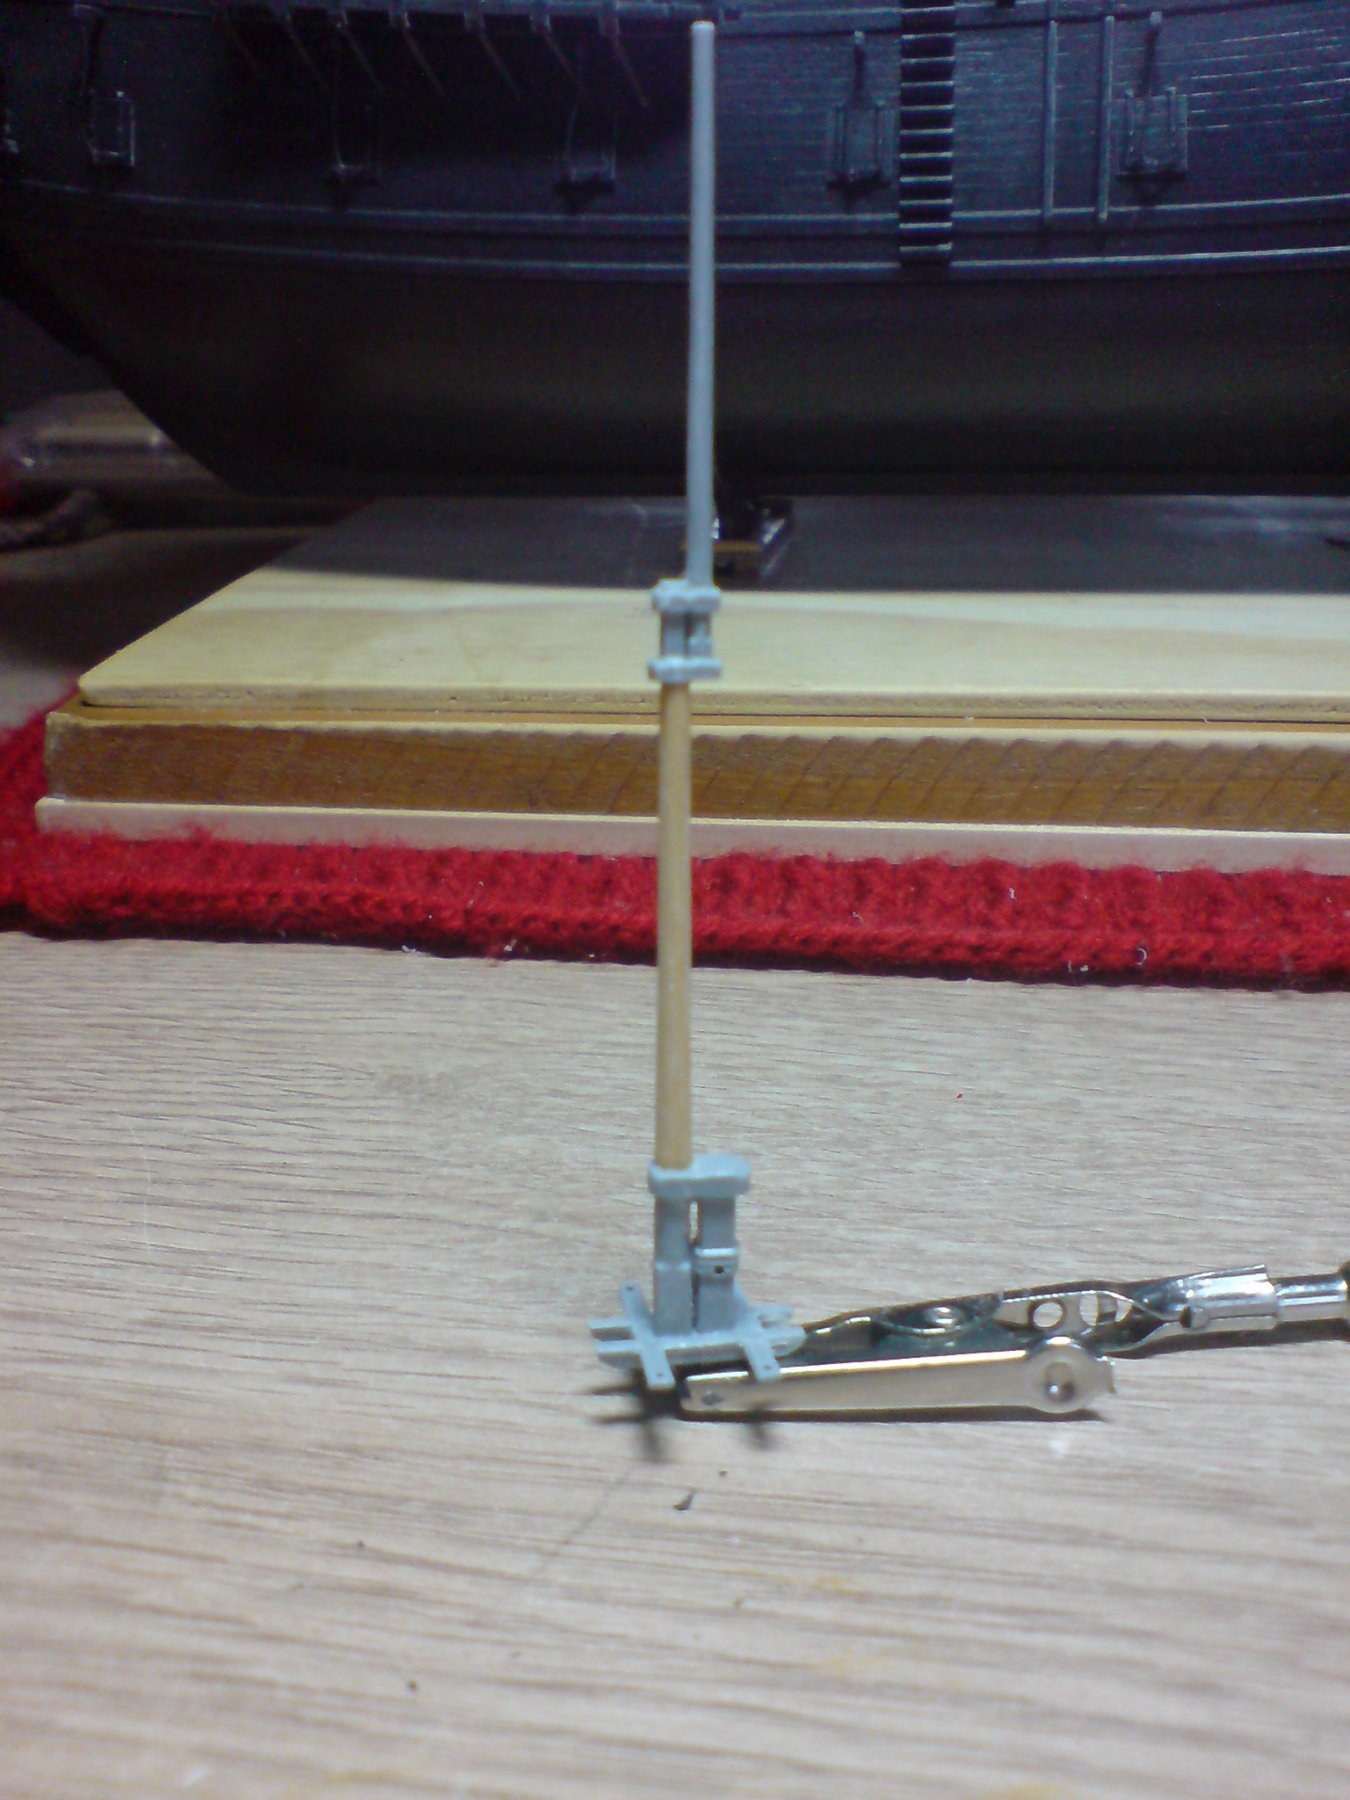
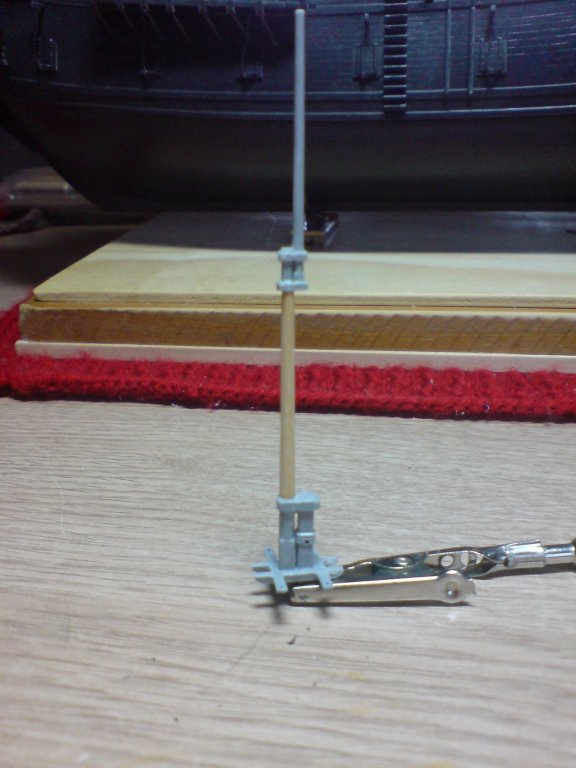
More progress today - next was the pre-molded topmast/topgallant, I decided to have a go at replacing the topmast section for a piece of wood dowel, first I cut off the mastcap assembly - then after cleaning it up a bit, I drilled a hole to take the thicker end of the topmast, then I shapped it so it was narrower towards the top, then again I drilled a hole into the top mastcap - after I glued both sections between the wood topmast with ca. I decided to use the plastic topgallant but smeared it with ca and cleaned the exsess off - this helps to strengthen the plastic, I then force dried it with the venerable hairdryer and finished it off by painting and weathering. I then worked on - and fitted both sets of lifting blocks in the same maner as before. Just the one pic today of the unpainted wood topmast fitted. OC.
-
Sadly no more or all three of them, I used to love seeing the Sea King - S41 coming over me daily, ok the Merlin had taken over but there not the same thing. OC.
-
Yep it is taking A lot more time and concentration but I think its paying off, its also a geat way to learn more about seamanship and nautical terms (before building the pearl if somone had mentioned a Lift - I would have thought - people getting in it to go up or down) OC.