Old Collingwood
-
Posts
12,106 -
Joined
-
Last visited
Content Type
Profiles
Forums
Gallery
Events
Everything posted by Old Collingwood
-
 Thanks lou, you can imagine my face it was priceless - I nearly fell to my knees in the kitchen when I saw what I had done, I just thought "How can I finish her now - Im blind as a bat" I even bump into the door frame when going out lol. OC.
 -
Will it work on glass though? I assume the glass in this magnifier is similar to whats used in telescopes. OC.
-
Yep it was a fresh sponge with the brasive other side - I too didn't expect it to scratch glass, what do you think will be best brasso or rouge, it would have to be available in out of town as we are limited here for DIY places. OC.
-
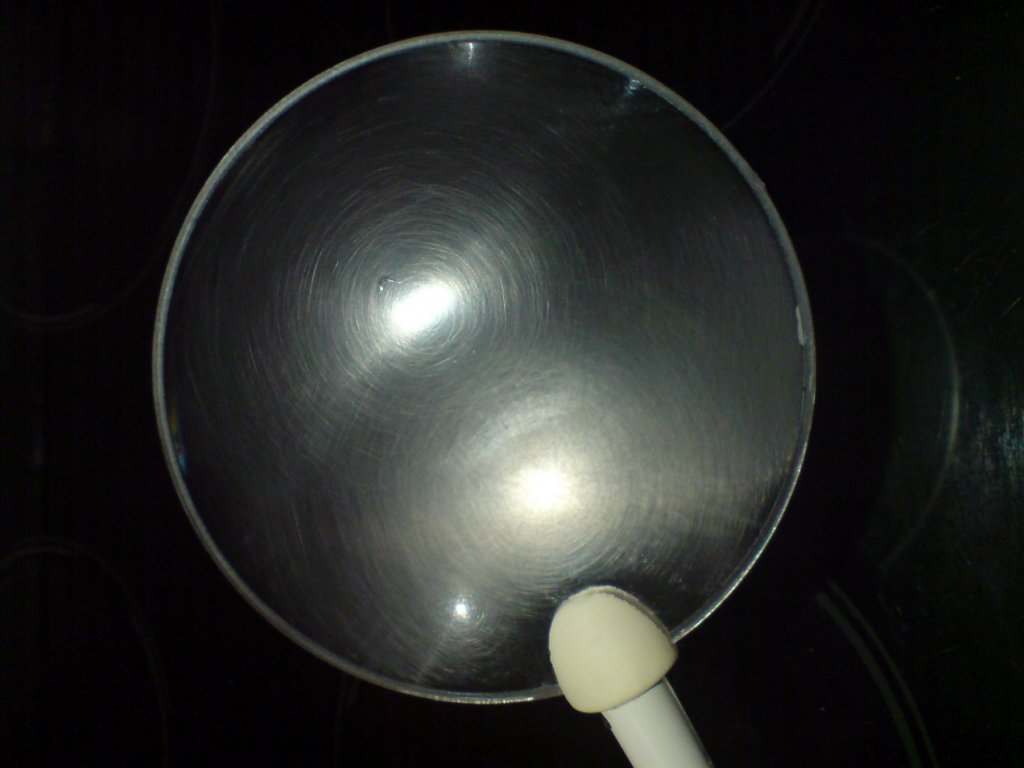
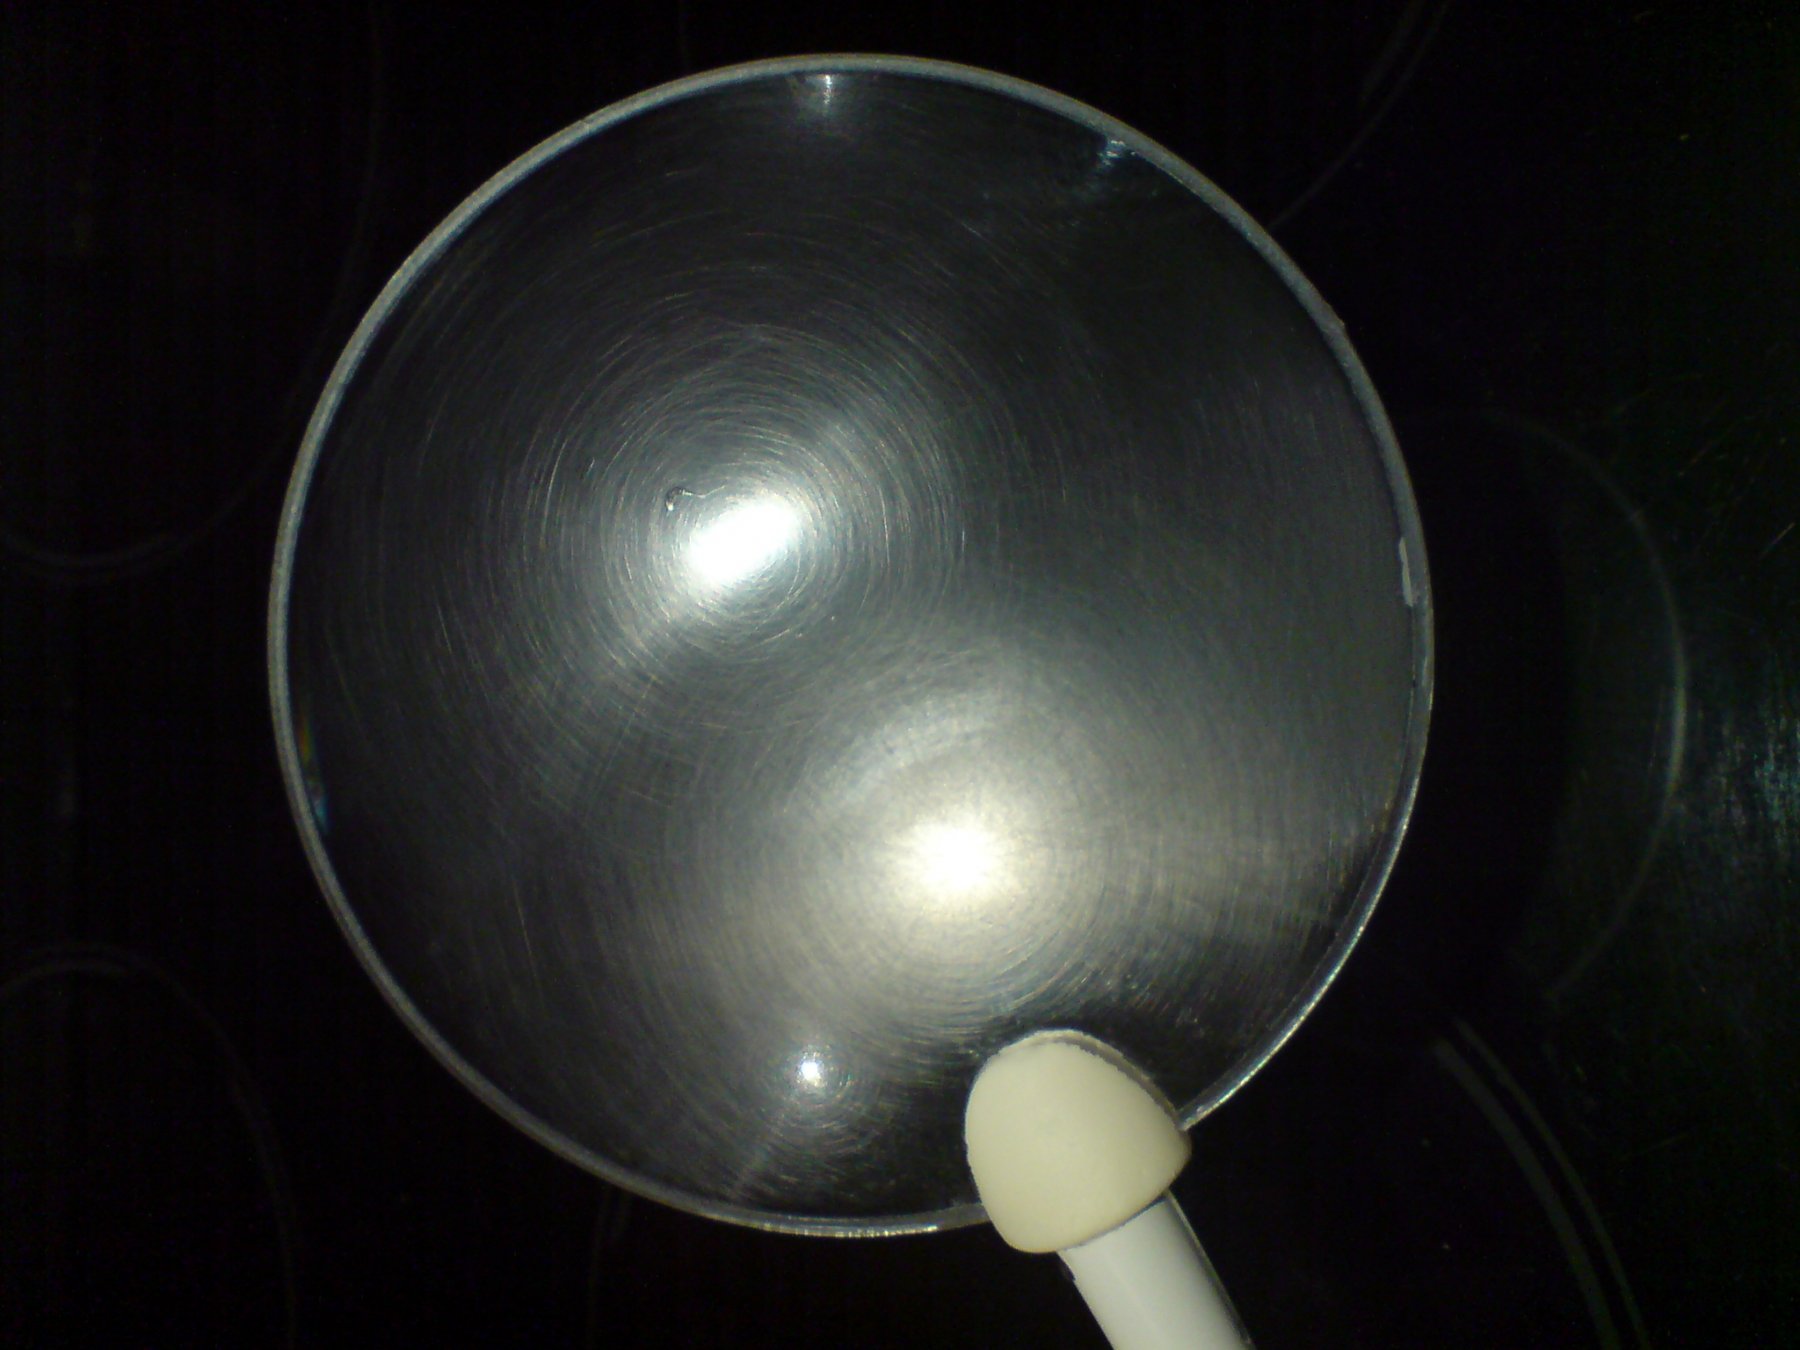
I think its glass - its heavy enough to be - its part of a stand with a heavy base that has a flexible light, and the magnifier, both drop into holes in the base and can be swung around, it has a heavy power pack. Here is a pic showing the magnifier and scratches. OC.
-
I have been trying to use what we have in the house wahing up liquid or household kitchen cleaner with a piece of cloth rubbing it in and trying to buff it, but not making much difference the scratches are very noticable - lots and lots of circular scratches. I could seriously Kick myself - I should have used my head and known that the abrasive side of the sponge would scratch the glass, It will just have to wait wrong time of the month. OC.
-
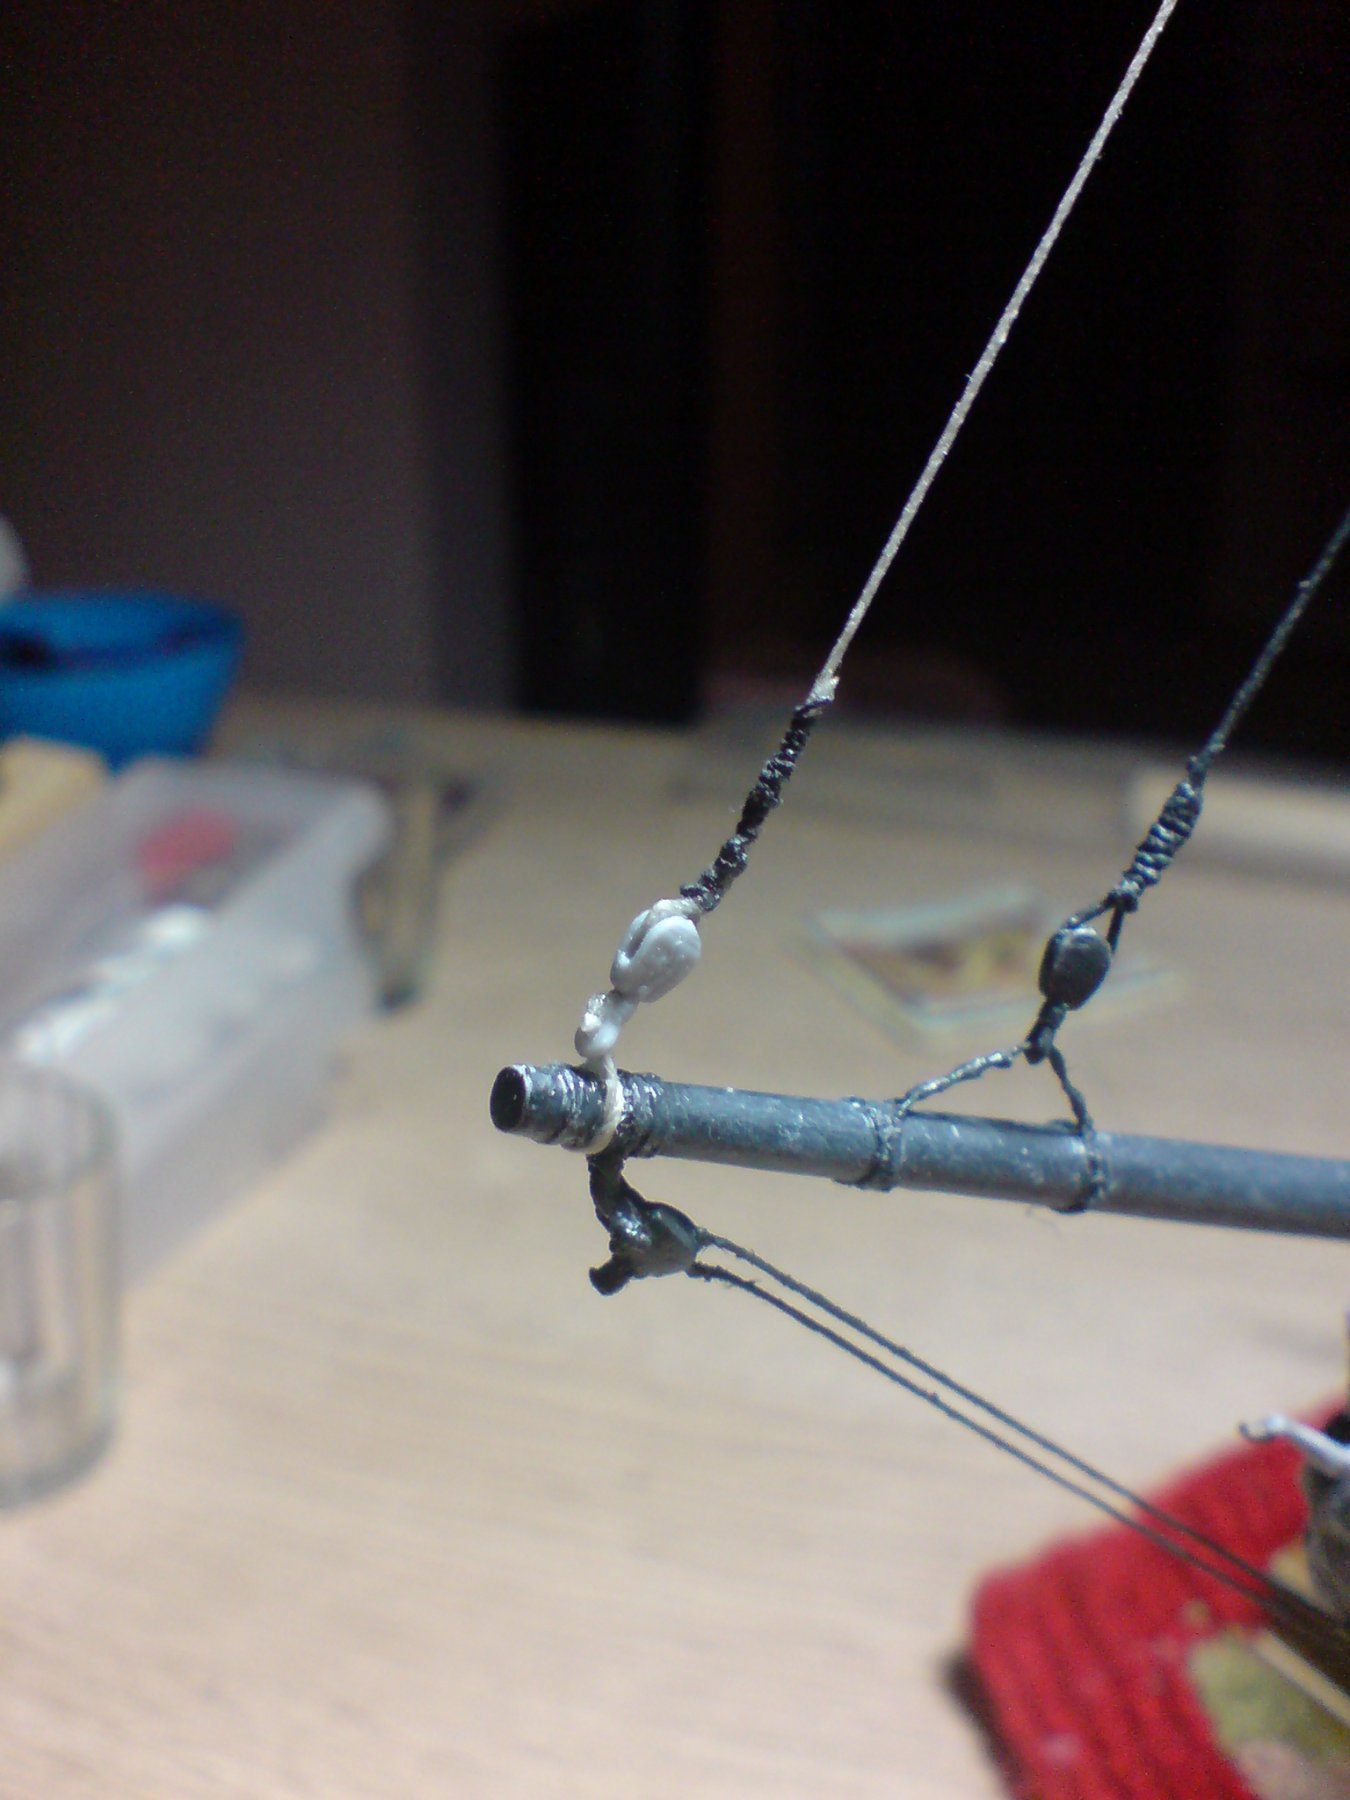
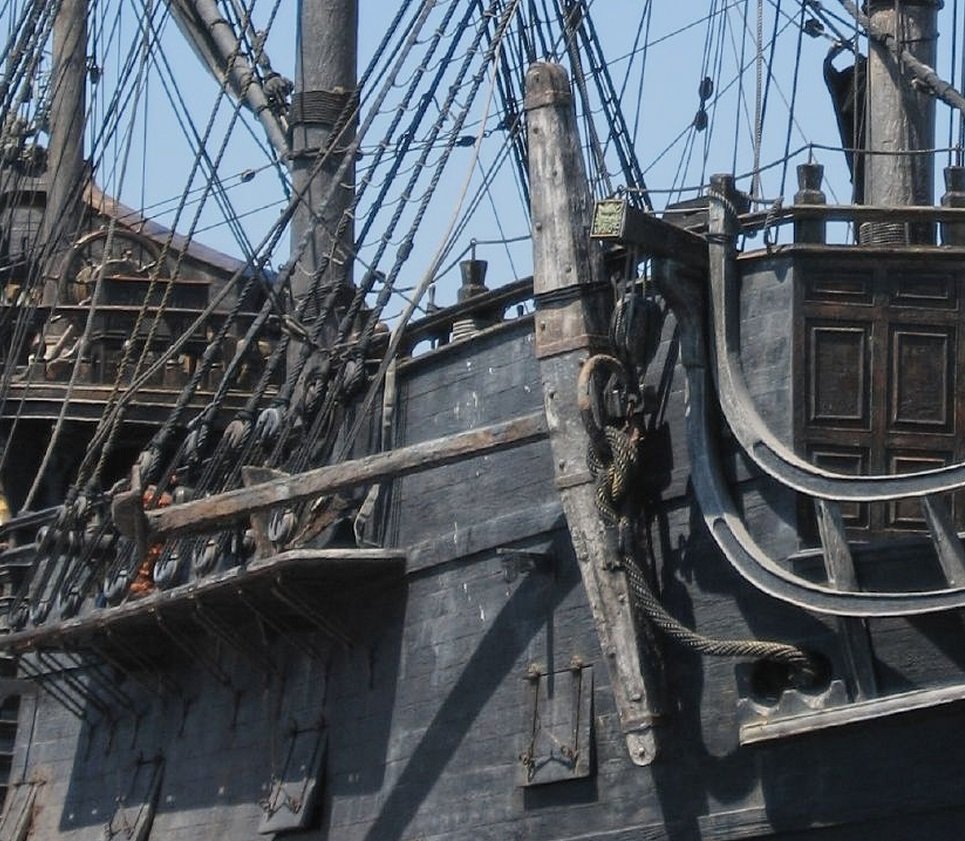
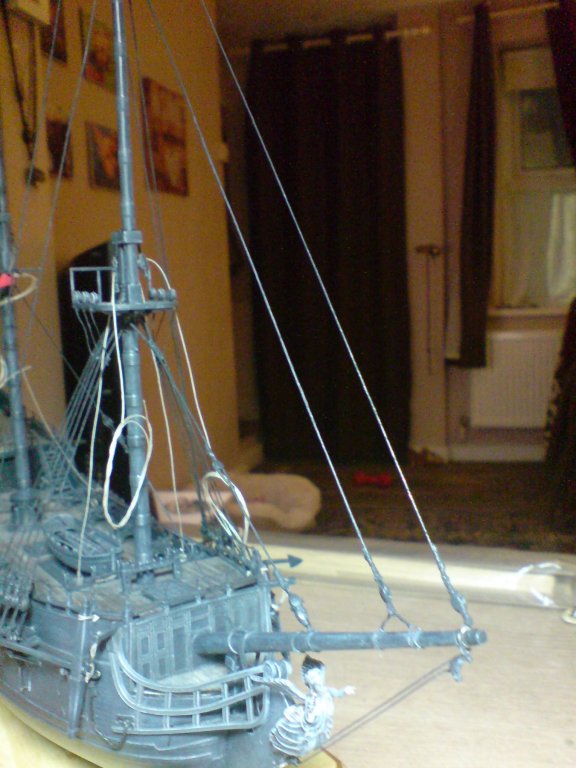
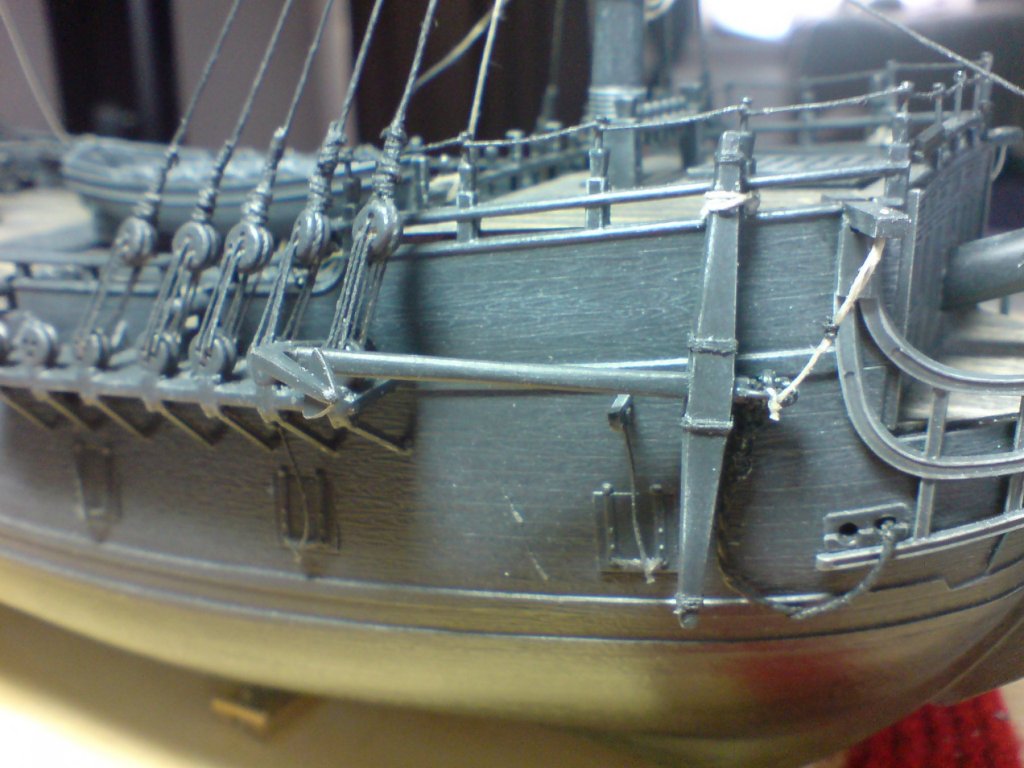
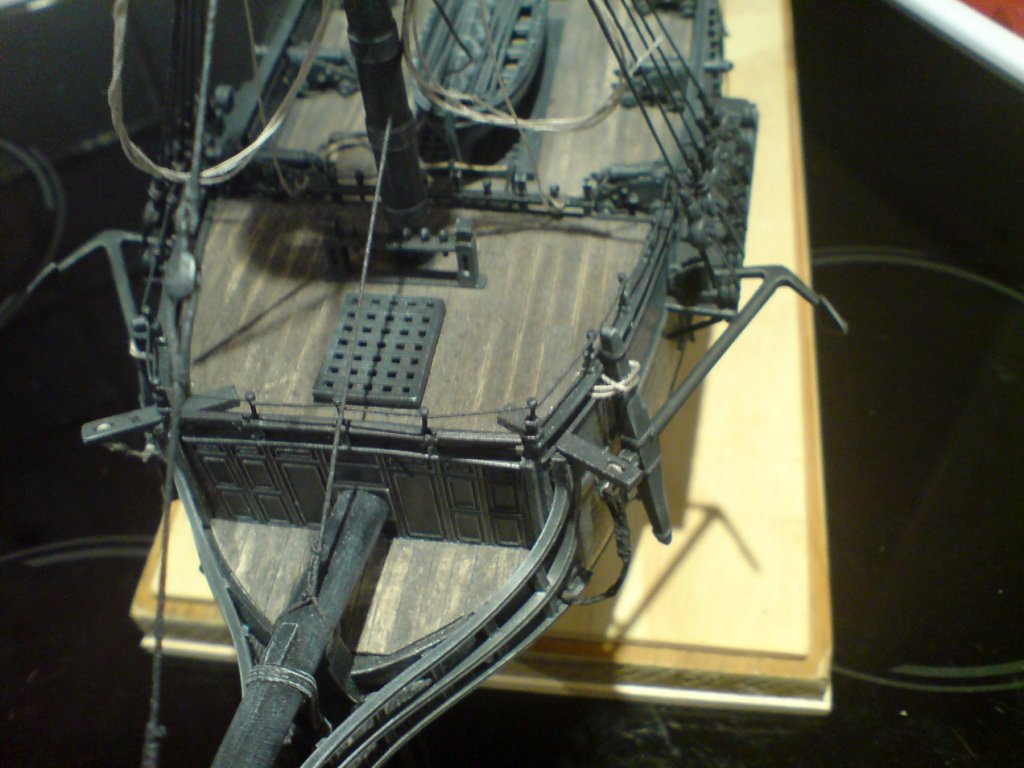
Prior to my disaster I was painting the mast wooldings black - then I was going around the masts and different other sections applying a few coats of flat coat to dull everything down, then I fitted an extreme front topgallant - bowsprit stay, and at the same time dry fitted both side topgallant tention ropes. Here a few pics - OC.
.thumb.JPG.bc5d5830433c57abcdf65ff41875c8e9.JPG)
.thumb.JPG.9adcc2a7d4d5718d45f47b57ee30d264.JPG)
-
Evening all - I have done somthing Utterly Stupid and have brought my build to a standstill - I was cleaning my magnifier glass and stupidly used the rought side of a cleaning sponge and its scratched it so bad its frosted over and I can see through it, when its wet I can see through it but when dry its like looking through fog. Does anyone Please please have any advice what i can do to fix the situation - cant go out and buy a new one. OC.
-
I cant keep up with these Duracel powerd builders - mind you I do build "slowwwwwwww" OC.
-
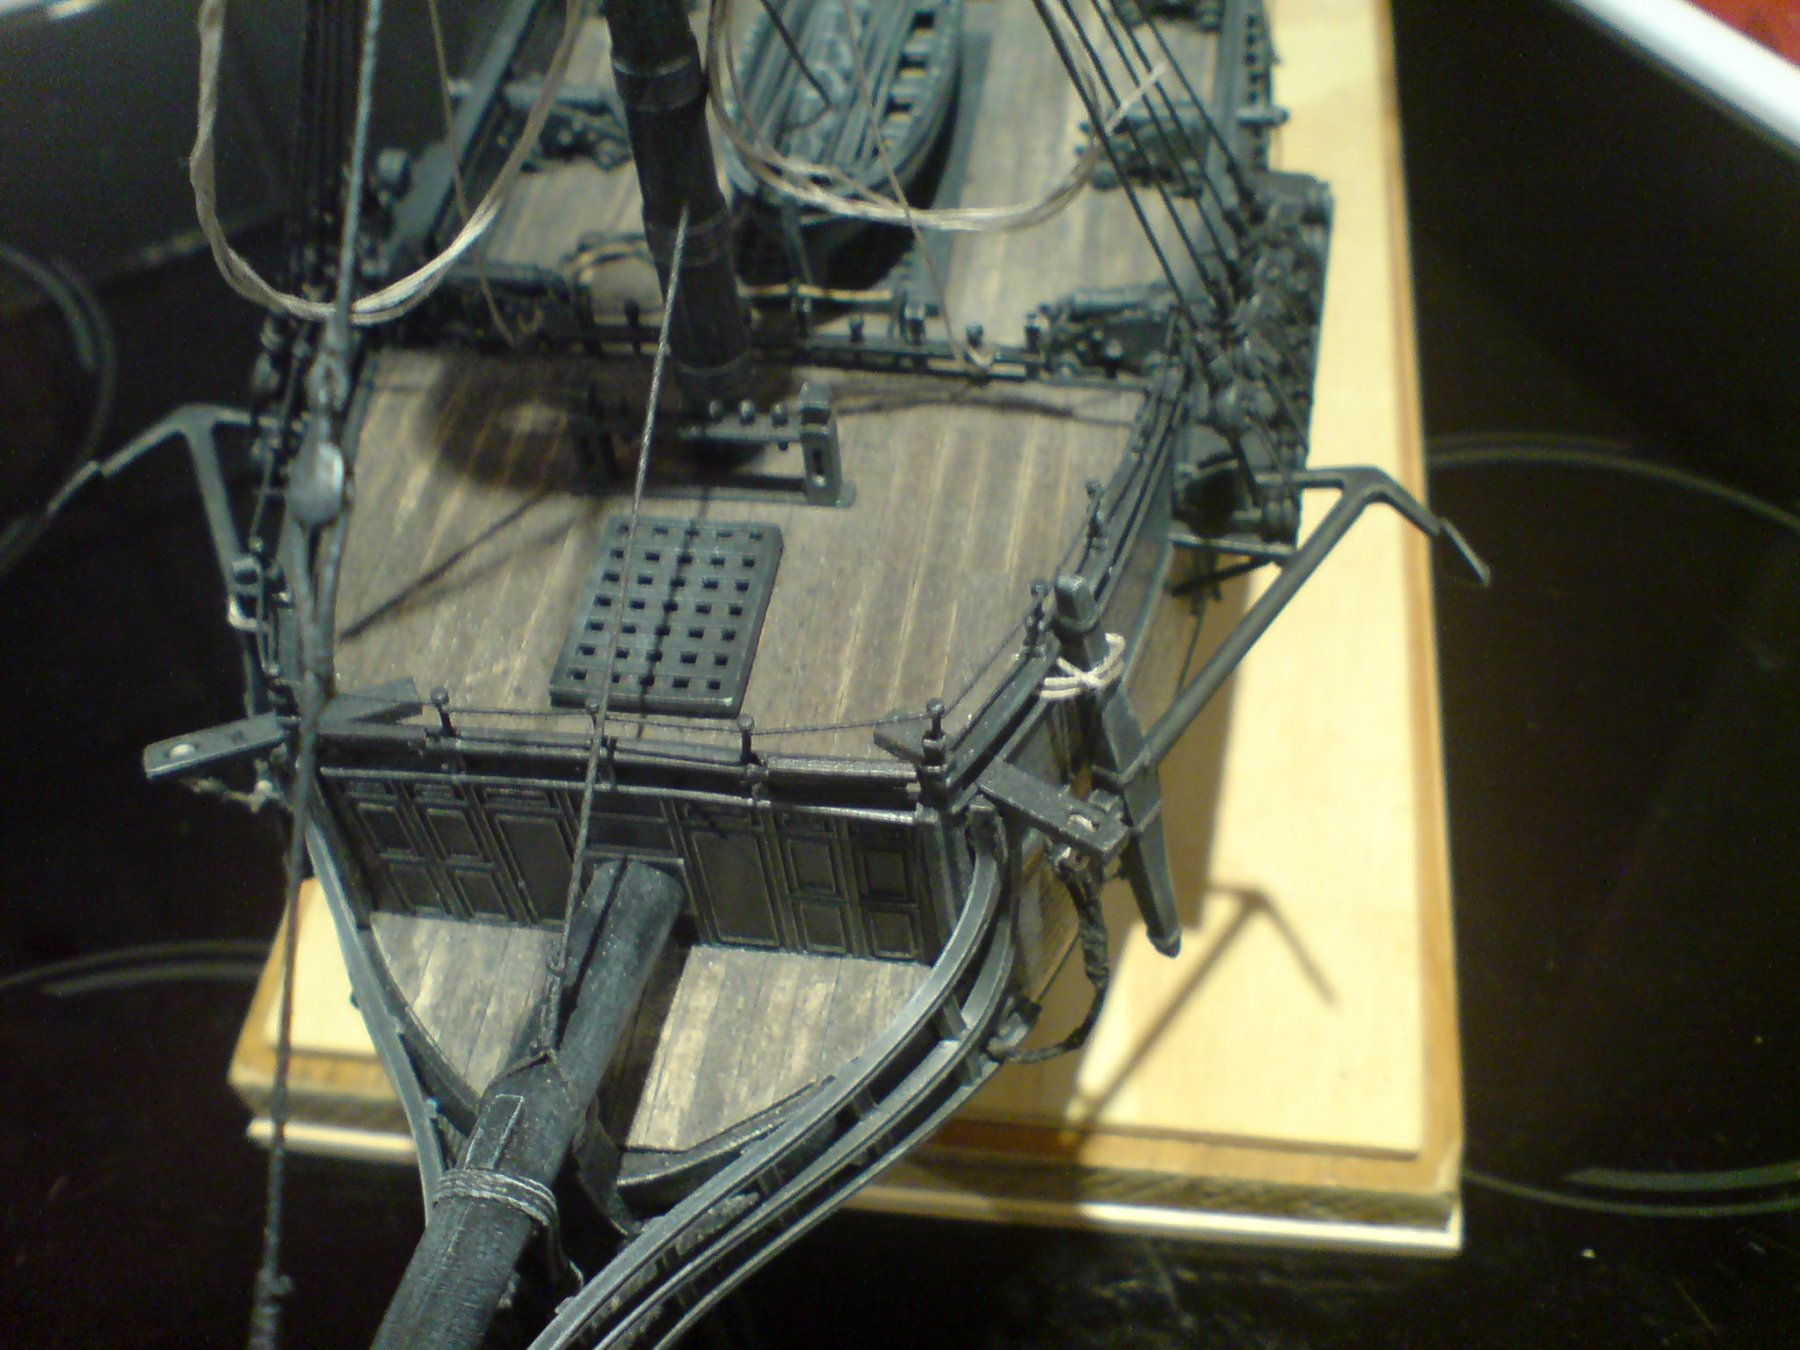
Just thinking ahead what needs to be done - in a kind of order to finish her - Attach the foremast/top tentioning rope to the other side (includes attaching to deadeye) Tention then lash and glue the forestay - bowsprit rope. Attach the upper shrouds to the fore -upper mast - both sides (only three each side to be done) Attach the topgallant tentioning rope to both sides including deadeyes. Continue fixing the ratlines to the fore - shrouds (both sides in sequence - so I dont get bored with the momentum) Start on the upper shrouds ratlines - again in sequence. Move on to mainmast and make and attach the shrouds - still in sequence. Work on the top/topgallant mast including the lift blocks - the fit when painted.weathered. Attach the main tops lift ropes to the lashing points on the deck. Construct the mainmast - tops including deadeyes - paint/weather then fit. Continue attaching the ratlines. Attach the main/top tentioning rope and run down both sides to the deadeyes. Construct a mizzen top to main middle including serving - and attach to mizzen/mainmast including block. Move onto the main top shrouds and fit in the same manner. Fit the ratlines. Do the same with the main topgallant tentioning ropes. Move onto the mizzen mast - work on the lower shrouds. Construct the mizzen tops - same procedure as other two. Fit the ratlines. Fit the mizzen tentioning ropes. Add any last minute tentioning ropes. That completes the standing rigging - then move onto to building my spars out of different size wood dowels I have. OC.
-
Two things 100% making this build so much more achievable - the quality of the kit parts and the scale 1/72 makes it so much easier to work on, if it had been half the size or similar to the Airfix kits, it would have been alot harder. OC.
-
Superb work kevin - you are doing nelson proud. OC.
- 1,319 replies
-
- 4
-

-
- caldercraft
- Victory
- (and 1 more)
-
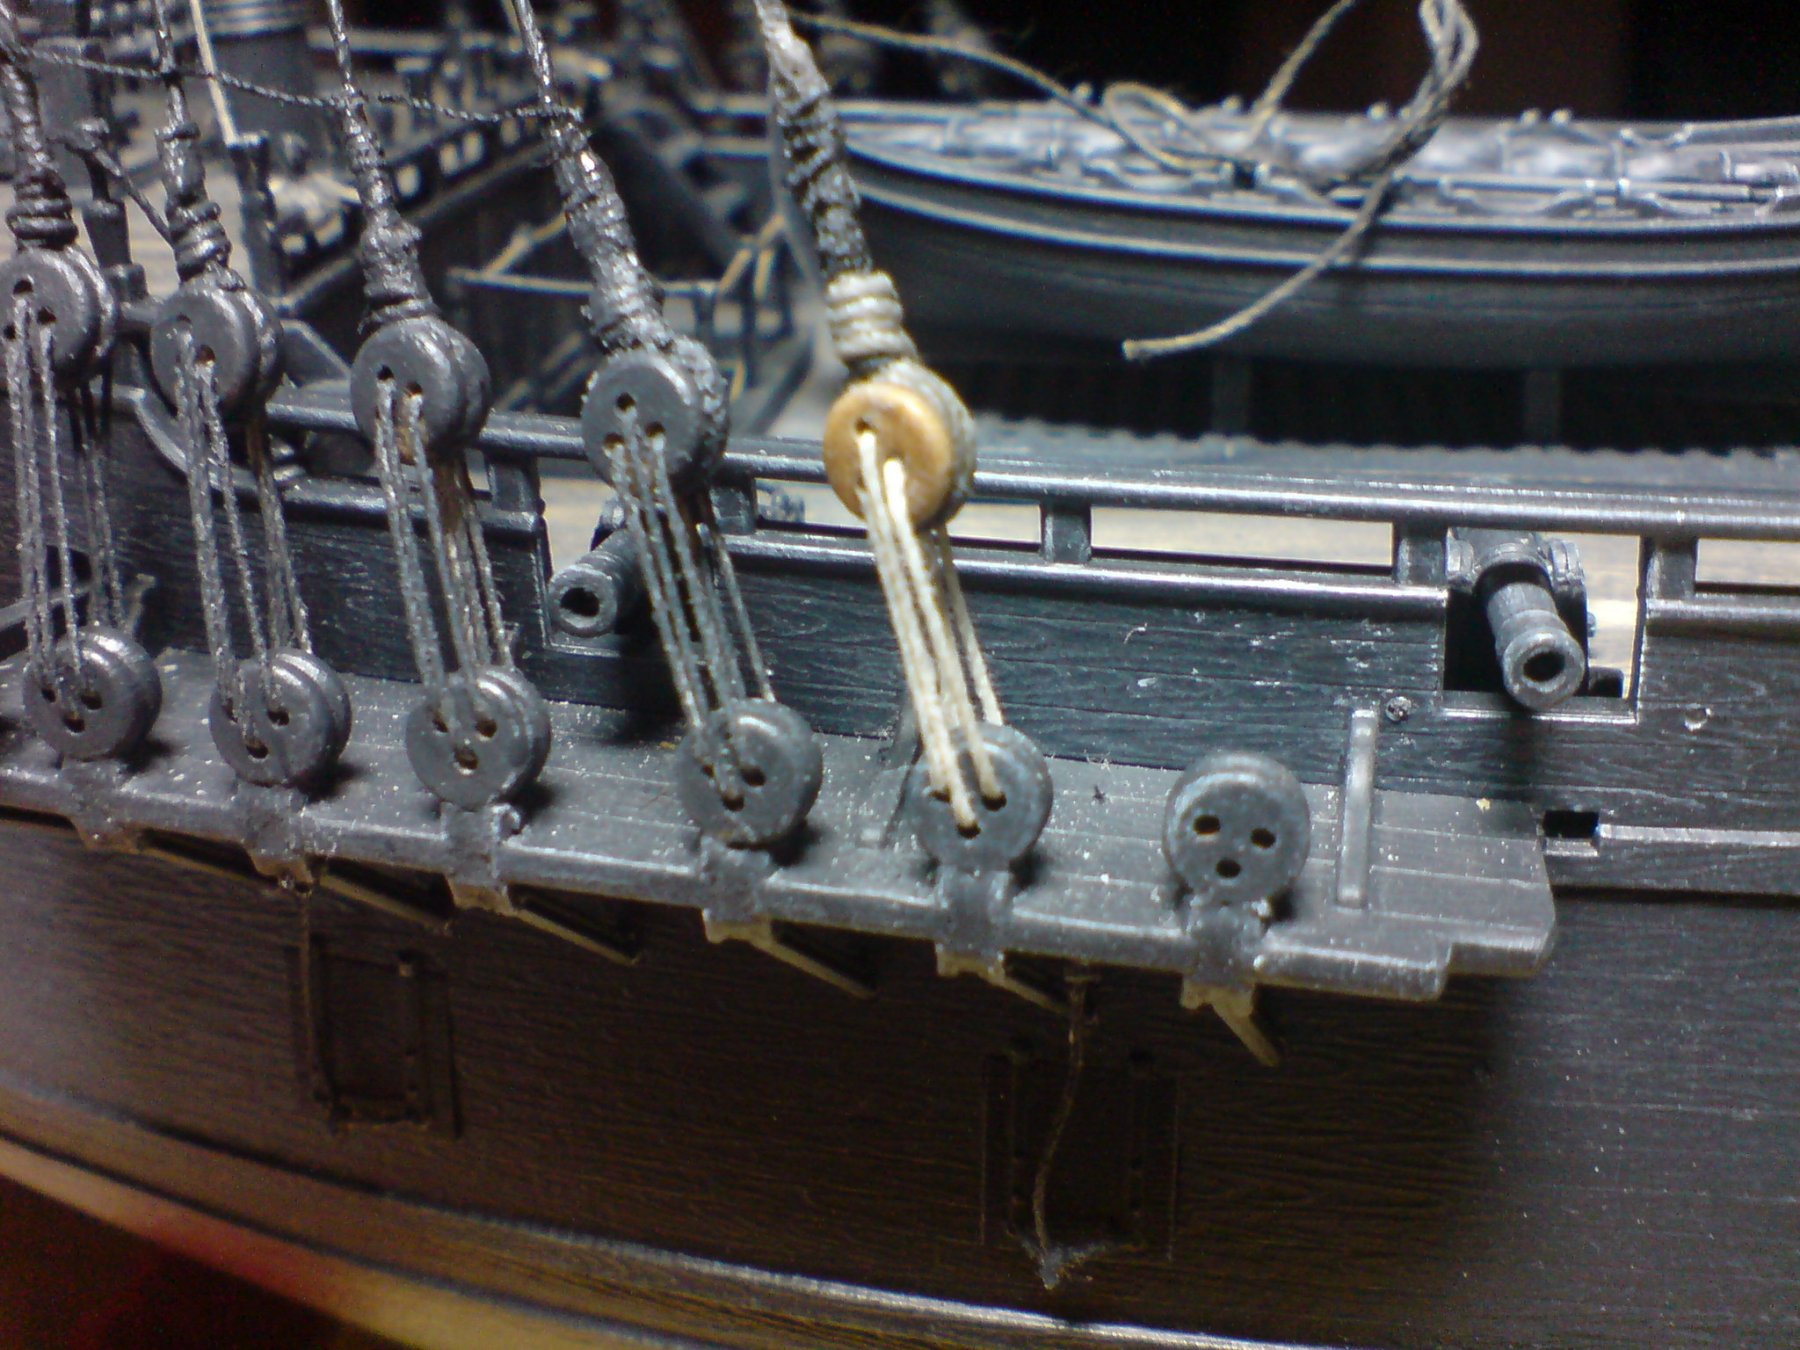
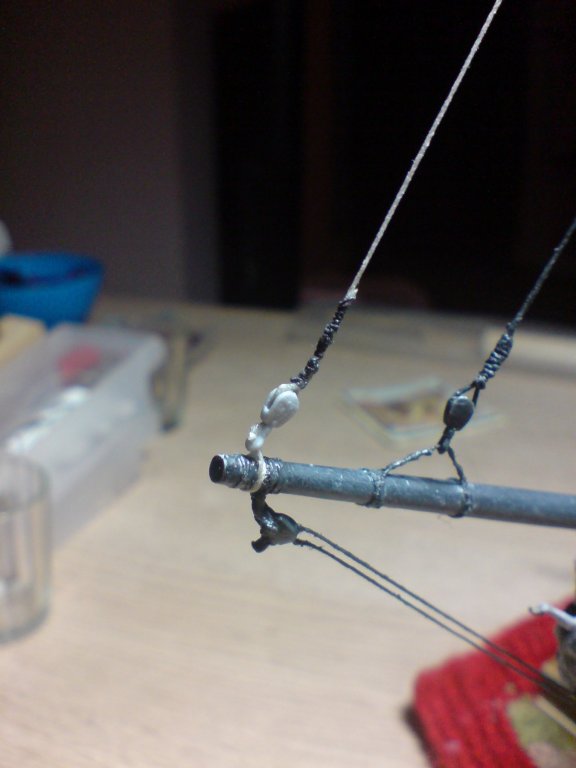
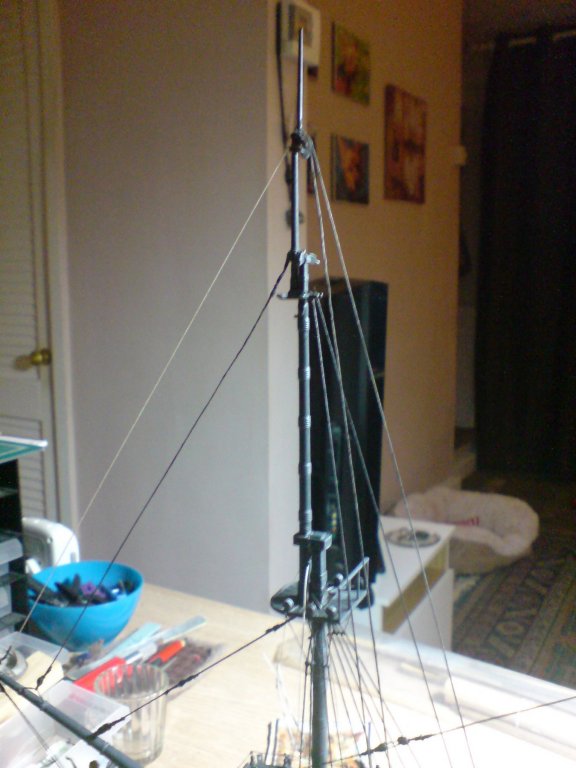
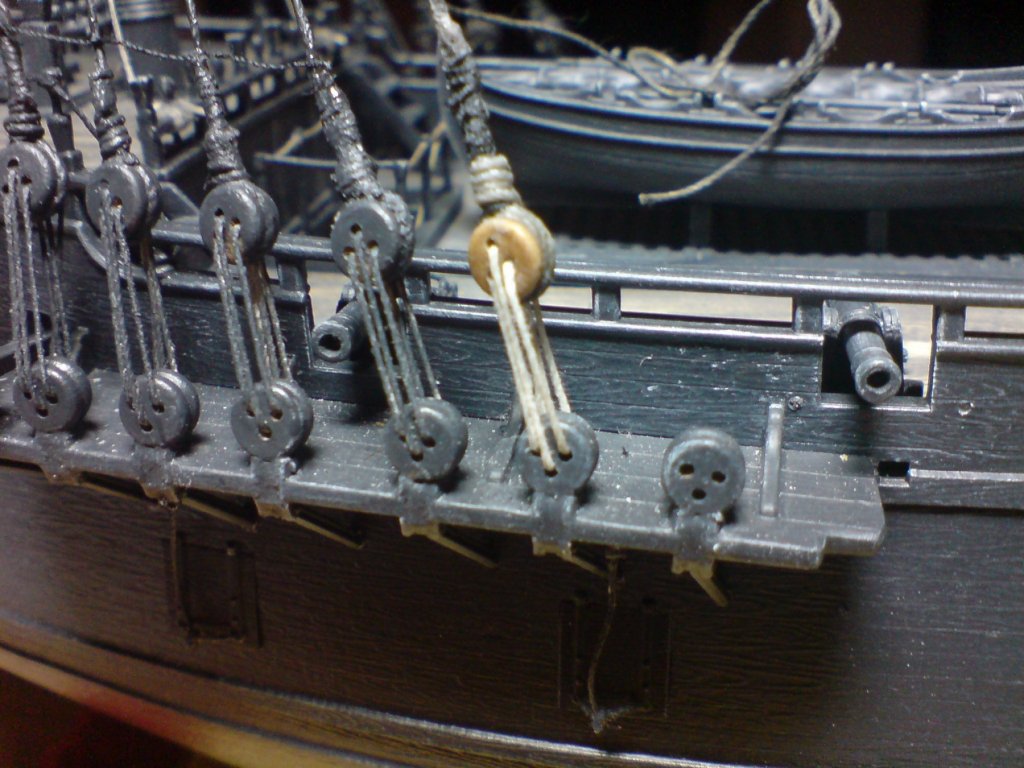
Im back again - I got bored so I decided to have a go at the ratlines on the foremast shrouds - I started on the bottom row as this did not need a template, but also fitted the top one - I simply tied the end and did a simple wrap around then a dab of ca on each shroud, then I tied off at the end with a dab of ca, thats all I fitted as I will need to make a paper template for the rest of the spacing. While I was at the foremast I decided to fit the topmast side tention rope - down to a deadeye, same procedure as the shrouds. Just the one pic - you can just make out the first row of ratlines. OC.
-
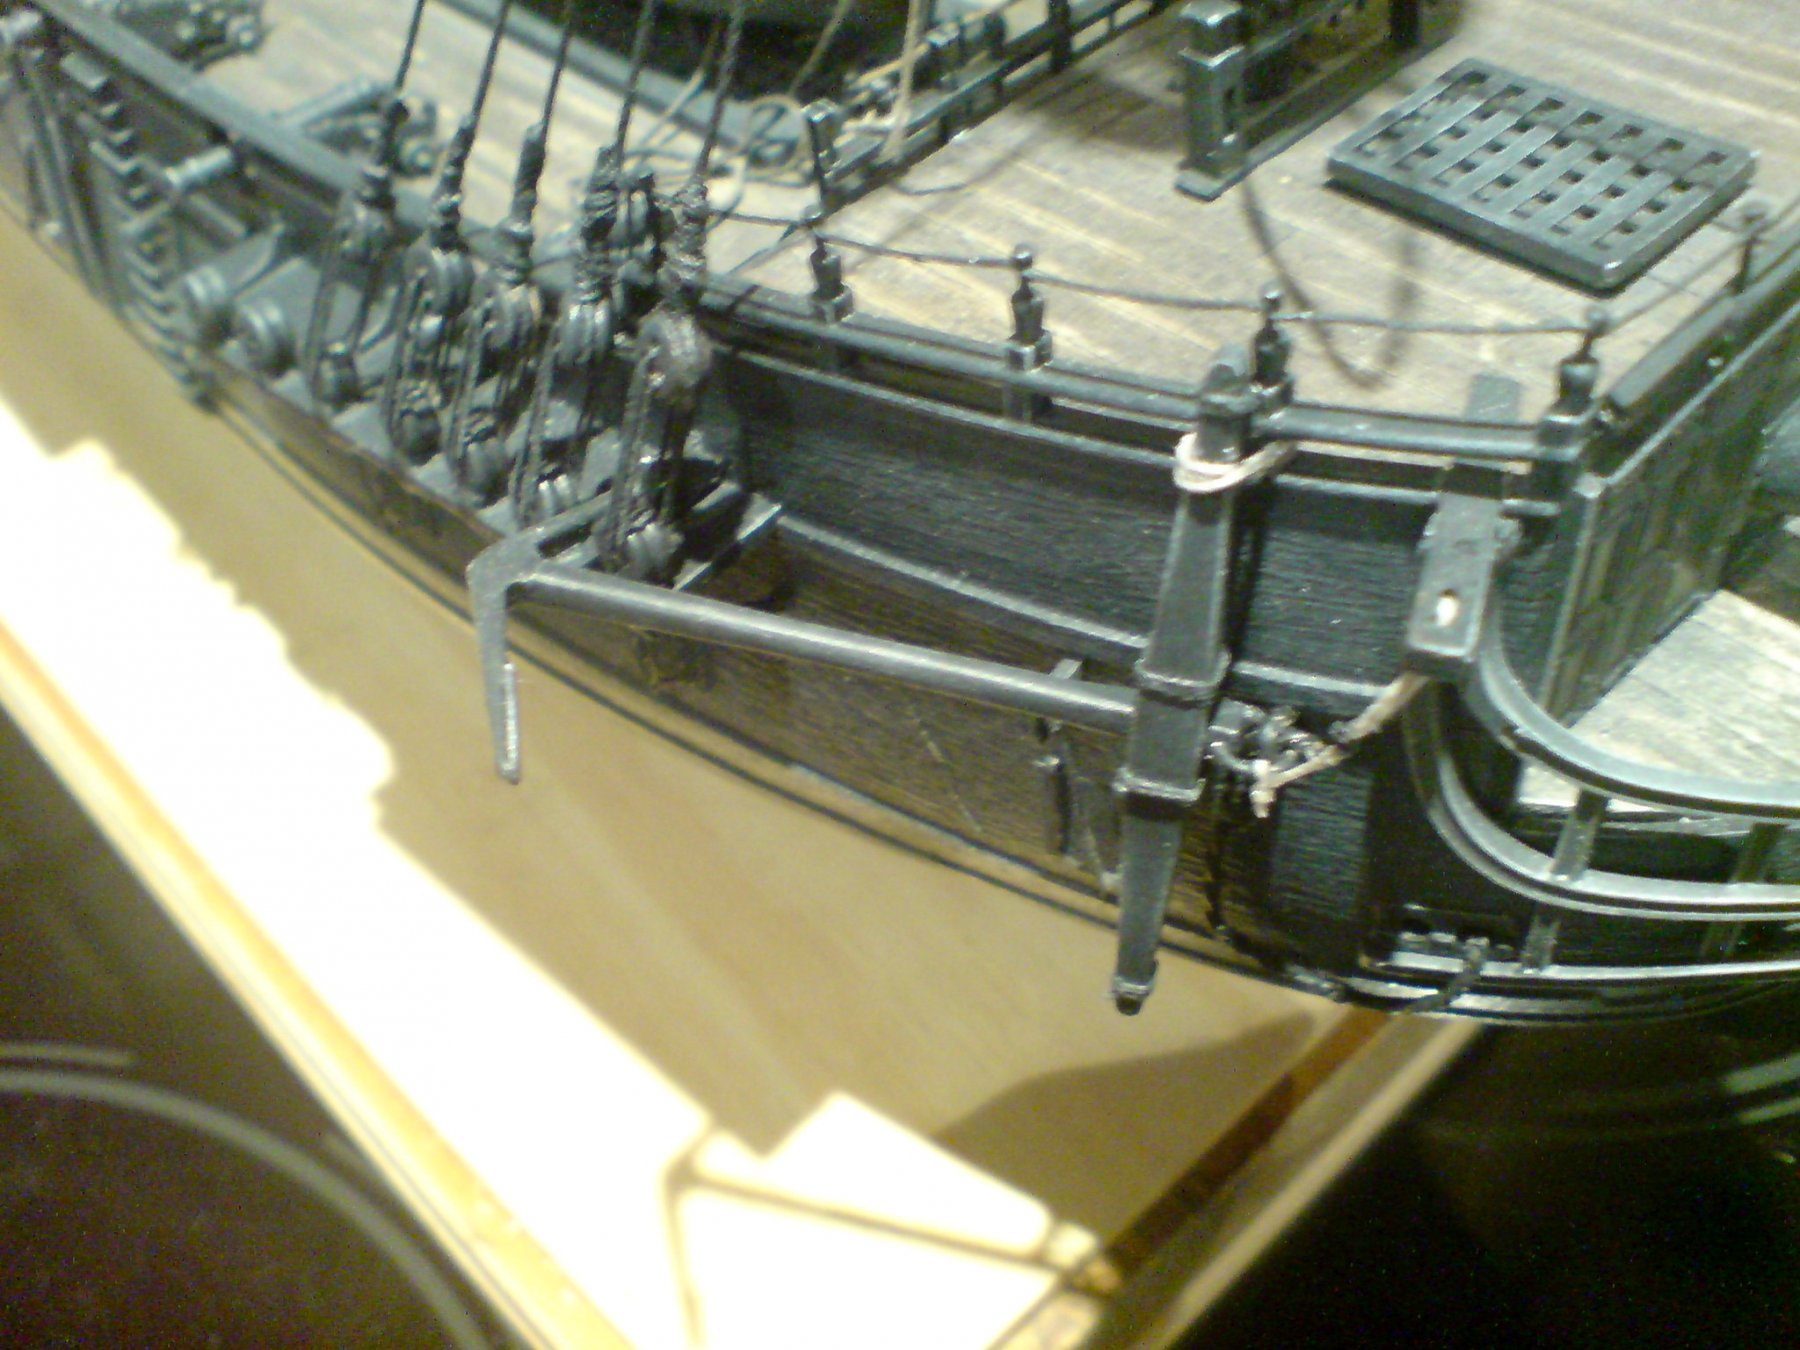
Good day all, I have fitted the other anchor but decided to leave the metal parts just black. Just a few pics - OC.

-
Great to see you back on her. OC.
-
Paintwork with pre shading is coming out well - lovely finish on that paint. OC.
-
Thanks mate - I could just blacken the metal parts and leave the stock as it is. OC.
-
Hiya mate was going to try for a rusted look but dont have any weathering paints to do that. OC.
-
Had a look - just dont know mate, have you had a look on the pontos site for your kit? OC.
.JPG.b27ddb0eff0fcc56c7634061d9b3b6fa.JPG)
.JPG.1d92928c778097e3d56d239be0742f16.JPG)