HOLIDAY DONATION DRIVE - SUPPORT MSW - DO YOUR PART TO KEEP THIS GREAT FORUM GOING! (Only 13 donations so far - C'mon guys!)
×


Old Collingwood
-
Posts
12,098 -
Joined
-
Last visited
Content Type
Profiles
Forums
Gallery
Events
Everything posted by Old Collingwood
-
 Really impressive work on the masts - how do you hide the ends of your mast rope wrap arounds? OC.
- 331 replies
-
- 1
-

-
- nuestra senora del pilar
- occre
- (and 1 more)
-
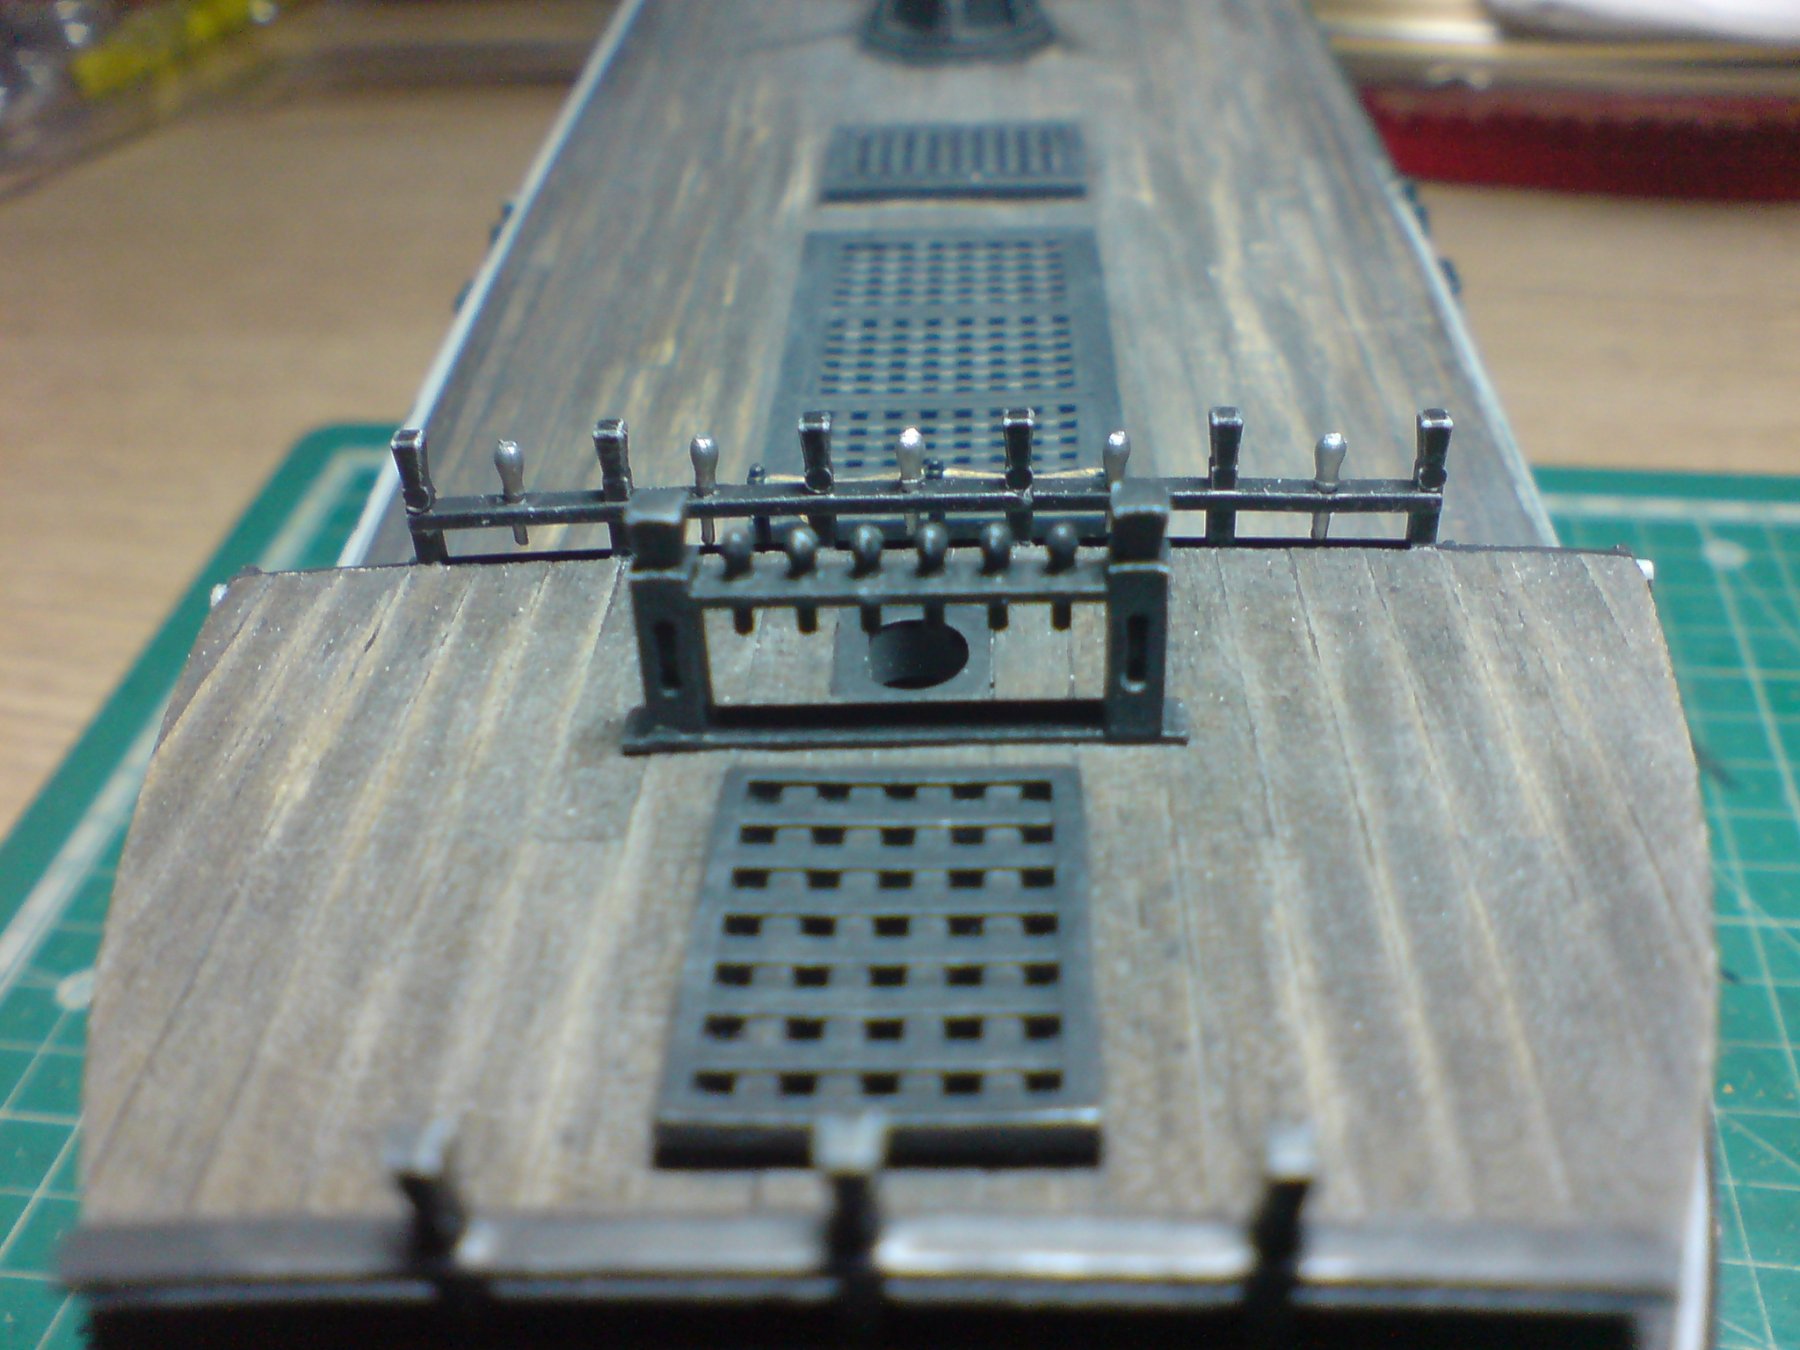
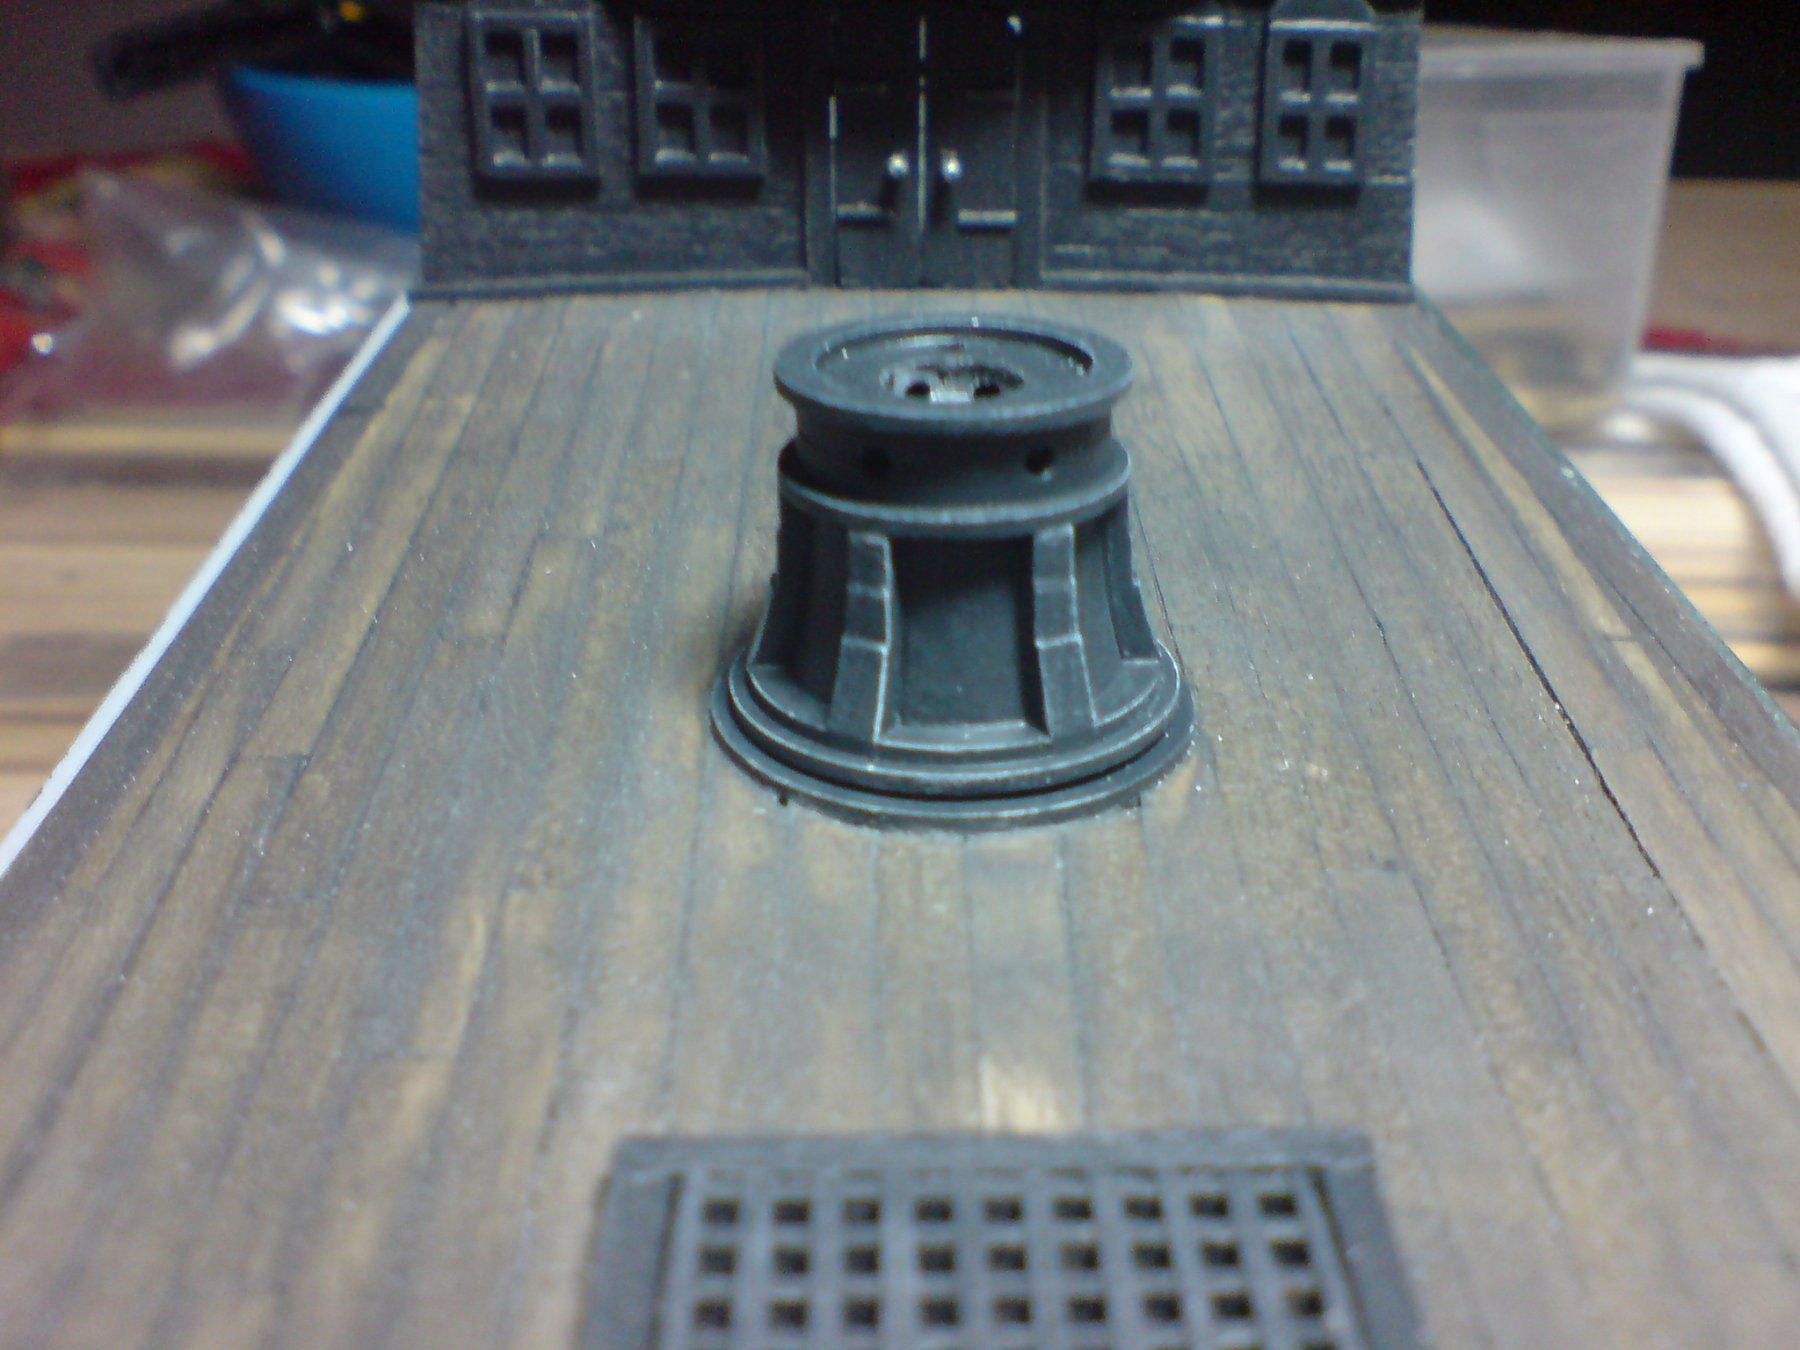
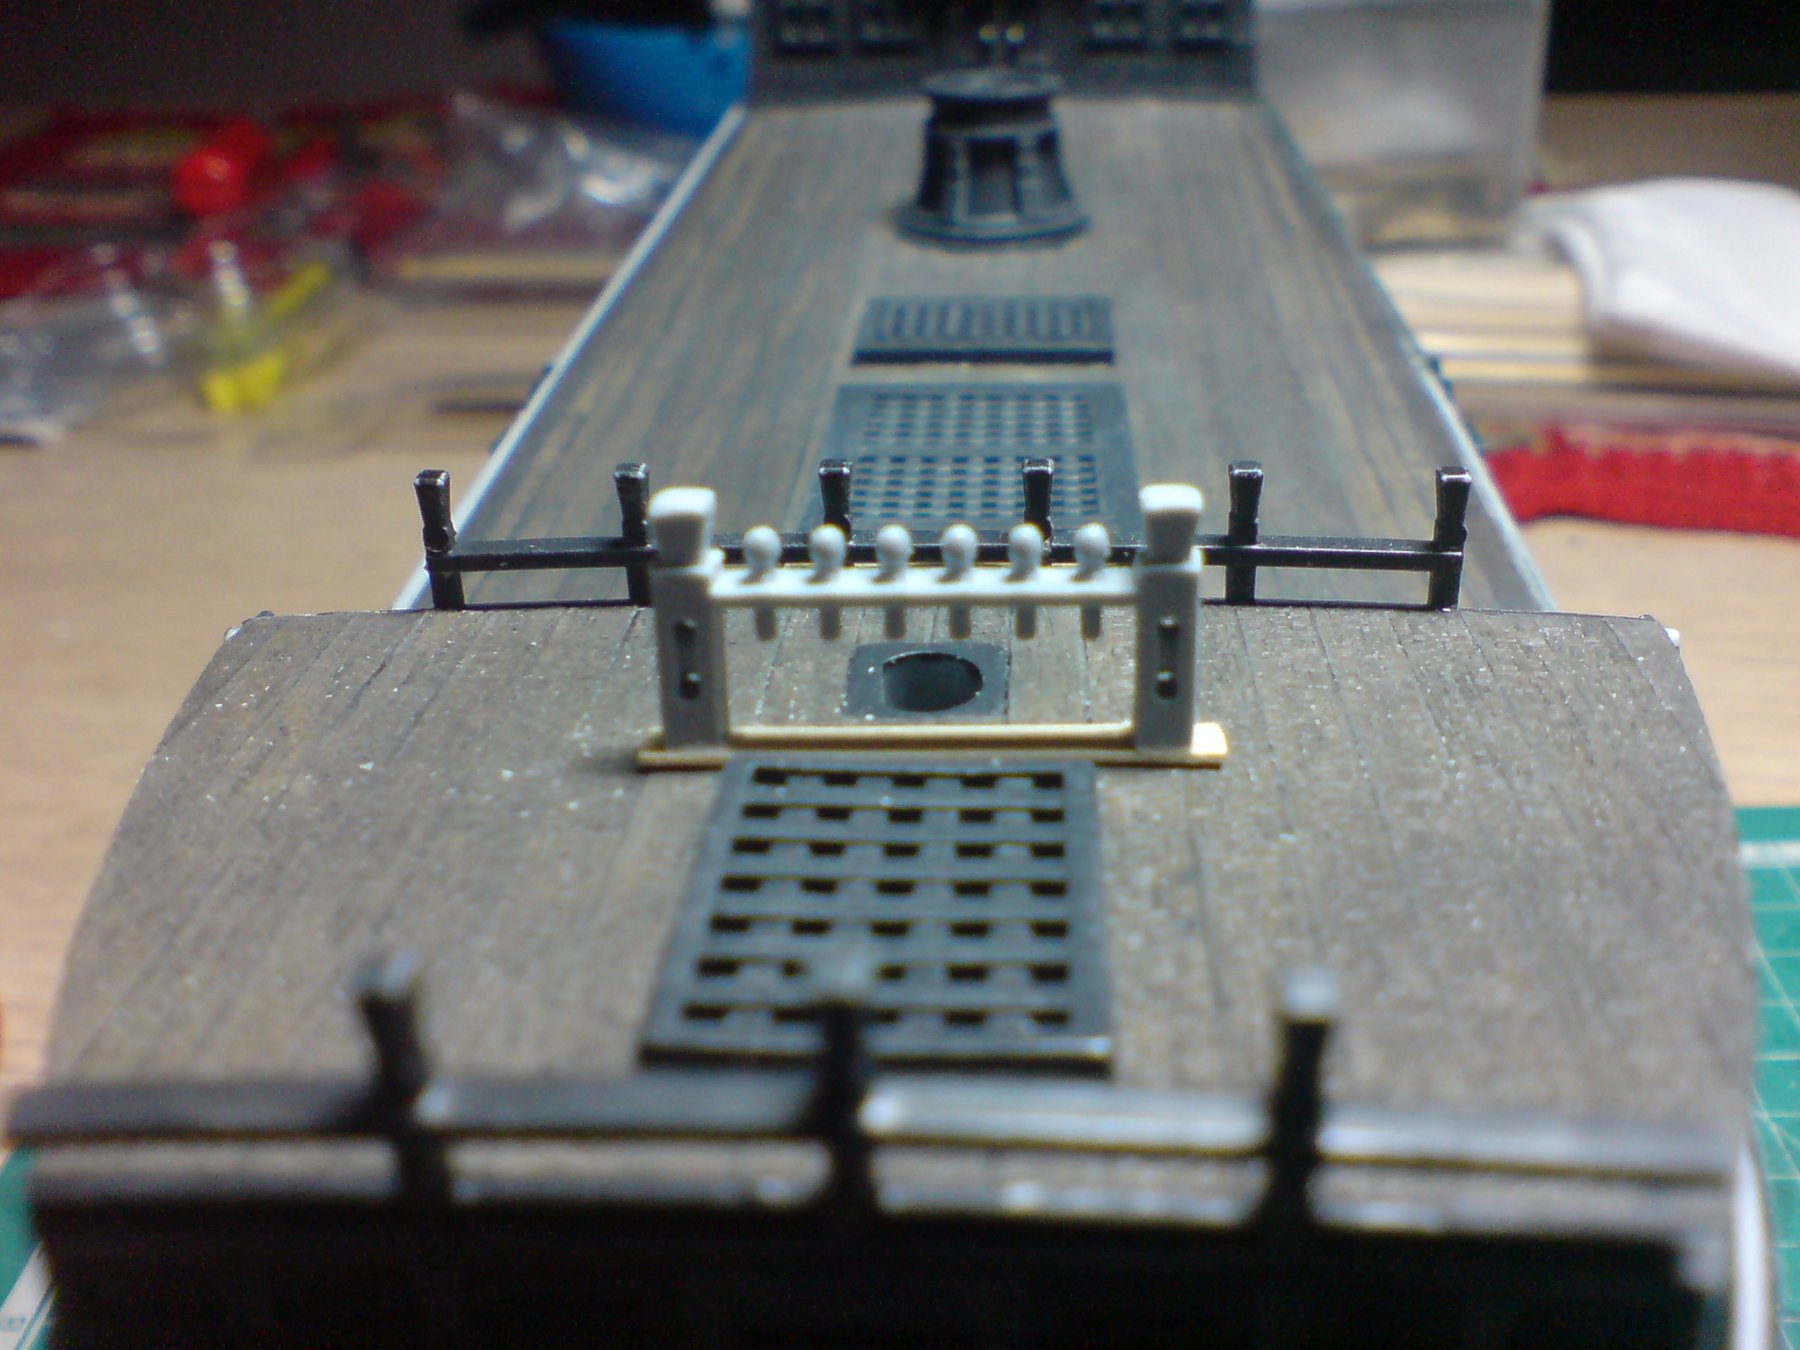
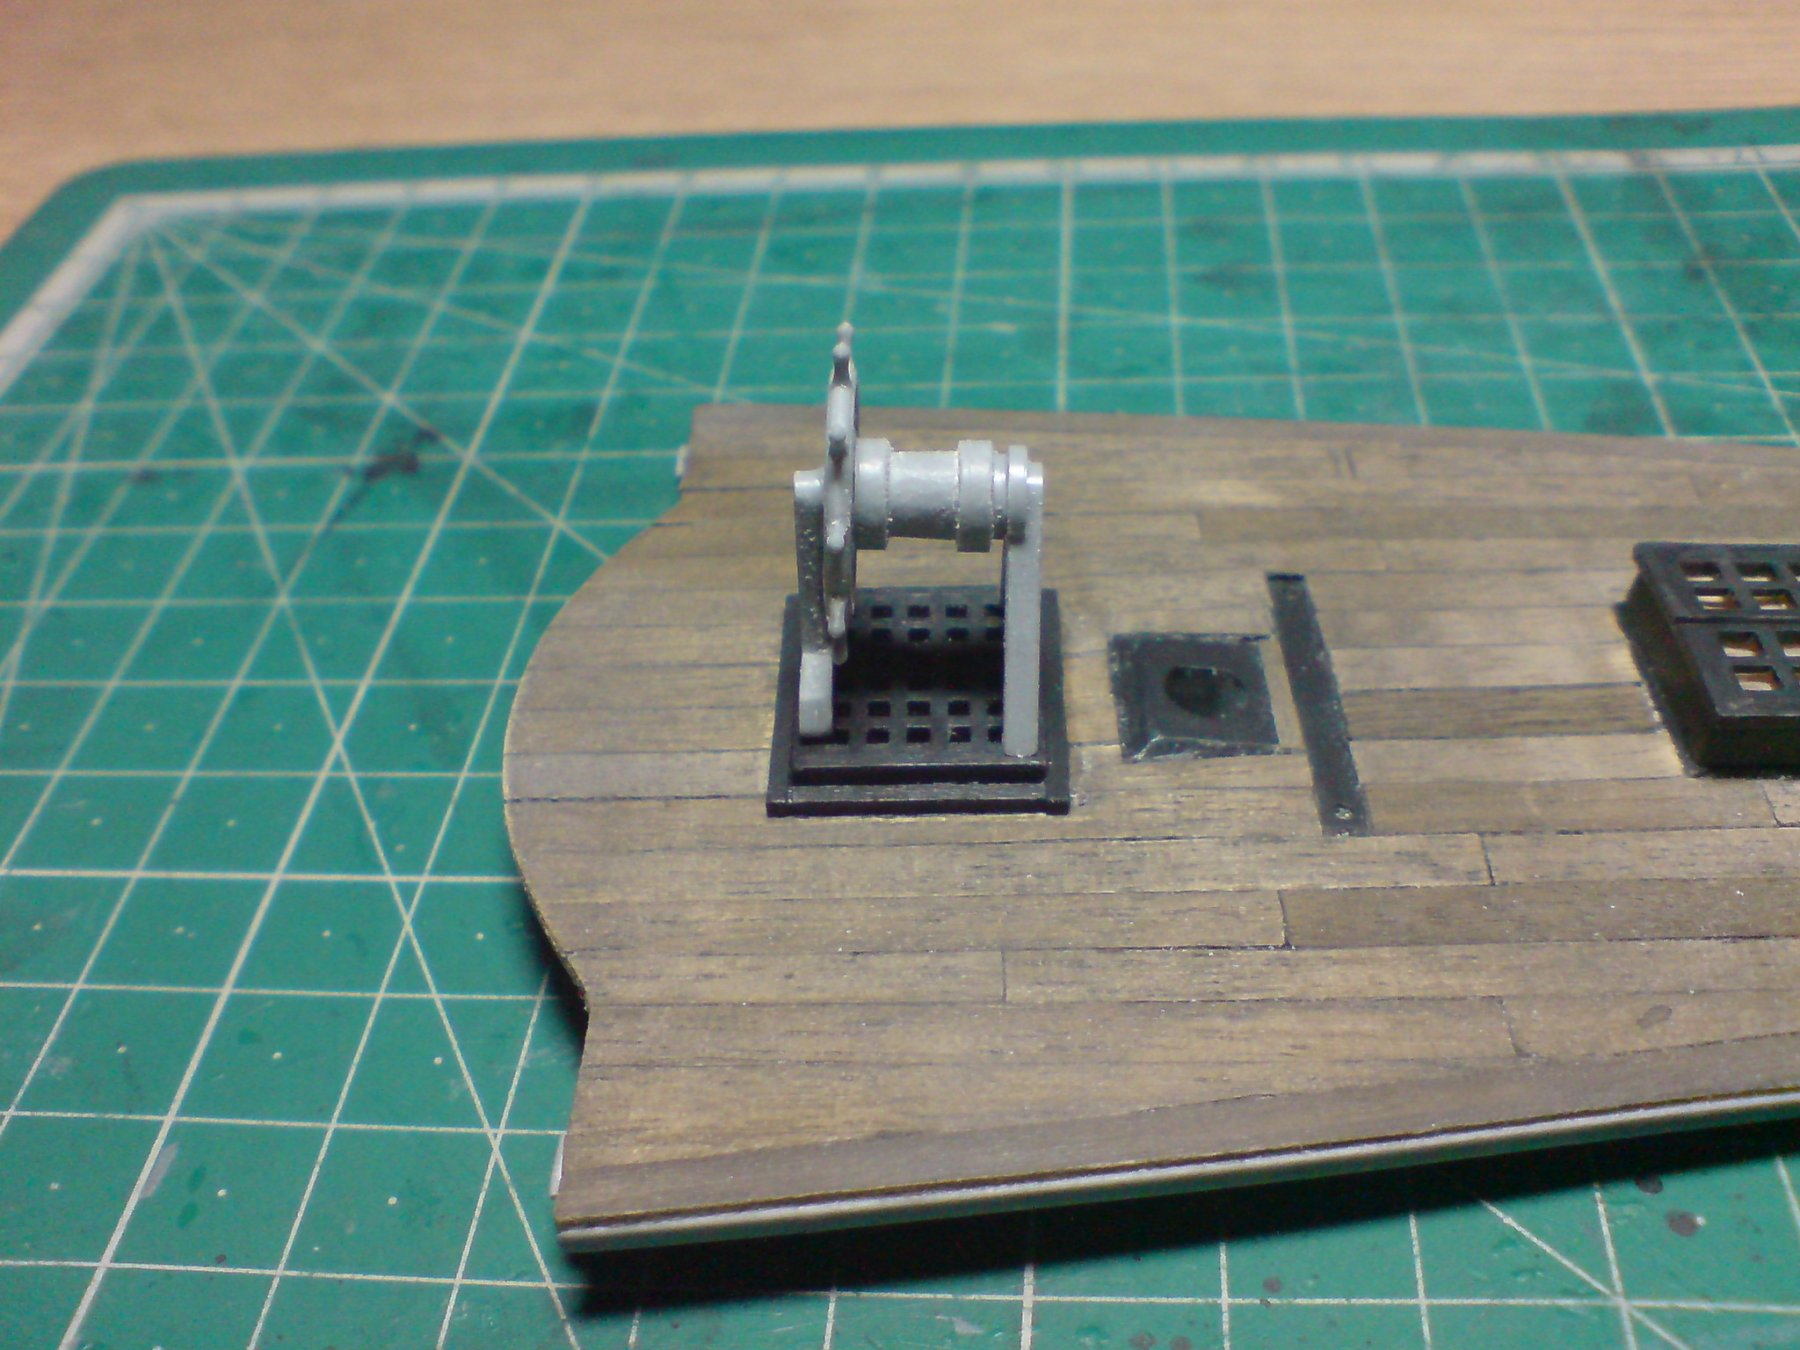
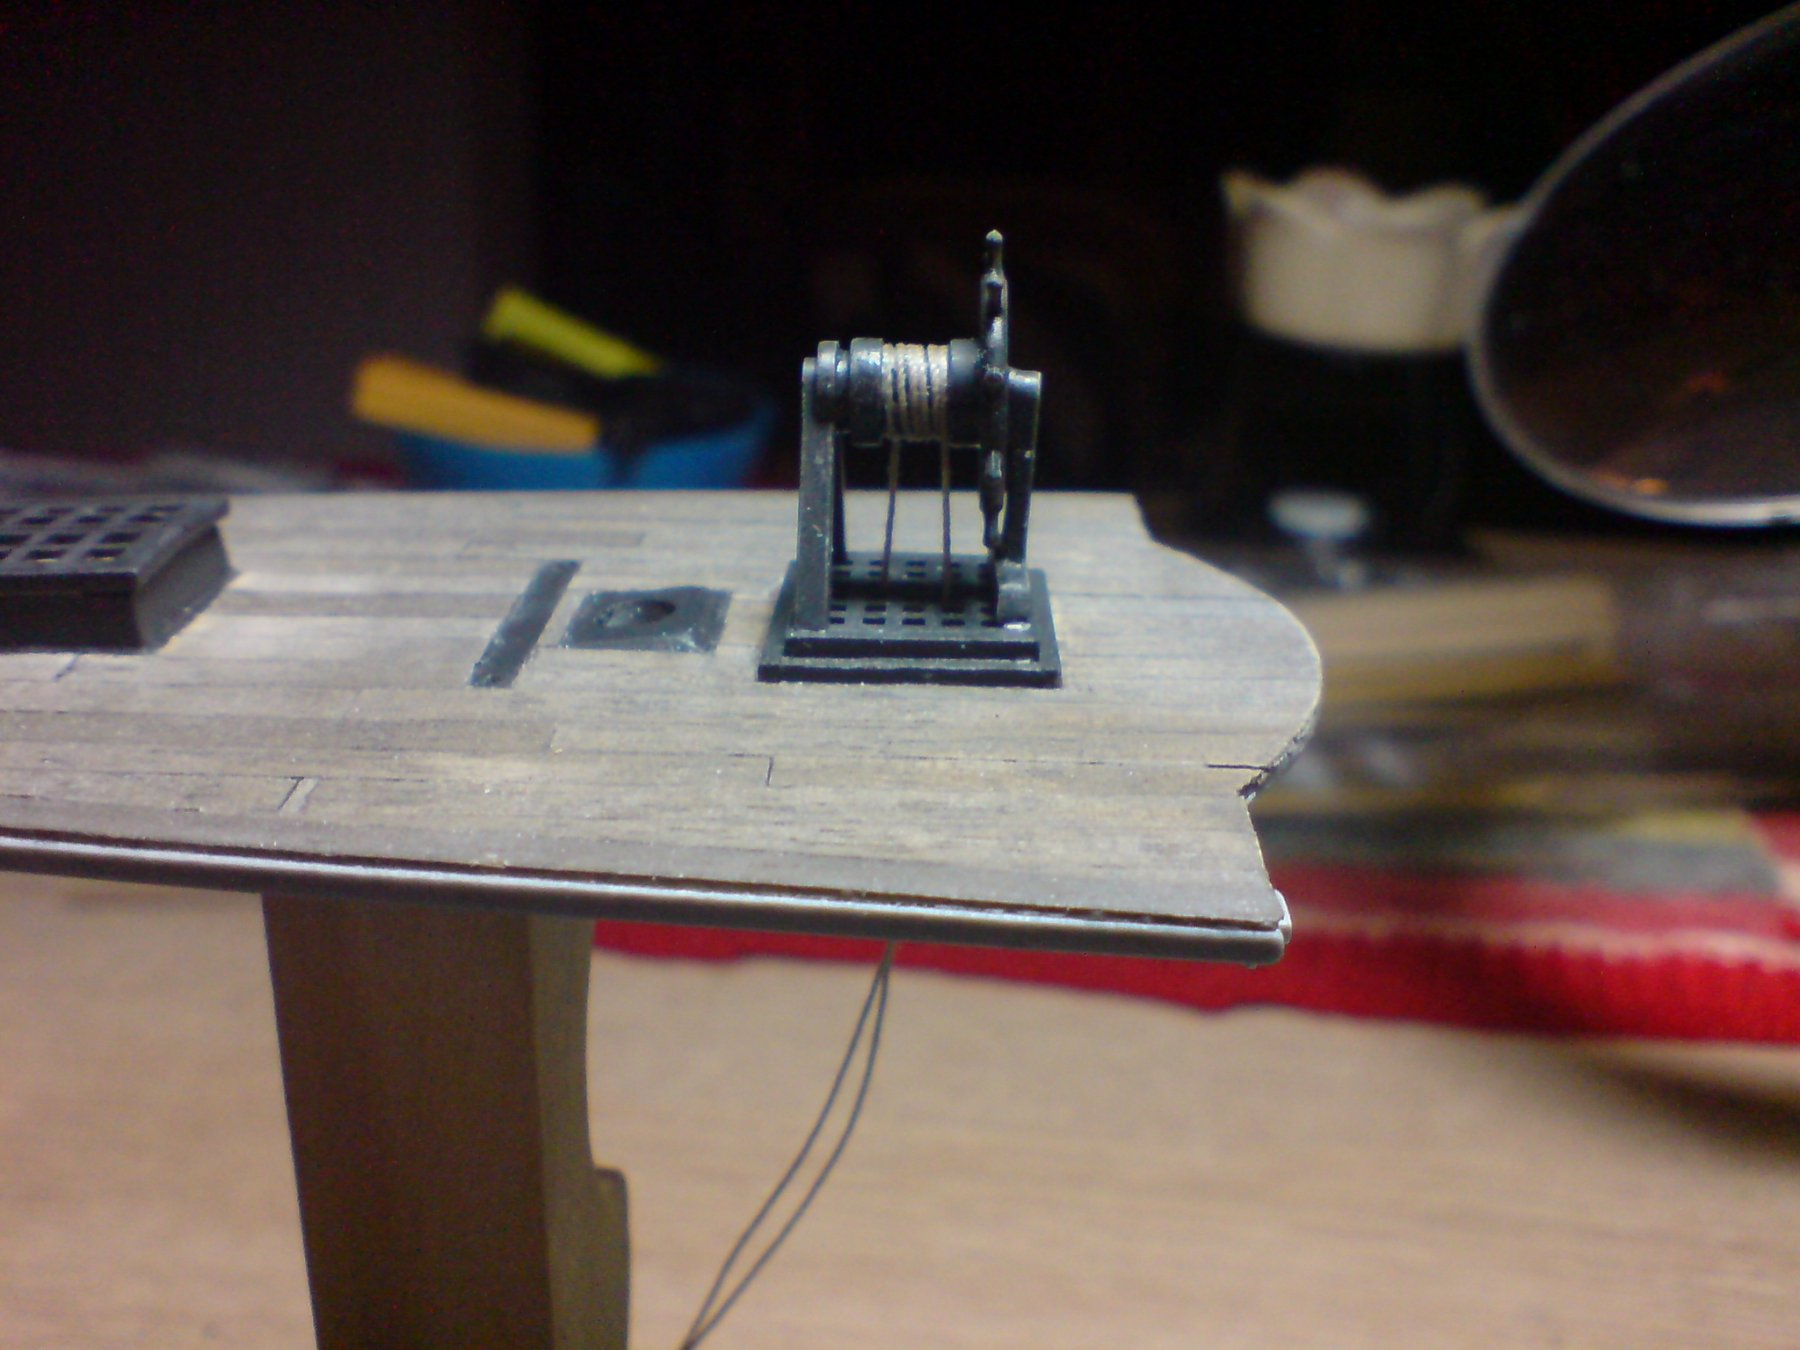
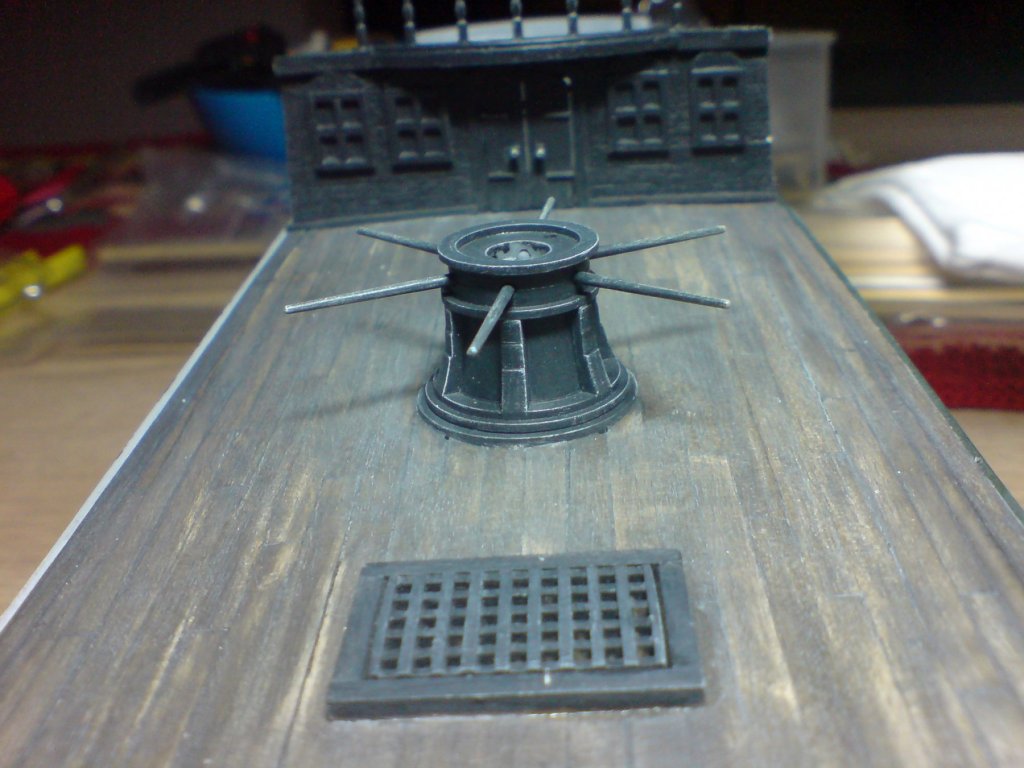
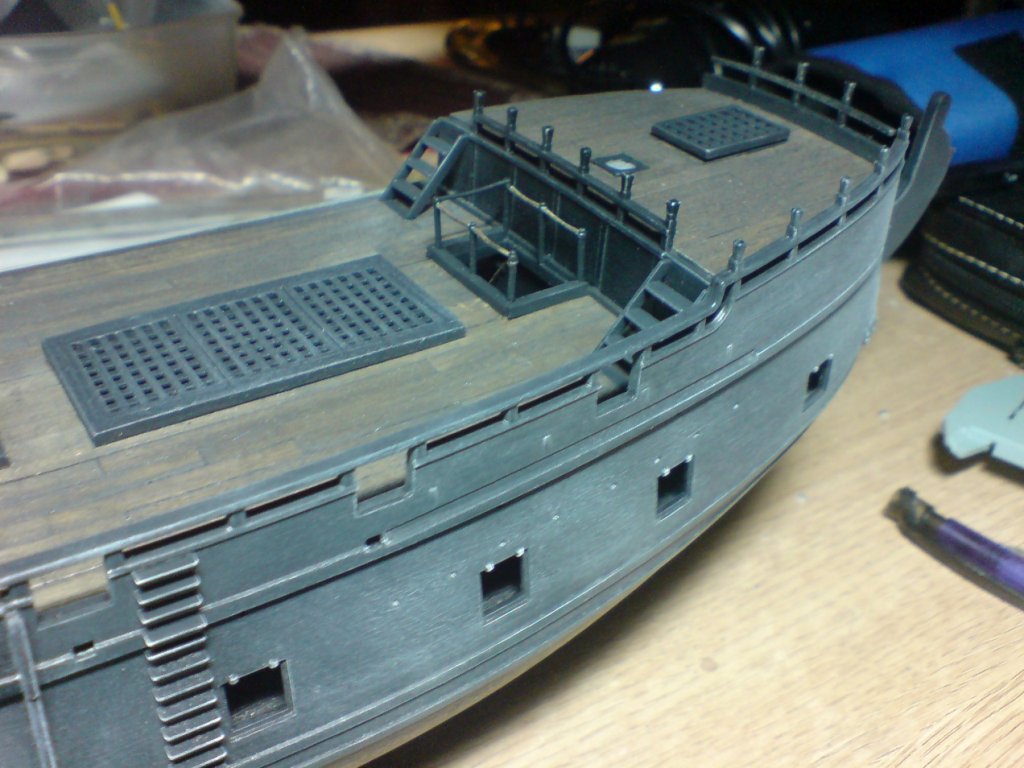
Evening all, I continued with the forecastle bits - they were painted then weathered, I then got my instructions off the admiral that she wanted the capstan to have its spindles - so hey presto I made it so - painted and weathered. After letting the capstan dry I turned my attention back to the forecastle - it ocured to me that the inner railing was missing some belaying pins, I have some metal ones so I had to drill out the rail between posts then glue in the pins with some gaitor glue. Just a couple of pics -

-
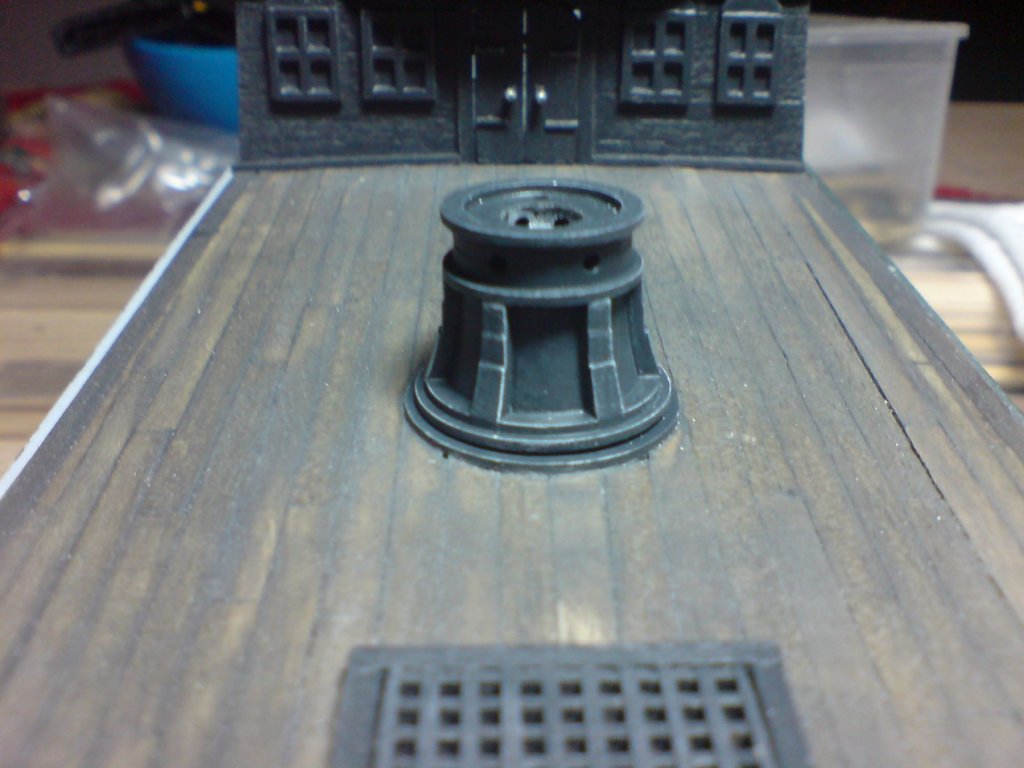
Evening all, only a lttle bit of work today on the pearl - firstly I built/painted and weathered the capstan then glued it down, then I started work on the kit forecastle bits, the kit part is a complete piece - all it needed was a bit of cleaning up then a piece of decking was placed underneath to help its attachment to the deck. Just the two pics - OC.

-
Hiya mate, yep slightly darker but deffo showing some weathering, its a very enjoyable build and the scale 1/72 really helps - I used to make 1/72 scale Airfix toy soldiers - you know the ones that were that horrible slimmy plastic (real hard to paint) I at one stage had hundreads of then including the Battle of Waterloo battle set - had then all over the room floor ( mum was not impresed) OC.
-
Oh - I foregot to mention - the upper sides are not glued on yet, just dry fitted to test weathering and fit. OC.
-
Really cant go wrong with a build, be it either wood or plastic - or even a combination of both, its only limited by our imagination, the skill part comes along with practice (I think). OC.
-
Looking good with the extra details - no problem with the name of the wriggles. OC.
-
Yep there called wriggles, they were in two shapes - one more pointed in the center and the other more flat on the top with rounded corners. OC.
-
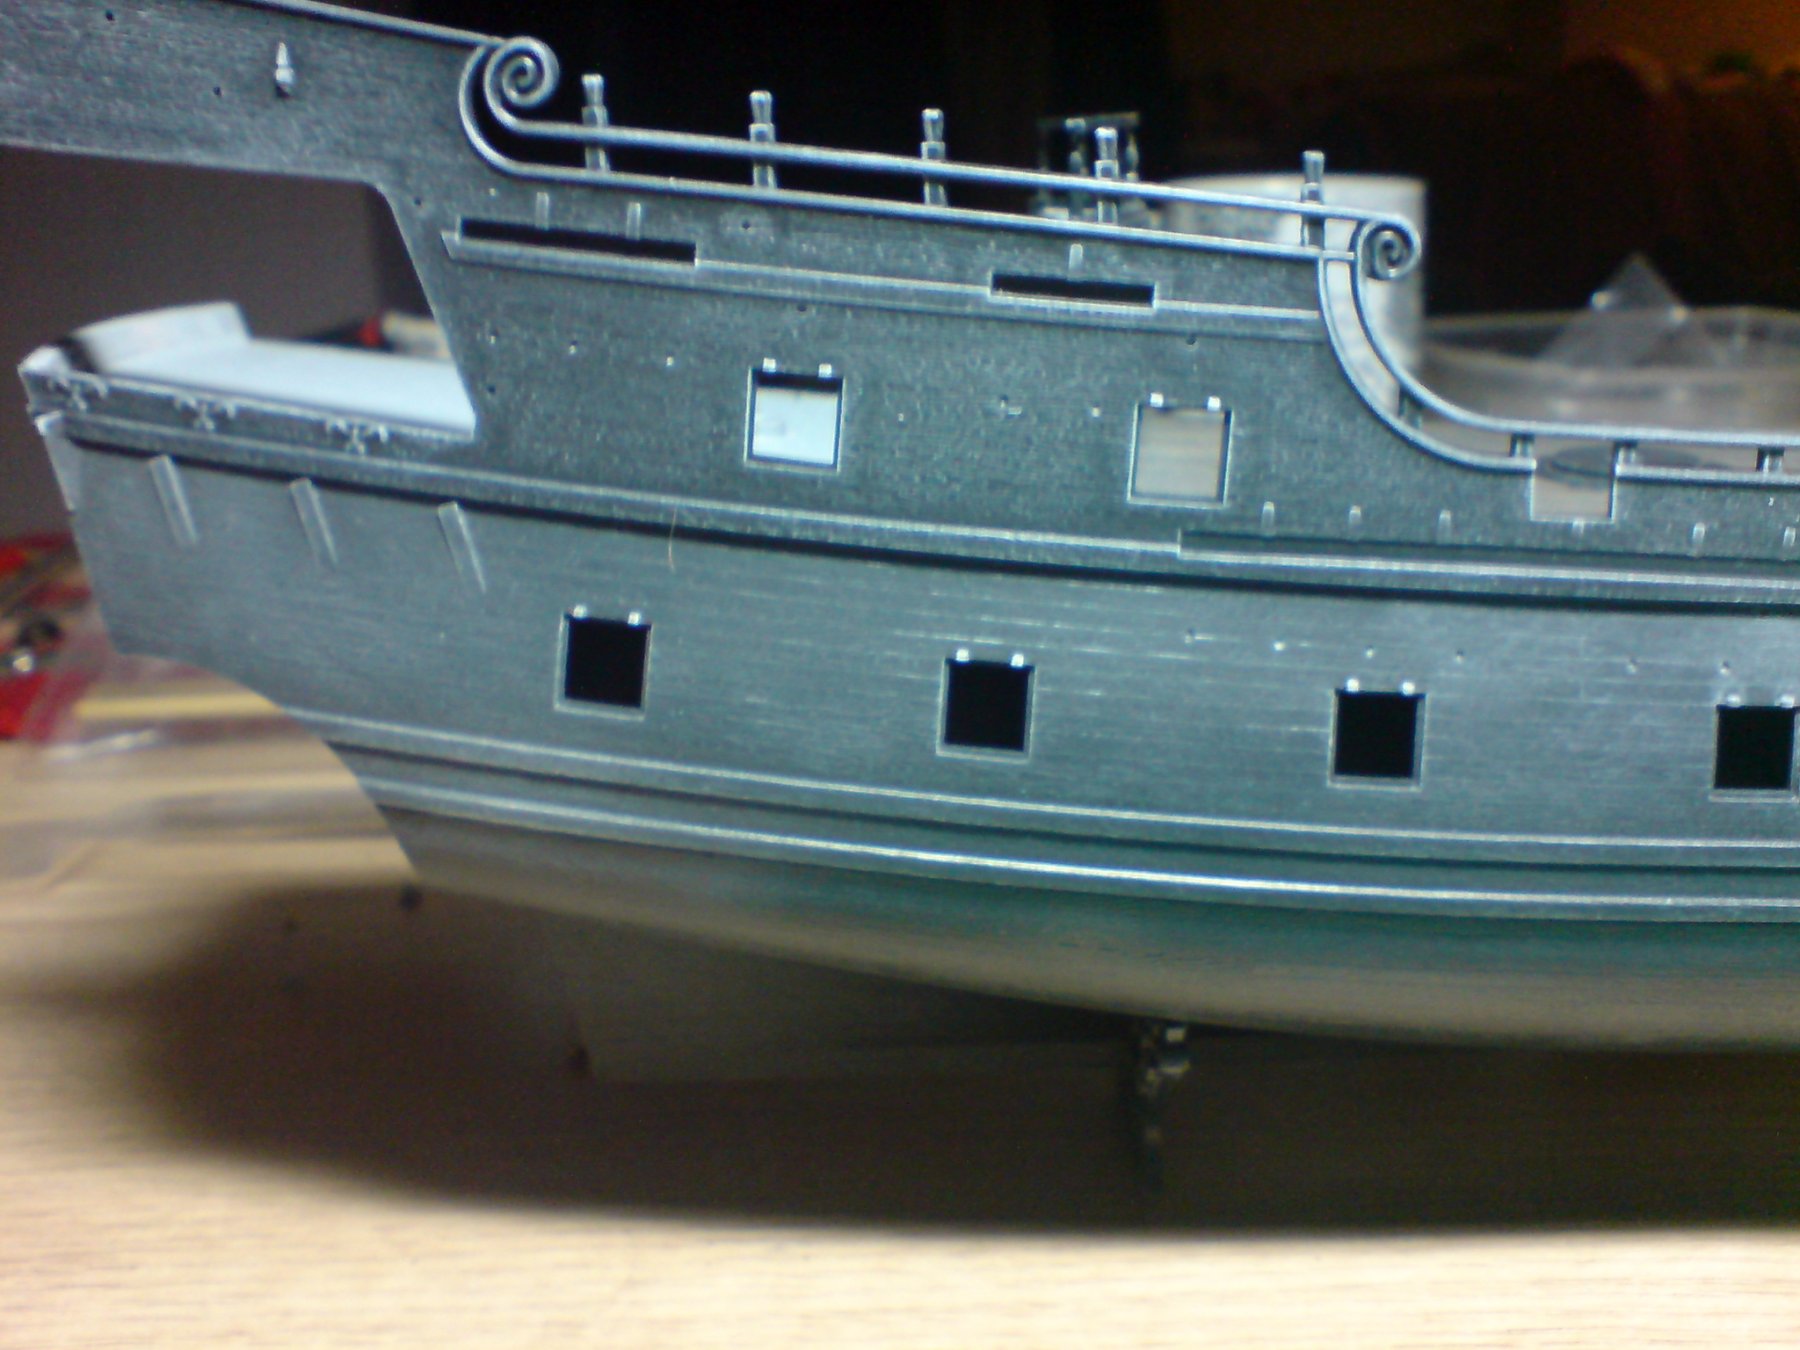
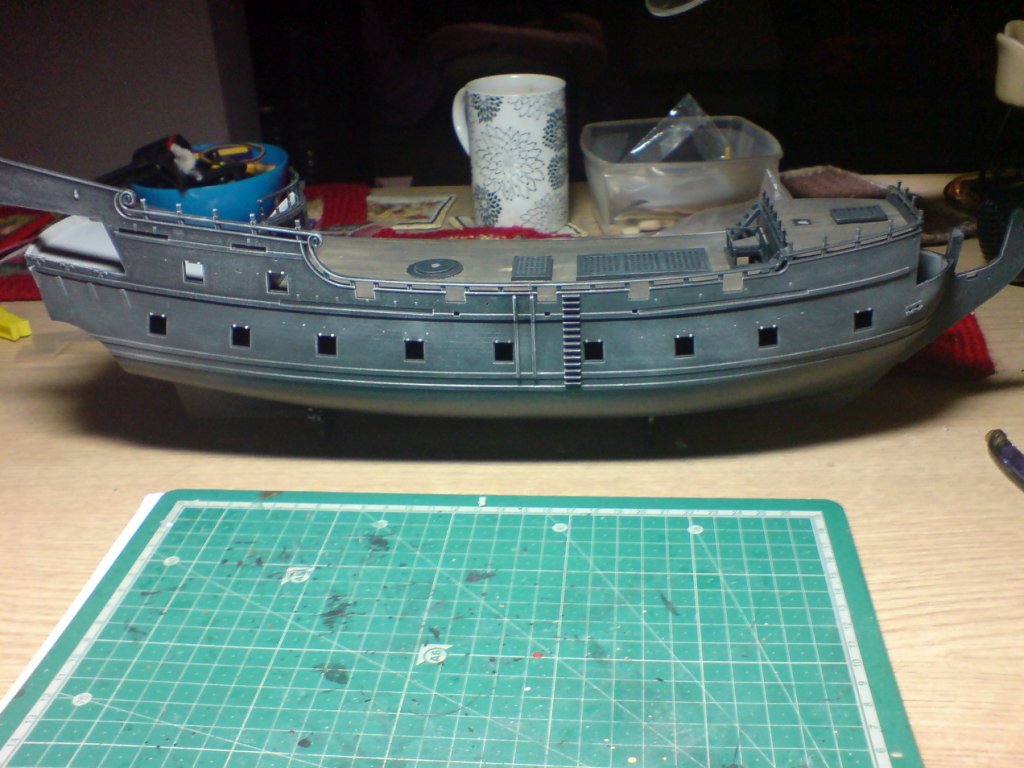
Evening all so today was "weathering/shading day" - I gave the hull and upper hull parts a series of dry brush white passes, basically just white acrylic with a large brush with almost all of tha paint taken off the brush with a rag, than brushed all over raising the highlights and creating some age. Here's the pics - OC.

-
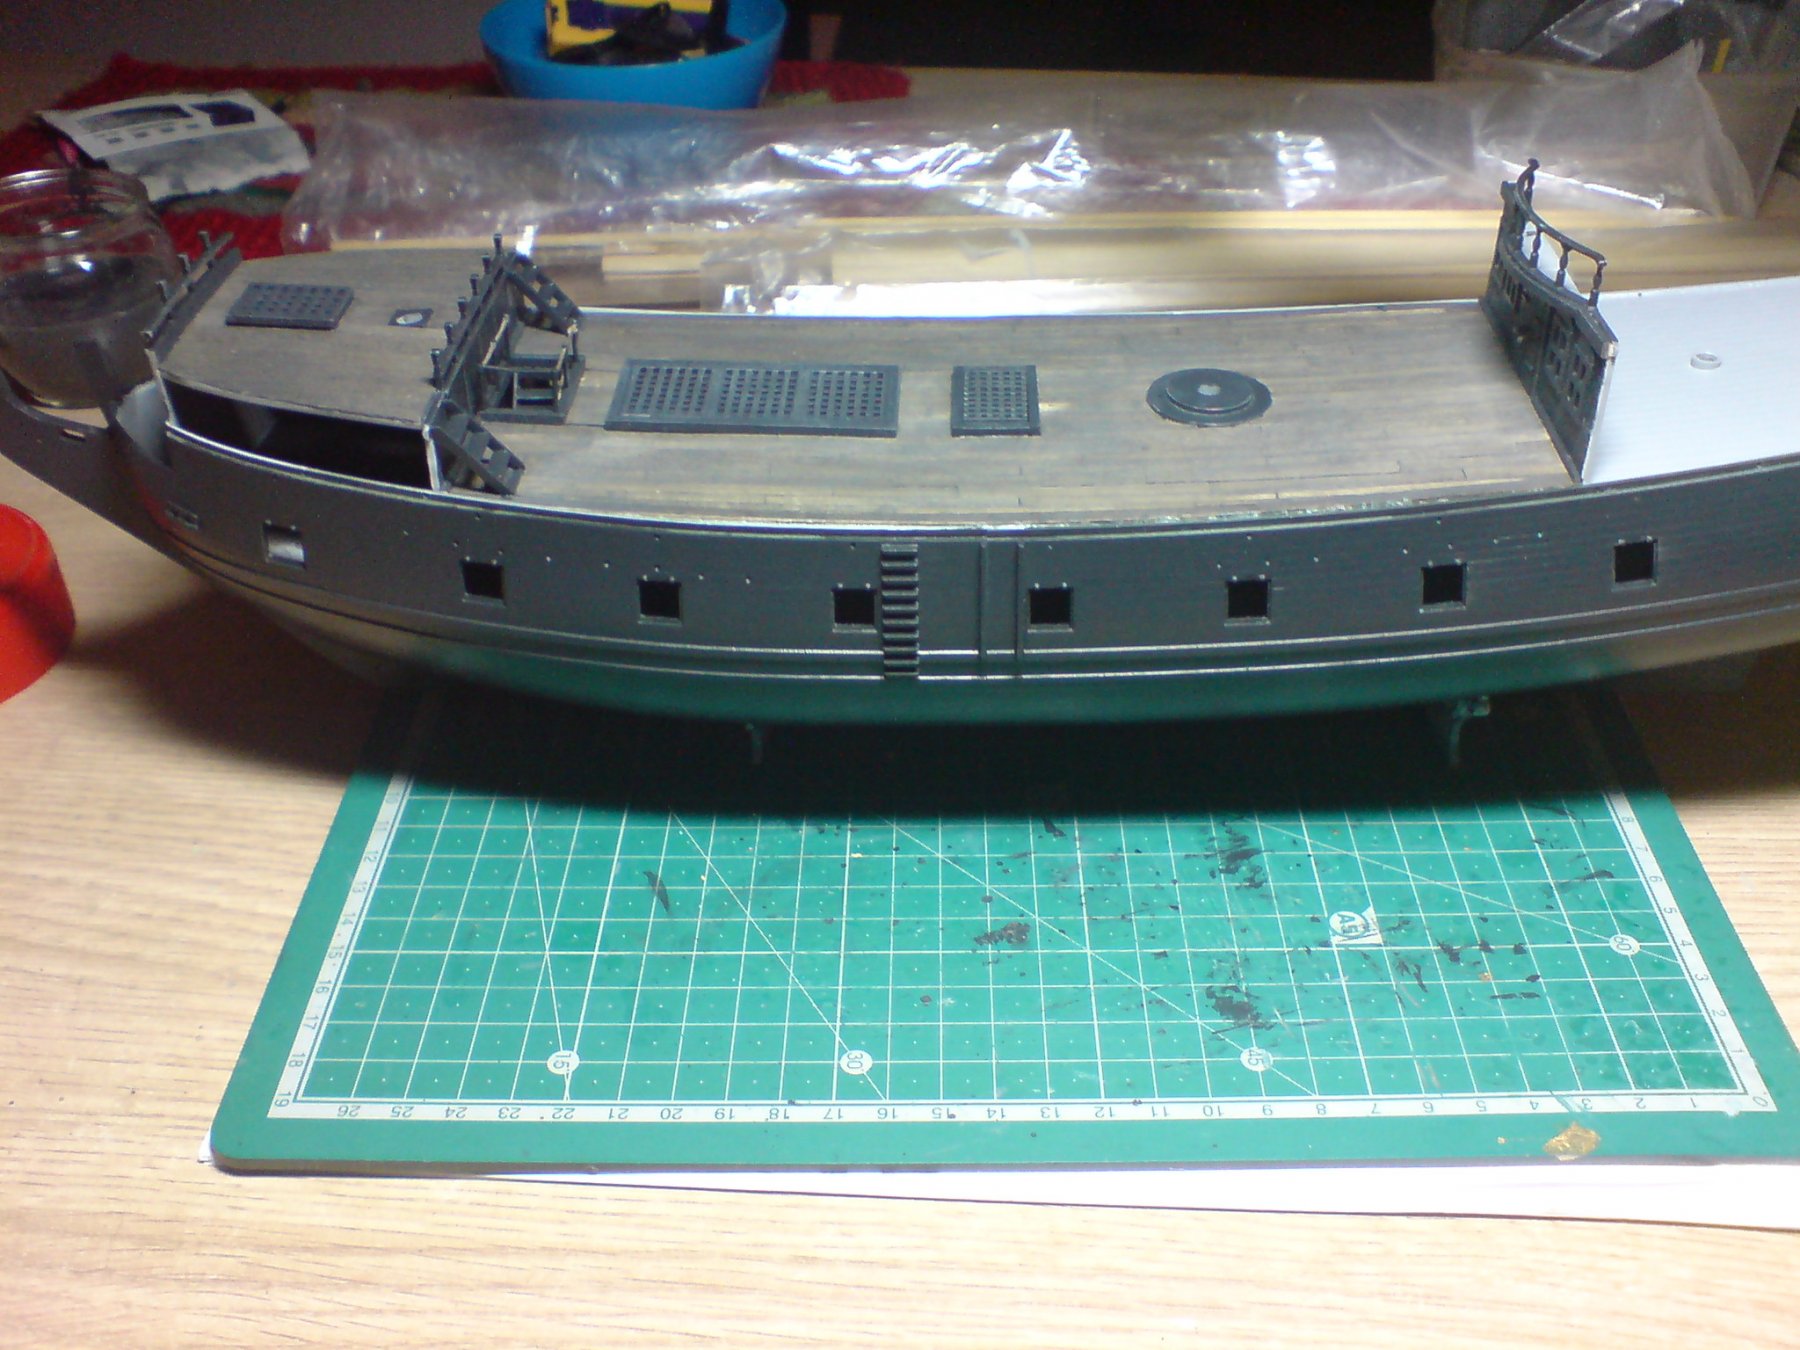
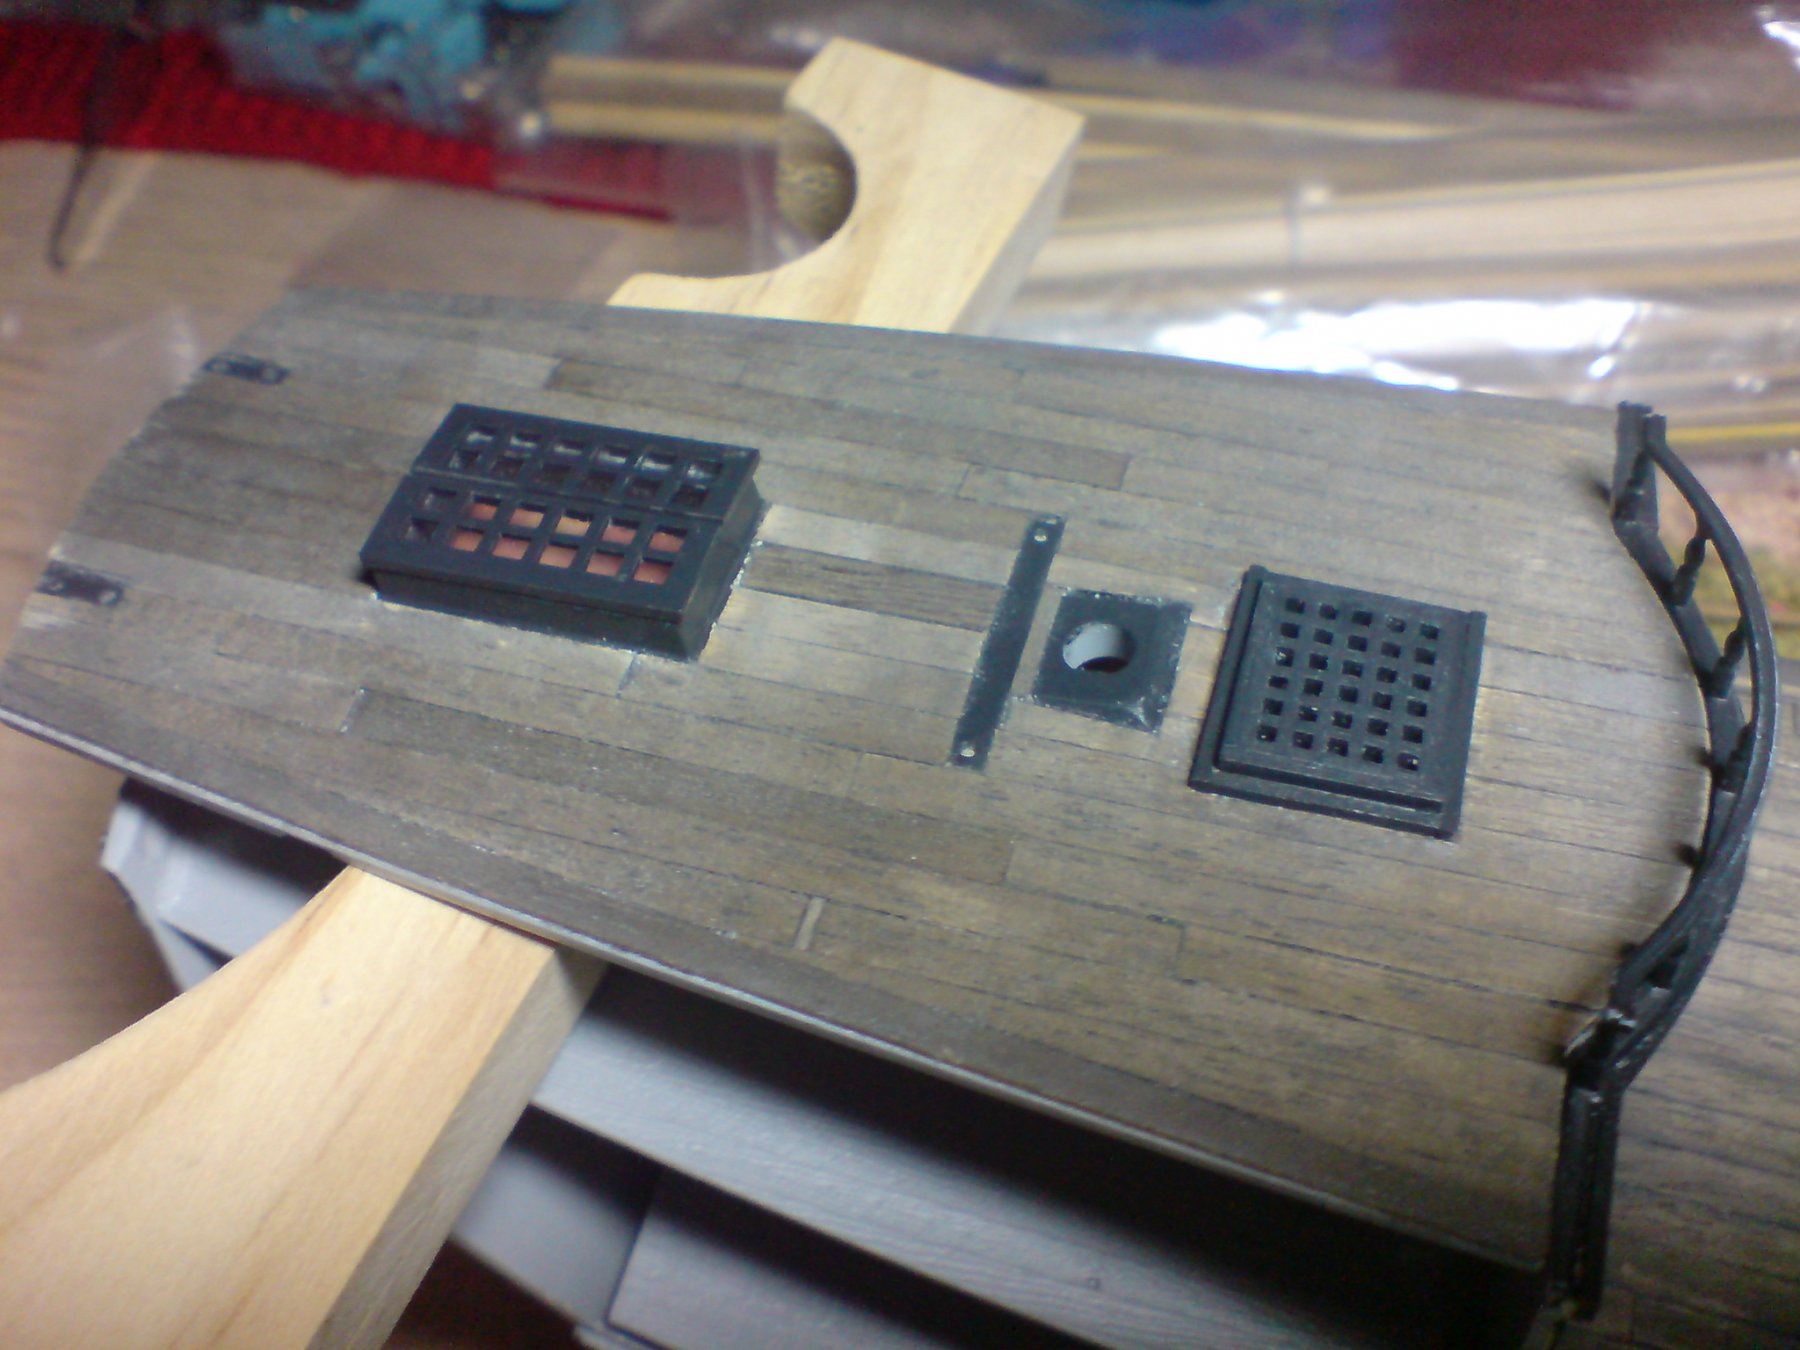
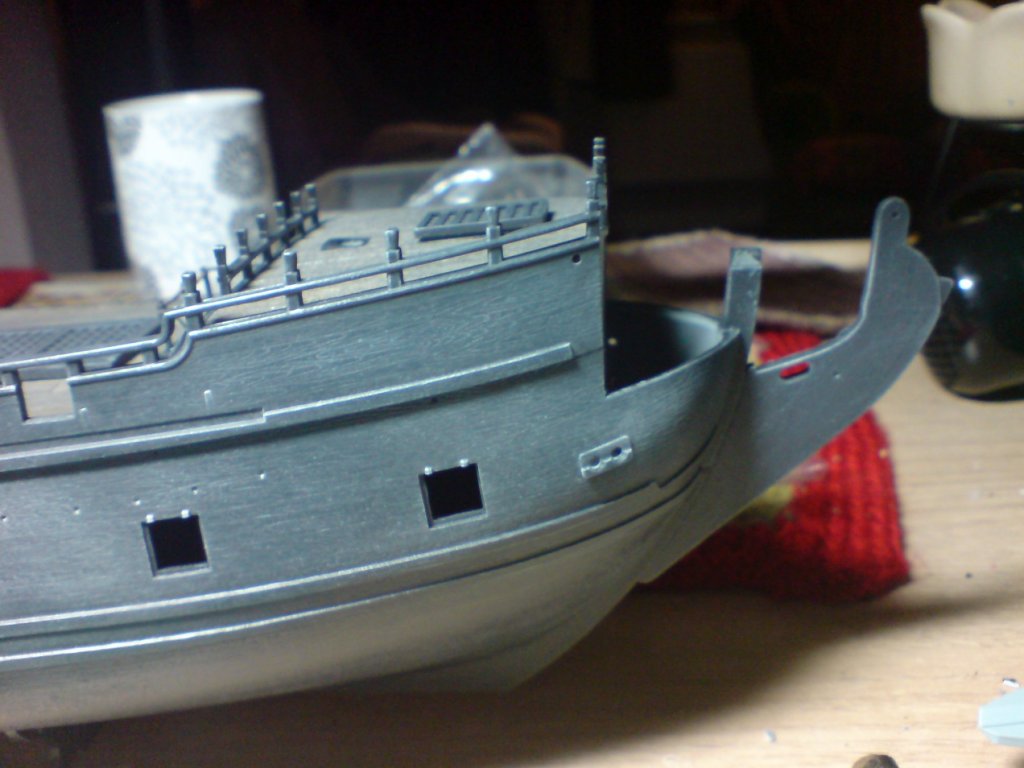
Evening all, today I fitted the two forecastle ladders then gave them a coat of paint, I then decided to close in the lower/main gun deck hull sides, this was a fiddly operation requiring some moving around of the side sectons to get them to sit properly, this caused a bit of poly cement mess around the join. After the first side was glued and supported with elastc bands - I was able to attach the other side, I set the hull aside to set while I cooked dinner - then I touched up hull join line, but also decided to give all hull parts a second coat - that to be honest is a more brown/grey/black color, but it will be weathered again with dry brushing (can use talk as the wife has allergies to stuff like that) Just the one pic - OC.

-
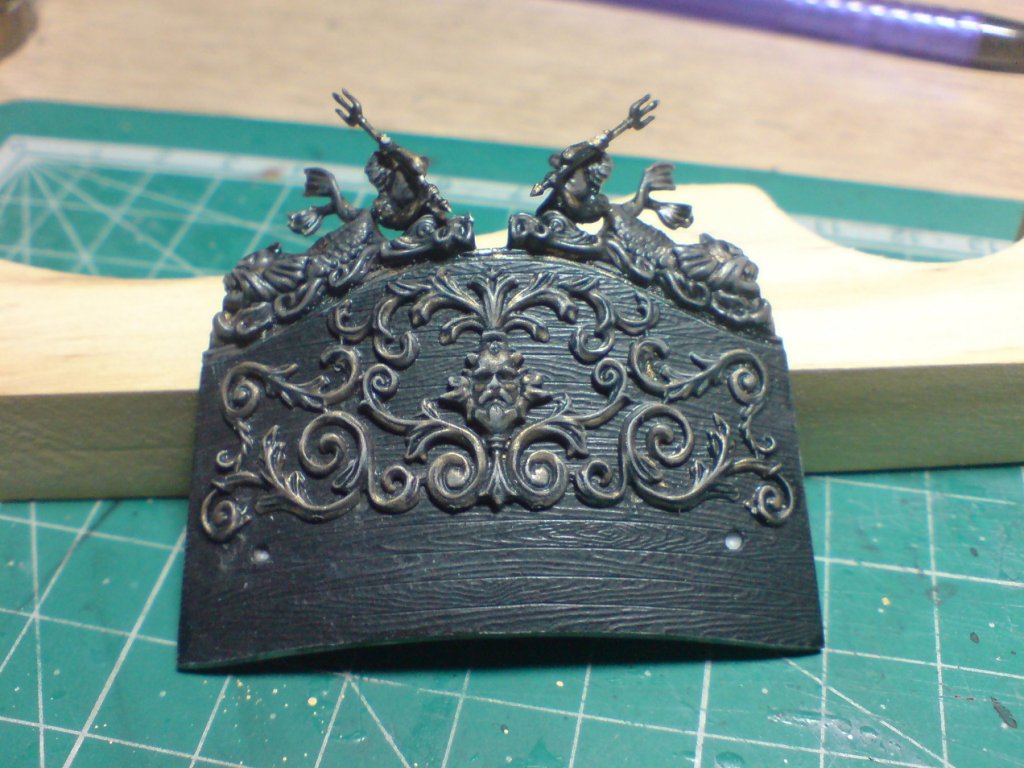
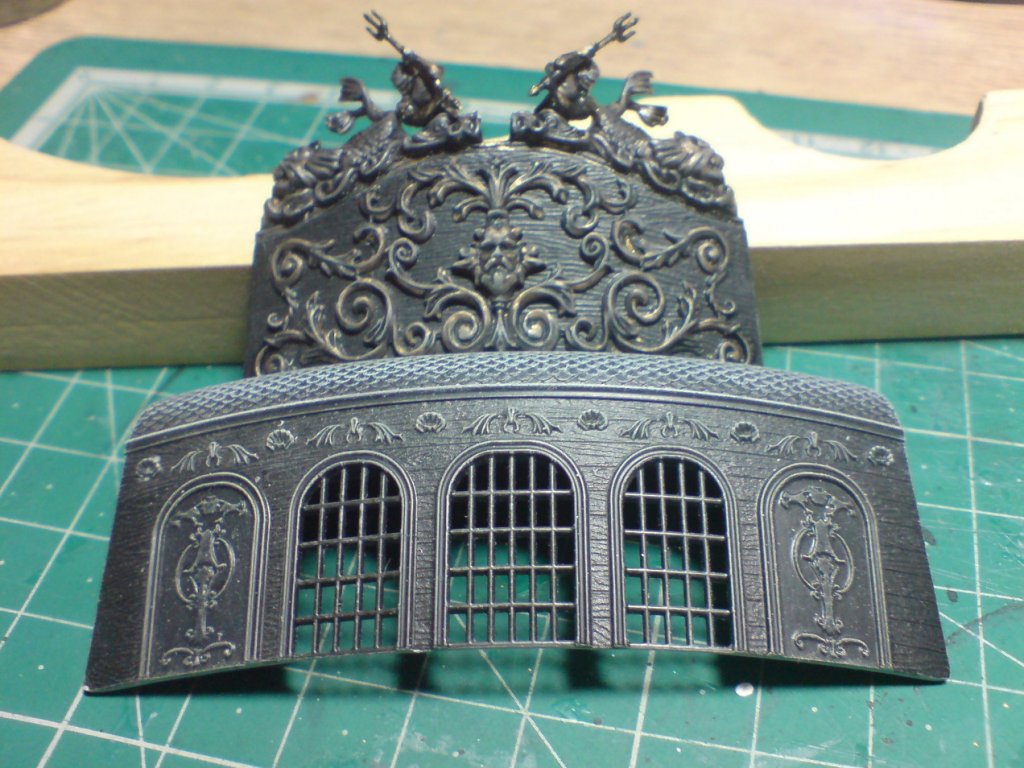
Evening all, I thought I would do some work to the rear bulkhead decorations - these are kit parts but they do look amazing for plastic, anyway first thing I did was to paint the three sections in brass paint - this was force dried with a hairdryer, then I started weathering and generally making them look aged and old, I then glued them to the rear bulkhead. Just the two pictures, with the second one showing how it will look when I attach the rear cabin window sections. OC.
-
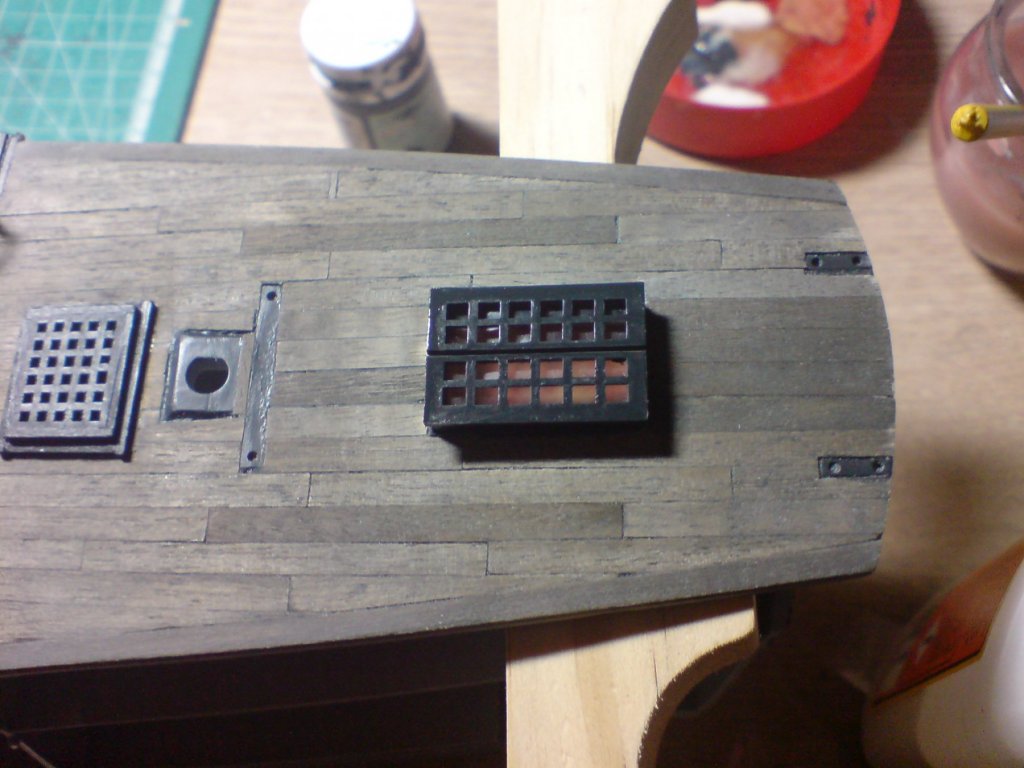
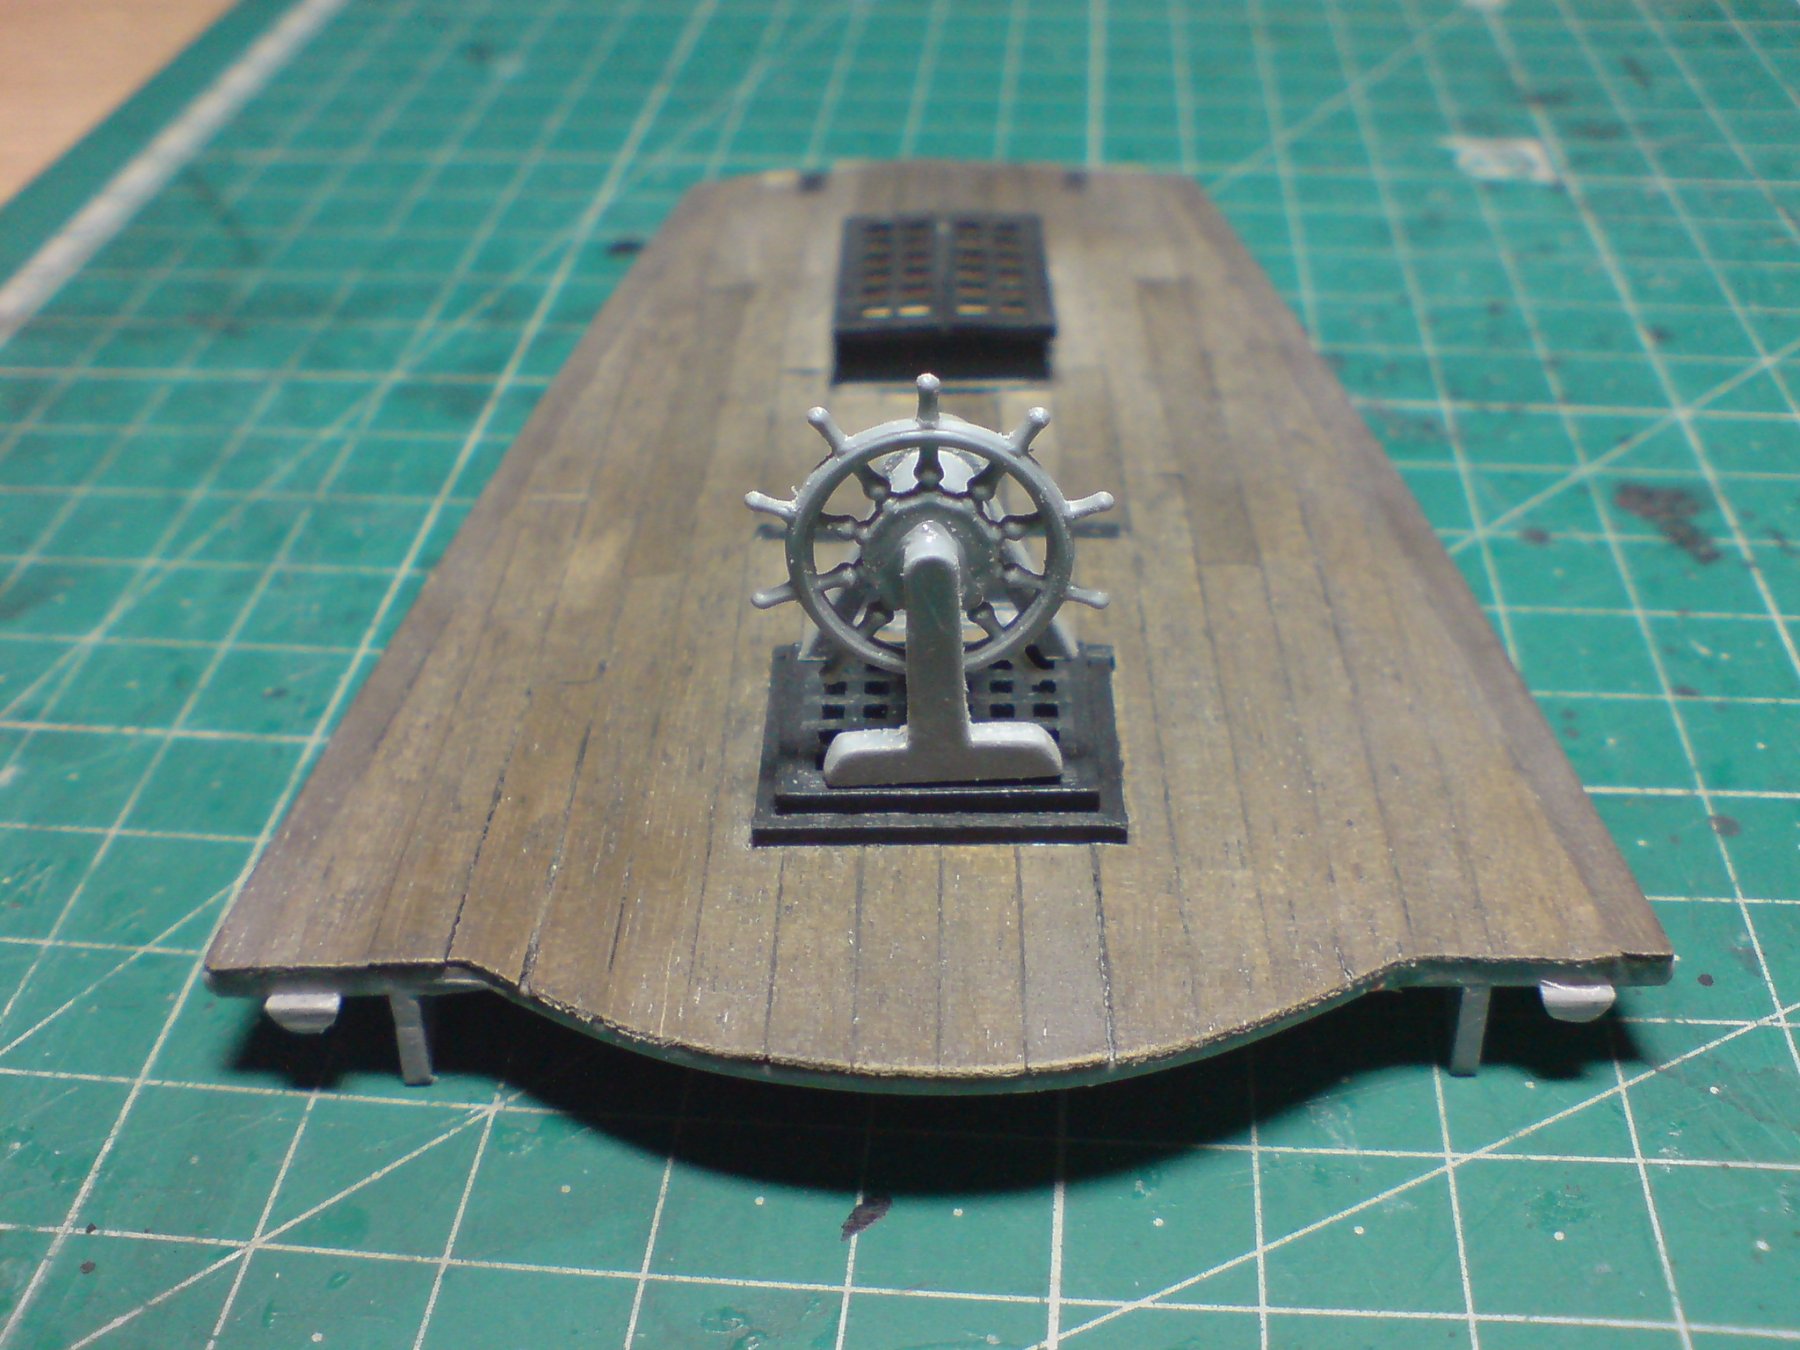
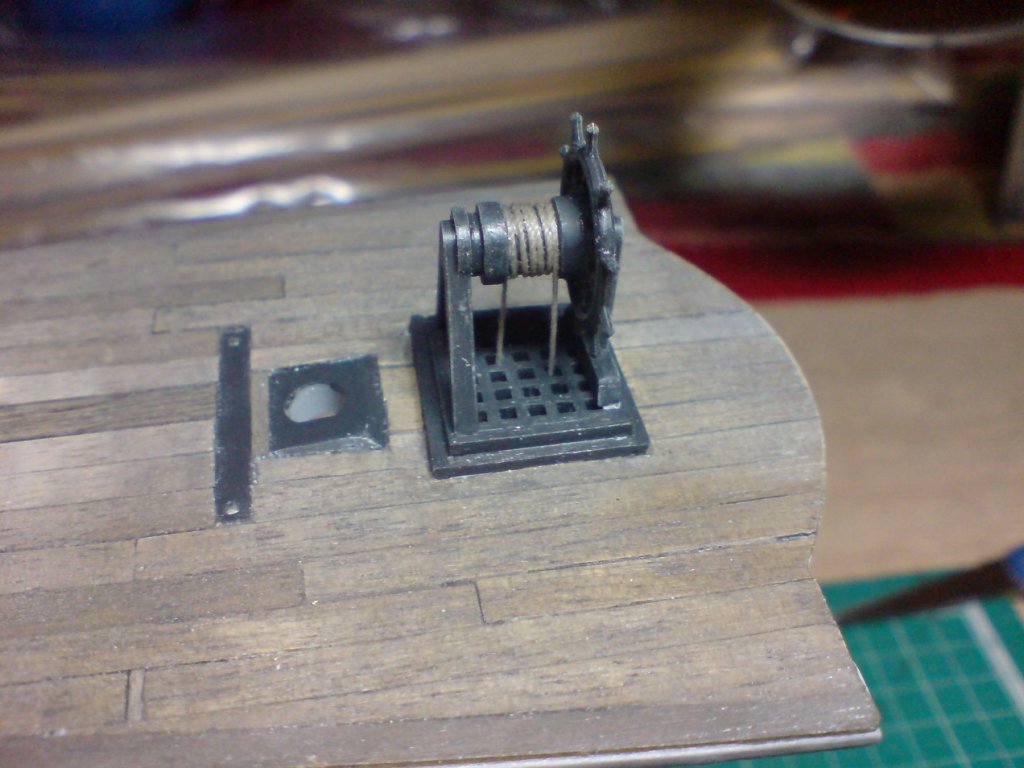
Evening all, another good day on the pearl today - I started work on the wheel and assembly, the kit version is good shape and all I needed to do was to shape the frame work, after doing this I gave it a couple of coats of paint then weathered it slightly, then I attached the wheel to rudder rope - this was wrapped around the spindle then secured with pva with both ends weighted down to keep it in place. Then I attached an anchor point underneath the deck with a piece of 1x1mm, then I pused the rope ends through the grating and glued the wheel assembly in place, when set I will secure the ropes around the anchor point. OC.


-
I added the pva in the window panes and it seems to have done the trick - made the lighting impression more subtle. OC.
-
Another job for tomorrow - I might play around with hazing the skylight windows abit more, by dropping in some pva with a tiny amount of yellow paint, just to give them that aged look and to make the view through them slightly less - making the candle glow paintwork more realistic. OC.
-
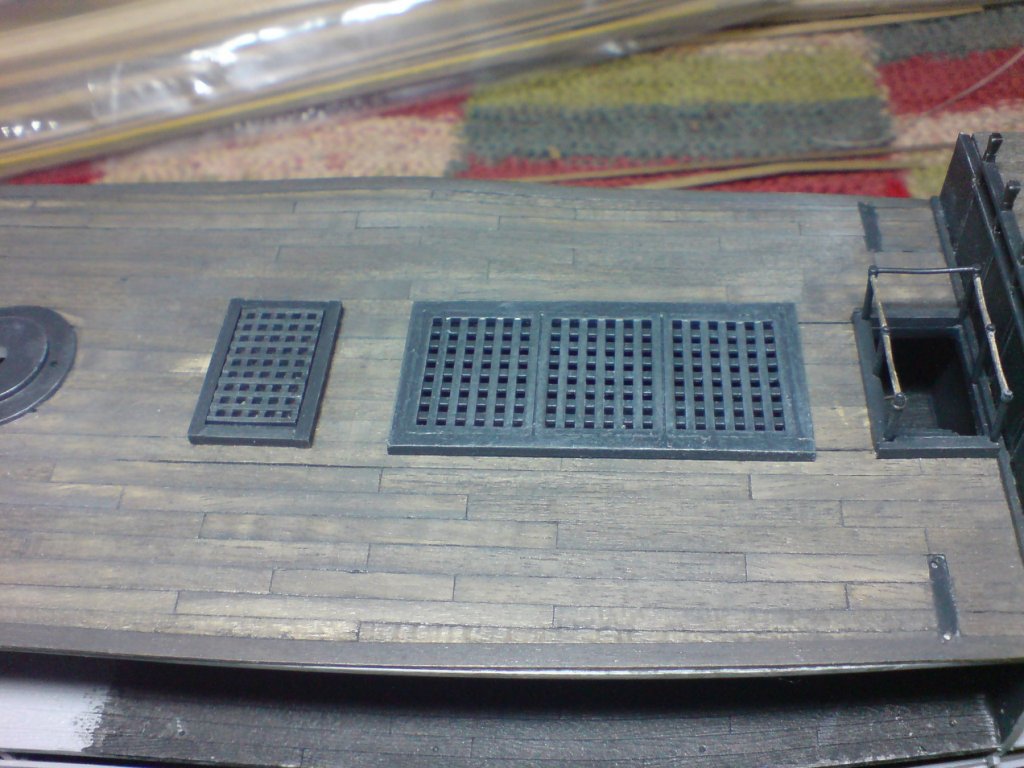
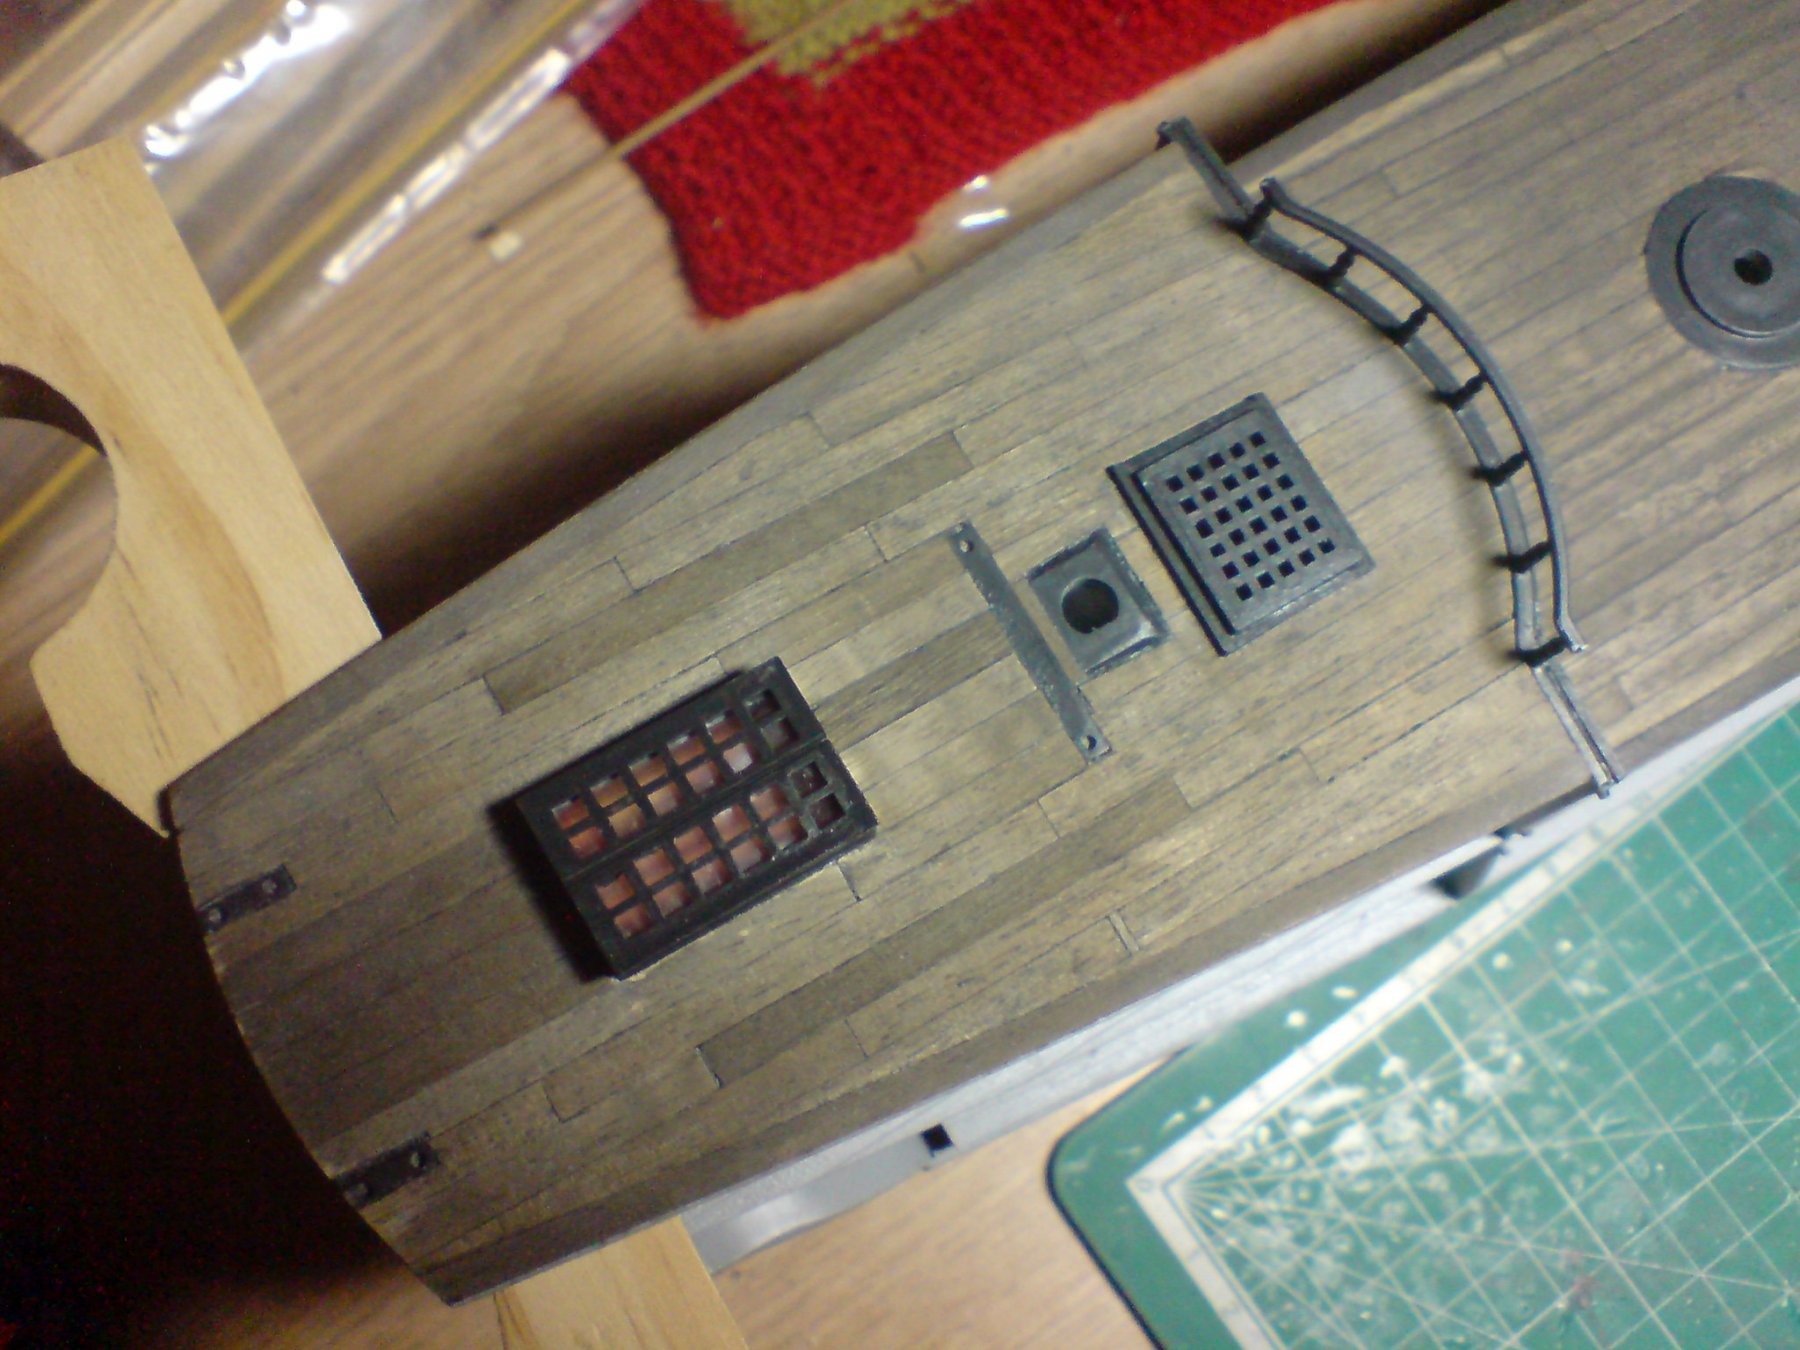
Good evening all, firstly thank you all for the likes and comments - I had another good day on the pearl I started bt painting the main grating, then I glued it down and set it aside to set, then I turned my attention to the poop deck firstly I constructed a section of grating for the wheel to sit on, then I boxed it in, before fixing it down I cut a square opening through the deck for the wheel/rudder control ropes to go through the deck, then I glued the grating down and gave it a couple of coats of paint. I also decided to modify the captains cabin roof skylight as the kit molded sides are flat and not angled, I got around this by sanding the top till I created a slope, right here goes a little bit of my immagination - I decided to try to create the illusion of candle light inside the cabin using a mix of orangy/yellow/red paints - the idea was to attach some clear plastic glued under the deck, this I painted the colors to (on the underside of the clear plastic) I also added some more clear plastic under the skylight top frame (acting as windows) the idea was looking through two sections of clear plastic should mimic dappled coloured light. So here are a few pics showing my ideas. OC.