HOLIDAY DONATION DRIVE - SUPPORT MSW - DO YOUR PART TO KEEP THIS GREAT FORUM GOING! (Only 20 donations so far - C'mon guys!)
×


Old Collingwood
-
Posts
12,098 -
Joined
-
Last visited
Content Type
Profiles
Forums
Gallery
Events
Everything posted by Old Collingwood
-
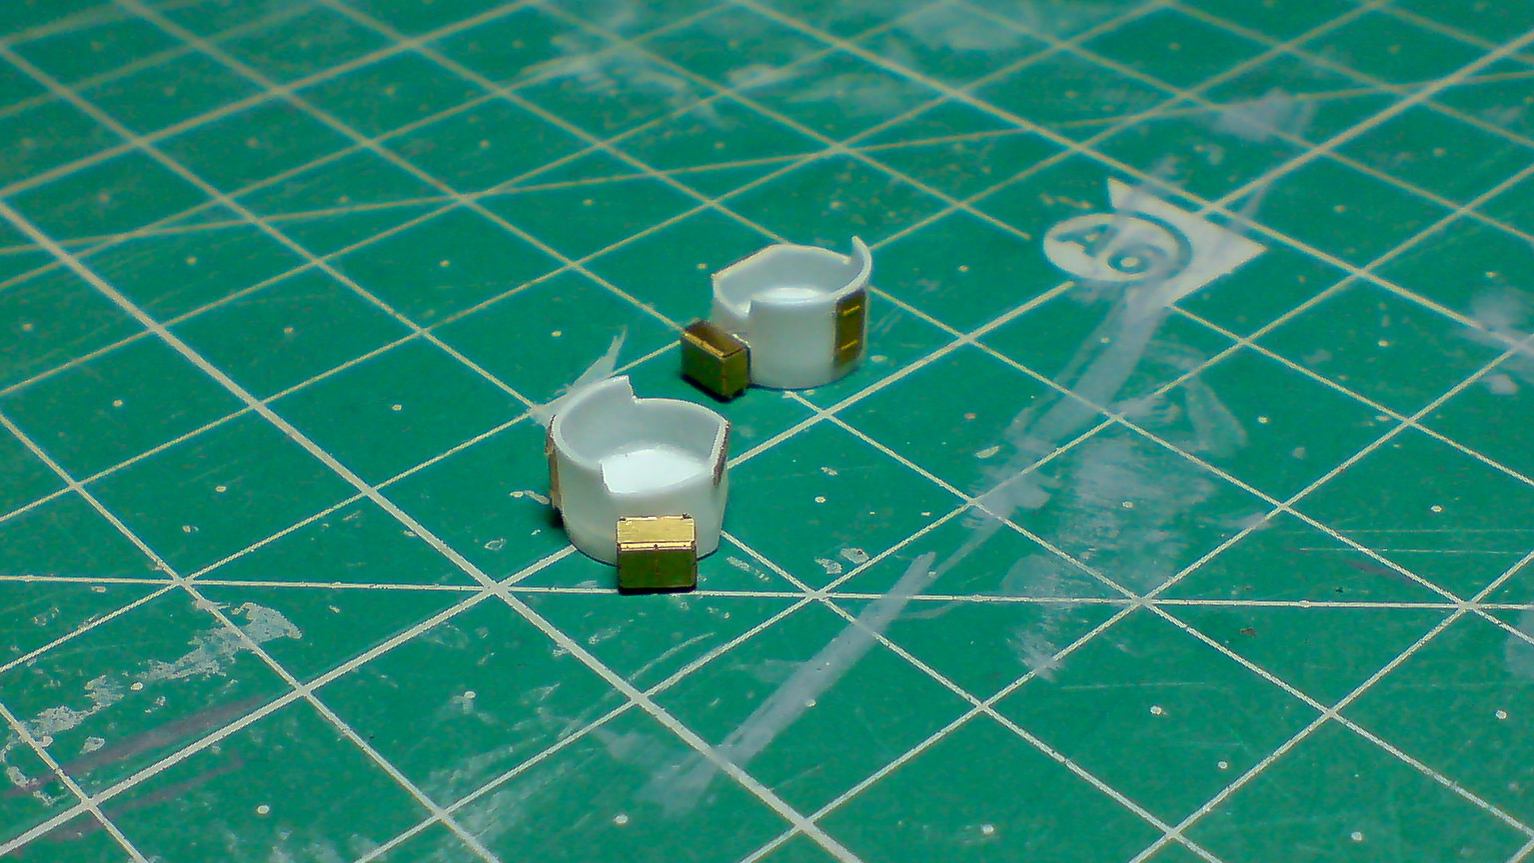
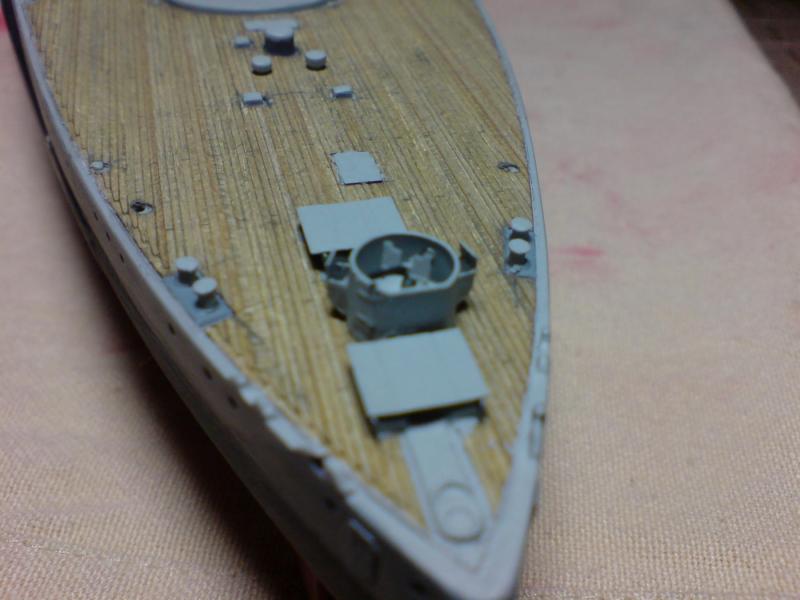
 More updates folks this time on the two hull side rear deck 20mm Tubs, these are slightly different as they both have a lower rim on the front sections, this was done using a fine file and sanding stick(very carefully as the resin is very thin) next I worked on building two PE boxes by the same method as before, these where glued in place along with a door each, next was a thin rim that I made from some wast PE strip. Here are a couple of pics showing the pre painting stage with the two Tubs.
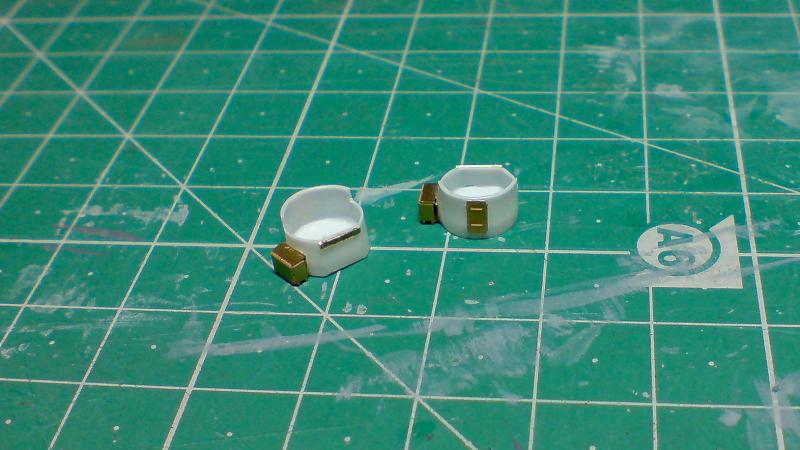
-
That rear 20mm tub is on the stern she never had one on the bow, but get where you are coming from. OC.
-
I've started on my 20mm gun tubs that are pontos resin jobbies, got the PE ammo box's aswel but tried fixing them in place using undiluted PVA glue, and although they fix they leave a skin either side of the PE part and if its scraped away the PE part comes away, just like the PVA is not bitting into the resin and making a good bond. OC.
-
How are you getting on getting PE to stick to resin parts without using super glue? OC.
-
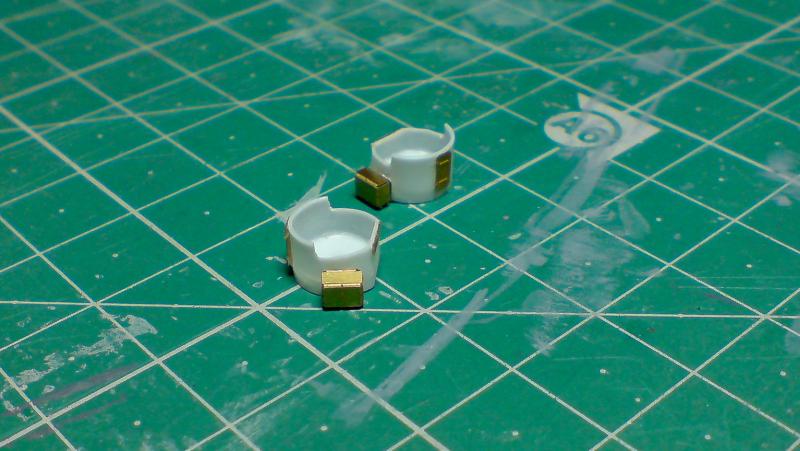
Two more pics folks - I didn't like the first attempts above so despite it being night time here, I took the ole girl into the kitchen(more light there) and took a couple of shots at a slightly further distance as I was to close with the others. Here they are - OC.

-
A bit more time on the bench(table) today inbetween wrapping presents, I managed to put a few coats of paint on the 20mm Tub, I started with light greay on the inside followed by the outside, then a coat of black on the machine gun then............she was glued into position followed by a light touch up with top coat. A couple of pics again slightly oof due to the cam phone but I think it gives an idea. OC.
-
Its just an old Sony Ericcson mobile phone camera to be honest, thats all I have as my other cam that had macro died a death. OC.
-
Oh I foregot to mention - I have left the ammo cover's open on the boxes - you can just make that out in the pics, but also put a choc bar wrapper inside the bottom(only joking) OC.
-
I have to take my eyes out every now and again - just i struggle to find them afterwards OC.
-
Just had a more indepth look at your pic mark - i think its suffering from a photo term called pin cushion, this slightly rounds or puts a curve on straight lines - like in your center line of planking following the gratings, it something that might be helped if you zoom in slightly (If your are using a zoom lens) or if its fixed length lens it might be slightly to wide angle, perhaps move back slightly with the camera just to see if it helps a bit. OC.
-
Thanks mate, I did slightly chicken out of making the PE 20mm compete guns though just to small and fiddly to bend those tiny parts, so i resorted to using the kit plastic ones with just the PE shields. OC.
-
I have decided to use the kit 20mm guns as with a little cleaning up they do not look to bad(I cant handle the PE ones to be honest ) but what I am doing is adding the PE shields as they do add a bit extra detail, after painting I am sure they will look fine. Well here is one complete - OC.

-
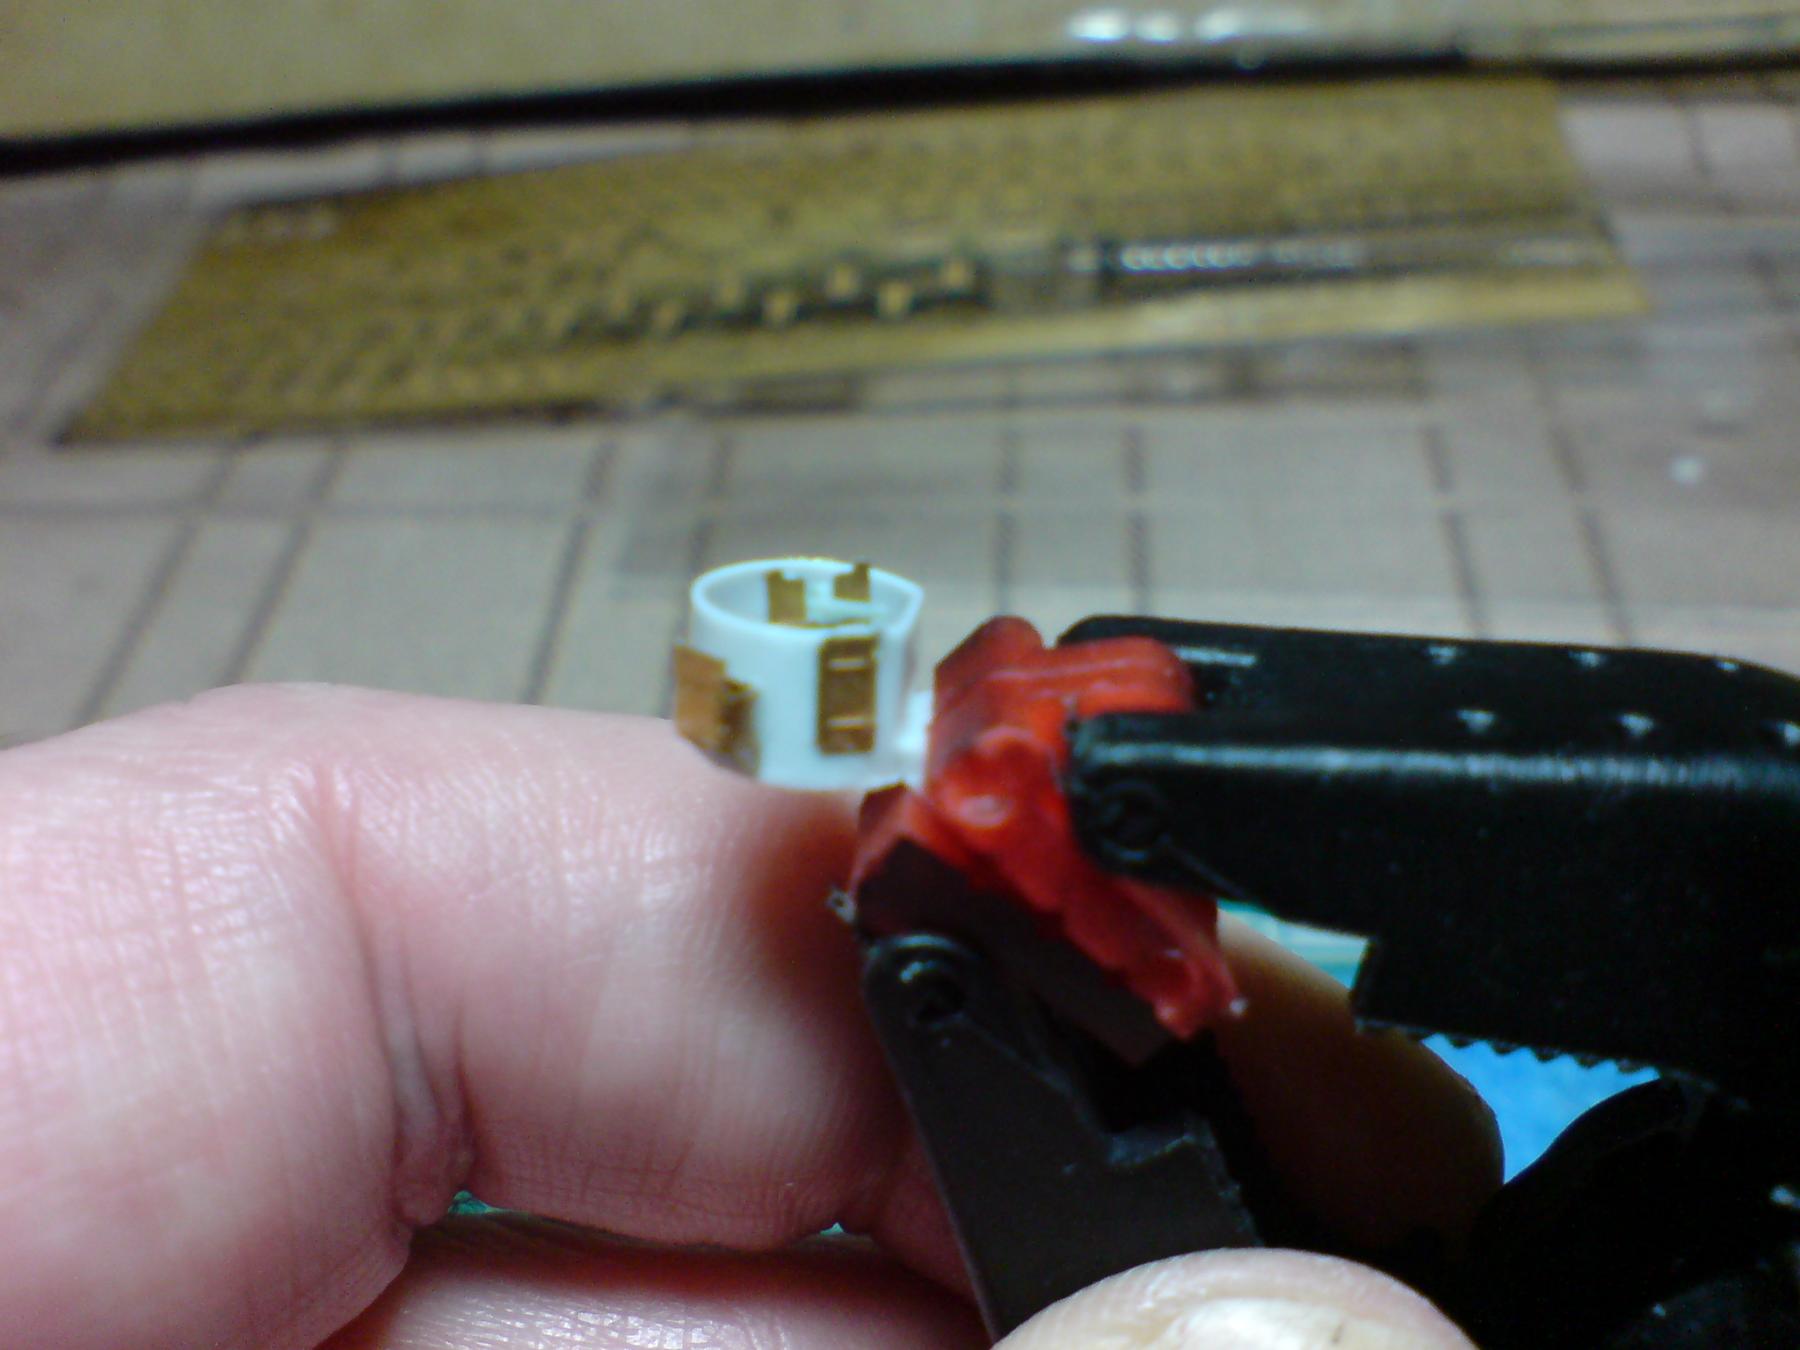
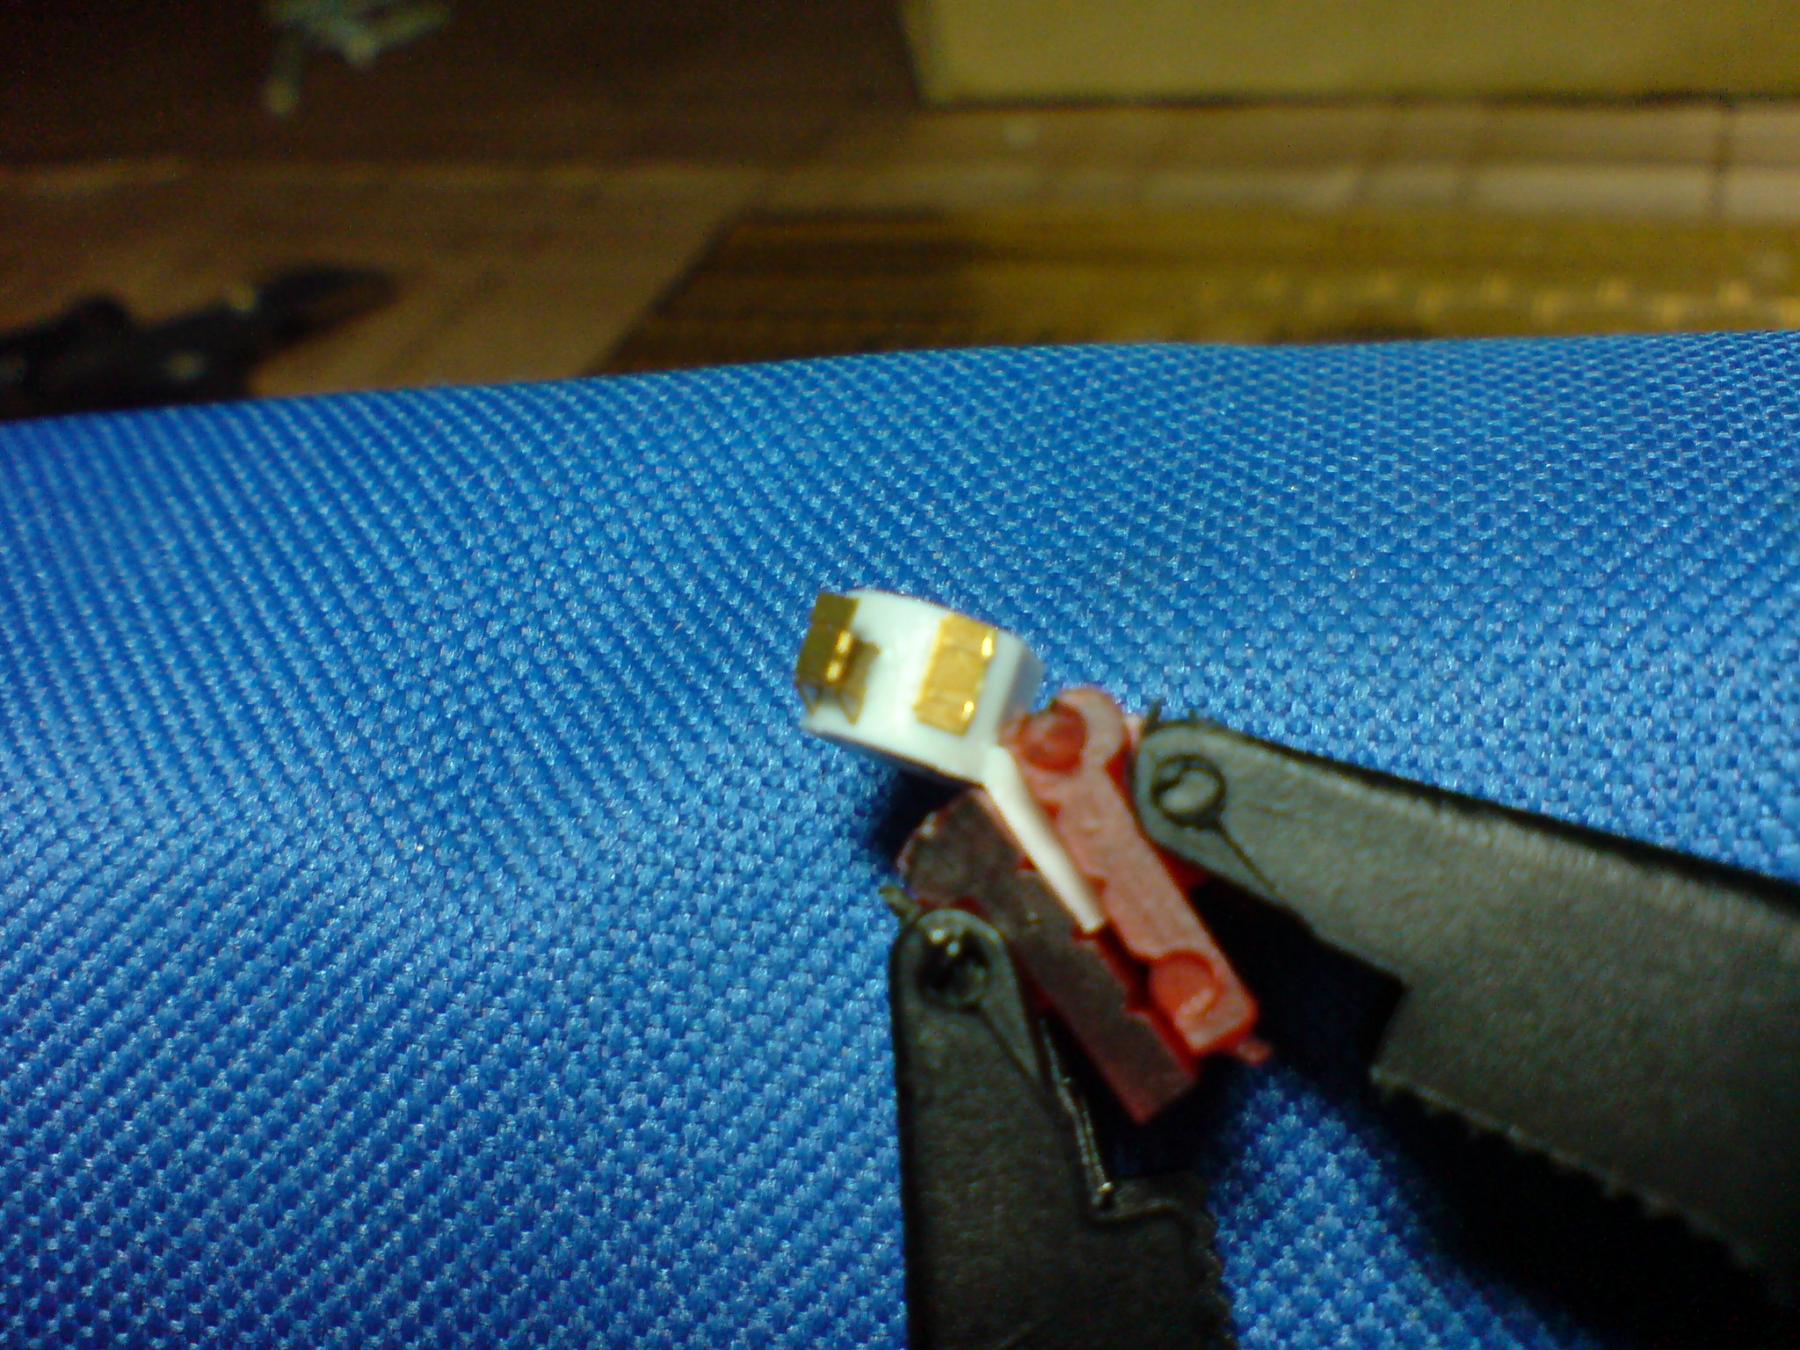
After folding the edges in to form a box including the edge detail, I then roughened up the plastic and PE part and applied some PVA glue, then I placed the part carefullly and used the hairdryer to set it in place, I had to do this twice then I cut out the entrance door from the PE fret - applied some PVA and again a blast with the dryer, I compaired the part to the kit part and it does look quite different -

-
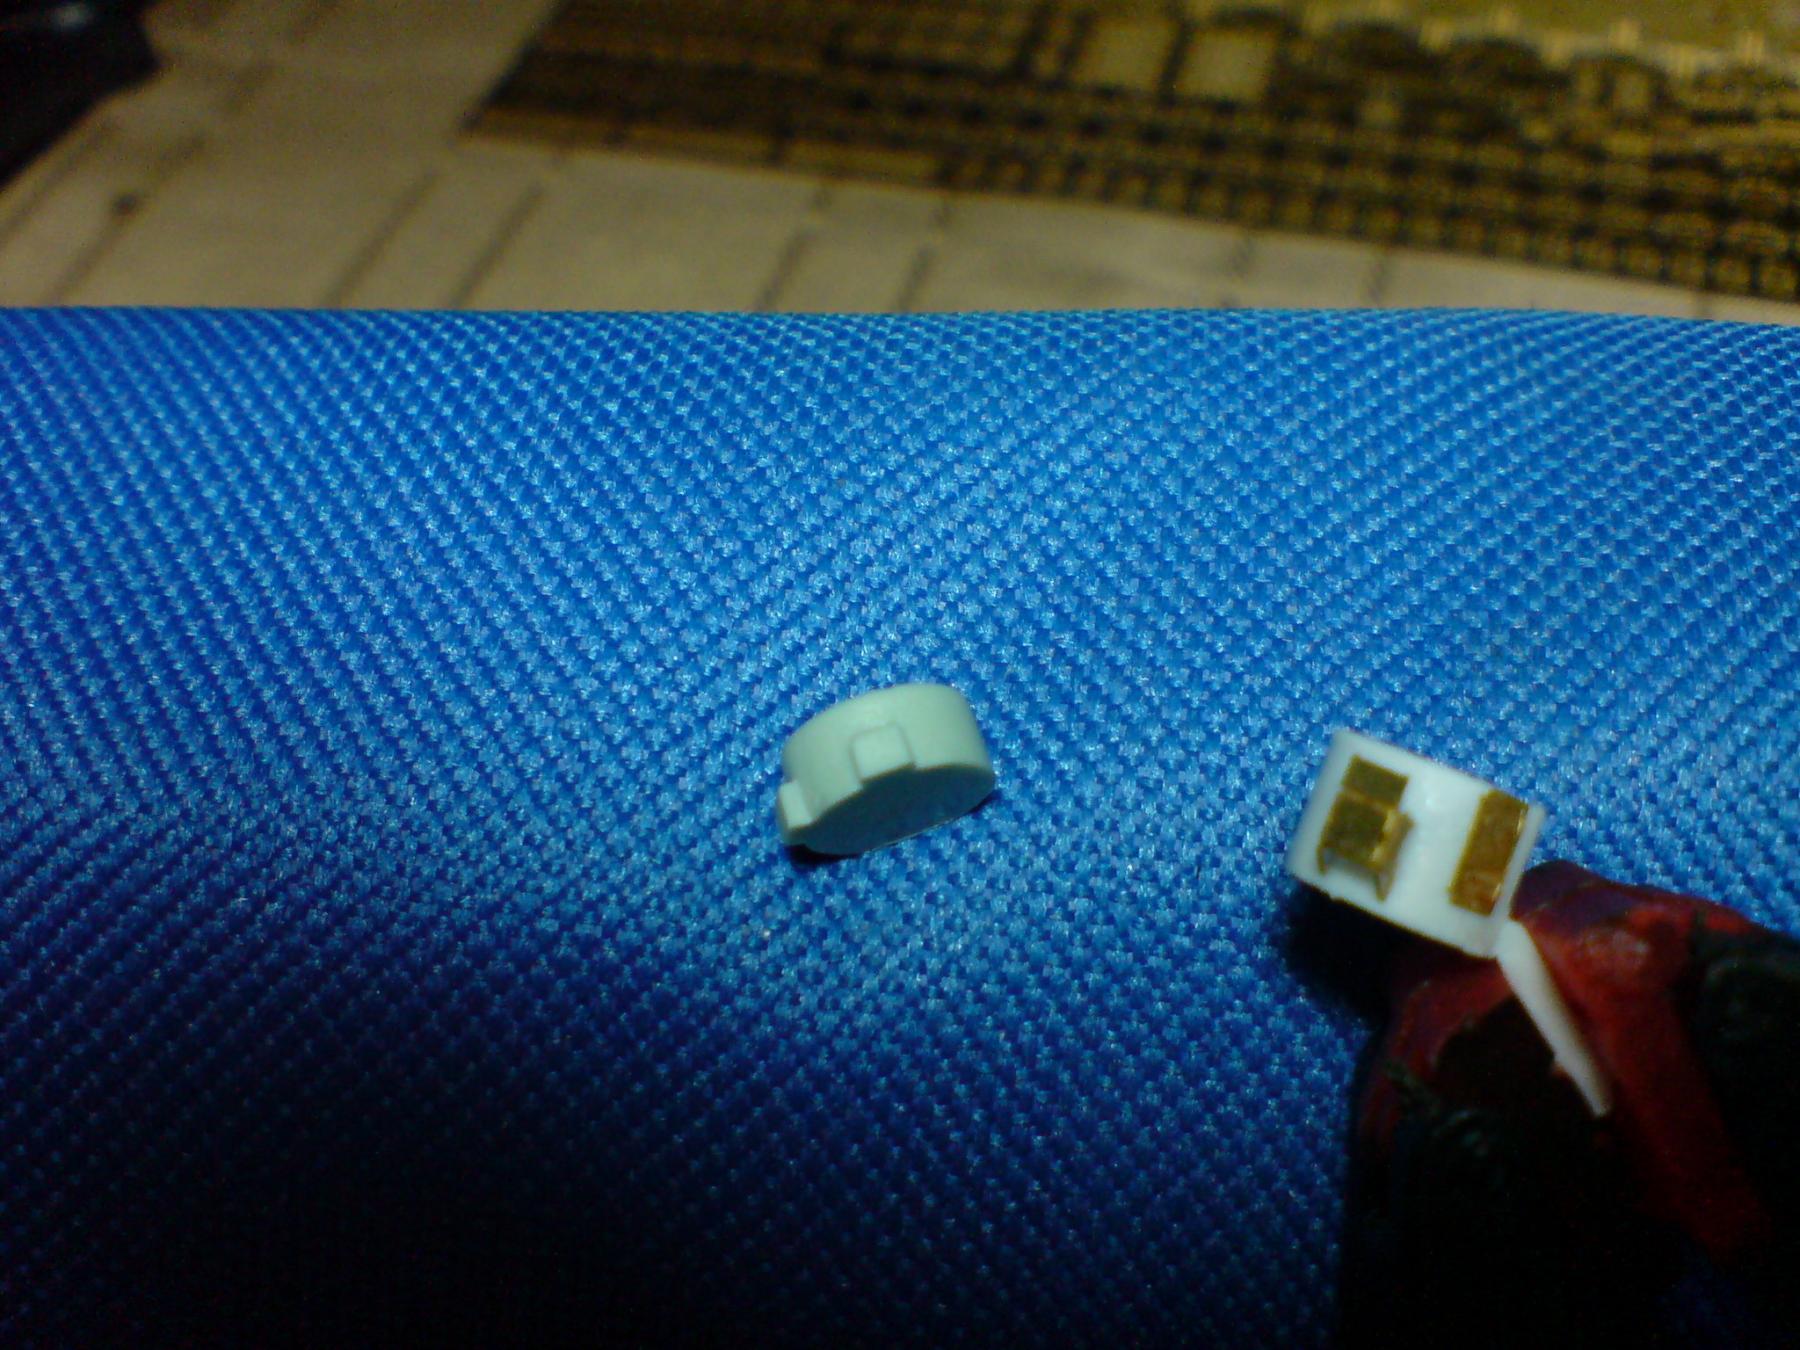
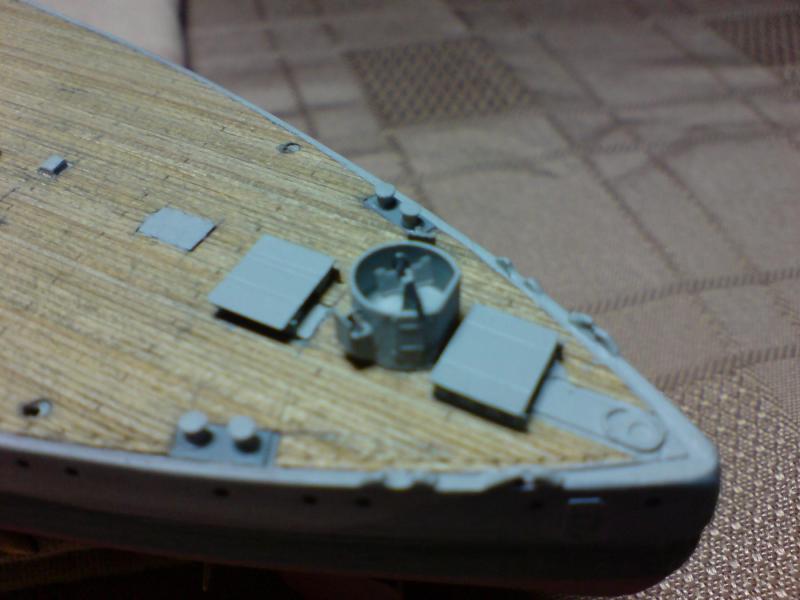
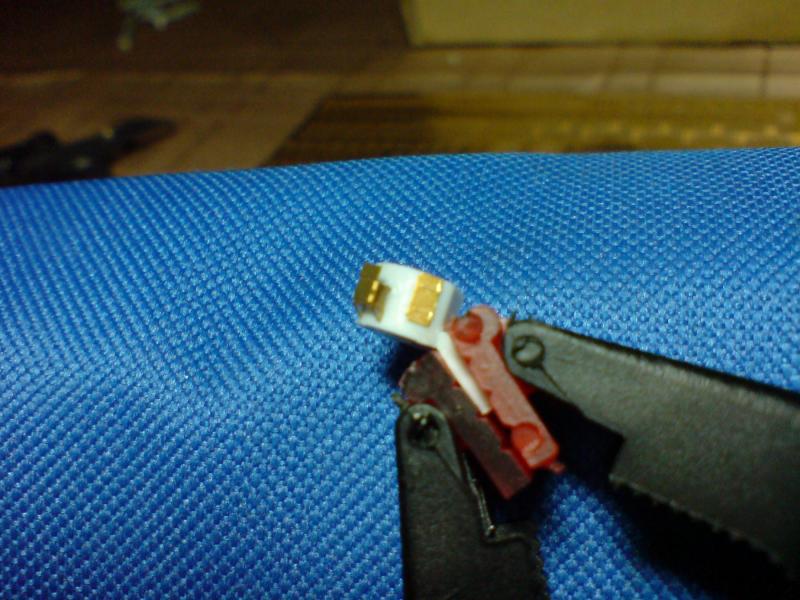
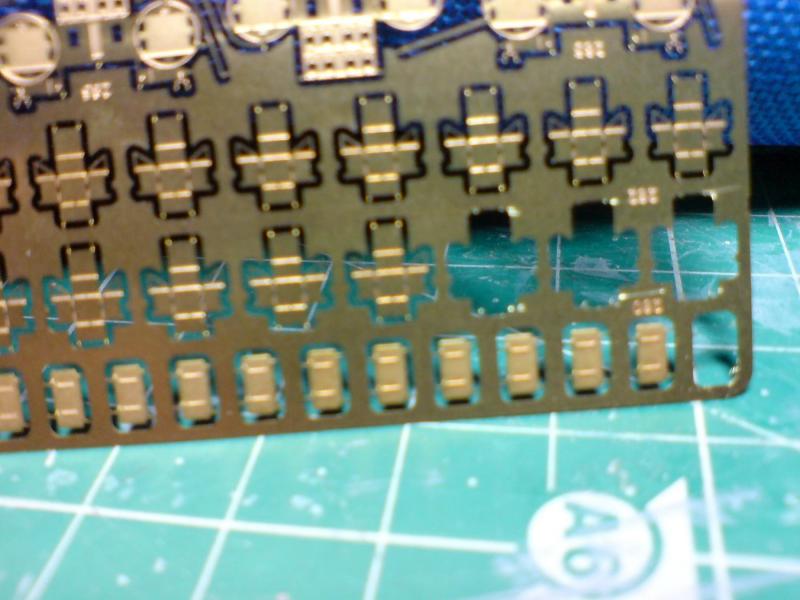
Managed some more work this afternoon folks so I have started on the 20mm gun shrouds, starting at the rear most one near the flag staff, I firstly cut from the kit fret the plastic one with the molded on ammo boxes, but after compairing this to the pontos resin ones - I decided the later was the way to go due to the scale size and thiness of the armour plate. To be fitted to these are the PE ammo boxes x 2 these needed to be cut from the PE fret then folded just like a cardboard box - here is a pic of the fret showing the un folded boxes on the bottom right -
-
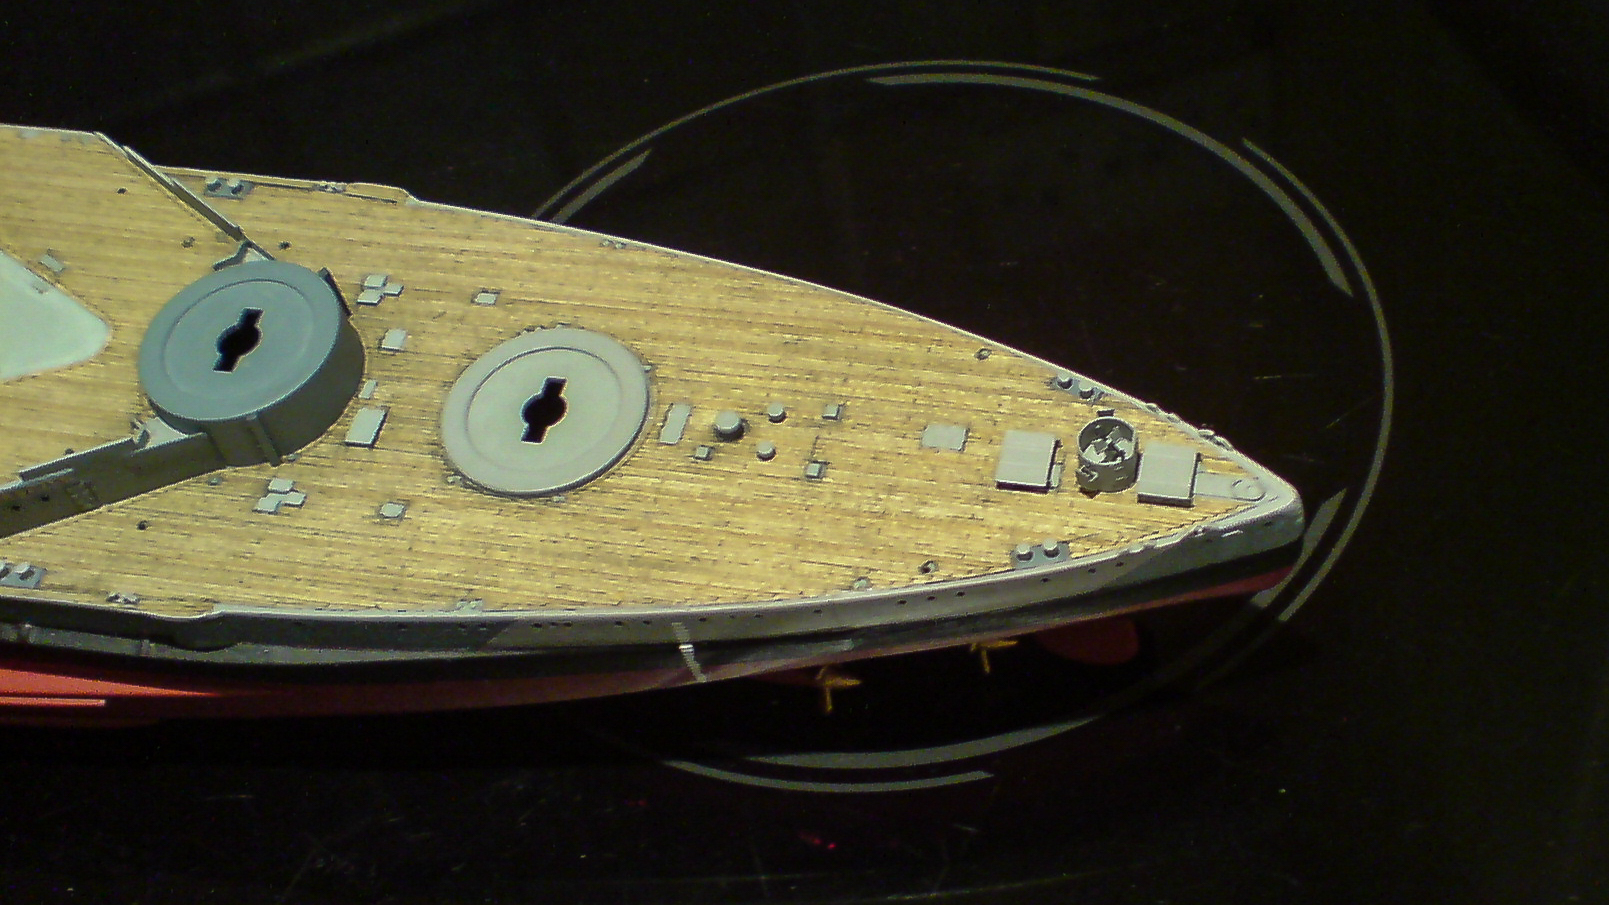
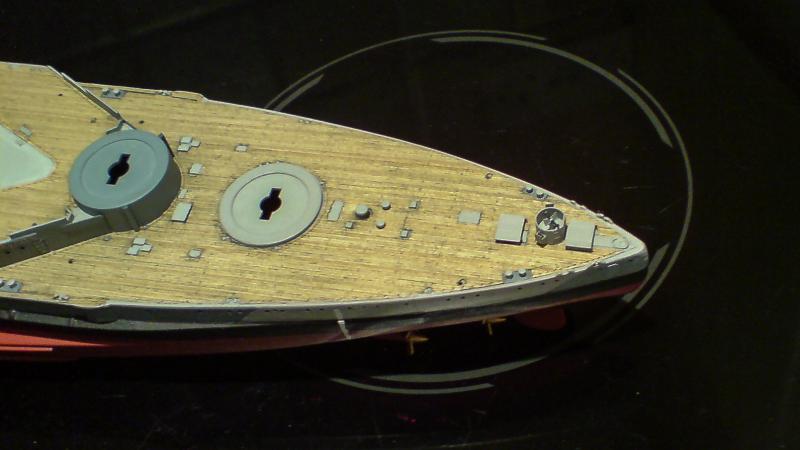
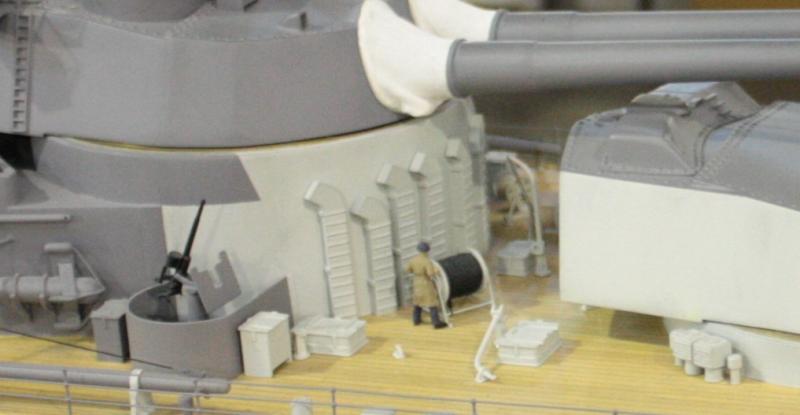
That view in the last photo(of the large scale model someone built) shows 3/4s of the vents, there is only one or two other vents on the front barbette and as one of those in the other photo in black and white above is pointing the same direction, I think we can conclude that they are all pointing in the same direction save for the one further round near to the gun shield for the 20mm machine gun. I dont understand why they would have them facing the same direction and why that way - why facing to starboard and not port, or as you say why not both starting from the mid point? Oh well it is what it is so I will carry on building as such OC
-
A famous large scale model that was built of her also shows the same layout for the vents as mine. OC.
-
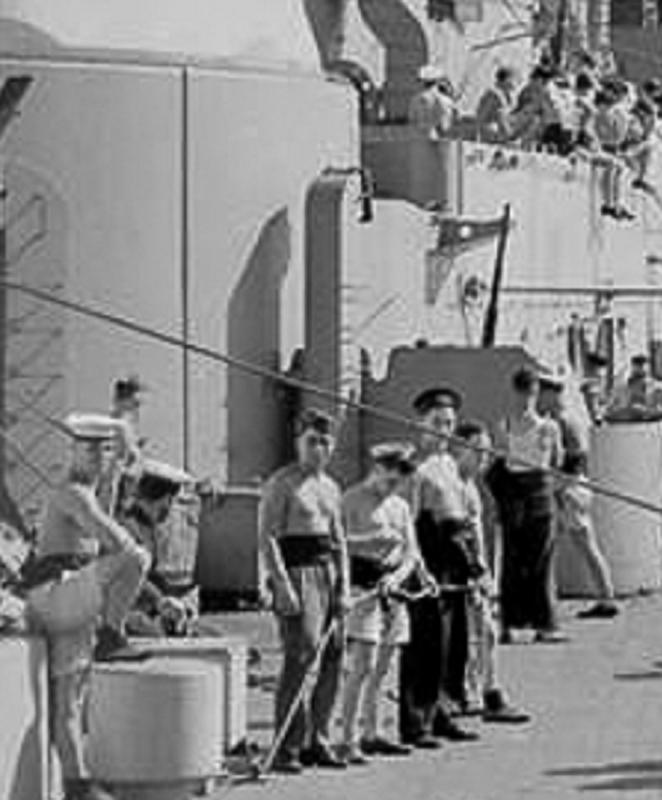
Interesting photo that one you mentioned - I have seen that one before, its from the ole lady's pre mod scheme possibly around the 1920's before she had her new superstructure. OC.
-
I dont know mate, could have been added at any time just the model makers at Academy didn't pick up on it when they designed the kit, nore did pontos when they did the update kit. OC.
-
Its just the one vent taht faces the opposit direction Carl, and its an extra vent further towards the rear of the barbette, that one is not shown on plans or kit instructions, all the rest including the one on the extreme left of the picture all point towards the left - same as my build. OC.
-
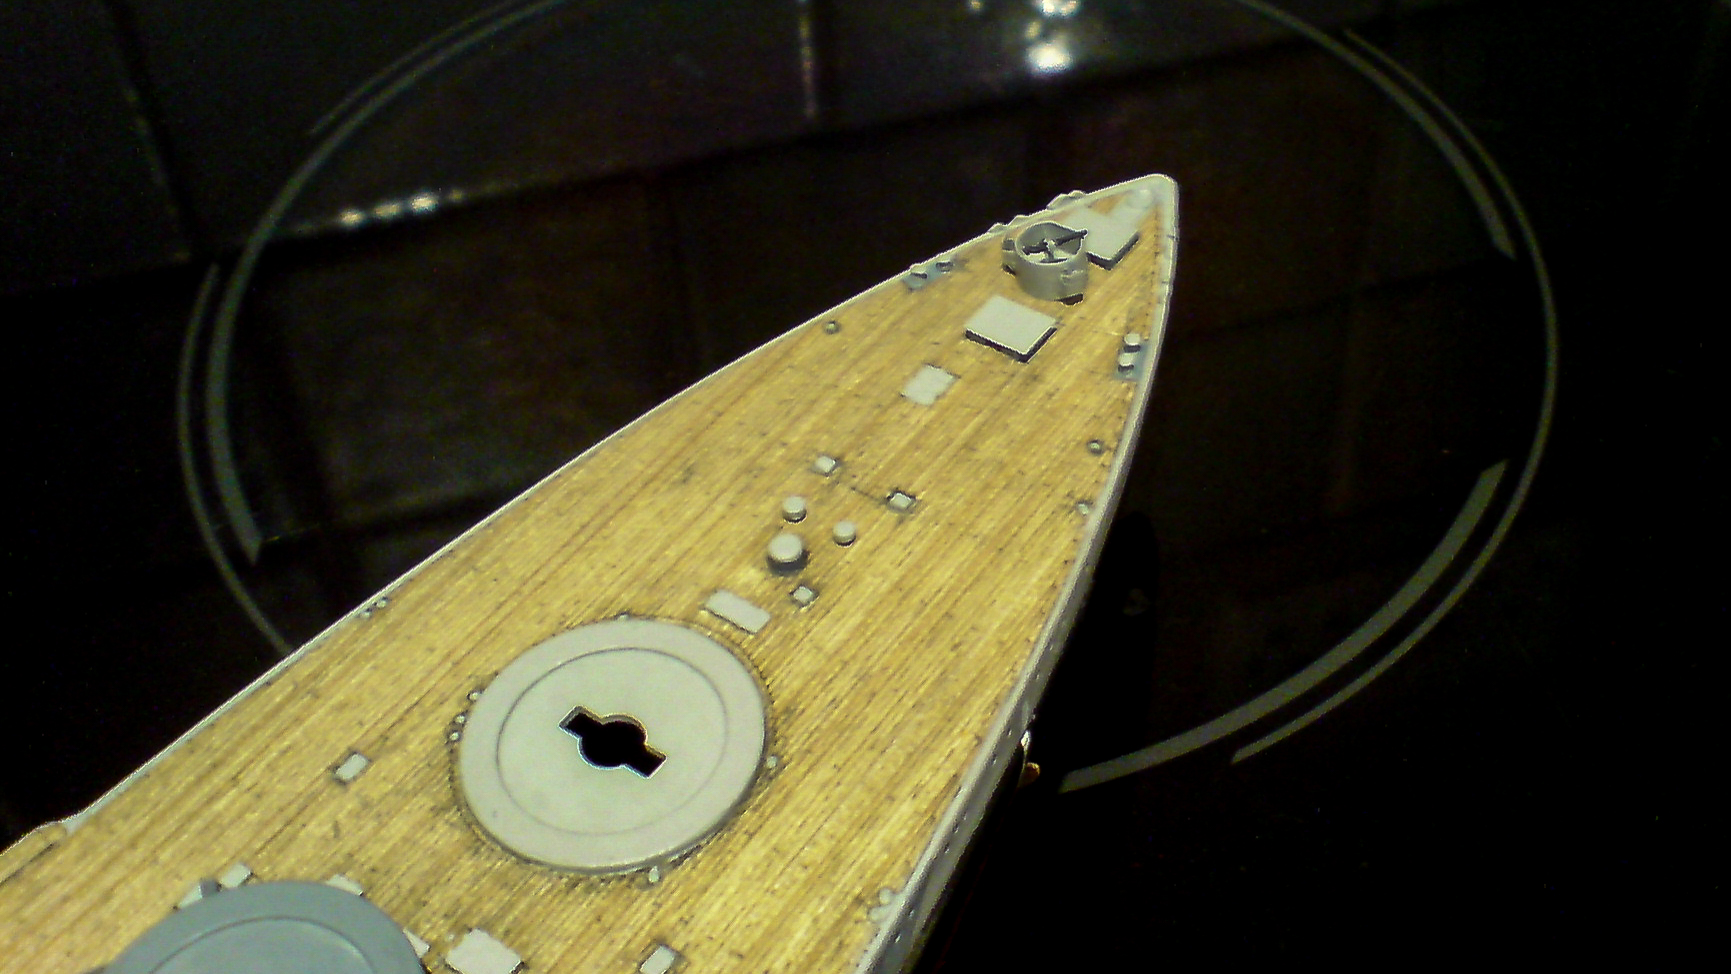
I have managed to work on one pic that shows a view from the bow looking down the port side, on the left edge you can just make out one of the vents with a turn at the top following the same line as the rest, there is the one however that is different but I have not fitted that one (yet needs making). OC.
-
Me too i once built that Fab plastic sub with all the intside details, that after building and painting inside and out - was glued shut never to see the inside again. OC.
- 473 replies
-
- 5
-

-
- greek bireme
- dusek
- (and 1 more)
-
I would go with the sail raised and tied as that way you can show off the ropes and gear better not to mention the ours OC.
- 473 replies
-
- 4
-
-
- greek bireme
- dusek
- (and 1 more)
-
Thats an interesting question Karl, I have been doing hours of google searches to find close up pics of the forward port side, but nothing is available - the only reference I have seen seems to show all the vents/funnels pointing in the same direction so I have gone with this theory. OC.
-
Yep I think so the most forward and rear turrets on the shorter Barbettes had shorter rounded pipes, so I guess all these where for ventilation of the cordite gasess in side the turrets. OC.