scrubbyj427
-
Posts
1,733 -
Joined
-
Last visited
Content Type
Profiles
Forums
Gallery
Events
Everything posted by scrubbyj427
-
 Wonderful work Fred! Seeing your model makes me want to build a cheerful of my own!
 -
Looks great Edward! Well done! Let’s see some WOP on those planks!
-
Great work Frank! You’ve definitely got the plank endings at the counter down!
-
Beautiful work Mike. Congratulations on a job well done, it’s been a pleasure following and learning from your build as well as a great motivation!
- 607 replies
-
- 2
-

-
- winchelsea
- Syren Ship Model Company
- (and 1 more)
-
Be careful!! I removed one during my build and I took it up from the middle first by cutting the center part out first and then used alcohol to release the seam/joint inwards to not do any damage to the surrounding planks. Good luck and go slow, your deck looks great otherwise!
-
Hi Tom, any updates to La Renommee?
-
Just found this log, very much Looking forward to this build and how you modify it to thunderer. JJ
-
Thank you guys! Appreciate all the comments. I’ll be back in a little over a week and hopefully have some more updates on chapter 9 and the upper deck planking. JJ
-
The linseed oil brings out the most color but pics are deceiving. I used wop and was happy as well. Im kinda partial to copper as it will age nicely and look authentic. I used both though, mostly by mistake. Either route you take the cherry will look great just like Rusty’s build.
-
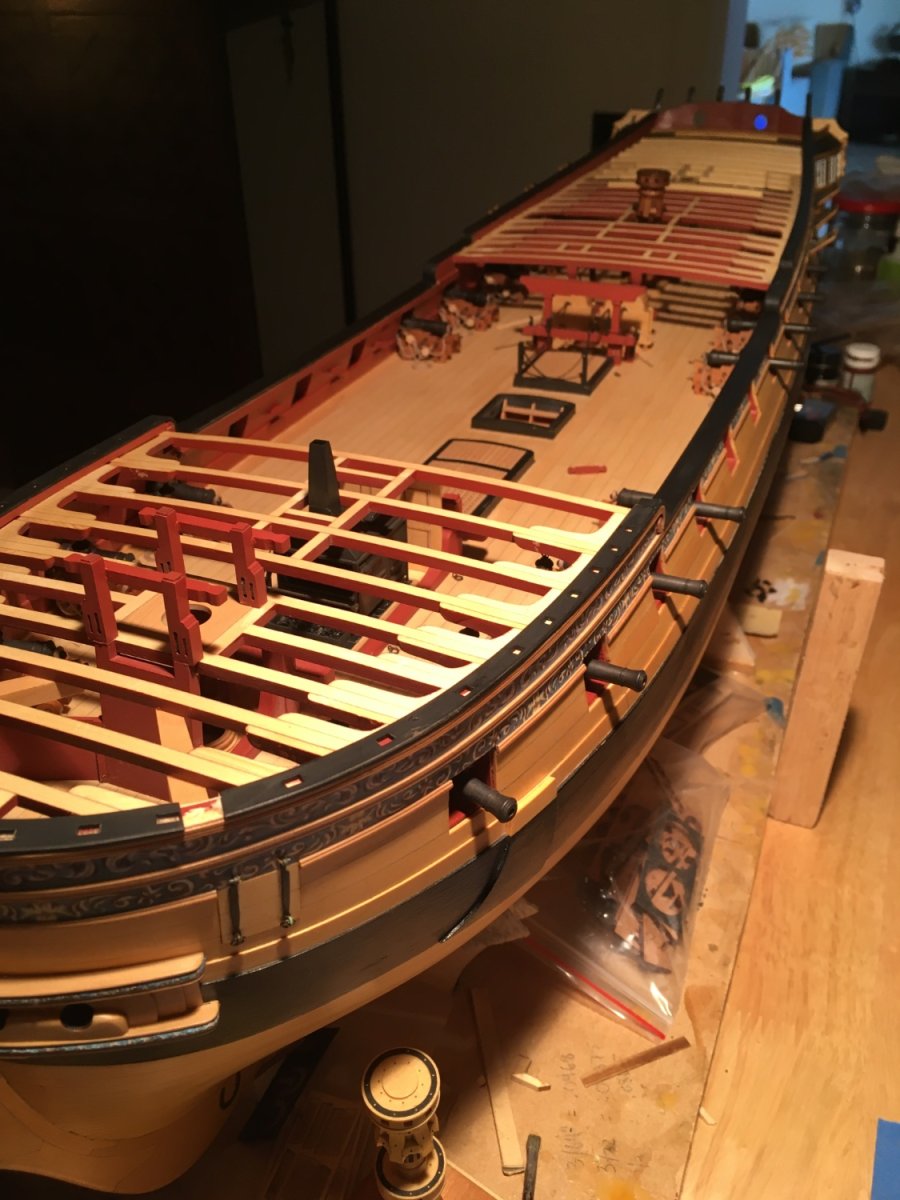
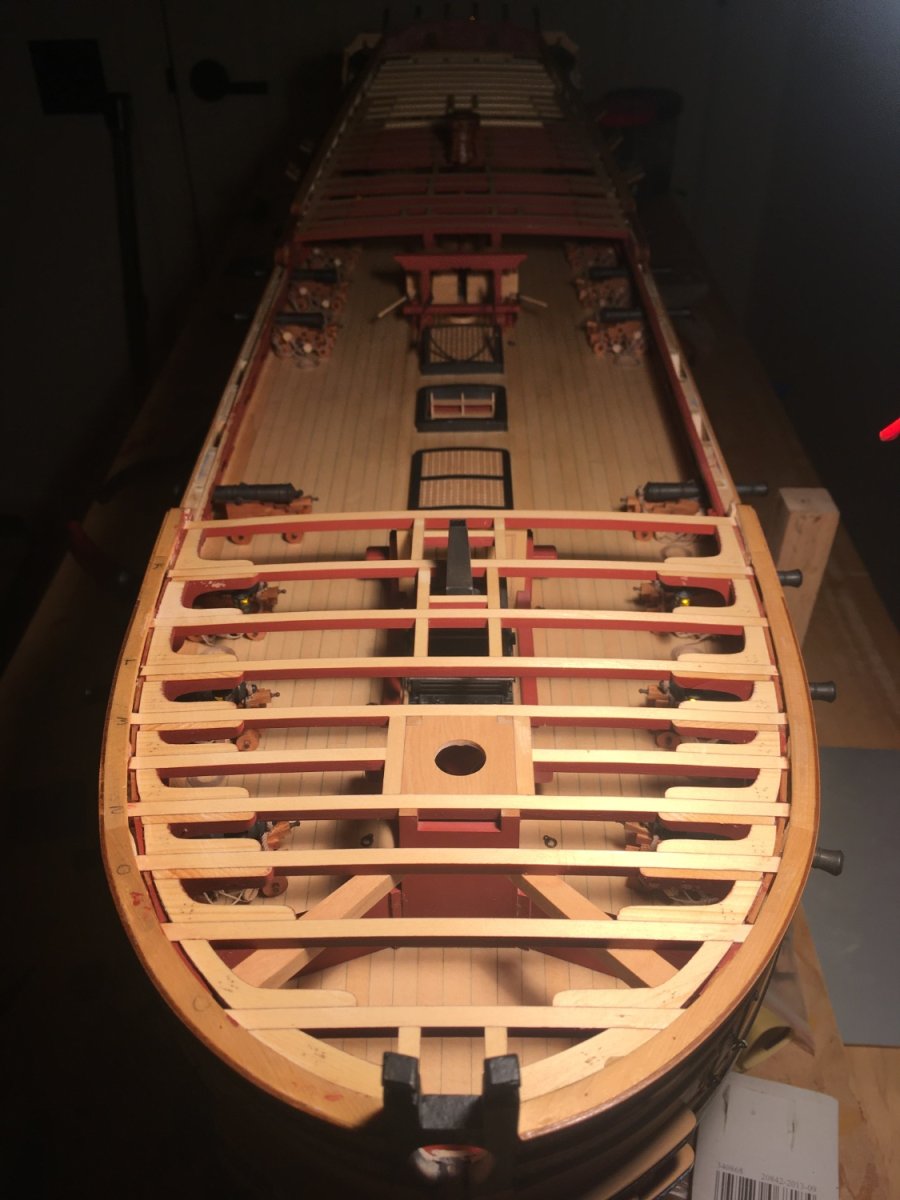
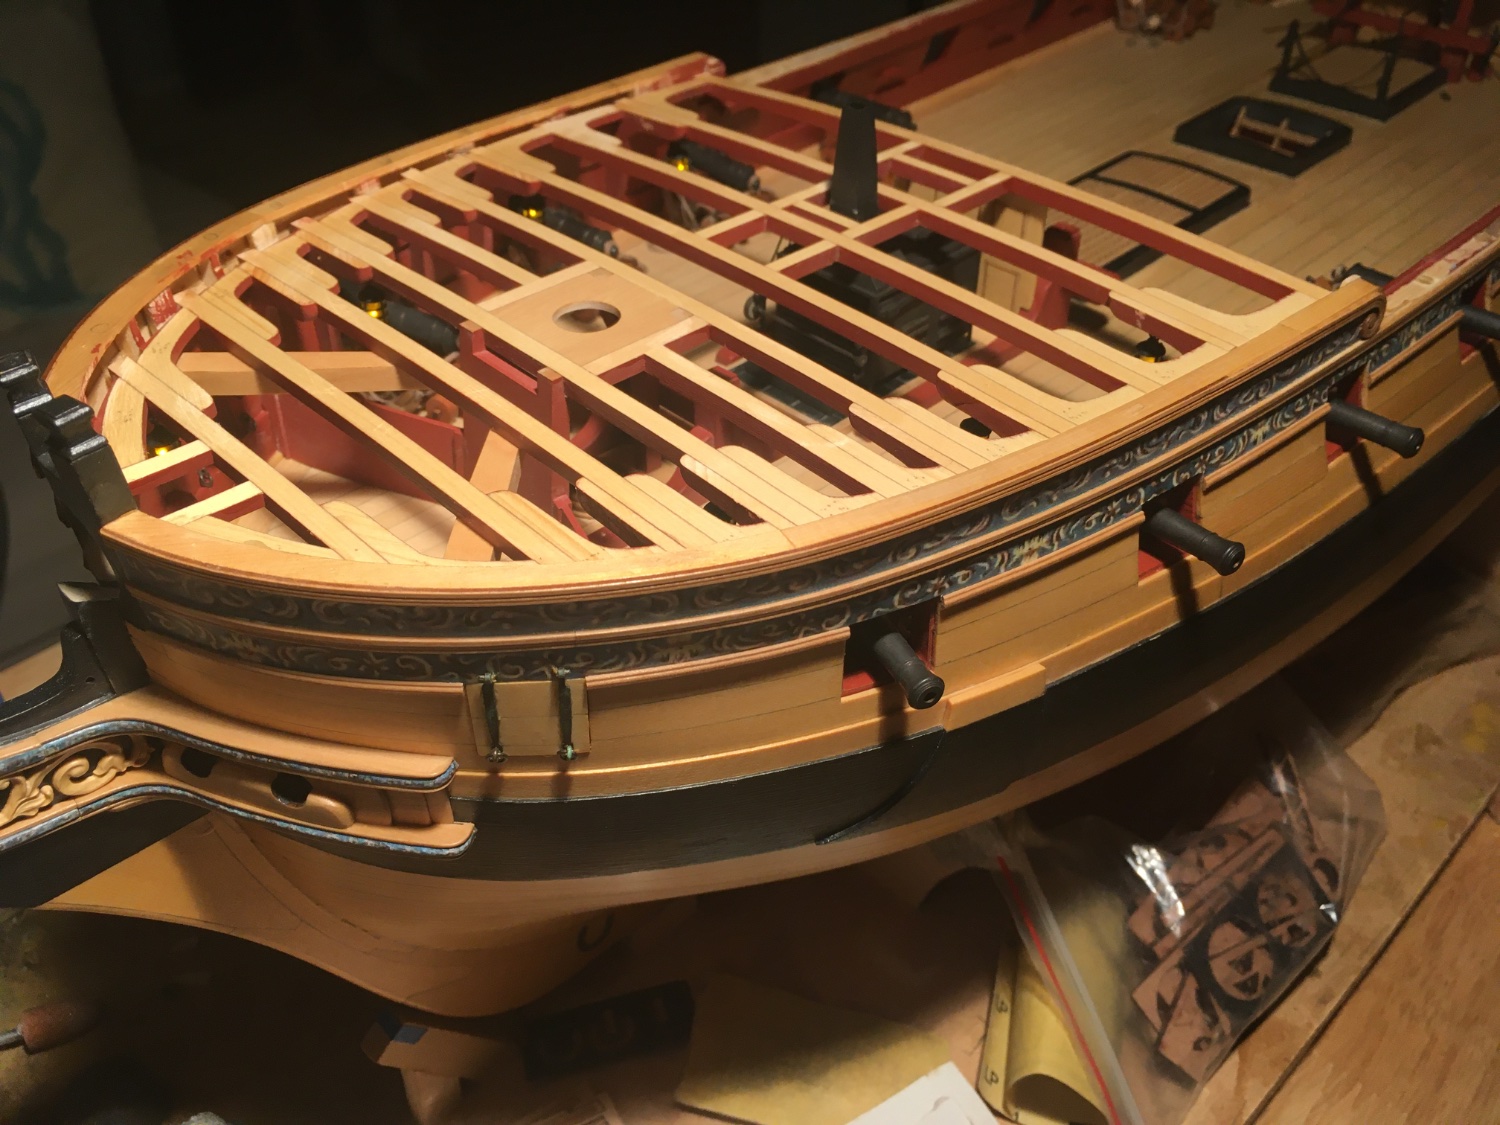
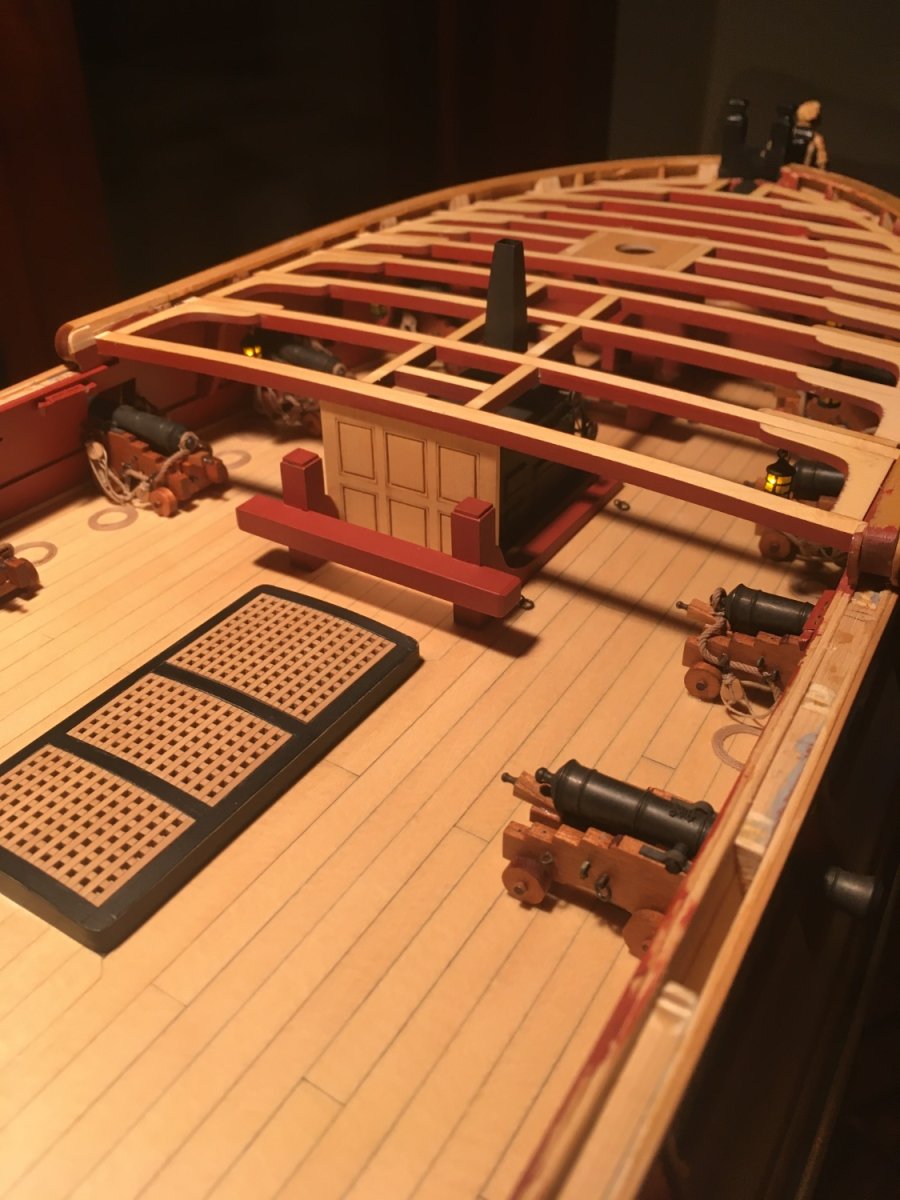
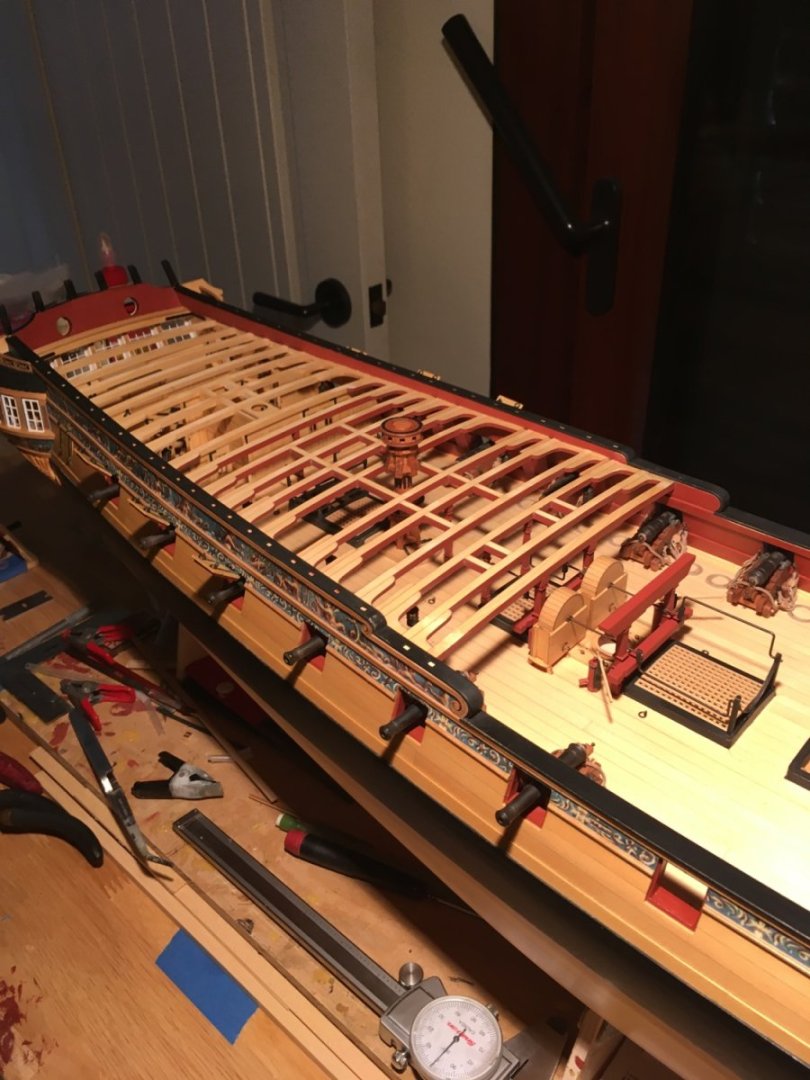
Small progress update, I’ve been working through chapter 9, doing the final onboard planking and the caprails. I’ve have a few small issues with the caprails which all stem from my earlier planking and fairing in the beginning of the project but nothing serious. The worst is in the waist, I had to sand down the spirketting a little more than I wanted, to make it match the sheer, it won’t be too noticeable once the model is complete but I’ll know it’s there. Lesson learned. taking a week off from work and I plan to finish chapter 9 when I return. Thanks for stopping by! JJ


-
Very nice deck planking! Will look great after you sand it.
-
Ok I can see it now. The previous photo looked like the spirketting was way too inboard but it was because of the elevation and angle of the photo. Glad you’re on track! She looks good.
- 389 replies
-
- 3
-
-
- winchelsea
- Syren Ship Model Company
- (and 1 more)
-
She’s looking good. One thing I see but can’t tell for sure, because of the angle, is your spirketting in the very front of the bow, it may be too far back from your fairing guide. I would jump ahead to chapter nine and print out the cap rails in the monograph and check to make sure everything is going to fit right. If not, then now is definitely the time to make corrections.
- 389 replies
-
- 3
-
-
- winchelsea
- Syren Ship Model Company
- (and 1 more)
-
Ver nice work Steve, off to a good start! I usually just use a dry brush to dust it off then wipe it on and wipe it off. Never had a problem and always looks good.
-
I cut most of my wood thicker than 3/64, for almost the whole Winnie project and I did for the same reason, so I had lots of room to sand. It has bit me a few times but it’s helped more than hindered. It should produce a nice cabin floor when complete. I would recommend leaving the cabin floor just a bit high where the deck planks meet so you can sand it flush to the planks, or you could go the other way around and since you didn’t add paint like I did, you won’t have to worry about sanding too far.
- 389 replies
-
- 1
-
-
- winchelsea
- Syren Ship Model Company
- (and 1 more)
-
That looks really nice and crisp. Well done!
- 389 replies
-
- 2
-
-
- winchelsea
- Syren Ship Model Company
- (and 1 more)
-
Thank you Vladimir.
-
Congratulations on 10 years Chuck. Your innovations and contributions to the ship modeling community go beyond measure, you have set the bar very high and created a whole new niche of products and a growing number of enthusiasts.
-
Thanks Glenn. I’ve been experimenting with lighting. I’ve just been holding my work lamp above until it looks good. Trying to keep a dark background. My photography has been in need of improvement for awhile now lol. Thank you Gus! Thank you James! I’m enjoying watching your Winnie begin to progress.
-
That looks really good Mike! Well done.
- 607 replies
-
- 1
-
-
- winchelsea
- Syren Ship Model Company
- (and 1 more)
-
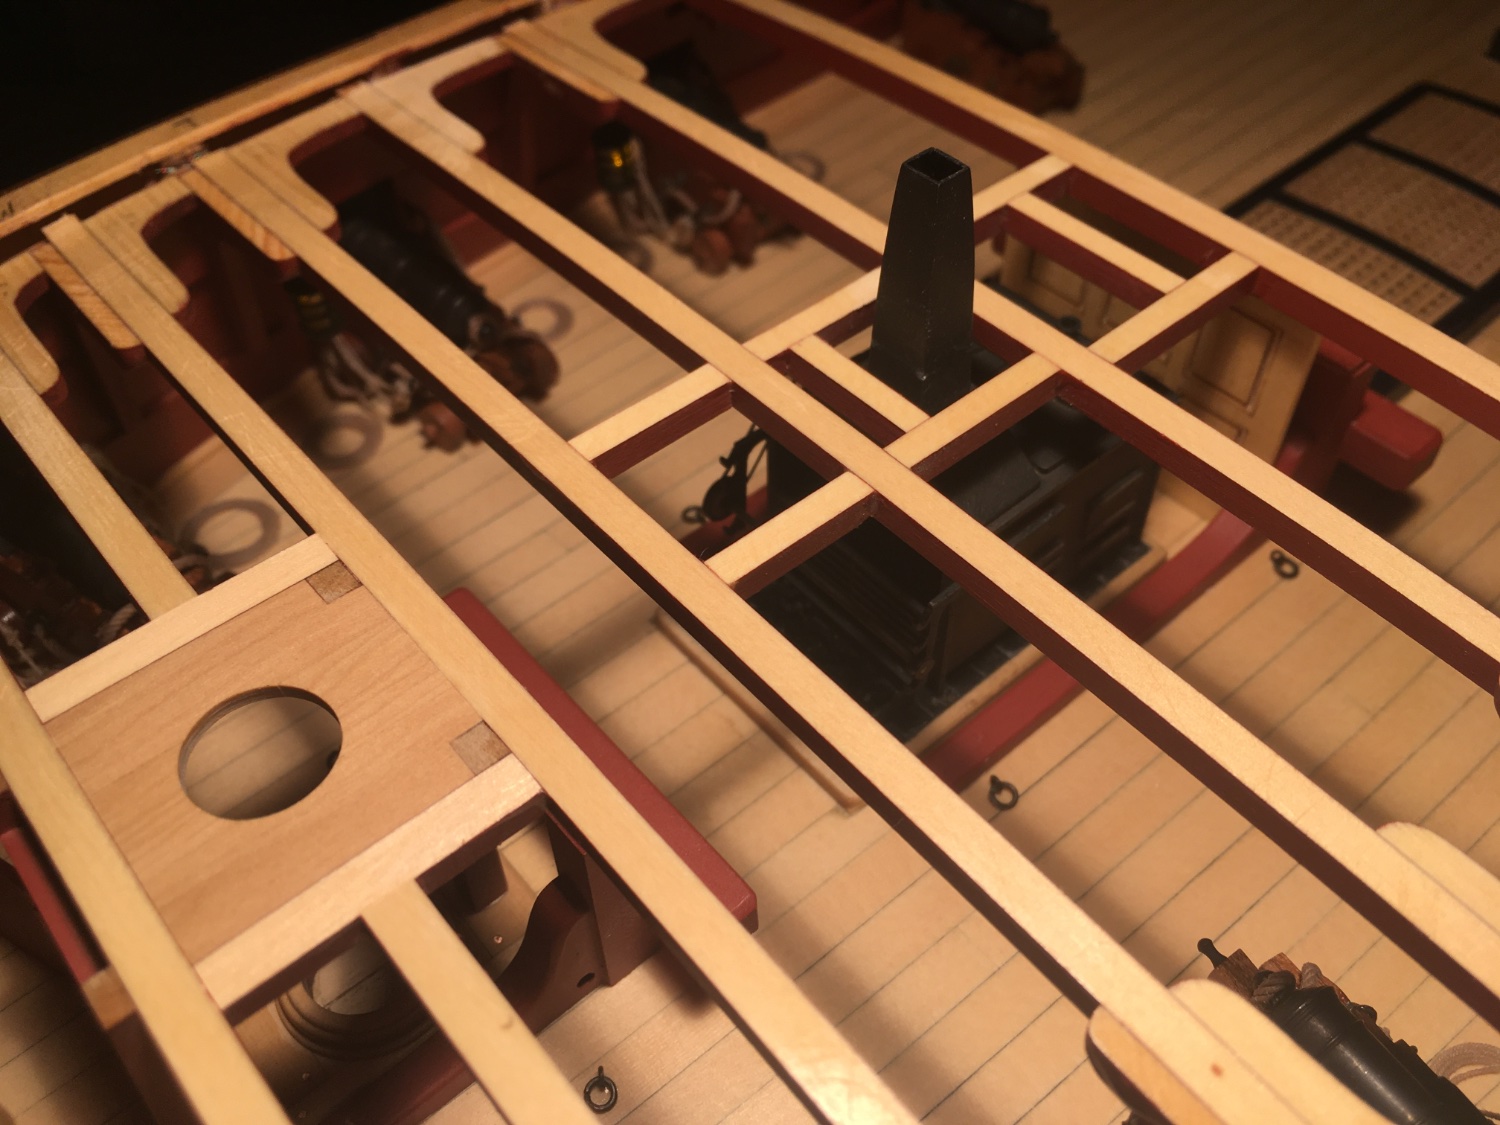
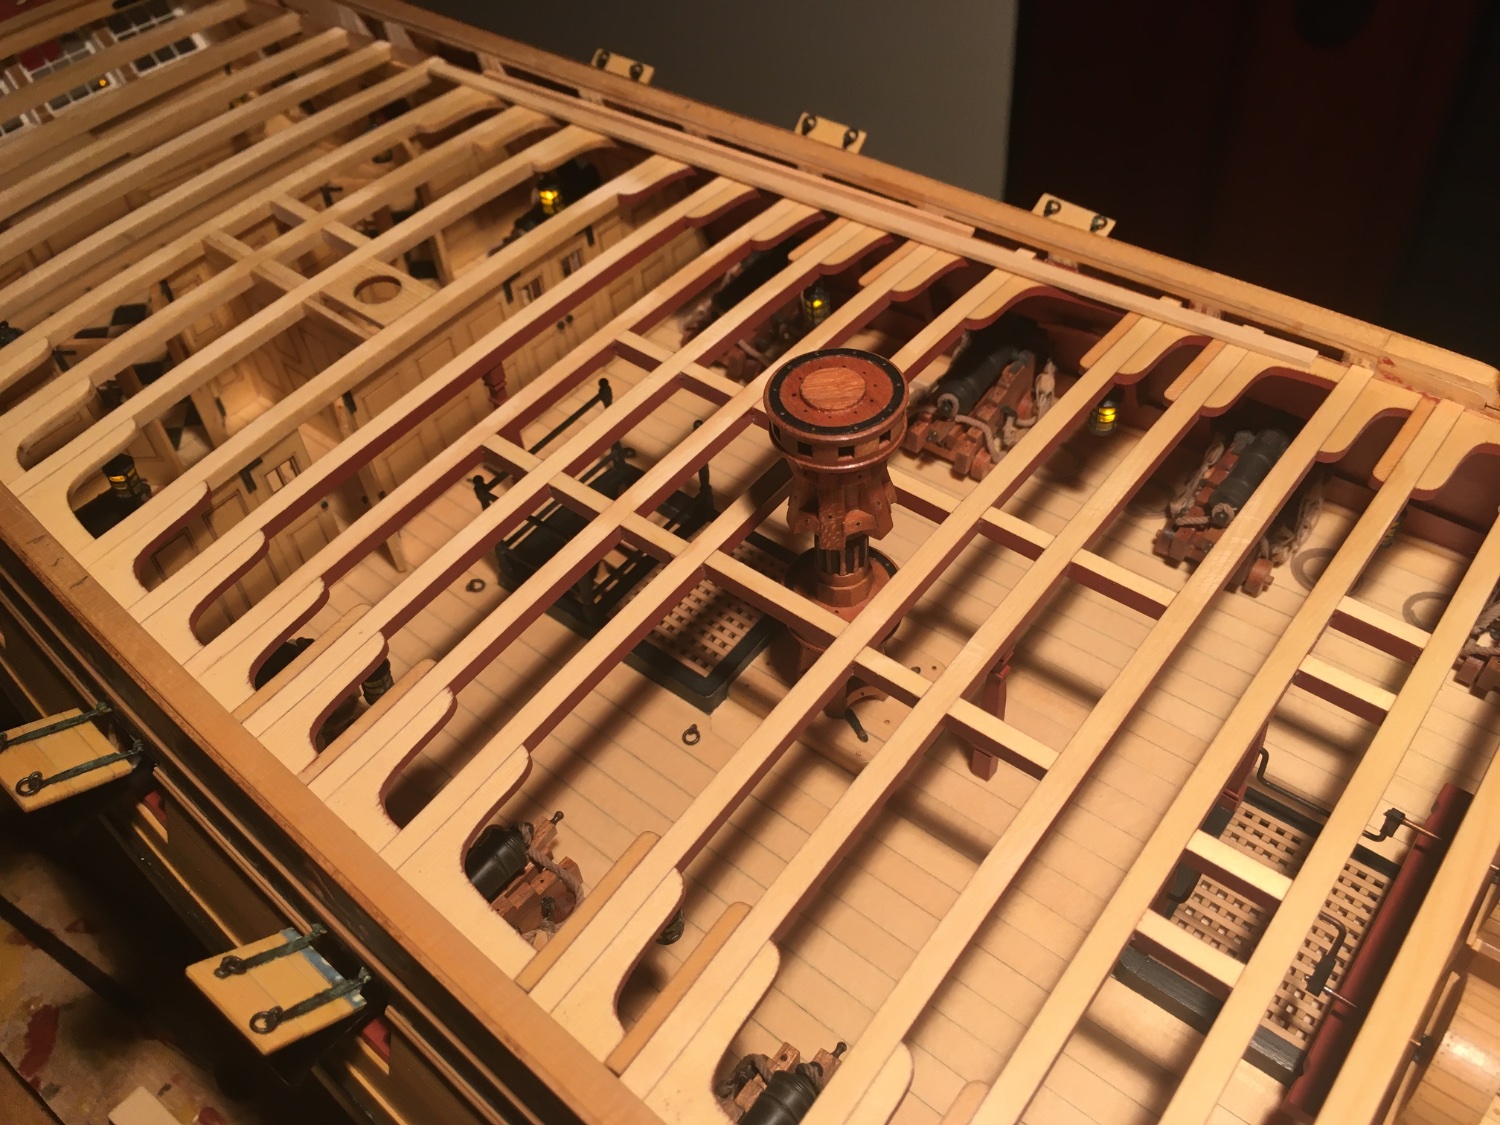
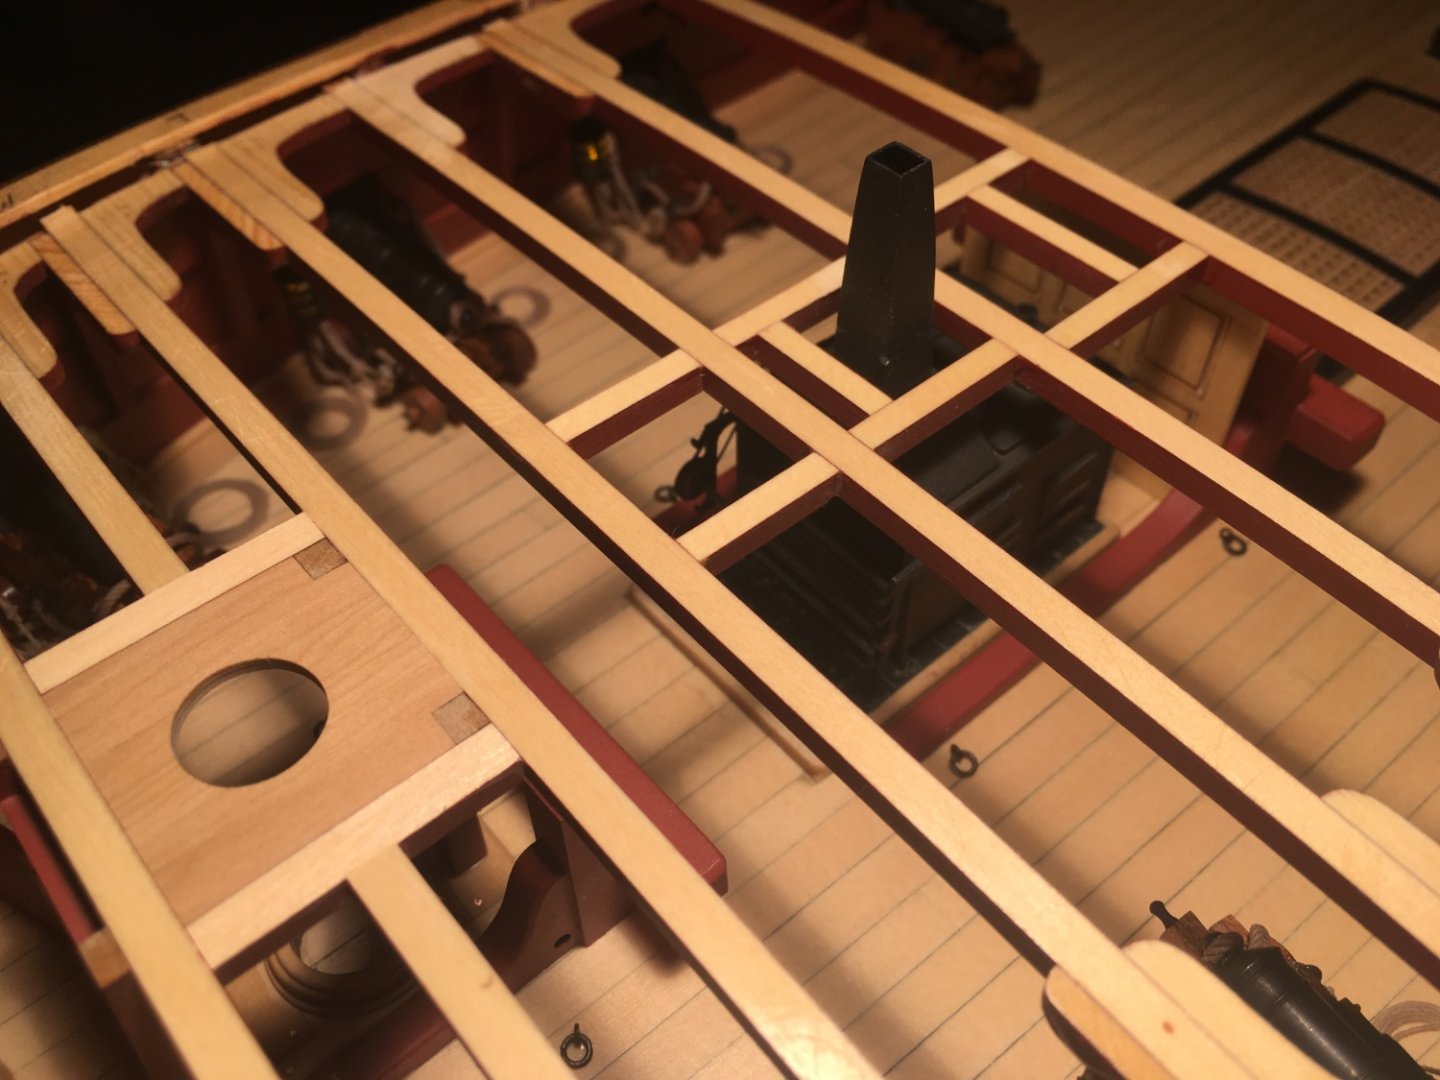
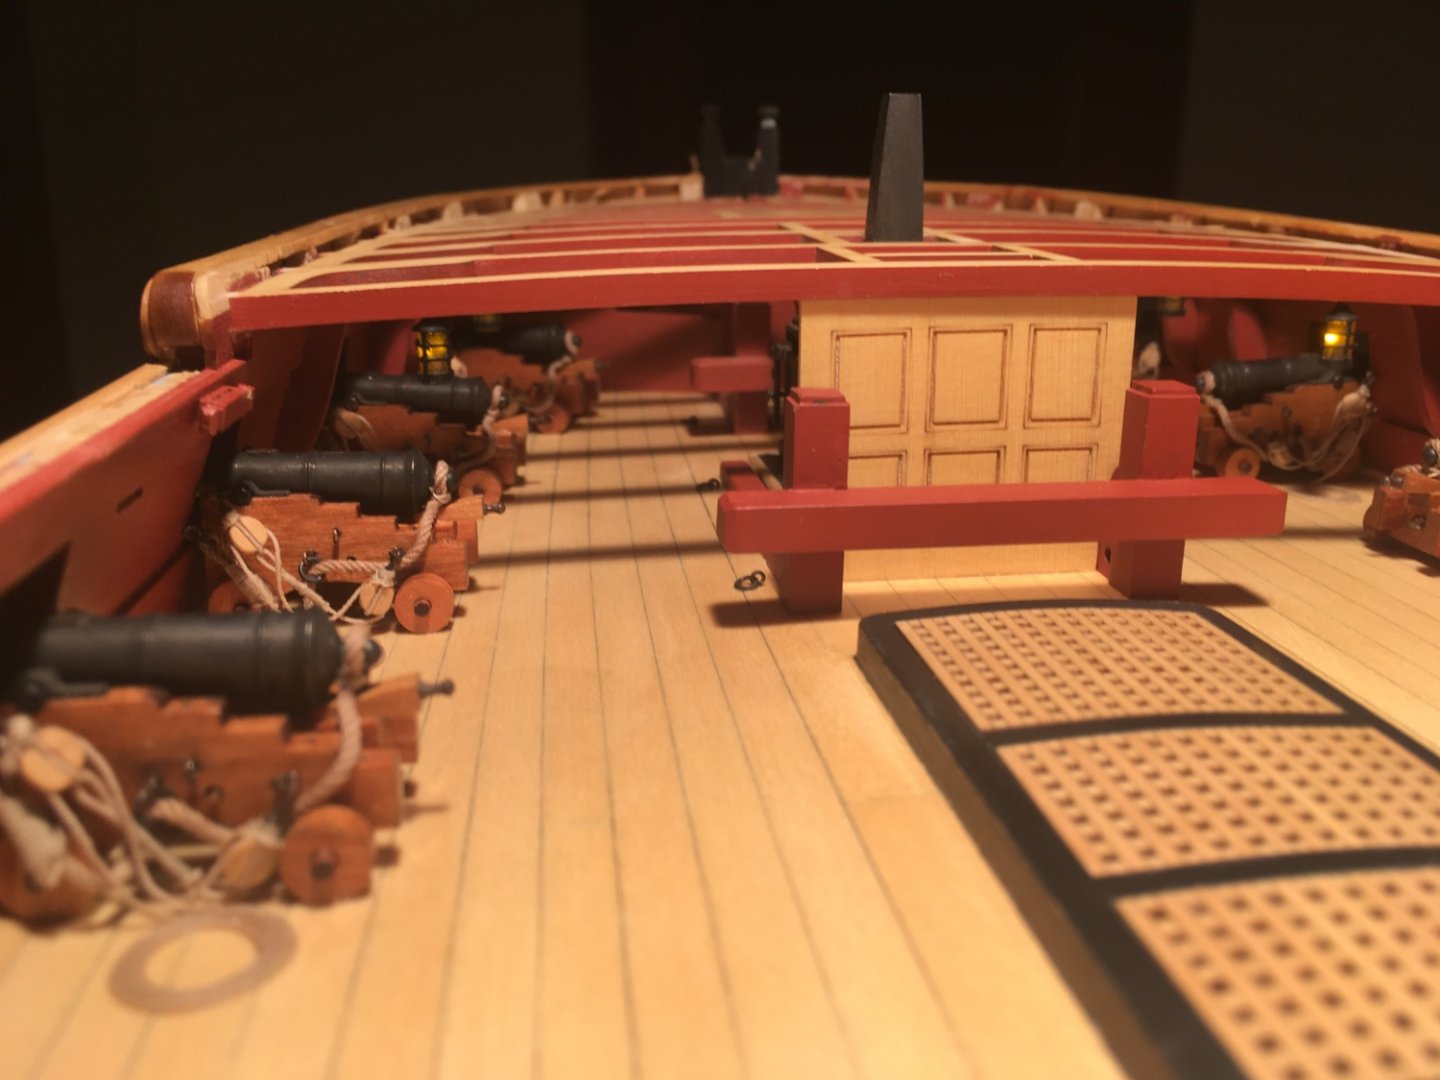
And that concludes chapter 8, opening chapter 9 as I write this, forward progress will begin tomorrow. I did the same for 8 as chapter 7 with the deck beams and all the knees. Had to finagle the stove in so I could block sand all the beams down fair and make a gigantic mess but it all worked out. One more gun to rig for this chapter and then I’ll finish remaining four after chapter 9. And no more lights! Thanks for stopping by. JJ


-
Looking good. Those planks are definitely a challenge that’s worth it. Great results!