HOLIDAY DONATION DRIVE - SUPPORT MSW - DO YOUR PART TO KEEP THIS GREAT FORUM GOING! (Only 66 donations so far out of 49,000 members - Can we at least get100? C'mon guys!)
×


Kevin
-
Posts
7,010 -
Joined
-
Last visited
Content Type
Profiles
Forums
Gallery
Events
Everything posted by Kevin
-
While ago since i started this thread
-
 i will miss the updates when this build is completed, thank you for the work you have put into this
- 760 replies
-
- 10
-

-
WOW two updates in one day good evening everyone i finished the supports to the port side bulkheads, i will prime these and then paint red orche later typical not wained today and high pressure moving in, lol im back to work tomorrow any way time to dust the build off and let her get some Vitamin S
- 337 replies
-
- 11
-
-
- finished
- mountfleet models
- (and 1 more)
-
good morning everyone well i enjoyed my week off and managed to progress on the St Nectan, but non of the outdoors jobs that needed doing, due to the very wel November Somerset weather the bulkhead are nearly ready for the whale back, still to be adapted to accept the deck, Hawse hole for the single anchor and now making the bulkhead stiffeners


- 337 replies
-
- 9
-
-
- finished
- mountfleet models
- (and 1 more)
-
what a lovely fantastic project
-
wow Dan, that lamination looks fantastic, Another brilliant build taking place
-
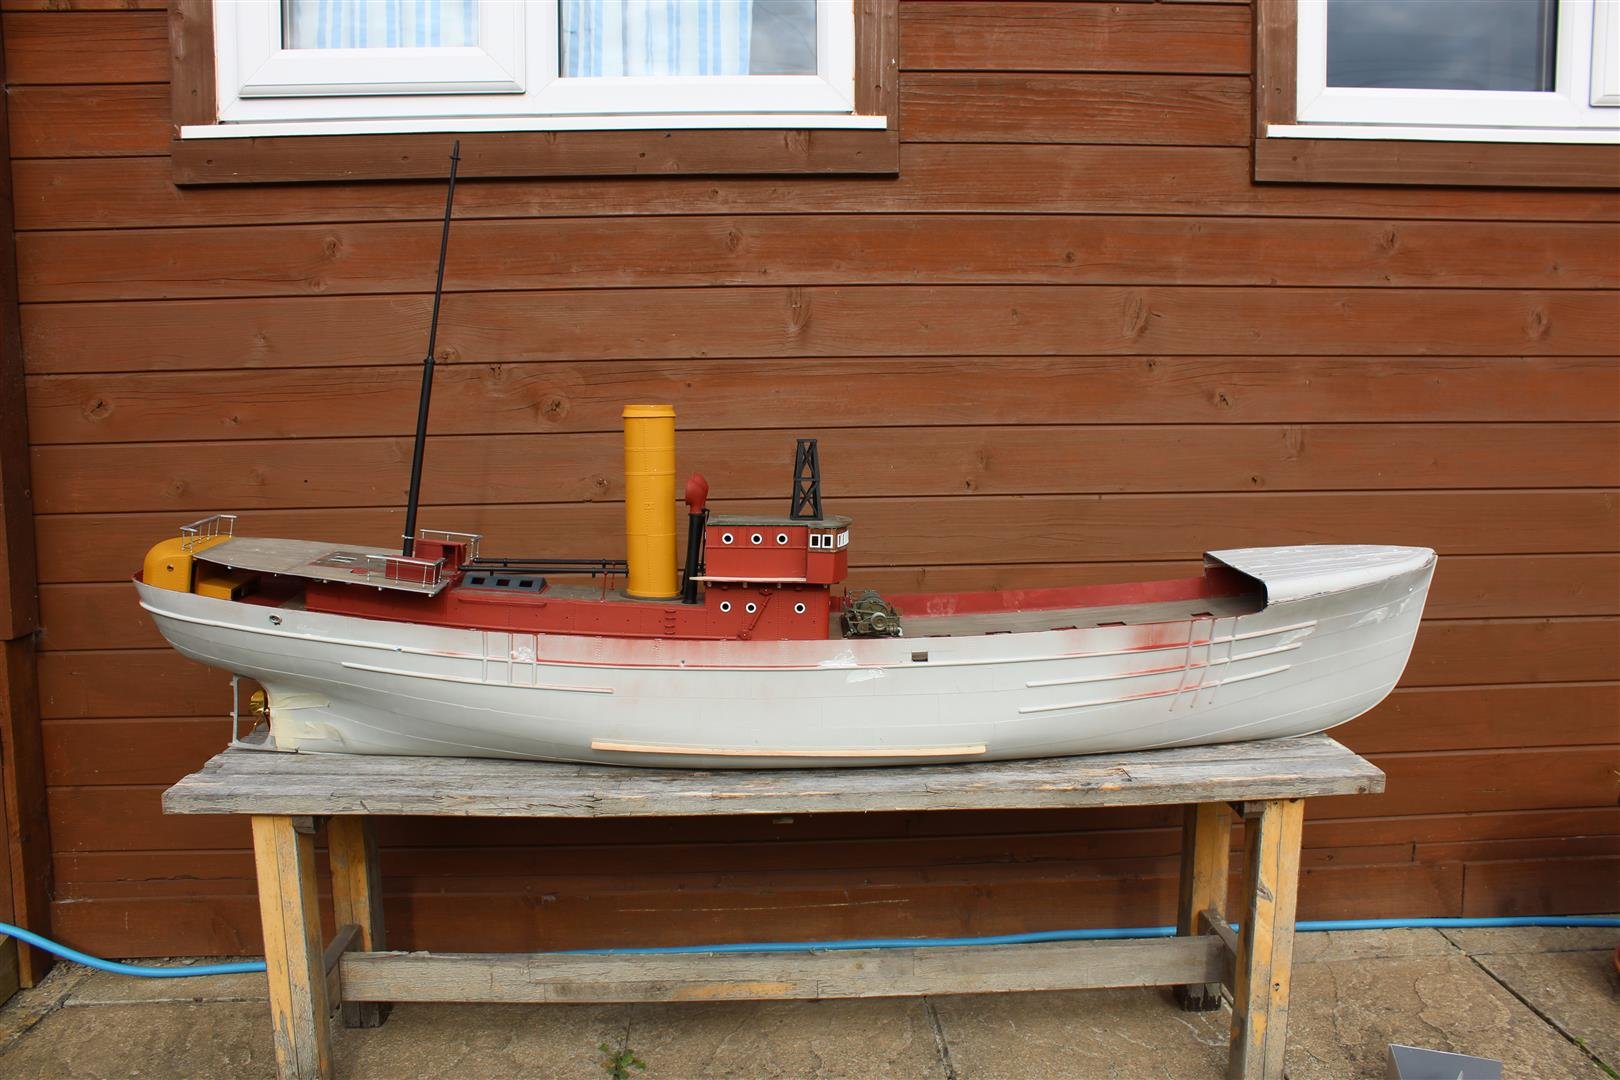
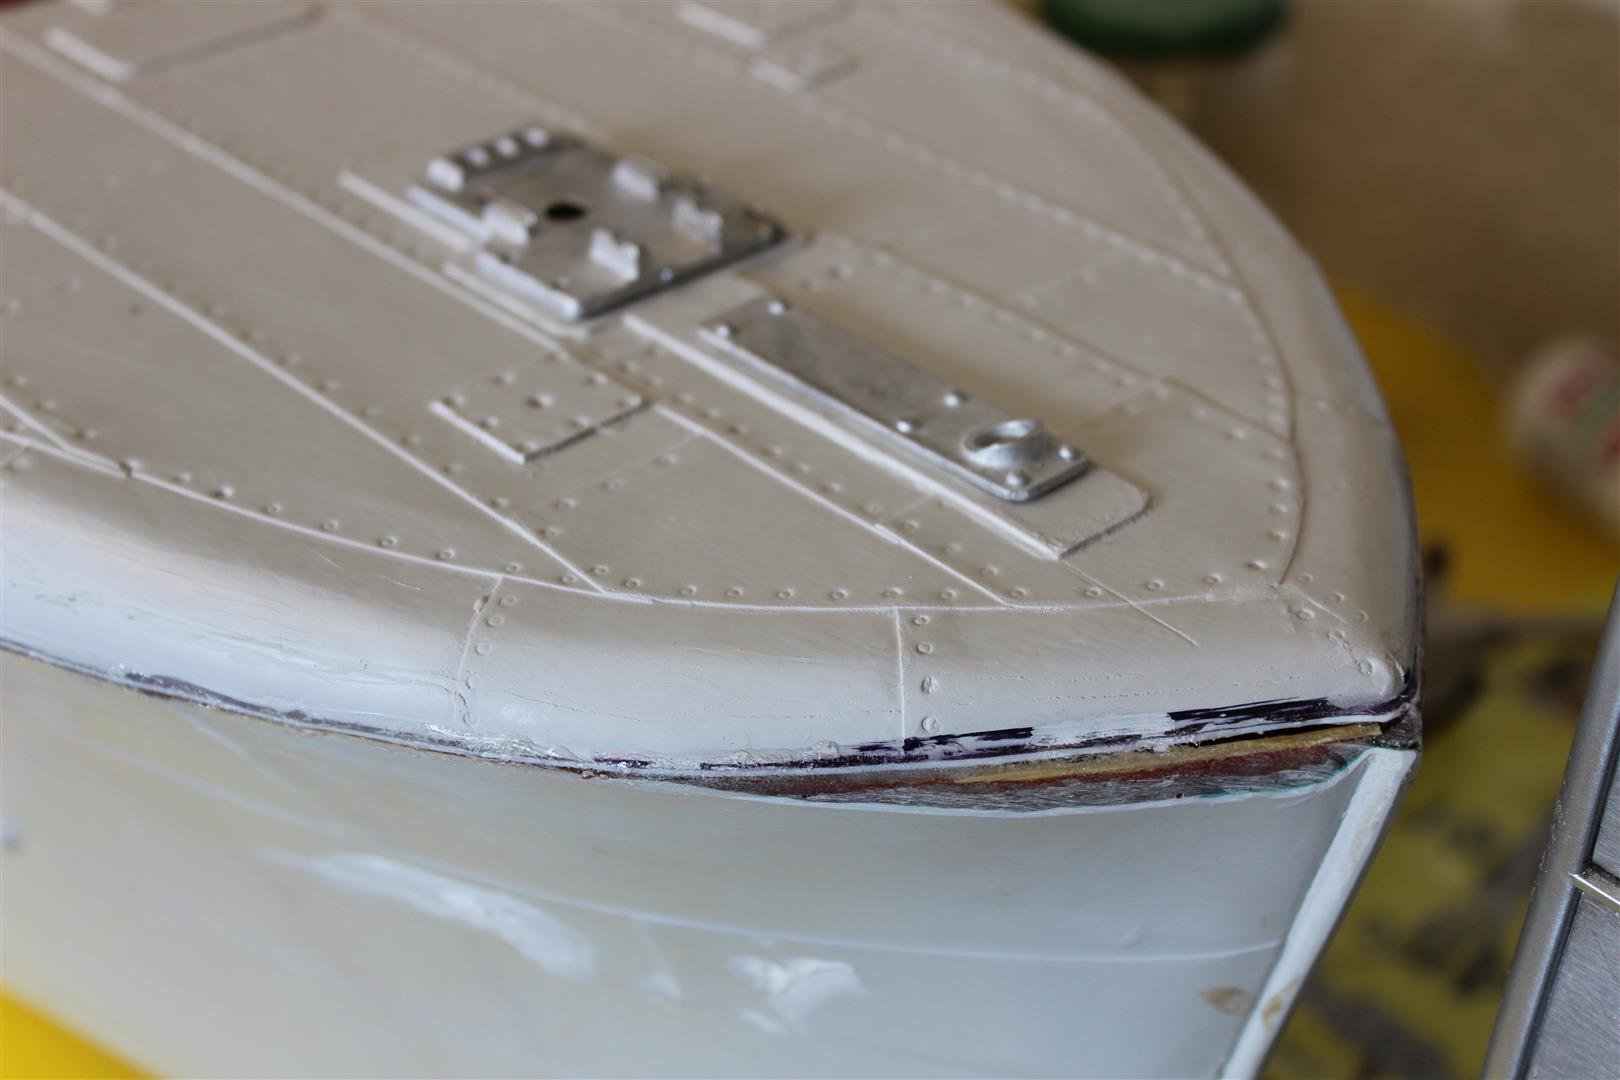
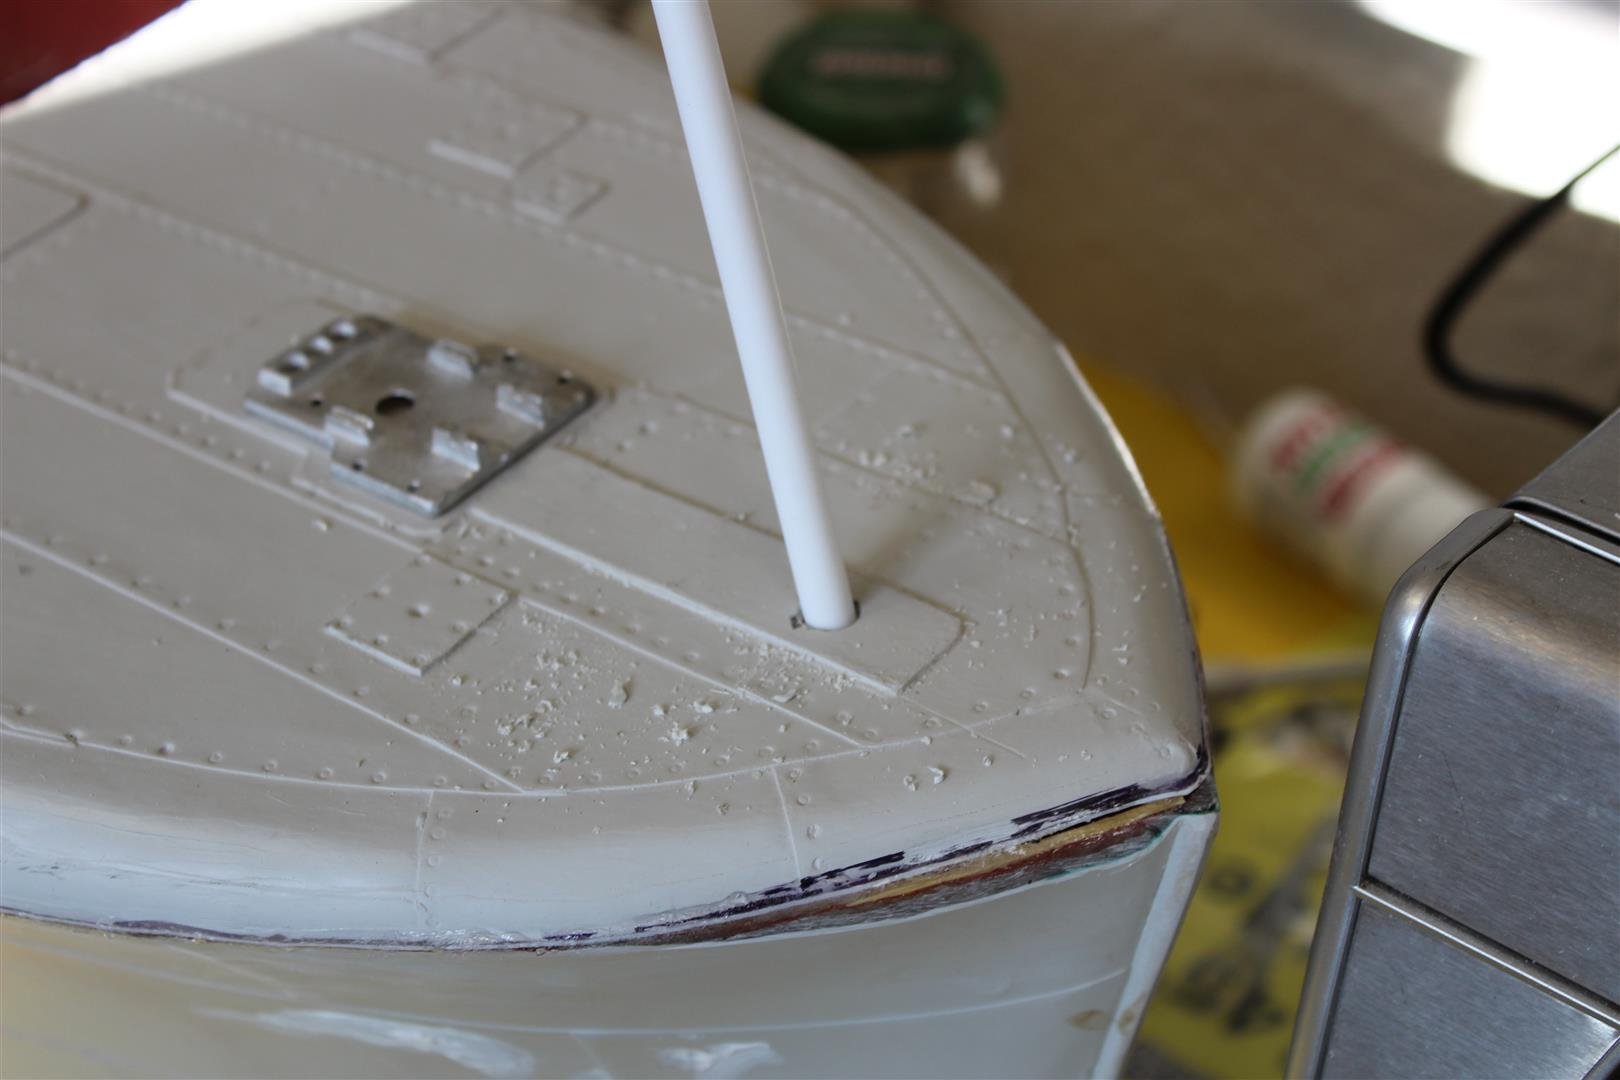
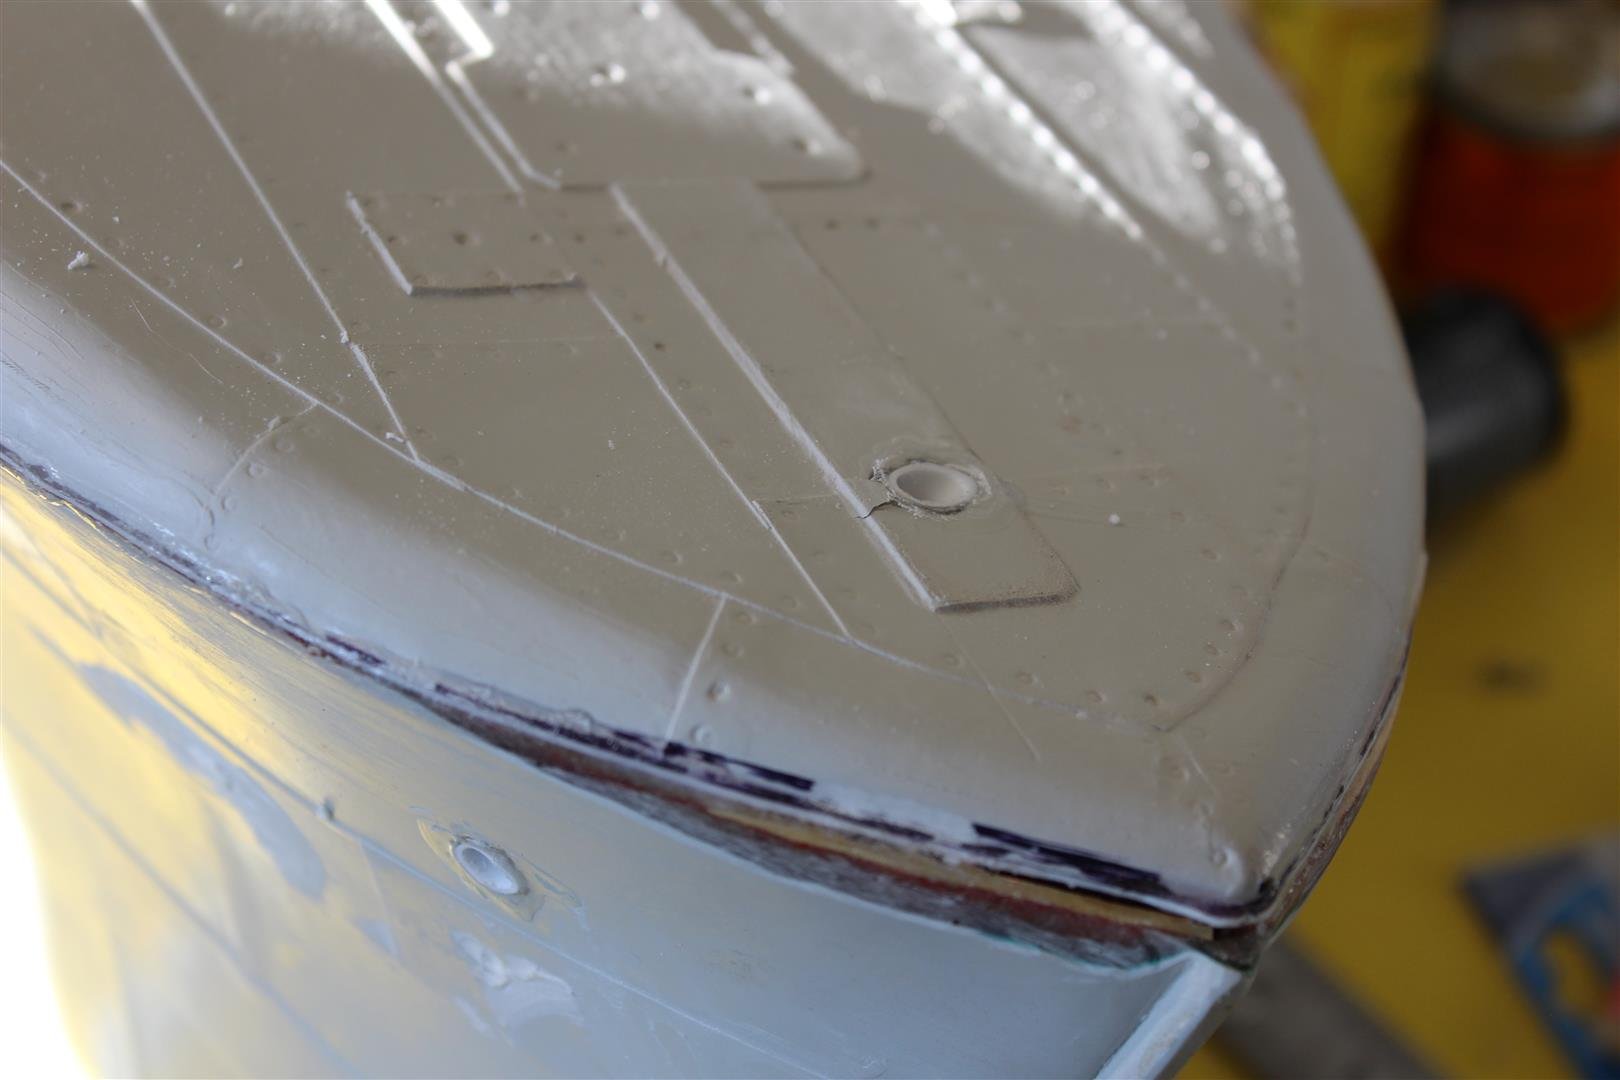
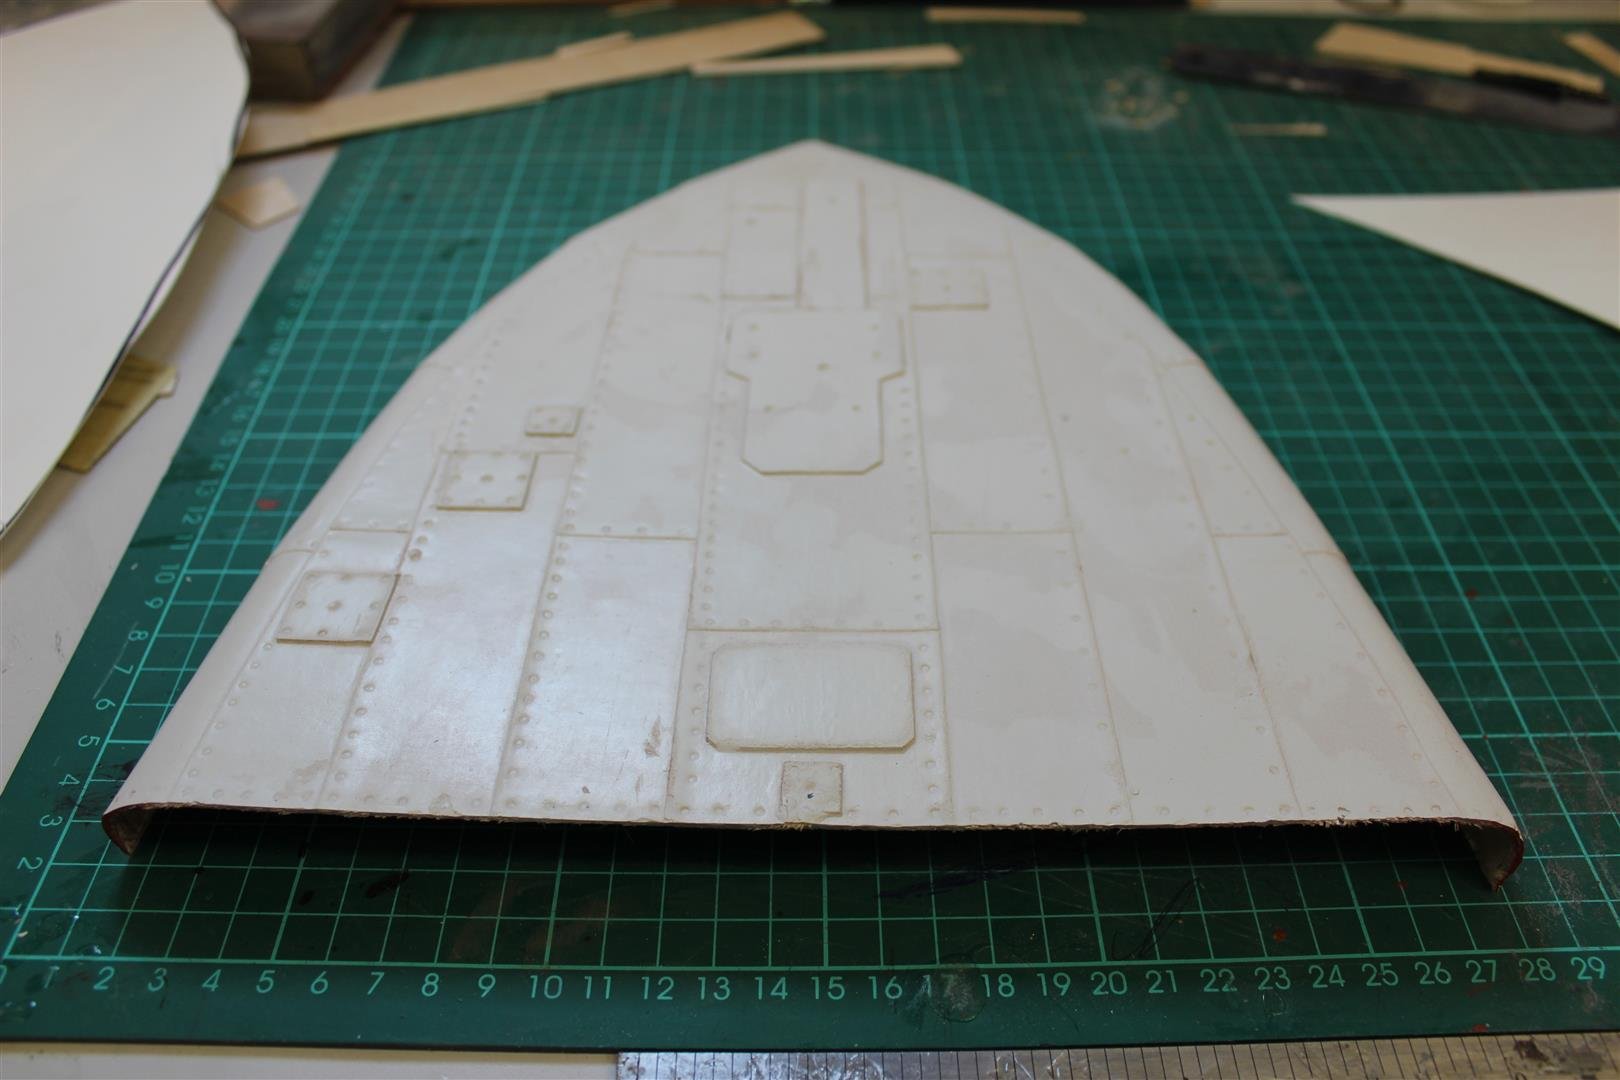
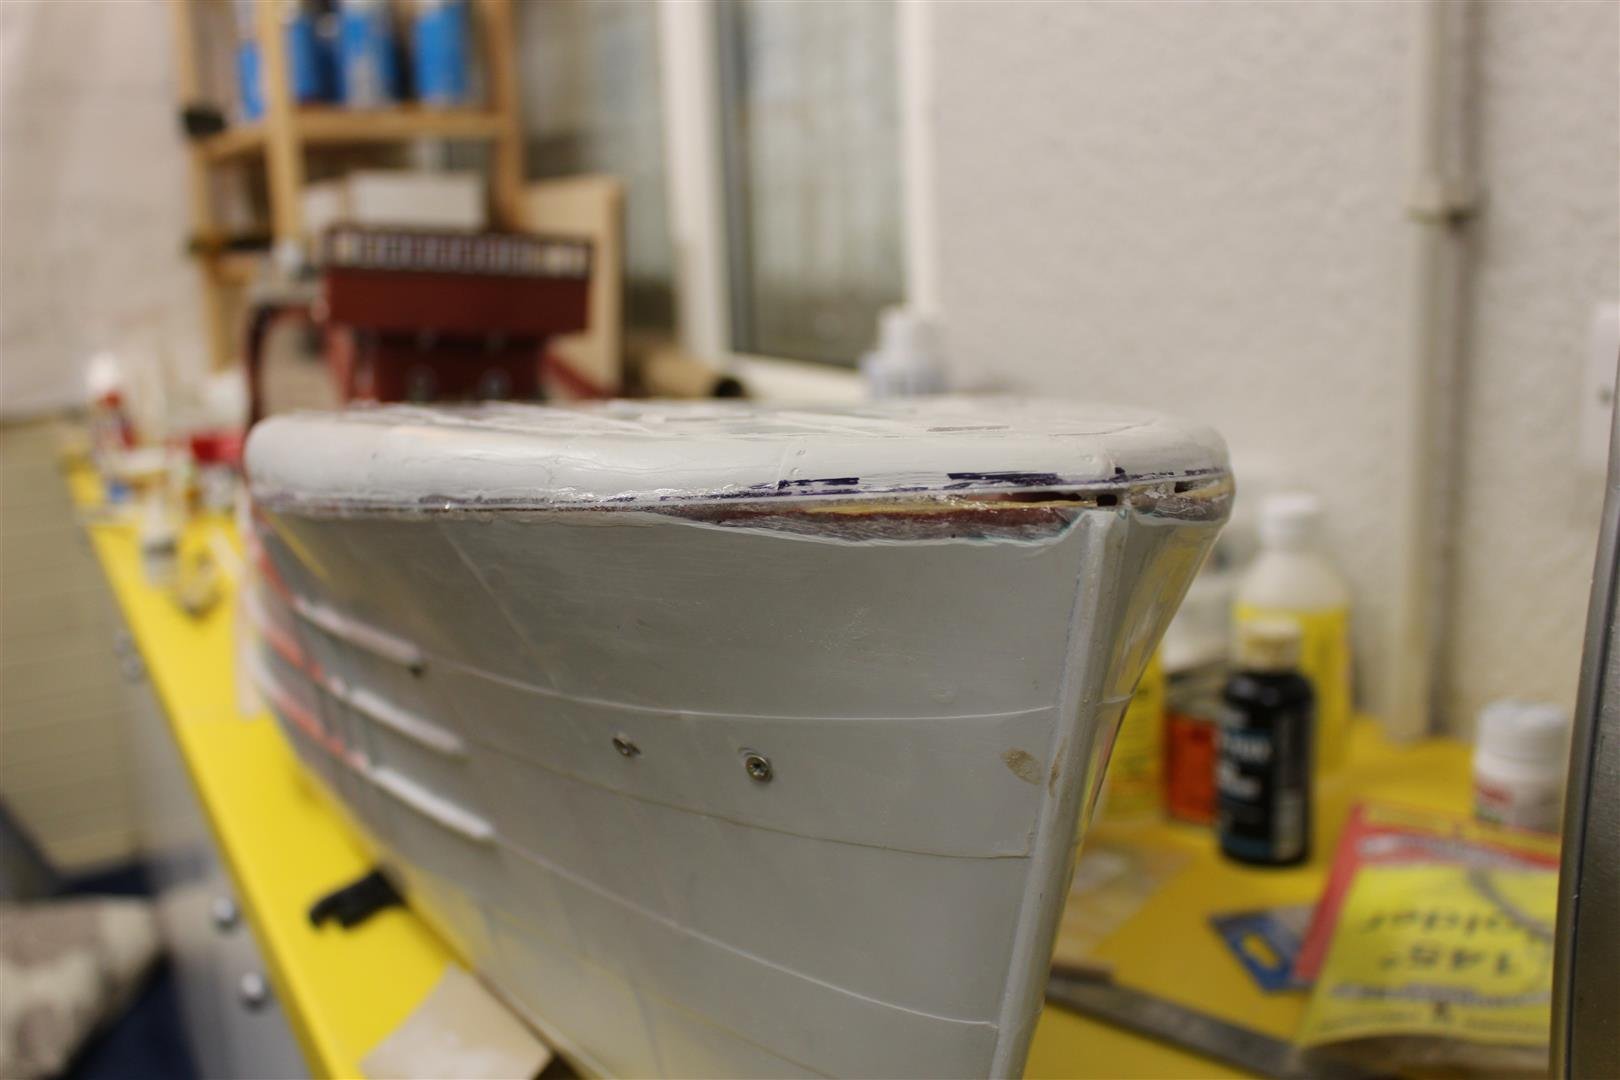
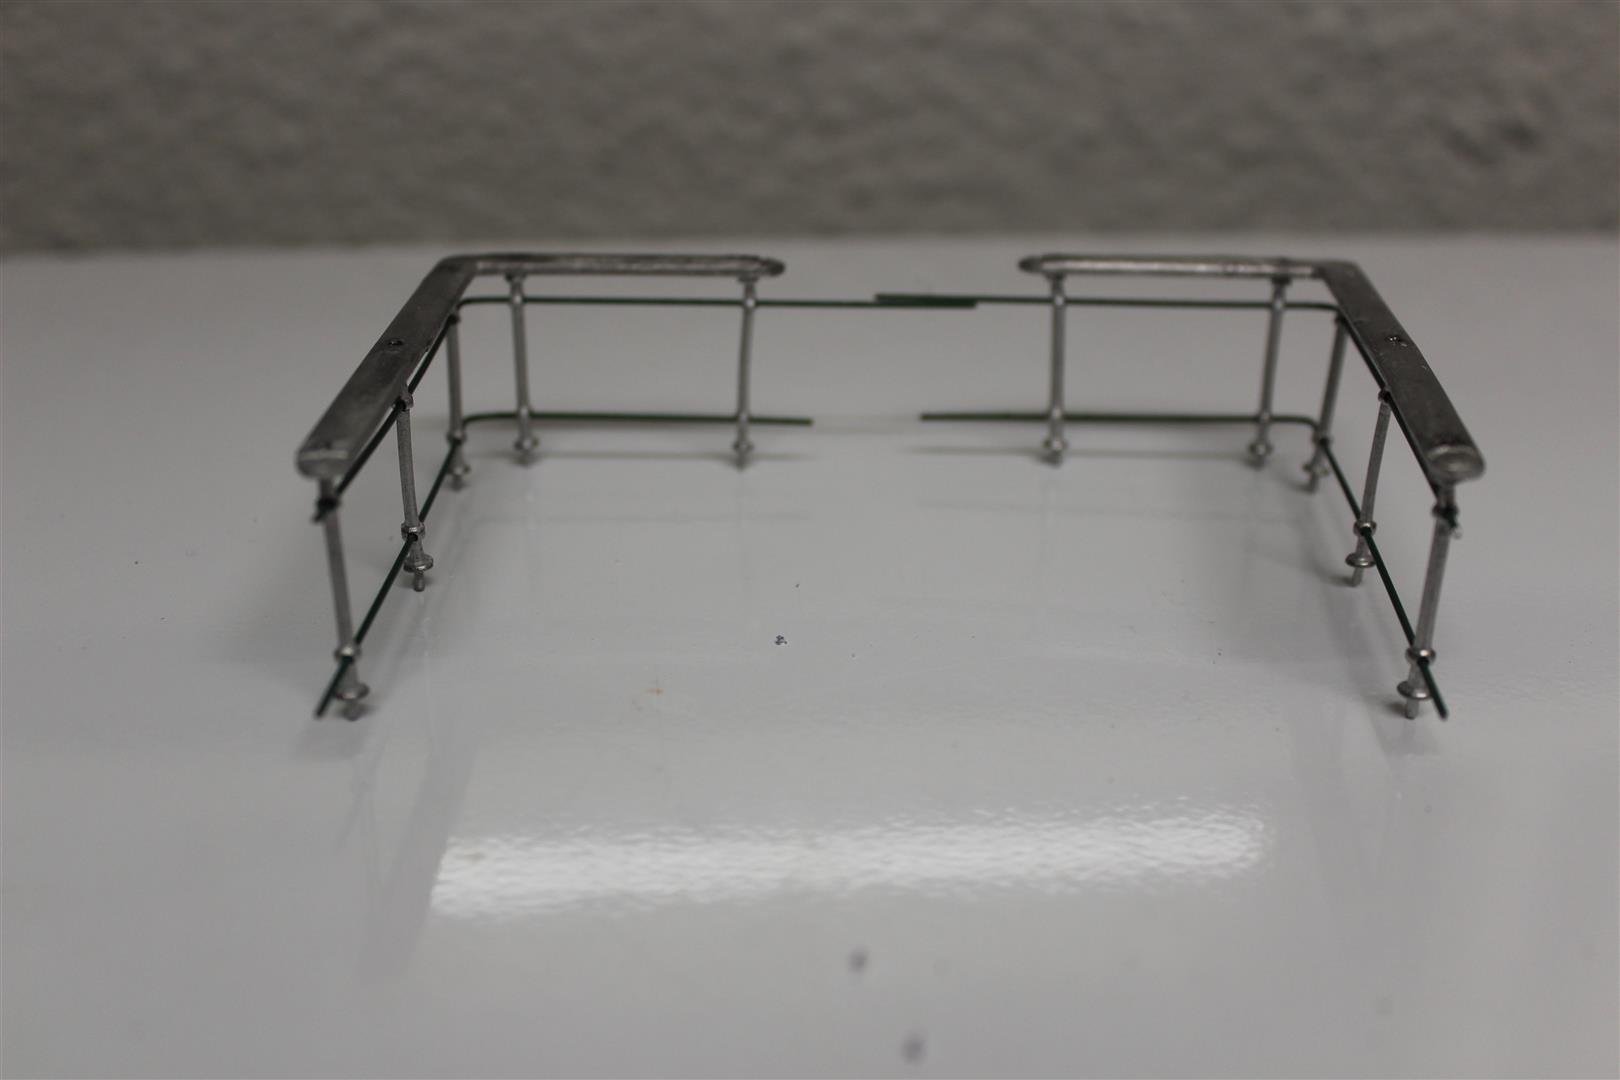
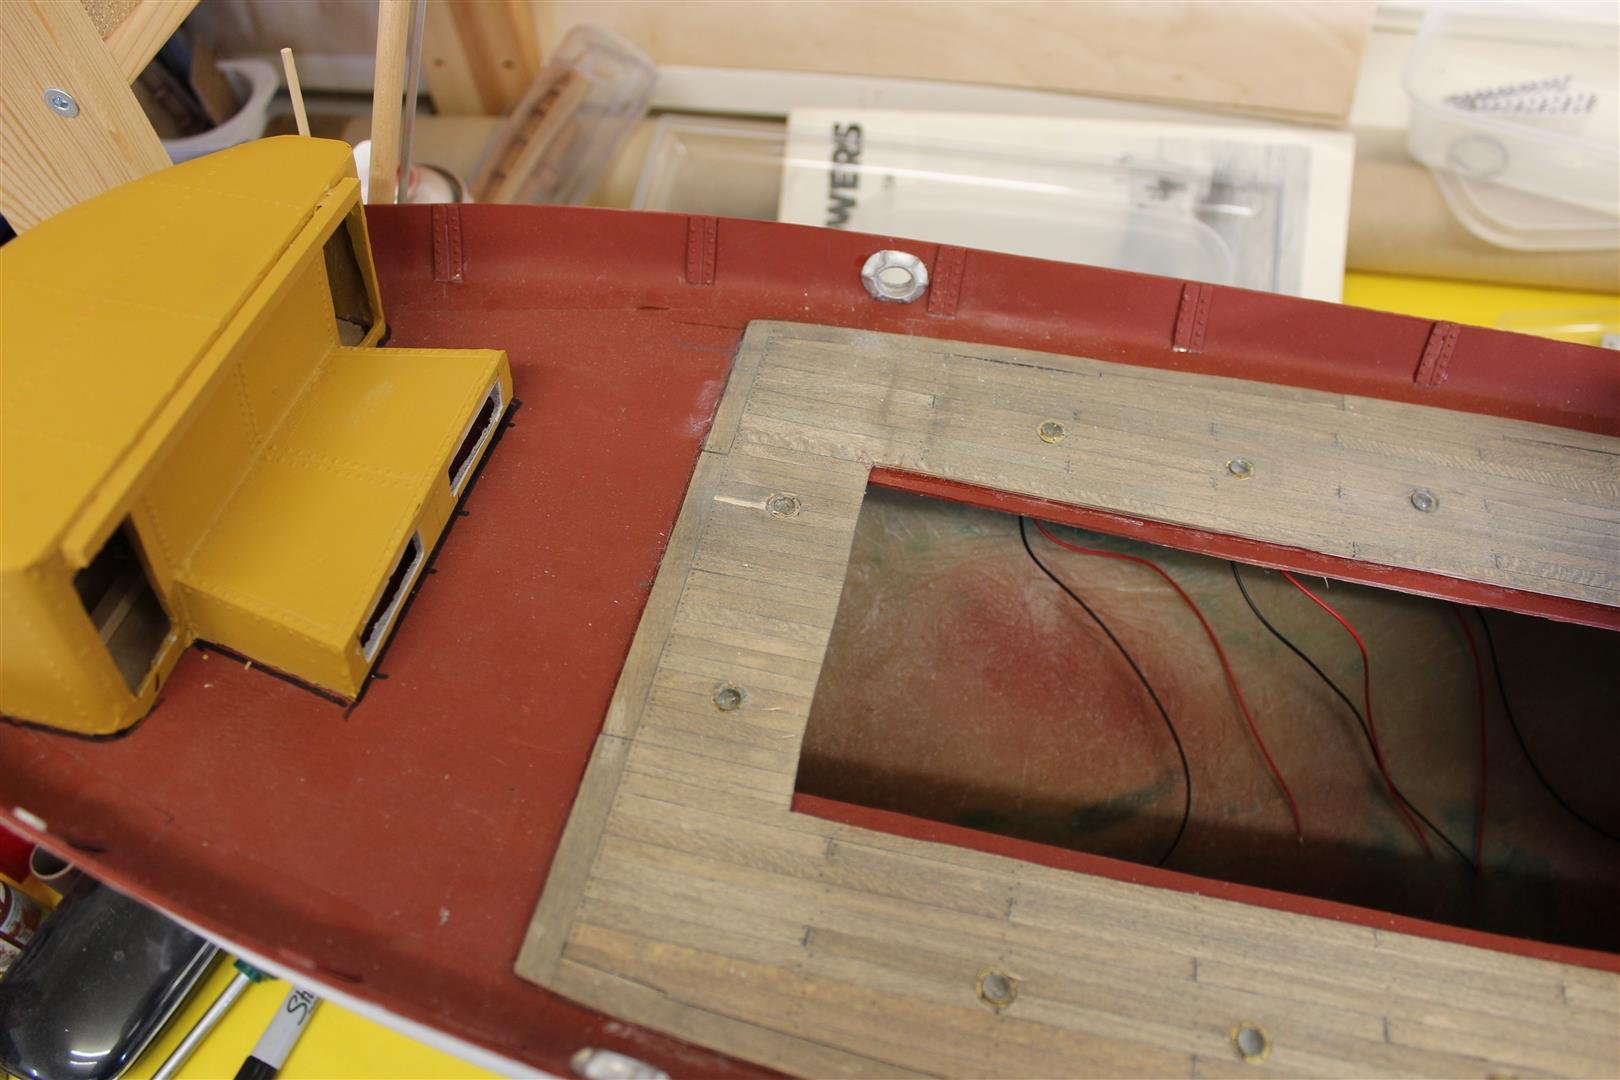
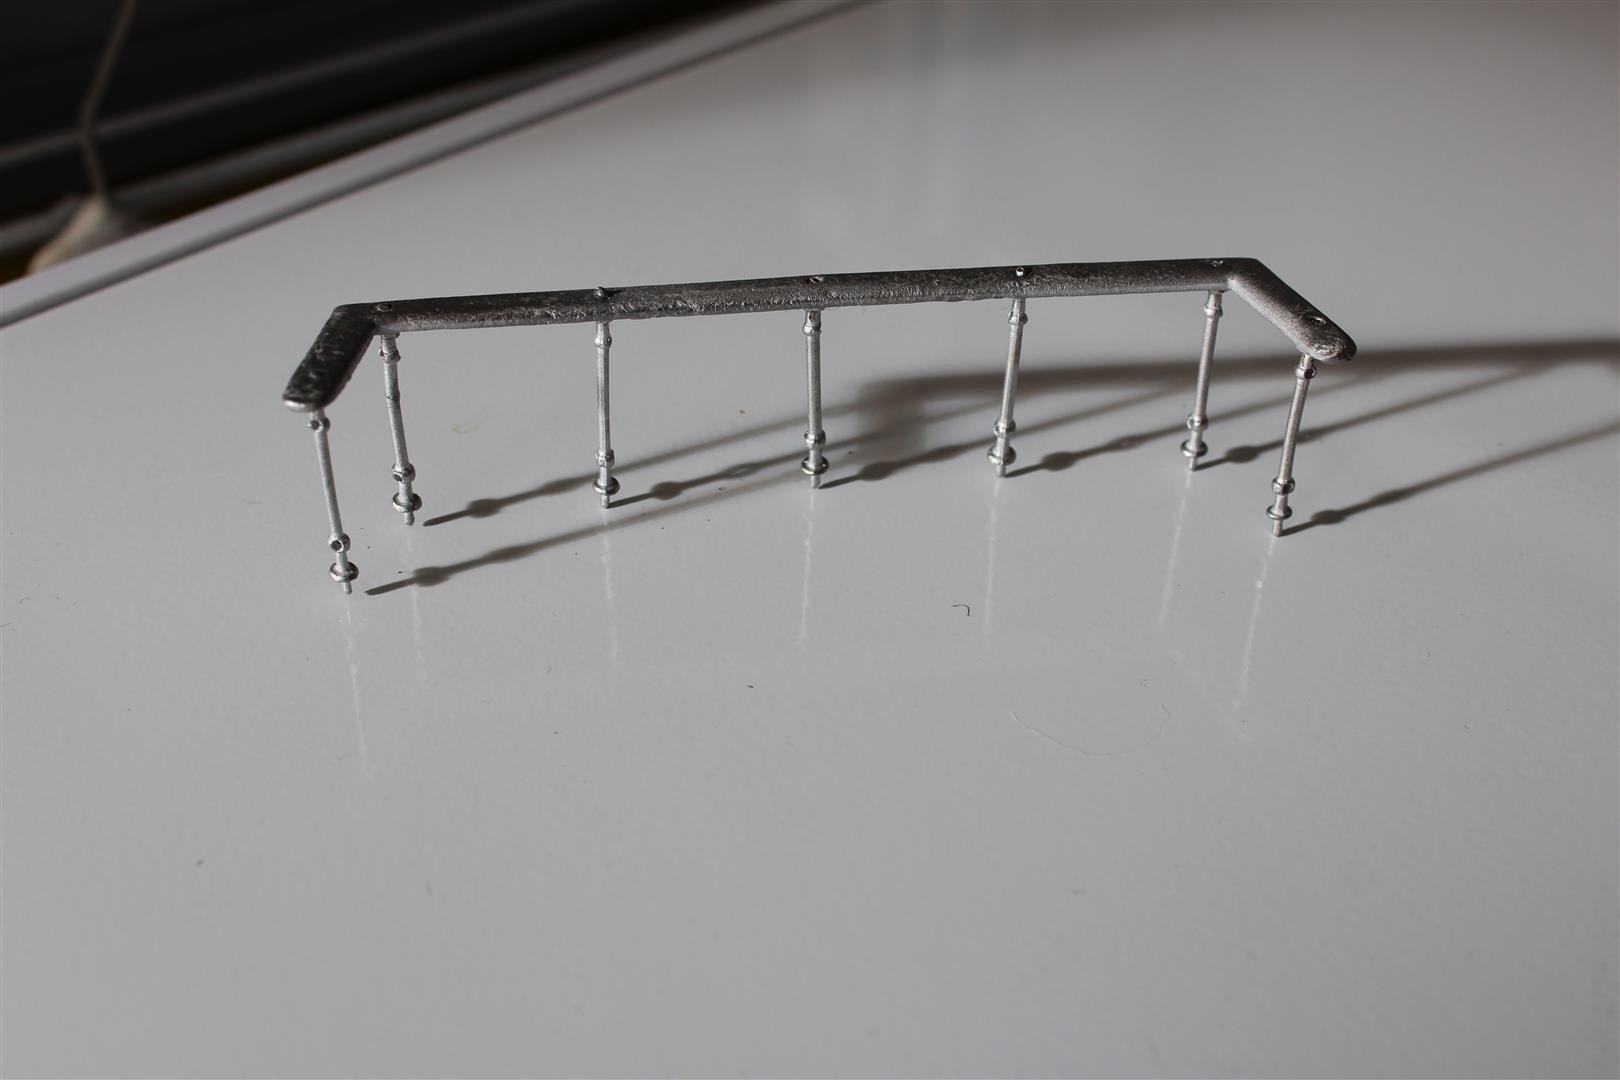
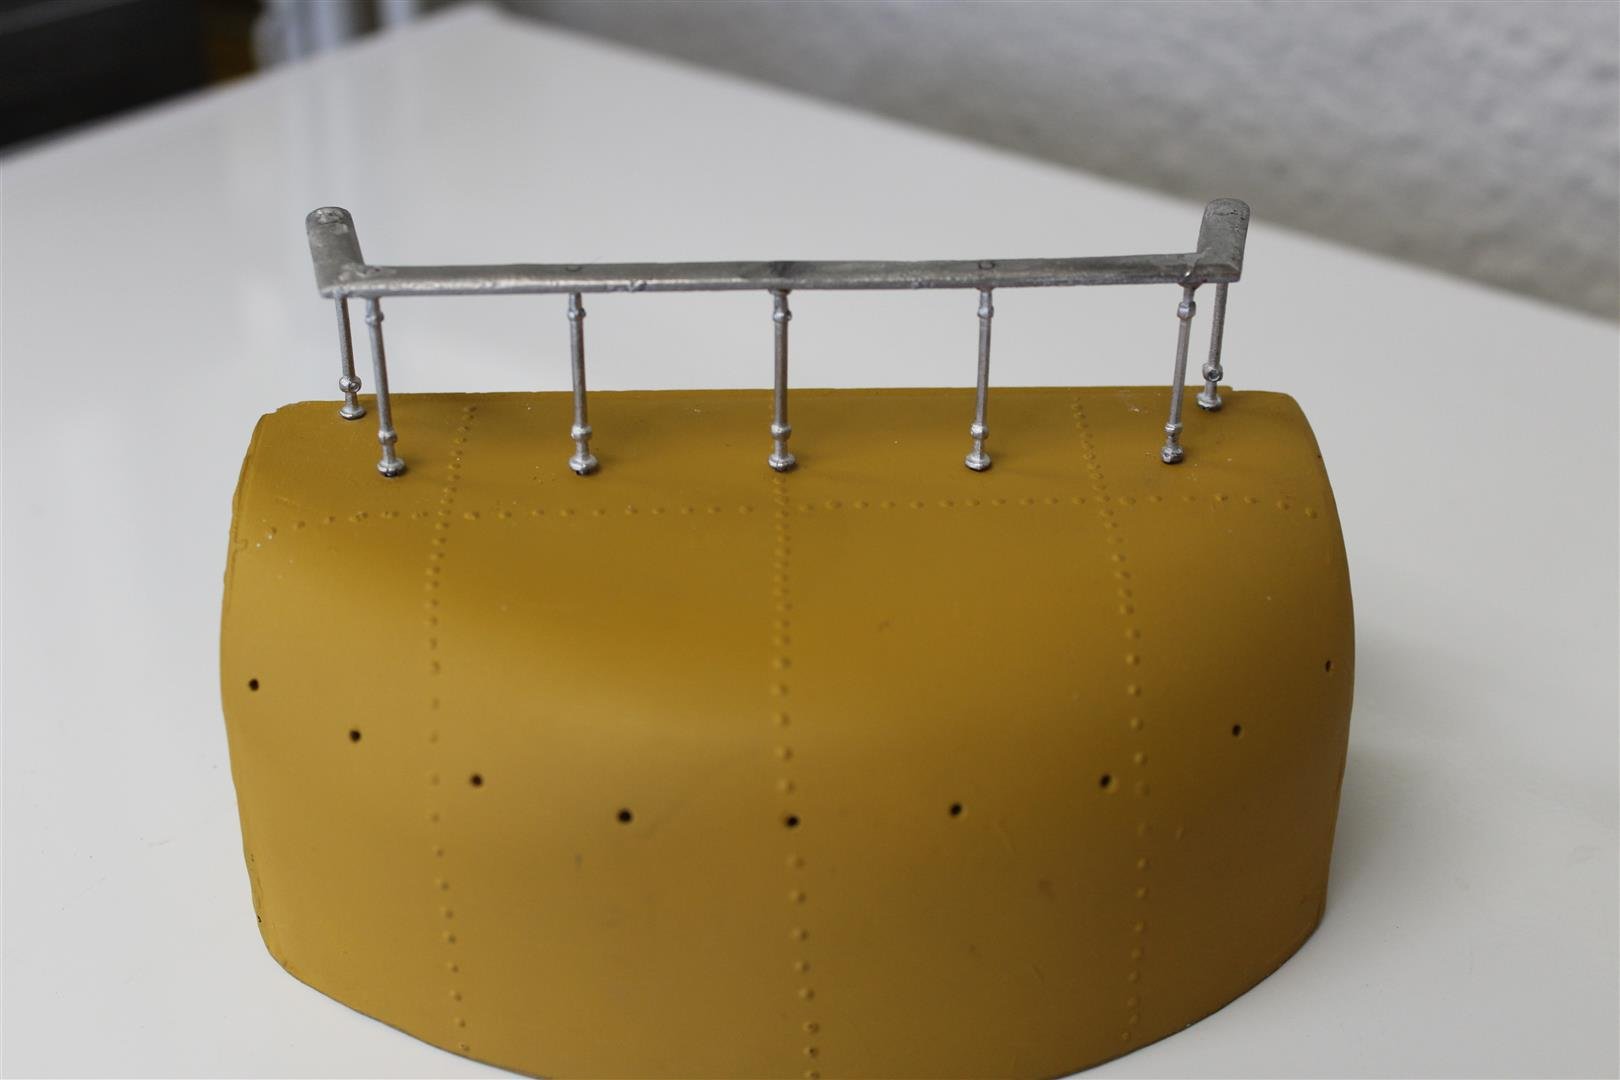
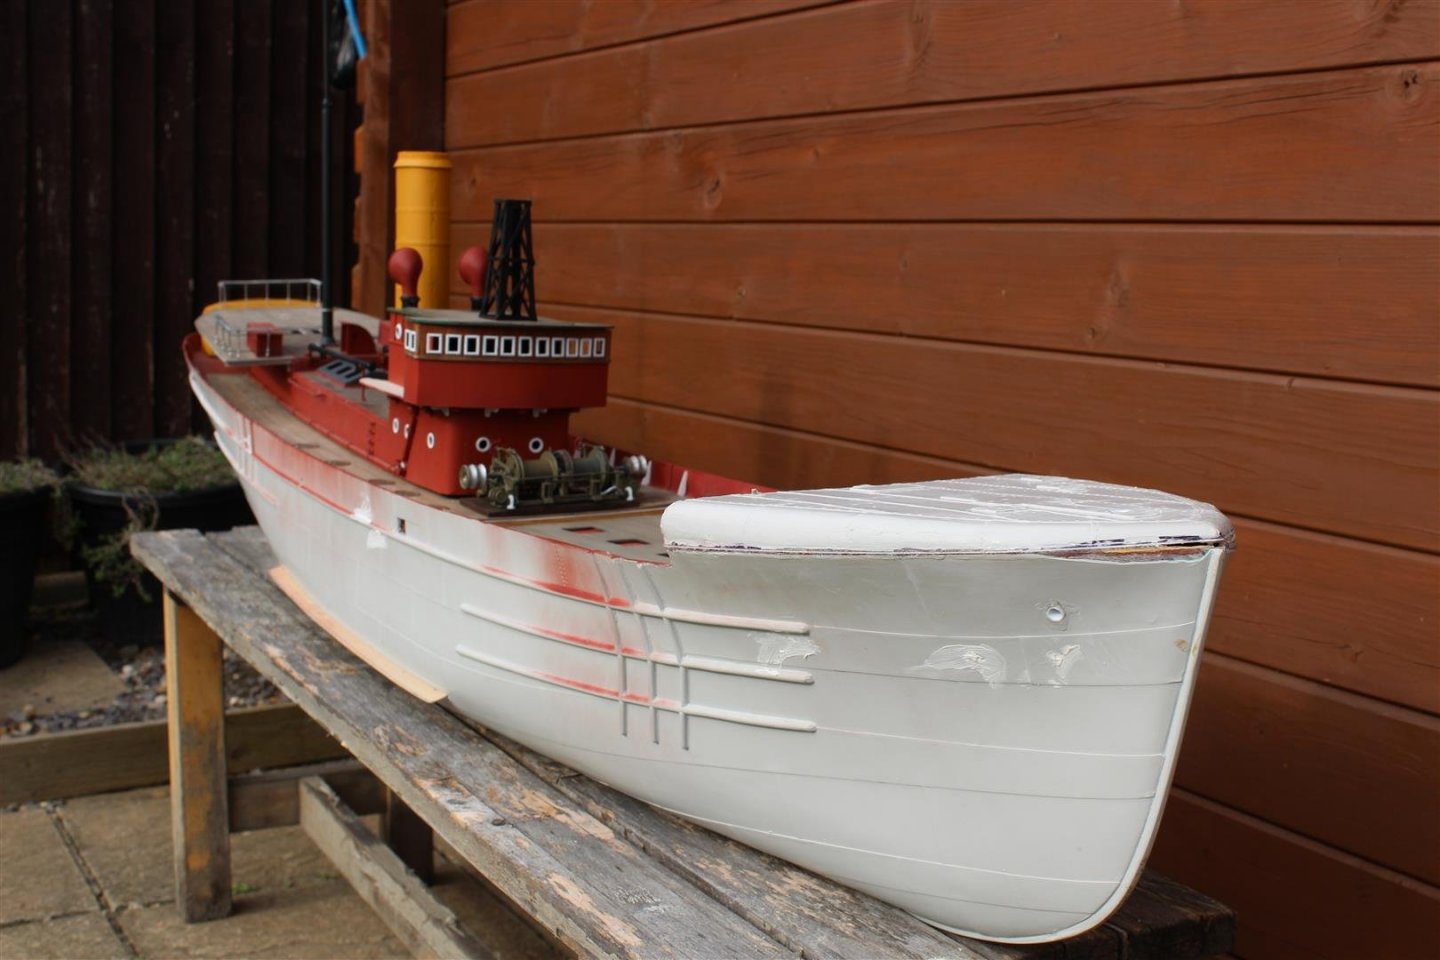
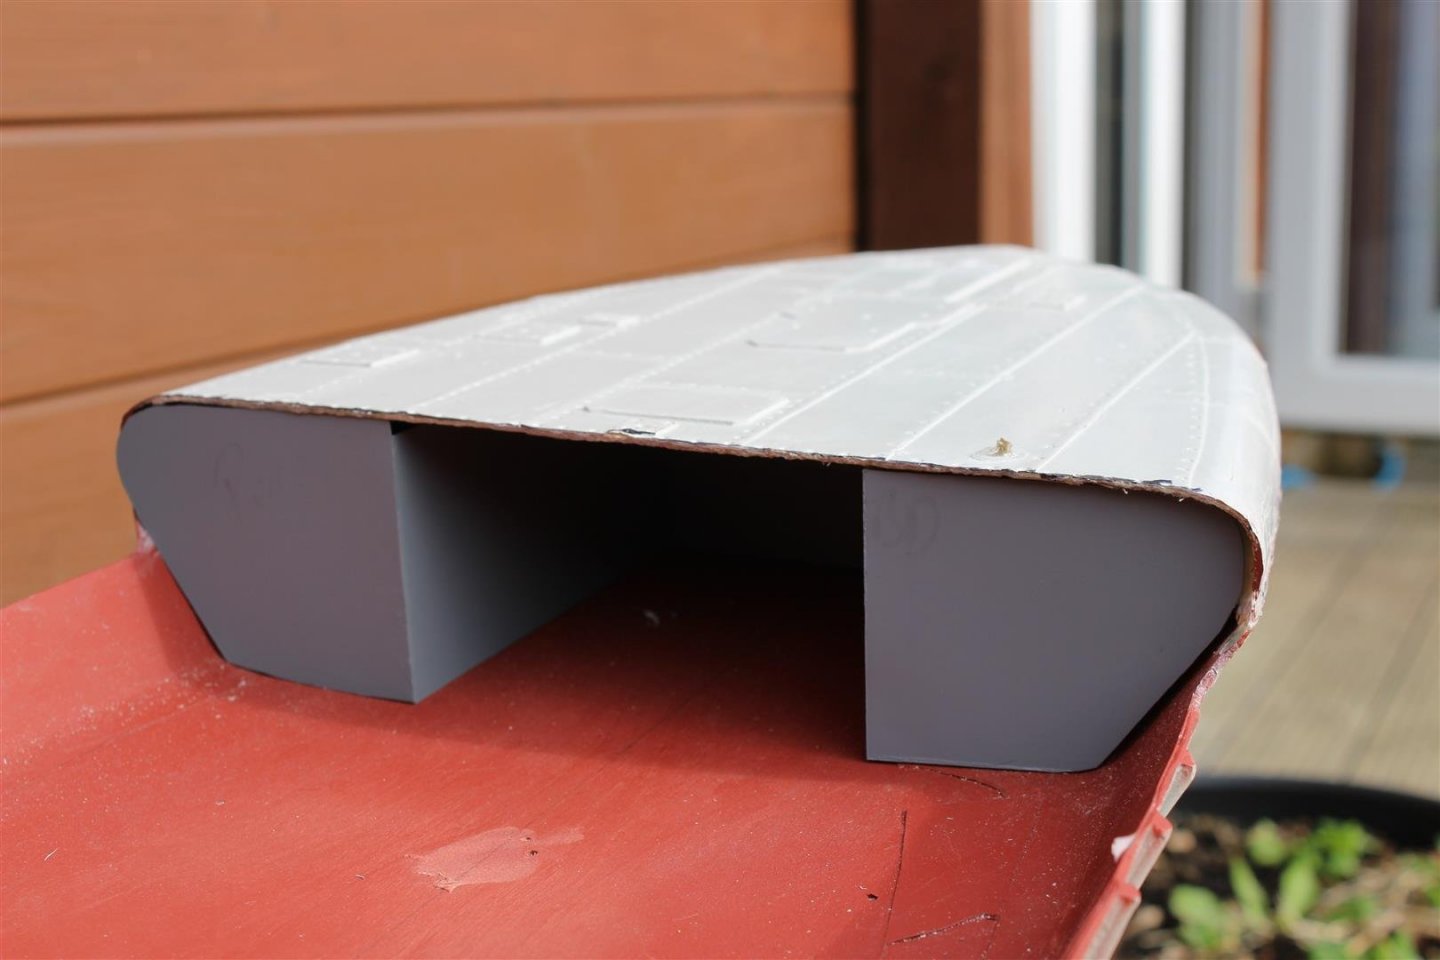
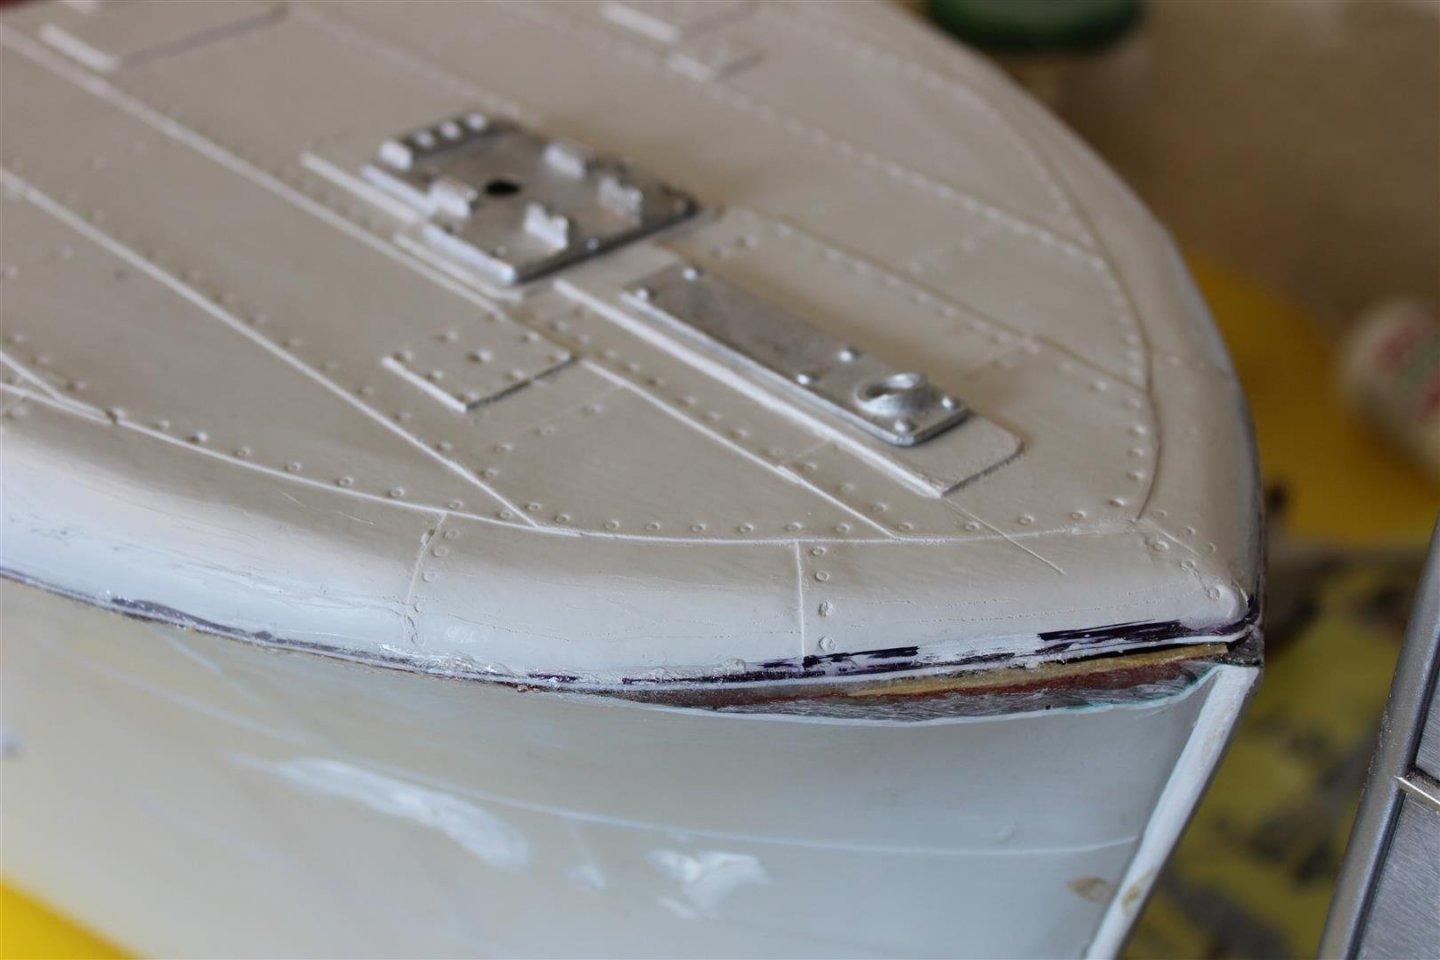
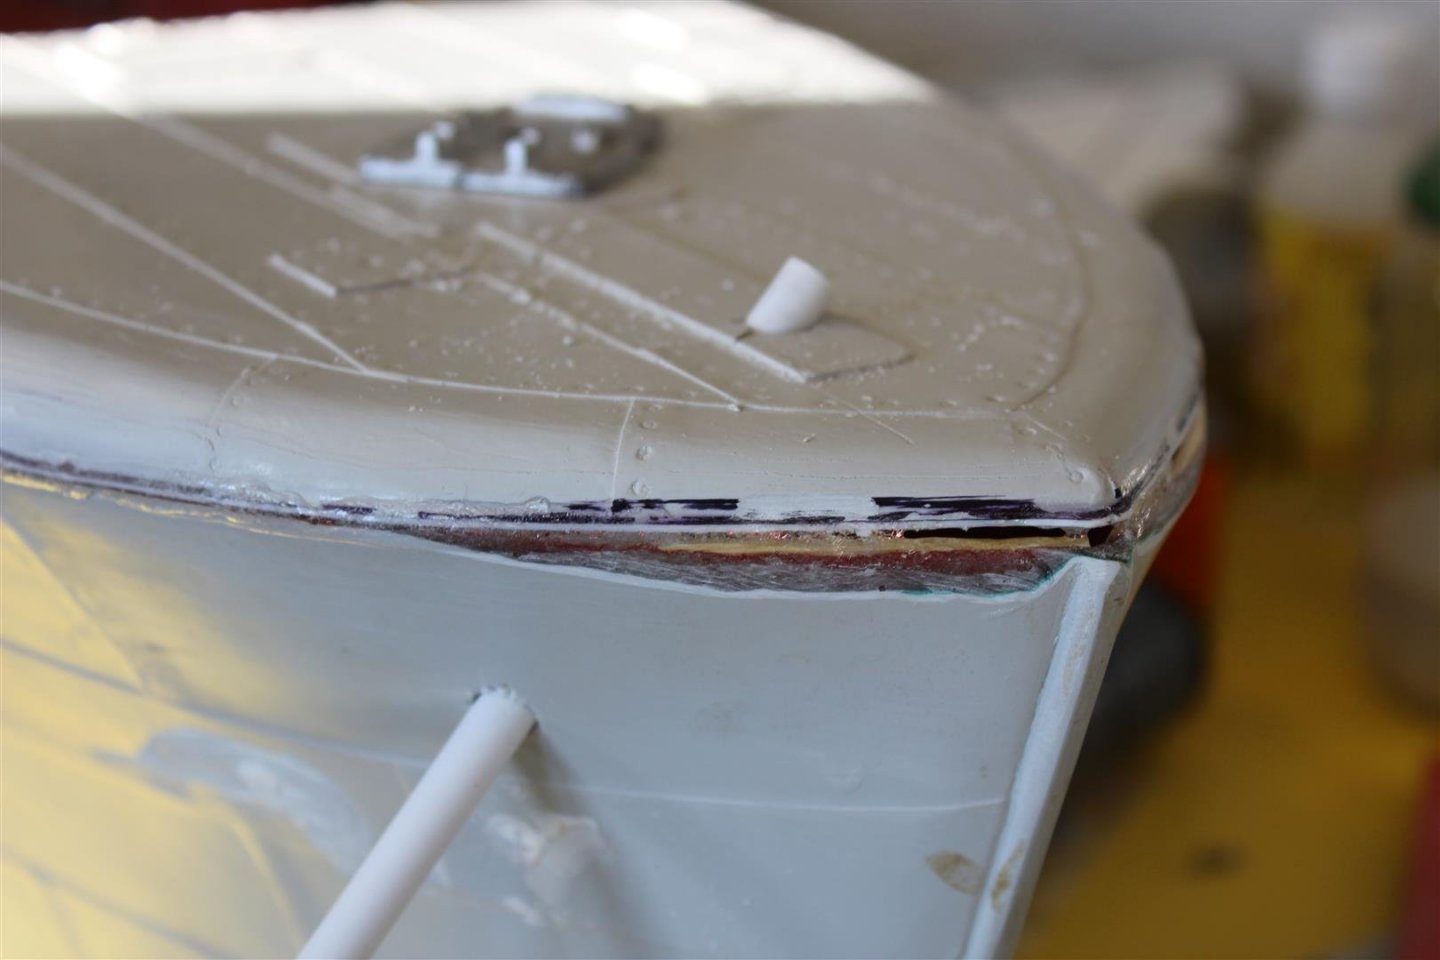
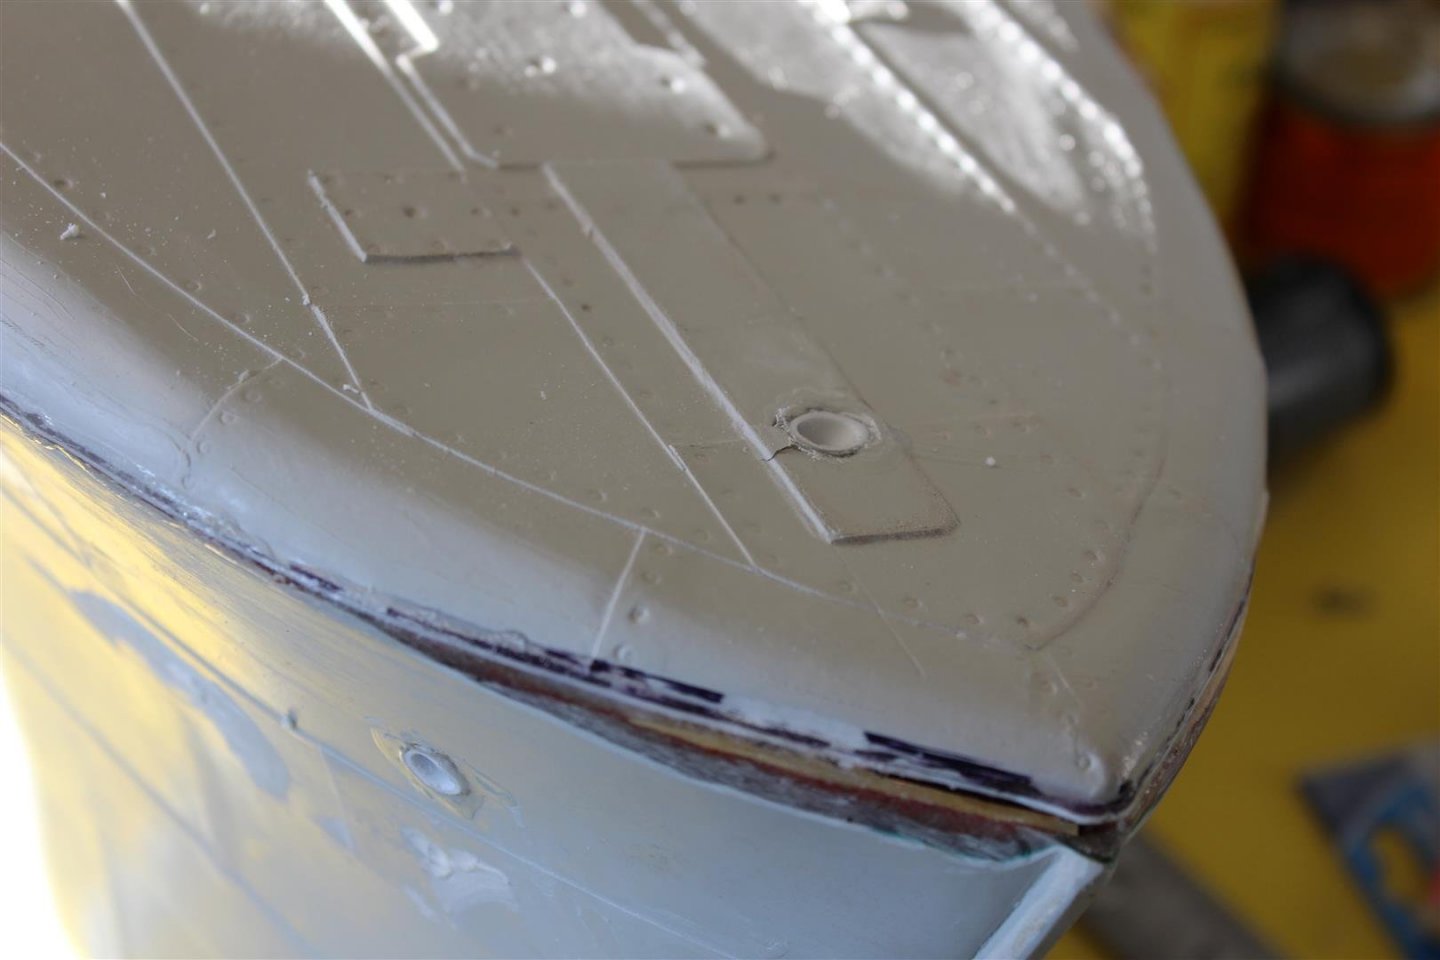
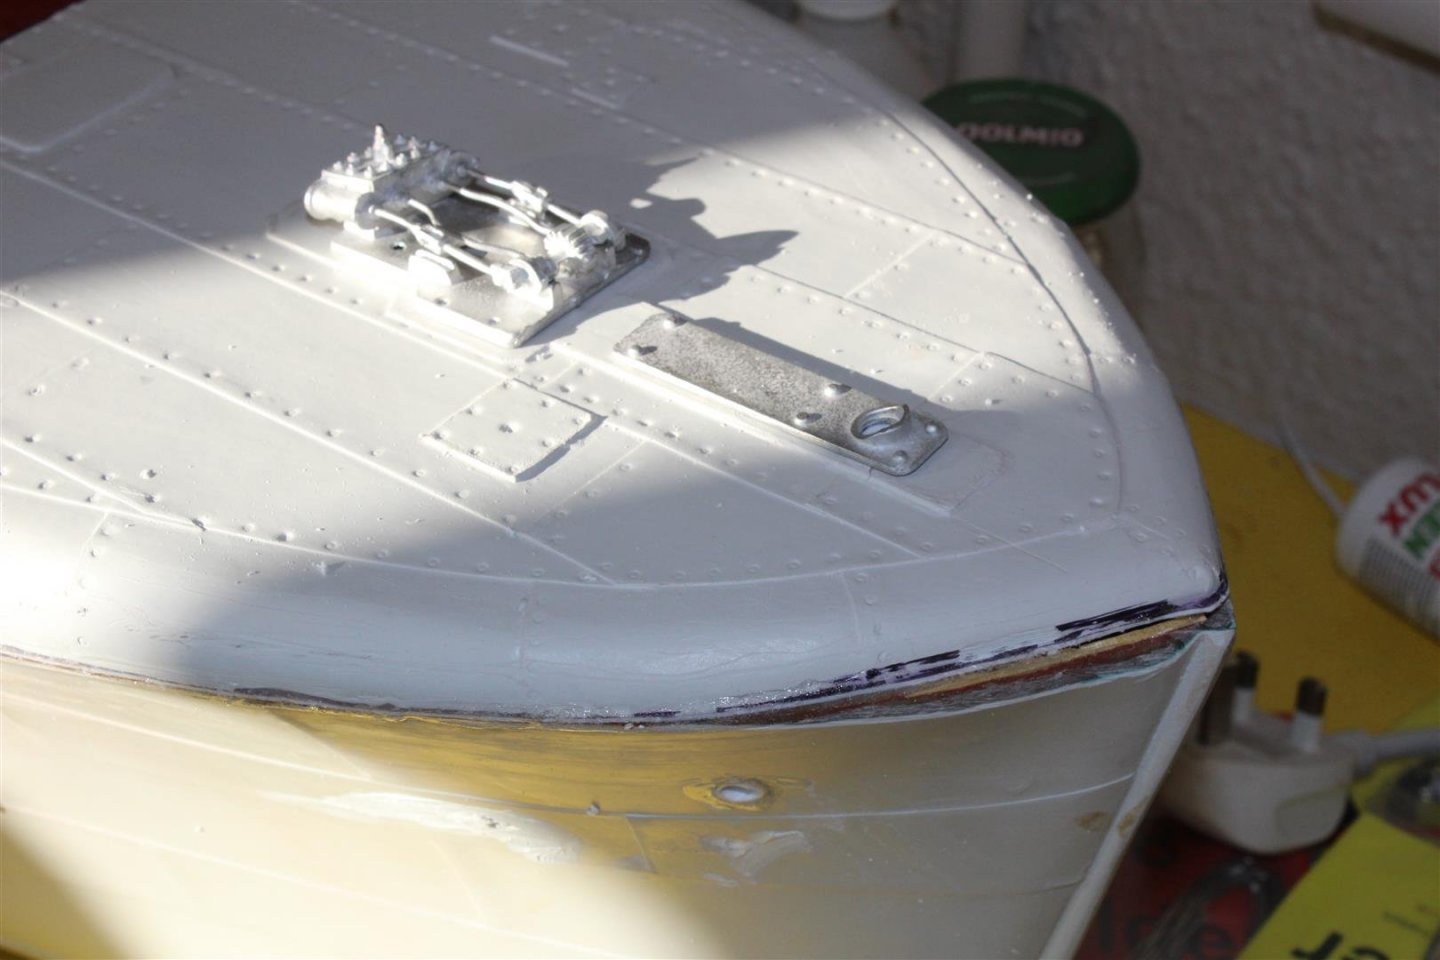
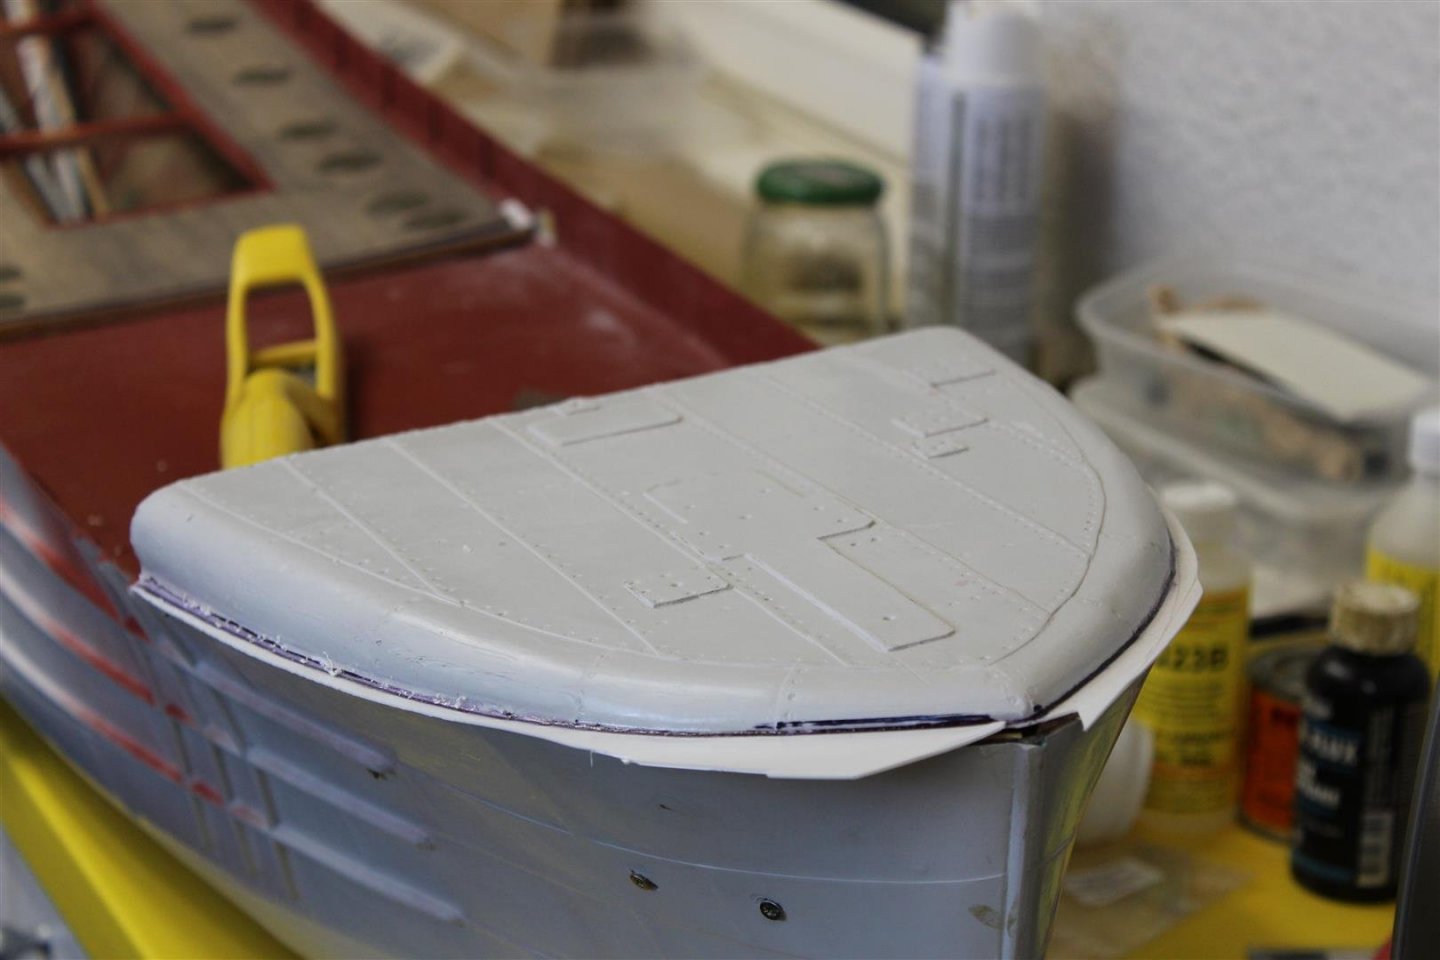
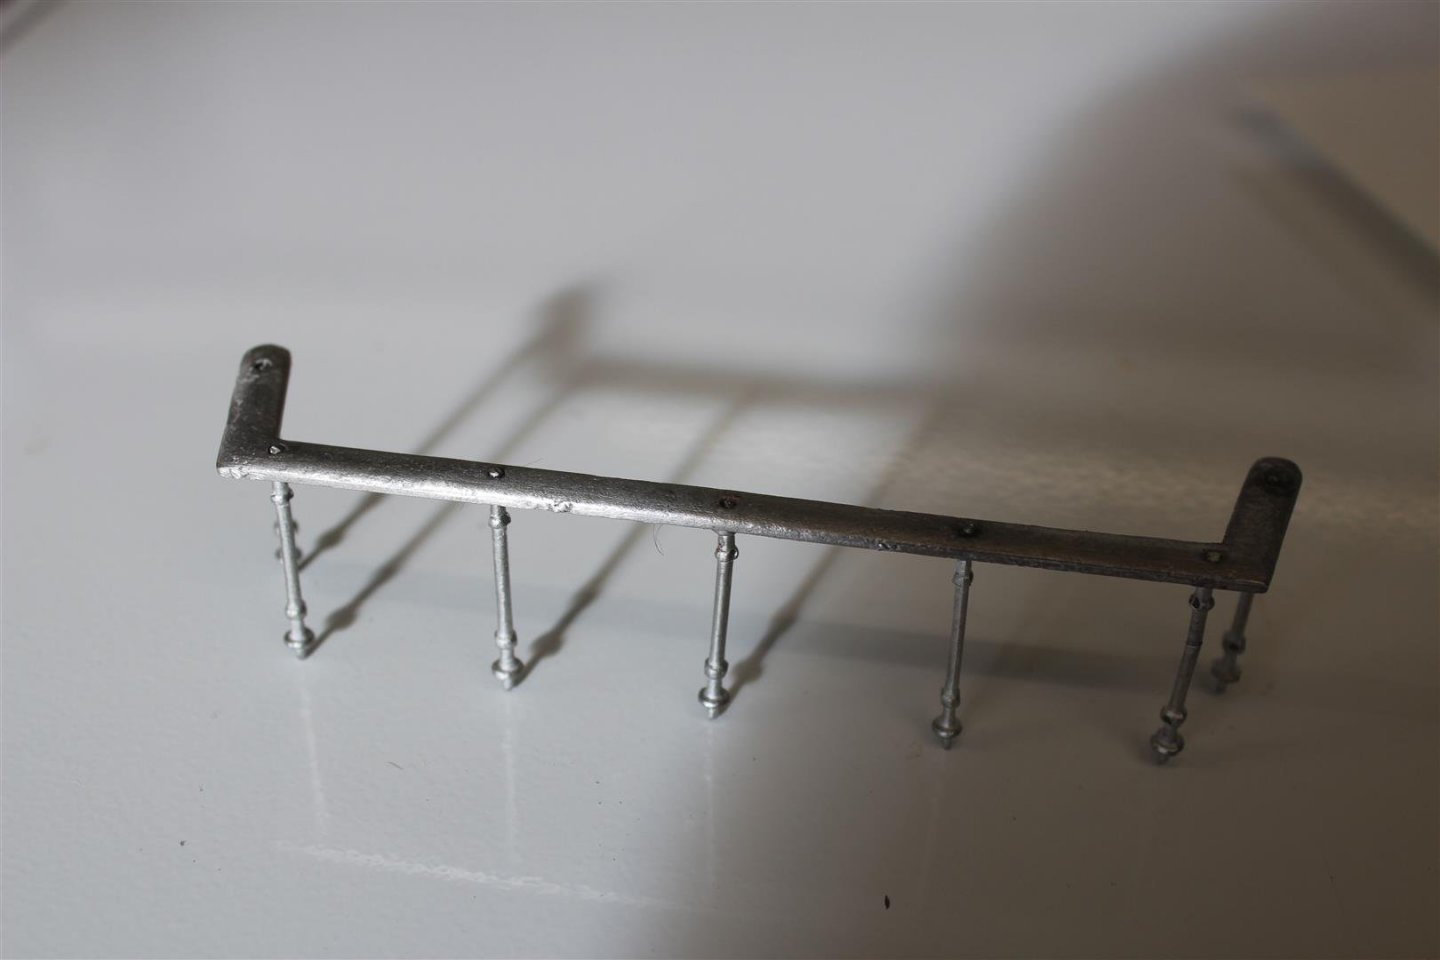
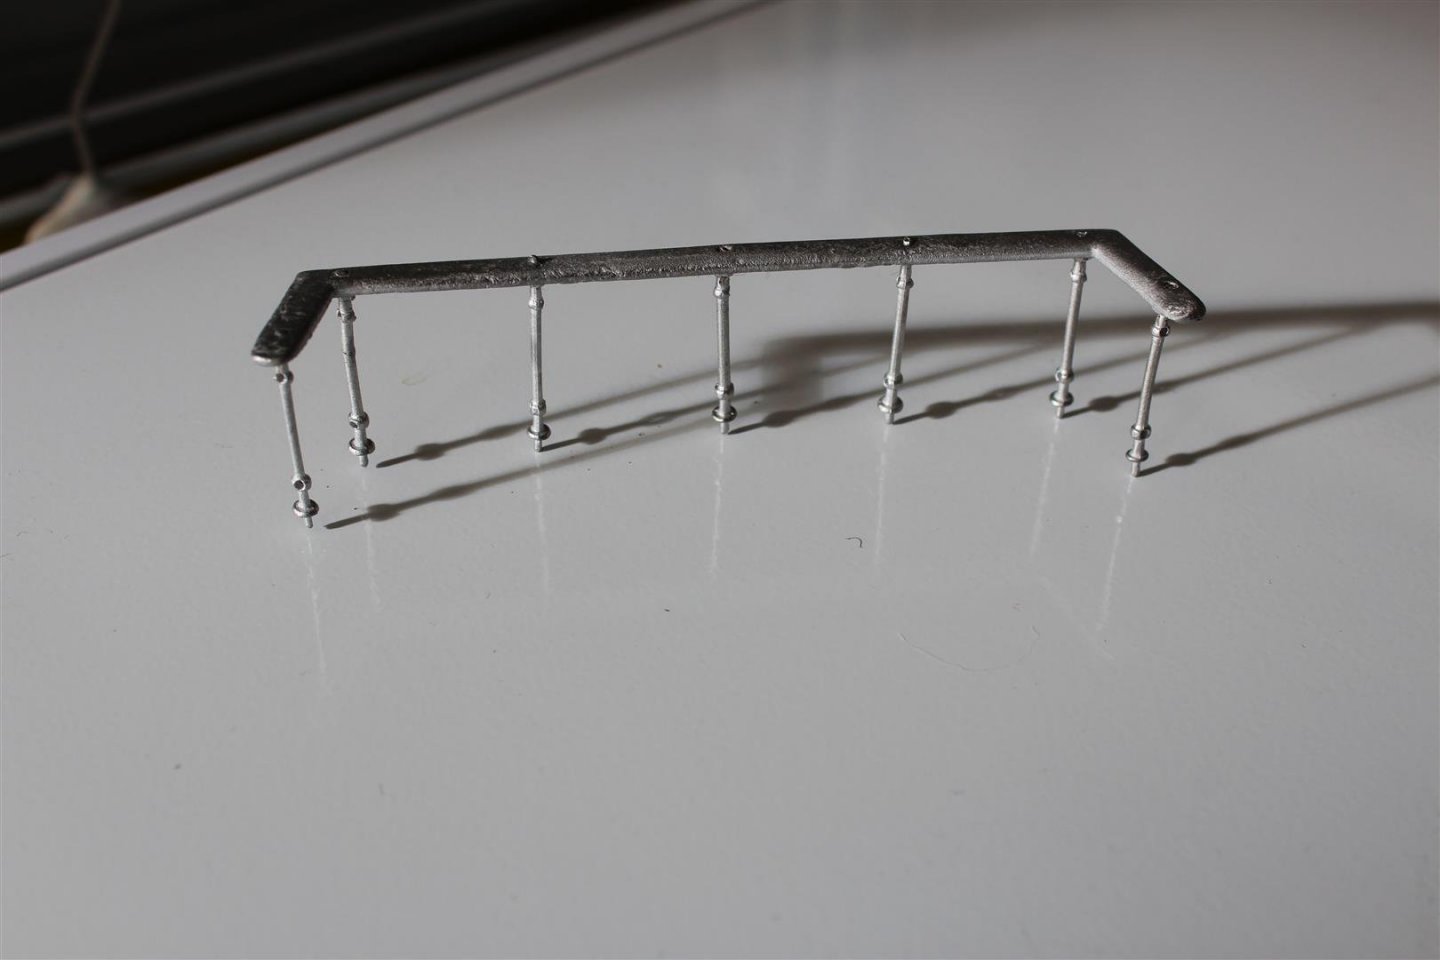
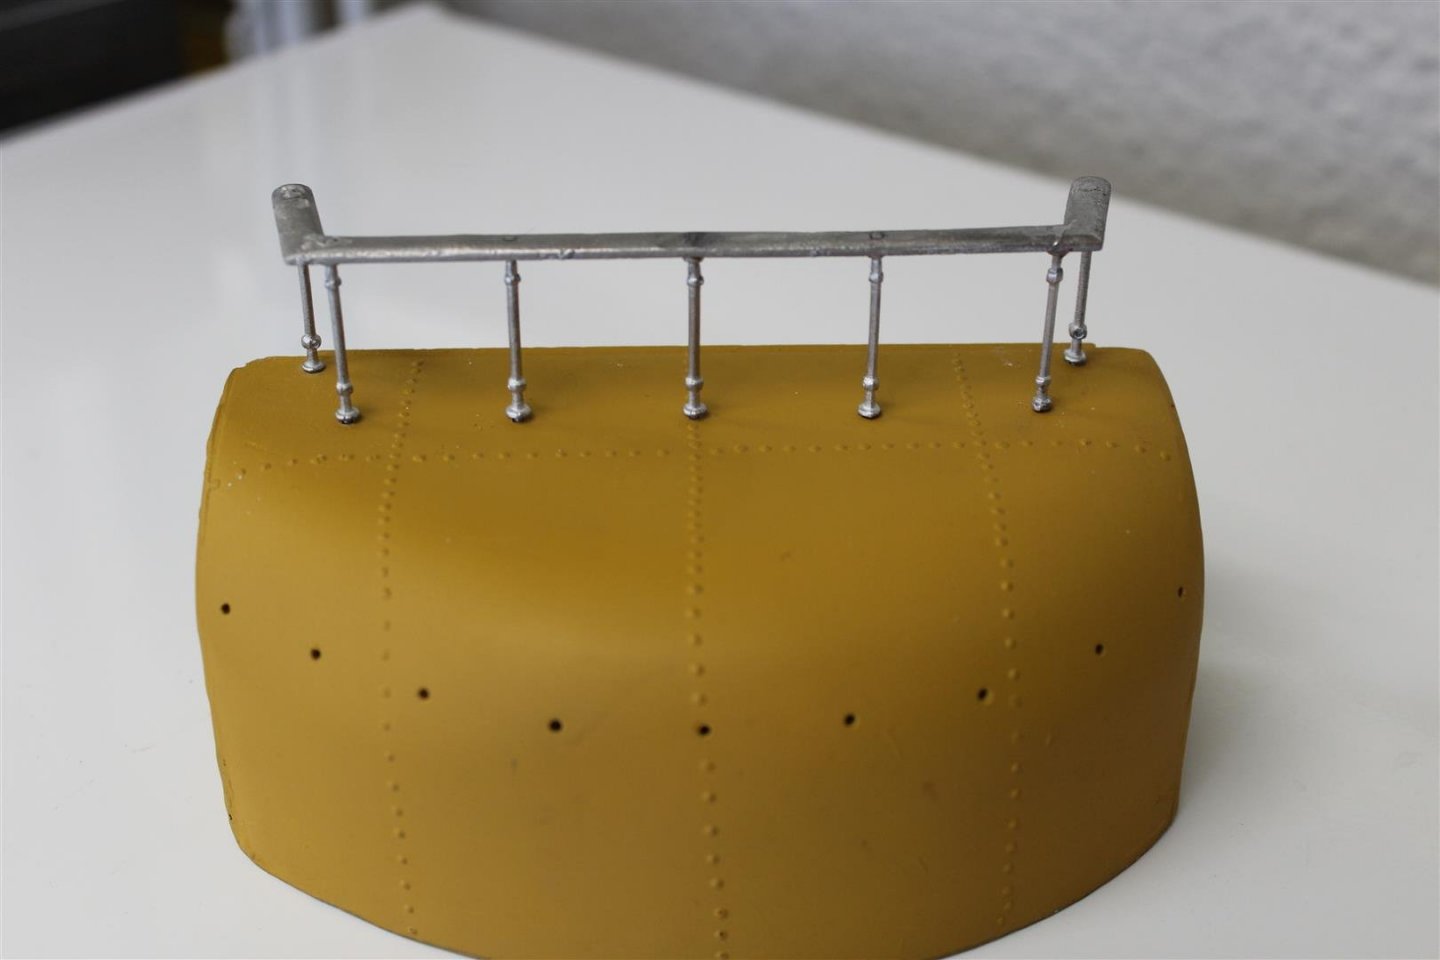
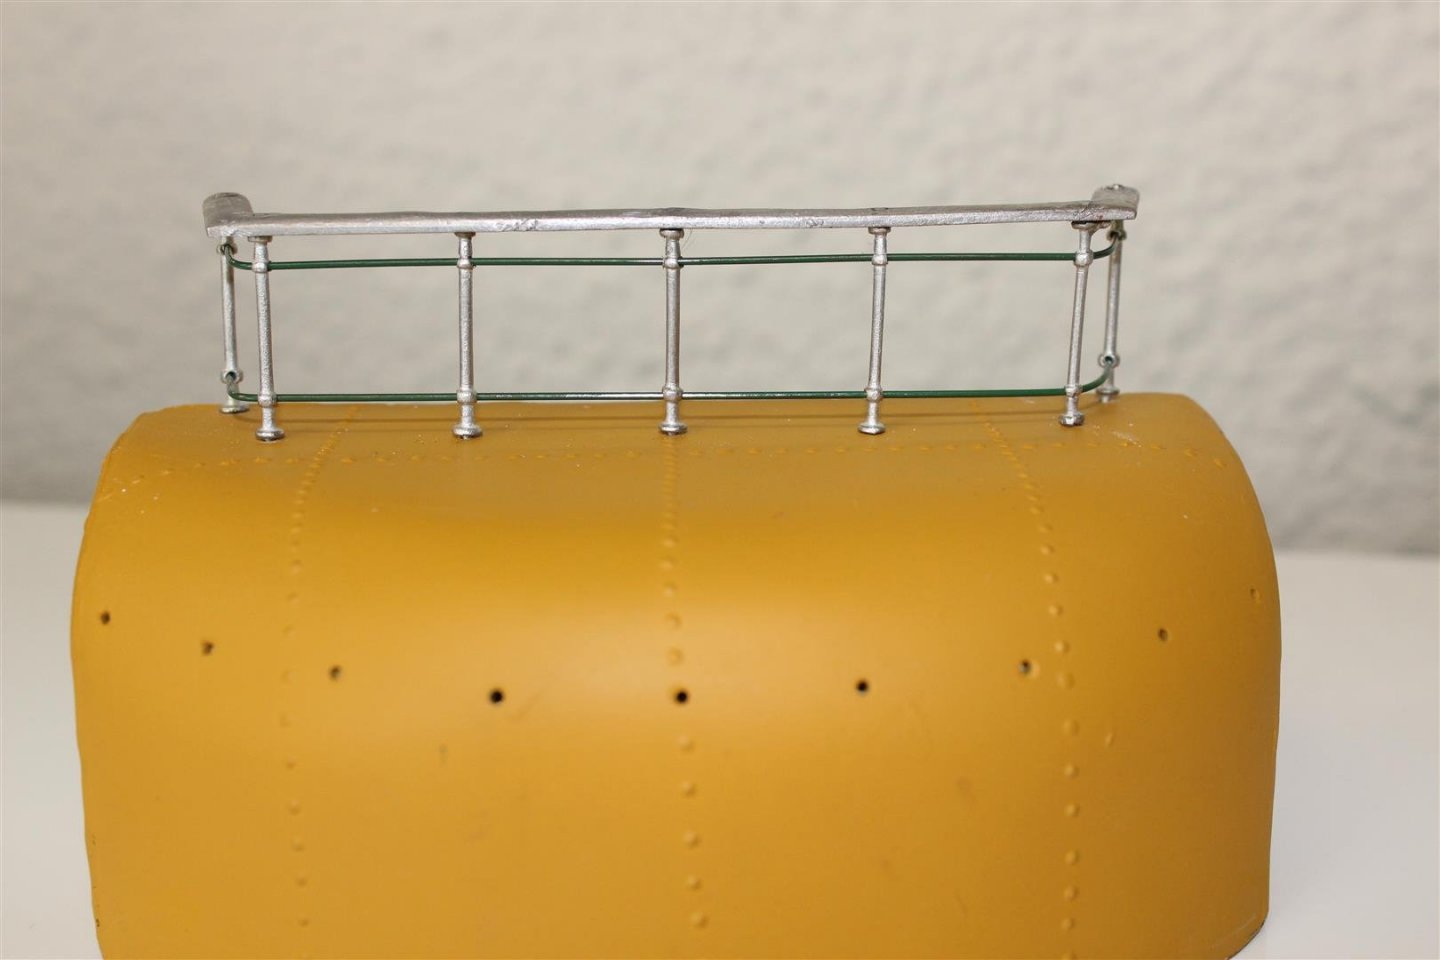
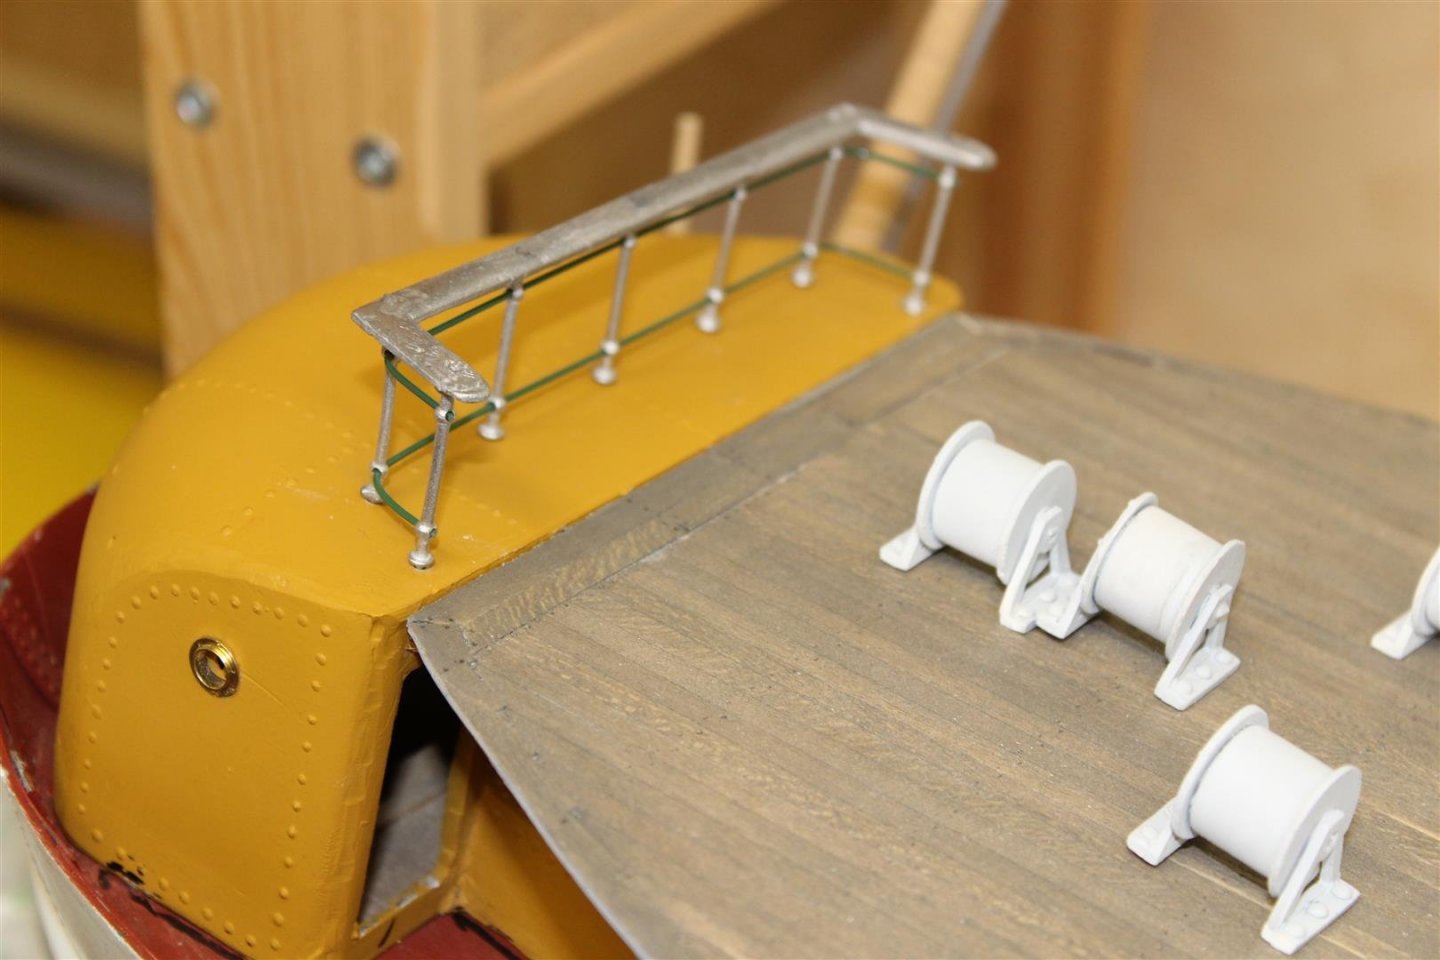
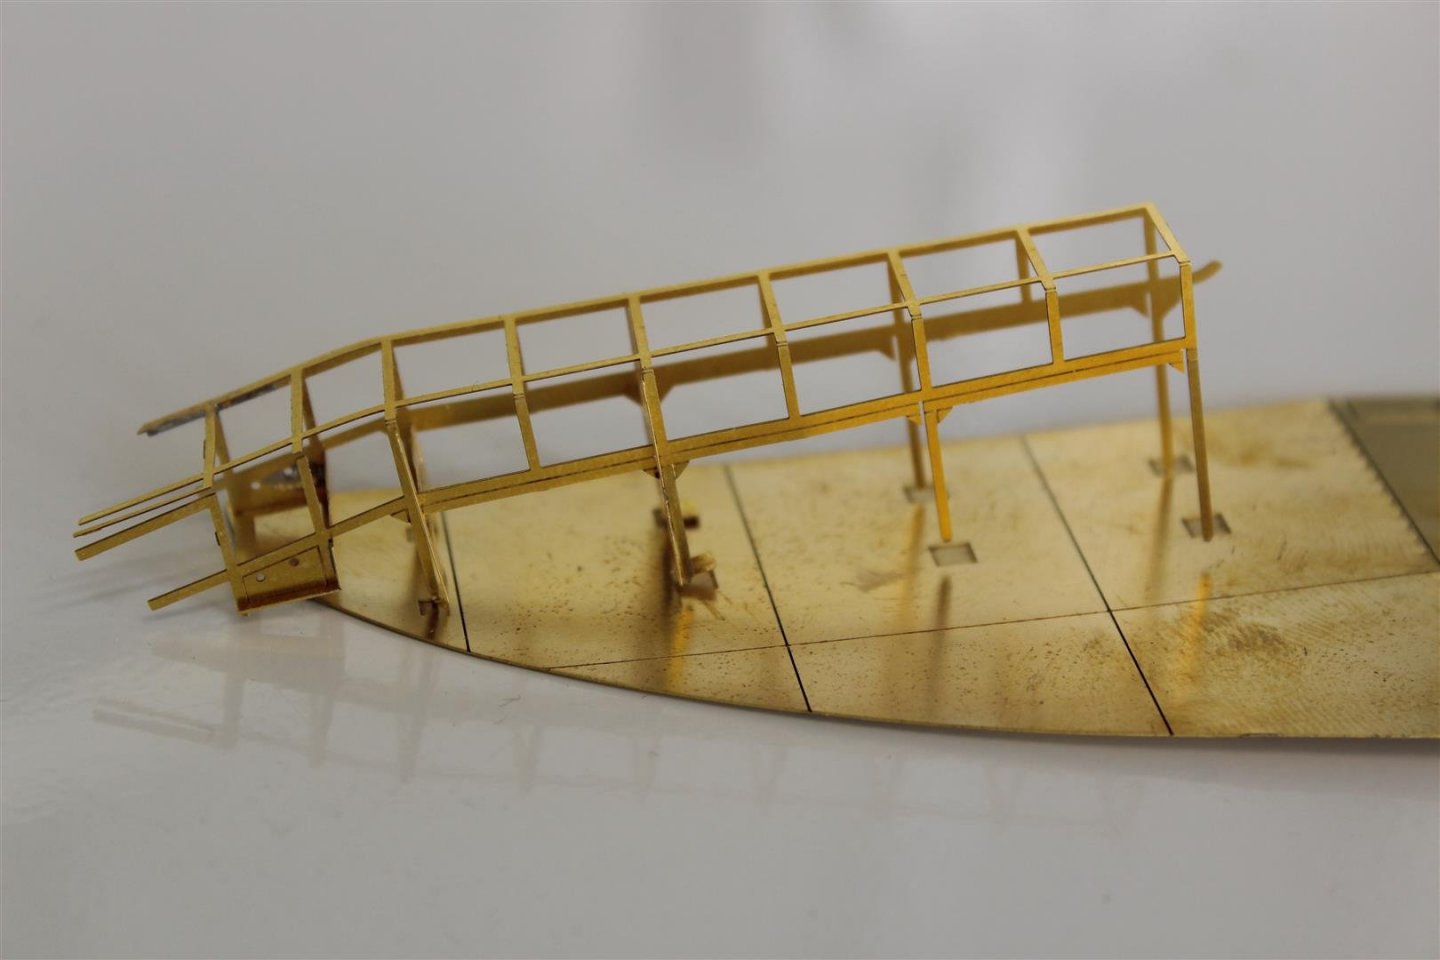
Good morning everyone fitting the Whale Back this is one of those jobs where i could have done with being outside with plenty of space and another set of hands, but it was pouring with wain and on me own lol thank god for superglue and activator/accelerator i had earlier fitted a sheet roughly the right shape to the underside and strip wood on the inside of the hull to double the amount of contact area i spread ca on the white plasticard and held it against the hull and bonded it with a quick spay, 1/2 hour later all done, the sanding down has revealed a gap at the bow, other than that im very happy with it more hand rails made ready for painting, if u ever decide what could to finish the build in


- 337 replies
-
- 10
-
-
- finished
- mountfleet models
- (and 1 more)
-
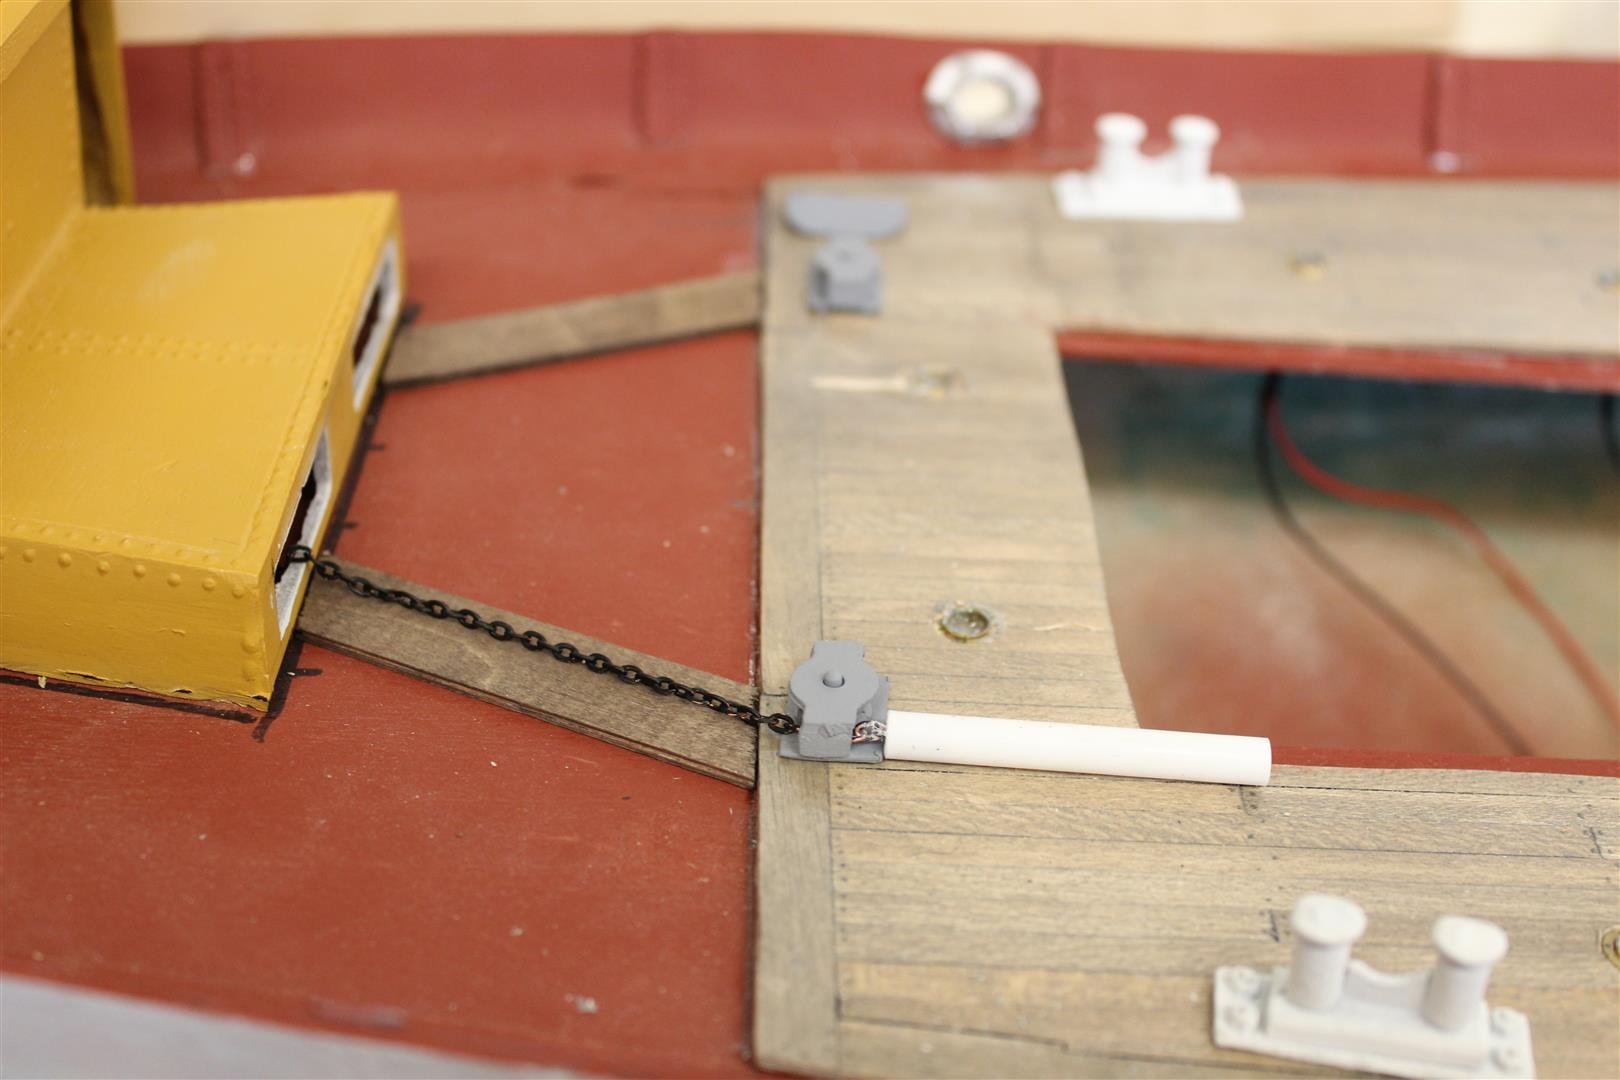
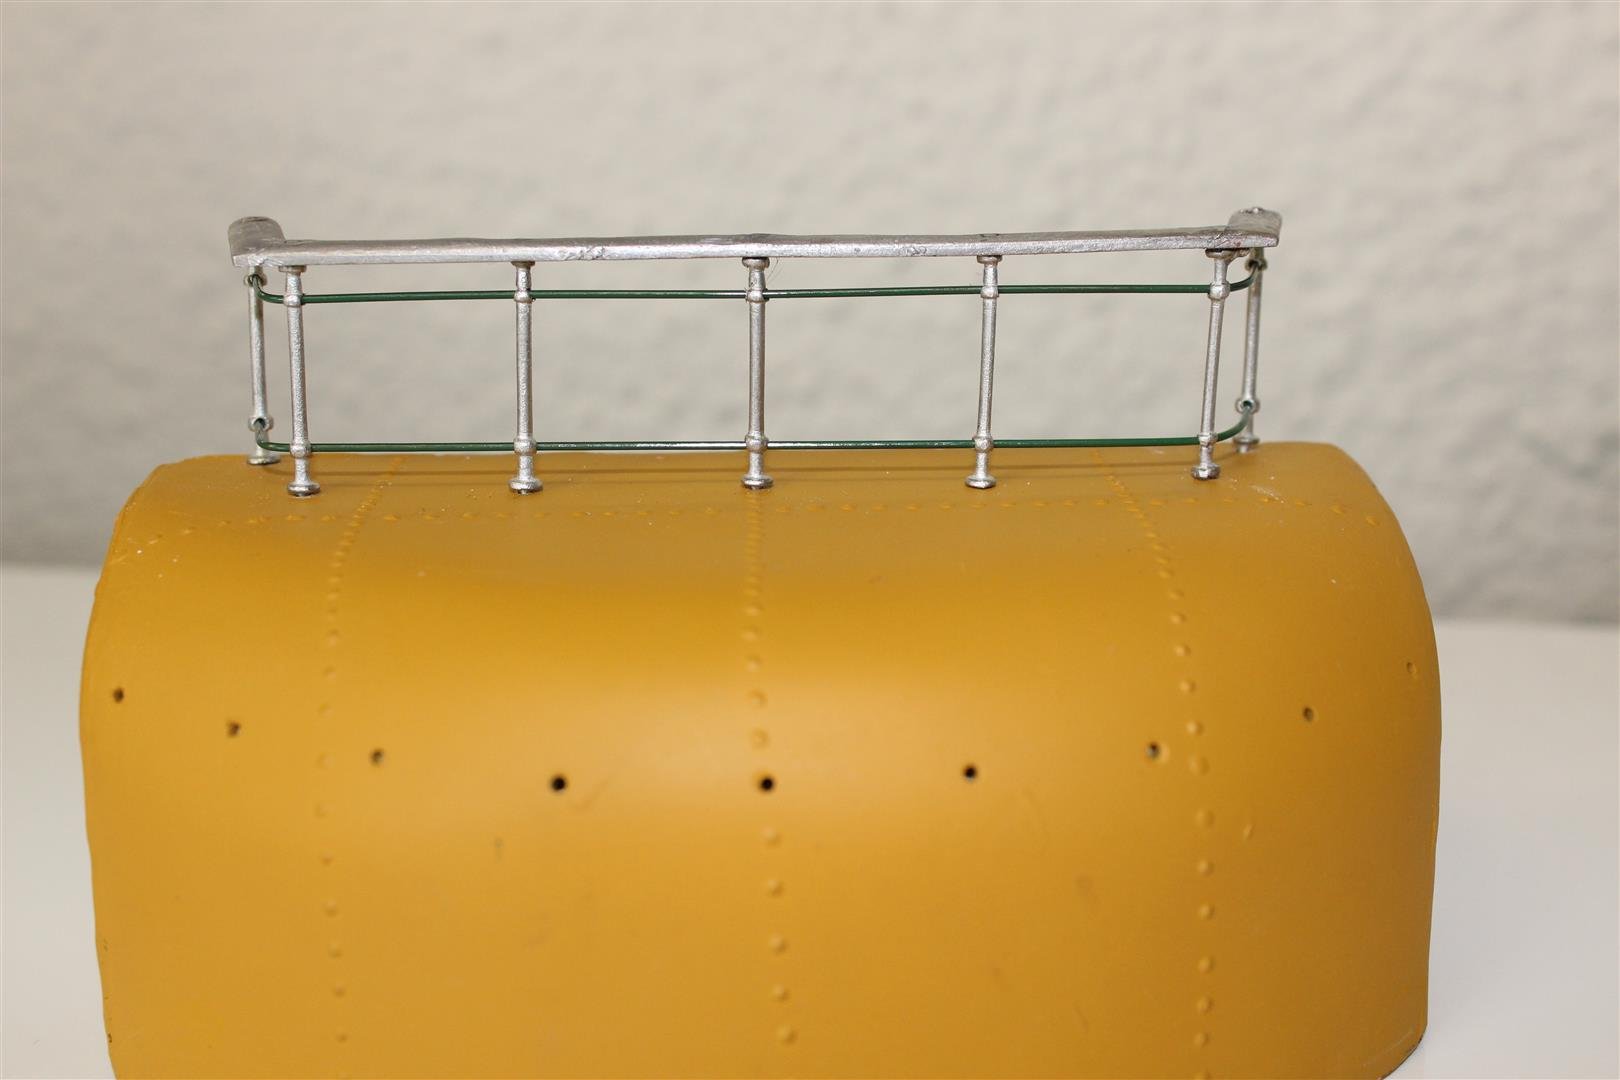
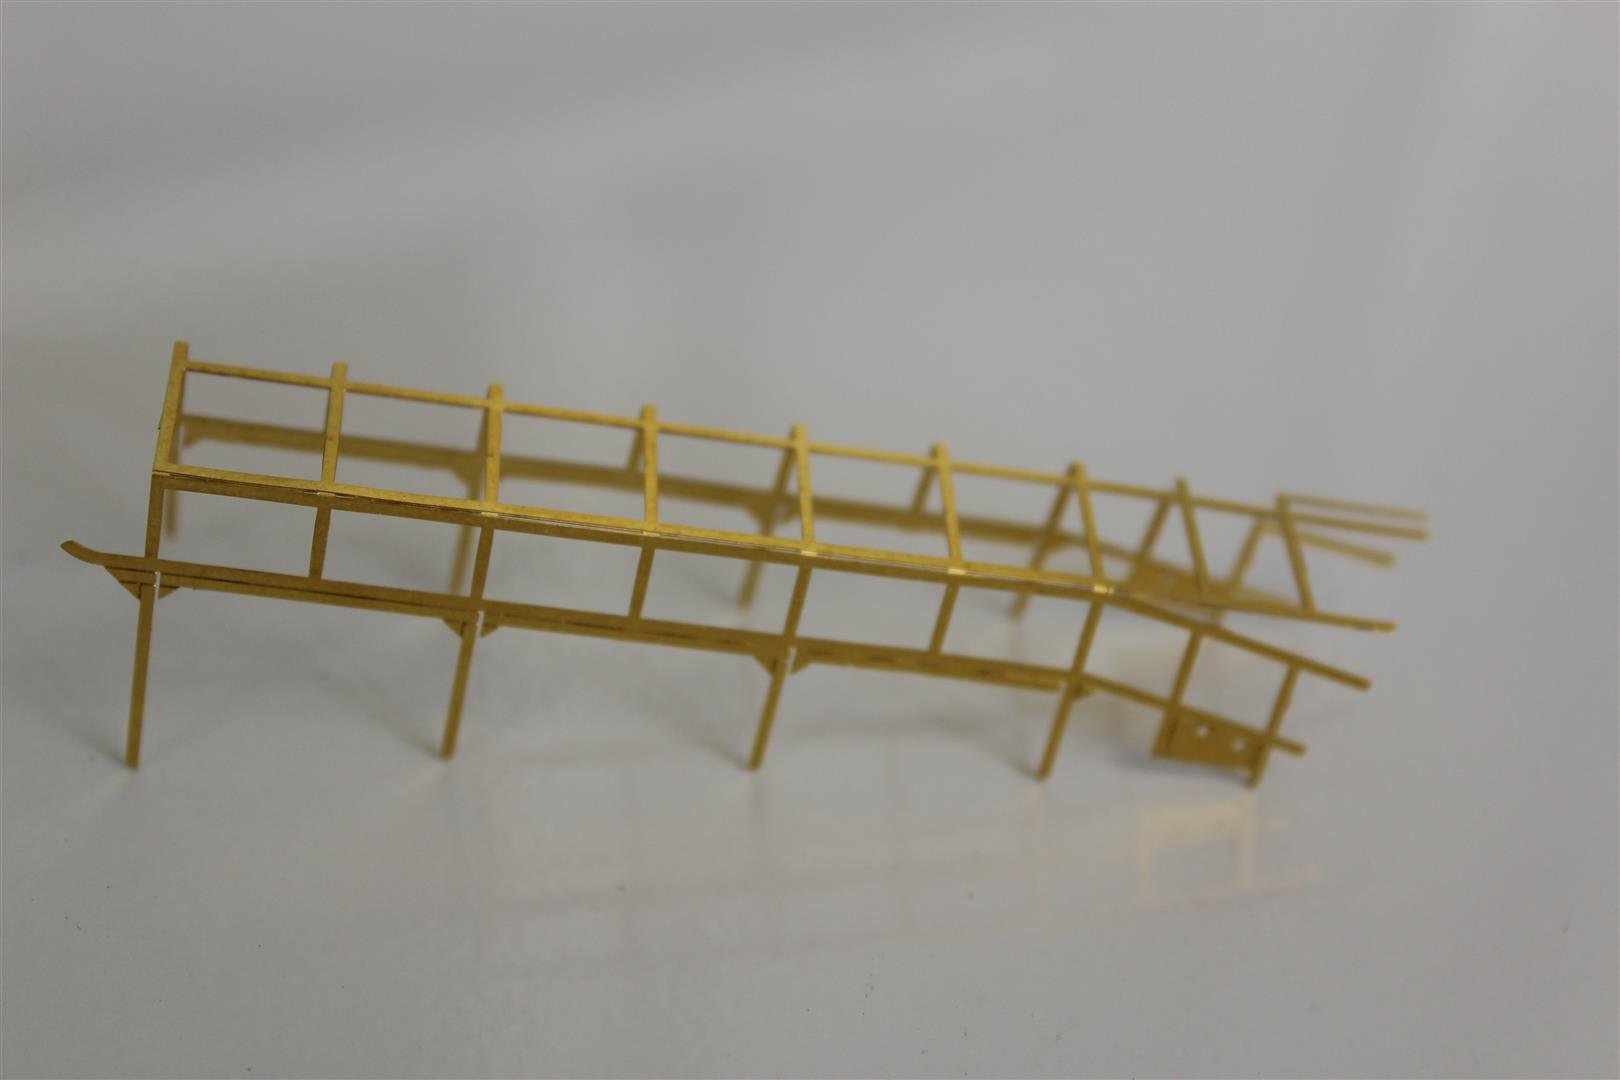
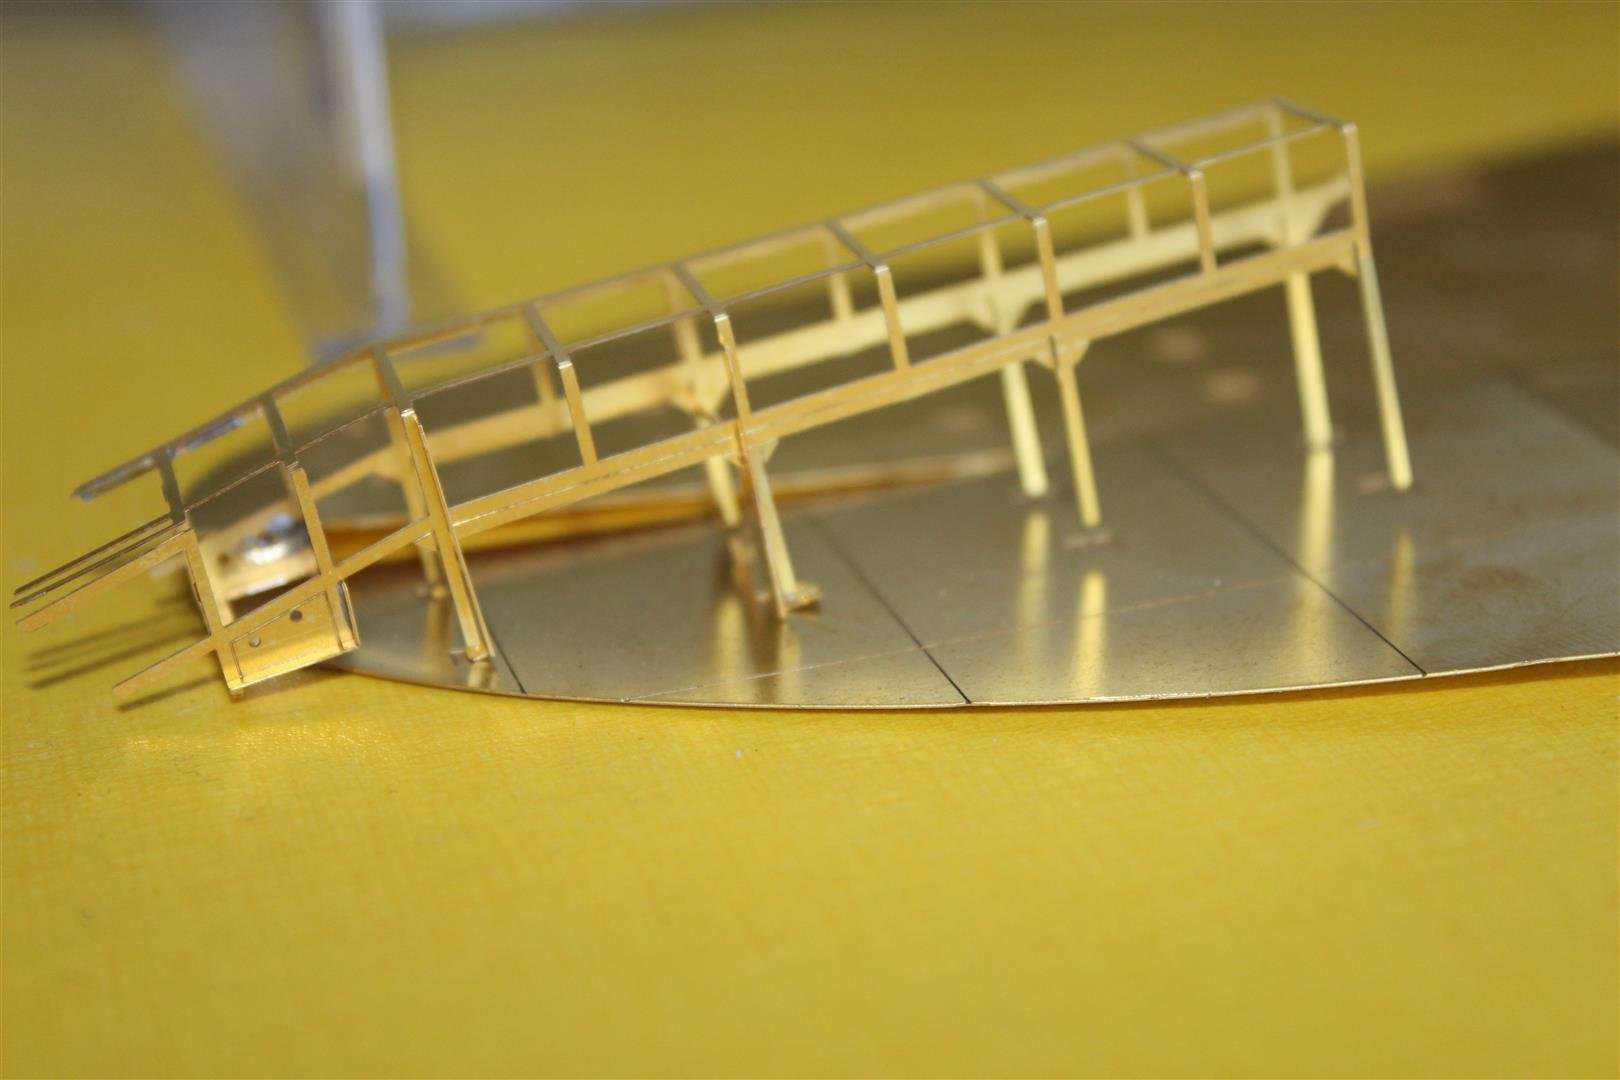
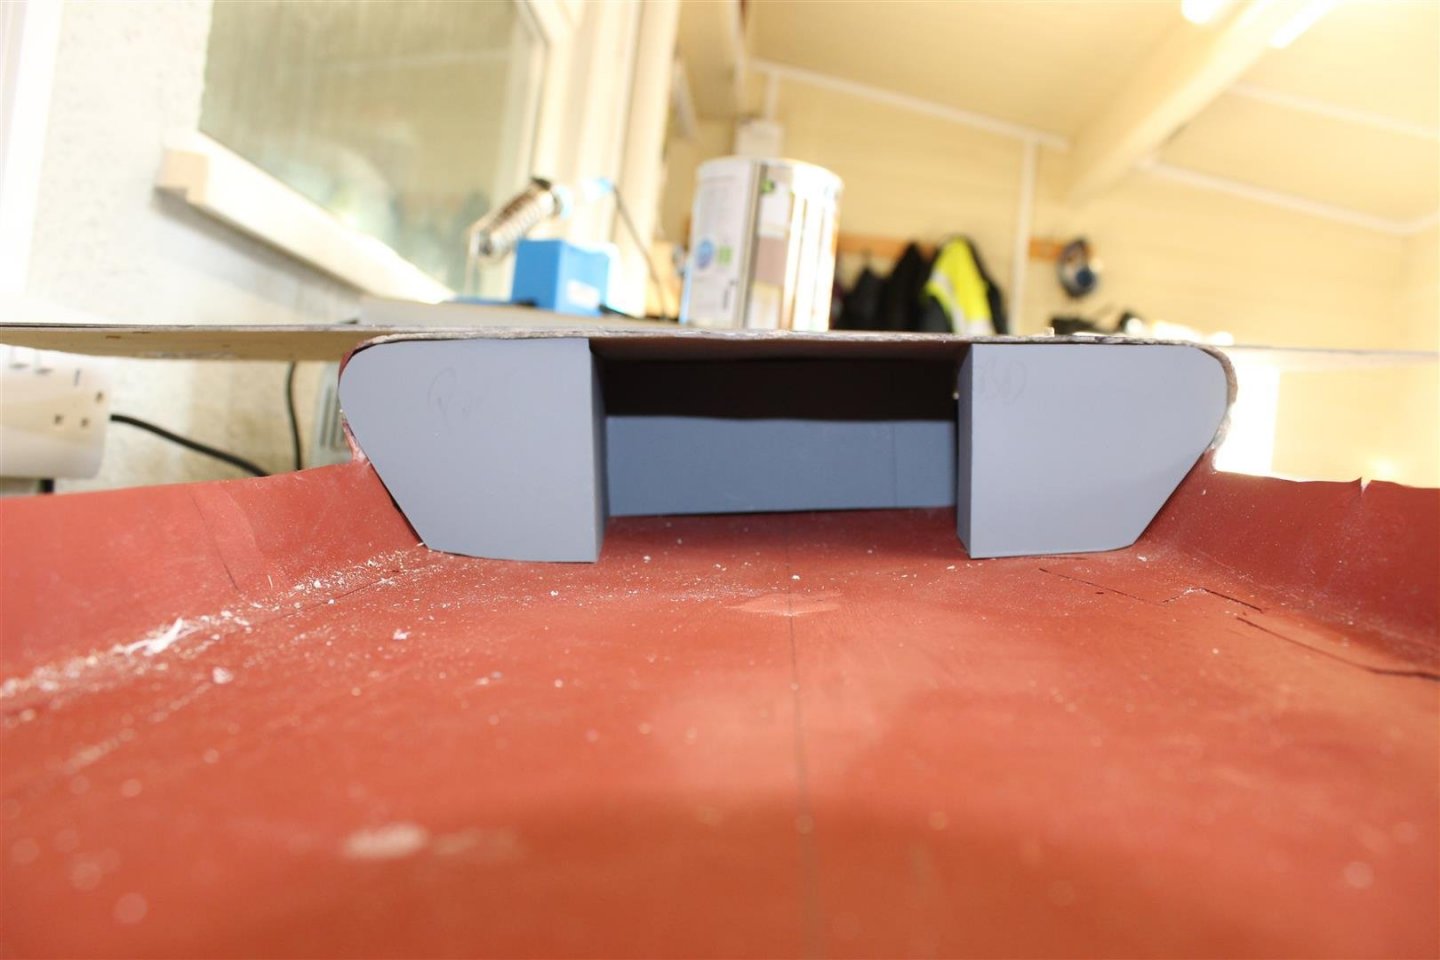
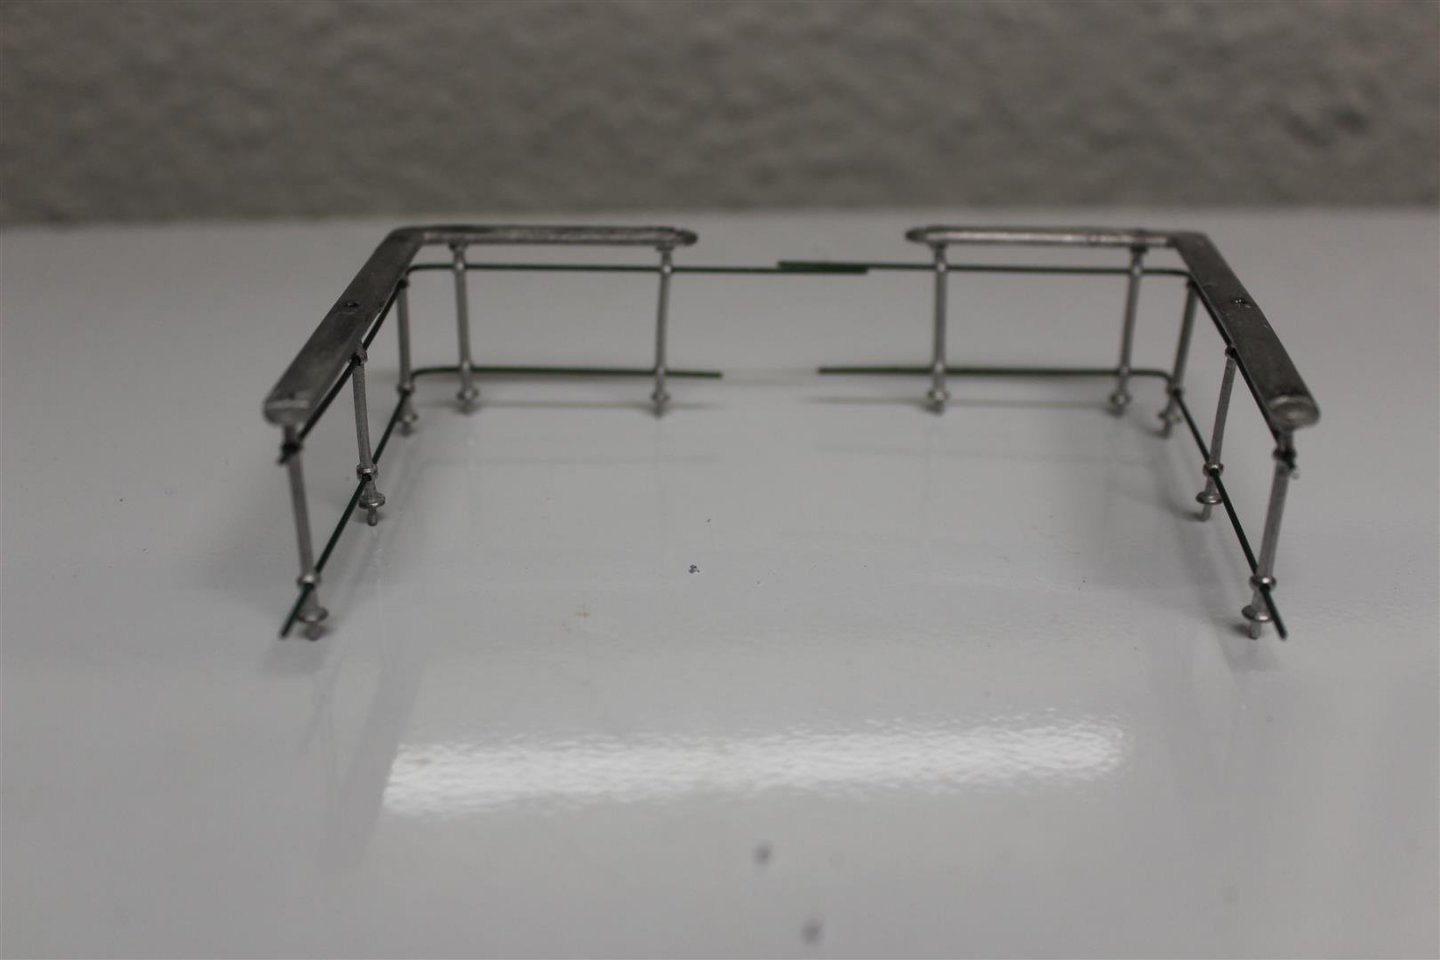
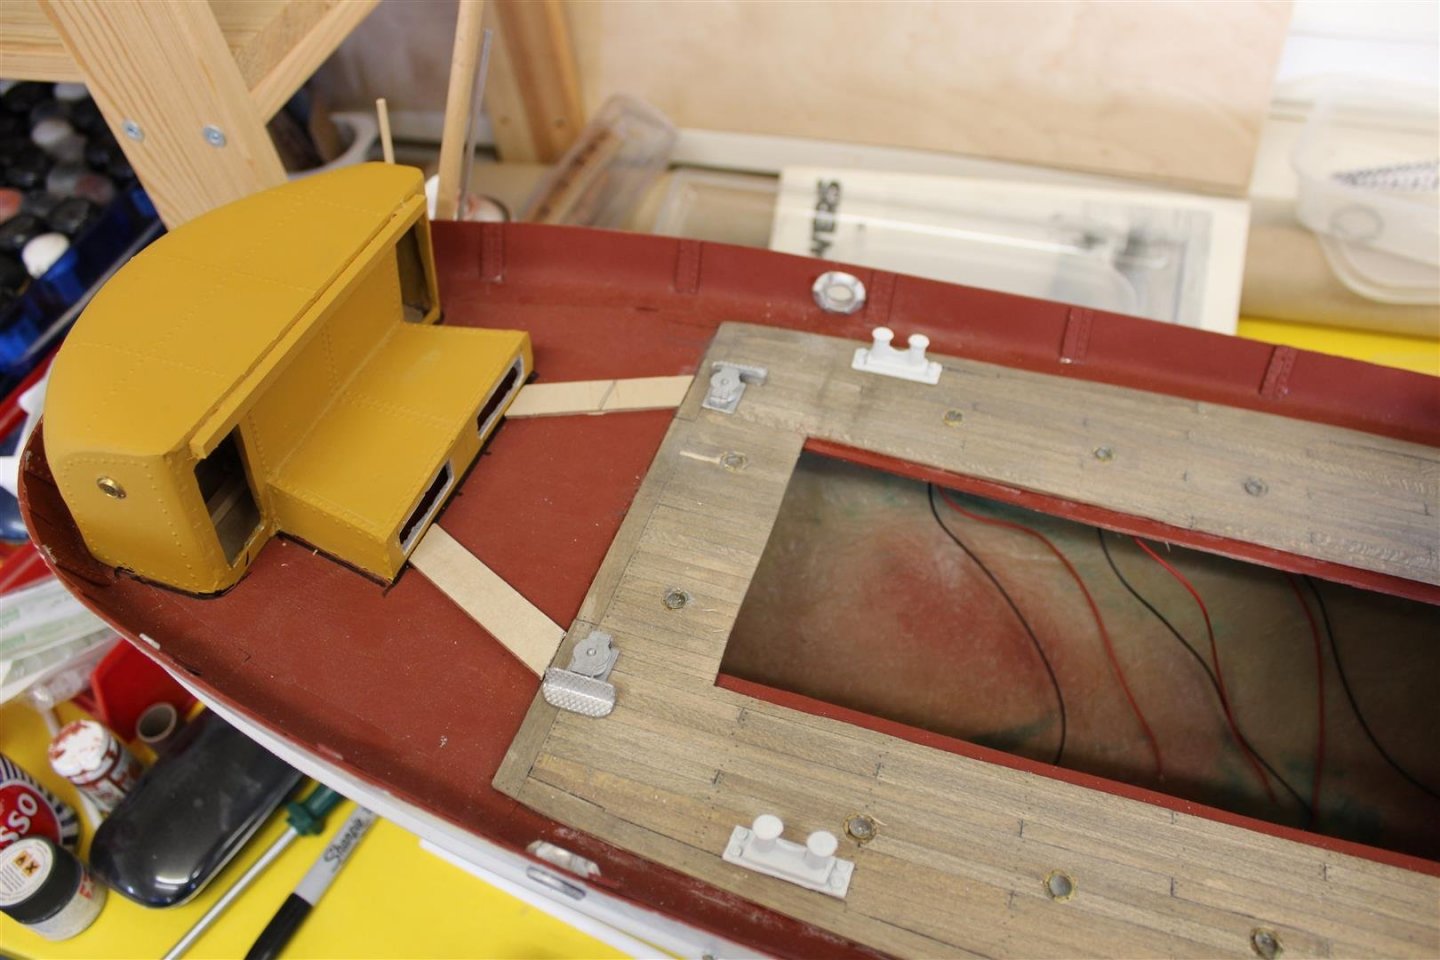
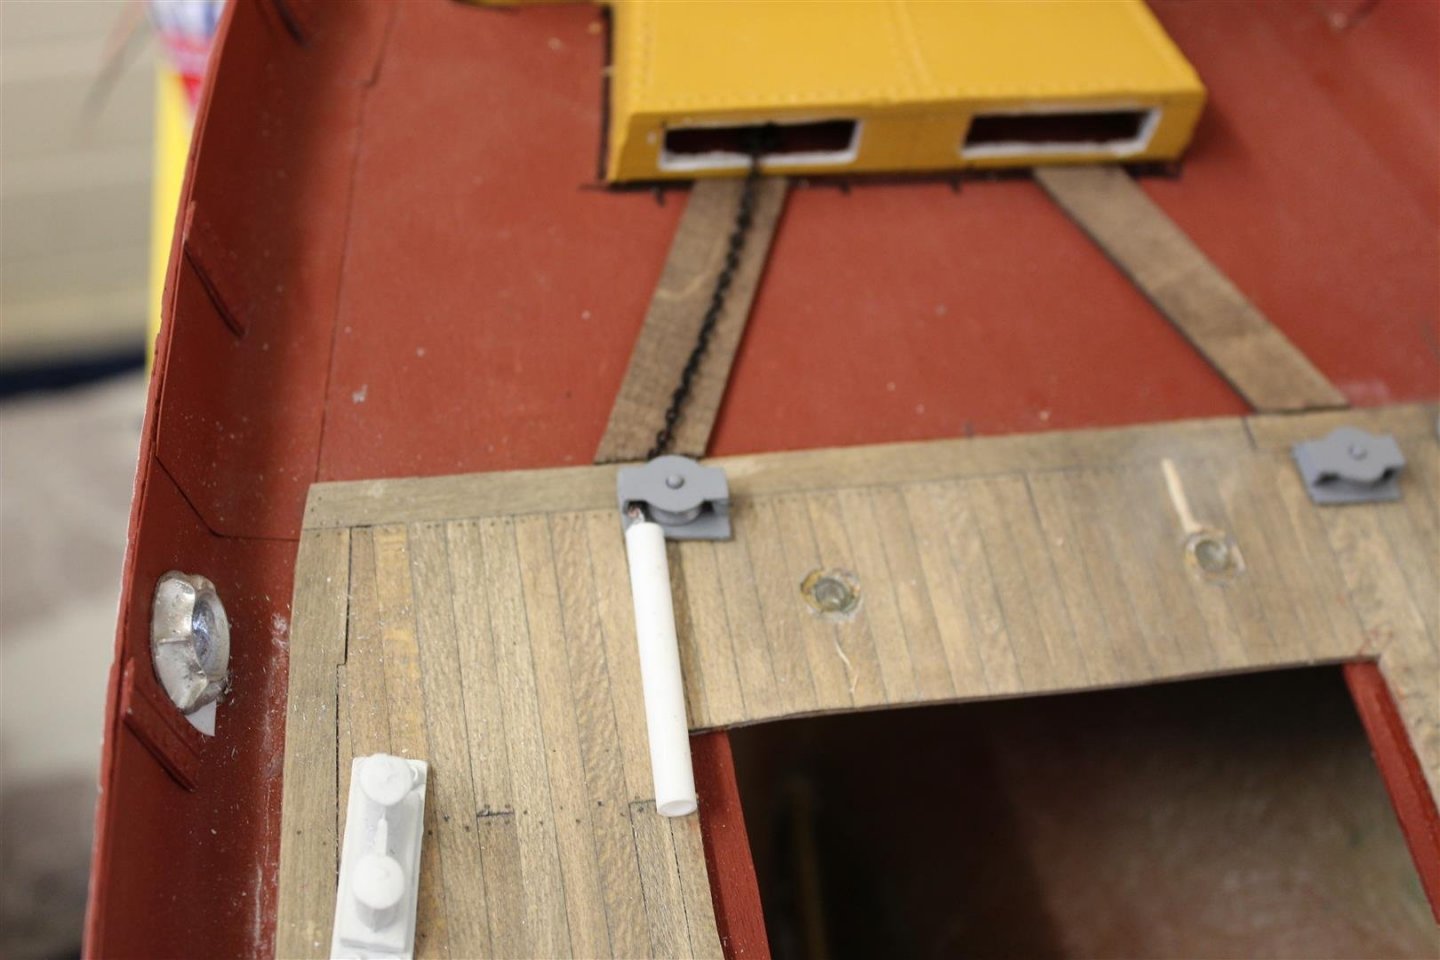
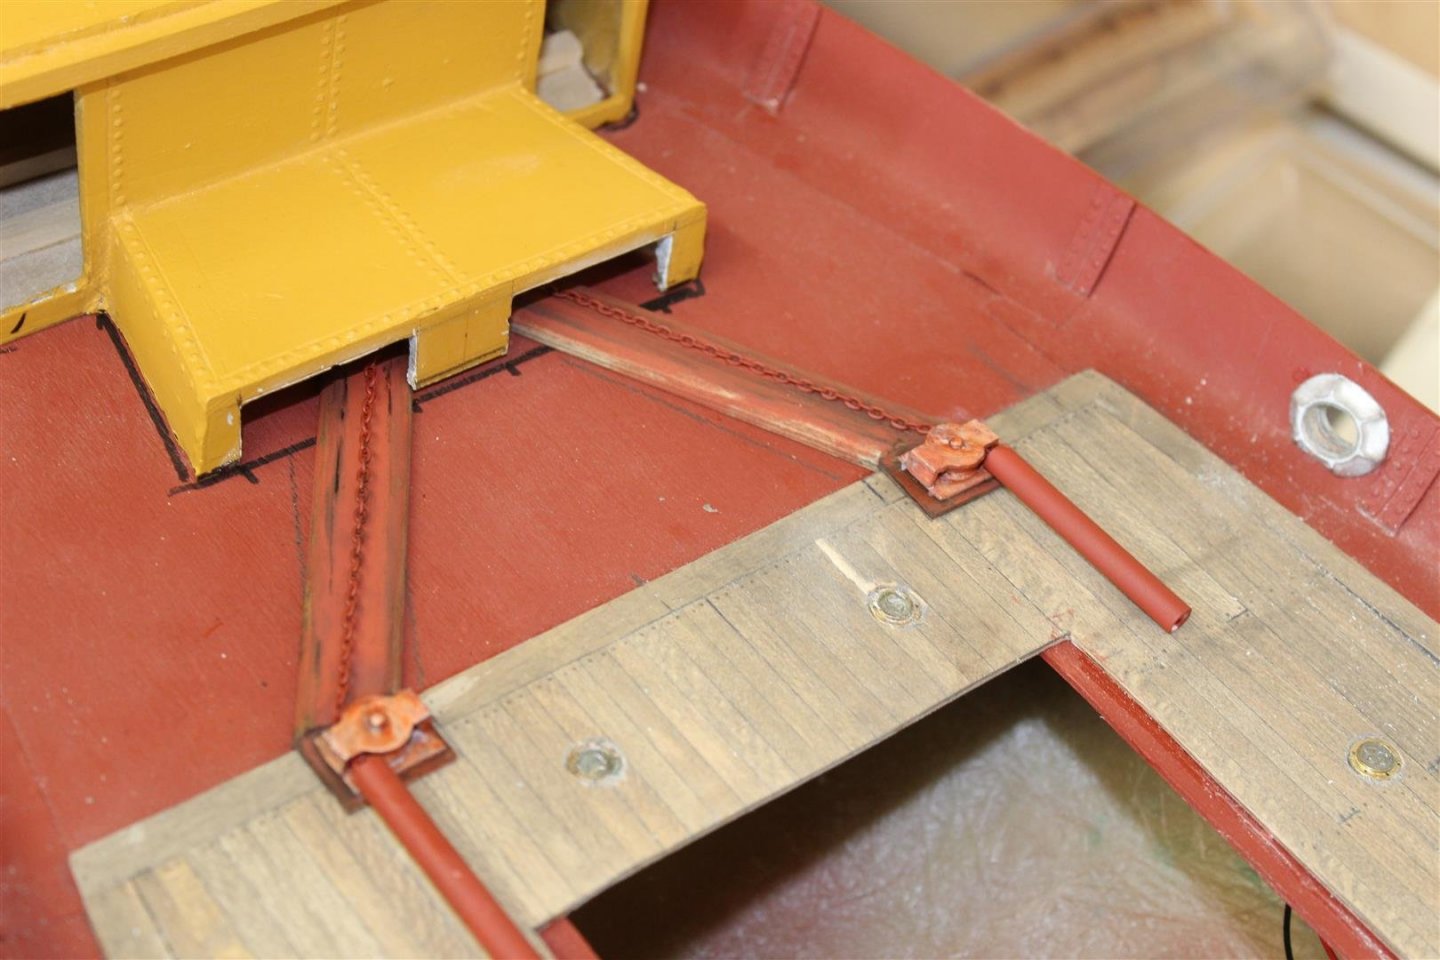
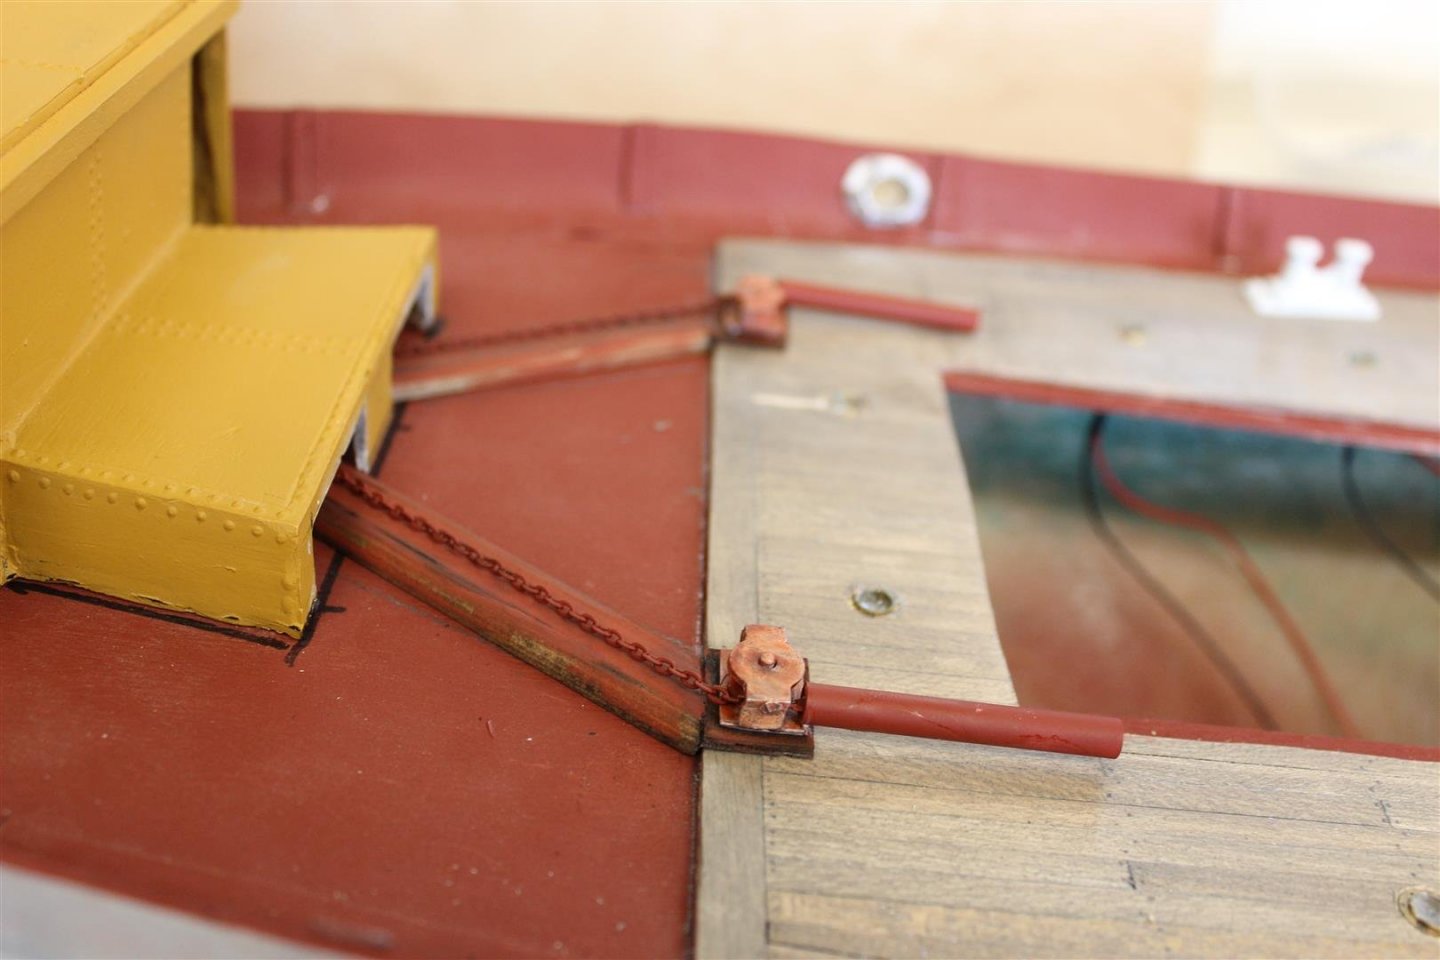
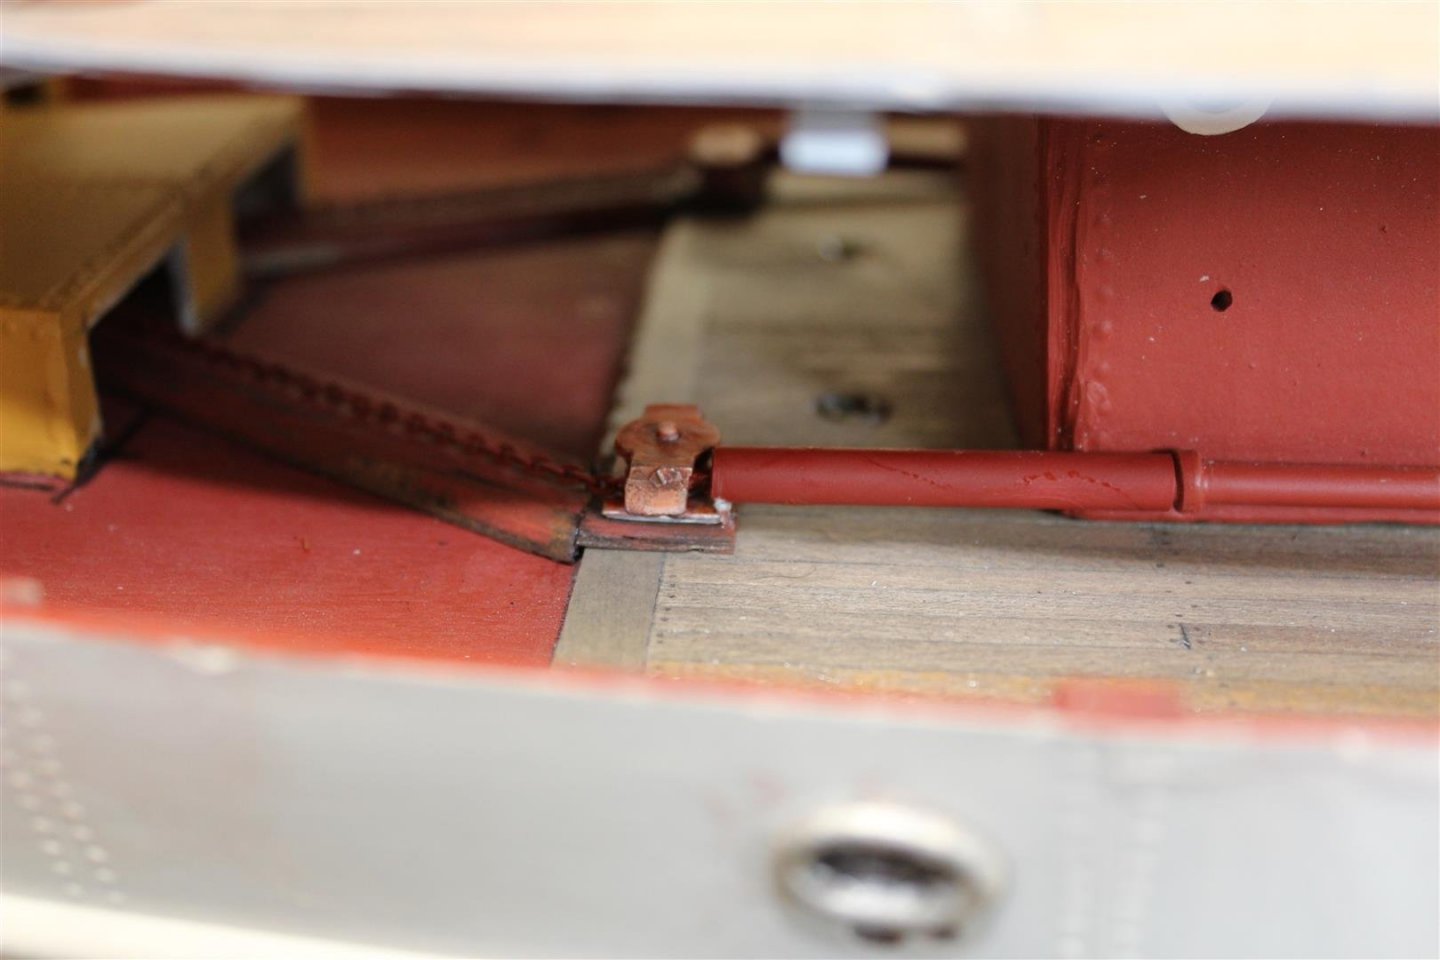
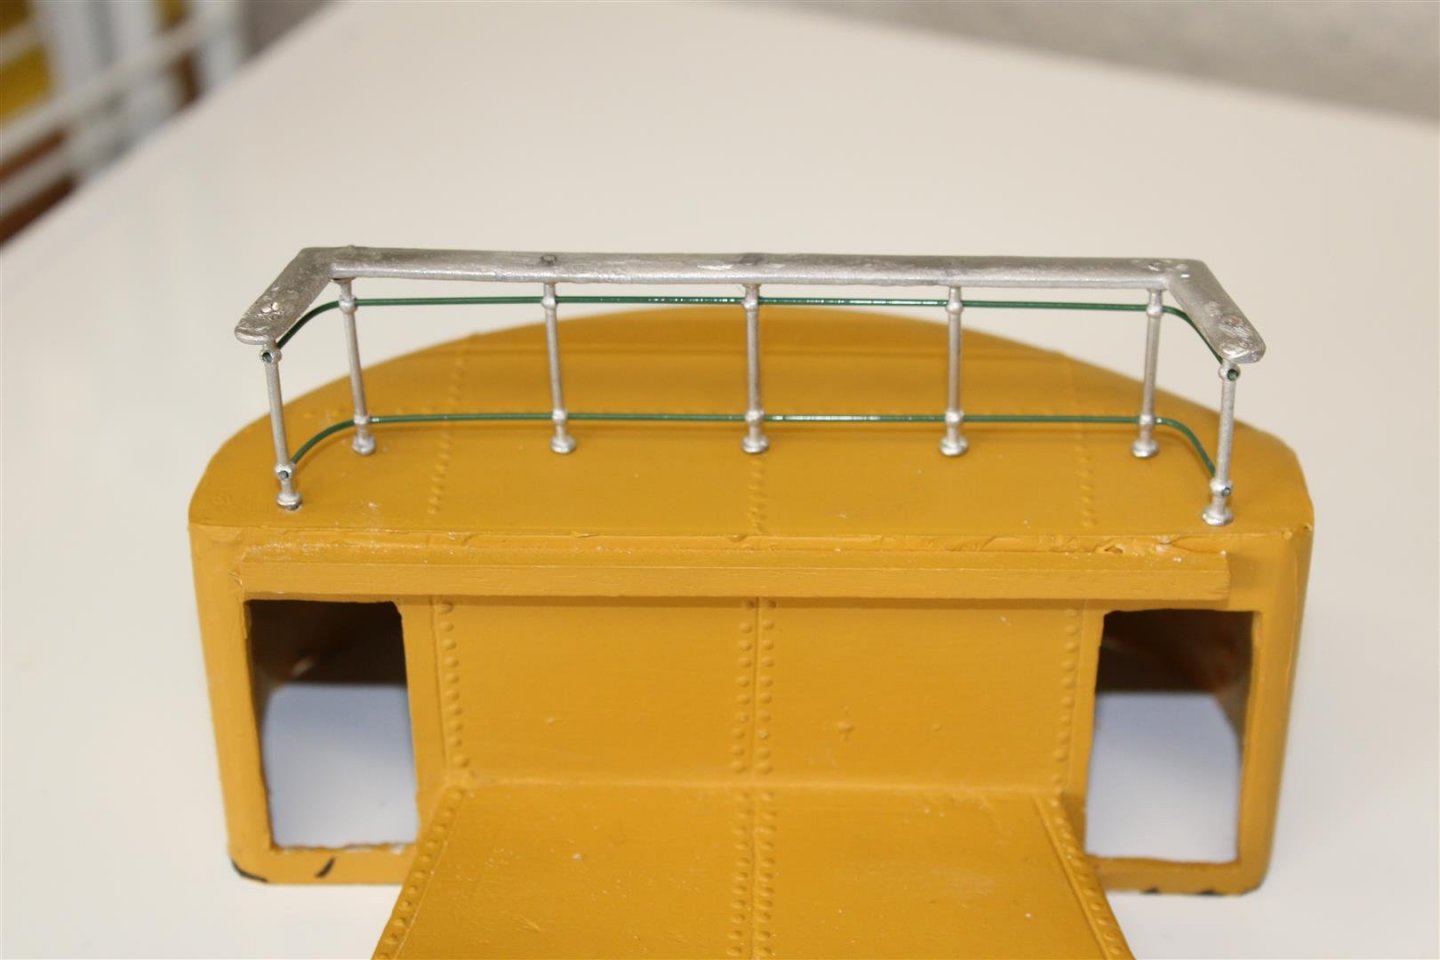
Good evening everyone work on the stern around the cod liver house, the rudder chains pass along the superstructure and then through a block along a skid and dissappear under the cod liver house. thats fine, BUT the superstructure is removable the chains on the blocks are not, so i had to think of a way to allow that i have created a dummy tubes that passes over the one fixed to the superstructure then made up the hans rail on top of the cod liver house


- 337 replies
-
- 12
-
-
- finished
- mountfleet models
- (and 1 more)
-
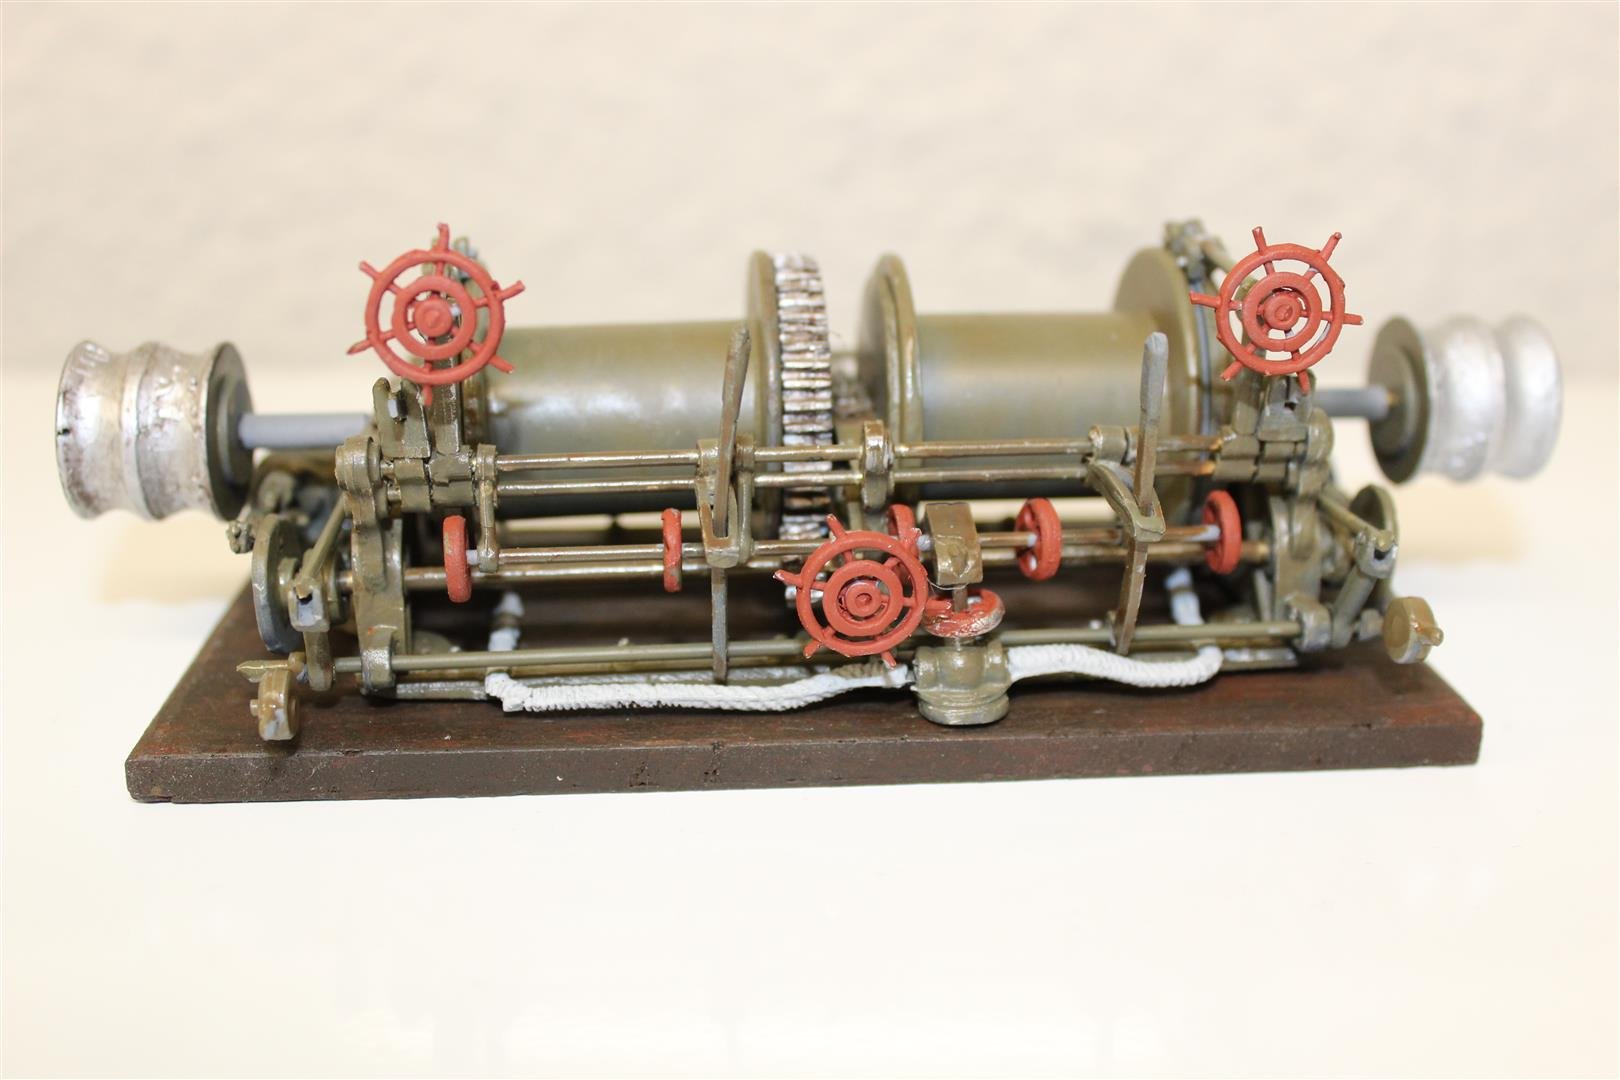
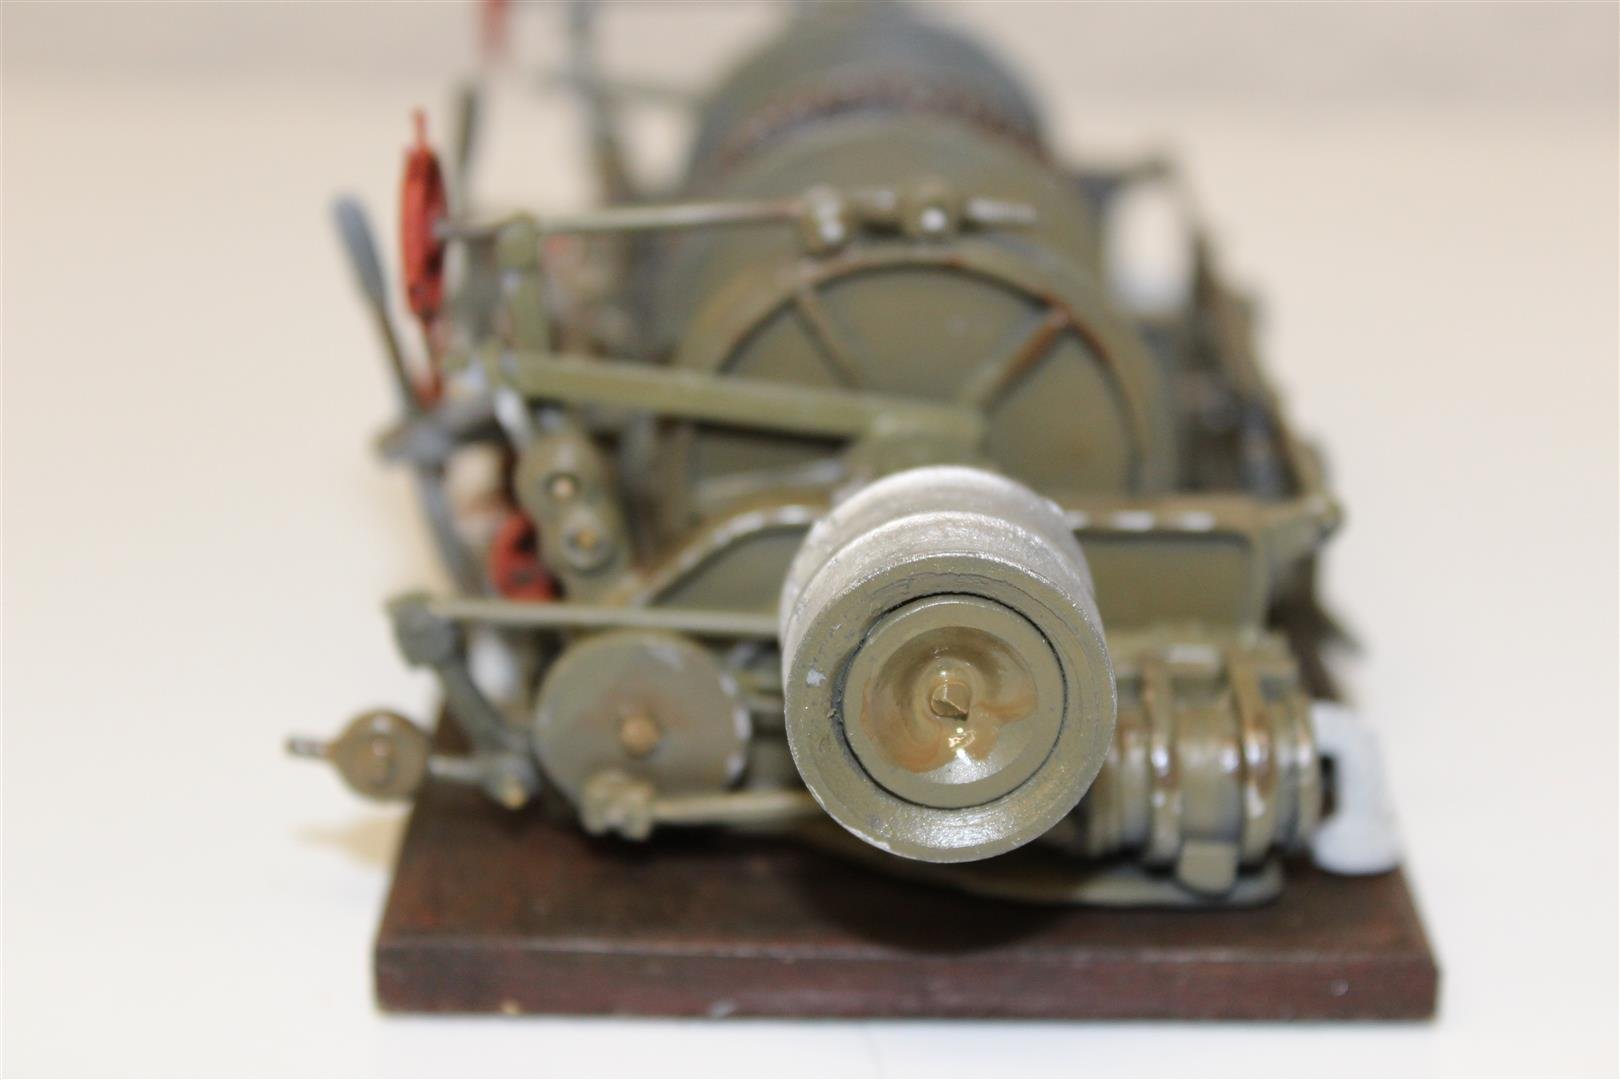
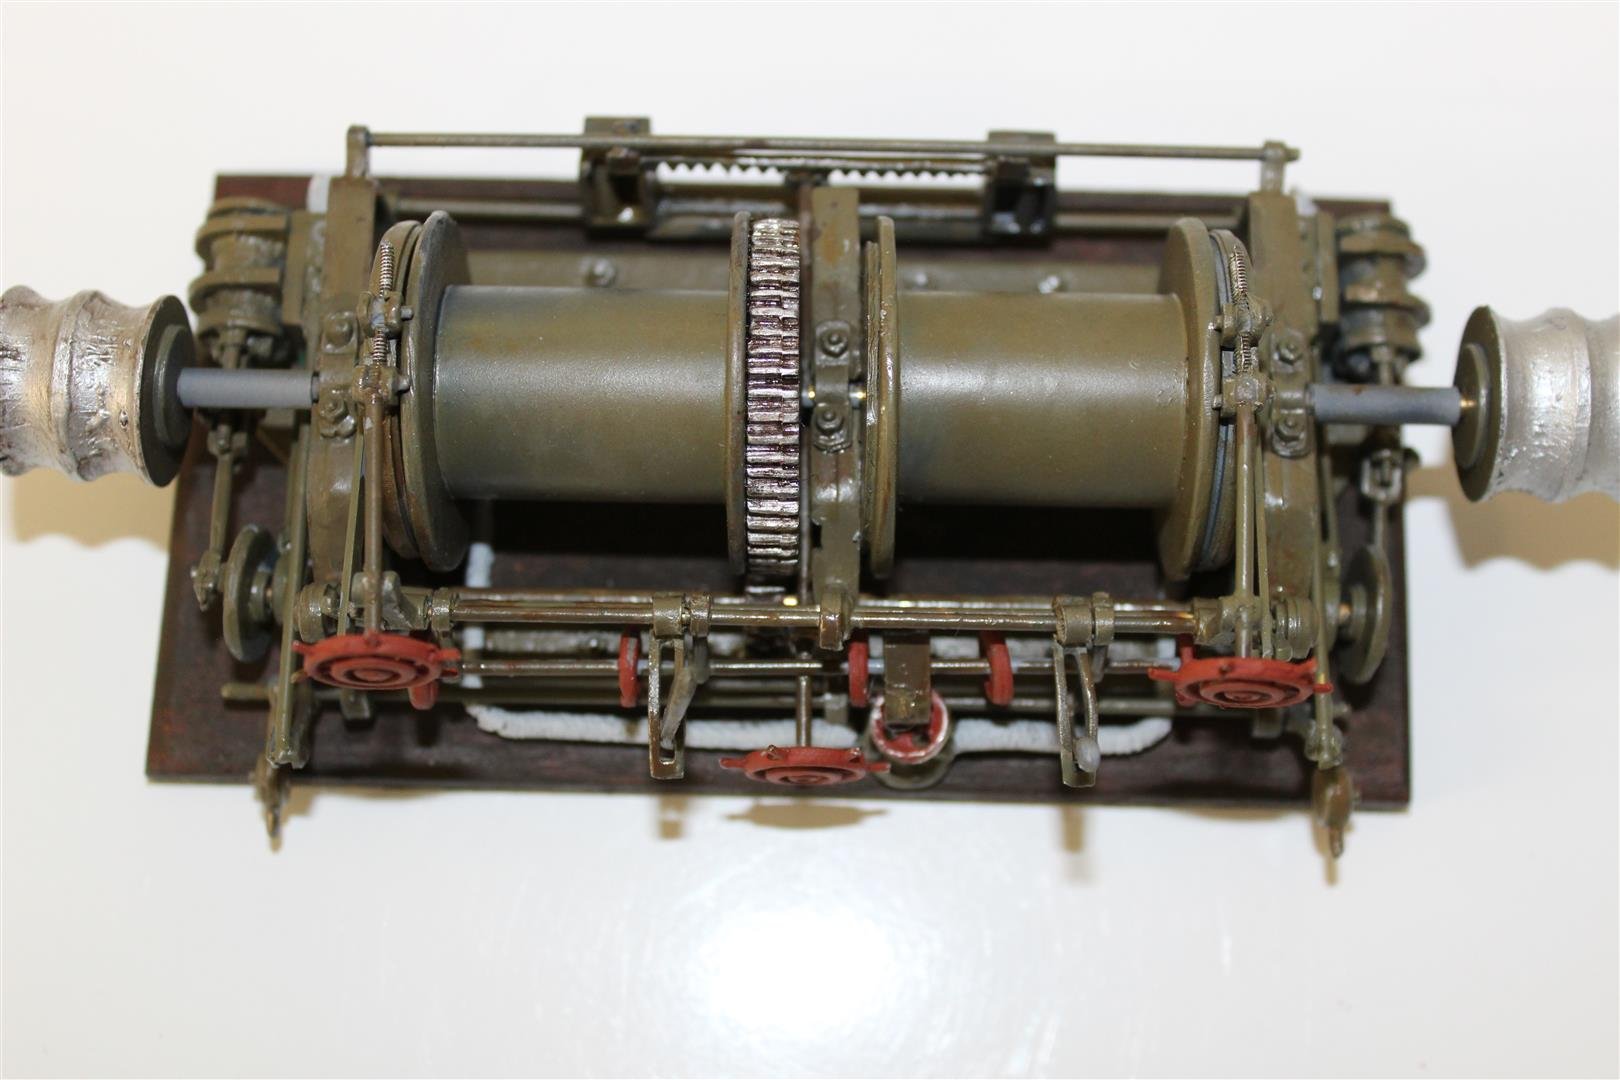
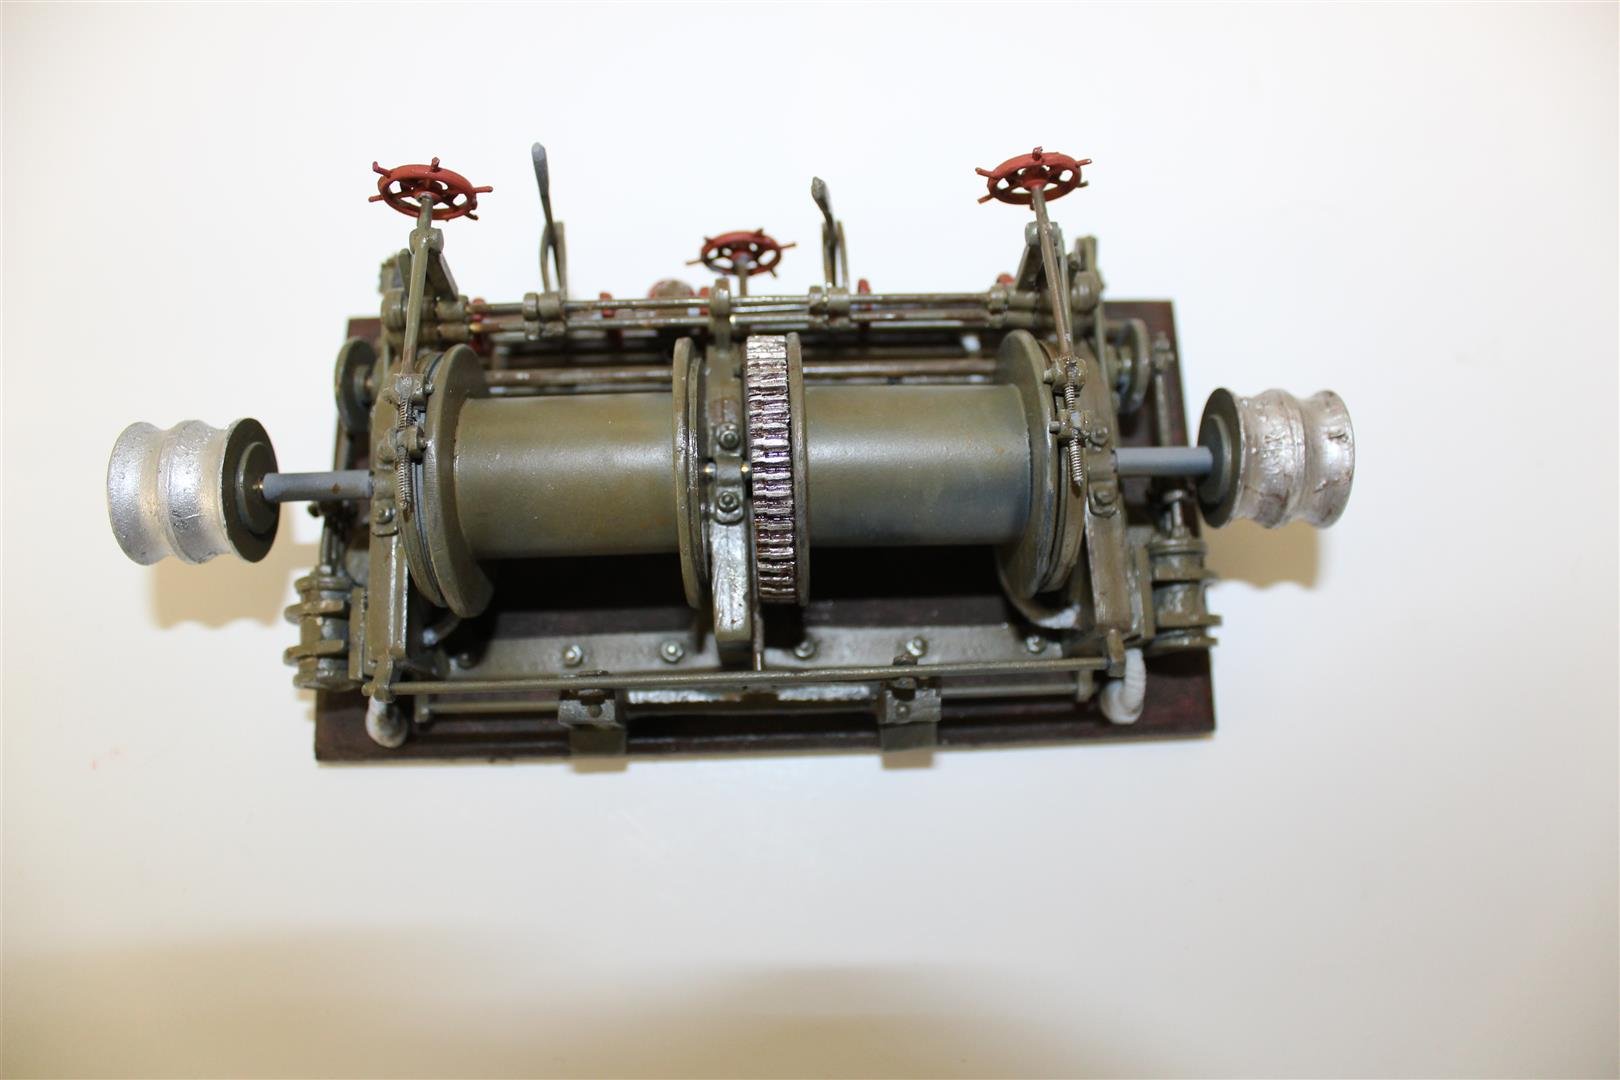
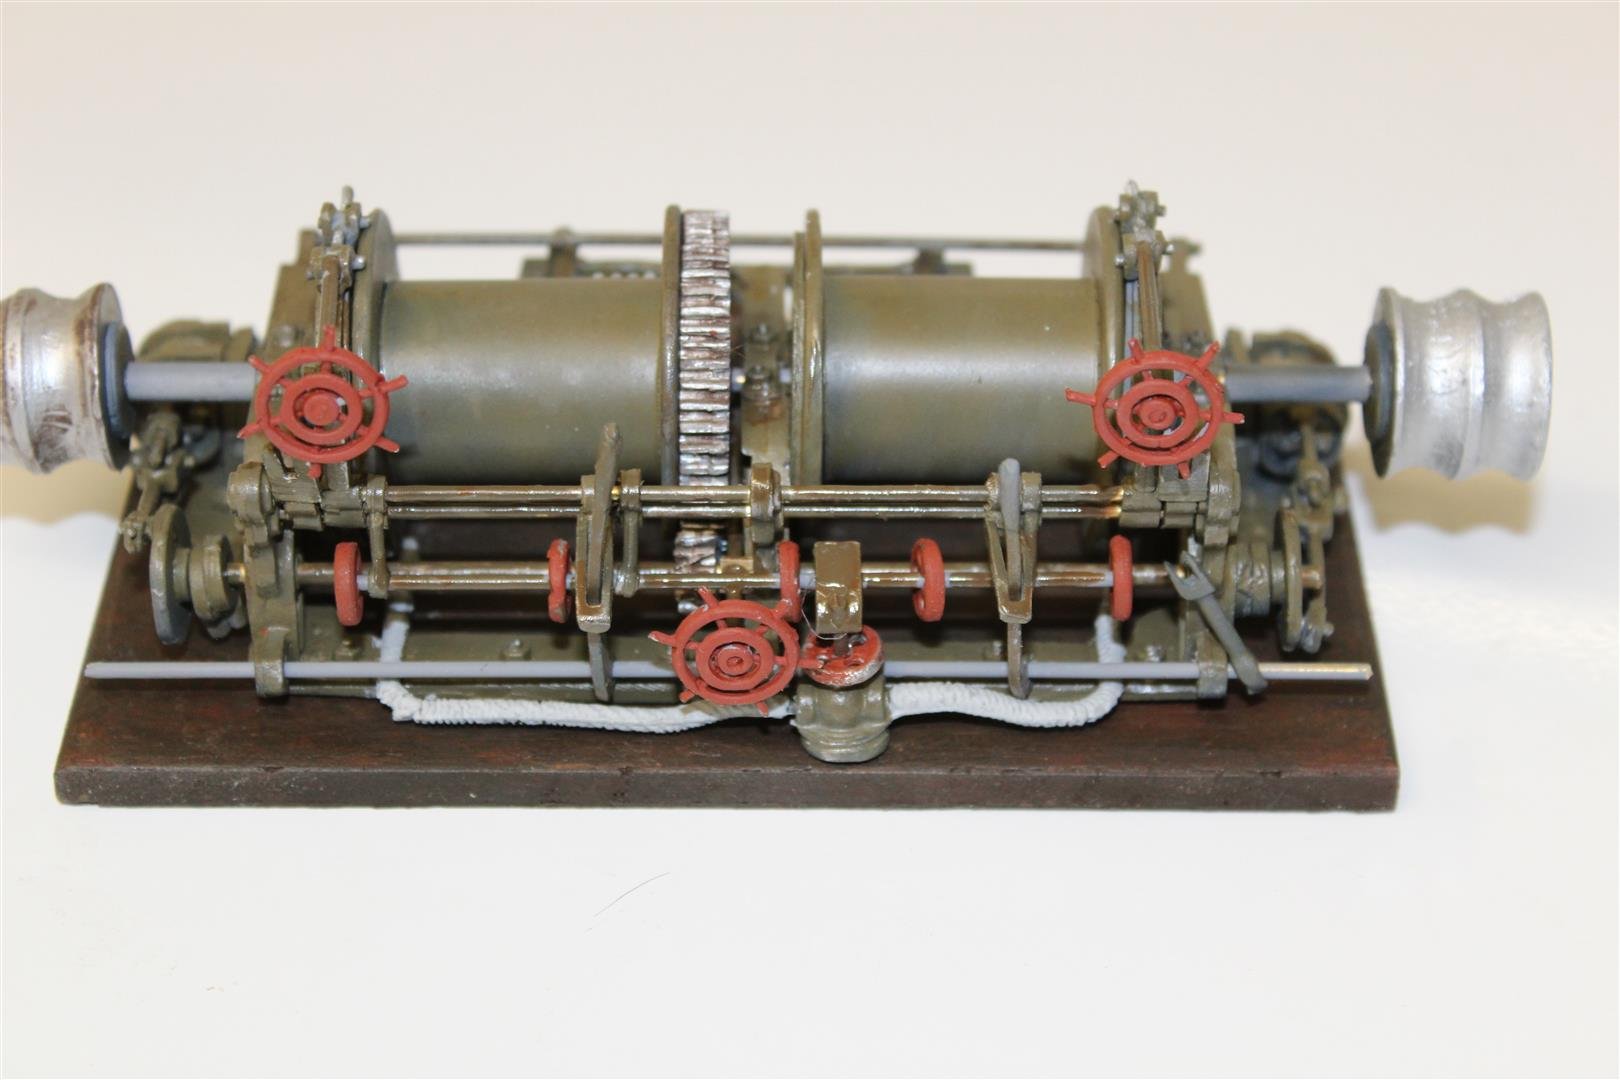
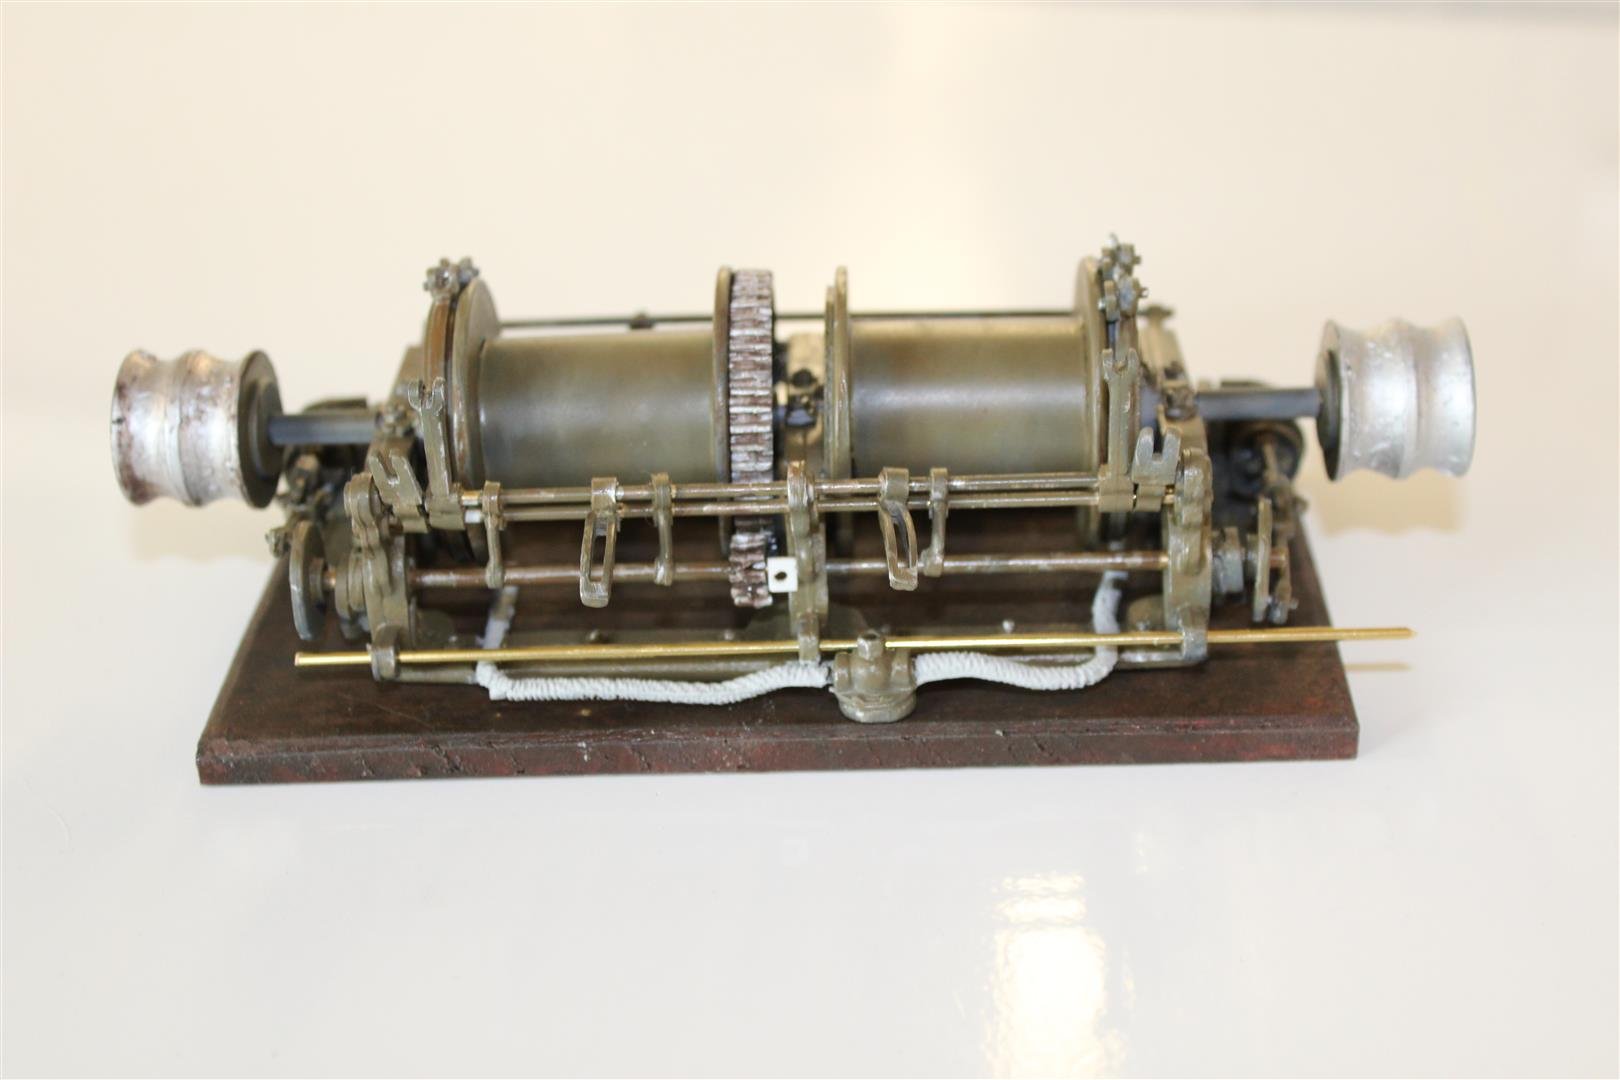
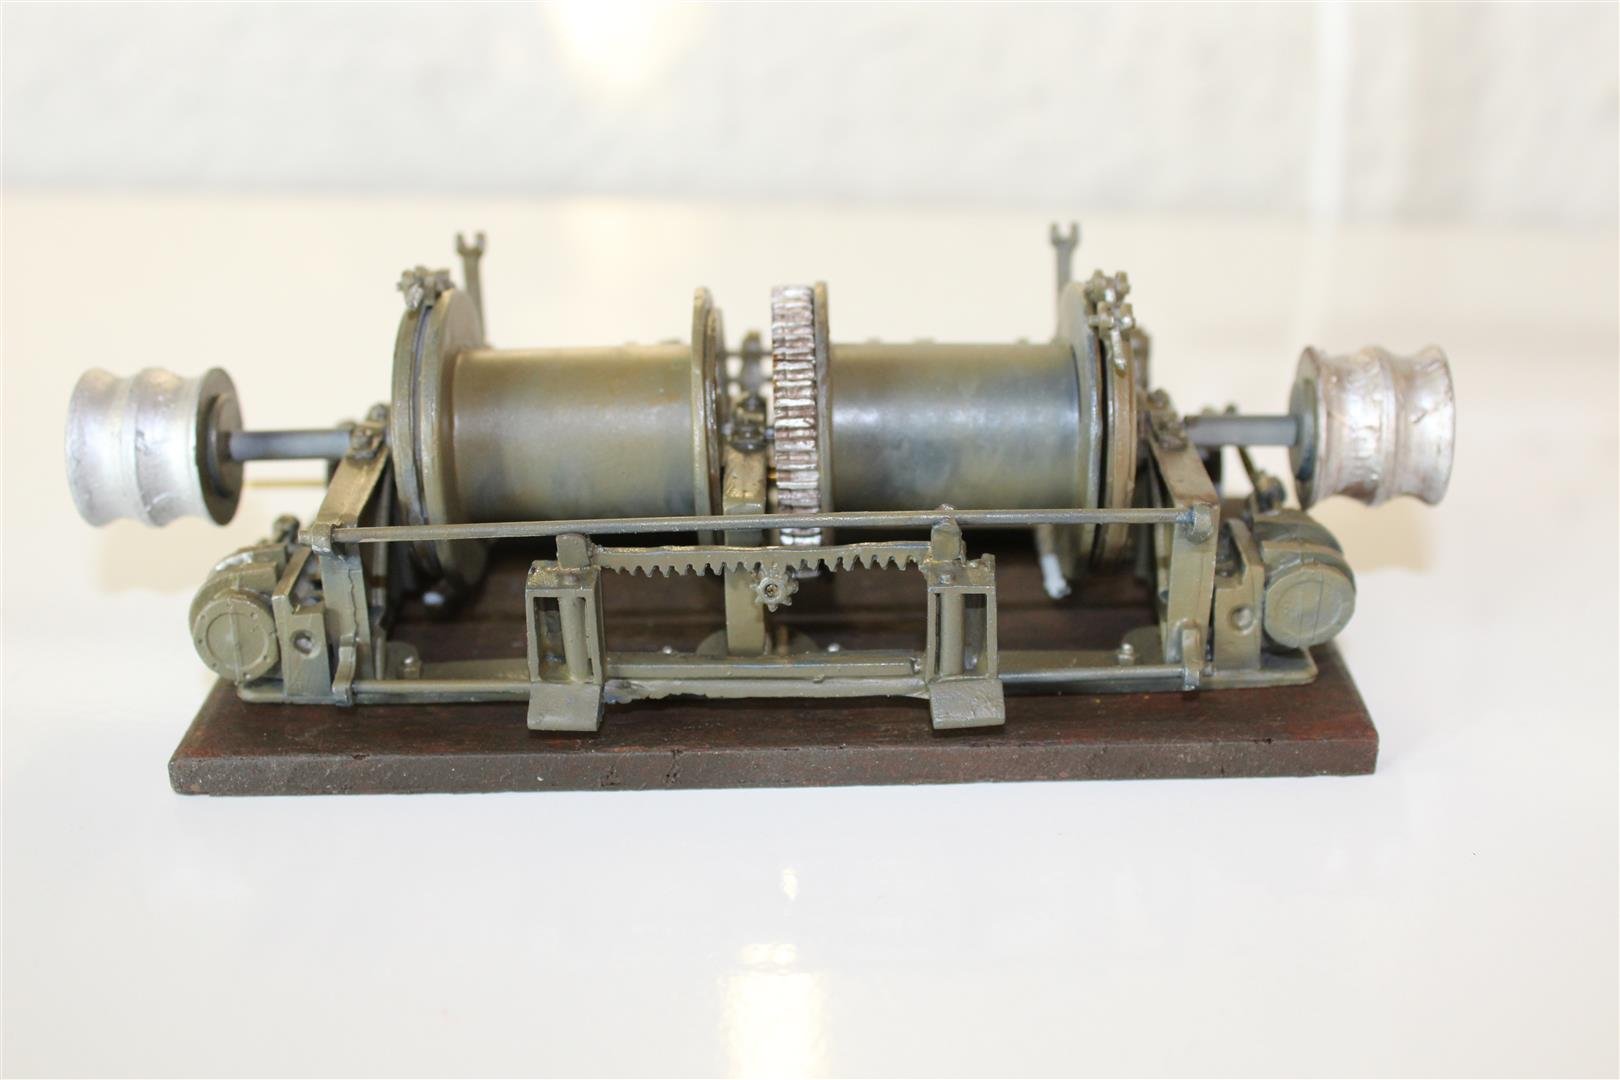
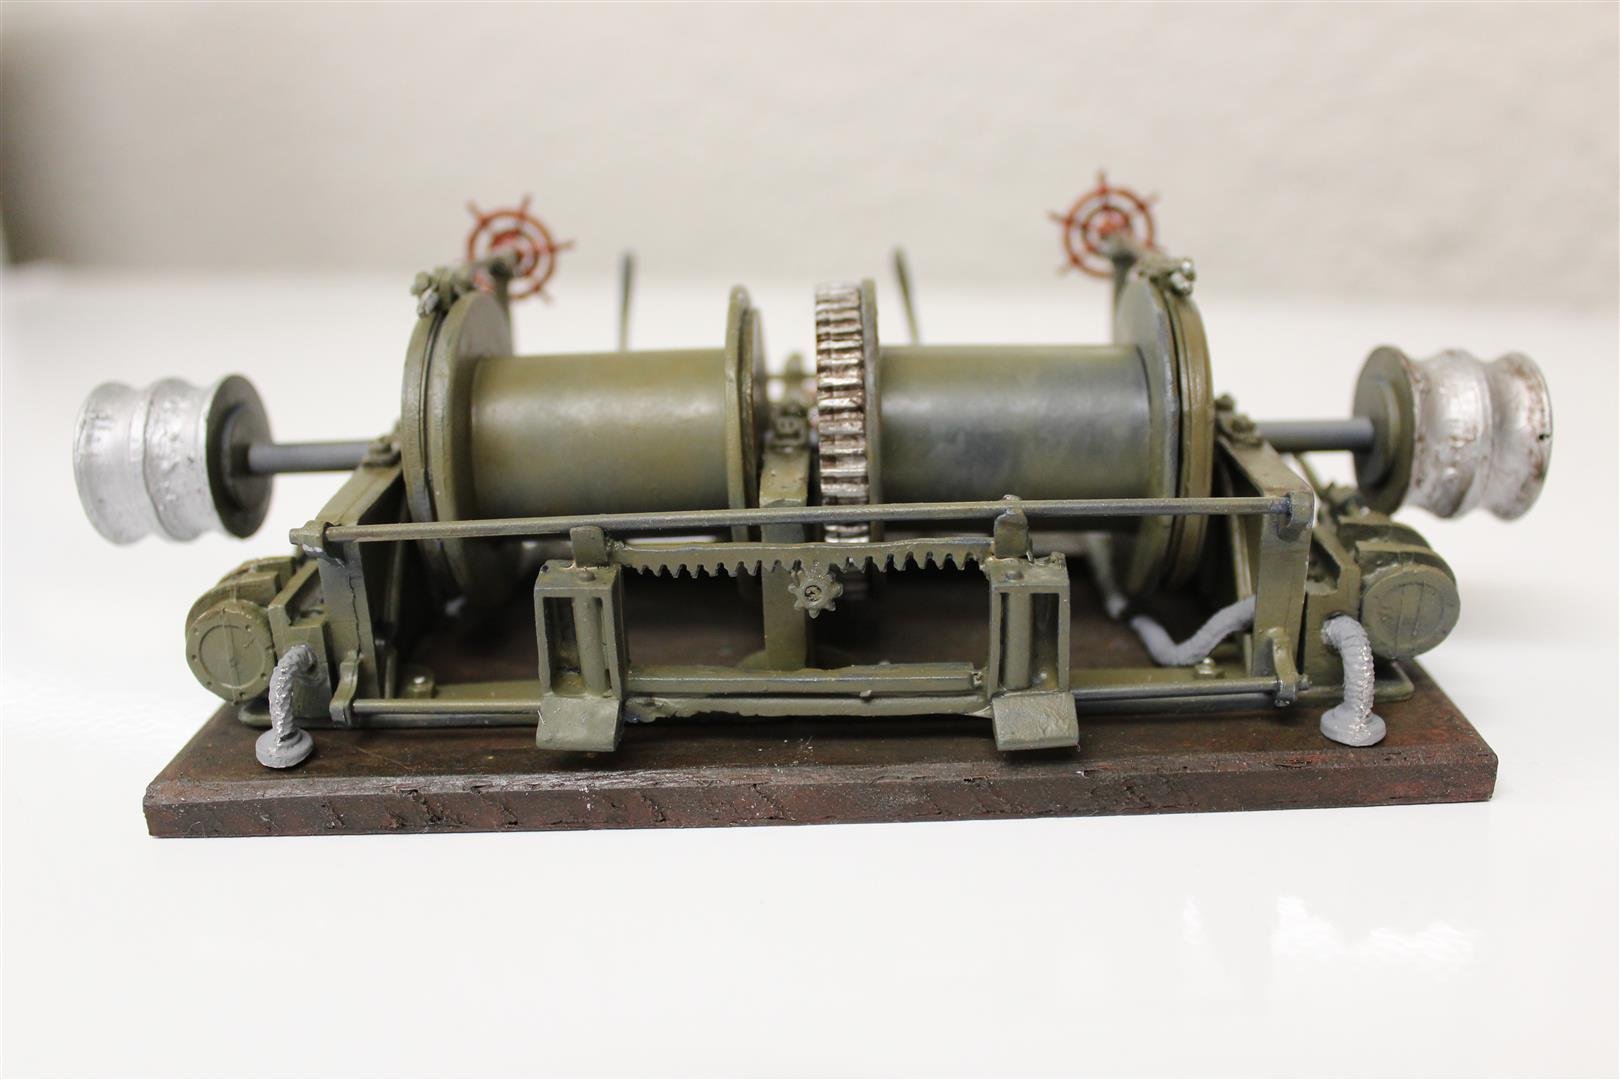
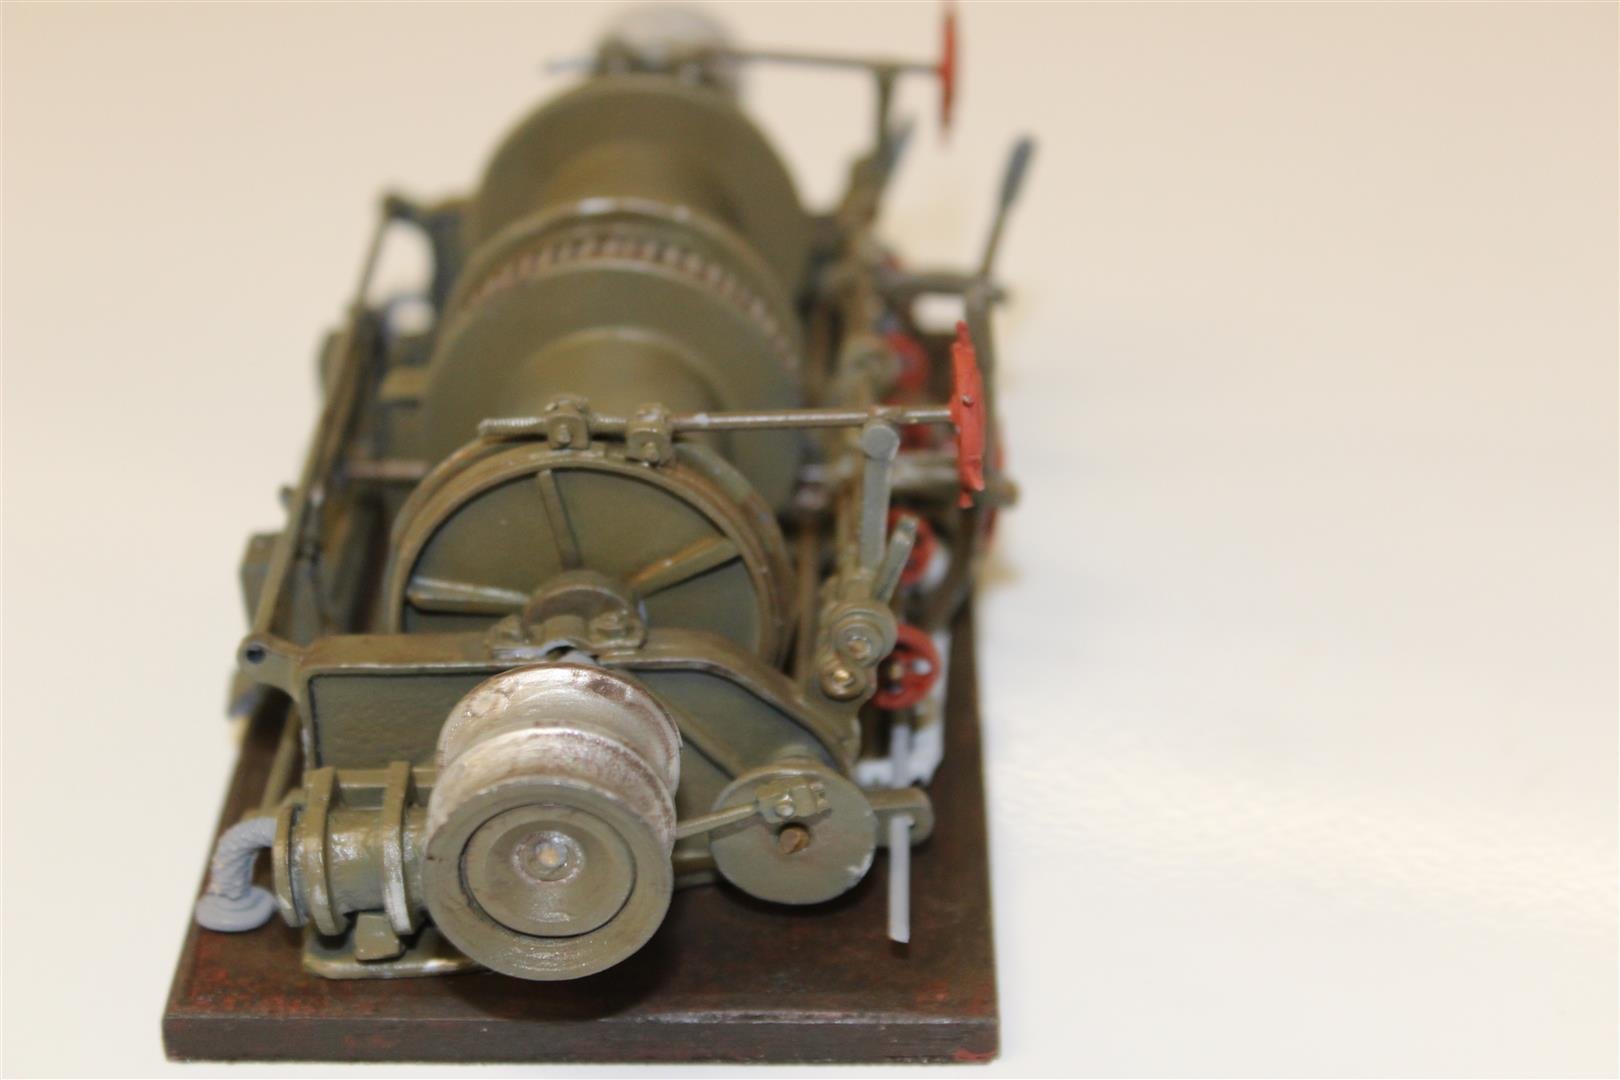
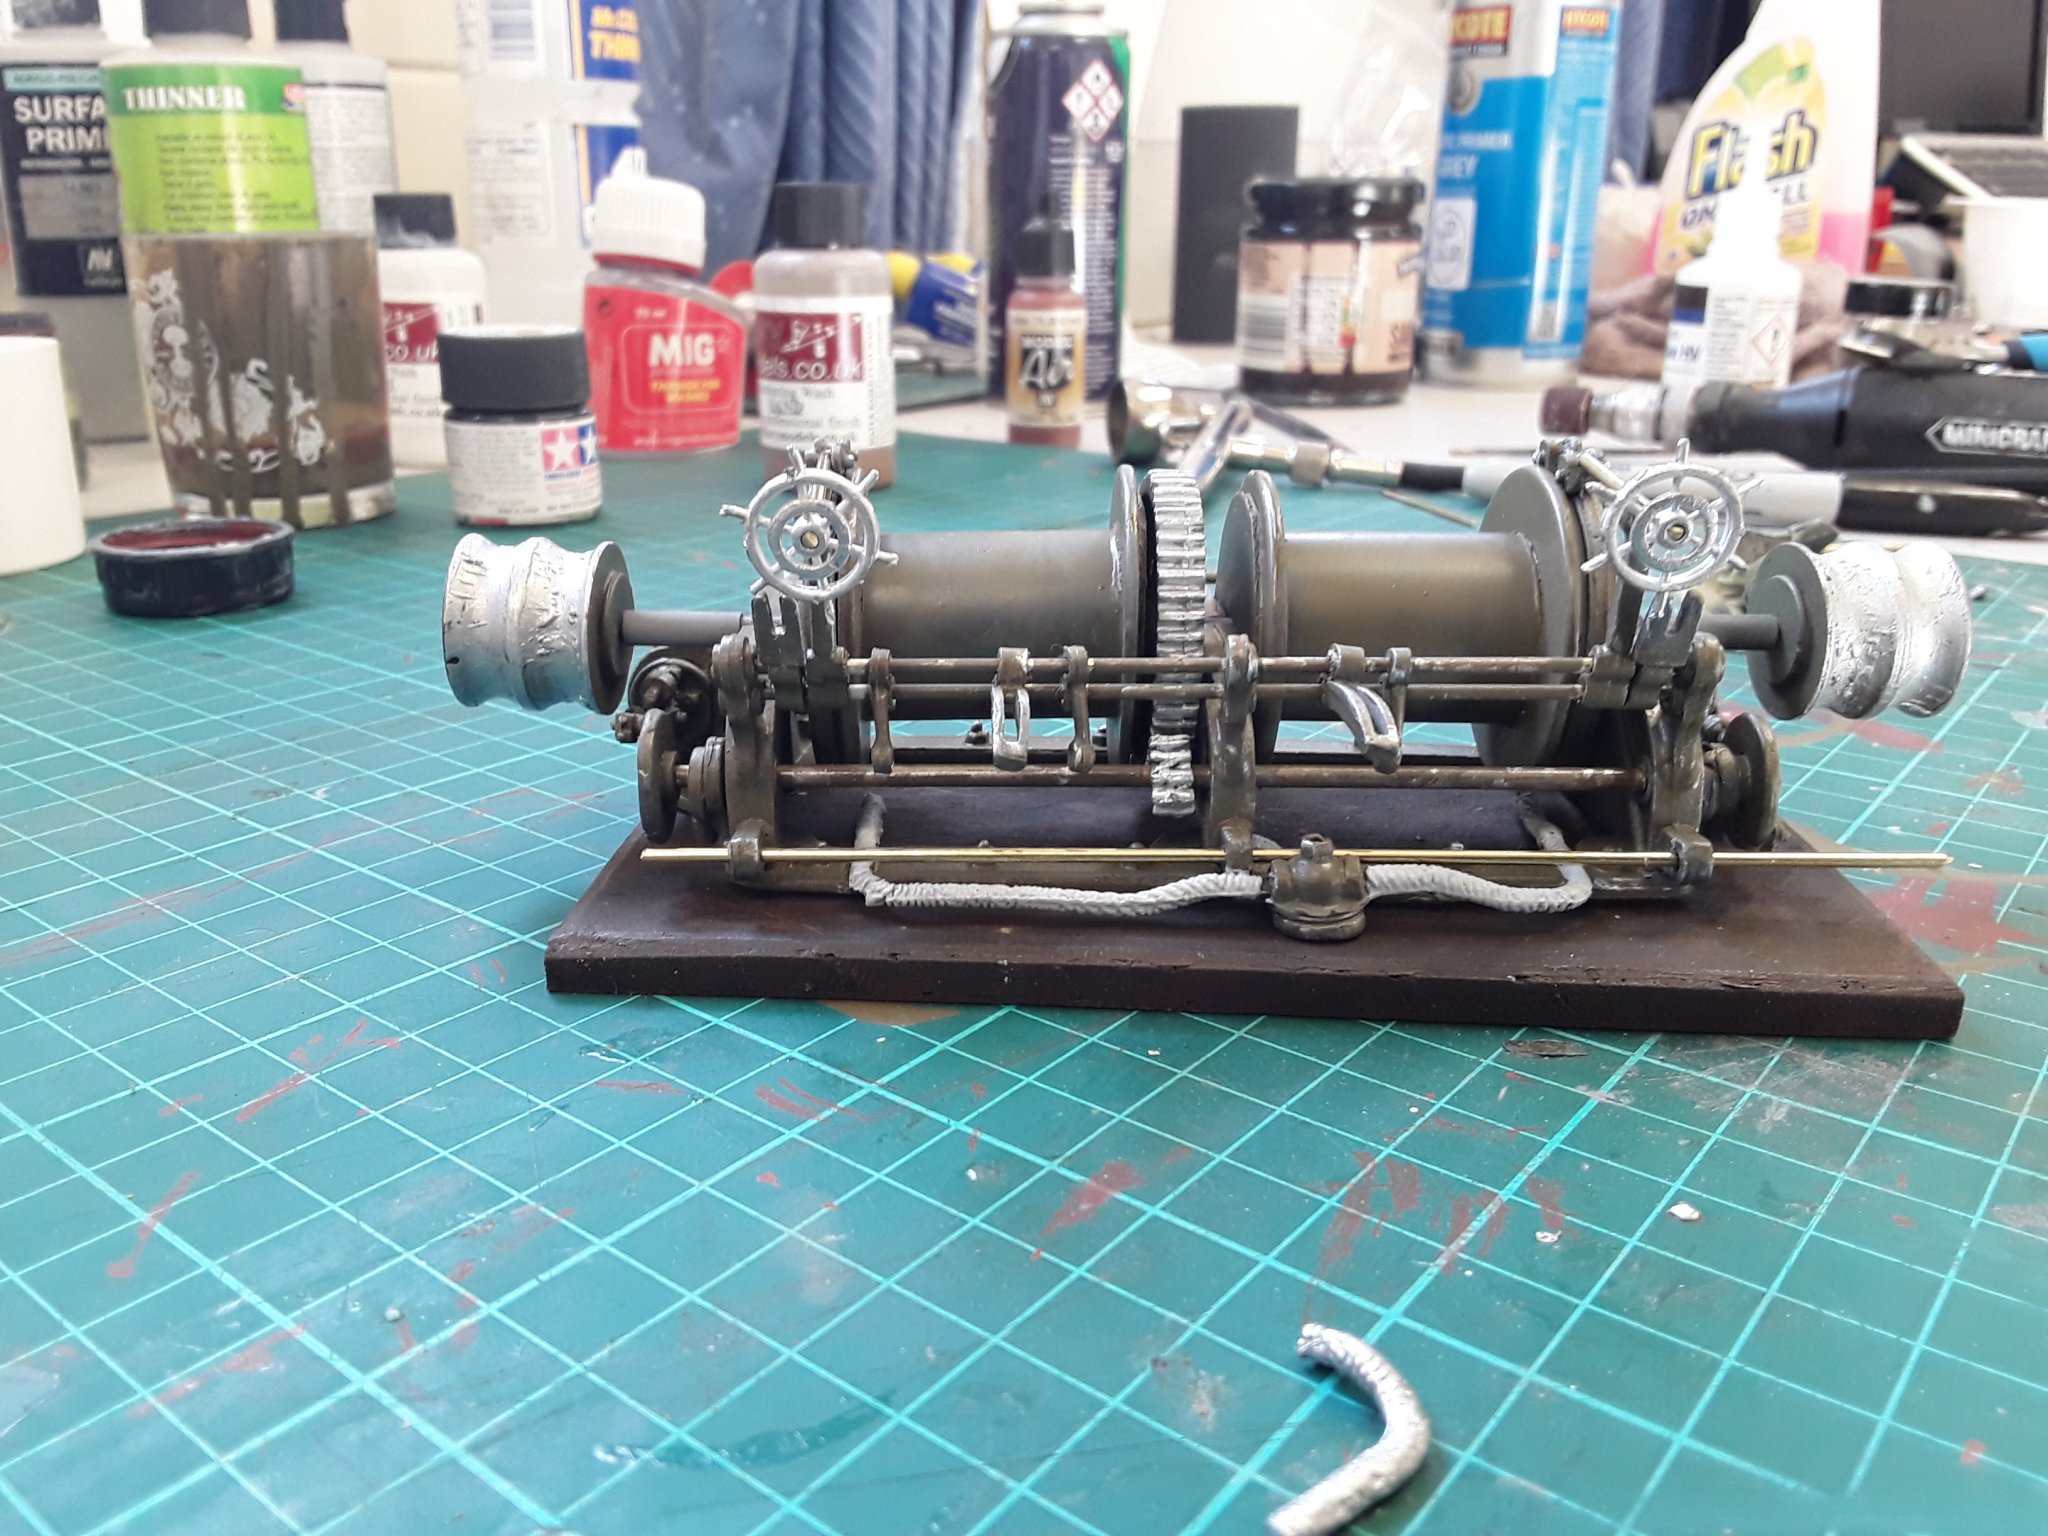
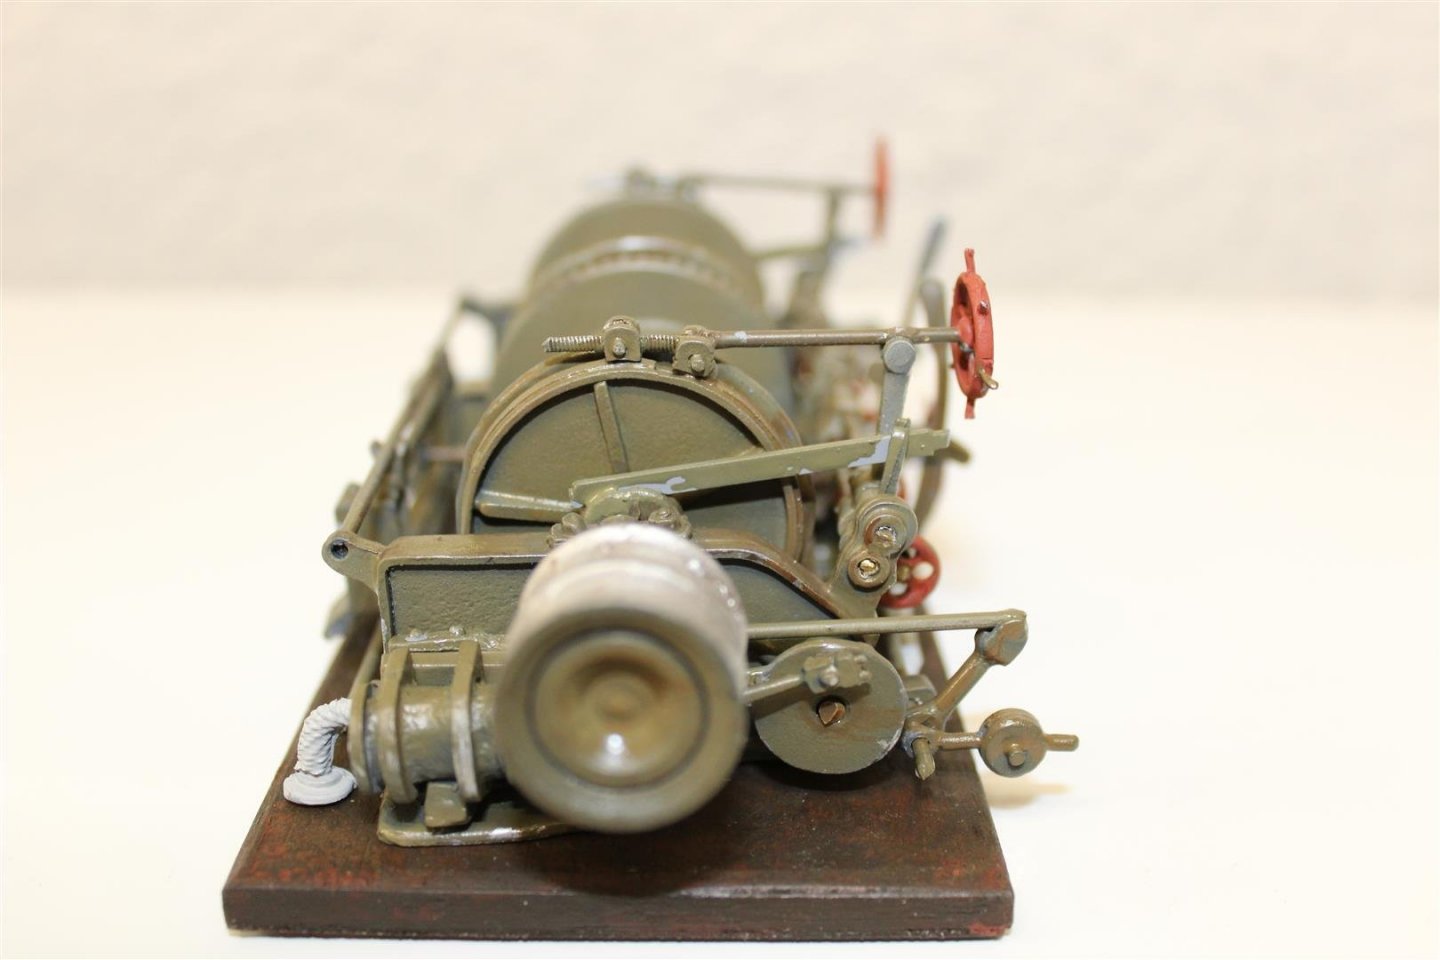
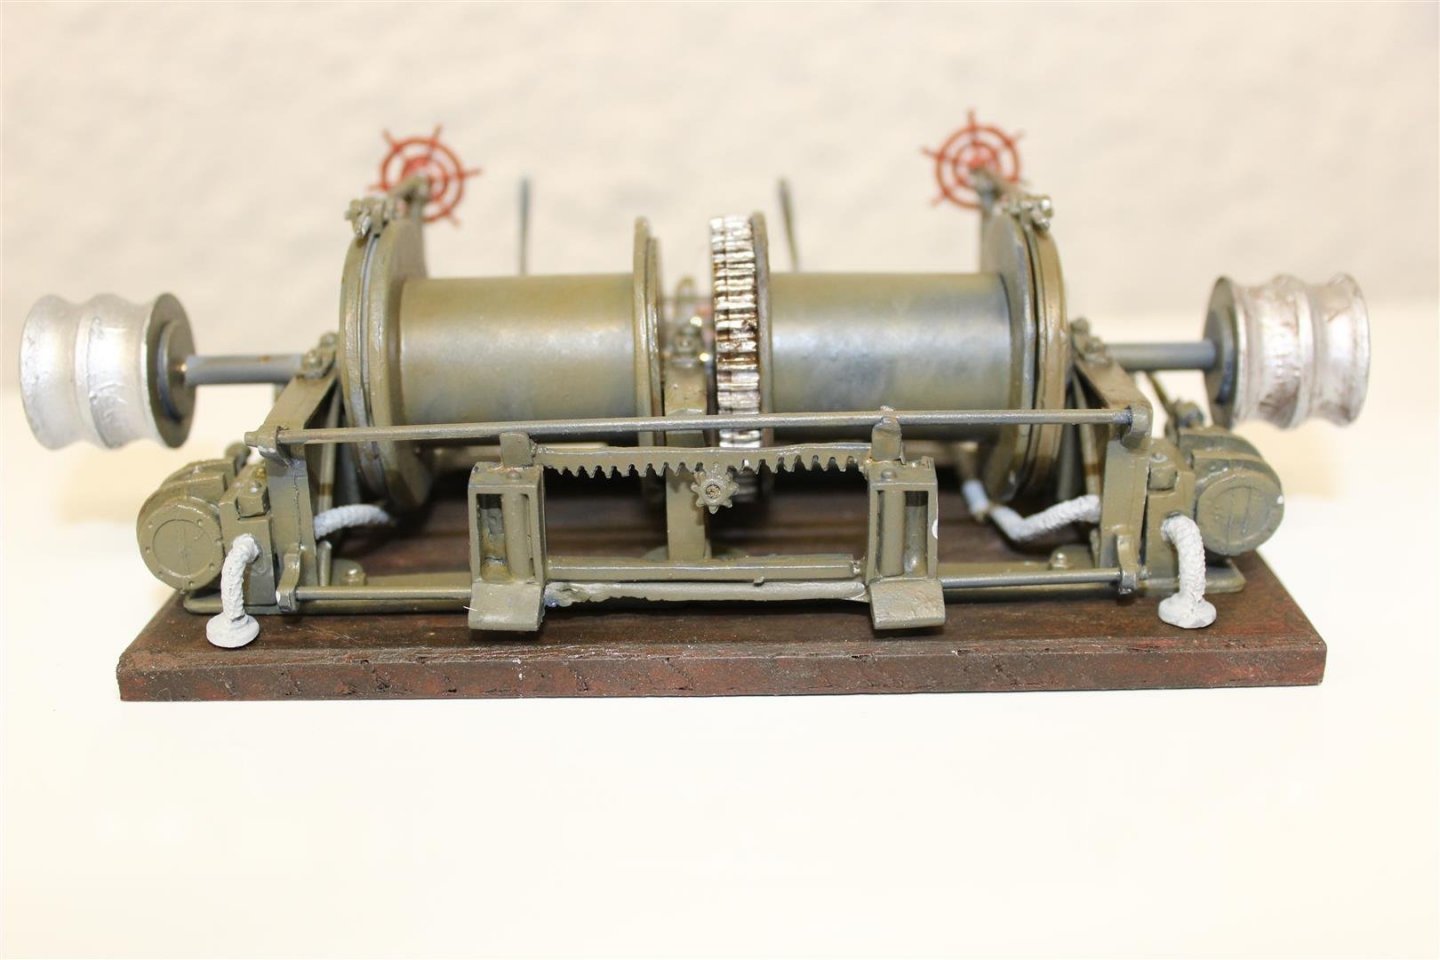
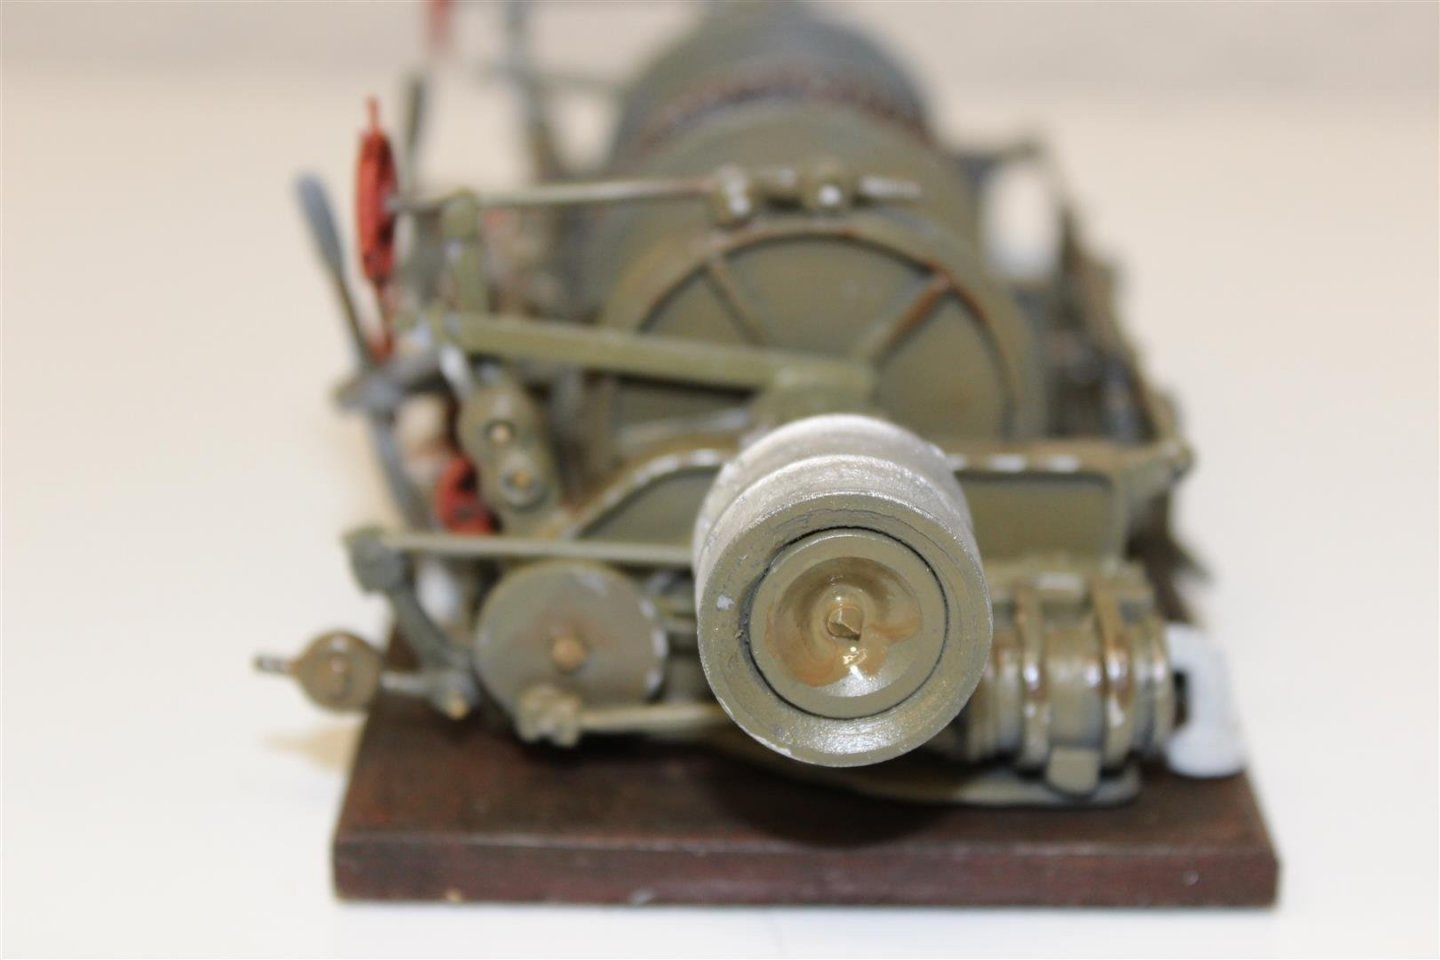
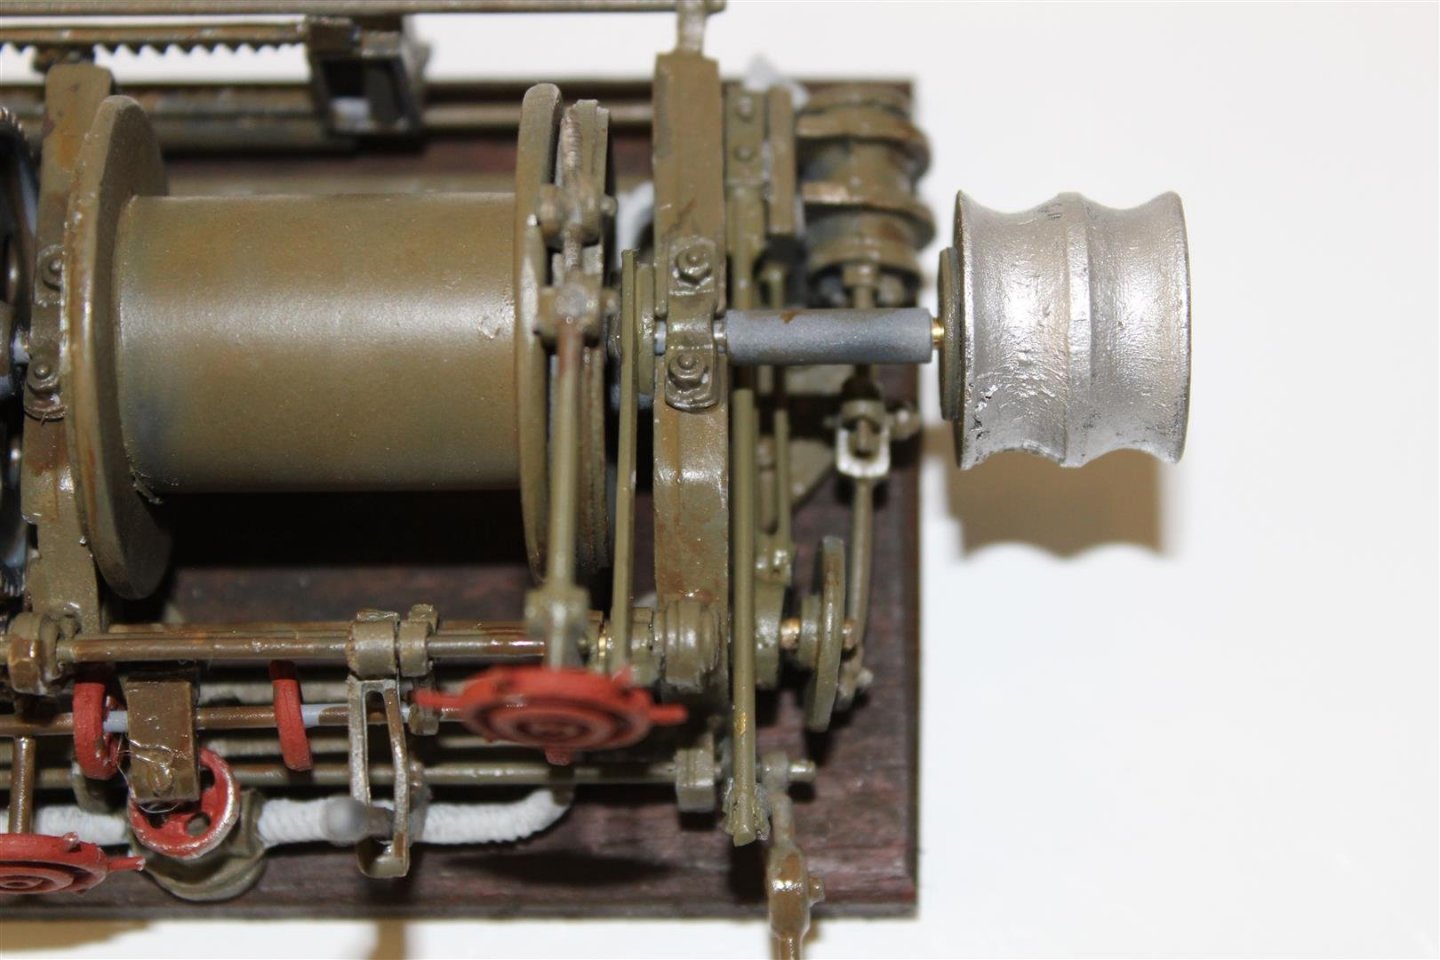
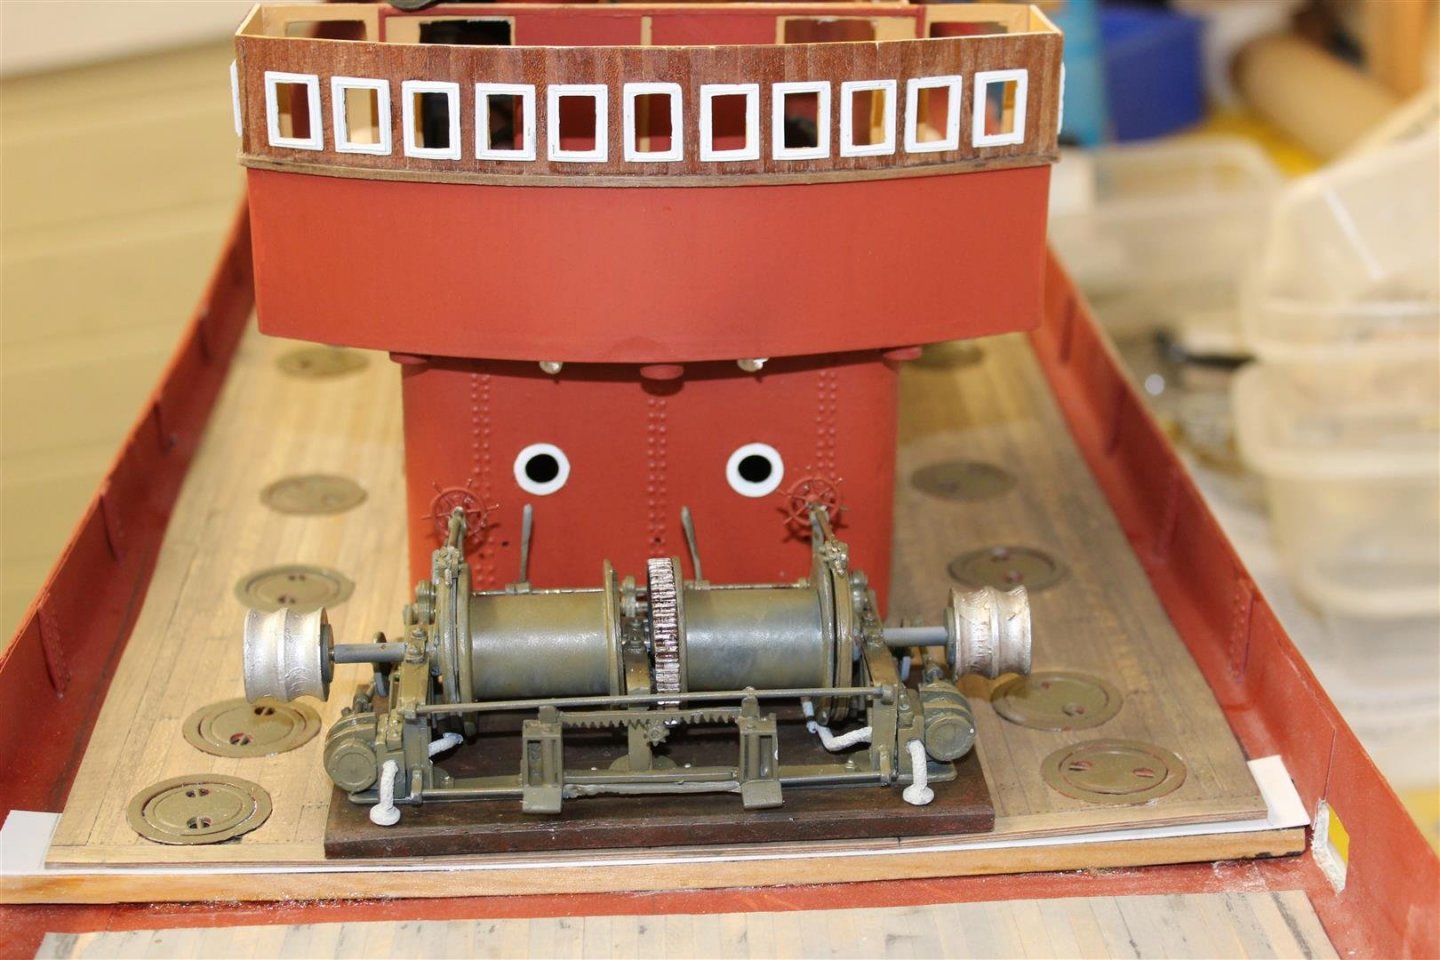
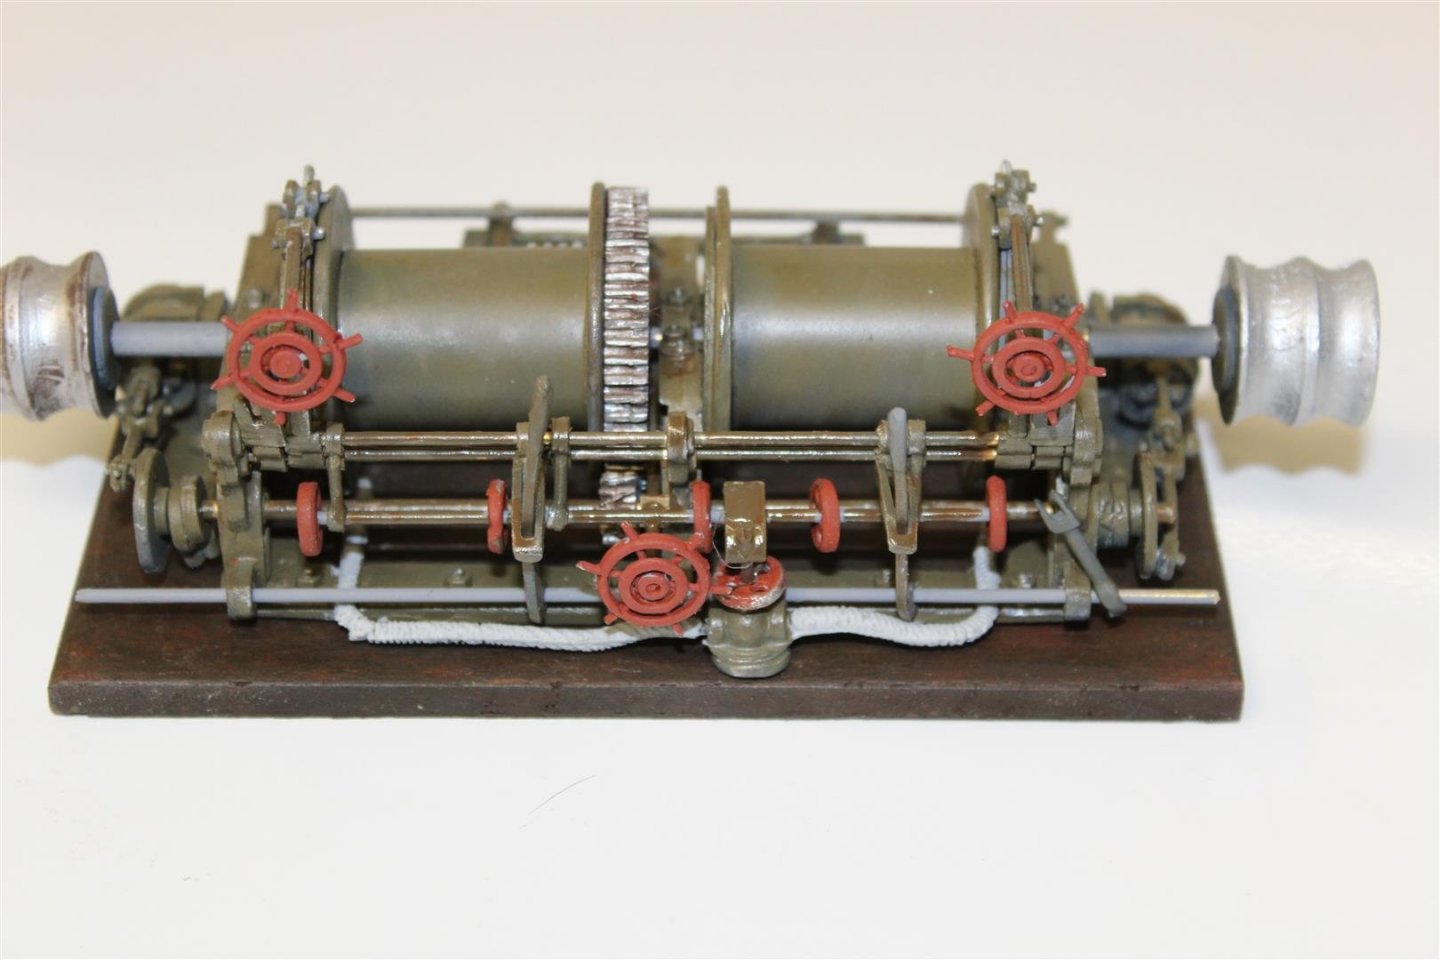
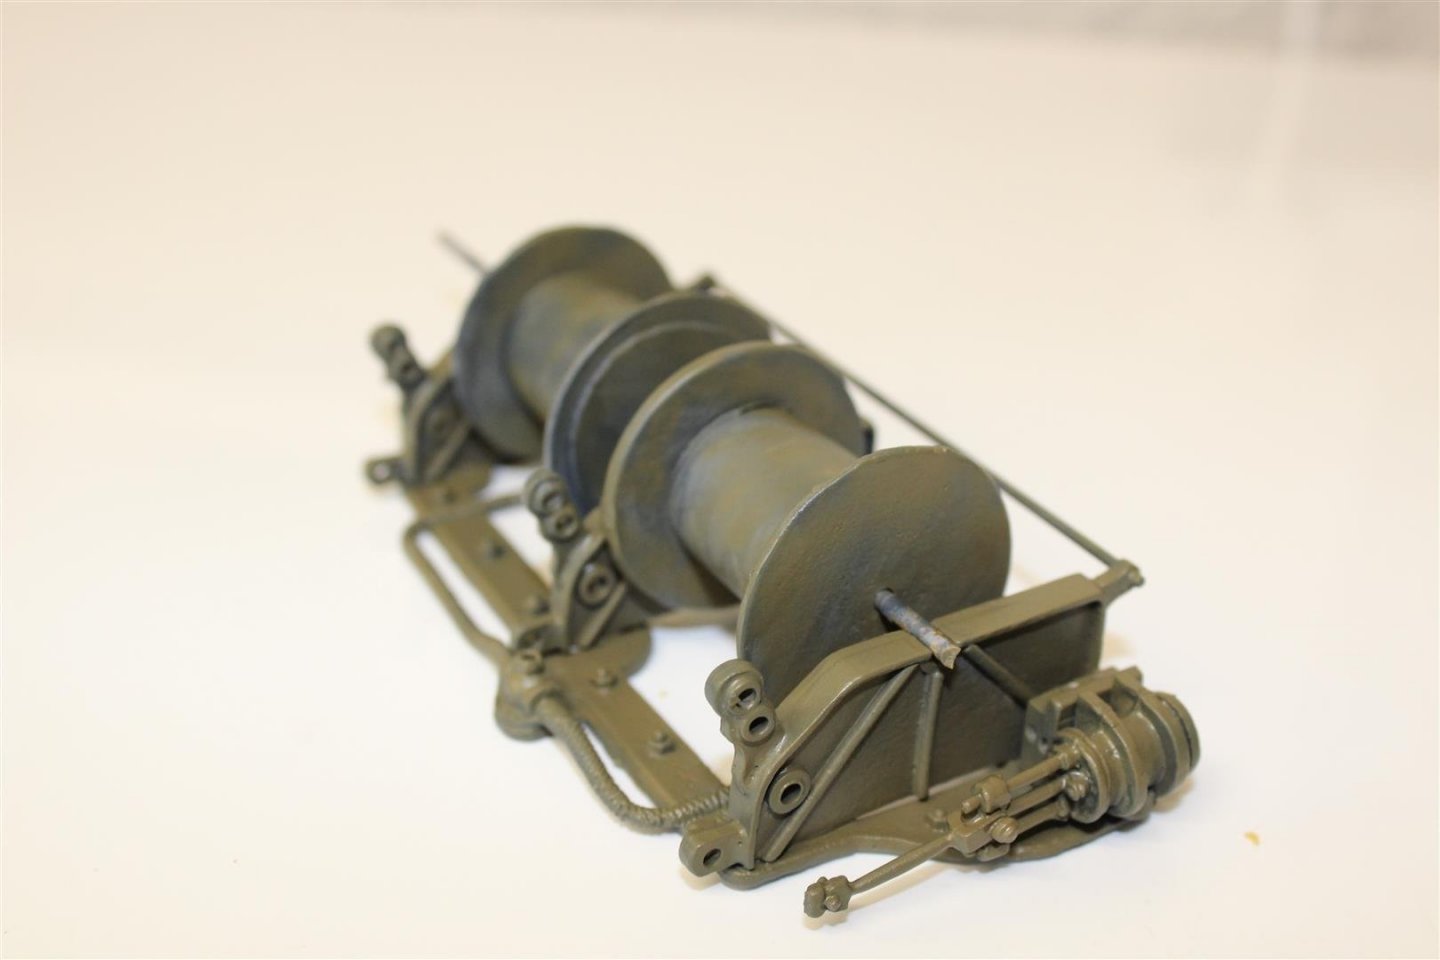
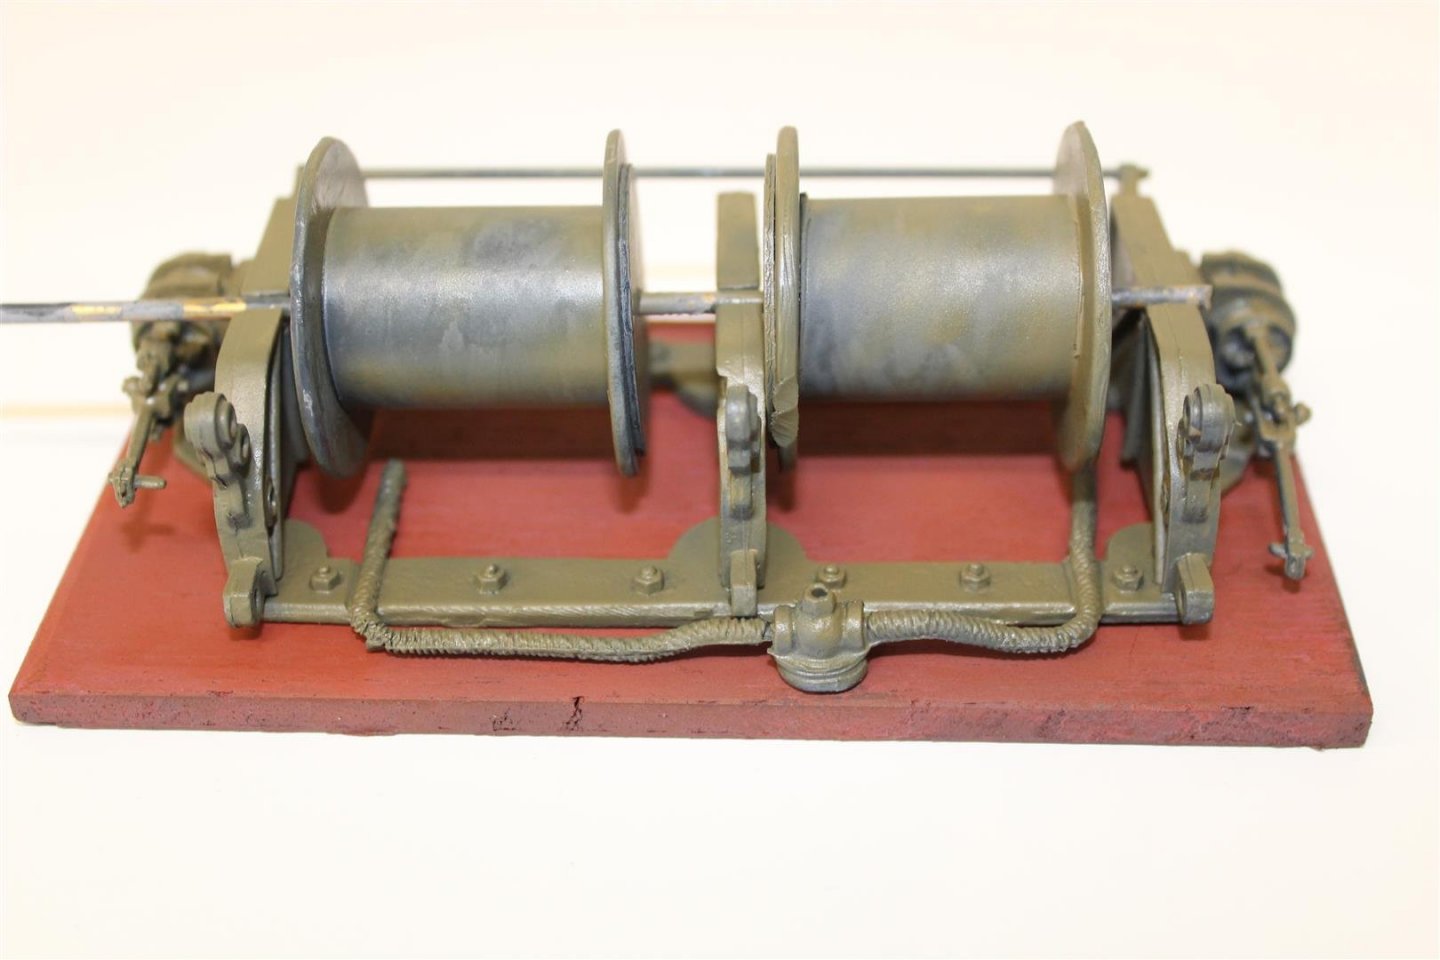
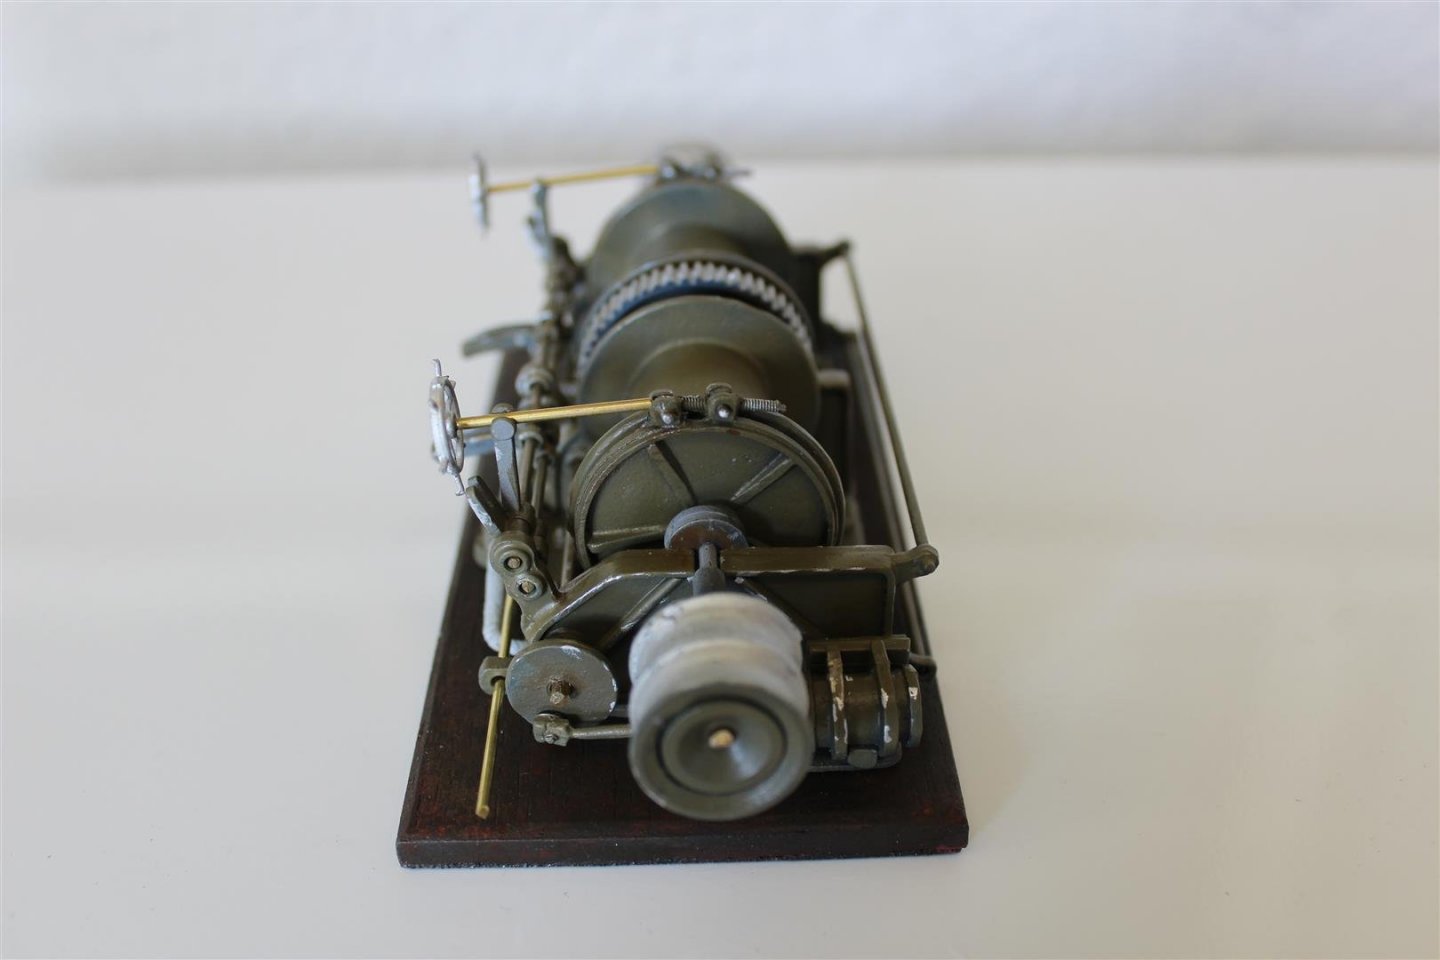
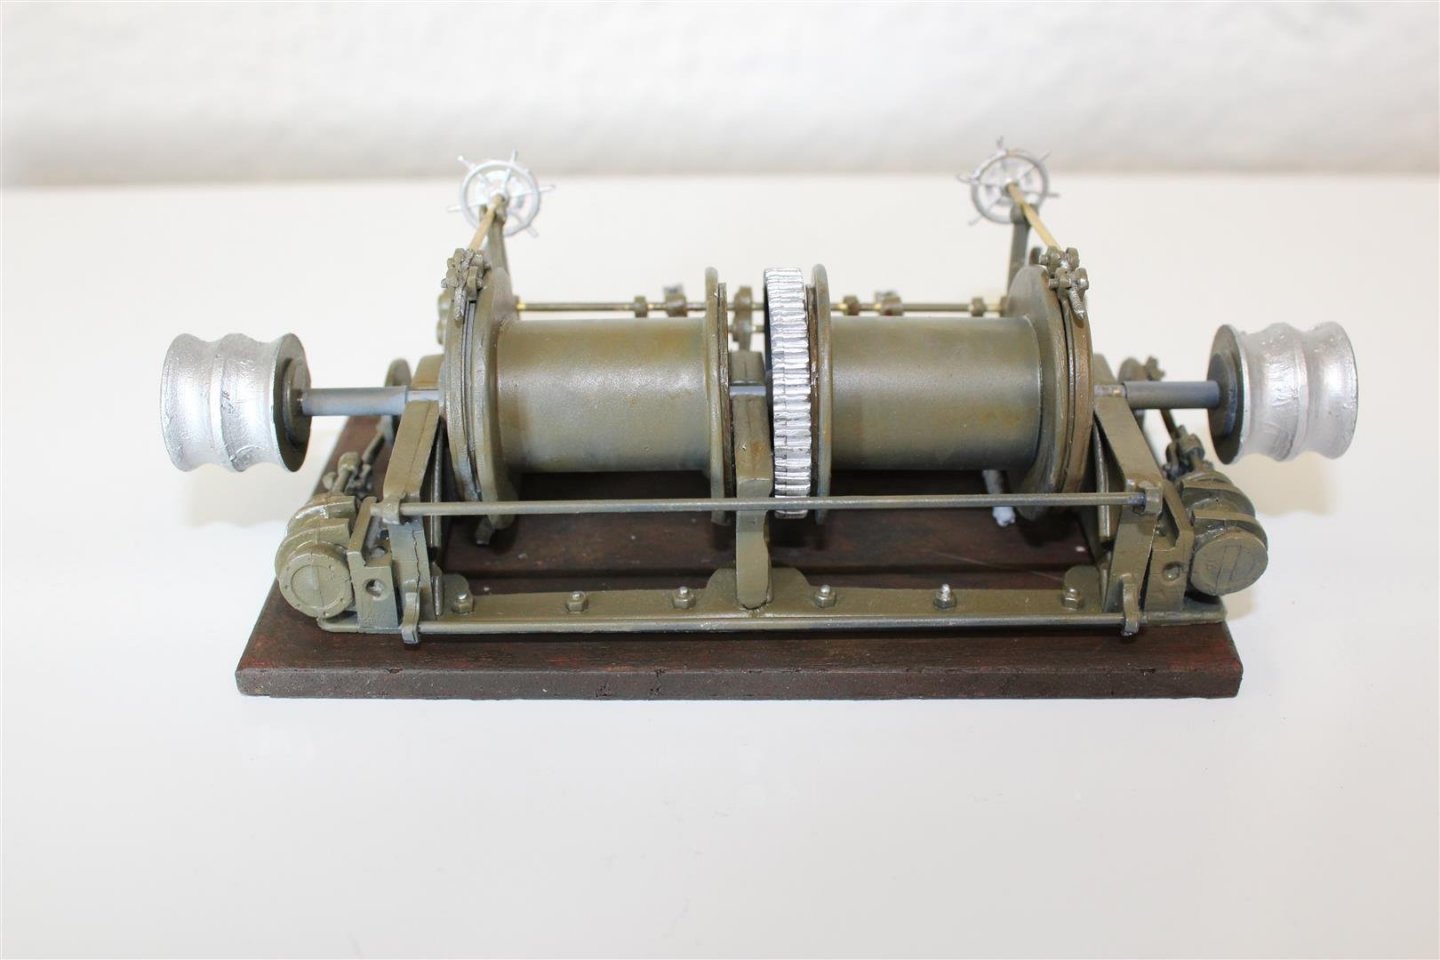
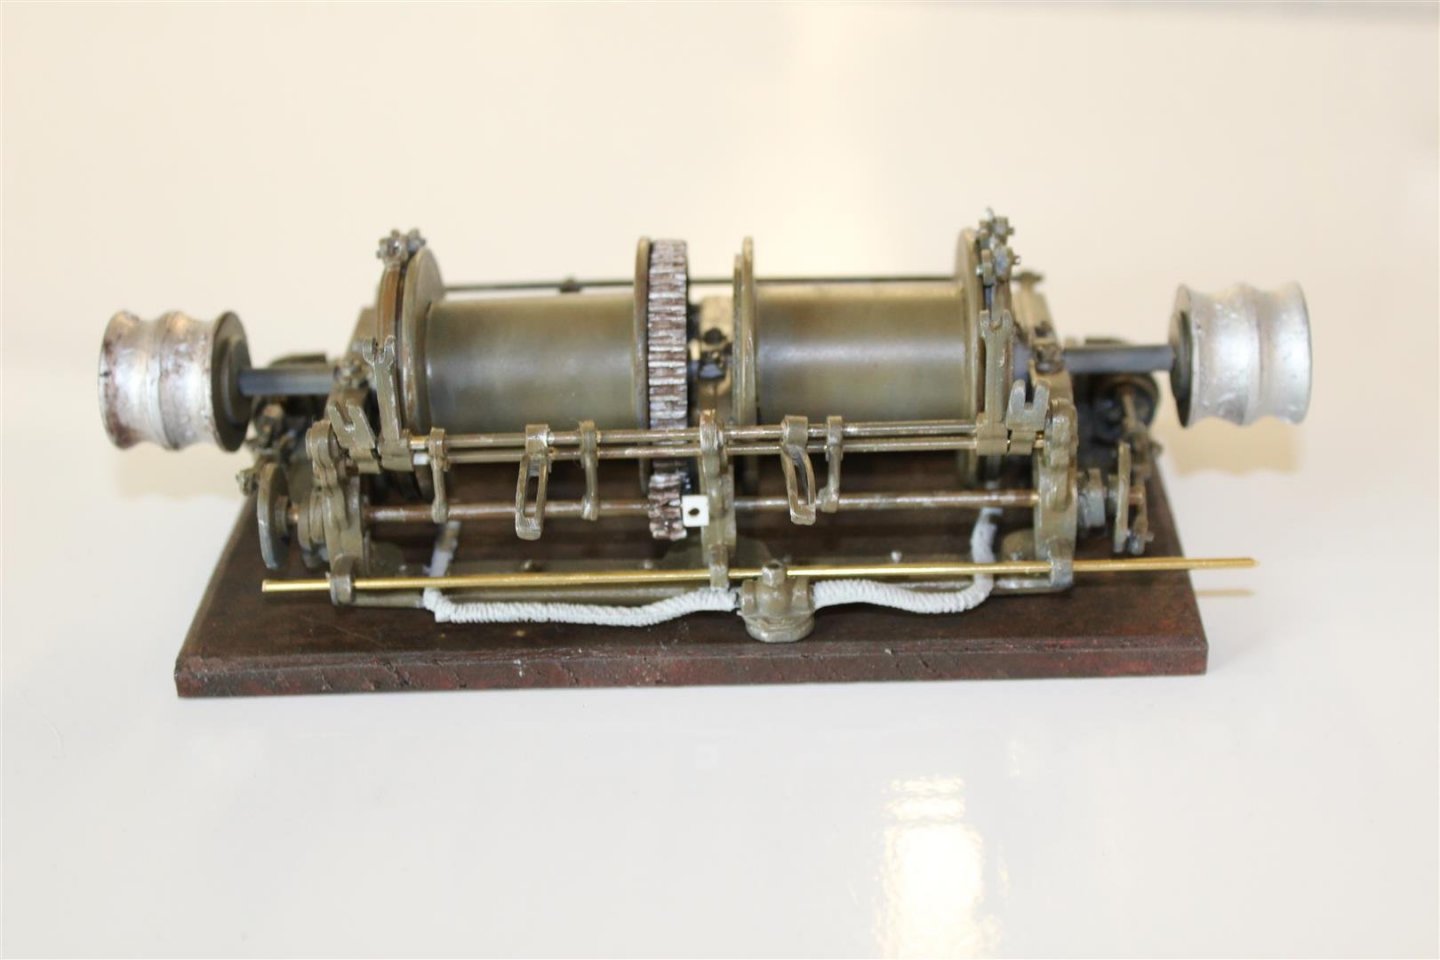
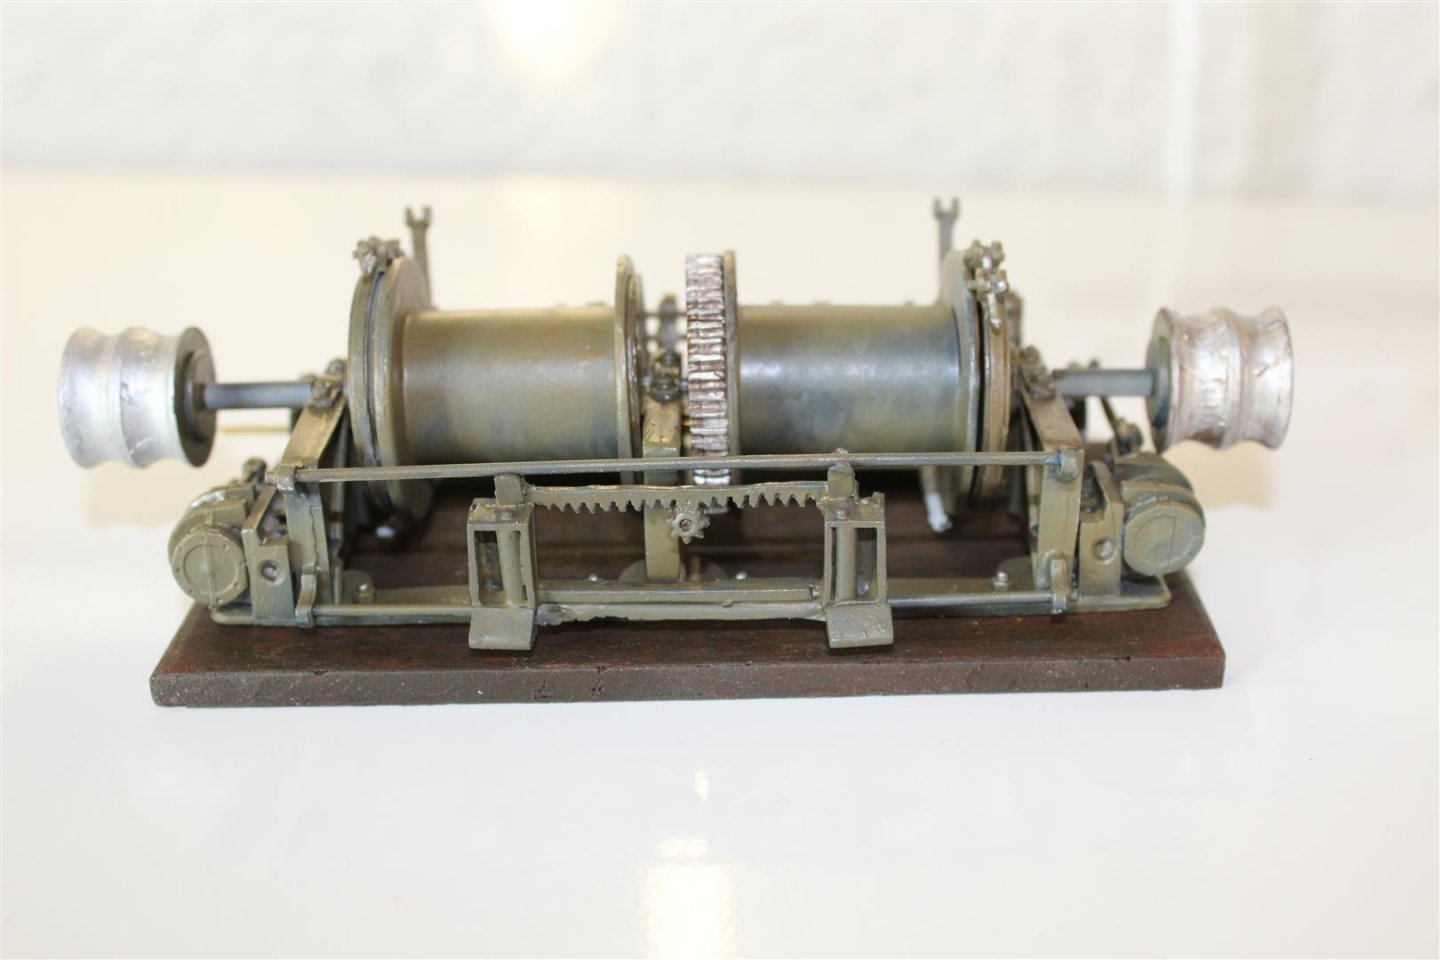
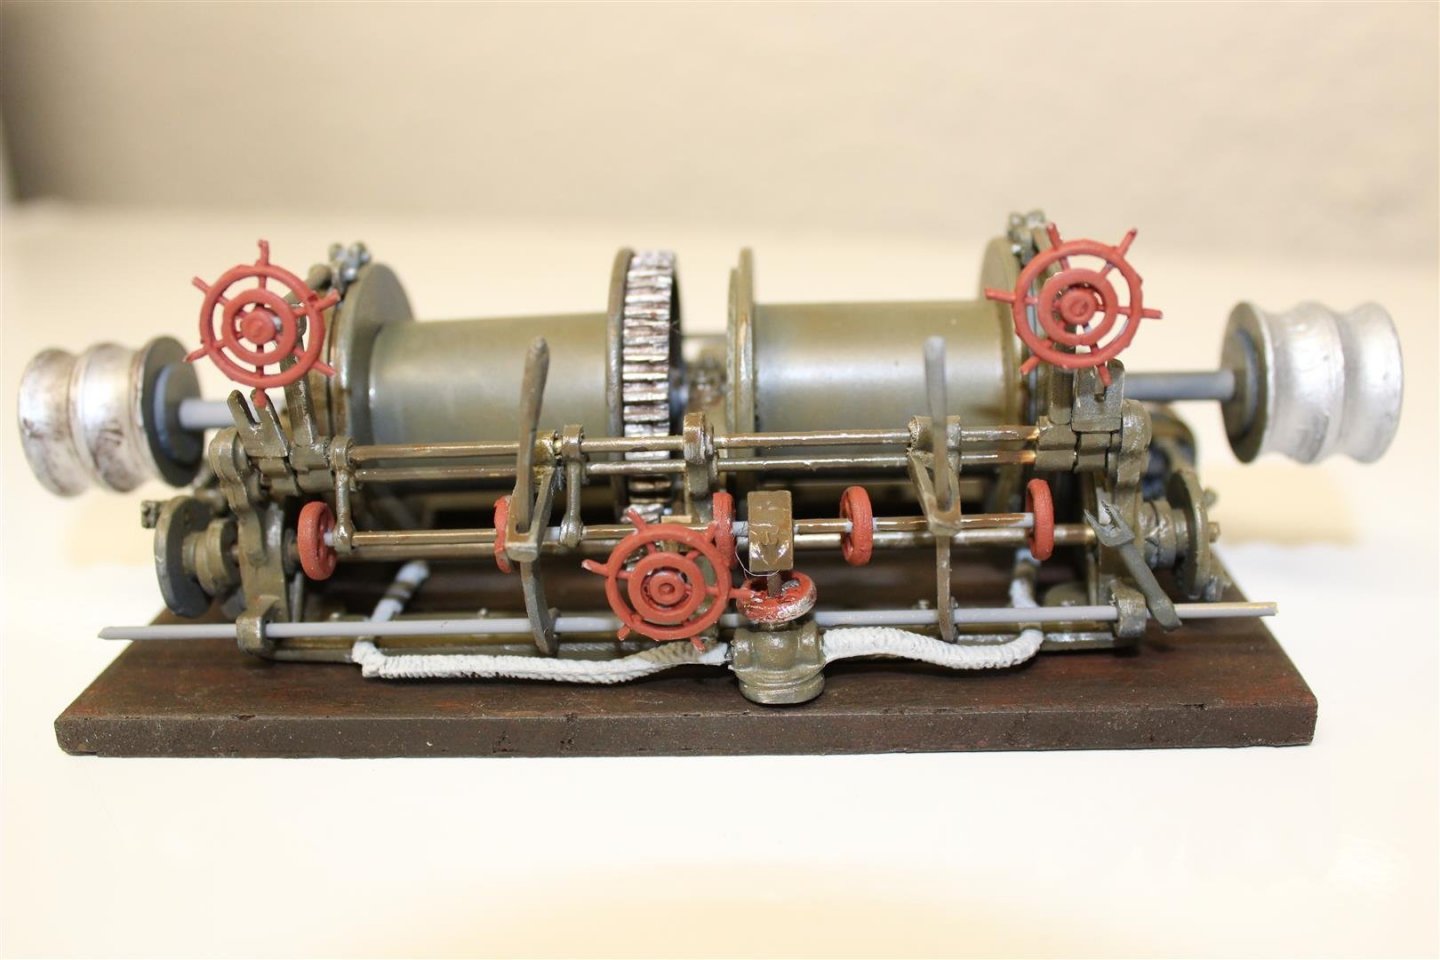
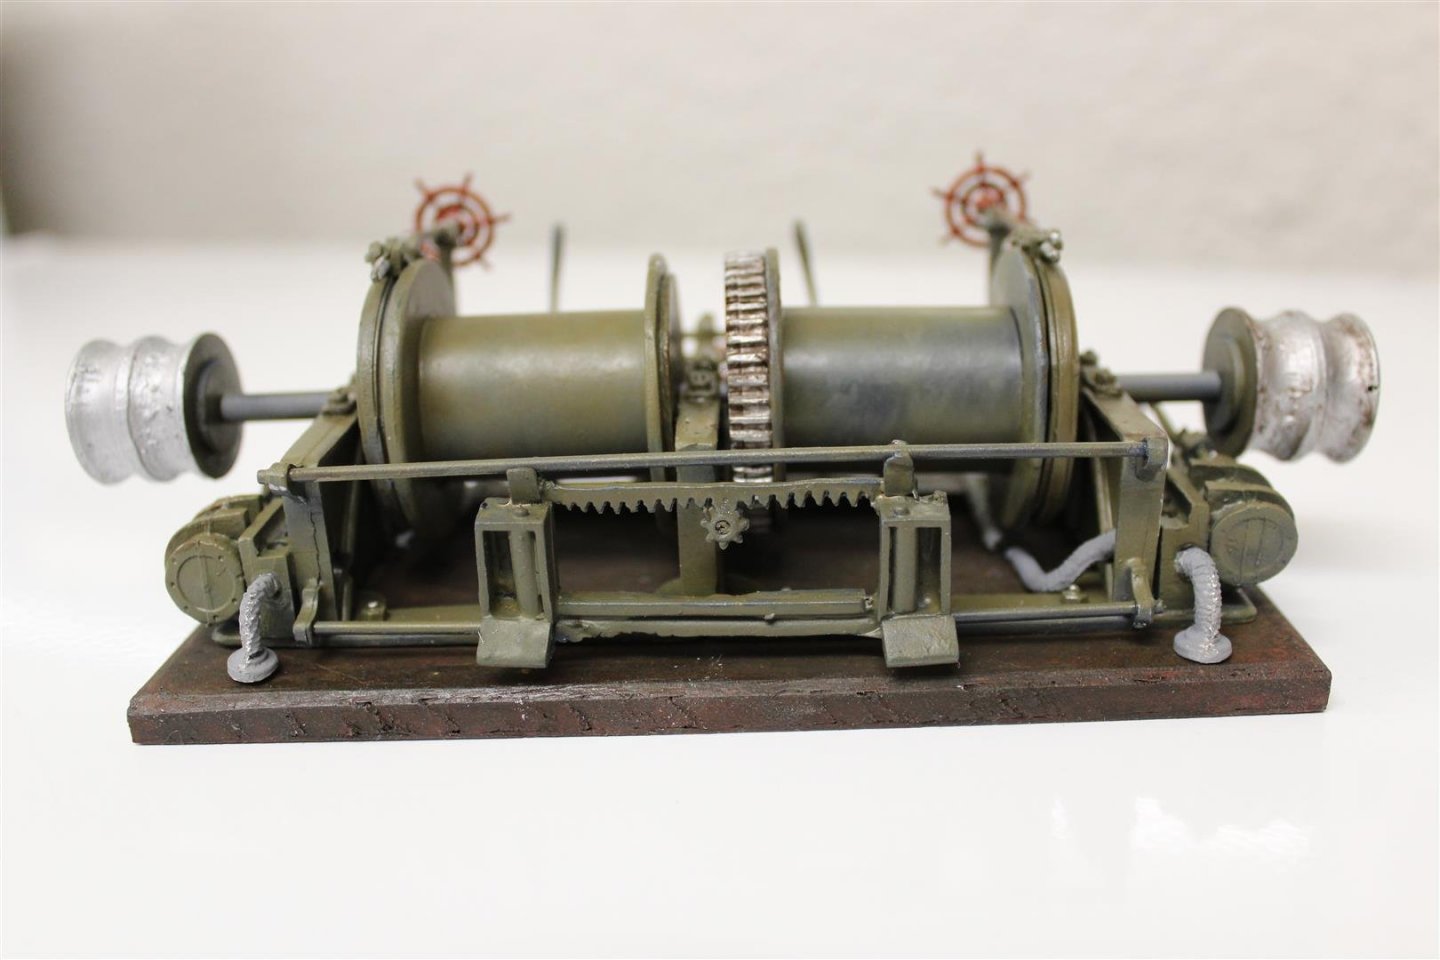
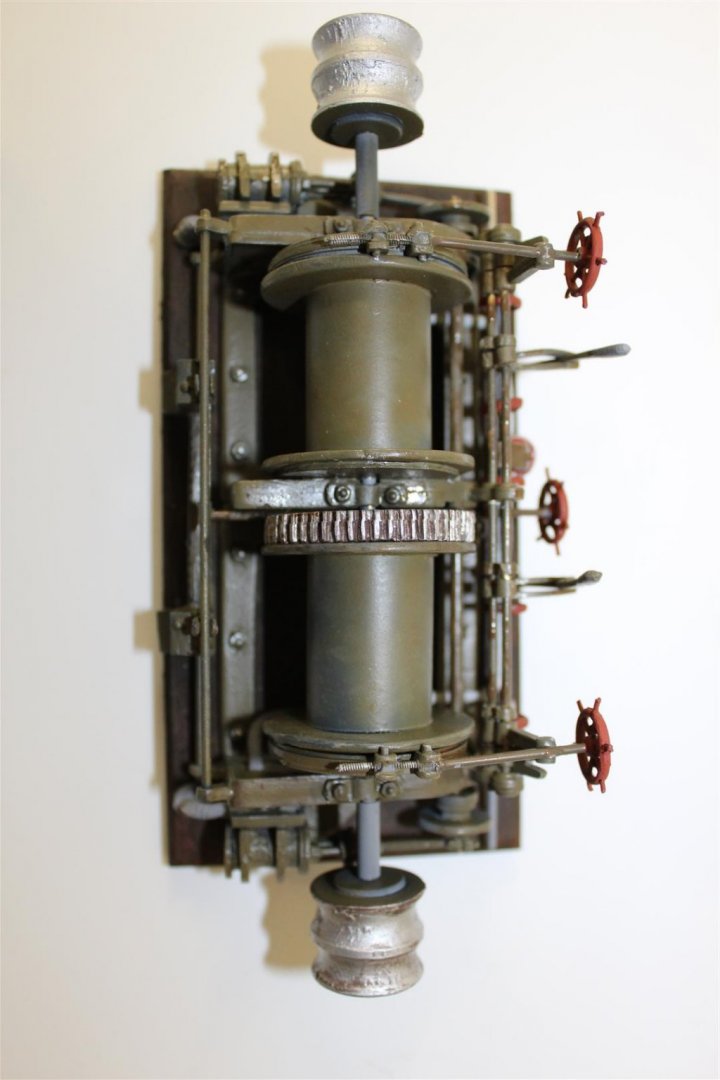
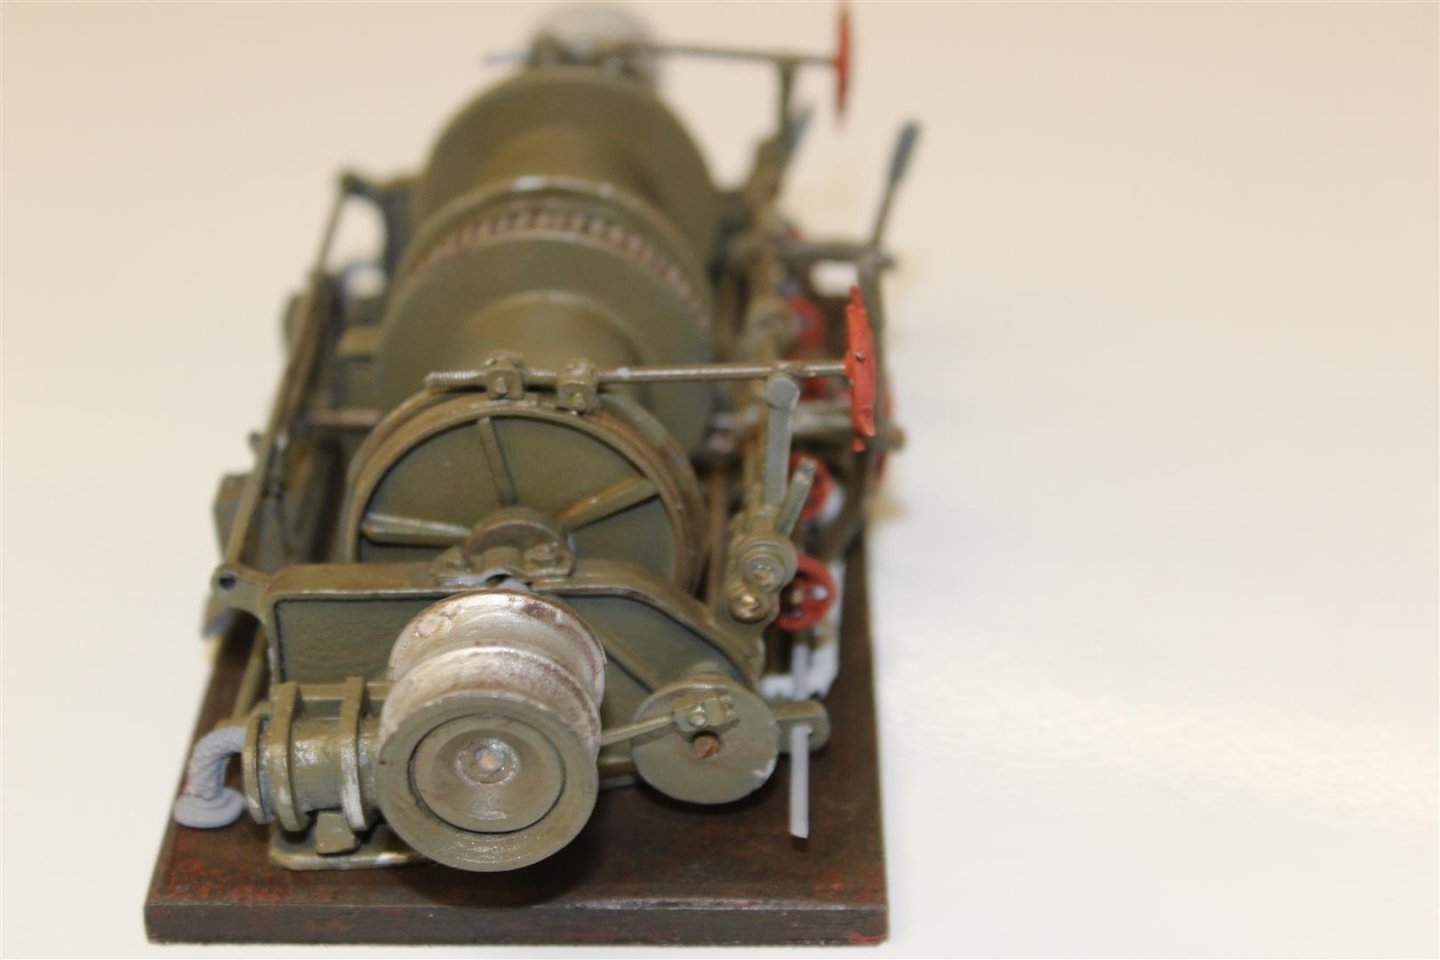
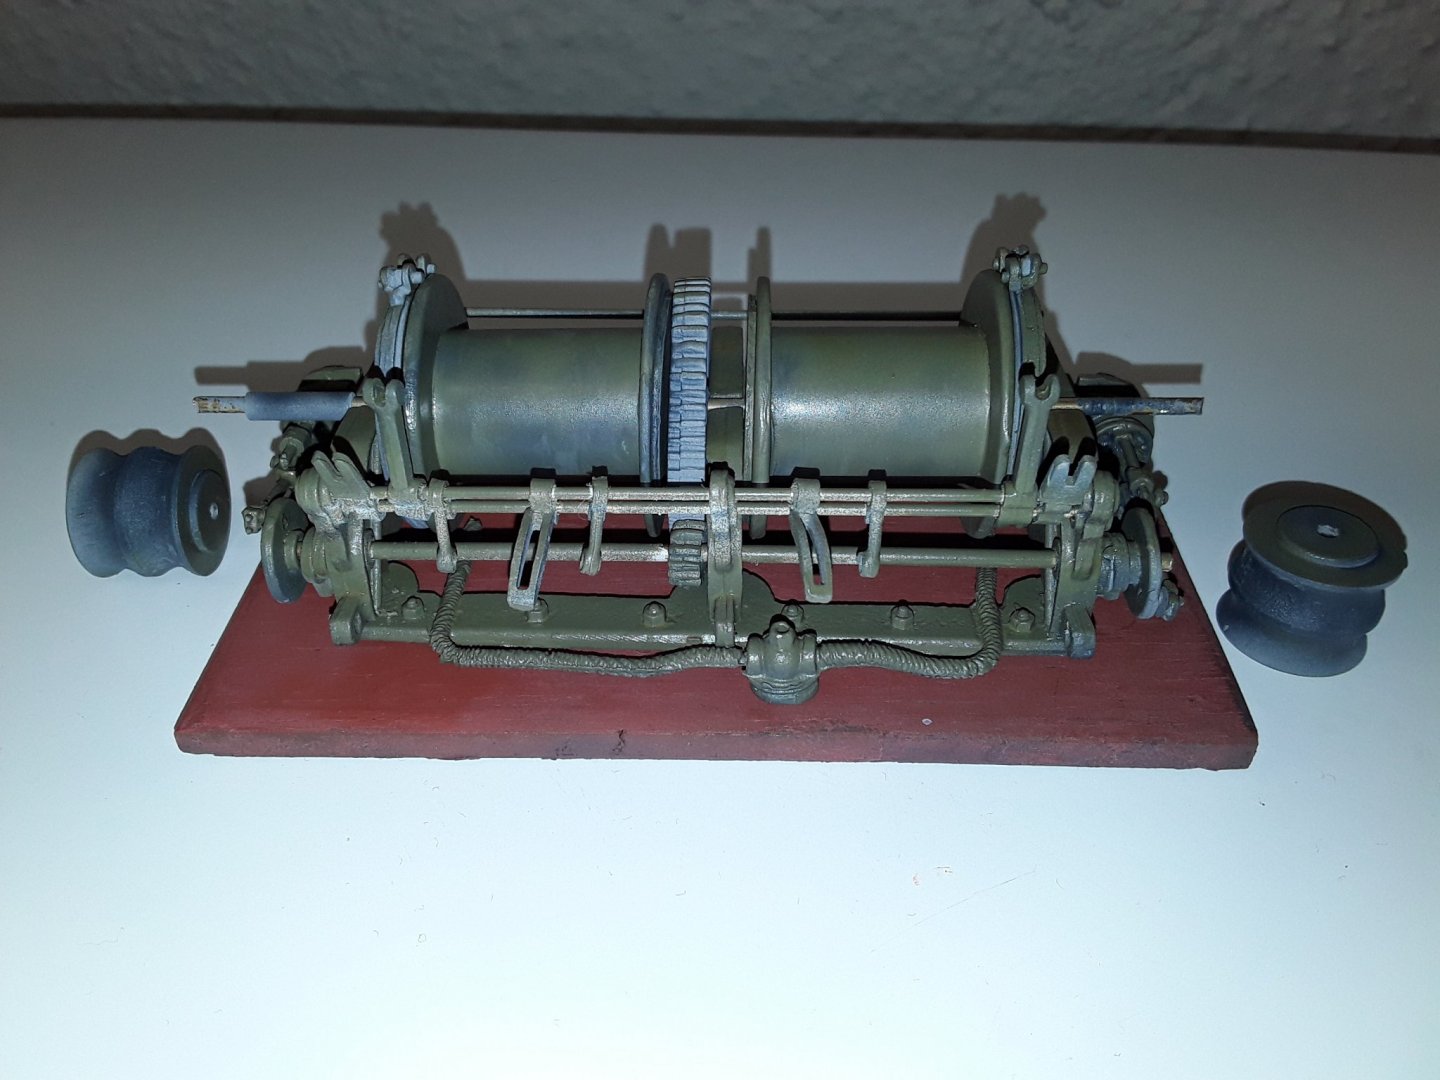
Good evening everyone with the exception of weathering, the steam winch is now completed


- 337 replies
-
- 14
-
-
- finished
- mountfleet models
- (and 1 more)
-
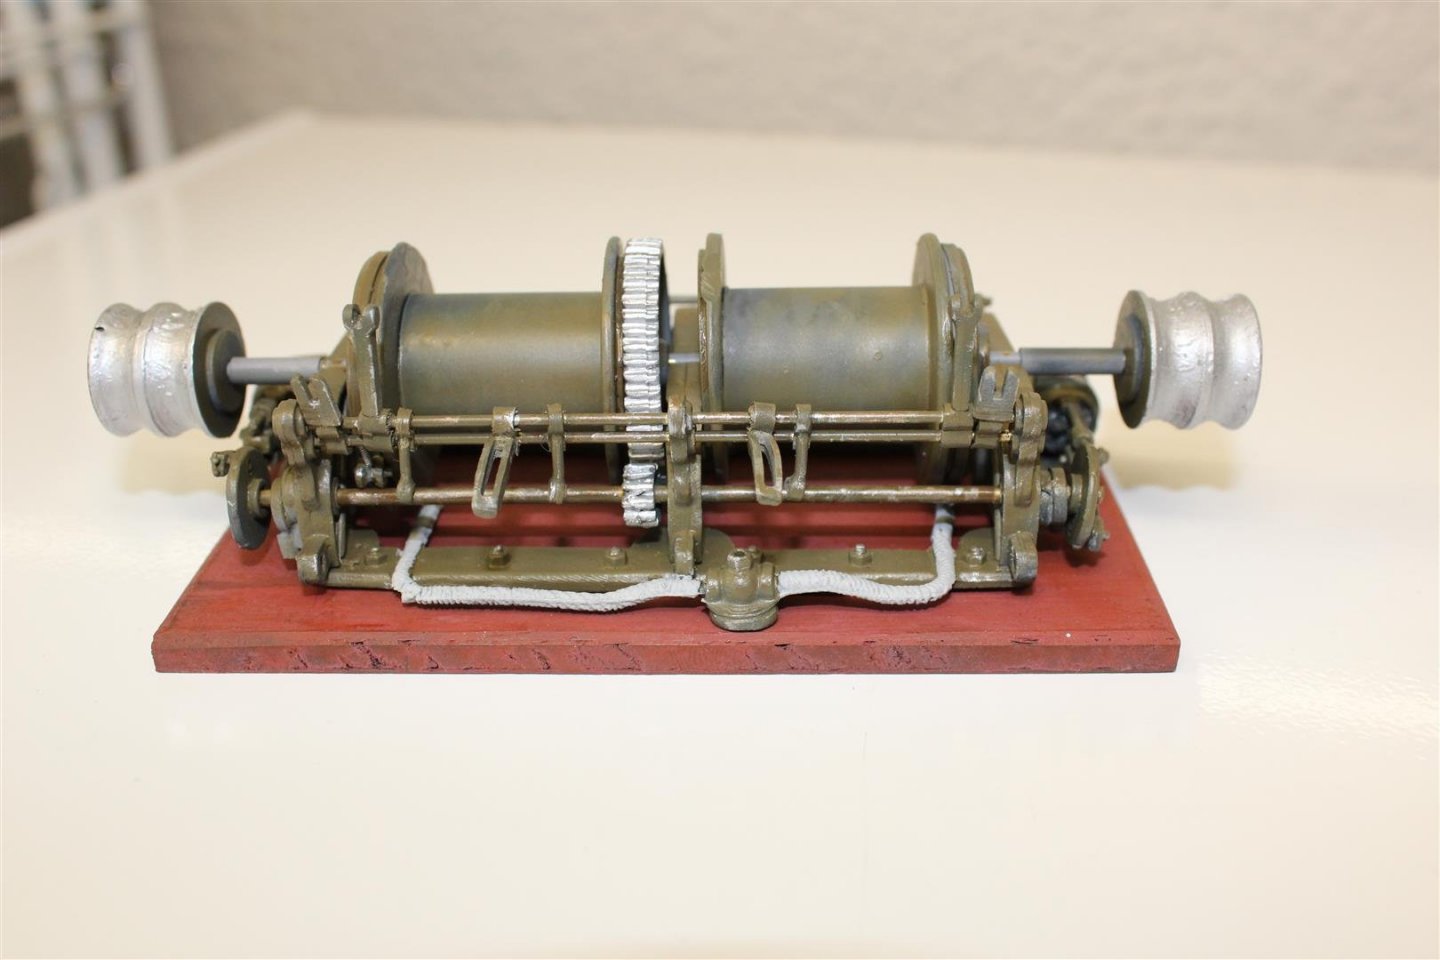
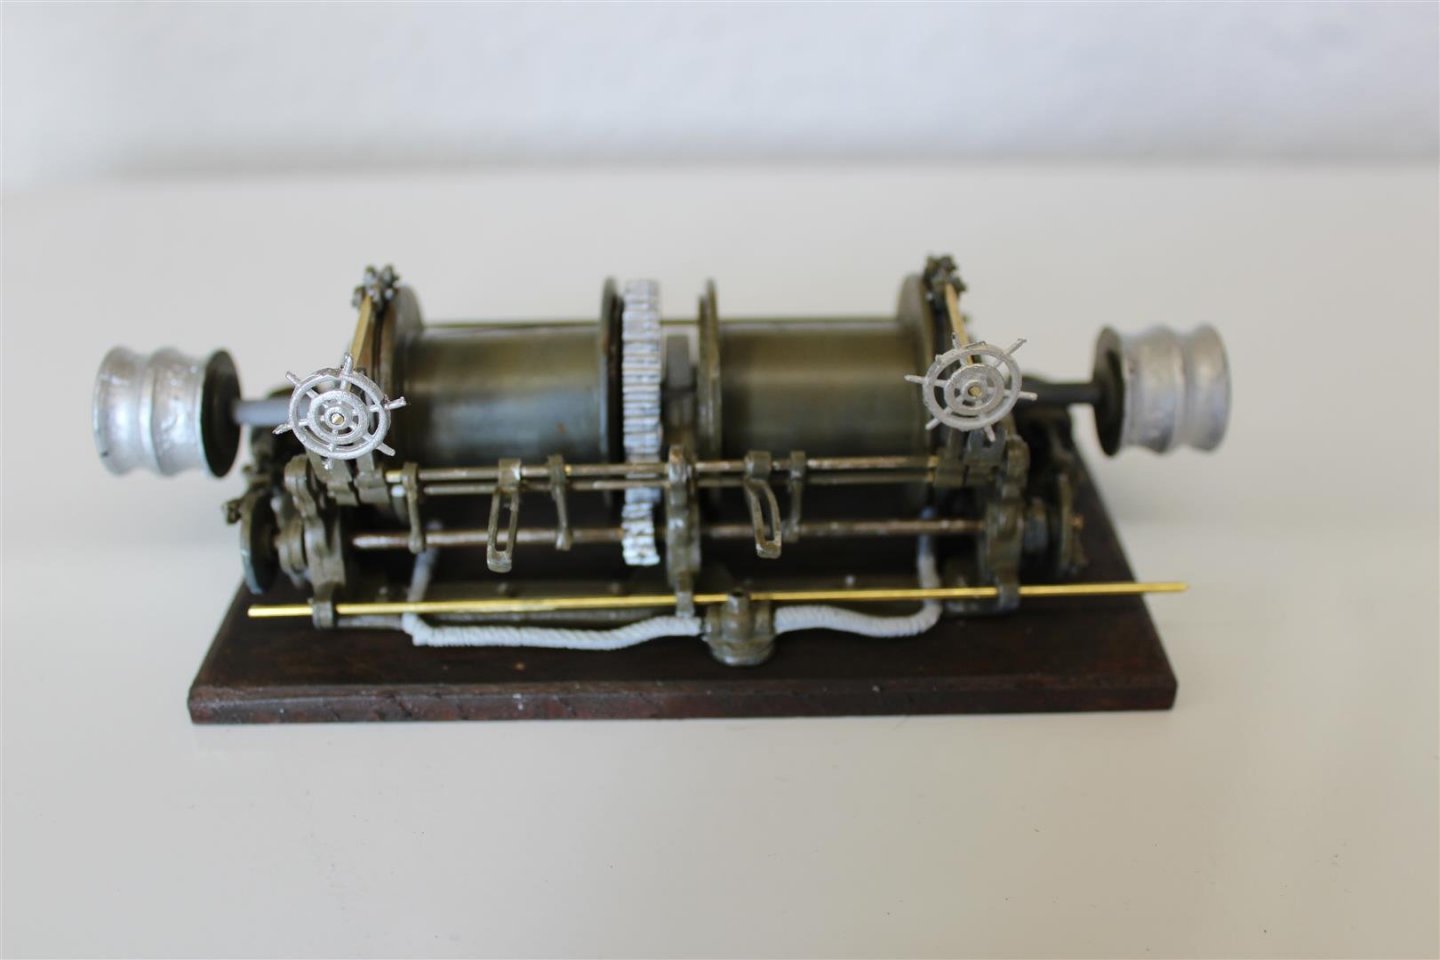
Good evening everyone perhaps the best days modelling i have done for some time The more i do on this winch the more i find to do, not from instructions but from real life photos and other build logs, lots of anti twist/bracing bars to go in still

- 337 replies
-
- 12
-
-
- finished
- mountfleet models
- (and 1 more)
-
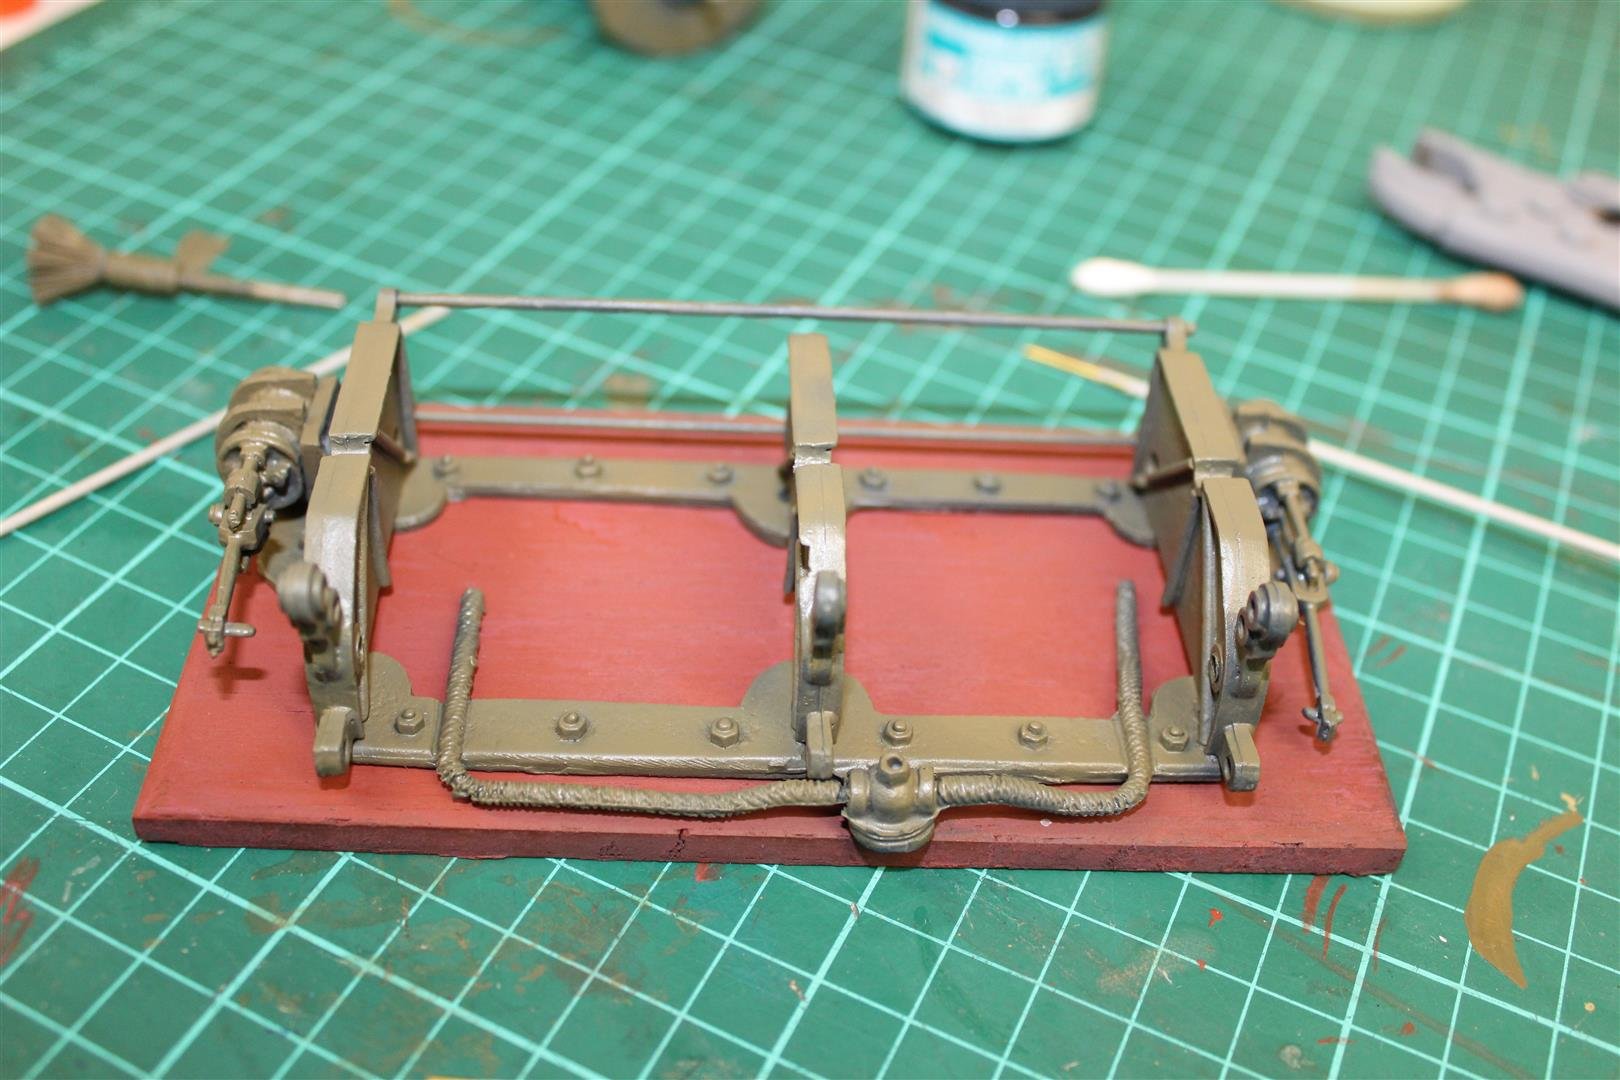
Good afternoon Still wip, what a fun, enjoyable project

- 337 replies
-
- 11
-
-
- finished
- mountfleet models
- (and 1 more)
-
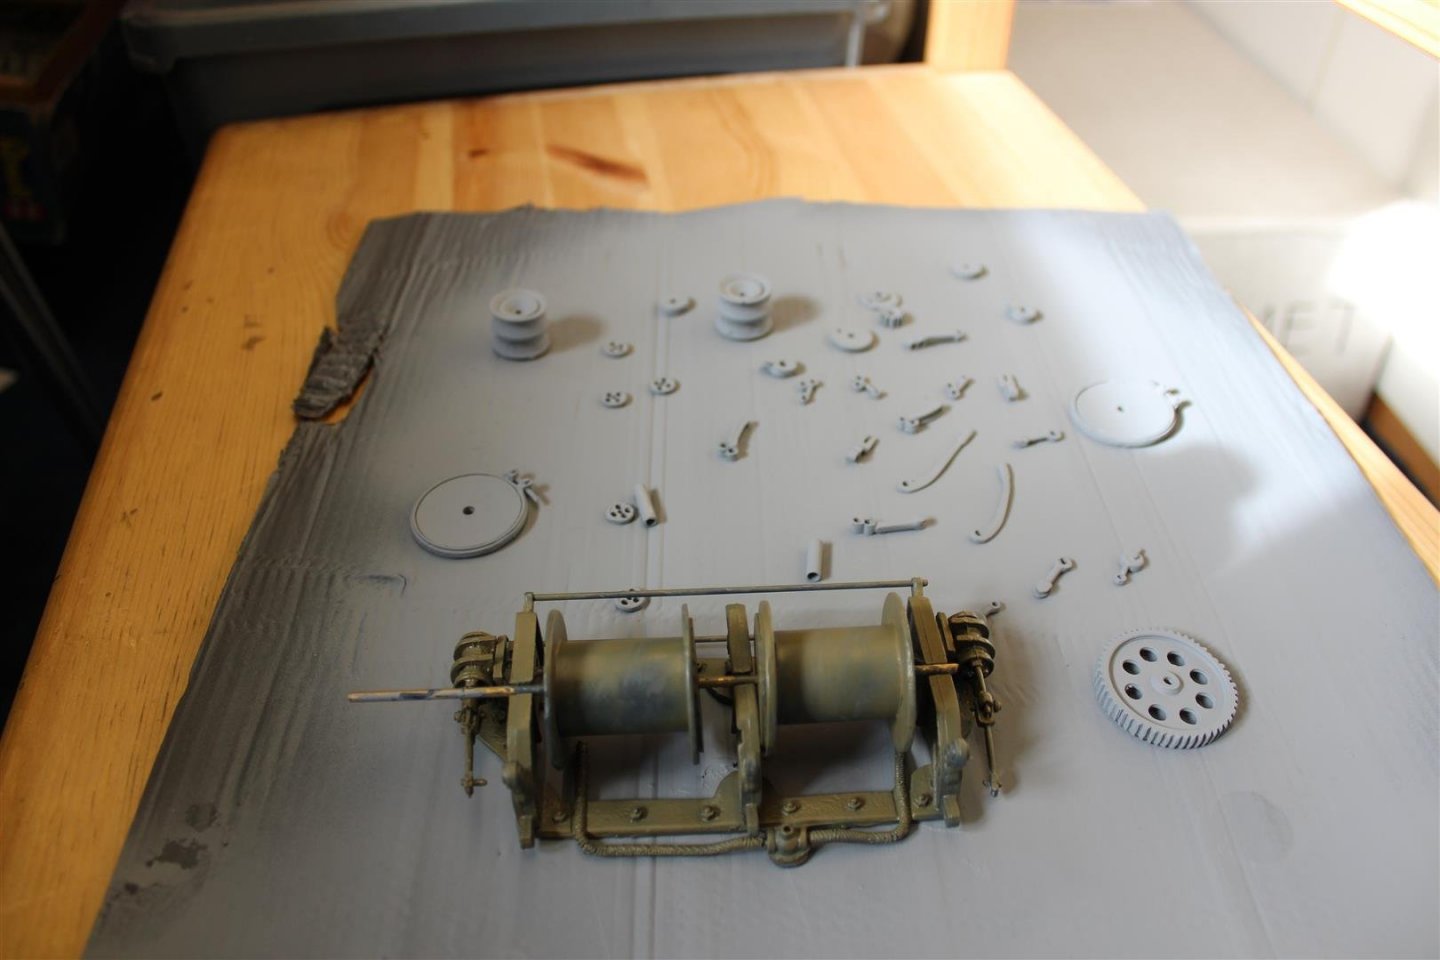
Good evening everyone I have a weeks holiday, so back to the trawler, started to paint up the steam winch
- 337 replies
-
- 10
-
-
- finished
- mountfleet models
- (and 1 more)
-
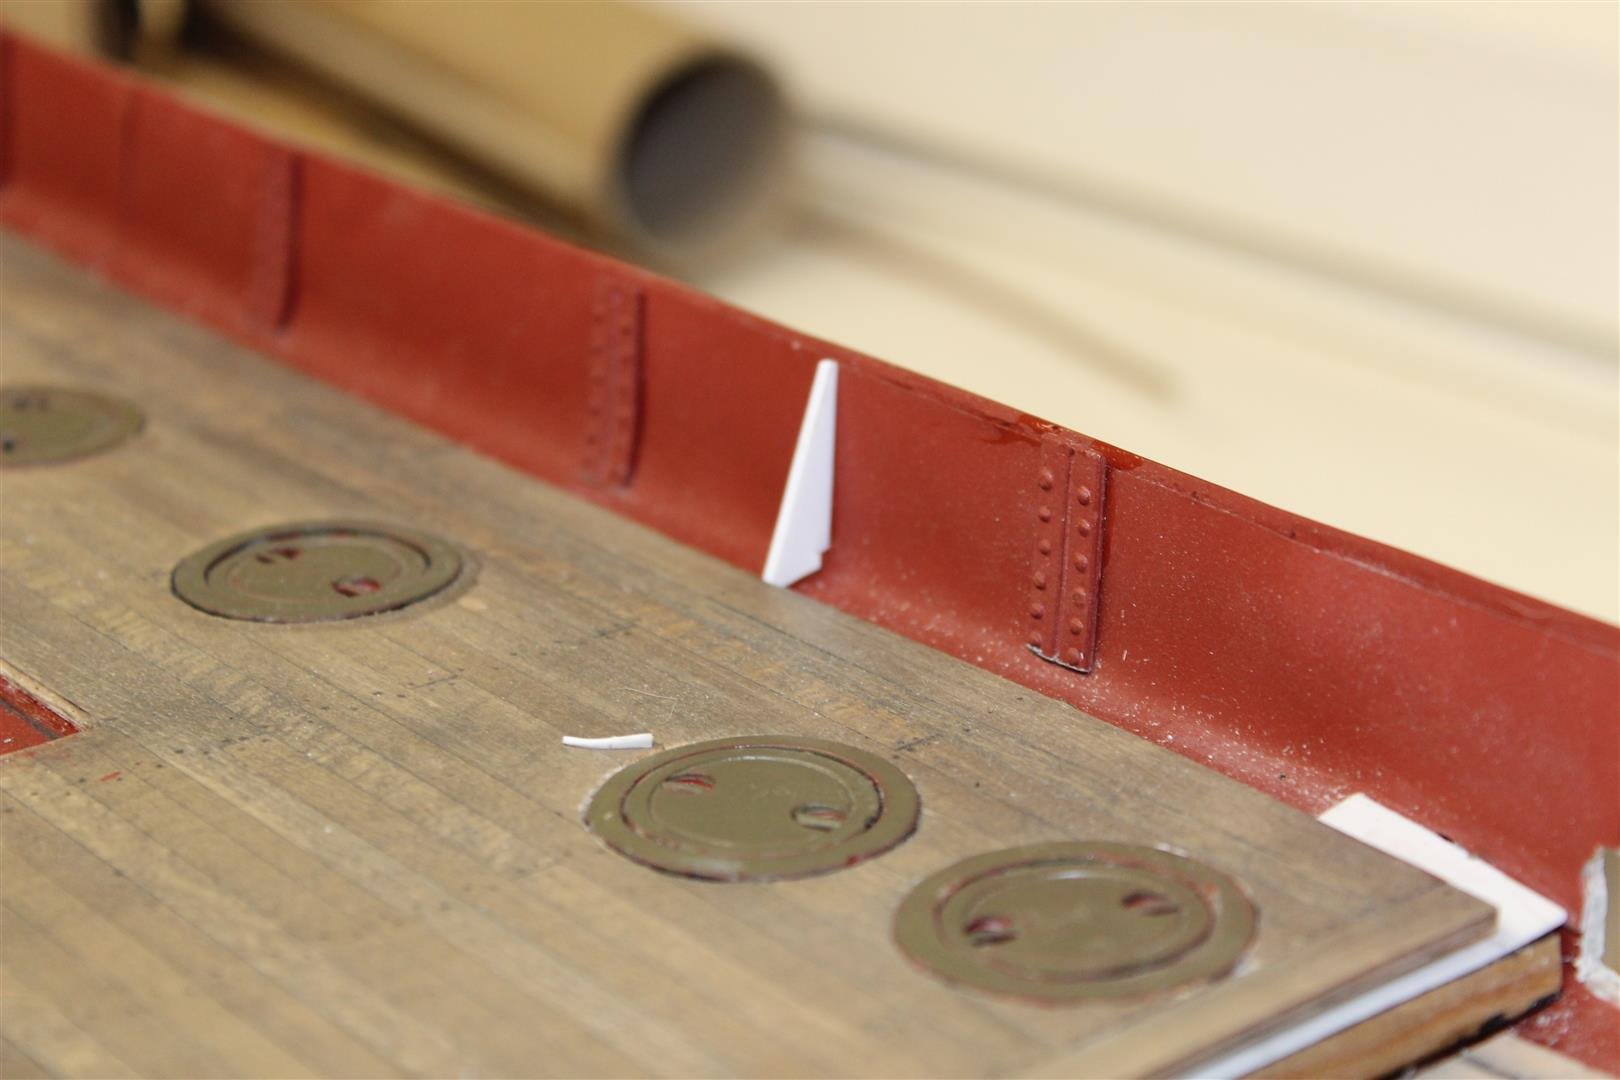
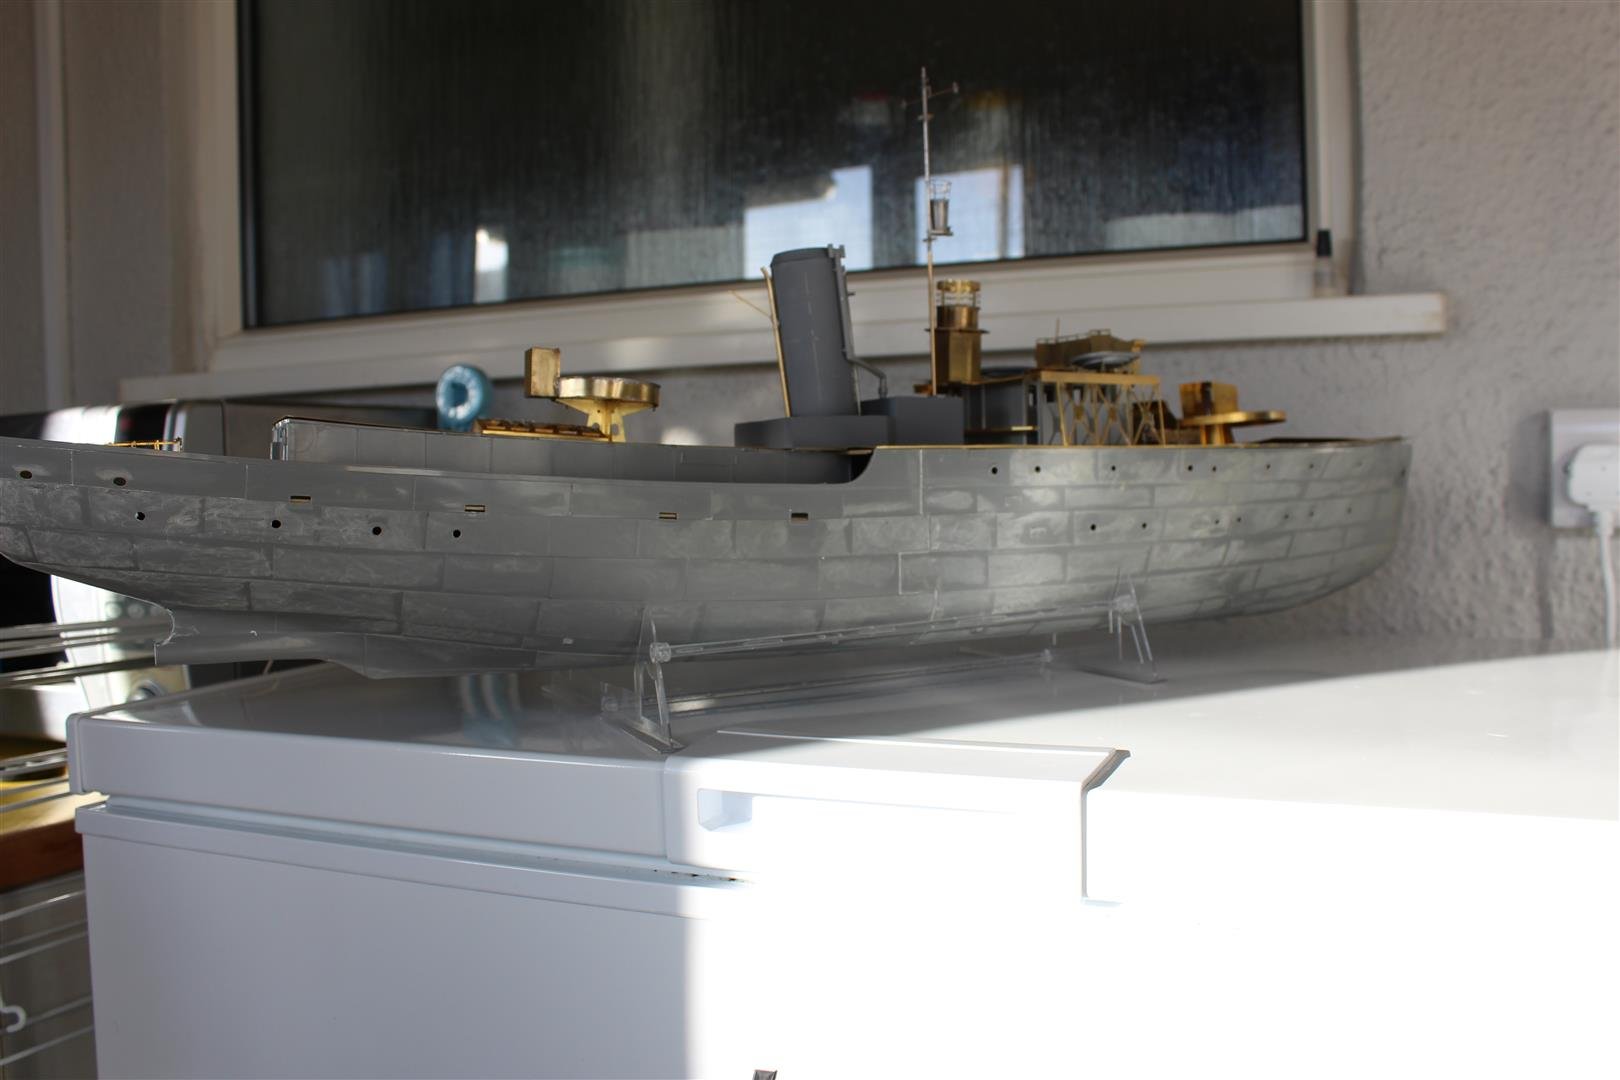
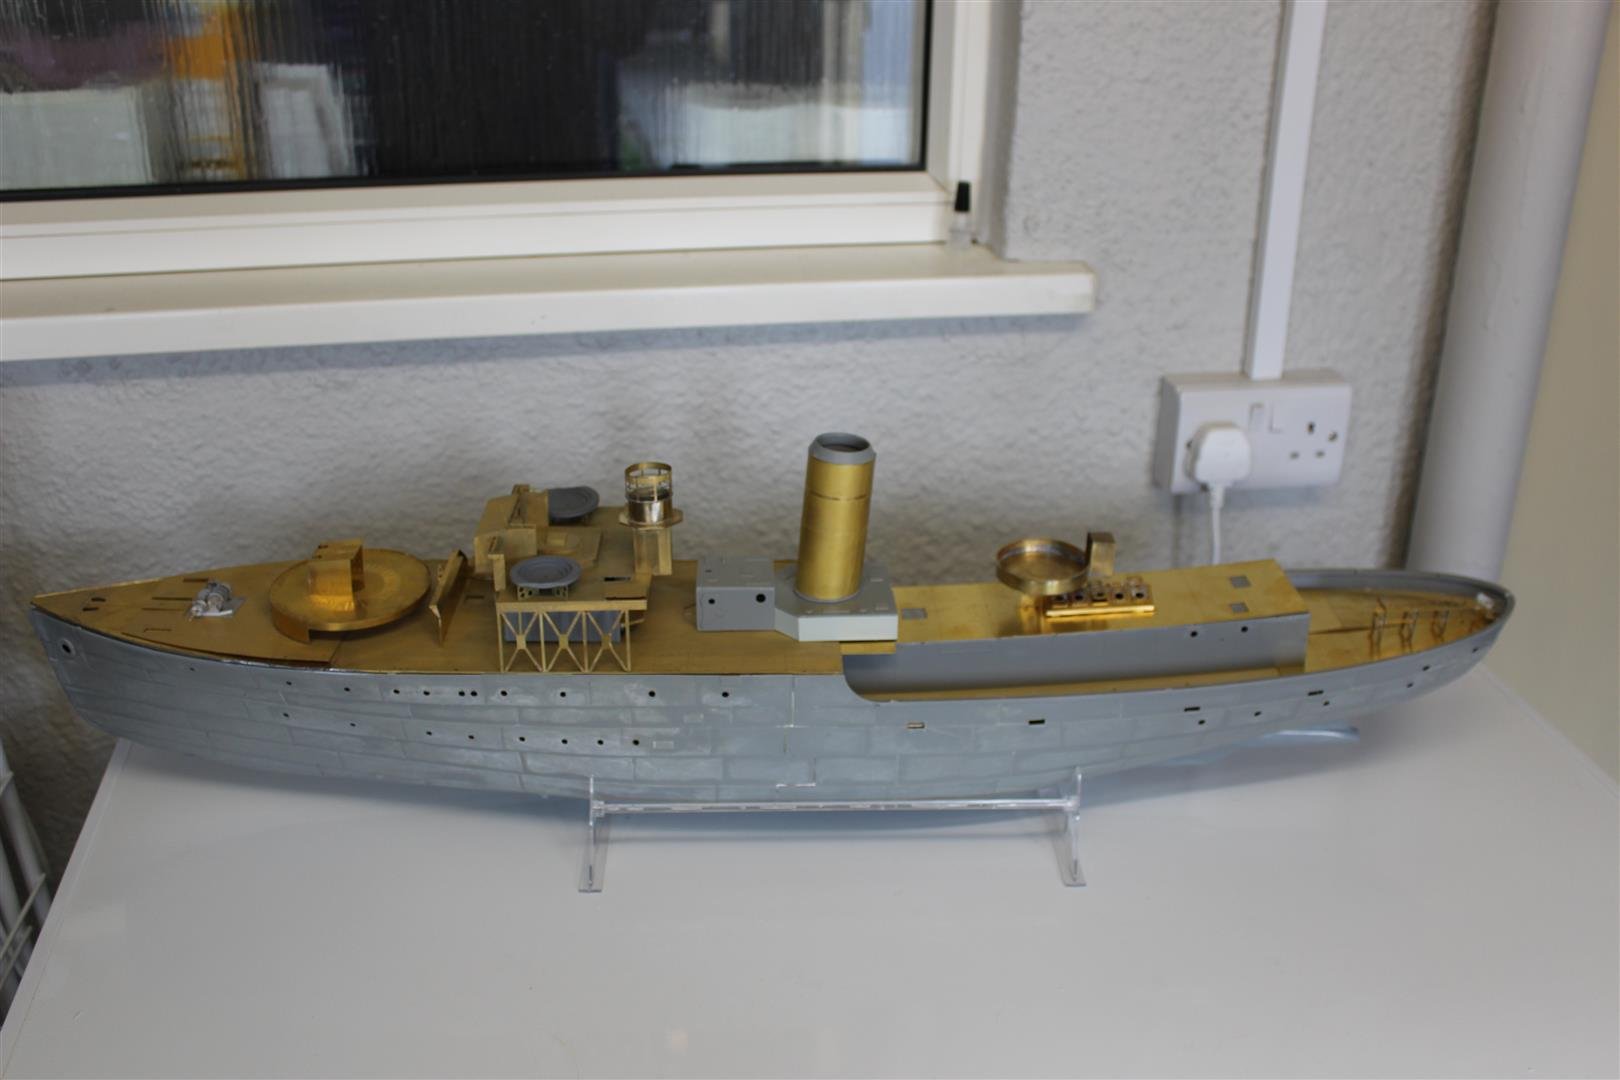
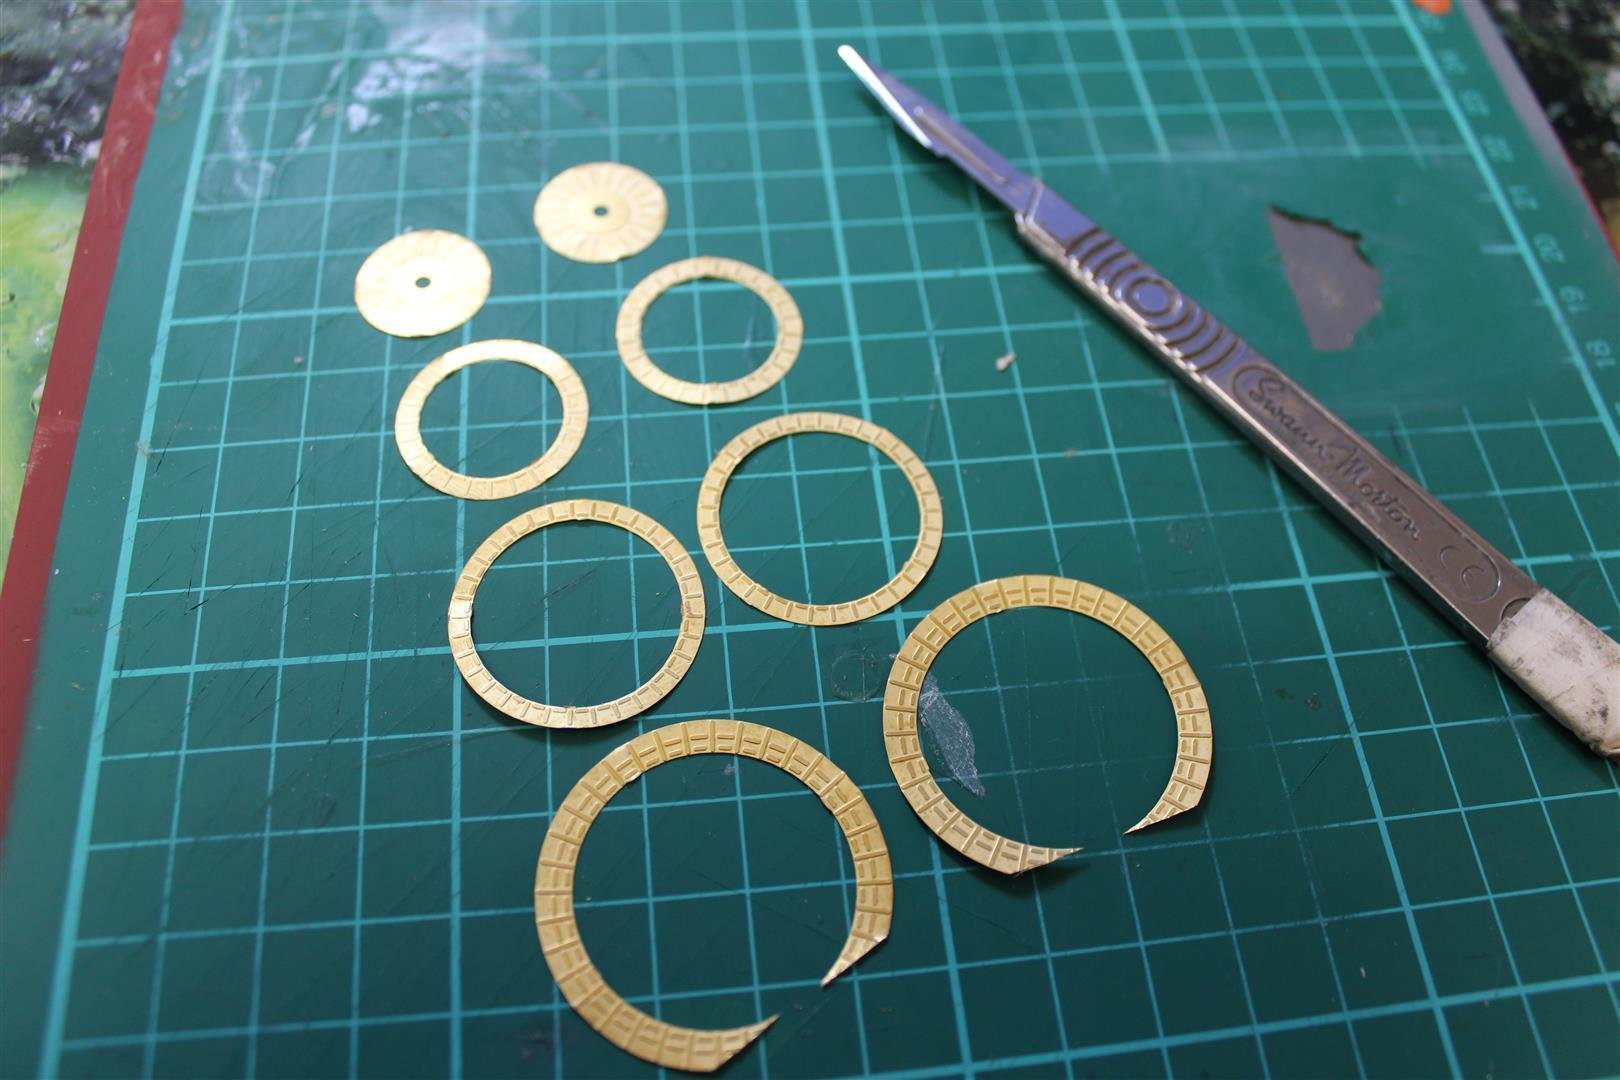
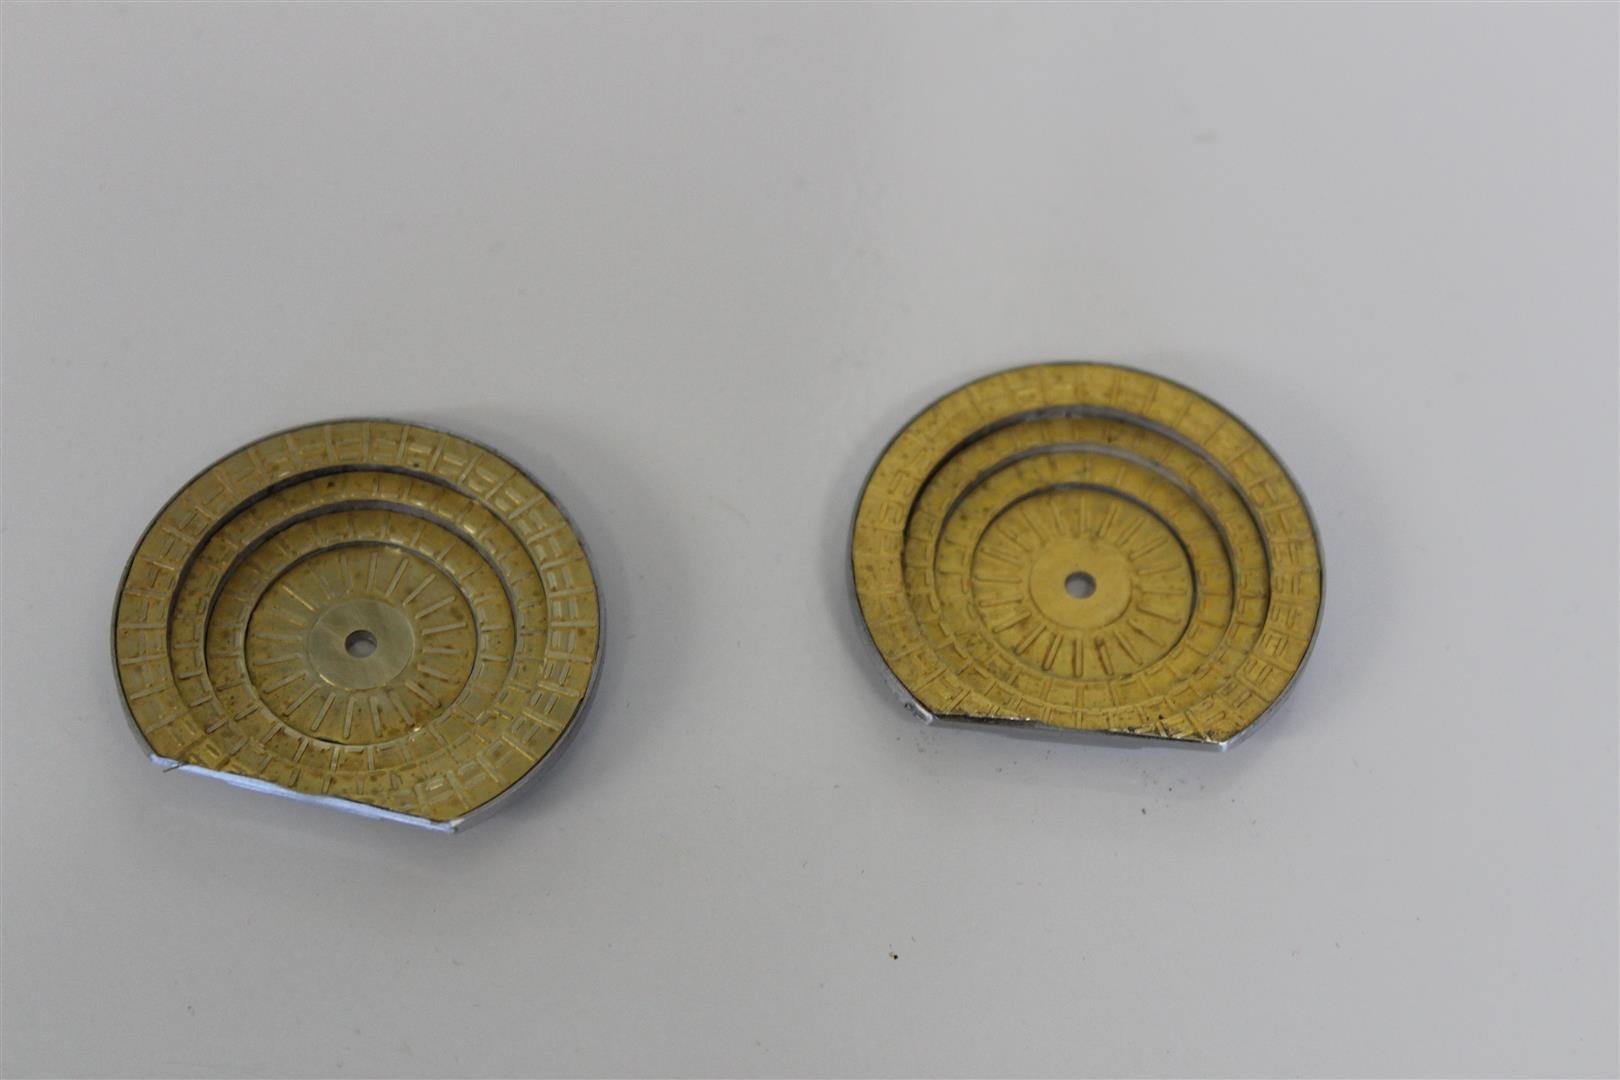
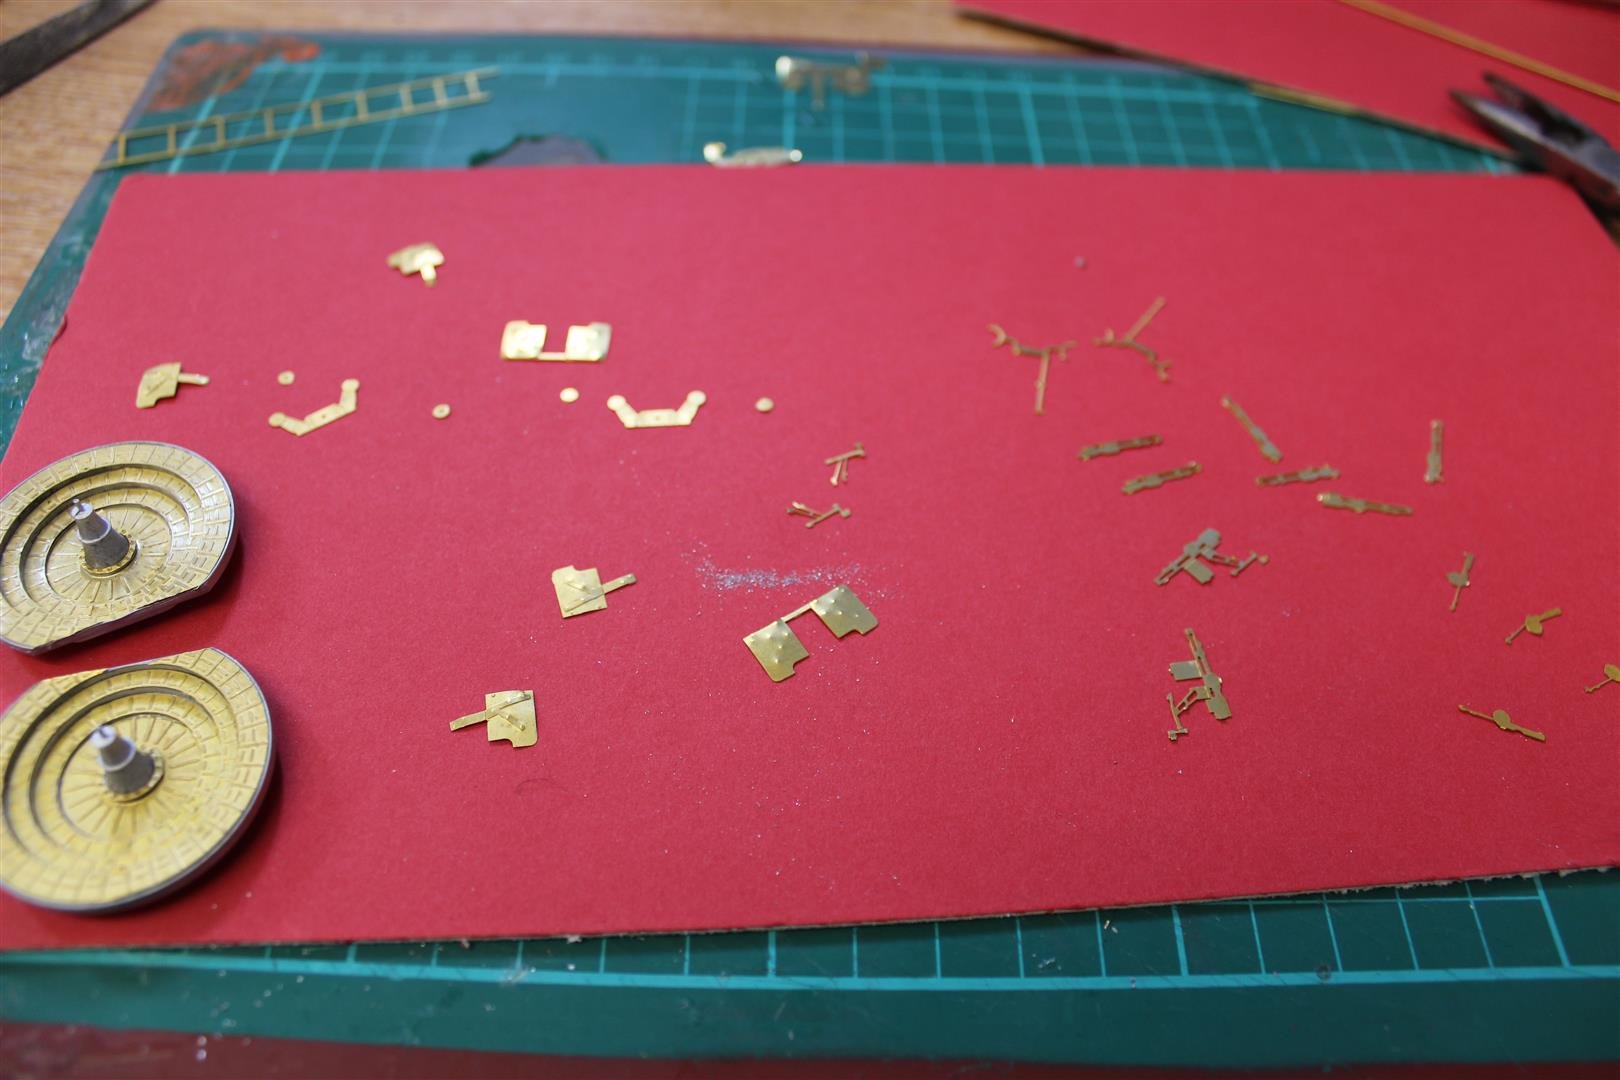
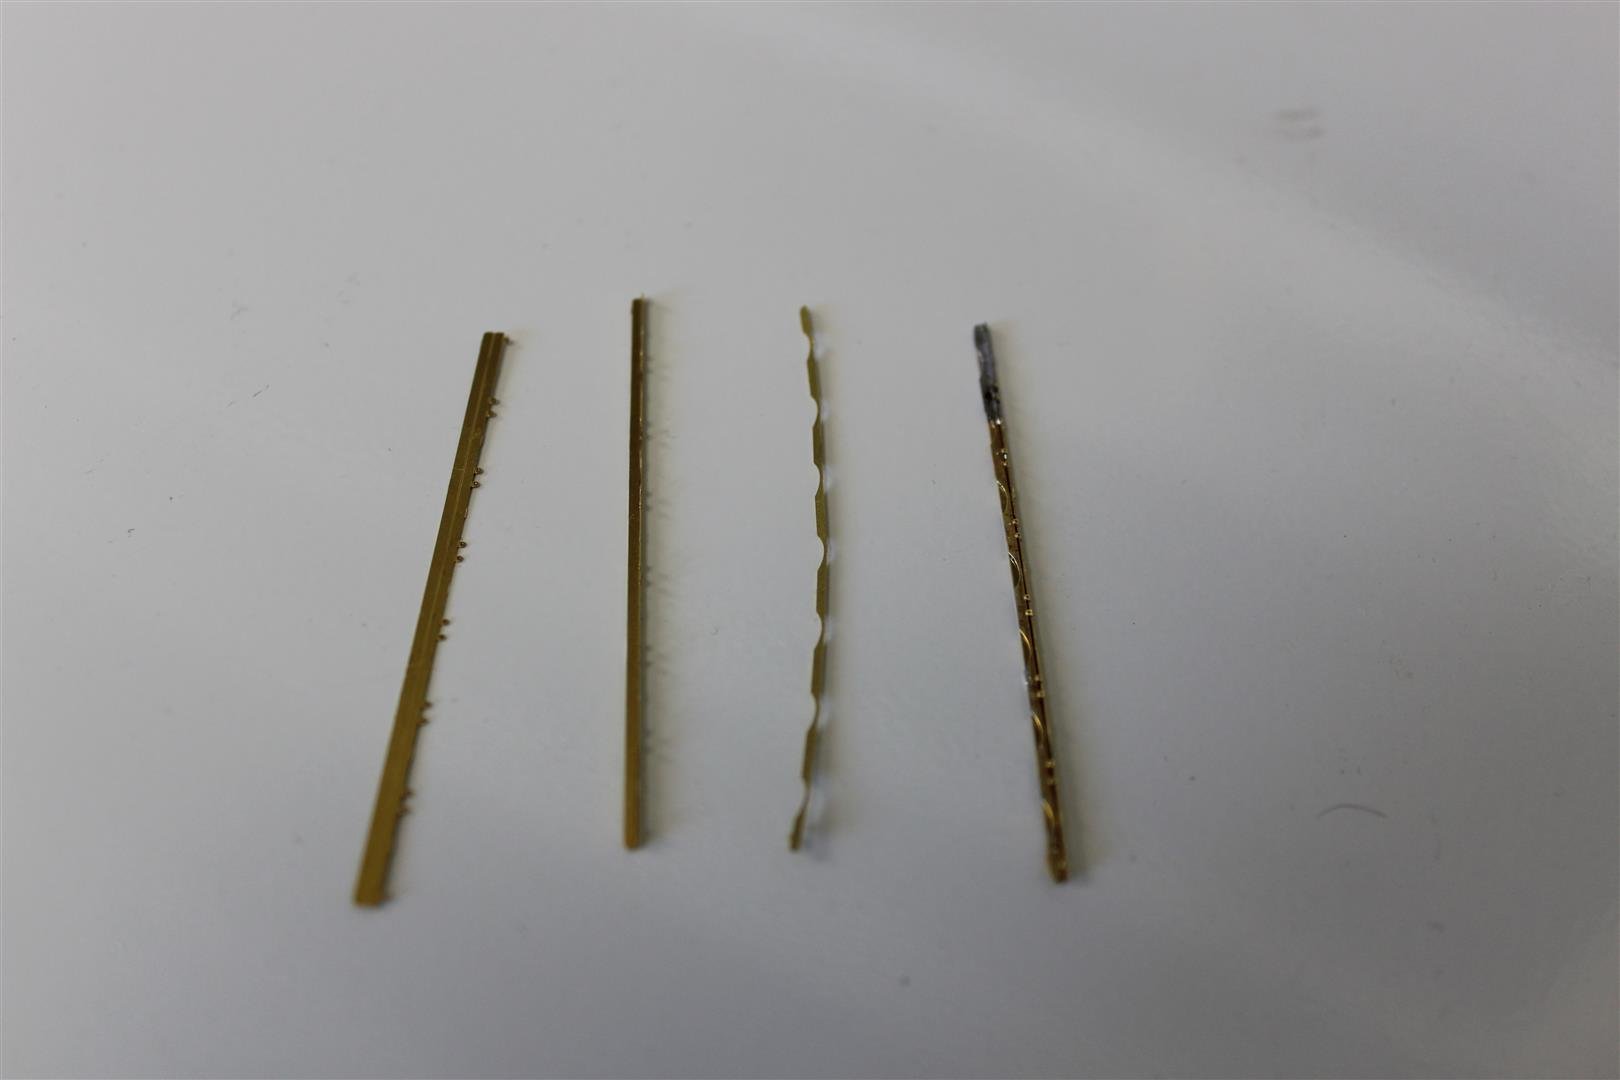
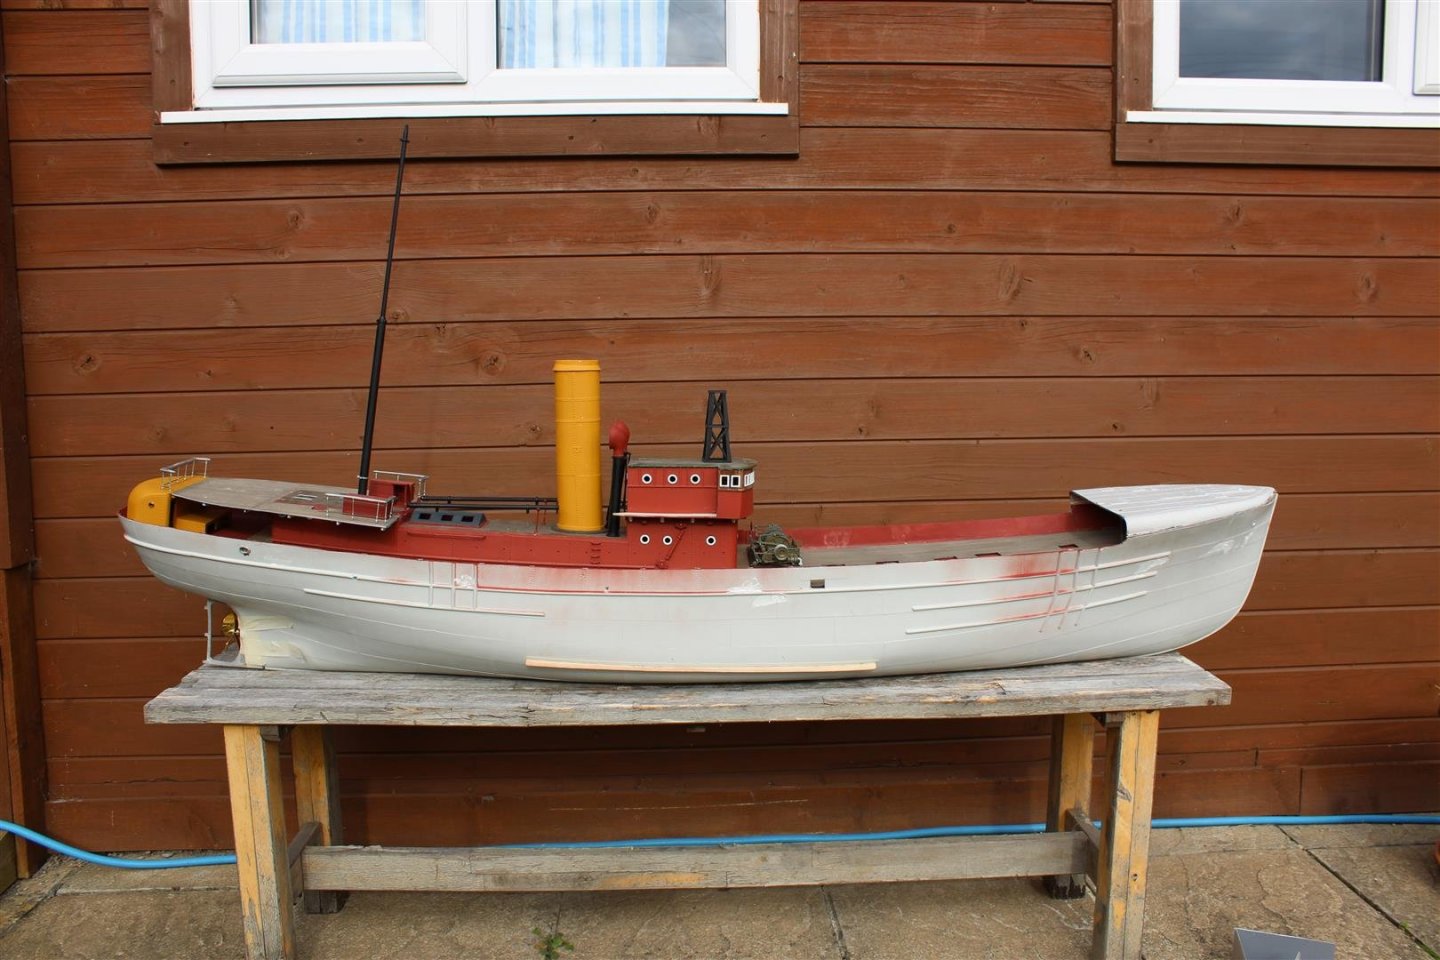
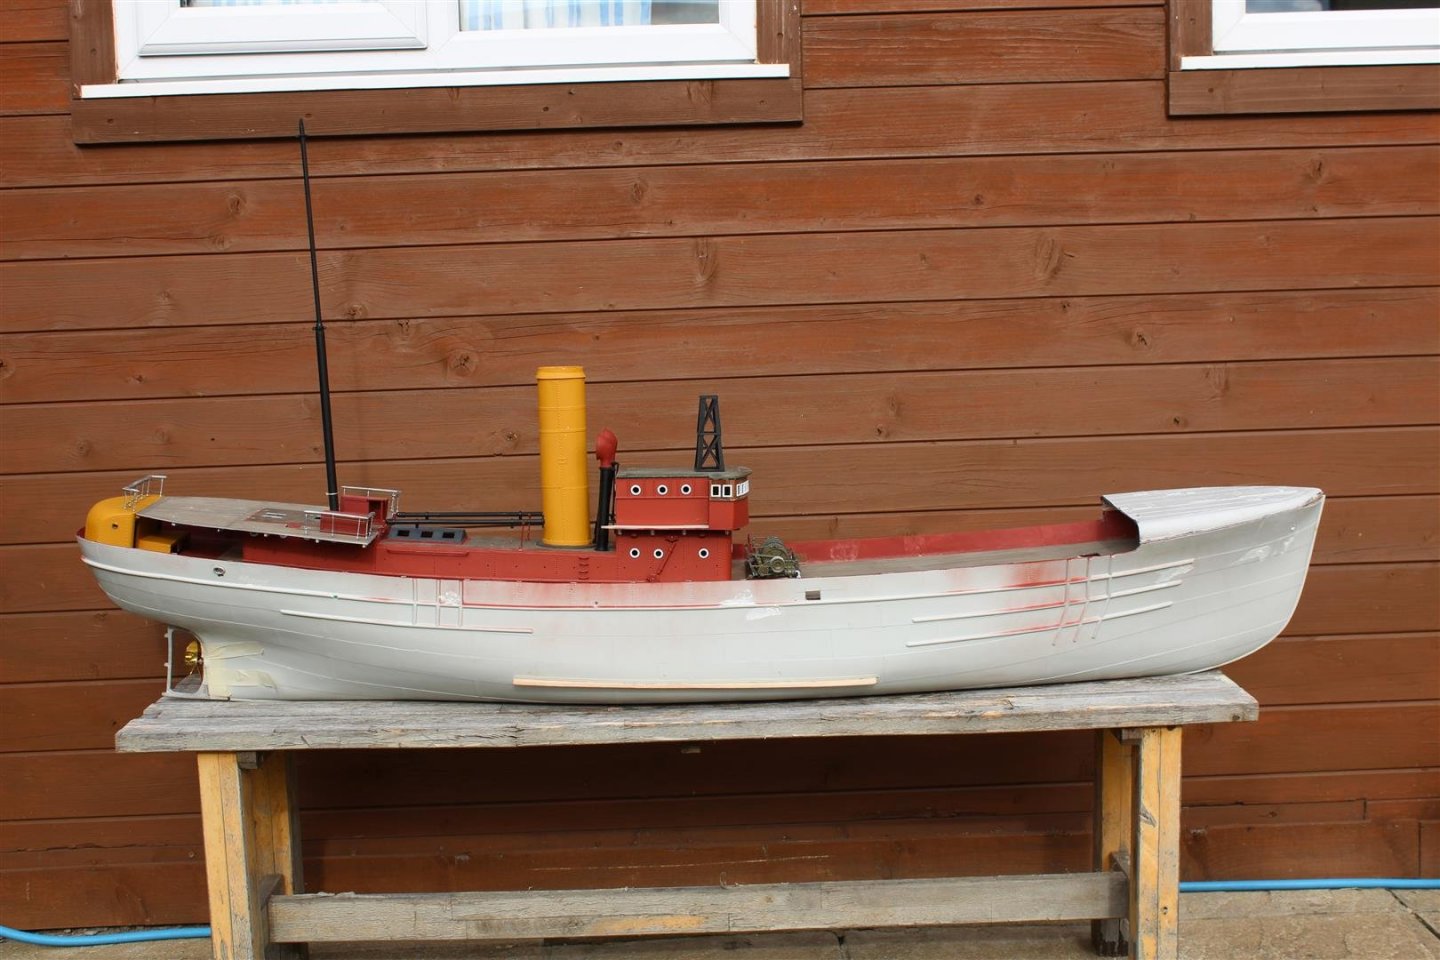
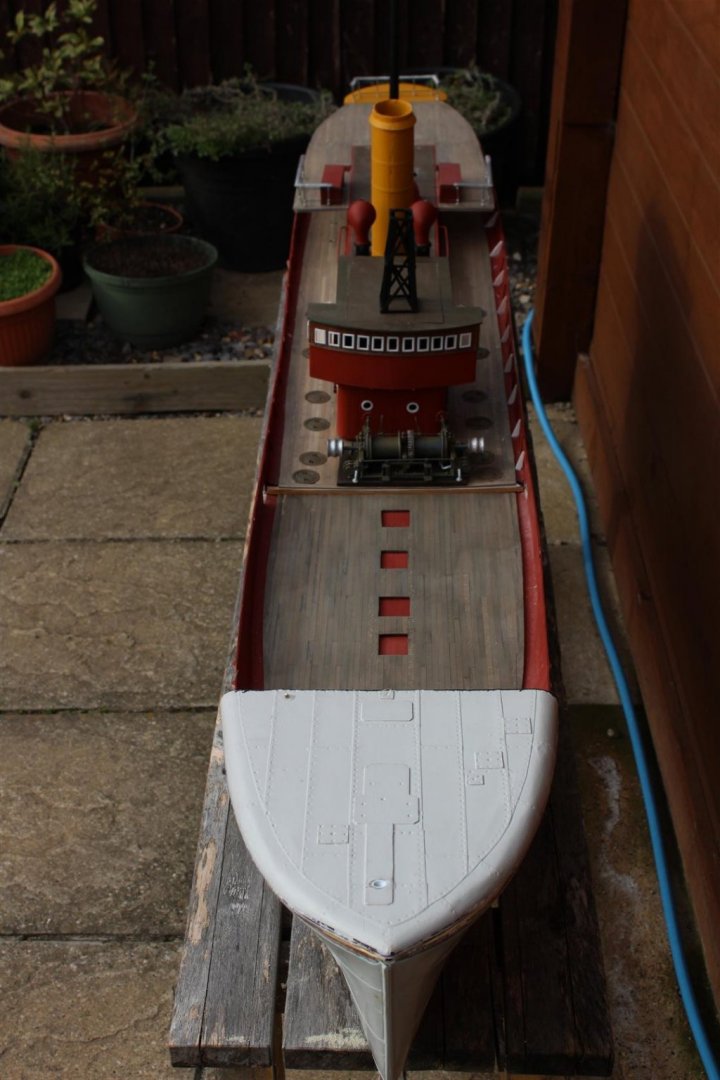
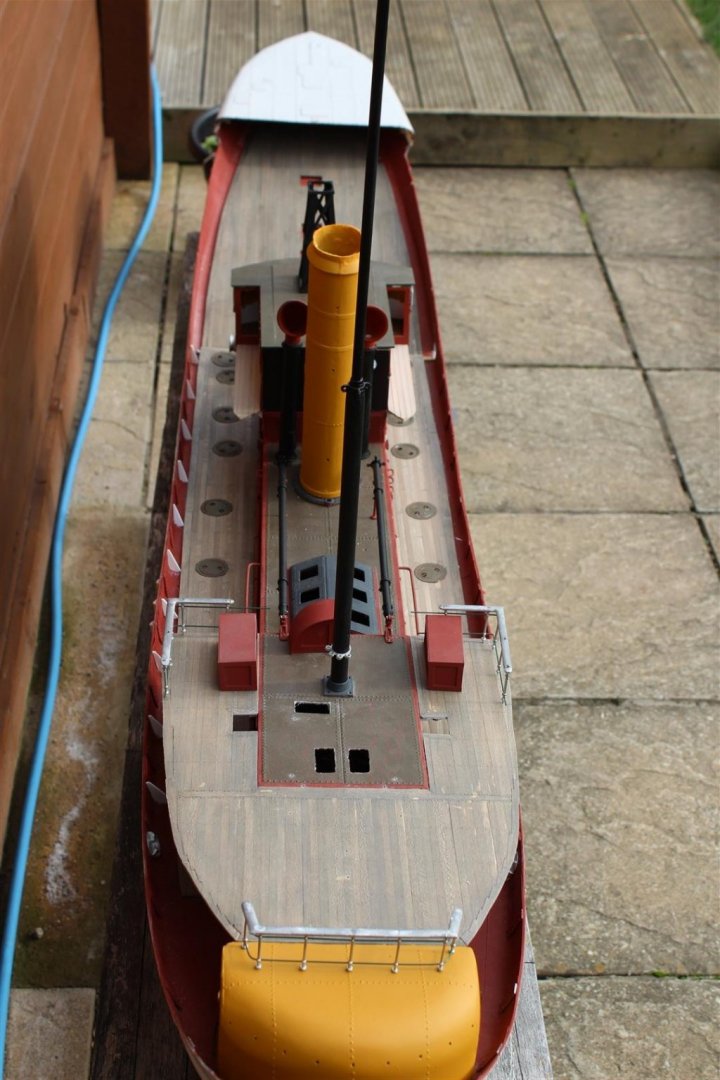
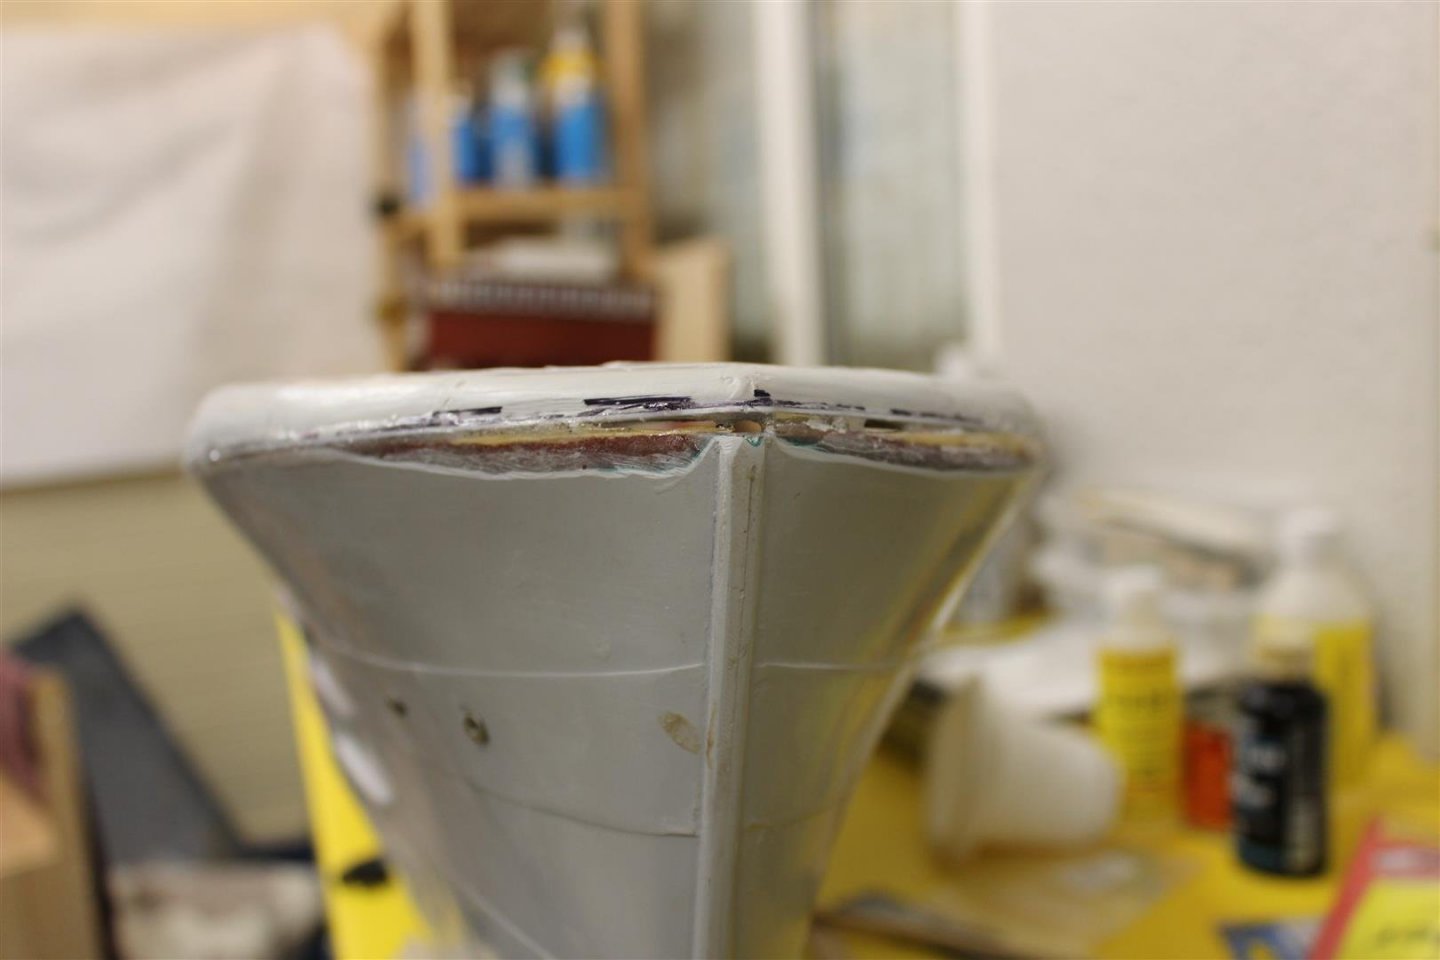
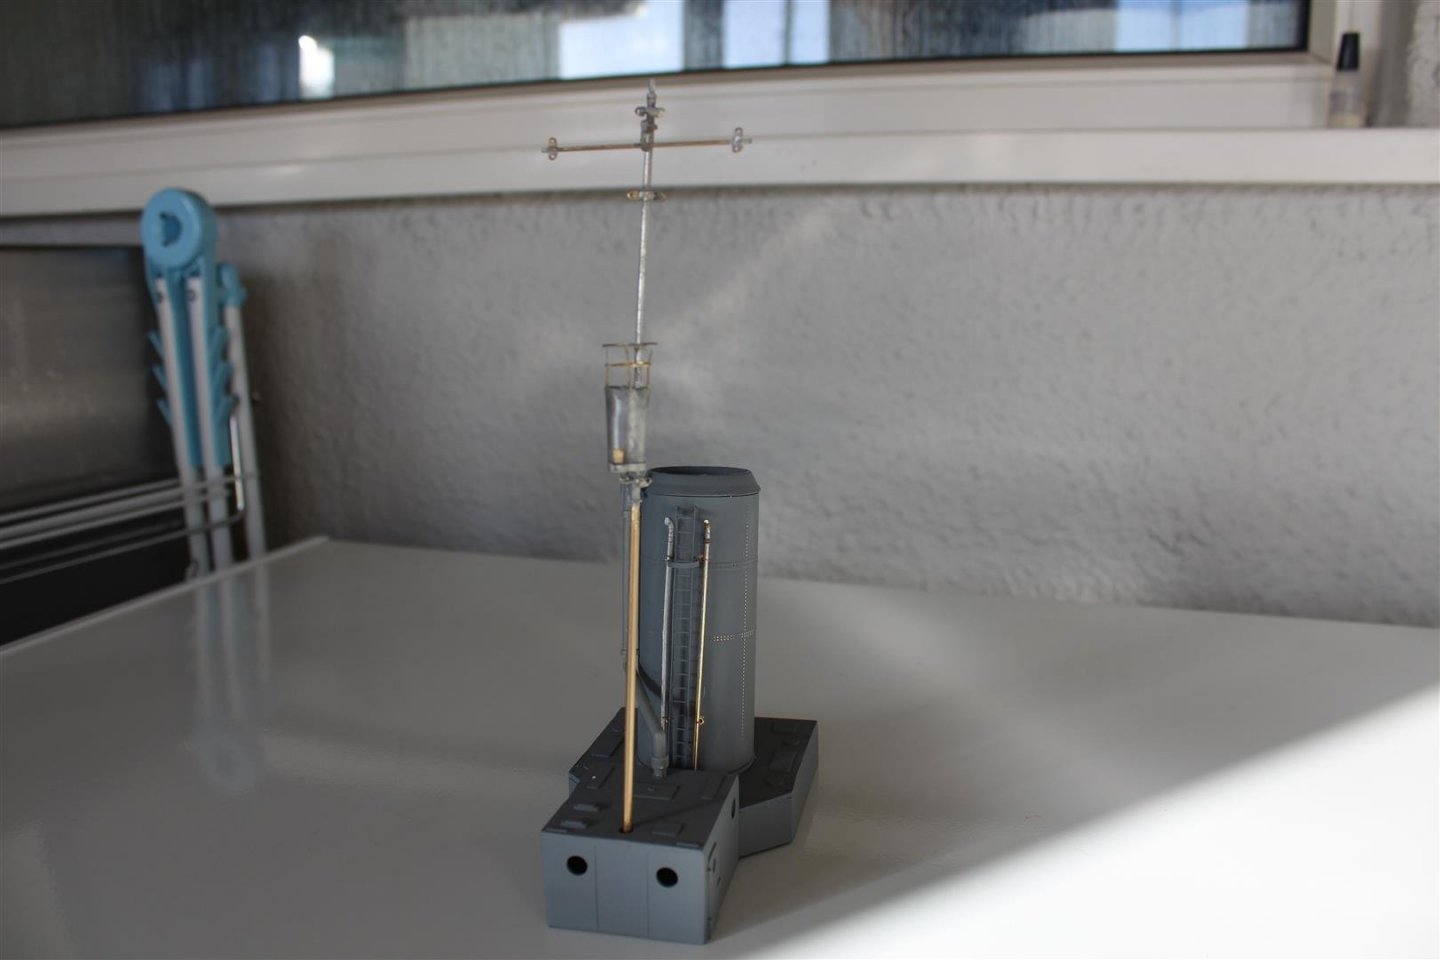
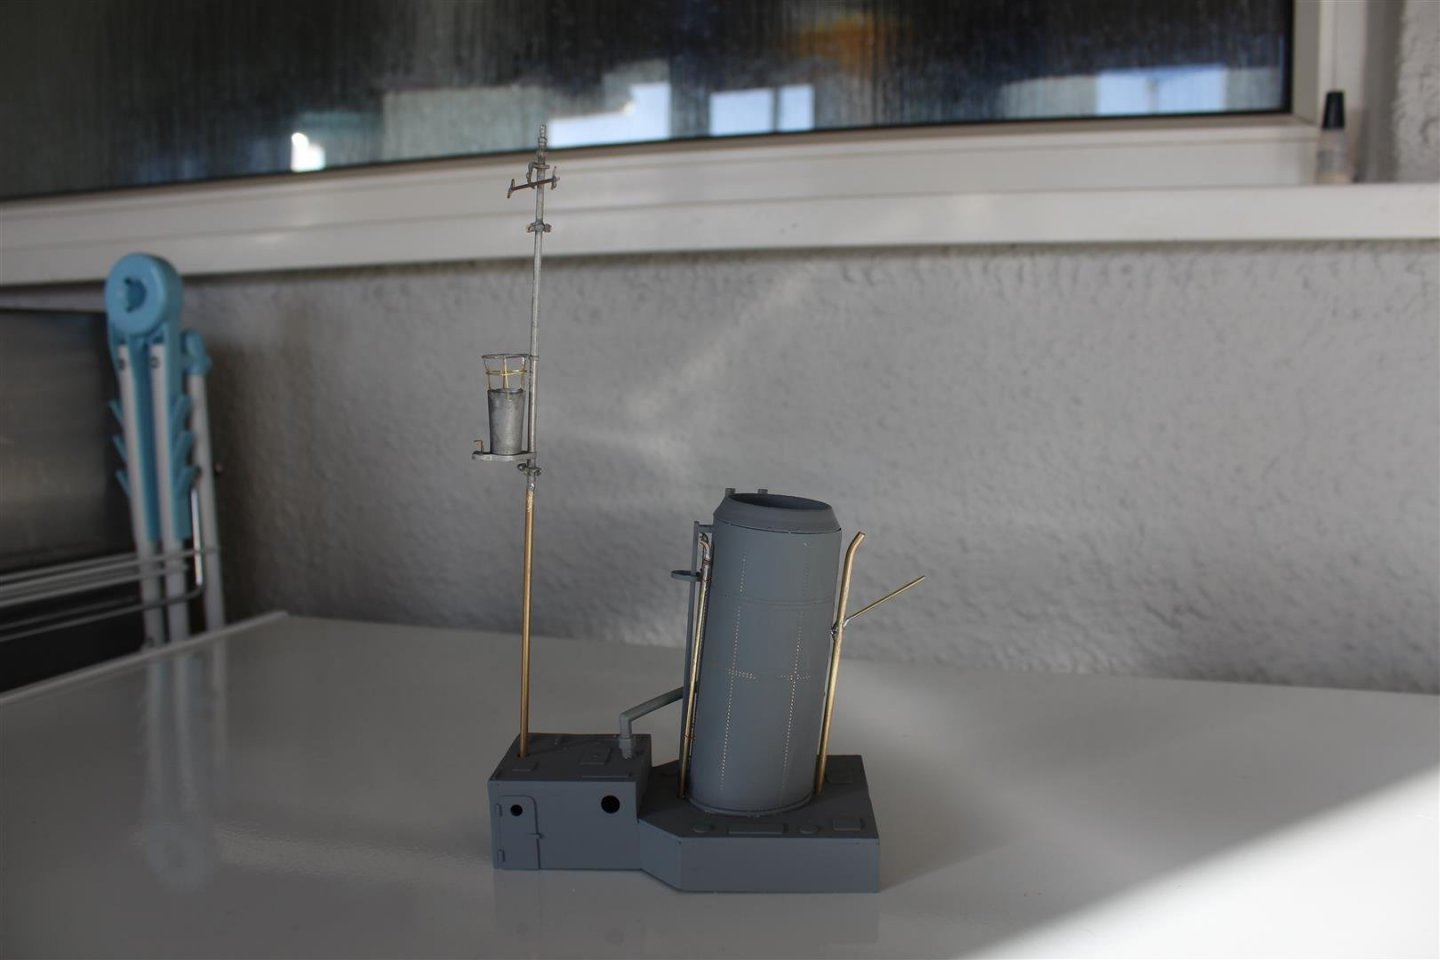
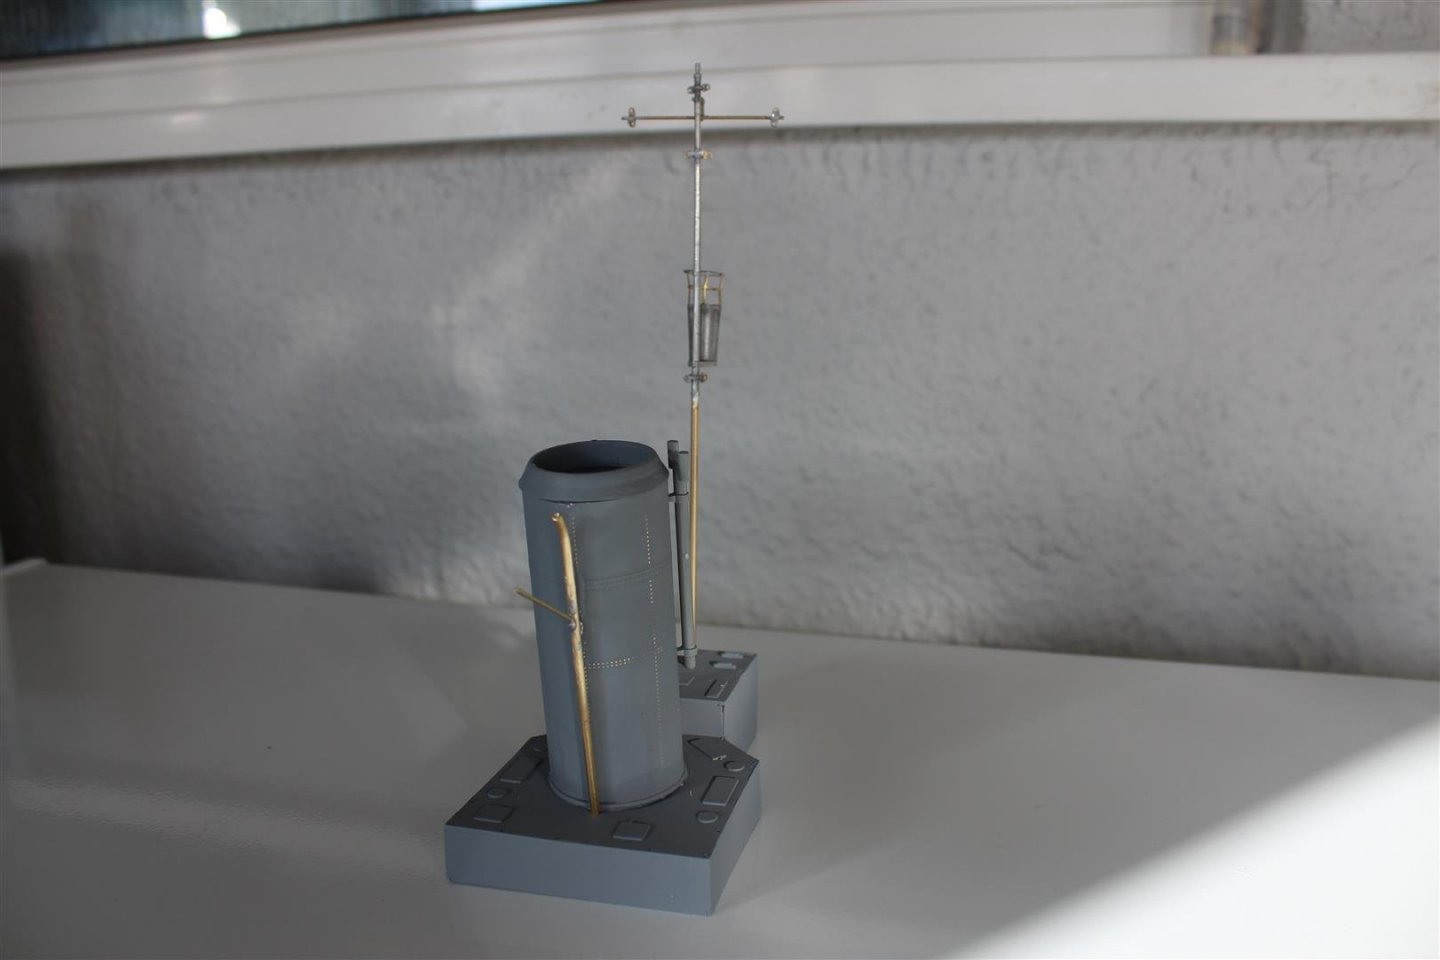
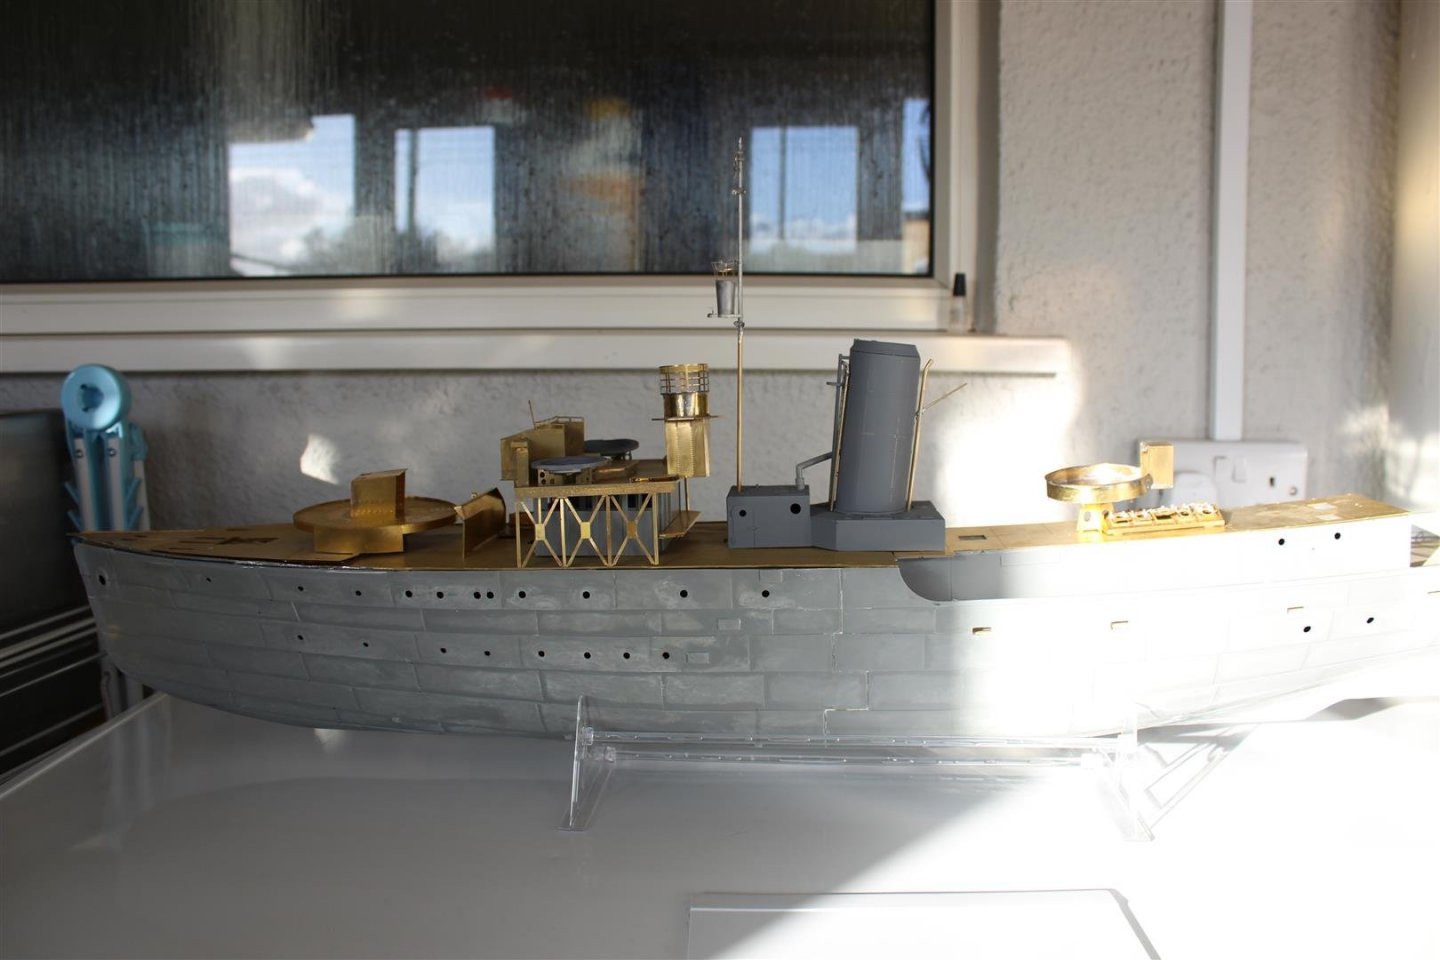
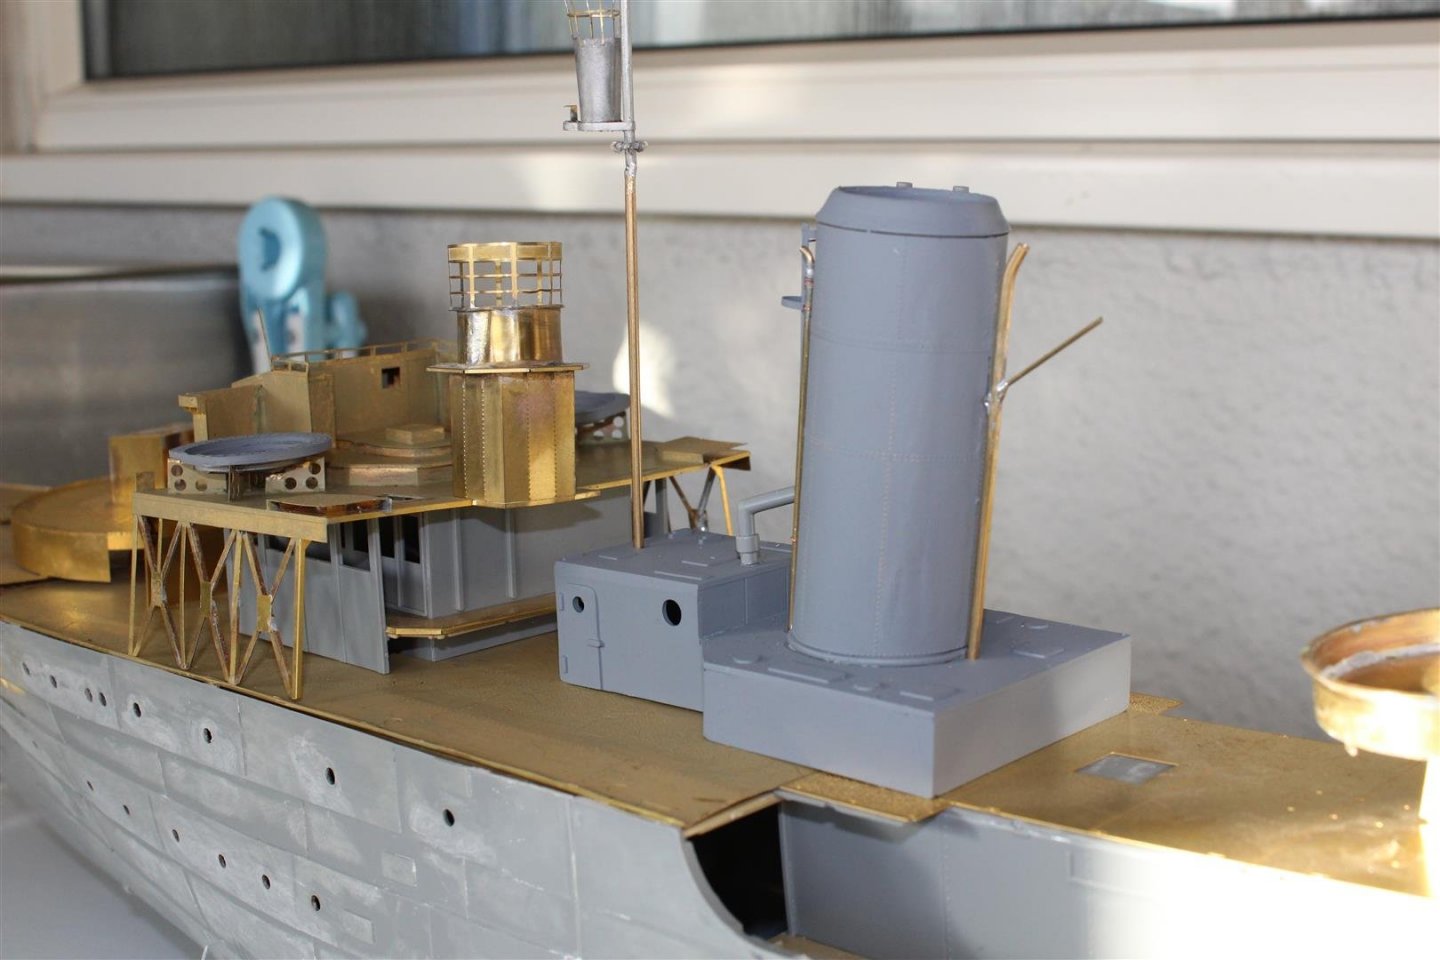
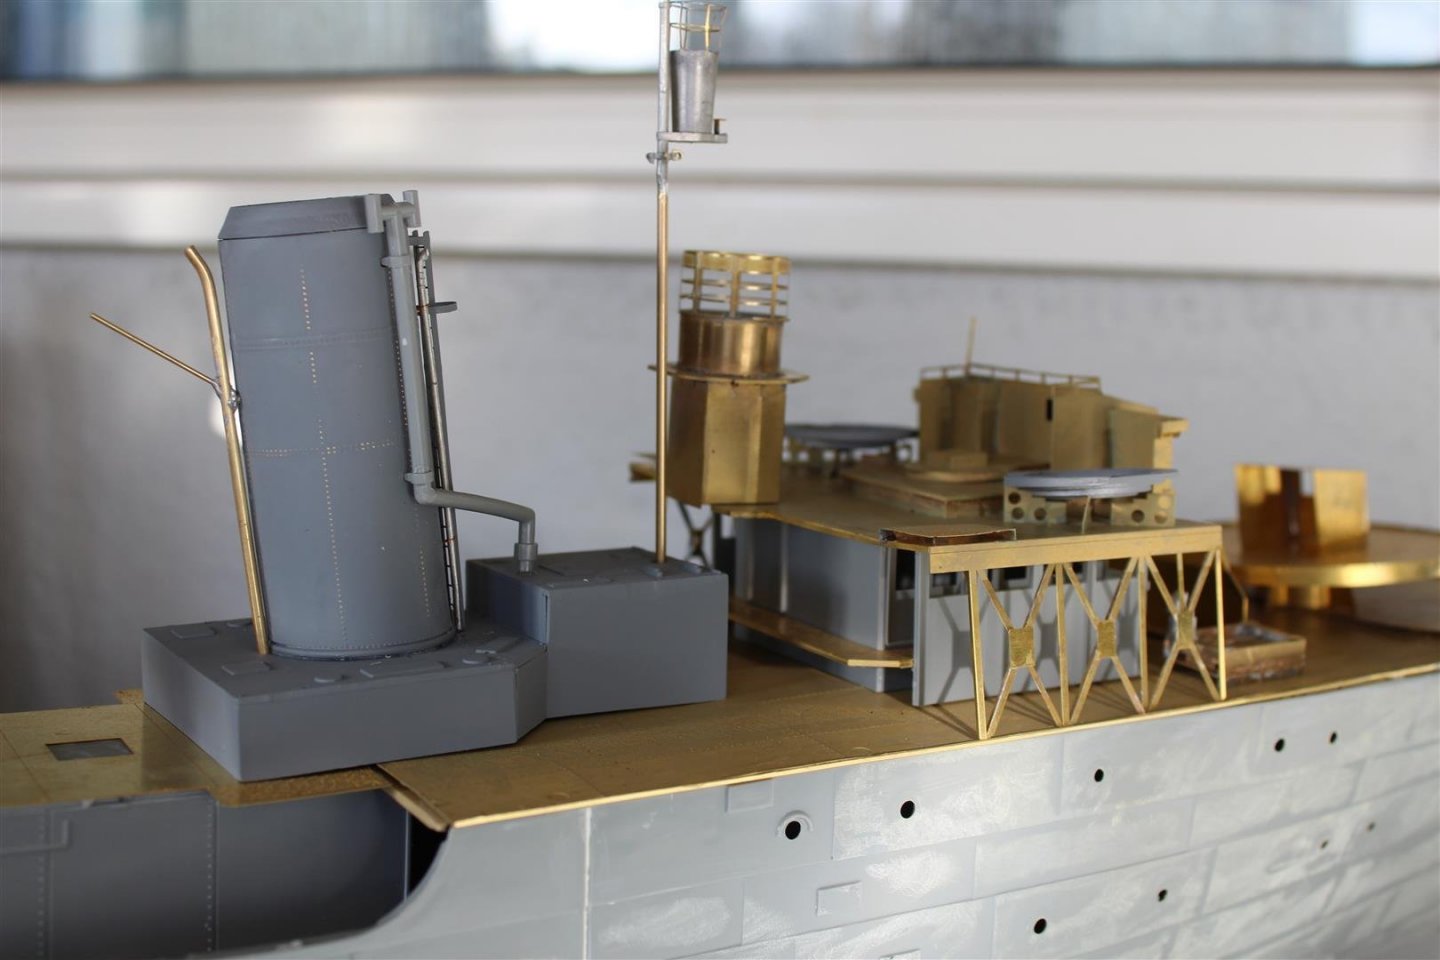
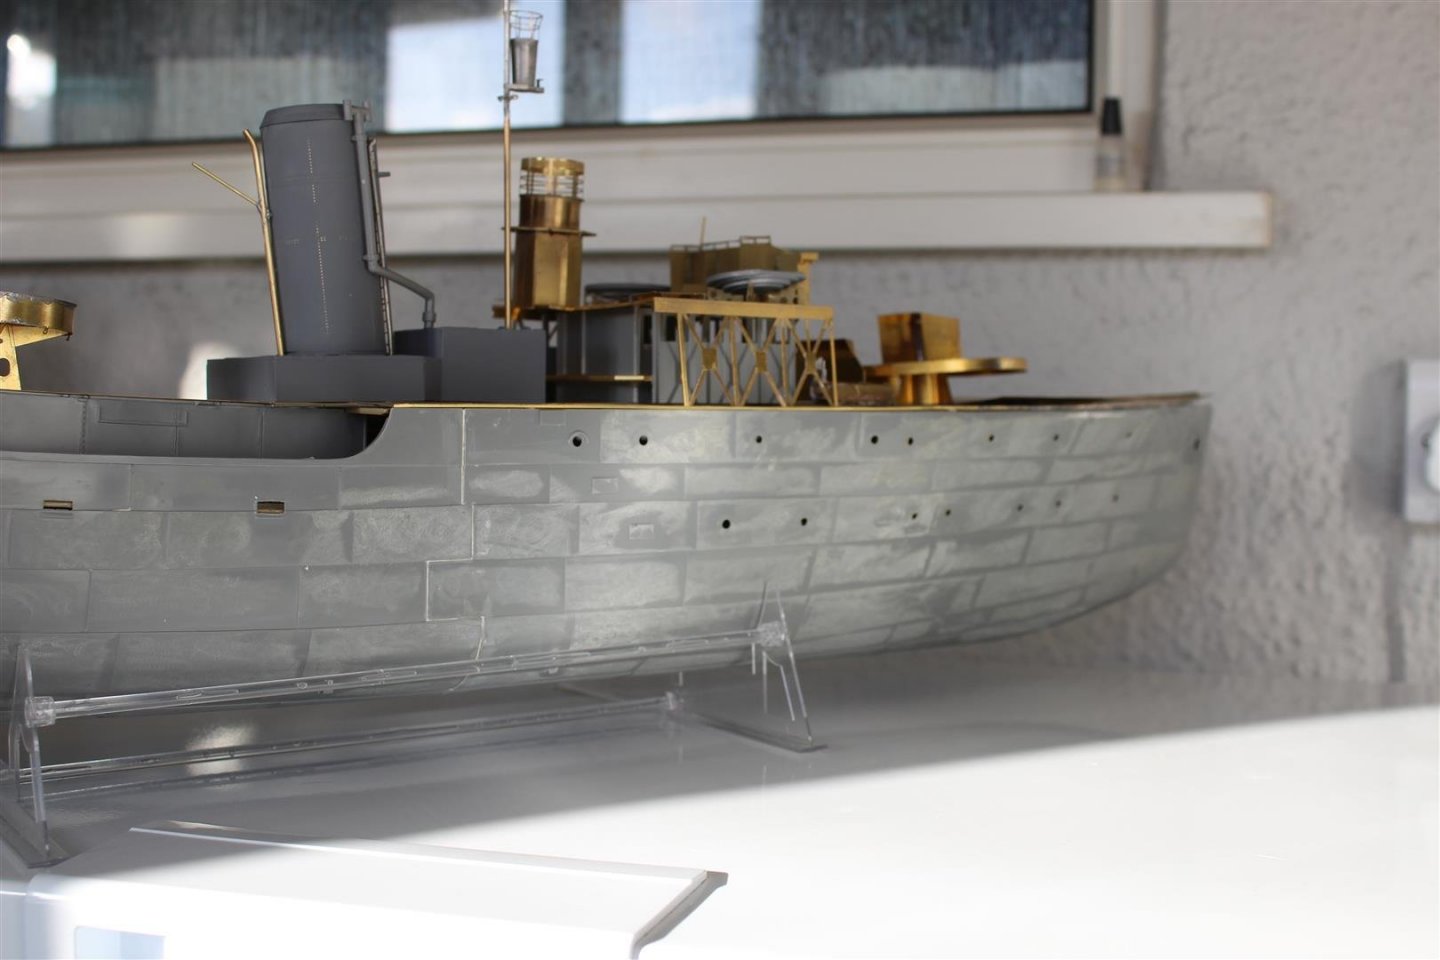
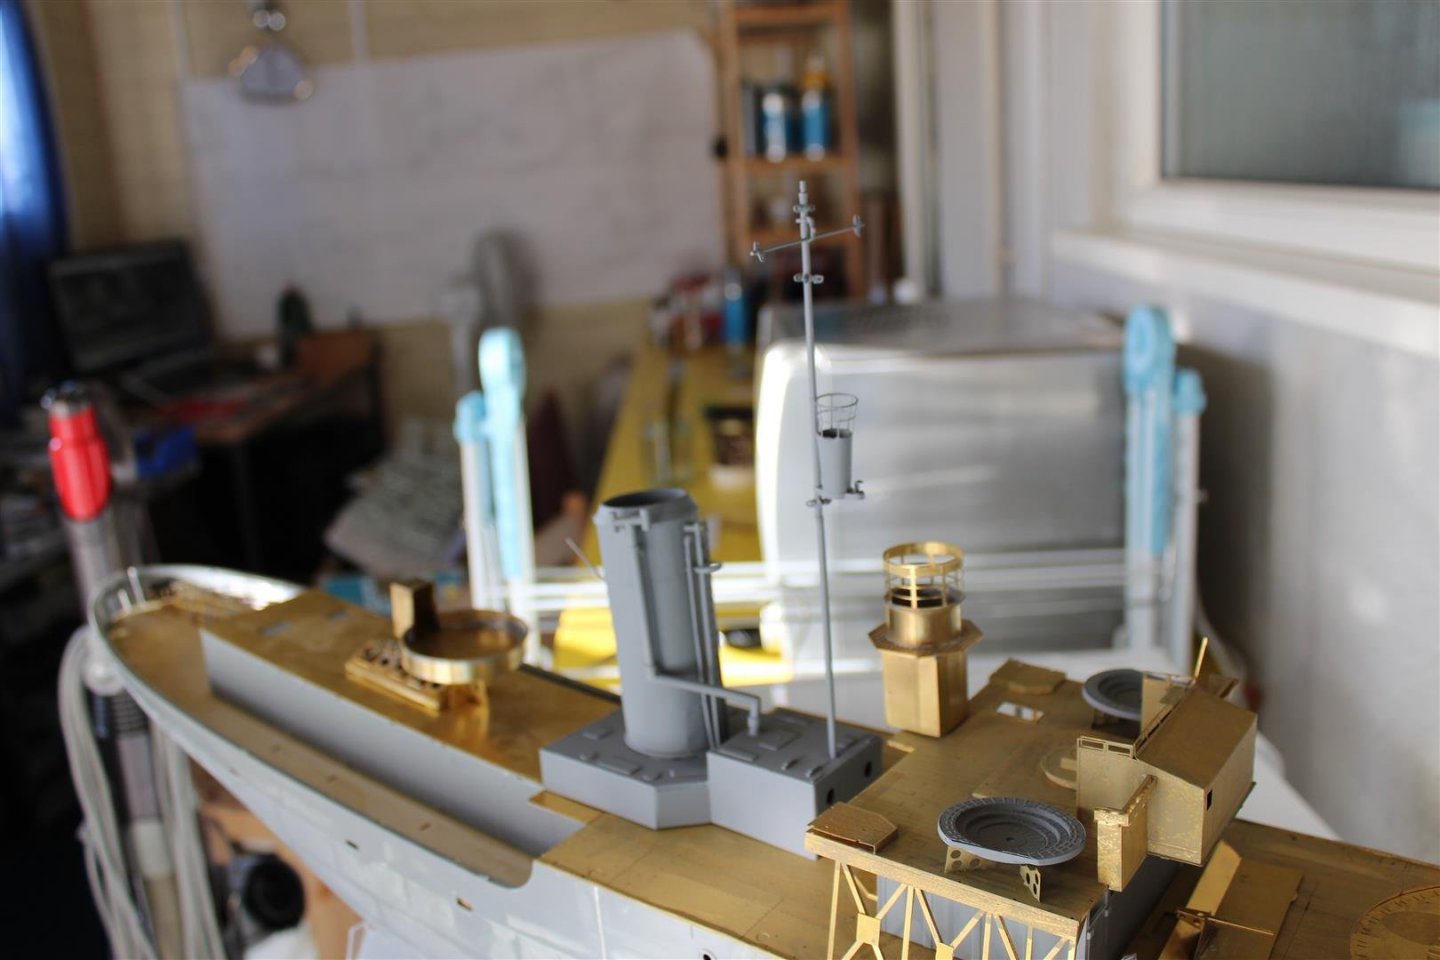
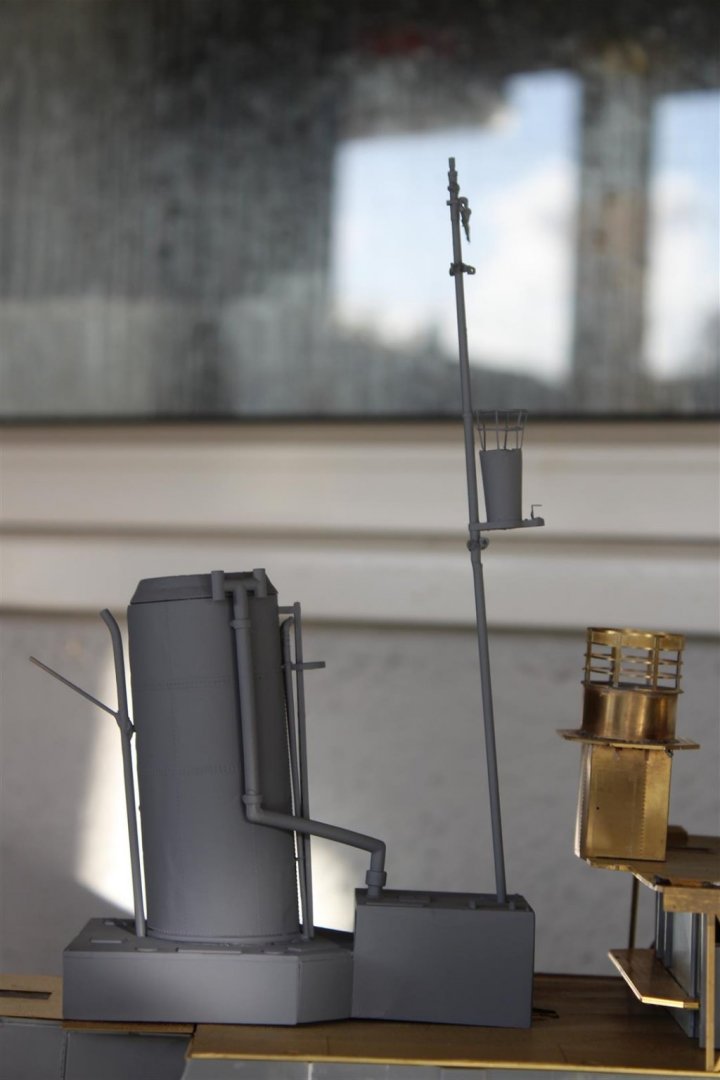
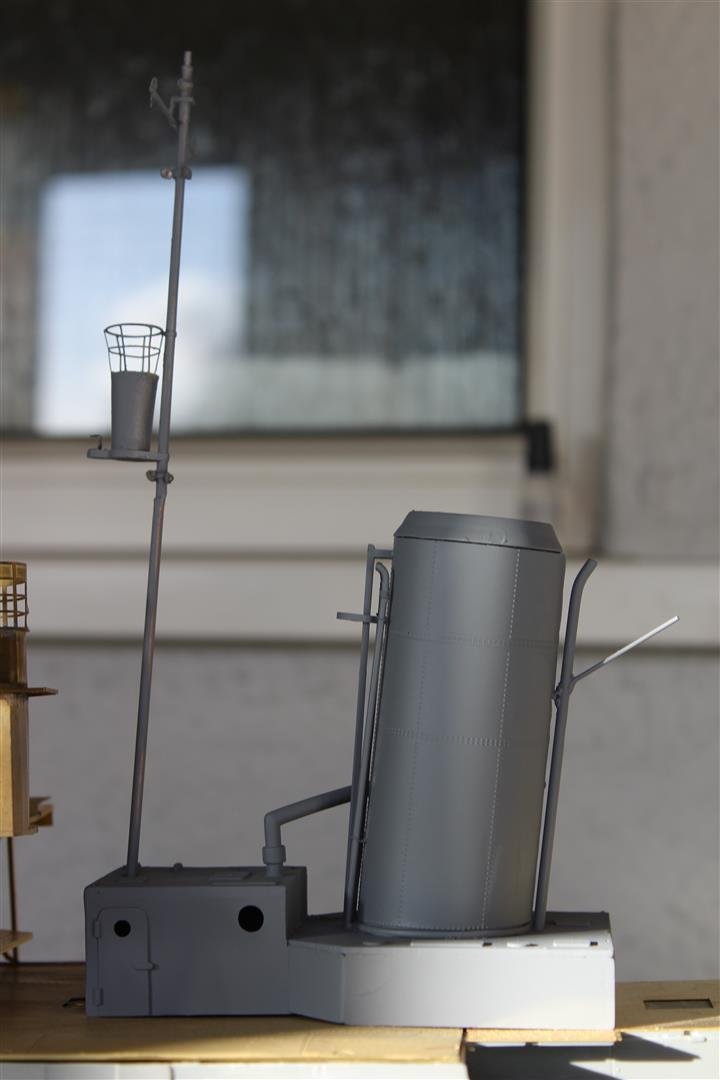
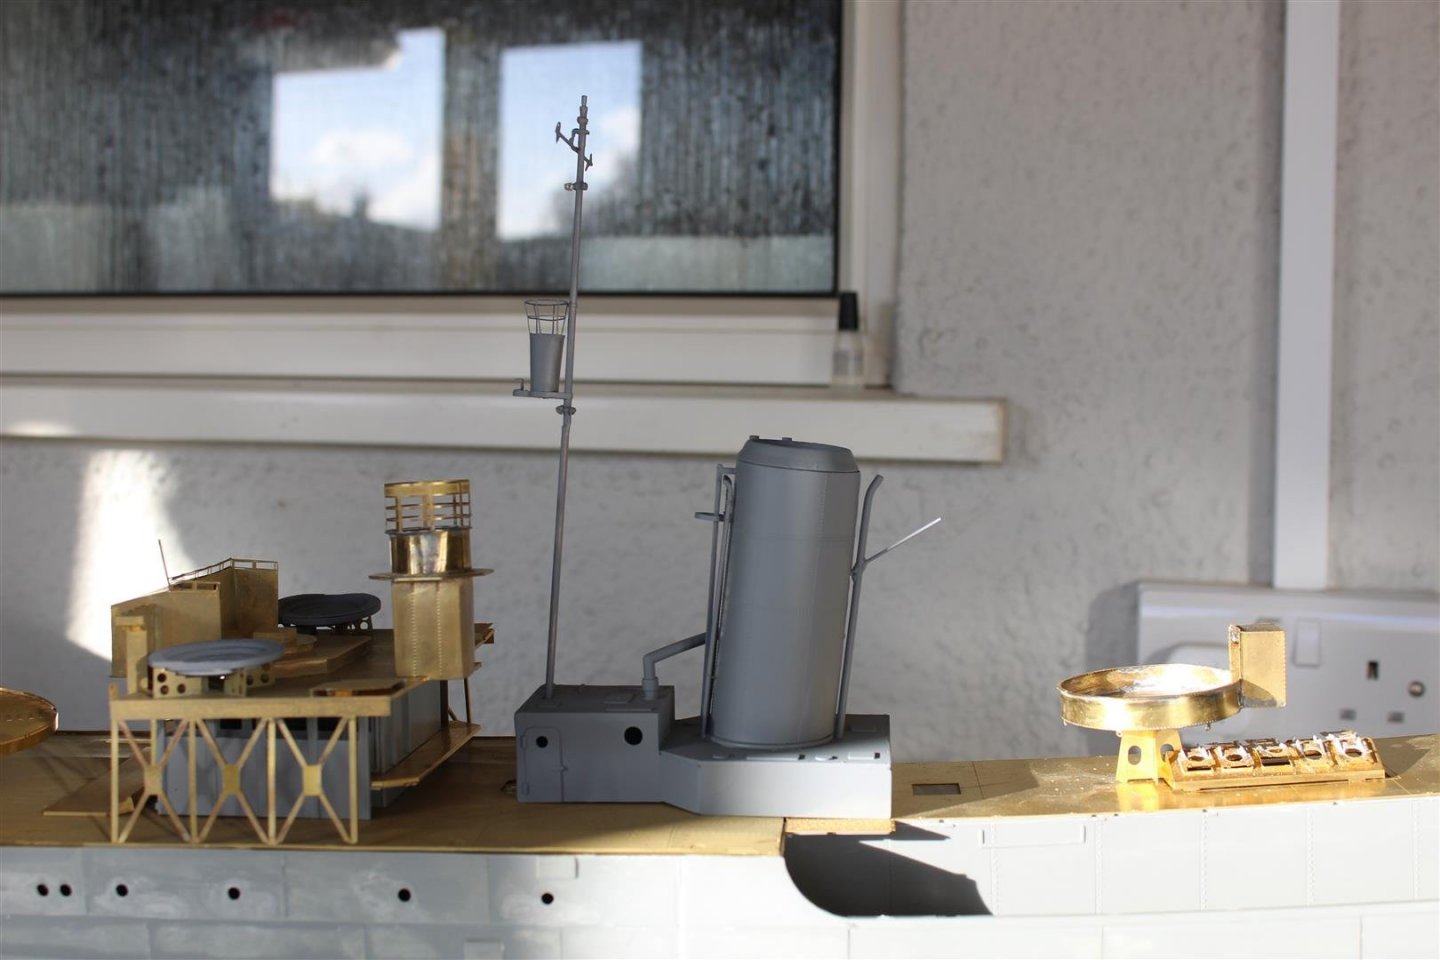
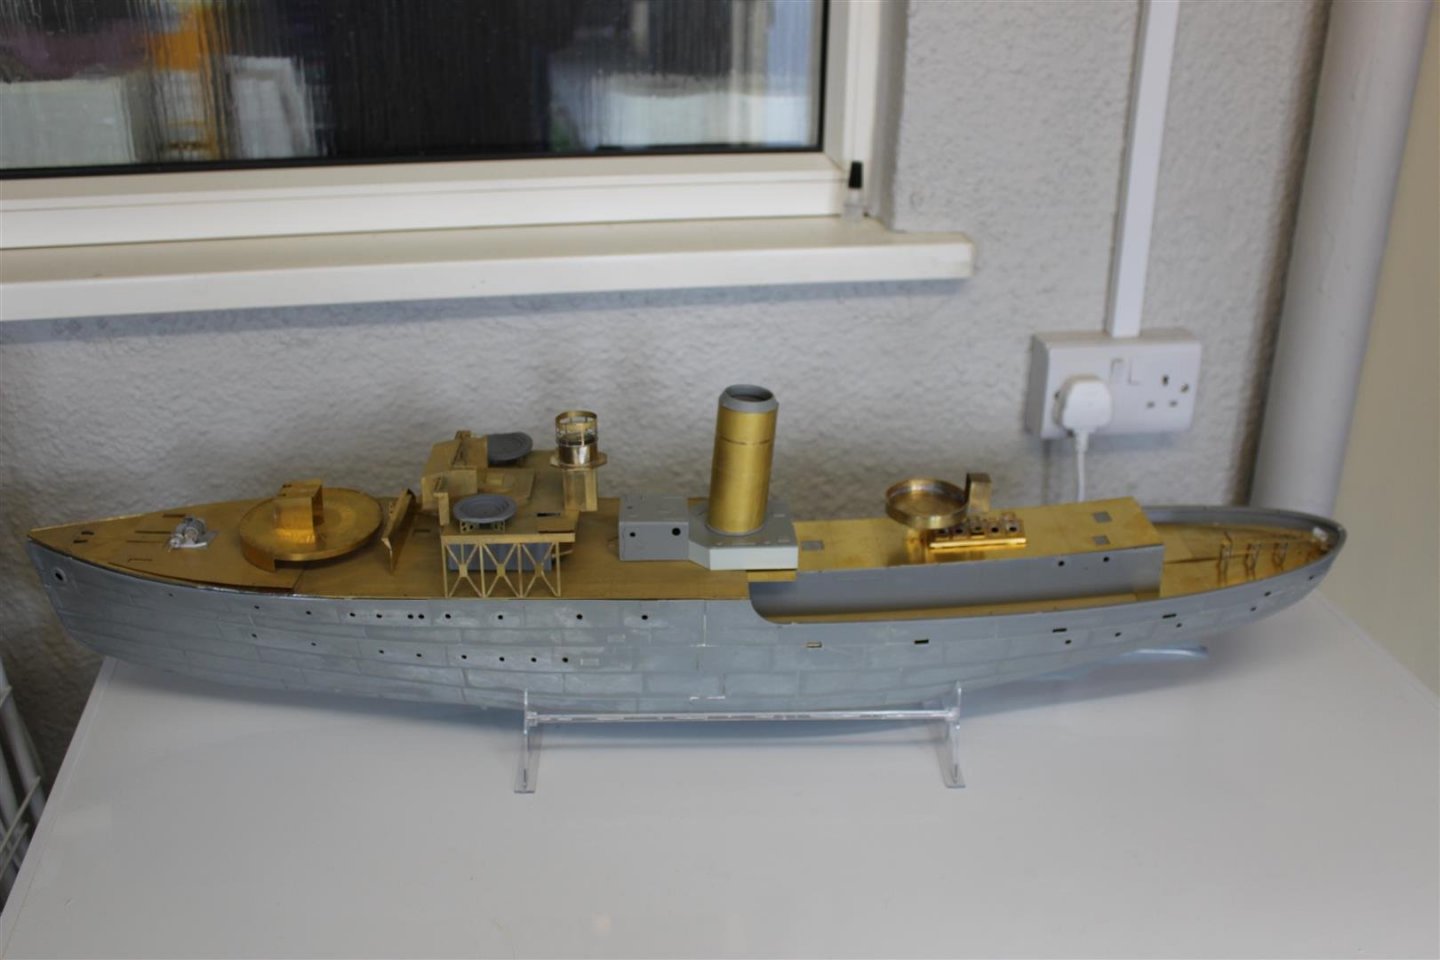
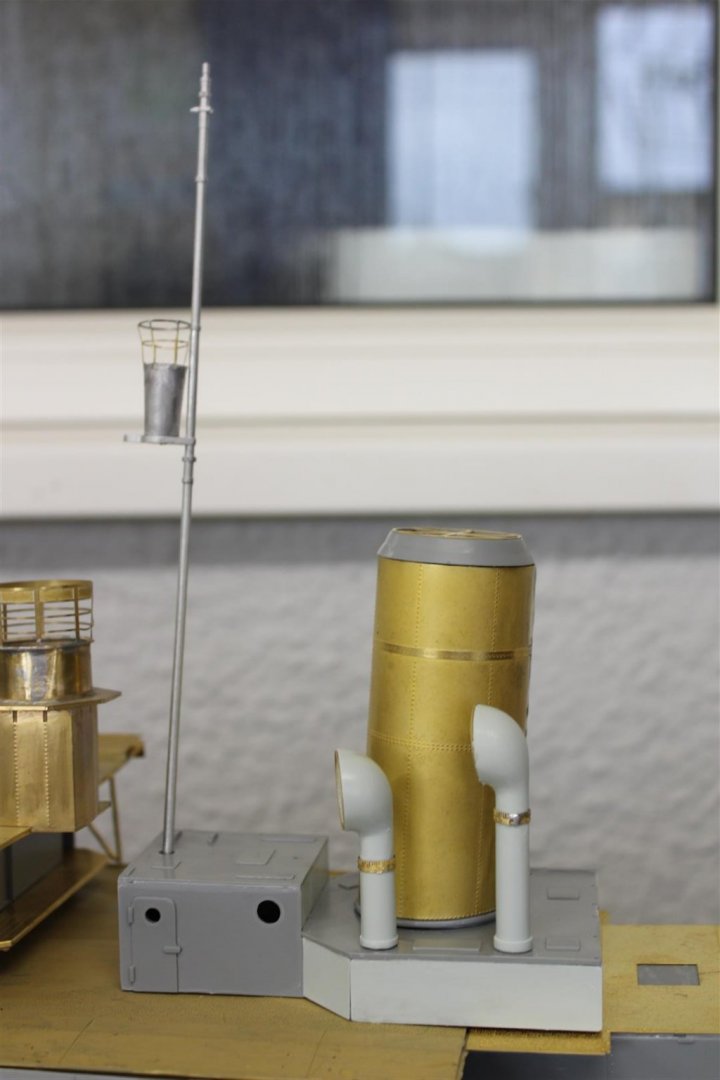
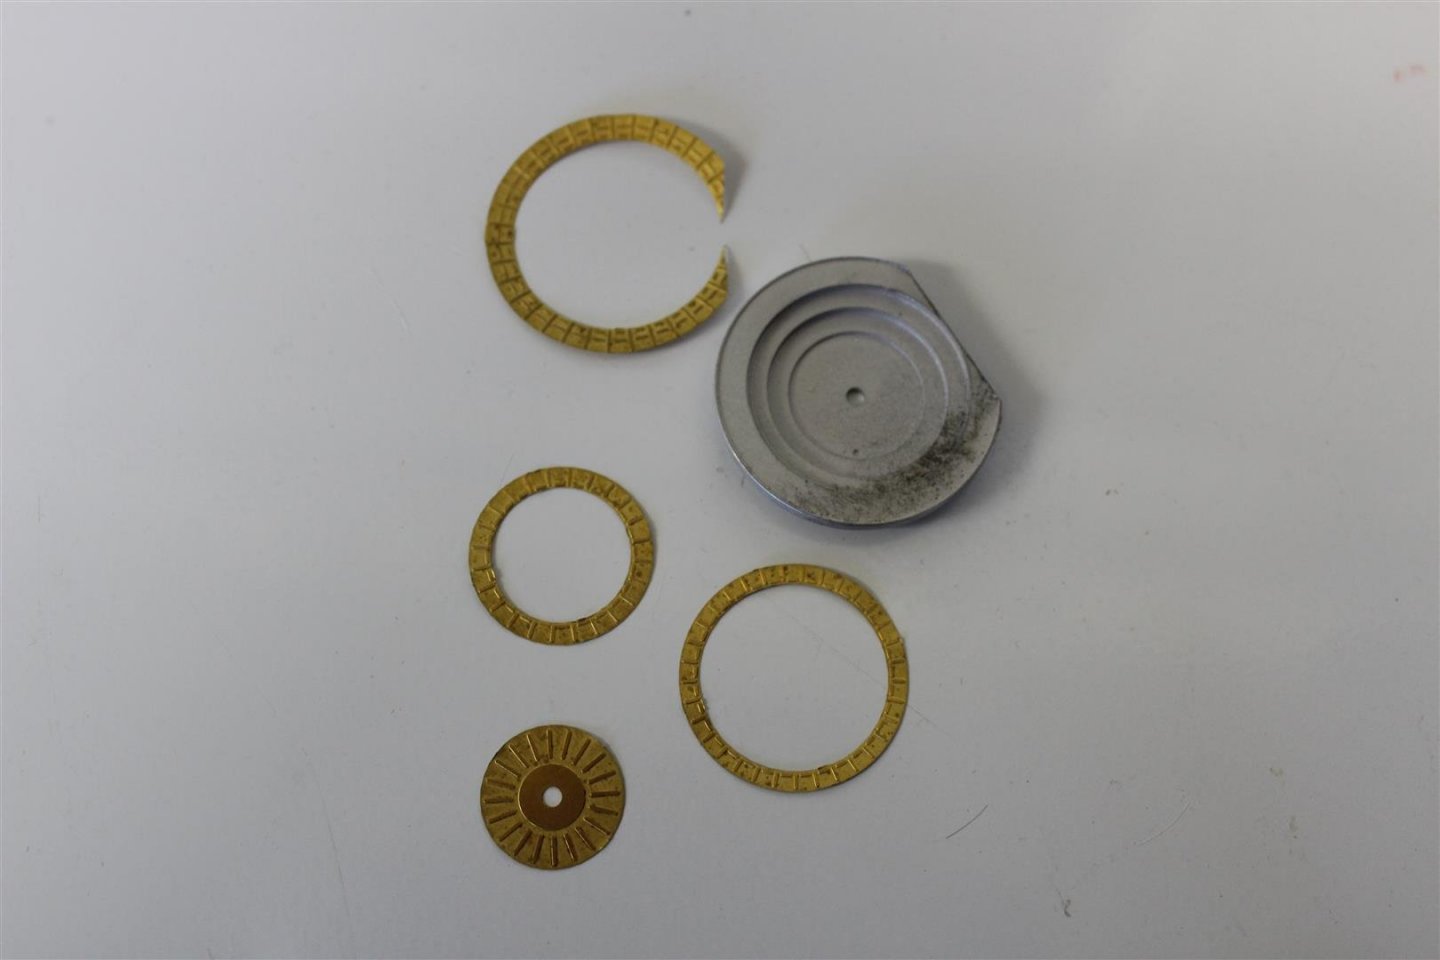
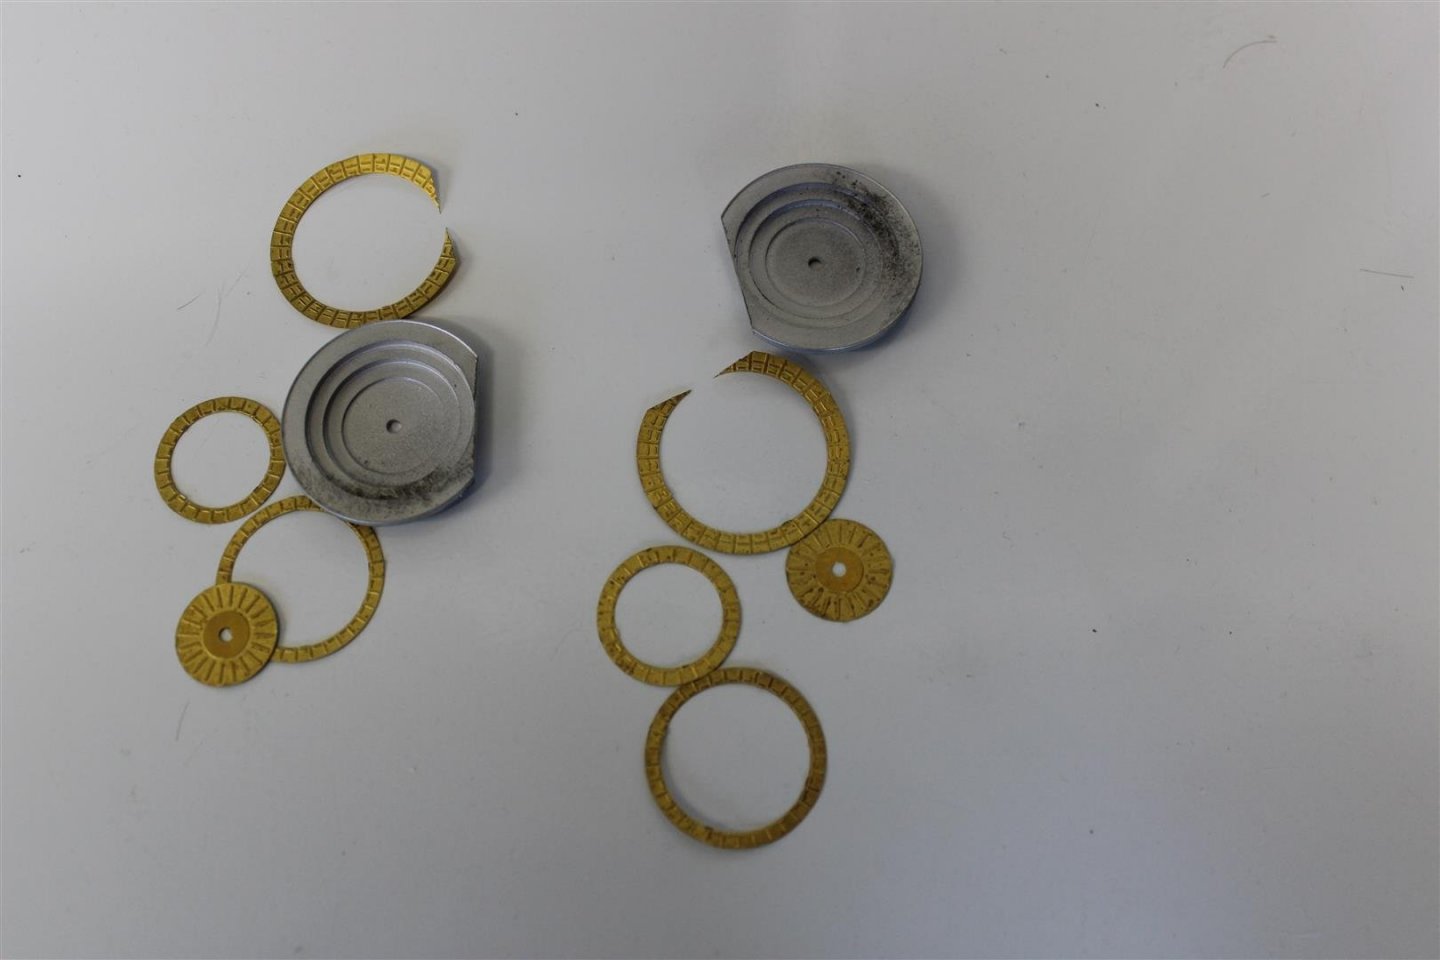
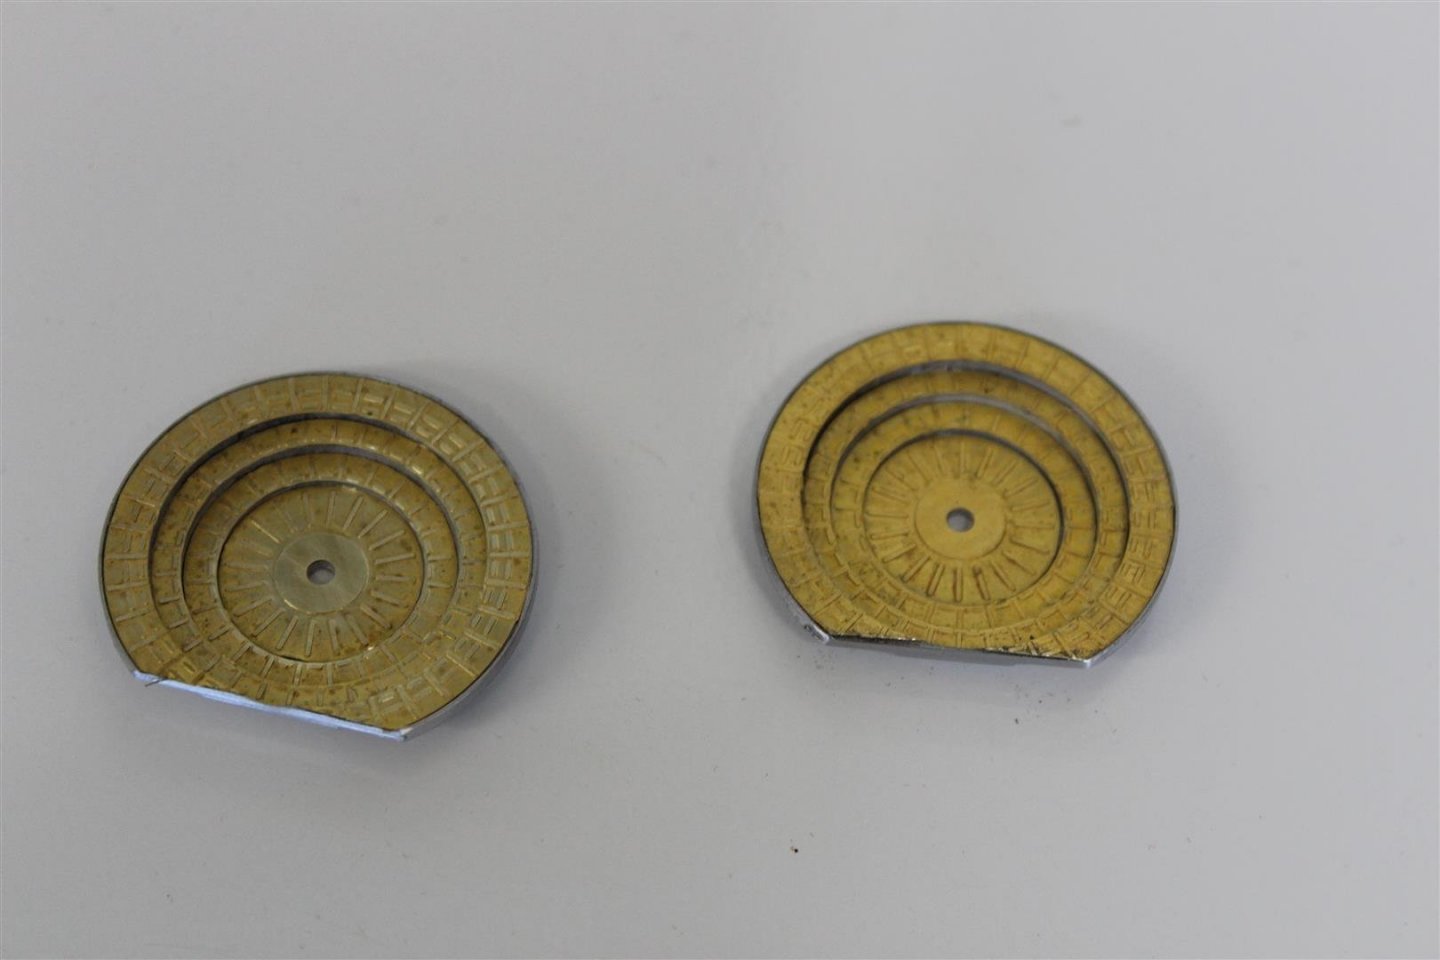
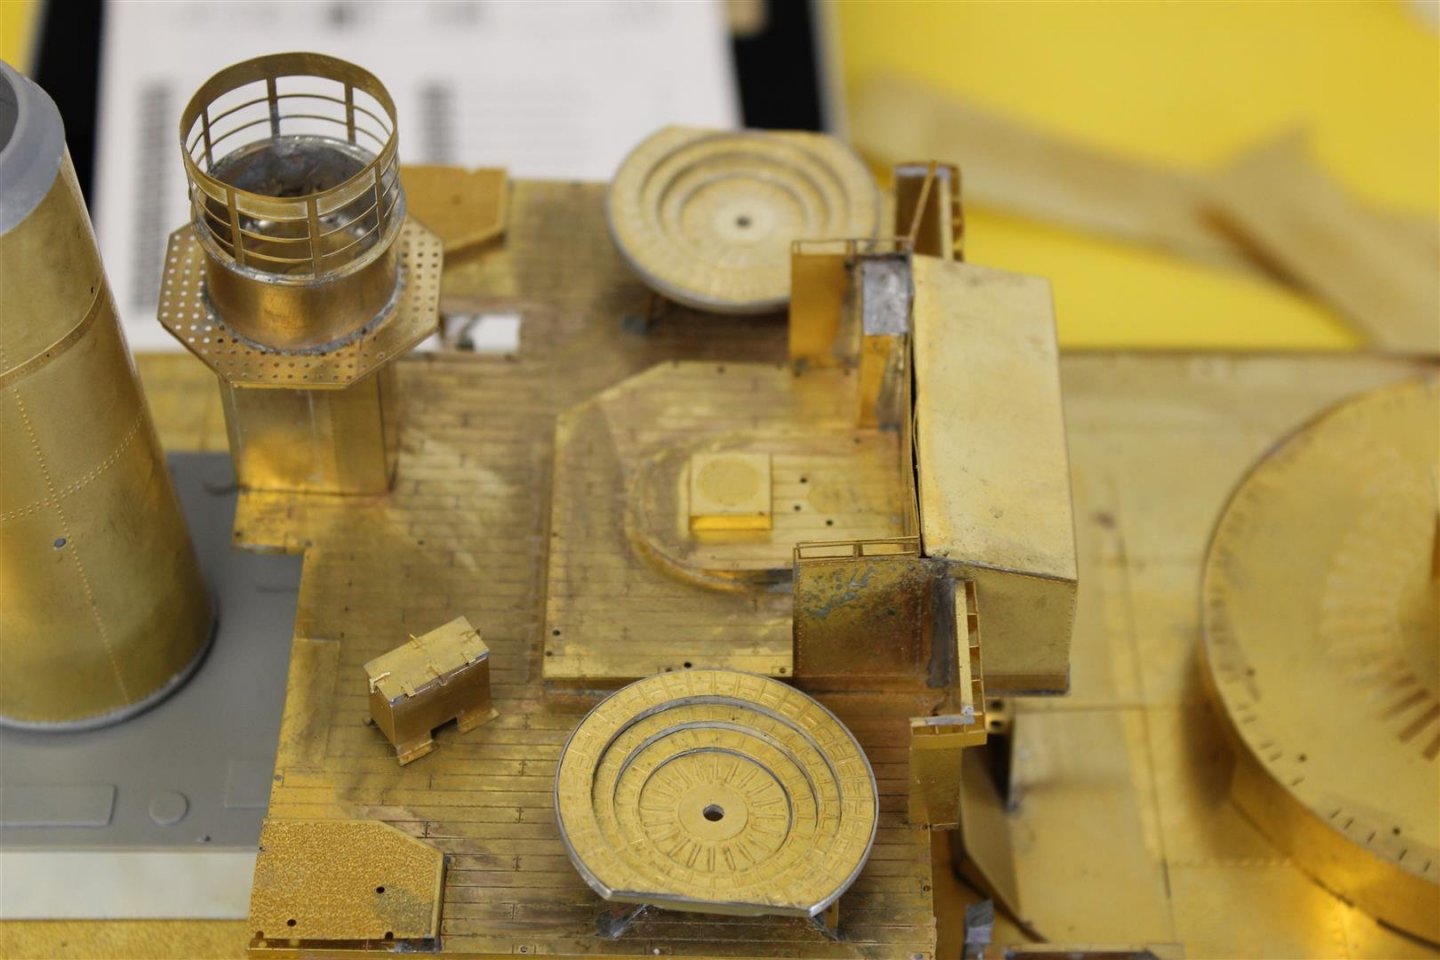
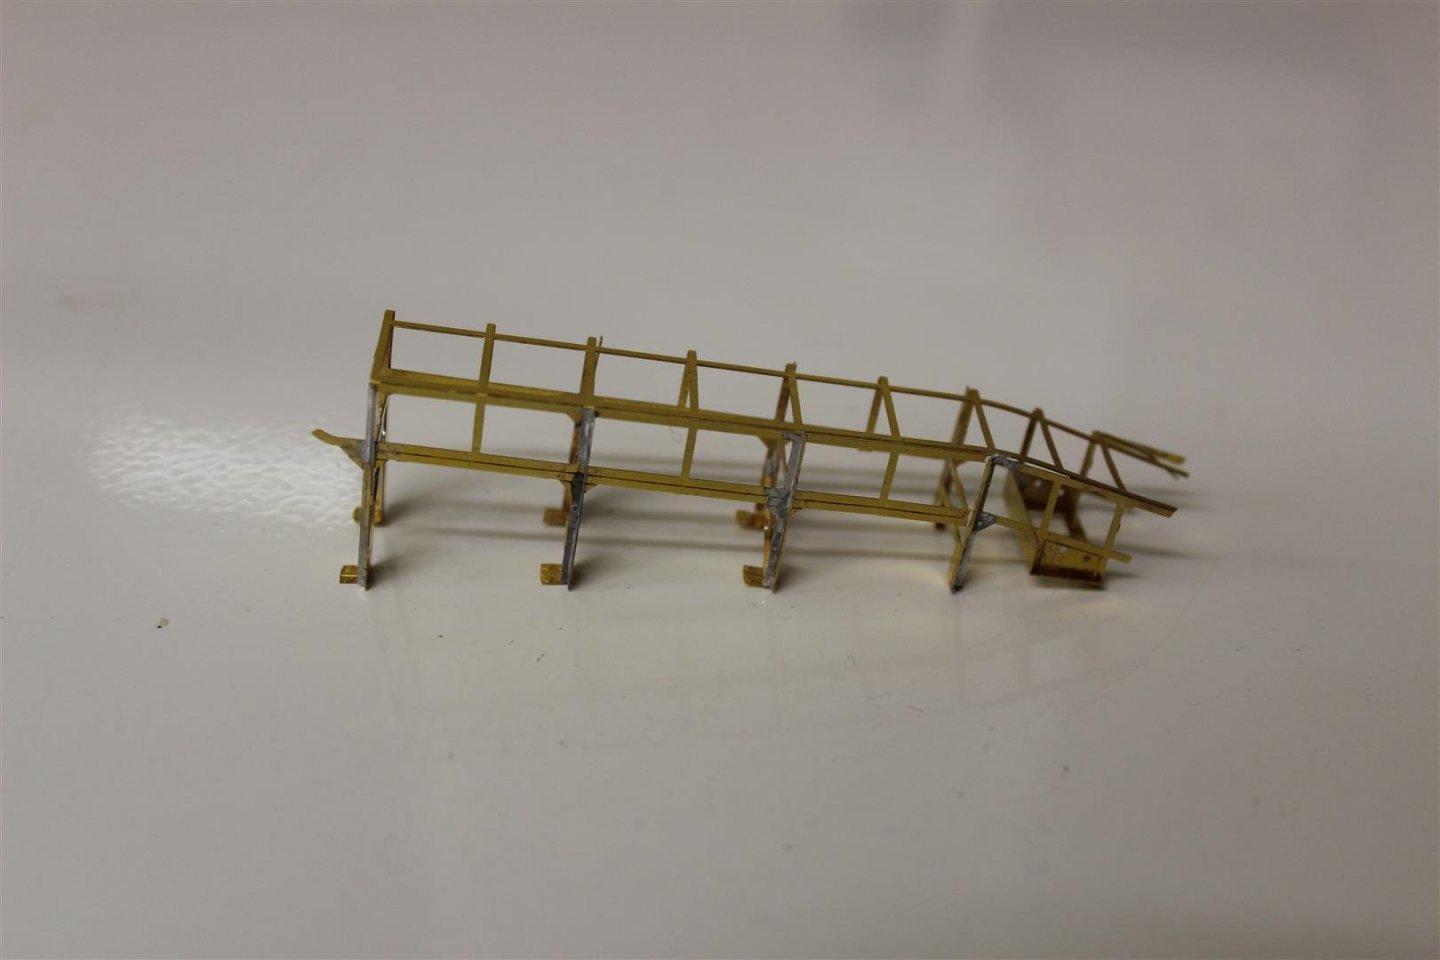
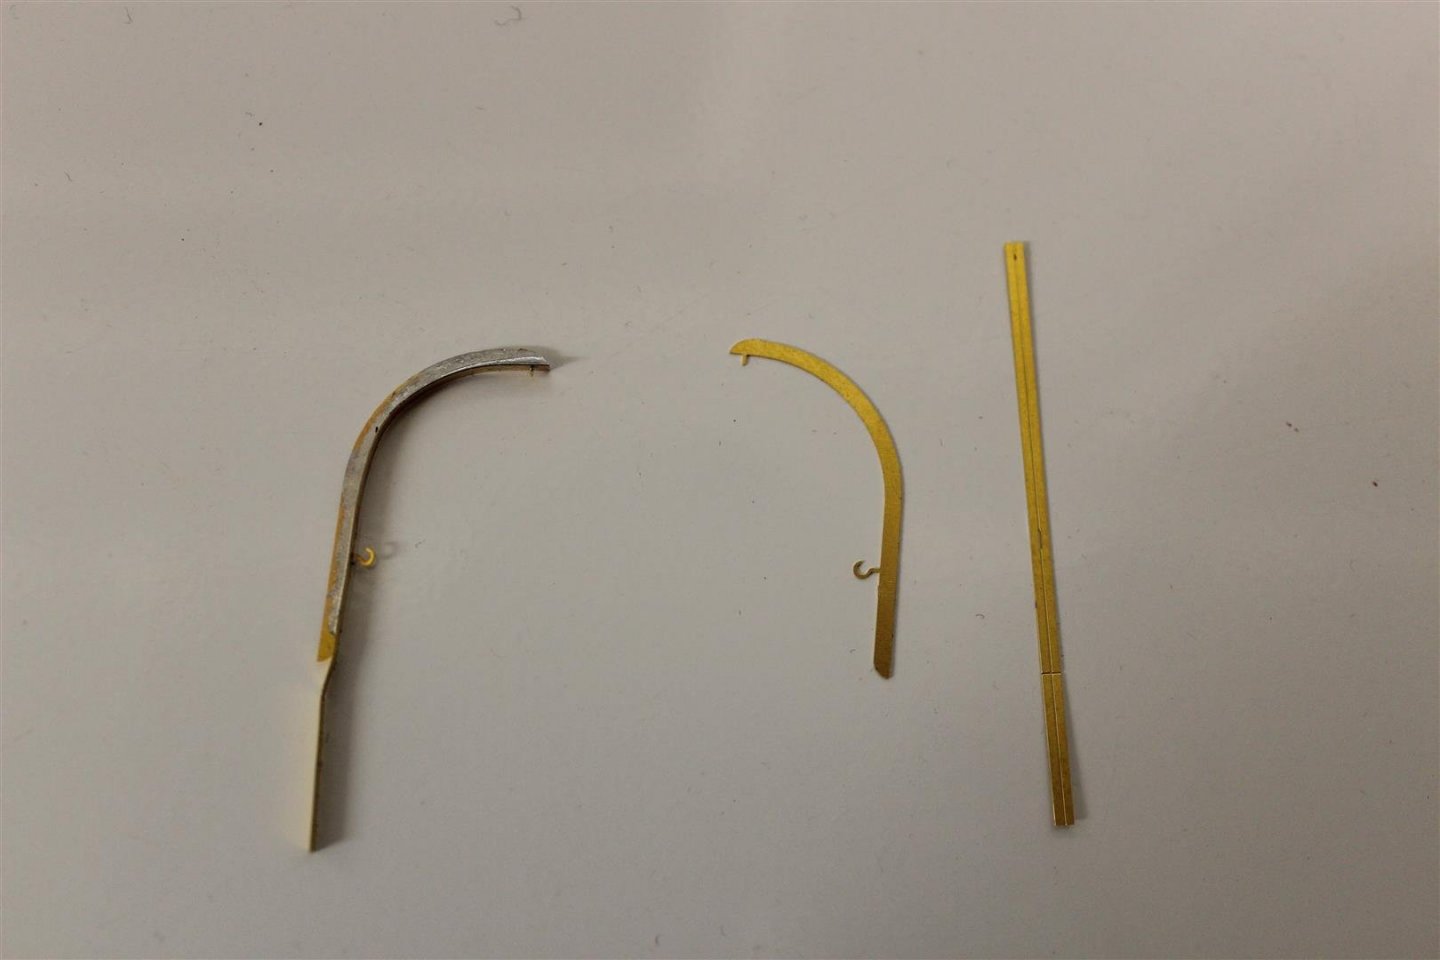
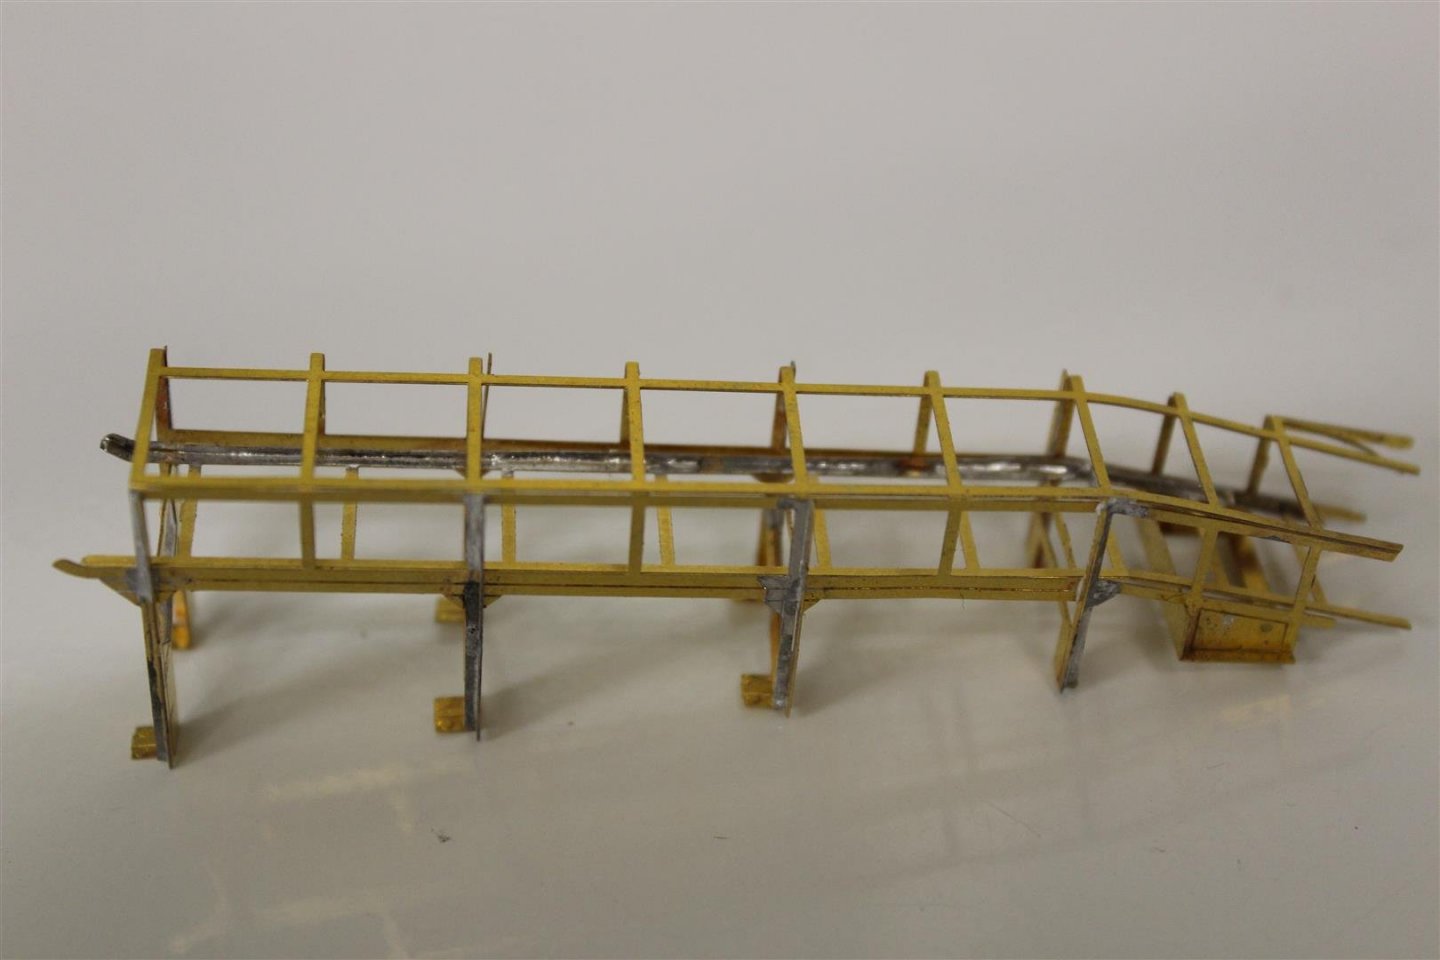
good evening everyone spent this weekend on the funnel area, was meant to be a easy task, but it wasnt, took a lot longer than it needed to but at this time im happy with the results i have decided on her final colours, they are colour coat enamels supplied by soverign Hobbies and will represent her 1945 image the ladder, 3 piece PE set with a shaped ring Ladder need to go forward at the base in line with the steam pipes the new steam pipe does not look rifht, infact it looks like it being forced into position, i will have to sort that out during the week


- 141 replies
-
- 16
-
-
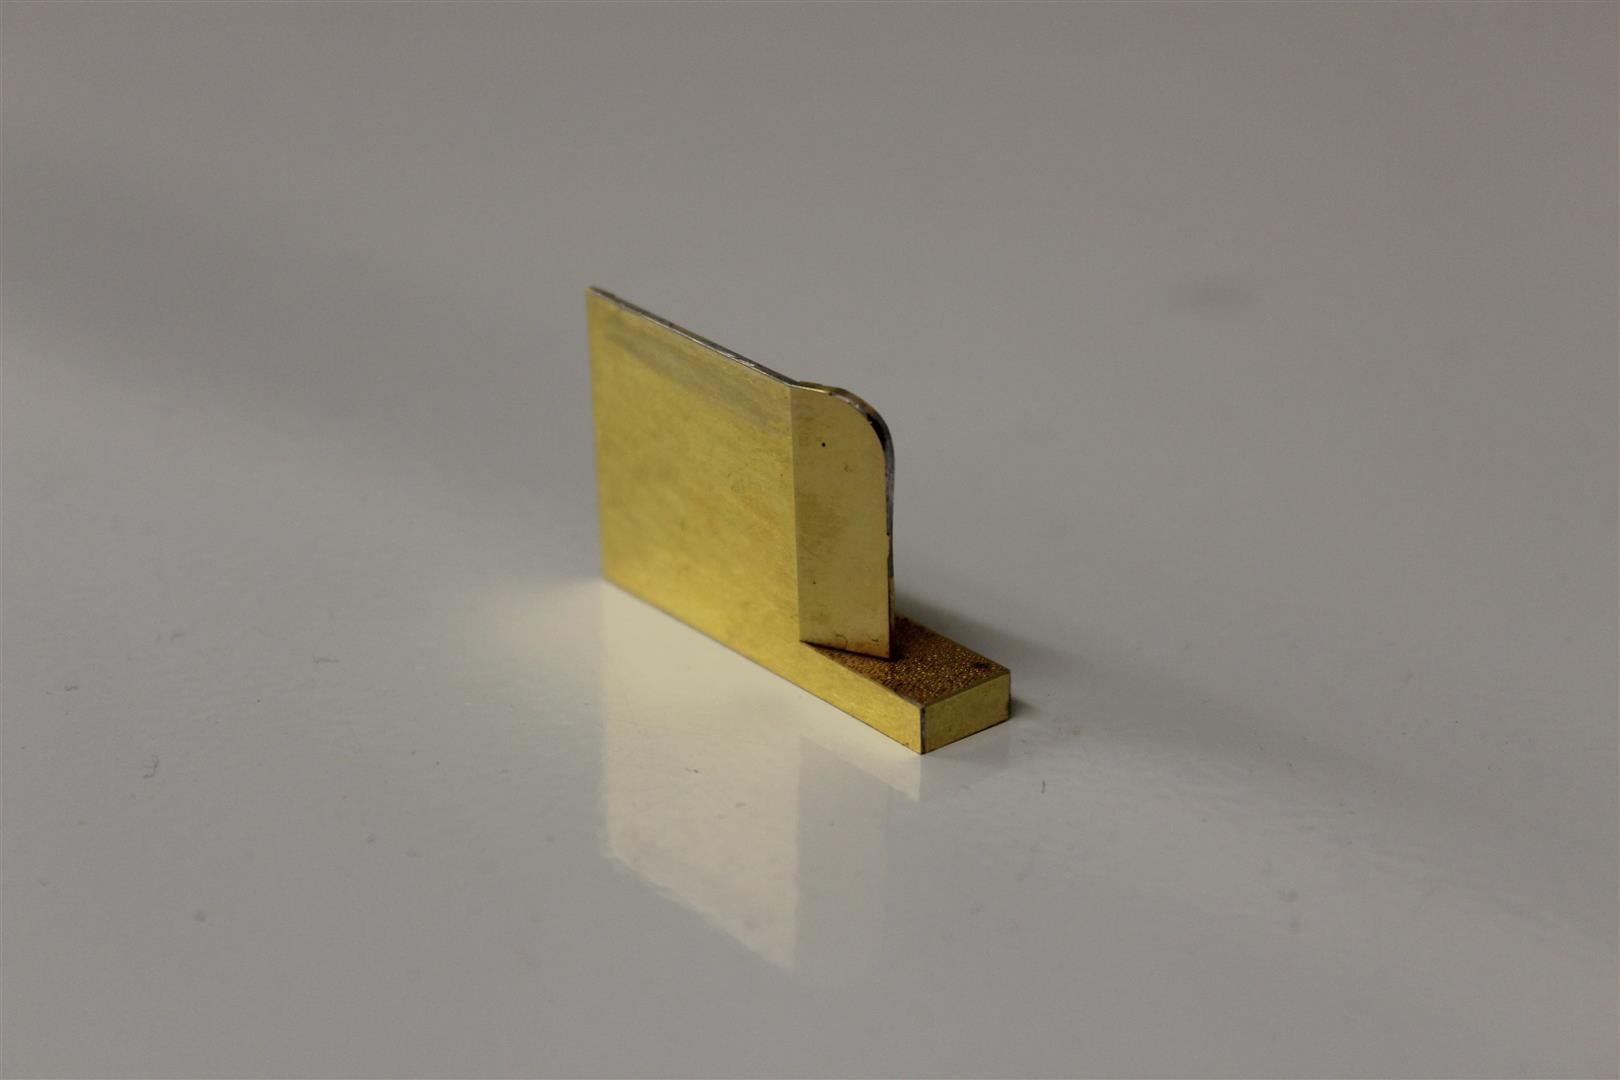
is that the same as a fiddle block?
-
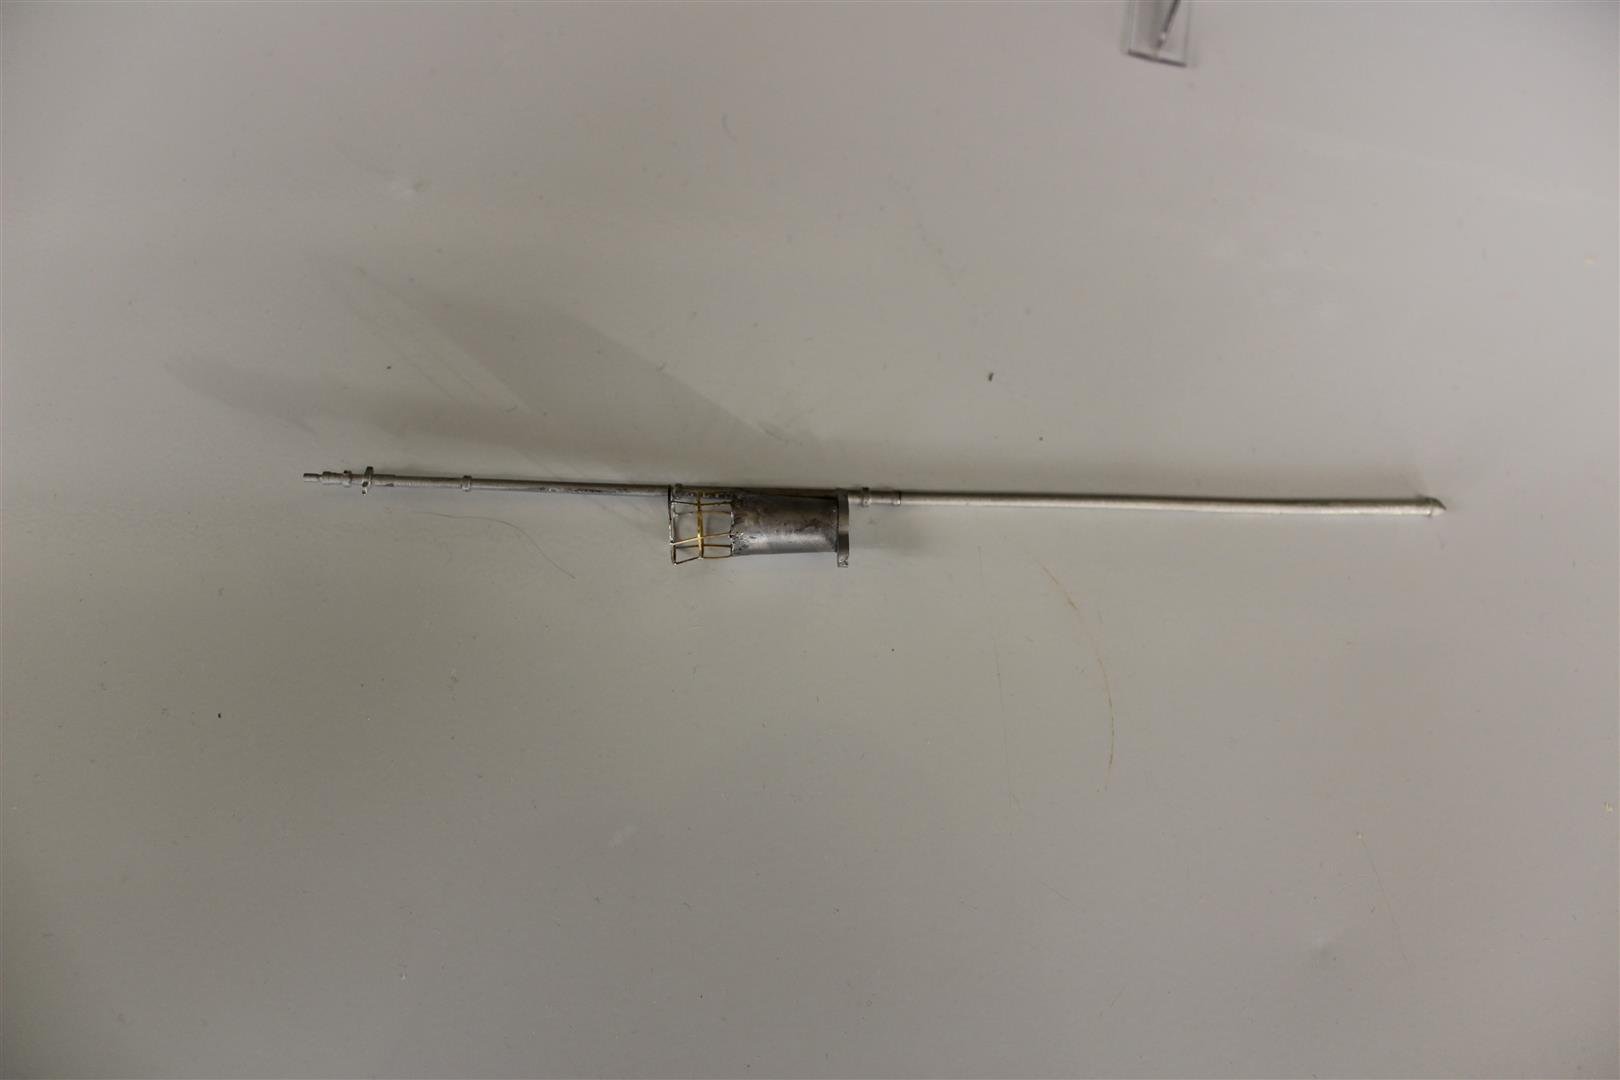
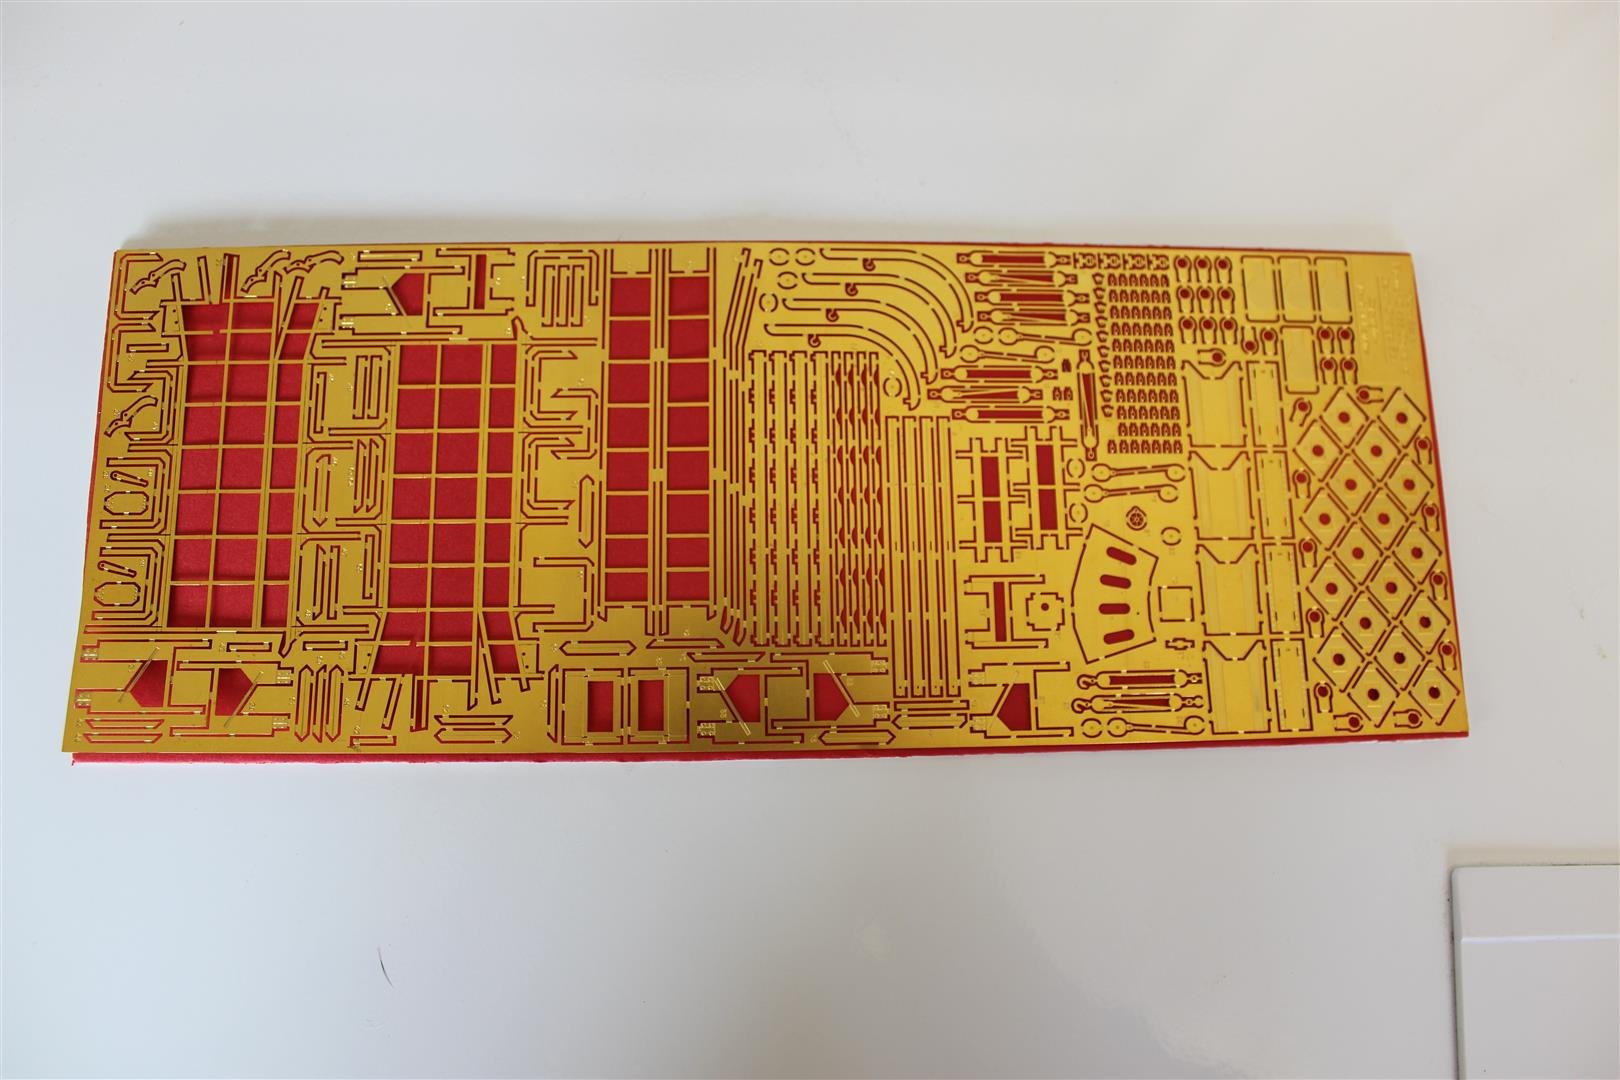
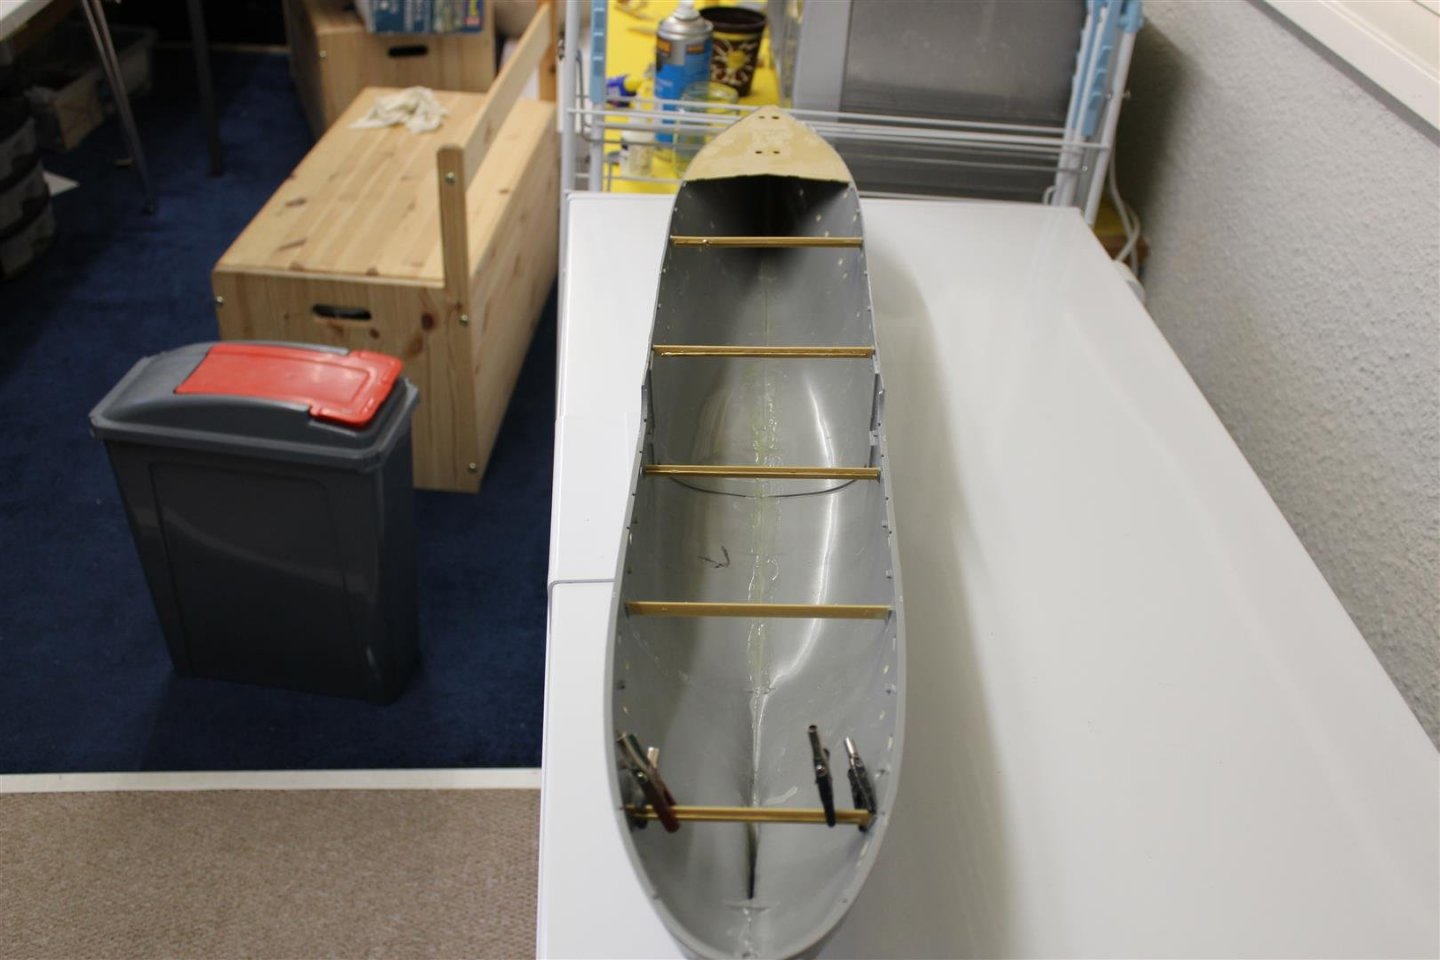
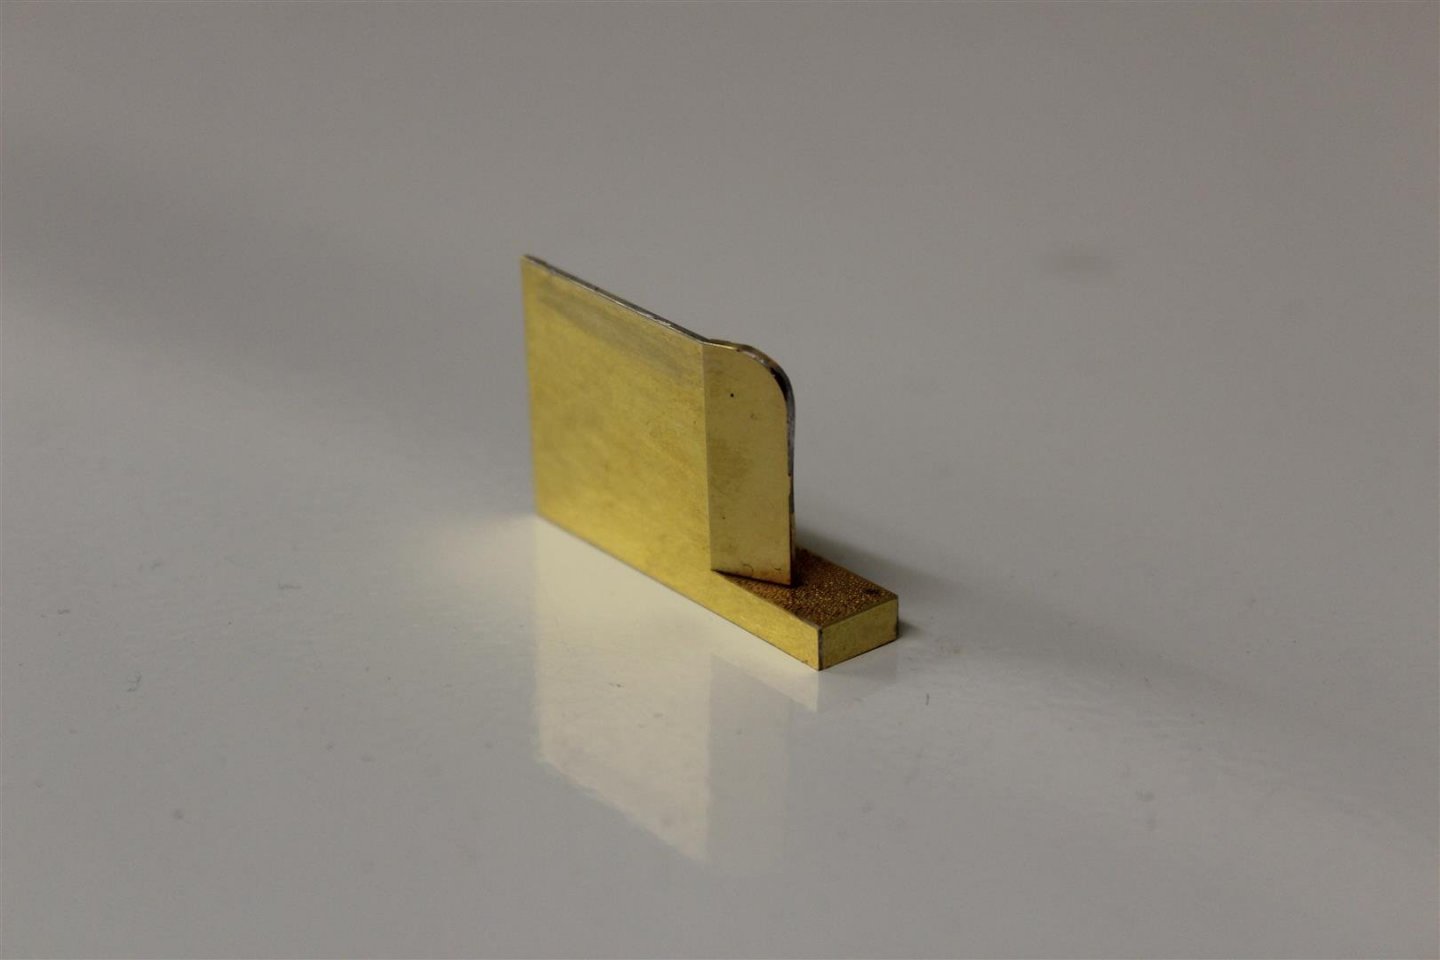
I used the etch primer successfully, but it has to be mixed and letr it stand for a couple of hours before it can be used, this was on the two small gun platforms from my last post, and then spray painted with a grey primer, as i am not sure what the final colour will be good evening everyone the main deck has been fitted now so i have a solid non flexing hull, the gross beam were reinforced with brass rod the 1/4 deck was also fitted, i got a brilliant fit, but when i tried the superstructure it seams the 1/4 is to far forward, if i correct it where it needs to be the deck will be 1/2 way up the depth charge exits in the stern, so may have to file some away at the same tim thin the stern bulkhead down this afternoon i made some of the mast up with the lookout cage, this is all soldered, i just need to straiten som of it out to look more presentable made the engine room cowls as well, yes its some kit plastic nothing on the deck plates has been fixed into position

- 141 replies
-
- 11
-
-
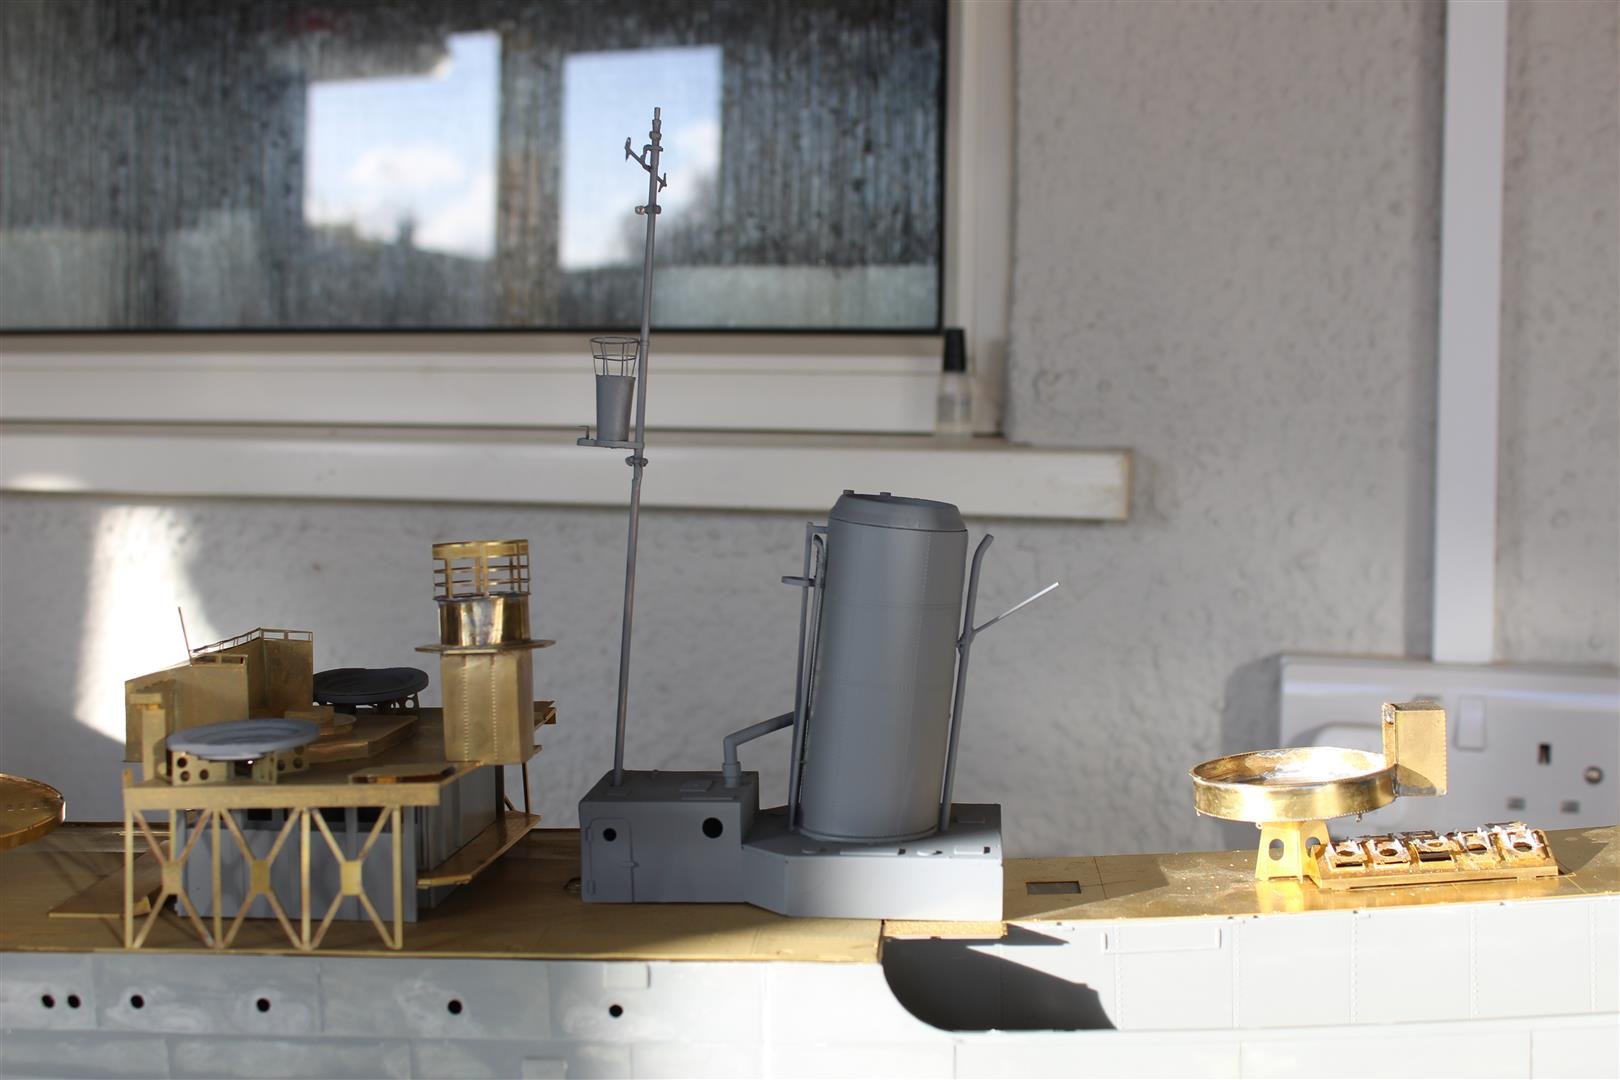
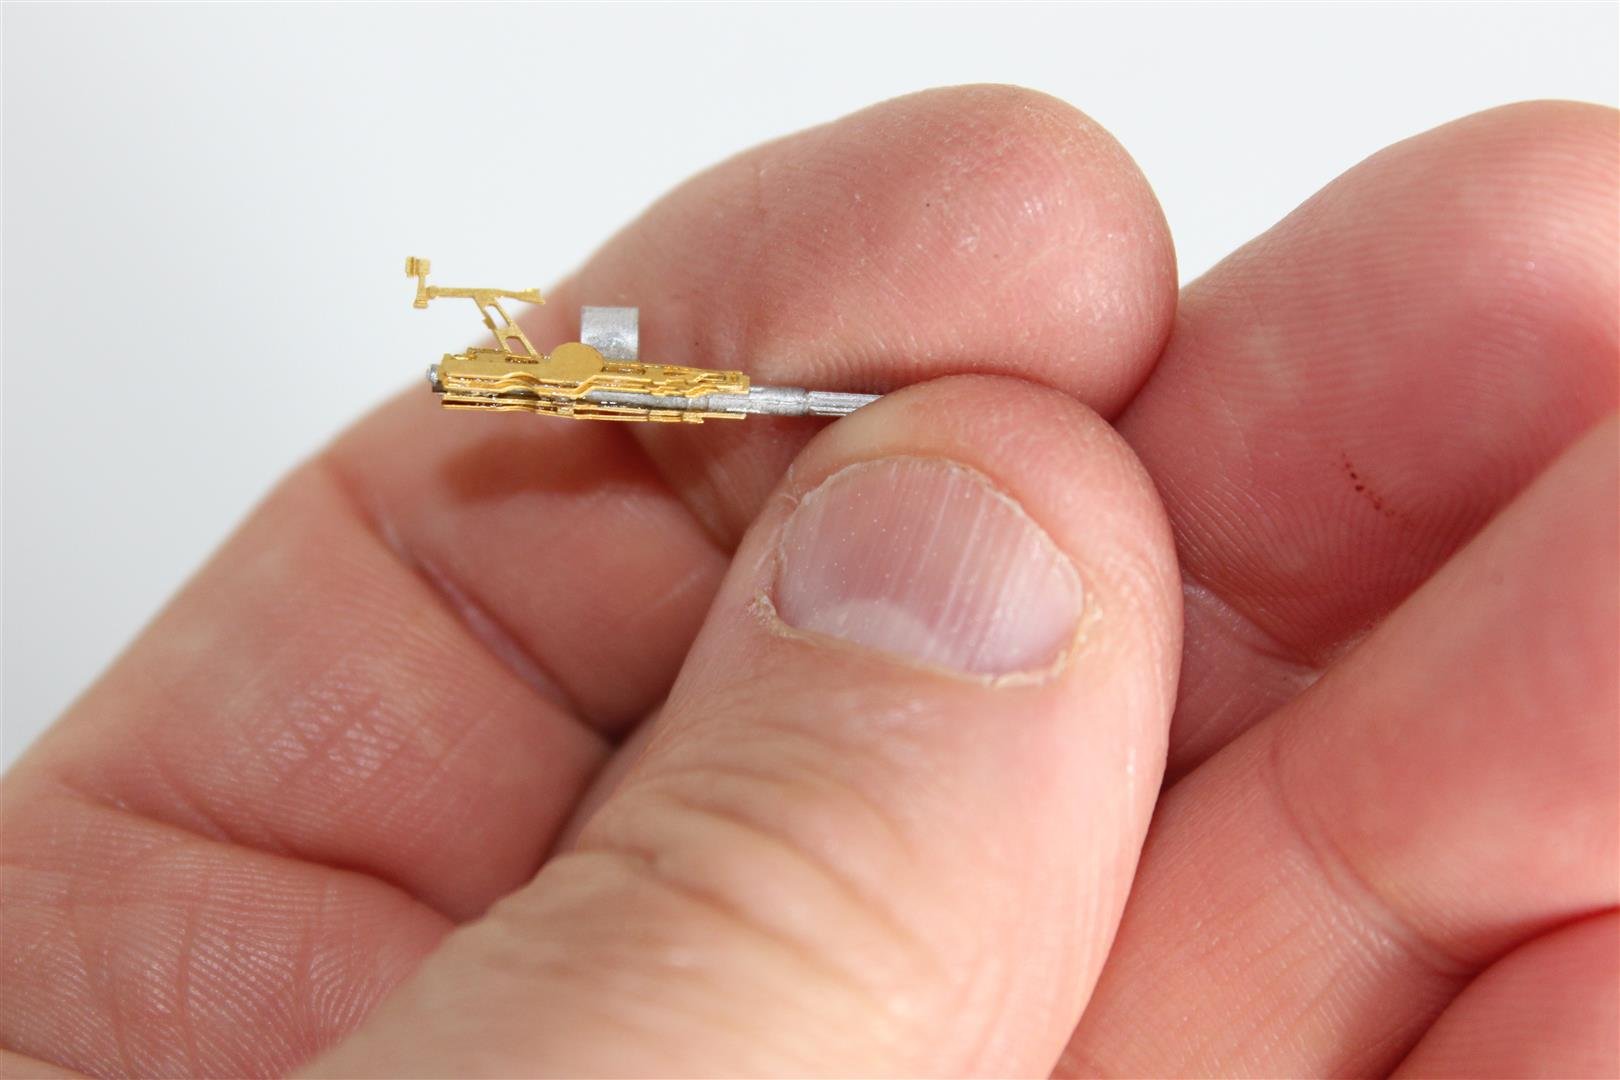
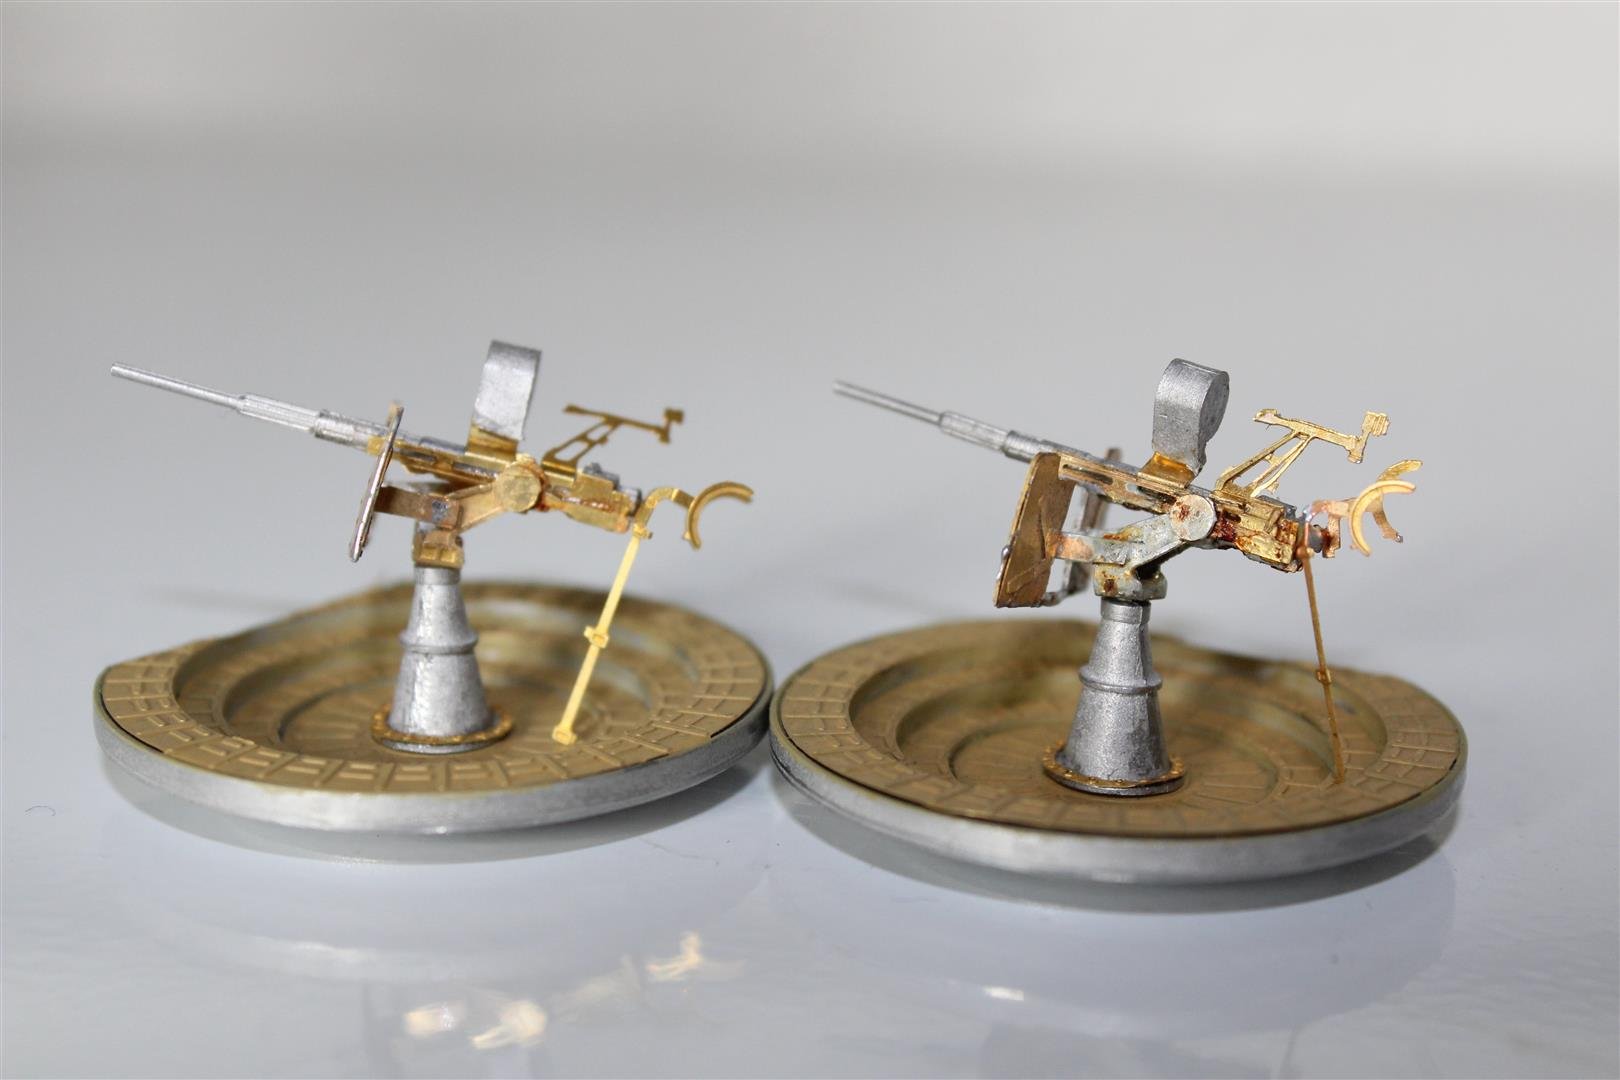
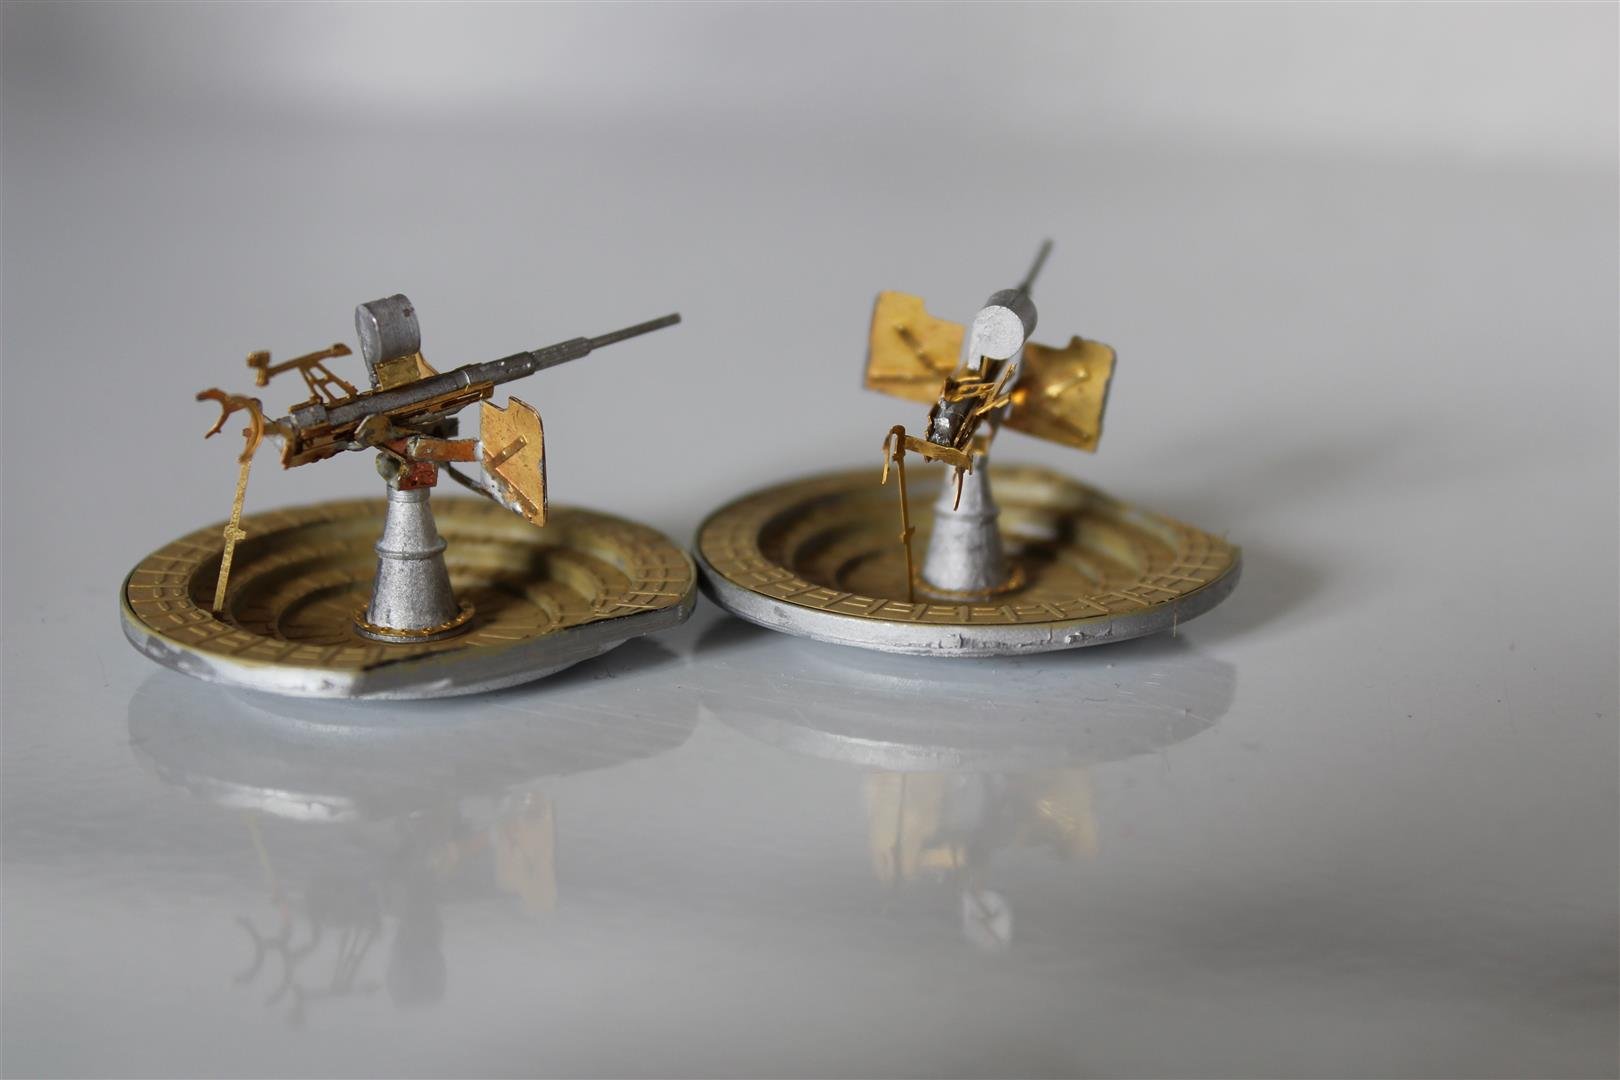
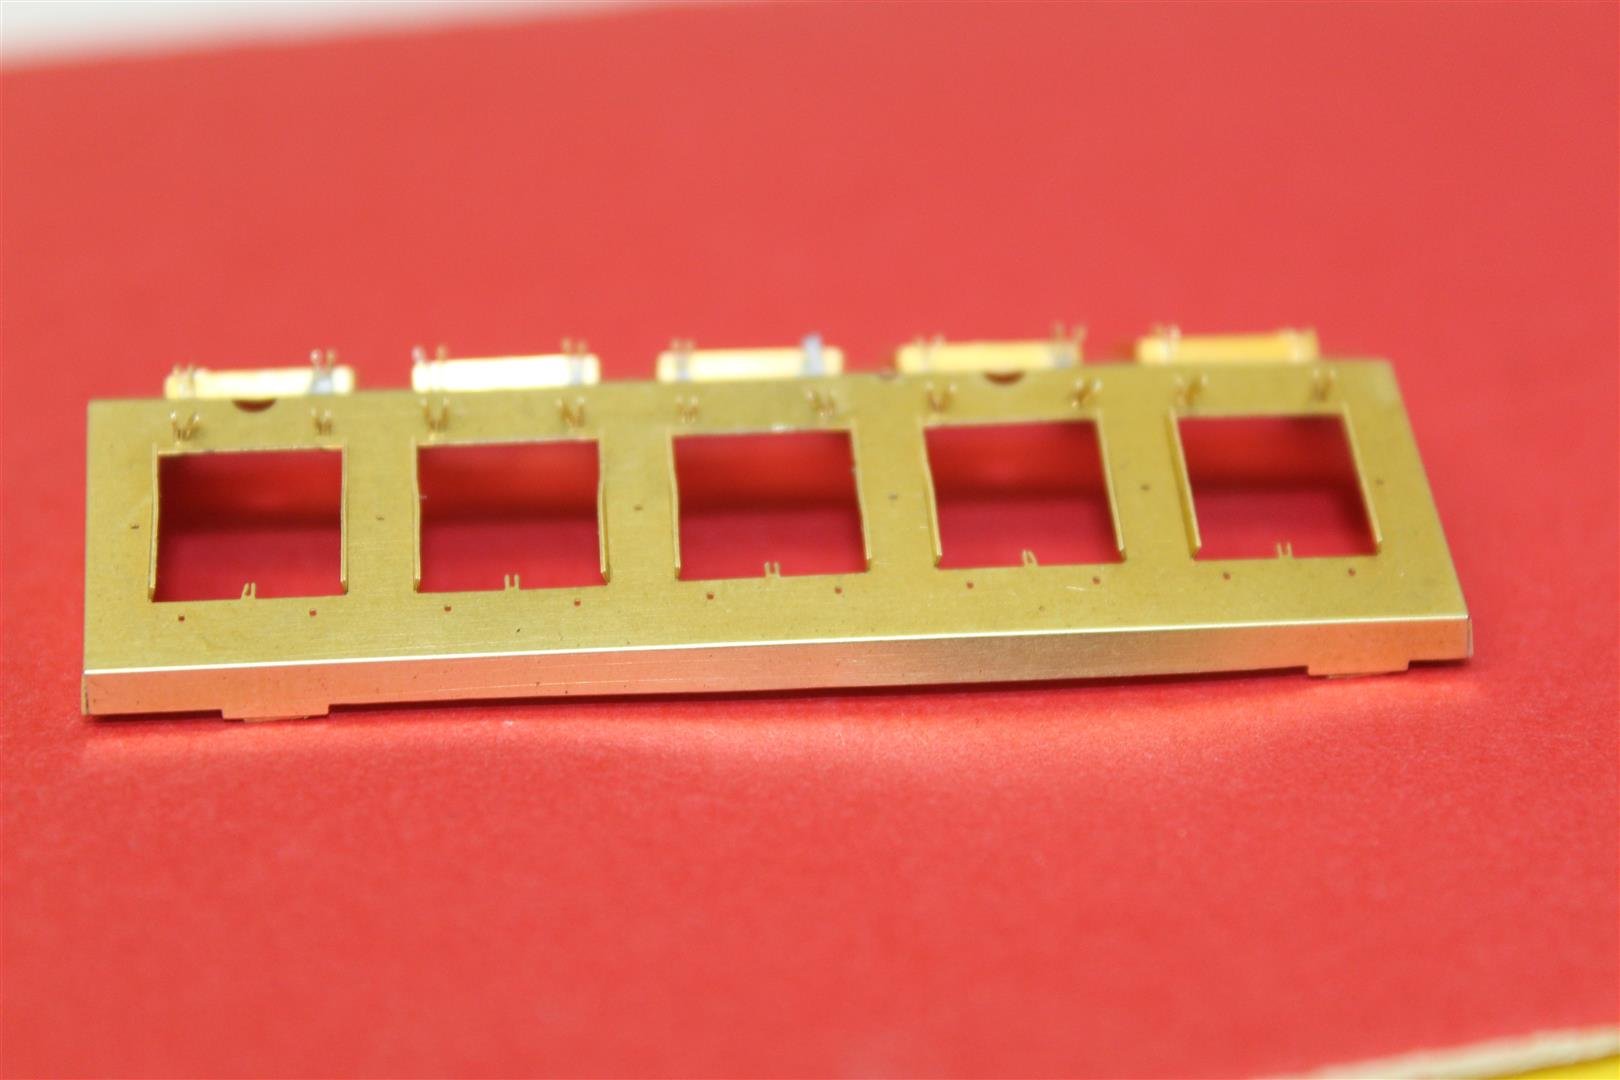
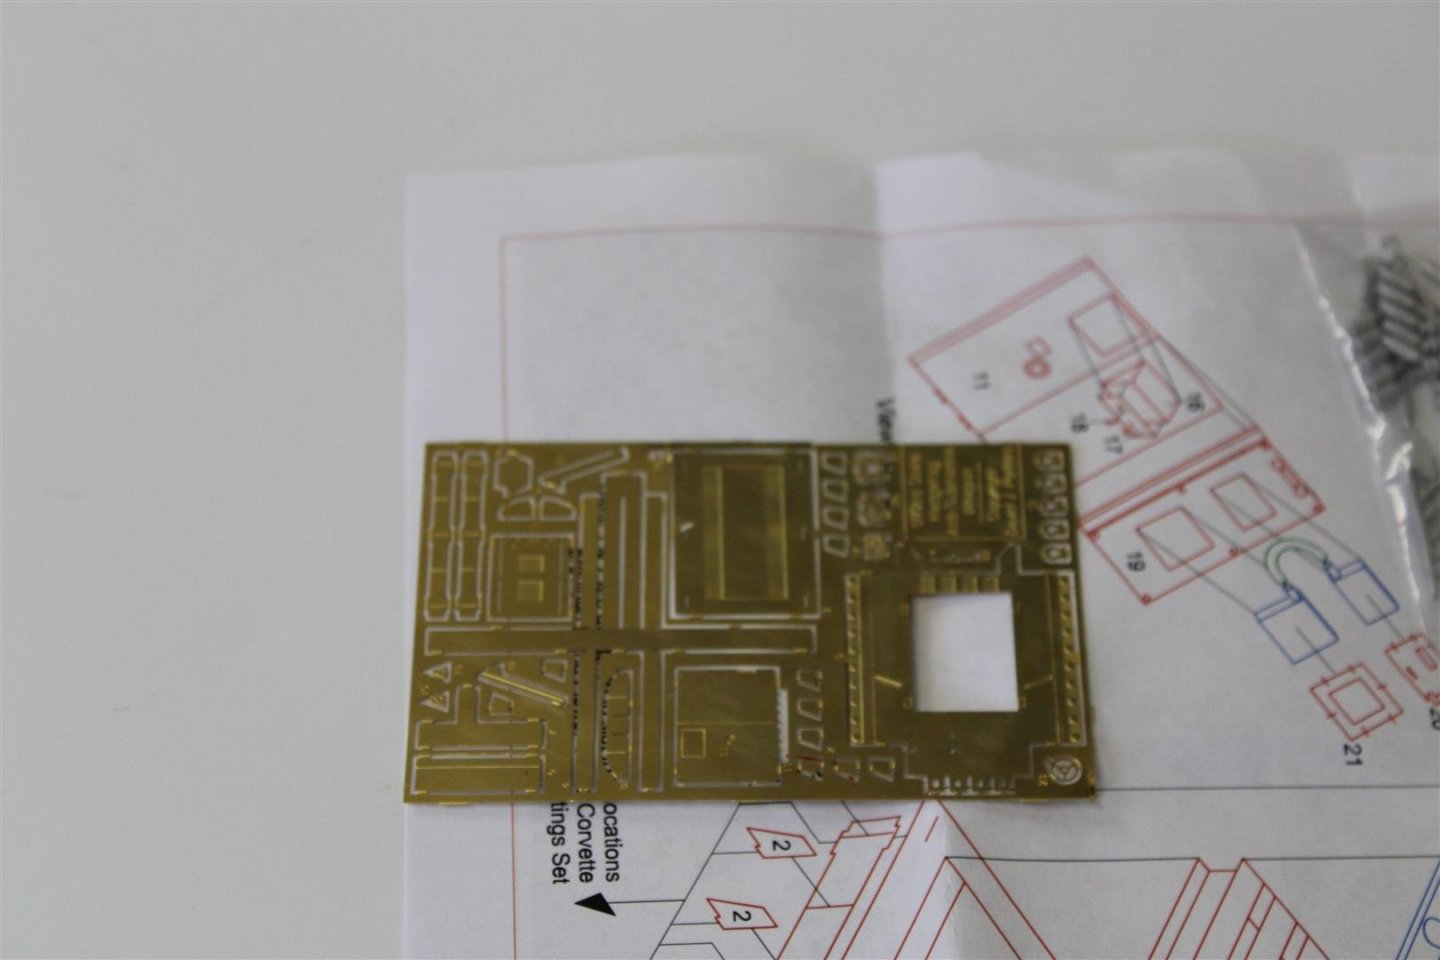
good evening everyone i moved from aft again to the bridge area, and progressed onto the the twin guns (20mm) i think, one went together ok but the other one became a disaster, not helped by dropping it and not finding it because it caught in the dogs hair as later found in the garden the platforms have to be adapted, to allow for the guard rails, the etch has a scribe line where it is to be cut if required ( as this gun was used in many builds) and it may not need to be adapted then i cleaned the platforms with the etch cleaner, and for the first time i mixed a tiny amount of the etch primer let it sit for 3 hours and applied it, i impressed with the results, but also learnt not to put the etch cleaner in plastic yogurt pots


- 141 replies
-
- 11
-
-
Welcome
-
Welcome to MSW
-
Well done Chris, looks fantastic, i will nominated you for an award on the new years honours , for saving the British model producer award
-
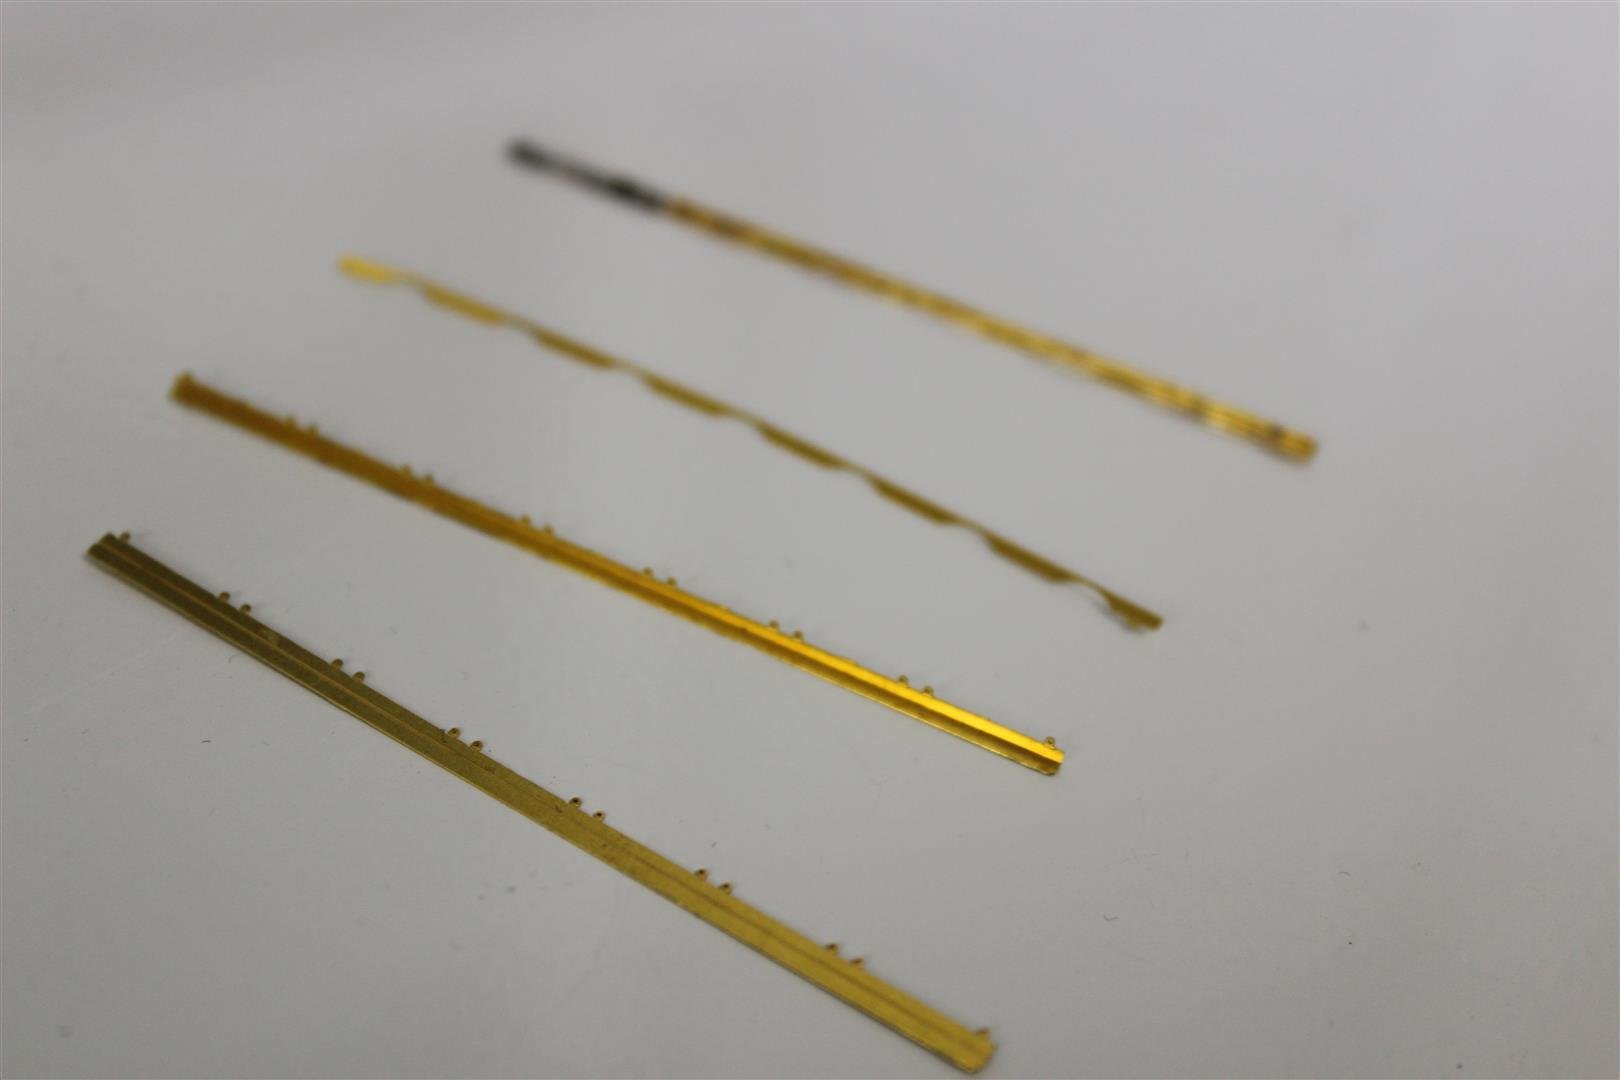
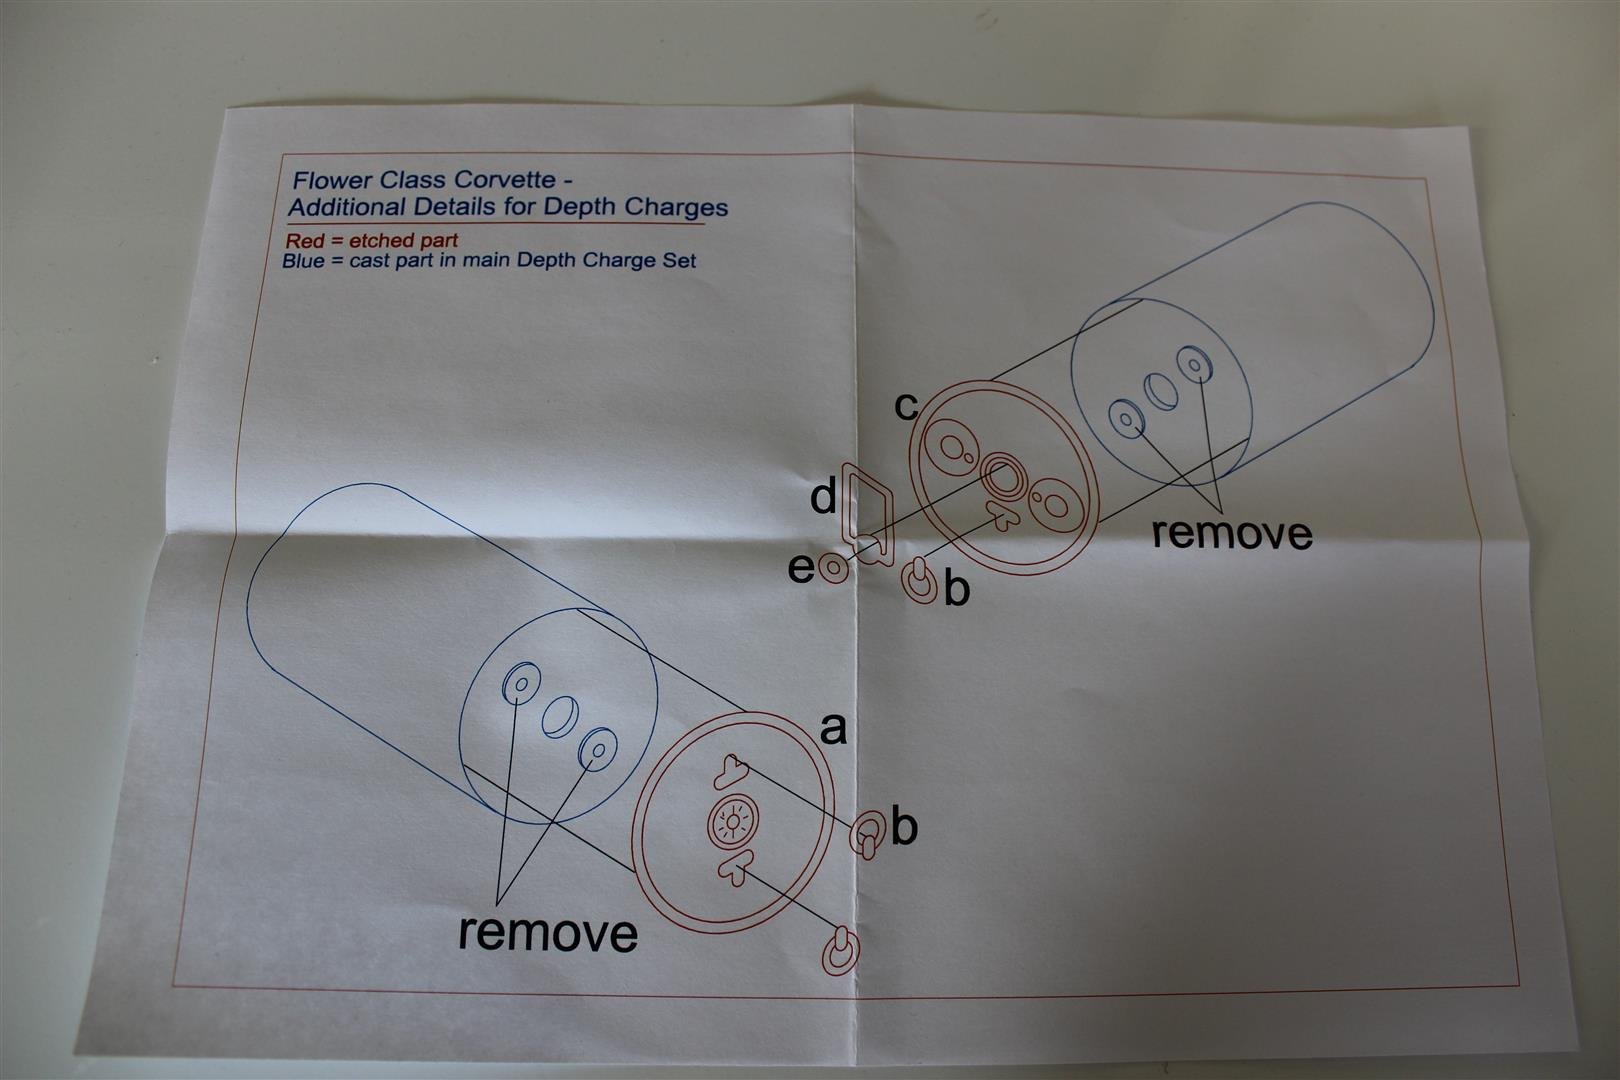
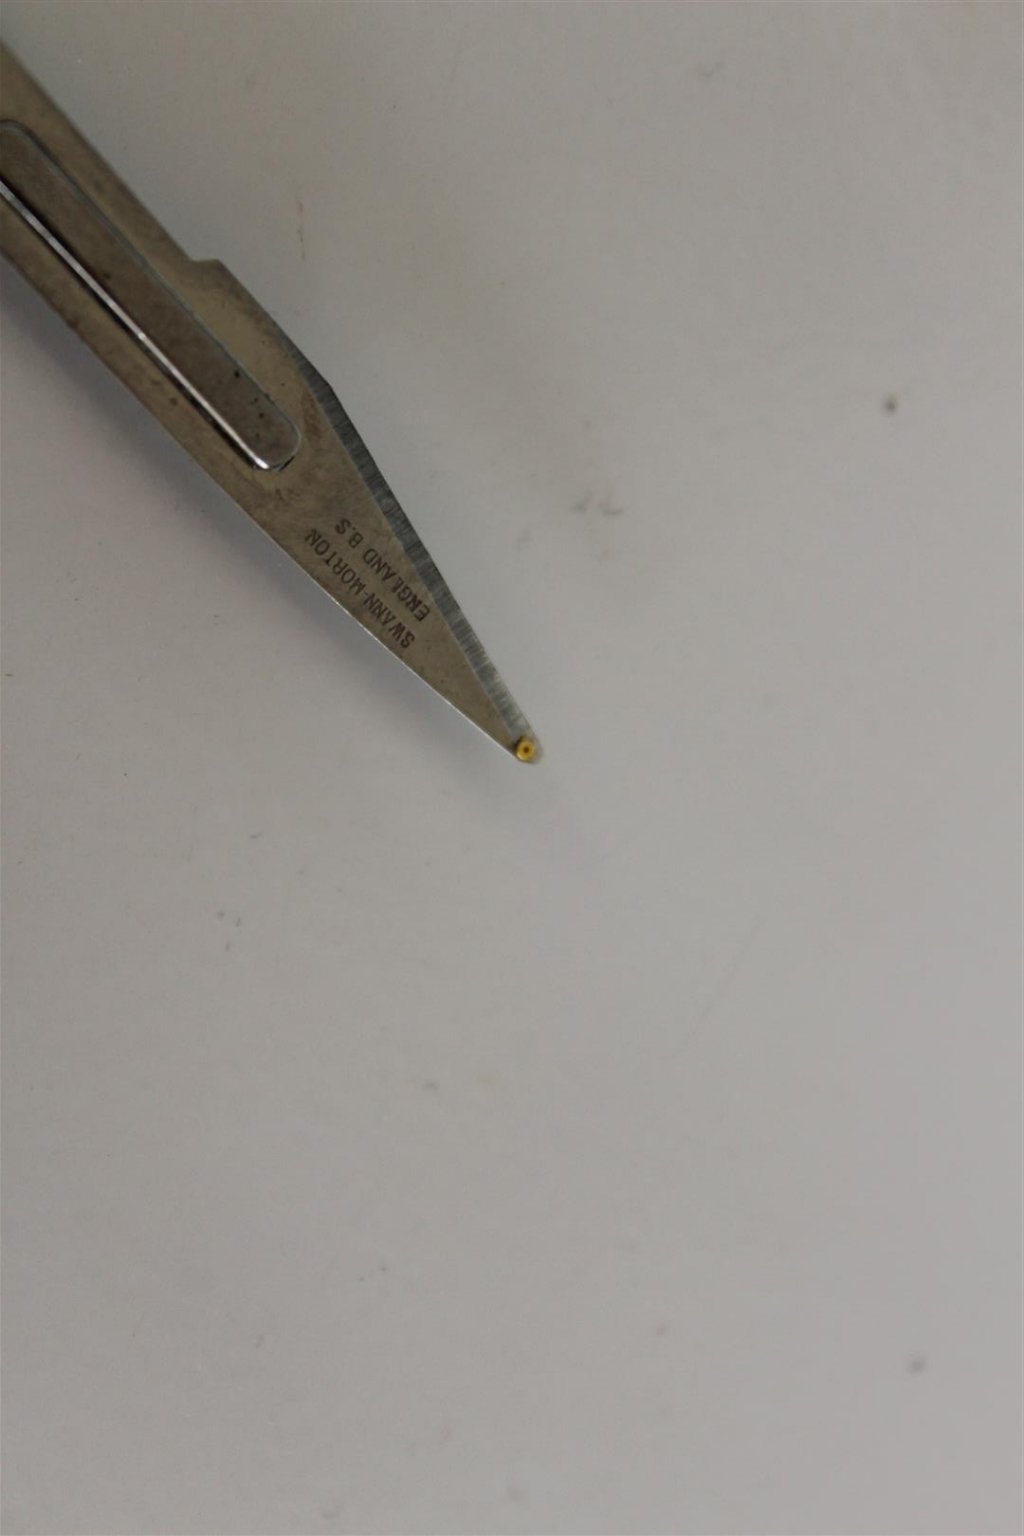
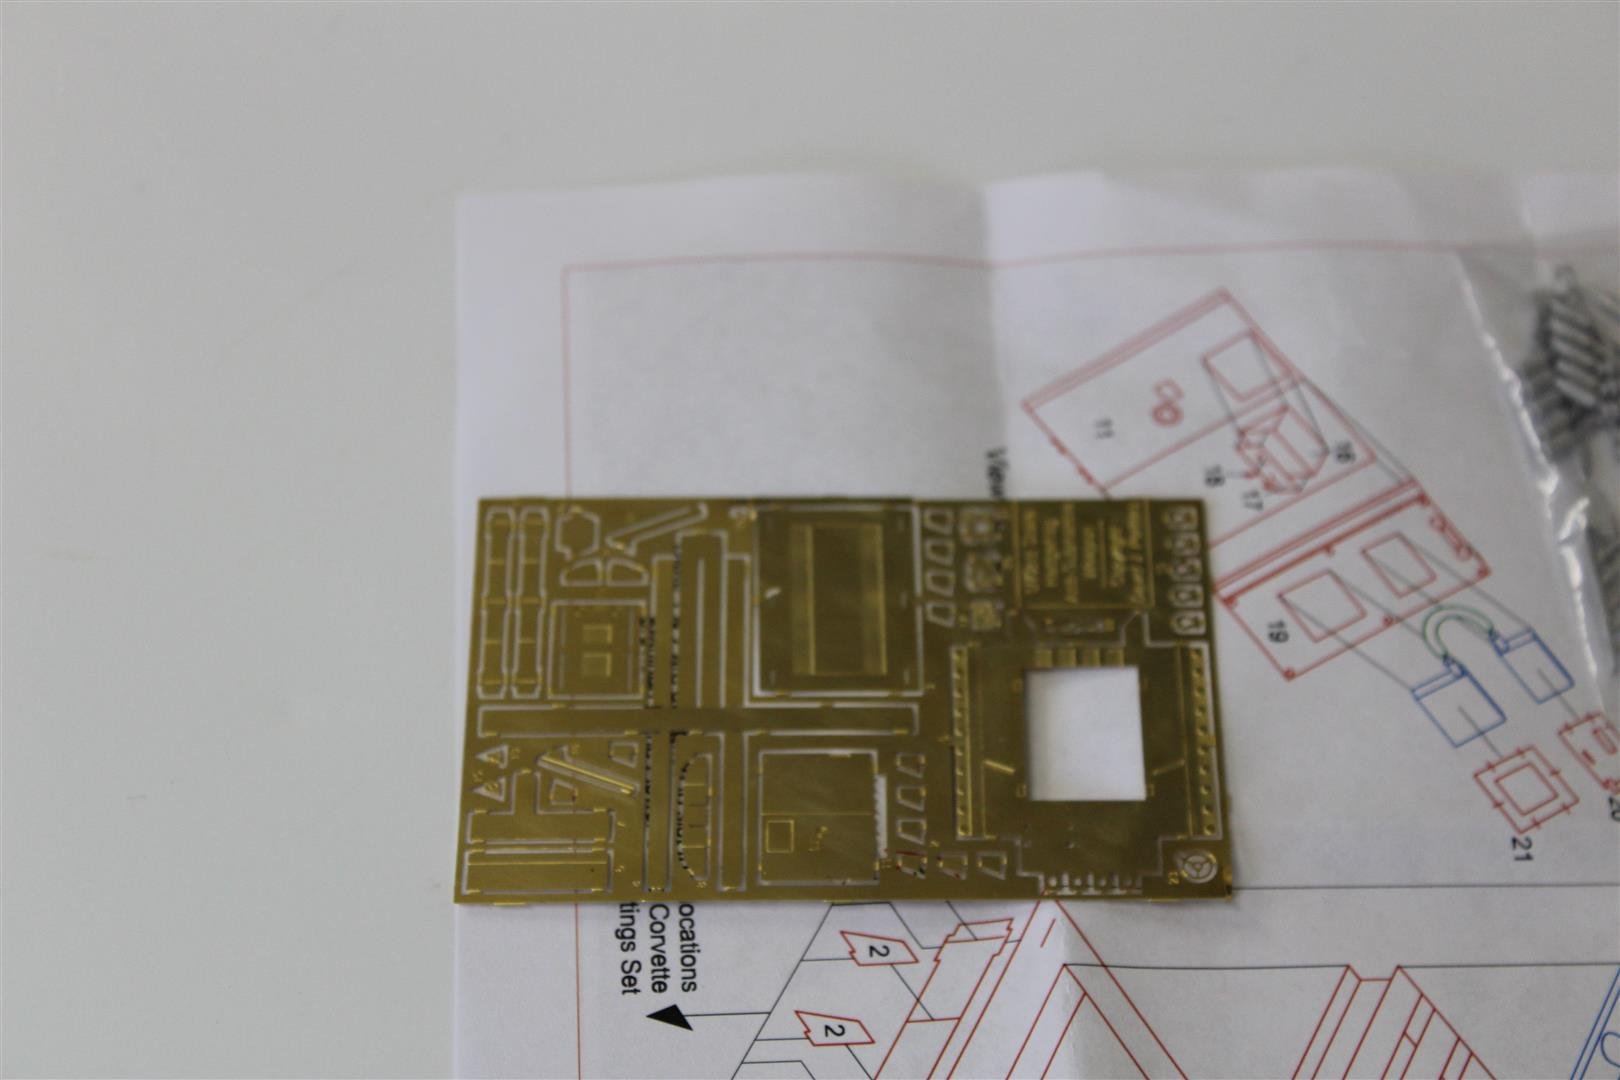
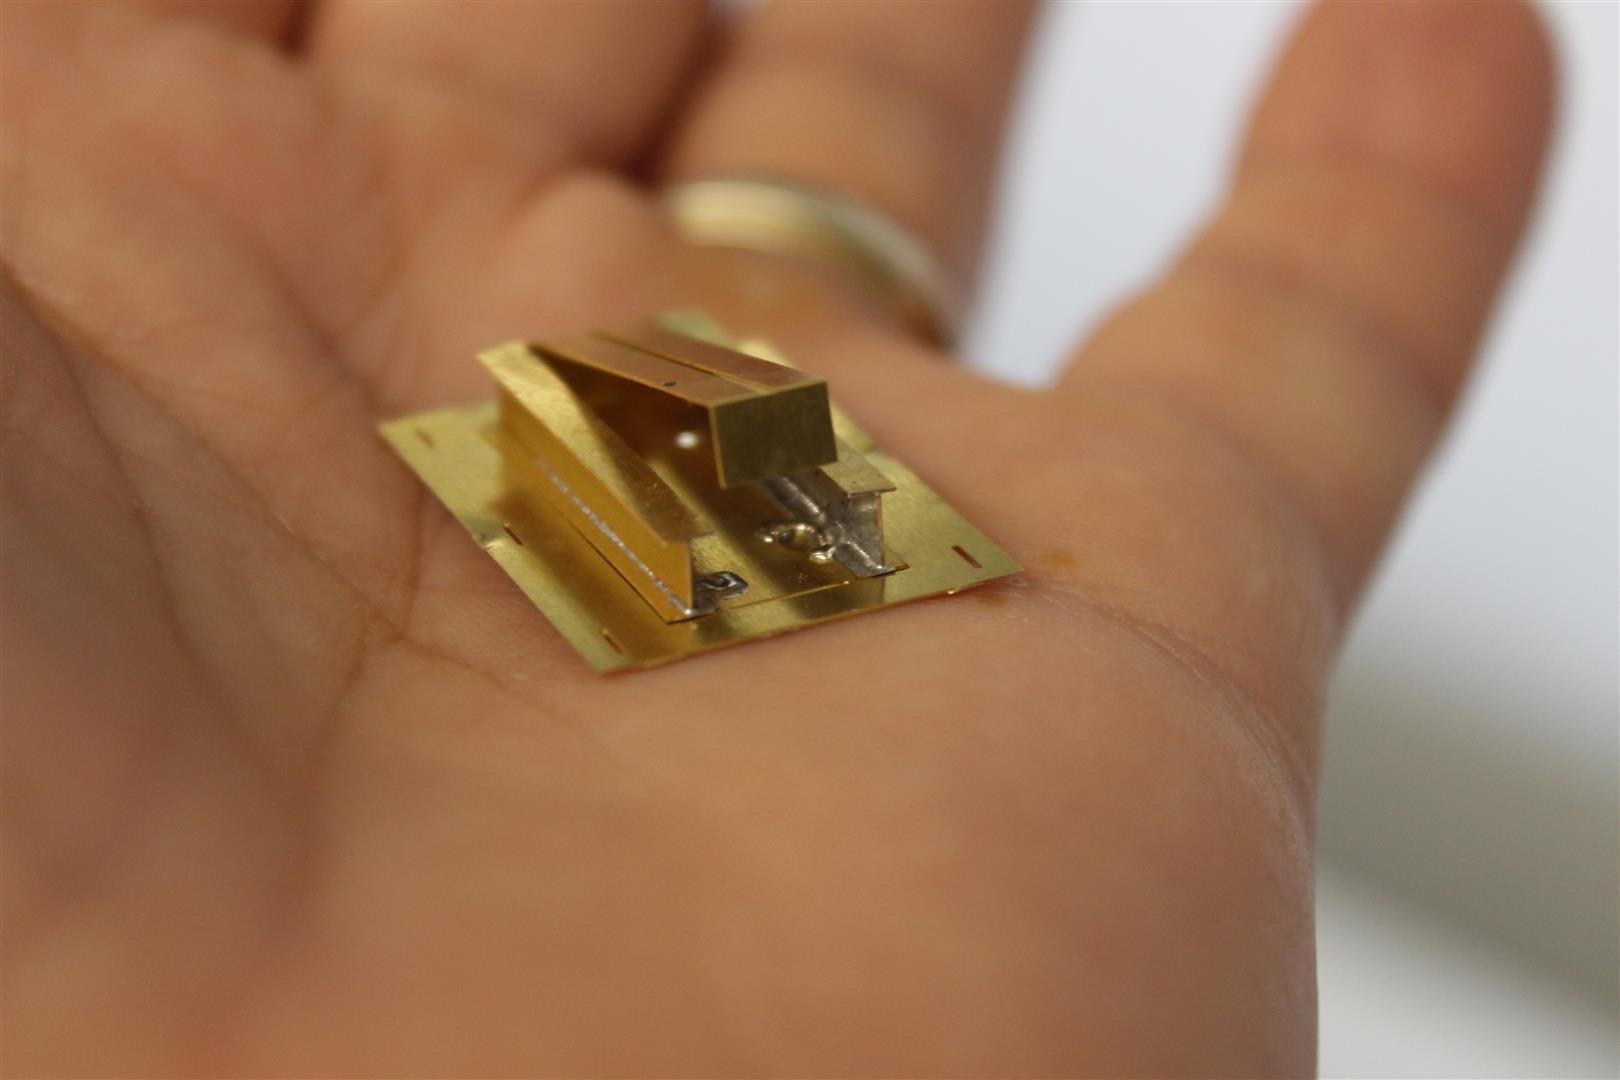
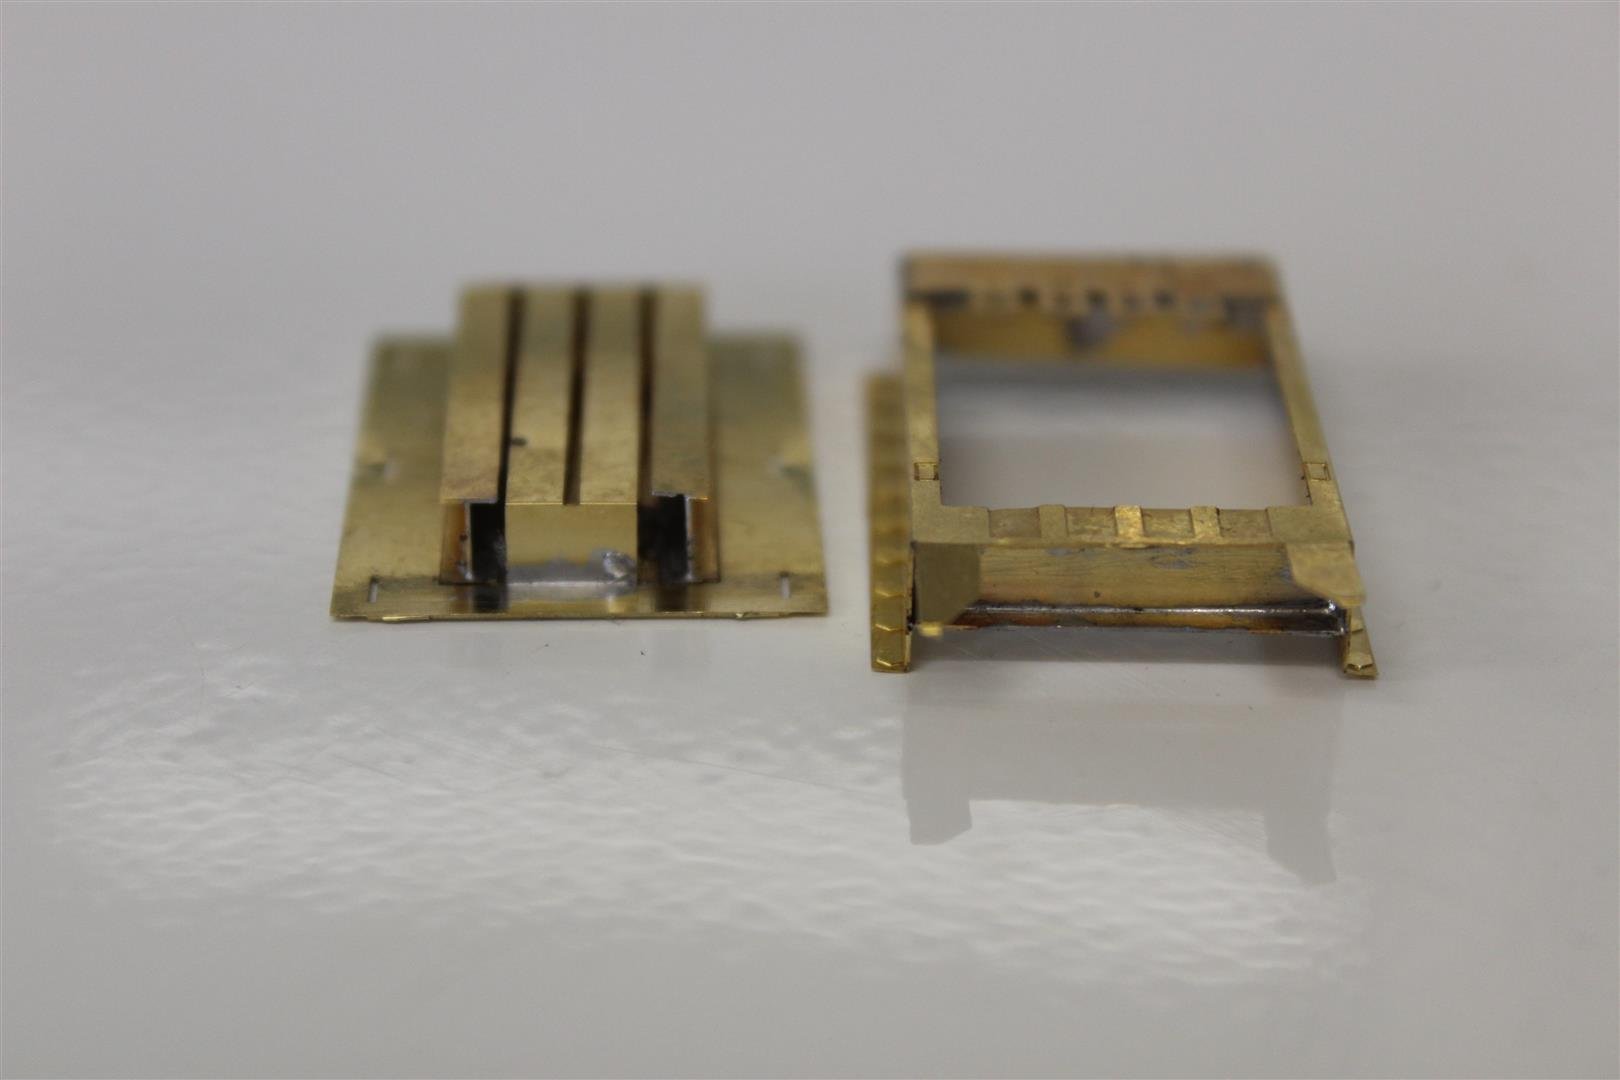
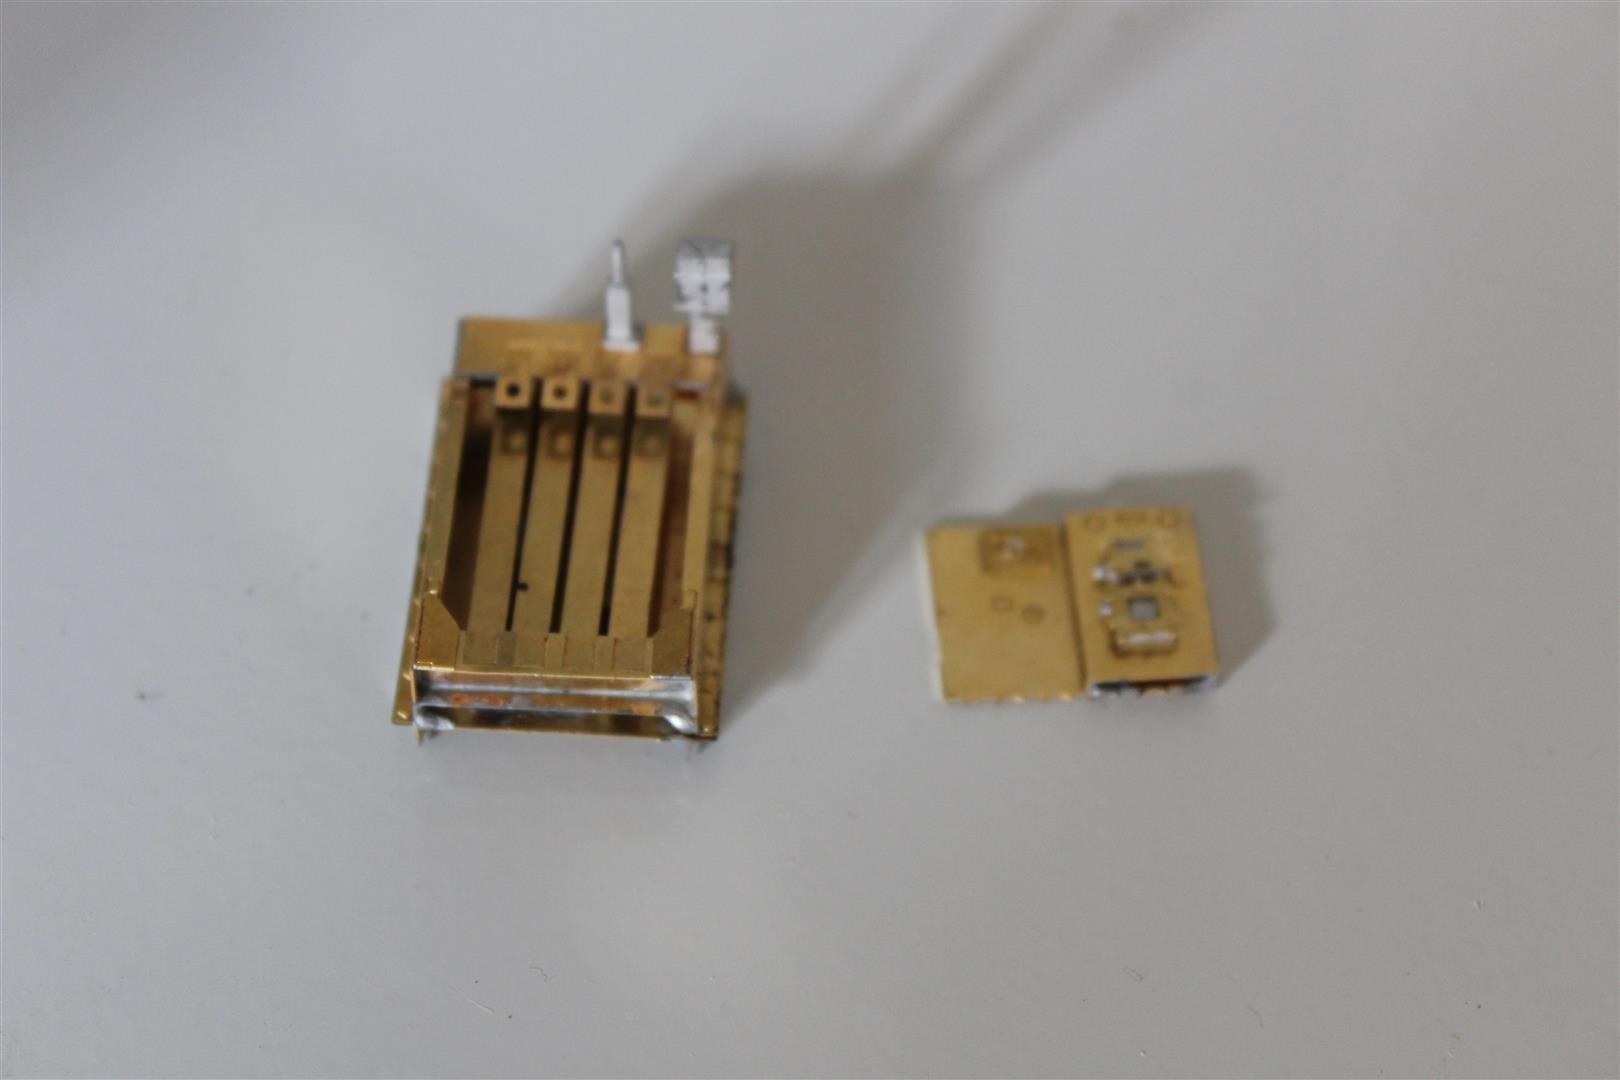
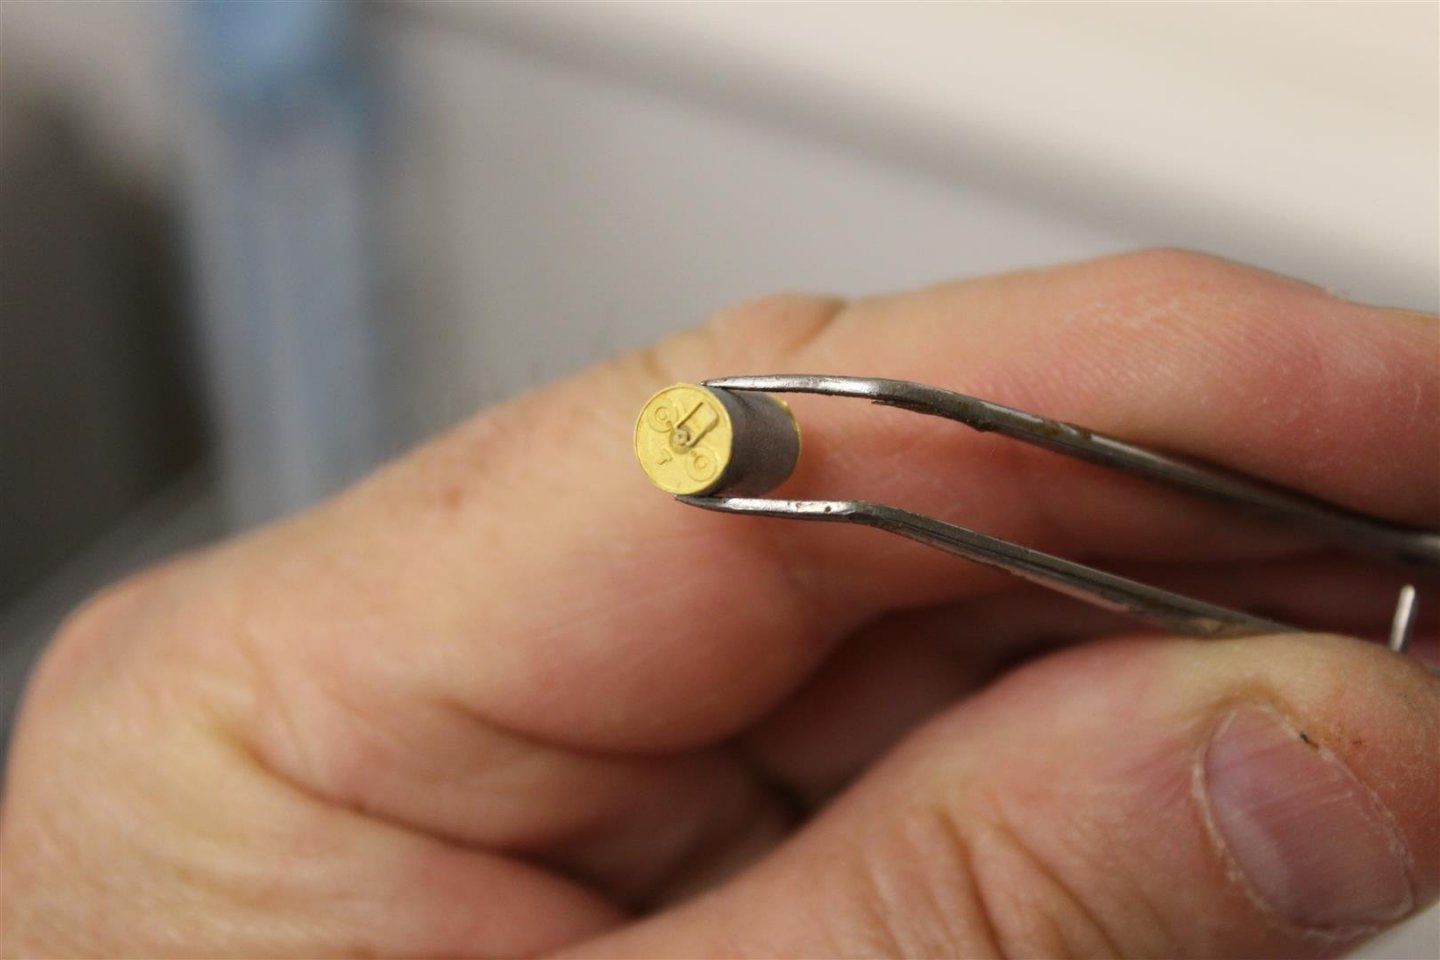
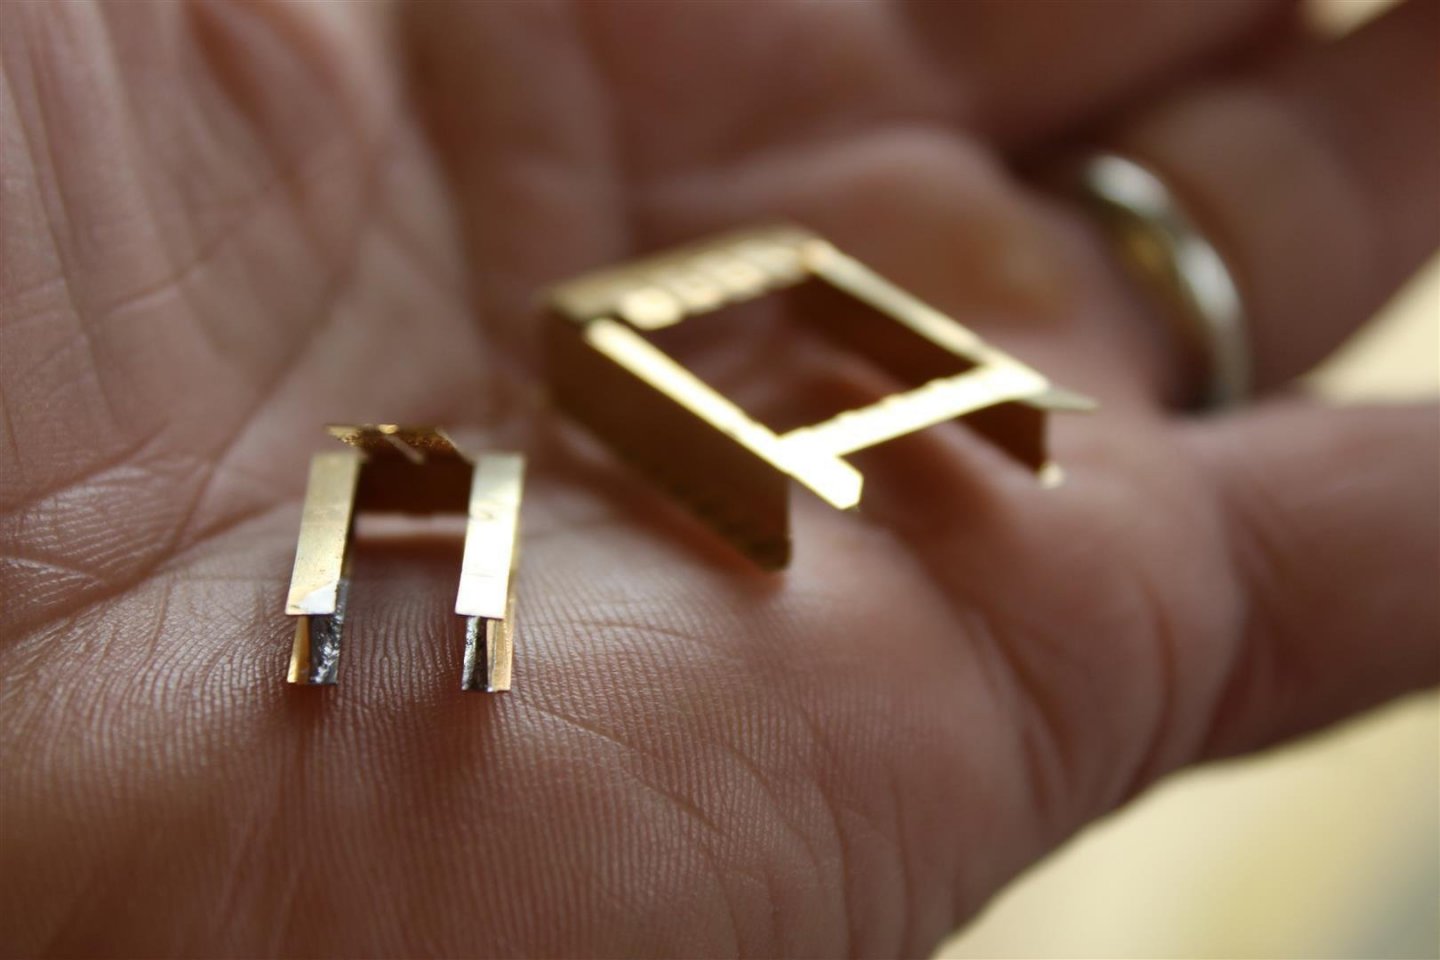
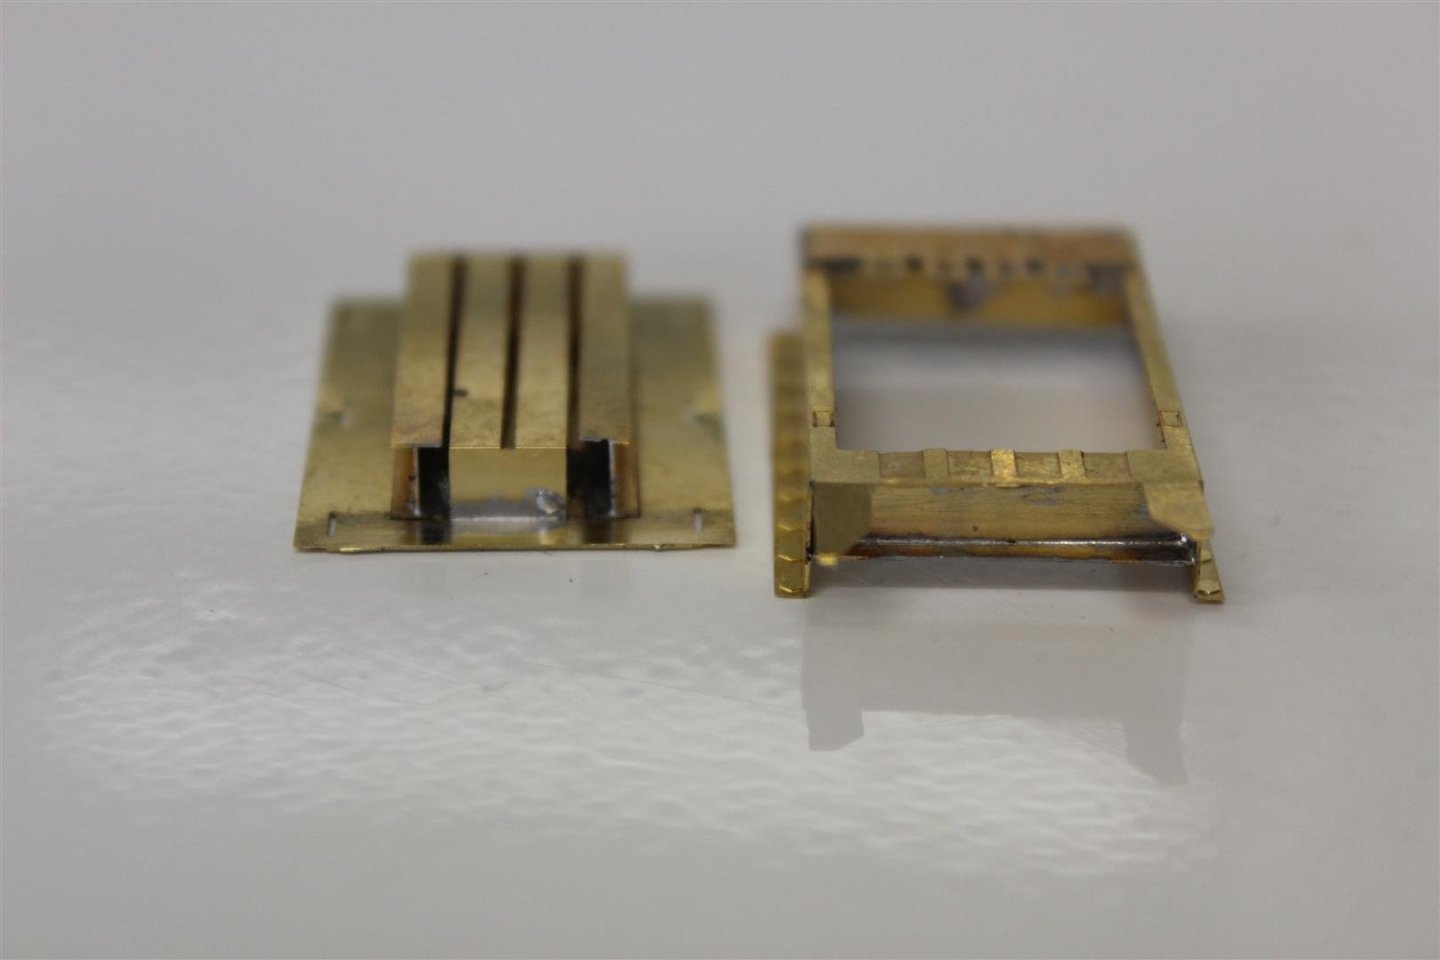
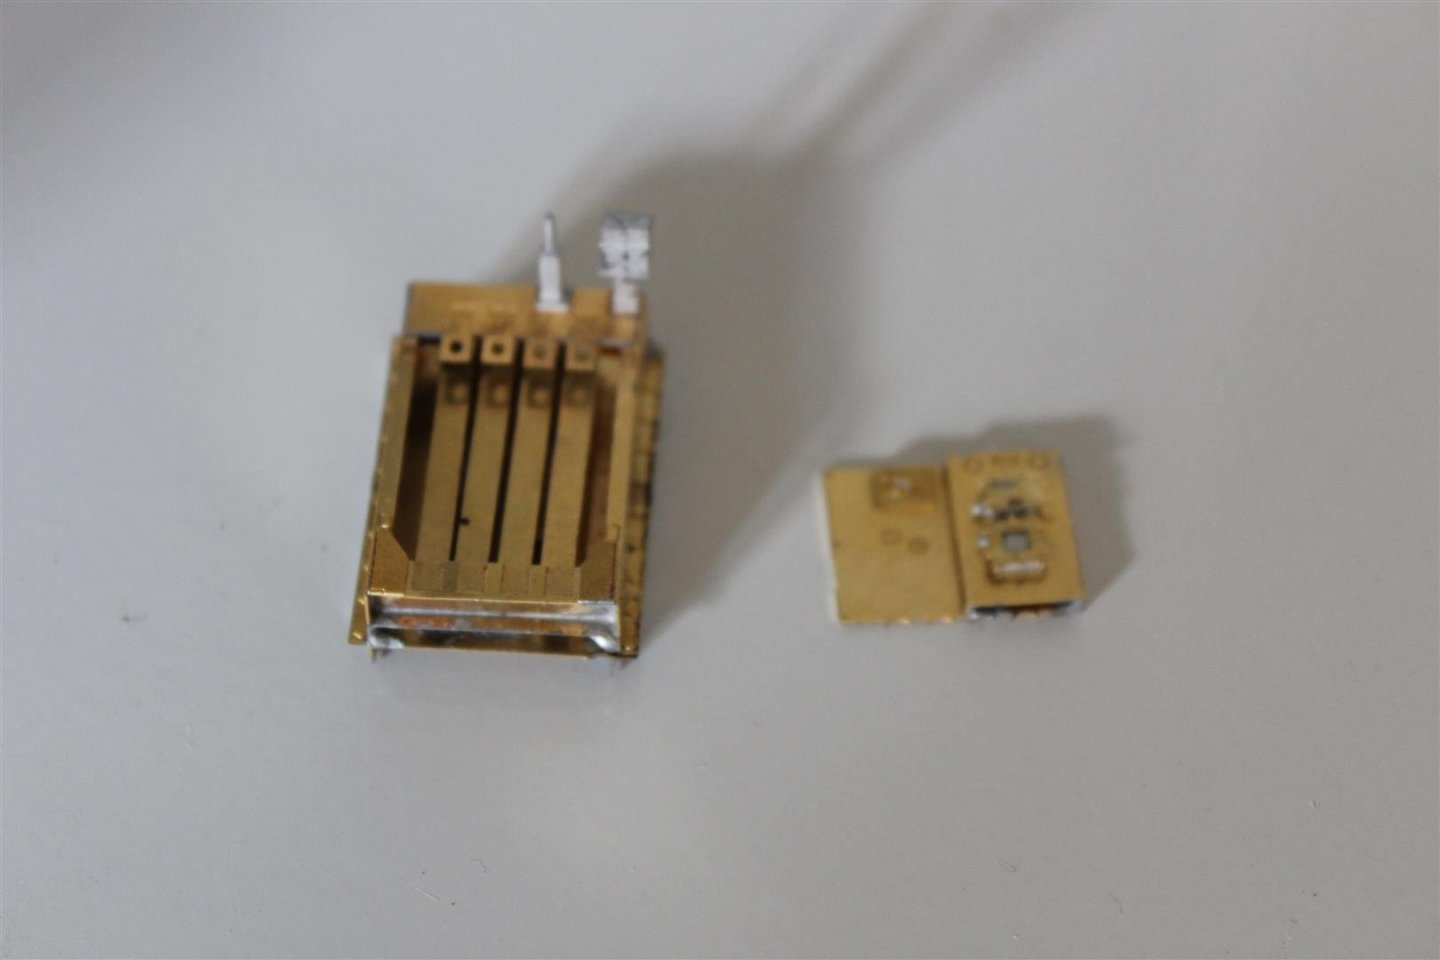
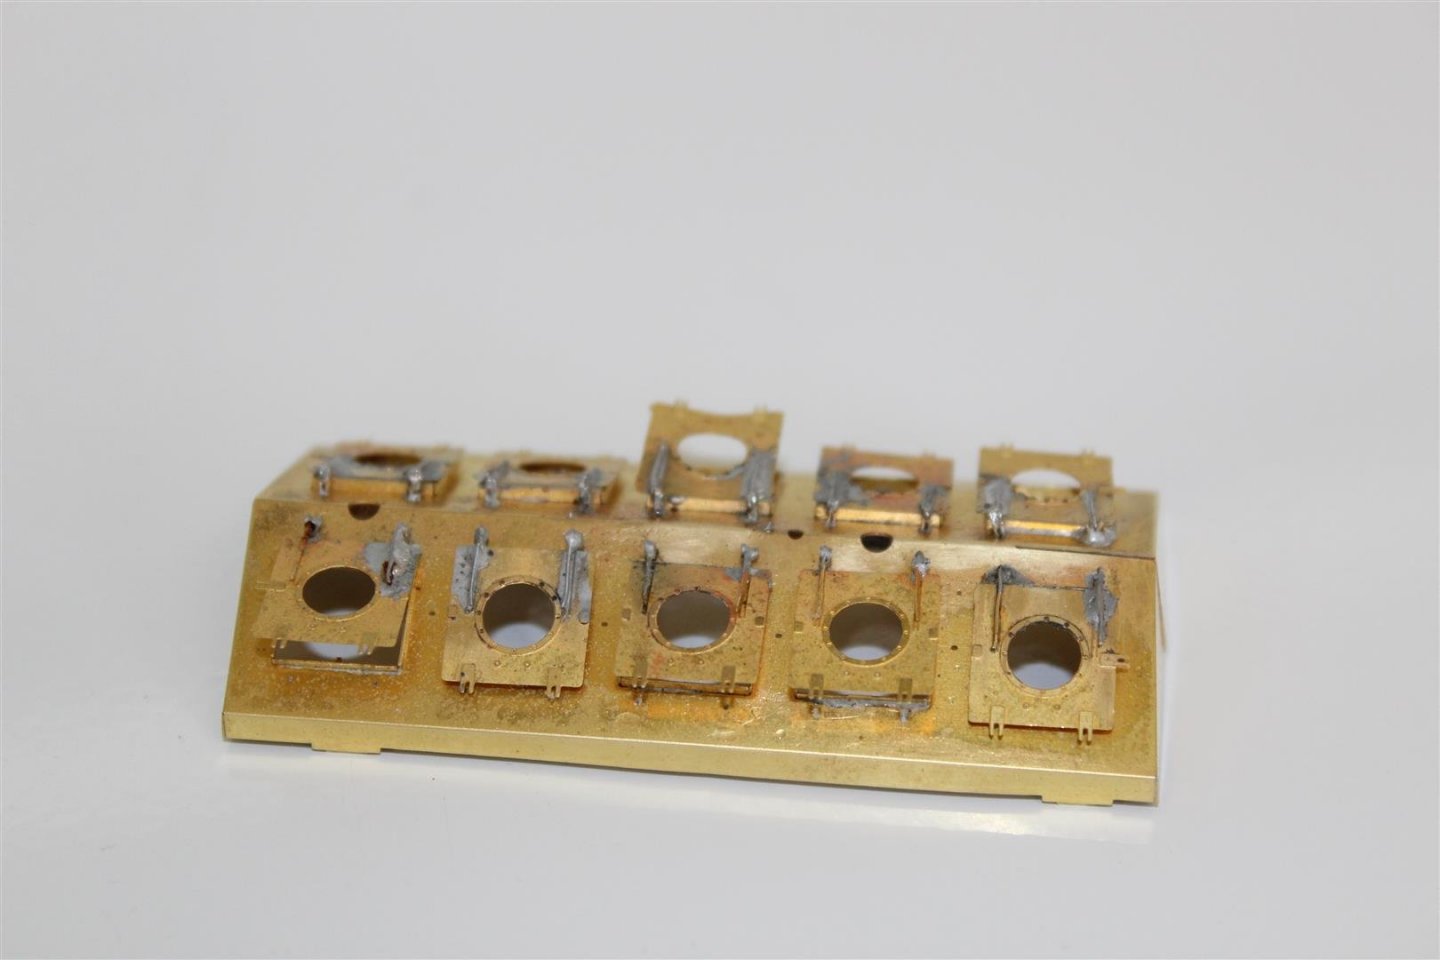
Good evening everyone thank you for the like and comments, and apologies for not getting around as much as i used to the depth charge racks continue in the last post the outside cahe was completed, now the racks have to be put in sorry its not so clear not ready to be fixed in yet this set is solely for the depth charges, to the right is on e of the 40 odd charges, it has a minimal amount of detail of, but that is removed this is one of the smallest pieces, its a start also been making up davits and charge storage rack, as well of the charge throwers


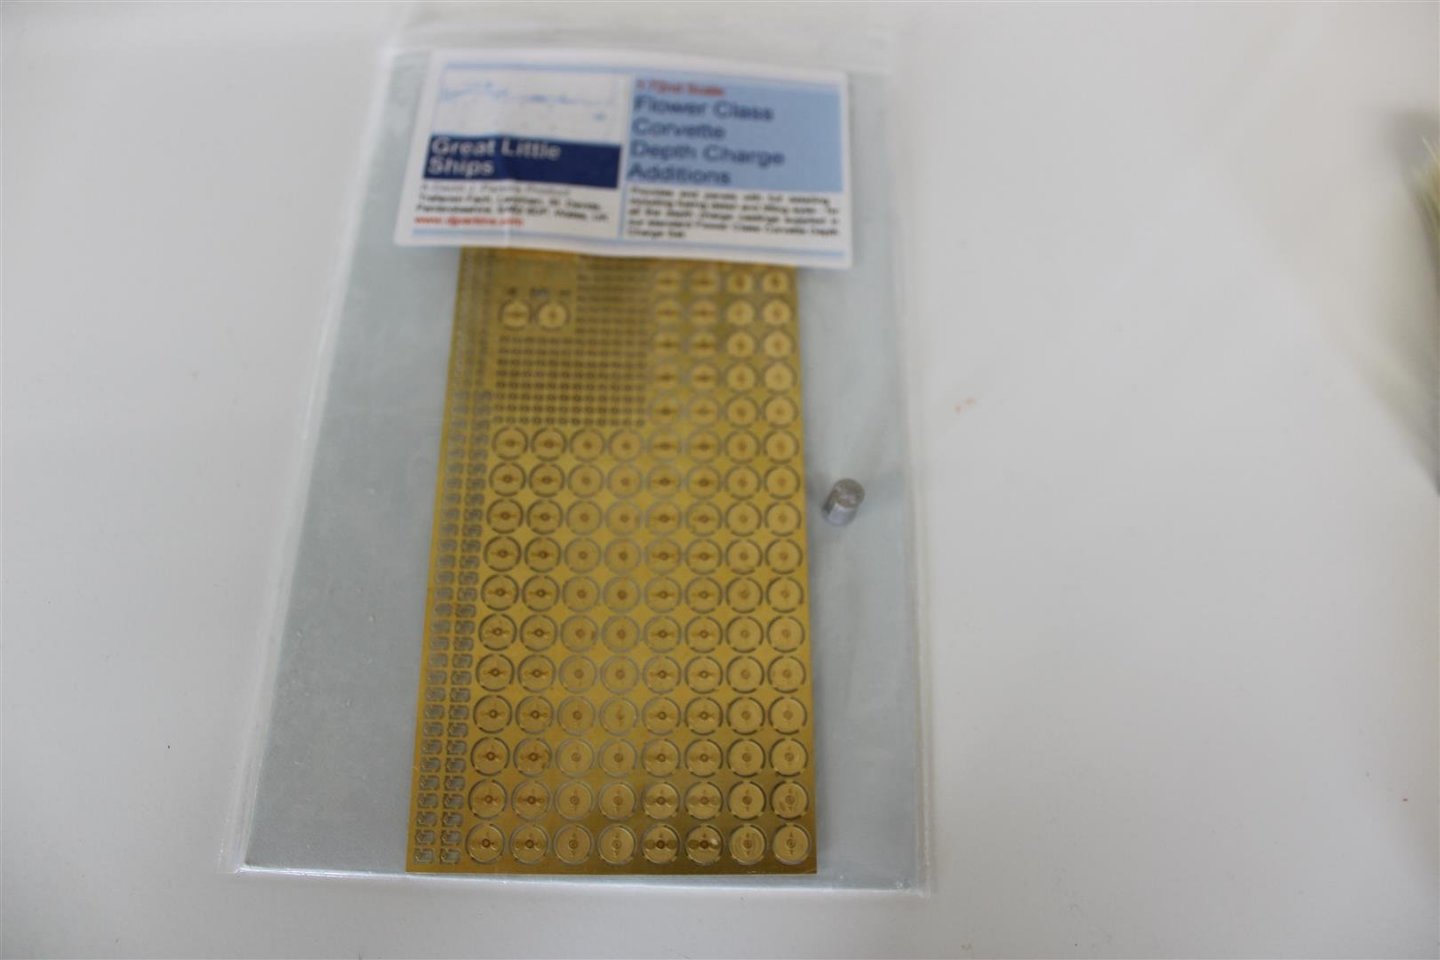
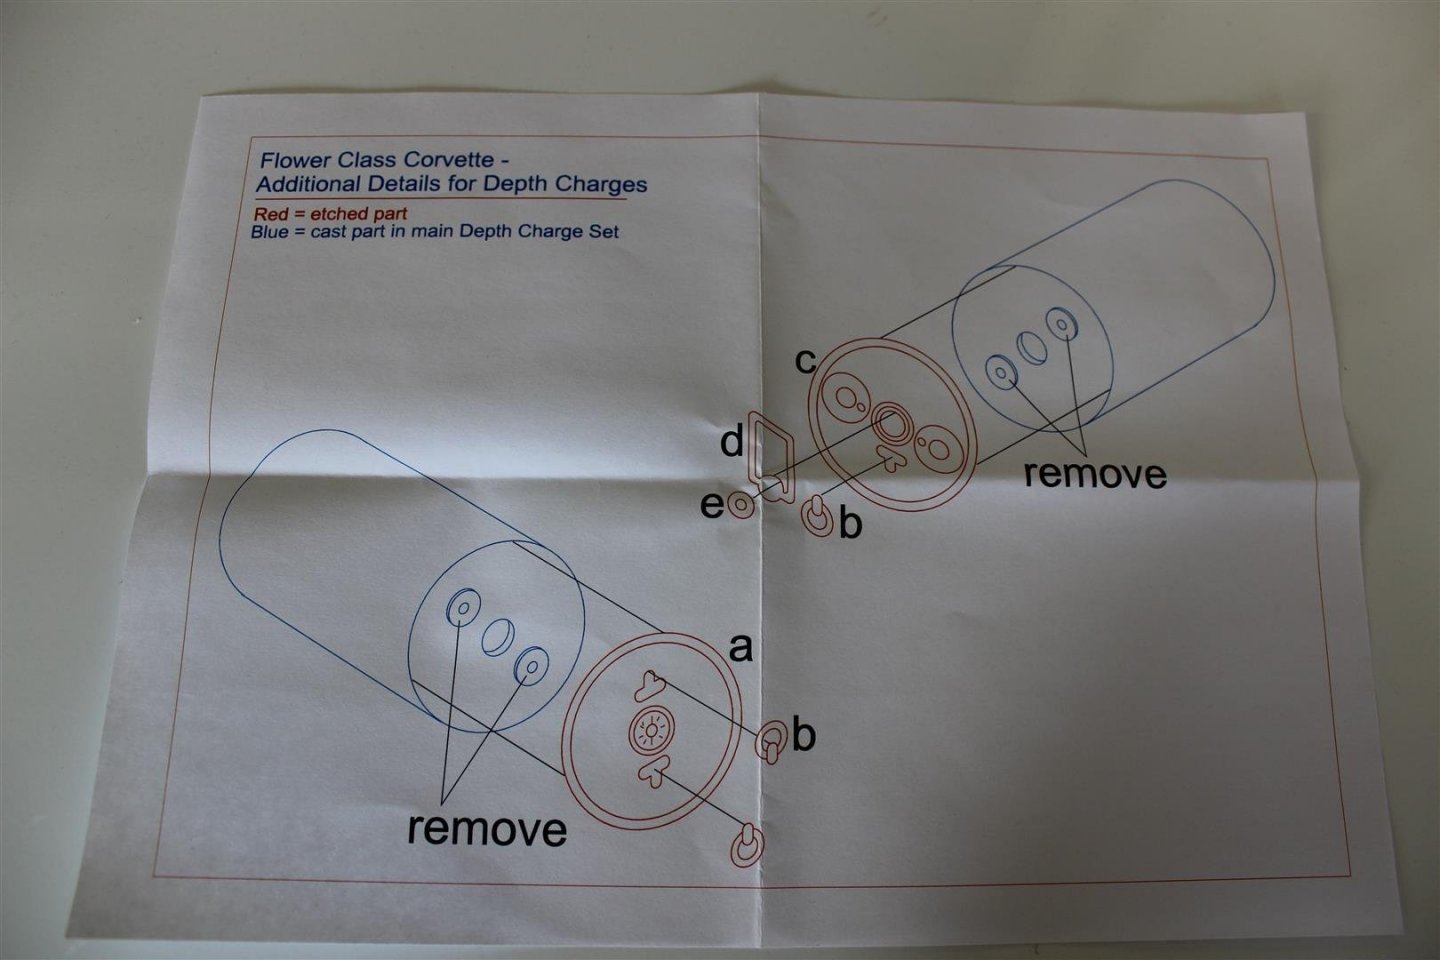
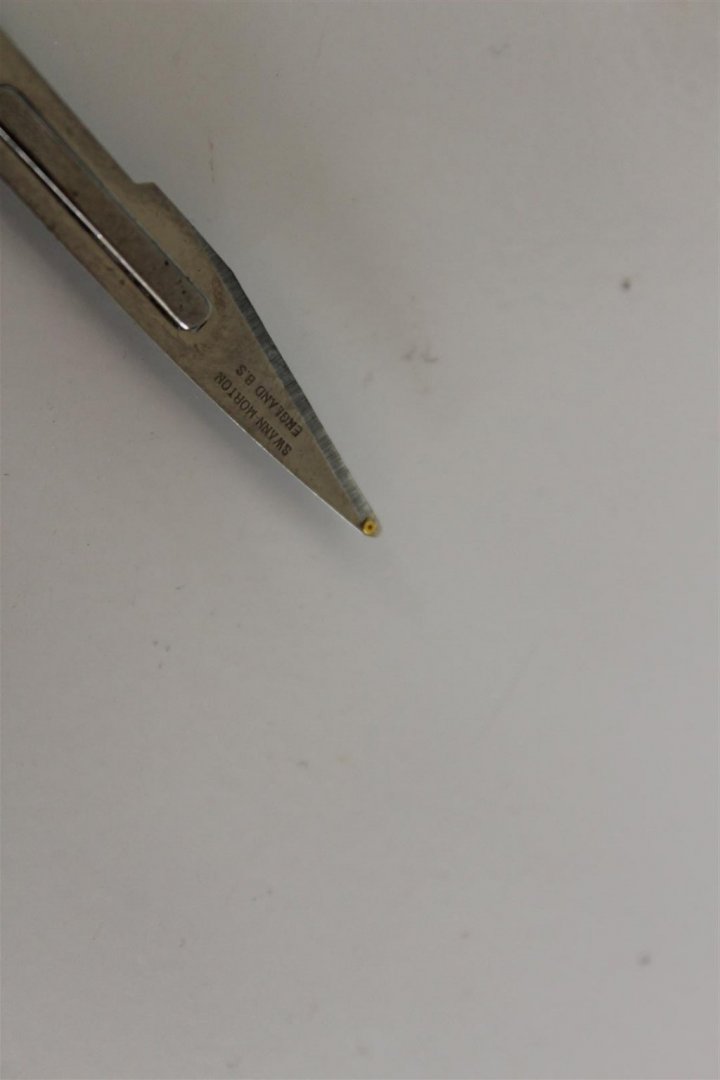
- 141 replies
-
- 11
-
-
Weathering on the Titanic
Kevin replied to GrandpaPhil's topic in Painting, finishing and weathering products and techniques
well this is poor even for me 5 months after the event -
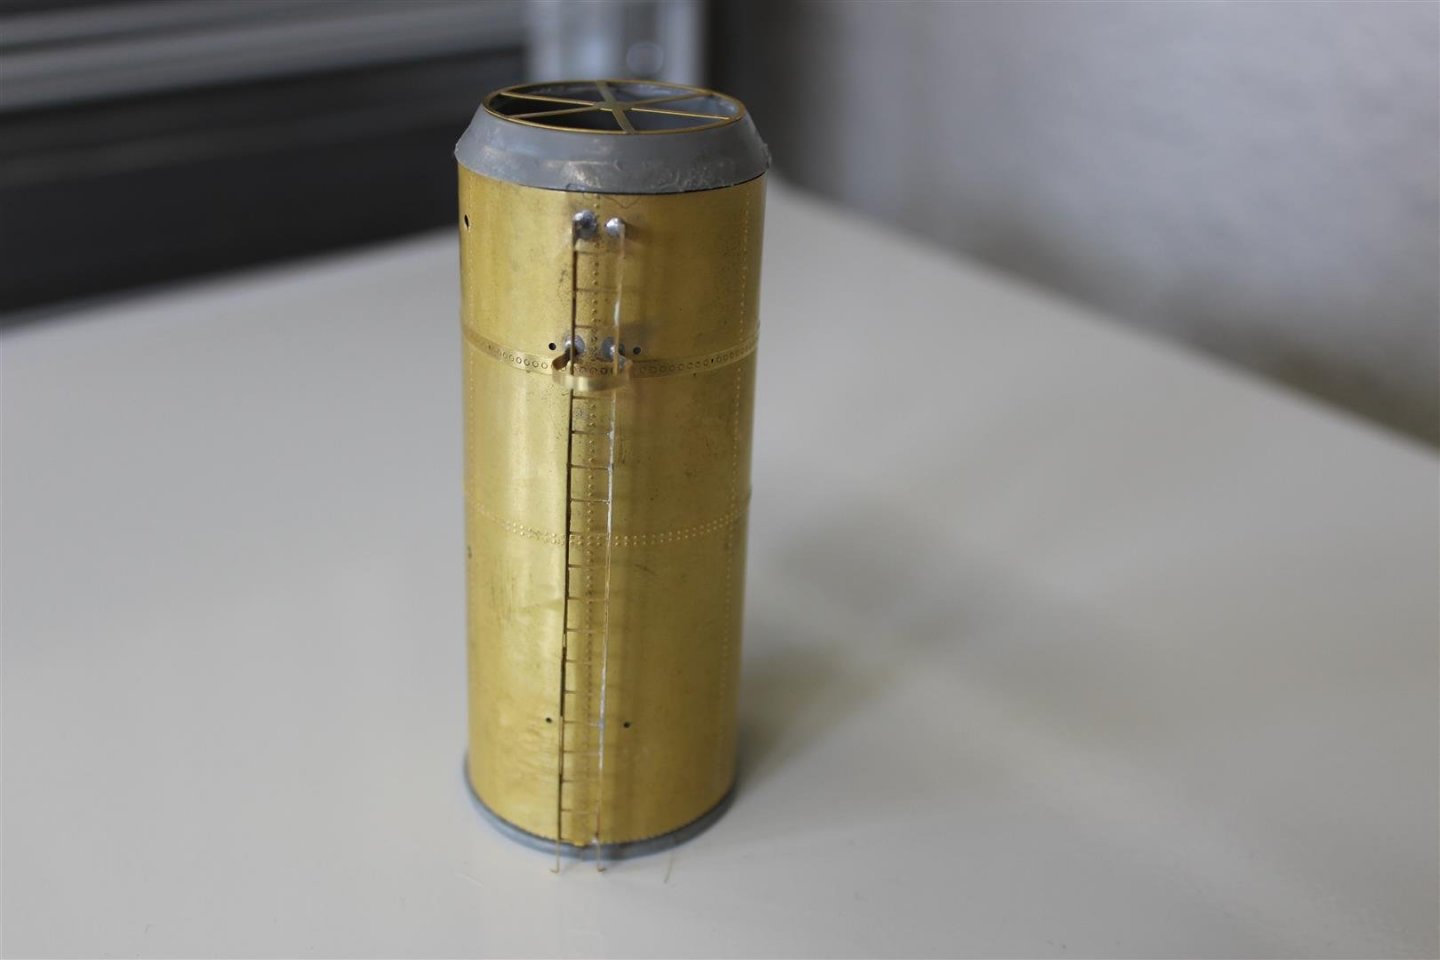
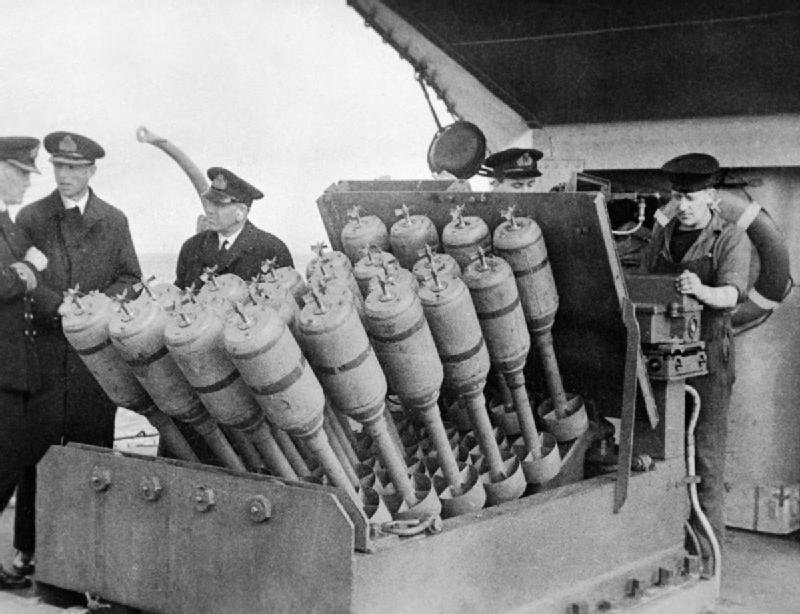
good evening everyone i have tried to get into a routine of doing something on any of my builds every day, its surprising what can be done in a couple of hours, and it is weening me off the PC (that can only be good) most of the big bits are now started, so at any time i can go from one piece to another most of the hedgehog launcher is done and protection screen NOT MY PHOTO wip on the engine room skylight and now the depth charge racks are on the go


- 141 replies
-
- 14
-