HOLIDAY DONATION DRIVE - SUPPORT MSW - DO YOUR PART TO KEEP THIS GREAT FORUM GOING! (Only 66 donations so far out of 49,000 members - Can we at least get100? C'mon guys!)
×


Kevin
-
Posts
7,010 -
Joined
-
Last visited
Content Type
Profiles
Forums
Gallery
Events
Everything posted by Kevin
-
 http://www.rfi.fr/en/visiting-france/20160108-cousteau-s-iconic-ship-calypso-sail-again
 -
fantastic workmanship
-
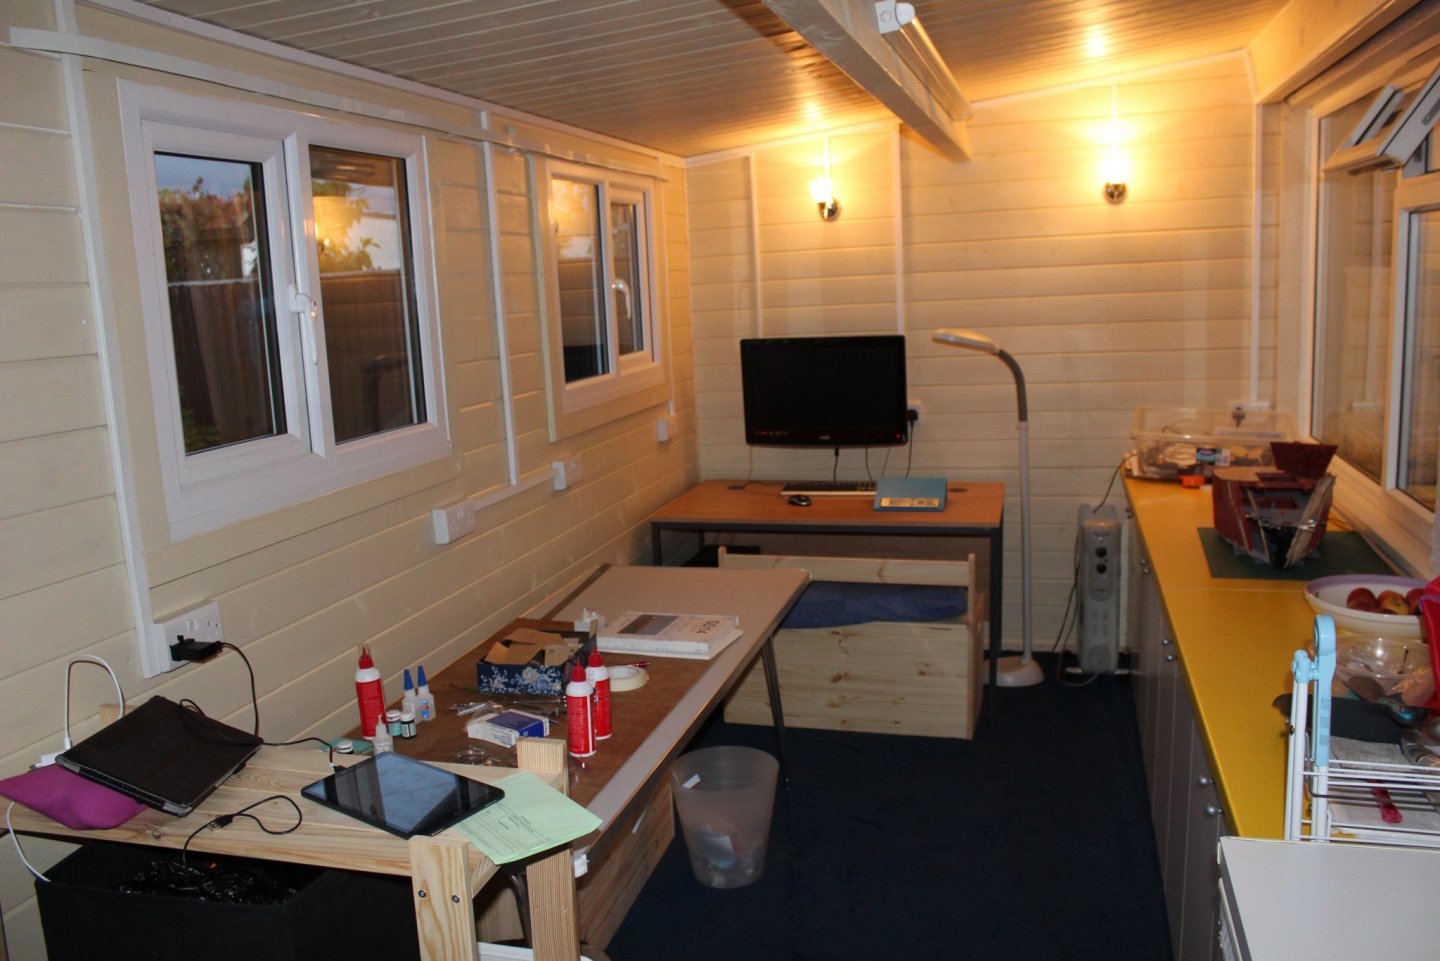
i started like that, then got a shed then converted the garage then got a dog dog is not allowed to get wet, according to the admiral, transiting between the house and my mancave so i have moved into the house/conservatory, which perhaps where i should have started from
.thumb.JPG.2523602f802aee7f70a593bb3b7c02c9.JPG)
.thumb.JPG.ea7b5f130828bd330152d244dfa9ca72.JPG)
- 15 replies
-
- 14
-

-
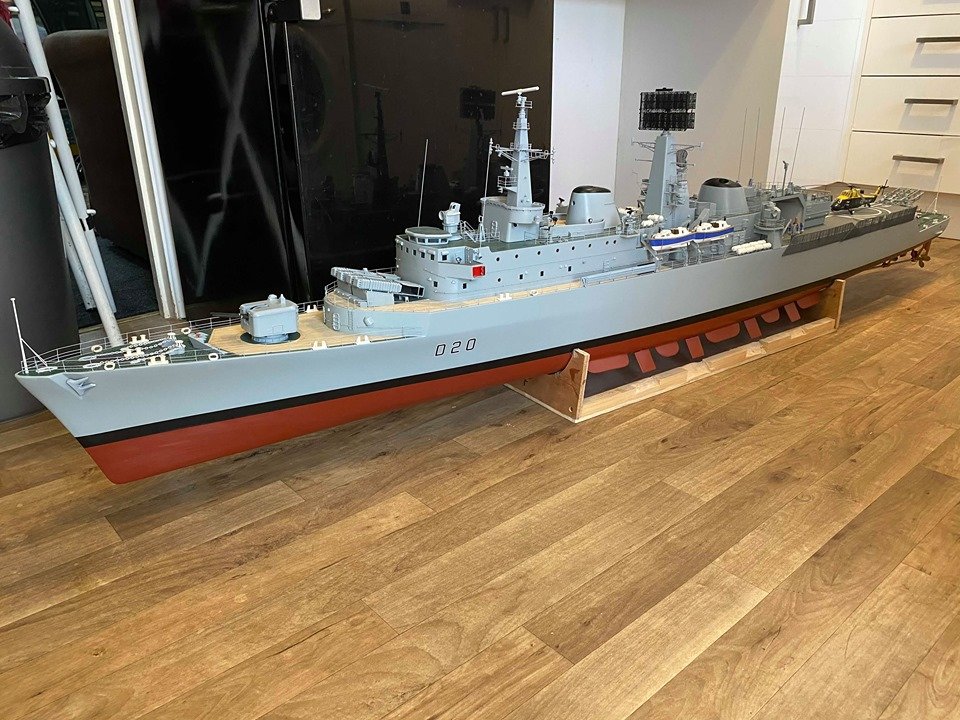
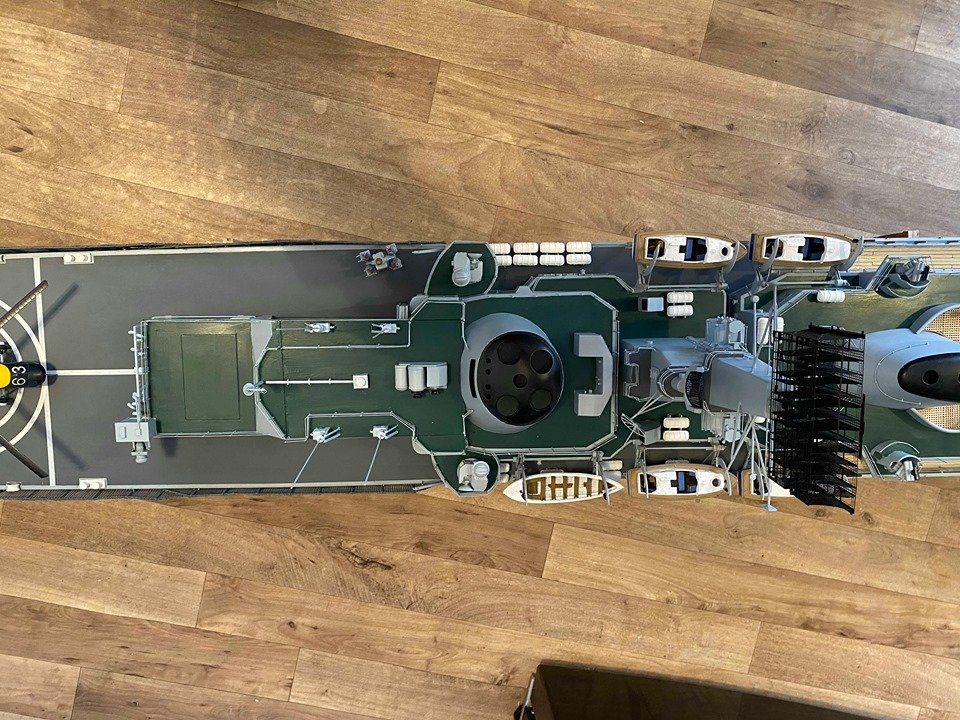
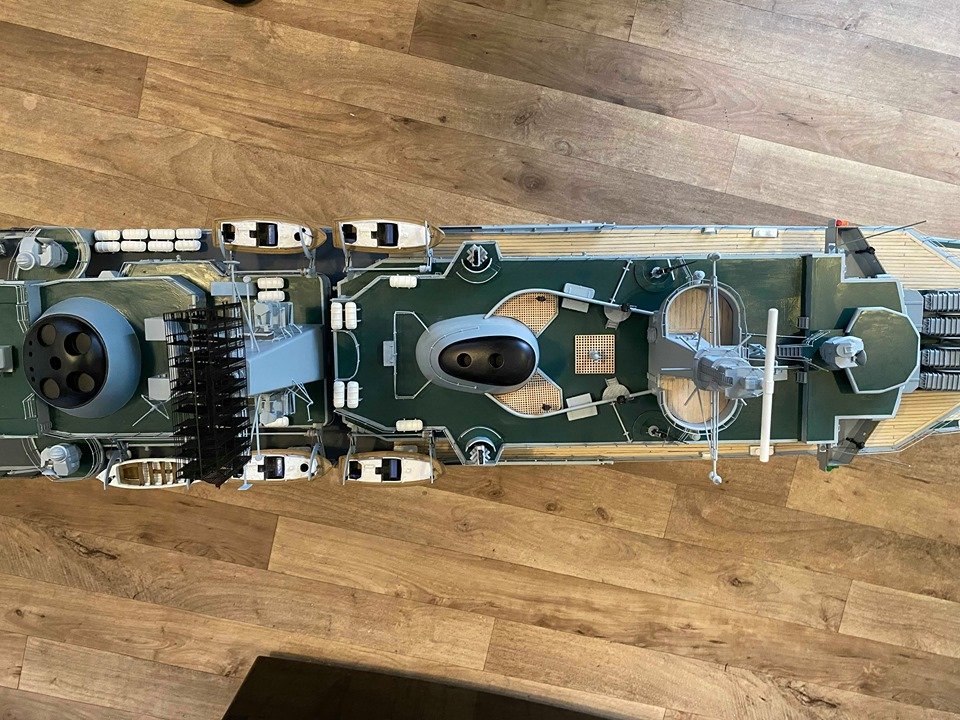
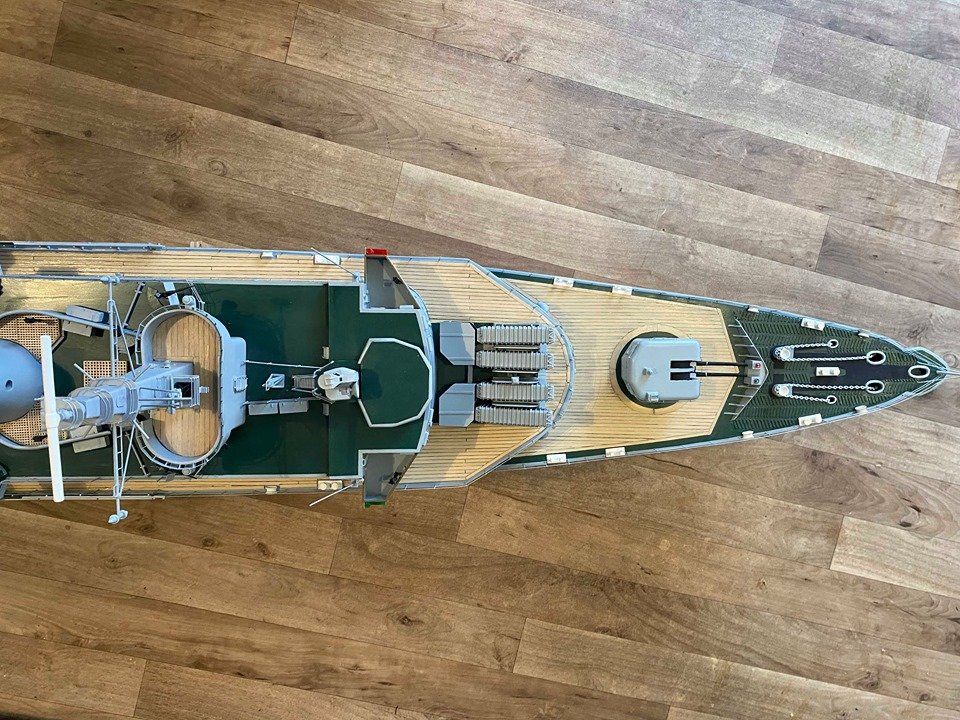
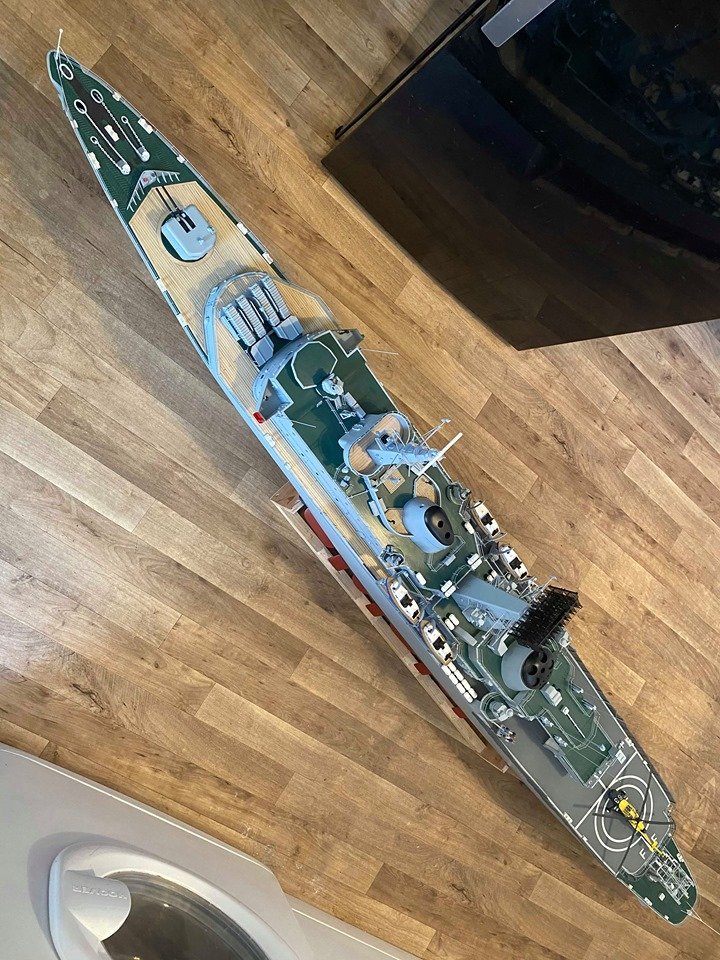
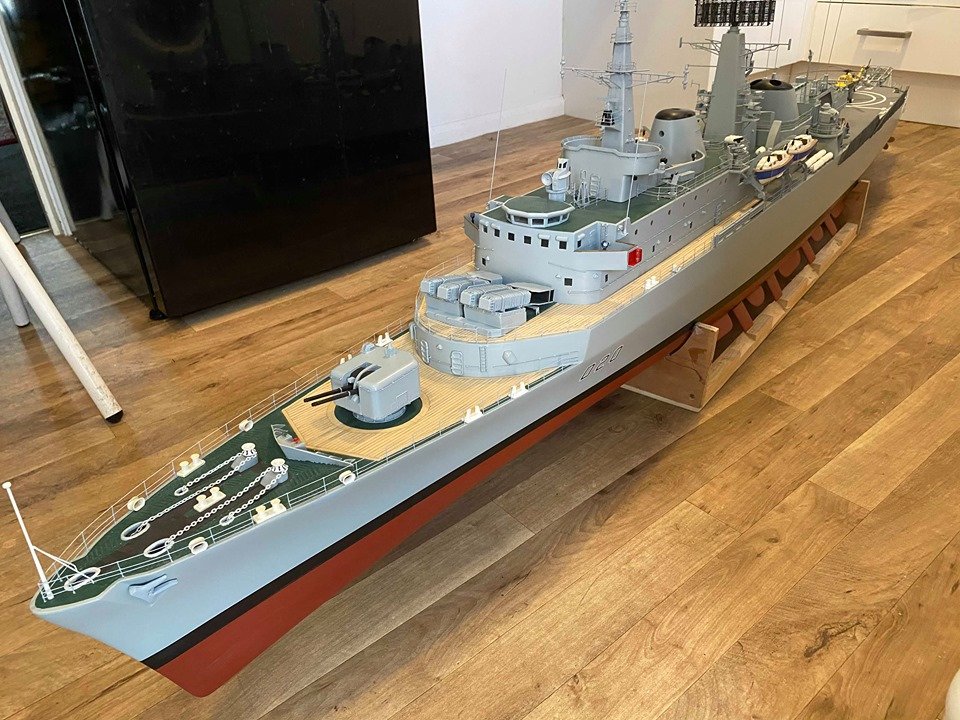
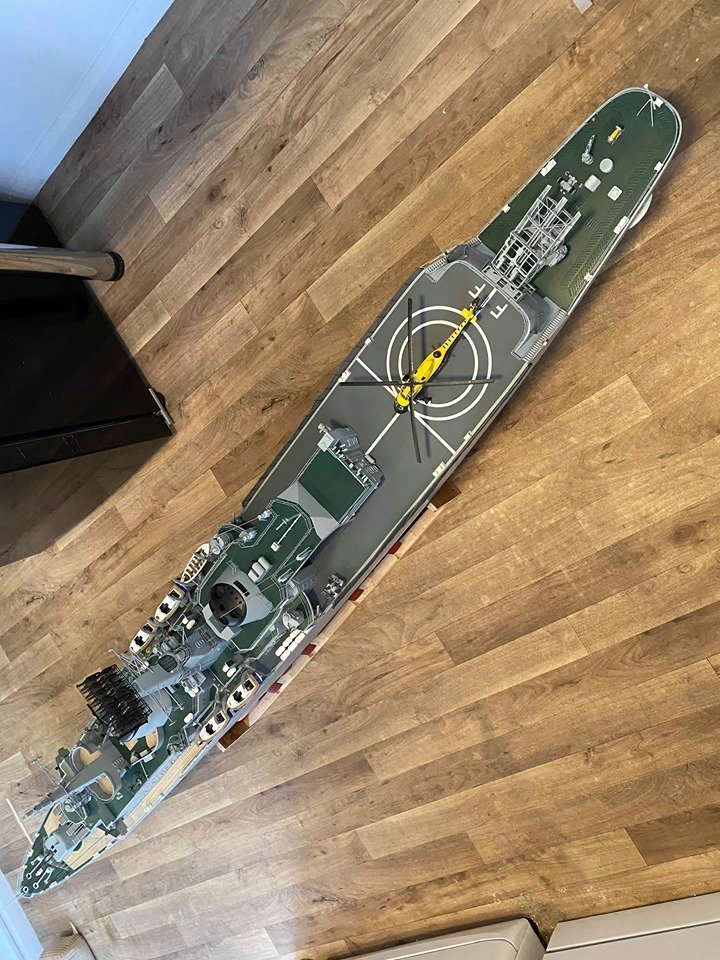
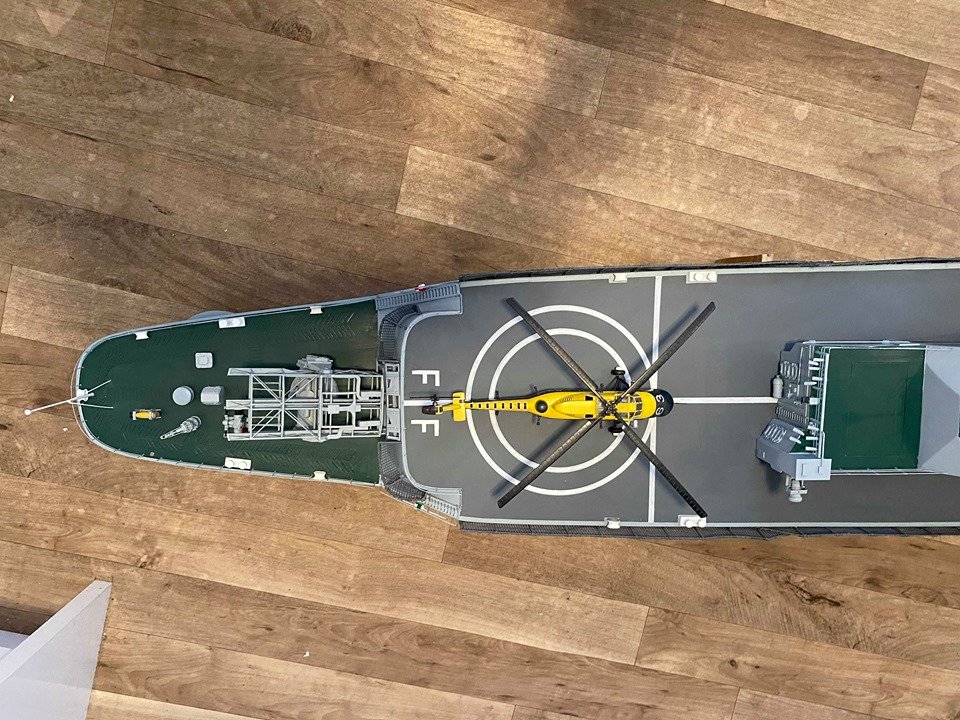
good evening everyone Just had a few photo's sent to me by the new owner he has asked me to mention that the the work has been carried out by Derek Chapman, the sea slug director has still to be built, then all the electronics, lighting and sounds will be added
.jpg.57ef2d7eb945af26f93fec8d09ab8457.jpg)
-
you could lightly paint those areas
-
welcome and good luck with the rest of the build which looks great so far
-
HMS ROYAL KATHERINE 1664 by Doris - 1/55 - CARD
Kevin replied to DORIS's topic in - Build logs for subjects built 1501 - 1750
wonderful, and so inspiring to everyone- 1,035 replies
-
- 2
-
-
- royal katherine
- ship of the line
- (and 1 more)
-
lol i dont quite know how i keep missing the start of your projects, hopefully that will change soon, as i will get to stalk everyone more regularly
-
hello my friend, glad to see you back at the bench, hope you and family are well, the pearl looks great
-
Looking good, now would be a good time to obtain a decent rigging plan
-
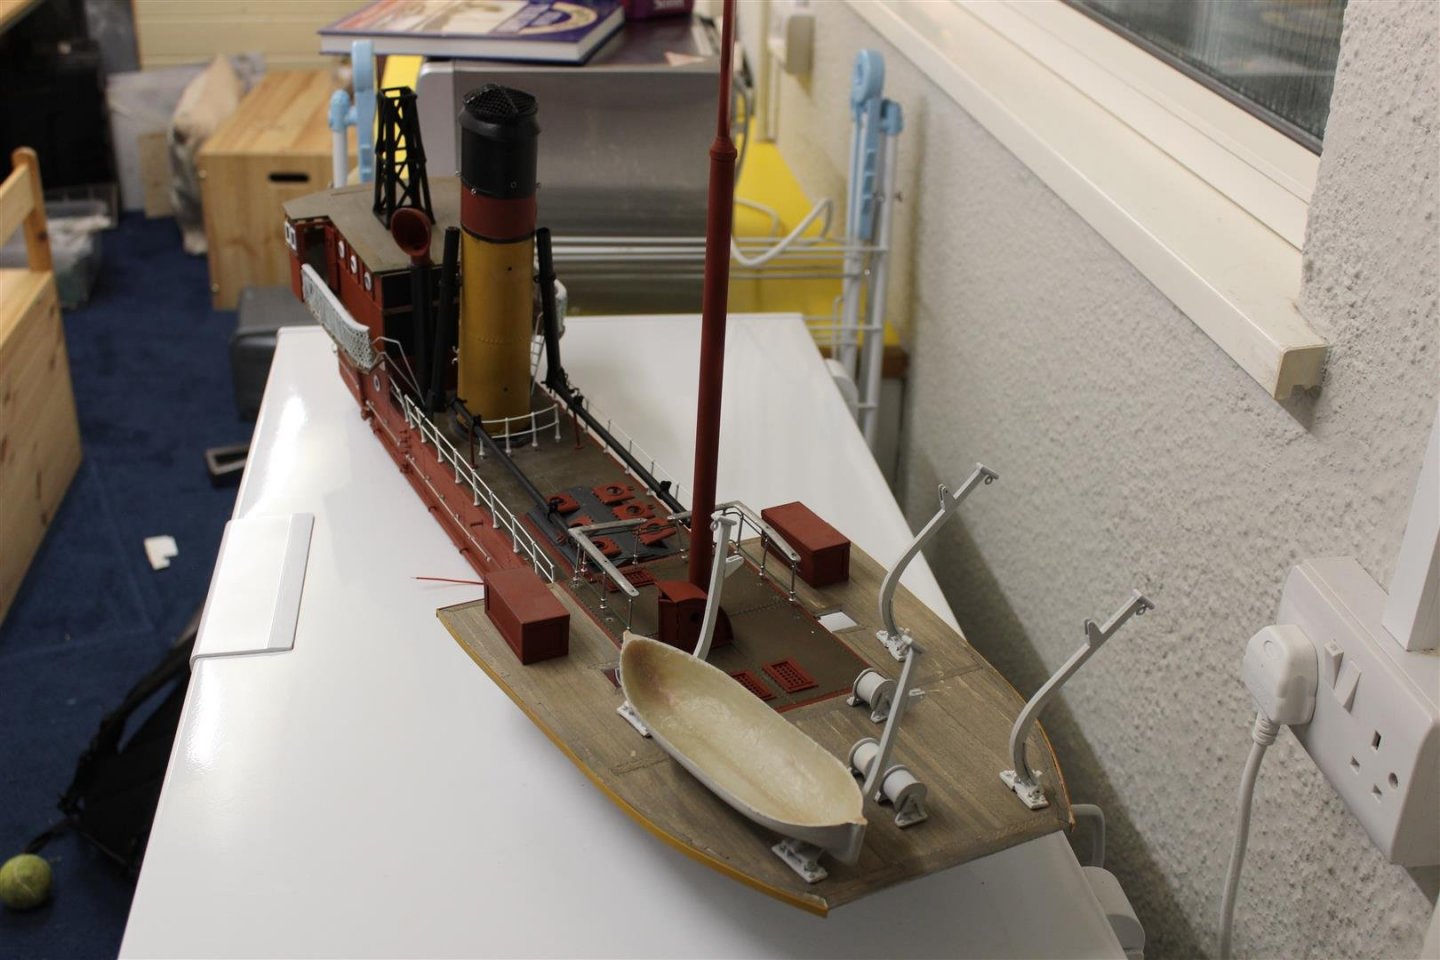
thank you i hope to see some real progress on her during Feb i am getting to the stage where i need to decide how i am going to secure the superstructure to the hull, at last i will be able to say, so much to do and all the time in the world to do it
- 337 replies
-
- 4
-
-
- finished
- mountfleet models
- (and 1 more)
-
lol have you finished it yet?
-
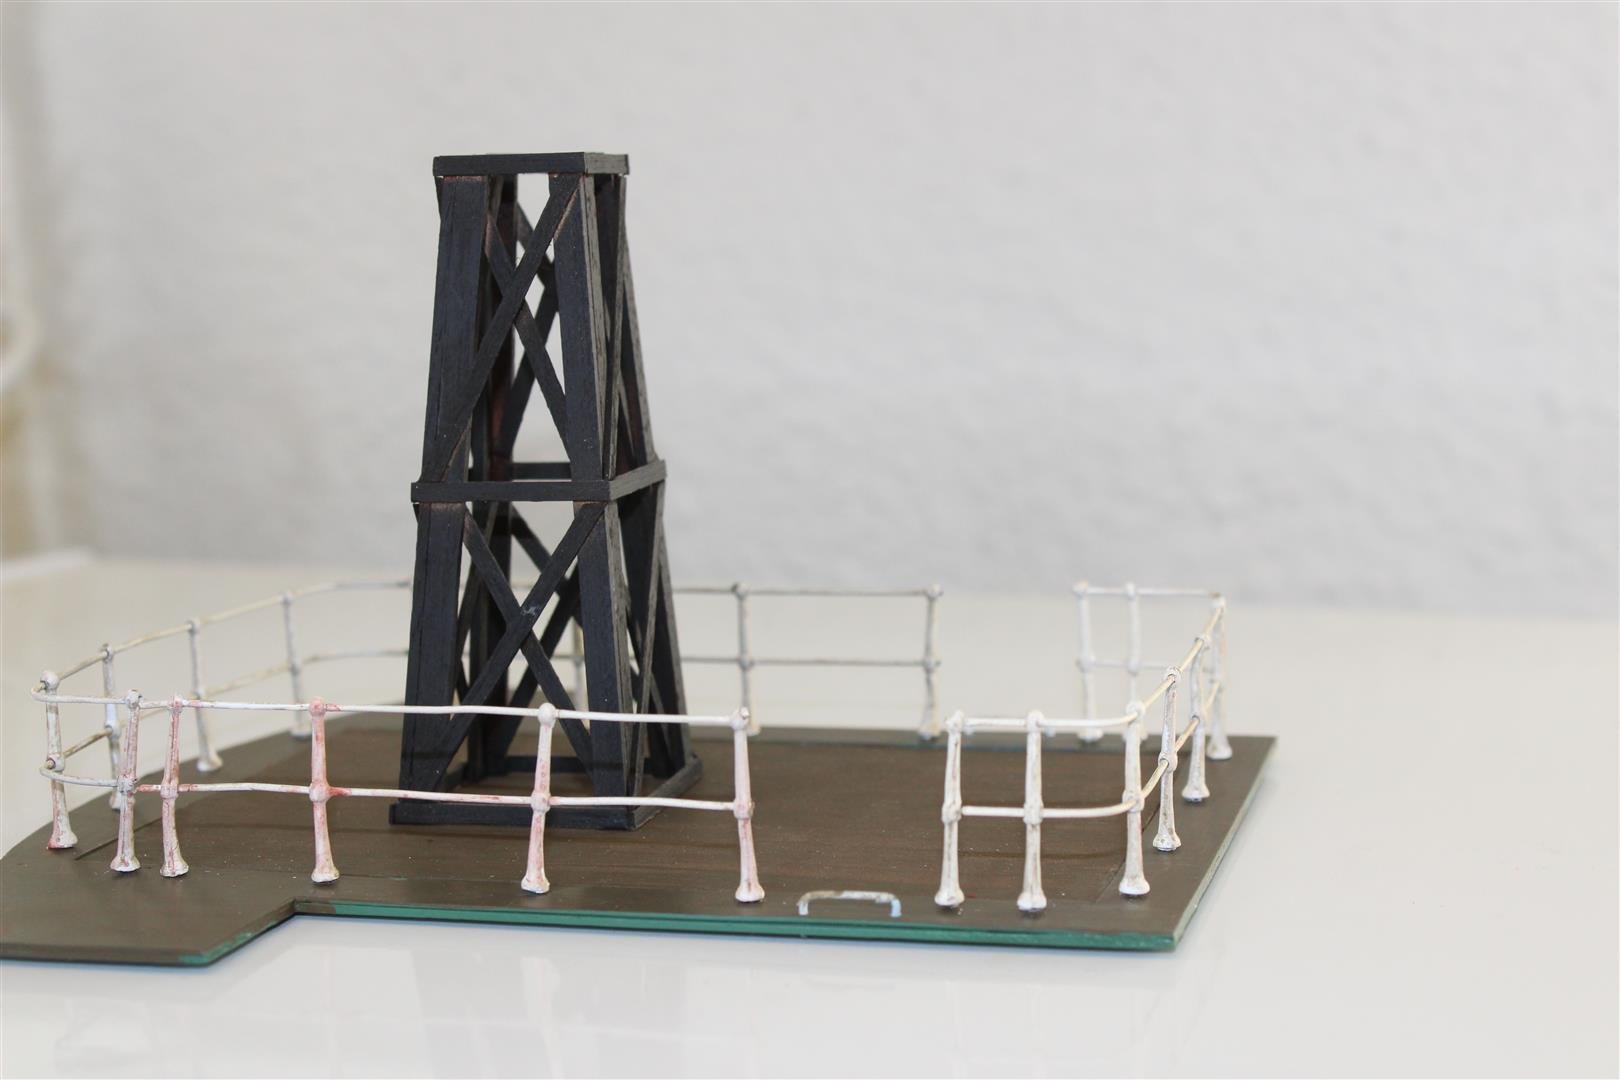
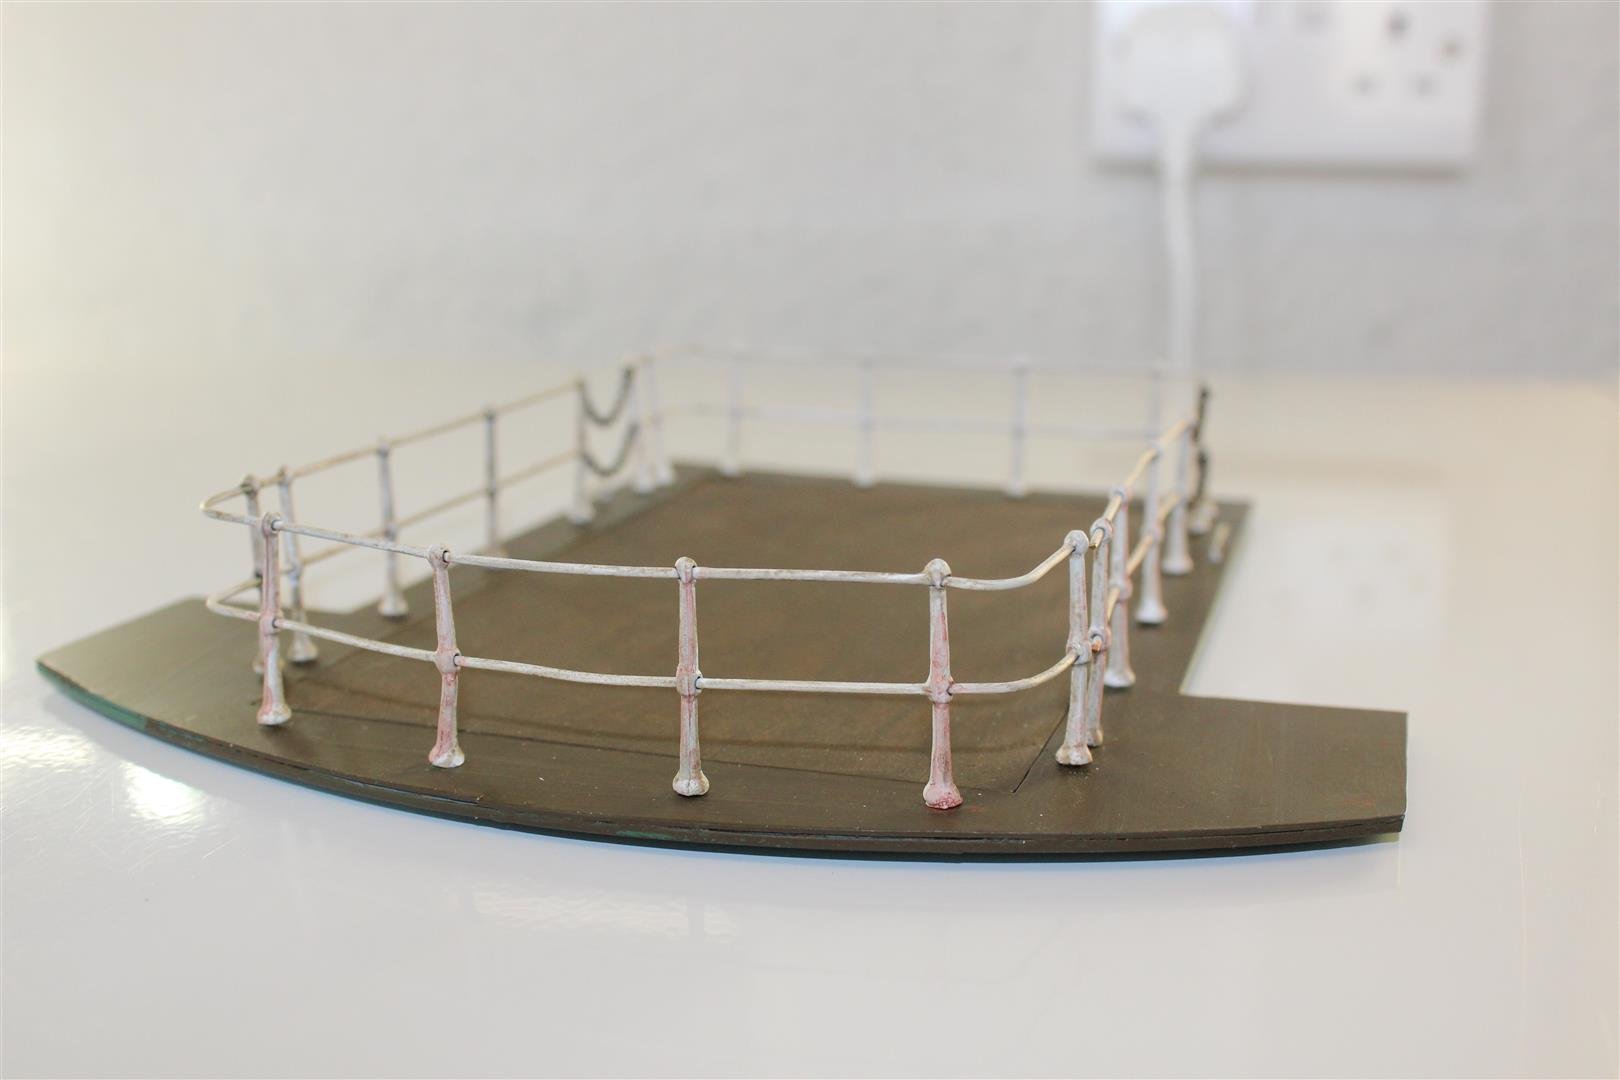
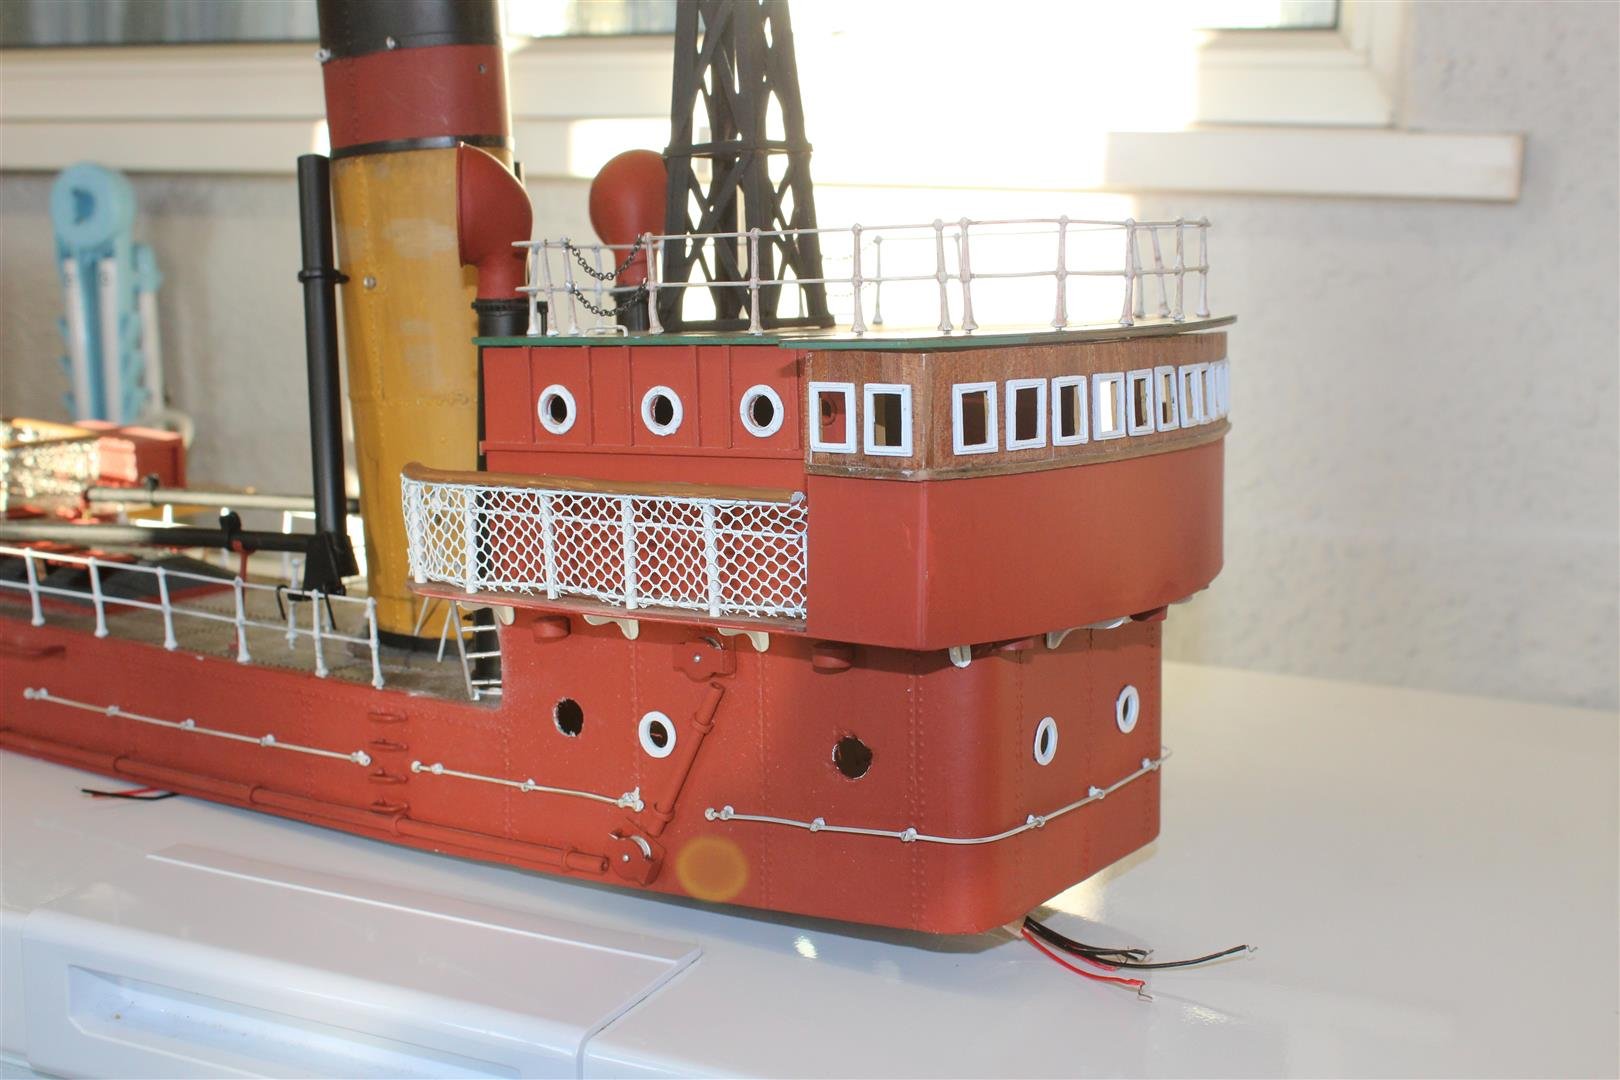
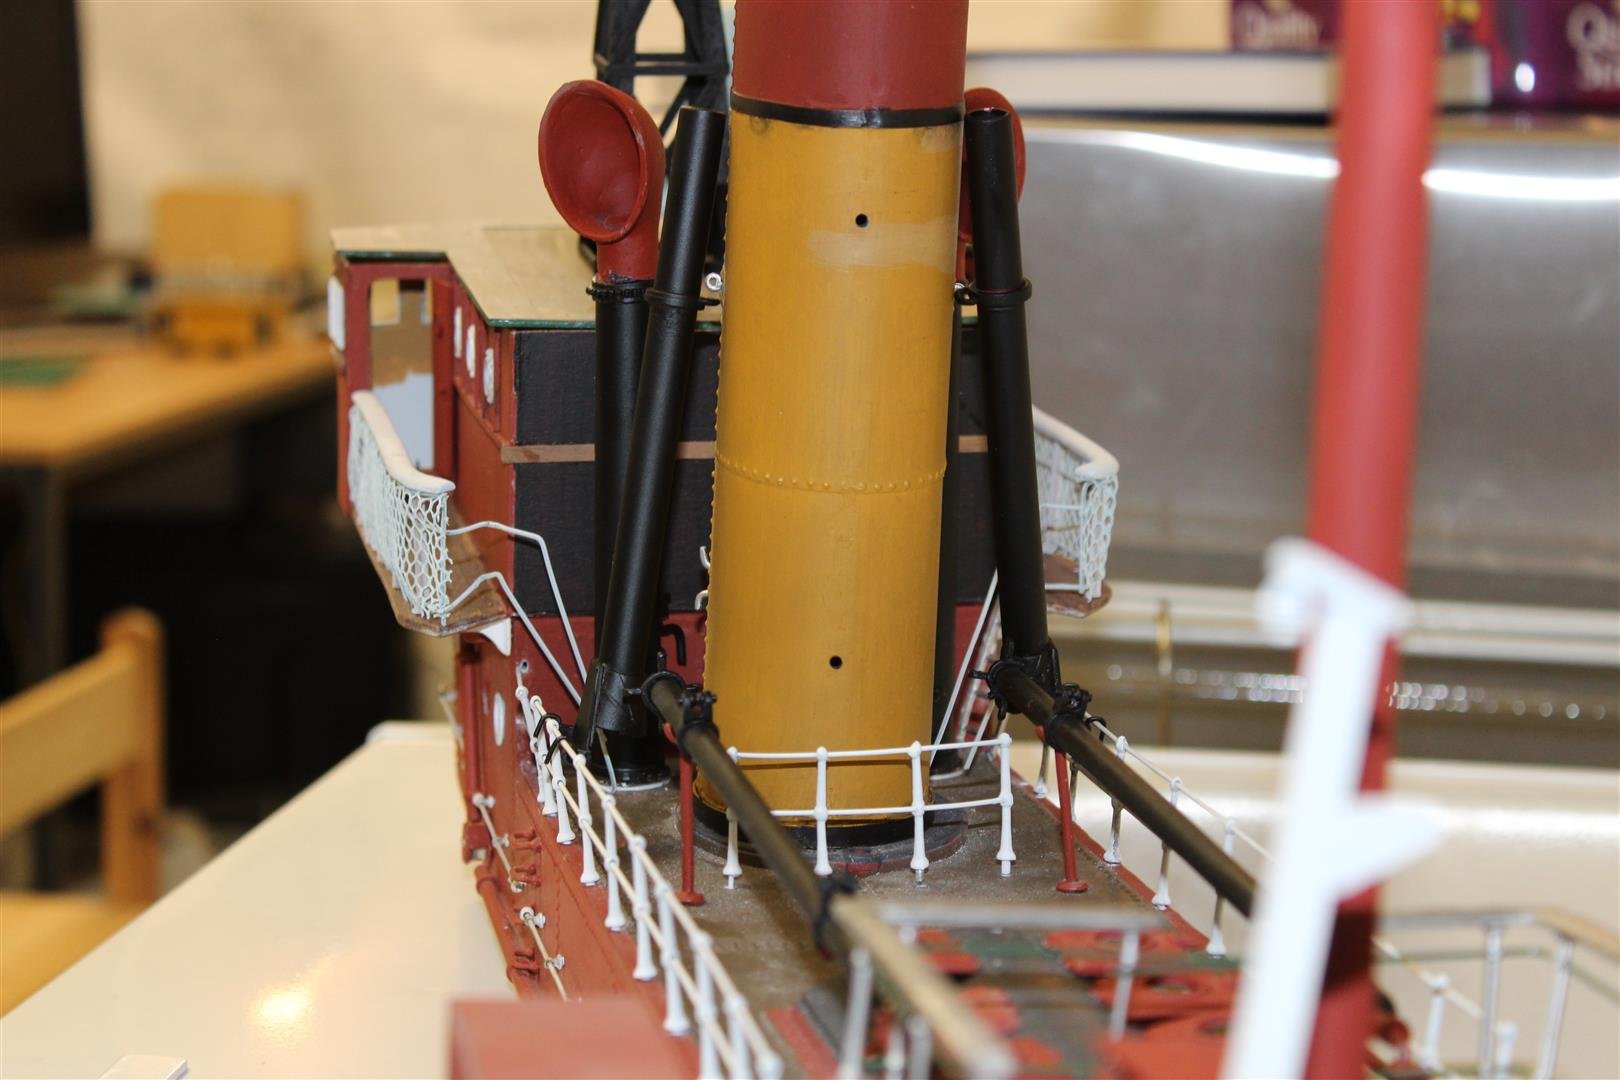
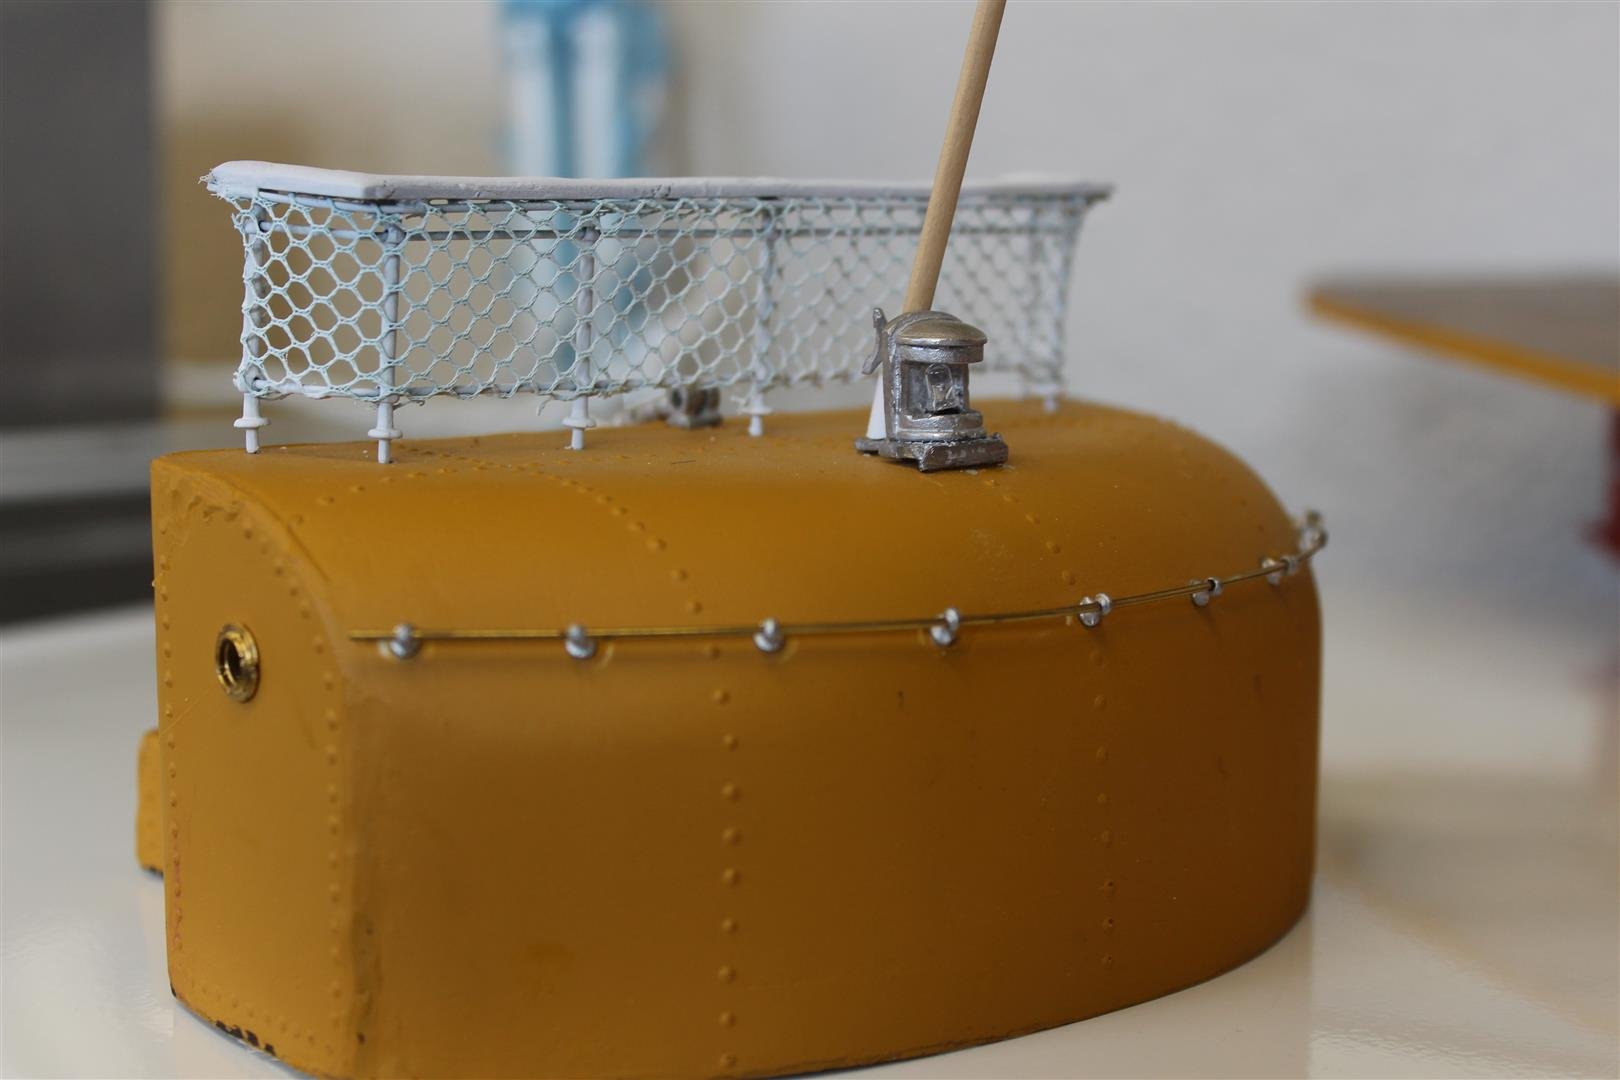
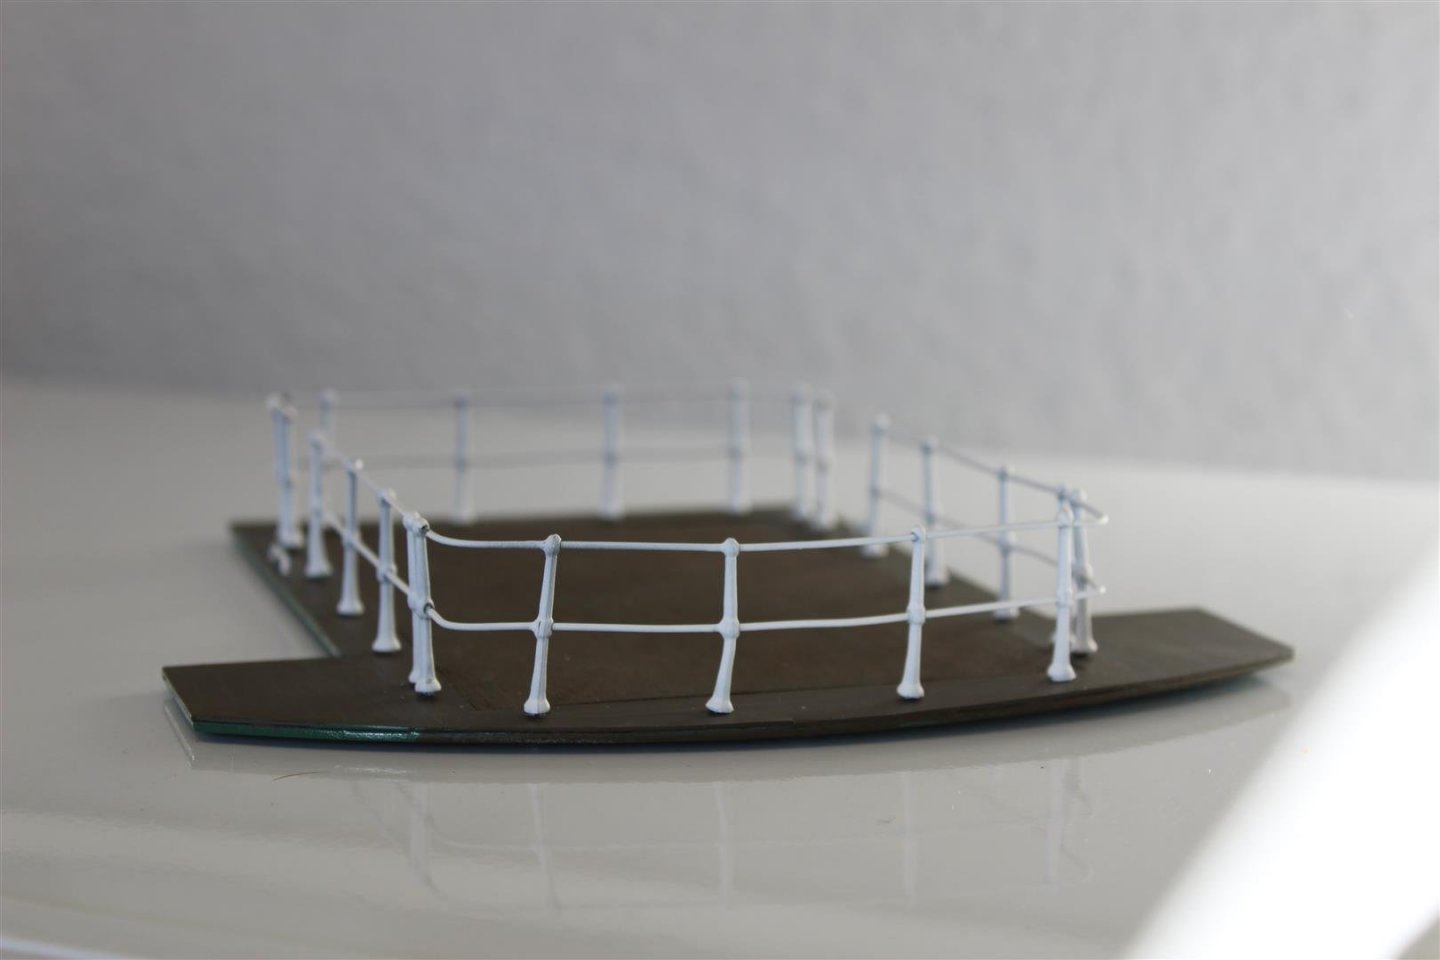
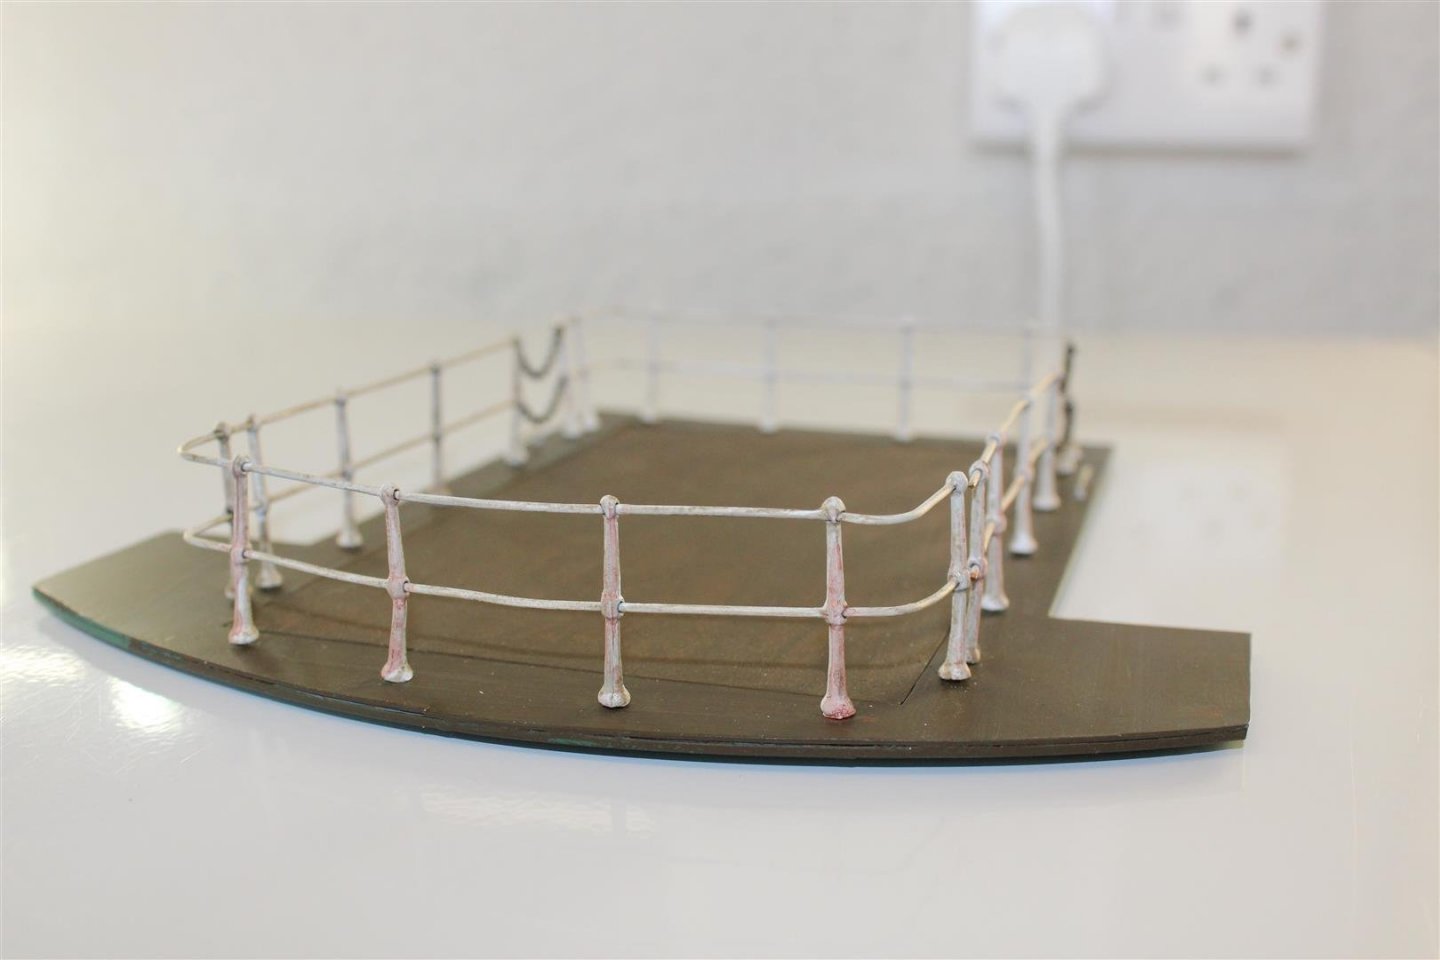
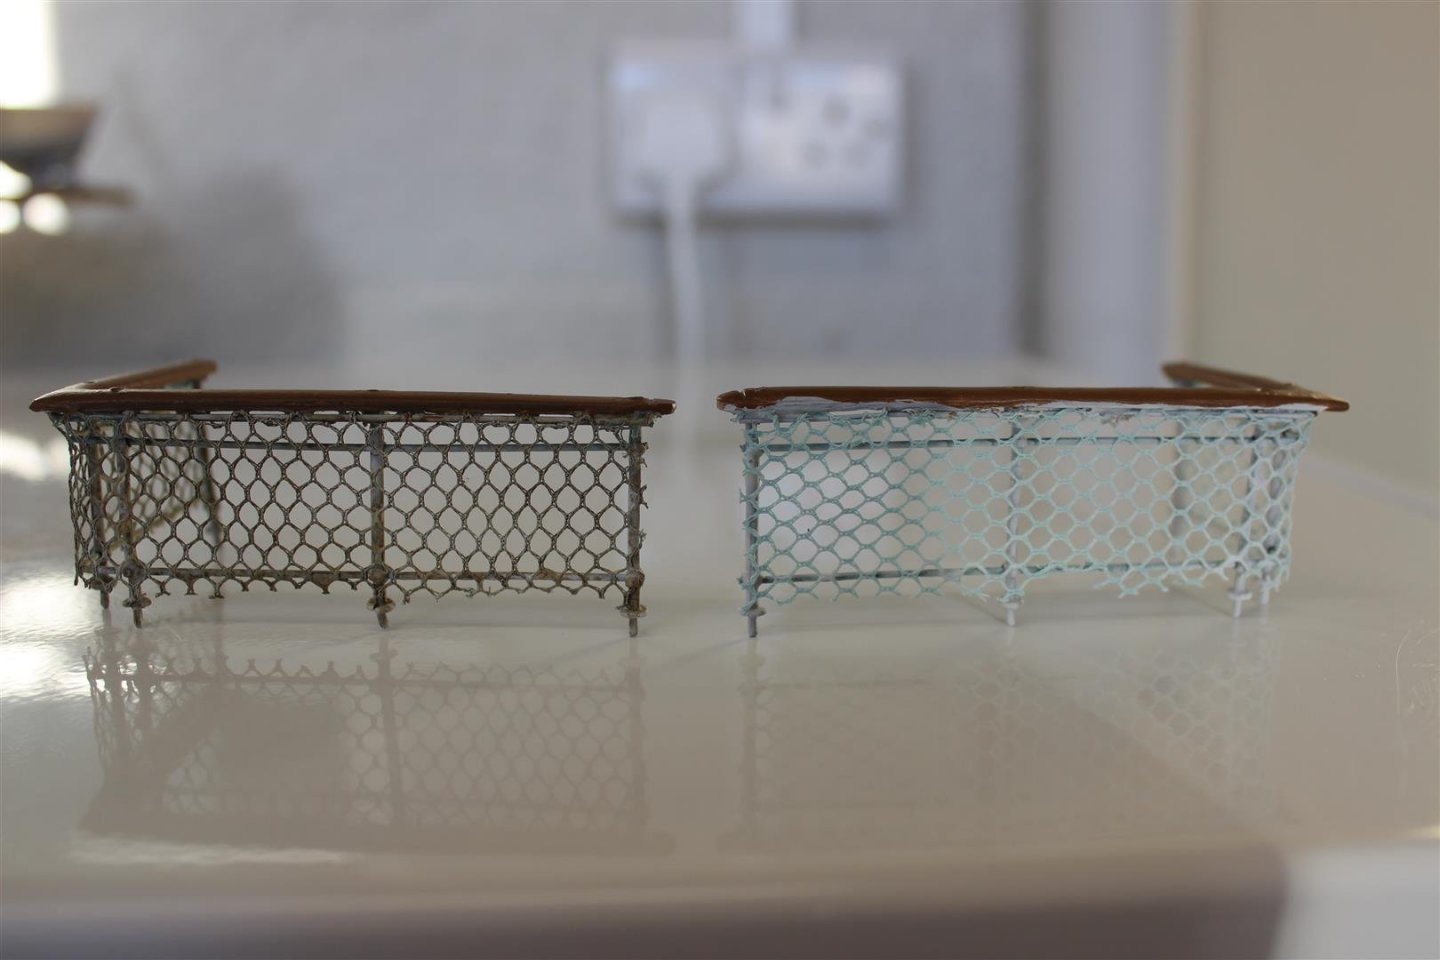
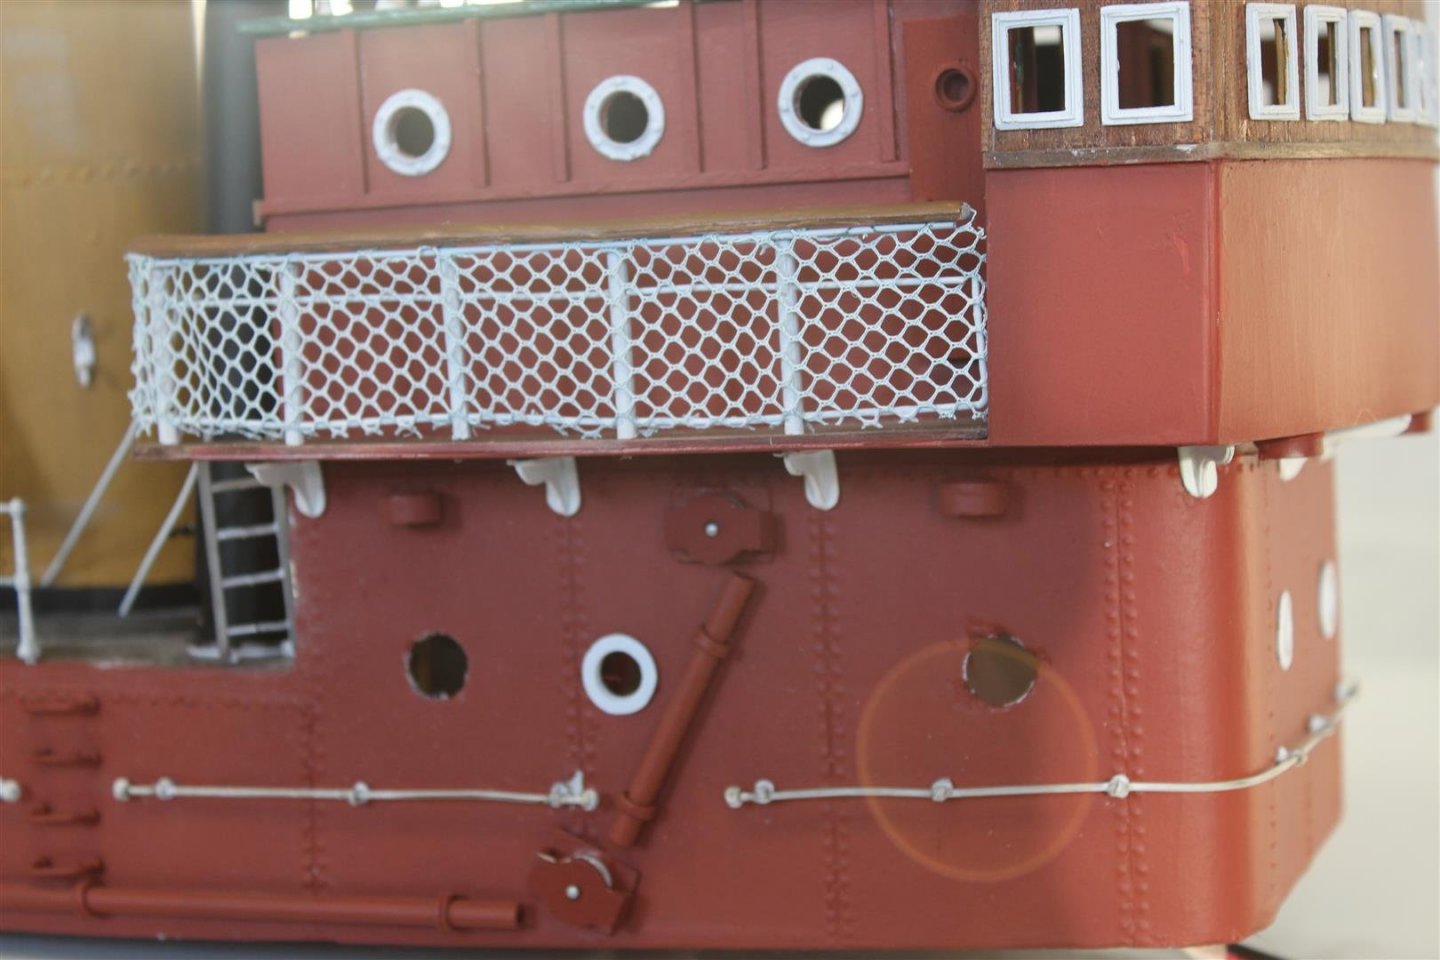
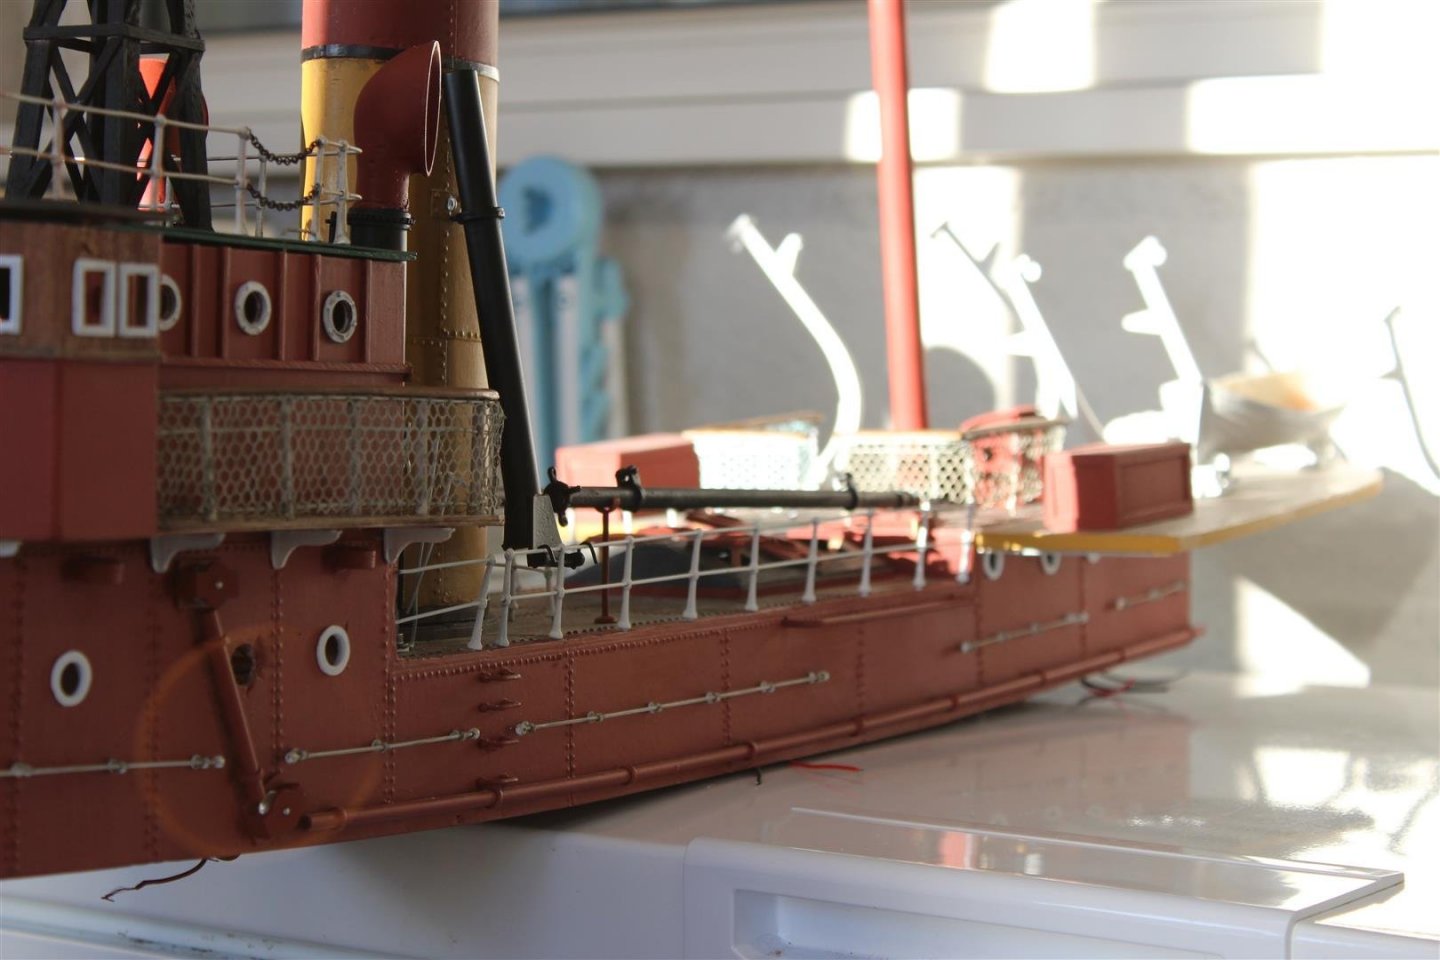
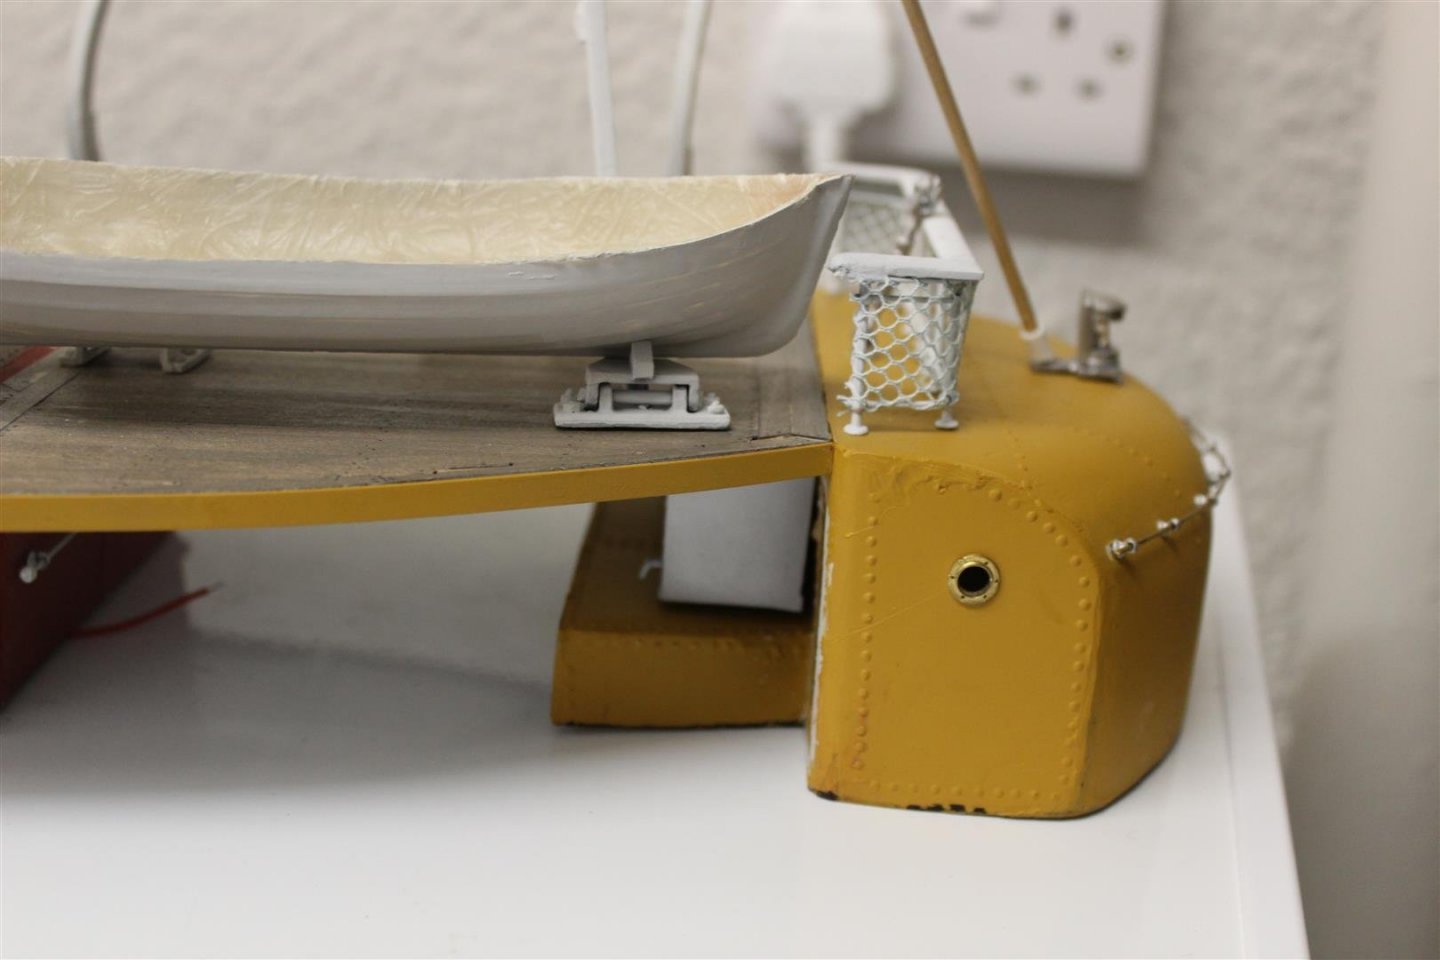
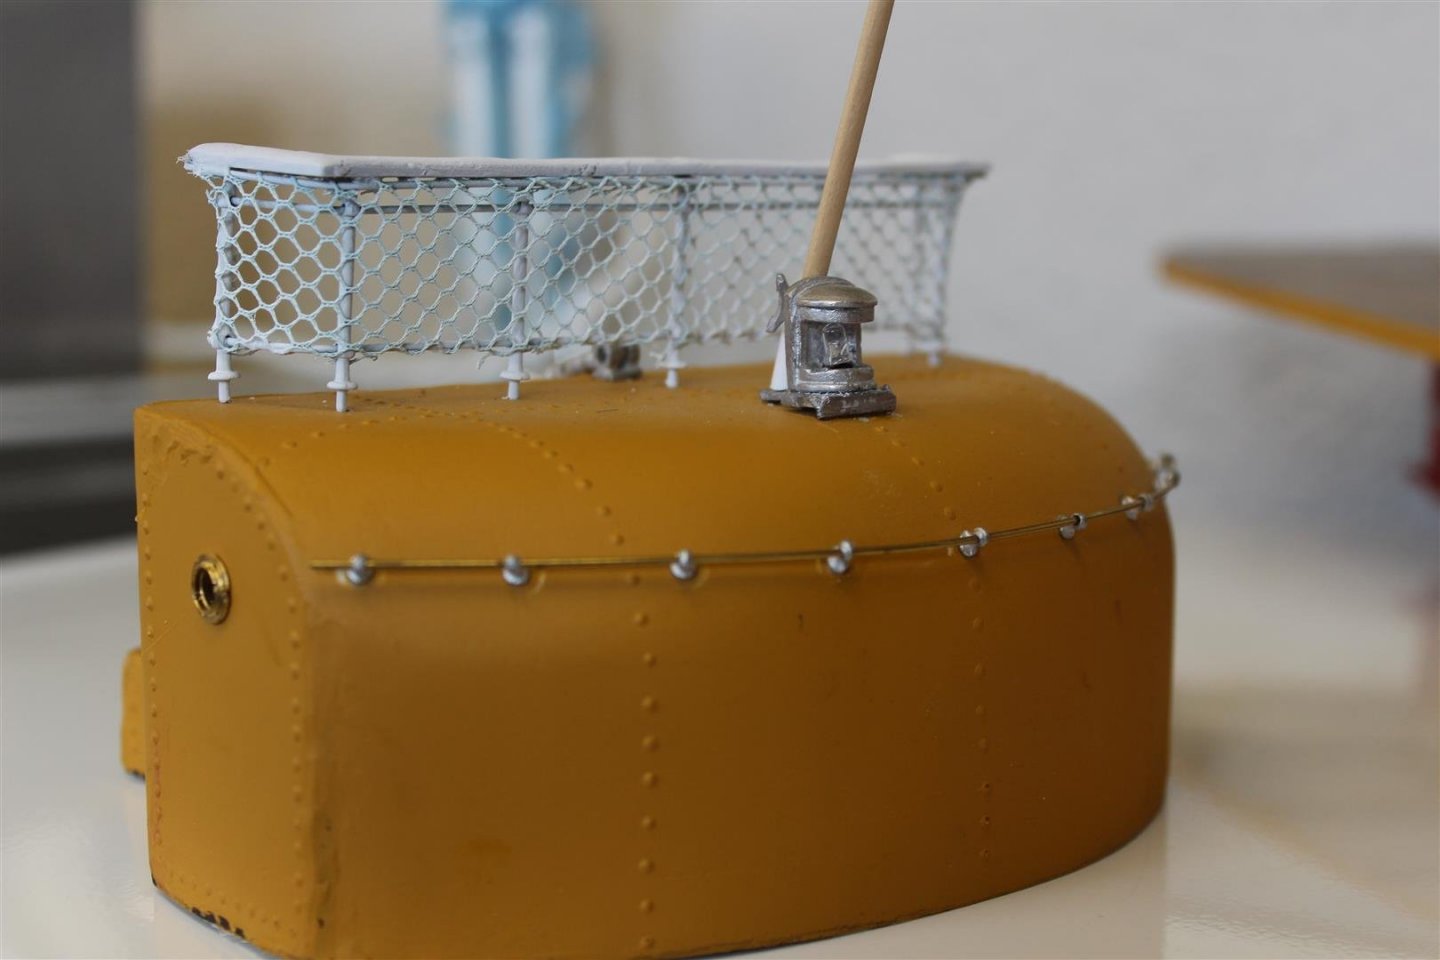
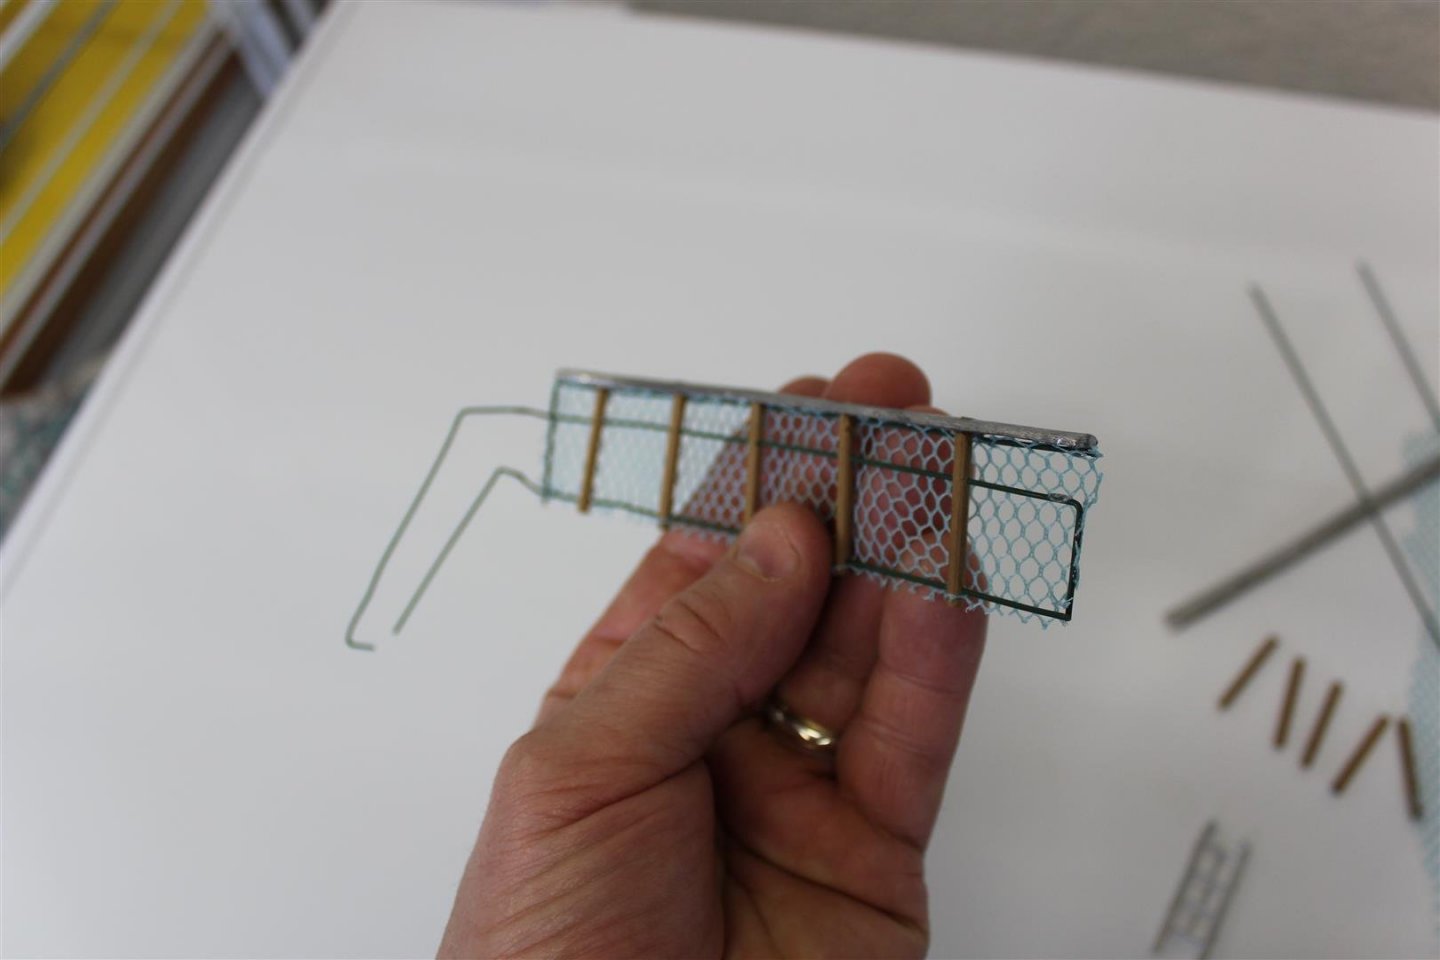
Good evening everyone progressing with the railings and netting also the stations on the bridge roof are nearly complete have stained half the netting with a Flory wash to see the difference as i tone the white primer down


- 337 replies
-
- 12
-
-
- finished
- mountfleet models
- (and 1 more)
-
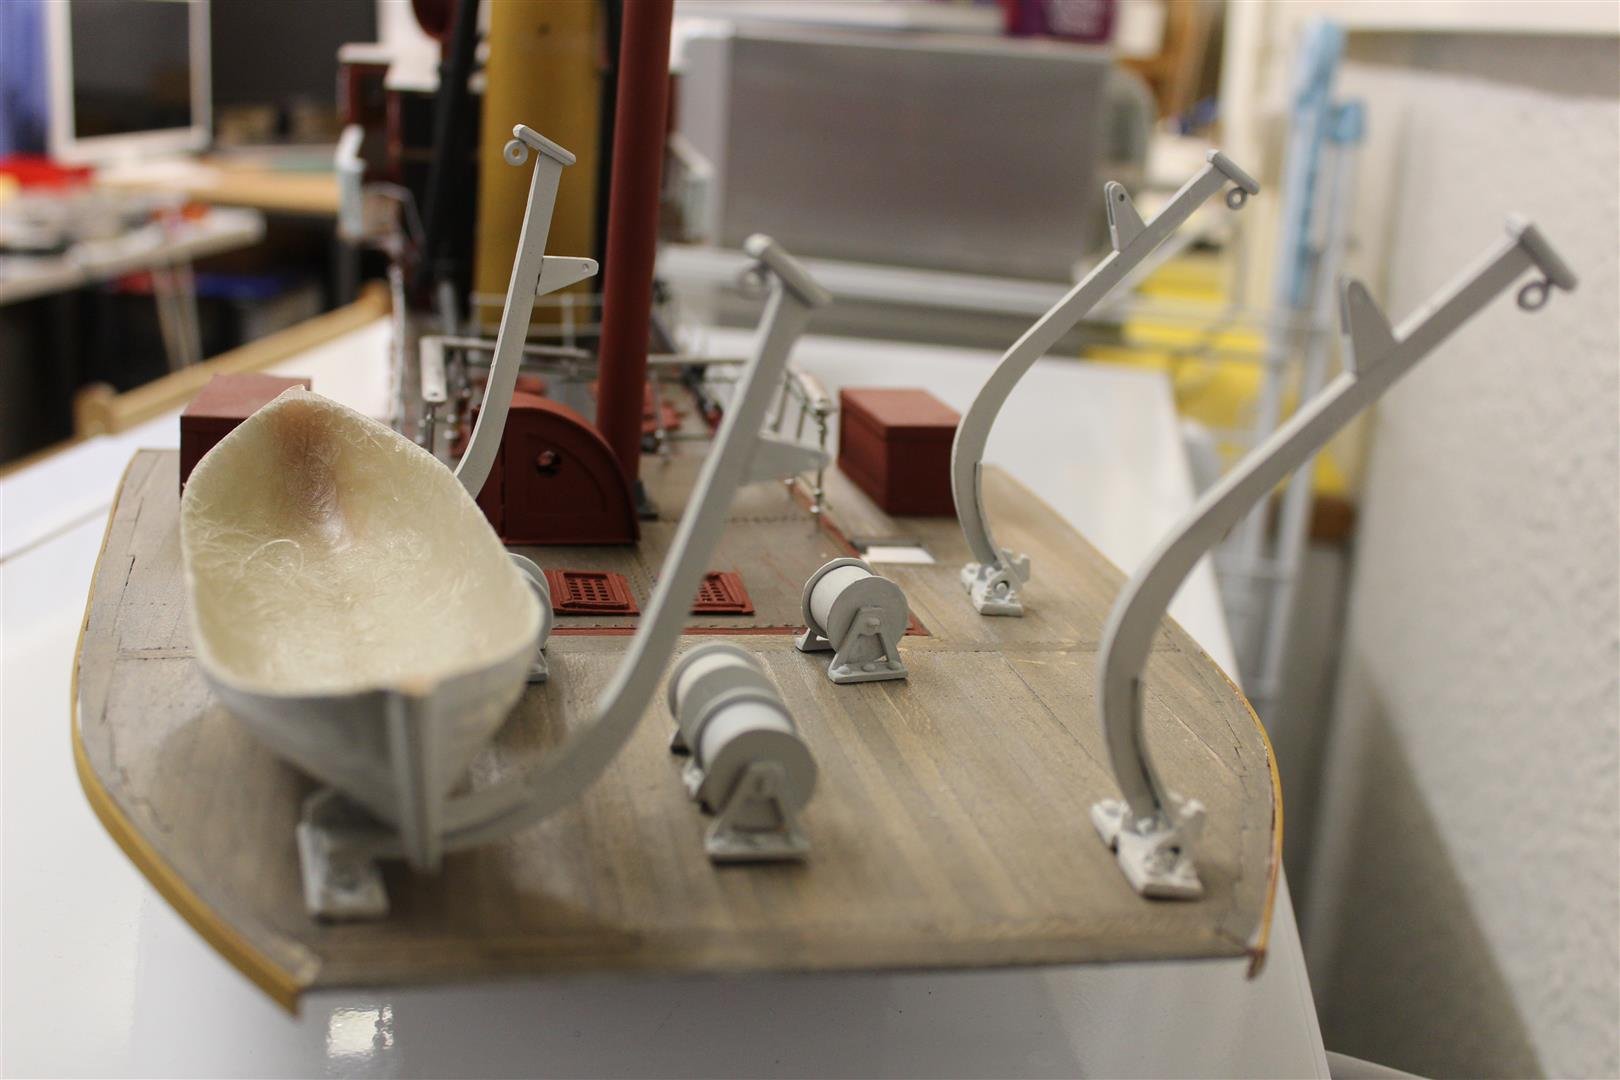
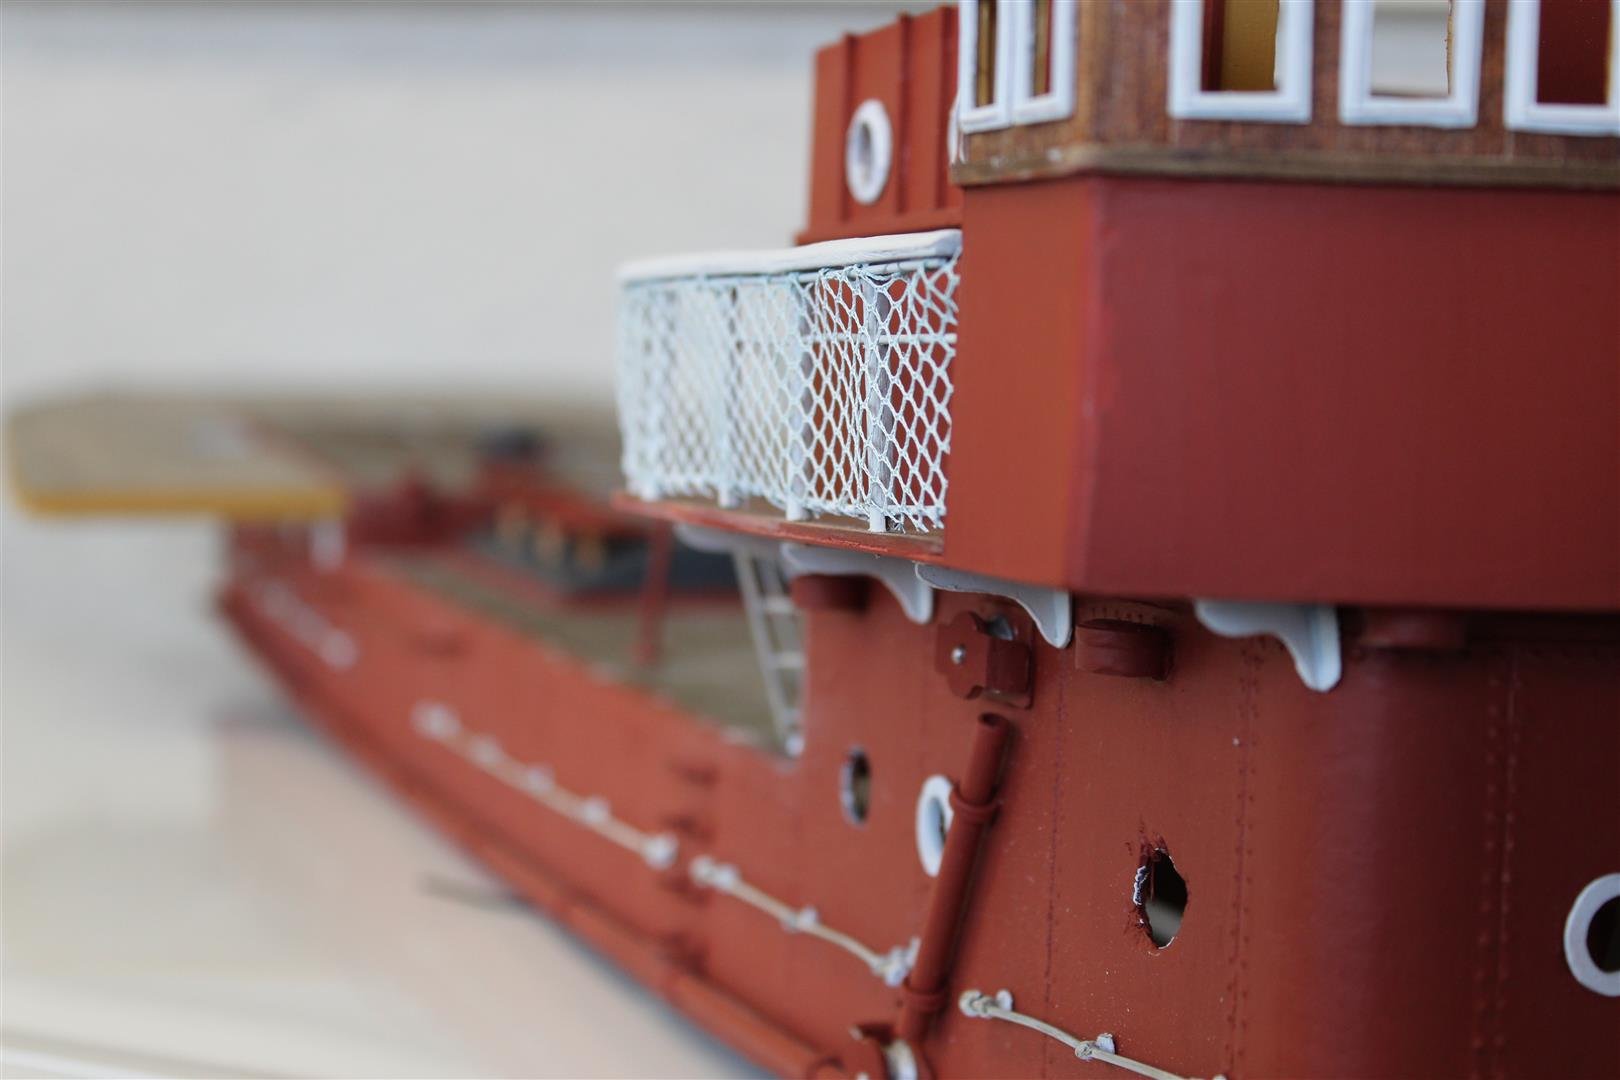
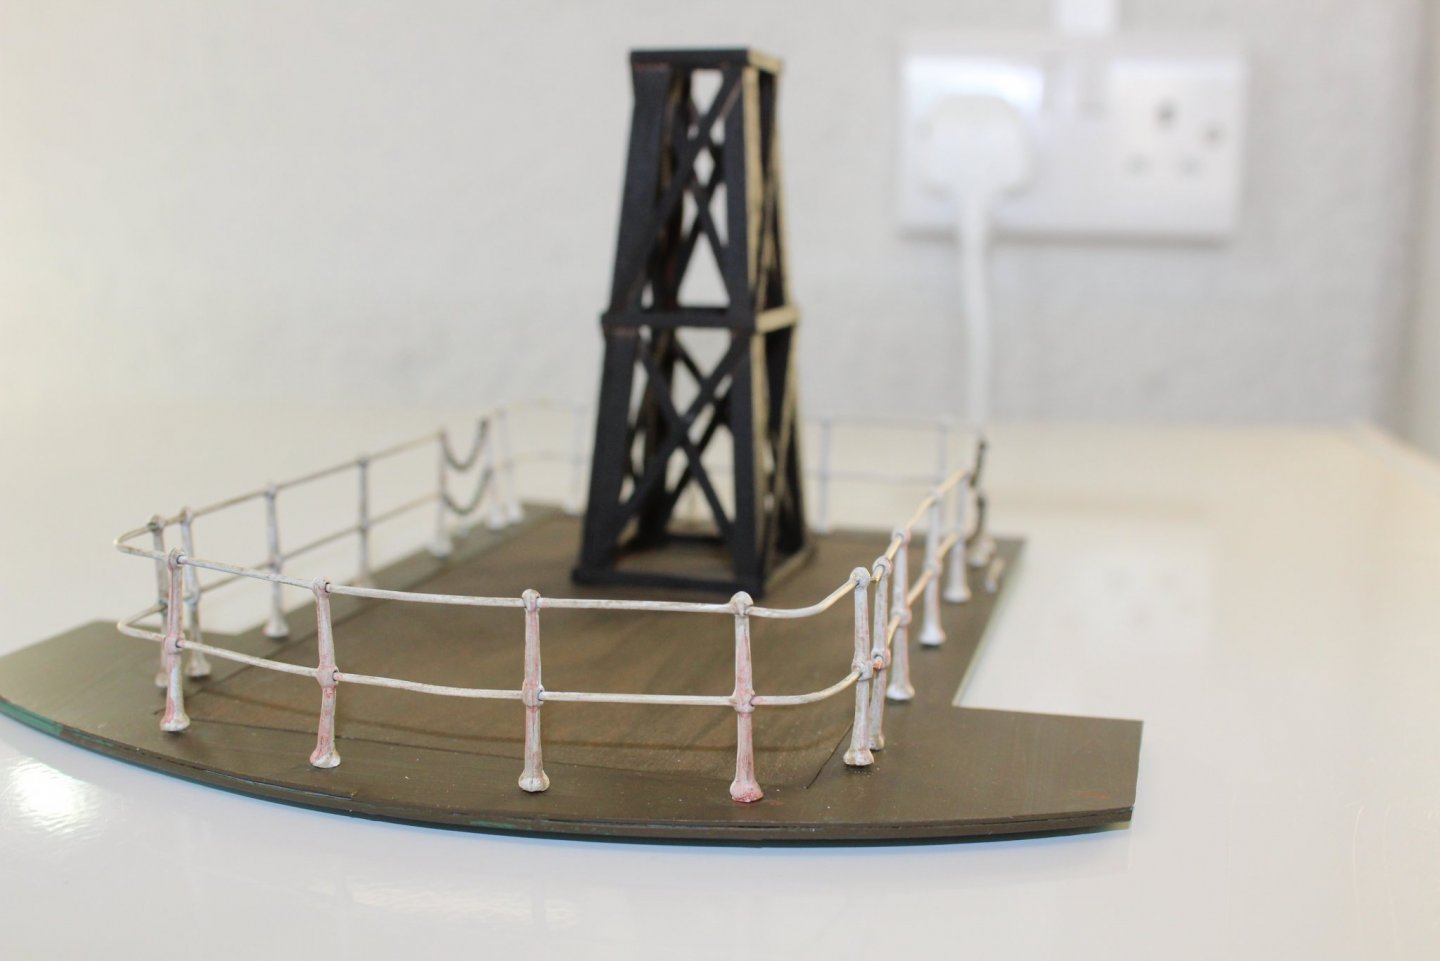
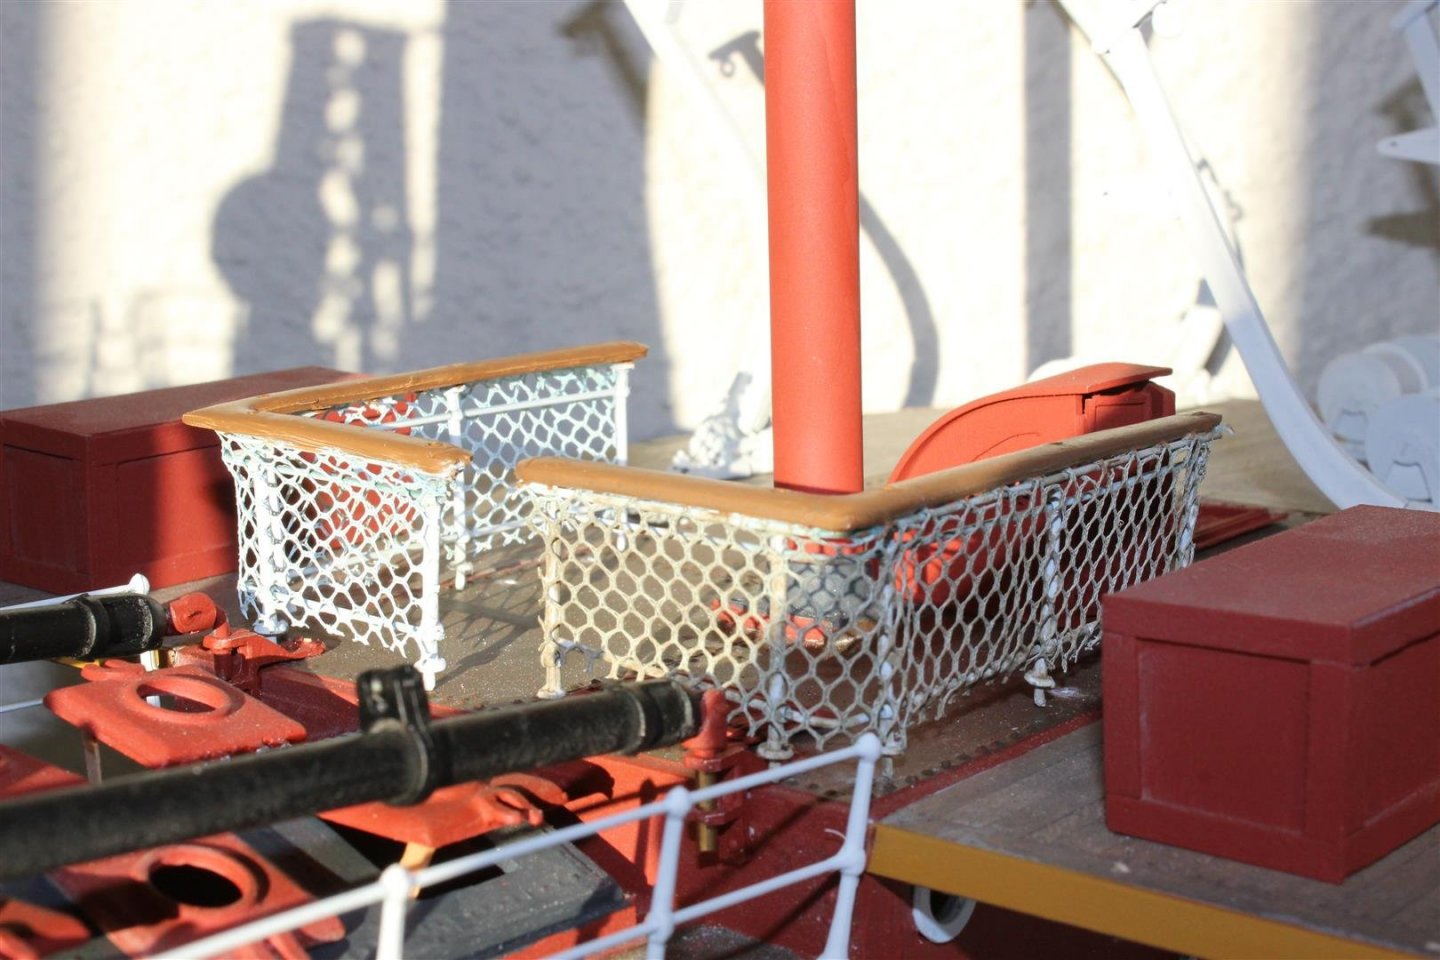
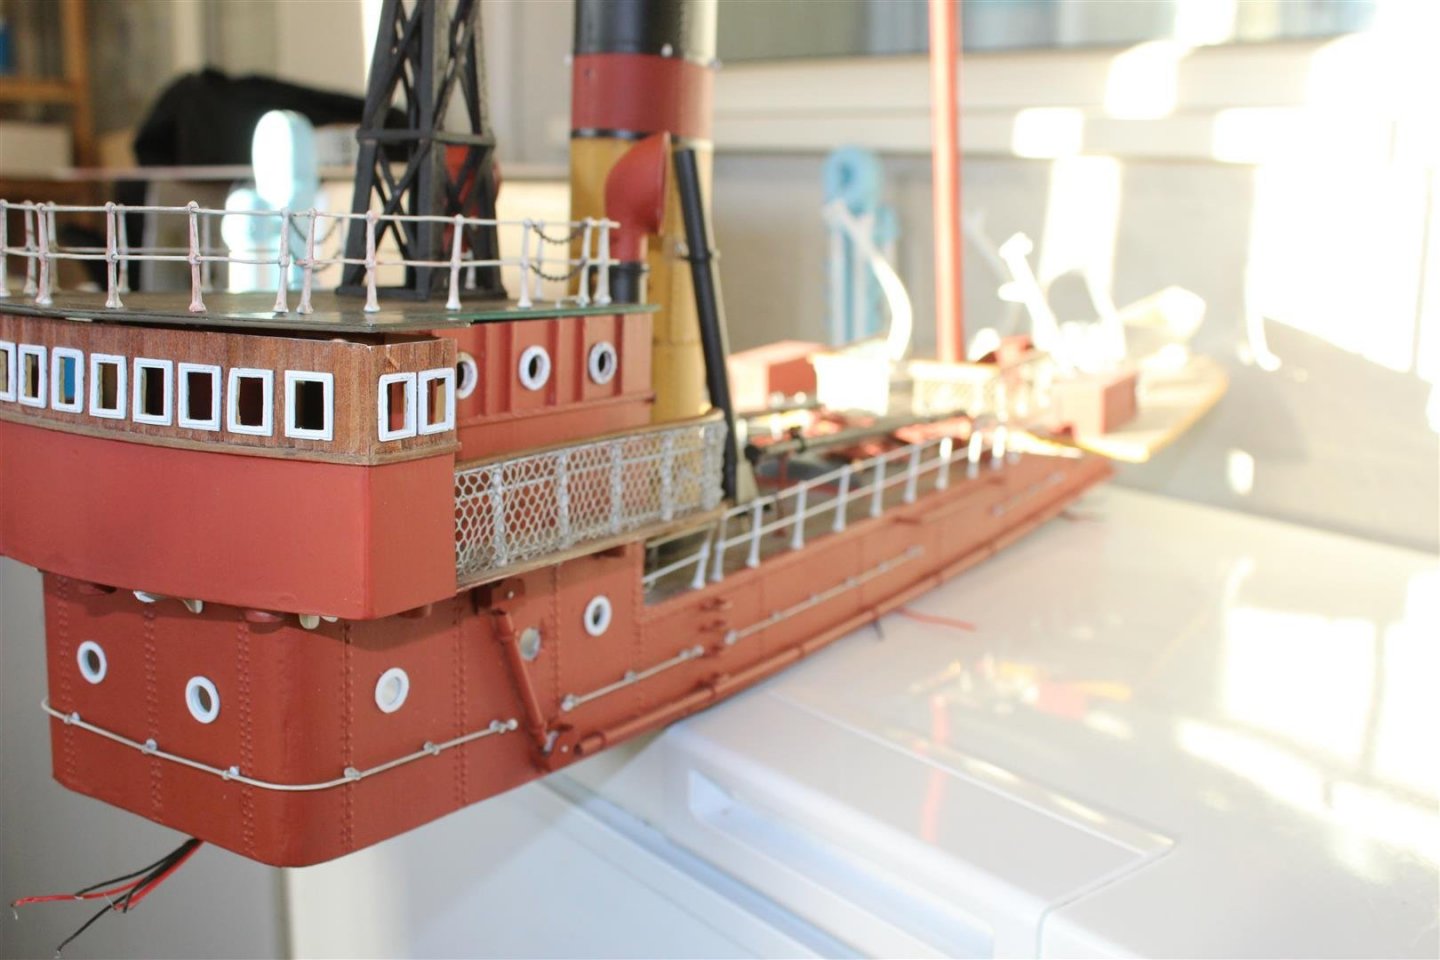
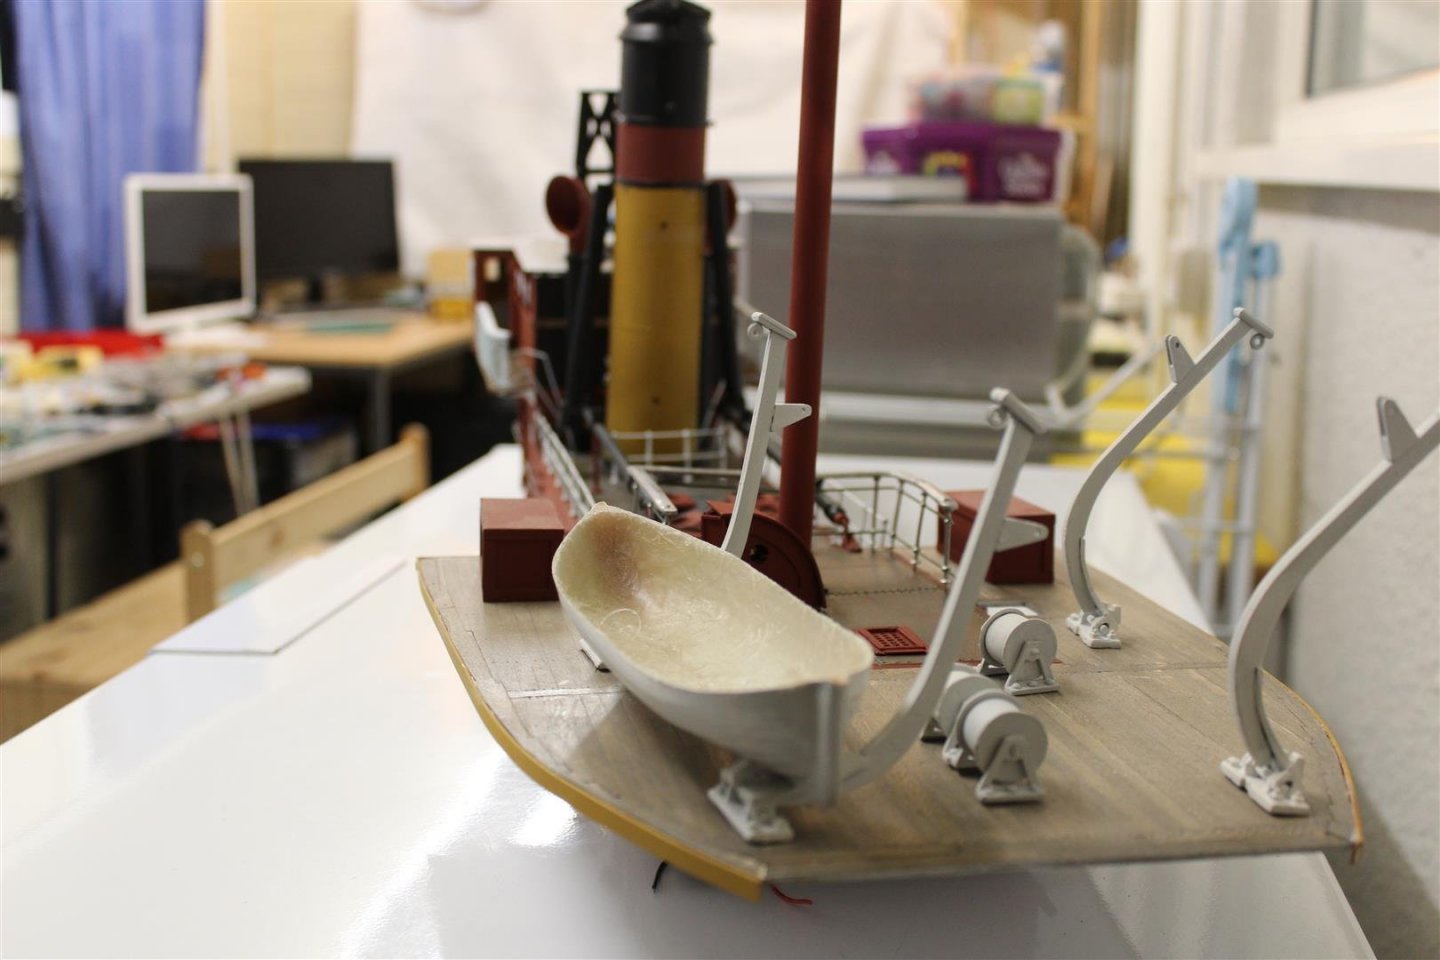
Good evening everyone, yep two posts in one day and LOL i have still got 12 working days left put everything on that i have made up for a photo tonight, so i can start to work out how i am going to achieve making her look like a working boat, next month should be back to the hull and do some catch up work with that, i would say she is about 50% built now, but then on top of that there is all the clutter to be made the bridge walkway railings still need to be adjusted, as they form the handles on the steps leading down


- 337 replies
-
- 15
-
-
- finished
- mountfleet models
- (and 1 more)
-
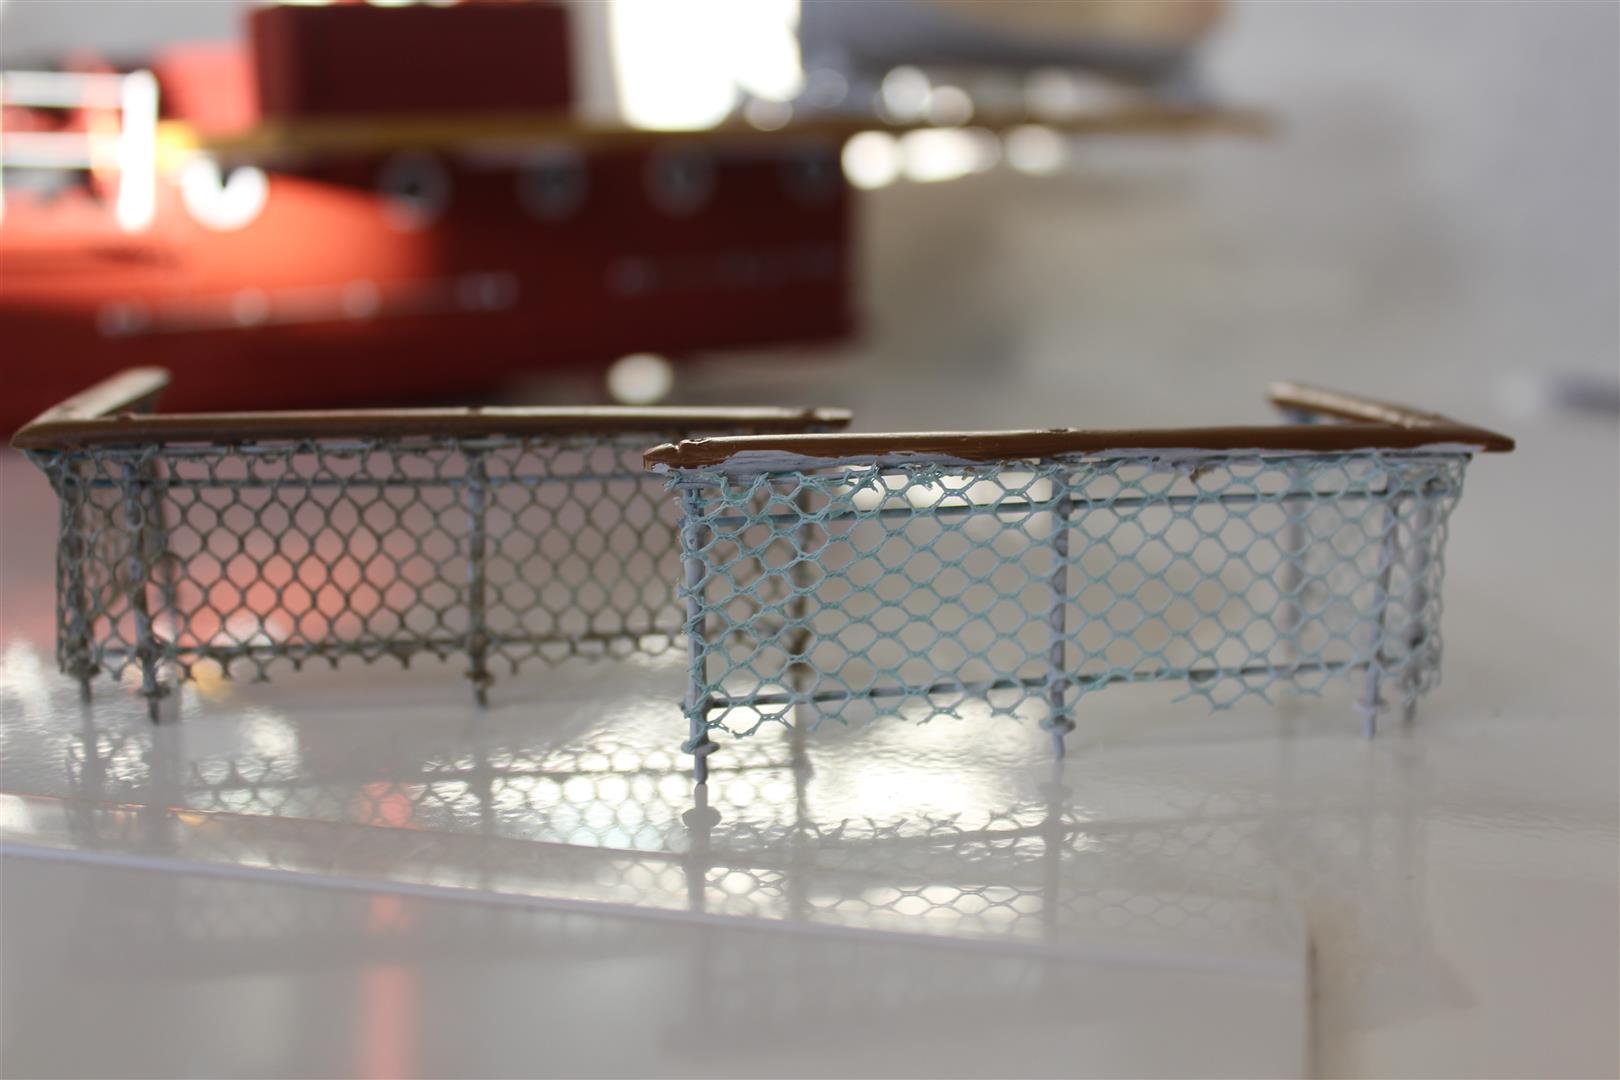
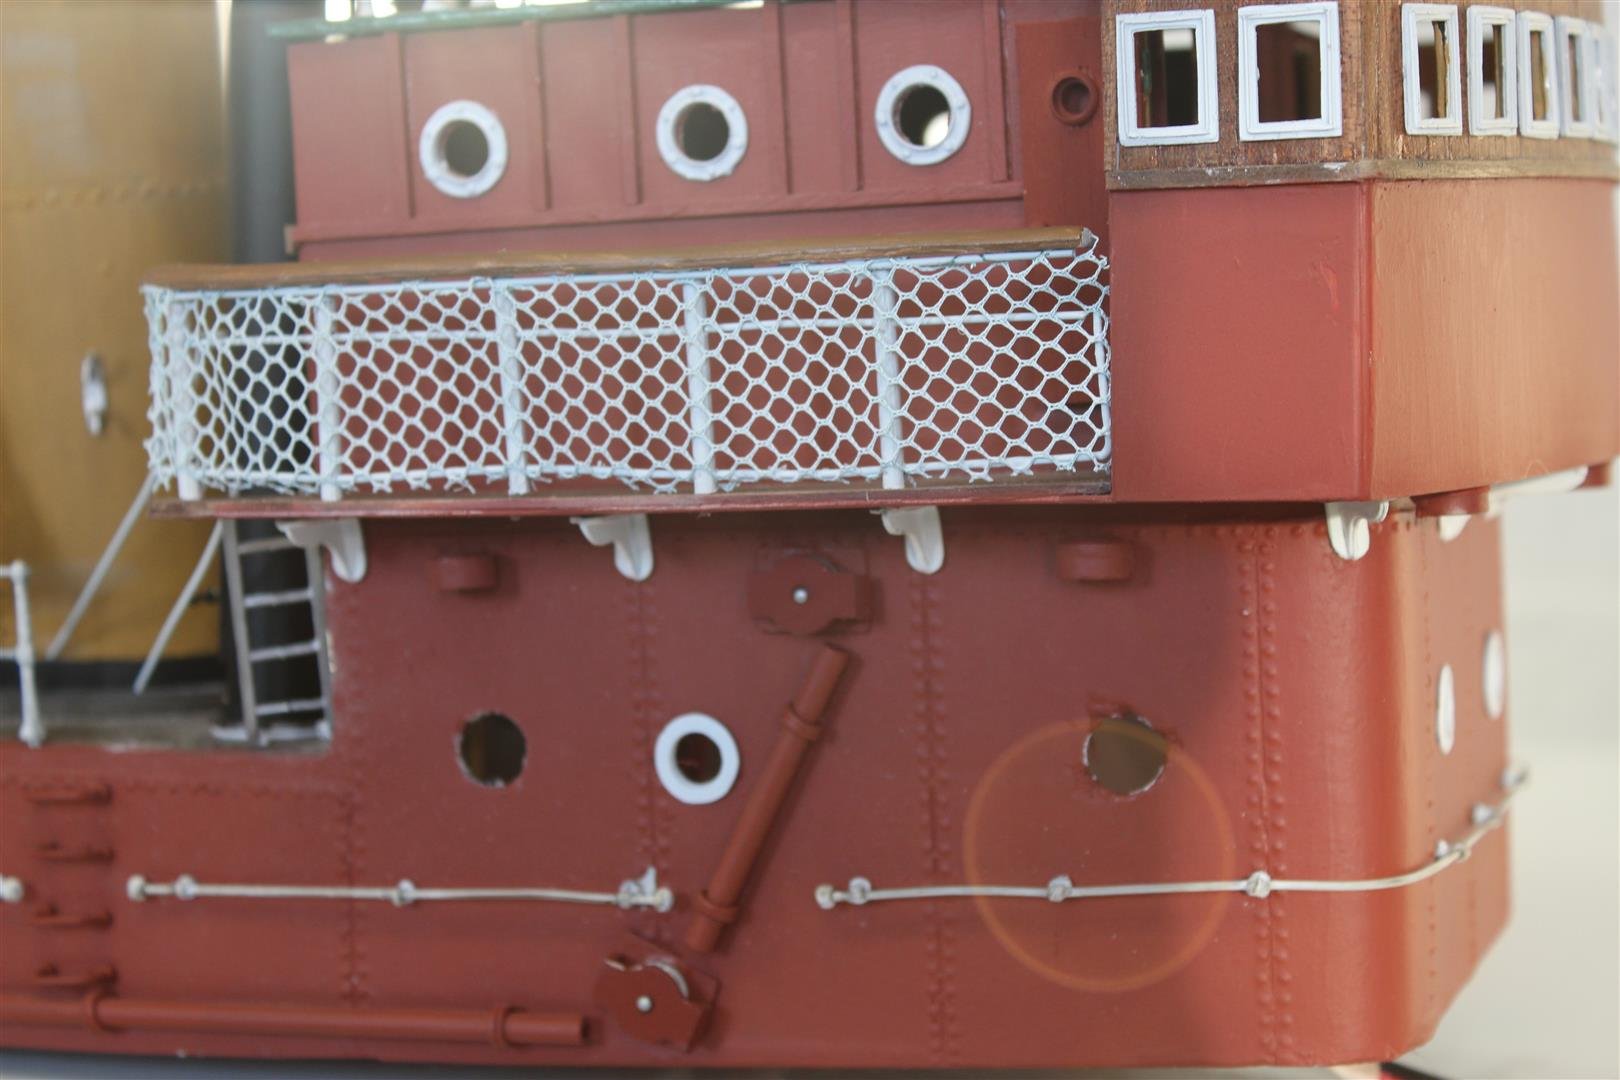
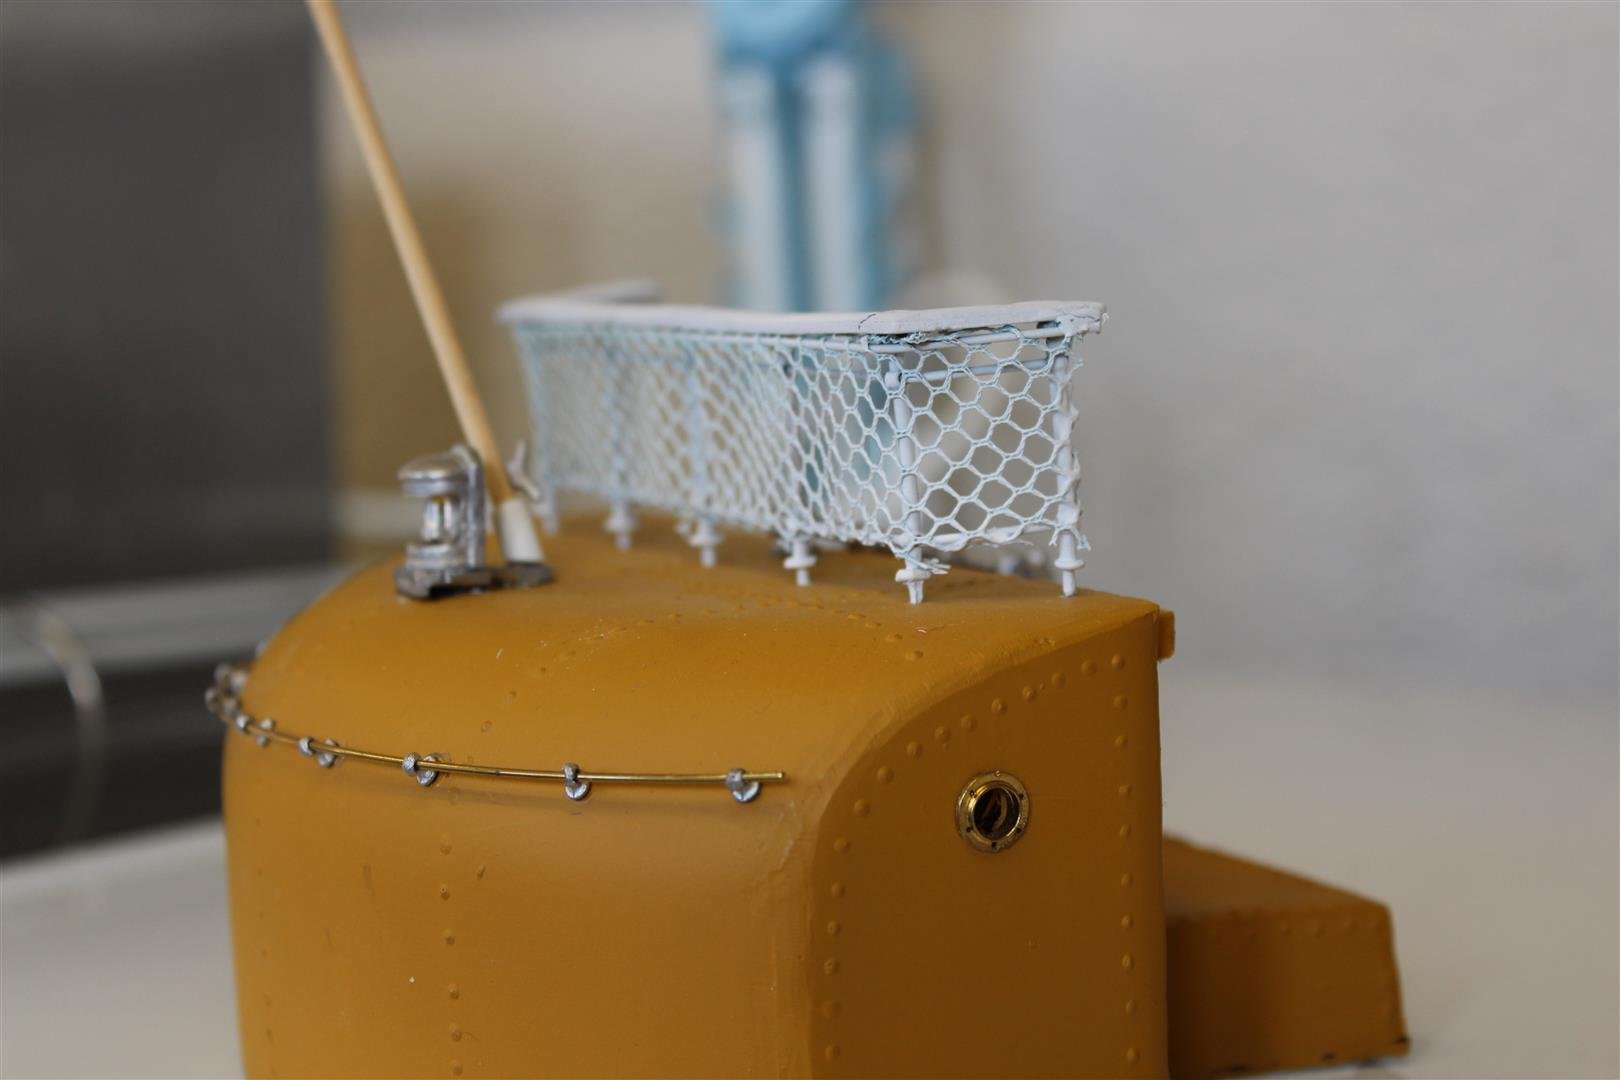
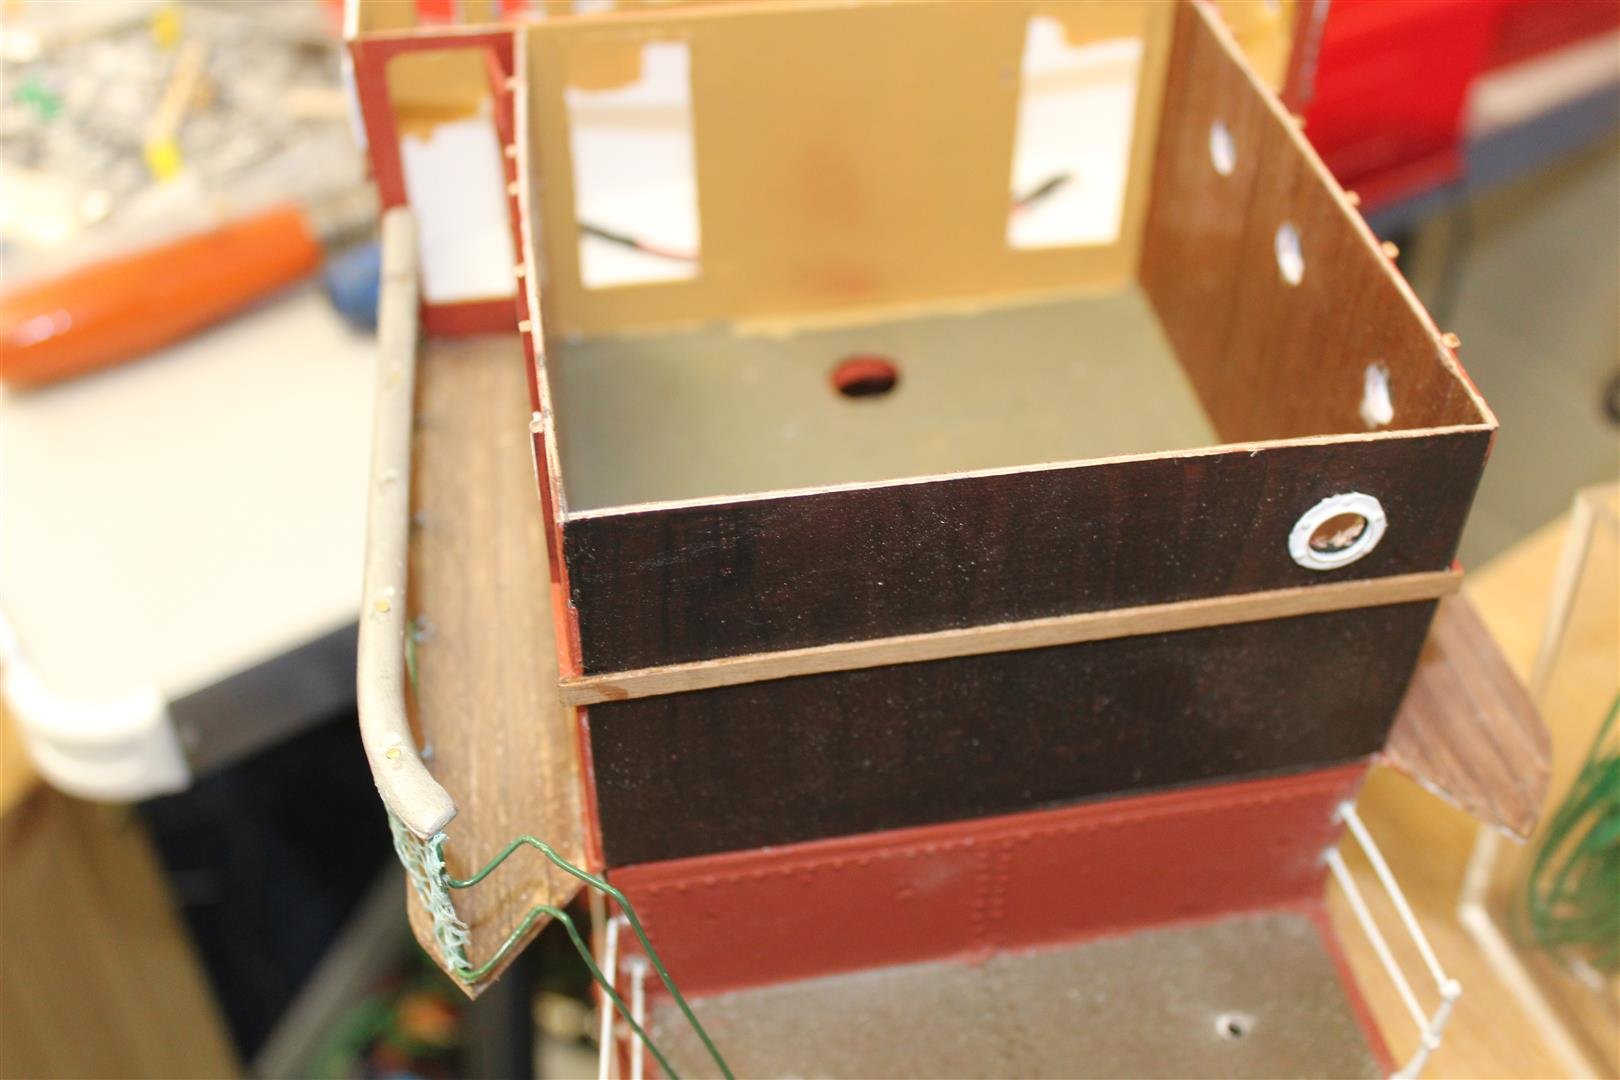
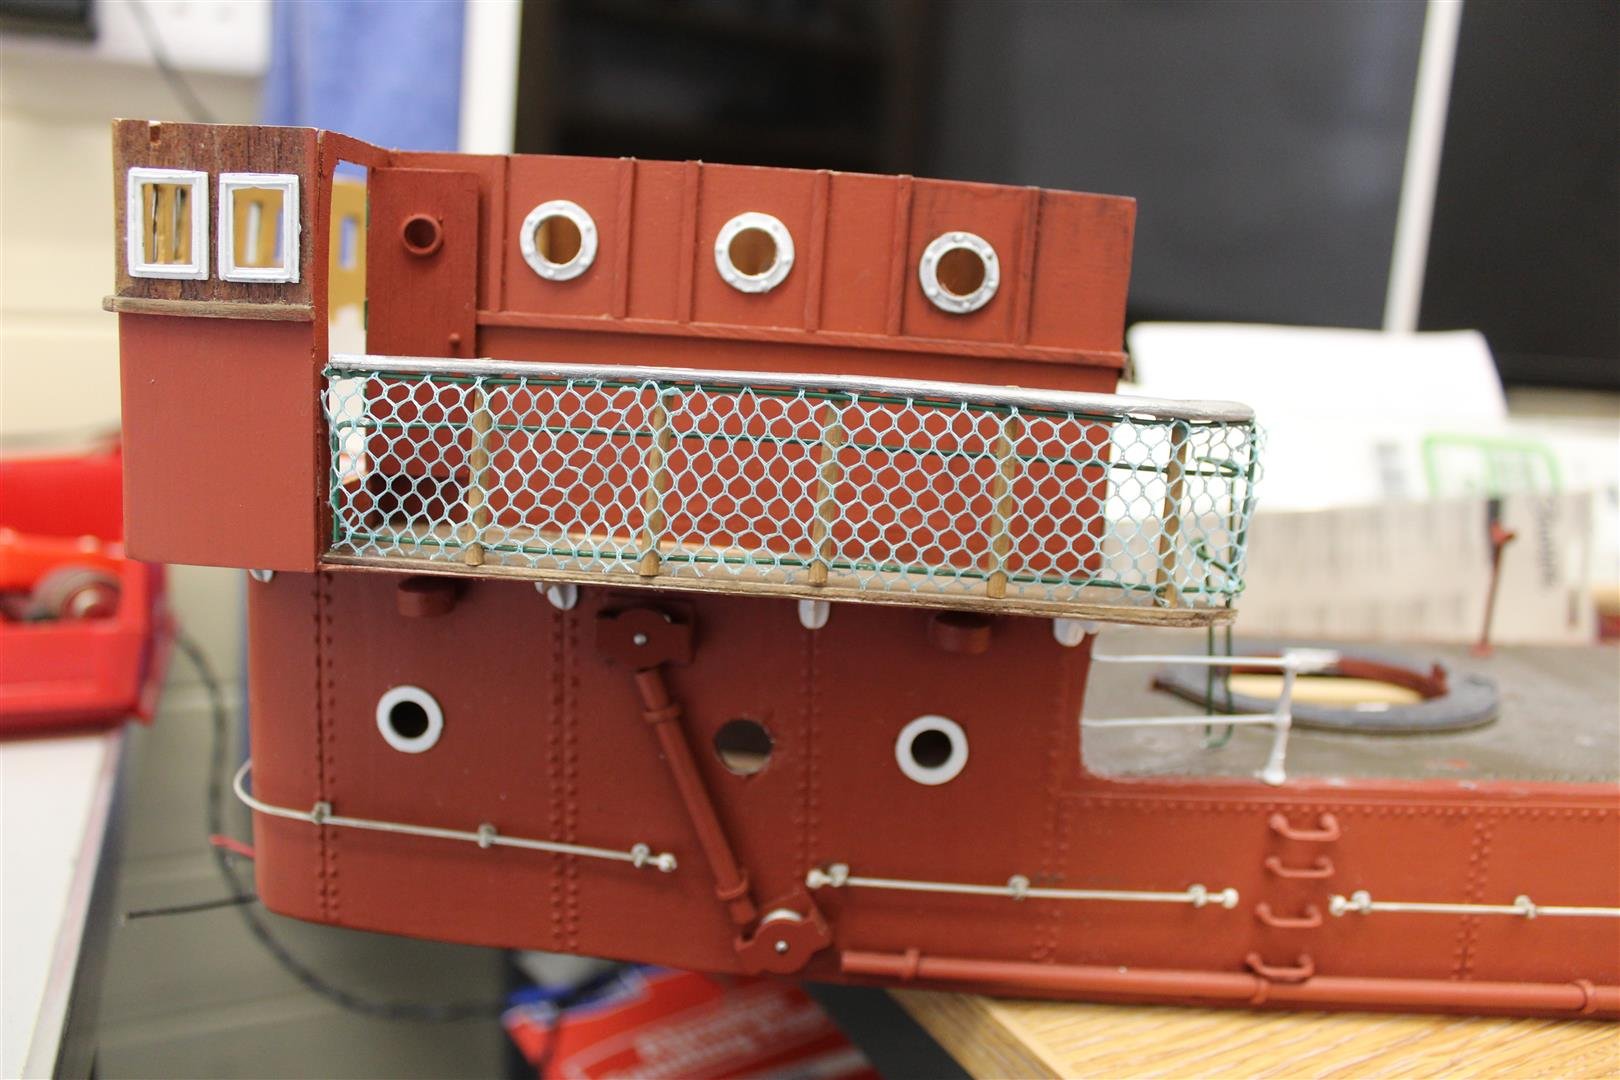
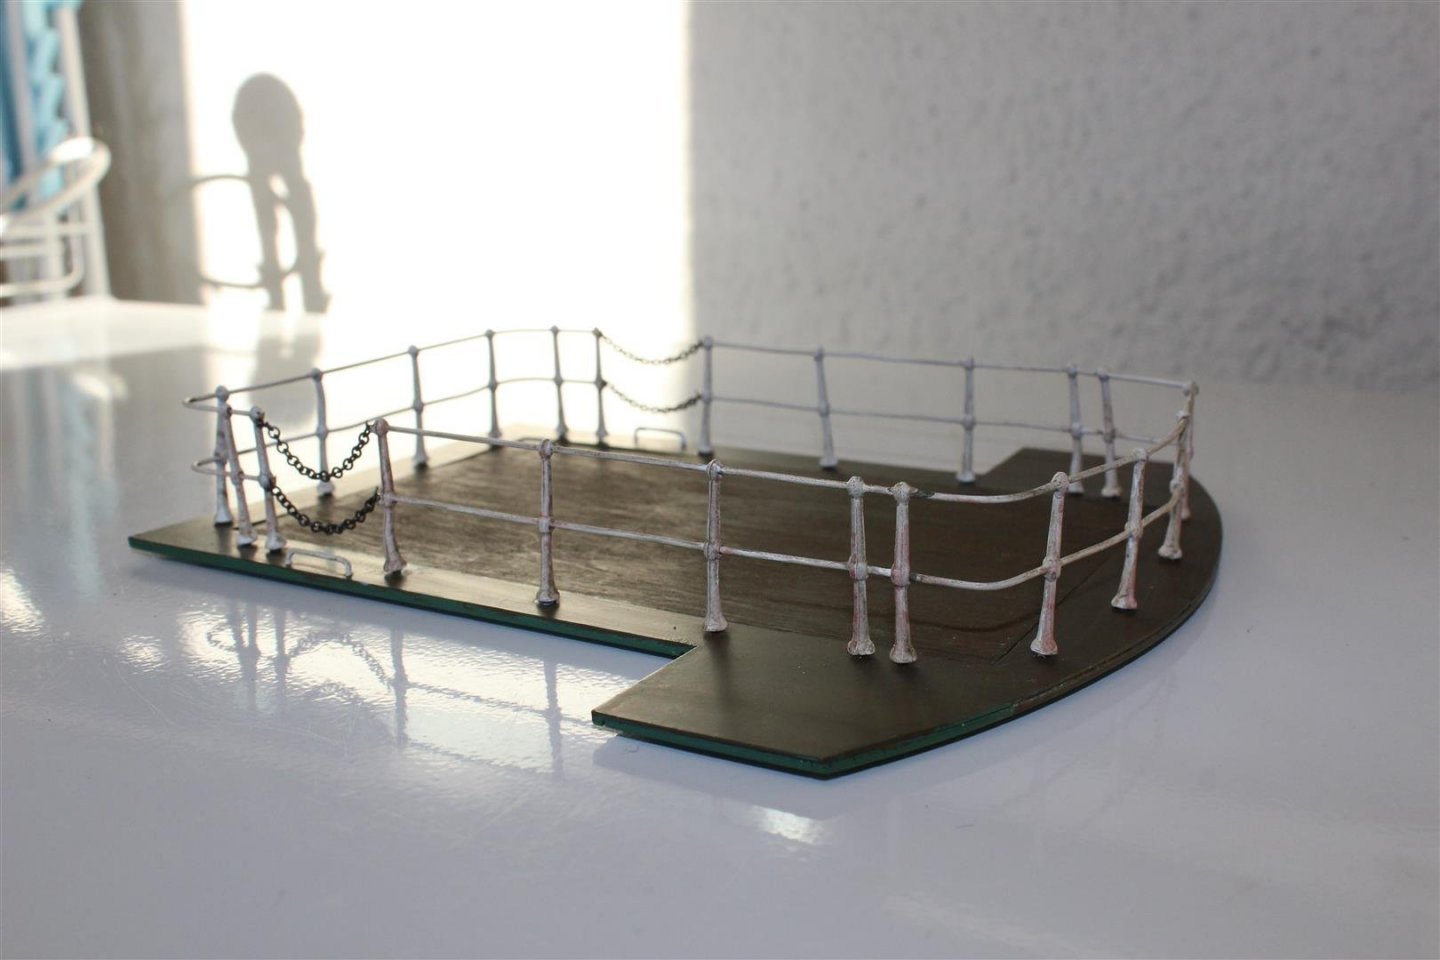
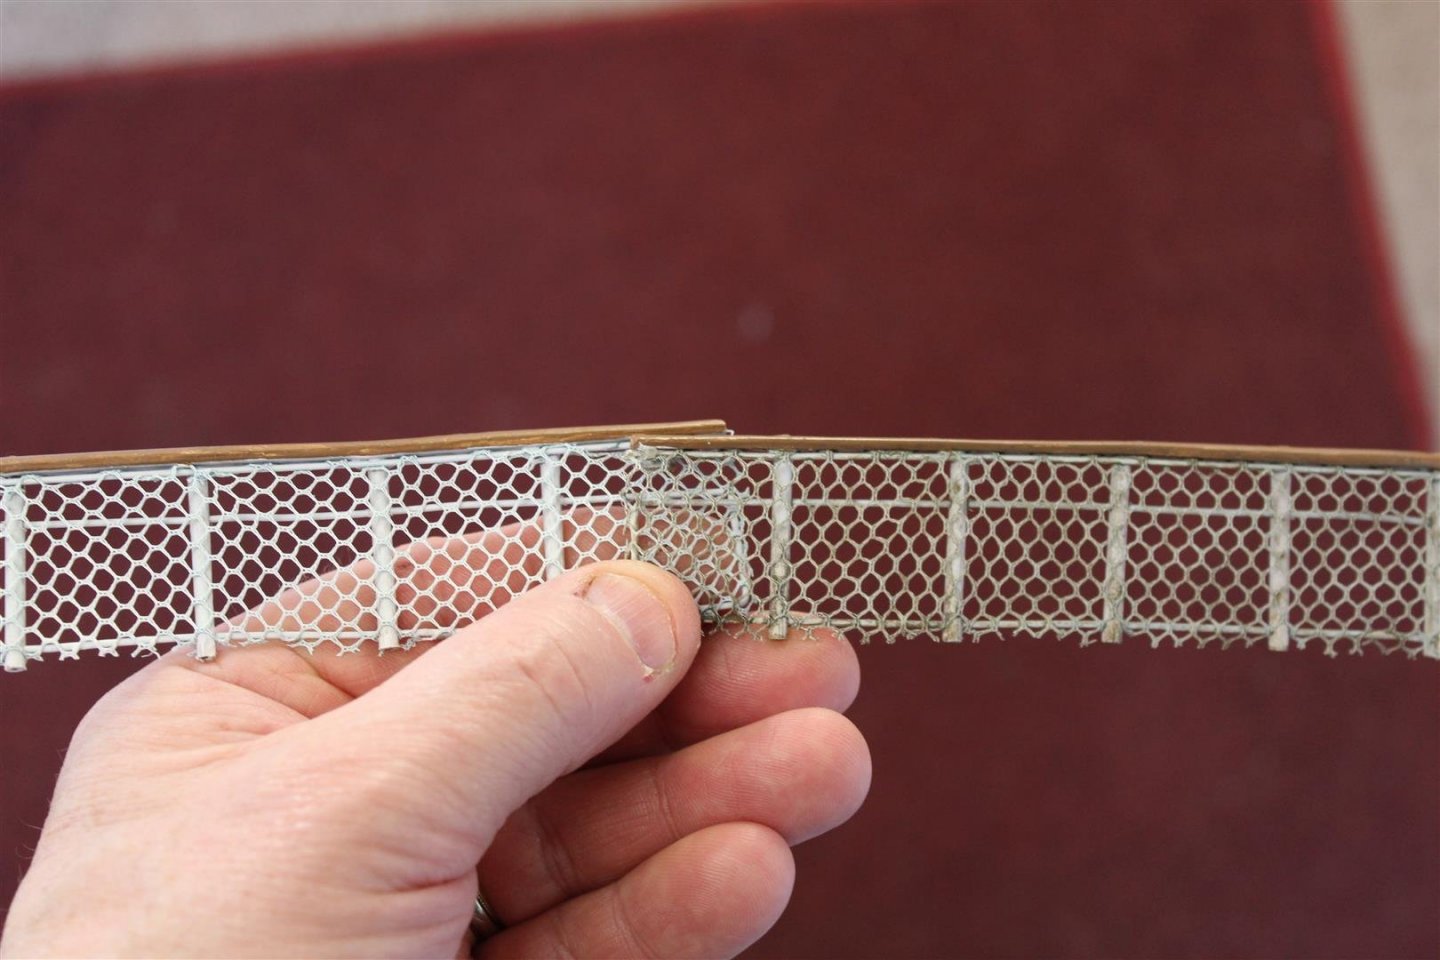
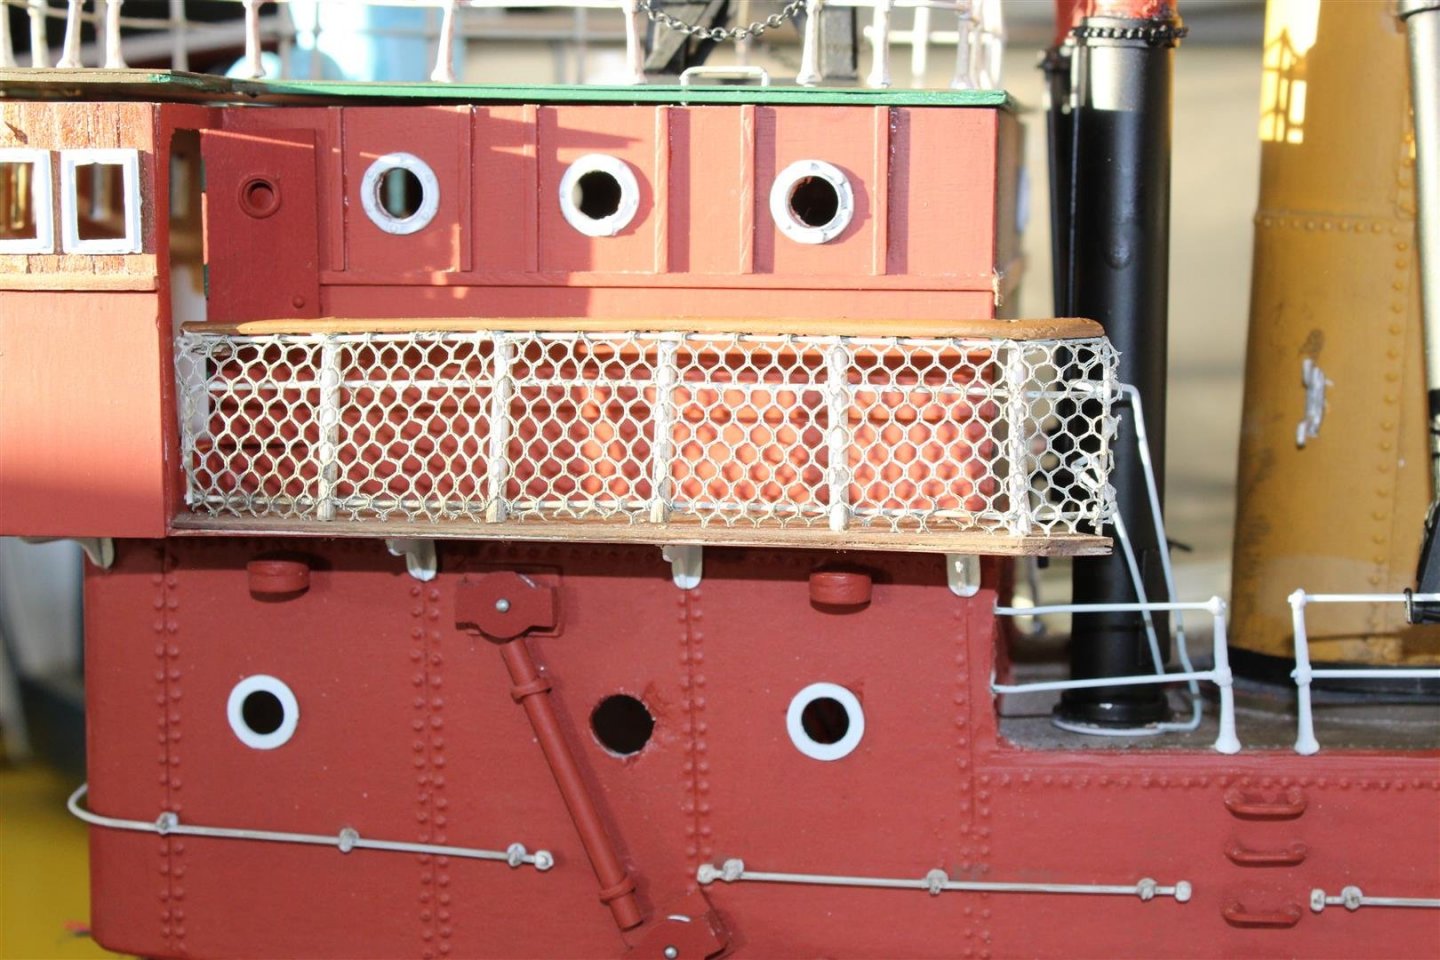
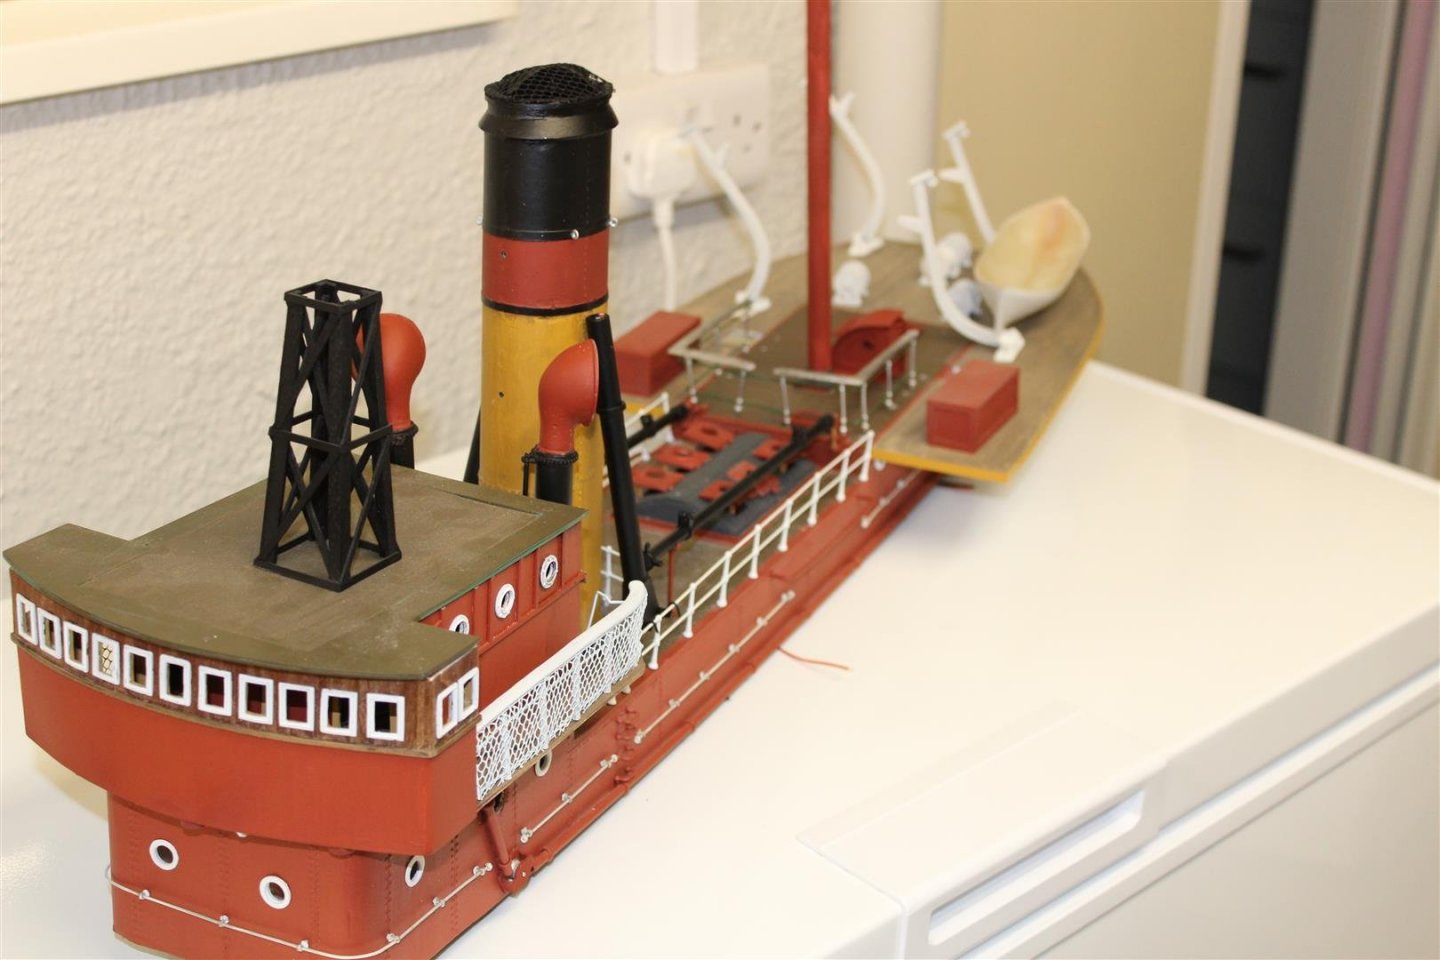
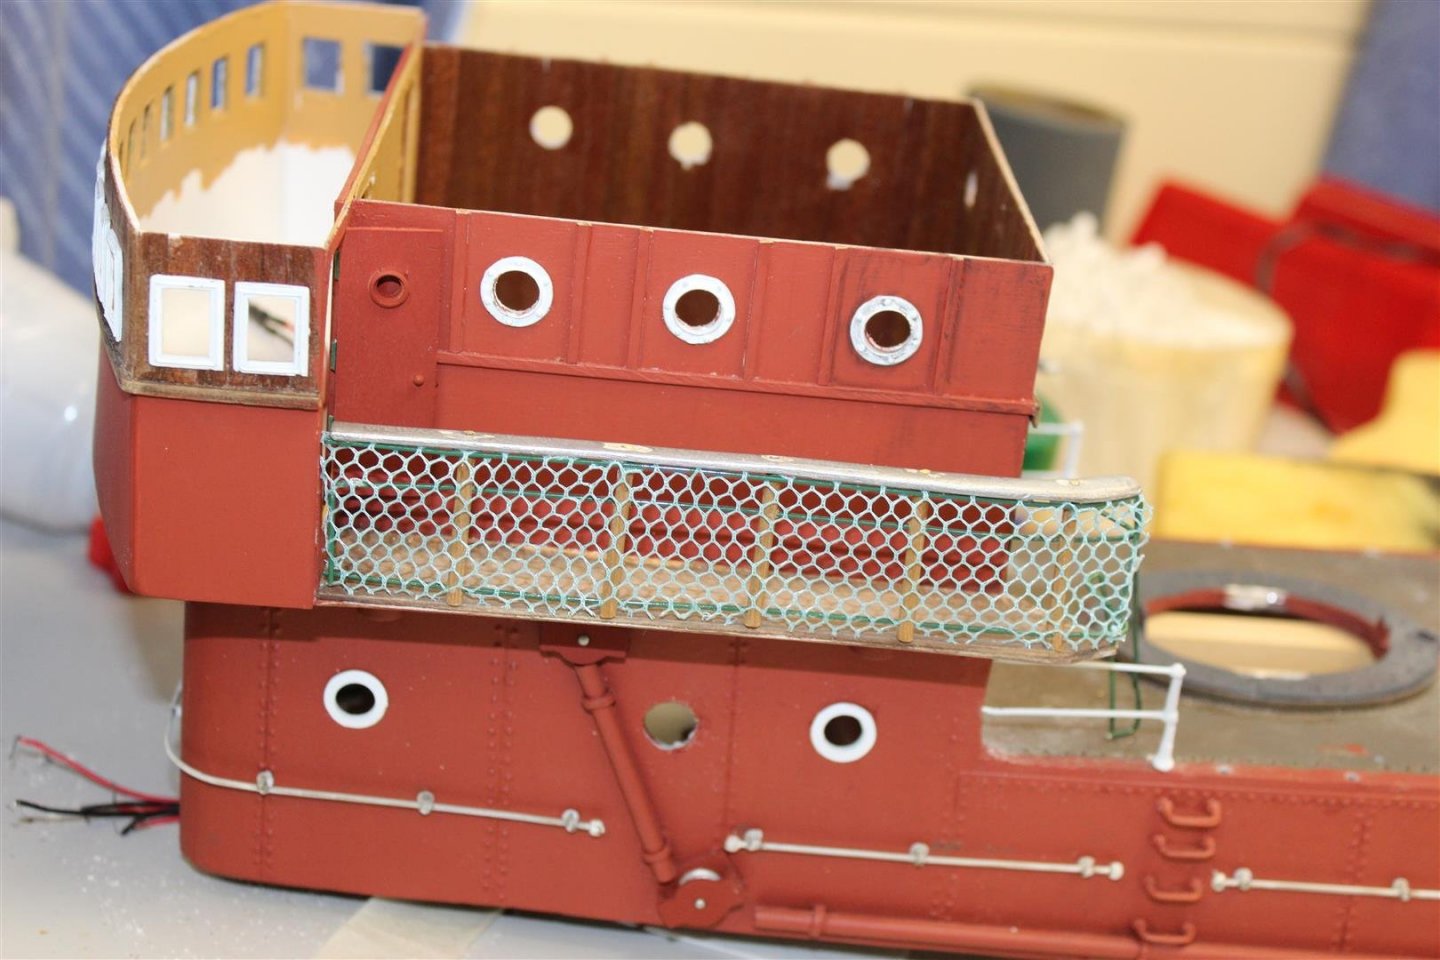
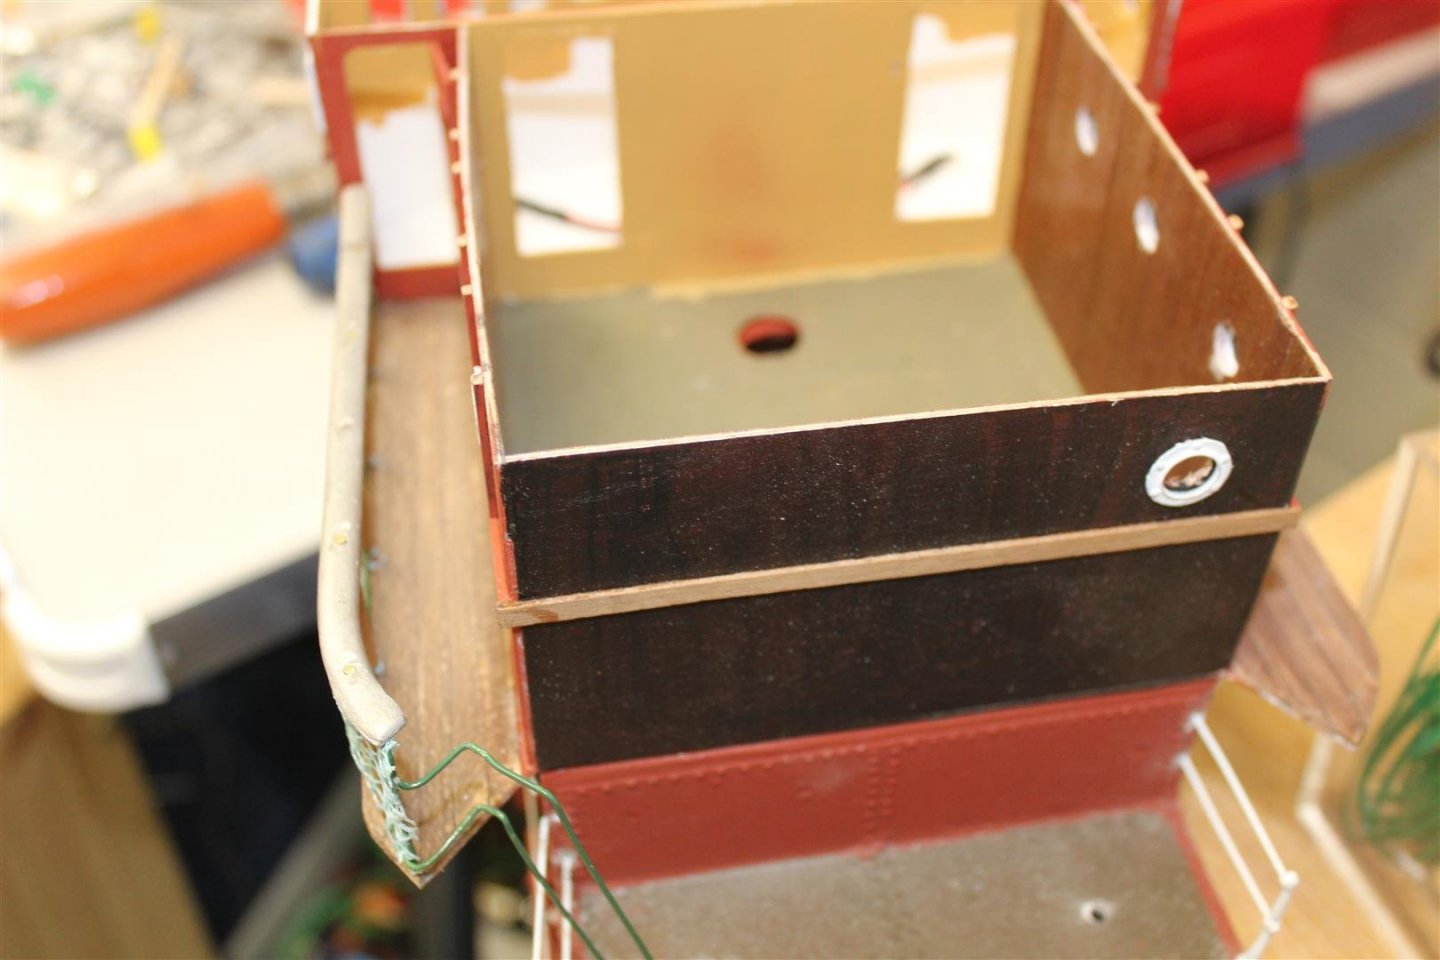
Good morning everyone made the other side walkway this morning, and put the netting over the rai;ing set that sits on top of the cod oil house, then put a matt white primer over it all nothing is in its final position yet, an still needs more work to make it look presentable


- 337 replies
-
- 14
-
-
- finished
- mountfleet models
- (and 1 more)
-
WELCOME BACK, my long lost friend
-
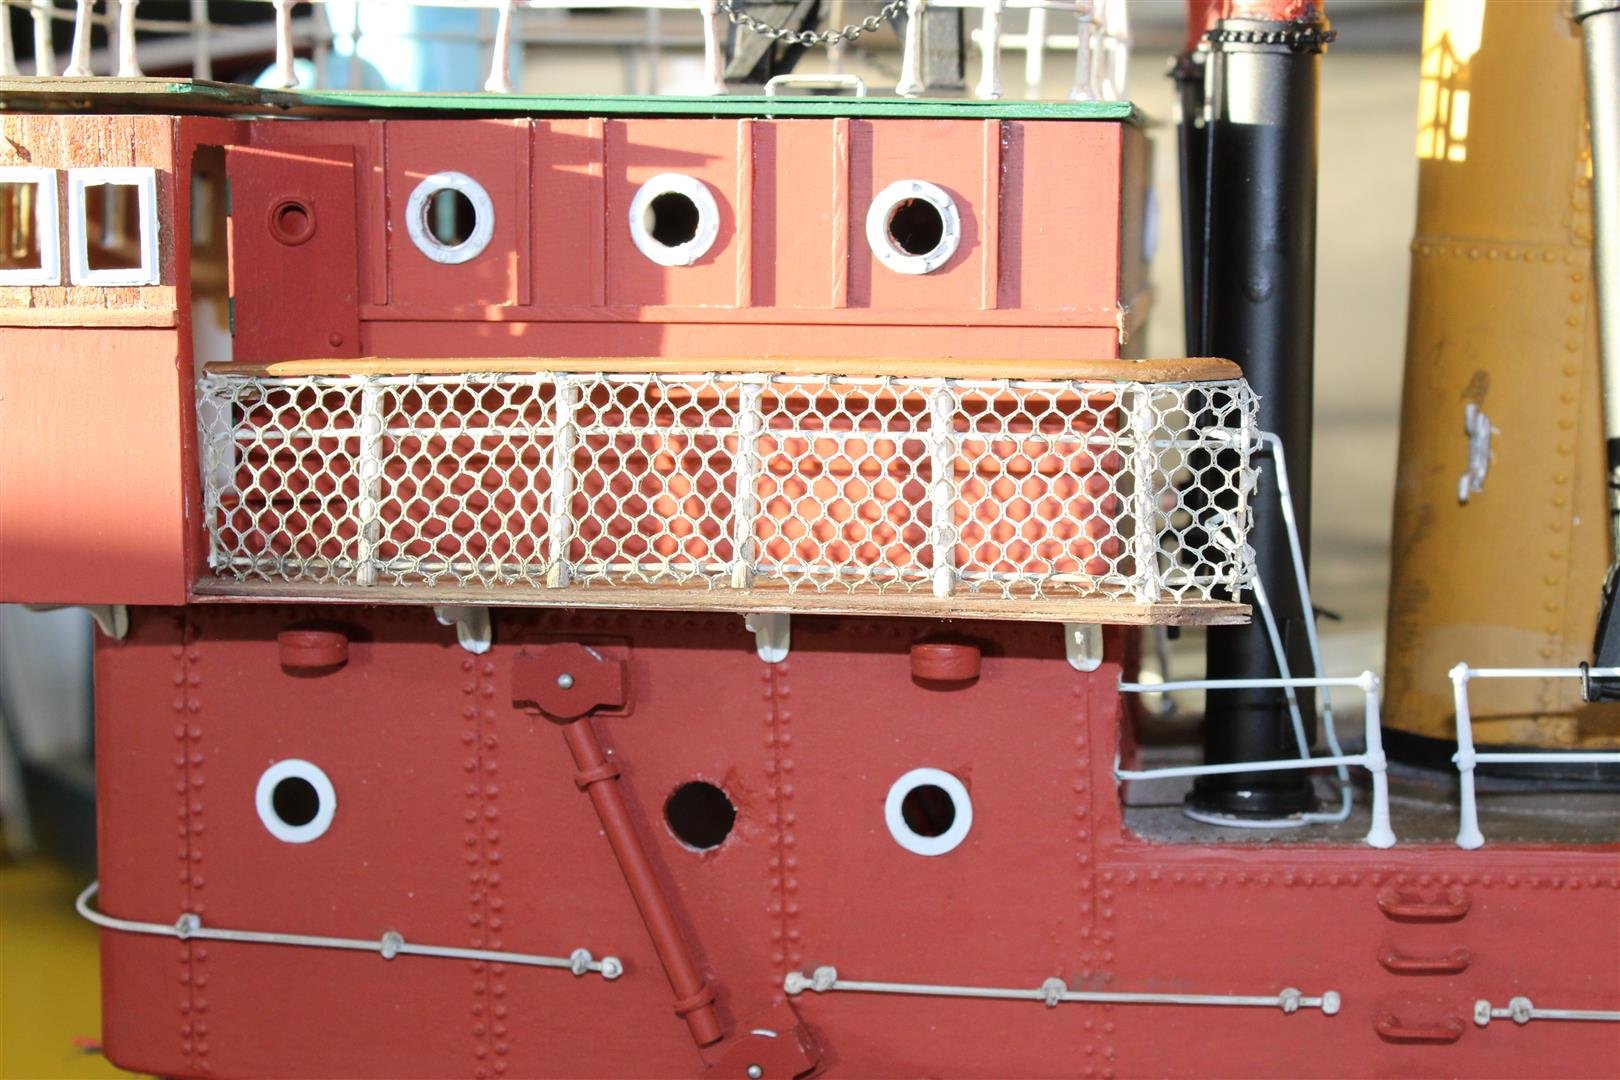
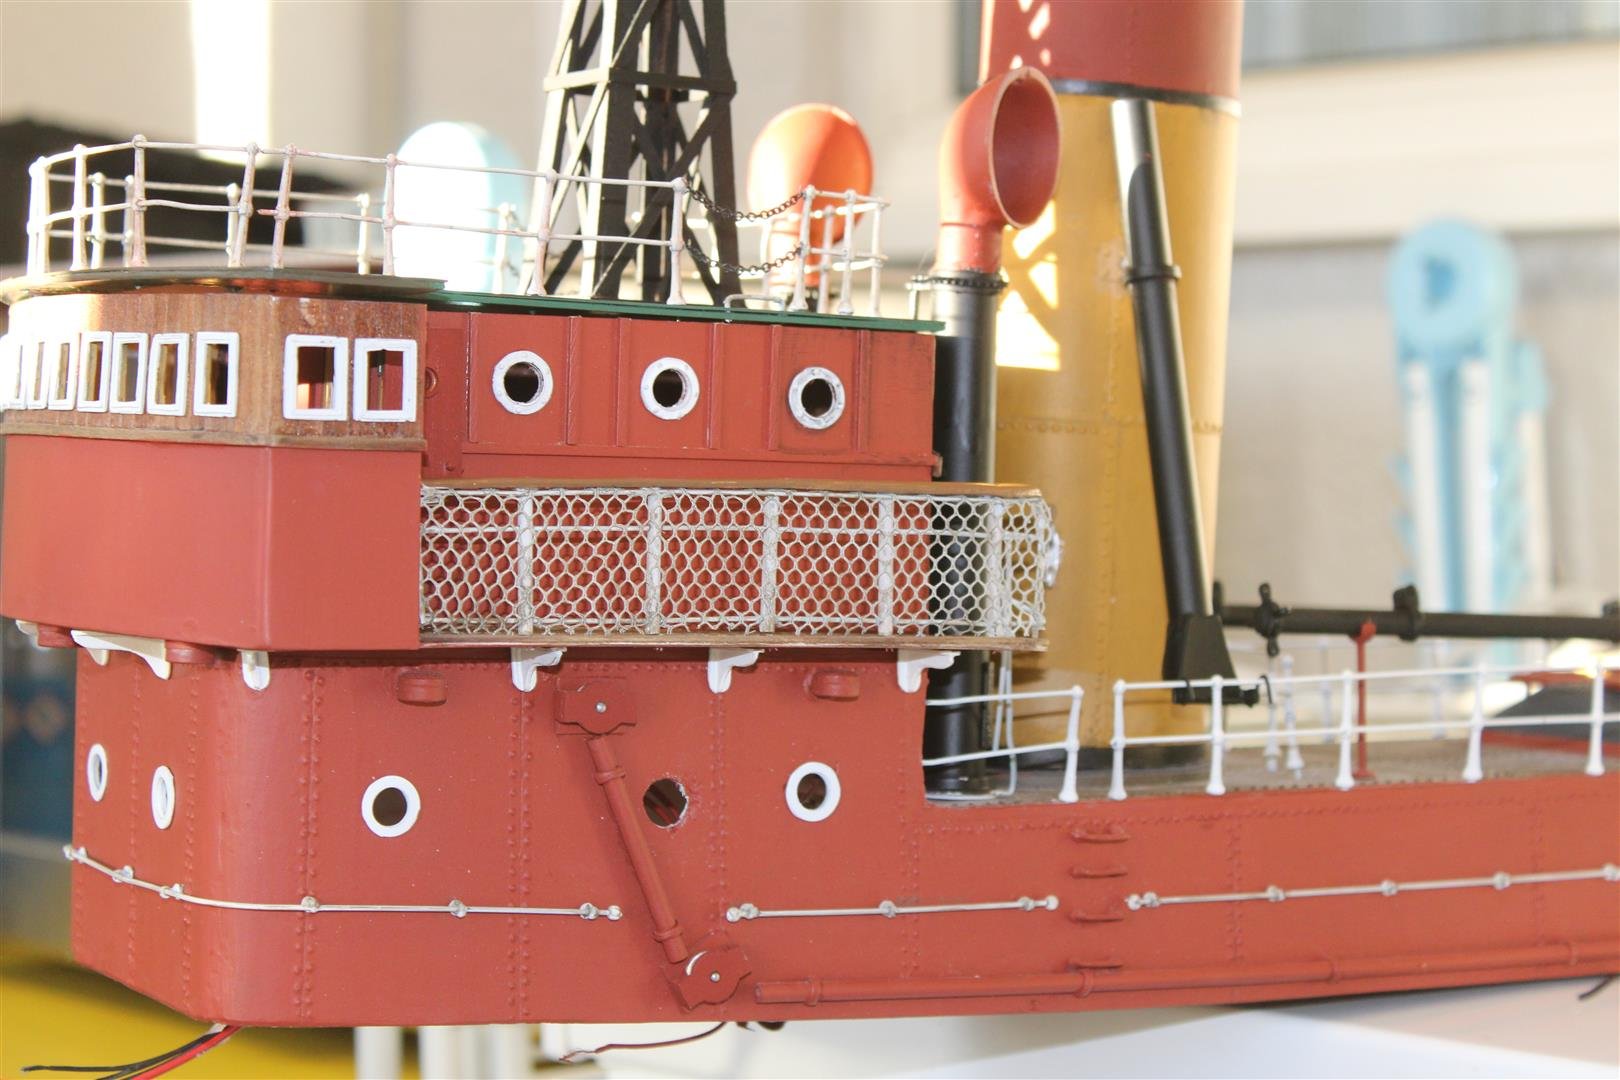
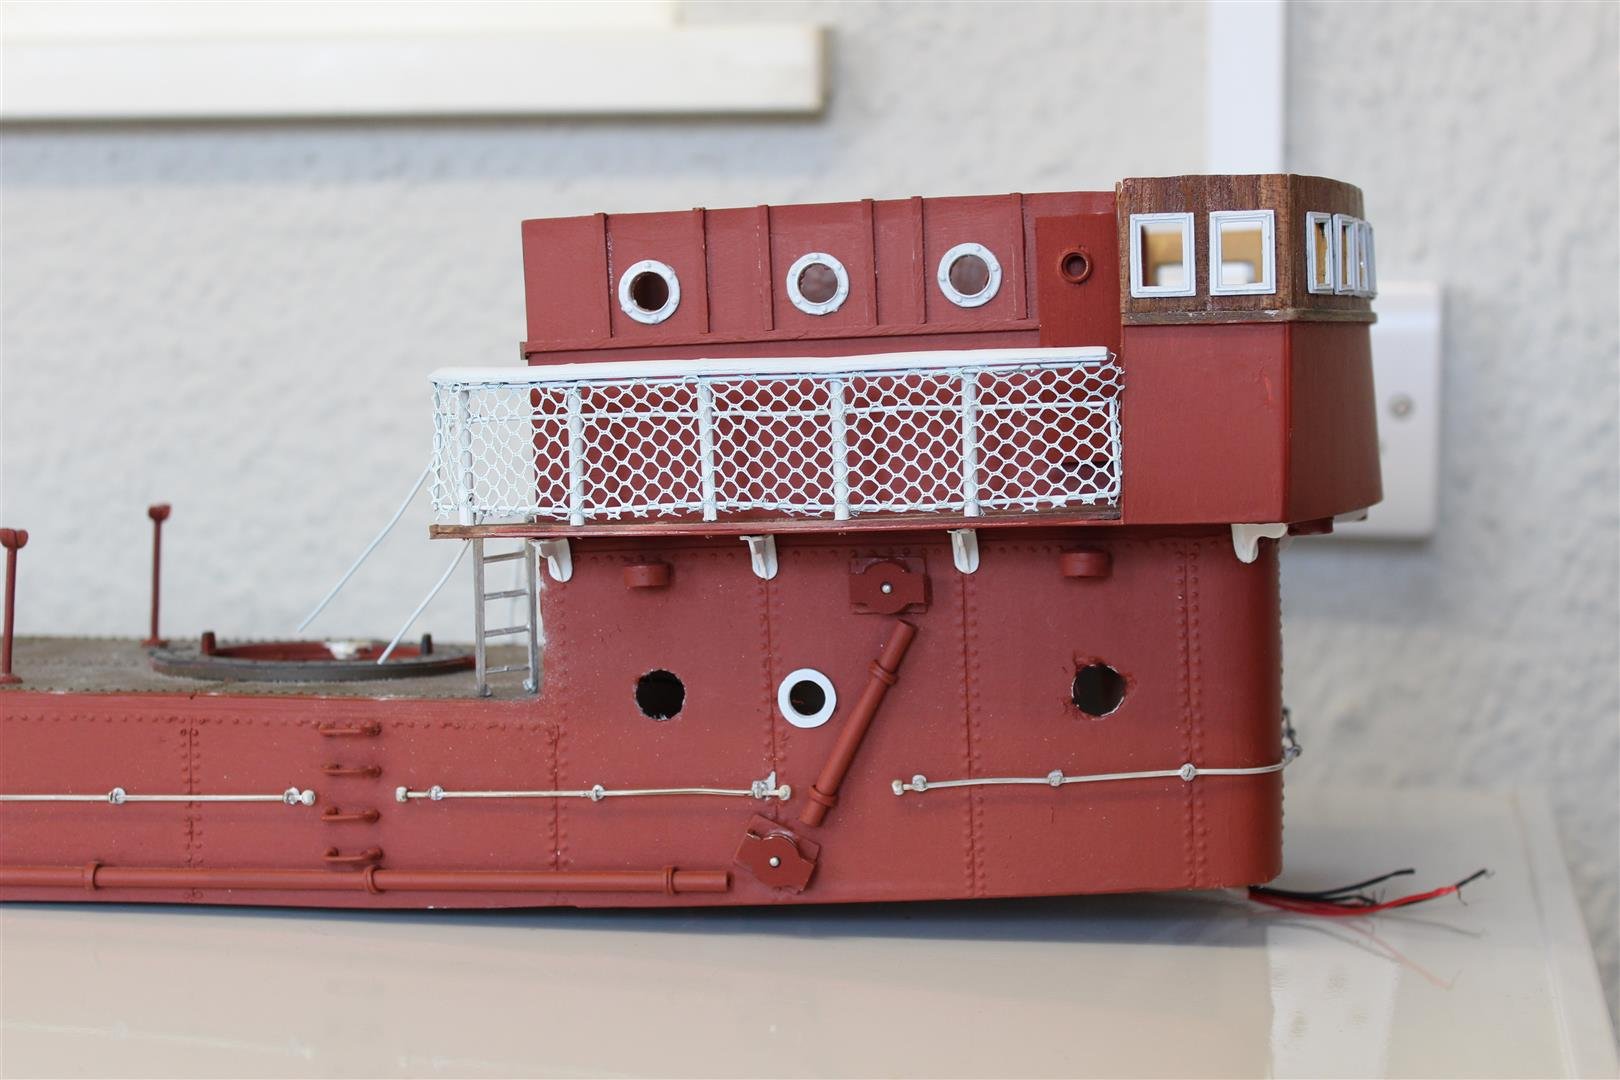
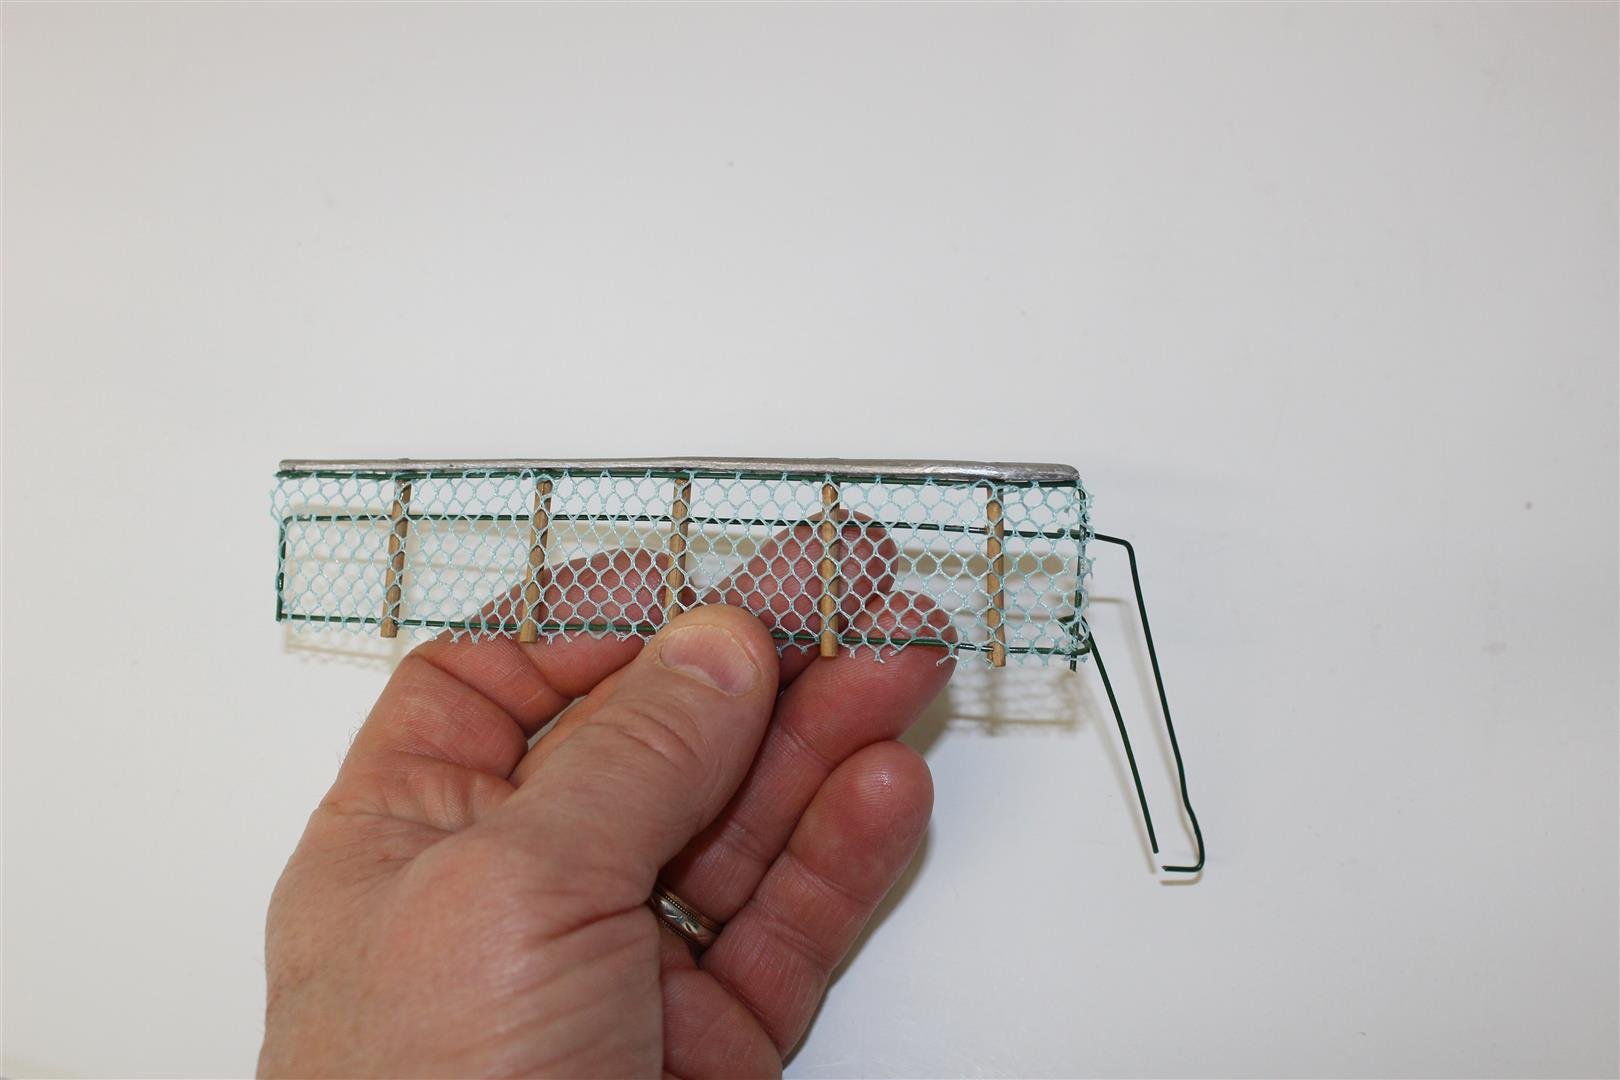
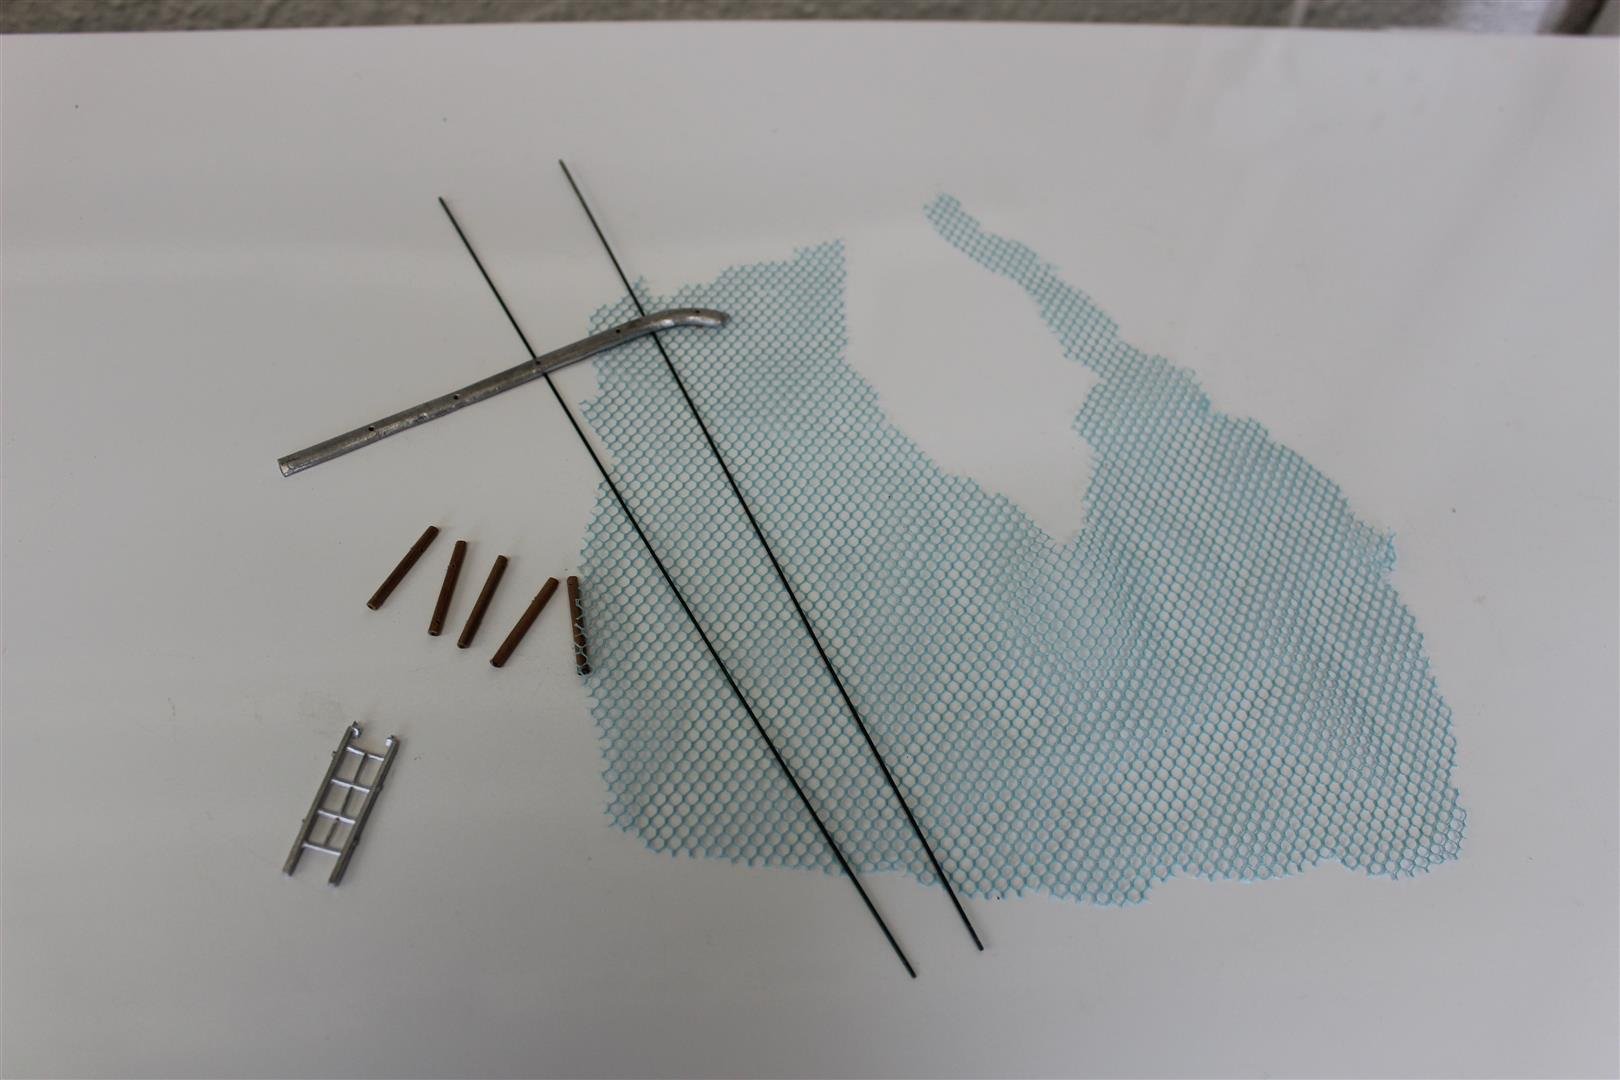
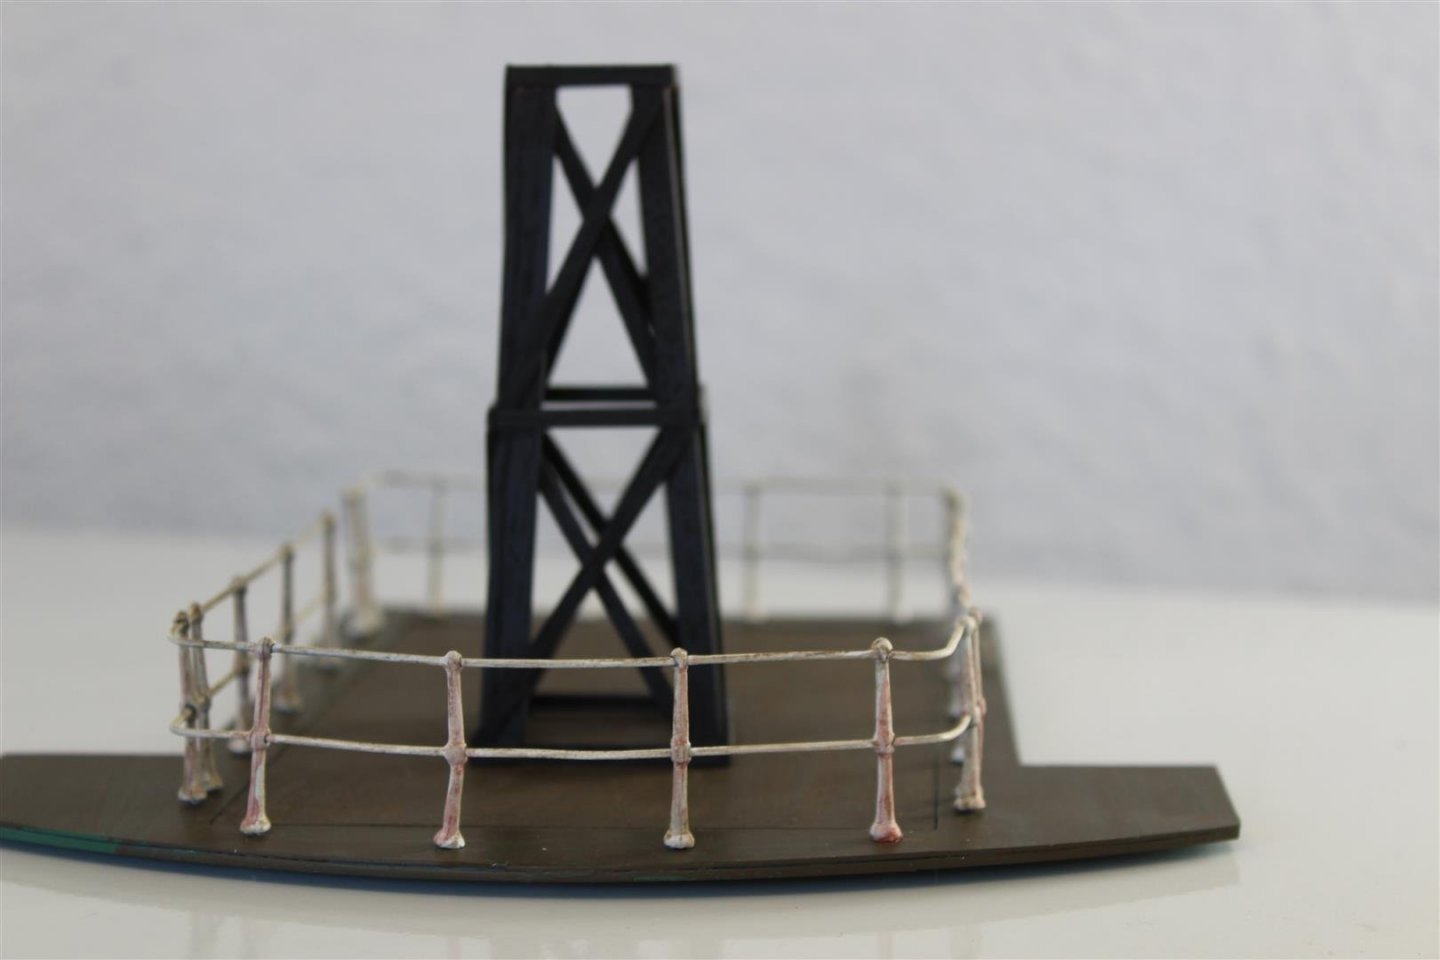
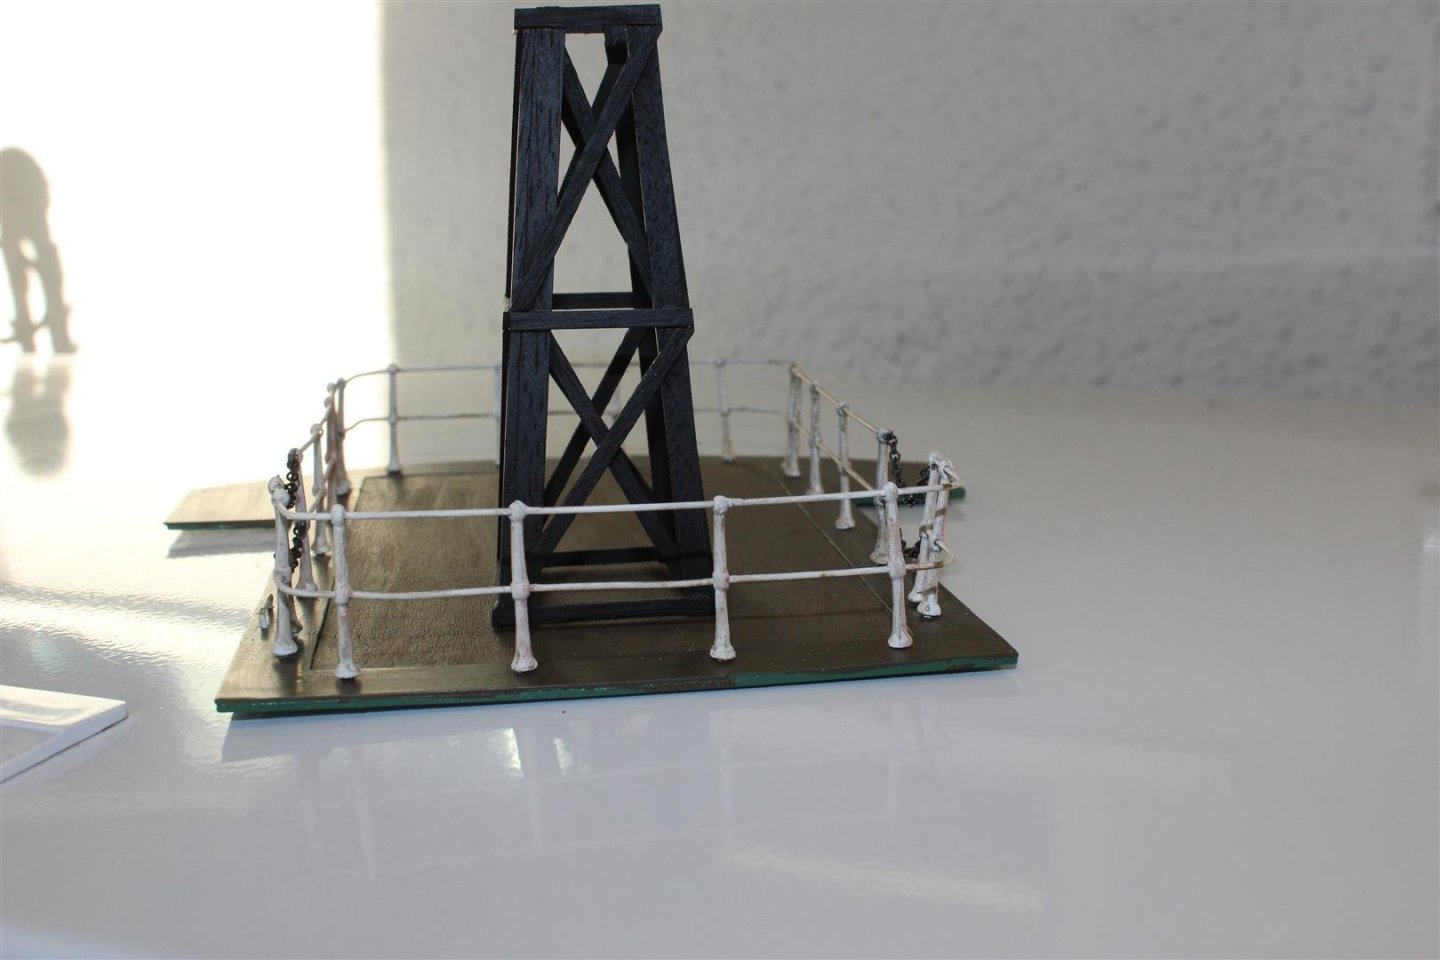
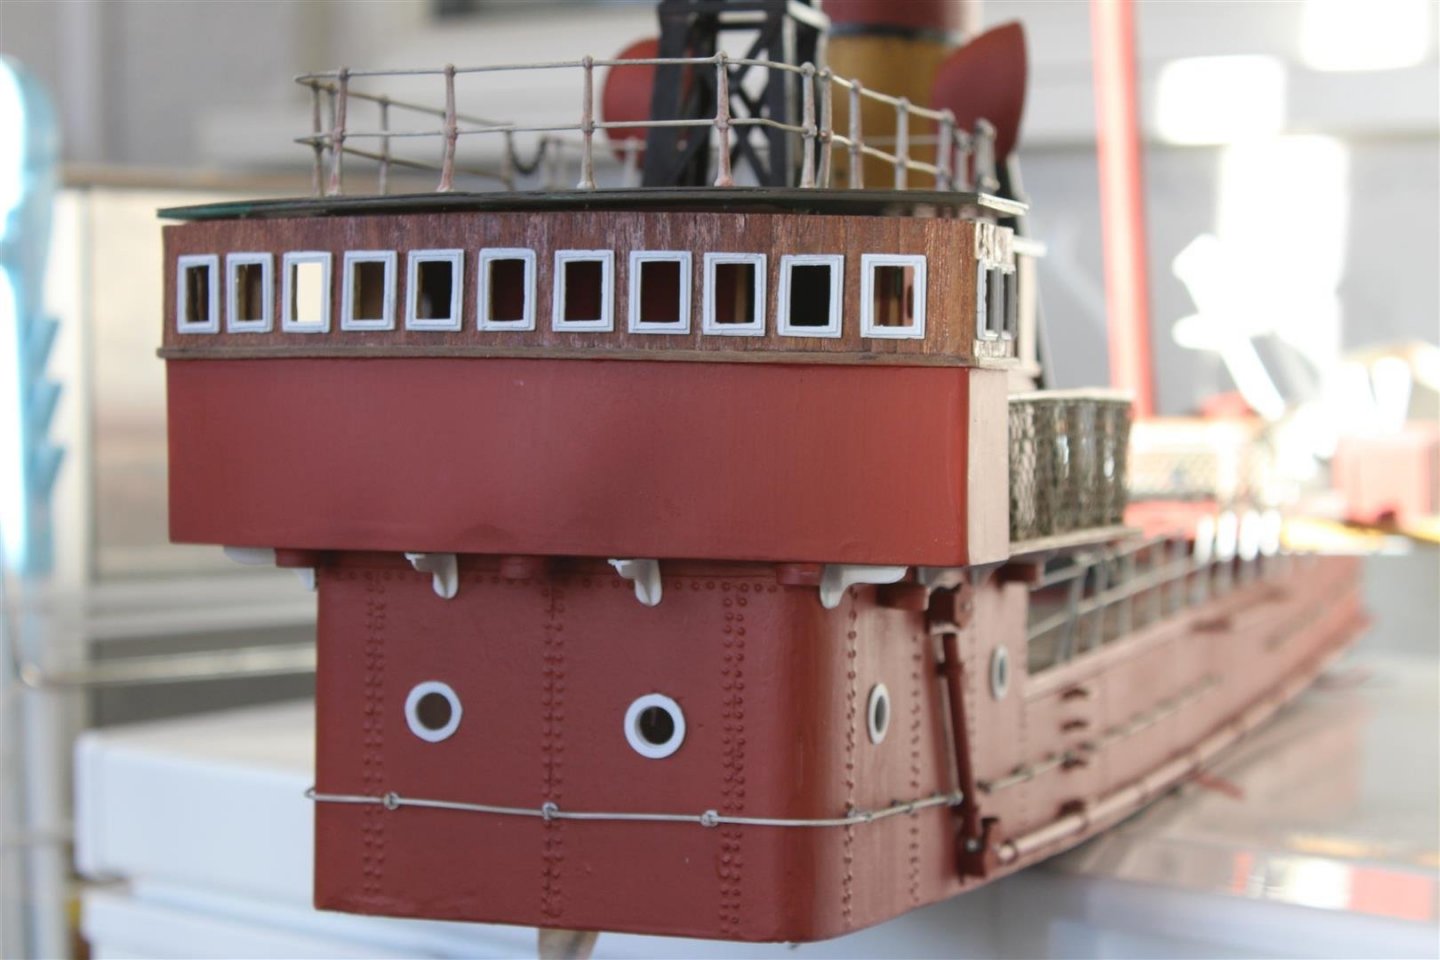
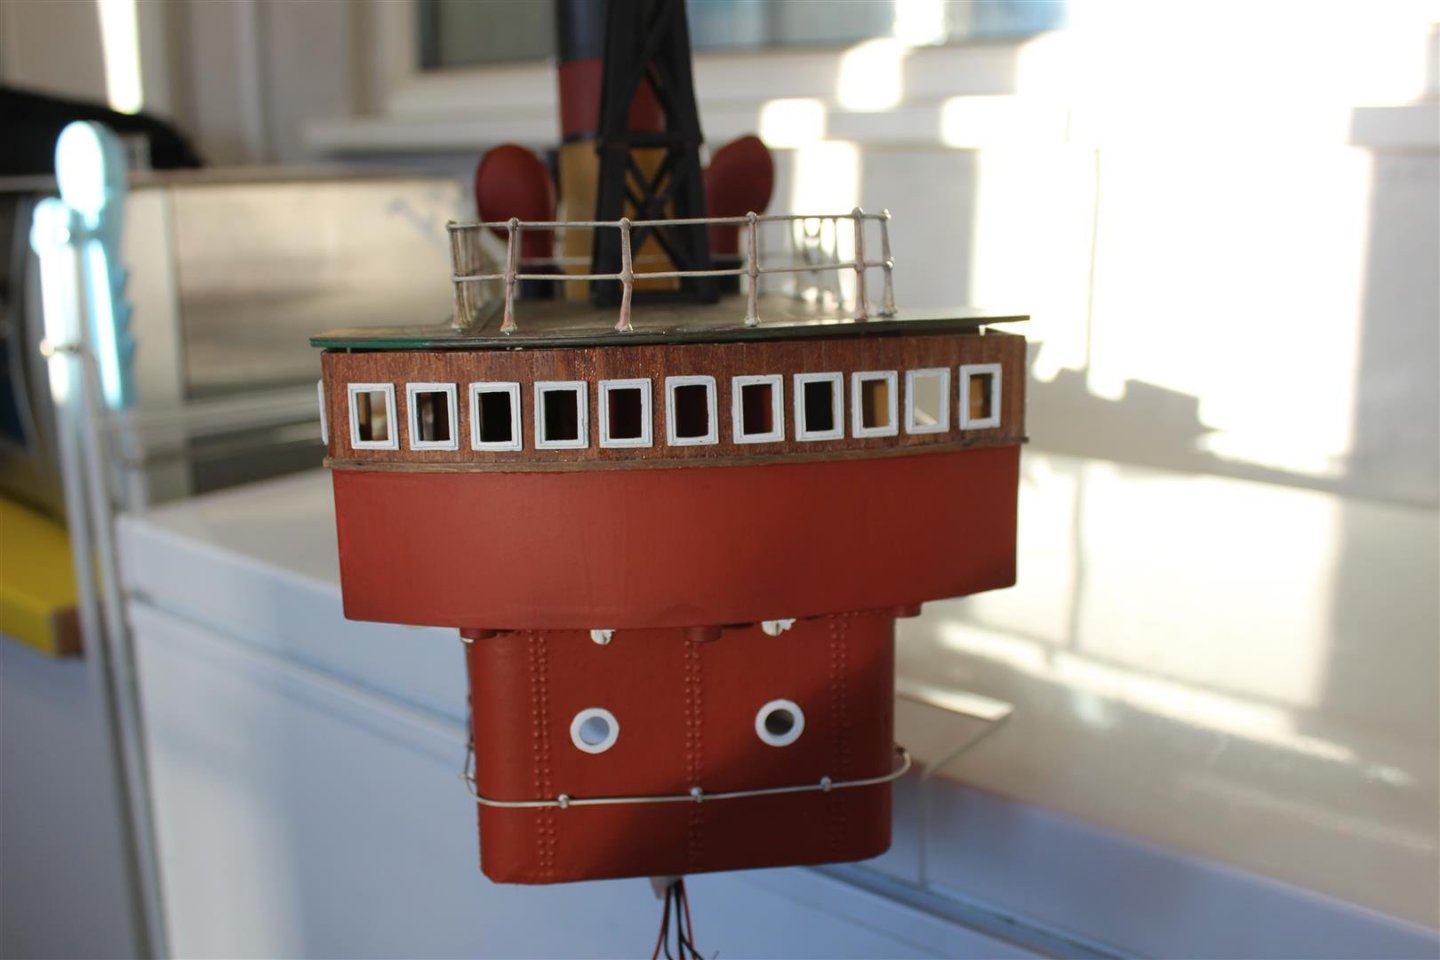
Good afternoon everyone Using my last 3 days of holiday, before i finish working on the 31st January, so i can now plan my projects and get back into regular posting again Bridge walkway the railings provided in the kit were not good enough for this so i have made my own, its another of those projects that takes time, but unable to complete until i work out howmuch room is available, as it is quite tight for space behind the bridge


- 337 replies
-
- 11
-
-
- finished
- mountfleet models
- (and 1 more)
-
wonderful work Danny
-
enjoy your break, im about to take one as well, to allow myself more time to do more boat building
.JPG.a9e8ce6c3ba6d5f197ff46fa200526c0.JPG)
.JPG.6d27aad2611acb8f625079fcd34509ef.JPG)