HOLIDAY DONATION DRIVE - SUPPORT MSW - DO YOUR PART TO KEEP THIS GREAT FORUM GOING! (Only 66 donations so far out of 49,000 members - Can we at least get100? C'mon guys!)
×


Kevin
-
Posts
7,009 -
Joined
-
Last visited
Content Type
Profiles
Forums
Gallery
Events
Everything posted by Kevin
-
 good morning, i abandoned my build of this many years ago, look forward to watching you progress, i never bothered with trying to make the hull watertight, so did not use the cloth material for the hull covering, perhaps the thing i hated most was the poor brass fittings and the inability to get the main deck access correct
.thumb.JPG.97c8466ef40350d11fb668491f9c9753.JPG)
-
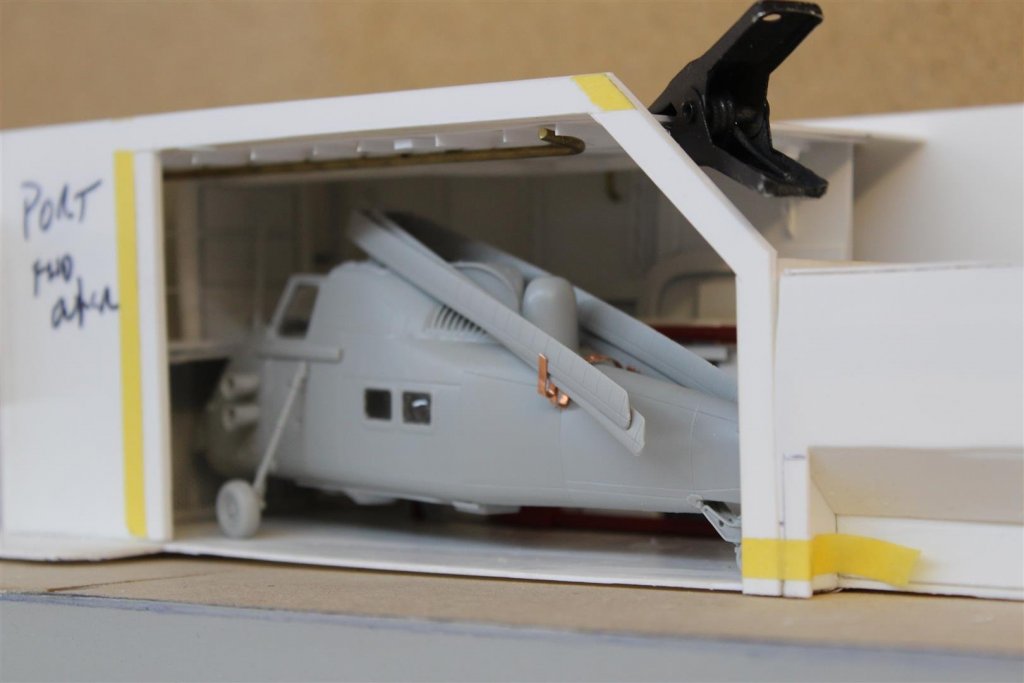
good evening everyone The tower at the after end Stbd side of the hanger was a Seaslug missile RAS (Replenishment at sea) Rig, and Fife was the only one to have it fitted, but was removed after i left her in 1980 although not brilliant as the plans seam to be quite different to the photo i have made something that for now will do, it has already been modified several time tonight the brass bits have come my odds and sods box this is a porthole glued to a capstan i was working to this
-
Good evening everyone, its Sunday so must be time for an update still working on the after superstructure, so carried on making AC units, and adding doors, most of the vents around the hanger doors are now in place on top of the hanger is a capstan/winch, i have very limited plans for this and not yet found a photo, for any pipework some plasticard and a few bits found in my spares box, and i came up with this next is the Sealslug RAS RIG which was only fitted to Fife, that fits onto the tower , early in the making of this project,
-
Coca by DavidG - FINISHED - Amati - 1:60
Kevin replied to DavidG's topic in - Kit subjects built Up to and including 1500 AD
Welcome back to the best hobby, and a nice looking build -
WOW, what an exciting project, i have taken over the front seat to watch, and will not be providing any popcorn LOL
- 2,696 replies
-
- 3
-

-
- heller
- soleil royal
- (and 9 more)
-
i watched this kit being built on another site, with internal leds as well, i will watch yours come to life as well
-
from my early test to see if things fitted
-
Mark the doors will be fixed open, i would never have the skills to make and operate sliding doors
-
Sorry i am late to the party, can I pull a seat up and watch, I will provide the popcorn
-
Lovely work, and will be a fine addition to the boat yard when completed, its the small details that make all the difference
- 378 replies
-
- 5
-
-
- t78 norden
- billing boats
- (and 1 more)
-
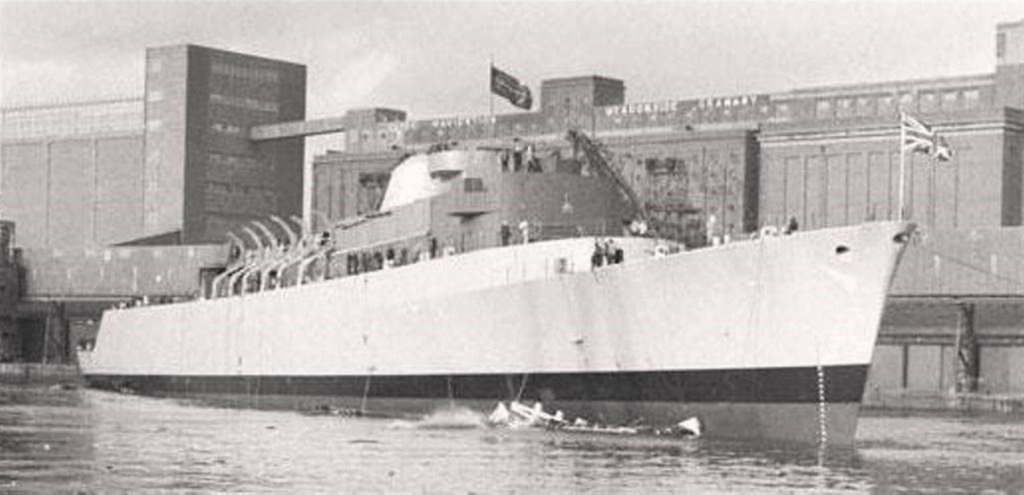
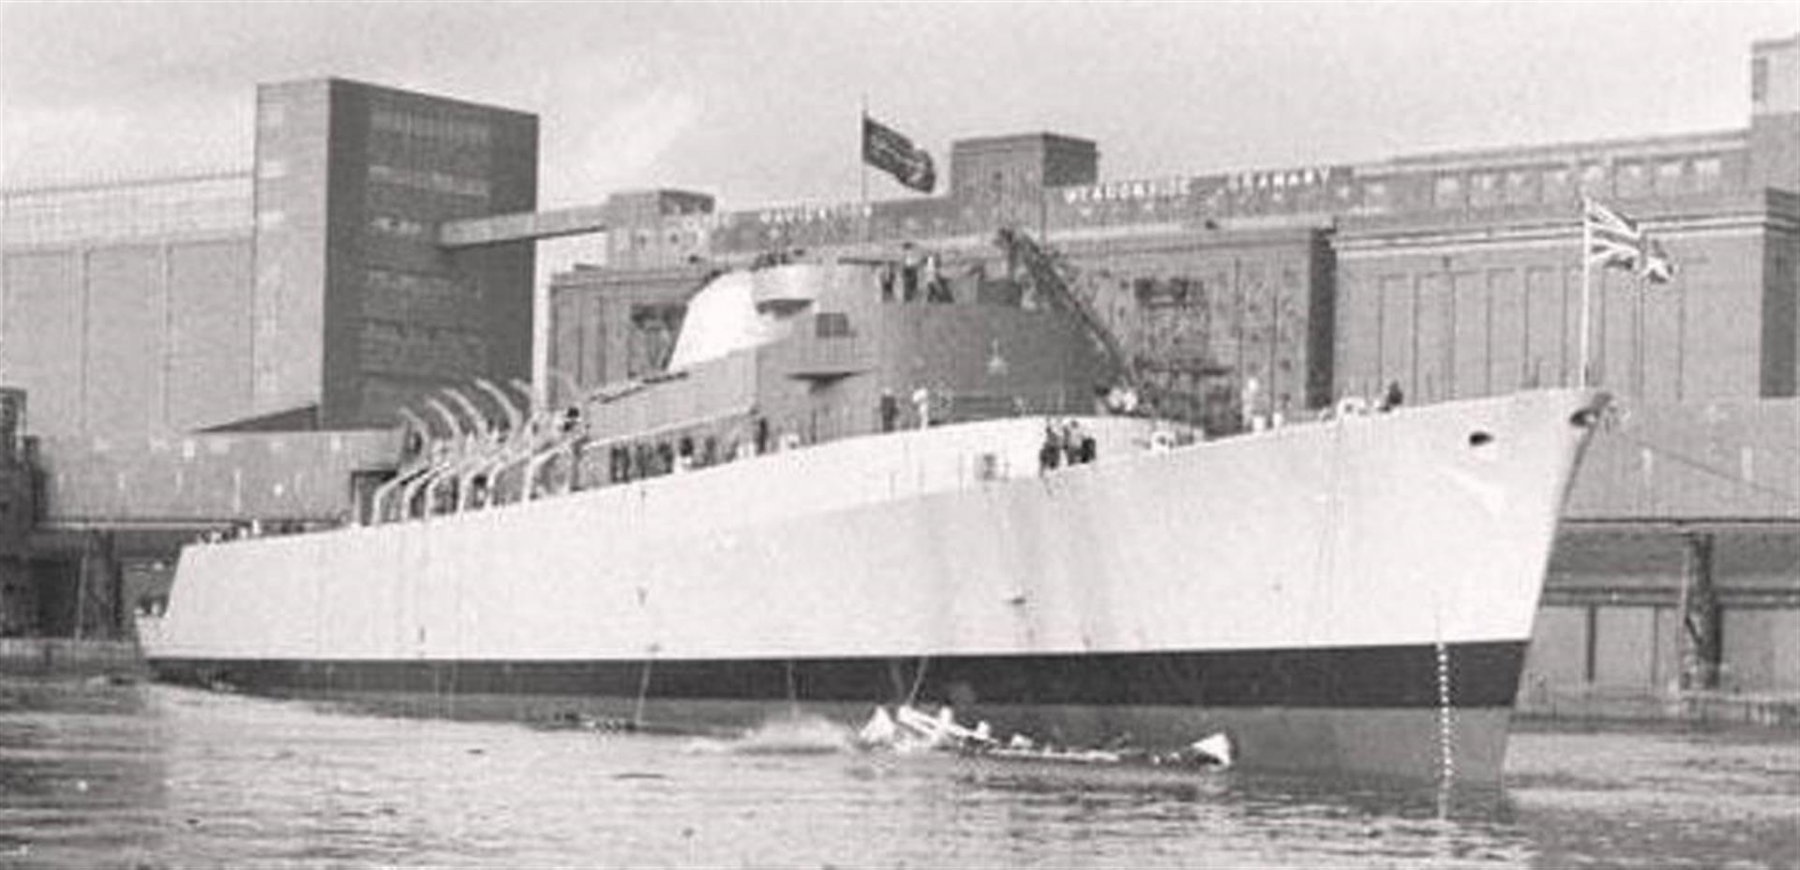
i have a weeks holiday starting this coming weekend, i think it will be time to sort out how I am going to join the superstructure to the hull, then i can think about the supports to the director platform and positioning of the davits, which funnily enough were fitted to the real ship before even fitting out commenced NOT MY PHOTO
-
NOT MT PHOTO from the angle of my last photo, i managed to find this
-
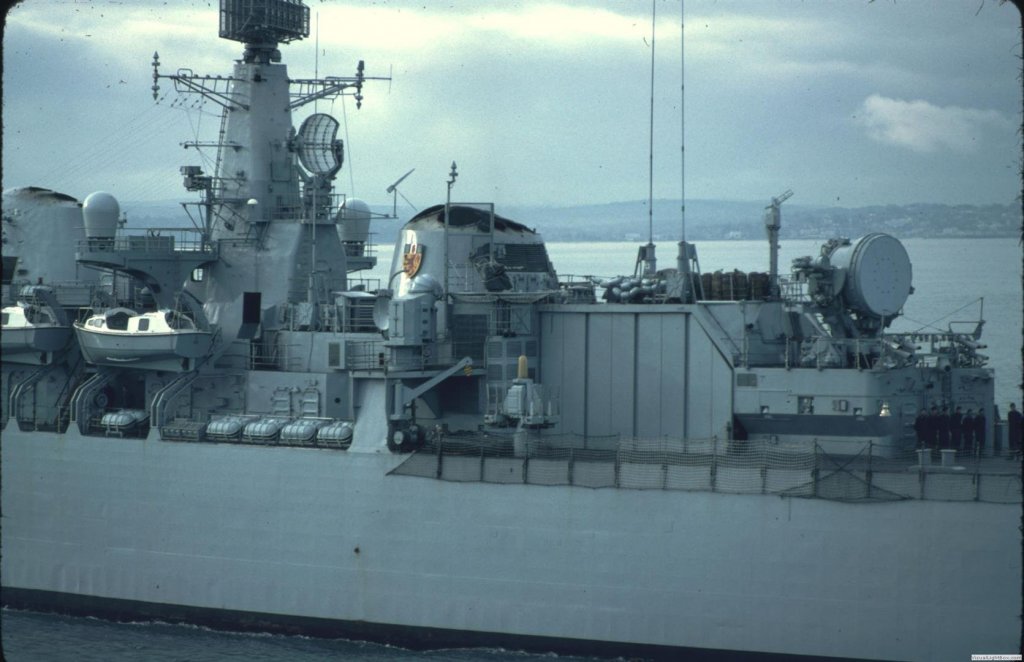
Good evening everyone, and another little update, and another apology for not catching up on others work, still continuing on the after superstructure all doors in place at deck level hanger door in folded position are made but not yet secured vents in the process of being scratched the smaller ones around the hanger door pillar, were bought from Modelling timbers, and 4 of the 12 are fitted hanger doors, i made the required then put spacers inbetween to give the desired look, not 100% sure how i will fit then yet I need to make quite a lot of vents, im fine with the big ones, and practice is making me better at it the lower one will not be seen very much, so of the three i made today, this one was not 100% to my liking and will go there for now tonight she looks quite a lot like this
-
She looks great, is the admiral still talking to you?
-
i am following as well, brilliant start
-
mark at long last i have caught up with you log, i think it was June last year that i last did so, perhaps i should be thrown out of MSW for my absence, if however you wish me to stay, then i would like to say she looks brilliant well done
-
Sorry i never made my original post very clear, the lights are remote control but also adjustable , the phots show them at 100% but are dimable to off, plus different sequences, non of which are used much by the Royal navy in their lighting configurations, i might try a video this weekend to show how it works, although im not sure that this site allows it, but could YouTube it
.thumb.JPG.c59dabb78592b6ea7cee5278370f9bee.JPG)
.thumb.JPG.b20bd8e264bab796a4d73af28cb70b53.JPG)

-
far to bright but i can reduce that brightness down to 25%, and make it do all sorts of other things that RN warships are not known for doing
-
Good evening everyone what have i done this weekend Well i taught myself how to solder, (very badly though), but i am sure i can get better i wanted to sort the lighting out in the hanger so i used two brass strips as the connections and proceeded to attach the positive and negitives to seperate sides but with that came a load of failures, did some damage to parts i wasn't working on but nothing is lost and can be replaced, 3mm Leds for the white lighting and led strips for the red, both have there own power source and are both remote control this was a failure as i had to much wire and to many were crossing each other, so as a result the hanger roof didnt fit reverse side before a tidy up red lighting not so in your face
-
THE doors came from Fleetscale, I need about another 10 to go on the after superstructure
-
Good evening everyone been doing some detail work, with the help of a bit of artistic licence, this is the end panel on the flight deck
-
Good evening everyone I have an update it took a bit longer than anticipated, but im happy with it so far we left her in a bit of a sad state last weekend, when I realised that i had not read the plans properly, and as a result never took the superstructure in at the right place new infills panels and new templates for the platforms made the hanger roof is still removeable another primer coat to find bits thet require more work, LOL (lots of that)
-
Good evening everyone, are you sitting comfortably? i want to tell you a story...... once upon a time, well the last couple of days made a full top for the after smoke stack been sanding and cleaning joints for quite a while now and decided to give the superstructure a base coat, to see what needs to have more attention paid to it the other reason for this is that there are now bits that need to be added, like platforms etc and so i knew everywhere pior to that point will have had a least one coat of primer the hanger roof needed to have to extension added, simple enough but they never reached the sides as if they were to small, infact what this did was bring to light a mistake of my making when I made the superstructure out of MDF this is when I should have spotted the error this what i ended up with, although i never took a photo at the time i have cut a section out to the correct size this is where the error occured, this plaform is in the correct position, but i had to cut some of it off to sit flush and the correct width from the superstructure where the arrows are is where the mistake was made, the dotted lines are below the platform (and not ignored by me), this is the amount of hull i had to cut out and the amount off platform that had to be removed this is the only photo i can find to show you what i mean (just above the red vent) it is flush with the hanger roof extention this is the state of play until this friday
-
At a quess i would say that the sea training staff were riding and if it moved it was hidden, if rigid then it was painted
-
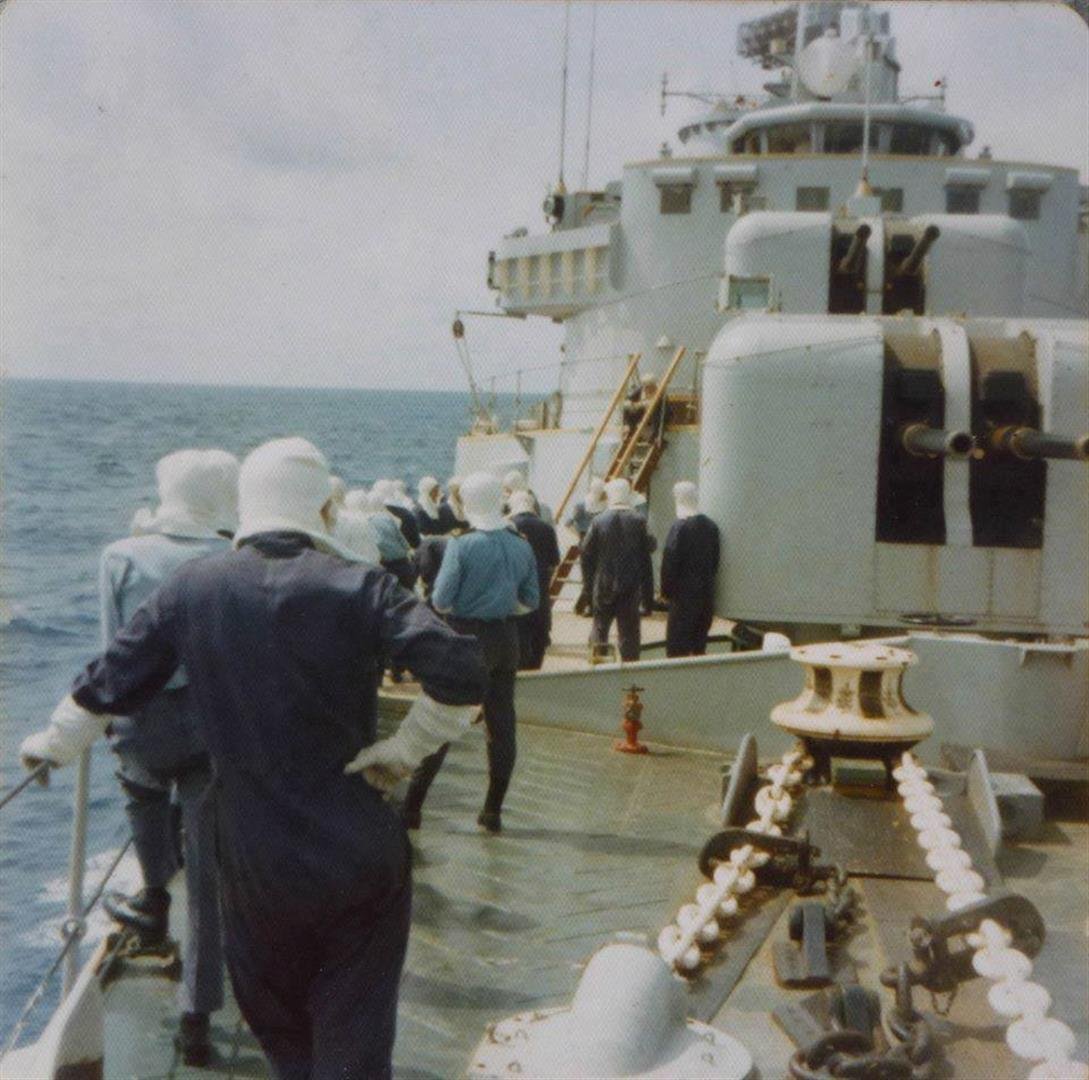
it is steel, but i have a lot of non slip strips to but on, doing it in evergreen (other makes of plastic strip are available from good model shops and the internet) like in this photo from the pointy end of the same class of ship The other bits will go on much later as i still have to make winches lockers etc NOT MY PHOTO

.JPG.325610aca11f27741d63320d46aa5b30.JPG)


.JPG.7371dee37023edafe409585bc2940517.JPG)
.JPG.fc156e7dbe4613e692584f78f95aa26d.JPG)