HOLIDAY DONATION DRIVE - SUPPORT MSW - DO YOUR PART TO KEEP THIS GREAT FORUM GOING! (Only 64 donations so far out of 49,000 members - C'mon guys!)
×


Kevin
-
Posts
7,009 -
Joined
-
Last visited
Content Type
Profiles
Forums
Gallery
Events
Everything posted by Kevin
-
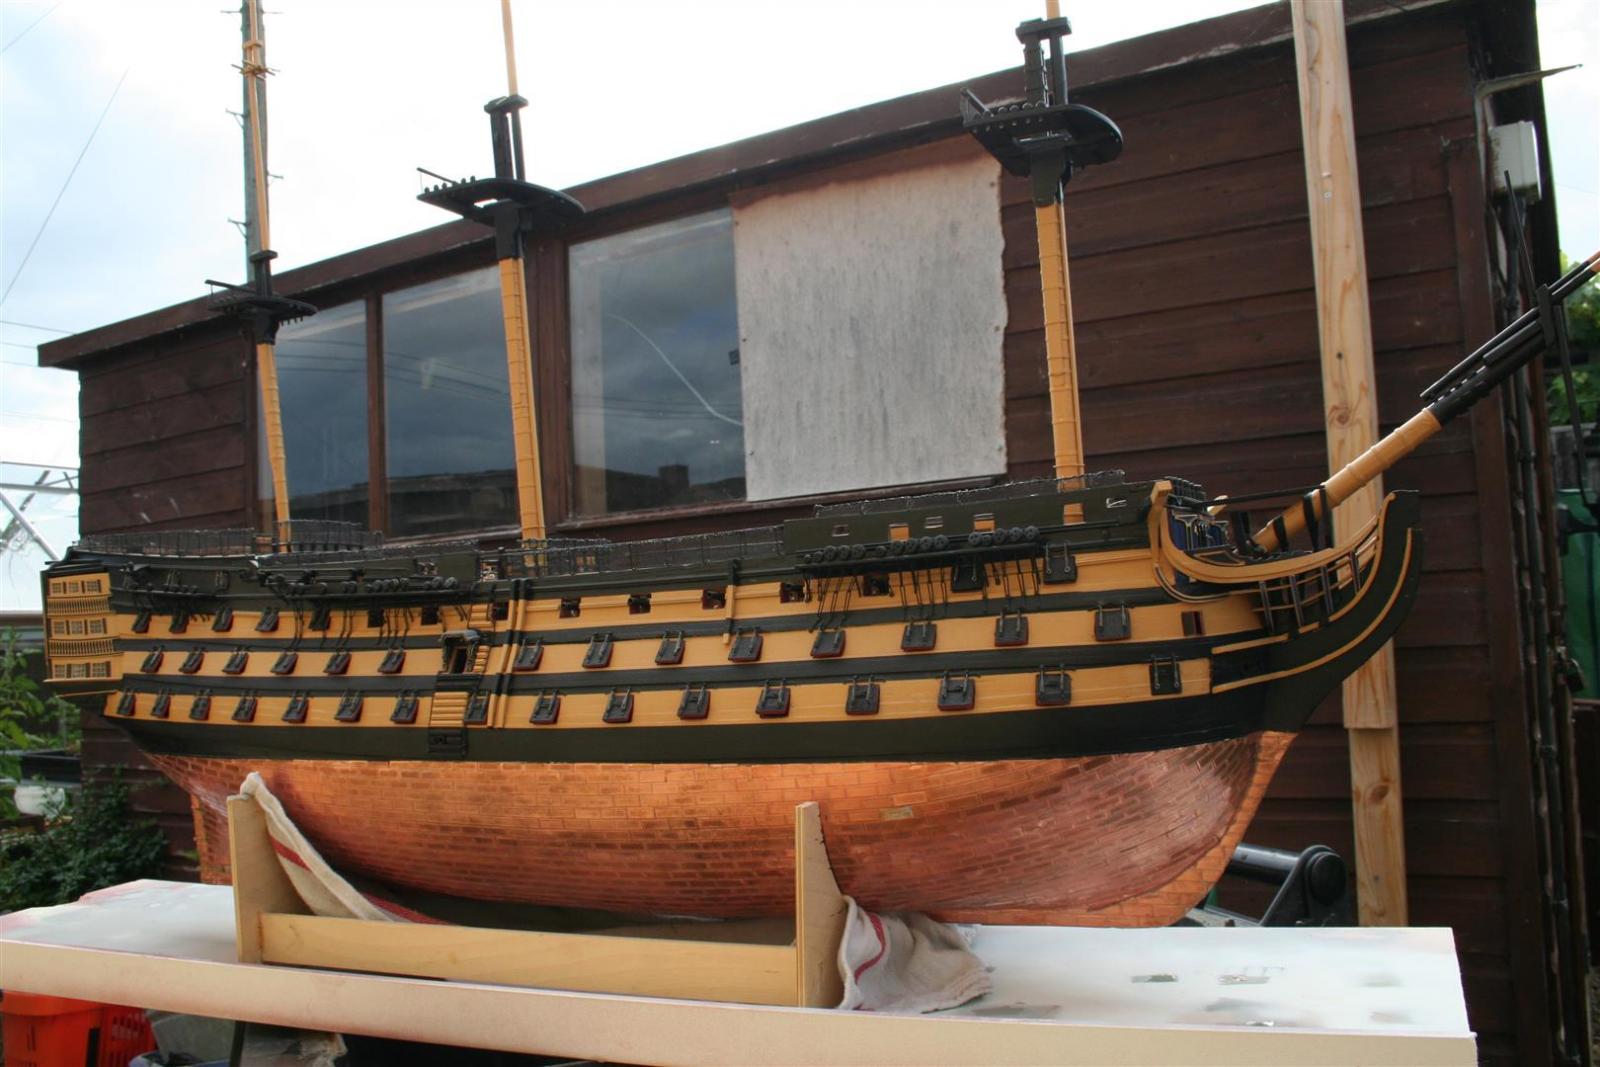
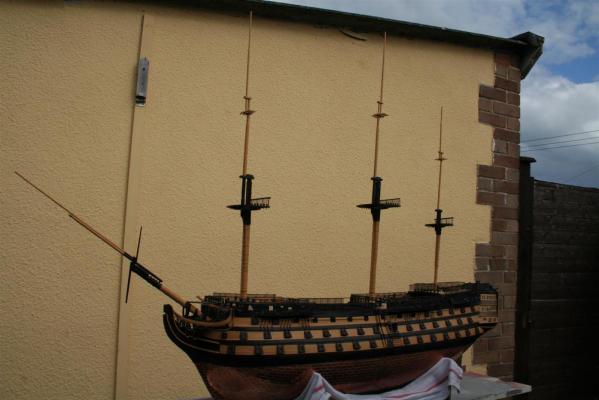
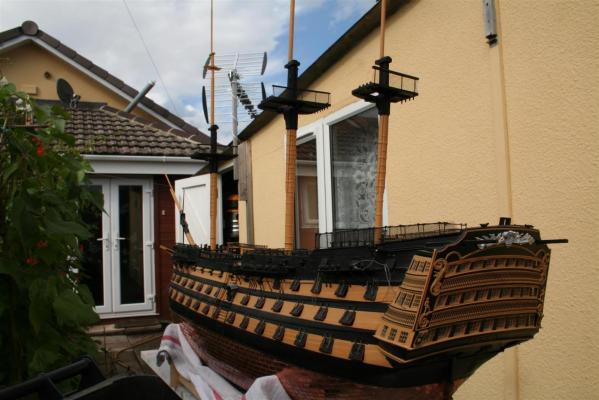
 Good evening everyone Thank-you for the replies well after a good hours dusting her off - i have reminded my self of all the bits that need to be done/ to be finished or re worked - lol the gun-port lids are not on any of them - im sure they were part of the reason for her being put to one side the three masts continue to be worked on - i have still to properly define which parts are black, or yellow -
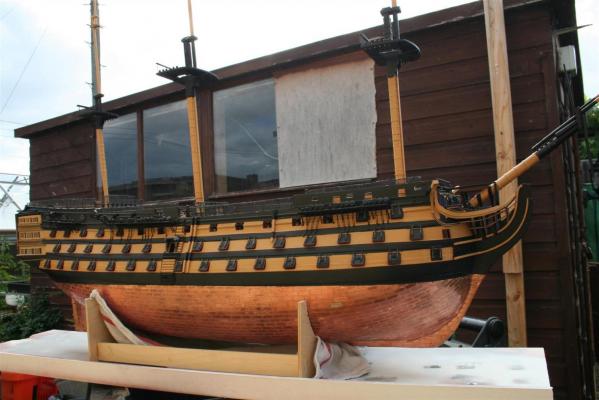


- 1,319 replies
-
- 13
-

-
- caldercraft
- Victory
- (and 1 more)
-
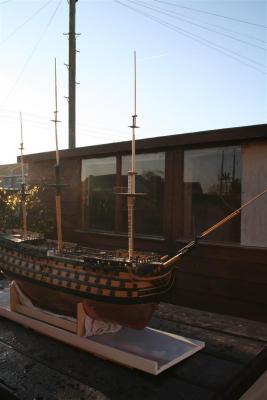
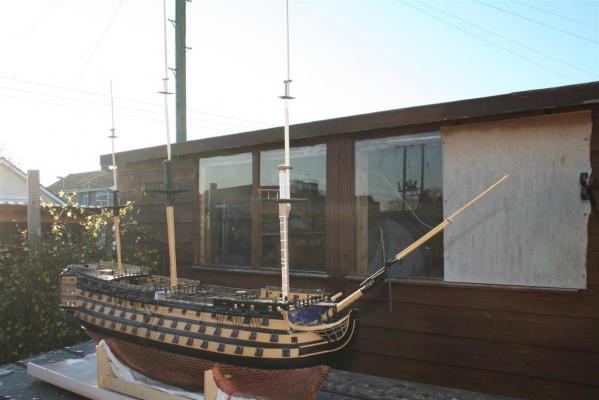
After eight months away - the cobwebs have been blown off the Vic and new sits back on the WIP bench - progressed a few other plastic model projects but nothing was finished (my life story), but this this project was always at the back of my mind, just lost the mojo anyway back to the masting - and placing the deadeyes in their representative strops on the fore mast lower top hope now to catch up on some of the fantastic build logs here

- 1,319 replies
-
- 17
-
-
- caldercraft
- Victory
- (and 1 more)
-
Happy Birthday HMS VICTORY, I hope to finish mine before it gets that old
- 1,319 replies
-
- 2
-
-
- caldercraft
- Victory
- (and 1 more)
-
she looks great in show conditions - well done - sorry I have not been around in the last few months
-
Nice to see the thread is still alive
-
Good morning Chris, i have been away from my boat building for a couple of months due to one reason or another, lol mainly the other, lovely yo see another design of yours in progress
-
Hank, I am led to believe the new hulls in the trumpy 1/200 range are not to bad, but I continue to watch your progress getting yours correct
-
Thank you for the "where am I) pm's received I am involved in a few other modelling projects at present (non ships) so I am doing little posting on my builds, but I am monitoring what's going on
- 1,319 replies
-
- 1
-
-
- caldercraft
- Victory
- (and 1 more)
-
Terrific work
-
used again today
-
perfect putty gets good reviews, I tend to yse the warhammer stuff, as I bought loads of it
-
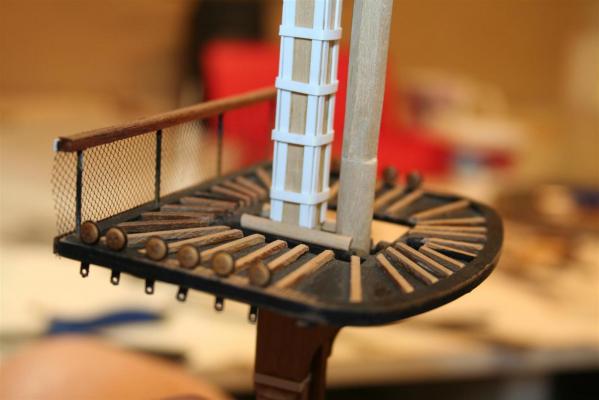
I Have noticed that with the KA kit, there is far more PE provided than is shown in the instructions, some of it is guess work as where to fit
-
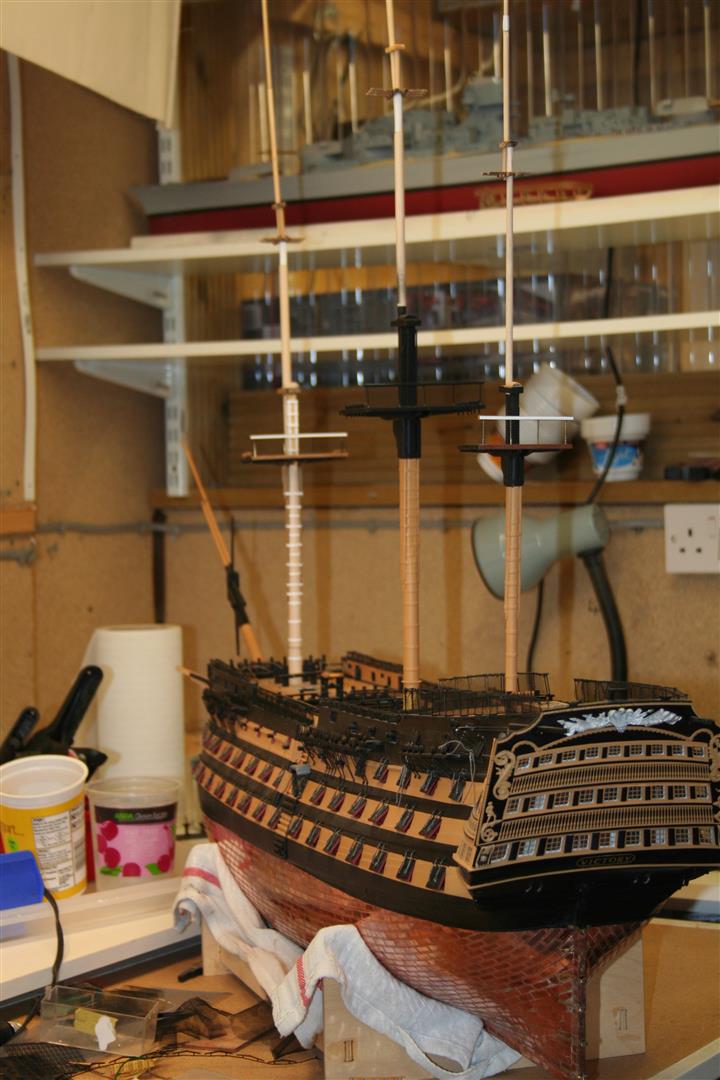
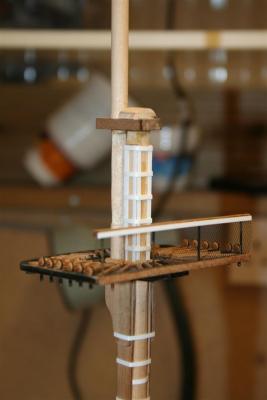
hello my friend, the picture was just a work in progress, non of the section were lined up and when on top of the bin for the photo shoot - i could not reach the top to make it look better, they are all now dis-assembled at present awaiting a new compressor for my air brush, it should all then be ok
- 1,319 replies
-
- 2
-
-
- caldercraft
- Victory
- (and 1 more)
-
I would like to wish everyone on MSW Happy New Year from Kevin, Ruth and the wabbits
- 1,319 replies
-
- 1
-
-
- caldercraft
- Victory
- (and 1 more)
-
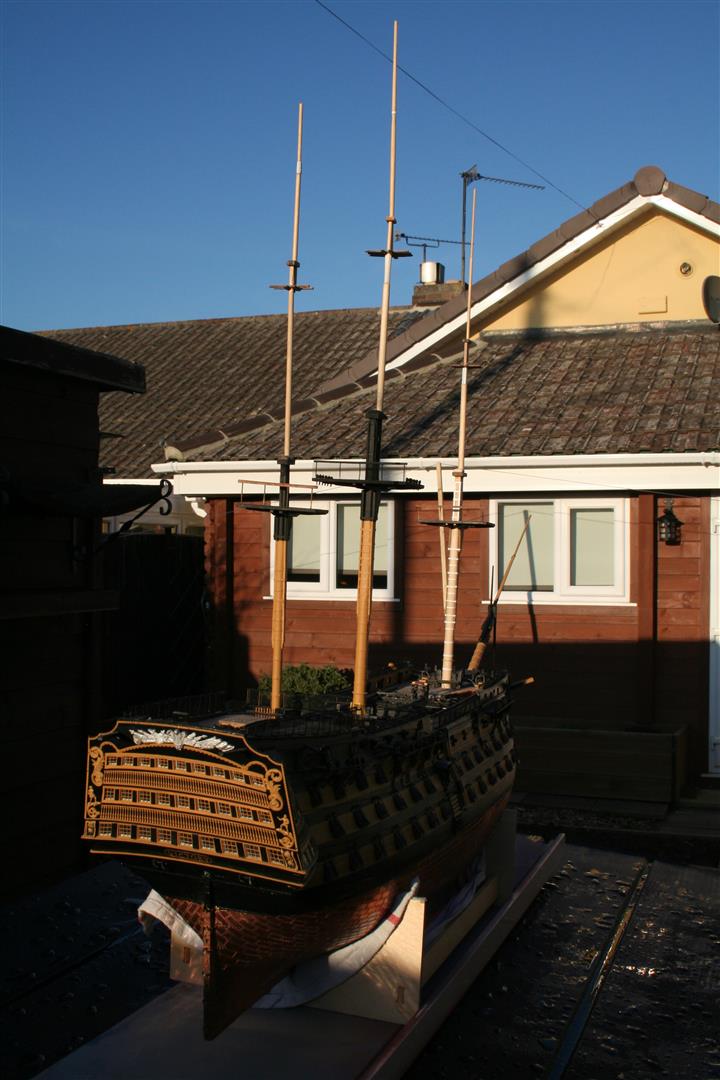
they should be ok all the sections have brass rods through them to give it some strength and allow me possibly to do the rigging in stages - but at present nothing is glued-
-
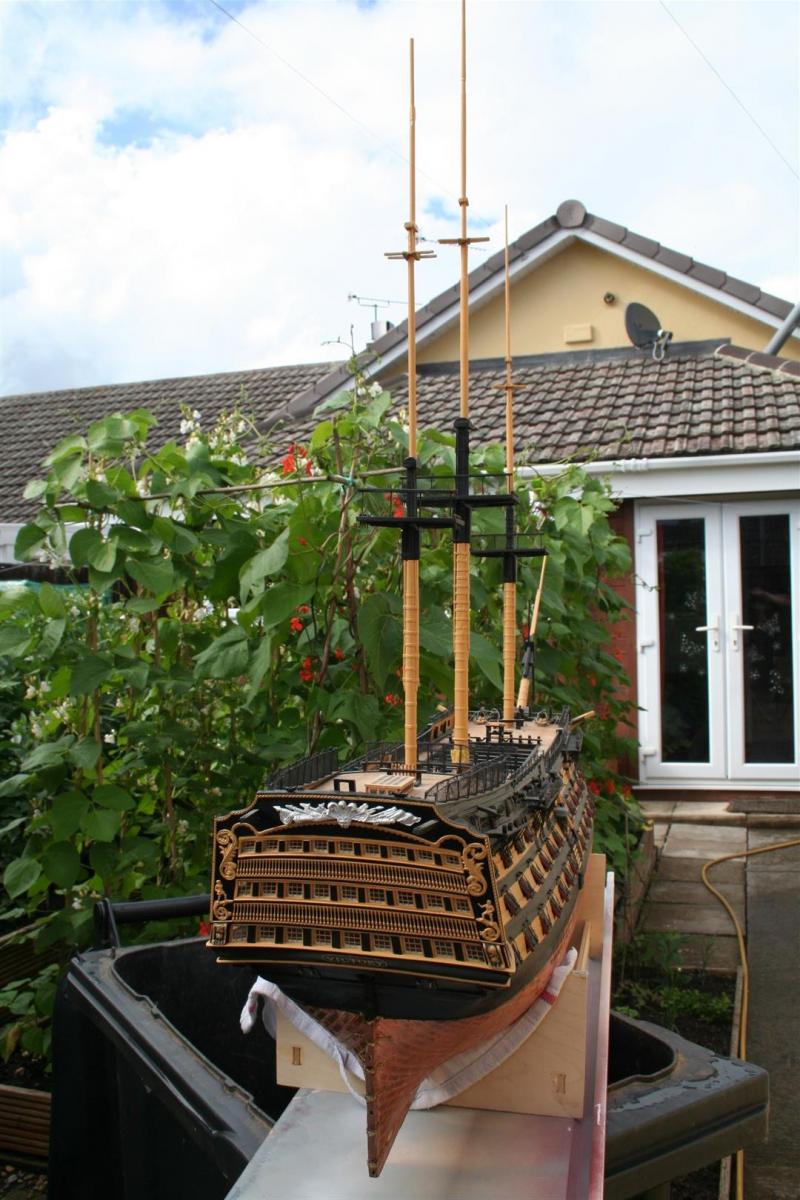
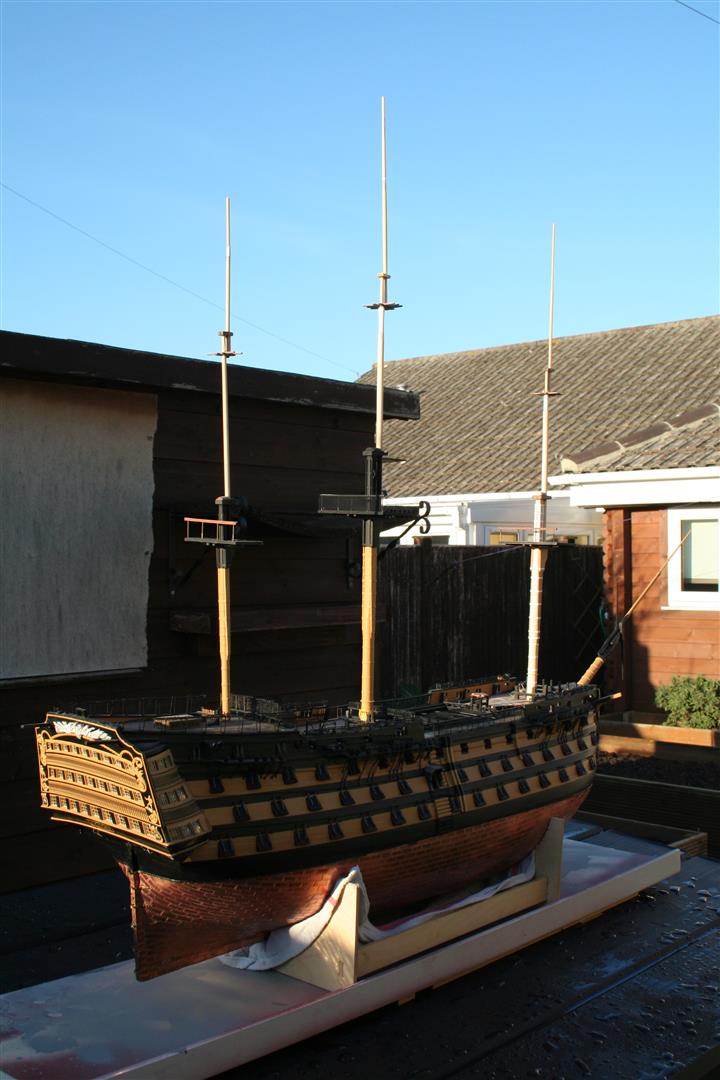
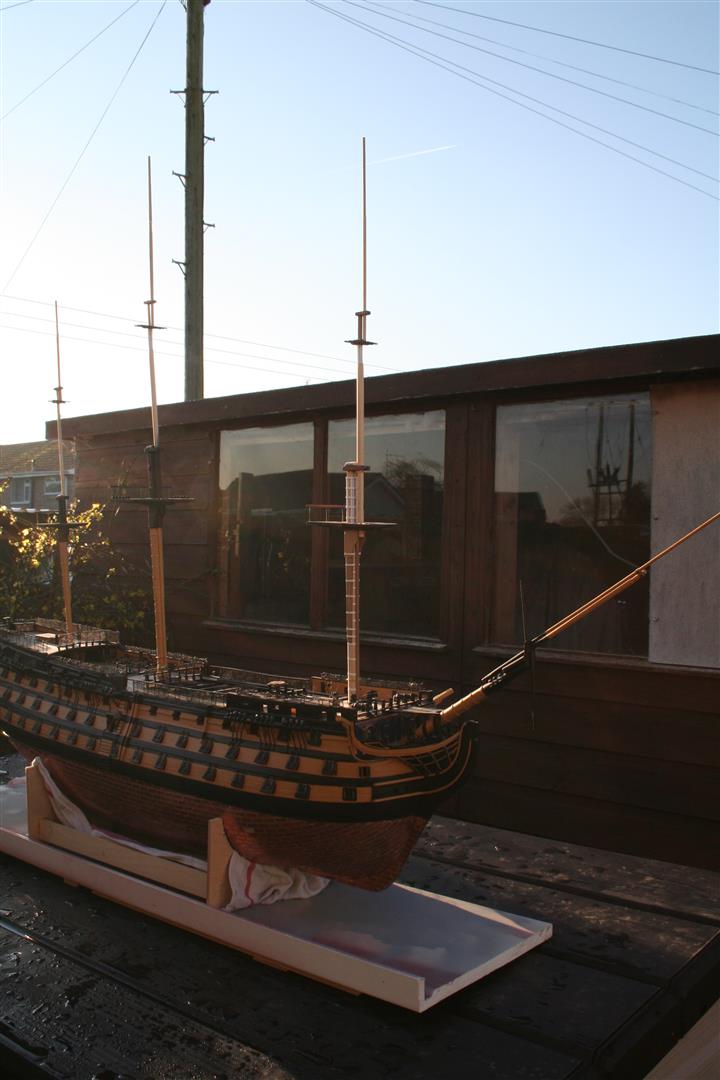
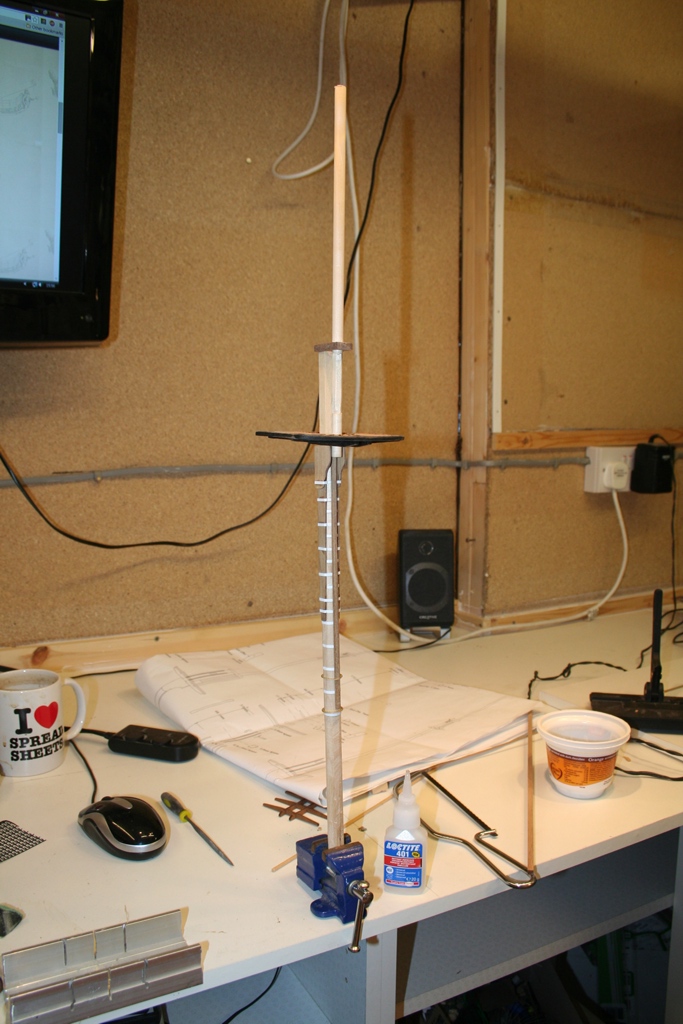
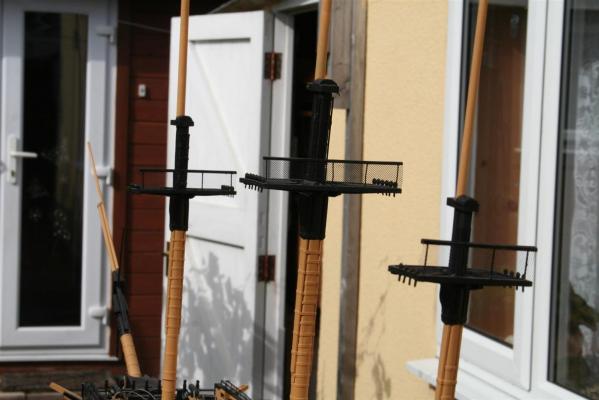
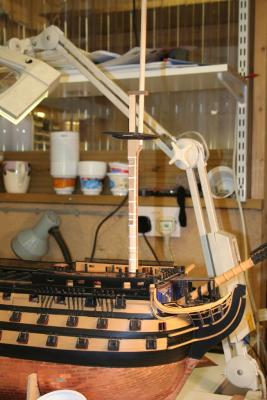
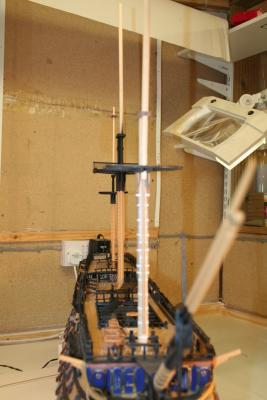
Good afternoon all WORK IN PROGRESS after three attempts i got the main mast nearly finished, looks a bit wonky , (because it is), still to pin the pieces together then a quick trip into the sunshine, although the sun is quite low and throwing all the settings out on the camera hope to have everything sprayed the right colours within a work or so


- 1,319 replies
-
- 12
-
-
- caldercraft
- Victory
- (and 1 more)
-
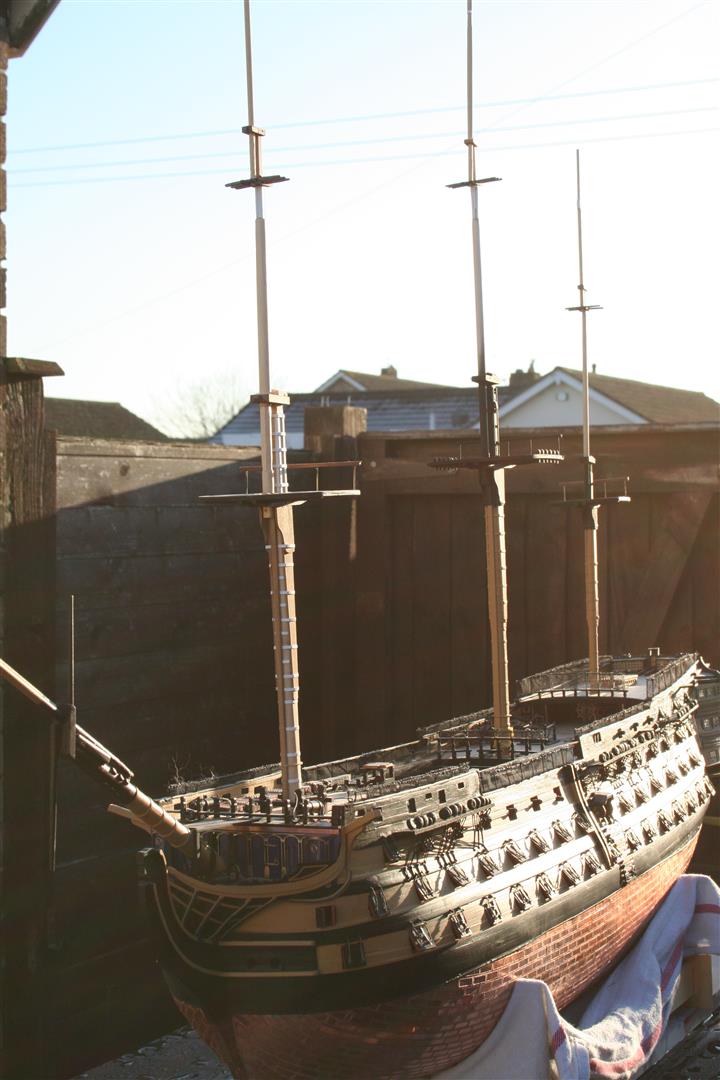
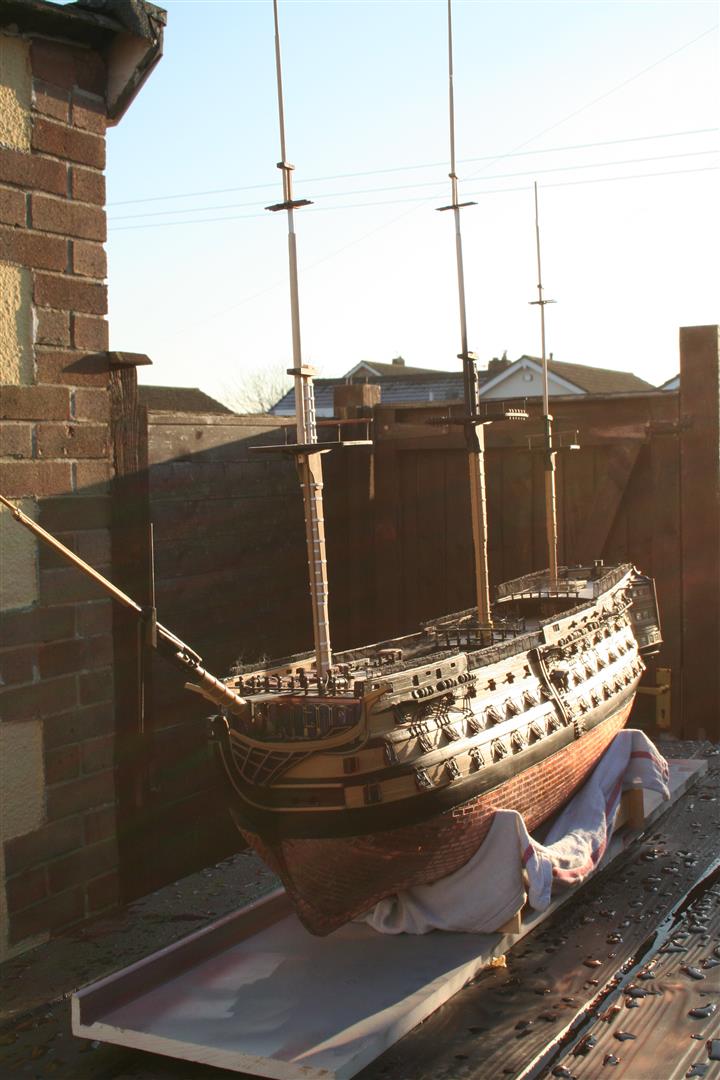
Good morning everyone Foremast is now complete and ready for painting (photo to come later), but I have a question I appreciate that on a real vessel masts were able to be removed, but in a scale representation do i permantly fix the mast into position. or continually tweak the position during the standing rigging stage
-
Good afternoon Foremast work continues, still to be fully shaped and pinned

- 1,319 replies
-
- 16
-
-
- caldercraft
- Victory
- (and 1 more)
-
I would like to wish everyone in MSW a merry Christmas and a happy new year for 2015, thank you for the support that you have given to me and others,
- 1,319 replies
-
- 8
-
-
- caldercraft
- Victory
- (and 1 more)
-
lovely work Jerry, nice to see another Vic come to completion