-
Posts
835 -
Joined
-
Last visited
Content Type
Profiles
Forums
Gallery
Events
Posts posted by woodrat
-
-
Thanks, Carl. Signor Penzo is a great modelmaker, historian and author documenting the many ships and boats of Venice and the Adriatic. His plans are meticulously researched and his models made using original techniques such as the sesto to reproduce the lines. I thoroughly recommend his plans. I have not yet met him and have not had a reply to emails. Maybe the language barrier? Anyone visiting Venice needs to look into his shop.
Dick
-
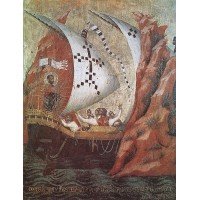
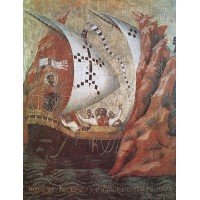
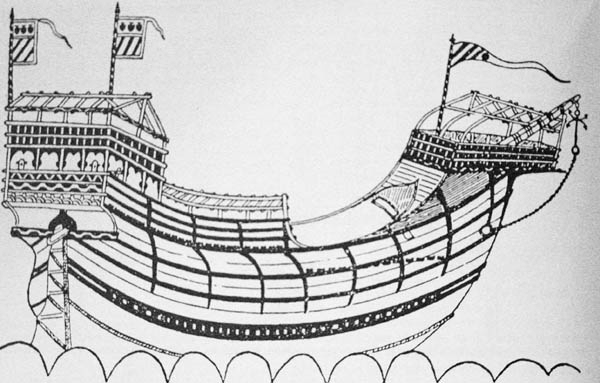
This is a first draft of the nave latina. The dimensions are taken from the Michael of Rhodes manuscript and combined with the known lines of the Contarina 1 wreck. The superstructure will be based on the ships painted by Veneziano in his cover for the Pala d'oro in the Cathedrale San Marco, Venice
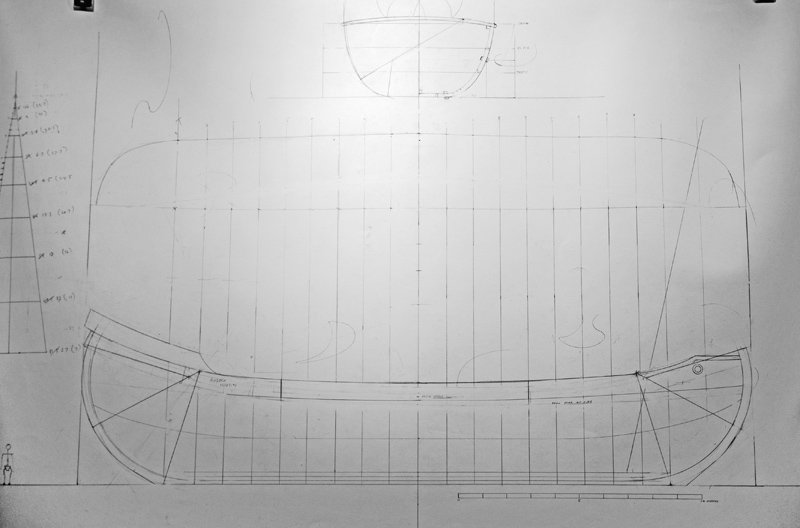
Cheers
Dick
- Louie da fly, kees de mol, AntonyUK and 4 others
-
 7
7
-
-
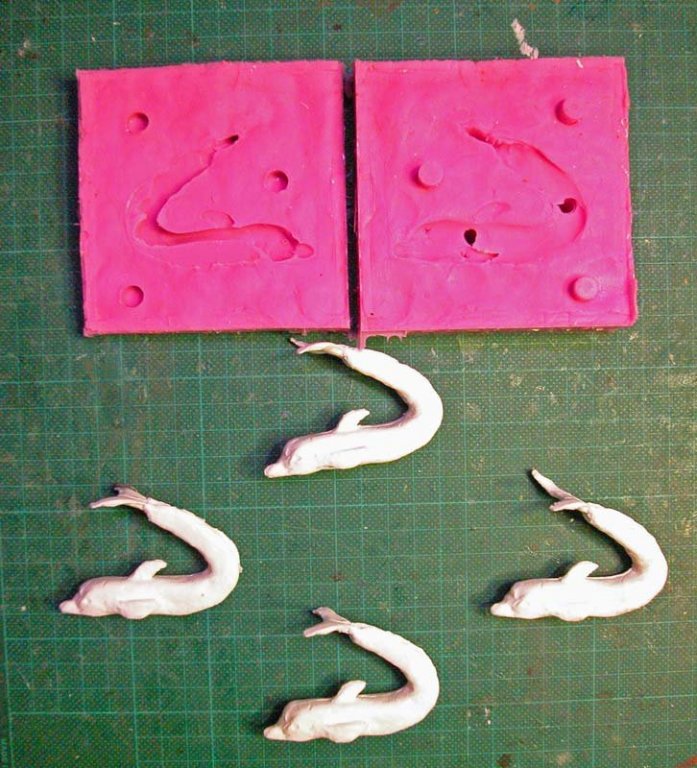
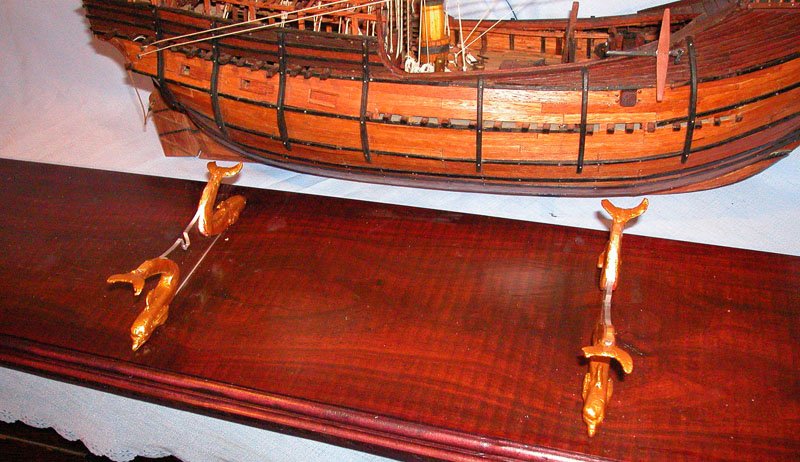
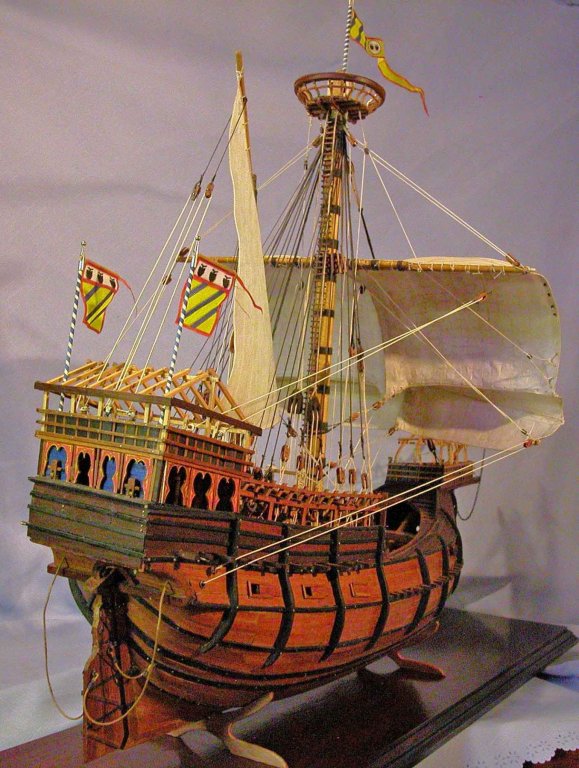
Have made the anchors from woods metal and wood but am trying to determine how they were secured. I have made a decorative stand more in keeping with the period using playful dolphins and perspex to support the nave.
Dick
-
The steps sit on the keelson with knees either side. As you say the keel is not cut into. The knees are either part of the floor or bolted into it, I think similar techniques were used in galleys but they were lightly built.
Dick
-
11 hours ago, Louie da fly said:
Are there any detailed pictures of the steps?
As requested, Steven.
a.jpg.5407ac7c7a0622868b29676cab58065d.jpg)
a.jpg.ed2b6d8a2e09c6609027a119807471e2.jpg)
It wasnt a galley but it was a lateener and at least the foremast, if not both, was canted at about 20 deg to the vertical. The mast foot may have been shaped to allow this.
Dick
- paulsutcliffe, Mark Pearse, druxey and 1 other
-
 4
4
-
The Contarina 1 wreck excavated in about 1899 had its mast steps intact. They were not raked although the foremast was canted forward being a nave latina

Cheers
Dick
- cog, Mark Pearse, druxey and 1 other
-
 4
4
-
-
-
-
-
The build almost finished. Flags of the Moro family in place (silkspan). Note: the Moro family crest consists of bunches of blackberries. This is a pun on the venetian name. The original name of the Moro family was Mauro or a moor. This was corrupted to Moro which is also the italian for blackberry. I have only the anchors yet to make.
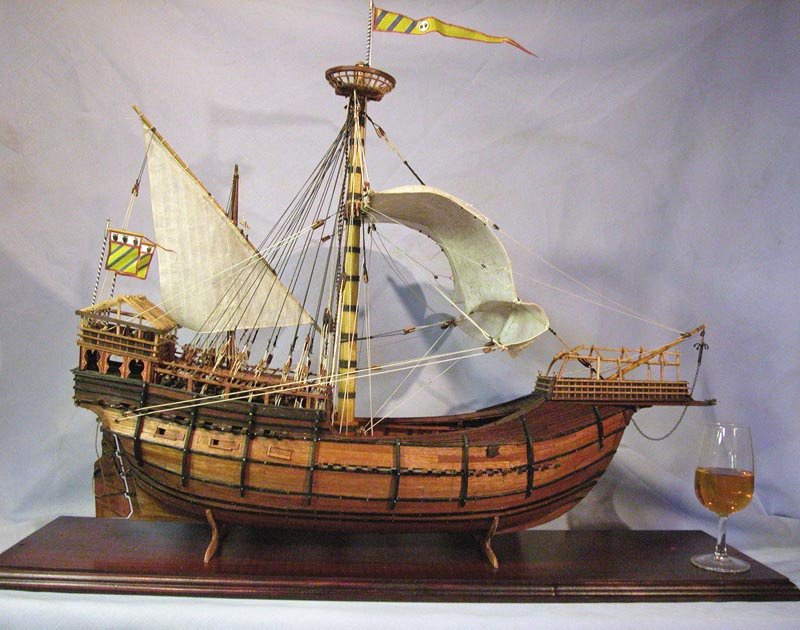
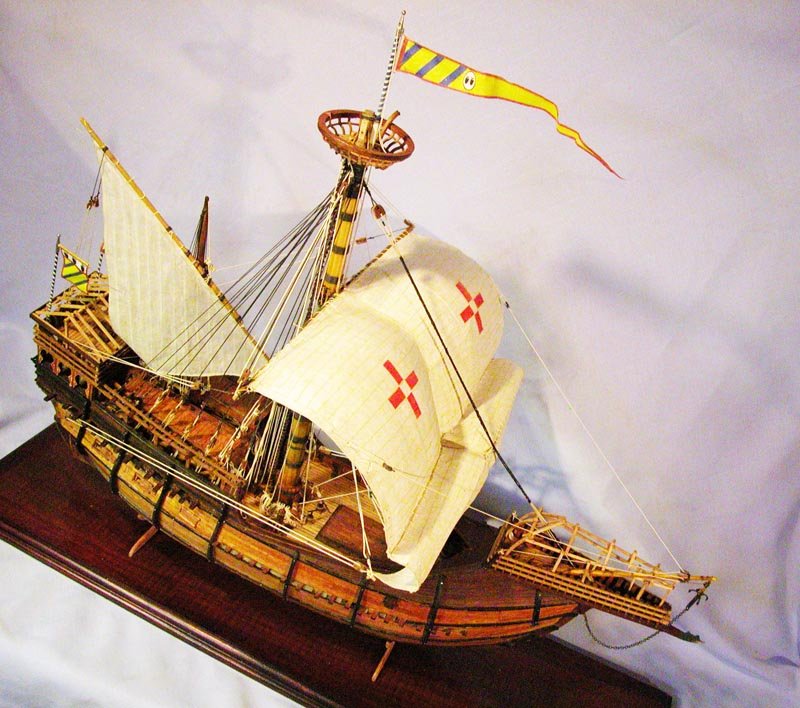
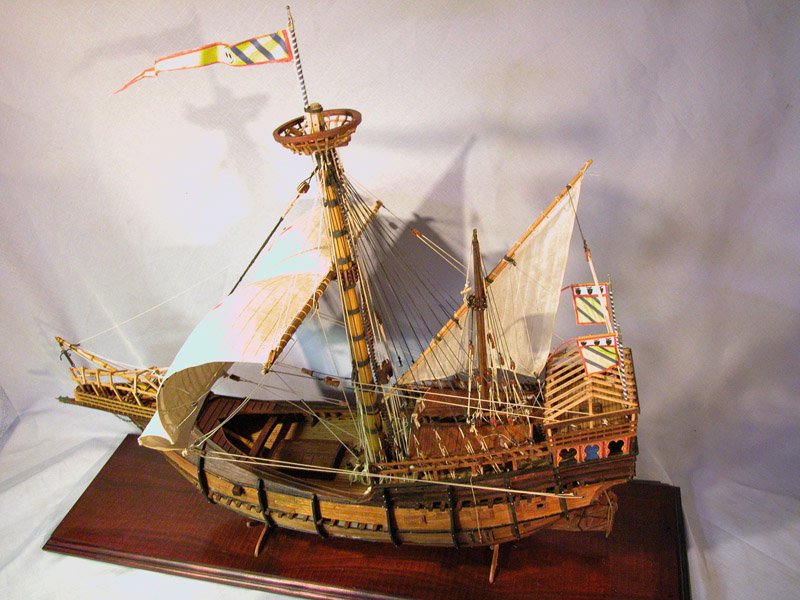
Dick
-
Having completed the venetian carrack or cocha, I now plan to reconstruct a merchant vessel that predated it and lasted into the 15th century. I have based the reconstruction on the measurements given for a nave latina in Michael of Rhodes 15th century manuscript. This has been combined with the framing details of the Contarina 1 wreck excavated and fully measured at the end of the nineteenth century. The details of superstructure and planking will be loosely based on the vessel shown in the Translatio of St Mark painted by Veneziano.
Woodrat
-
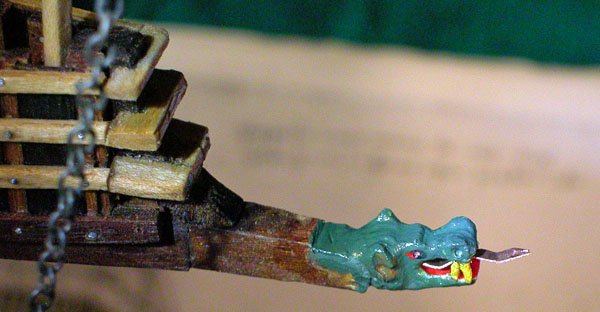
The fearsome and toothsome Dragon
Dick
-
-
-
On 18/02/2018 at 6:18 PM, Mark Pearse said:
I wonder if they were an on-board chapel (or maybe just the nave part), & when the canvas was opened to expose the nave & altar - facing forwards - the deck became like the chapel interior.
A very good thought, Mark. Many large round ships would have had a chaplain, particularly if transporting important personages. If so, Mass may have been said on the guarterdeck for all the crew, particularly at anchor. I doubt they were deployed at sea. Some of the "wings" seem to have folded down against the side and others to have folded up against the sternpost. The other panels seen above the wing seem to be painted panels on the side of the steersman's seat.
Dick
- druxey, Mark Pearse and mtaylor
-
 3
3
-
-
On 12/02/2018 at 1:32 PM, woodrat said:
Could they be collapsed awnings folded up. Some illustrations show wing like stuctures at the stern which may be the awnings extended??
I have been thinking on this and I have almost convinced myself that these are fabric awnings, not wood, that can be deployed by elevating a "stretcher" which is hinged at or keyed into the sternpost. Would this be possible at sea? What were they shielding? Spray ? Wind? Were they protecting the steersman from, wind and water? Or is this all just impractical fancy?
 Dick
Dick
More research needed
-
-
-
4 hours ago, Roger Pellett said:
The ships in Steven’s post above appear to be hulks or “hulcs” These are sort of the “missing links” of ancient naval architecture.
Indeed, Roger, I would not disagree but these strange shell-like construction on the stern, covering the steering oar, what are they? How would you model it? They are commonly seen in ilustrations of the period but serve no apparent use except for decoration. Can anyone enlighten us?
Dick
-
10 hours ago, Louie da fly said:
I wish I could work out how the sterns of some of these ships worked, particularly the ones of the Cantigas of Santa Maria.
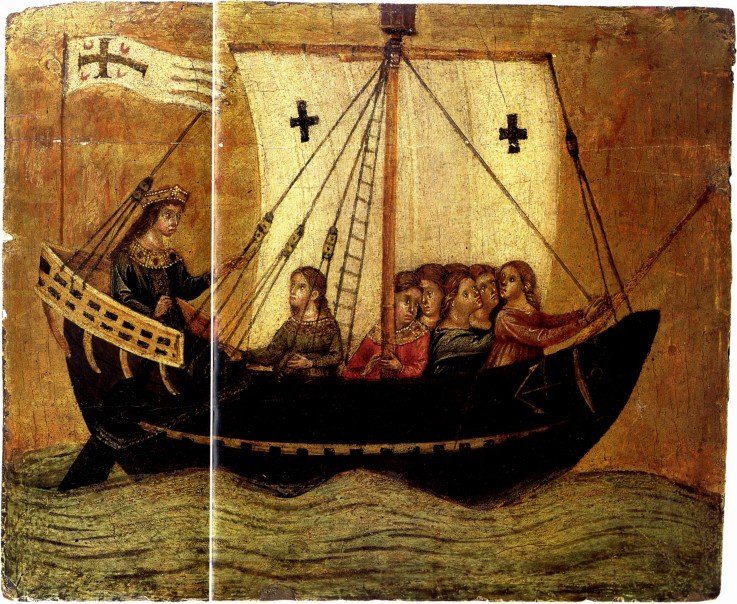
Yes, I have also been puzzling over these strange decorative transom wedding cakes. Not enough detail in most pictures. The Ships in the Ursula cycle and the Translatio of St Mark of Paolo Veneziano are highly detailed and it is likely I will choose one of these. The Contarini ship may be useful for hull structure.
-
Thanks, Tom, Druxey, Carl and Vivian. I greatly appreciate the positive comments and all the likes. It keeps the oxytocin levels high. I still have a few things to do such the anchors and some titivating before I seal it away in the case. I am thinking of the next project which may be a 13th or 14th century mediterranean lateener (not a crusader ship, Steven). As well, I must finish the framing of the Gros Ventre which was put on hold because of the carrack build.
Cheers
Dick
- CaptainSteve, cog, Vivian Galad and 2 others
-
 5
5


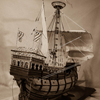
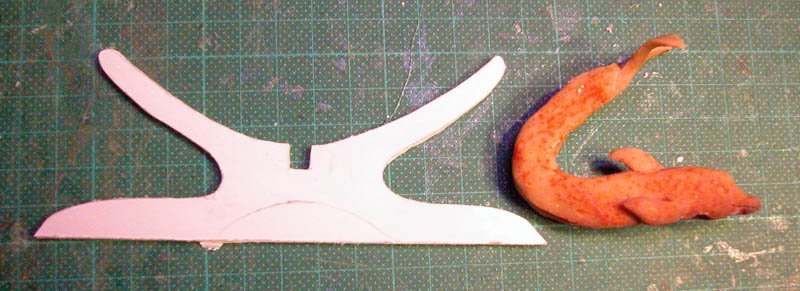
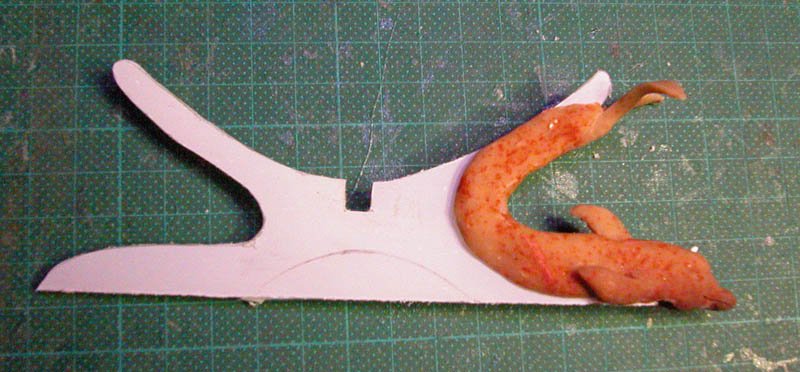
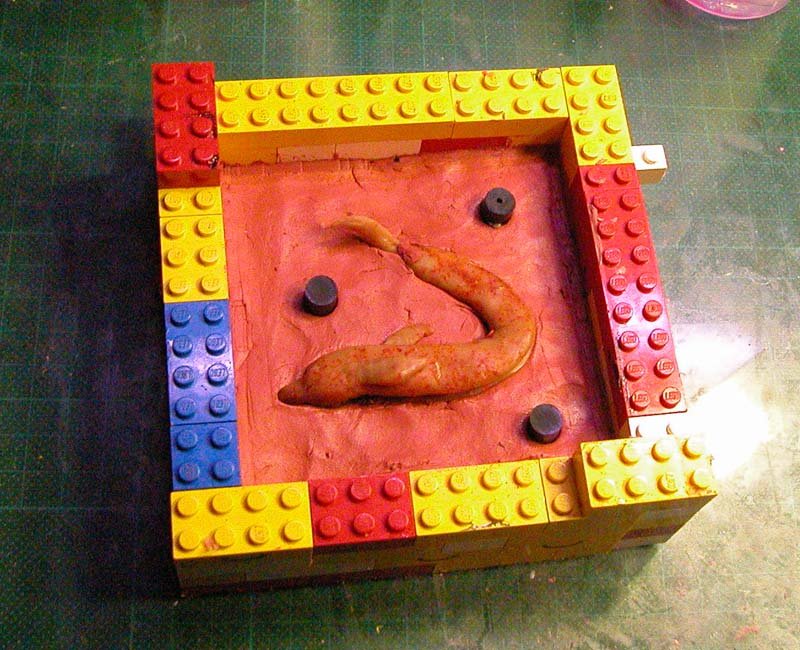
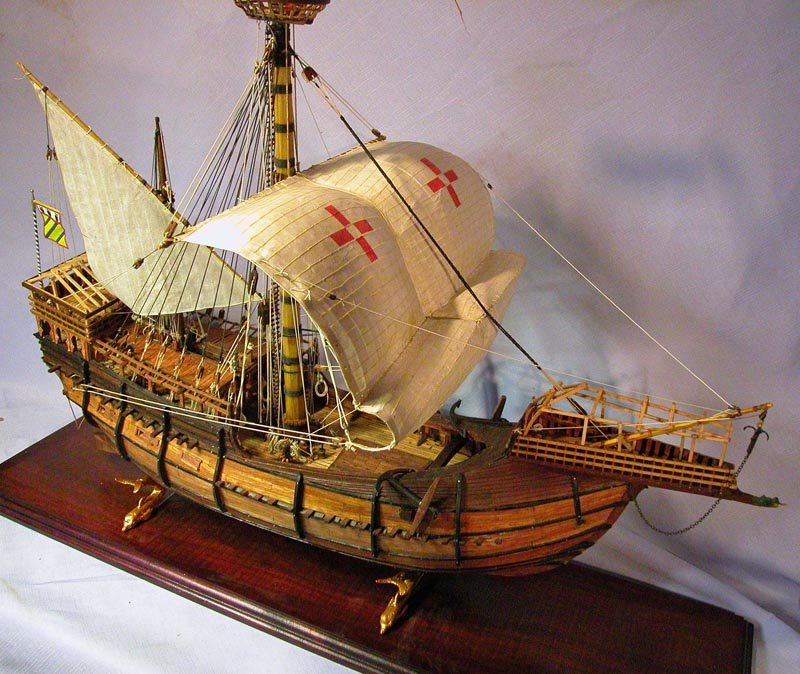
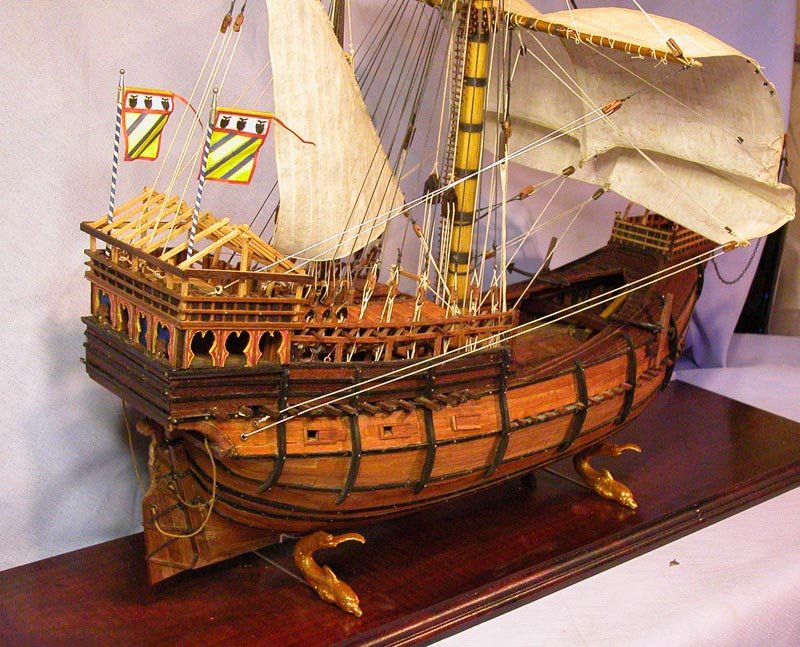
Venetian Round Ship c. 13th century by woodrat - FINISHED - 1:32 scale - fully framed
in - Subjects built Up to and including 1500 AD
Posted
The plan lines cleaned up
Dick