
HOLIDAY DONATION DRIVE - SUPPORT MSW - DO YOUR PART TO KEEP THIS GREAT FORUM GOING! (89 donations so far out of 49,000 members - C'mon guys!)
×
DavidG
-
Posts
217 -
Joined
-
Last visited
Content Type
Profiles
Forums
Gallery
Events
Everything posted by DavidG
-
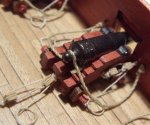
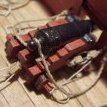 Very nice hooks. a less convincing but faster method is to modify kit eyebolts into hooks- i do it all the time.
 -
what to say.. 2200 USD
-
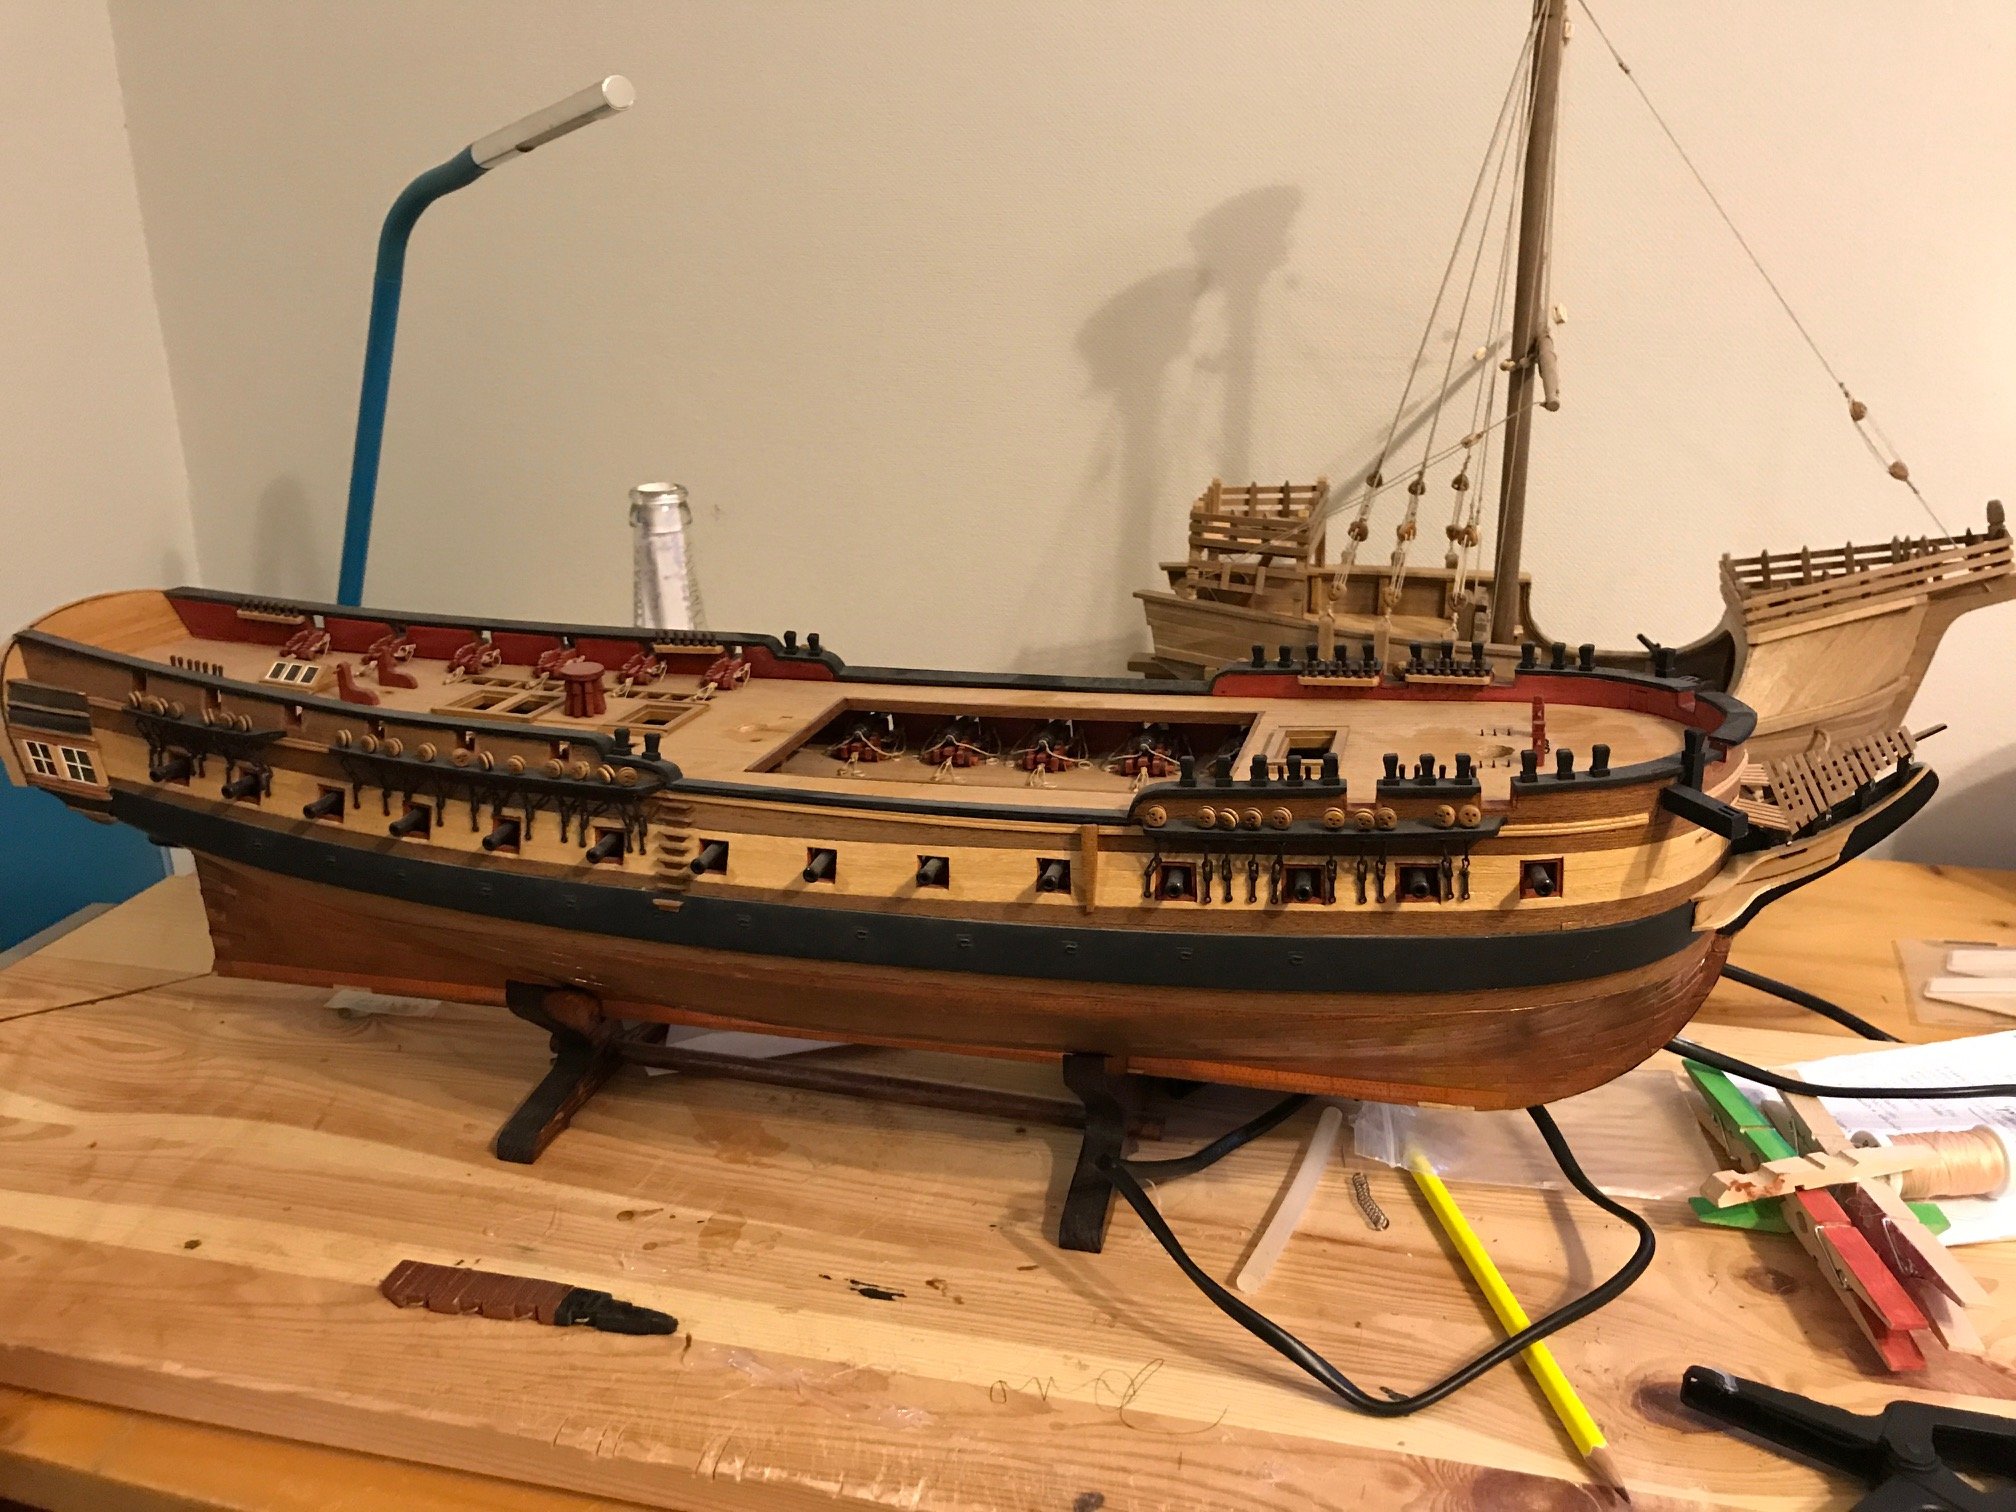
you made great progress, good luck for your build! I built the Occre Diana, which seems to be the same kit under a different name. It was quite long ago, but I have a build log here (sort of..). best, David
-
Sovereign of the Seas 1637 by Tuvok - 1:78
DavidG replied to Tuvok's topic in - Build logs for subjects built 1501 - 1750
Incredible🙂 i think we should learn from you🙂 -
I would consider to simply plank it with 1st planking strips instead of the gunport pattern. You will get the same result. It's a bit more work, as you have to trace the openings and cut them out, maybe adjust the upper edges, but all goes behind second planking anyway.
-
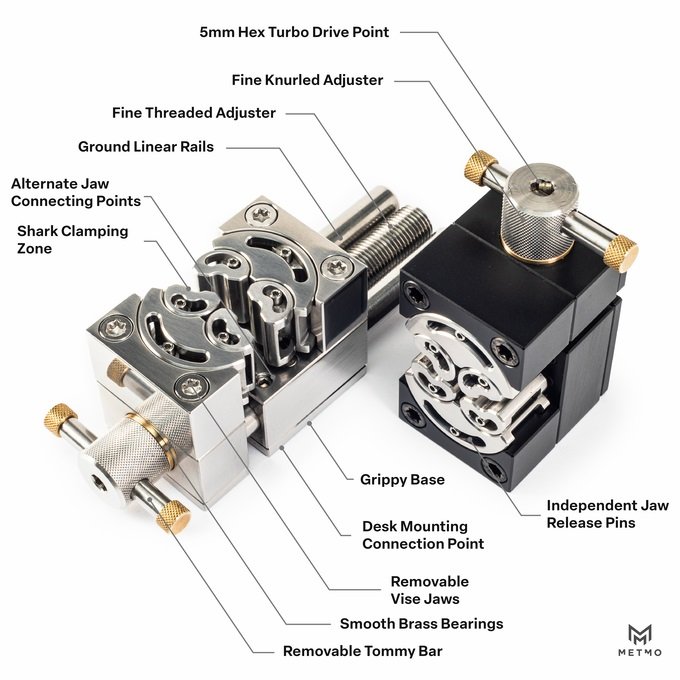
just came accross this, a vise for small workpieces of any shape. seems to be a wonderful product of machining. link picture is from the Kickstarter page.
-
it seems the photoetched ones ar avaliable on the Caldercraft strore here, should you give them a try.
-
Caldercraft makes PE eyebolts, I used them and they are really small. Link
-
Very nice work. I always liked these old Dutch ships. there is a fine galleon in the background in one of the pictures. What ship is that, is it scratch built? david
-
Need AL HMS Bounty rigging instructions
DavidG replied to Willem Basson's topic in Wood ship model kits
you can look around the Artesania Latina and Occre websites, where the manuals can be donwloaded. Occre has a Bounty with instructions, including rigging plan. But any 3 masted ship from the same period will do. The Latina Hermione has a detailed rigging plan at here -
Hi Tyguy, do you have any updates on this build? It seems to be an interesting kit. best, David
-
Artesania Latina HMS Bounty rigging
DavidG replied to Willem Basson's topic in Masting, rigging and sails
while I don't have a source for the requested page, you can use the rigging plan for any 3 masted ship from the same period. from the AL https://artesanialatina.net/en/p/20-instructions archive page there are plans for Endeavour, Hermione, Surprise models, and newer ones can be downloaded from the page of their current catalog. in addition, the Occre Bounty manual is similar to the above, available here https://occre.com/en/pages/instrucciones Note, the kit rigging plans not always accurate, a good rigging book is always better. Petersson's Rigging Period Ship Models is a good choice for the Bounty, and a digital copy is $13 on Amazon. -
I came accross a review of a recently published Lego set of the Endurance. The article is written by a nautical expert, well researched, and contains a number of interesting facts about the ship and the journey. A recommended read for anyone interested in Shackleton's voyage and the Endurance itself. https://brickset.com/article/115678/review-10335-the-endurance
-
Remove Tamiya paint
DavidG replied to JoniP's topic in Painting, finishing and weathering products and techniques
There are specific paint removers by Tamiya and Revell, both works well. Most hobby shops sell them. Good luck for your build. -
this is very impressive attention to detail, congratulations ! I think to attach the toggle to the sheet line, the long tail should be pulled through the loop for a more secure connection though.
- 587 replies
-
- 3
-

-

-
- Indefatigable
- Vanguard Models
- (and 1 more)
-
They annonced a French ship to be released earlier this year. Probably this is going to be the Soleil Royal, previously sold as partwork.
-
Hello Peter, good luck for your search for the manual. It may sound silly at first... but if you have the plans and still feel the need to a pictorical manual, look thorugh a manual of a different ship from the website of Artesania Latina or Occre. These type of kits have very similar design, and you may get answers to building sequence, planking tips etc, even it's a different ship. Hope you find what you are looking for, though.
- 123 replies
-
- 2
-
-
- Le Pourquoi-Pas
- Constructo
- (and 1 more)
-
Blades for Artesania Latina Cutter
DavidG replied to brunnels's topic in Modeling tools and Workshop Equipment
Amati sells such blades like this one, but have a look around as there are different types of them. But this plastic tool is not designed to cut such thick strip as the 4x4. For that one you will need a saw. The use of this is to make repeated cuts by the same length or same angle, like cutting deck planks from thin strip (after adding a stop to the tray). If you can't cut the strip by a handheld knife, neither this tool will do. -
you may give it a good sanding, fill the gaps and add a further, thin 3rd layer of planking as an option.
-
if you look for kits, the new Artesania Latina Victory section is probably the best one on the market now.
-
you may have a look on the Artesania Latina Hermione kit for a second build here https://artesanialatina.net/en/ships-advanced/484-wooden-model-ship-kit-hermione-la-fayette-frigate-8421426325171.html?mot_tcid=e87a7115-6a0e-4f2d-91d3-dbc3fbc2526a. It's a newer design than the Occre one, and definitely fulfils the need for detailed instructions. Still uses plywood parts a lot, but for the price it seems to be a decent offering.
-
It wasn't a bad idea but.. Before painting, one-two layers of gloss varnish would prevent the paint soaking into the surrounding wood. Then you can brush paint the letters, wiping off the excess in the process, finally finishing off with flat varnish.
-
I have one of these. It's made of plastic and not self-centering, the jaws must be adjusted one by one by plastic screws. I didn't find much use of it.
-
on the Occre facebook page, people post pictures of their numbered Victory kits. Someone posted one with #249 on it. The kit must be a good seller, confirming they are on the top of the marketing game.
-
Look fore Evergreen styrene strips in model stores. Most model train stores carry it. Alternatively, you can order AK strips from Spotmodel, which is just as good : https://www.spotmodel.com/product_info.php?products_id=57771
