HOLIDAY DONATION DRIVE - SUPPORT MSW - DO YOUR PART TO KEEP THIS GREAT FORUM GOING! (Only 20 donations so far - C'mon guys!)
×


Beef Wellington
-
Posts
2,249 -
Joined
-
Last visited
Content Type
Profiles
Forums
Gallery
Events
Everything posted by Beef Wellington
-
Dang, 4 minutes :mellow: ! Back to you Eamonn.
-
Thanks Eamonn, not quite sure which is harder, answering or coming up with a new one....here you go.
-
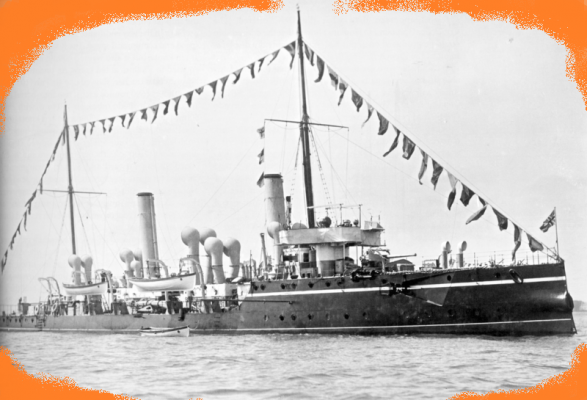
HMS Amethyst?
-
Just under 3hrs! You got her Eamonn, impressed you got it the first time as there were 4 pretty similar ships...of course one jumped out as being maybe more 'relevant' Over to you Eamonn.
-
Not a converted Flower class corvette Nigel.
-
OK, next up from me. Hopefully this one will last longer than 30mins!
-
OK...Tyr?
-
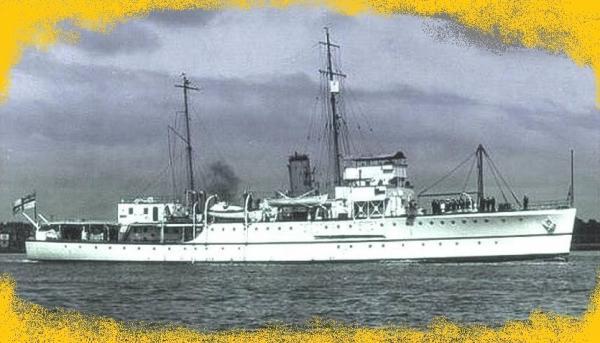
Icelandic coast guard ship V/s Ægir?
-
 Mike, I think you've hit the nail on the head.!. So much of me wants to move onto my 'next' build (which doesn't exist yet) so I can do better what with skills learned on this build, but balancing that with the ship currently in progress to do it justice is a real dilemma. Take consolation that for every additonal bit of effort and detail you put in you're getting a far nicer result that you'll be happy with (and its cheaper too than moving onto a whole new kit!). Keep up the great work!
- 153 replies
-
- 1
-

-
- badger
- caldercraft
- (and 1 more)
-
Very neat and tidy Ray. Starting to get a real sense of how the front end will look, should be really impressive. I can't help but notice a lowered #2 cannon, hope that it is nothing serious?
- 536 replies
-
- 1
-
-
- diana
- caldercraft
- (and 1 more)
-
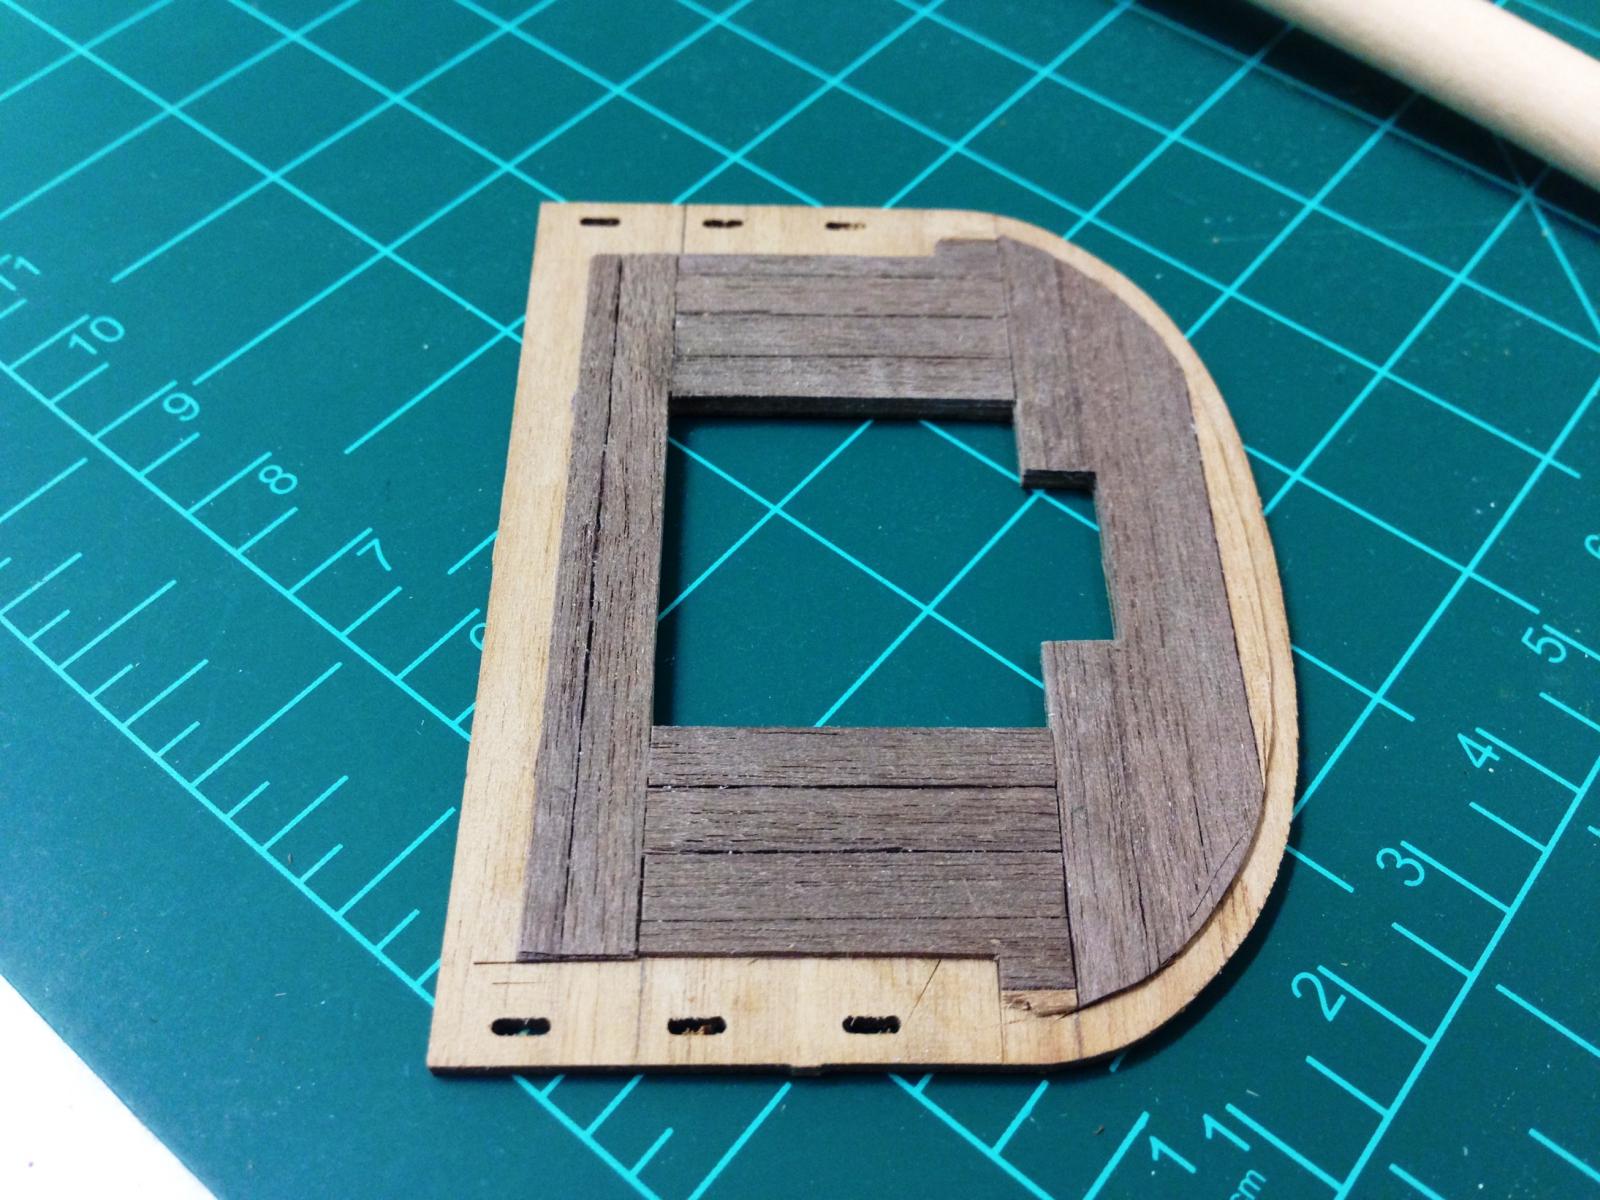
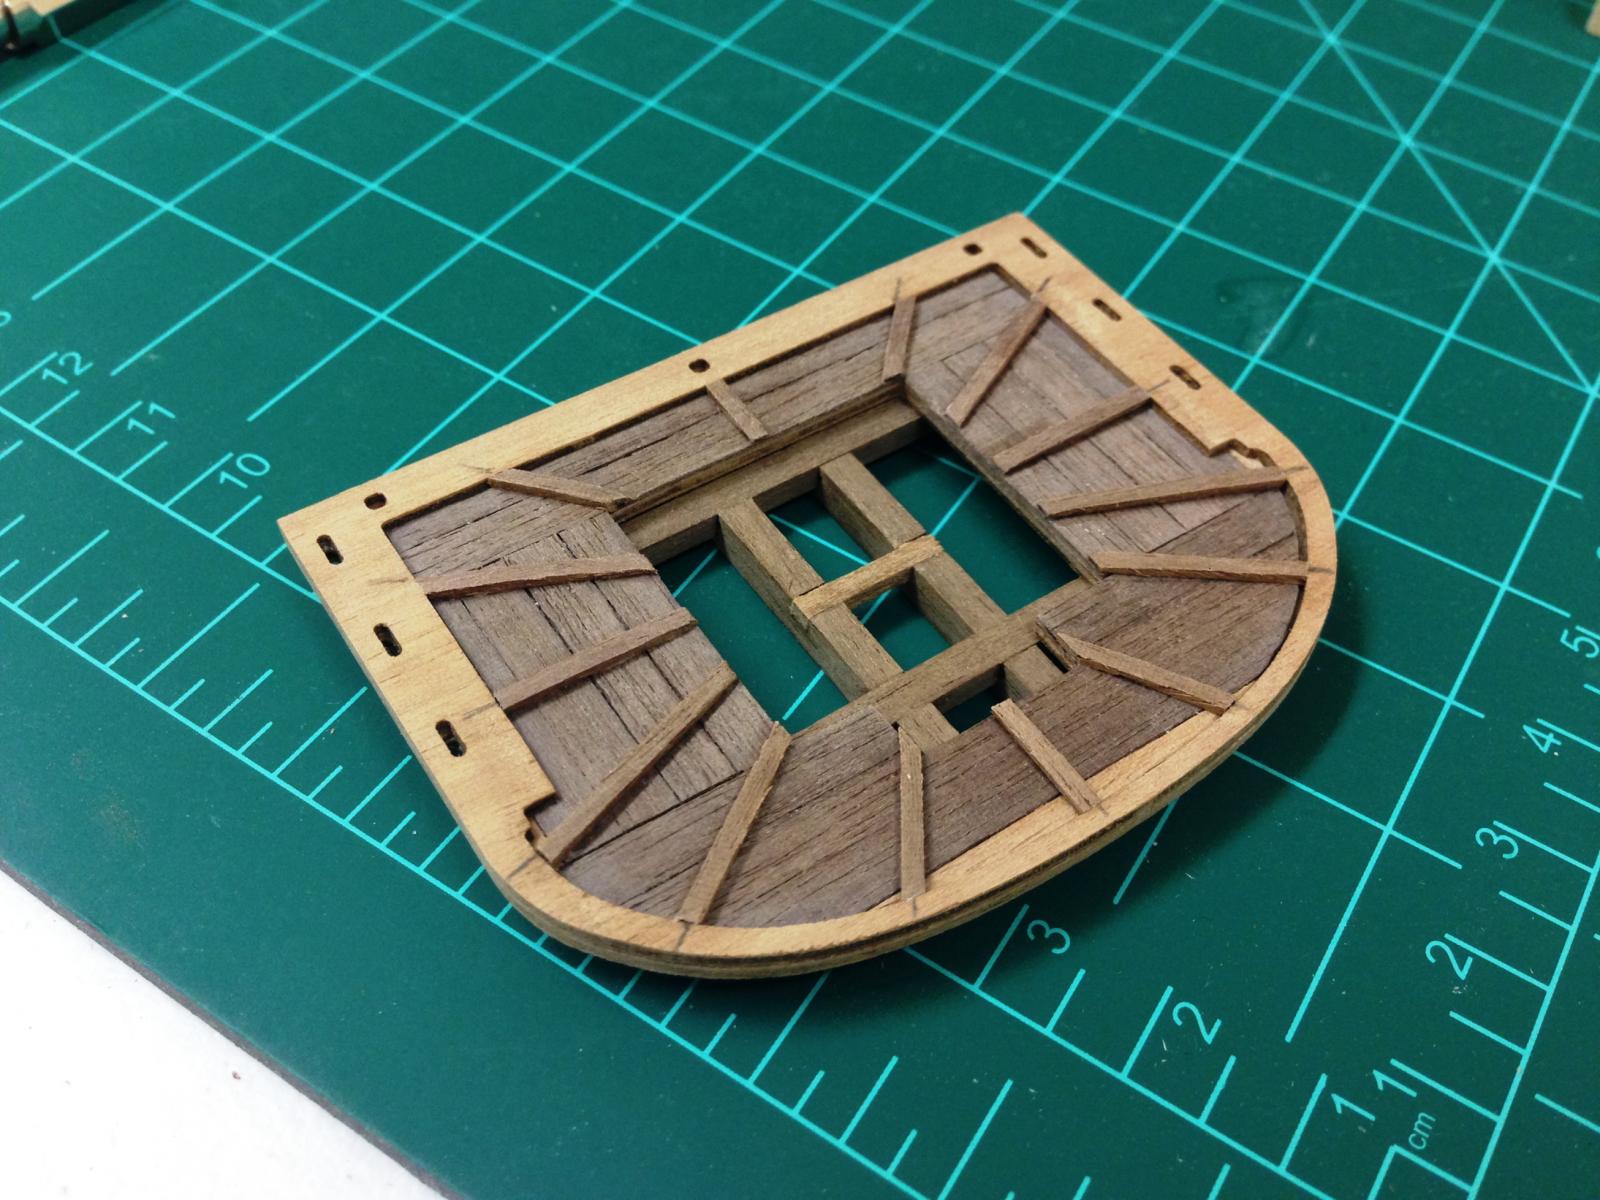
Thanks Hamilton, nothing really revolutionary, just some practice and proving to myself it can be done. Its nice working with wood again after all the carronade rigging. Another small detour on the tops. Kit supplied versions are simple ply and given that these are likely to get quite a bit of attention decided to dress these up a bit using a technique I saw on BEs excellent Pegasus build. 4x0.5mm walnut strips were glued to the ply to simulate planking, to ensure overall dimensions remained the same the edge piece was traced around with a sharp knife to remove any excess and get the correct shape. Pretty happy with the way it turned out with edge in place and the battens installed. Tried to shape these so that they get thinner toward the center and will probably tidy these up a bit more before installation.


- 800 replies
-
- 10
-
-
- snake
- caldercraft
- (and 1 more)
-
Help with question regarding HMS Victory at Trafalgar
Beef Wellington replied to AllanP's topic in Nautical/Naval History
I'm glad I became aware of this site, looks like there are quite a few friendly faces and useful info. I tried using Internet Explorer 10 and was unable to register on the site (the drag capability did not work), however using Firefox I was able to join no problem. Looks like there may be some compatibility issues with certain browsers or settings. Looking forward to exploring this some more. -
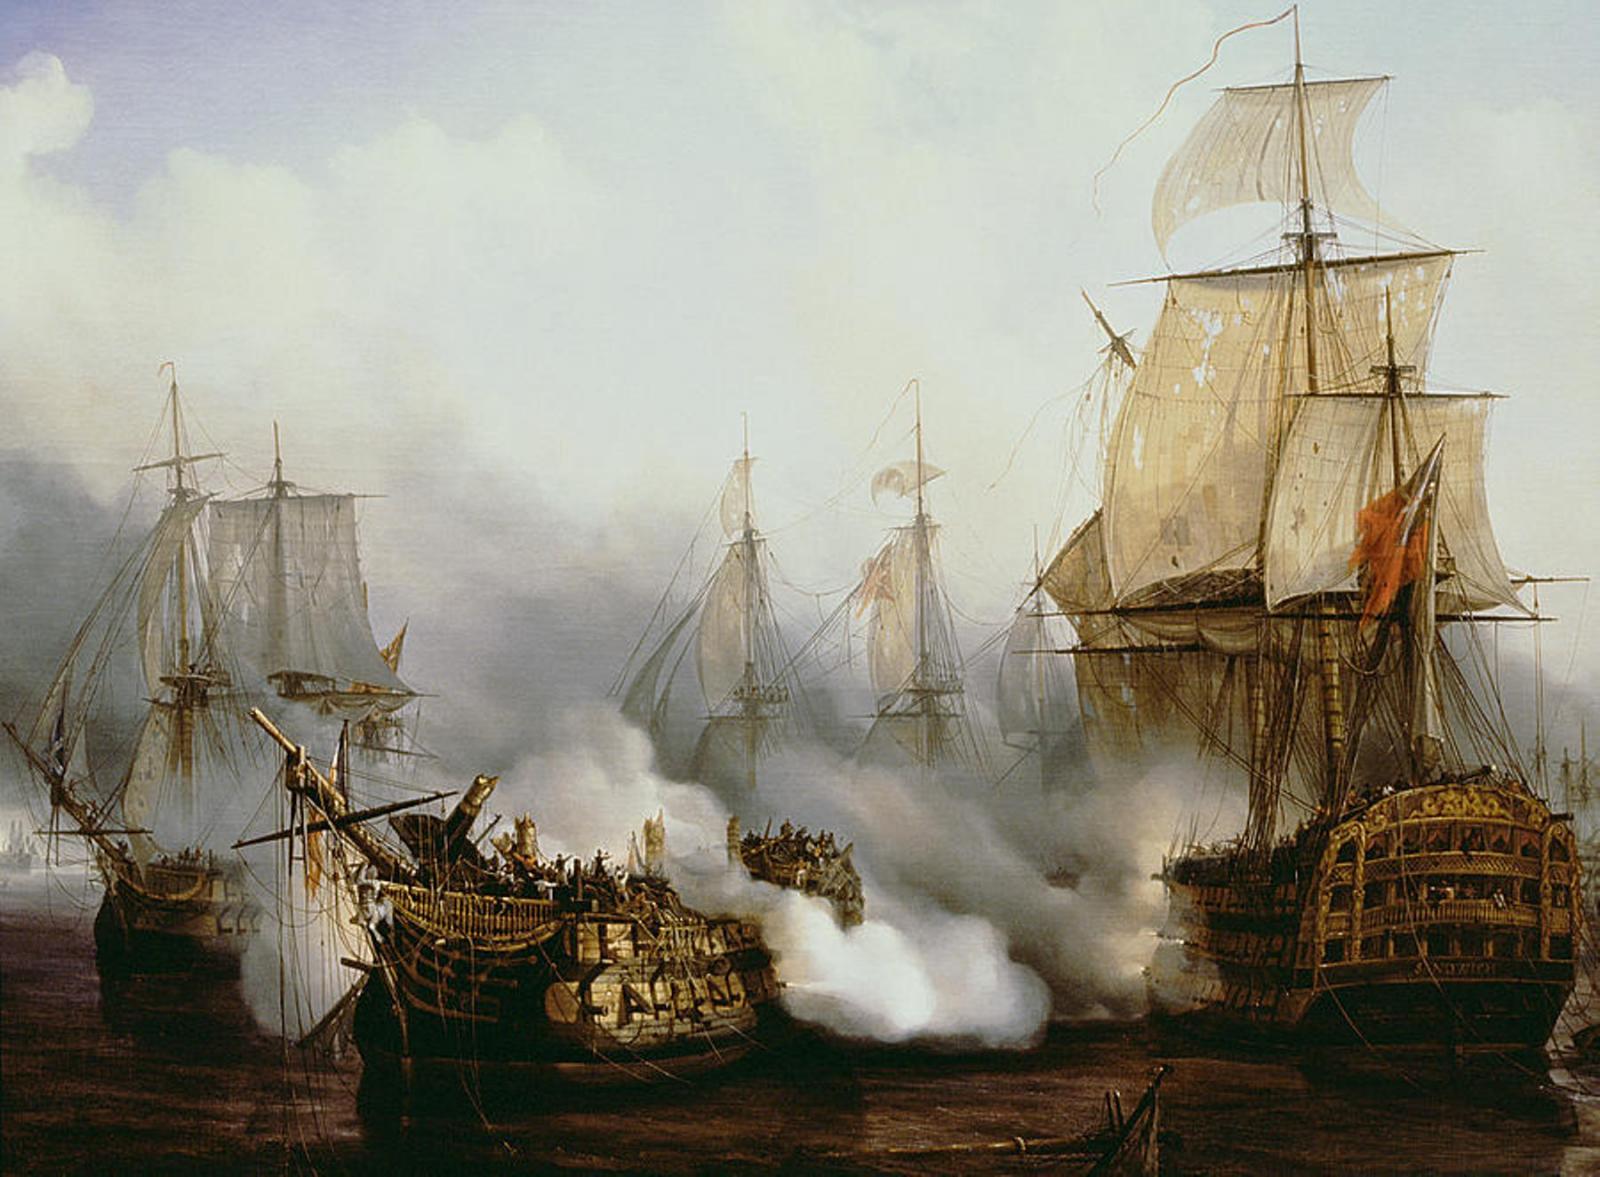
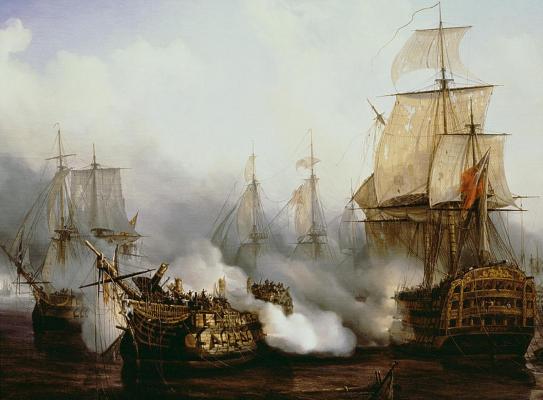
Yup, you have it Nigel, I was trying a quick googly but couldn't pull it off! You correctly identify the dismasted ship as the French Bucentaure, identifiable by her figurehead. She had been incorrectly identified as the Redoutable for many years. Temeraire is also correct. I'd like to hold out for the ship on the right, but its really not fair. At the time of Trafalgar the Sandwich was a sheer hulk. The picture is apparently quite accurate and survivors on both sides provided insight. Nelson had 7 three deckers who could be candidates. Victory and Temeraire are out, narrowing it down to five: Neptune, Britannia, Royal Sovereign, Dreadnought or Prince. Extract below is from eye witness accounts: "The Redoutable's bowsprit had touched several times the taffrail of the Bucentaure, so close was she. The Santísima Trinidad was almost lying to, just ahead of the Bucentaure. The Neptune was closed up near by to leeward. A collision (with the Victory as she came on) appeared inevitable. At that moment Villeneuve seized the eagle of his ship and displayed it to the sailors who surrounded him. 'My friends,' he called out, 'I am going to throw this on board the English ship. We will go and fetch it back or die!' ('Mes amis, je vais la jeter à bord du vaisseau anglais. Nous irons la reprendre ou mourir!') Our seamen responded to these noble words by their acclamations. 'Full of hope for the issue of a combat fought hand to hand, Villeneuve, before the smoke of battle blotted out the Bucentaure from the view of the fleet, made a last signal to his ships. 'Every ship,' he signalled, 'which is not in action is not at its post, and must take station to bring herself as speedily as possible under fire'." My vote is for Neptune given here position in the line near Temeraire...confusingly, there was also a French Neptune at the battle as well. Over to you again Nigel
-
What is the record for number of ships guessed in a day...last 24hrs must have been close to that Anyway, lets bring in some controversy. Looking for the name of the dismasted ship on the left (it has been officially misidentified)....and for a bonus the identity of the ship on the right.
-
OK - another try...Gondolier. Very hard to tell from the small picture.
-
My first reaction was the Caledonian Canal, wild guess, and probably my last....PS MERCURY. I think there does need to be at least some clue in the picture, of course depends on how mean one is feeling
-
Fantastic Daniel! I'm still wondering what is going to happen when you decide that there really is nothing else to do on the lower gun deck...surely this can't all get hidden?
-
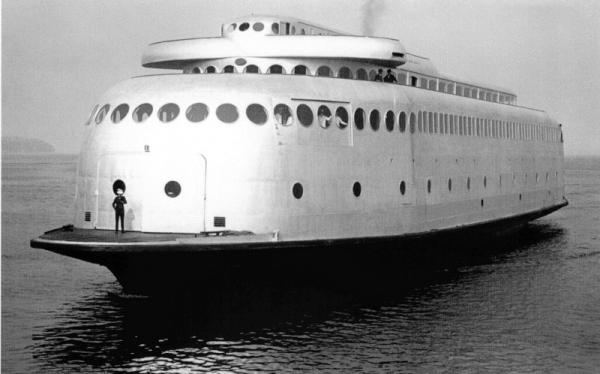
You got it Nigel, well done. MV Kalakala was notable for her unique streamlined superstructure, art deco styling, and luxurious amenities. The vessel was a popular attraction for locals and tourists, and was voted second only to the Space Needle in popularity among visitors to Seattle during the 1962 Seattle World's Fair. The ship is known as the world's first streamlined vessel for her unique art deco styling. Today she is in a little bit of a sad way despite attempts to restore her.
-
Spyglass - its only easy if you know the answer! Here's the next from me...
-
HMS Scylla?
-
Another question Jim if I may. Didn't see it in your earlier posts but apologies if I missed it, what line are you using for the ratlines?
-
Nice job Stergios those looked to turn out nicely. Did you just use a regular soldering iron?
-
Take my hat off to you Robert, those looks amazing. Using paint it does provide an easier way out (I say rather sheepishly), you really are going the extra mile scratching many items in solid wood and the results speak for themselves. Can't wait to see one completed with barrels.
-
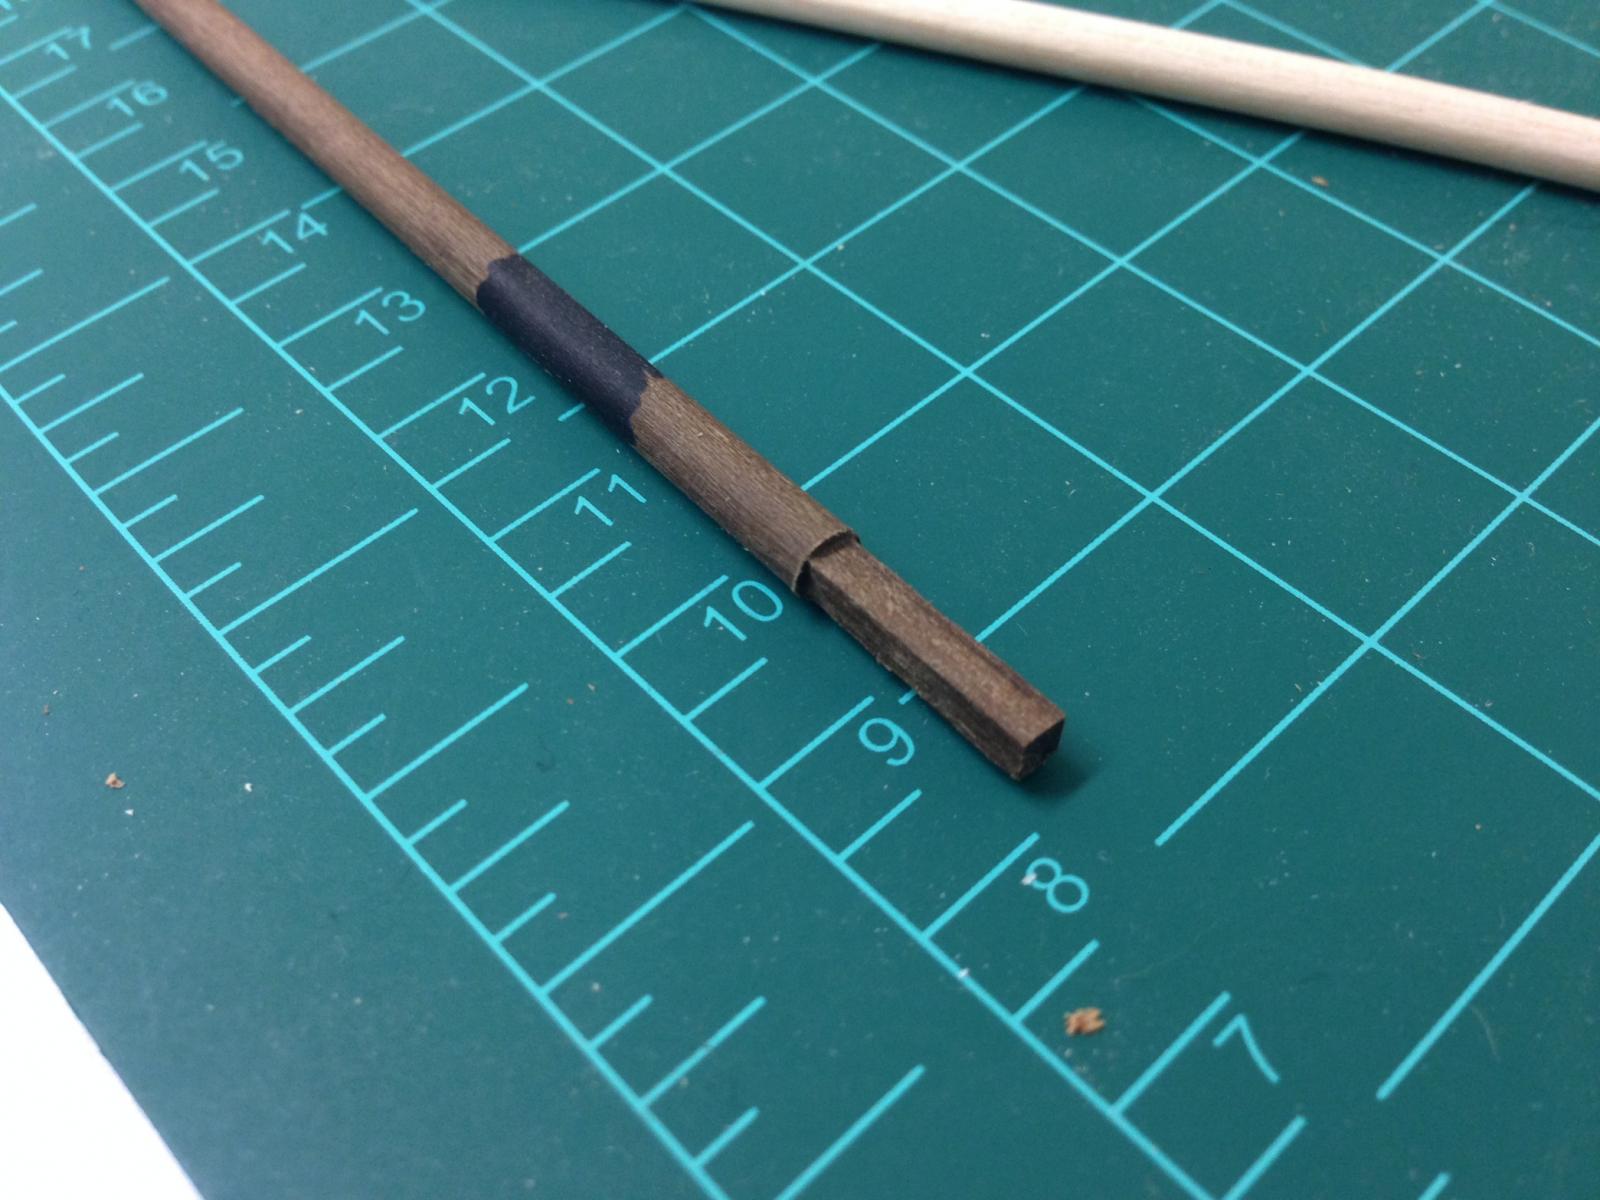
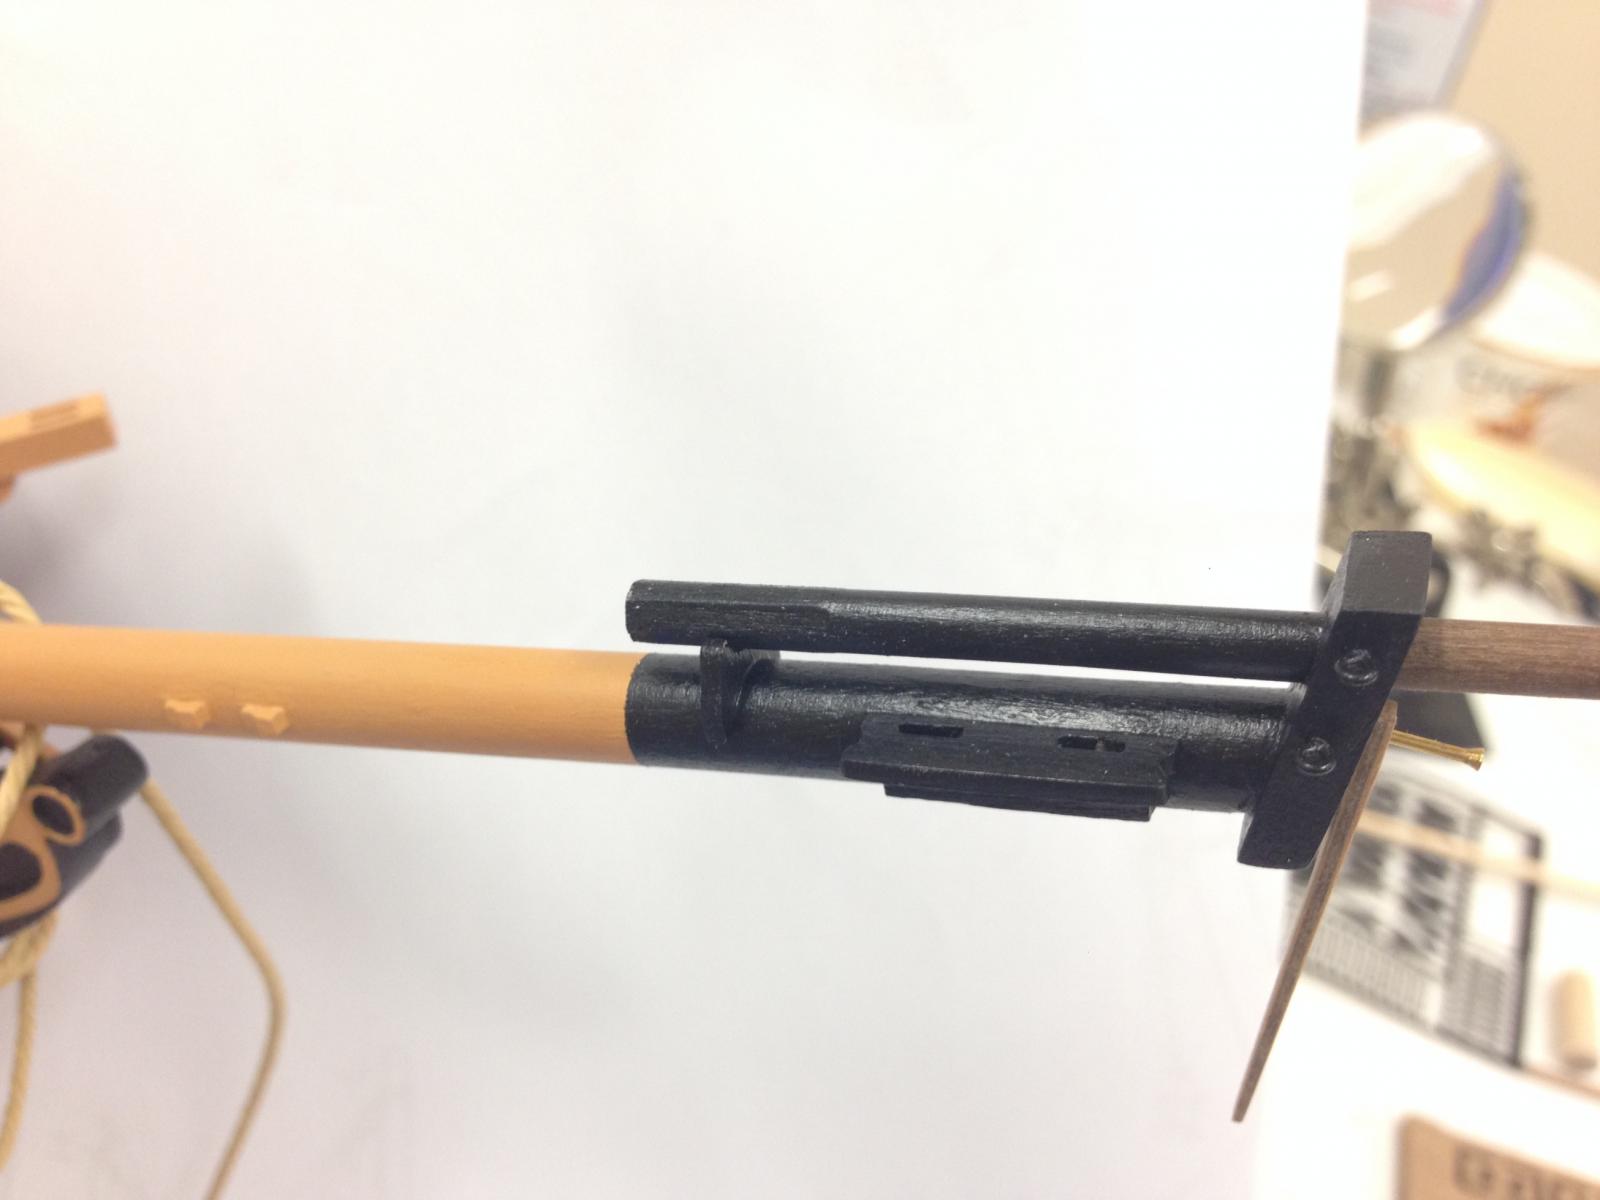
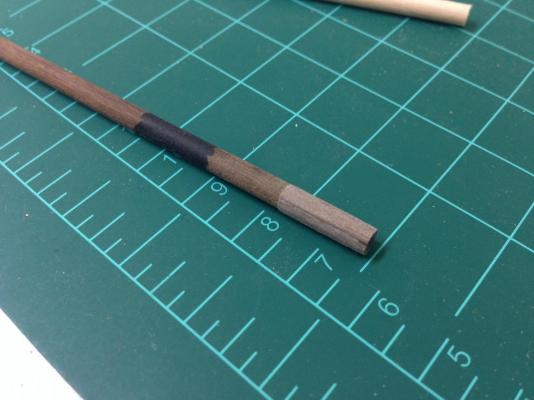
Took a bit of a detour to work on the jib boom. The reason was to get a bit of practice, there are a couple of areas on the plans that don't quite look right and I suspect are simplified in the kit instructions, typically where you'd expect to see an octagonal section with dimension slightly larger than the required dowel. I hope to try to build up these by squaring off the dowel and gluing strips to build up to a square section, and then shape back down to an octagonal cross section. Given this seemed to work pretty well it seems this should work fine on the upper masts as well where it'll be more obvious. Jib boom won't be fixed yet and there are a couple of holes still to drill to simulate various sheaves. I'm actually really enjoying this part of the build despite my initial worries, though slow and steady is definitely the order of the day. Also it seems that the small details really make a difference so I want to do this justice. Apologies the photo aren't the best.


- 800 replies
-
- 10
-
-
- snake
- caldercraft
- (and 1 more)
-
I believe that the epoxy is a much better solution if there are gaps to fill as here, and it seems to have worked fine. I've always assumed that CA is just a surface-surface adhesive - others with more experience here can probably comment....and yes, I did use the supplied metal strops. Personally I didn't find this the most fun task but the results are highly visible and its worth spending the time to get it how you want it. Best of luck Stergios, looking forward to seeing your progress.
- 1,144 replies
-
- 1
-
-
- snake
- caldercraft
- (and 1 more)