HOLIDAY DONATION DRIVE - SUPPORT MSW - DO YOUR PART TO KEEP THIS GREAT FORUM GOING! (Only 20 donations so far - C'mon guys!)
×


Beef Wellington
-
Posts
2,249 -
Joined
-
Last visited
Content Type
Profiles
Forums
Gallery
Events
Everything posted by Beef Wellington
-
 Very nice Mobbsie, it seems to be the small things that make all the difference and the sheave and the traveller look great. BTW - I'm trying not to look at your pictures of the ratlines (awesome as they are) as I know I'll not be able to reach your level of perfection
- 1,279 replies
-
- 1
-

-
- agamemnon
- caldercraft
- (and 1 more)
-
Really starts to add some character when the carronades are in place, coming together really nicely. I see you are leaving the elevation screw brass as well...I like it
-
Sjors - ratlines are in progress, hopefully something to report soon...
-
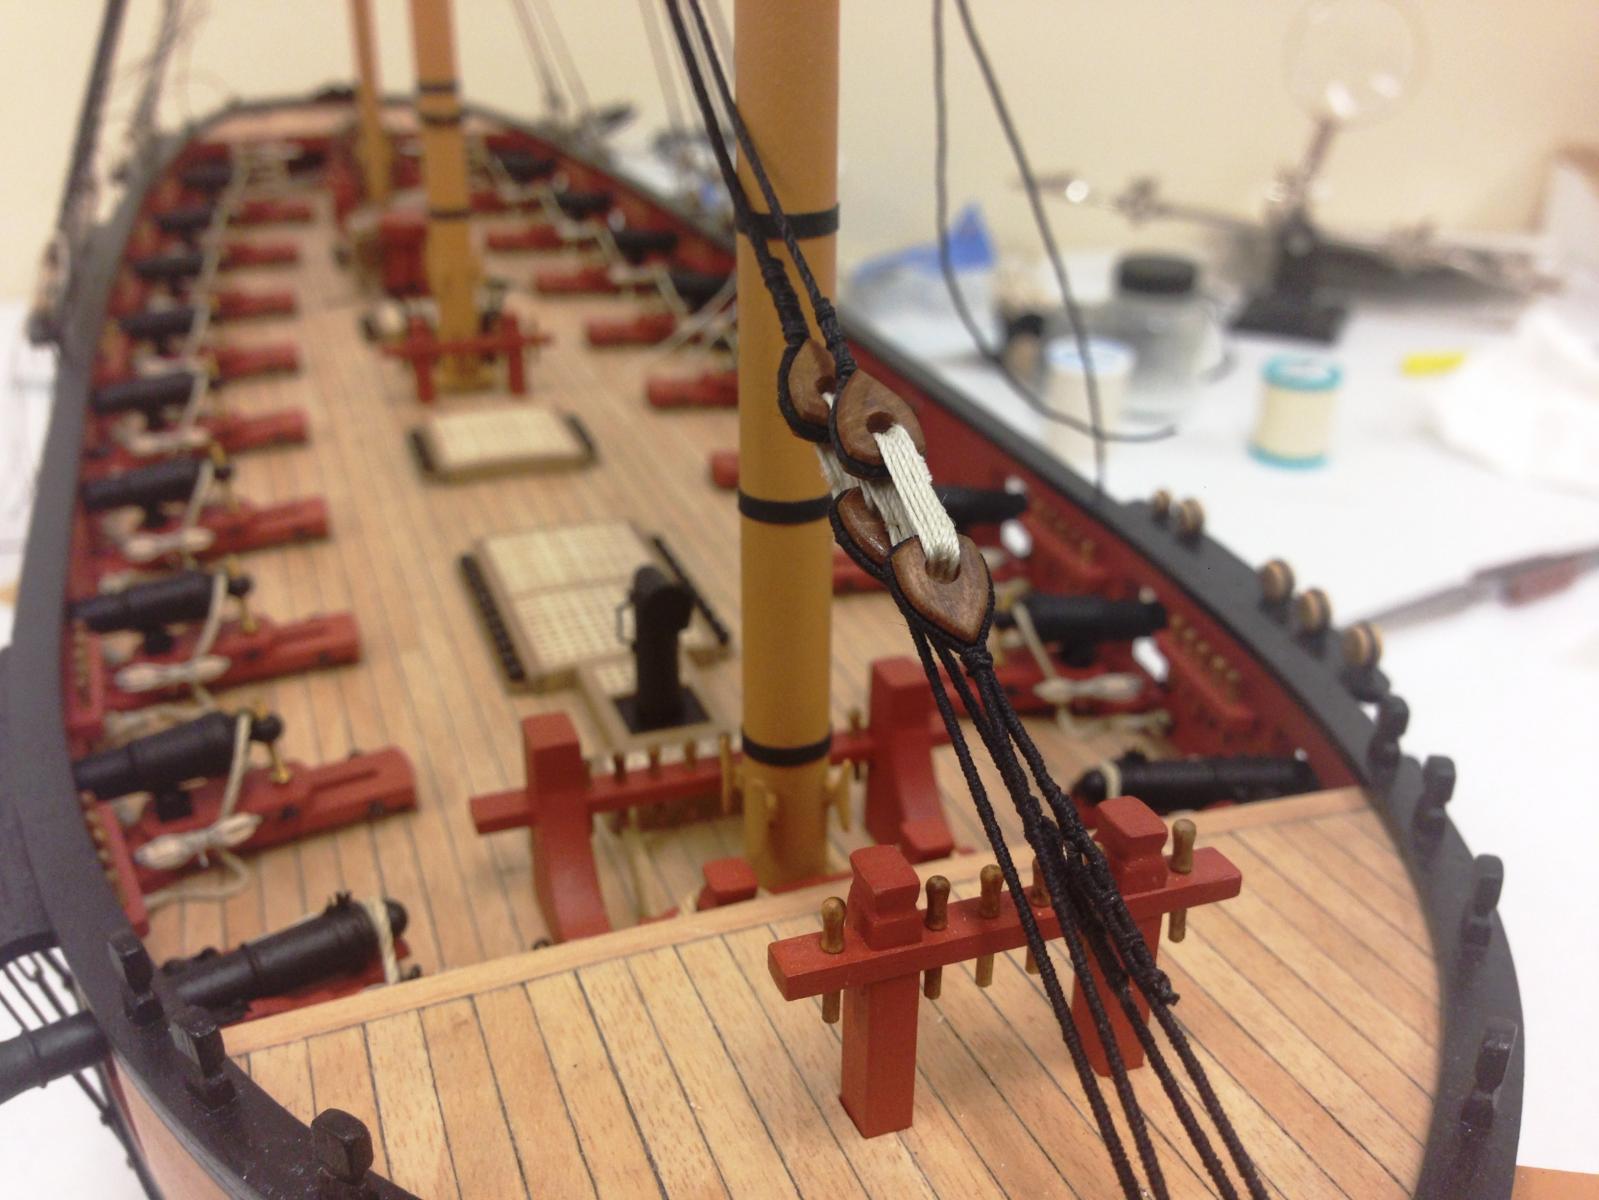
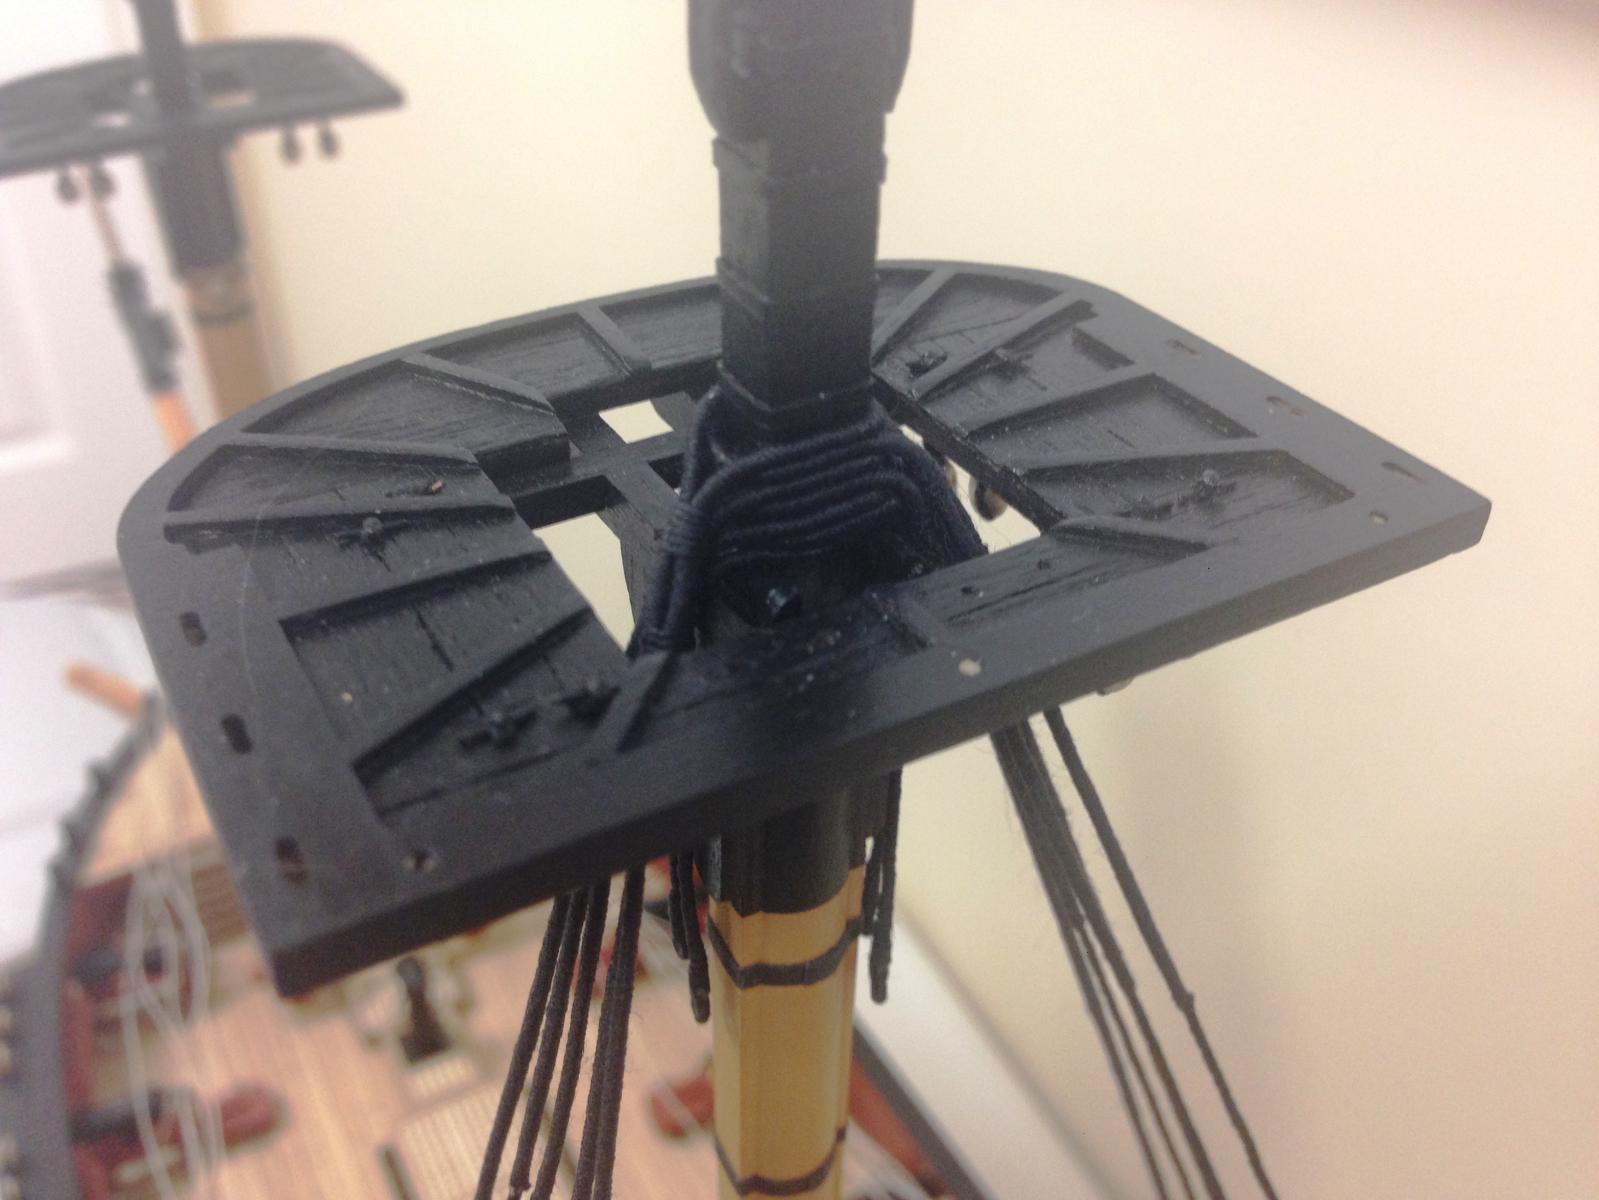
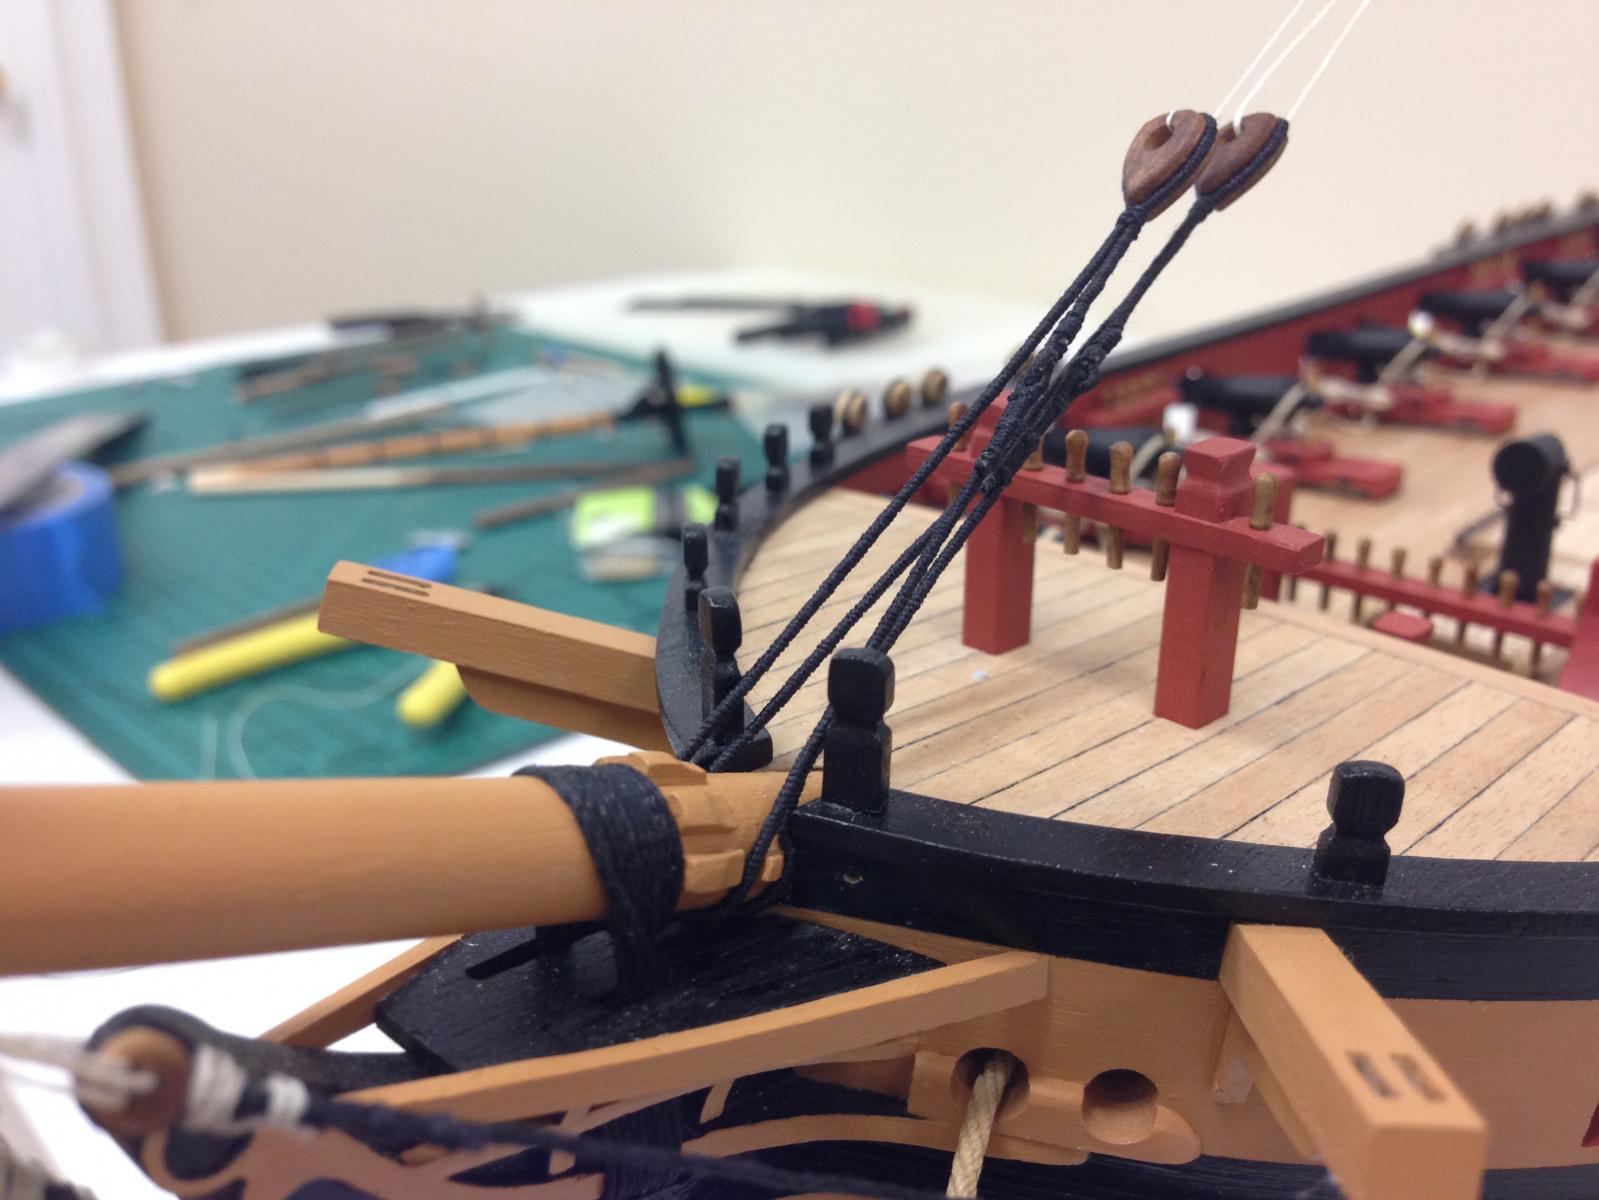
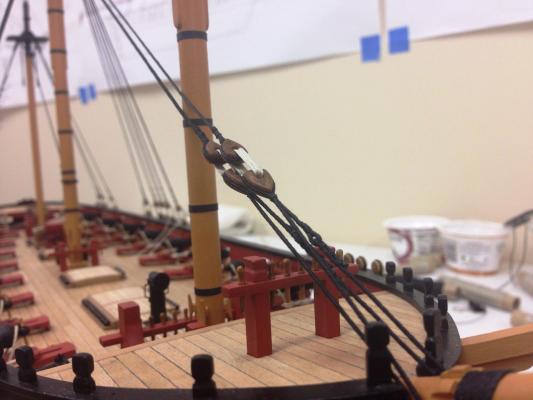
Well, its been a little longer than I had I thought. I got into a bit of a funk with a couple of aspects of the rigging and felt myself forcing things - so decided to take a bit of a break. I think I got lucky with my first mouse, replicating it proved to be rather challenging but decided to make them all in one go so they are as consistent as can be (why don't any manufacturers make mice?). Not much to report, but I am back in the shipyard at least...I do still want to try and capture each step in order for future reference, so apologize if this is less than thrilling. Maintop with main and preventer stays in place... Main and preventer stays attached to their respective hearts. Did not serve around the stays where they rub against the fore-mast as would have been done. I didn't use the supplied 1.25mm line as supplied as it seemed a little too thick and out of scal, instead going with some 'officially' 1.3mm Caldercraft line which in reality was slightly thinner than the supplied 1.25mm stuff. This proved to be a 'fuzzy' nightmare but once in place I brushed with dilute PVA and they seem to have been banished. The lashing of the hearts was done with fake splice to the lower heart (although believe this maybe should have been to the upper heart) and then seizing the other end to the lashing. The hearts have circular holes, I'd recommend flattening off the lower side so the lashing sits better, as it is, I found this quite tricky to look right.

- 800 replies
-
- 14
-
-
- snake
- caldercraft
- (and 1 more)
-
Very inspiring Sjors, those ratlines look great. Are you going to leave them natural or stain them black? And you got them all done in an afternoon?!
- 1,873 replies
-
- 1
-
-
- occre
- san ildefonso
- (and 1 more)
-
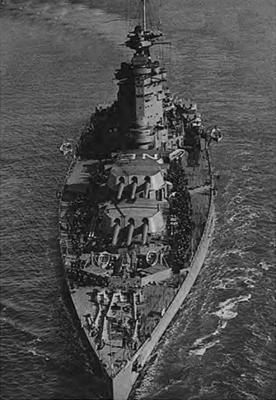
Congratulations DFellingham - ship is HMS Nelson (believe differentiated by the "NE" on the 3rd turret and before the anti-aircraft batteries were installed in 1932). Like the picture above, a very perculiar class of battleship. Anyway, over to you...
-
I always have such a hard time finding something, makes me regret guessing :-) Anyway, hope this isn't too easy. Name has been removed but no other changes. I suspect its obvious if you know what to look for, otherwise looking at the lines will be of help.
-
Great Eastern?
-
Looking great Jim.
-
Have you considered just leaving them unfinished to develop a natural patina? Thats my plan and may even be completely tarnished by the time I finish :-) Its all down to personal preference of course.
-
Correct
-
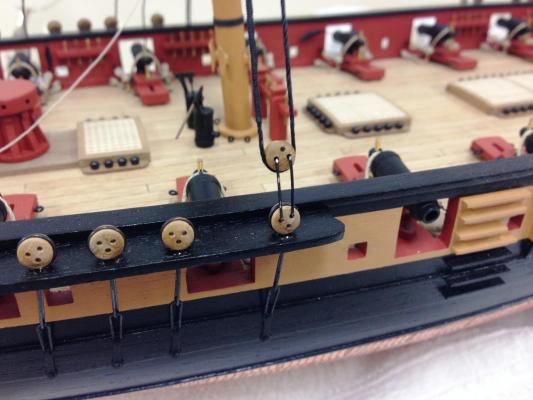
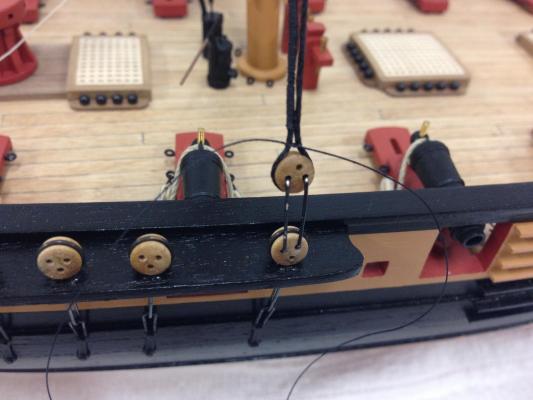
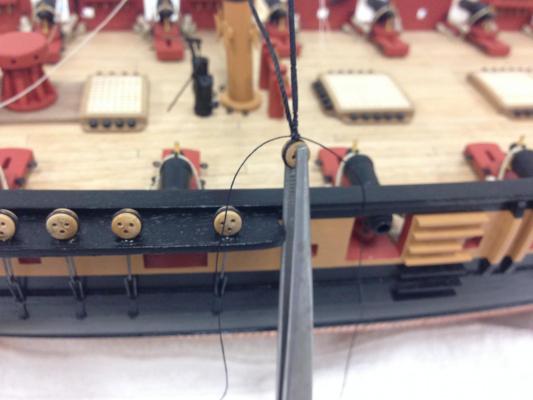
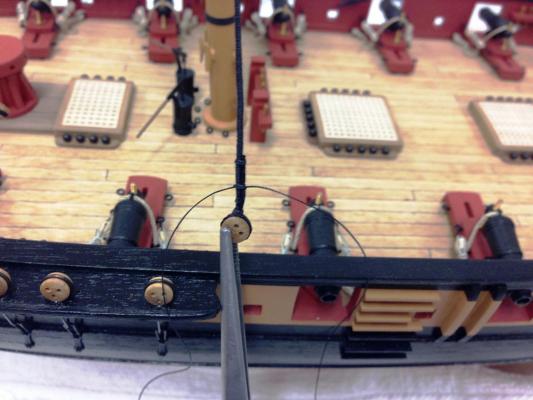
Hi Stergios, its definitely not easy to get them through, I seem to remember not using cyano at all, but what I found works best was if you cut the line at an angle so it has a 'pointed' end it is much easier (may be necessary to wet a little). I would have like to use a slightly large line, but the the inability to get through the eyes was the limiting factor. Next time, I think I'll try to add rings to the eyebolts which allows for larger line, I did take that approach on the cannons breach ring.
-
Hi Mobbsie - that is very interesting news...I'm now in a bit of a bind because that might coincide well with when I'm likely to get my Snake finished. I had my heart set on the Aggie but the Surprise could be the new front runner!
- 1,279 replies
-
- 1
-
-
- agamemnon
- caldercraft
- (and 1 more)
-
Ray, your coils look great, very natural. I was on the fence as to whether to do coils or not, and didn't go down that route myself - but maybe next time. The training tackles make a big difference as well.
- 536 replies
-
- 1
-
-
- diana
- caldercraft
- (and 1 more)
-
Alistair - I bought the serving maching made by Alexey on this site, I can't compare it to others but it seem to do the job and is plenty sturdy. He seems to have received a lot of positive comments from many users of this site. http://modelshipworld.com/index.php?/topic/1594-serving-machine-20-not-just-serves-ropes/
-
Thanks so much for the info everyone. Think I'll leave off the 'stretcher'. Jim - I didn't bother with the crossing or the knots as per instructions, I tried multiple times and just couldn't get happy and found this worked for me. I'm hoping that by the time that the deadeye lanyard is finished off it'll be even less noticeable. Not sure exactly how I'll do that as the first ratline is right on top of the deadeye - do you have any pics from your Snake how you tacked these so they don't interfere.
-
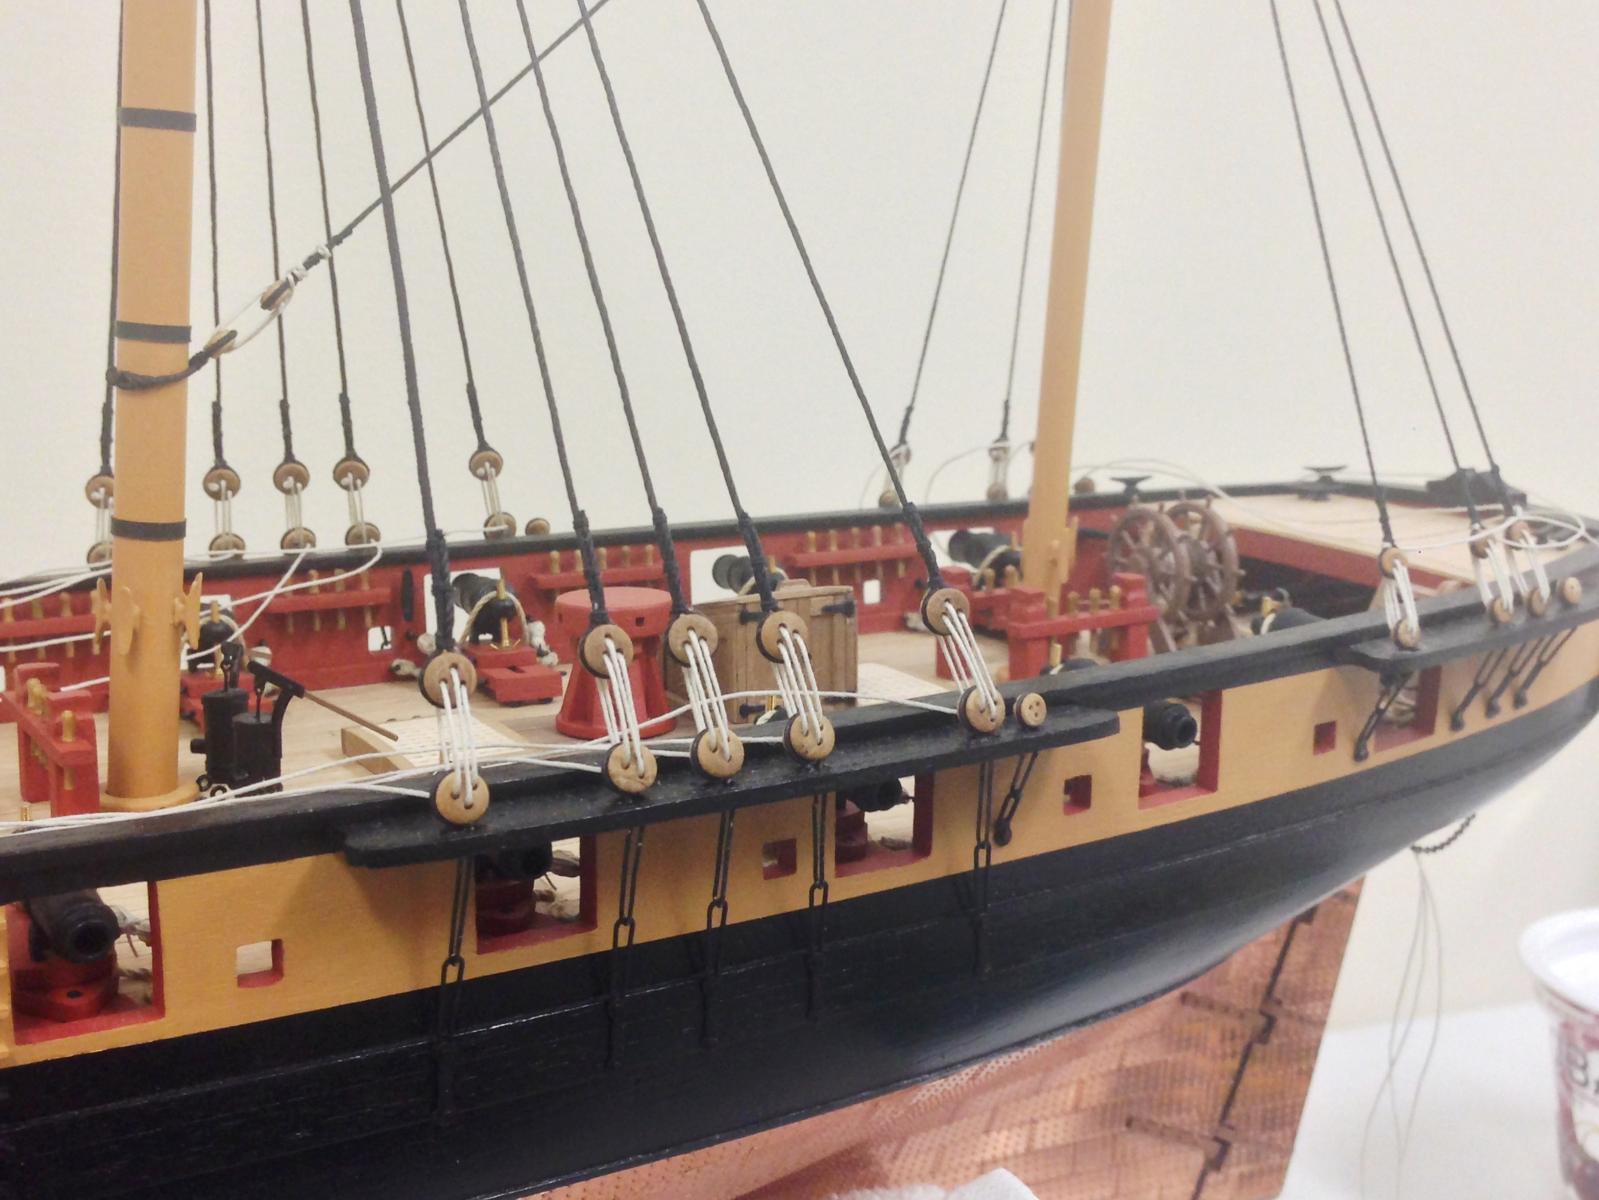
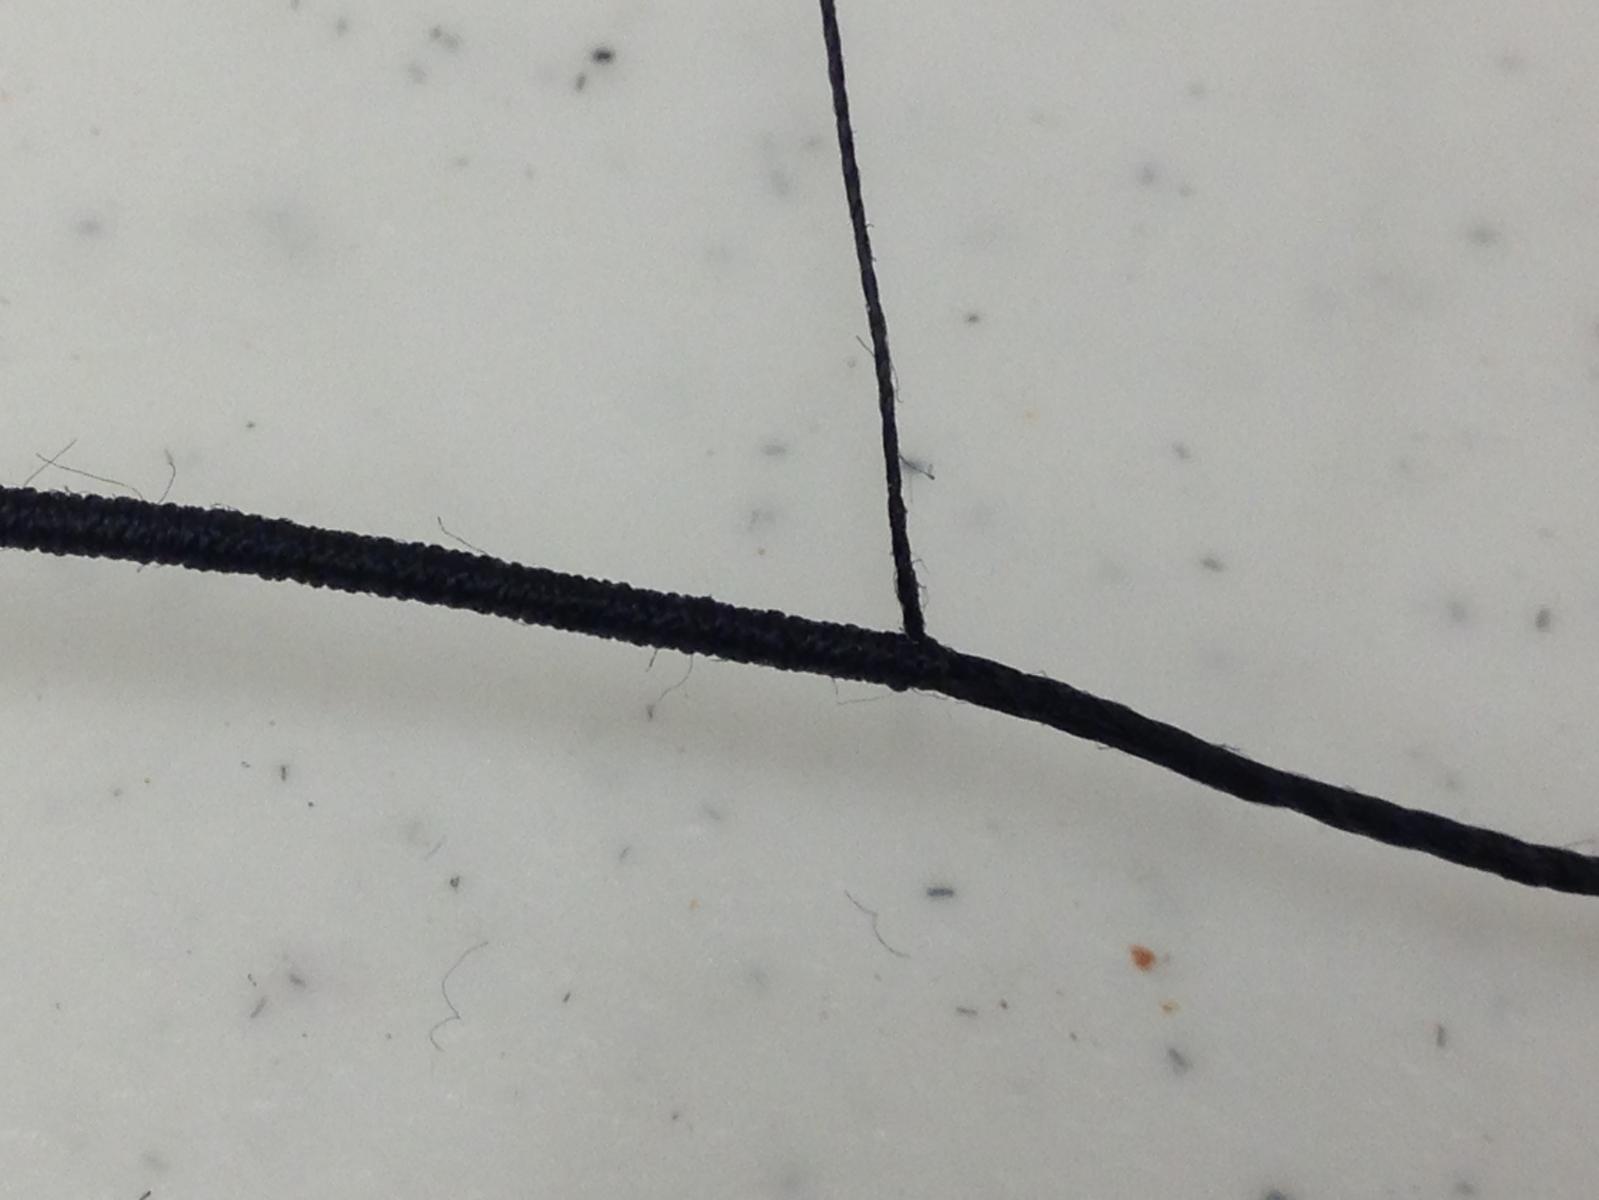
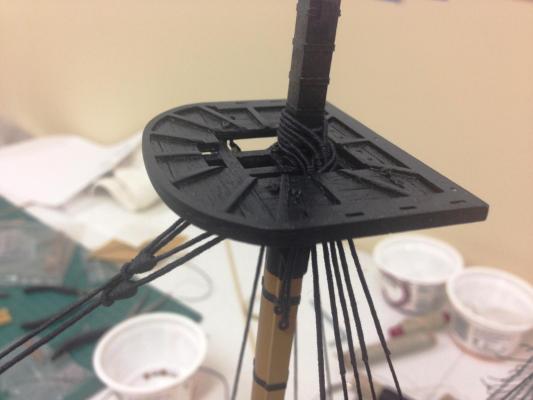
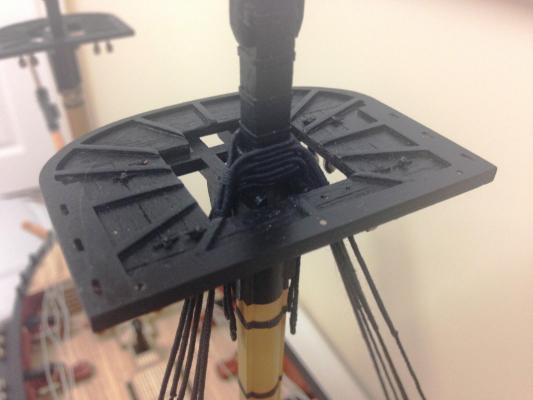
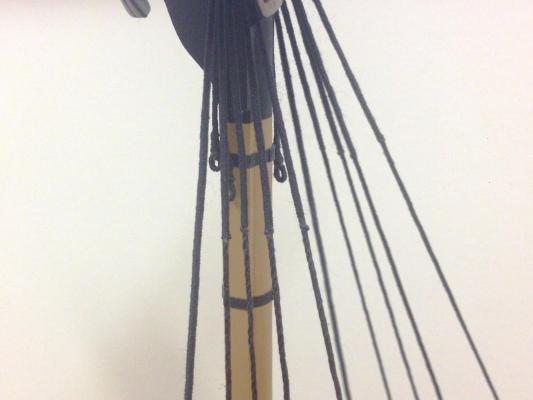
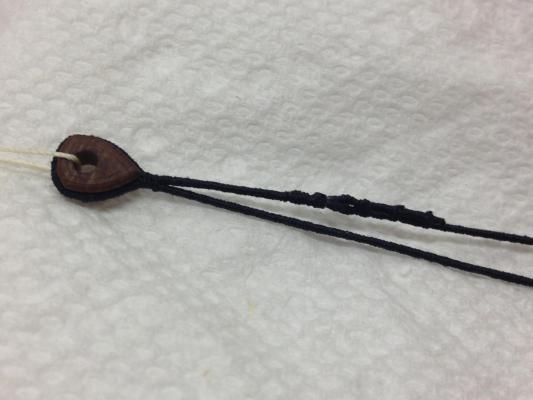
Main shrouds Some "notes to self", managed to get a process going for doing the shrouds in a way that felt comfortable, details below and results. Apologize for the quality of the photos, for some reason these just seem off today. Hope someone can help with a list of questions: Instructions indicate that the futtock stave should be made with 1mm brass wire. What would this have been made of on actual ship, would it have had rope wrapped around it like serving or puddening? Would people advise to attach the futtock stave before doing ratlines - seems that it might hold the shrouds a little more in place What dictated whether stretchers were attached (or not), and would these have been attached 'permanently', in as much as anything would be permanent. Would catharpins have been so attached so as to deflect the shrouds inwards at the futtock staves, or would the line of the shrouds be maintained? Any insights much appreciated! Shroud pulled at taught as possible around deadeye, twin spacers being used to keep it steady. (End that will be trimmed passed up through the tops temporarily) Overhand knot tied at back and front of shroud a close as possible to the deadeyes. Overhand knots then alternated working downward to close up the hole, no more than 3-4 typically required. Last know secured with G-S Hypo cement and ends trimmed. Found using some tweezers made this easier to manipulate as the shroud can be controlled much easier. End trimmed and then end and middle seizing tied using same method as described above There's something very pleasing about a stack of shrouds! The fore-most shrouds are served to protect against wear from the sails, this allowed me to establish a new personal best for longest length served (268mm). I've found it helpful while serving to keep compacting the serving line even if it doesn't appear to need it, it seems to give a more consistent result although I've still not perfected this technique. Despite best attempts, I just could get the line of the serving to be straight across the shrouds. I'm guessing that this would have not always been perfect on real ships either despite the pictures in books. At least thats my story/excuse. Main shrouds in place, I'll leave in place for now and do a final tightening once all shrouds in place.
- 800 replies
-
- 11
-
-
- snake
- caldercraft
- (and 1 more)
-
I am a beginner, but just from appearance, the brass plate colour blends in so well with the beautiful wood tones of your ship - it truly is a masterpiece in the making. I think there are many cases where it is necessary to deviate from actual materials in order to have a model that captures the 'spirit' of the ship. It seems a common practice to alter paint colours to get the right effect at a smaller scale. Maybe when copper has aged for a number of years it will be comparable. Well done indeed Alex!
-
Jim, I 'believe' that the foremost shroud was never catharpined, and that similarly any that chafed the mast would also have been excluded. Does that just leave you with one? I haven't quite got that far to assess on mine. Another option would be to go with the infamous cross catharpins.
- 412 replies
-
- 1
-
-
- snake
- caldercraft
- (and 1 more)
-
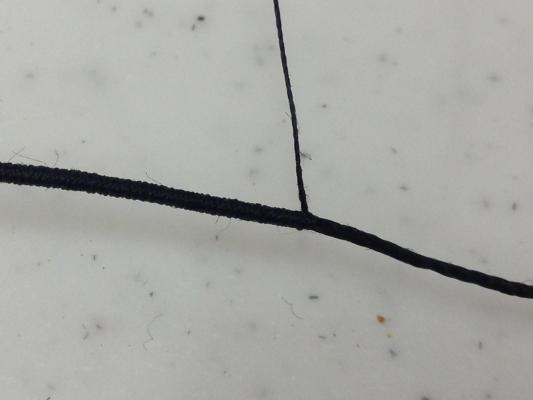
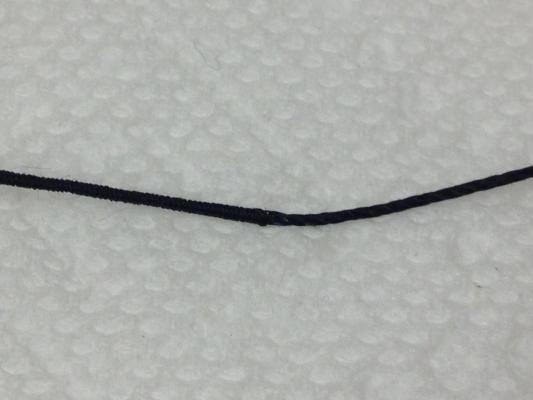
BE - Honestly I have no idea ho anyone could do it without a machine, I'm finding it tricky enough with one. John - hopefully you'll enjoy it when you get there! Robert - the inability to trim all comes down to the fact that the line used in the serving needs to be secured at both ends. The technique I'm using is to use a needle to thread the serving line through the thicker line and secure with an overhand knot and drop of G-S Hypo cement (It really is a great glue to use on rigging). If you were to try trim this back then everything just comes unraveled. It would be such a time saver to have a length of served line and then just trim as needed! End with serving line threaded through and small overhand knot... ...with G-S Hypo cement and trimmed.
- 800 replies
-
- 7
-
-
- snake
- caldercraft
- (and 1 more)
-
John - something else to consider, wire that I used on my chainplates already had a 'black' coating, not quite sure what the name of it is. I picked it up at a local craft store (Michaels) and it worked a treat and was easy to paint afterwards.
- 2,250 replies
-
- 1
-
-
- model shipways
- Charles W Morgan
- (and 1 more)
-
Very nice build you have here Bug - I think the research is always worth it. Really like the technique you used for your cleats, thanks for sharing.
-
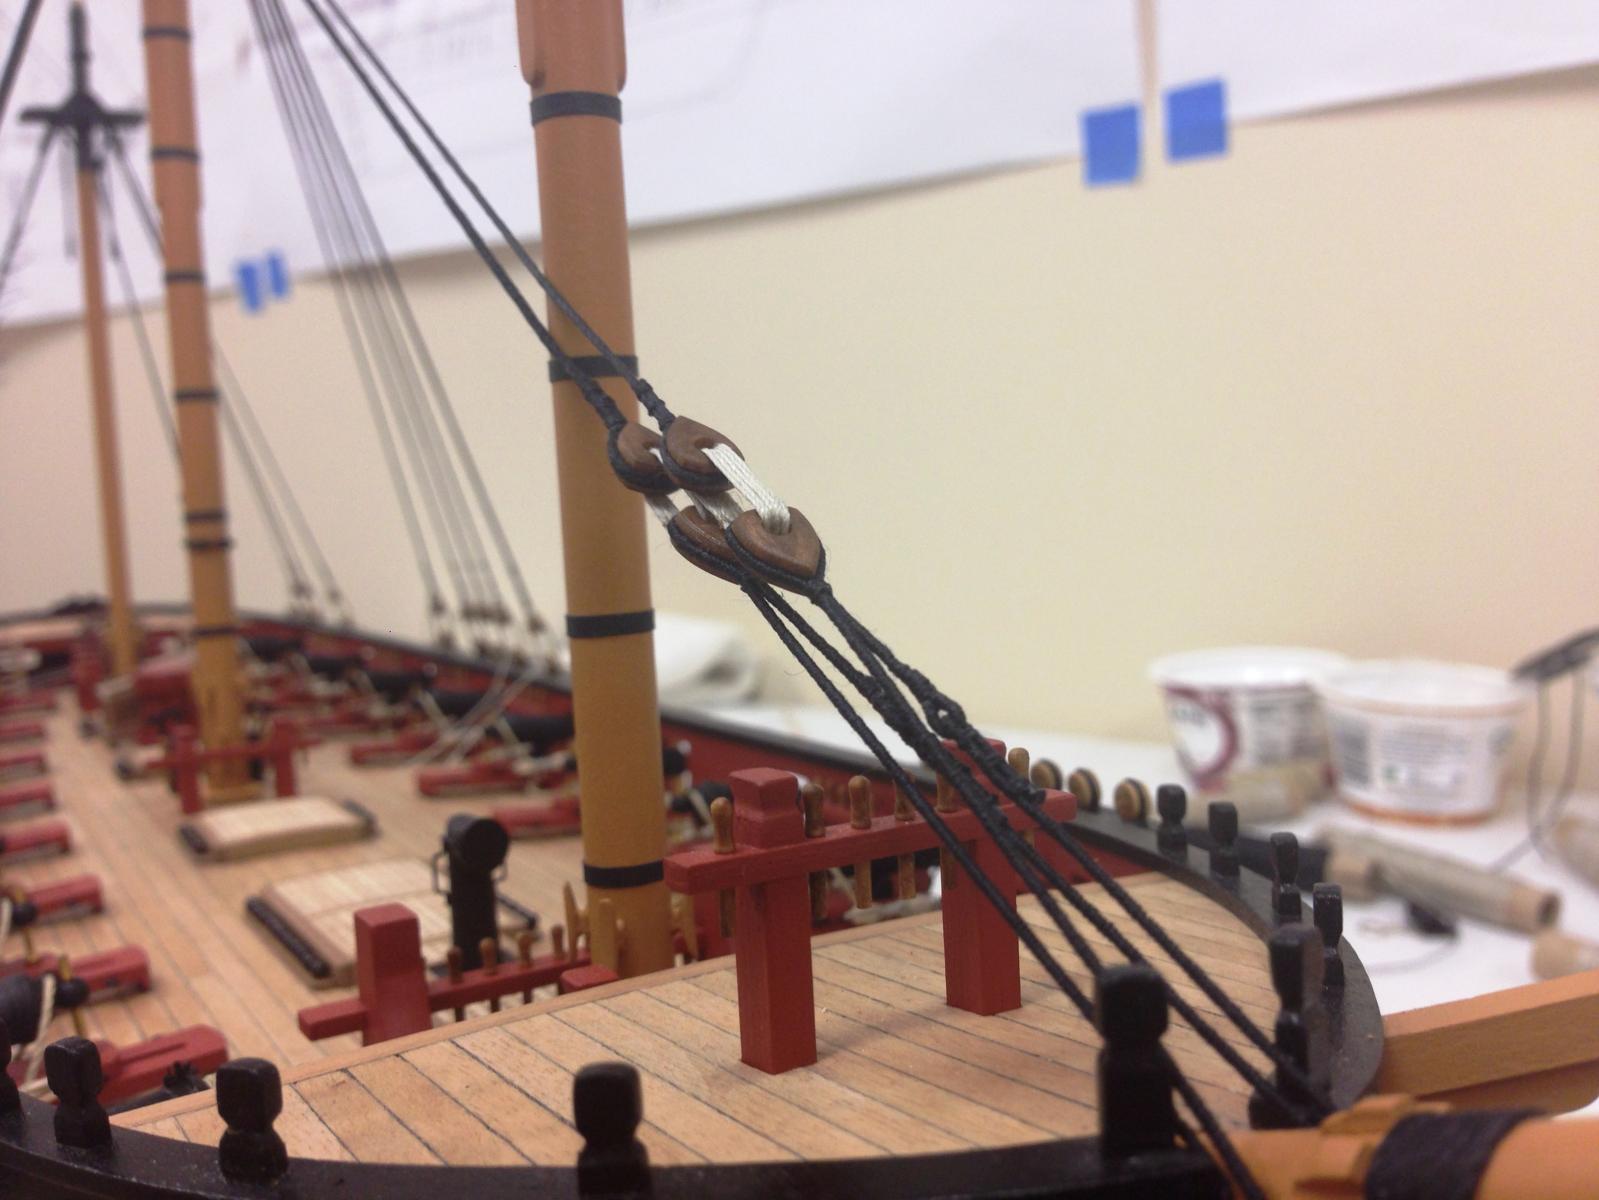
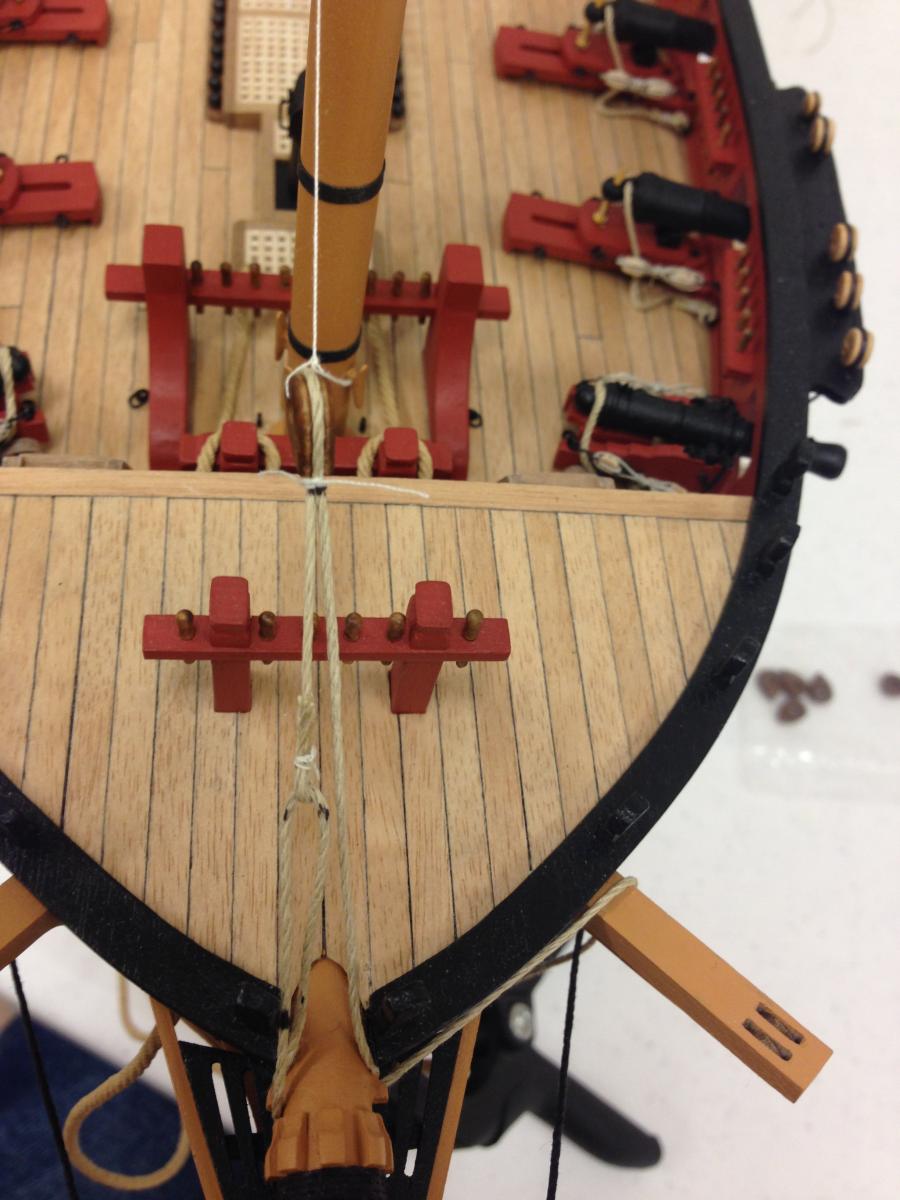
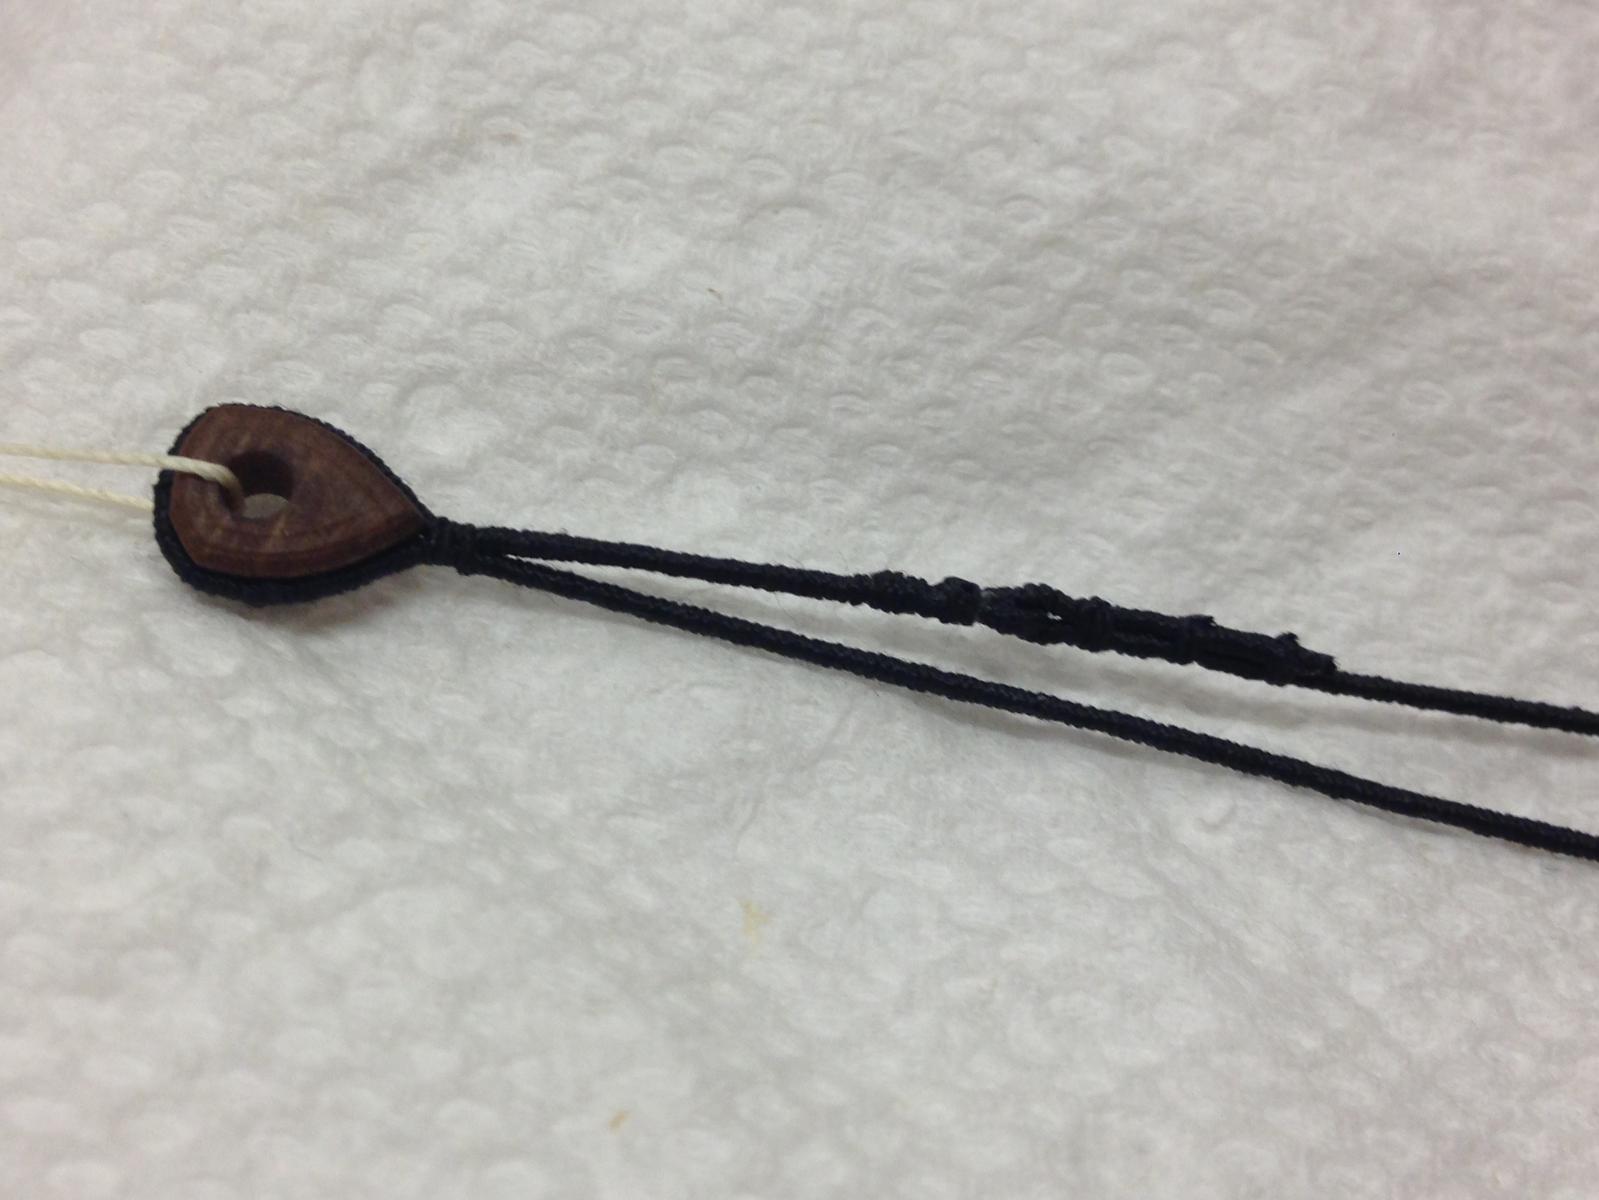
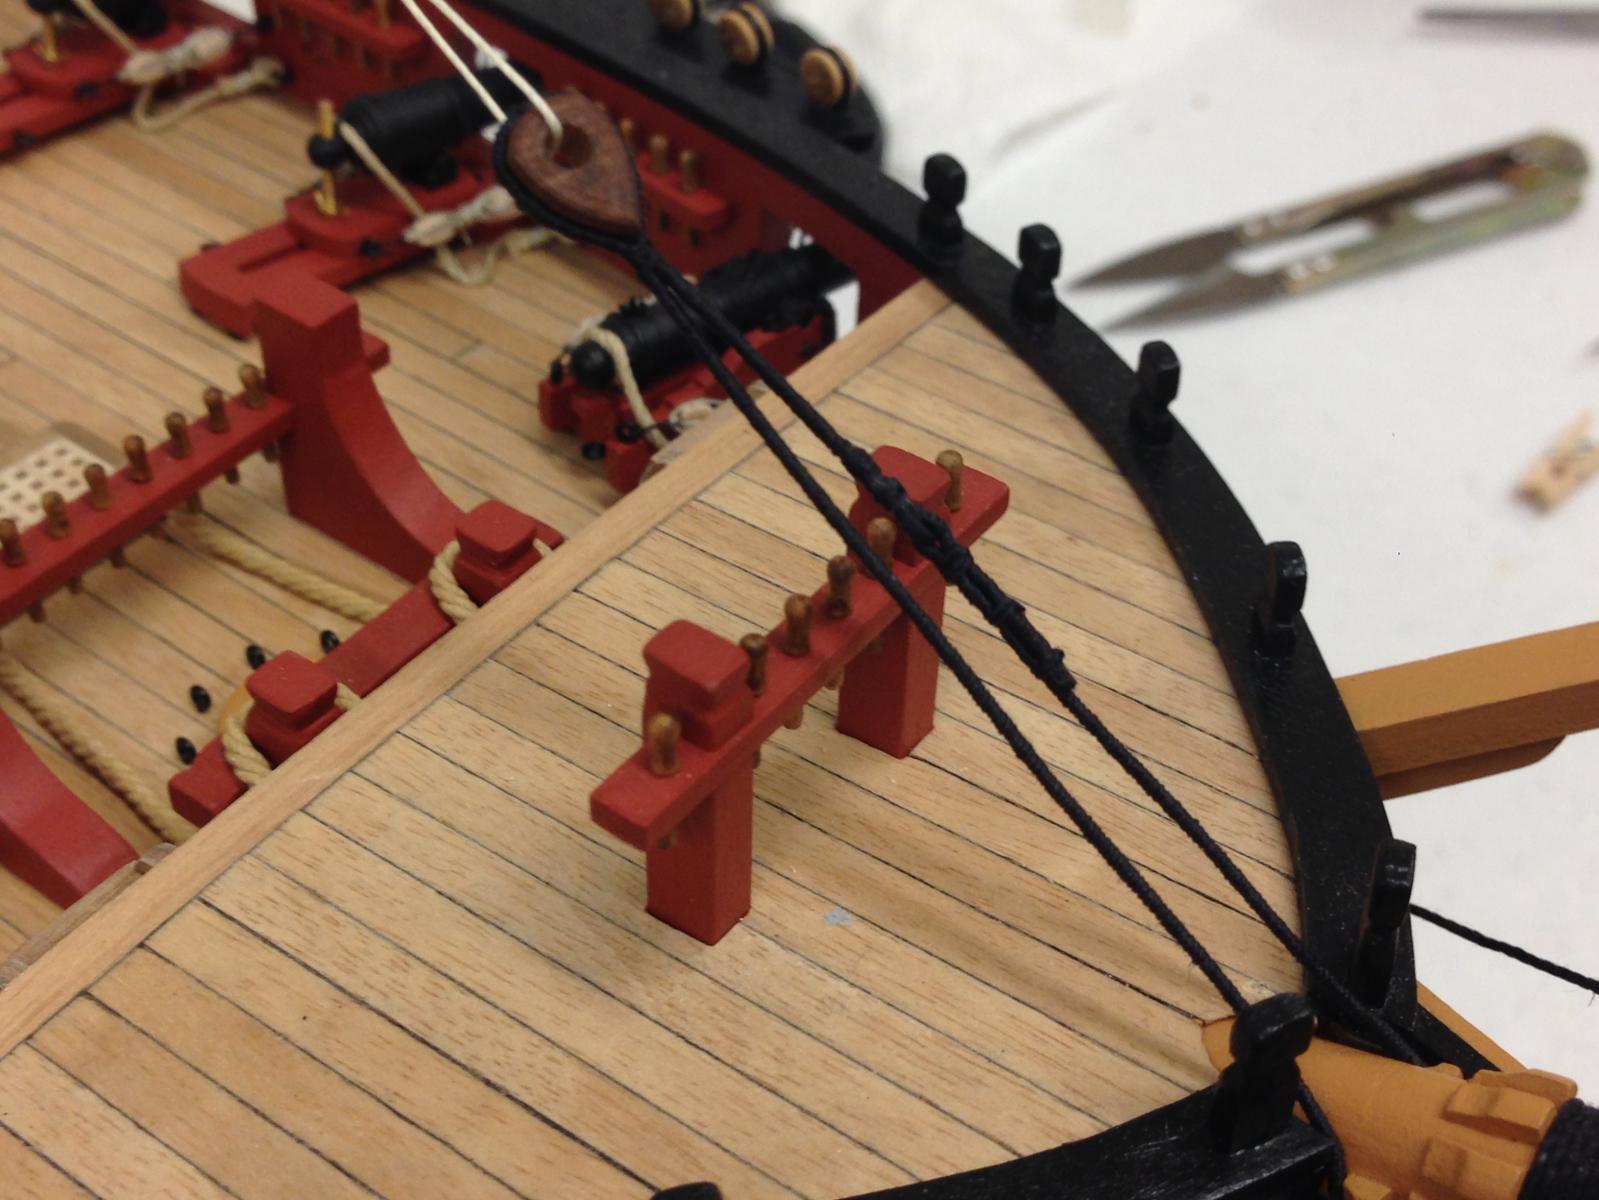
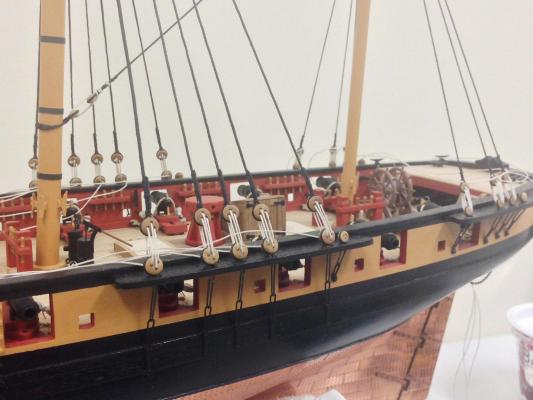
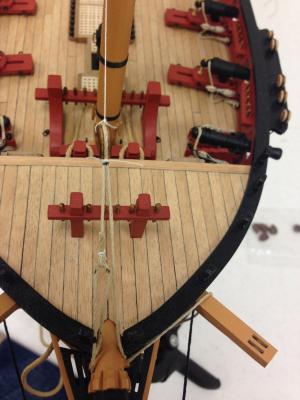
Andy - appreciate the observation, I had tried what you describe before taking the photo, but it just didn't look right. Turns out, I had the stay going under the wrong cross tree arm. All corrected now and sits a treat on the crosstree BE, John, Jim and the 'likes' - thanks as always Main Stay and Preventer Stay collars Started tackling the main and preventer stay collars while waiting for some line to stretch out for the main mast shrouds, (still don't feel I have the shroud thing figured out just yet, but its early days...). After a bit of a break in the shipyard, these took a full day to complete. The instructions indicate that the collars should be lashed under the bowsprit through some eyes, but I decided to take the approach outlined in Lever for these. Unfortunately, because the gammoning is in place, a lot of fiddly steps needed to be done on the ship. As anyone who's done any serving knows, and I'm rapidly learning, is that the process requires you to know the correct length of line you need to serve because 'trimming a bit off' isn't an option. Here's the first step figuring out the length of served line I'll need. Marker pen on similarly sized natural line. Detail of the final collar as per Lever Main stay collar in place... ...and preventer stay. I had added the cleats onto the bowsprit before mounting, and commented at the time that the plans were inconsistent. Luckily the collars seem to sit nicely where intended


- 800 replies
-
- 14
-
-
- snake
- caldercraft
- (and 1 more)
-
Please ask anything, hope I can help. The blocks were glued to the deck using CA glue. I prefer to use PVA when I can, but CA was simplest option because the deck had been varnished and PVA will not work. When you fix them, you'll want to try to get them as centered as possible otherwise the carronades will be at odd angles when you come to mount them. Look forward to seeing your results. All the best.
-
Correct Stergios, CA worked well. I had another look at them last night, it probably closer to 2/3 that i cut away, but I'm sure you'll figure it out pretty quickly after a few attempts. Its fiddly, but I did try to file the cut wire to the right angle so it had the maximum area touching the barrel.
- 1,144 replies
-
- 1
-
-
- snake
- caldercraft
- (and 1 more)