HOLIDAY DONATION DRIVE - SUPPORT MSW - DO YOUR PART TO KEEP THIS GREAT FORUM GOING! (Only 24 donations so far out of 49,000 members - C'mon guys!)
×


Vivian Galad
-
Posts
596 -
Joined
-
Last visited
Content Type
Profiles
Forums
Gallery
Events
Everything posted by Vivian Galad
-
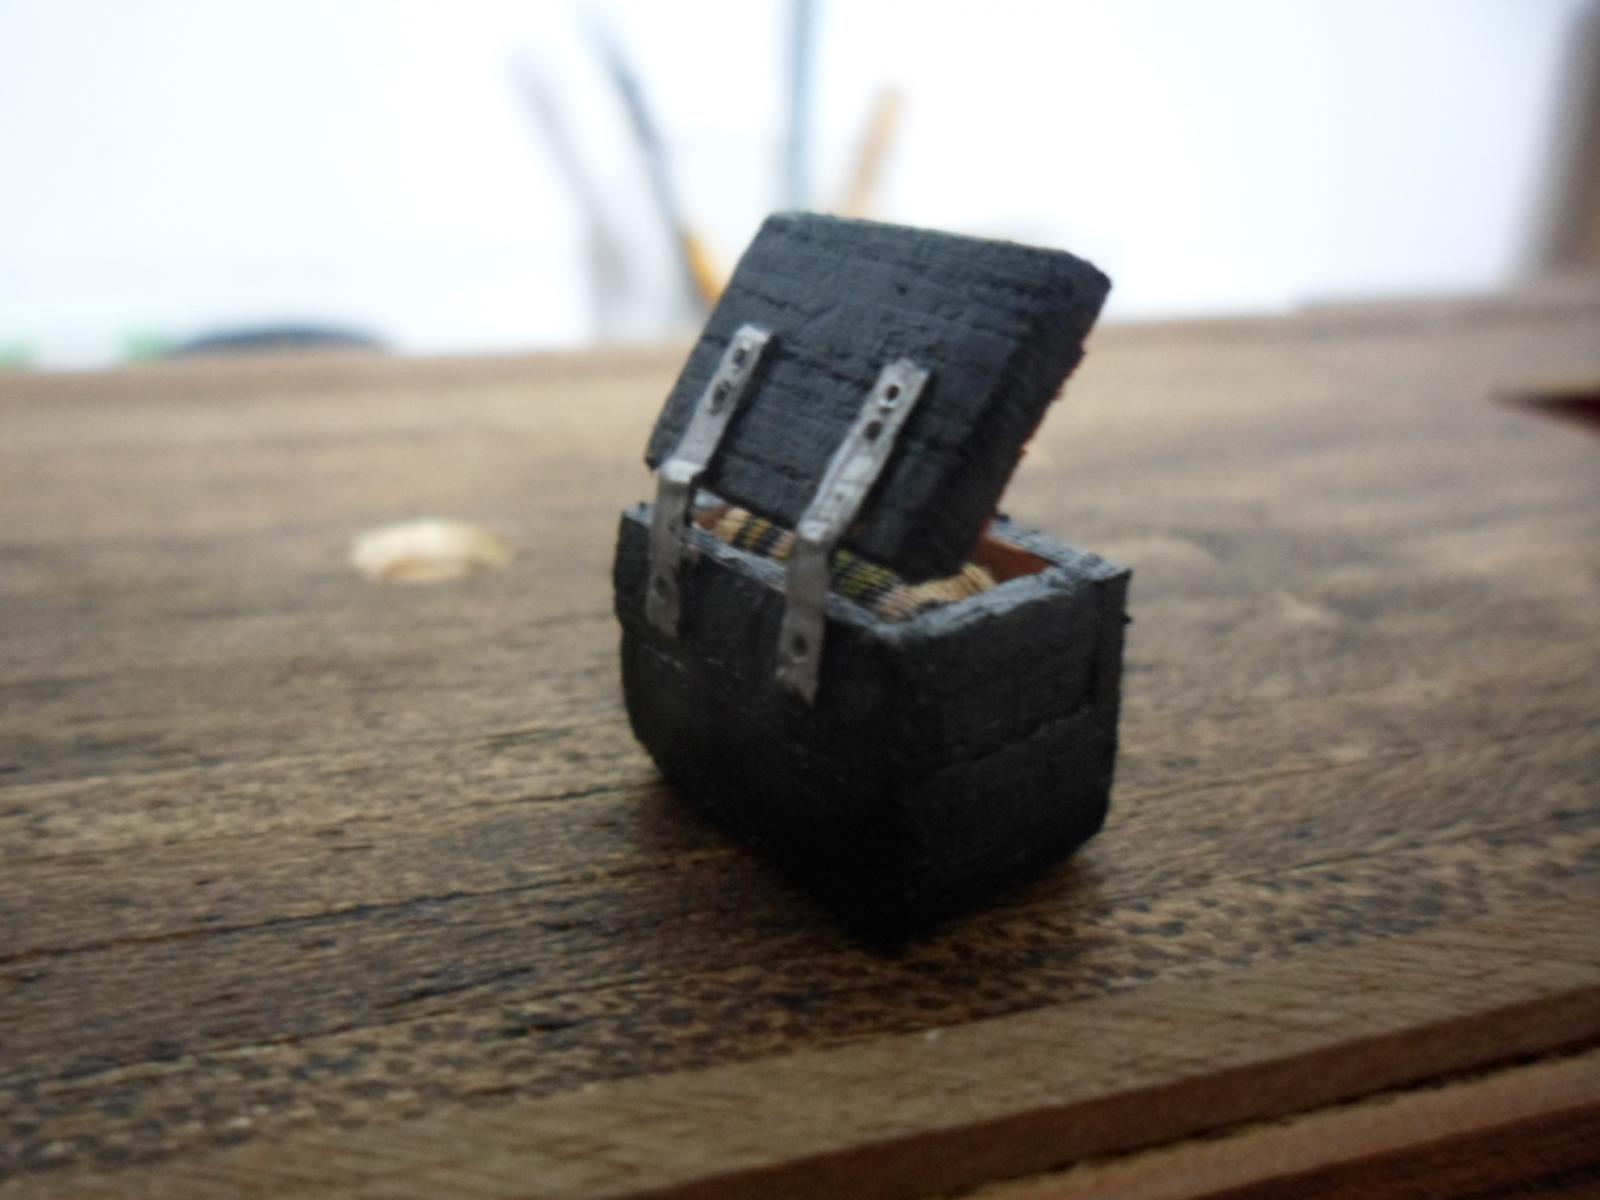
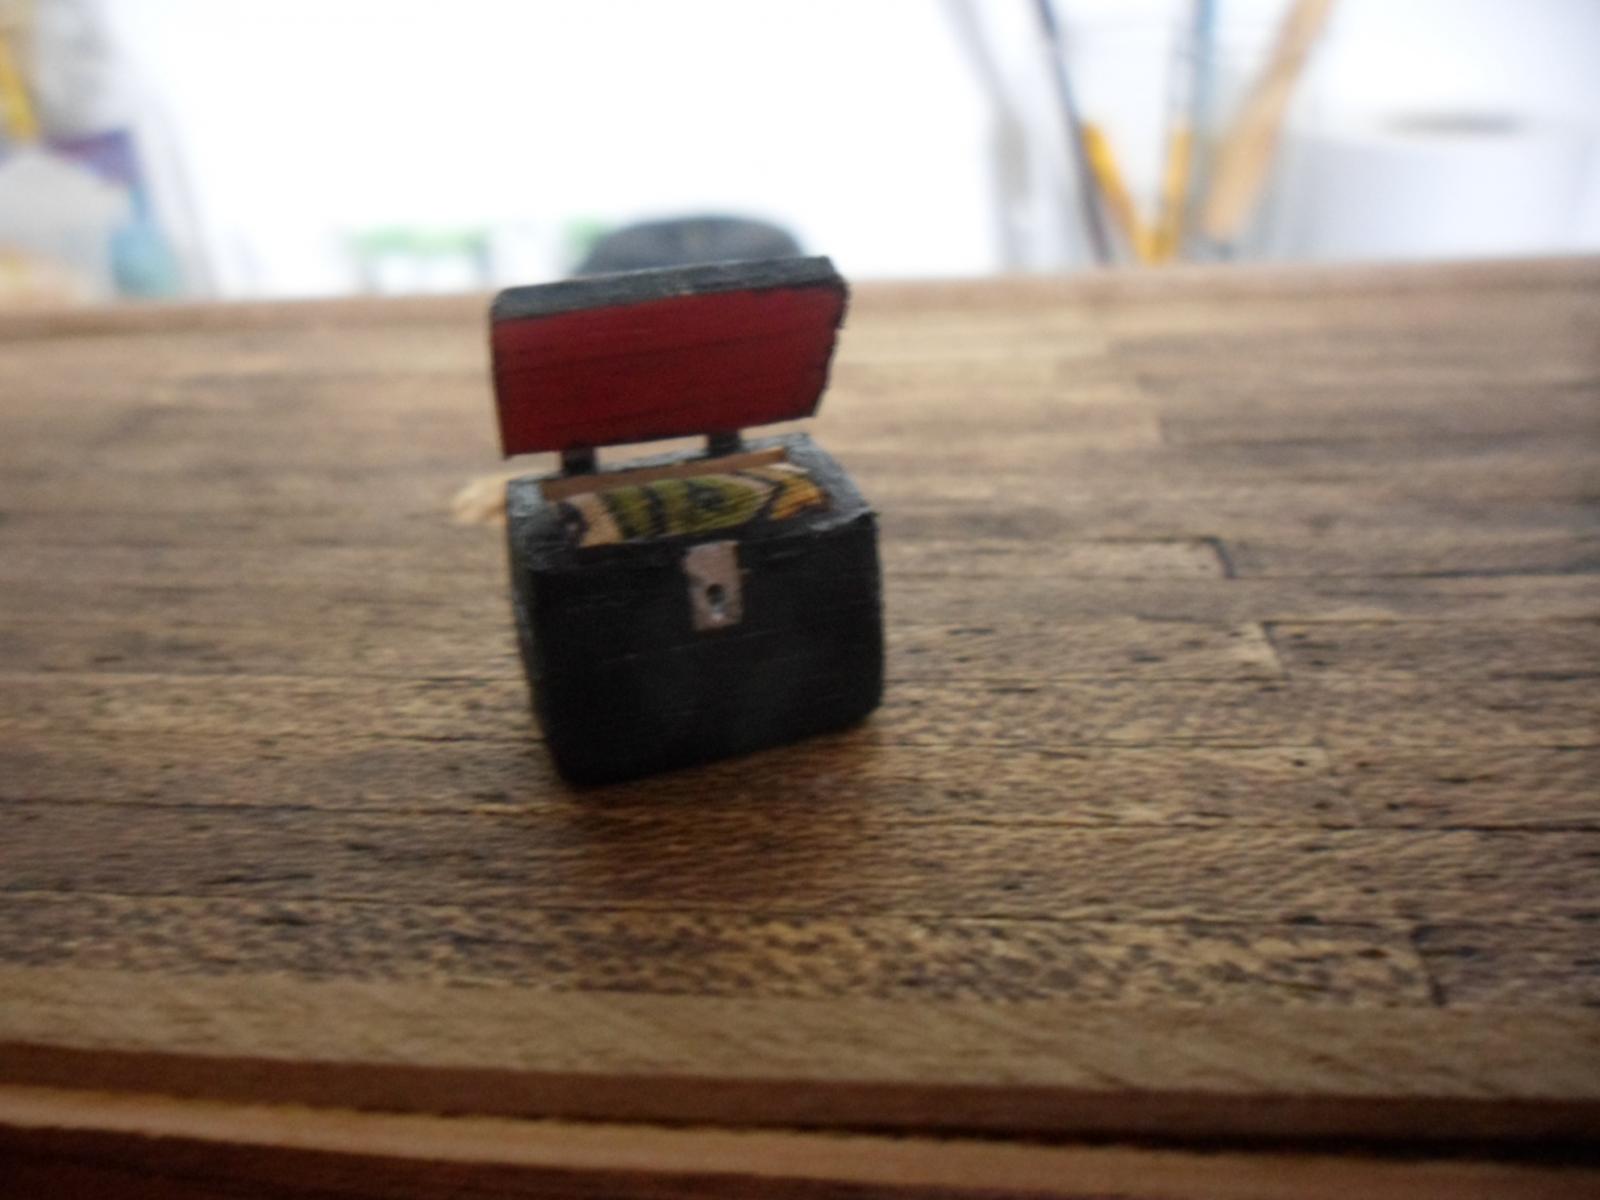
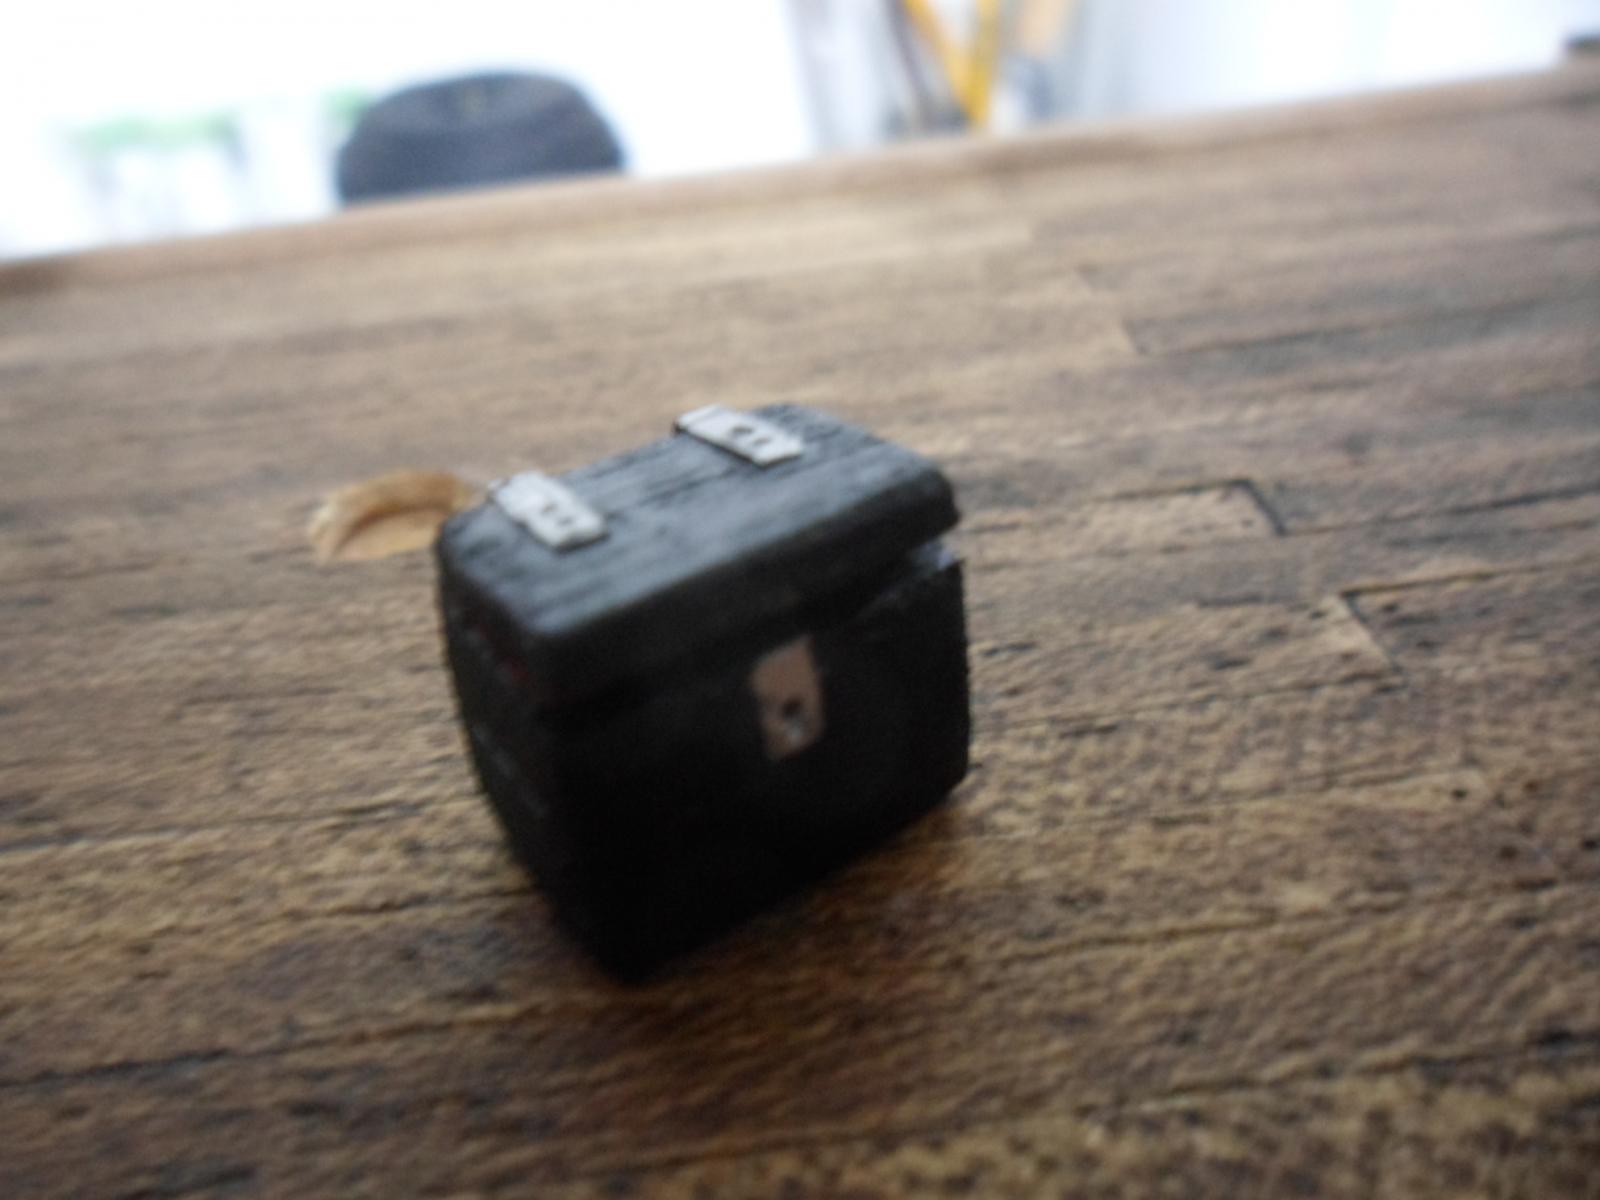
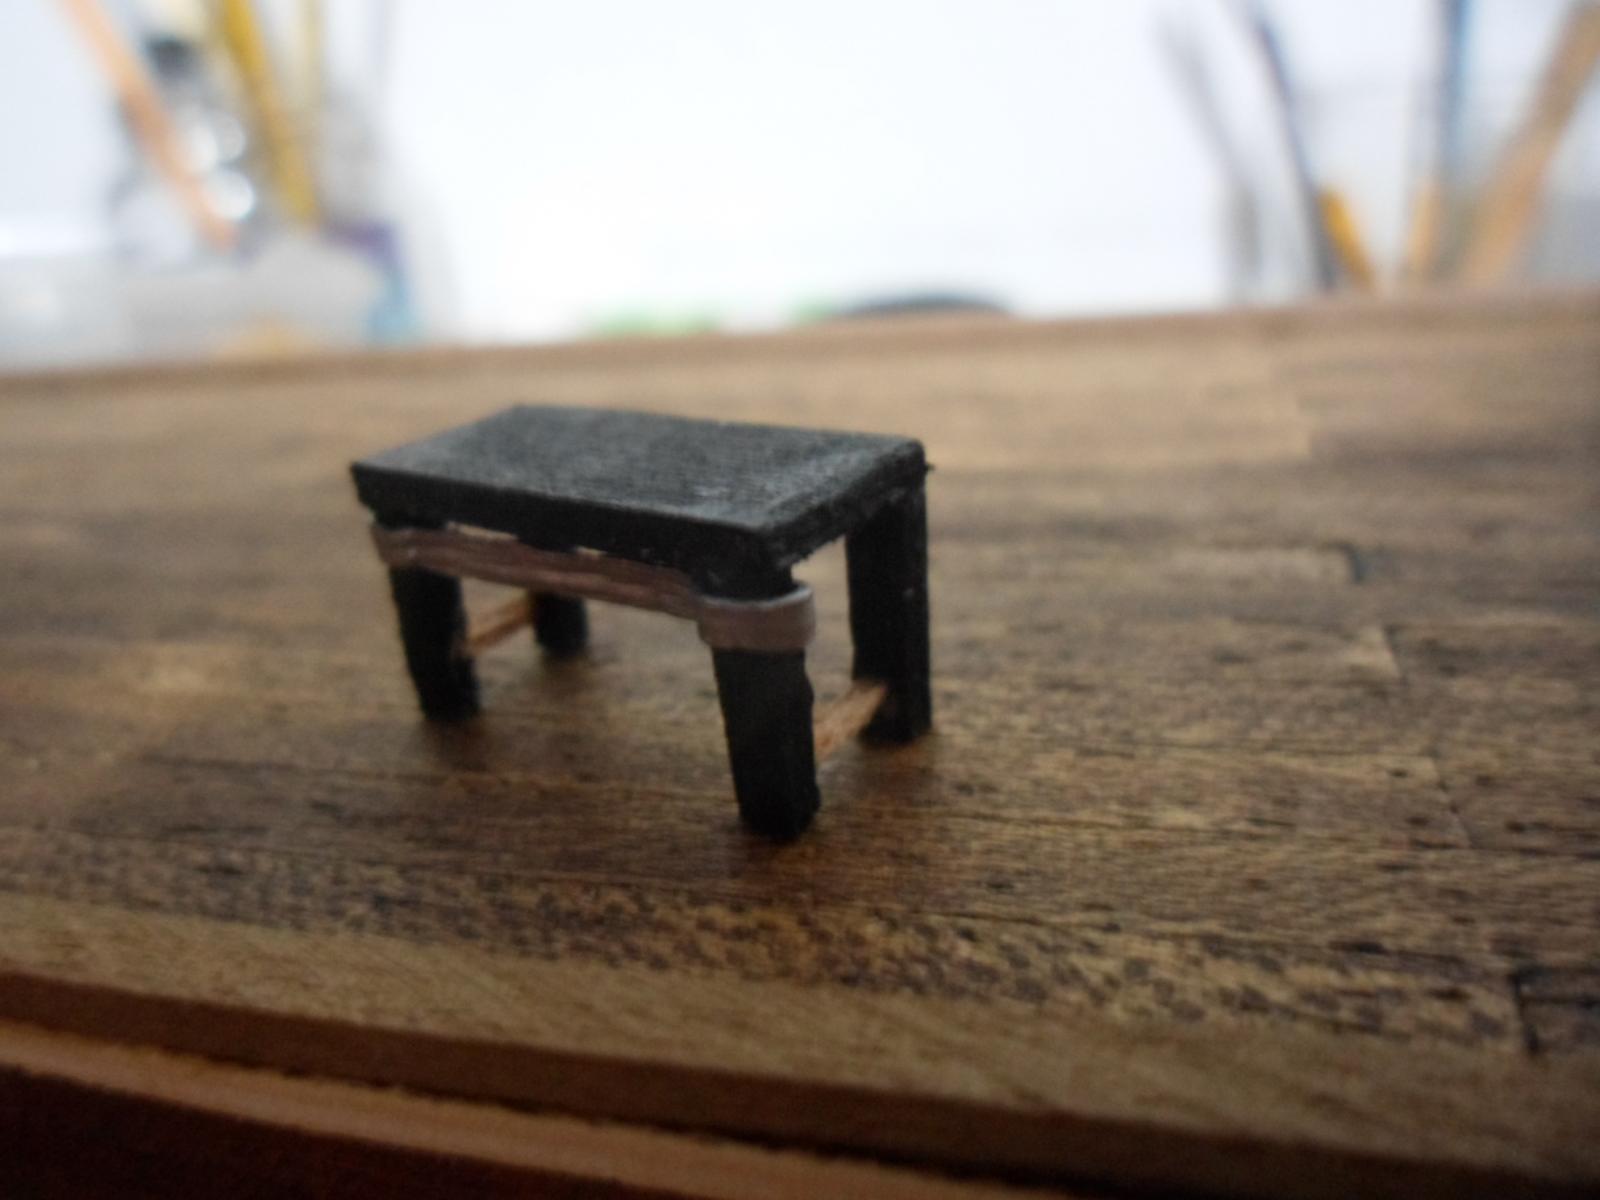
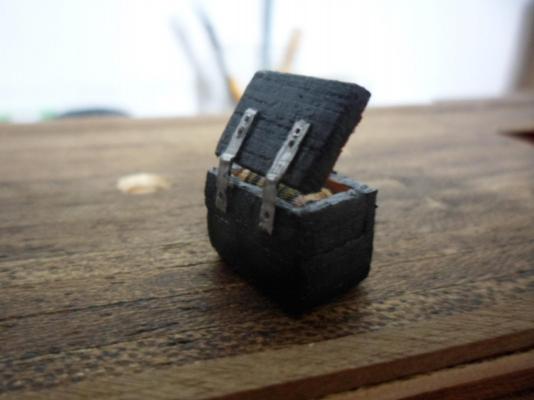
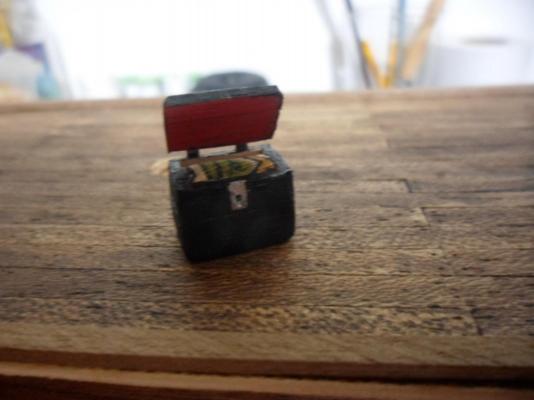
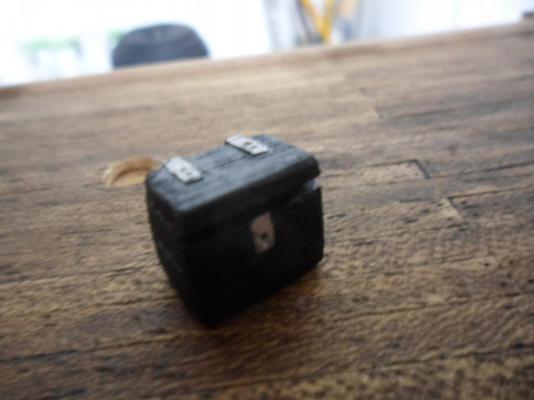
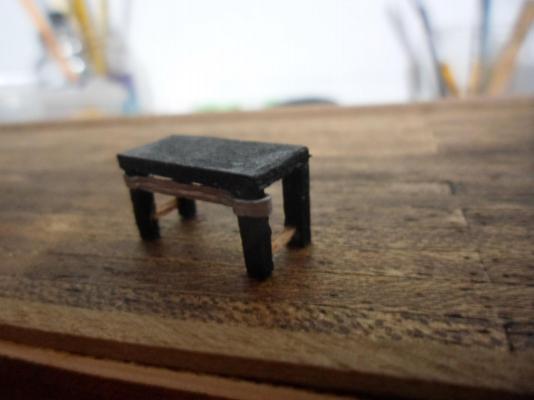
 Raymond, that´s a good idea. Probably some paintings or calligraphy work. Brigada!! Sam, thank u. You´r clearly exagerating, but I get happy anyways. Ulises, thanks. I´m thinking in giving a little enameled finish to the chest and desk - I´ll try it at least. Popeye, glad u passed by. On my way to do a nice cabin for my ship ^^
 -
Piet, that´s some launcher I prefer to look closer on your sub, only. ^^ Great work!!
-
Well, u can blacken it with some painting - I don´t know chemical methods to do it, but acids usualy blacken tin. I´m using in thread, for soldering - as tin is very flexible, u can flat it to a foil and cut it. U can also melt it, as it´s melting point is low and easily done. I´ve found tin in bars, too, for soldering and craftwork. My point is that it´s an easy metal to work and you can bend it all the way.
-
I think tin would work. I´ve been using it - u´ll have just to blacken it.
-
That carving had to be put somewhere ^^. Fantastic job, for real.
-
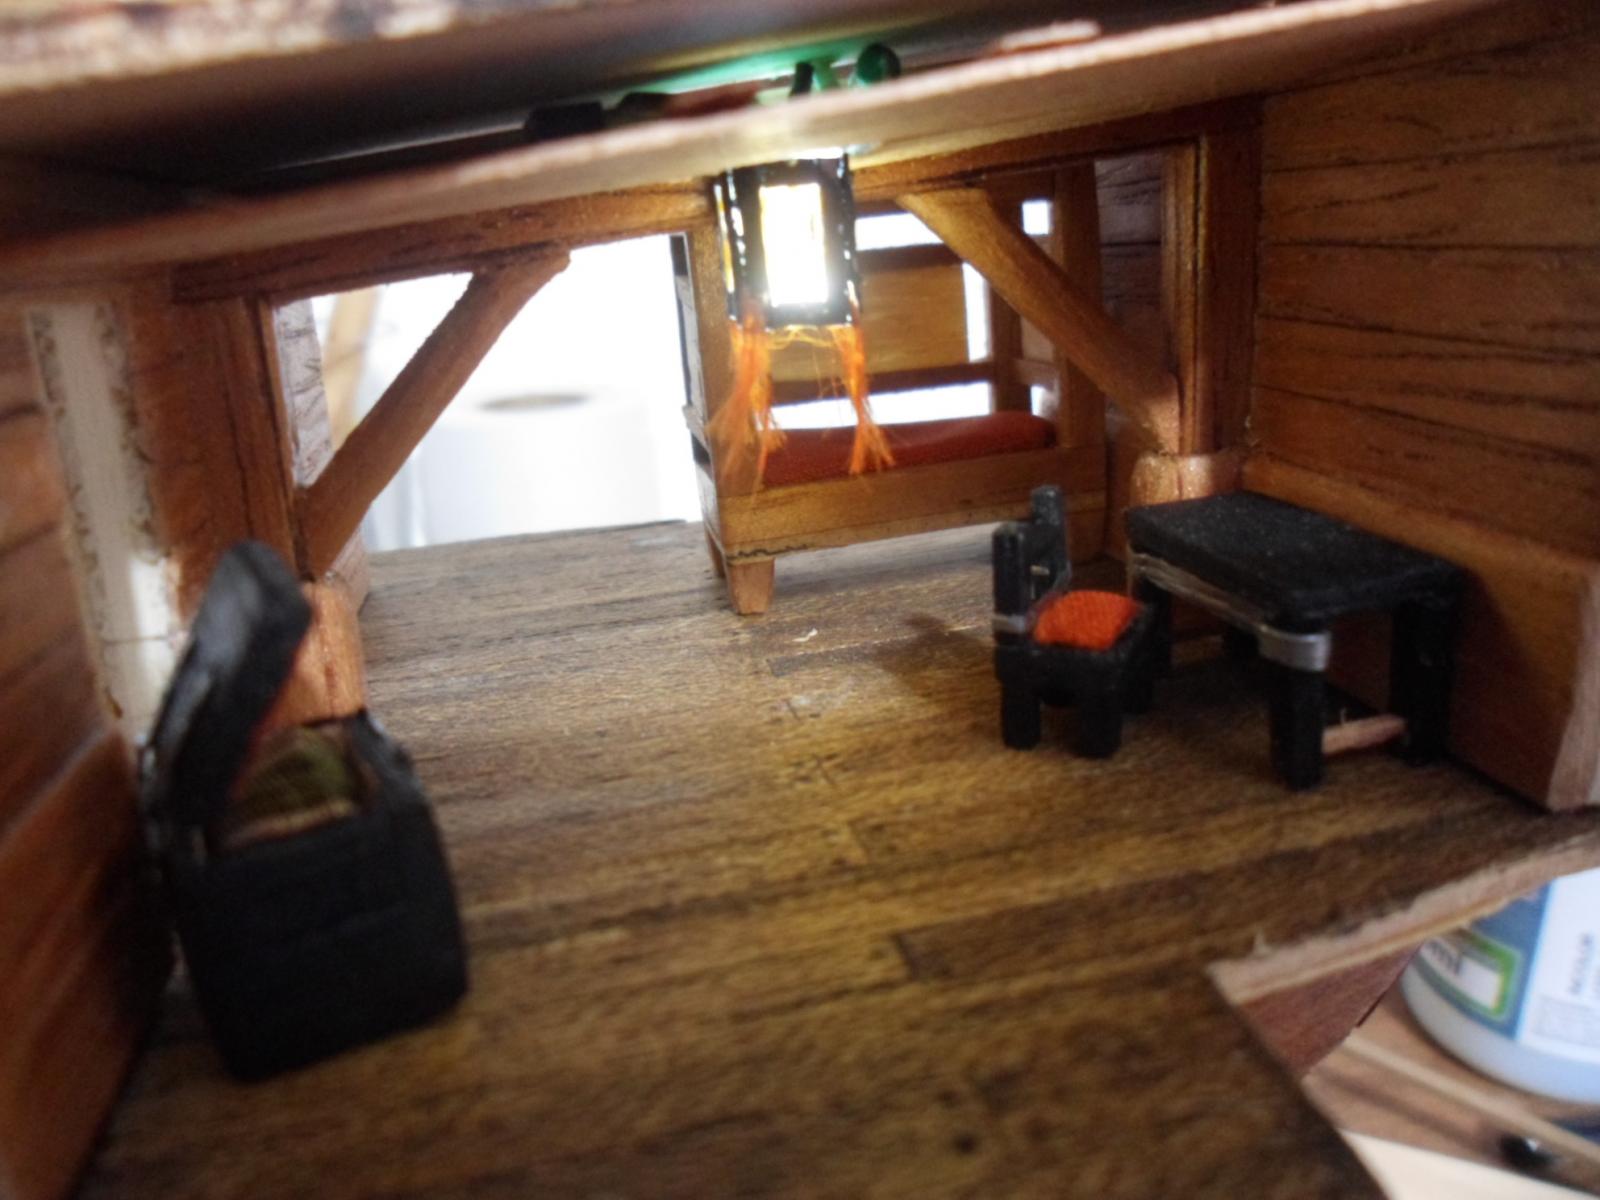
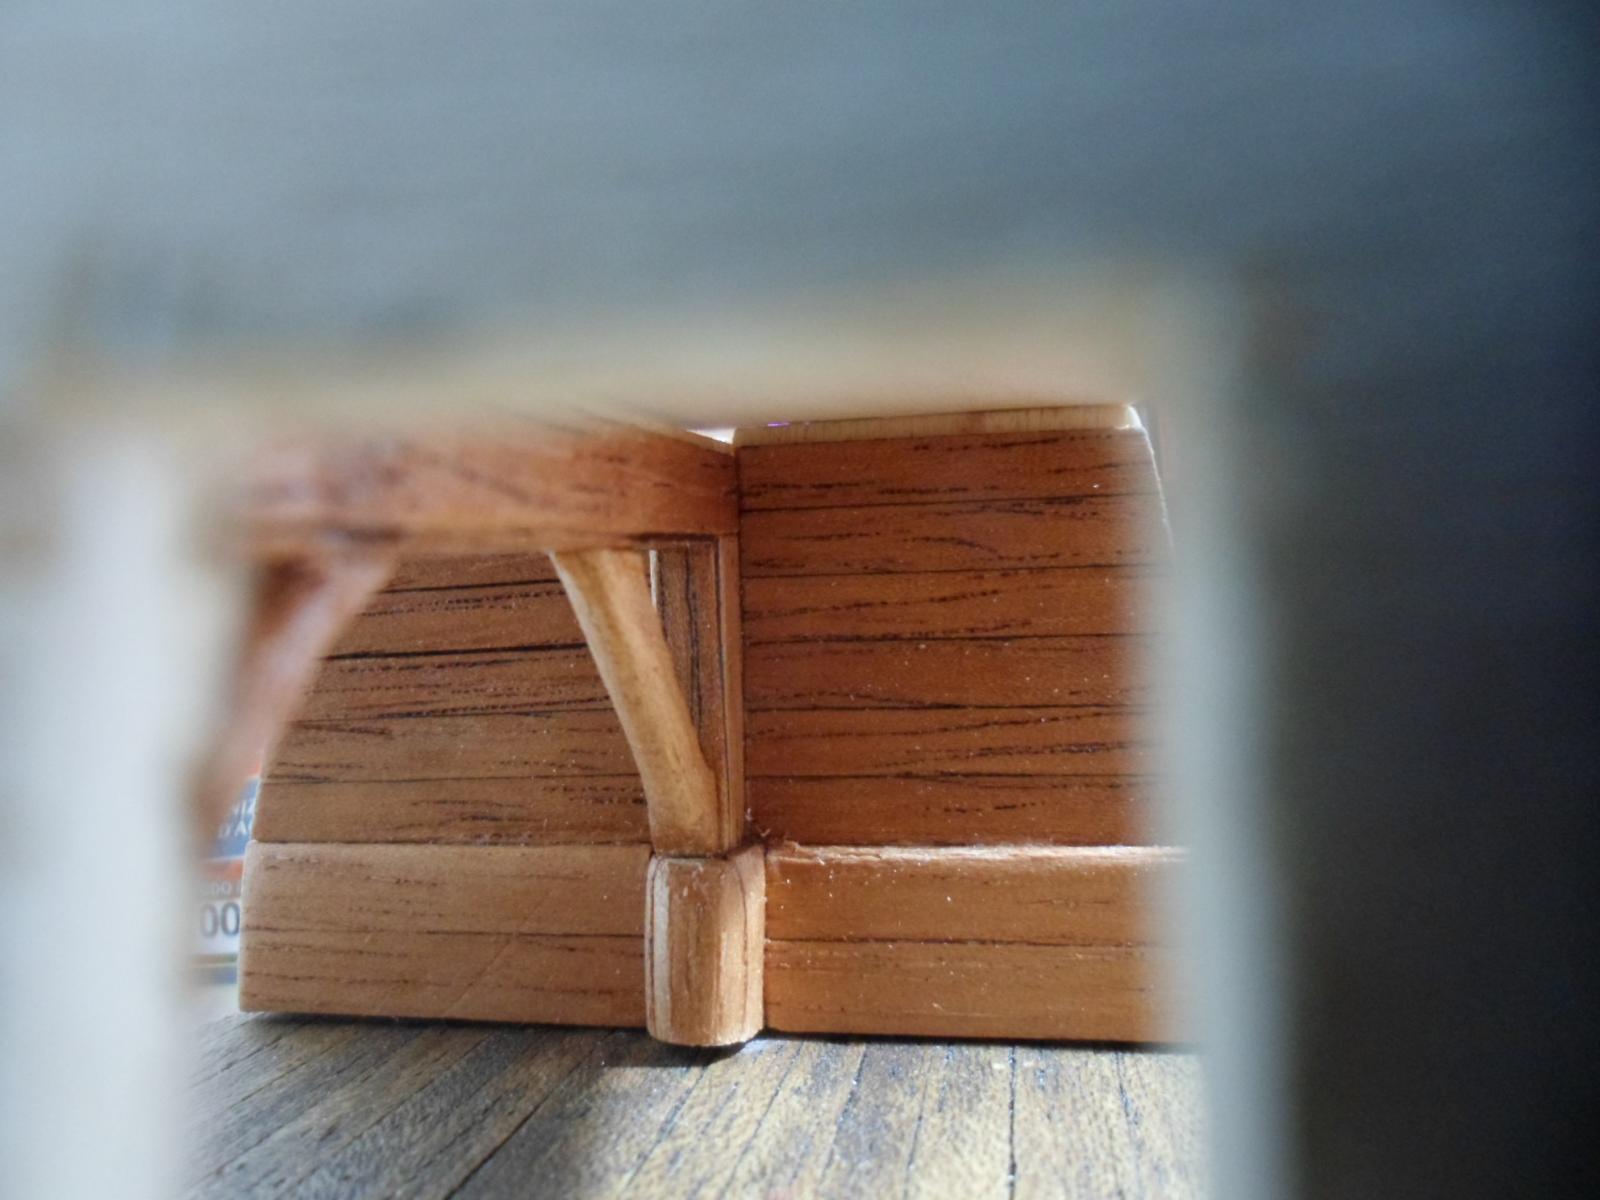
Some new pics from my cabin. Got two days working on my furniture - now I´ll make the floor. ^^

-
You got a beautiful job in there. Loved her from the beginning. Waiting for further progress ^^
-
Hey, buck, thanks. After the pictures I thought it coud be better, than I´m thinkin´ on some colors and details. Ty! Max, I´ll go for silk. The bed is already on silk and I´ll give some more for cushions and the like ^^. When I get some extra time I´ll think about making u a new bed Ty for passing by and words.
-
Popeye, that´s something I gave some thought already. I knew from the beginning what I would do about the cabin, at least, on the oppenings - doors and windows. The furniture is coming as I try to figure it out how chinese were sailing or living in that time. ^^ thanks Mark, thank u a lot. I know there´s a lenghty path to follow, but to read your words is to think I´m going well. As for the blood, well, it was for the best - now I know the blades can brake on stress and won´t repeat the procedure - lol. Hey, Sam, good point. No more demons in me for this model!!!! ^^
-
Nice rigging, Max, real good looking and your pictures are just great!! Love to open your post and see new photos!
-
S.os - Think I have been initiated. lol Daniel, as my interest is getting into the scratchbuild world, all experiences I do must help ^^. I love to cook, so in the process of mastering chopping, got all of my fingers cut - now, that´s a new scar to add to those cooking ones. Hey, Capt´! Thanks ^^ - as for the ancient mandarin, that´ll give me some work, huh? Don´t know if I can, but I´ll give it a try. =D
-
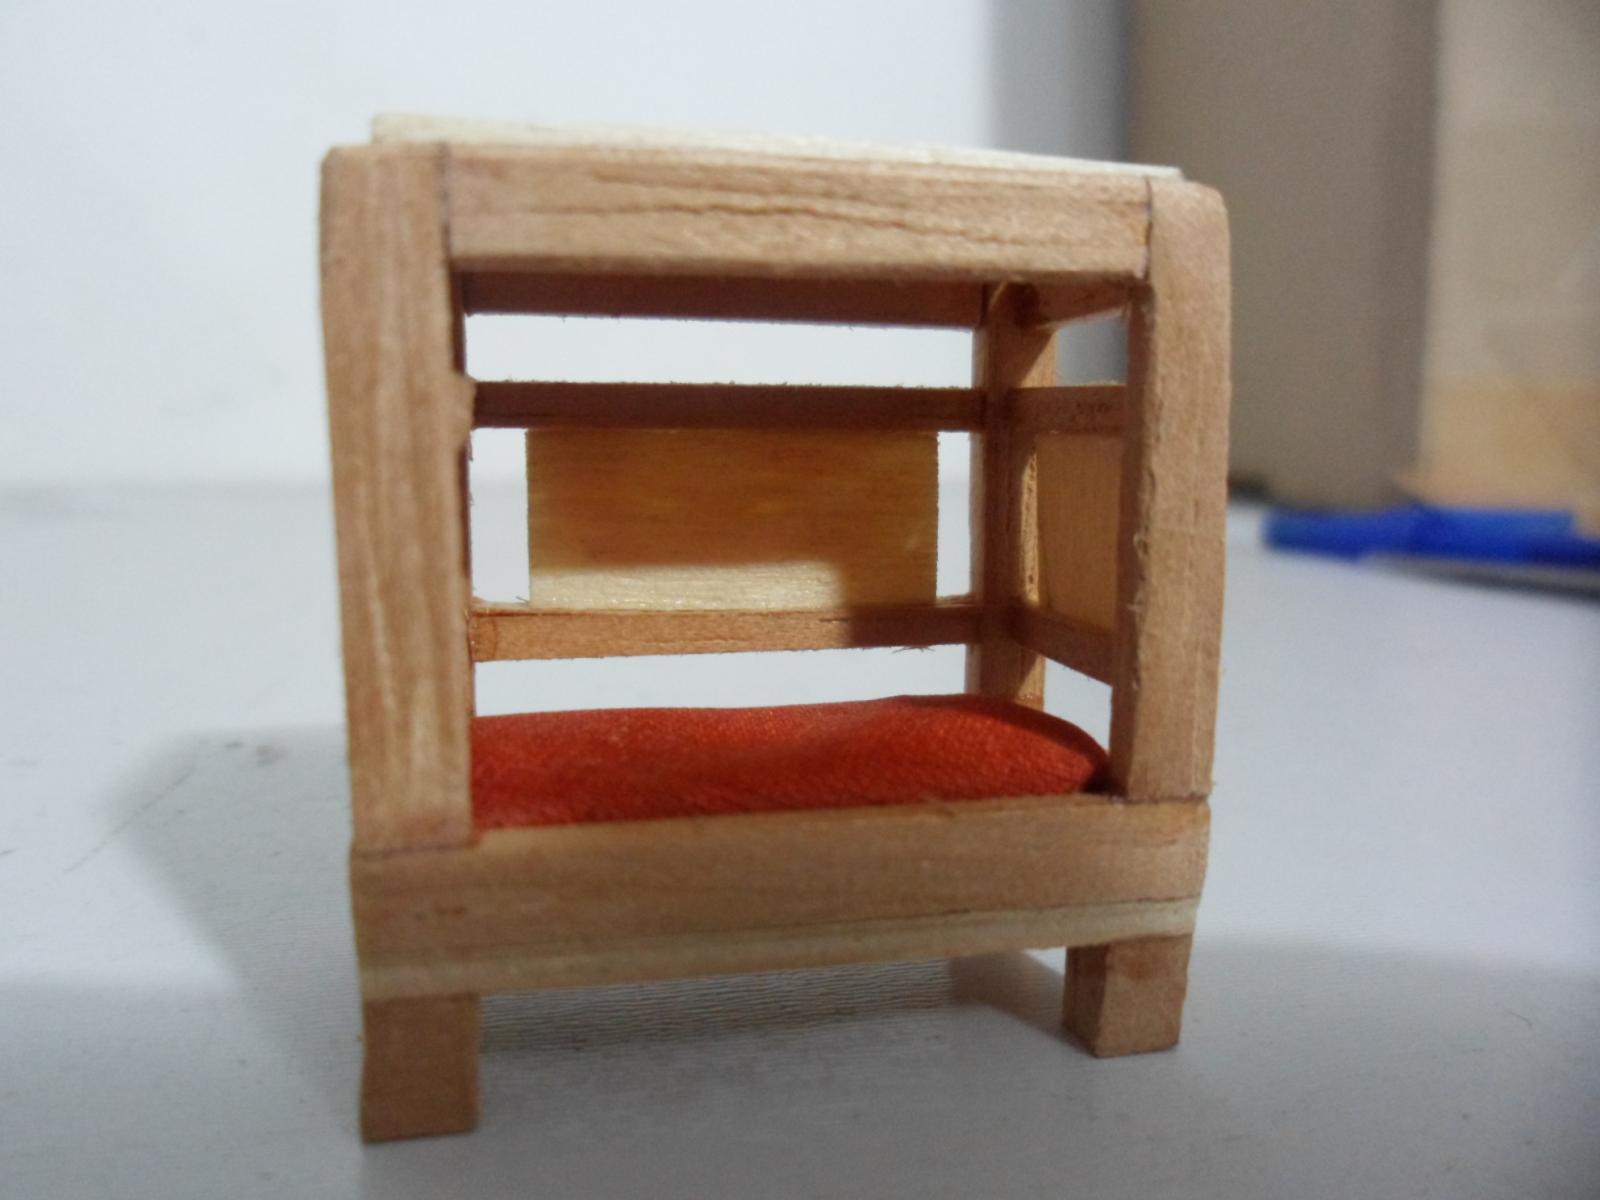
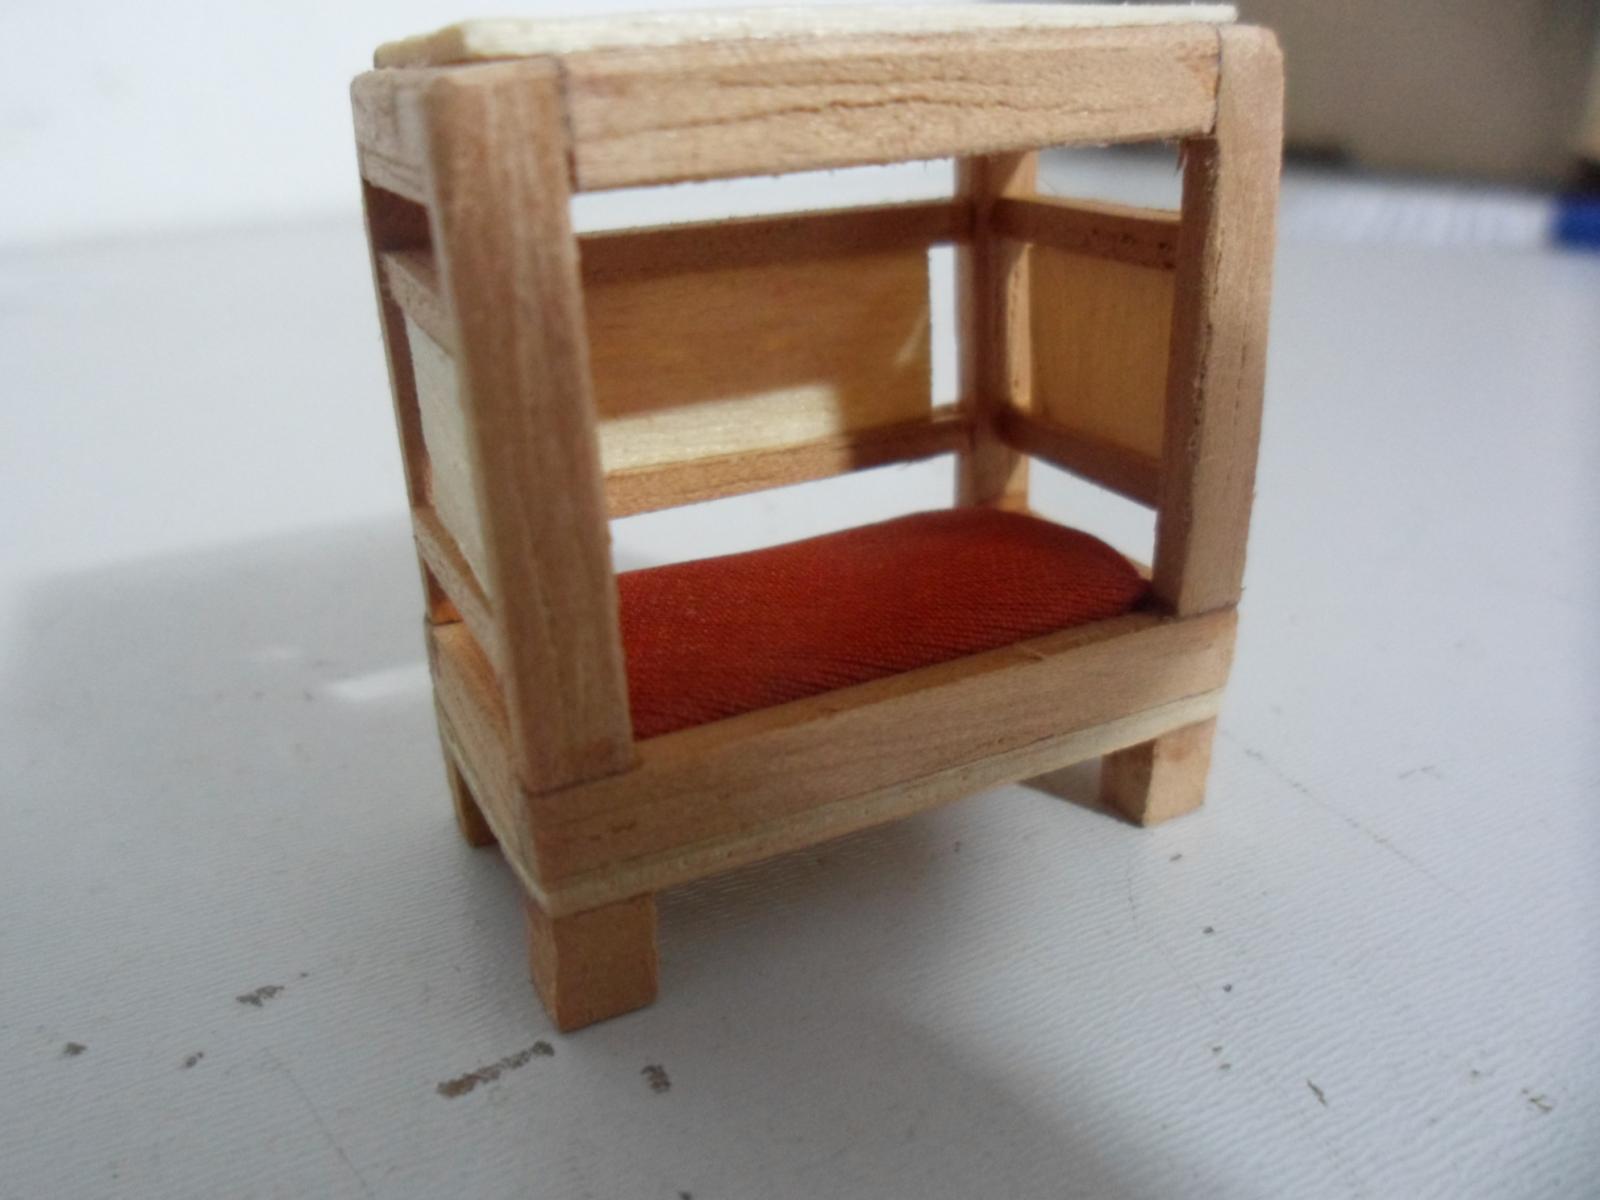
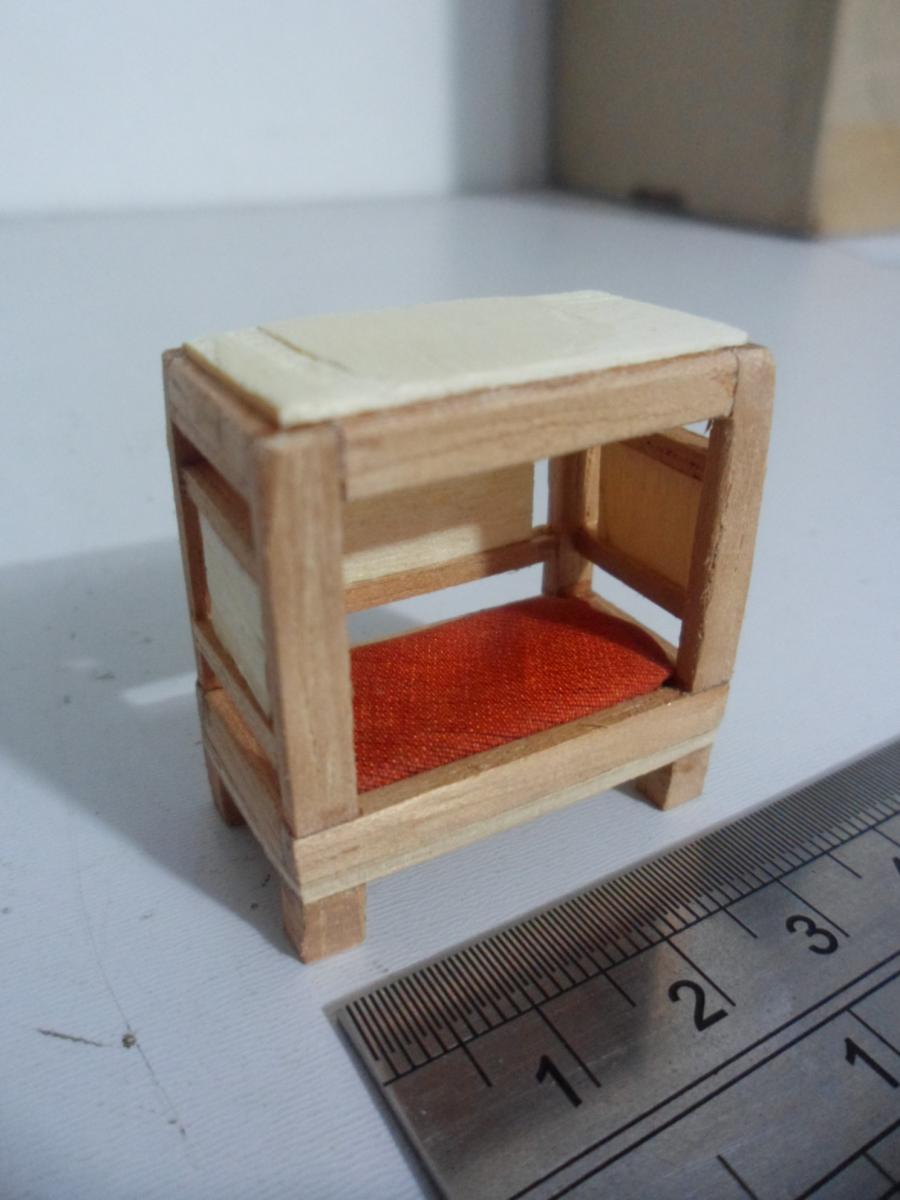
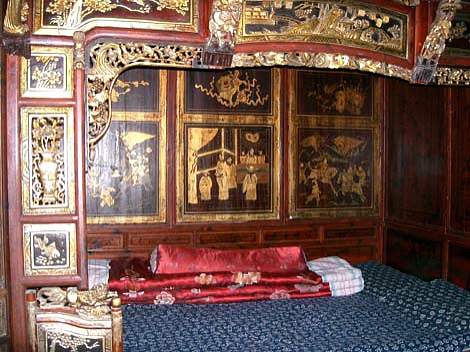
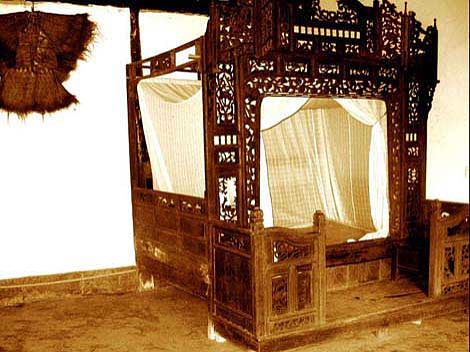
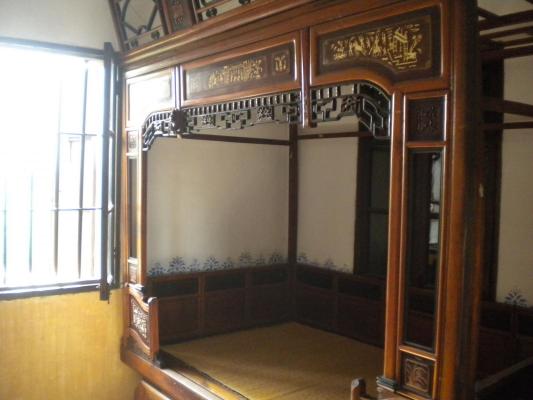
As I can´t let a little accident put me down, got to my ship today, again. Well, not the ship properly, but it´s furniture. As the cabin will be shown, needed some reliable furniture to go within. As there is little immages and texts regarding medieval ships´ furniture in China, had to go through the common furniture for homes and monasteries. After some immages and reading, found that chinese beds on ancient times, and medieval included, were seen not only as a place to sleep, but to lay on, sit, like a chair or a couch. Some examples: So, after these references, I did mine chinese bed. As almost all beds presented were canopied ones, mine is too. The difference is I made it simpler - beds on ships can´t have all those traceries and perilous elements to hit your head on. Still, the canopied bed can be a good place to hold you on a stormy sea, at least I think. The fabric used for the bed is silk. I won´t make it a pirate junk - think it´ll be more like an ambassador´s ship. I´ll make a chest, a chair and a desk, for instance - but I´m very open to suggestions ^^


-
Thanks, Ulises. We can´t play with fire without burning ourselves. So, it goes with blades, razors and all that stuff. But I´m well - typing with the wrong finger, but well.
-
Thank u, Ollie. That is something I thought about for some time, since I haven´t any pictures or immages from junks´ inside, I took some house´s ref. Raymond, everything is fine and today I´ll get back to my ship. I´ll have to keep my nail clean, though. Thanks for your kind words. =* Well, I had to stretch the scale and now, I´ll have to think how to fix the side walls - It´ll take some days to sort out what to do - If I use the kit parts or scratch new ones. As for my cut, wasn´t that serious, but hurts a bit, yet. Ty! Thanks, Matti. As the ships goes on, it´s nice to see the mods are looking good. ^^ Doris, always, always honored and pleased by your presence in my log. Thanks for you lovely words and I´ll be careful - at least, think I´ll not hurt myself the same way. =*****
-
Your work have to be shown worldwide, Doris. Such a talent don´t come easy. A question - People ask about buying your work?
- 883 replies
-
- 1
-

-
- royal caroline
- ship of the line
- (and 1 more)
-
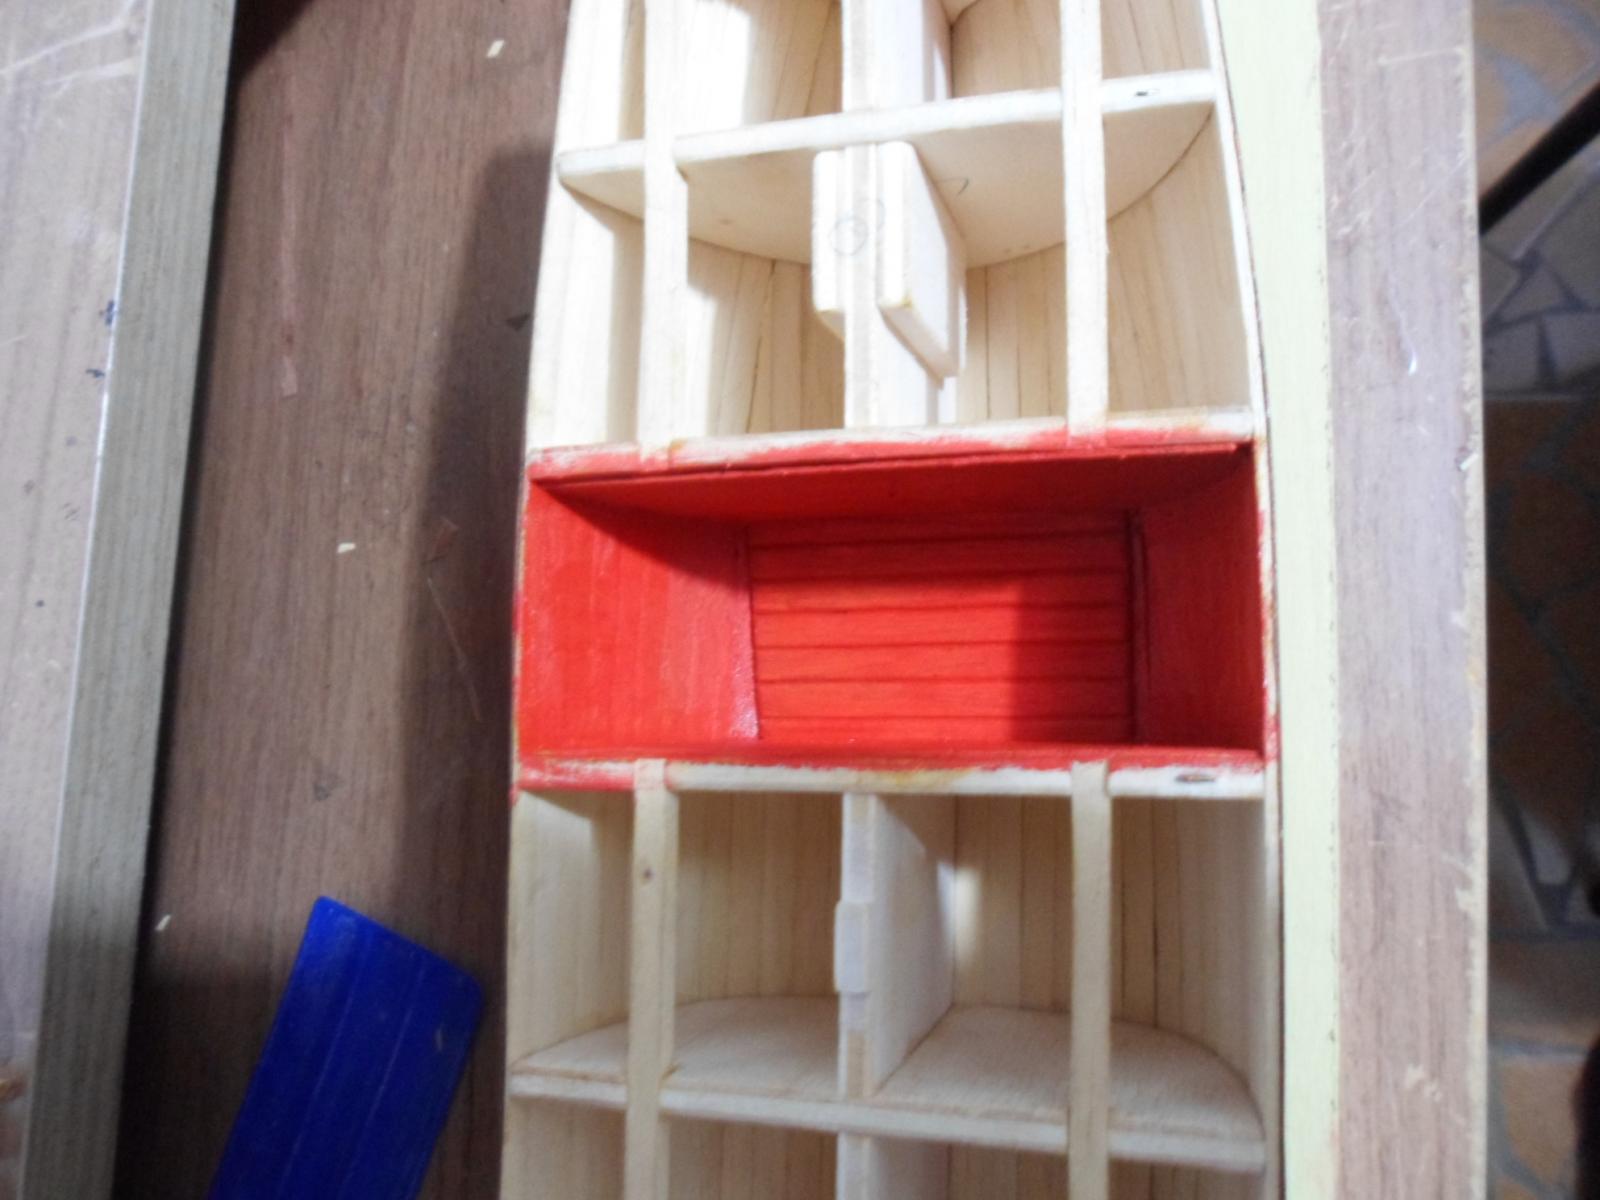
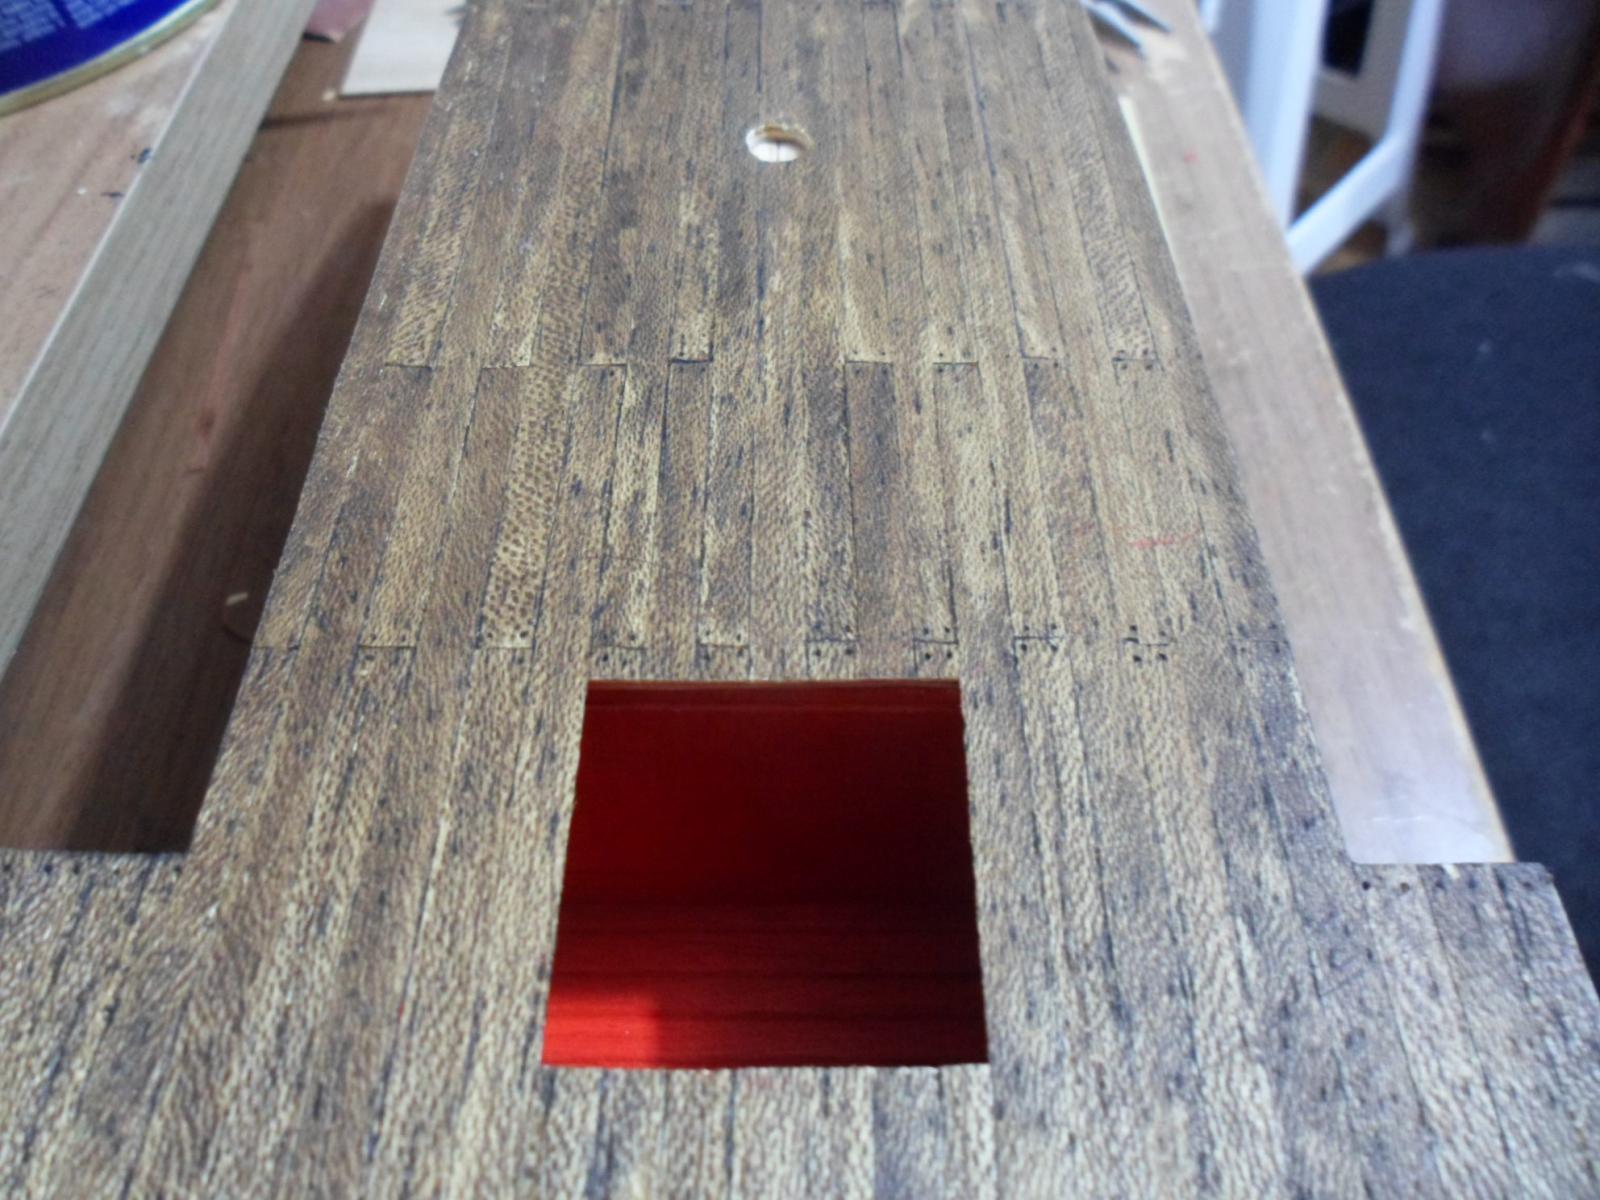
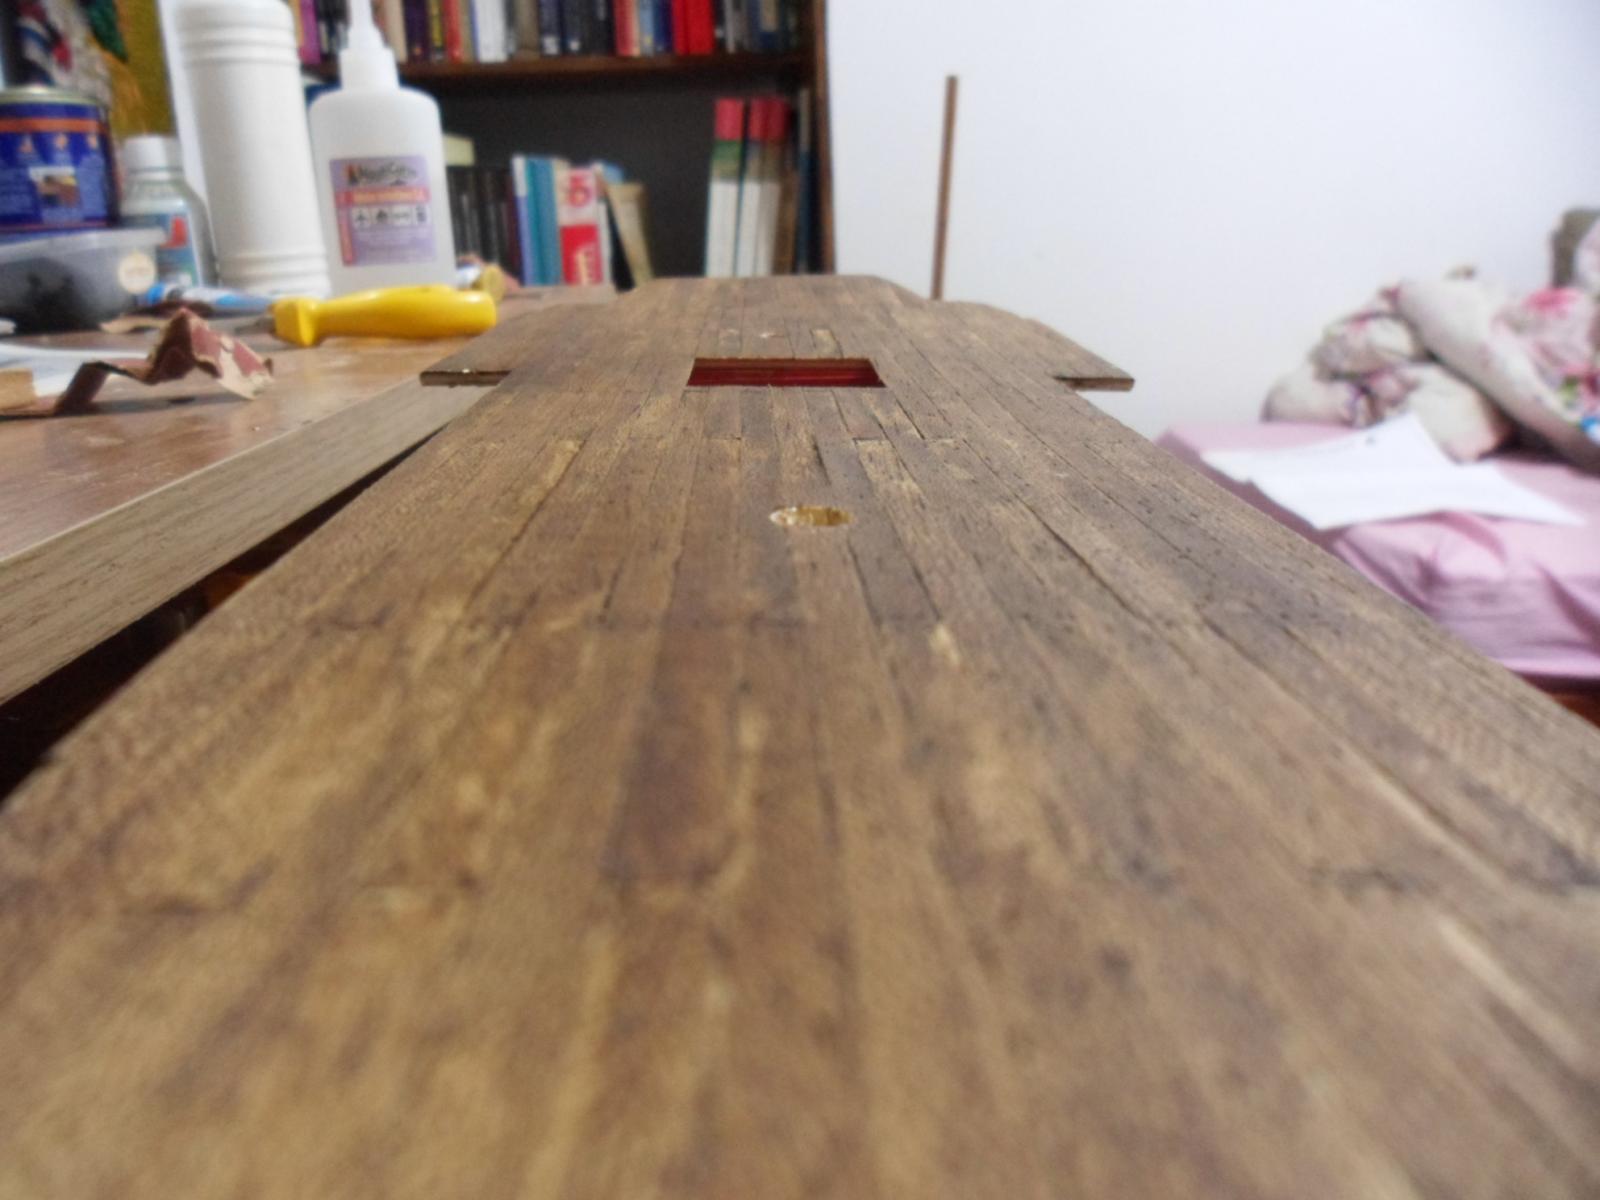
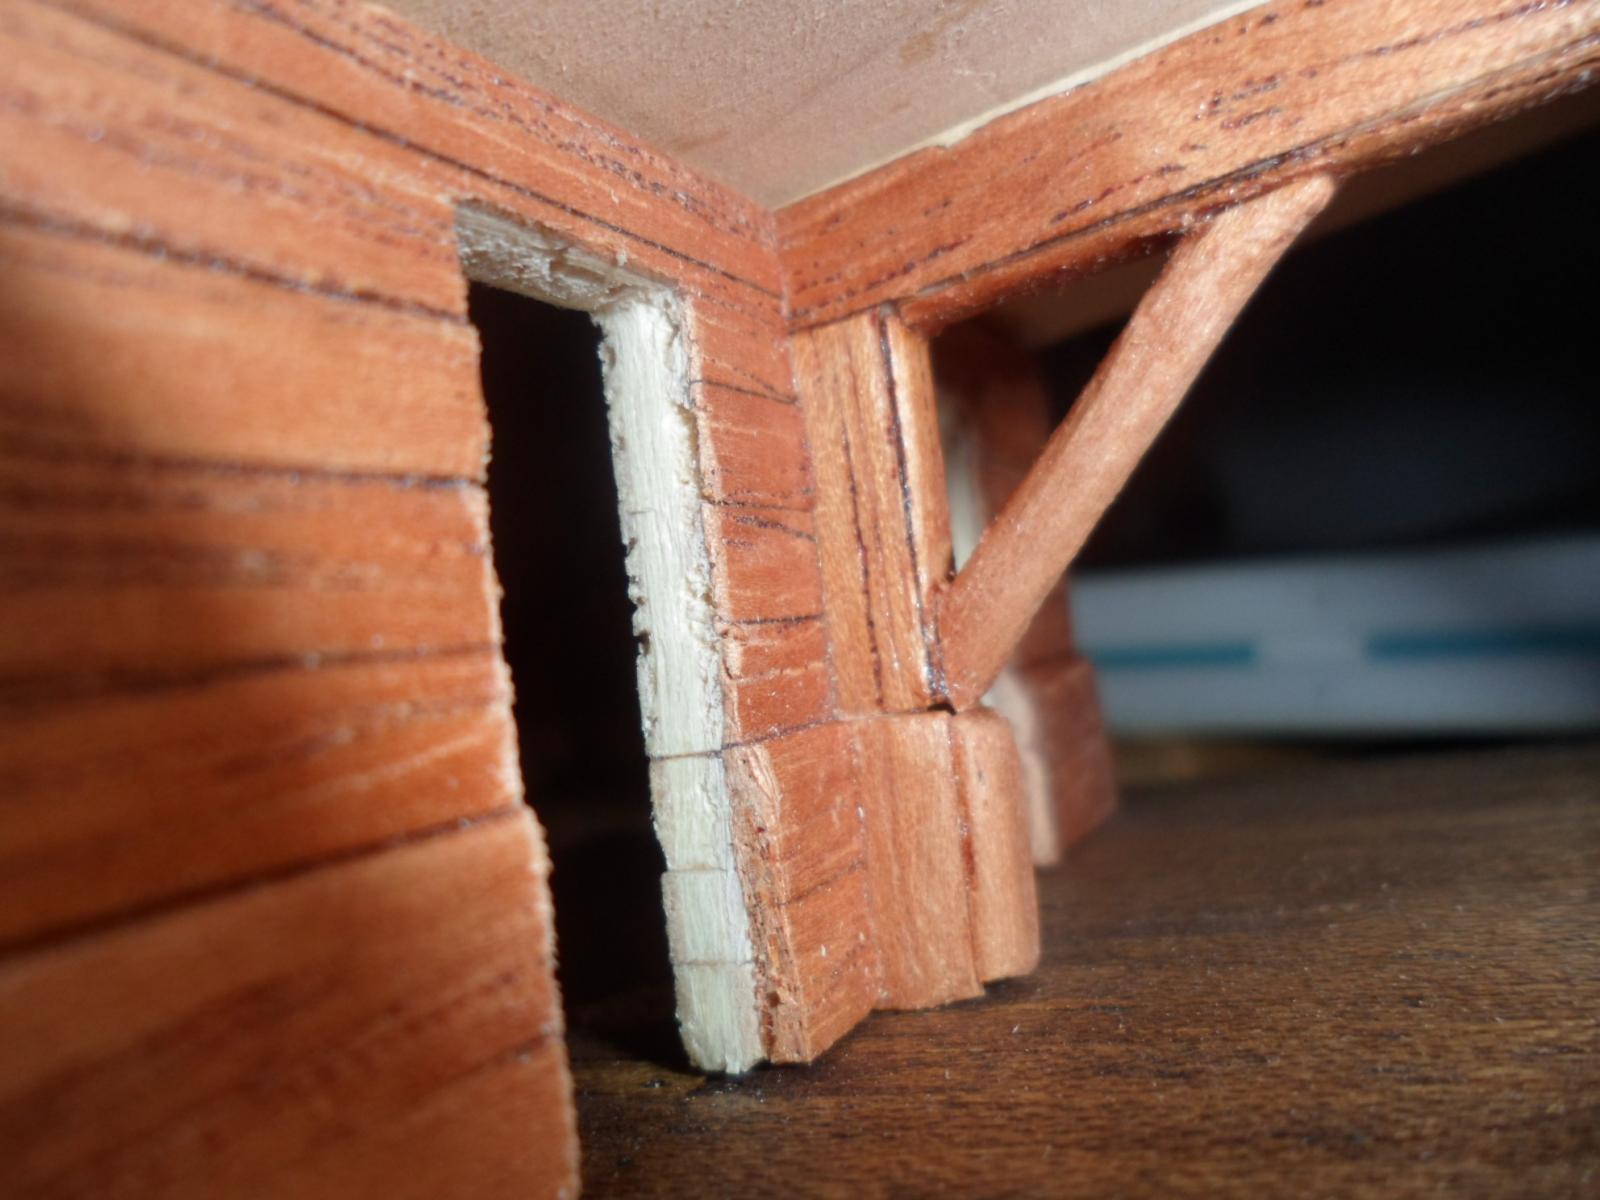
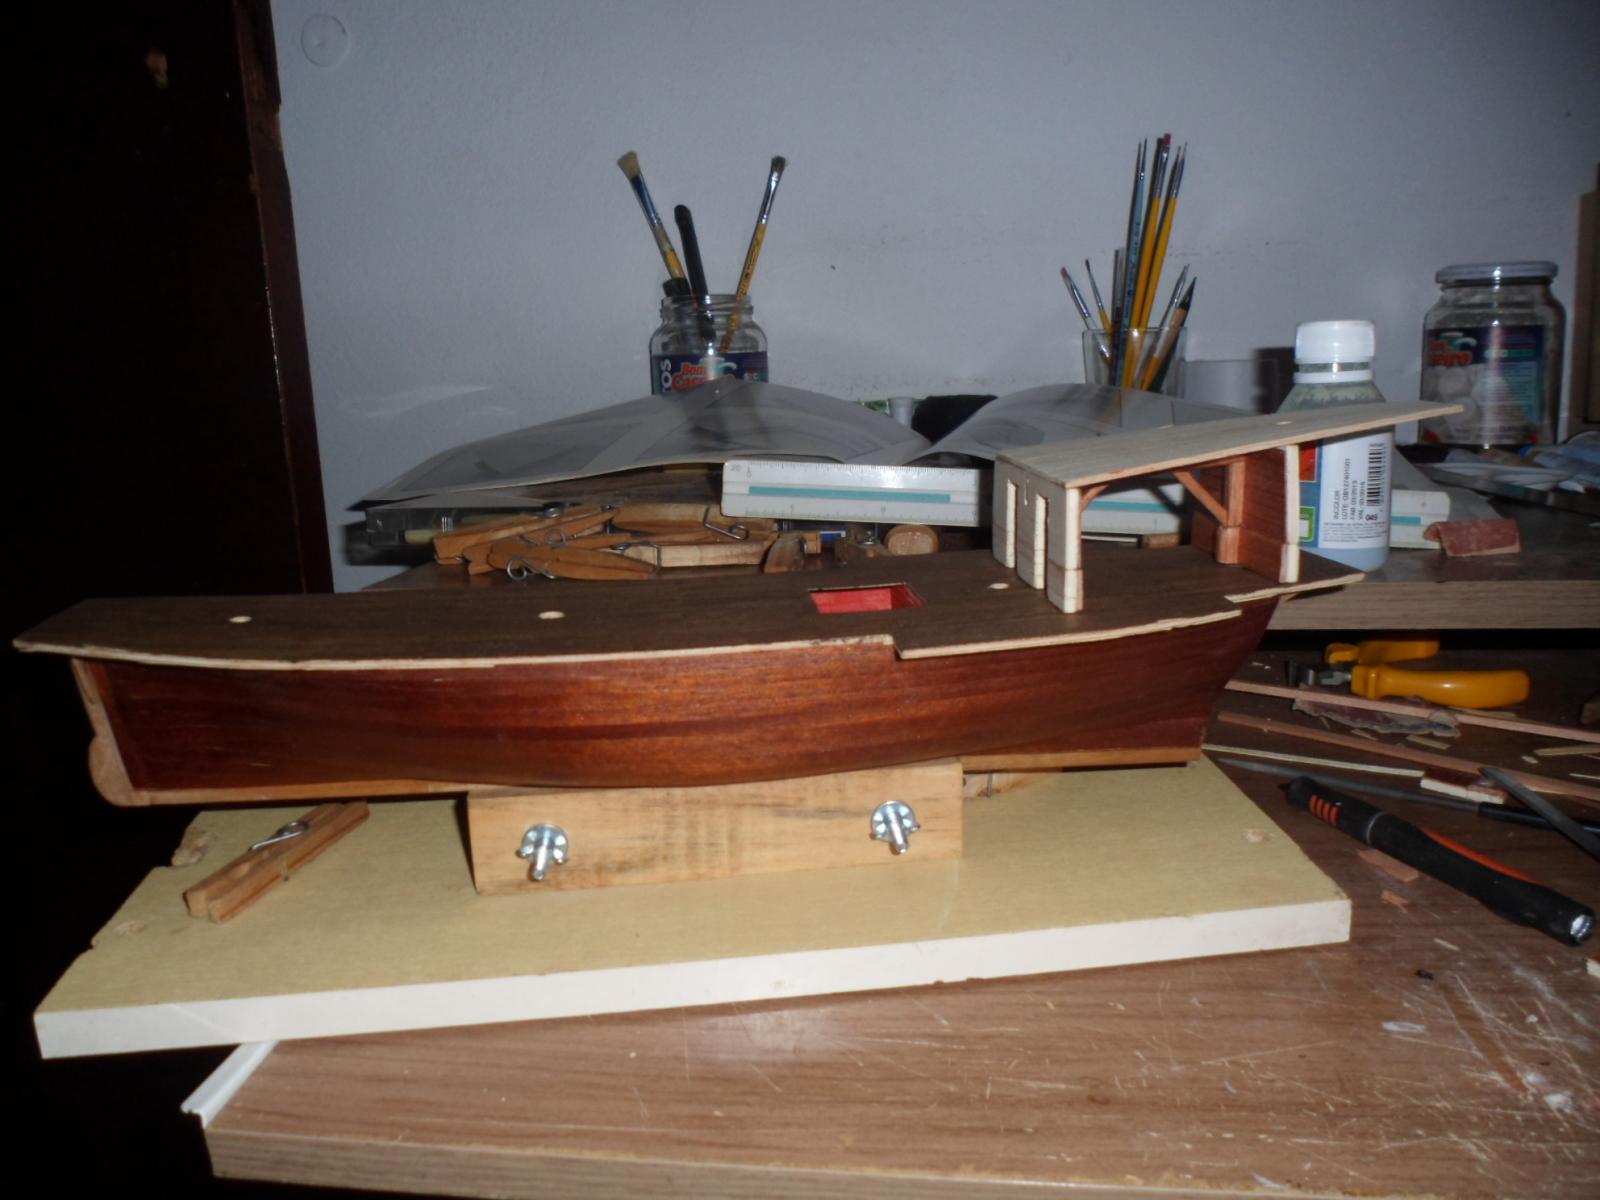
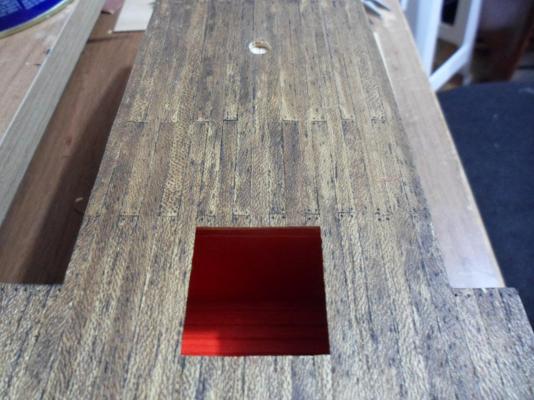
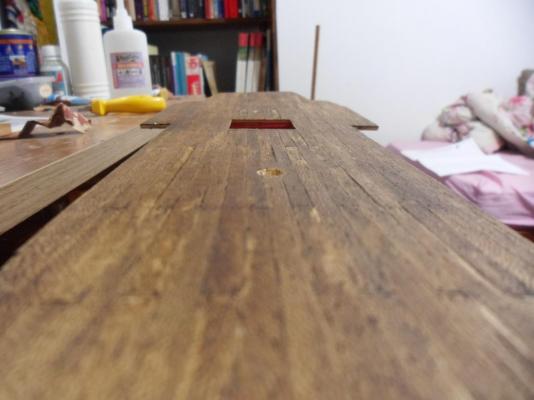
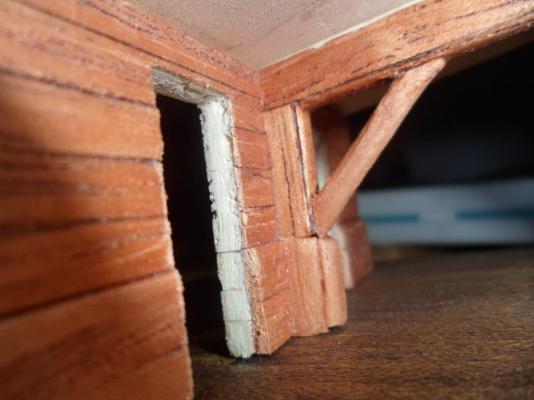
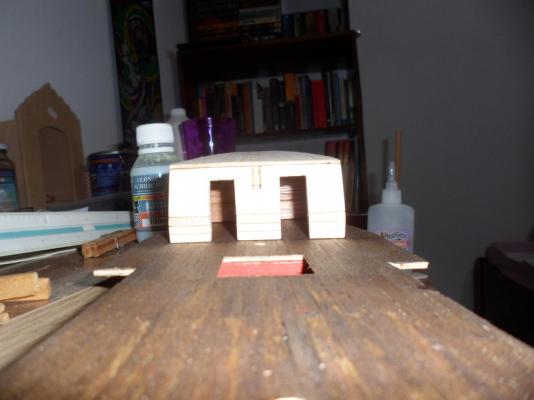
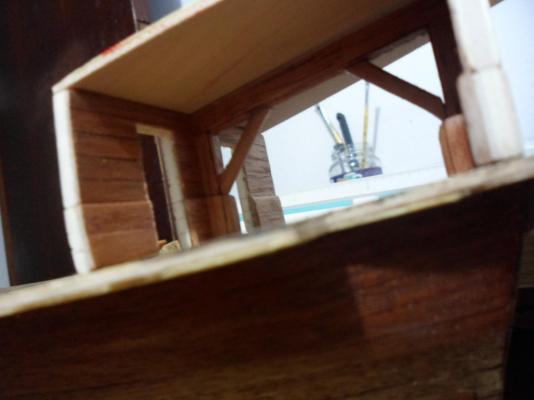
Some more pics for you. After that movie about the construction of a traditional junk, gave some thought about how should look my compartment - so, after some testing, got a chinese red for the paint, over a hand of yellow. The result as follows After that I fixed the deck. Well, I fixed and took it out after the glue dryied cause on a closer look, it was assymmetric. Seems the weight made it slide over the glue on the fore. Then I got to my cabin. Since the AL ship is not so big as those described by medieval travelers, got just one cabin. Compartments should be load only if the ship was a merchant one - and part of them were used by the crew for sleeping most of the time. As I intend to have an explorer ship, or a pirate one, no need to have cabins for this or that person besides the one in charge. As u can see, my doors shall be completely different from the kit. After some measurements I saw that scale wasn´t right, since people would have to be 1.2m hight to avoid knocking their heads on the ceiling. Doors were too small too - so, I augmented all of it to be something more close to reality - now my doors stand about 1.8m and about 2.2 for the ceiling. Got my first accident on cutting wood, today. No big time, but got two nails on my left forefinger, as the scalpel cut it´s way through...


-
Hey, Mobsie, thank you. Let us see if I can keep it up till the end - on the worn look, I mean, I confess I have some doubts about the hull. Sam, it´s something I like, can´t help doing things like these. Hope my models can be at least a little convincing. Ty, ty, Popeye!! Matti, I´m loving to work and research about junks. Thanks. ^^ Max, think there´s no right way - or, the right way is the one that make us happy! I admire a lot many of our fellow modelists who goes through sweat and hard work to make a ship look brand new, but for mine, they need some story to tell. ^^ Janet, ty for the tips. I´ll be careful around the handrails!! =D
-
Awesome!!!!
-
Agree with Daniel. Great work and very carefull too.
-
humm. It´s short some tentacles I think -
-
Loved your model, Piet. To make your father very proud, if I may say it. So beautiful!!!!!
-
Mark, that´s not a big lunch, but believing on how health and food were in these times, fresh meat would be a delicacy. Bindy, it´s my protector now. Any insect that come closer to check the ship won´t last. lol
-
Then, I got a crewmember - or this is the first view of a komodo dragon?
- 188 replies
-
- 4
-
-
- latin caravel
- artesania latina
- (and 1 more)
-
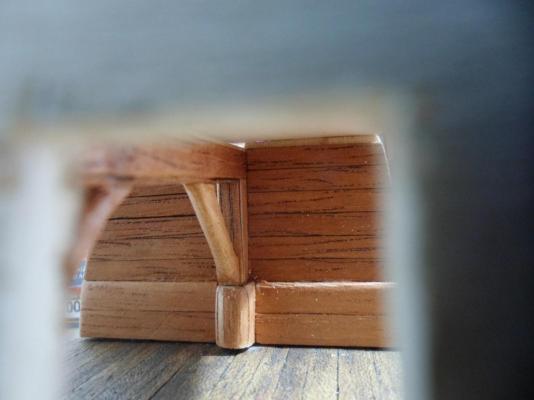
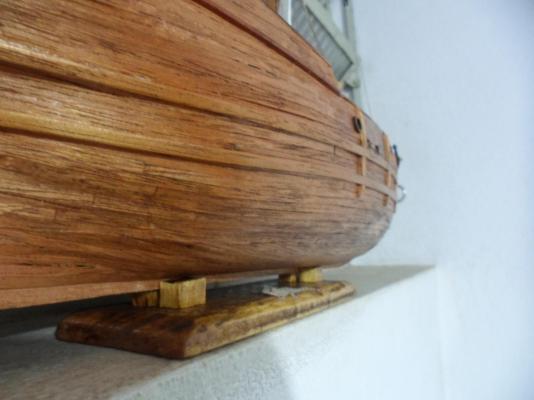
Daniel, that it is. Aged, worn, sailed, used and alive. I do love the wood mastery and clean job of many of the masters in MSW, but have to bring that look to ships old as they are. Well, at least, they seem old . The planking job gave me some work. The AL veneer isn´t that good. Raymond, grácias! And there the compartment will be, for some crates and sacks. ^^ Trying not to rush. Bindy, ty!! I made some tests before staining all the deck. That gave me the certainty about the look I wanted. Took some scrape, glued them together as if a small segment of my deck, and after sanding and nailing, stained the wood. Took some sanding again and took a second hand to fill the small holes - that made them look treenails ^^.