lambsbk
-
Posts
910 -
Joined
-
Last visited
Content Type
Profiles
Forums
Gallery
Events
Everything posted by lambsbk
-
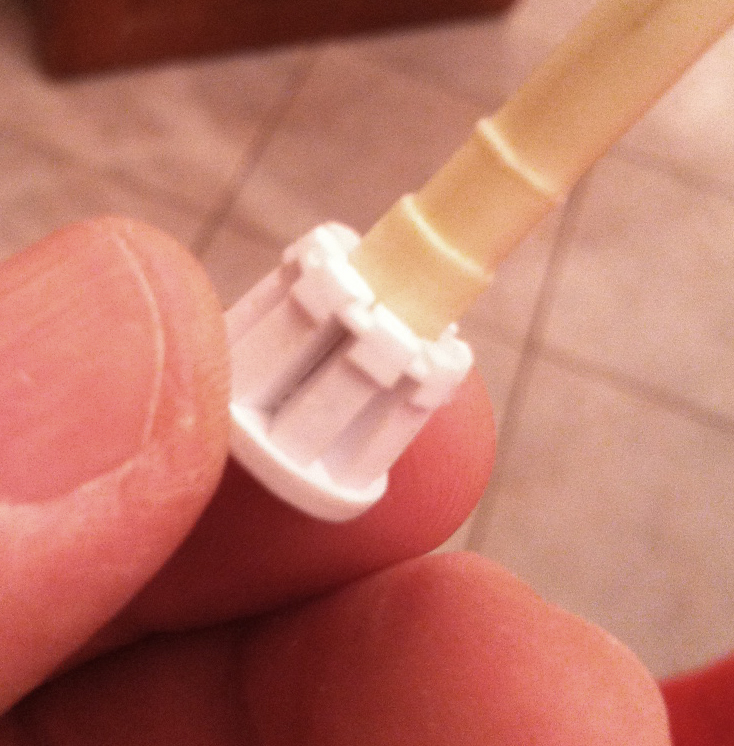
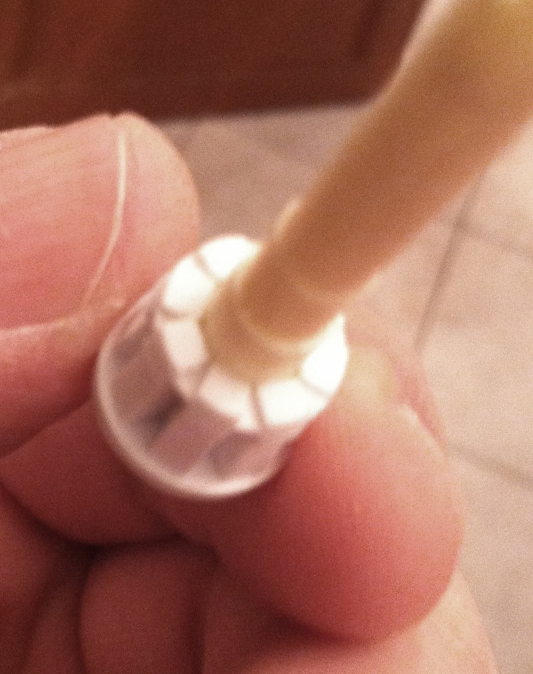
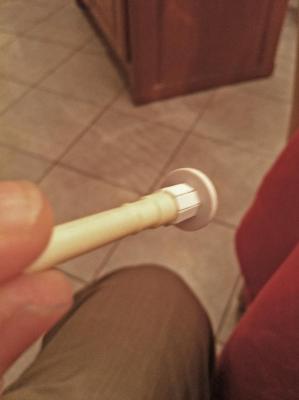
And then when put together... These were taken with a cell phone camera. I apologize for the decreased detail.
- 601 replies
-
- 4
-

-
- constitution
- revell
- (and 1 more)
-
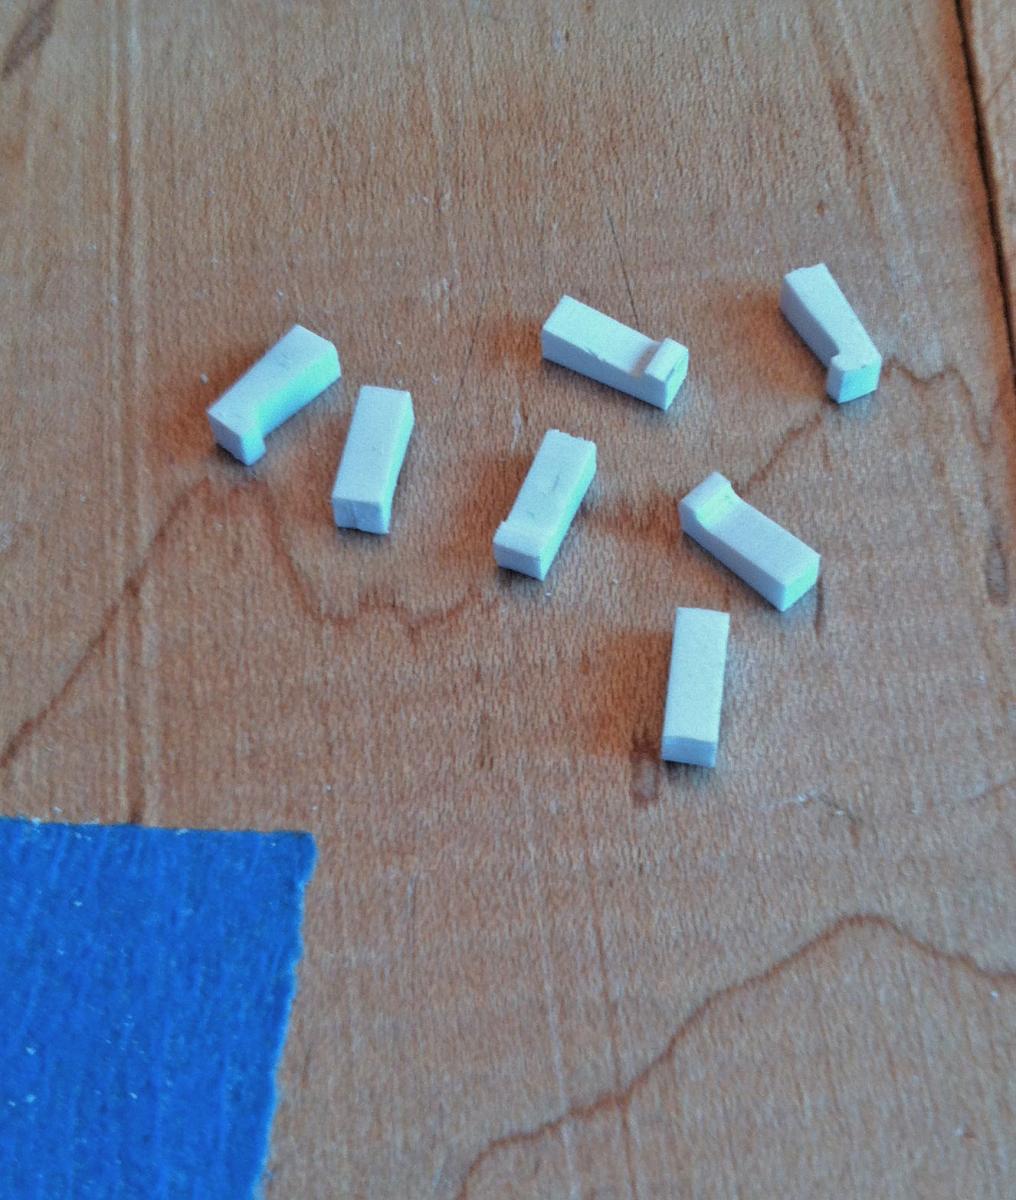
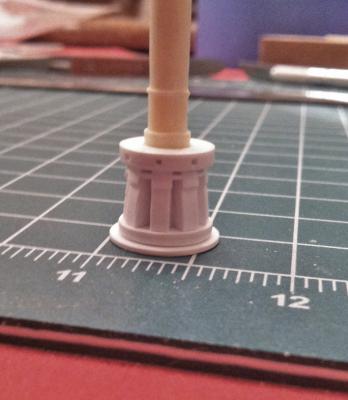
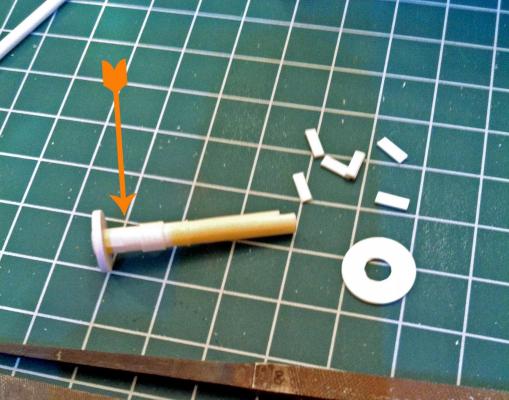
Not much work to report this week. The gun deck capstan is nearing completion...spar deck yet to go. There are no less than 32 pieces of plastic on this little 'mini-build' so far. Capstan cogs...


- 601 replies
-
- 2
-
-
- constitution
- revell
- (and 1 more)
-
Wes, I usually just click the 'like' button but I have to say those decks are making me drool. Beautiful work.
-
Ecto-1! Sweet...
-
That is a good reason for a well secured case...no looking back eh? Great build.
- 552 replies
-
- 1
-
-
- maine lobster boat
- Midwest Products
- (and 1 more)
-
So Michael..what was your final decision on how to rig those dead eyes? I too have been struggling with the planning of the deadeyes on my Revell plastic model. I have been toying with the idea of replacing the pre-formed ones and creating my own. My challenge has been the scale (1/96 is really small) and the technique (not to mention my sanity). Both of these seem to be current issues for you in this build.
-
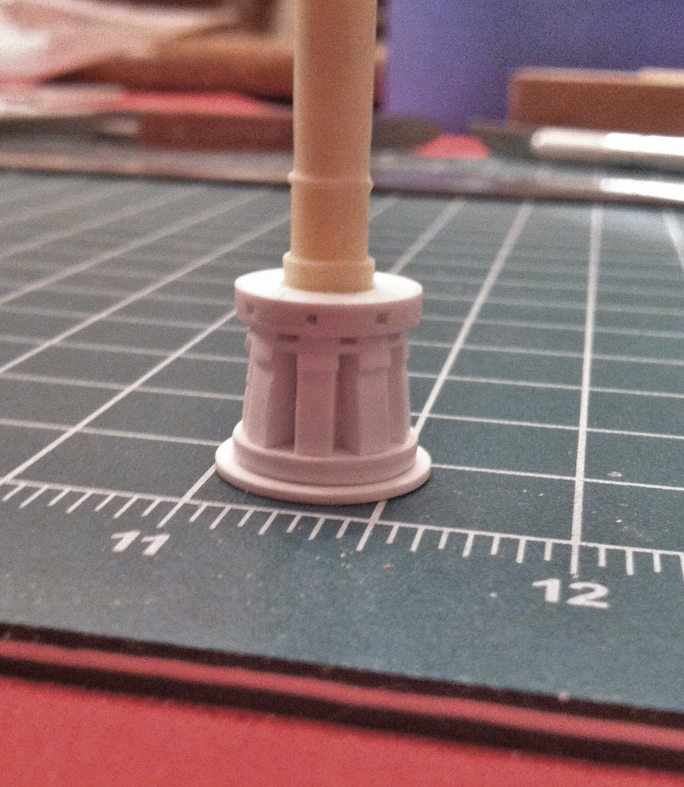
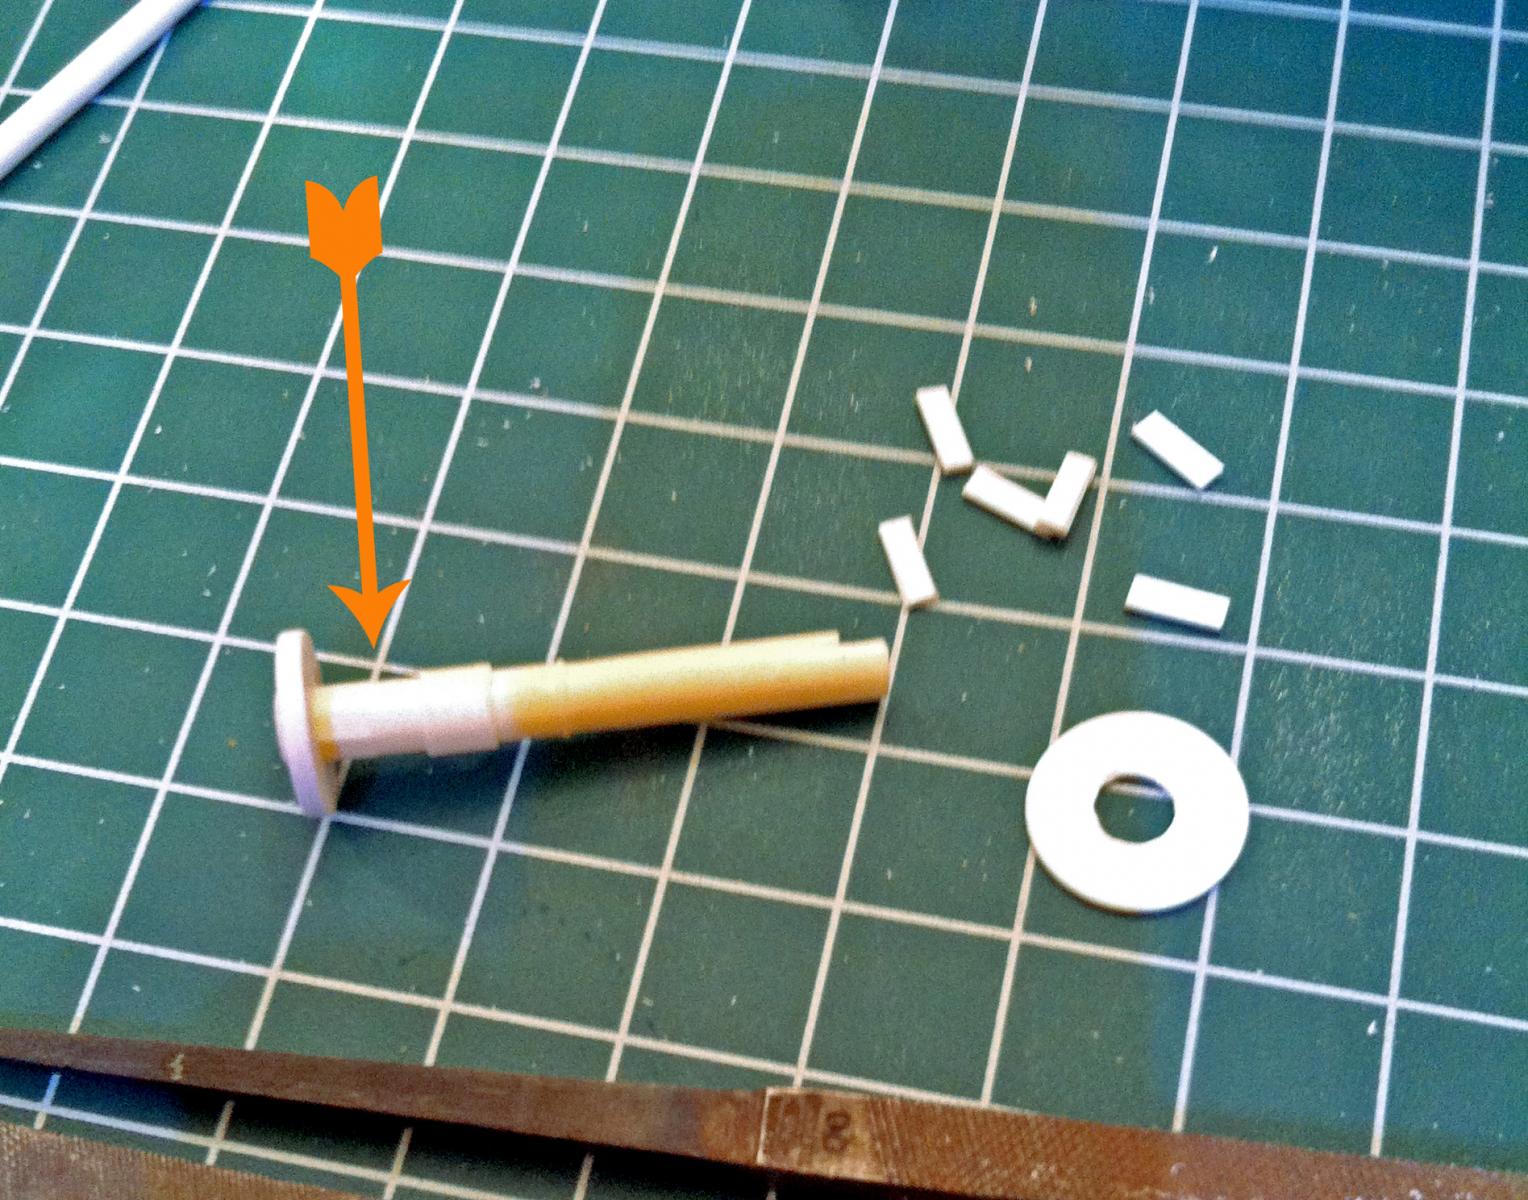
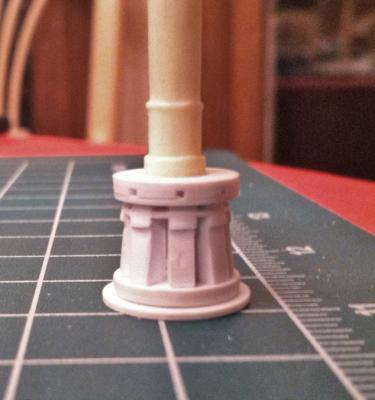
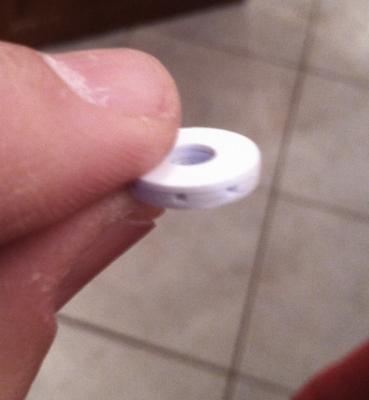
I placed 1.0mm plastic in a octagonal pattern to receive the cogs of the lower portion of the capstan. The base is also finished. A hexagonal pattern just did not work.
- 601 replies
-
- 2
-
-
- constitution
- revell
- (and 1 more)
-
I just now caught up to you here Denis: beautiful boat. What a nice feeling to have her done.
- 552 replies
-
- 1
-
-
- maine lobster boat
- Midwest Products
- (and 1 more)
-
Very nice Len. I love that 'round table' idea. A cheap solution too. Perfect.
- 122 replies
-
- 1
-
-
- bellerophon
- victory models
- (and 1 more)
-
Looks good Henry. I really know what a labor of love those little canon are. Very nice.
-
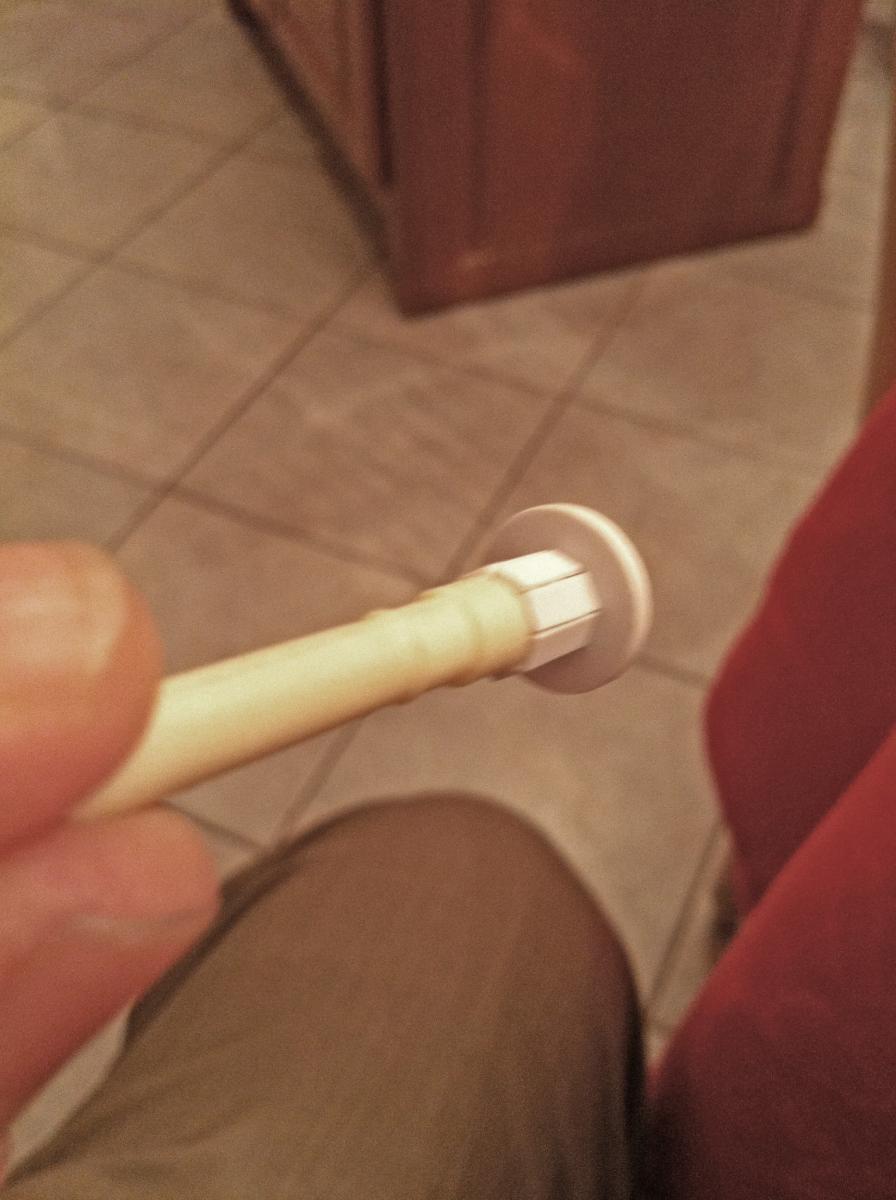
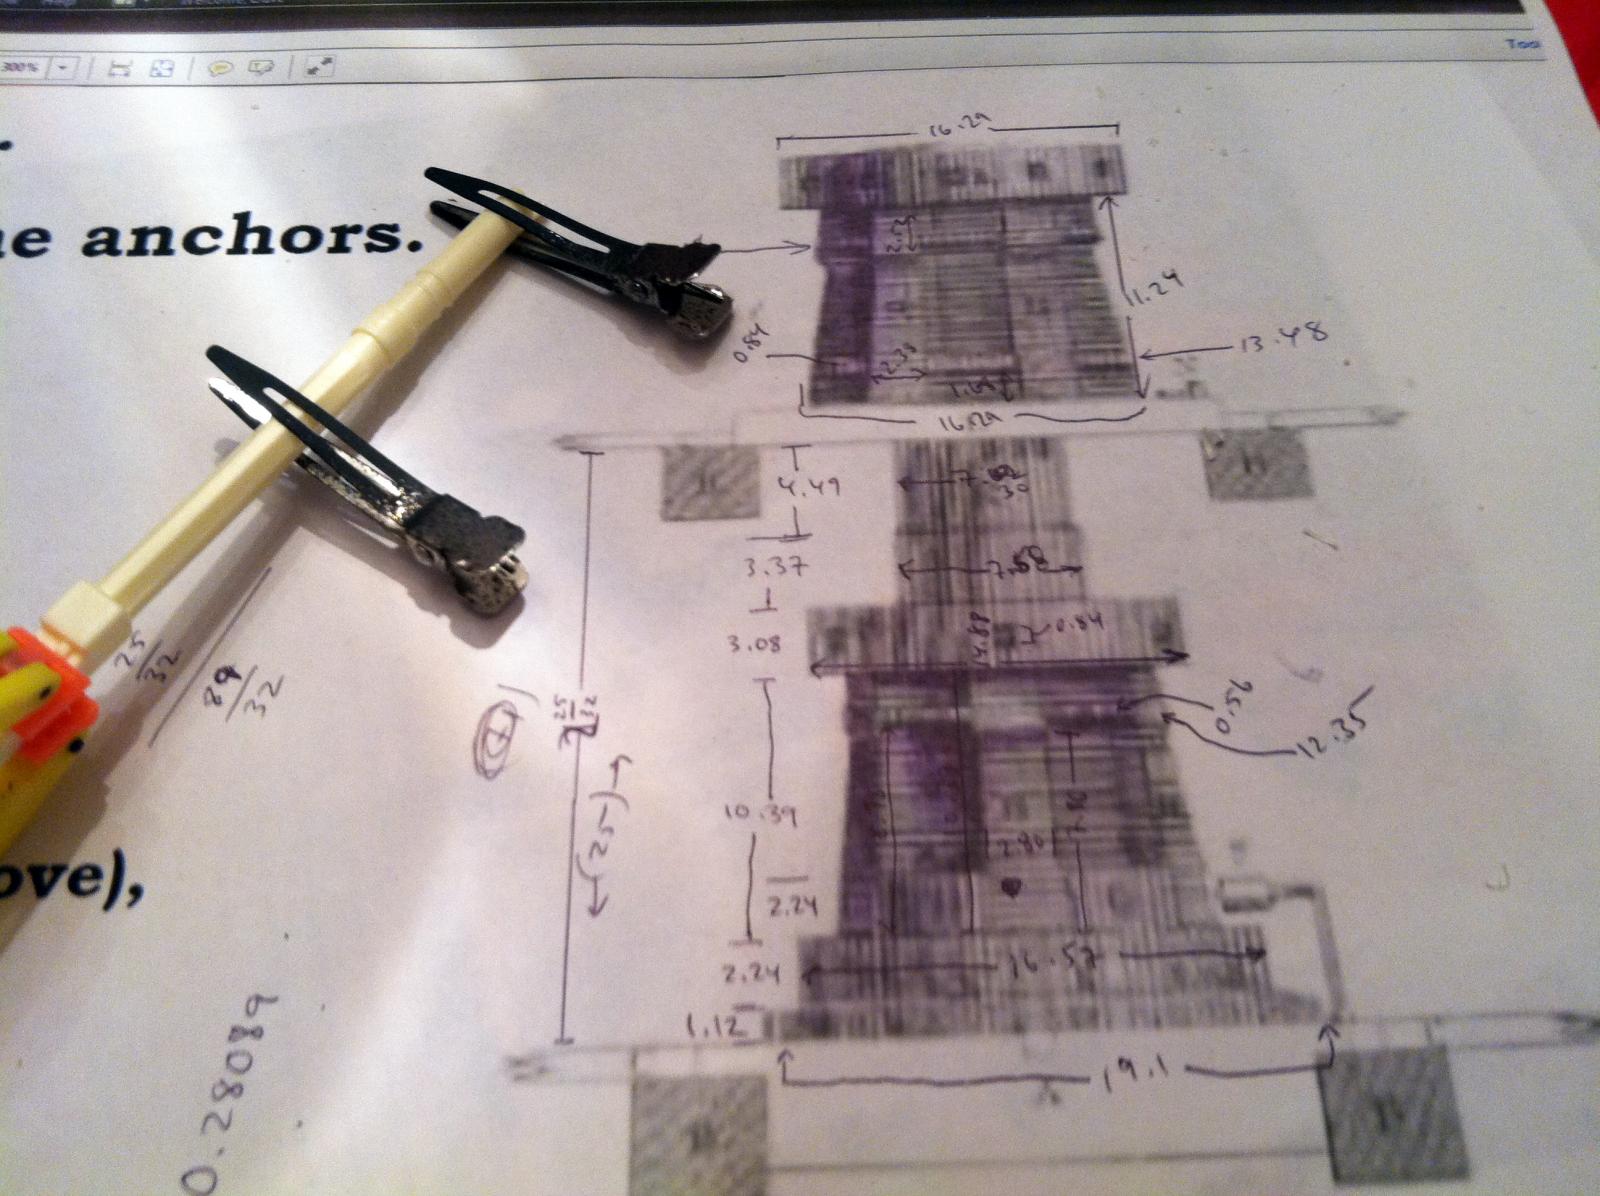
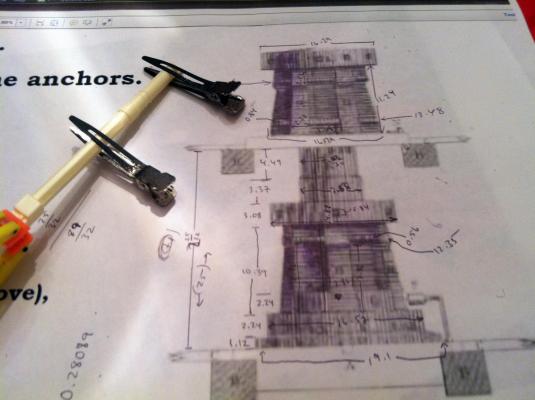
Well...it has been so long since my last post I hope I remember how to update! I am finally tackling the capstan. Since the kit supplied capstan is only on the Spar deck I will make one that more properly transitions both the Spar deck and the Gun deck. I was not happy with the current capstan on the Connie in Boston as it is designed to haul CHAIN and not HEMP. The drawing below from the USS Constitution website is what I will be trying to produce. The core of the capstan was 7/32" at this scale ...no Plastruct in my stock that size BUT I do have a spare model...and the masts are perfect (spare mast material is probably what they used anyway) - so that is what you see clamped crudely here. This will be the core start of the capstan. All the measurements are in 32nds of an inch. I will post more pics as the capstan morphs to completion.
- 601 replies
-
- 2
-
-
- constitution
- revell
- (and 1 more)
-
At first I thought that was a B & W photo! Man does it look cold... I'll bet Henry did not give any tours this week.
- 446 replies
-
- 1
-
-
- Revell
- Constitution
- (and 1 more)
-
Let me chime in...I am not aware of any use of stern lights on the Connie. Fiber will work for you but you will have to plan it out. There is not much bend in the fiber so the compass light will have to come straight up through the gun deck...that will need to be hidden. Good luck with your build. I look forward to following.
-
It's gonna be dark down there on that Berth deck. Have you thought about lighting her up?
-
I decided to click the picture and see the detail. Len that is truly beautiful work. Can't wait to see them installed.
-
The whole think looks great...but the legs show you have done your research. Well done.
-
That is sooo cool. I gotta get me one of those mills! Awesome work.
-
Steve: I also wish that I had incorporated a few more deck lanterns - I used 5 per side but really 7 per side would have been better - but it is a lot of cables to pull through the keel.
-
Thanks for the Kudos Steve. I also looked at the flickr circuits and almost bought a 6 channel version...but I did not want to mess with 6 different LED sources. I also realized the flickr effect was probably too strong for enclosed lanterns so a steady light output was used instead. The transmitted fiber optic light is not bright...yet. It is also cool at the lantern so heat is not an issue. However if you need a brighter light source the 'in ship' mounted LED could work. The LED's will need to be reshaped and tested but it is feasible. The fiber optic is nice because it will never fail since light is transmitted along the fiber and the source is external to the build. But it is challenging hiding the fibers and, at least the plastic fiber I used, is not 100% efficient at light transmission - in fact I would say it is only about 50% efficient - but I hope to improve that ratio by shortening the cable at the end of my build and by improving the housing (incorporating a focusing element - hopefully cheaply). That now seems more than a year away though.
-
Ya. I'm drooling too. Great work.
-
I have tended to make my own washes. It allows me to control the color and consistency of the wash better than purchased washes. I agree with you John - experiment - do you have any left over material to 'practice' on?
-
You could try a little wash over the bricks. Maybe the color could be 'burnt whale oil brown' (whatever color that actually is). At any rate, it would take away the 'new' brick look some. Either way it is a very nice addition to your build.
- 2,250 replies
-
- 3
-
-
- model shipways
- Charles W Morgan
- (and 1 more)
-
I just linked up with your build. Stunning work.