Maury S
-
Posts
1,490 -
Joined
-
Last visited
Content Type
Profiles
Forums
Gallery
Events
Everything posted by Maury S
-

Echo by Maury S - FINISHED - Cross-Section
Maury S replied to Maury S's topic in - Build logs for subjects built 1751 - 1800
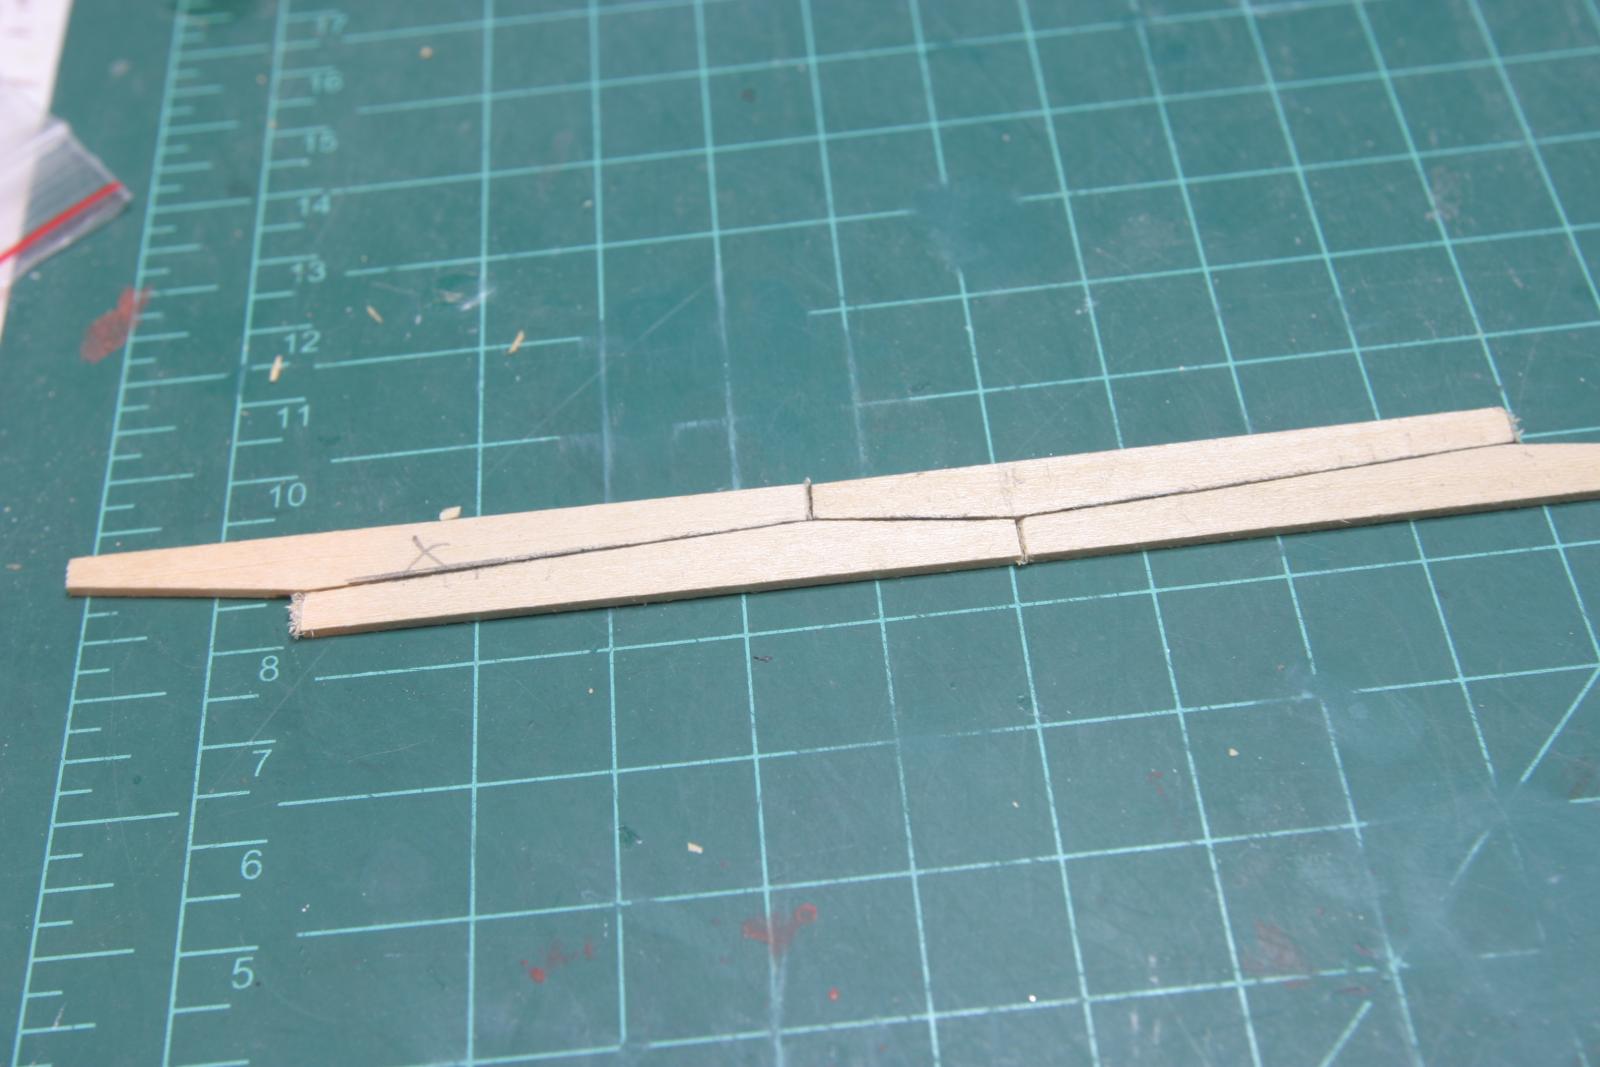
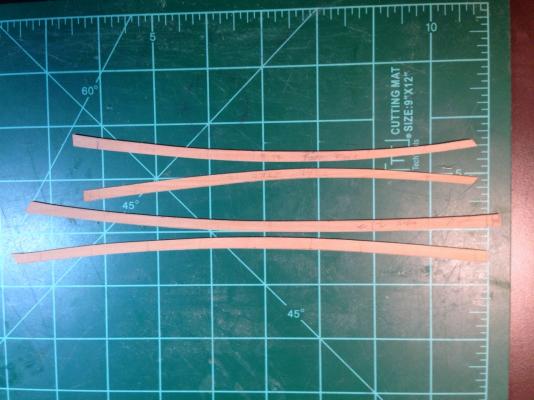
Thanks for the comments and the pictures. I spent time with ratios and fibonacci (Golden Ratio) proportions. Still unsure. Then I started laying out test strips (Bass Wood...not the good stuff) for the taper jig on the Byrnes saw and it just came together. The starting measurement was the 20" for the width of the two strakes. I started with 8" at the ends and 12" at the max. width. So I cut some sample planks to 12" (scale) (First mistake!) by 7" (actual) long. I copied the approximate long-side angle from Greg's TFFM III illustration at 2.5 degrees and cut a piece. The taper meant that the widest part (mid-strake) was not 12" anymore. Back and forth a couple of times on starting plank width and finally zeroed in on .325" (actual). I used my caliper set for 12" (scale) and slid it up the planks 'til I found the 12" width and marked it. That is the starting point for the short-side angle cut. Flipped them over, set the taper jig to 7.5 degrees (Greg's picture again) and made the second cut. All that was left was to set the caliper to 8" (Scale), slide it up the planks and I have the ends at 8". Total width now at 20". Good start. Now to line up the butts with frames. A smaller angle on the jig cuts will lengthen the spacing between the butts and I need to add about 1/16". I'll try 2 and 6 degrees. Greg, I'm going to paint the wales, but all of you and I will know they are done right! I probably will not darken the seams with the pencil this time though. Maury
- 324 replies
-
- 11
-

-
Echo by Maury S - FINISHED - Cross-Section
Maury S replied to Maury S's topic in - Build logs for subjects built 1751 - 1800
Time to lay out the planking of the two lower strakes of the wales. "Top and butt" or "hook and butt"? I see Greg's "top and butt" (in TFFM III) table saw setup. A couple of questions. The two strakes measure 20" in total. How wide should the widest part of the strake be? What angle for the two cuts? The pics. show approx. 2.5 degrees and 7.5 degrees on the Byrnes taper jig. It looks so clean and easy vs. the hook and butt method. There probably would only be one joint per strake over the span of the frames. Comments? Maury -
Echo by Maury S - FINISHED - Cross-Section
Maury S replied to Maury S's topic in - Build logs for subjects built 1751 - 1800
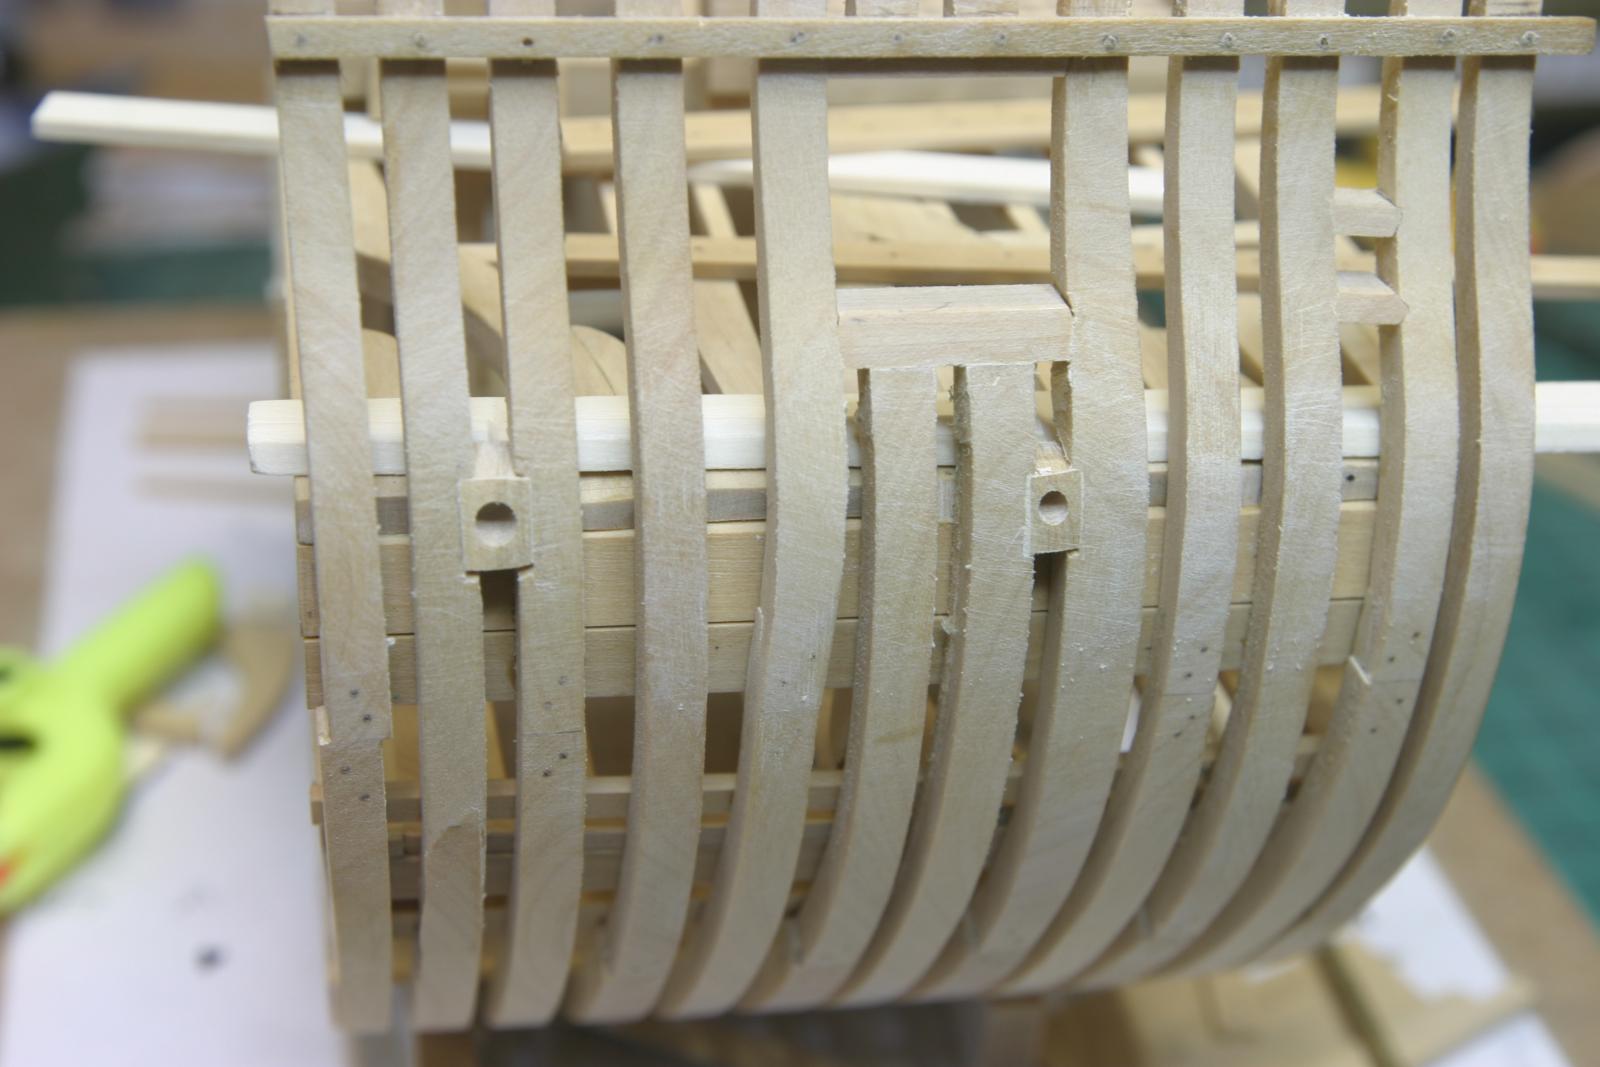
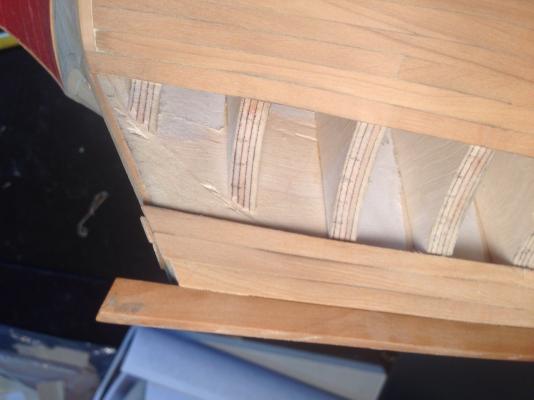
Placing the Scupper blocks is difficult lining up. Several hours to drill, cut and shape the blocks, then cutting and filing the frames to accept them. The waterway has been filed down to line up with the inboard side of the scupper block. TFFM says you do not need to put these in if you are going to frame the other side. One set is enough. Maury
-
Echo by Maury S - FINISHED - Cross-Section
Maury S replied to Maury S's topic in - Build logs for subjects built 1751 - 1800
Thanks Greg M -
Echo by Maury S - FINISHED - Cross-Section
Maury S replied to Maury S's topic in - Build logs for subjects built 1751 - 1800
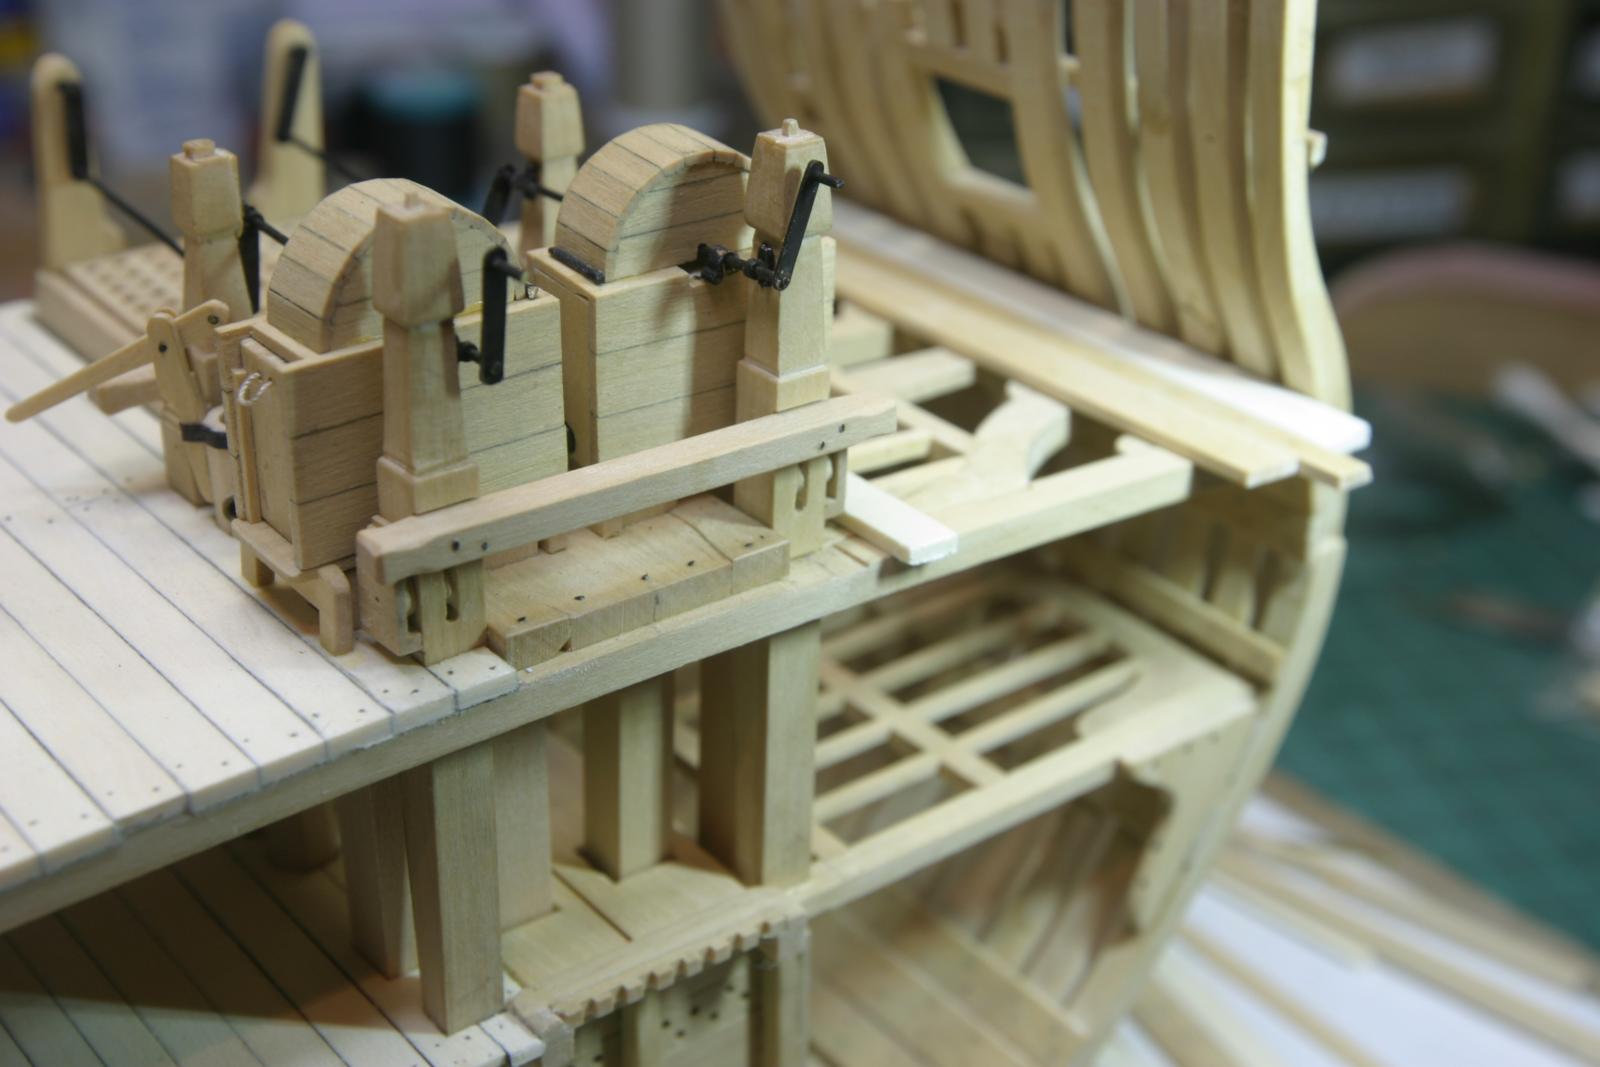
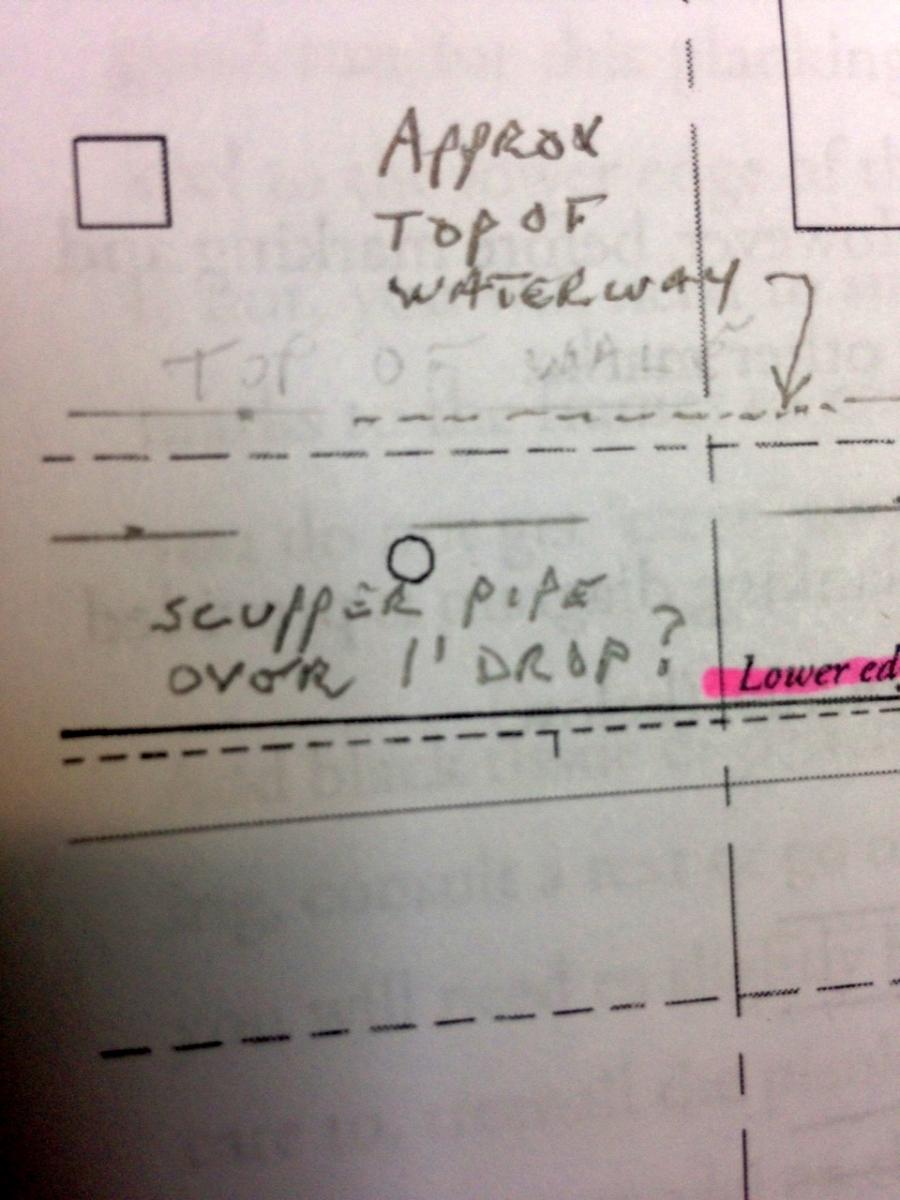
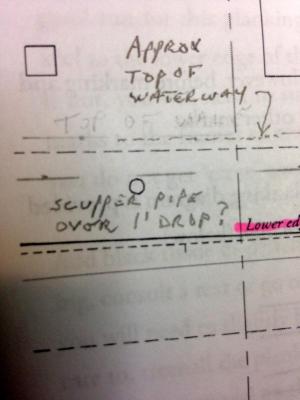
The cross pieces for the bitts are made and installed. Making sure the longer piece goes on the jeer bitt (forward). Next is the blocking for the scuppers. A question for Greg or anyone else familiar with the scupper layout. On the plan (see third pic.) the upper dashed line represents approx. height of the top of the waterway. The next dashed line is the top of the deck beam at the side. The measurement from the waterway to the bottom of the scupper is well over 1'. Considering the layout of the scupper block slants about 2 = 3" within the frames, there seems to be something amiss. Should the scuppers just exit the frame at a level 3 - 6 " below the waterway? Maury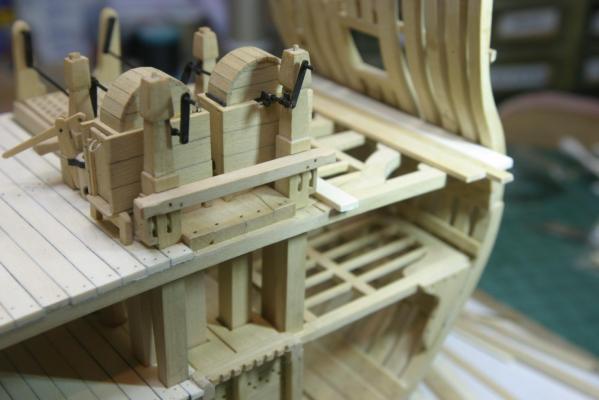

-
Echo by Maury S - FINISHED - Cross-Section
Maury S replied to Maury S's topic in - Build logs for subjects built 1751 - 1800
PHEW! -
Echo by Maury S - FINISHED - Cross-Section
Maury S replied to Maury S's topic in - Build logs for subjects built 1751 - 1800
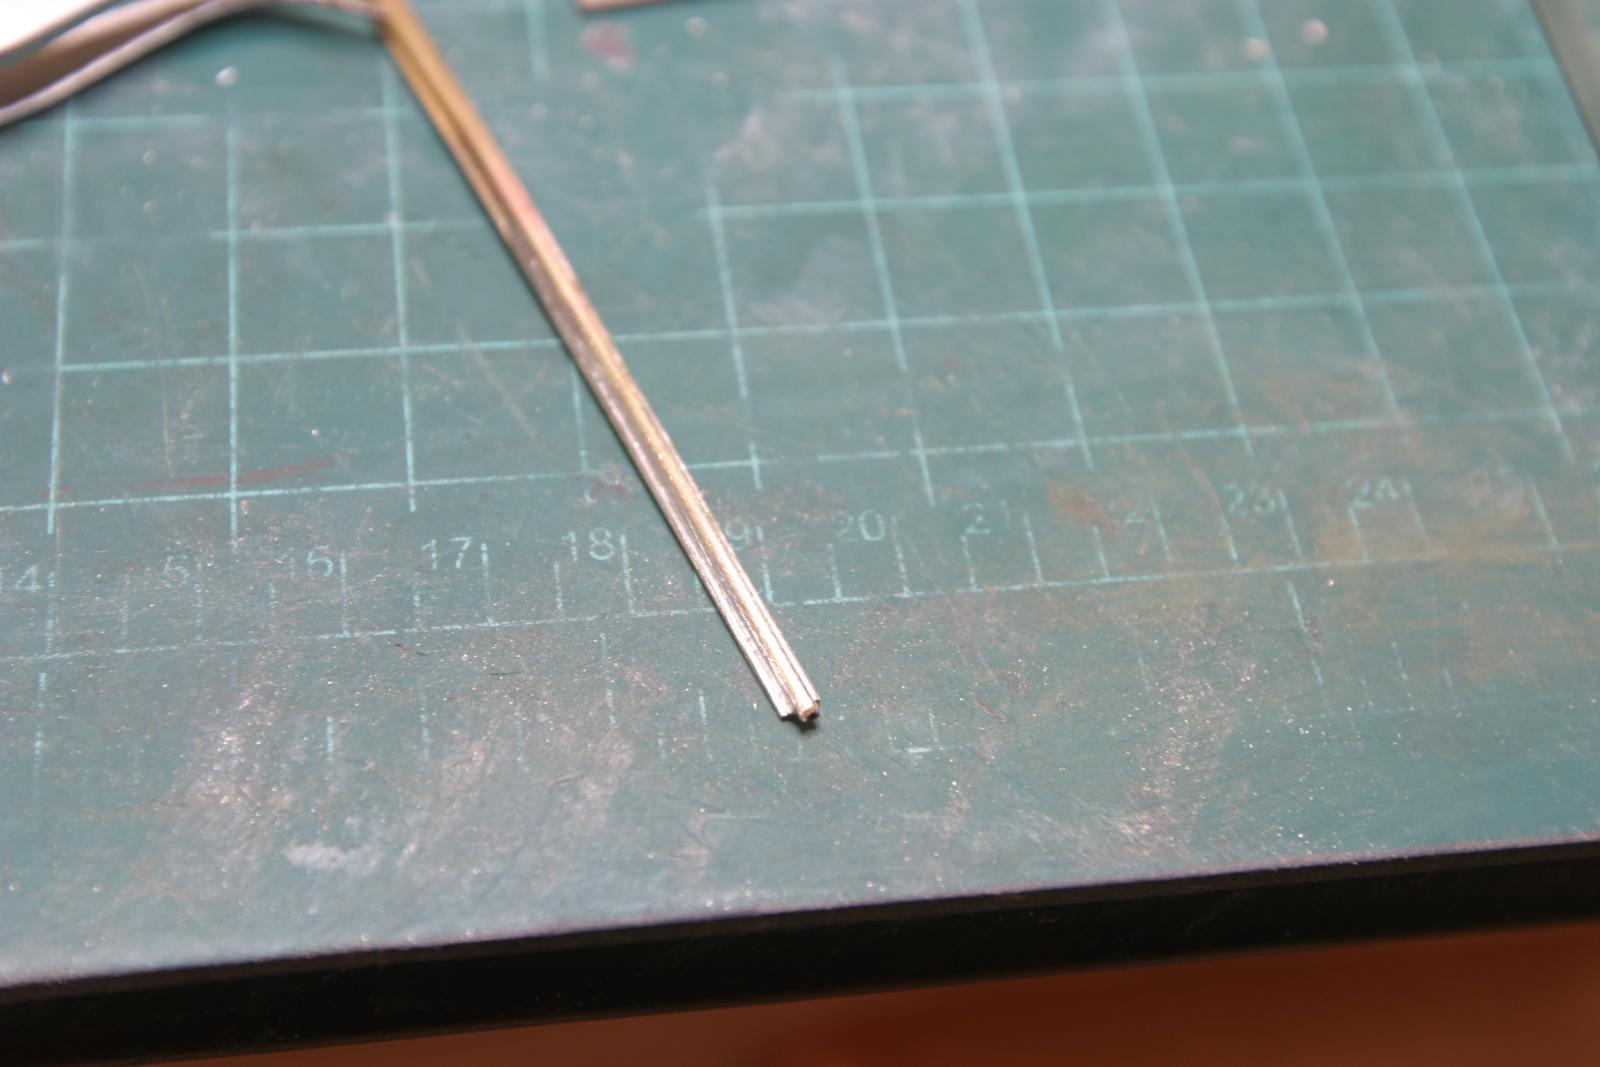
I filled in some solder on the sides (between the tubing and the flat bottom) to put a bit more meat on the piece, used a cut-off wheel on a rotary tool to cut out the slot on the bottom and sliced off several new rhodings pieces. Cleaned up, blackened and installed. Not quite as neat and detailed ones on the bitts, but OK under the circumstances. Maury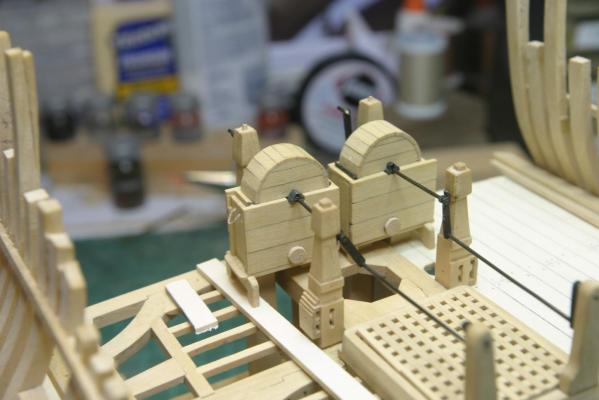
- 324 replies
-
- 12
-
-
Echo by Maury S - FINISHED - Cross-Section
Maury S replied to Maury S's topic in - Build logs for subjects built 1751 - 1800
Thanks for all the input. I tried a very thin cutoff disc as well as a .020 blade. Both were too rough on the pieces. I still have extra of the original piece I soldered and cut for the rhodings. Needs a little more solder fill on the edges to support the center when I cut / file it out but i should be able to get four good rhodings out of it. Maury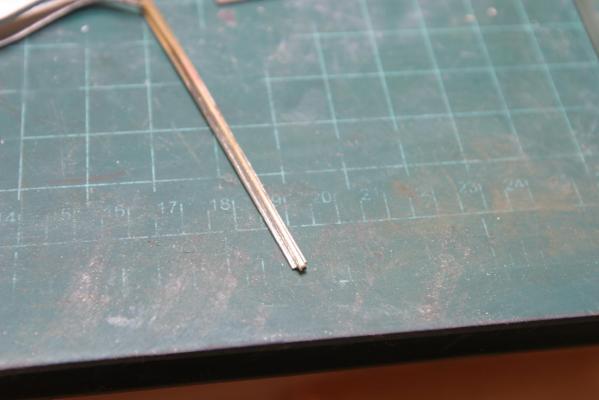
-
Echo by Maury S - FINISHED - Cross-Section
Maury S replied to Maury S's topic in - Build logs for subjects built 1751 - 1800
Greg, I was thinking of building up some rhodings from paper, but I like your suggestion much better. Maybe just a hacksaw to cut thru the bottom will be wide enough. I'm not sure my smallest mill bits are small enough. Maury -
Echo by Maury S - FINISHED - Cross-Section
Maury S replied to Maury S's topic in - Build logs for subjects built 1751 - 1800
Yeah Druxey, But how do I get them on? If I took the axle off, I still could not get the rhodings around the bends...so I'd have to take the axle apart. I think I have to make new ones in pieces that can be set in place. Maury -
Echo by Maury S - FINISHED - Cross-Section
Maury S replied to Maury S's topic in - Build logs for subjects built 1751 - 1800
Greg, OOPS! I'll work on the rhodings...I was wondering why I made so many extras! Maury -
Echo by Maury S - FINISHED - Cross-Section
Maury S replied to Maury S's topic in - Build logs for subjects built 1751 - 1800
Both cranks are done. One works, the other is hung up on one of the bitts. Maury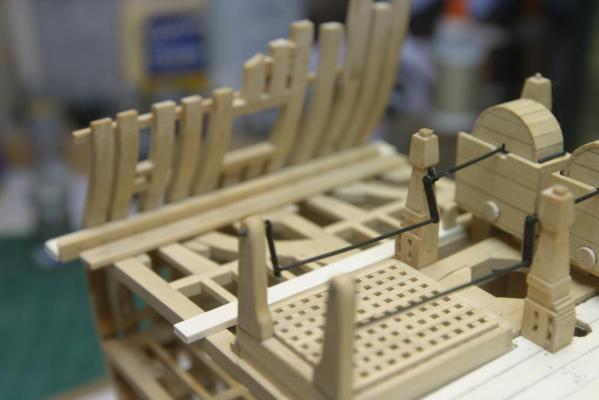

- 324 replies
-
- 15
-
-
Echo by Maury S - FINISHED - Cross-Section
Maury S replied to Maury S's topic in - Build logs for subjects built 1751 - 1800
Thanks for the comments and likes. All blackened and in place. I guess I'll have to make the other one now. (Toni, don't kid yourself, your work has inspired a lot of us!) Maury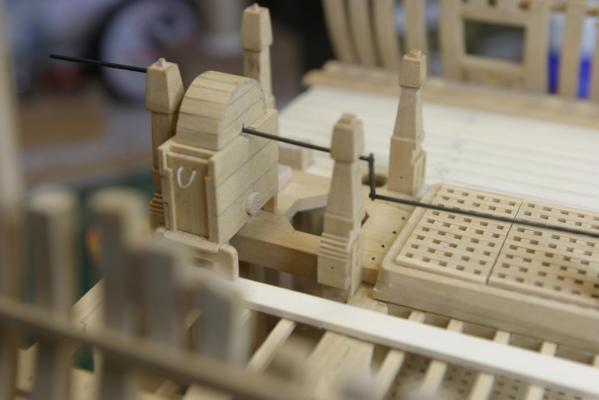
- 324 replies
-
- 11
-
-
Echo by Maury S - FINISHED - Cross-Section
Maury S replied to Maury S's topic in - Build logs for subjects built 1751 - 1800
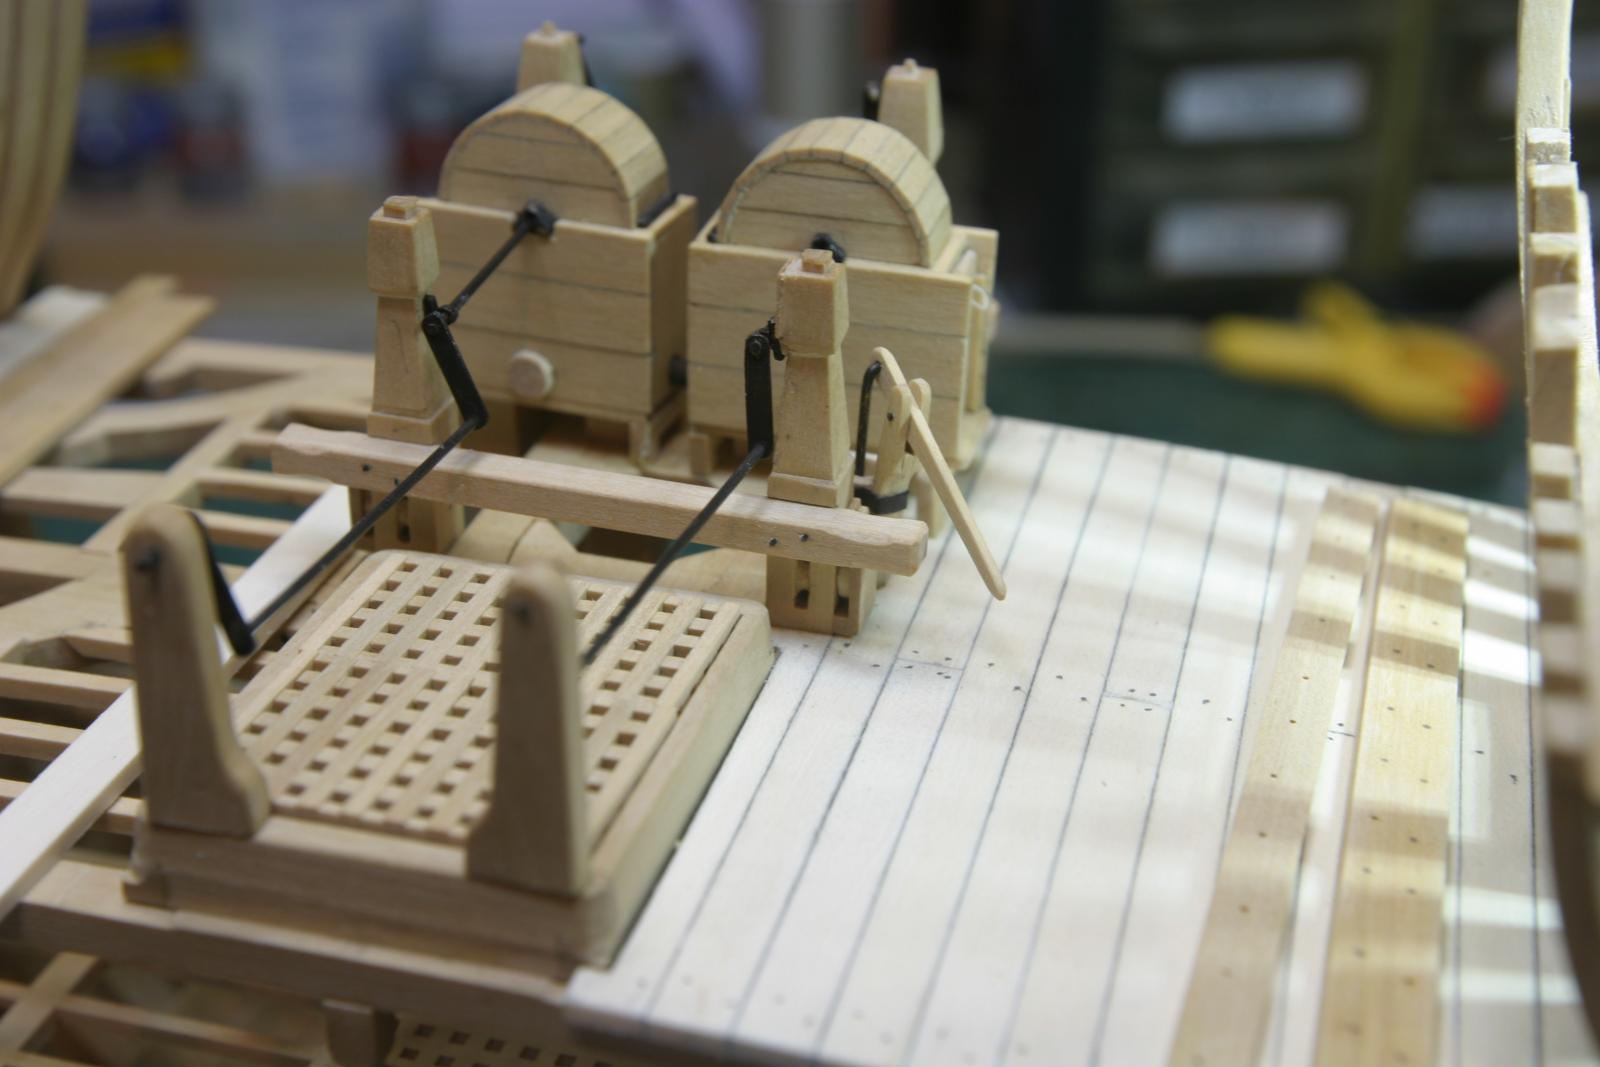
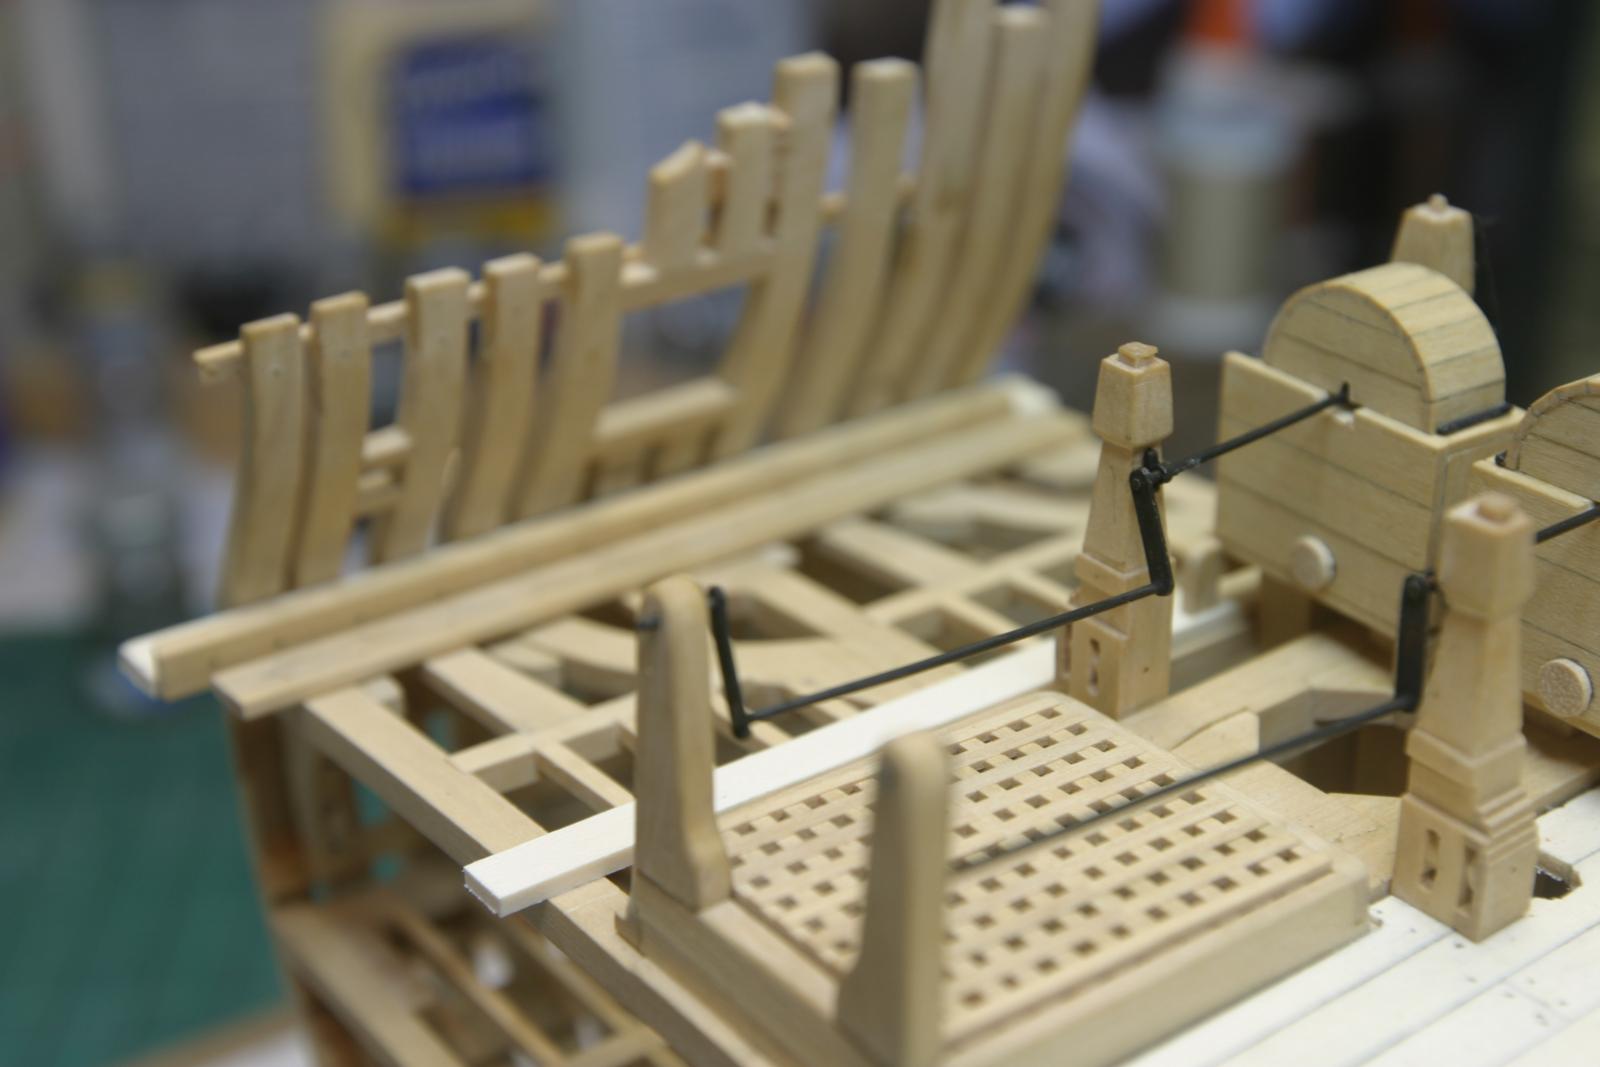
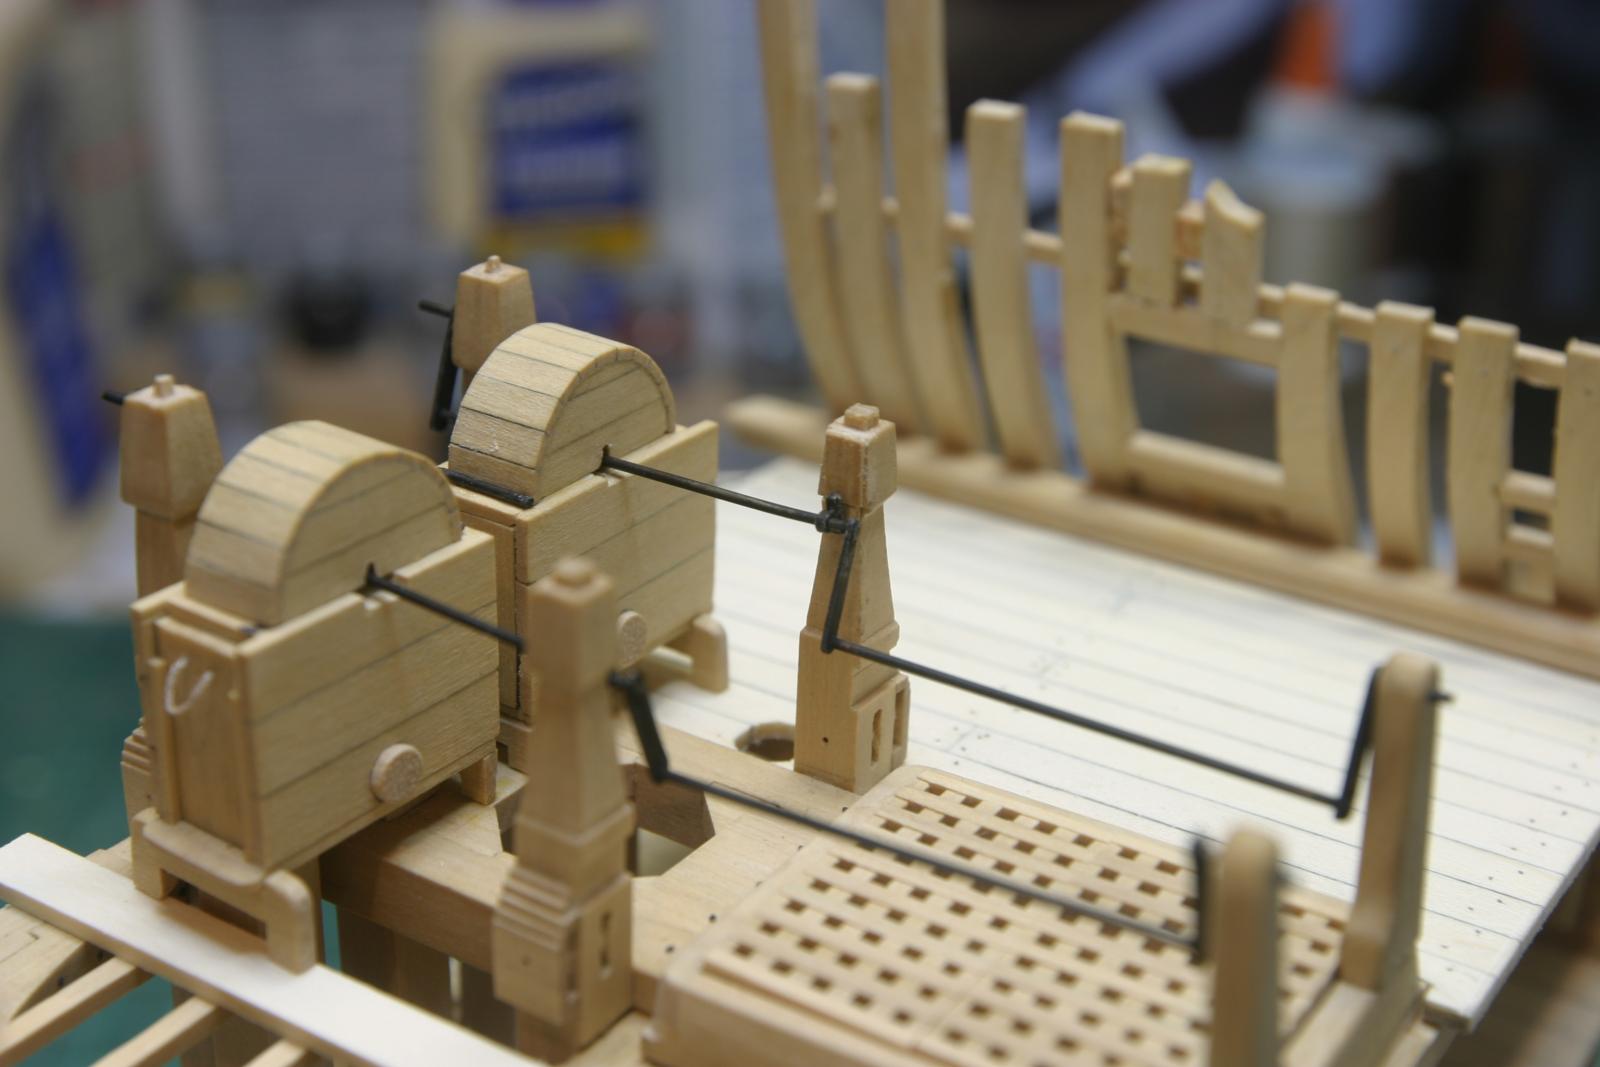
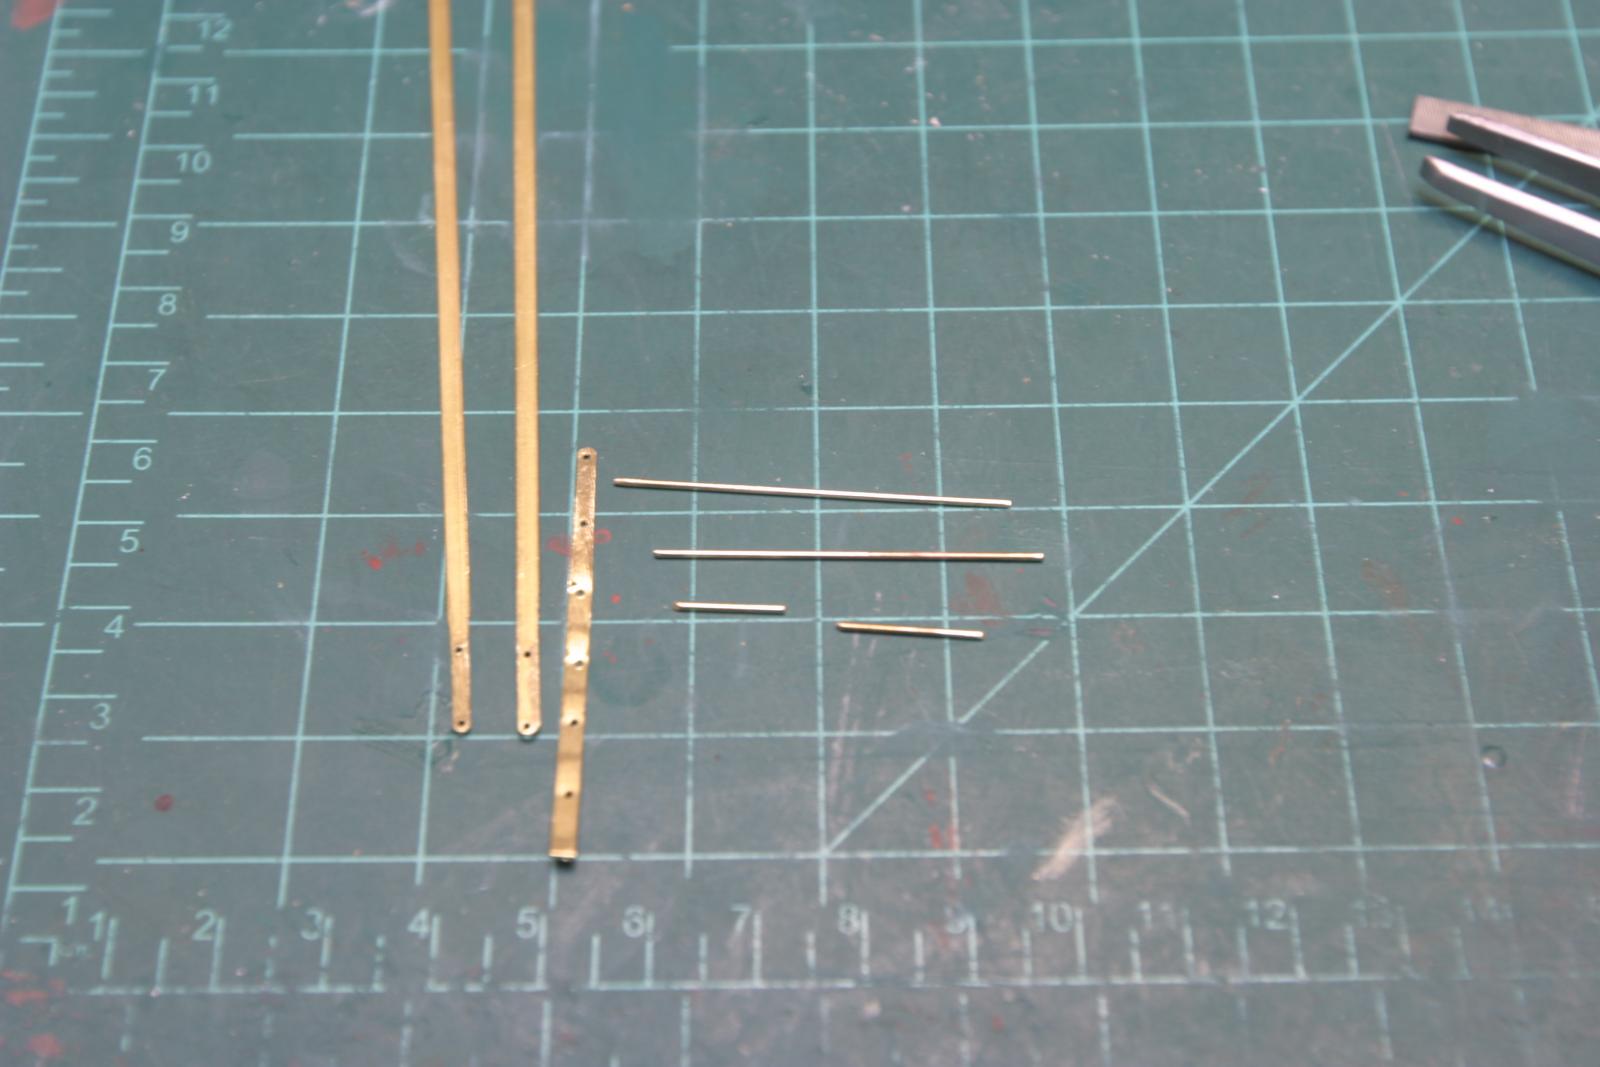
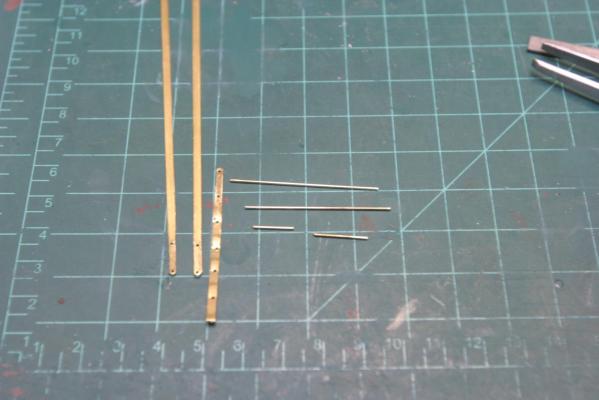
Toni Levine inspired me to take on the pump cranks (I've been putting this part off for months while I did some work on the Cutter Cheerful). The axle is 1/32" brass rod, the side parts are 1/64 x 3/32" strips that I filed down after drilling out the evenly spaced (10/32") holes for the axle. I drilled them a bit under-sized and reamed them to fit in case there was any wobble in the drill bit. The outer parts were silver soldered first, then the rhodings inserted on the center (see black parts in pic.) and then the two parts soldered together. Cleaned up with a file and ready to blacken and mount on the bitts. The outer ends excess will be cut off when installed. Thanks again to Toni for illustrating how she did hers. My soldering is getting better, but coffee in the AM is a detriment to steady hands. Maury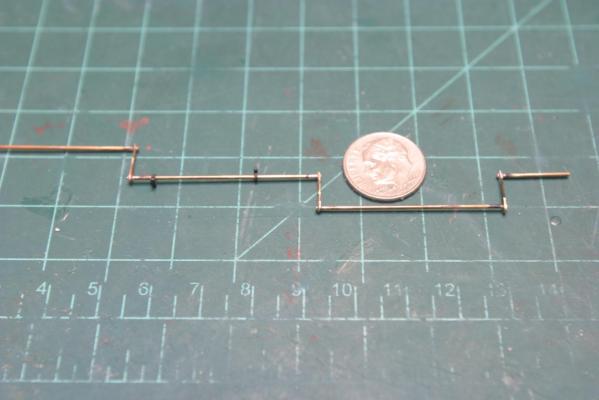
- 324 replies
-
- 12
-
-

-
Ed, I put my order in last week. A must have for the library. Congratulations. Maury
- 3,618 replies
-
- 4
-
-
- young america
- clipper
- (and 1 more)
-
$80? That works out to about $5.00 / hour? Pro Bono work. Your reward will come in some other form. Maury
- 14 replies
-
- 5
-
-
- yacht
- restoration
- (and 1 more)
-
Cutter Cheerful 1806 by rafine - FINISHED
Maury S replied to rafine's topic in - Build logs for subjects built 1801 - 1850
Very clean! Maury- 525 replies
-
- 2
-
-
- cheerful
- Syren Ship Model Company
- (and 1 more)
-
Toni, Looks great. I'm working up to making the axle trees for my Echo Section. This is quite helpful. Thanks for sharing. Maury
-
Echo by Maury S - FINISHED - Cross-Section
Maury S replied to Maury S's topic in - Build logs for subjects built 1751 - 1800
Thanks Danny. It sure has been a big help in advancing my skill level (as following your Vulture log). Looking back, the greatest challenge so far was getting the elm pumps installed since my locker was a bit too narrow to allow a straight run. Measure 3 times.... A few adjustments to the plans along the way (I got too far ahead of the instructions) required some minor revisions but I think all that is straightened out. Next for me will be aligning the axles for the chain pumps...getting the rhodings set properly on the bits. As for Druxey's comment, I'm 2 1/2 years into the project...seems longer than your Vulture build. Maury -
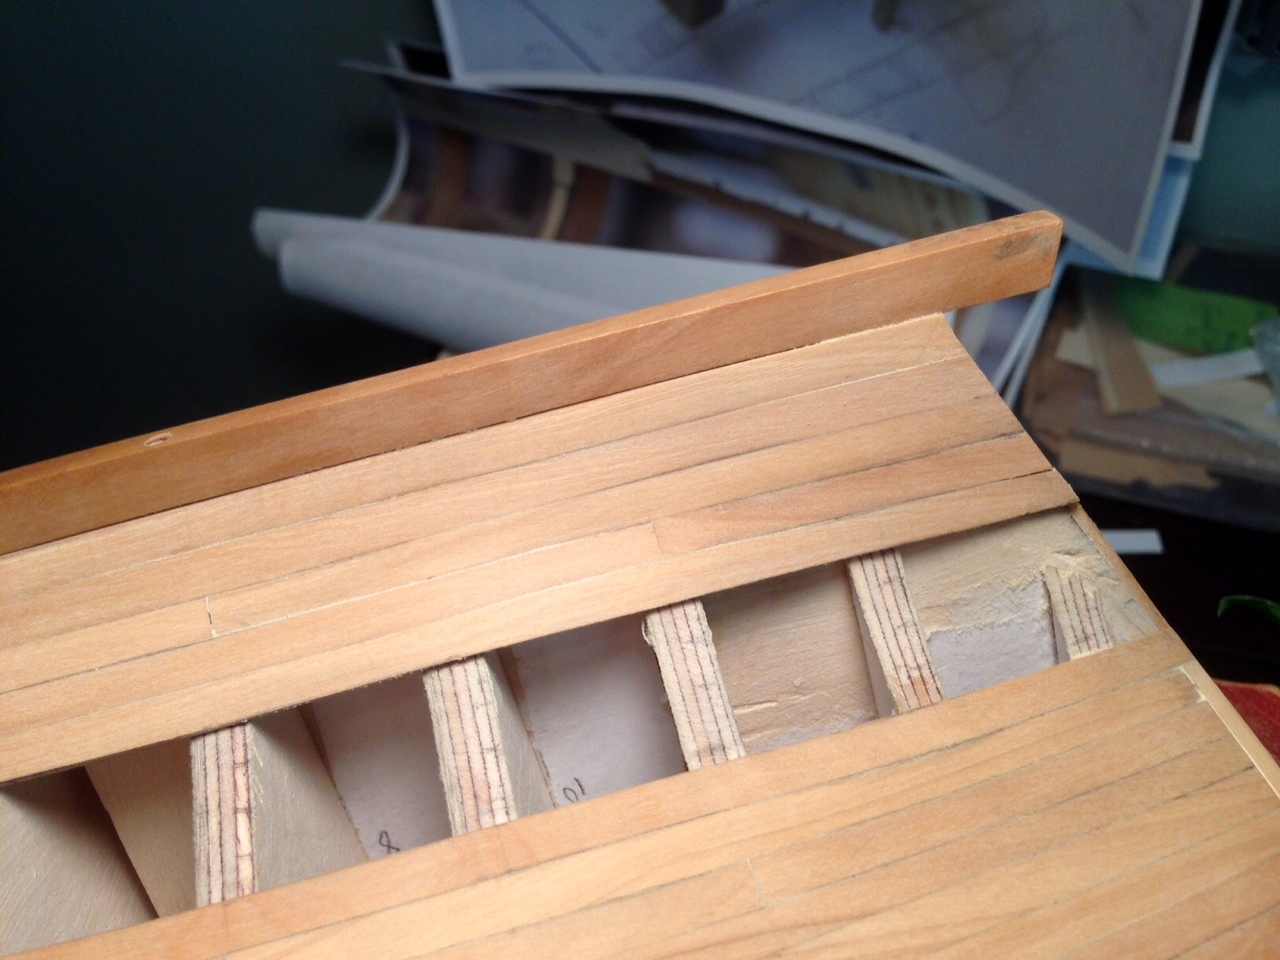
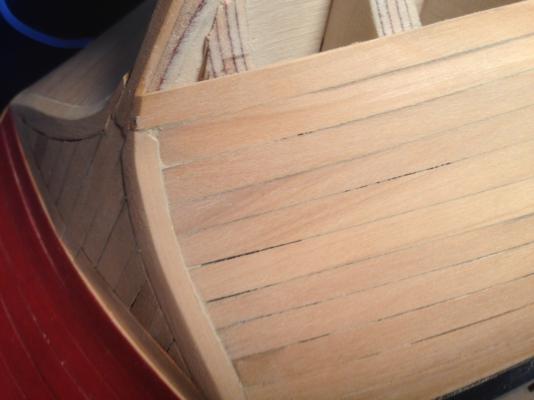
Working my way up from the garboard plank. Four more strakes to go. Everything going smoothly so far. I'll sand out the rough spots once the planking is done. Maury

-
Gluing 101
Maury S replied to CPT_D's topic in Building, Framing, Planking and plating a ships hull and deck
Thank goodness for isopropyl! But be sure to get the 91% + stuff, A lot of it is sold at a 50% dilution...not so good for glue removal. Maury -
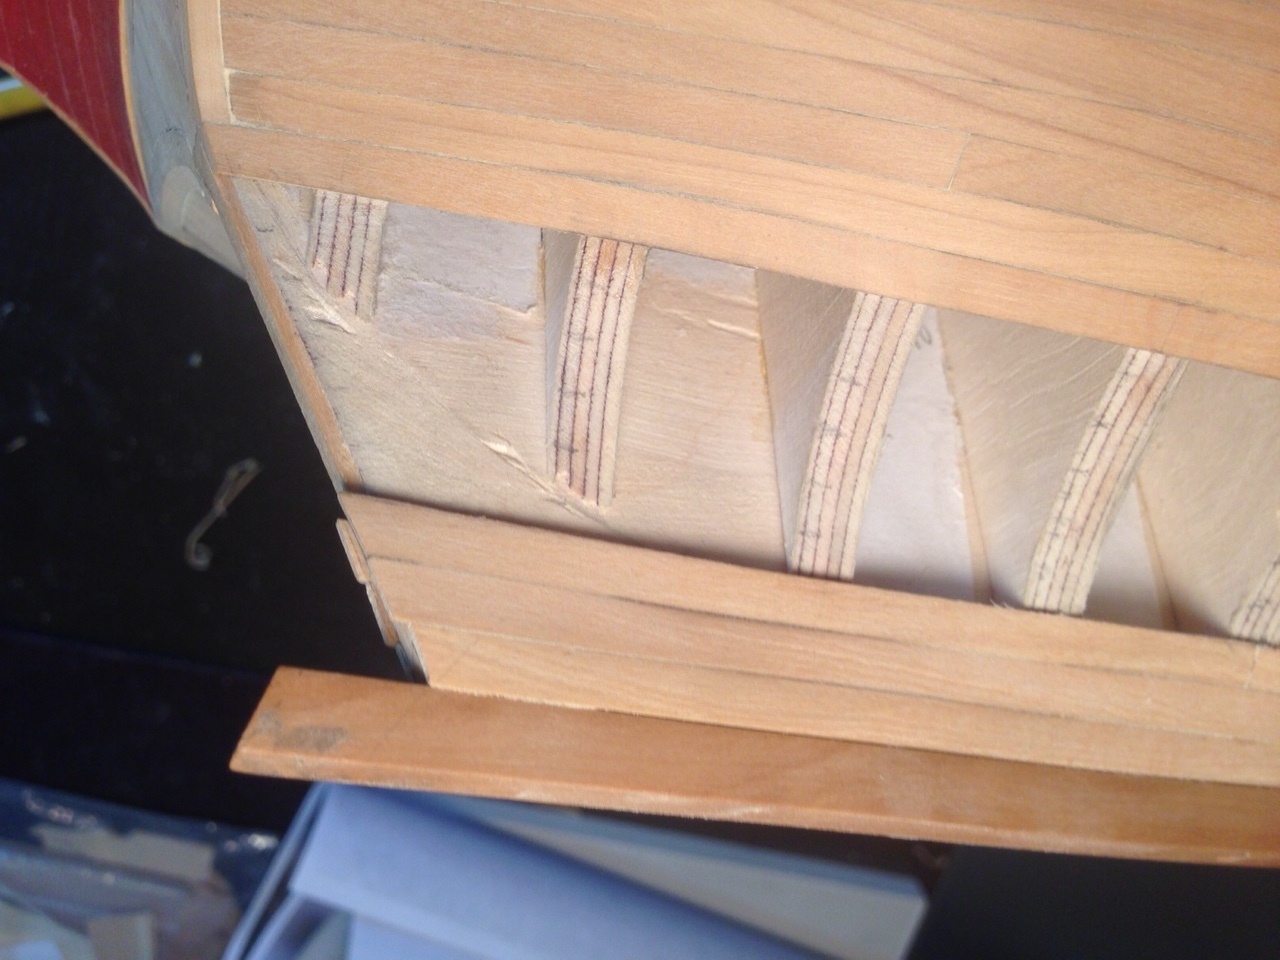
i spiled the pieces to strake #12 (from the top) but I wont install them just yet. I'm keeping them in reserve so when I finish the remaining strakes in the band from the bottom, up, I'll have at least one perfect edge to work with. If I go all the way up or down to finish the strakes, I may have a problem getting a perfect pattern on one of the remaining edges. Maury
-
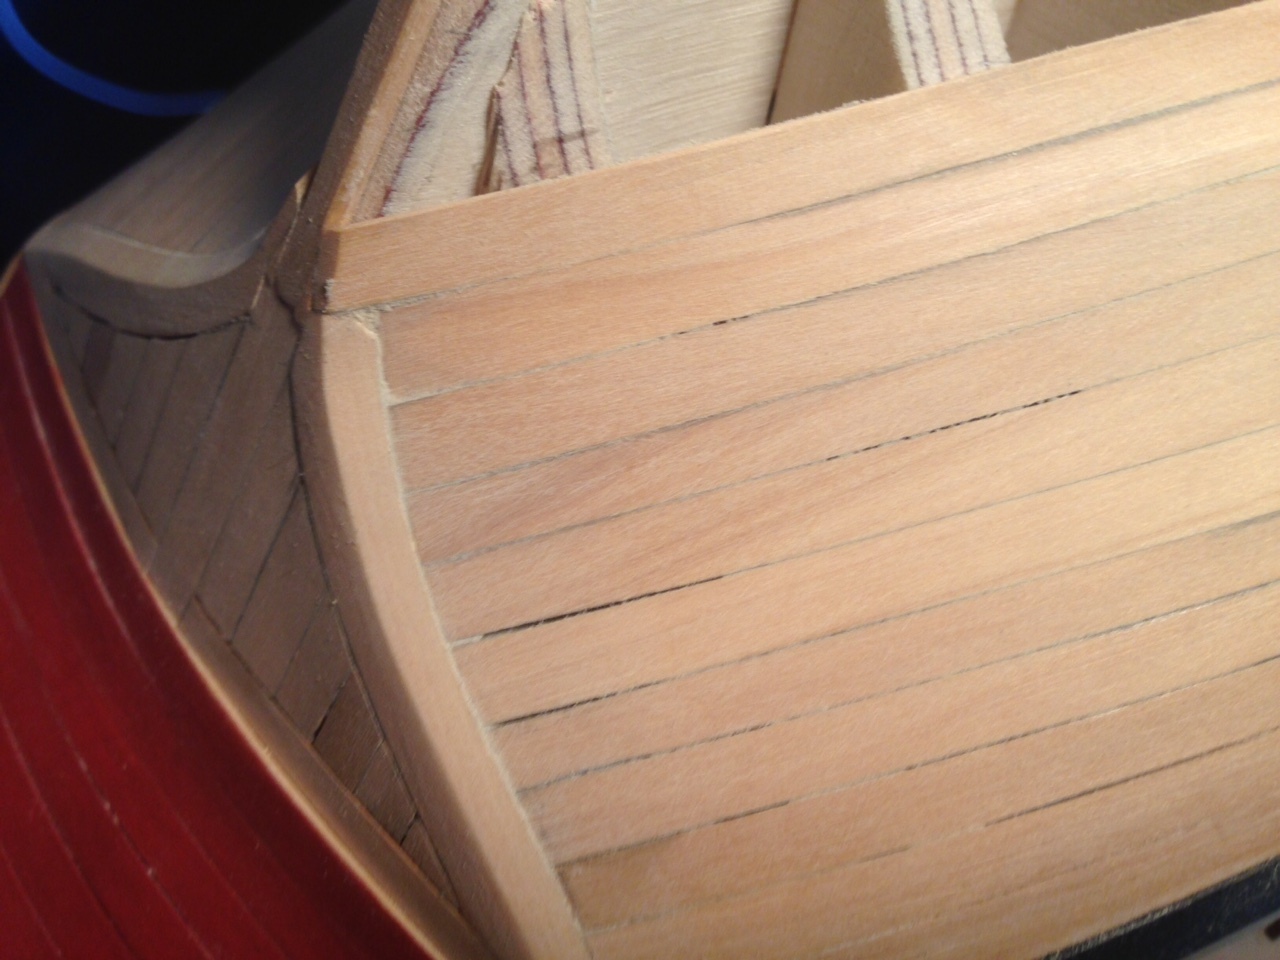
The transition at the stern went well. It took a very tiny wedge as a filler on both sides, and once sanded it will look great. I got another strake in at the bottom. Six more to go. Maury
-
Thanks for the likes and comments. Druxey, that is one of my concerns...floating planks. I'll spend lots of time on the fit of that run of the strake. Maury