Maury S
-
Posts
1,490 -
Joined
-
Last visited
Content Type
Profiles
Forums
Gallery
Events
Everything posted by Maury S
-
 The next plank above the garboard went in smoothly. Looks good from head-on too. I'm going to work on the upper part of the band next. There will be some tricky cutting to make the transition at the stern post. Maury
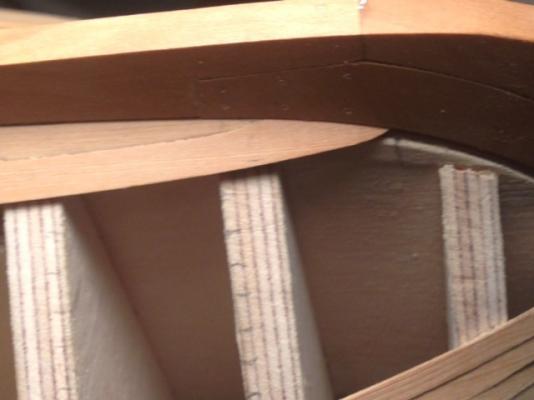
-
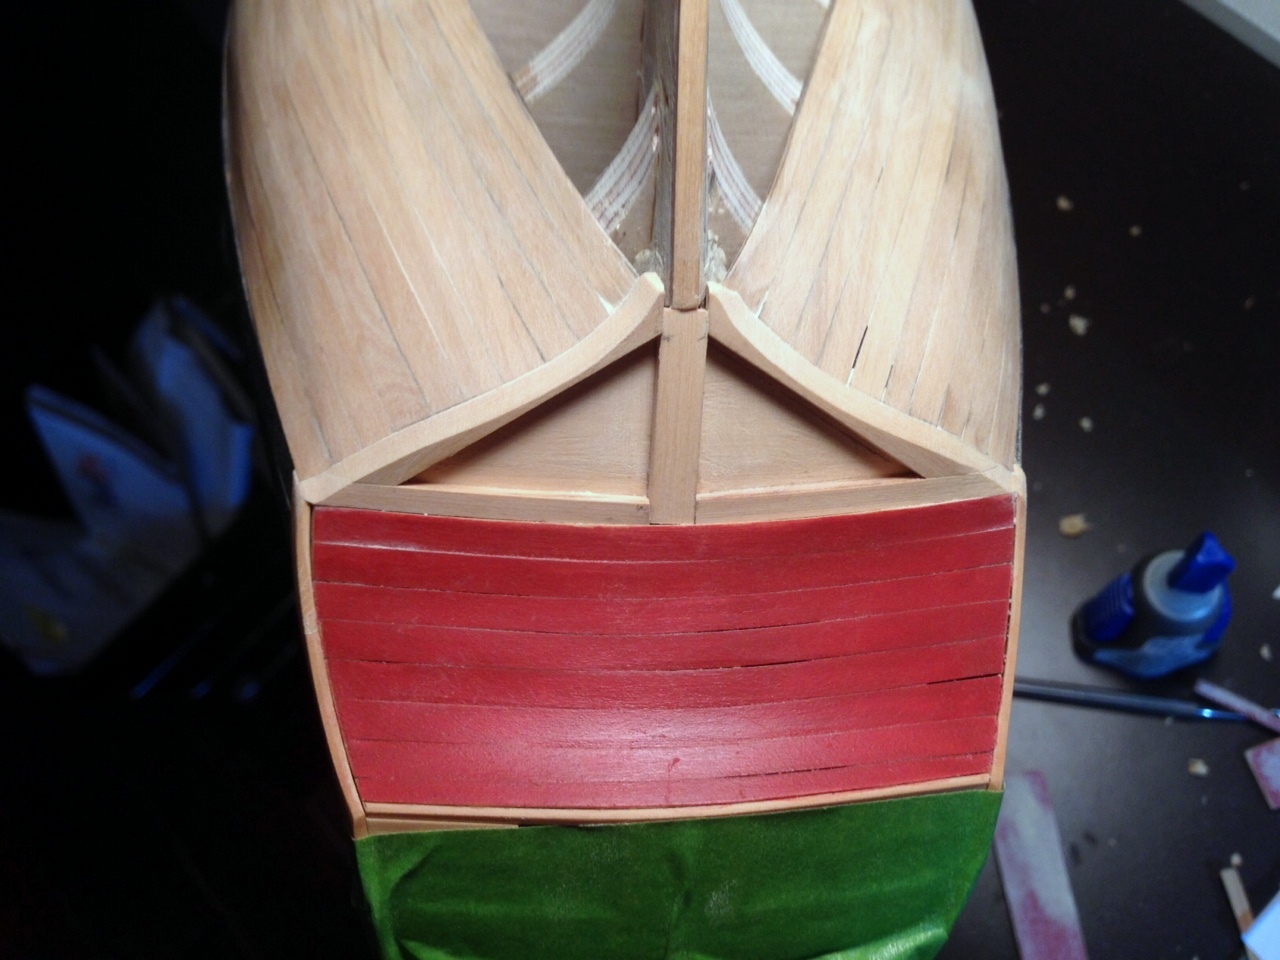
For the lower band, I started with the garboard plank. It fits inside the rabbet and it will be easier to match planks once it is in. Some very minor spiling since the keel is not flat. Some high temp. twisting and it laid in there nicely. This was the easiest garboard I've installed so far (Chuck's rabbet technique)...We'll see how the next plank above lines up. The plans show the plank in three sections but I used only two, matching the pattern of the butt joints. Maury
-
Danny, What a beautiful achievement! Thank you for all the sharing and tips along the way. Maury
-
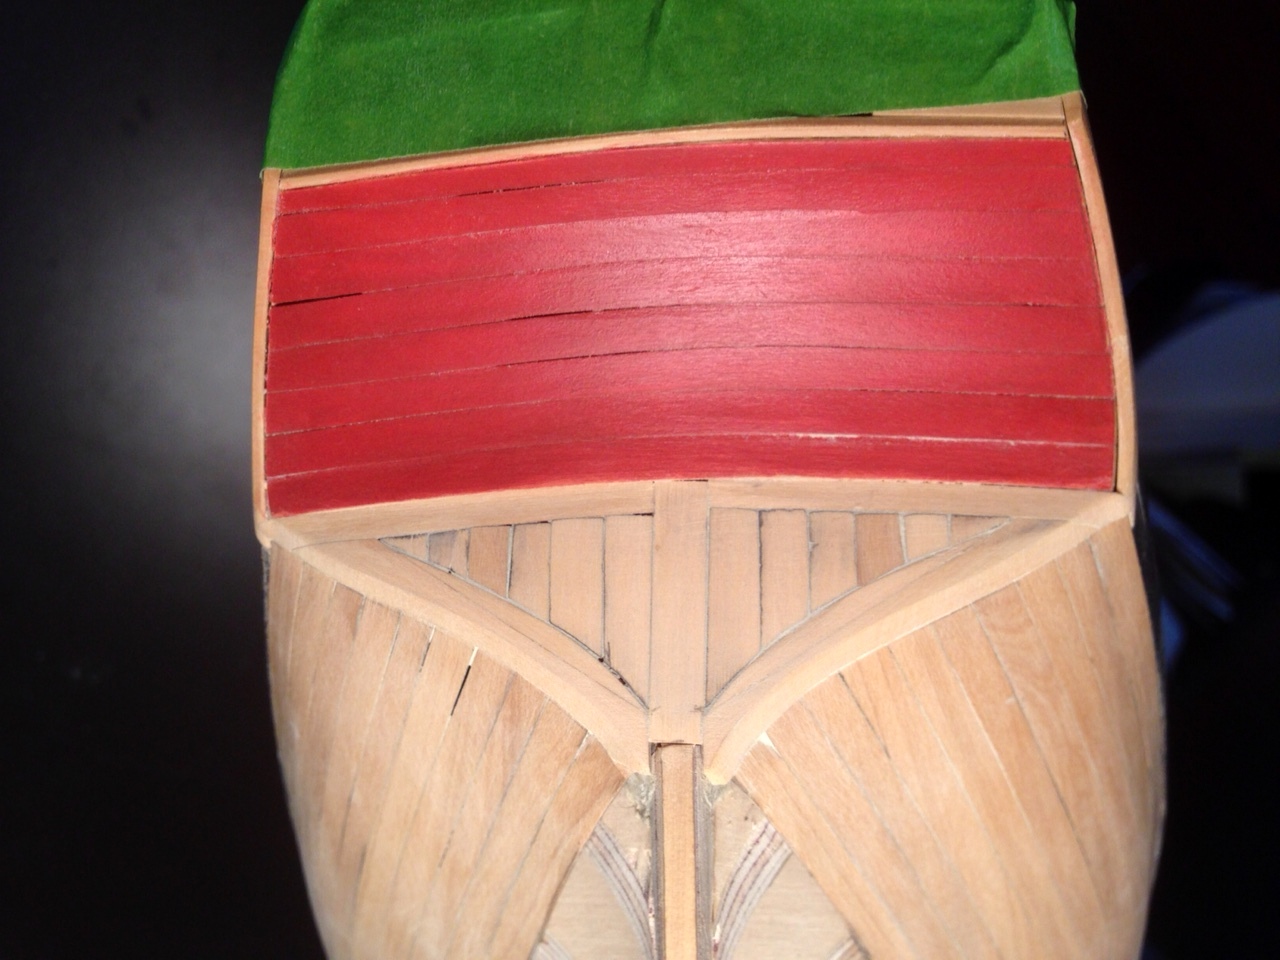
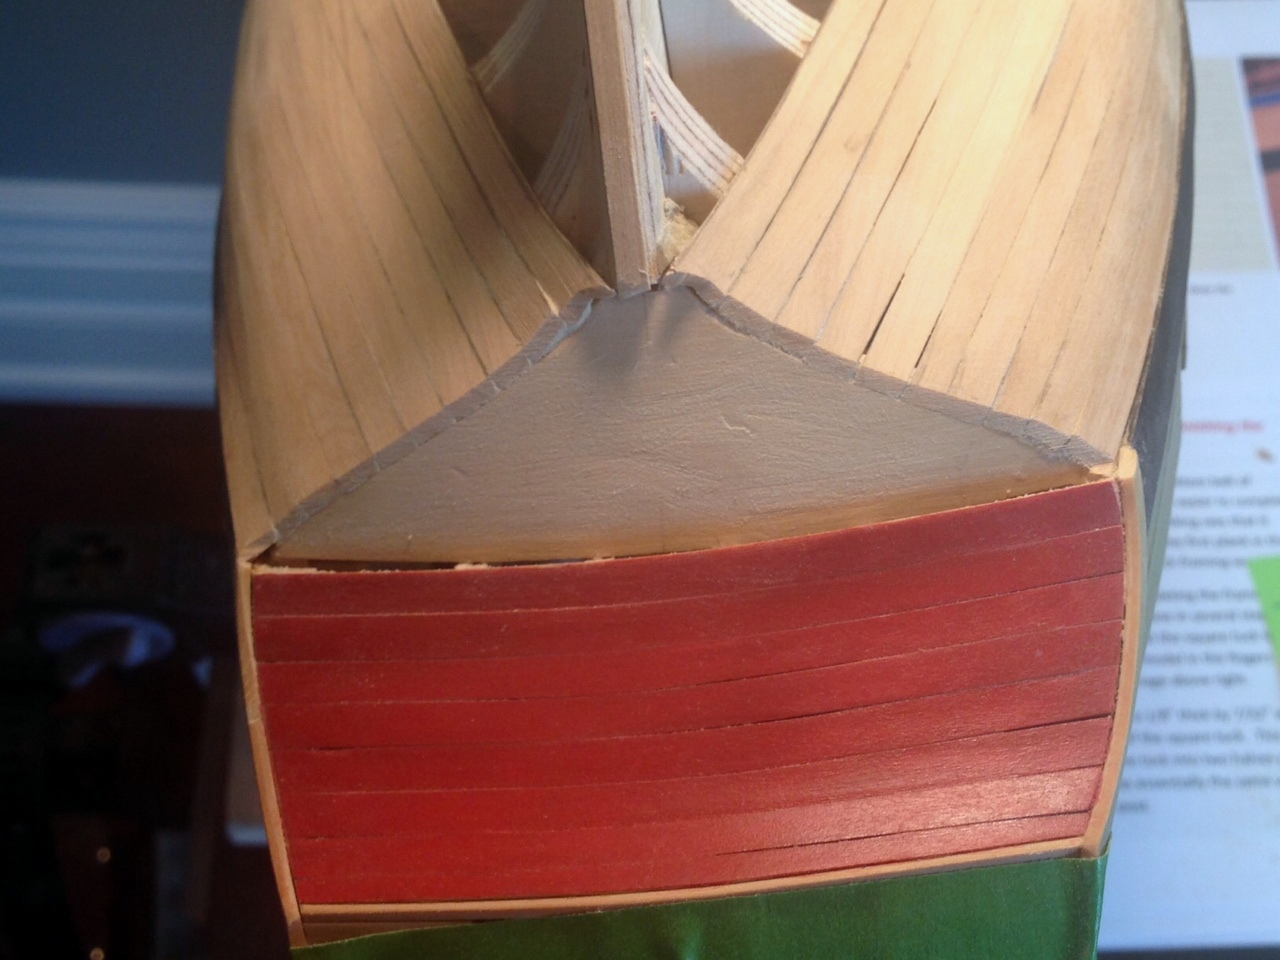
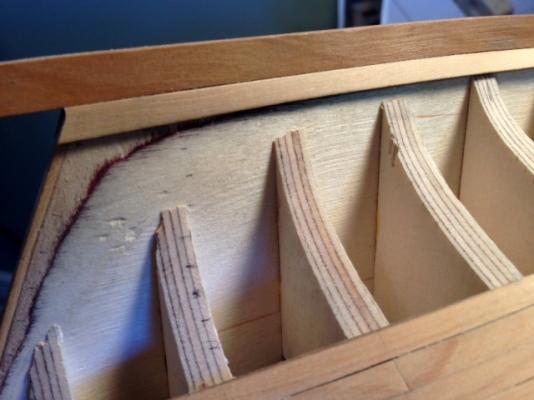
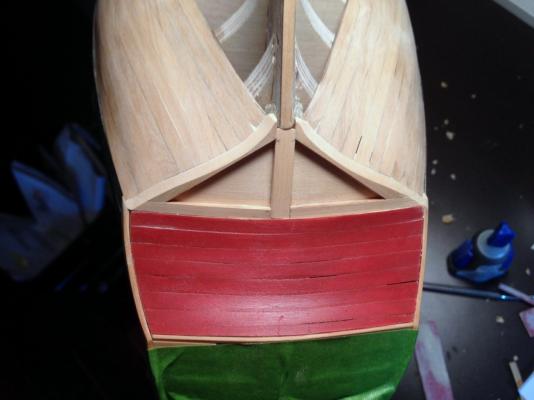
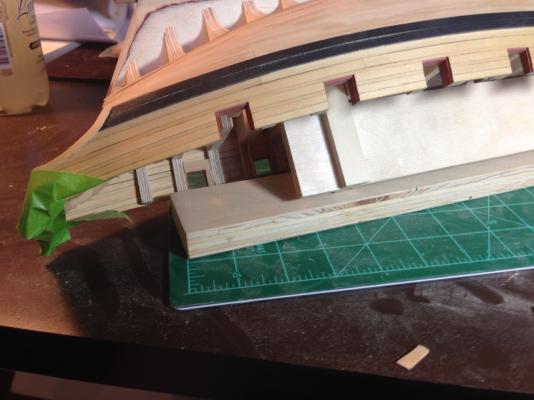
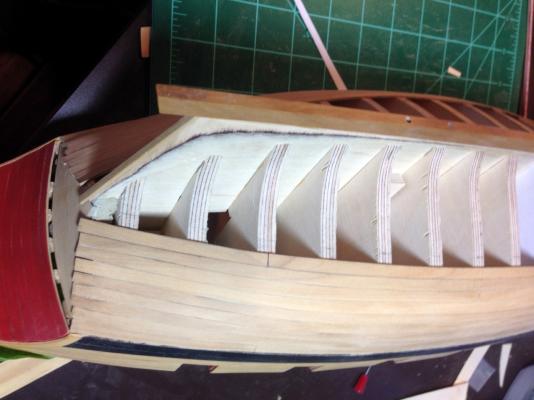
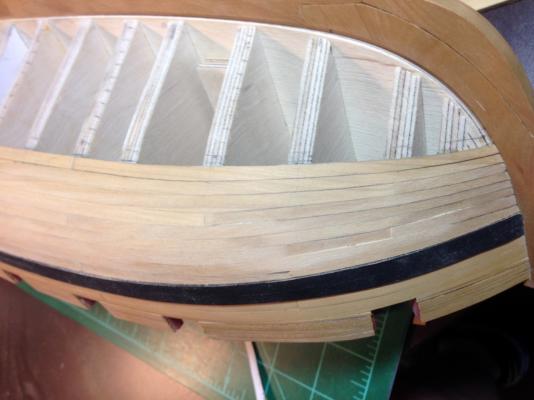
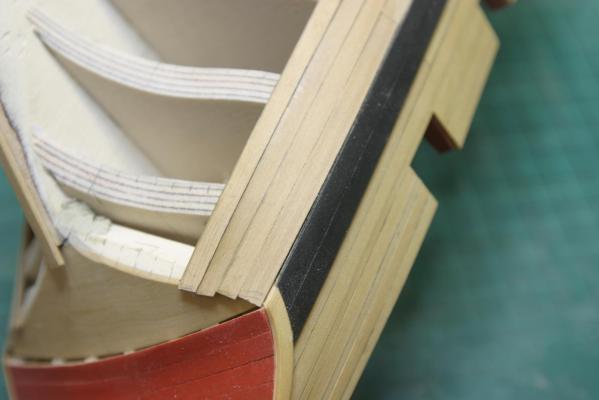
Square Tuck planking done. Some sanding and maybe some putty to hide the gaps and it will look good. Sure glad I rounded those frames. Maury

-
I'm sure grateful for all those critical eyes. Maury
-
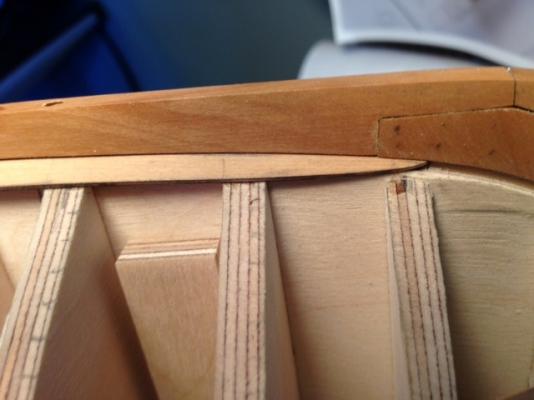
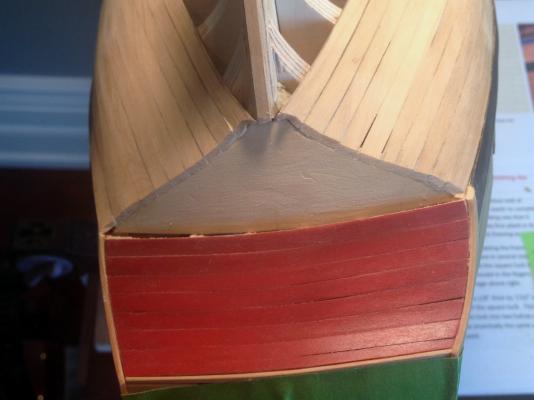
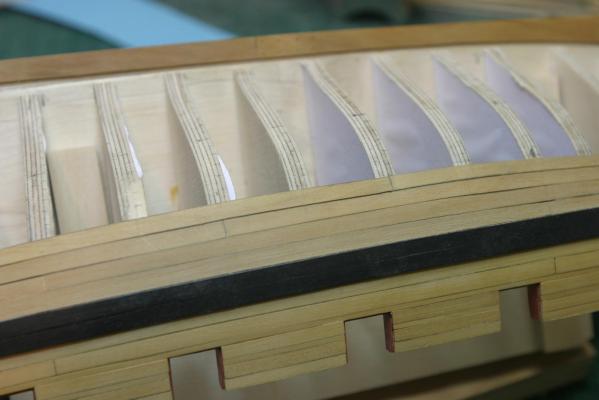
Thanks for the comments about the inner edges. Chuck and Druxey are right. The straight line of the inner frame pieces did not look right. I added and shaped some pieces to follow the curve of the outer edge of the frames. Now for the really small planking inside the frames. Maury
-
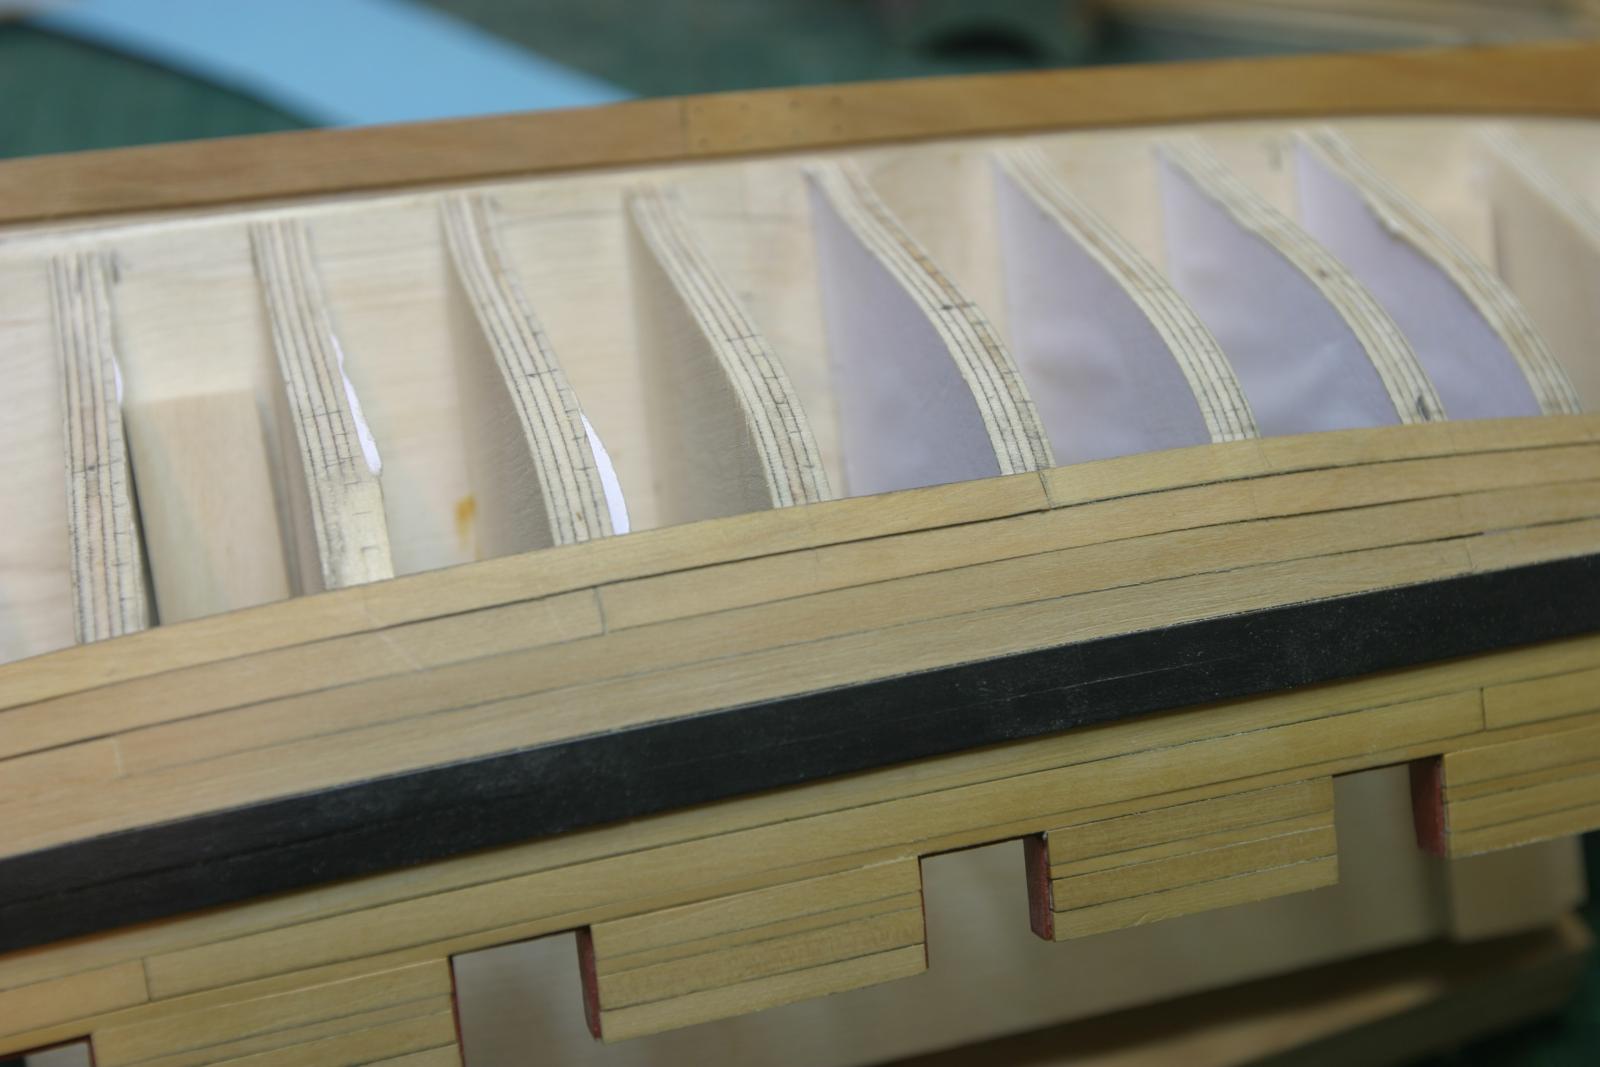
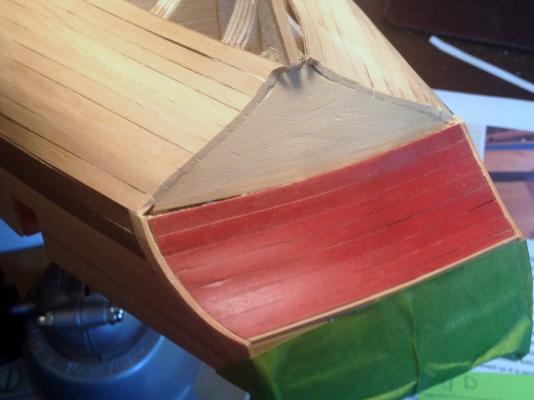
The Square Tuck framing is done. Next is the planking inside the frames. I left the inner edges of the frames straight rather than the beautiful curve Chuck put on his. Thanks for all the likes. Maury
-
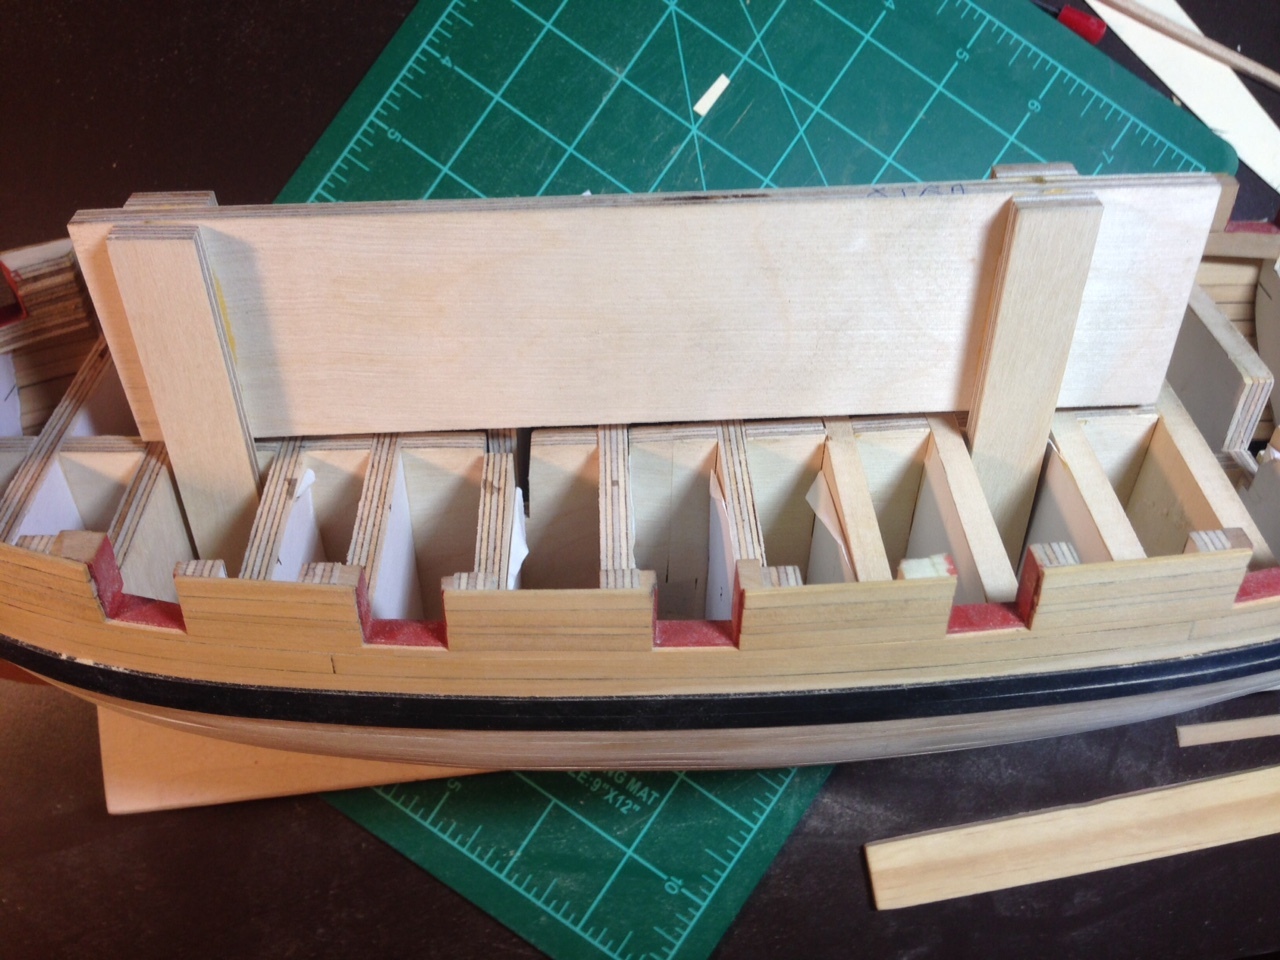
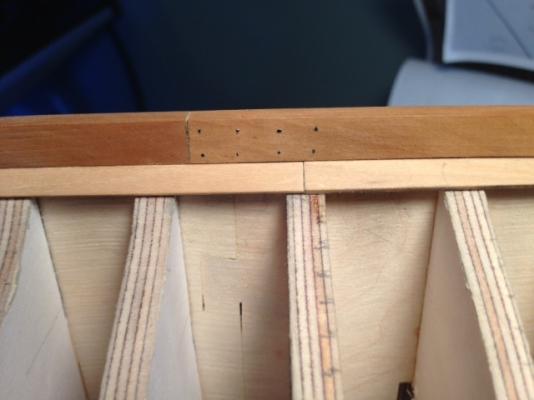
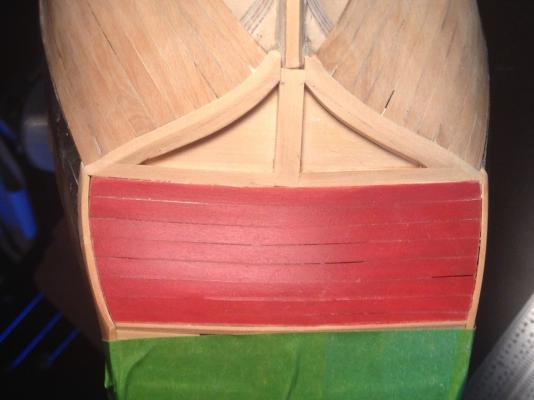
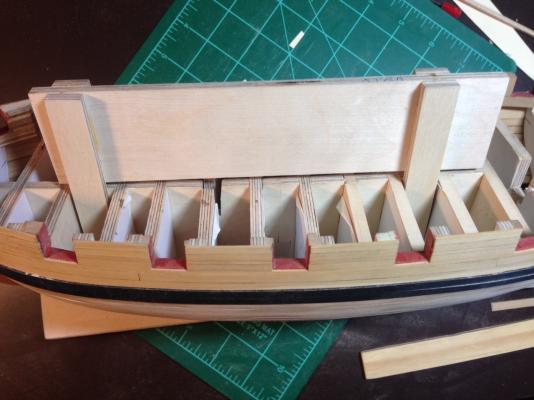
Before moving to the bottom band of planking, it's time to work on the Square Tuck. All of the ends of the planks so far are smoothed against the base for the tuck. Lots of sanding to do on the planks, but that's for later. Next comes the fitting of the various pieces that make up the tuck section. The green tape is being left on to help protect the extensions of the fashion trim. Maury
-
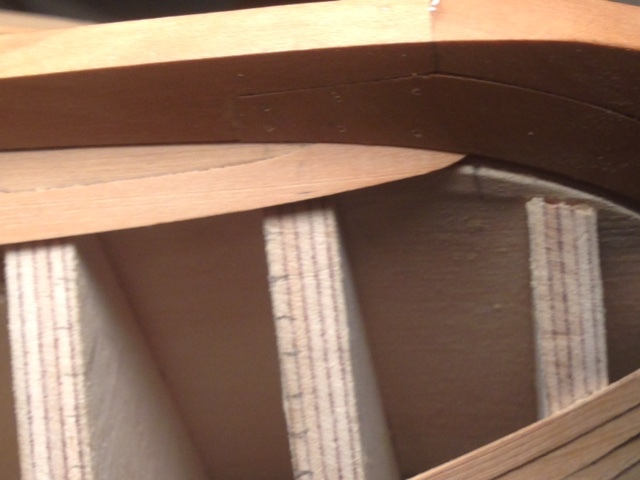
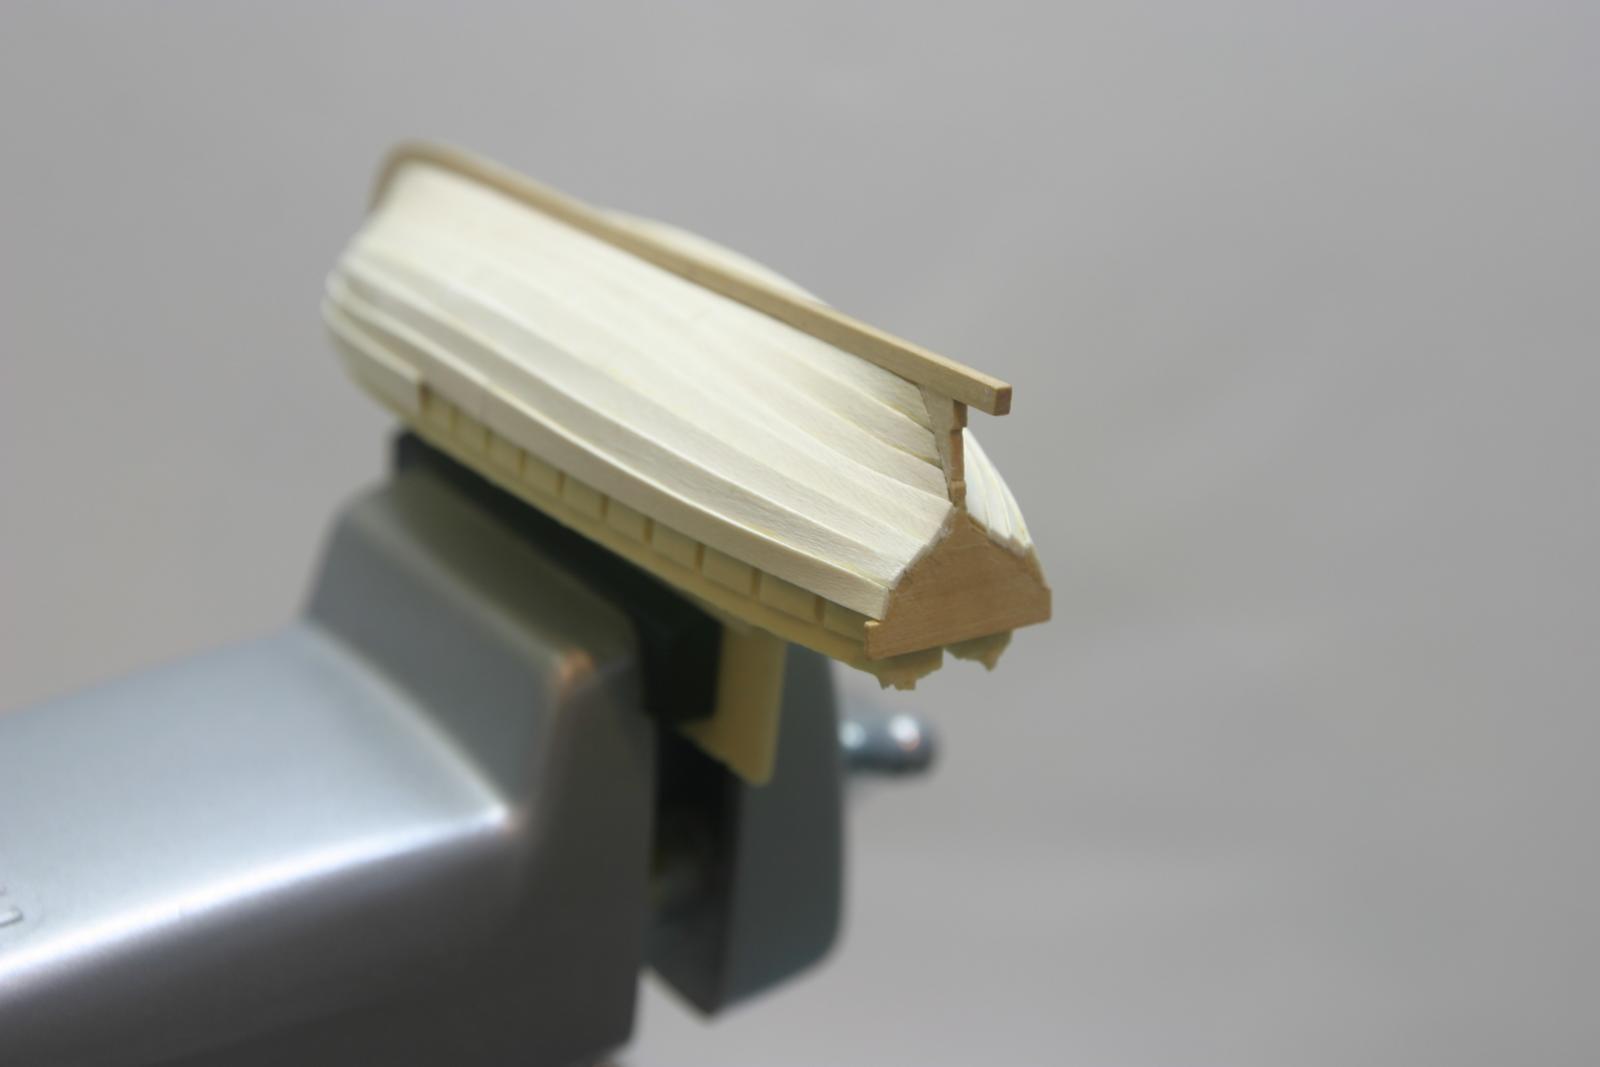
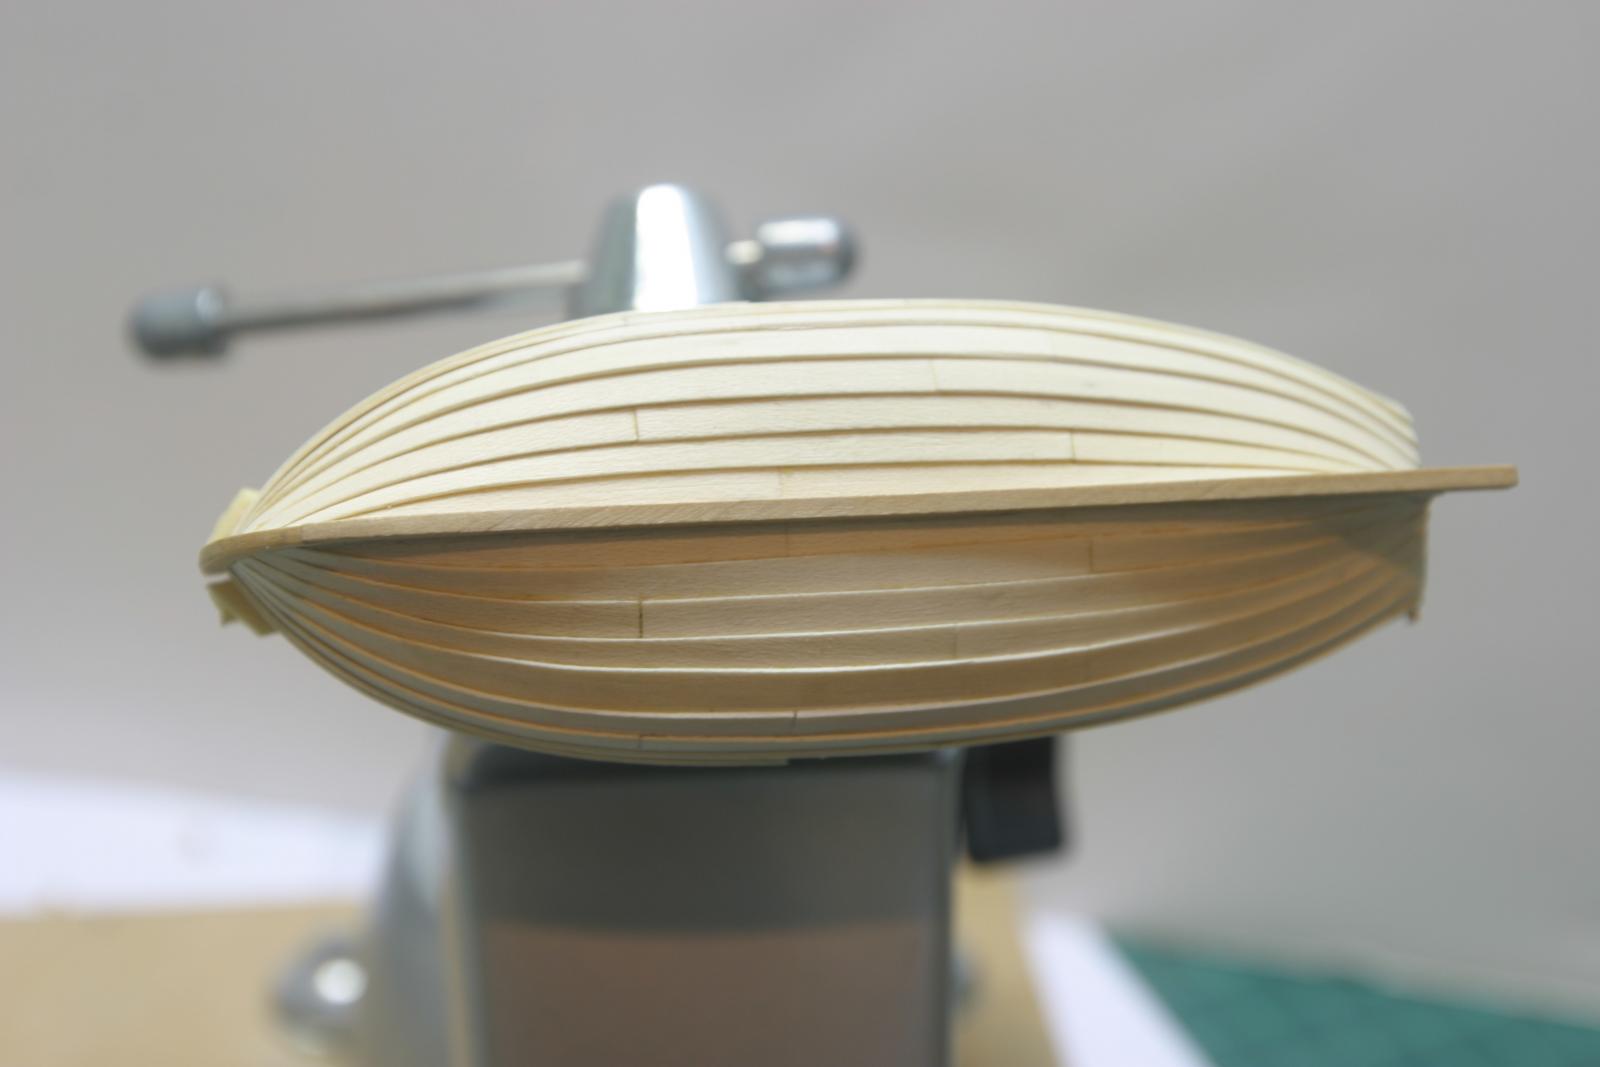
More planking over the last few weeks. One more strake on each side and I can go to work on the transom. I made a jig that fits over the plywood spine so when she's upside down for planking, the fashion pieces wont get broken since they stick up a bunch. It can be held in the vise or propped up on a block of scrap wood (as shown here on pic. #3). My spiling is getting better. Sure it uses a bit more wood, but careful planning gets several similar pieces cut from one strip with only modest waste. I've also given up on soaking or steaming the planks. Pieces this thin (.0475") need bending only with a very hot blow dryer and some gentle pressure. No more shrinkage when dried and no more raised grain nor water staining. Maury
-
Mike, Remember, it will take 5 or 6 coats of well thinned paint to get a great look. Maury
- 452 replies
-
- 2
-

-
- cheerful
- Syren Ship Model Company
- (and 1 more)
-
Toni, Great work. I think the cover looks a bit odd. I'd shorten it up a bit so it's not past a half circle. Make sense? scroll down...http://modelshipworld.com/index.php/topic/513-echo-cross-section-by-maury/page-9 Maury
-
Does the seaman stay in his hammock, or move around the ship? Maury
-
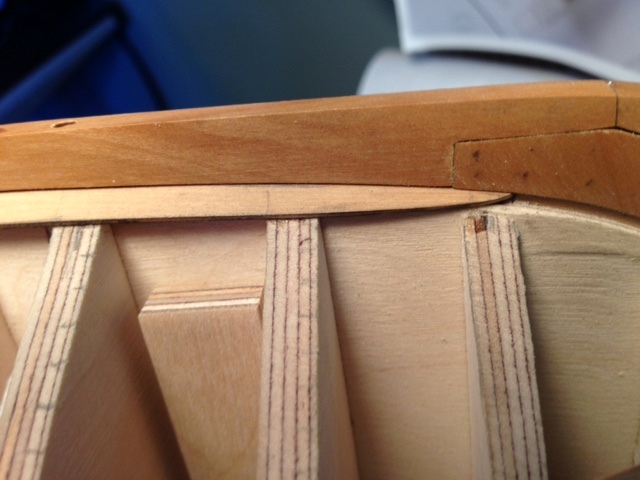
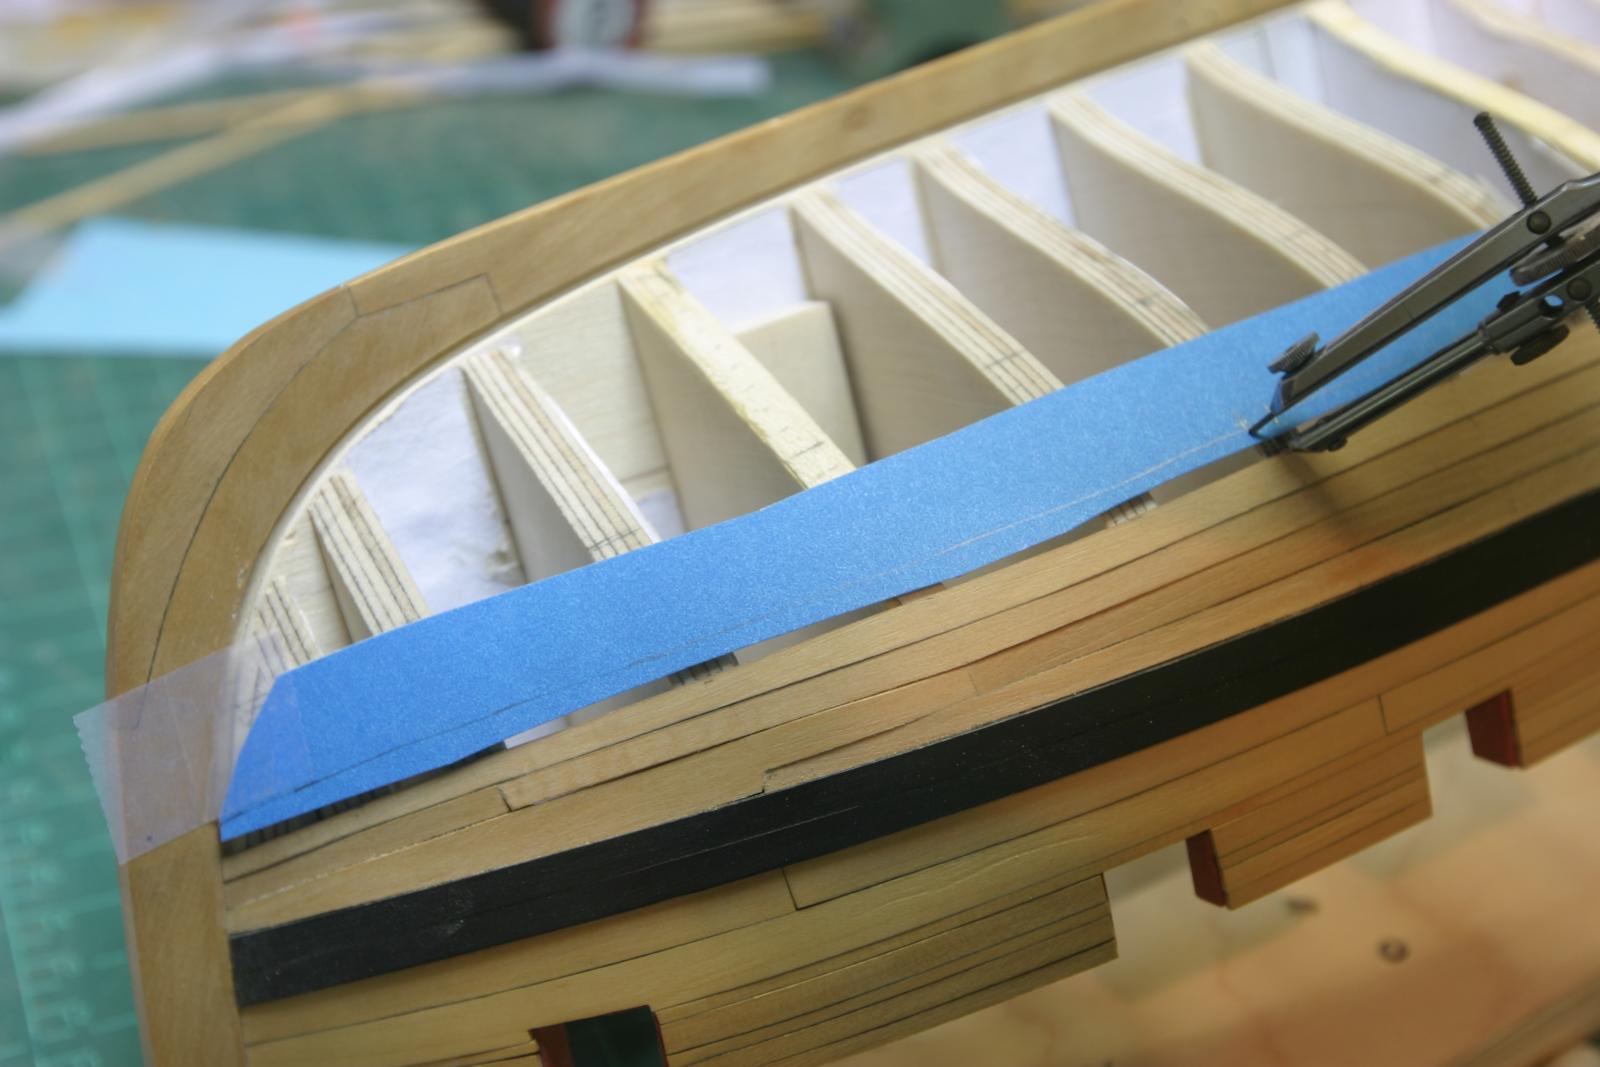
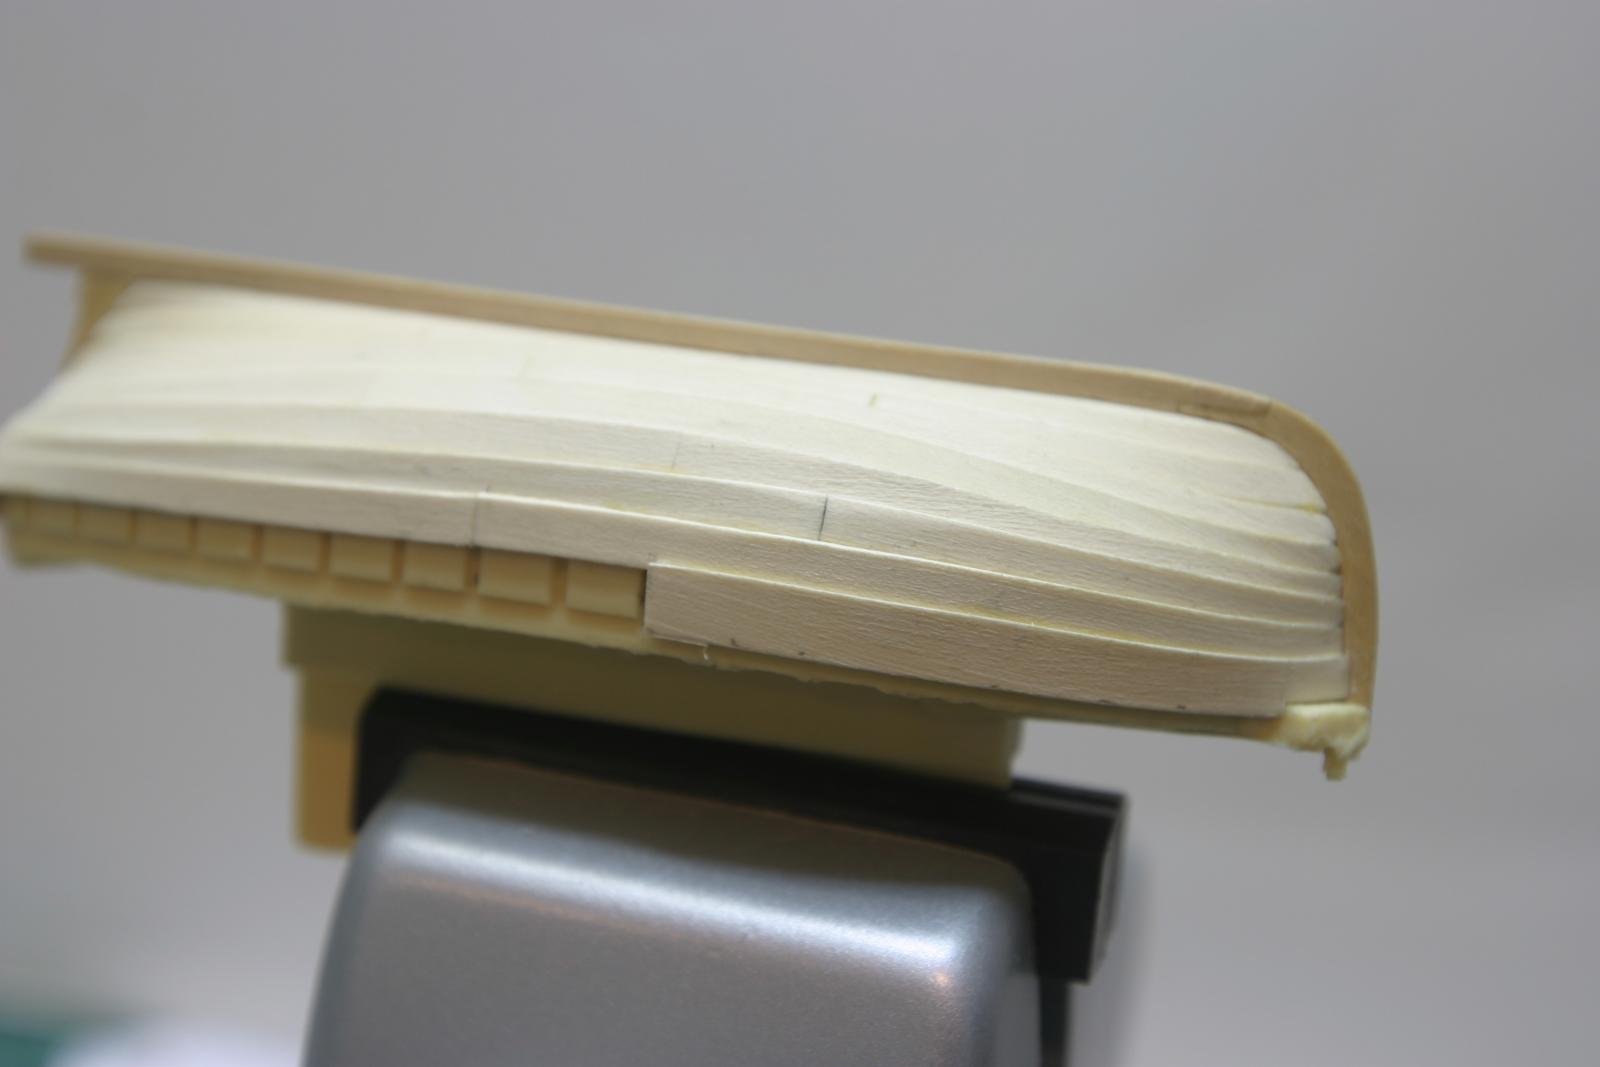
Slow progress. More planking. I'm not happy with my progress with edge bending, so I'm back to spiling...and getting better at it. After they are all in, I'll smooth them a bit (Particularly at the drop plank, which was thicker). Five more strakes in the upper band. Maury

-
Using taper jig on Byrnes table saw
Maury S replied to Landlubber Mike's topic in Modeling tools and Workshop Equipment
Greg makes it look so easy. He's a master! Maury -
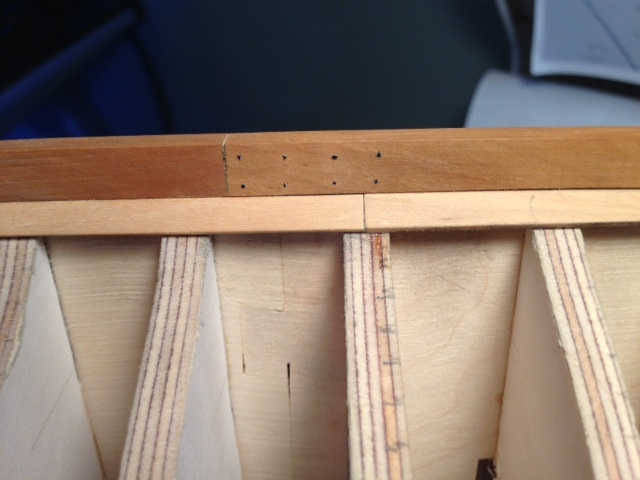
For simulated treenails, I use colored wood putty. Seal the planks first, drill the holes then rub in some putty and wipe clean. The putty provides no strength and takes much less time than drawing bamboo nails (which I still use where strength is required). Choose your color to make them as subtle as you like. Maury
-
Mike, Your stern frames look great. Very clean. Maury
- 452 replies
-
- 2
-
-
- cheerful
- Syren Ship Model Company
- (and 1 more)
-
18' Cutter by Maury S - Scale 1:48 - SMALL
Maury S replied to Maury S's topic in - Build logs for subjects built 1751 - 1800
Druxey, Thanks, I've removed the top strake and will install the gunwale. Then I'll decide on the washboards. Maury -
18' Cutter by Maury S - Scale 1:48 - SMALL
Maury S replied to Maury S's topic in - Build logs for subjects built 1751 - 1800
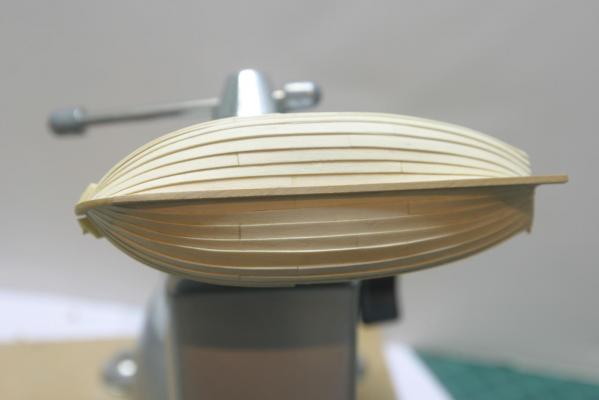
I usually work on this when I'm away from my power tools. More progress on planking. I've run into a slight conflict with the instructions, but it will work out fine regardless. I've got to the top plank as lined out on the plug (one side of the plug has slight indentations showing the planks...which I transfer to the other side as I move along). That strake seems to be described in the instructions as the shear, and the gunwale will go on top of that. Other drawings seem to indicate that is the washboard which sits atop the gunwale. I can remove the fore part of the strake and install the gunwale or put the gunwale on top of this strake and not put a washboard on the boat. They were removable anyhow and I like the lines without the extra height. I have to make some adjustments in affixing the aft portion of the strake to the transom. It's a great little project that I may repeat since the cutter is a nice accessory to any ship of that era. Maury

- 43 replies
-
- 10
-
-
In addition to what Druxey mentioned, I picked up a trick from Chuck Passaro re bending. I still spile rather than edge-bend, and have found a very good (hot) hair drier or iron works well for face bending and twisting. I hardly ever wet planks any more. Maury
-
Tony, Is there a sill between the bottom of the doors and the deck? Seems standard procedure on boats. I don't have the book with me right now to look it up. Maury
-
Danny, Does you plug have faint plank markings on it? Mine had them on one side only, which I carefully copied to the other side. Maury