Search the Community
Showing results for tags 'sovereign of the seas'.
Found 22 results
-
 The next project is this vintage 60's Airfix kit # 1908-400, this looks to be one of the first releases molded in black. This model is void of any planking so I'm proceeding with scribing in some above the waterline only, I'm not too concerned with the remainder of the hull as it will just receive some texture using 80 grit and be finished with the tallow coating, also another area in question is whether or not I want to create the round tuck, but I still have time to make that decision . Thanks for looking. Michael D.
- 104 replies
-
- 10
-

-
- Sovereign of the Seas
- Airfix
- (and 1 more)
-
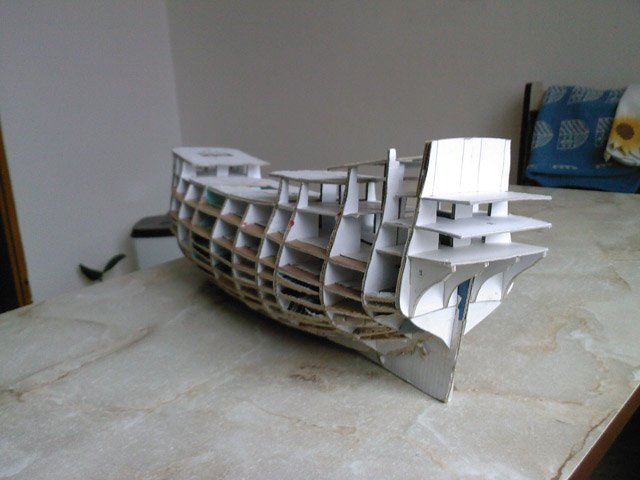
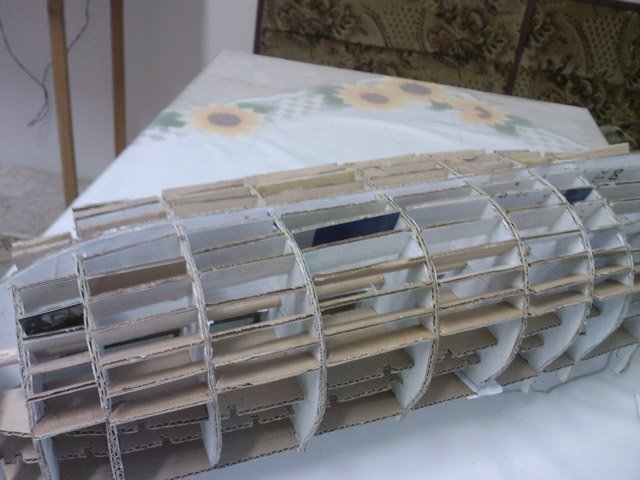
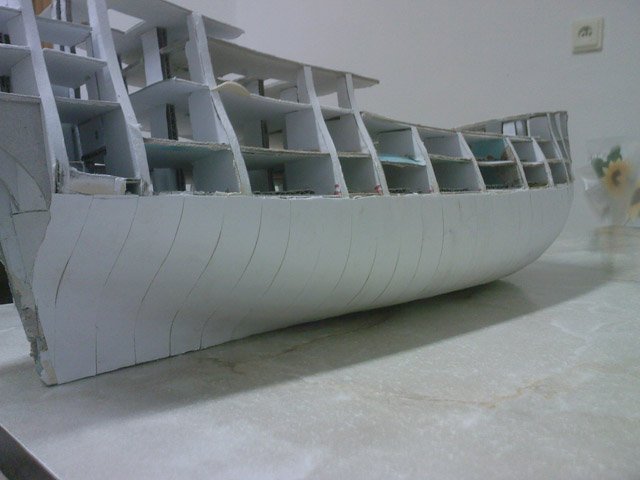
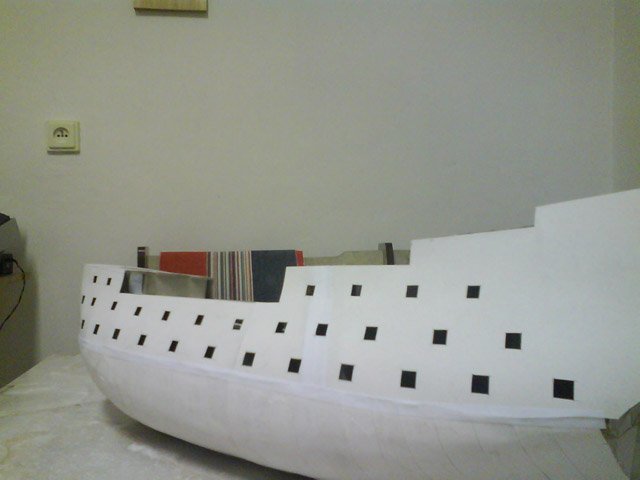
 Dear friends, After 12 years of hiatus I decided to continue with the model of Sovereign. I started it together with Doris, I´m sure you will remember her ship. So here is the part of history - sorry for the poor photos:
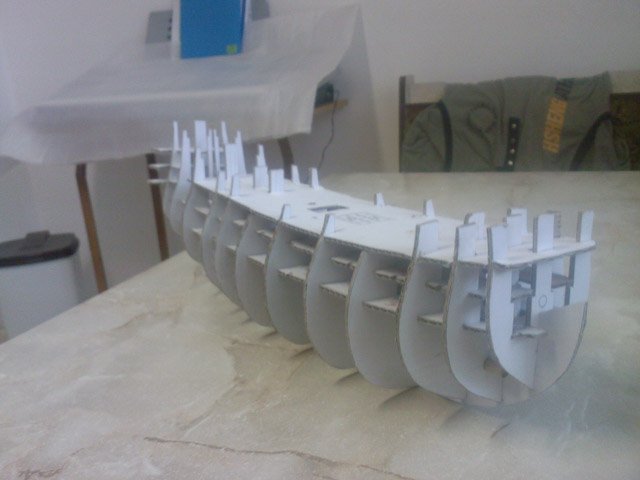
-
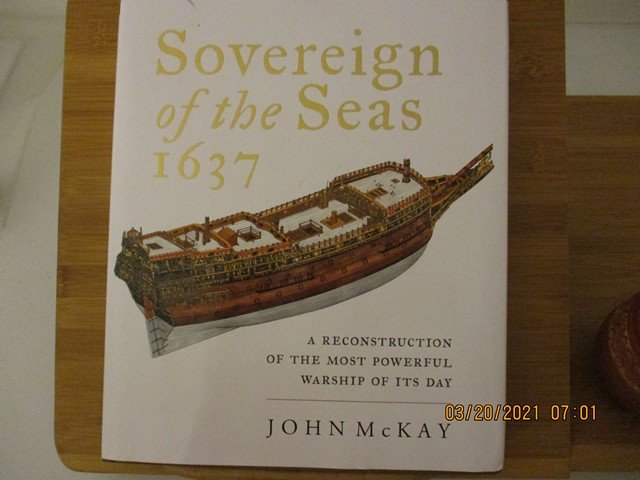
 I have had this kit for two years - time to start. Got the John McKay book from UK this week. To bad - the casting quality... Reading the log from Michael
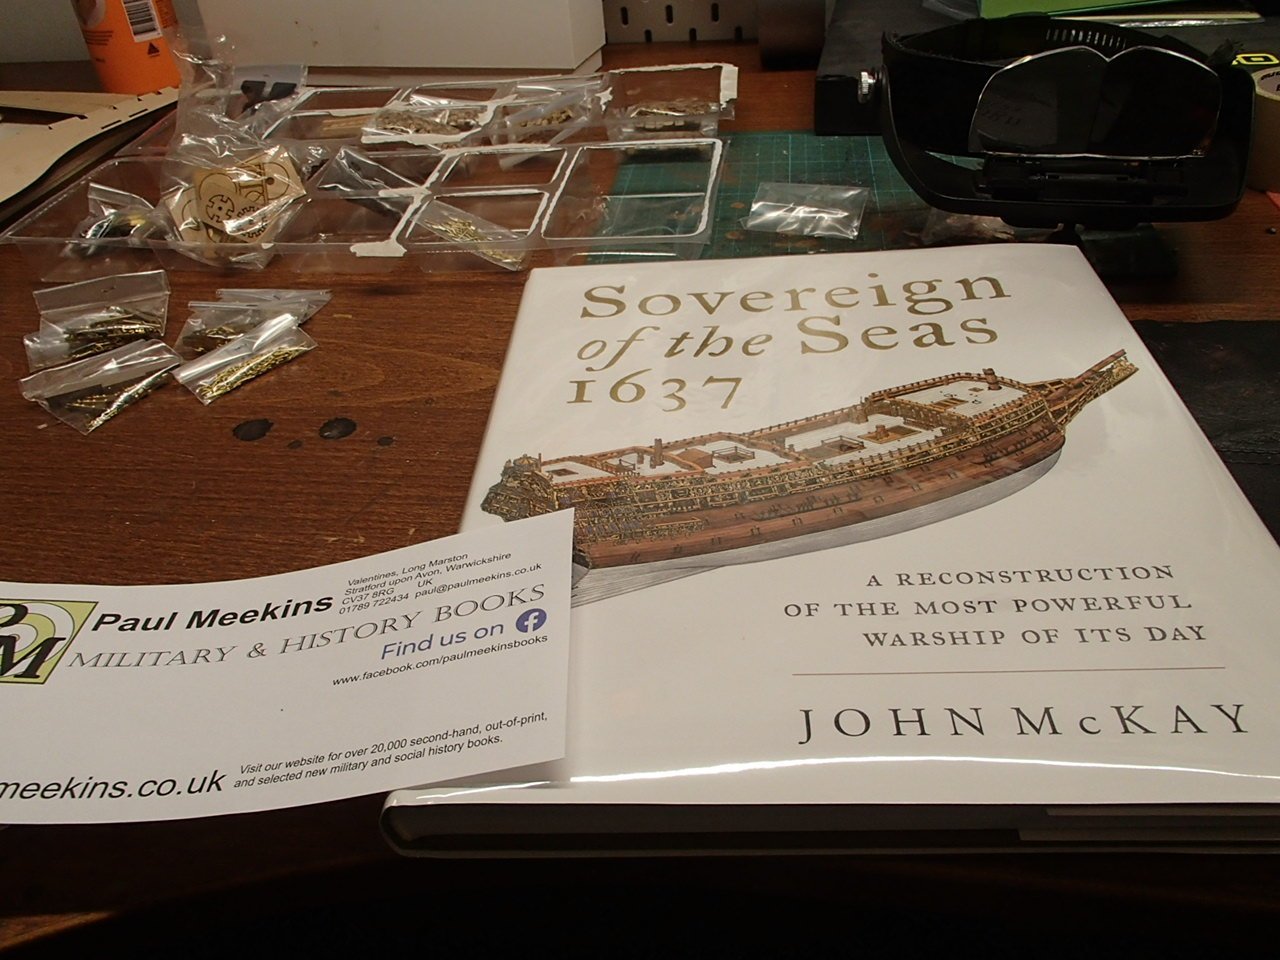
-
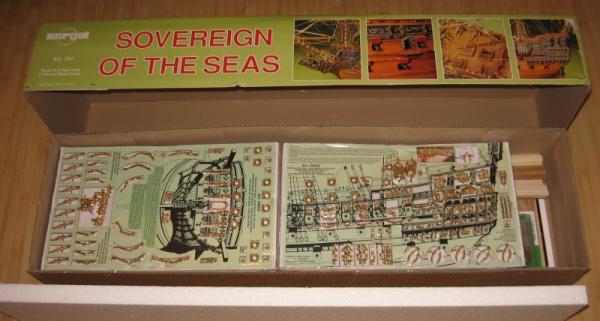
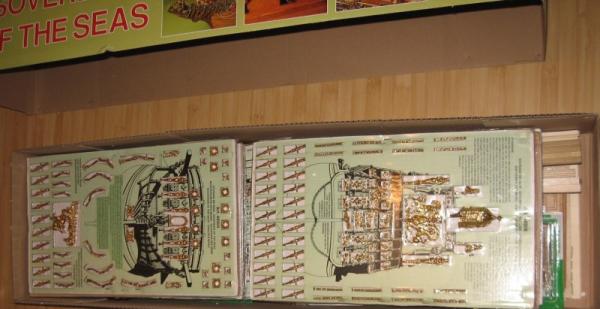
 Hi all!! Finally my kit arrived yesterday evening. I had to wait for her for 8 weeks. I wanted to take a picture of all what is in the box but my hobbyroom is simply not big enough to show it all. Sergal renewed the building inscription, now also in Dutch. I putted my new topic on the wrong place and also dubble, so I had to delete it all, so: @Jörgen and @Sjors, you both have to renew your follow and @Eddie, thx for the tip. I hope I did it right now Some pictures...
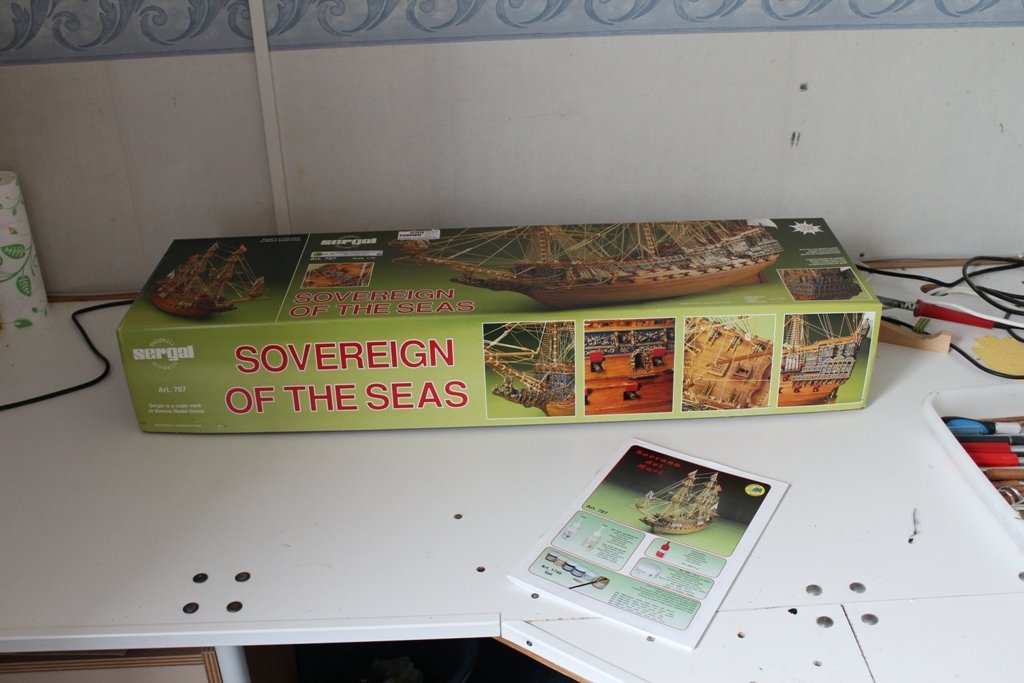
- 192 replies
-
- 18
-
-

-
- sovereign of the seas
- sergal
- (and 1 more)
-
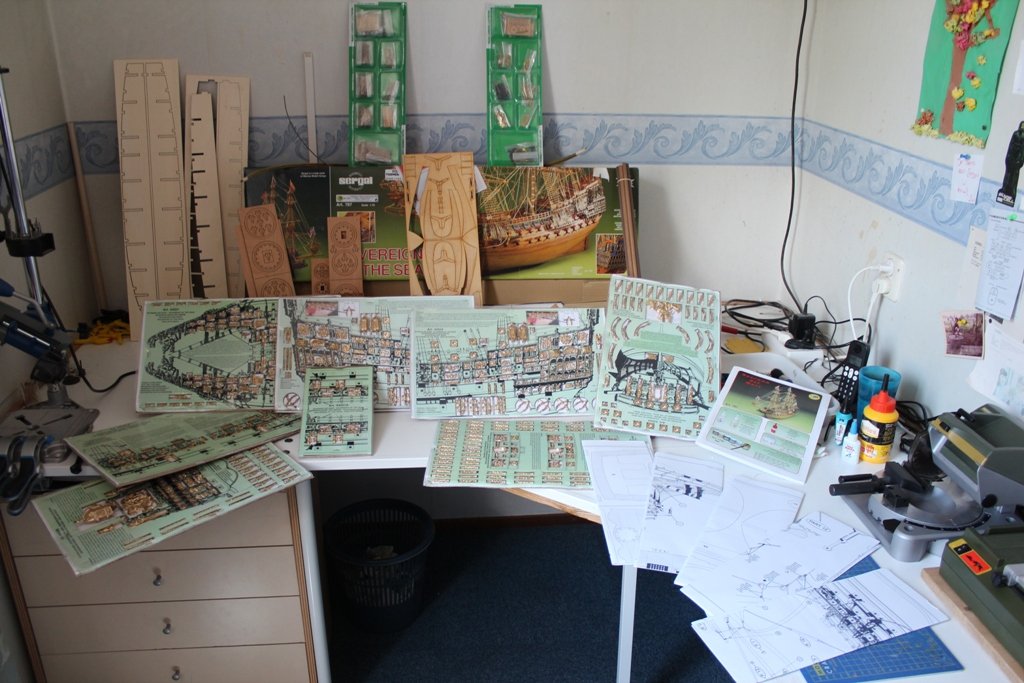
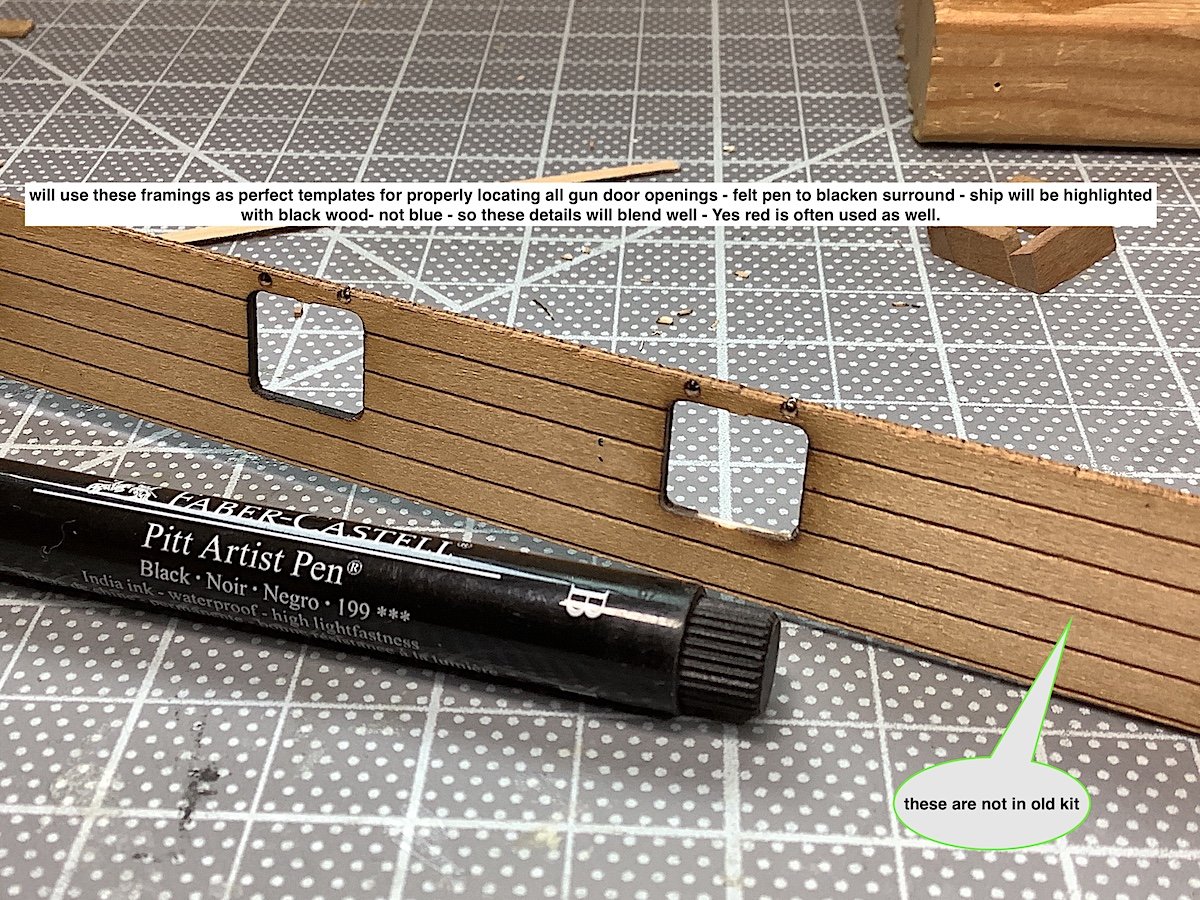
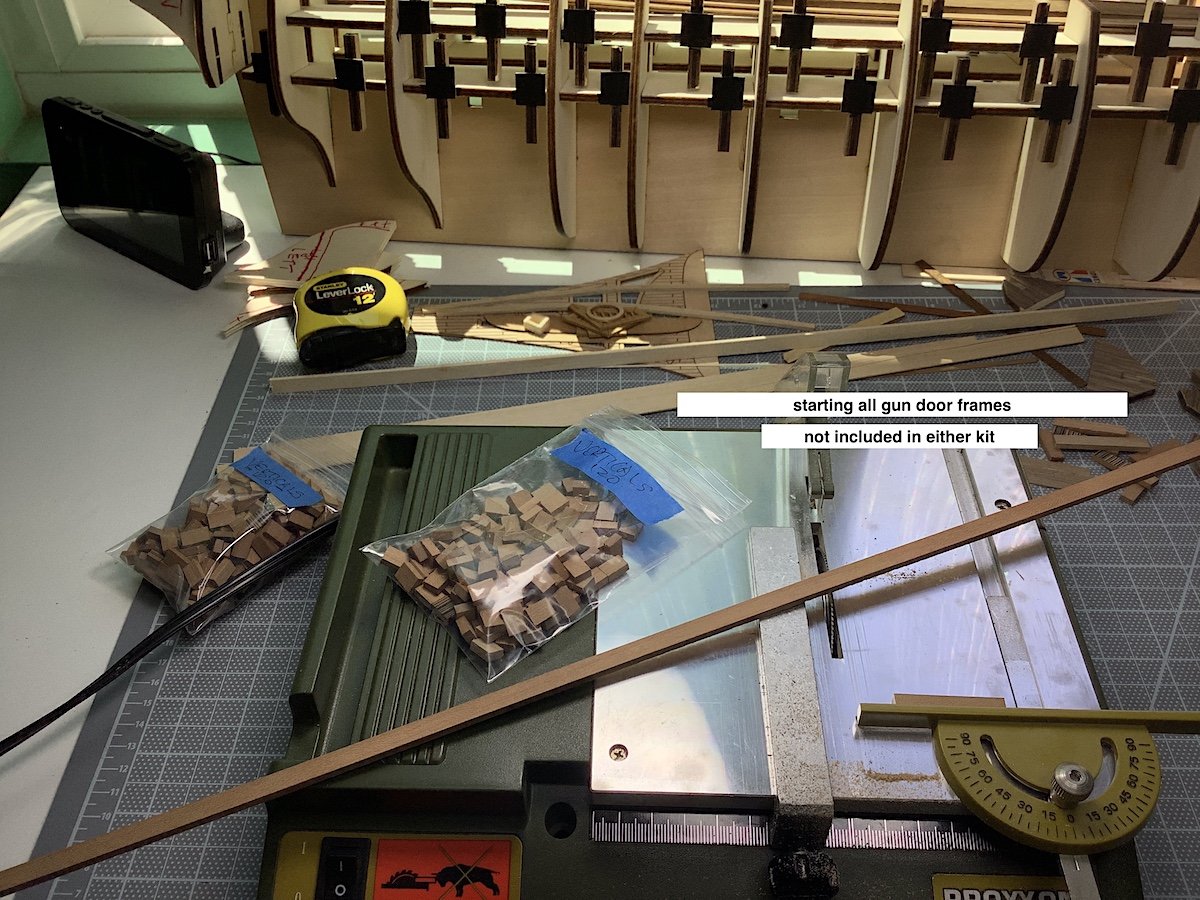
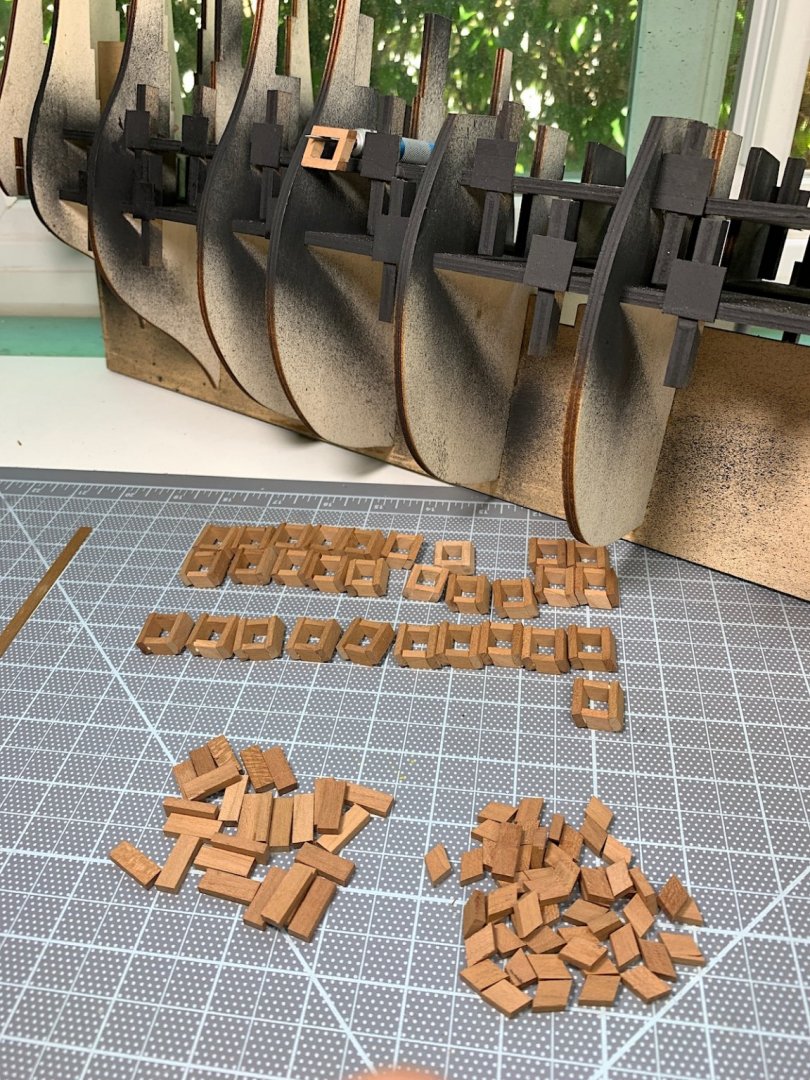
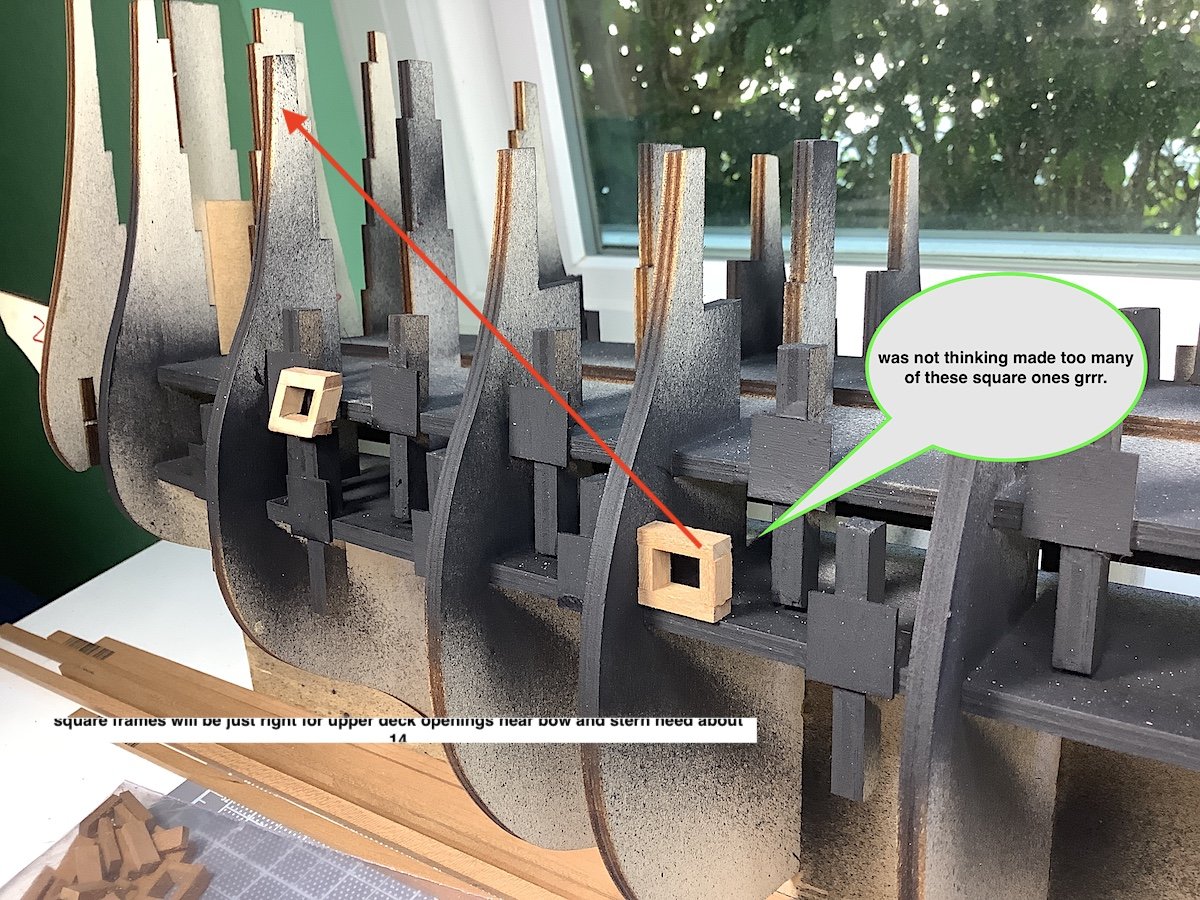
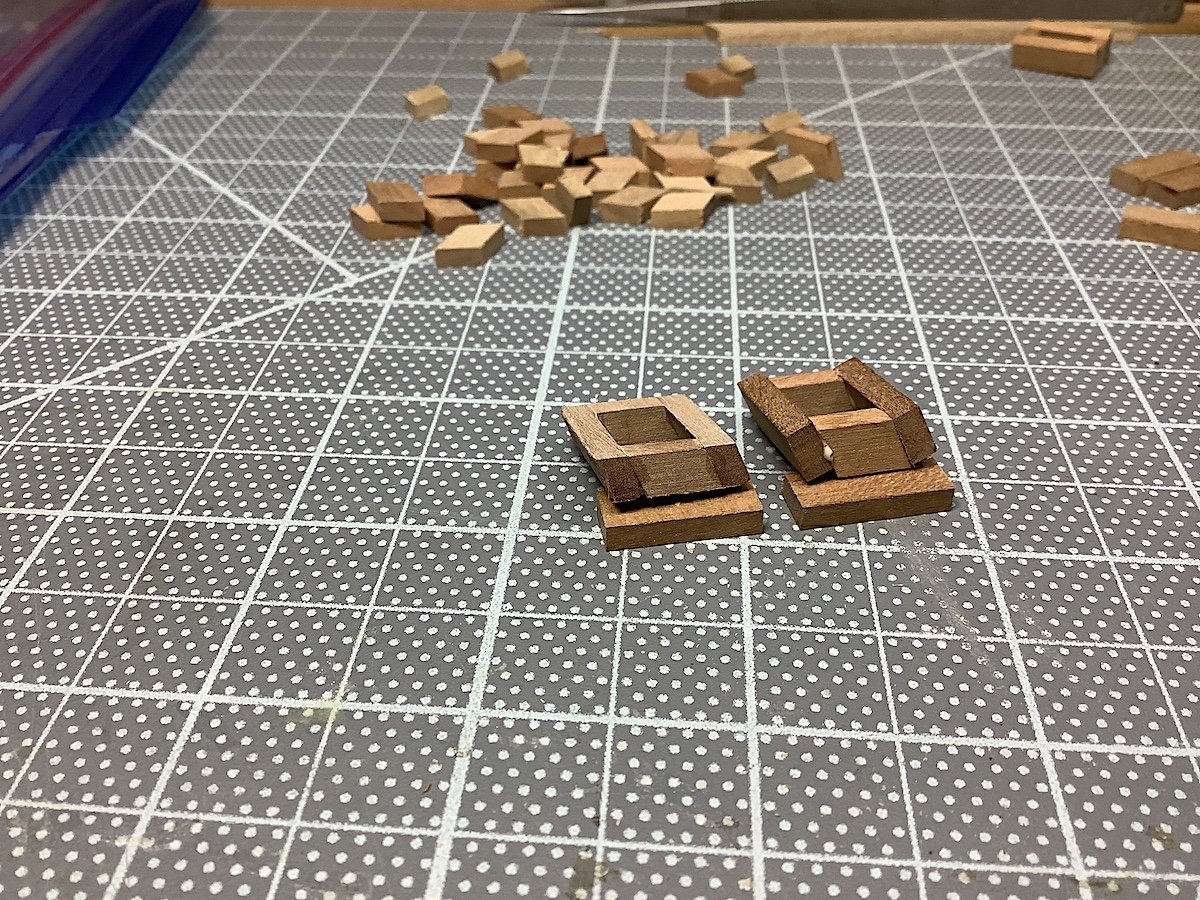
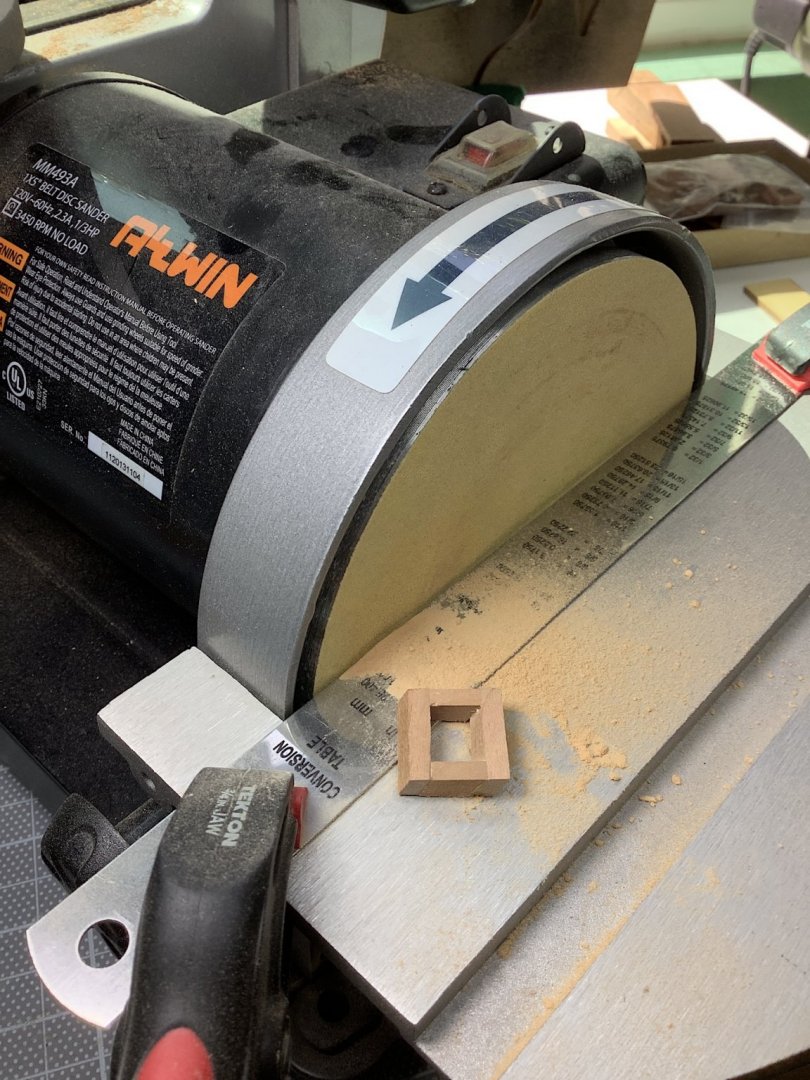
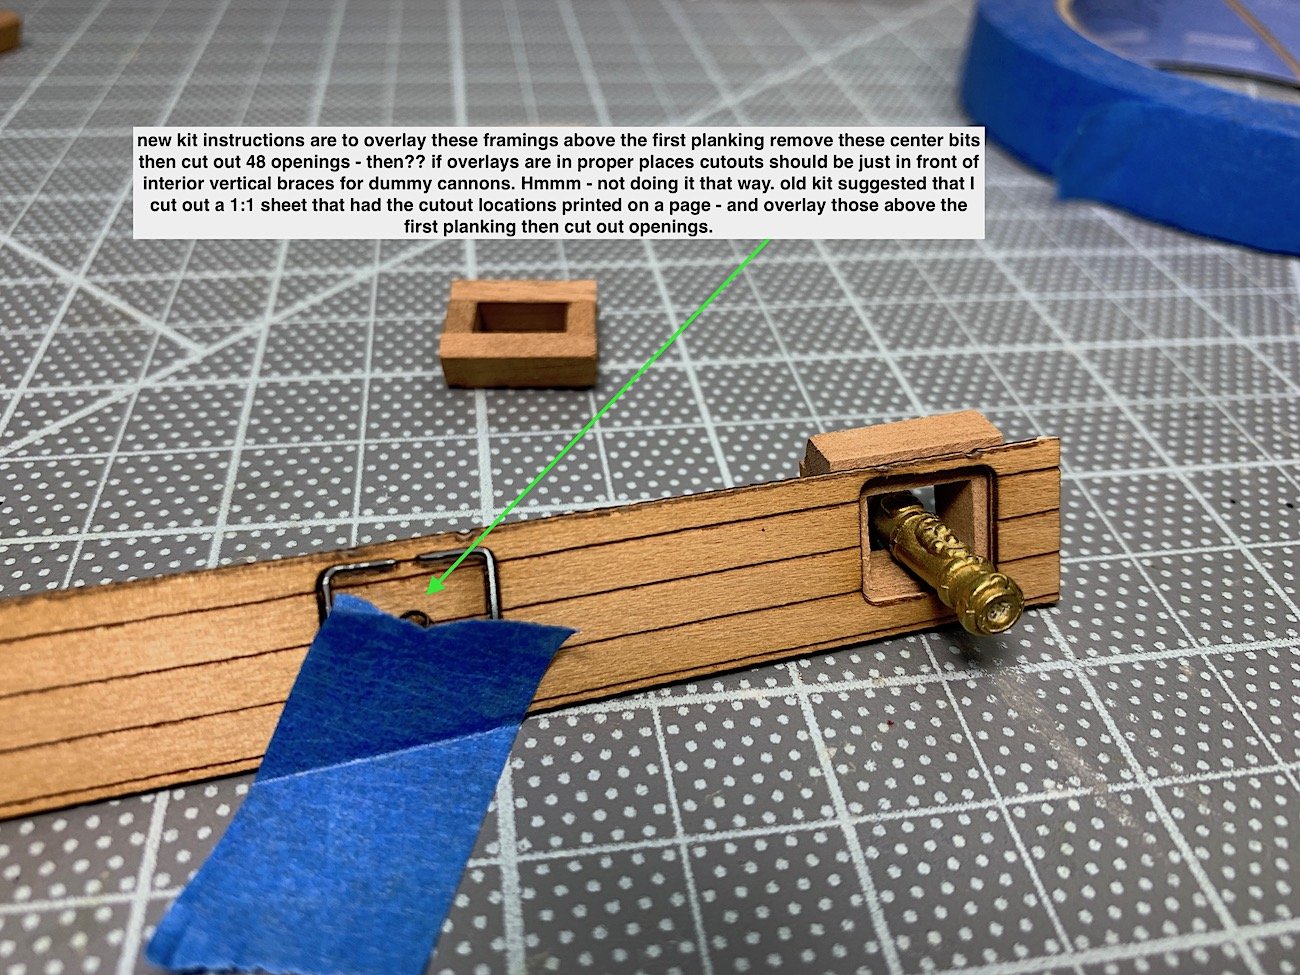
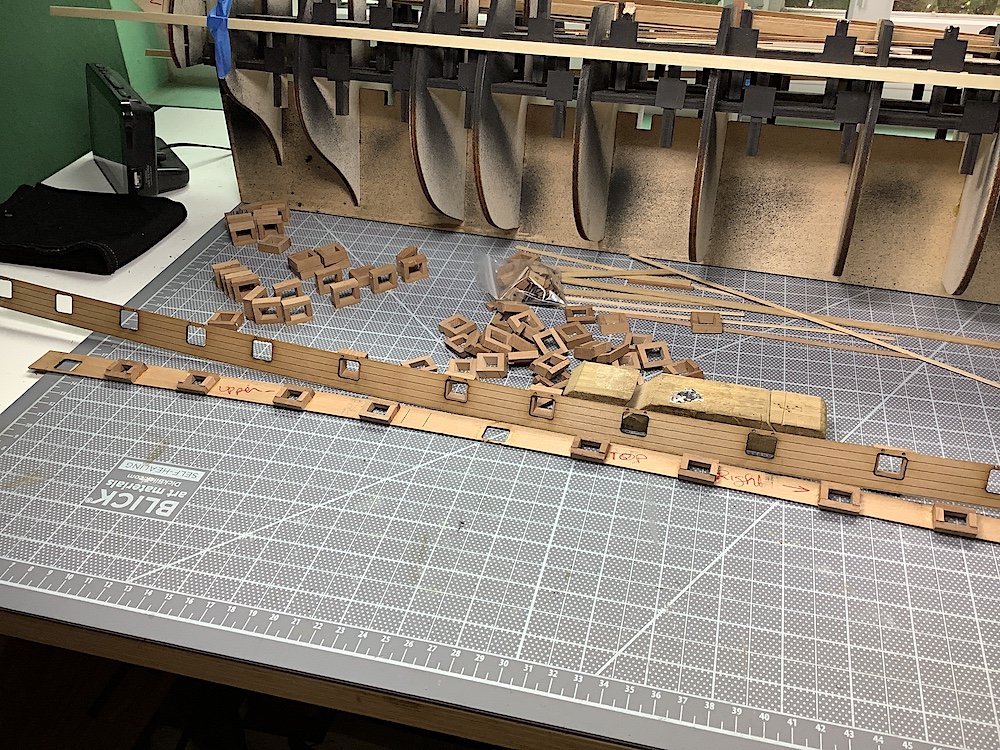
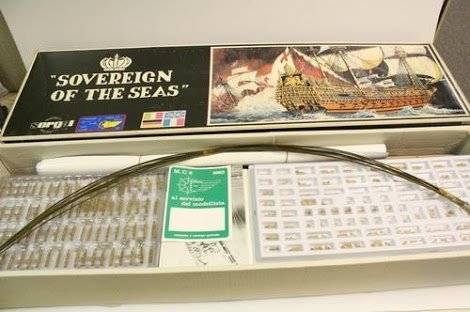
 Hi Mates. I have wanted to build this kit for a long time, I will also attempt to super detail this project beyond the “out of the box” kit – as excellent as it is. I have “bashed" my two last builds – enjoy the challenges of added detailing -- I have the McKay book that is filled with many line drawings and images; it will be an excellent guide. Along with incorporating great ideas seen in other build logs of this ship here at MSW. I recently acquired a 1980s “new in box” kit from a member who had one available. He contacted me after I had made a request for one here at MSW. That specific vintage kit was of interest to me because the 650+ included decorative bits were all cast in solid bronze (that number includes cannons). The current kit is supplied with 650+ white metal bits that have been electroplated, and apparently, from what I’ve been told, may result in some lost of casting details?? (TBD) – many other advantages are certainly in the current kit’s box as well, and not part of the 1980s box contents. Given that this ship’s beauty, for-all-intent-and-purposes, was because of its 600+ ornamentations I got intrigued with the idea of solid bronze castings; luckily found one (Big thanks Jay L) That said, instructions were really non-existent, included lumber still looked very good, other included kit’s amenities were, well from three decades ago. Bronze sculptures were, for me, the prize….as well as the 1:1 plan sheets (nice) only in Italian. Jay's kit did not have a single super tiny missing bronze ornament – all were mixed up in 15 or so zip lock baggies – took hours to go through them all –haha. all other parts were 100% there as well. Moving forward two weeks – a large heavy UPS box arrived at my door hmm? – Turns out that I was gifted, for Father’s Day, with the current Sergal #787. So best of both kits will be blended into this single project. My family did not know that I had already purchased a much earlier edition. The current kit certainly has its many advantages, but the earlier kit shines in many ways as well, many of which will become part of this project. I will balance this log with some, as needed, comparisons between the old and new kit versions – No criticisms of either just occasional comparisons. That said, this log will focus on the build as it goes forward. I am lucky to have the best of both available for this project. PS: I have listed this log as a 1637 ship – I know that she was around for many decades after, and that her stern ornamentation (provided in both kits) is more reflective of a much later example. But for builders 1637 is the “agreed to” year. First log entry with some notes. – will also (thankfully for you) keep the writing to a minimum going forward. Thanks for looking in, and if you are interested Welcome to the shipyard. Regards,
-
 I purchased the kit in 2000 and have finally decided to build it. I hope I am not overwhelmed. Would someone please tell me if the instruction booklet is available to purchase or download and print? My kit only has the small white booklet with it and it's definitely not enough for me to build this model.
 -
 Greatings to everyone, I am very happy to be back in this forum again! All these years I have been admiring the magnificent work of the members. Here I'll post the built log of this old airfix kit which I was given by very good friend. The box is very old, 1970s packaging. Some paint traces on the hull from an old painting attempt, and some pieces of the original masts bend broken or missing. I know, a rather rough start. I'll attempt to built the kit and correct some of its problems while I am at it. I really love 17th century ships, and I really look forward for this built. Thank you!
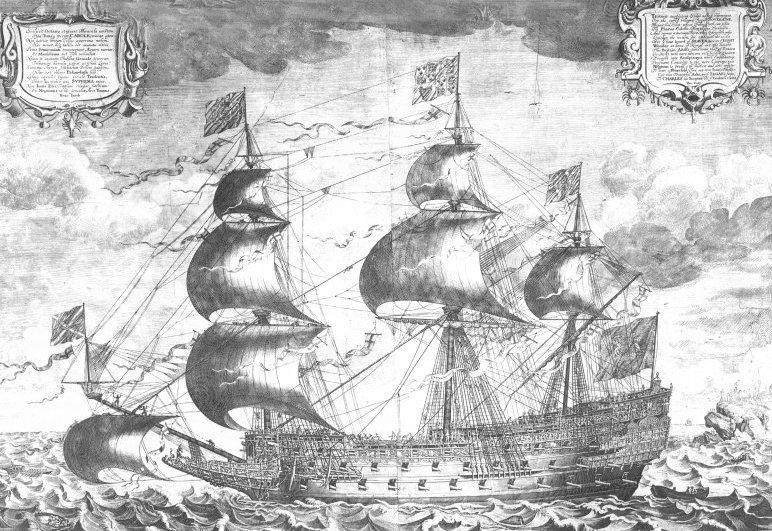
-
 Just to start my build log. Nothing to post yet!!!
.JPG.fedf81f8ddf5dd027c3a9e420c33dd83.JPG)
- 35 replies
-
- 5
-
-
- Mantua
- Sovereign of the Seas
- (and 1 more)
-
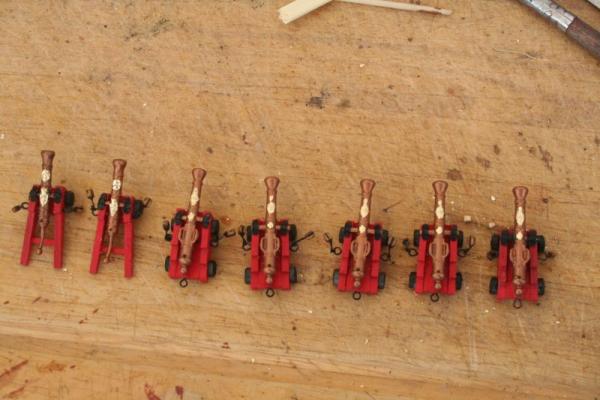
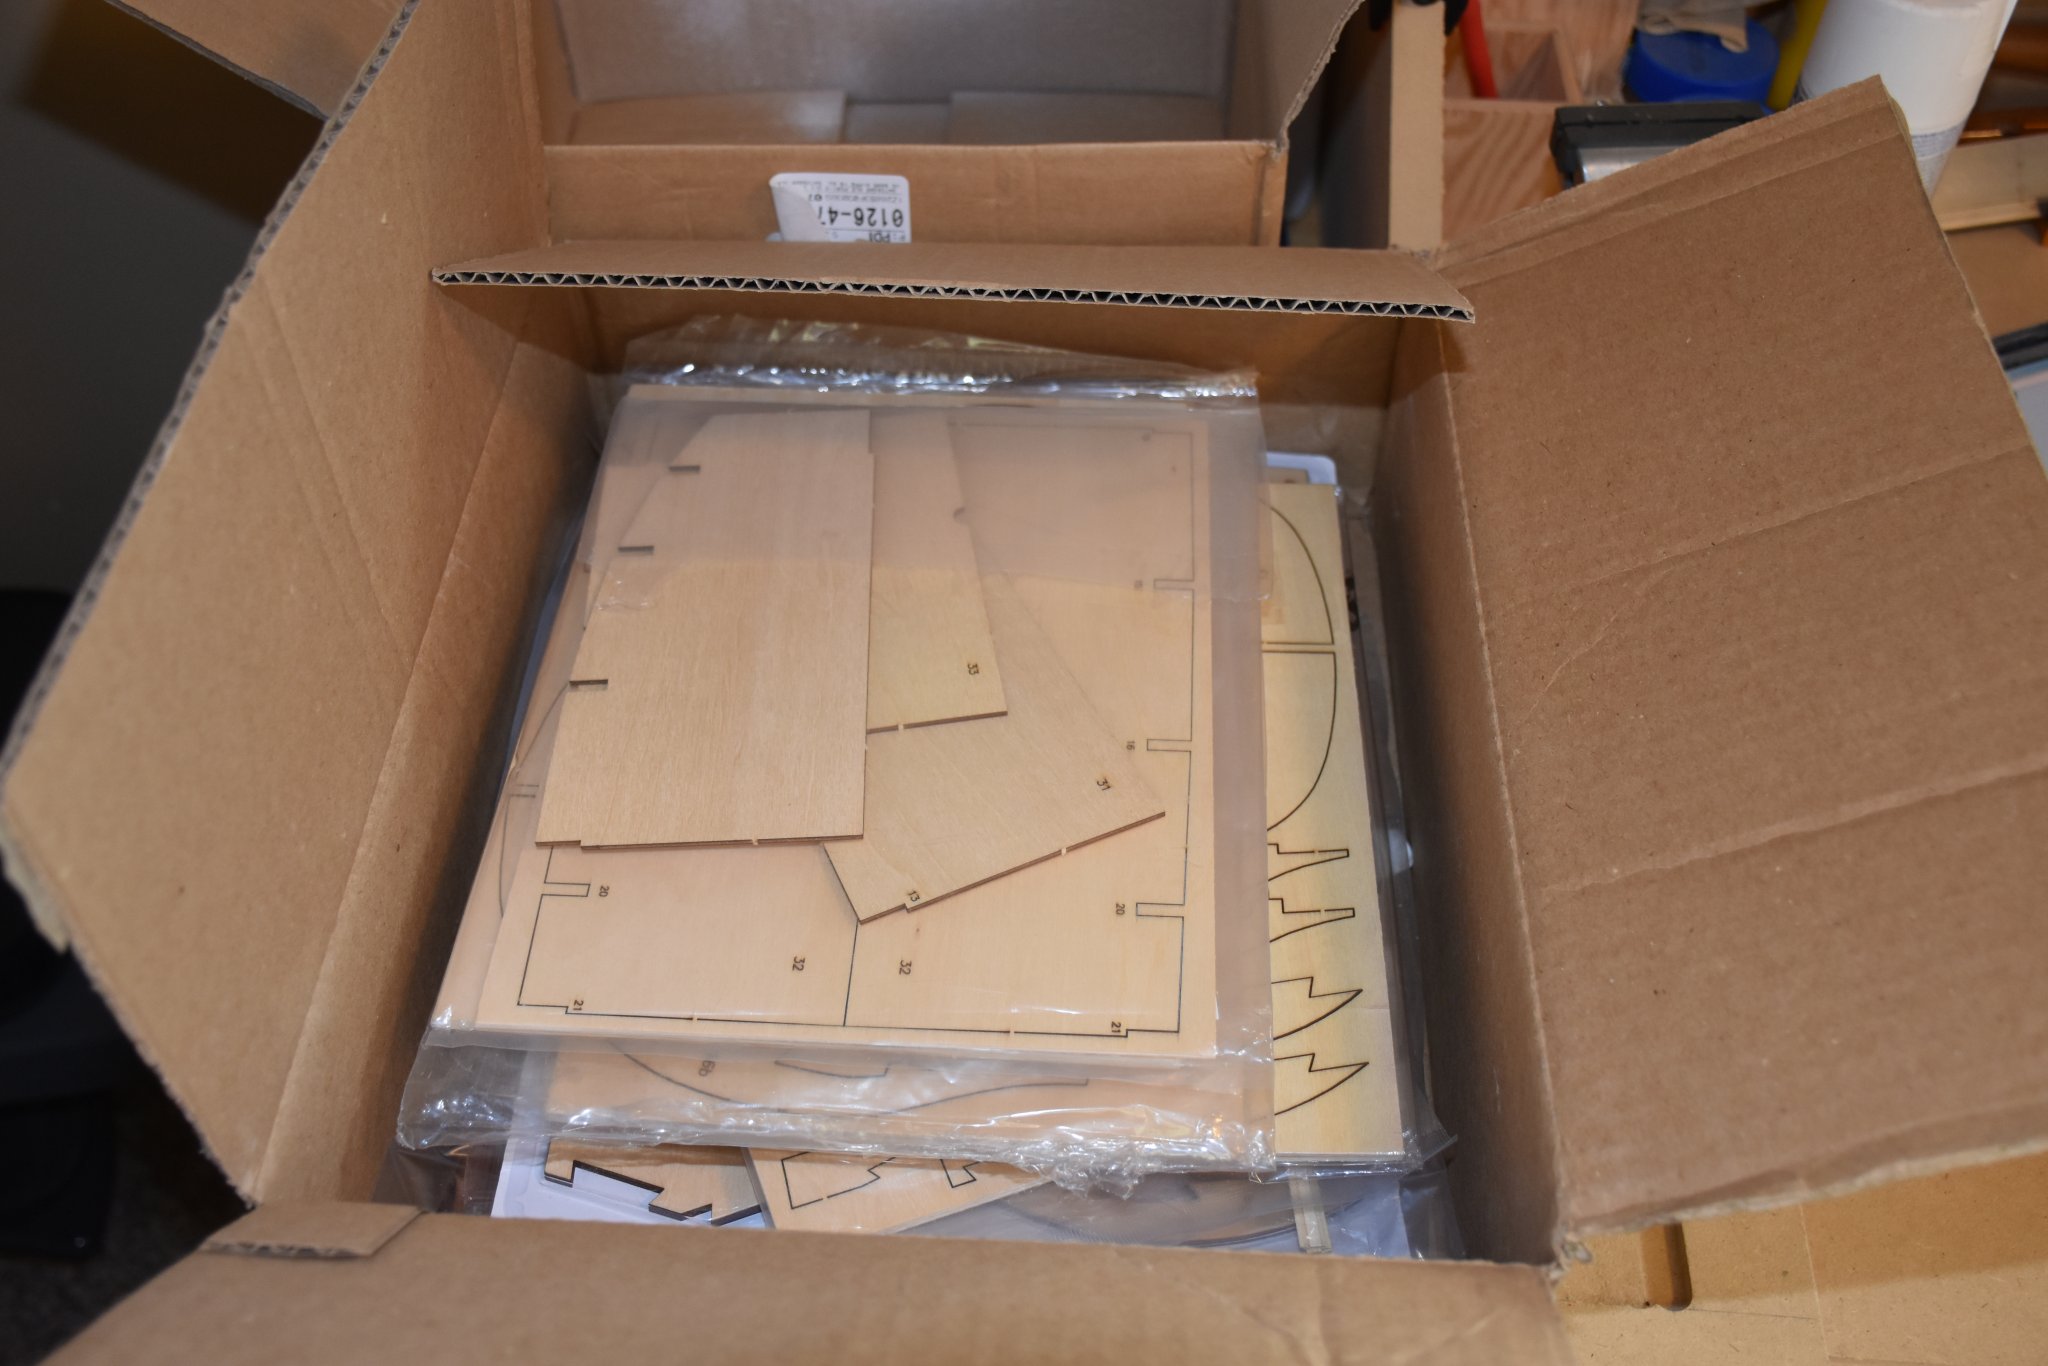
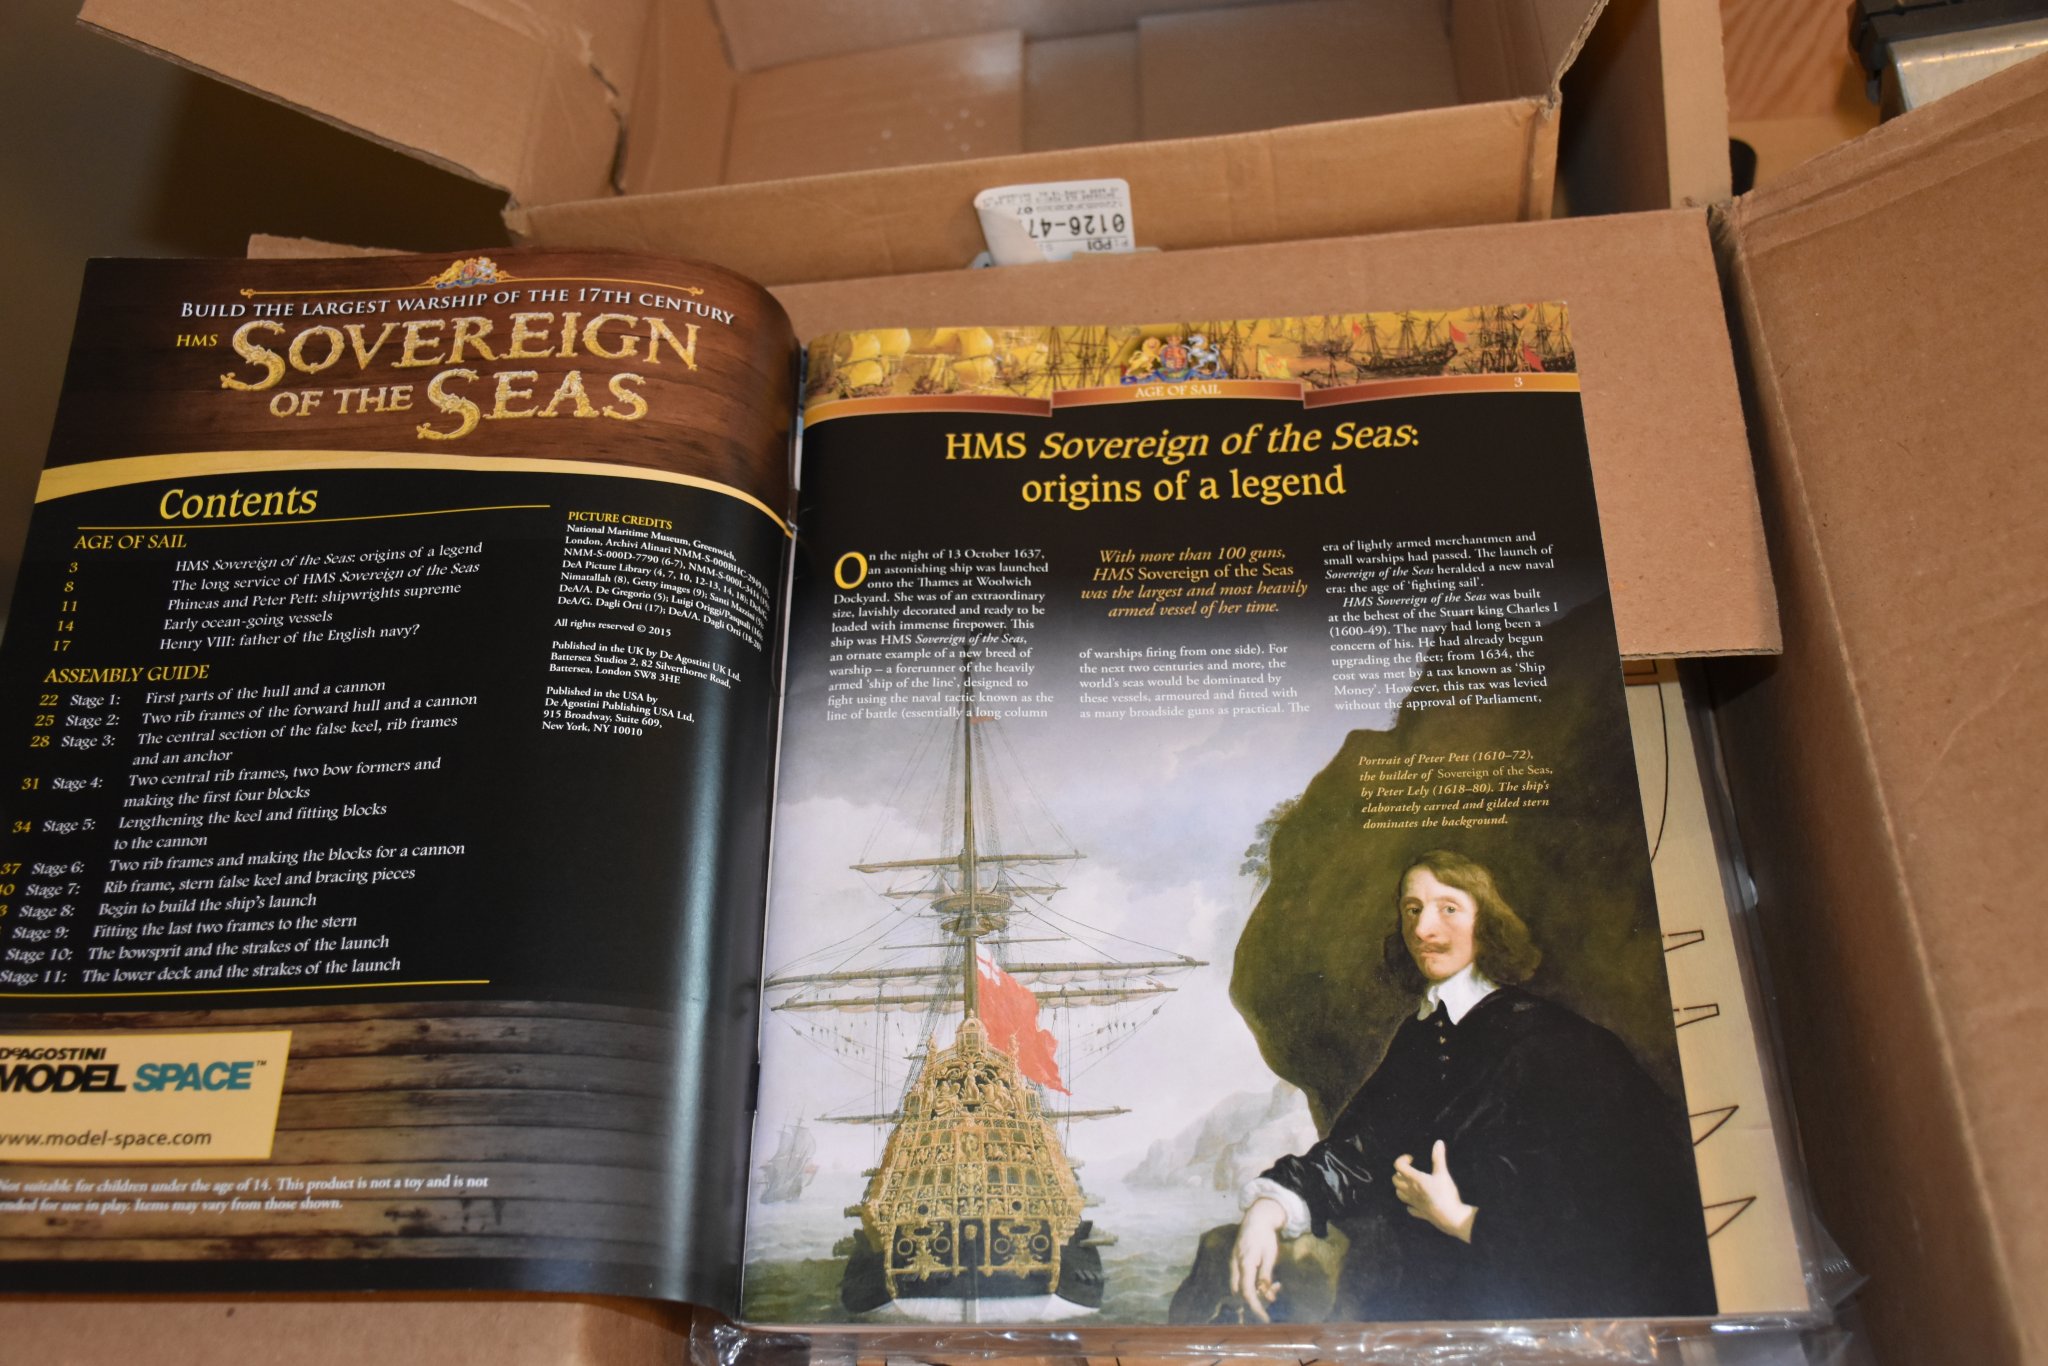
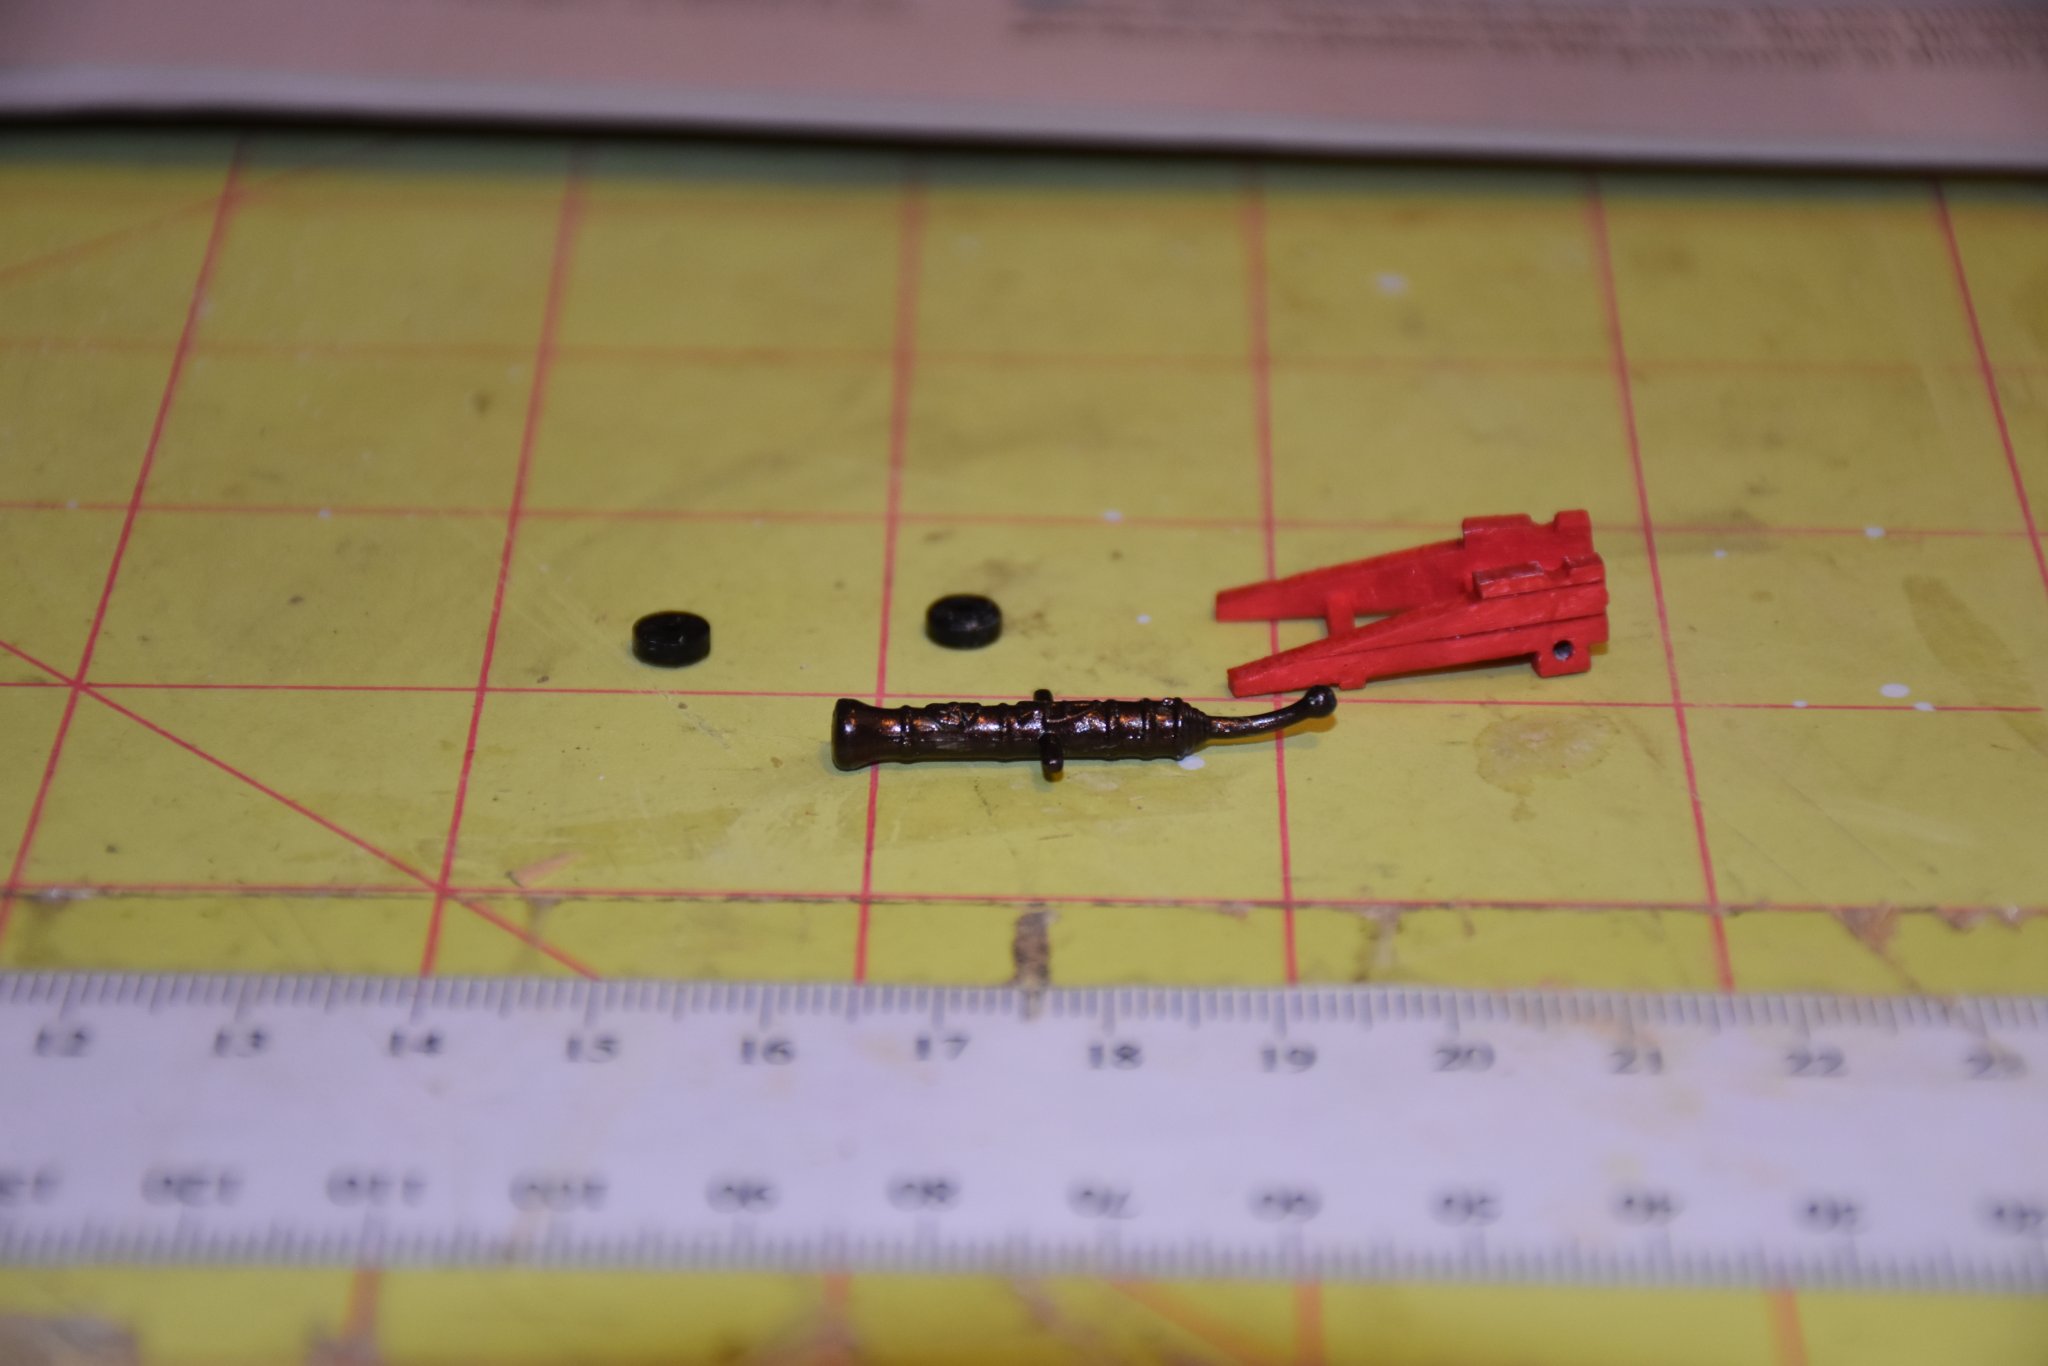
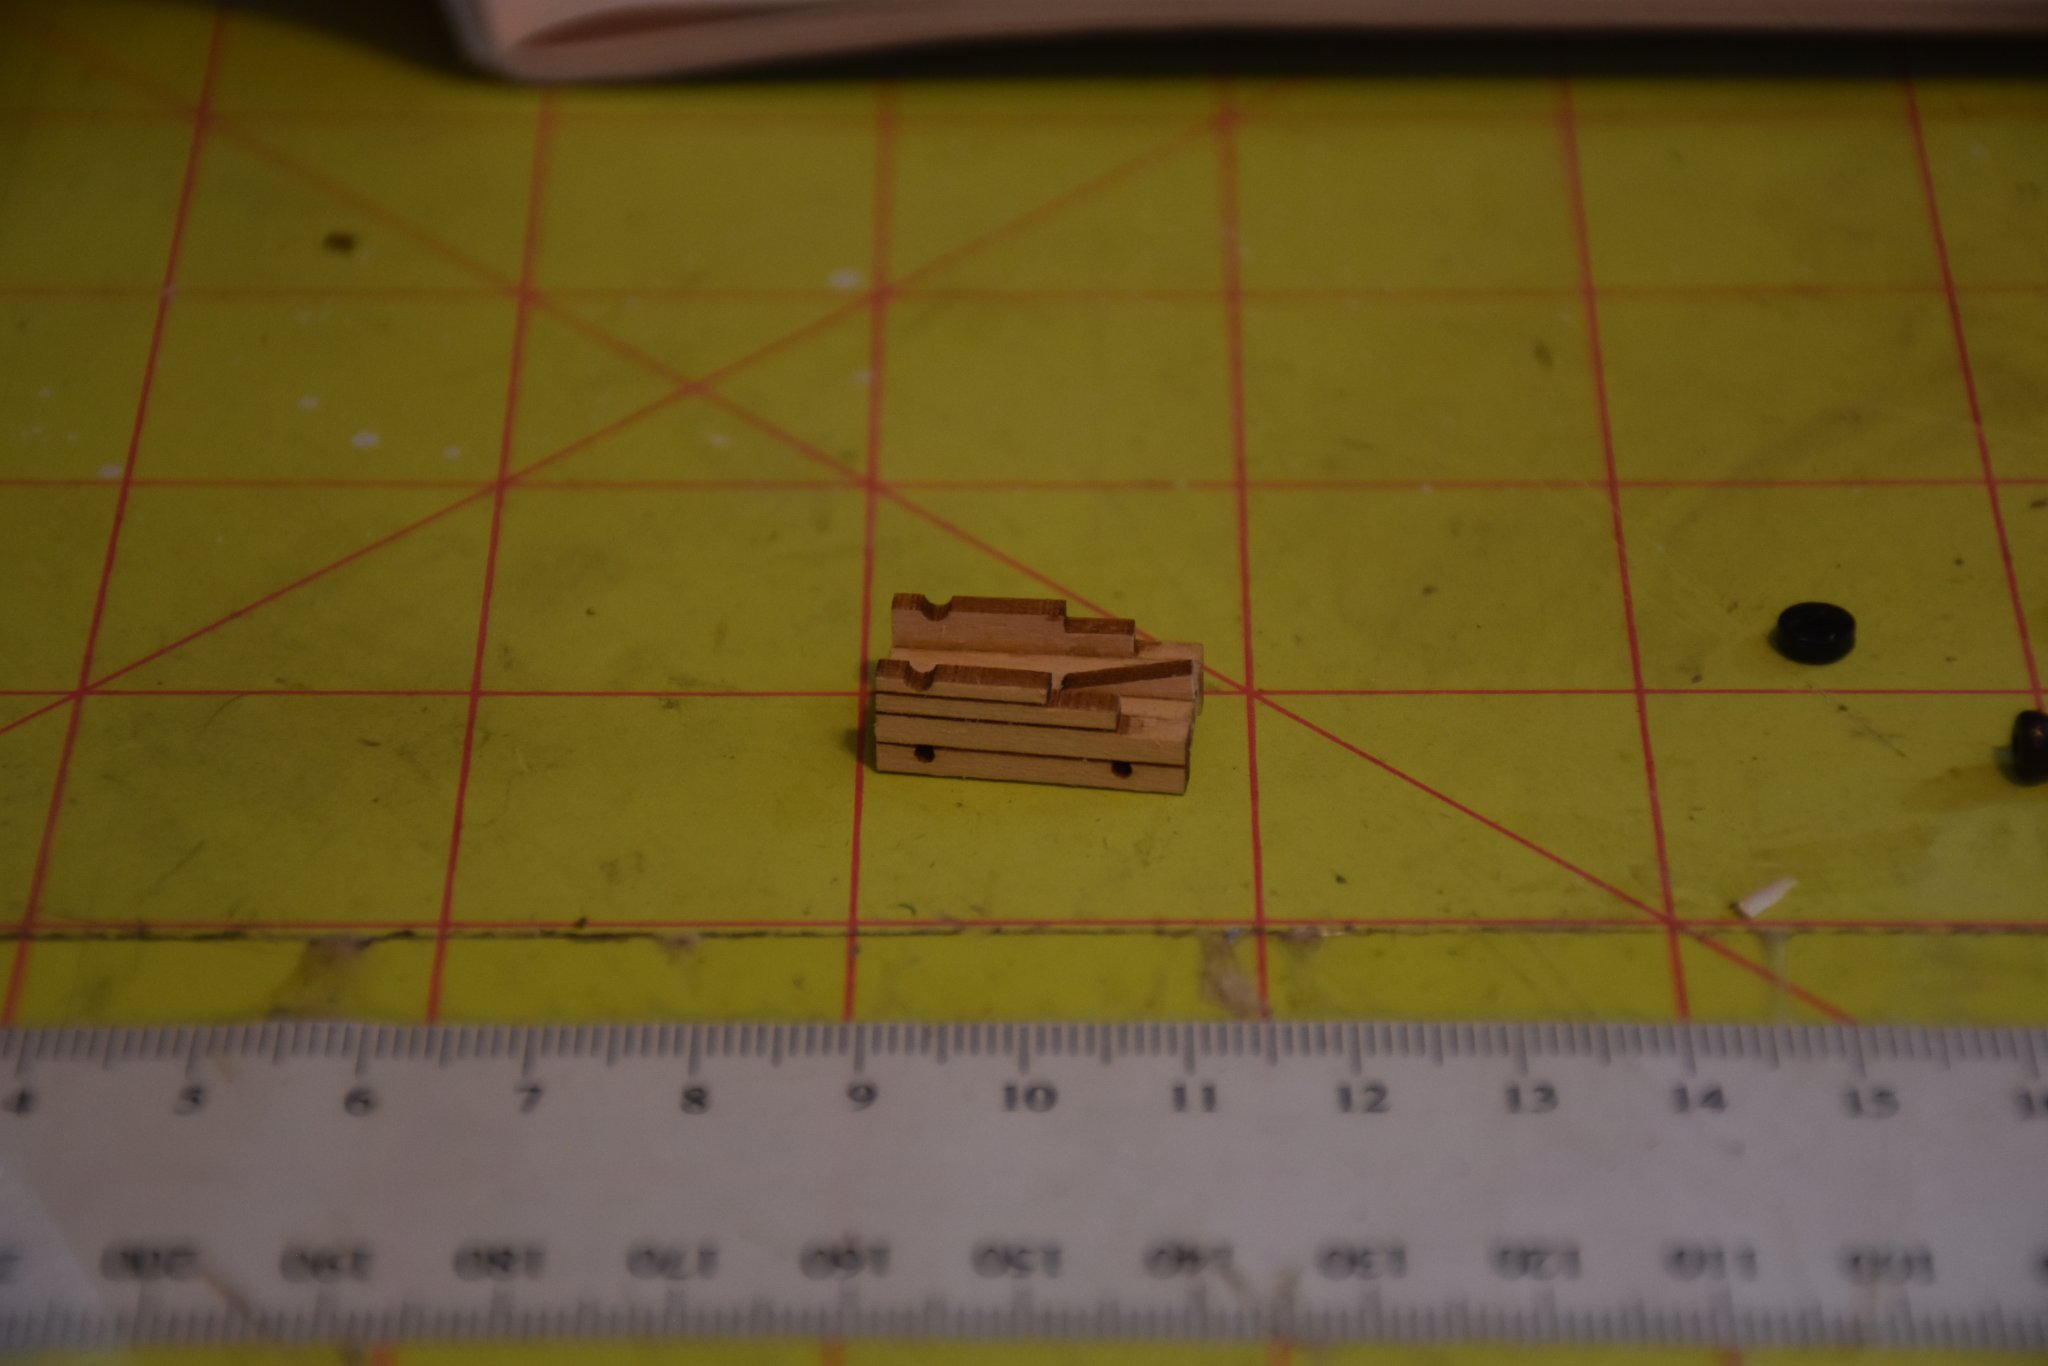
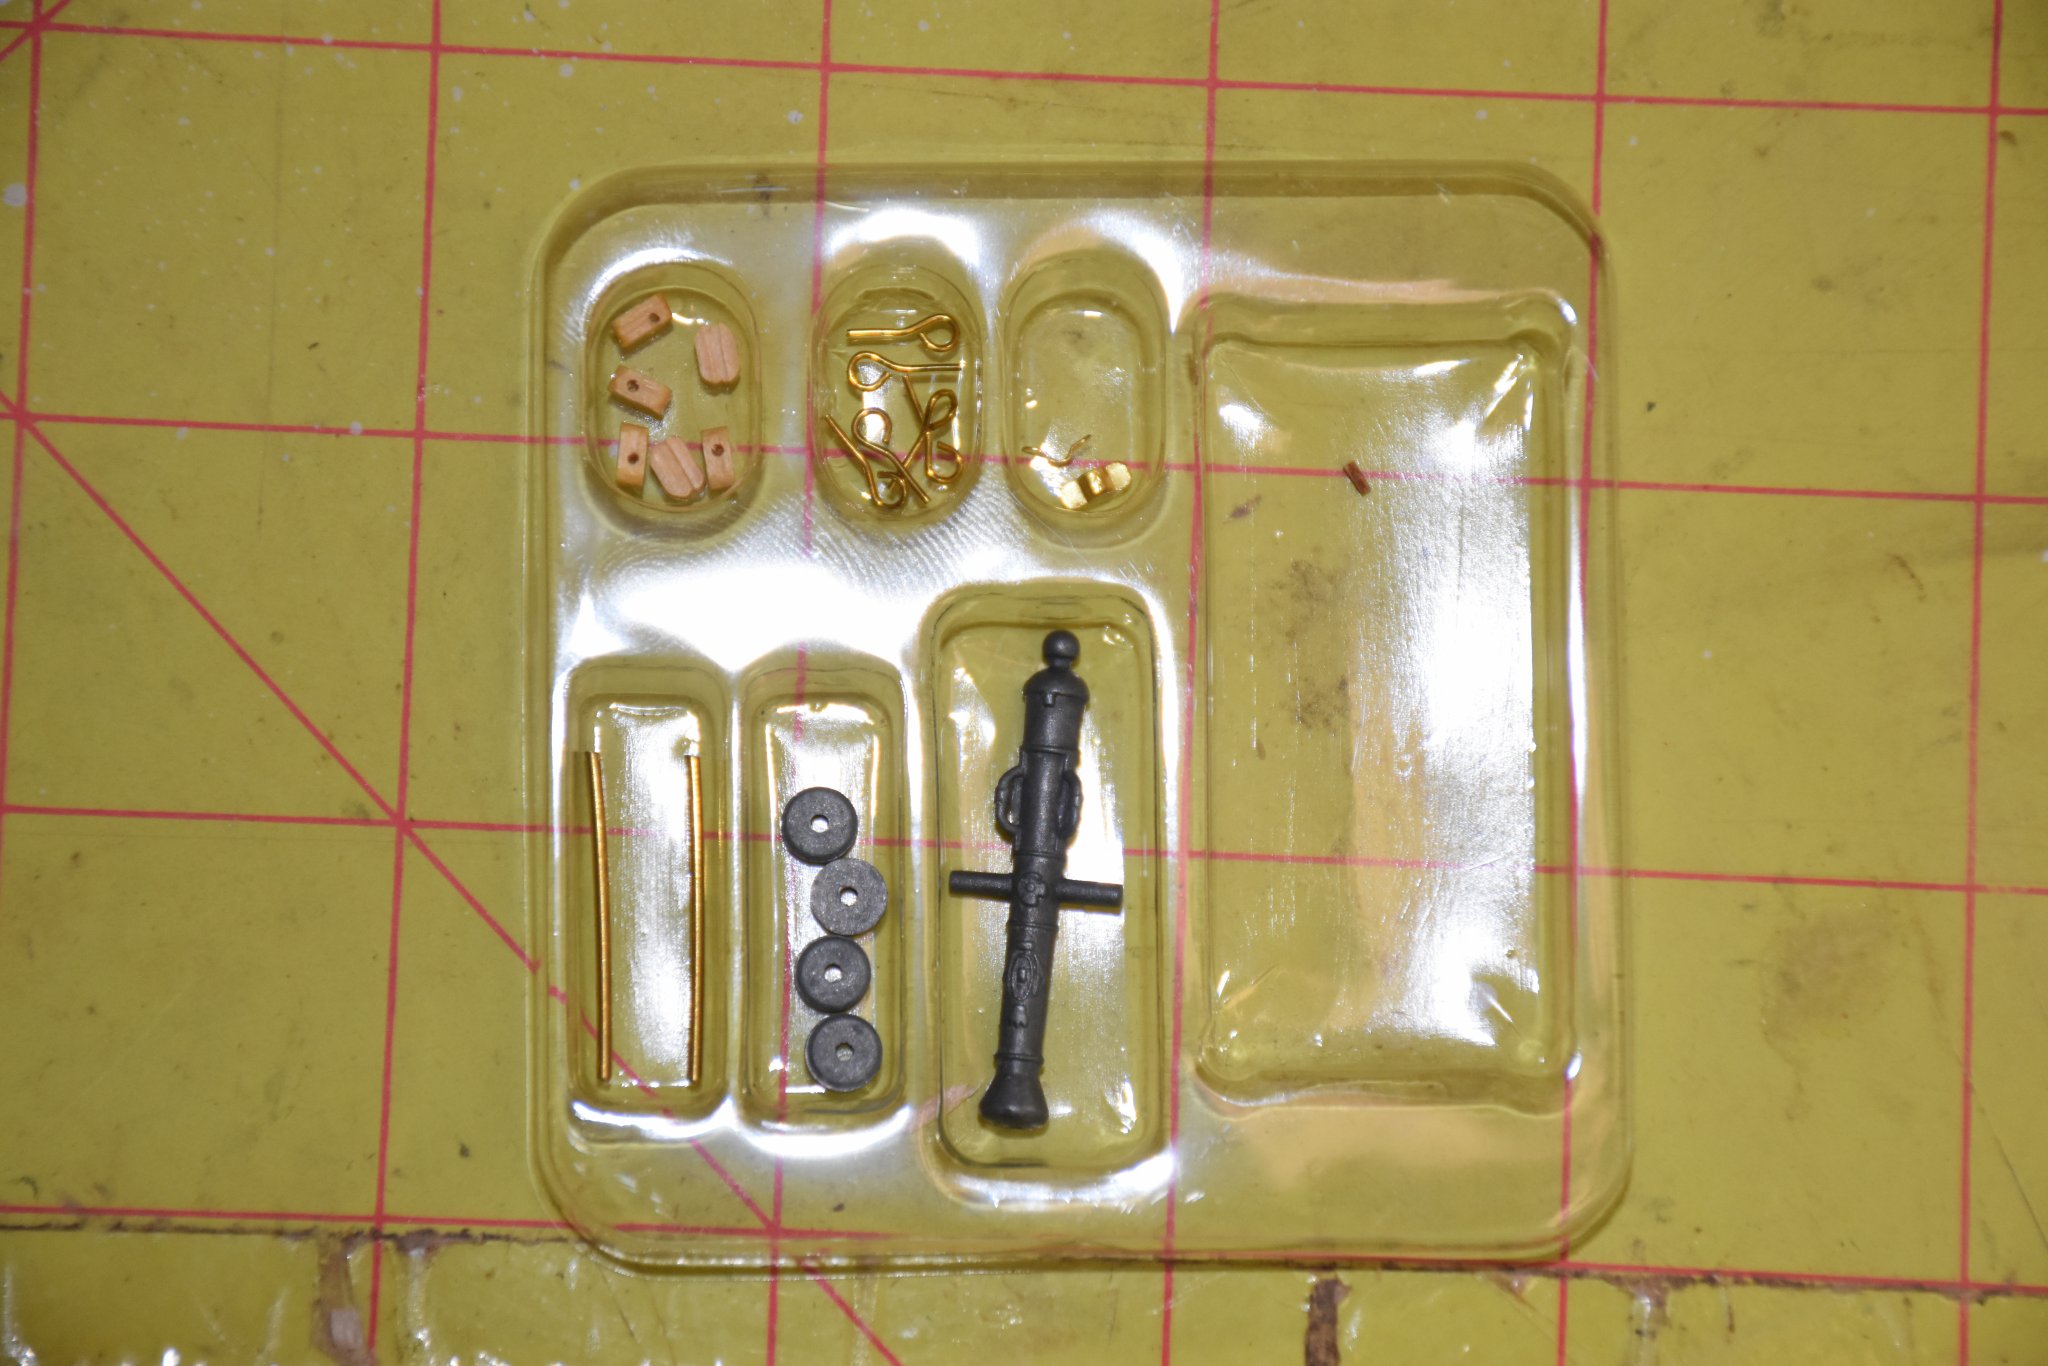
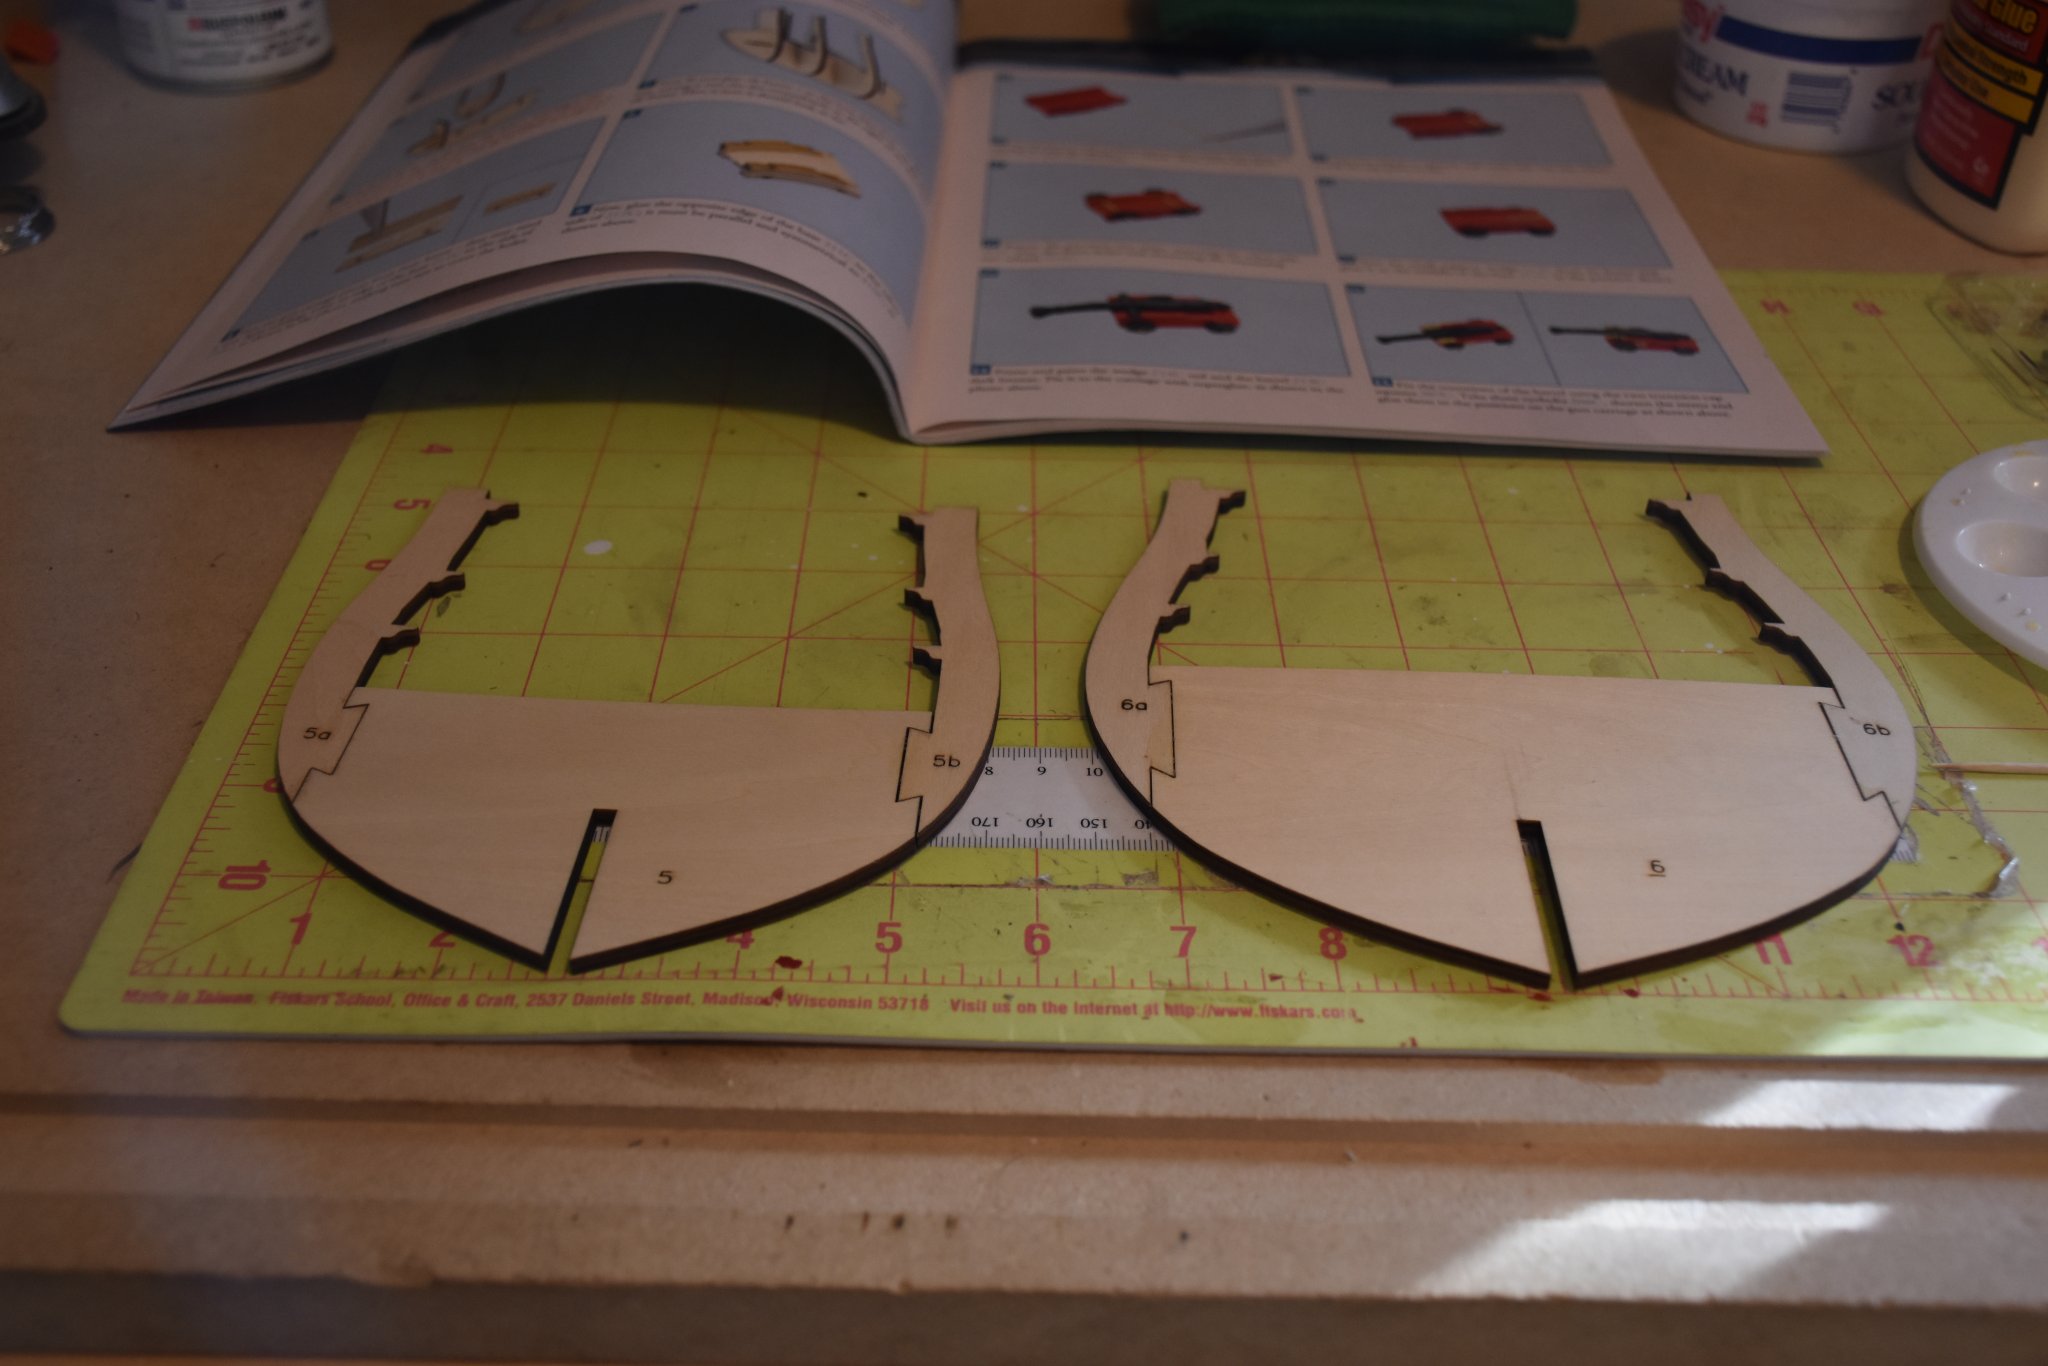
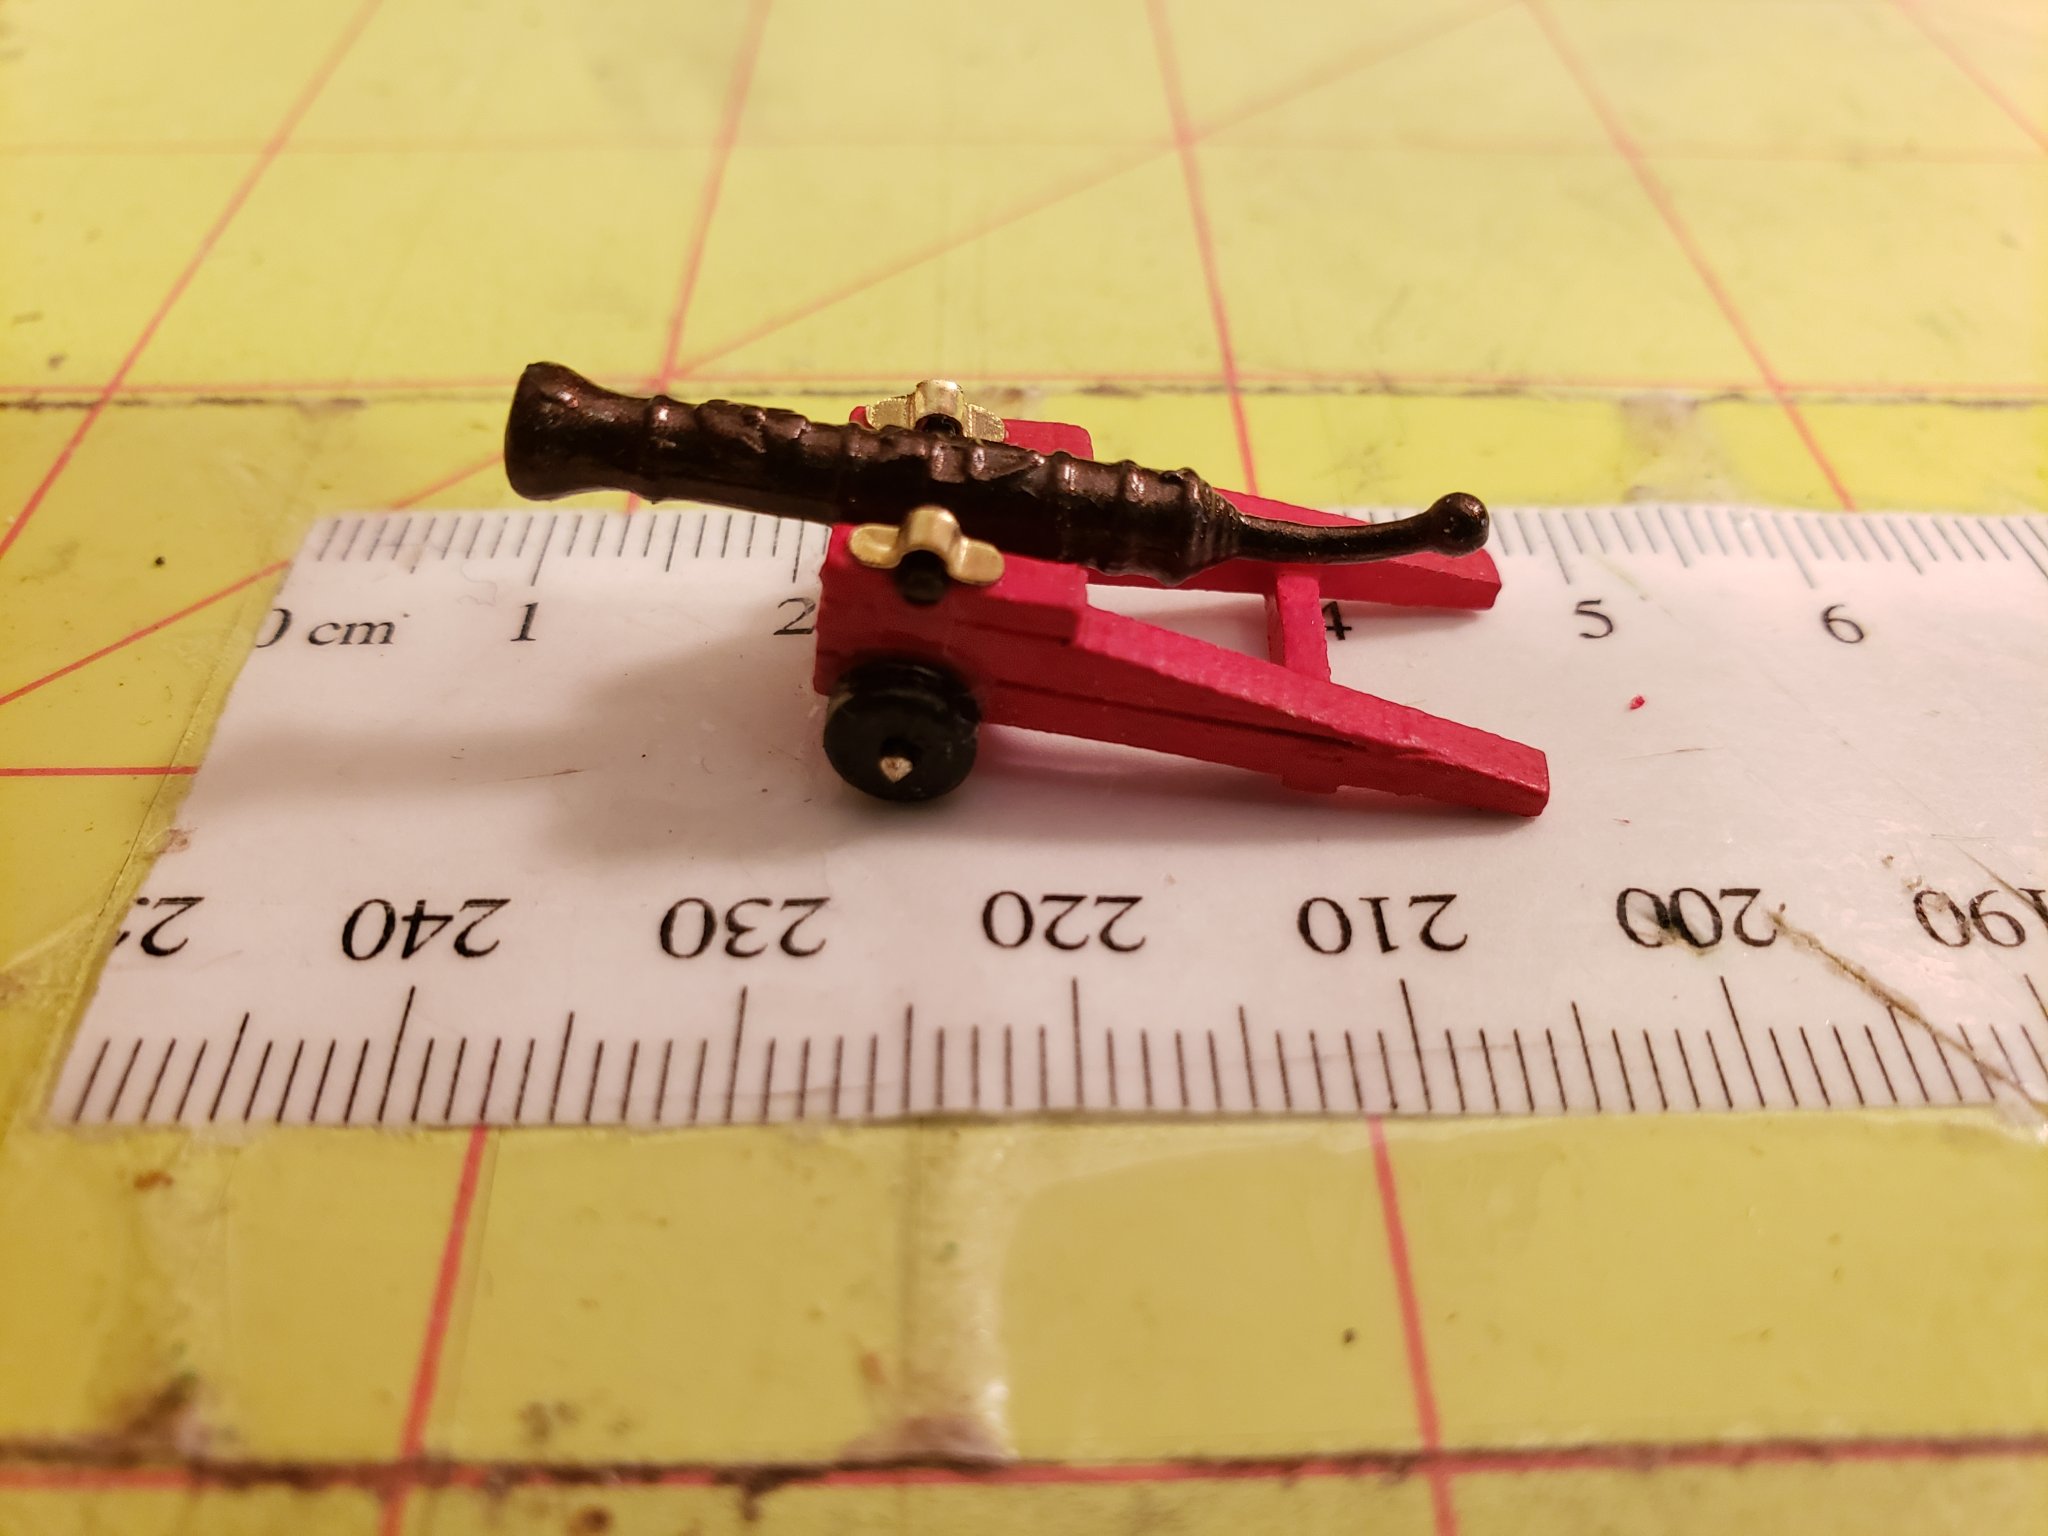
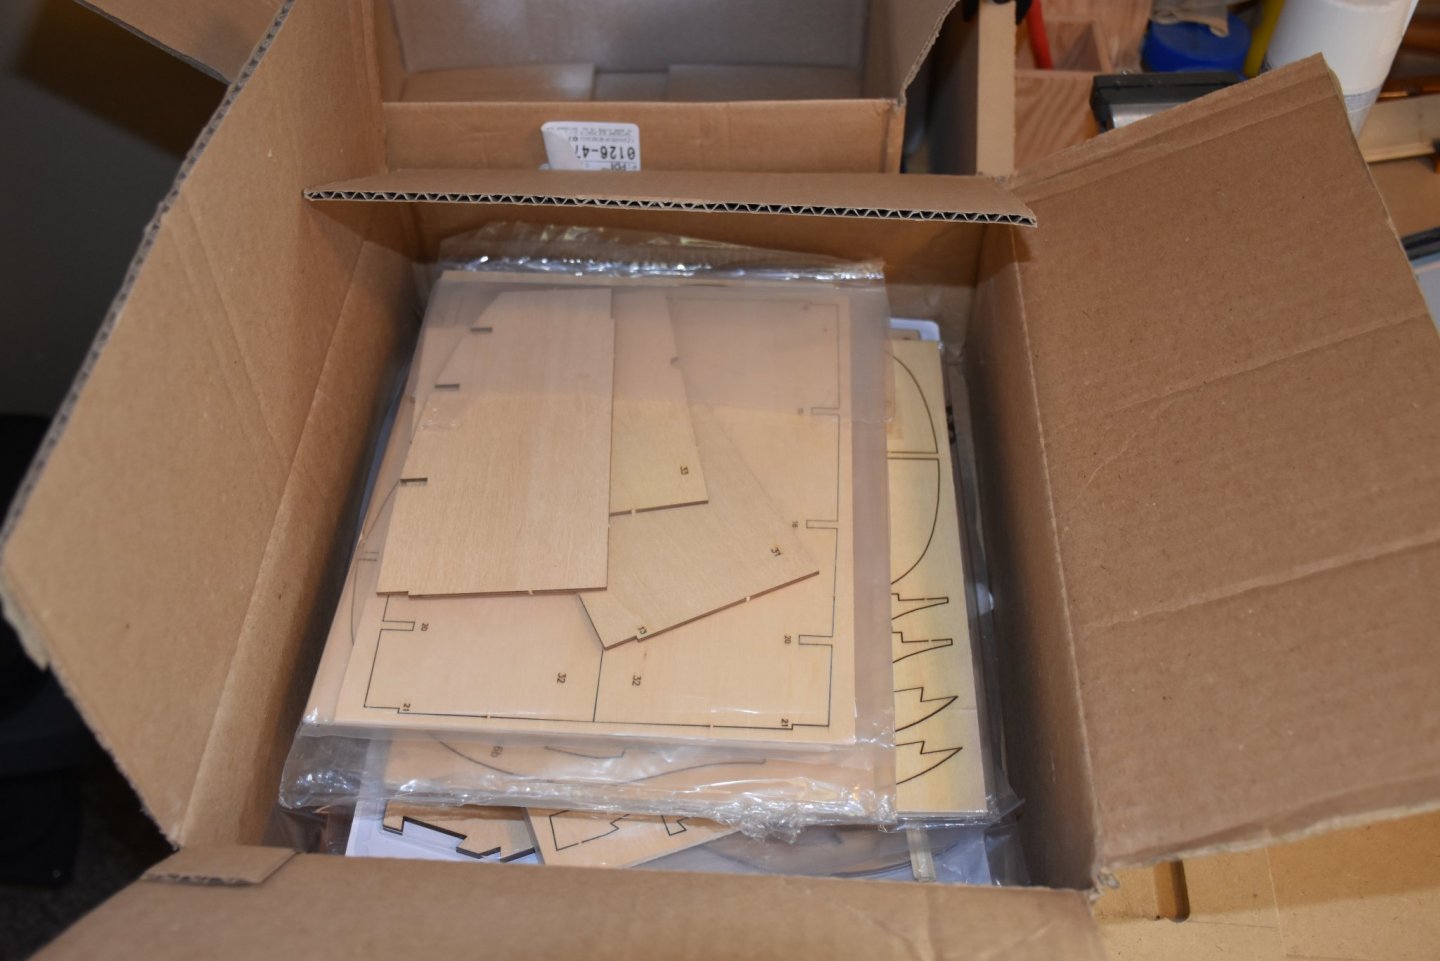
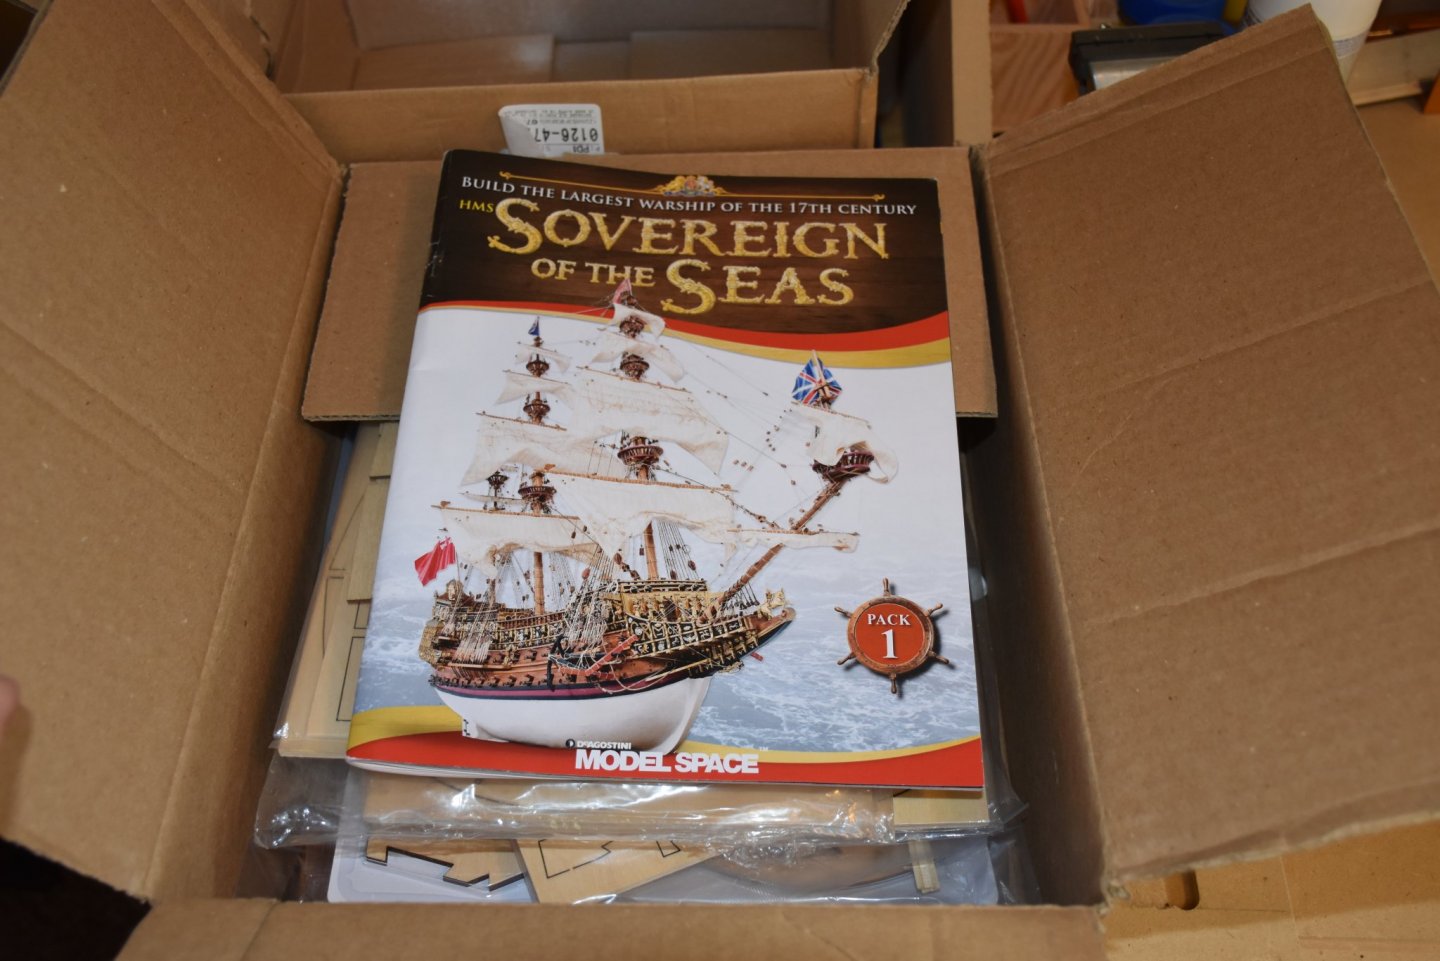
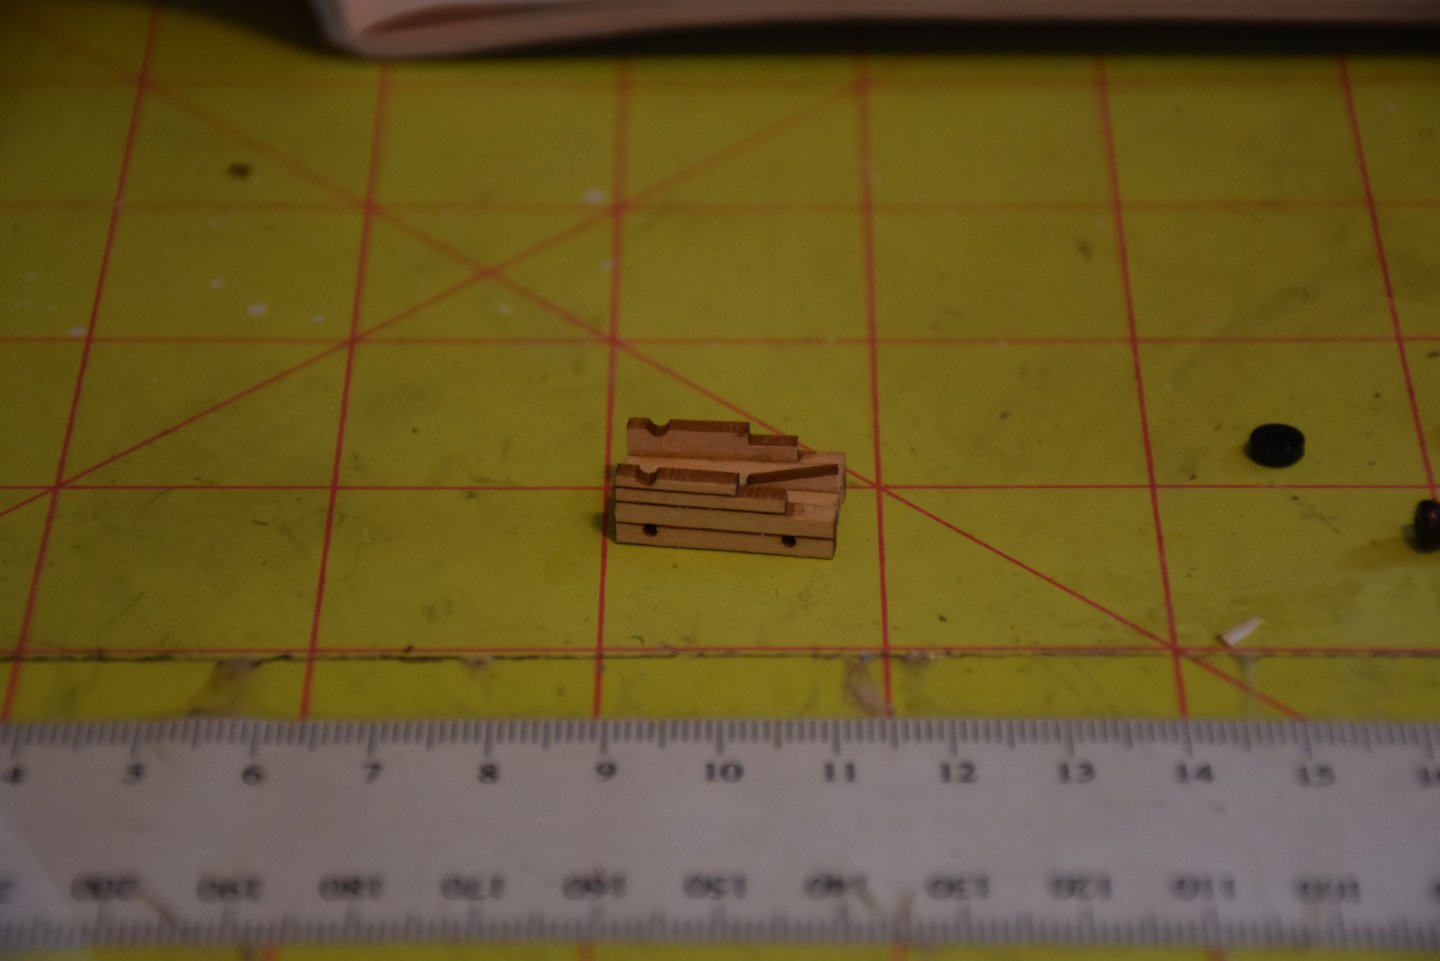
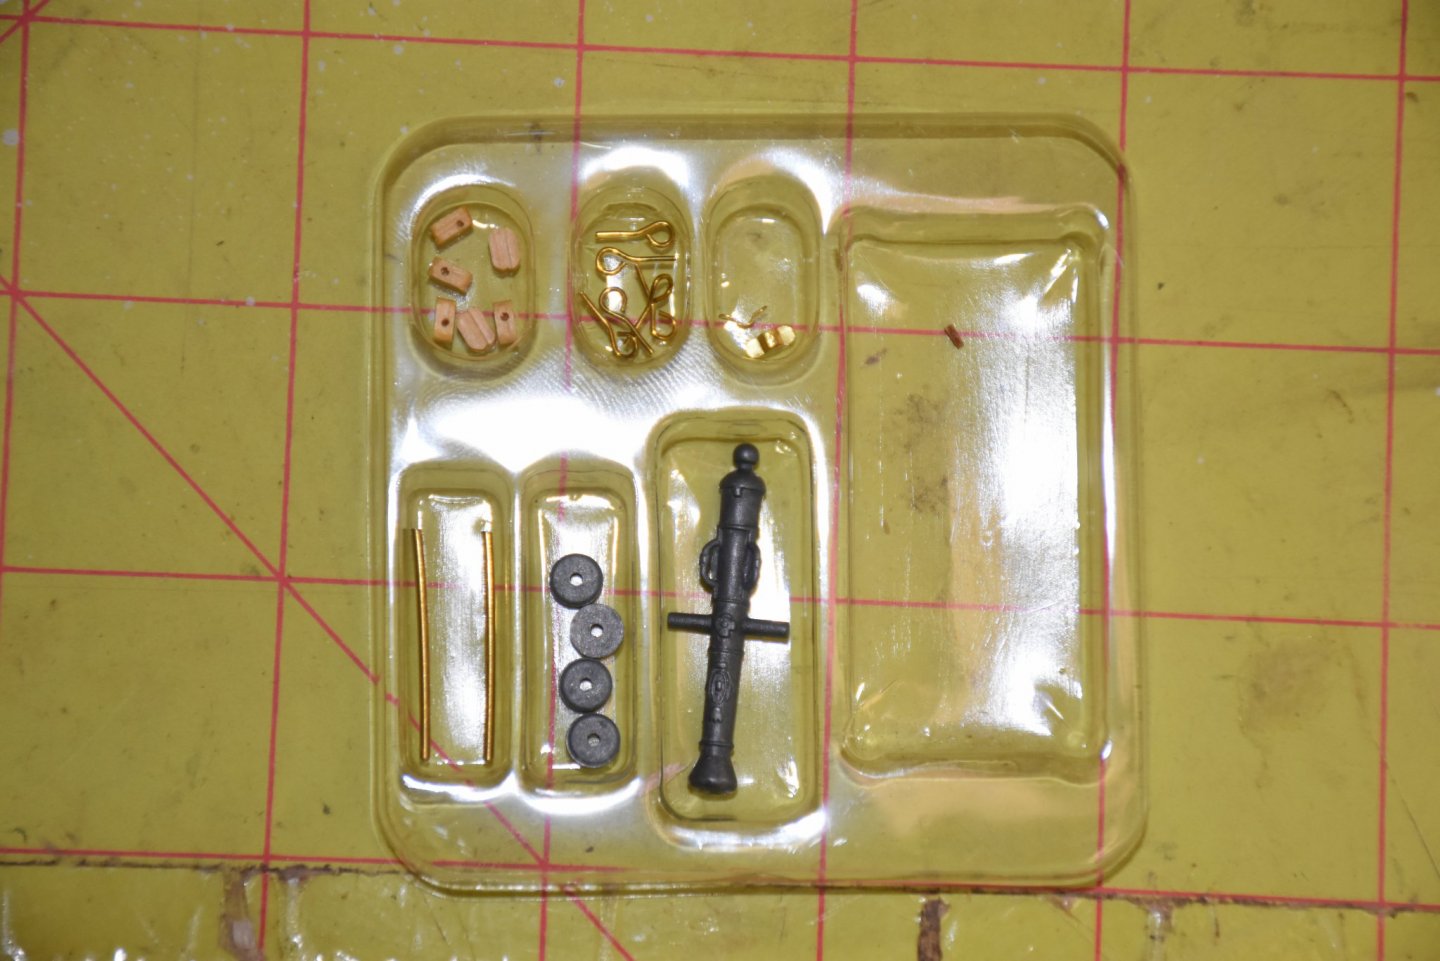
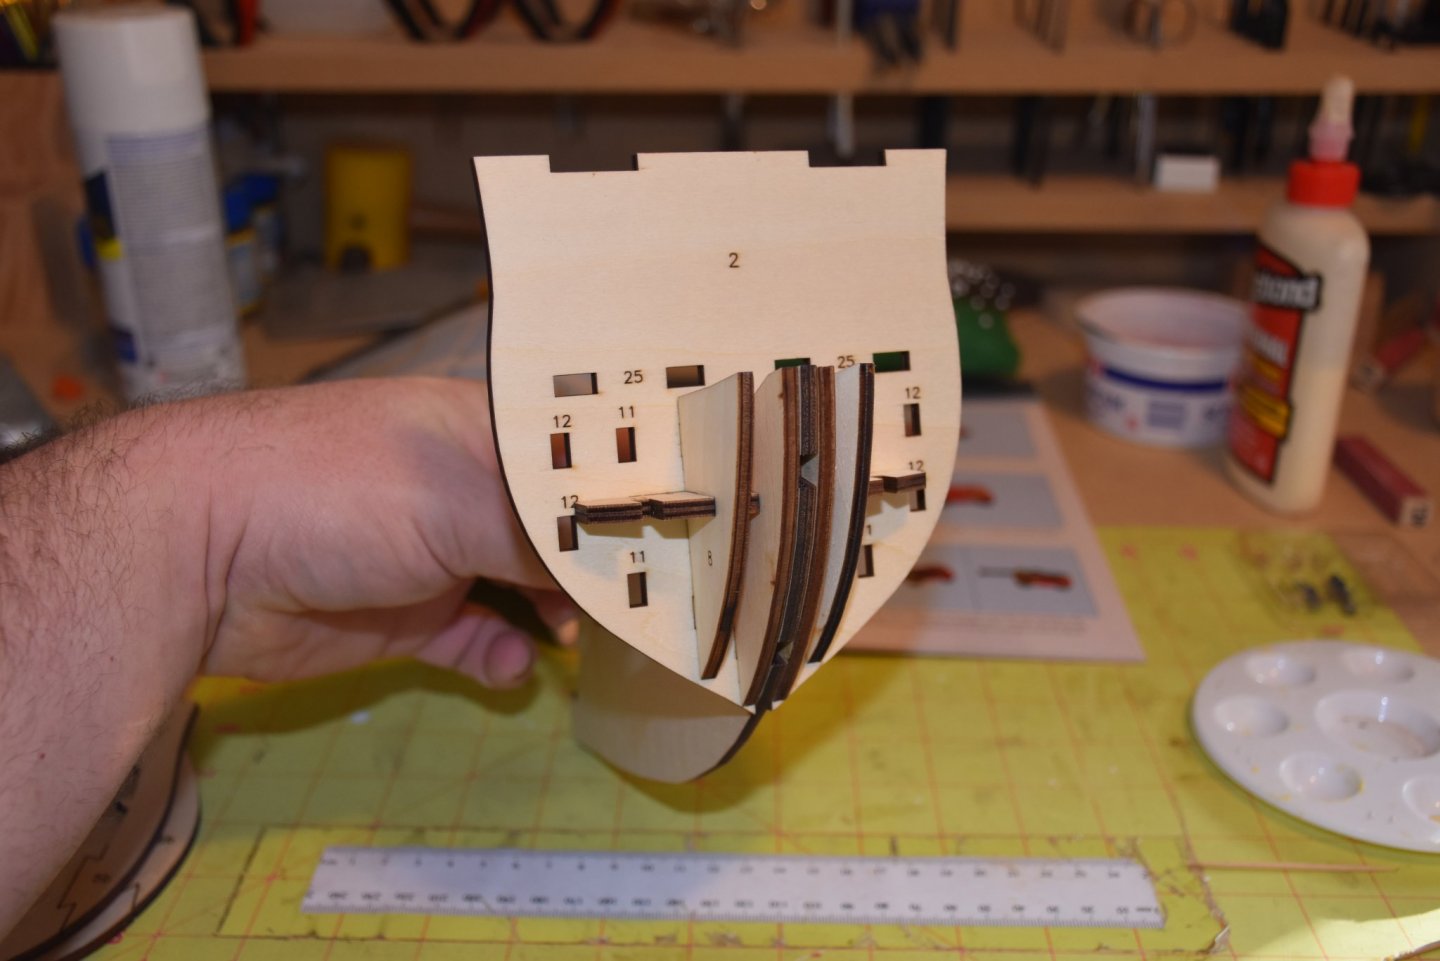
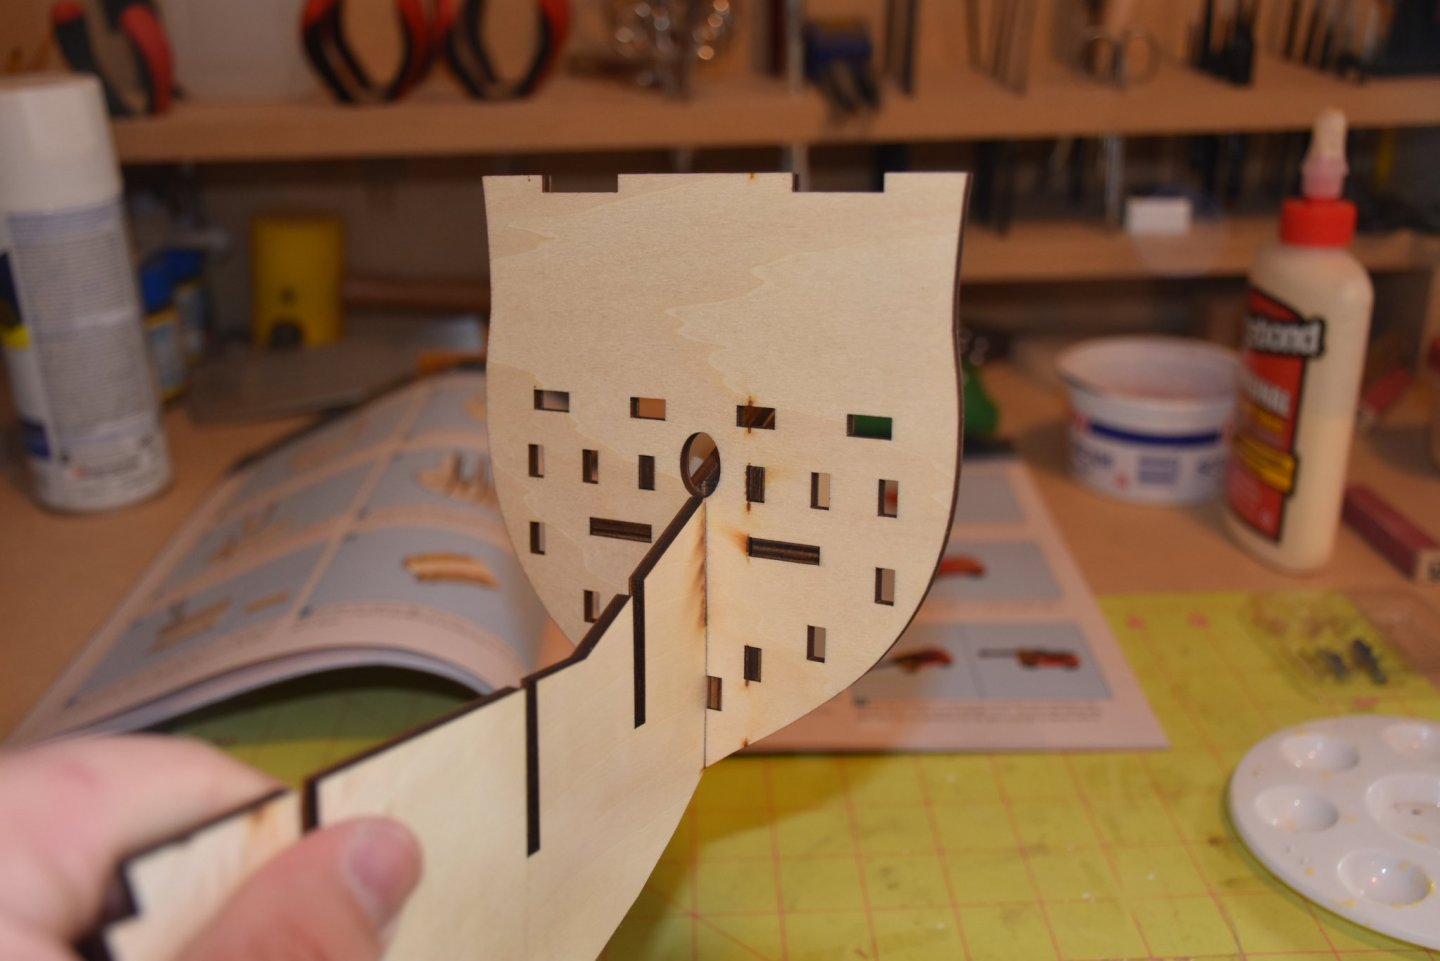
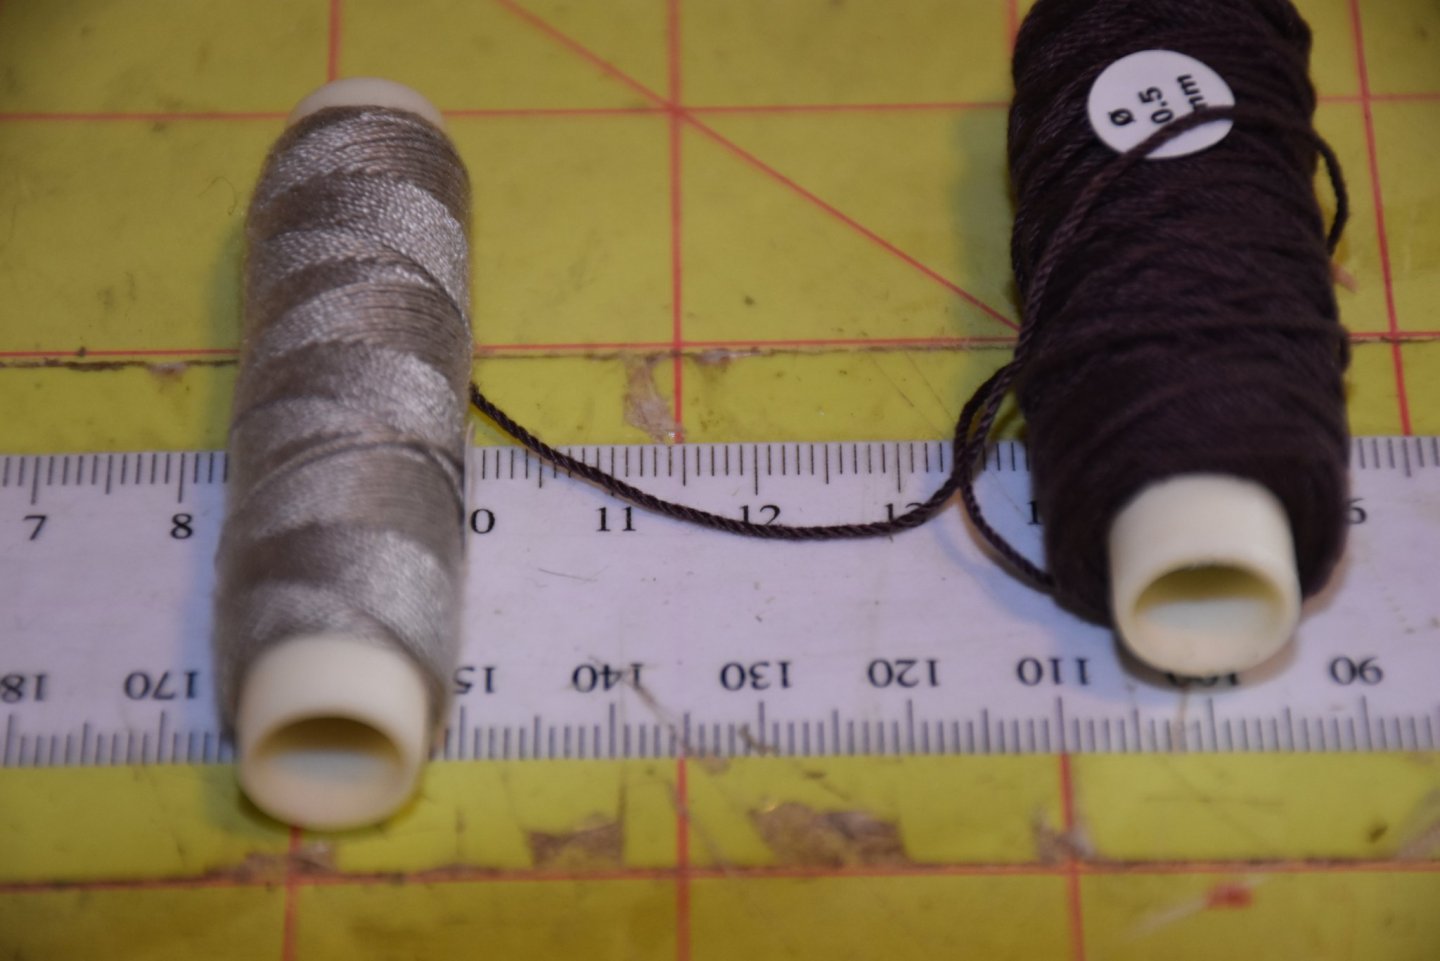
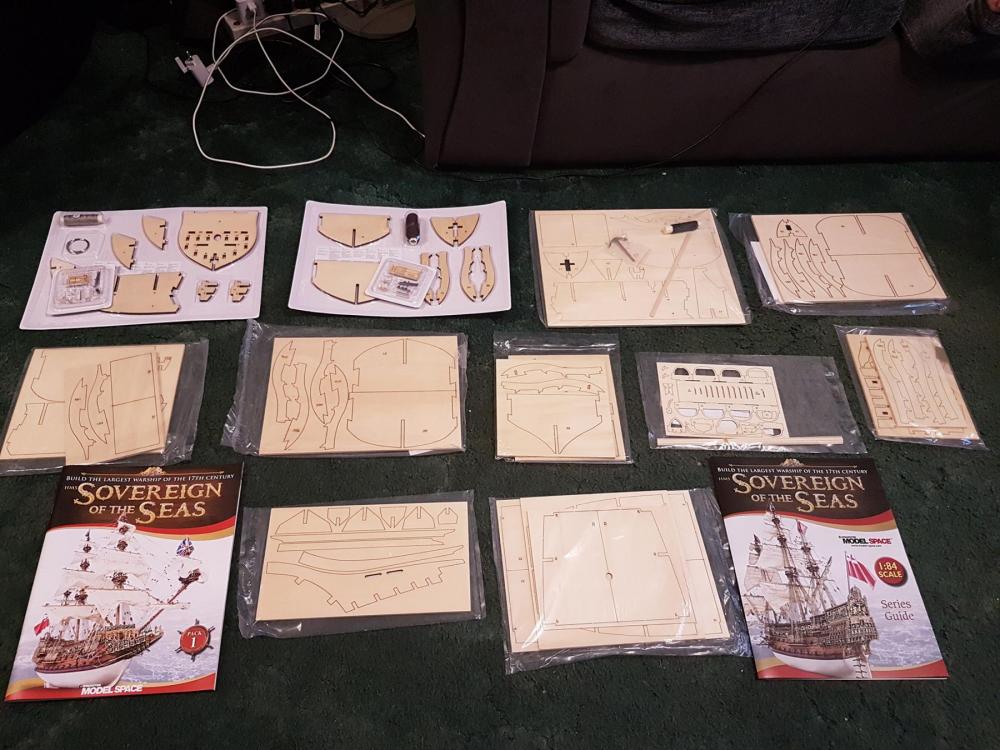
.thumb.jpg.63af0ca81bbc689f4f2bee1cdb4b7b78.jpg) This is the 12 month subscription model by DeAgostini from Model Space. It arrives in 12 separate packages spread over a year and each arrives with a color magazine with historical information about the ship and instructions. The packaging isn't anything special, just a normal cardboard box with various small bags and plastic packages of parts. At this point in time I have received the first two months. The first picture is the first month's supplies and the second is the second month deeper down in the same box for consolidation. Here is the cover and inside of the first months magazine. You can find these digitally on their website as well. I have to say I like the instructions and pictures, very well detailed and it might just make it possible for me to be successful with this ship at this stage of my experience. I will be bouncing back and forth between this and my Syren build, which also has great instructions. I just ordered some basswood blocks off Amazon and will get working on cutting them to size for my Syren when they get here. Here I have begun attaching various bow former supports and the first part of the false keel to the forward bulkhead. Here are the next two bulkheads assembled, but not yet attached. There is a step coming up that the instructions warn about a temporary jig setup to help hold the entire false keel and bulkheads upright and where these two bulkheads go is where that temporary jig sits. Each month comes with various small projects to break up the monotony of doing nothing but planking or making 100 cannons. Some projects are a longboat or cannons. This month includes the start of a longboat and 2 cannons. Here are the parts of the cannon assembly and the final assembly. Please let me know what you think of the bronze and red coloring. Some rope supplied this month. That's it for now. I am waiting on some paint to dry on the second cannon you see there. I will keep updating as I go along. So far I am very pleased with this kit and this 12 month program. It comes out to $20 more if you buy it monthly plus an additional $10 per month for shipping, so the price difference isn't much. It makes these $1000+ ships more affordable for some, and I don't mind the extra in shipping.
This is the 12 month subscription model by DeAgostini from Model Space. It arrives in 12 separate packages spread over a year and each arrives with a color magazine with historical information about the ship and instructions. The packaging isn't anything special, just a normal cardboard box with various small bags and plastic packages of parts. At this point in time I have received the first two months. The first picture is the first month's supplies and the second is the second month deeper down in the same box for consolidation. Here is the cover and inside of the first months magazine. You can find these digitally on their website as well. I have to say I like the instructions and pictures, very well detailed and it might just make it possible for me to be successful with this ship at this stage of my experience. I will be bouncing back and forth between this and my Syren build, which also has great instructions. I just ordered some basswood blocks off Amazon and will get working on cutting them to size for my Syren when they get here. Here I have begun attaching various bow former supports and the first part of the false keel to the forward bulkhead. Here are the next two bulkheads assembled, but not yet attached. There is a step coming up that the instructions warn about a temporary jig setup to help hold the entire false keel and bulkheads upright and where these two bulkheads go is where that temporary jig sits. Each month comes with various small projects to break up the monotony of doing nothing but planking or making 100 cannons. Some projects are a longboat or cannons. This month includes the start of a longboat and 2 cannons. Here are the parts of the cannon assembly and the final assembly. Please let me know what you think of the bronze and red coloring. Some rope supplied this month. That's it for now. I am waiting on some paint to dry on the second cannon you see there. I will keep updating as I go along. So far I am very pleased with this kit and this 12 month program. It comes out to $20 more if you buy it monthly plus an additional $10 per month for shipping, so the price difference isn't much. It makes these $1000+ ships more affordable for some, and I don't mind the extra in shipping.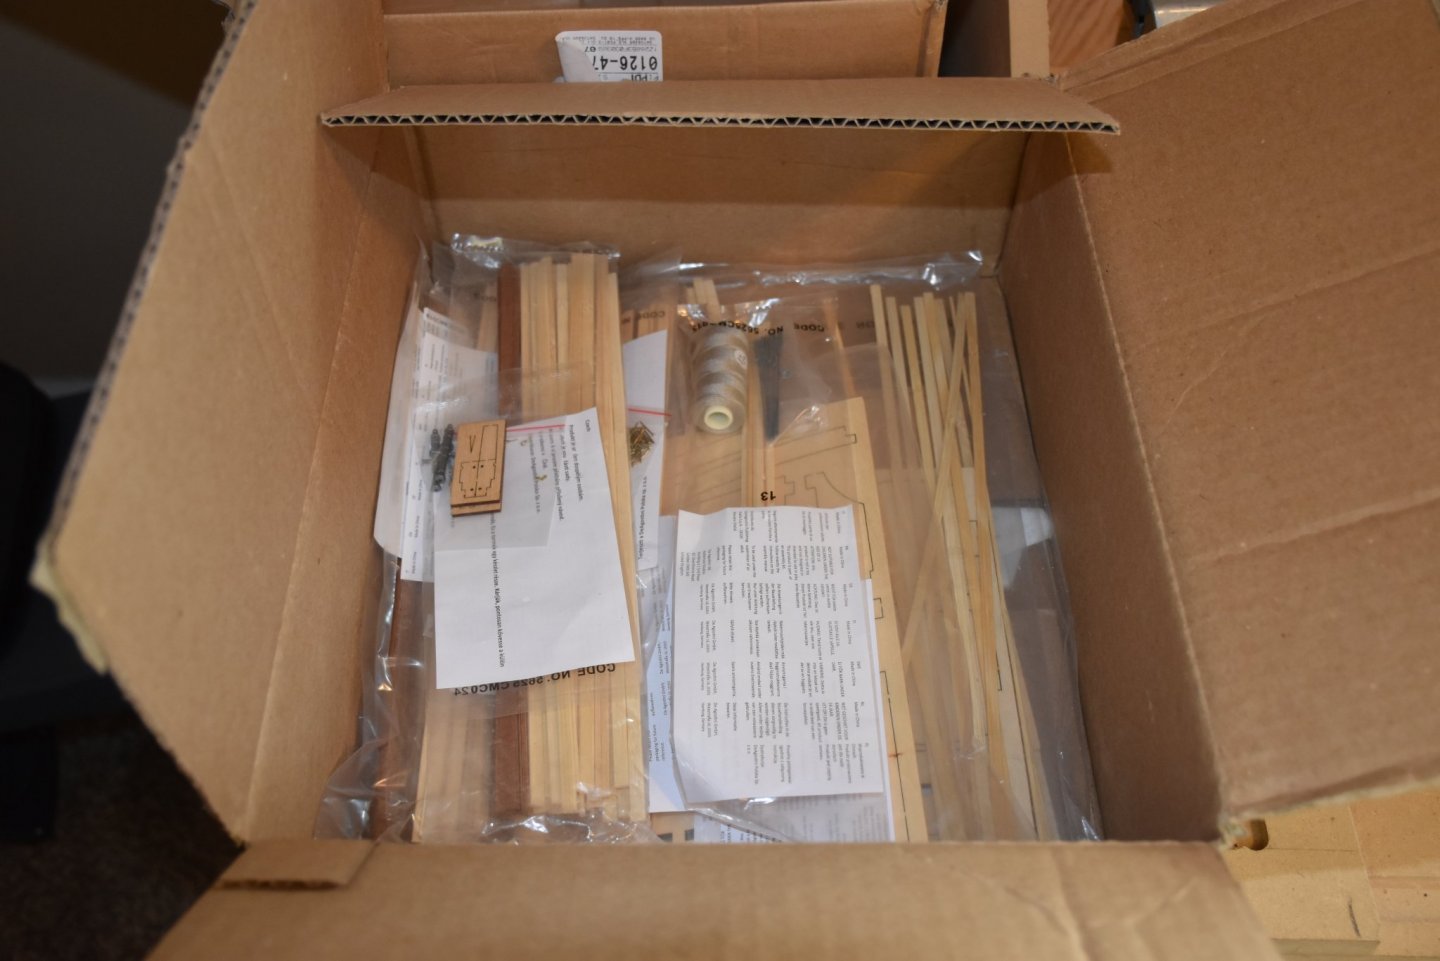


-
 The Sovereign of the Seas Build Log
 -
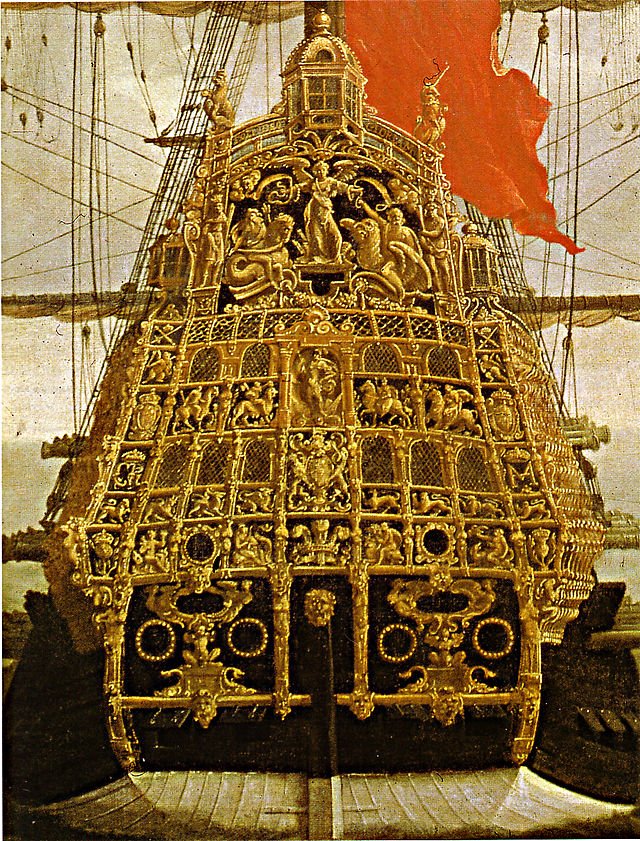
 Good day folks, Well, what can be said other than that it is so sad that all the beautiful input has been lost from this site. There were so many wonderful models and a wealth of information for all to share. Now is the time for us all to rebuild the site together. Today I will just post a photo of the stern of the Sovereign as she sits today while I consider if it is possible to revive the log as it previously was. More to folllow........... Regards, Bill
- 382 replies
-
- 17
-
-
- sovereign of the seas
- carving
- (and 1 more)
-
 Well here goes my first attempt at a build log. I've built a few wood models before this, but this is my first major build. I like the idea of a subscription option. It makes it possible for me to do a high end kit such as the Sovereign. As I go along there will be some changes made. I like the look of the unpainted wood on the sides of the ( bulwarks)? Of the poster that they send with the first issue. I will also add the triangle deadeyes as seen on the poster. I read somewhere that that ship is not the actual model that I will build, but that is ok with me. Watching the builds of so many others opens up my imagination to do more than just build right out of the box. I've already dipped my foot in the water with scratch building before. I was a member of IPMS back in my plastic days. Then I received my first wooden ship. The Blunose. Much fun and the start of a whole new experience. As I read the builds of others I'm pleased to be apart of the family. Thanks
- 37 replies
-
- 11
-
-
- sovereign of the seas
- model space
- (and 1 more)
-
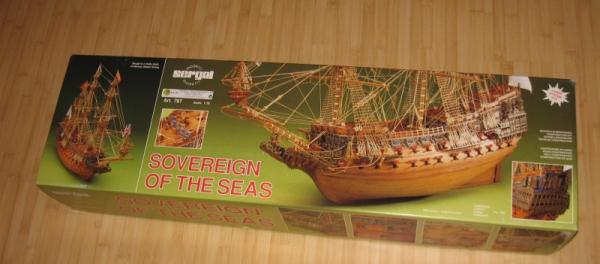
 Finaly , a Dream start to become true Sovereign of the Seas, arrived The firs pictures from the unboxing Took out from the delivery box: Start to take out:
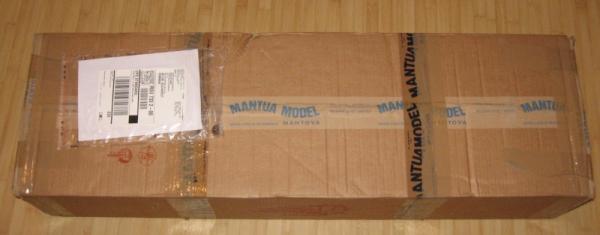

-
 Hi , This is my first attempt to show my progress on the forum. Excuse me if it is a little grey. First off I am delighted with the kit supplied by De Agostini in magazine form although it is a bit annoying that we must wait for the monthly delivery. I have built thee RED BARON in the same manner and it came out pretty good. The SOS is the first undertaking of this scale and I have built two previous wooden kits: One from Holand and it was a BOTTER boat and the other is the PORT JACKSON supplied by Modellers Shipyard. I would like at this stage to sincerely thank Fifthace and Tomick at this stage for the advice on many aspects of the build, I have certainly become the wiser after reading their notes and photo's I am posting the photos of the work I have carried out so far on the SOS for any comments or suggestions. Till the next post, Snoepert
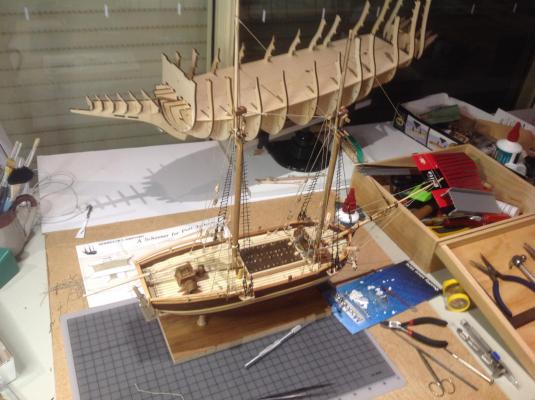


-
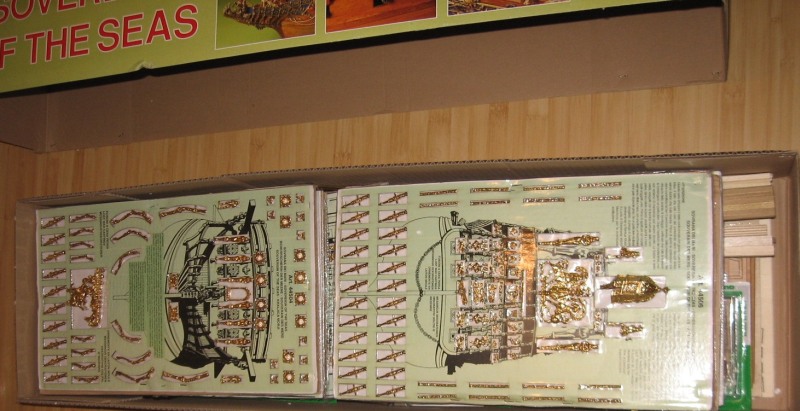
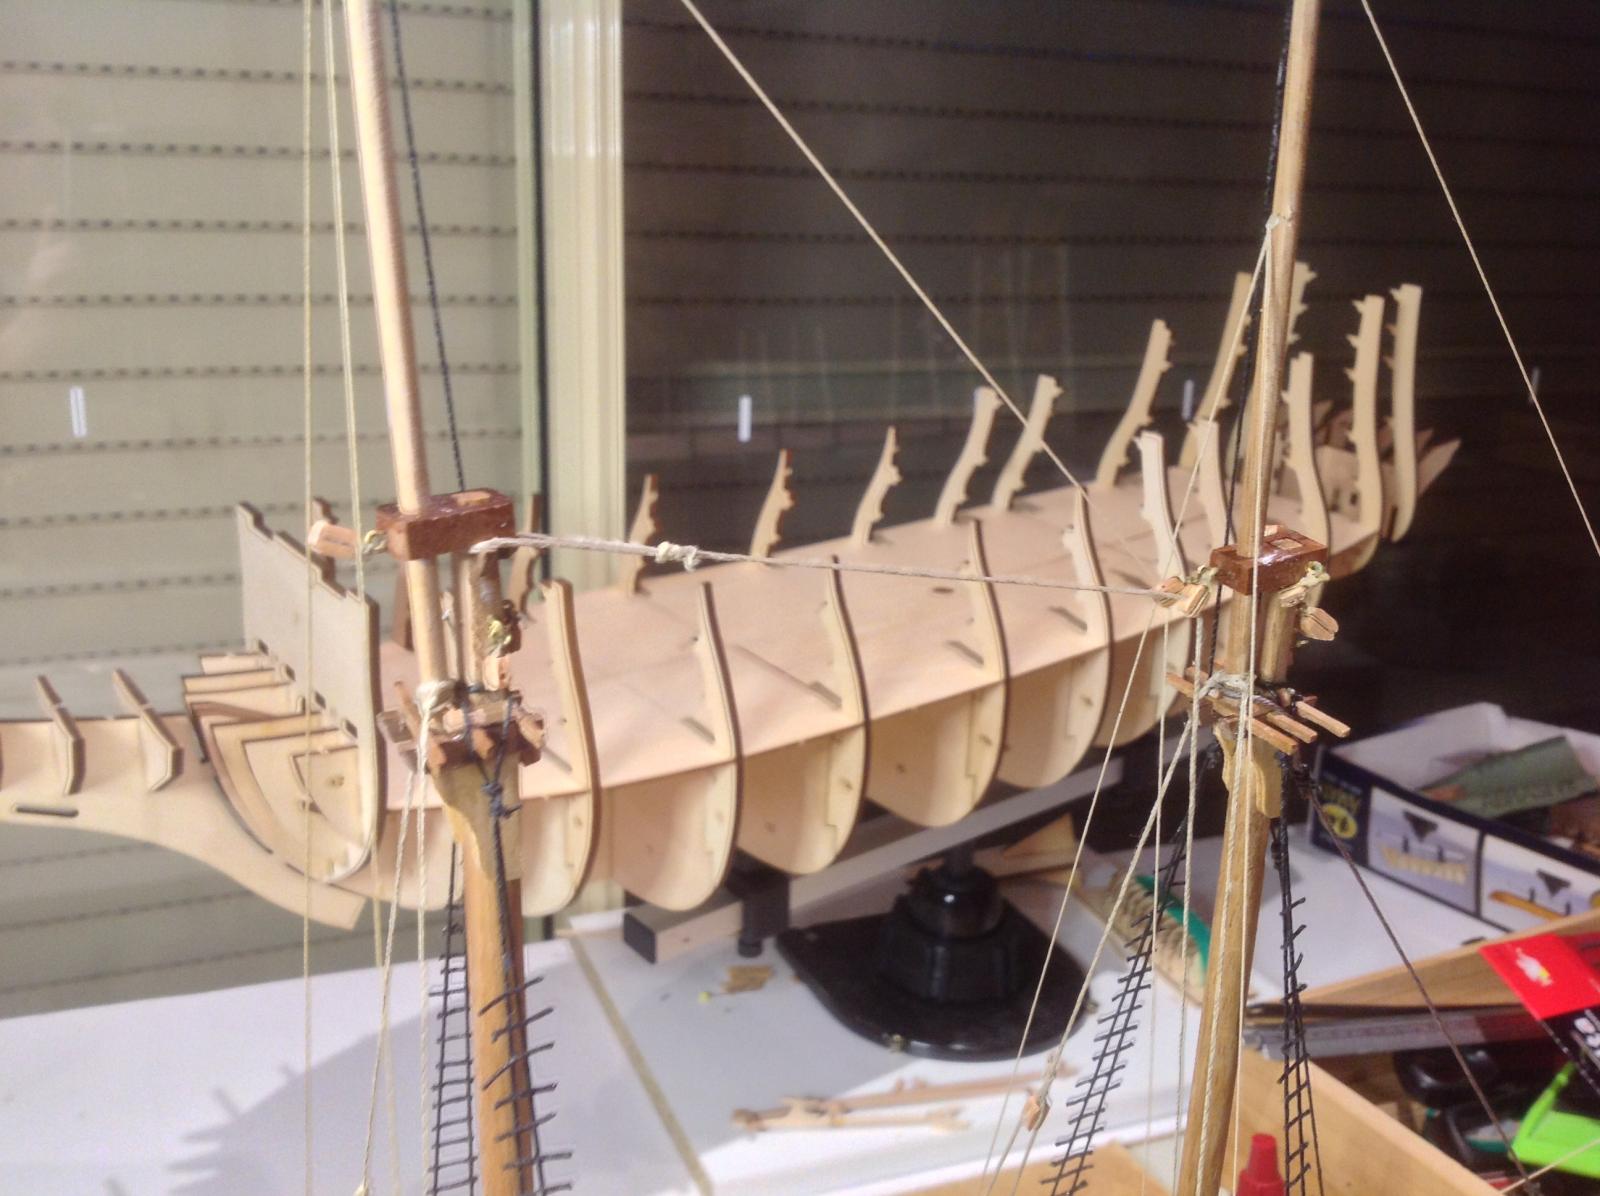
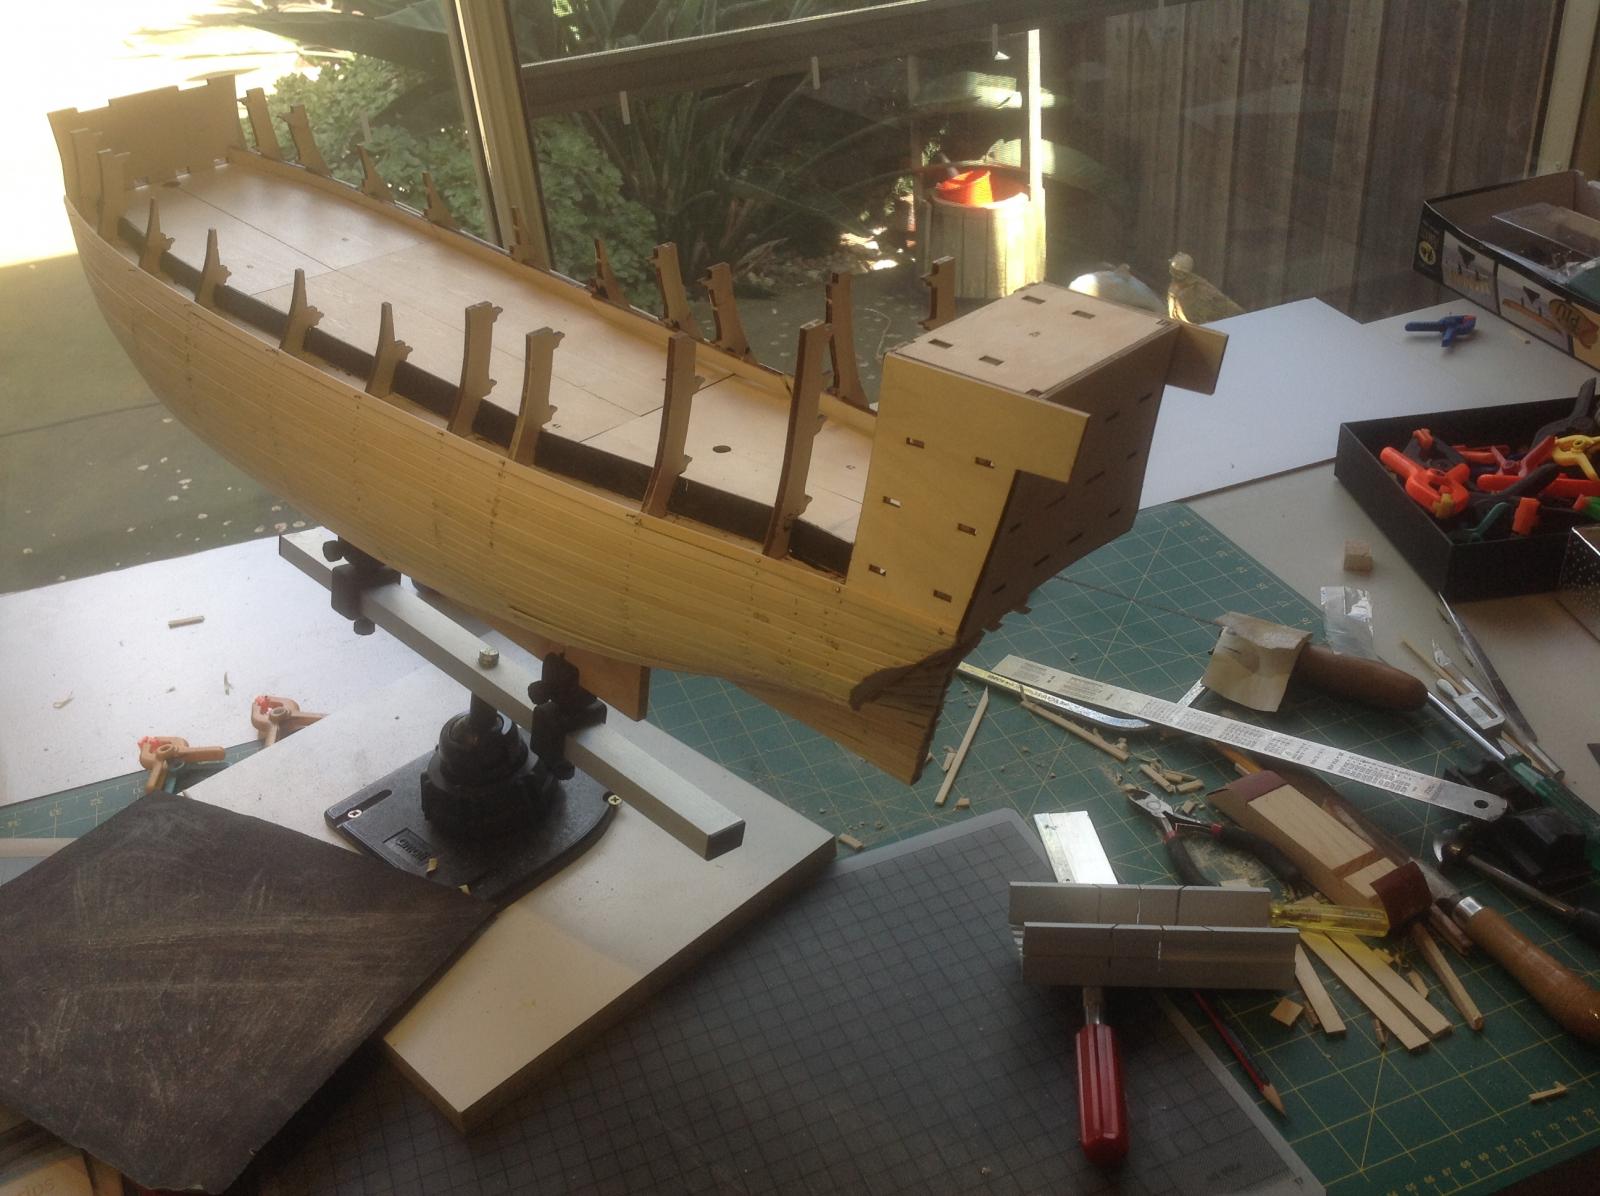
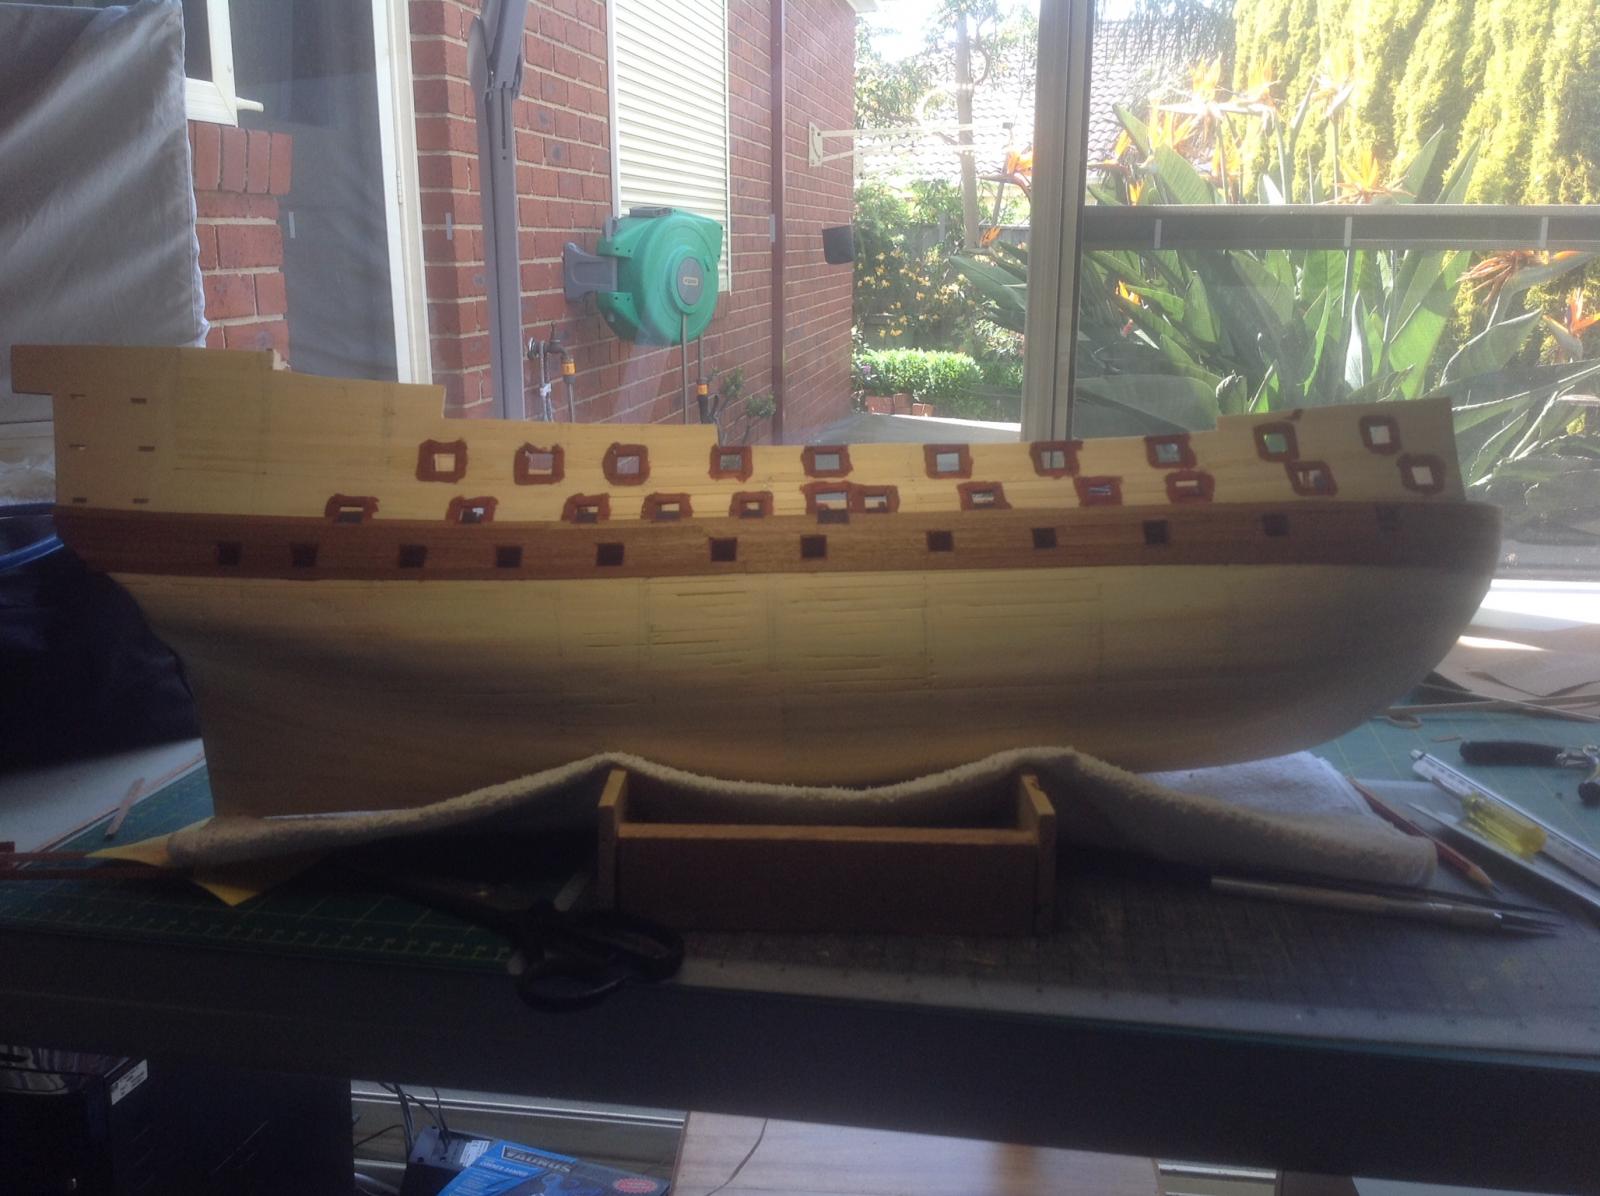
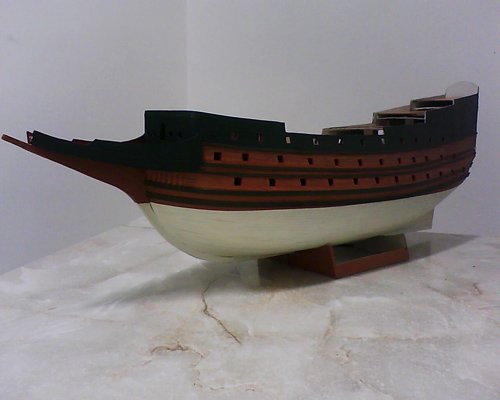
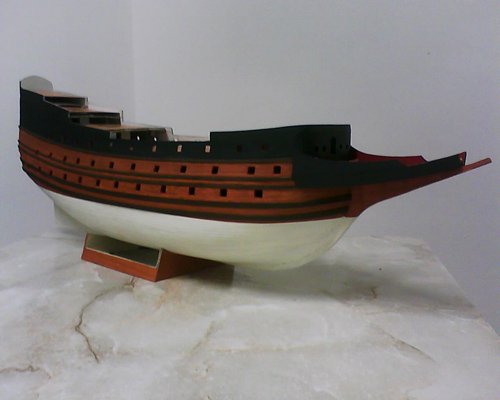
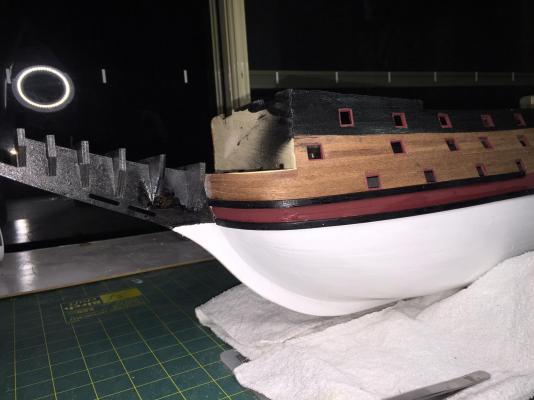
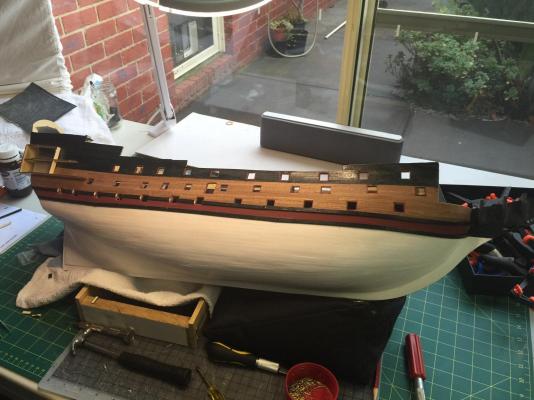
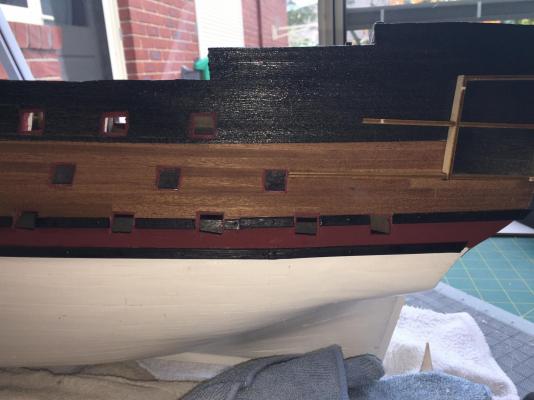
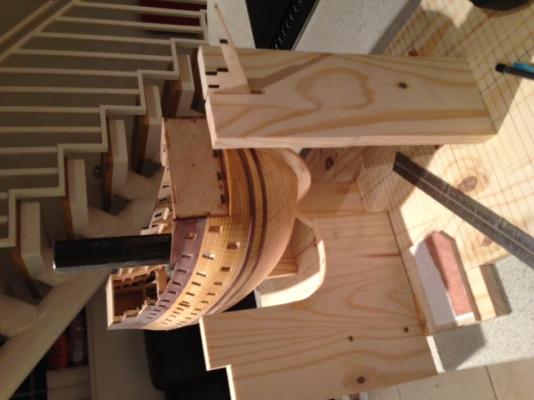
 After another long break I've decided to get my feet wet once again. I've recently picked up an early Sergal Sovereign of the seas kit. This is I assume at least early 80's judging by the box art and the fact most parts have to be cut out and are not laser cut or pre cut. From what I have read a lot of people were disappointed with the later releases from the rebadged mantua sergal version as it had laser cut plywood deck planking and gun port cutouts as this early version doesn't. There is also no balsa in this kit. This ship has been on a list a mile long for me to build purely due to the ornamentation and what she represented in the future of the three decker warships. So having seen it for sale nearby, whether it was the old or new version I had to grab it!


- 322 replies
-
- 12
-
-
- sergal
- sovereign of the seas
- (and 5 more)
-
 Ok looks like we all have to start again. Start with the box. Picked it up from TNT customs, as it cost way over $1,000nz dollars I had to pay import tax and Gst I think that came to an extra $480nz, the total all up was $2,500nz. Denis
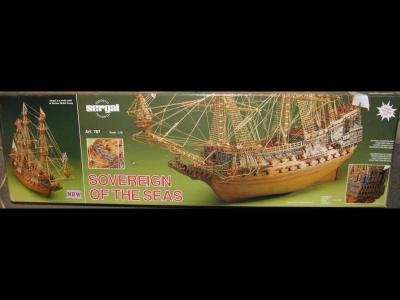
- 555 replies
-
- 1
-
-
- sovereign of the seas
- mantua
- (and 1 more)
-
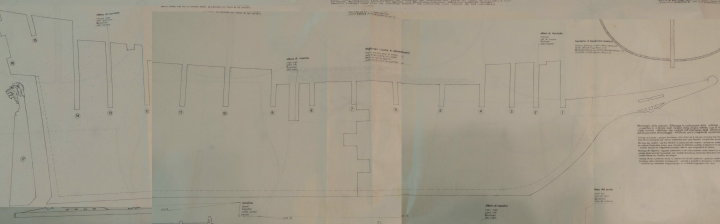
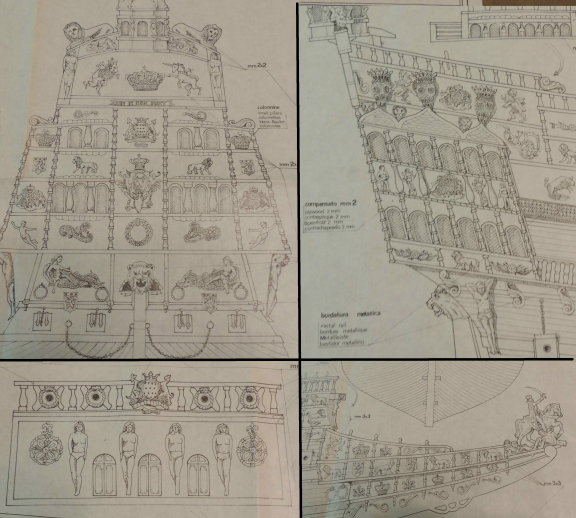
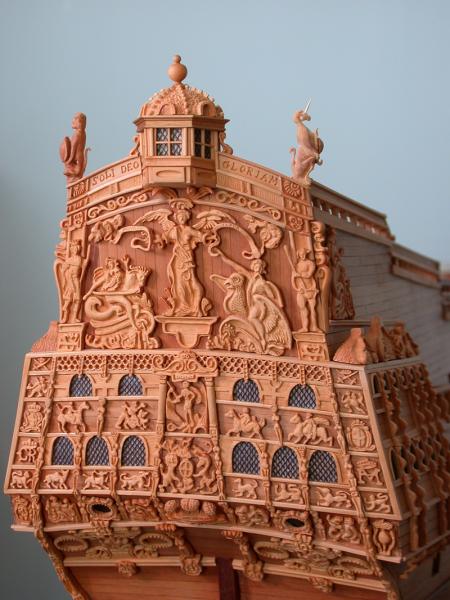
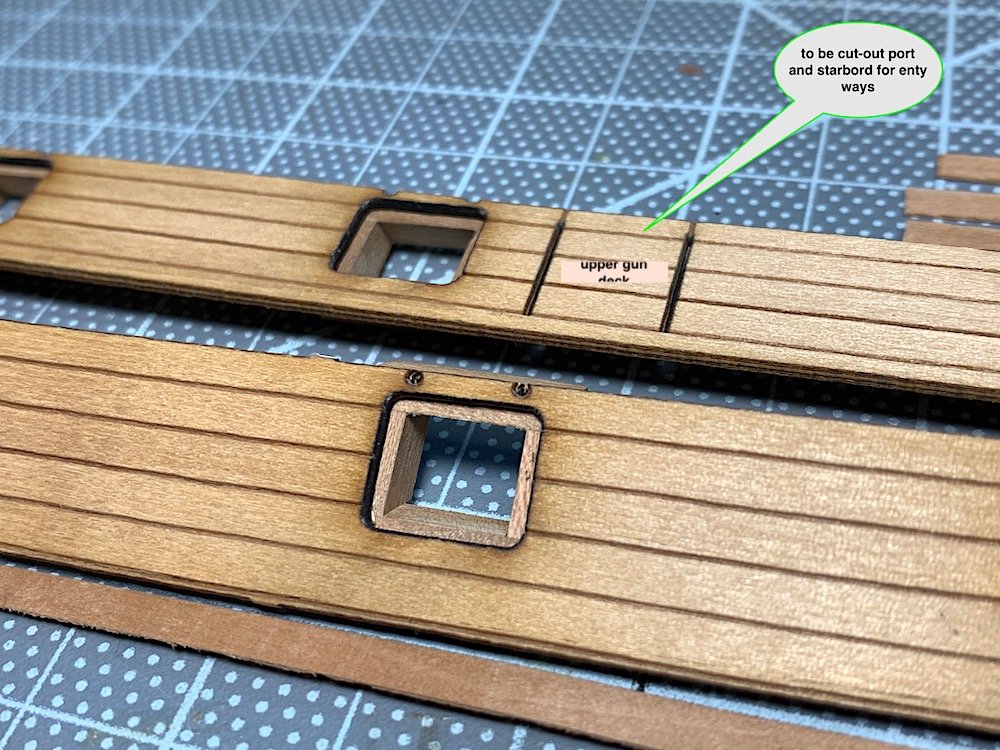
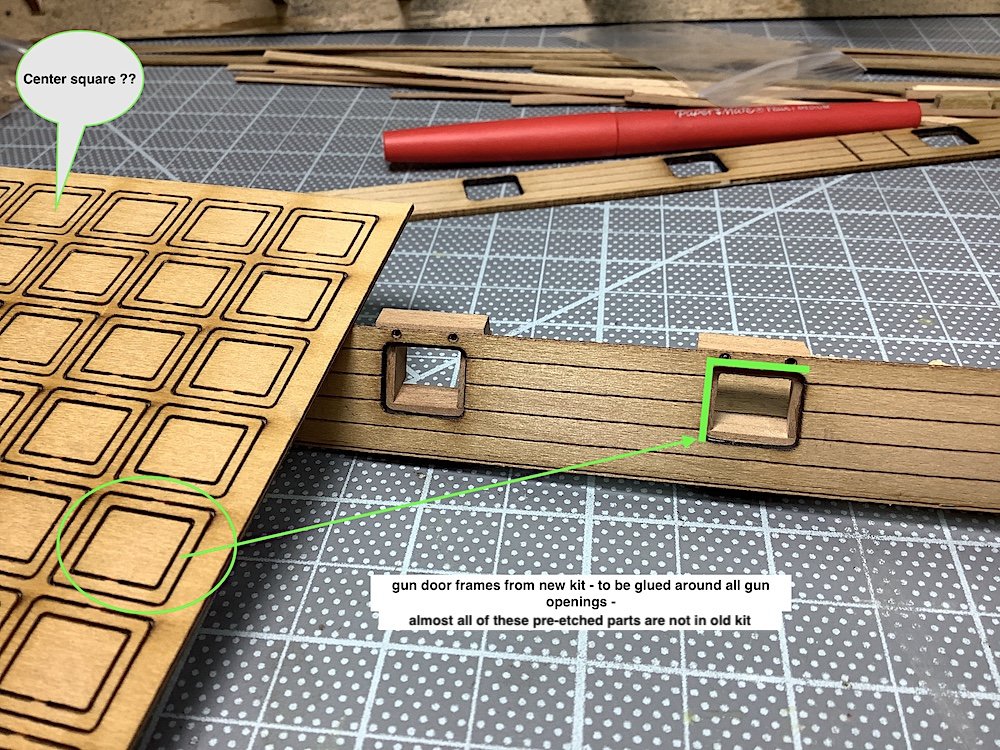
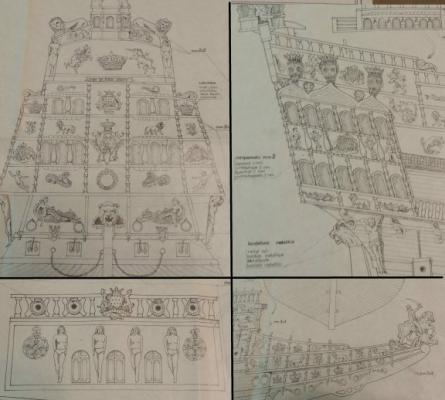
 Plan sheets arrived today - Carta Augusto (Italian Mfg.).... Appear to be very old, maybe 25 or 30 years or more. My friend tells me he has had them forever and doesn't even remember where he got them from. He came across them while looking for something to donate for the April Show in Fayetteville. Actually, after spending hours going over several really fine build logs posted within MSW, except for the patterns for her keel and frames, I'm not too sure there will be much of these plans I will be using in my build. The drawings of all the ornamentation do not represent anything like I want to create after reading Bill Short's extensive research. For the most part, I will be using his interpretation of this ship. Here is his amazing stern creation..... pretty impressive huh? Here goes nothing! Wish me luck (I'll need all I can get).
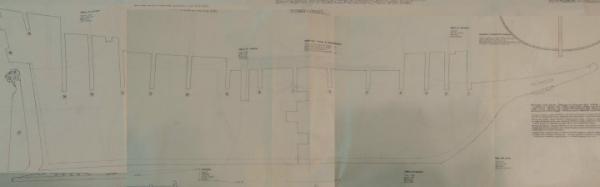

- 962 replies
-
- 21
-
-
- sovereign of the seas
- ship of the line
- (and 1 more)
-
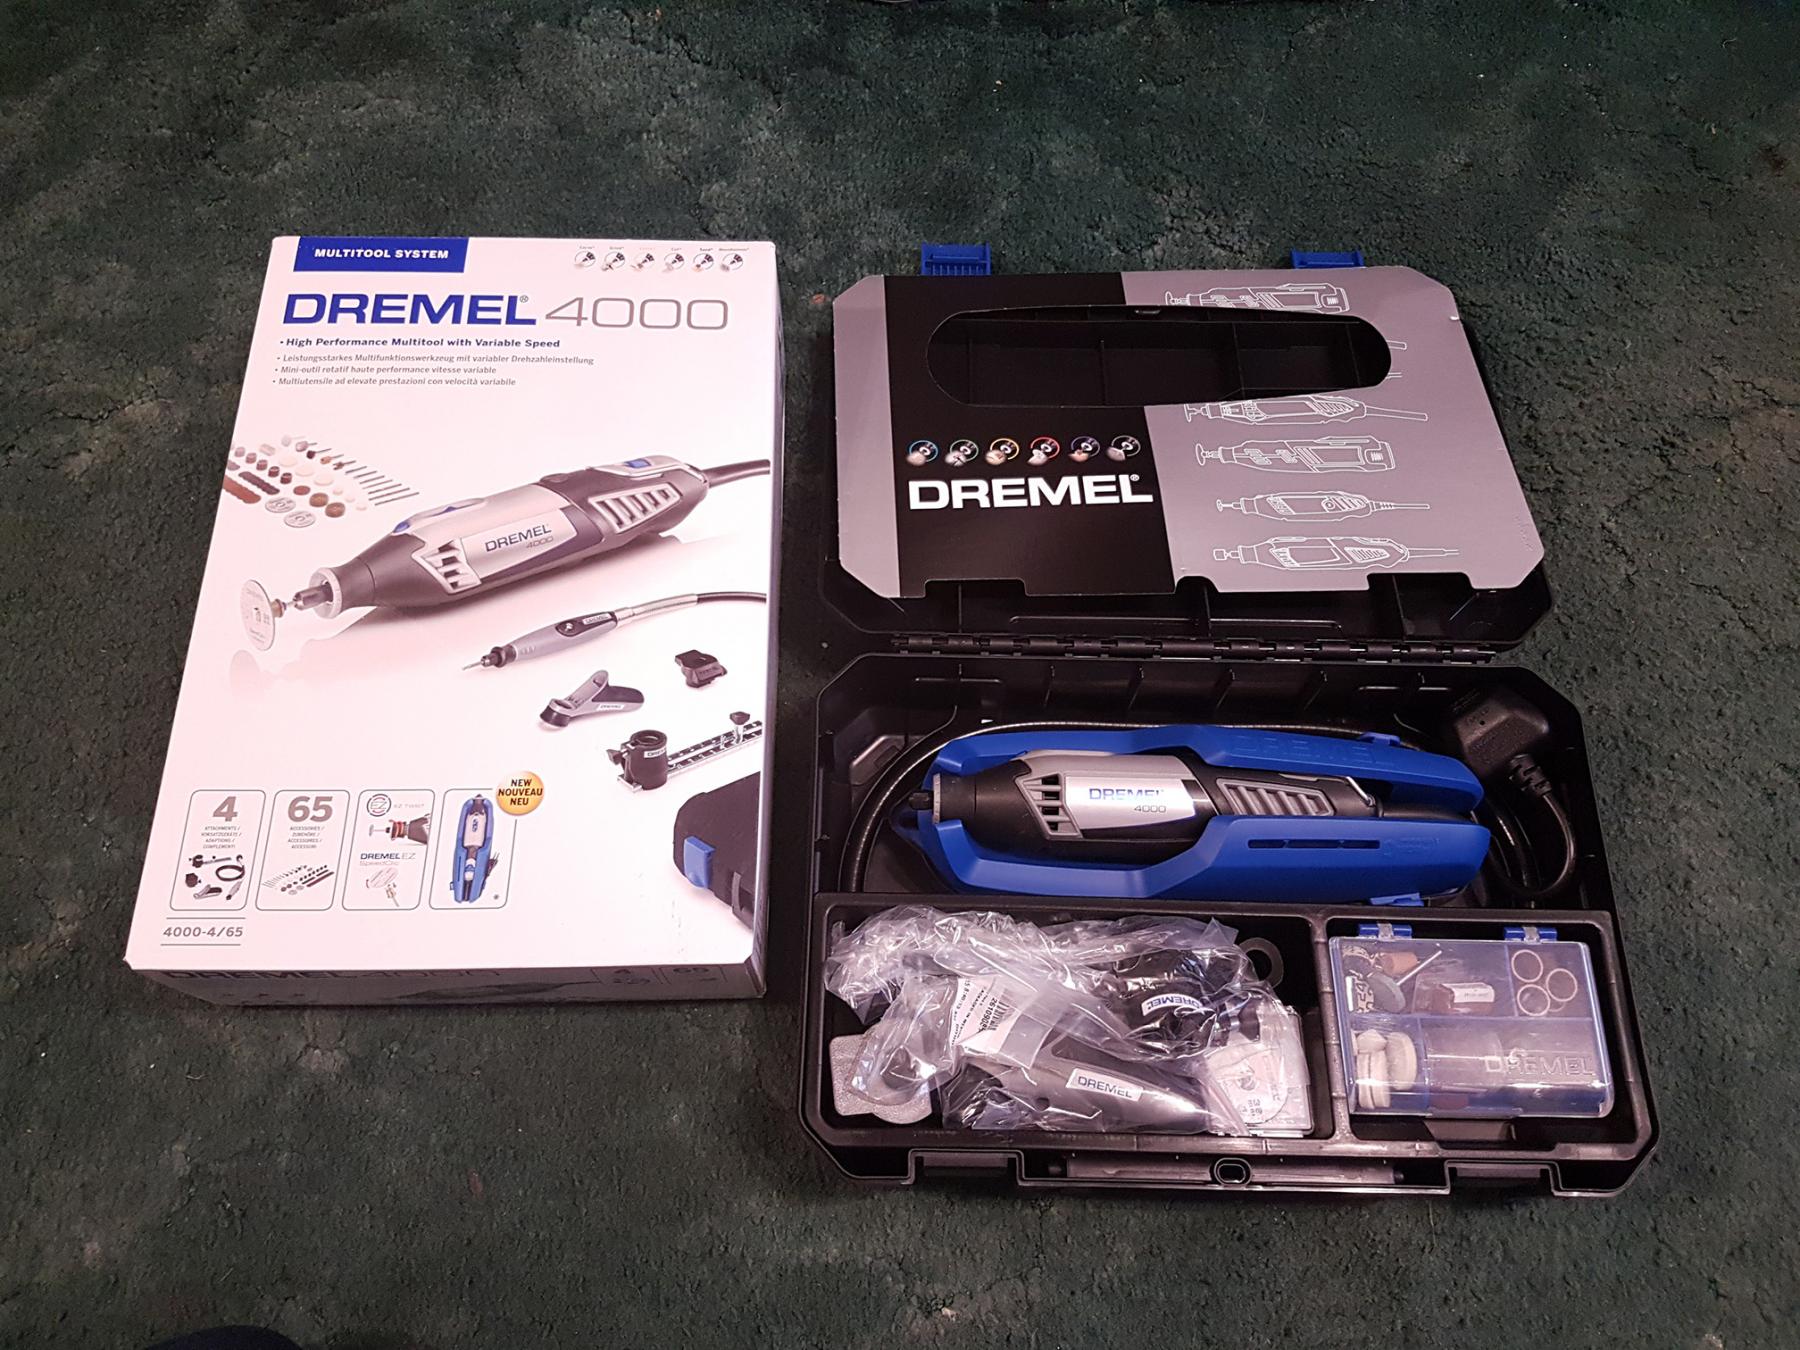
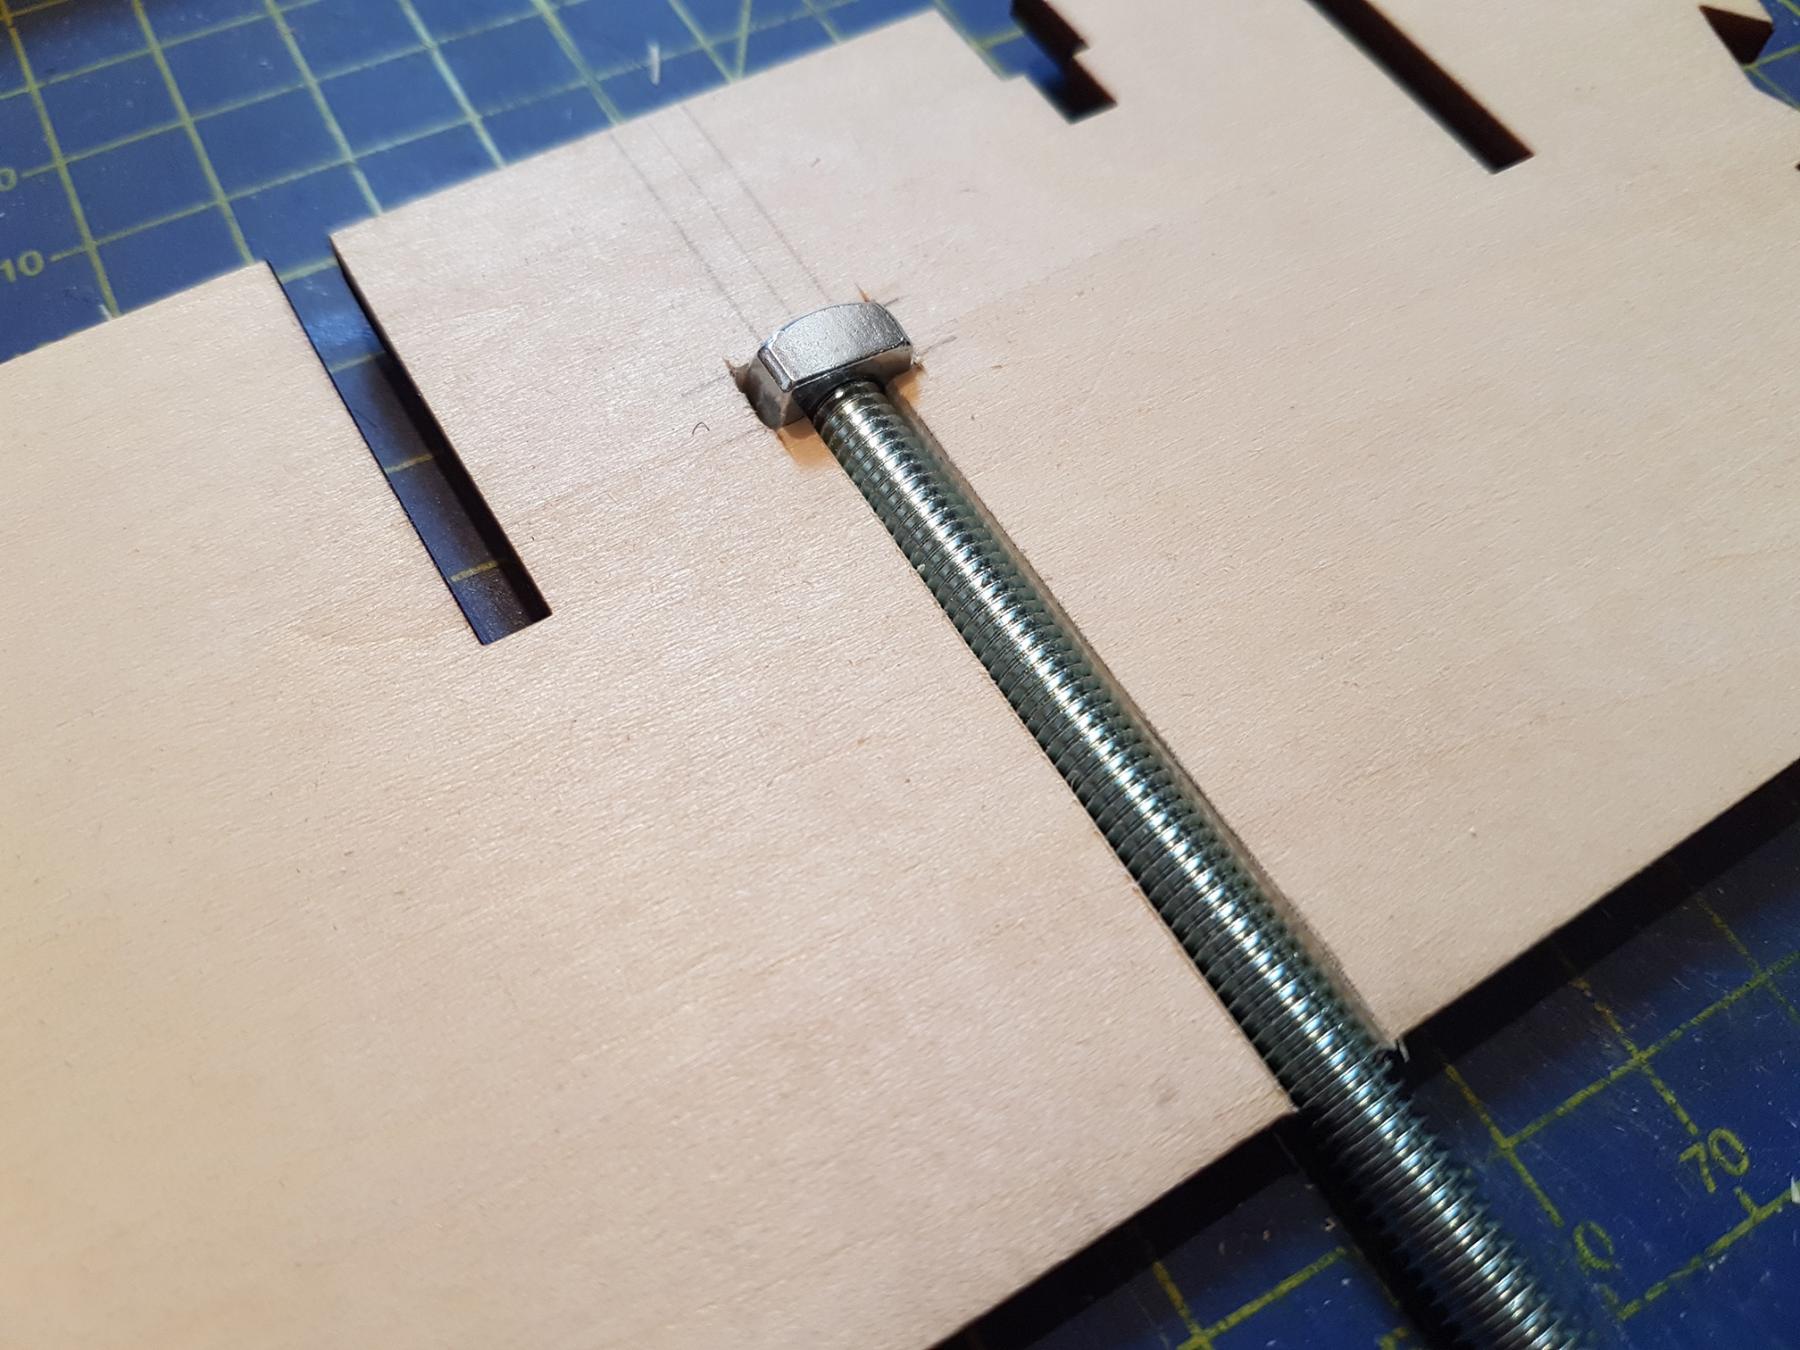
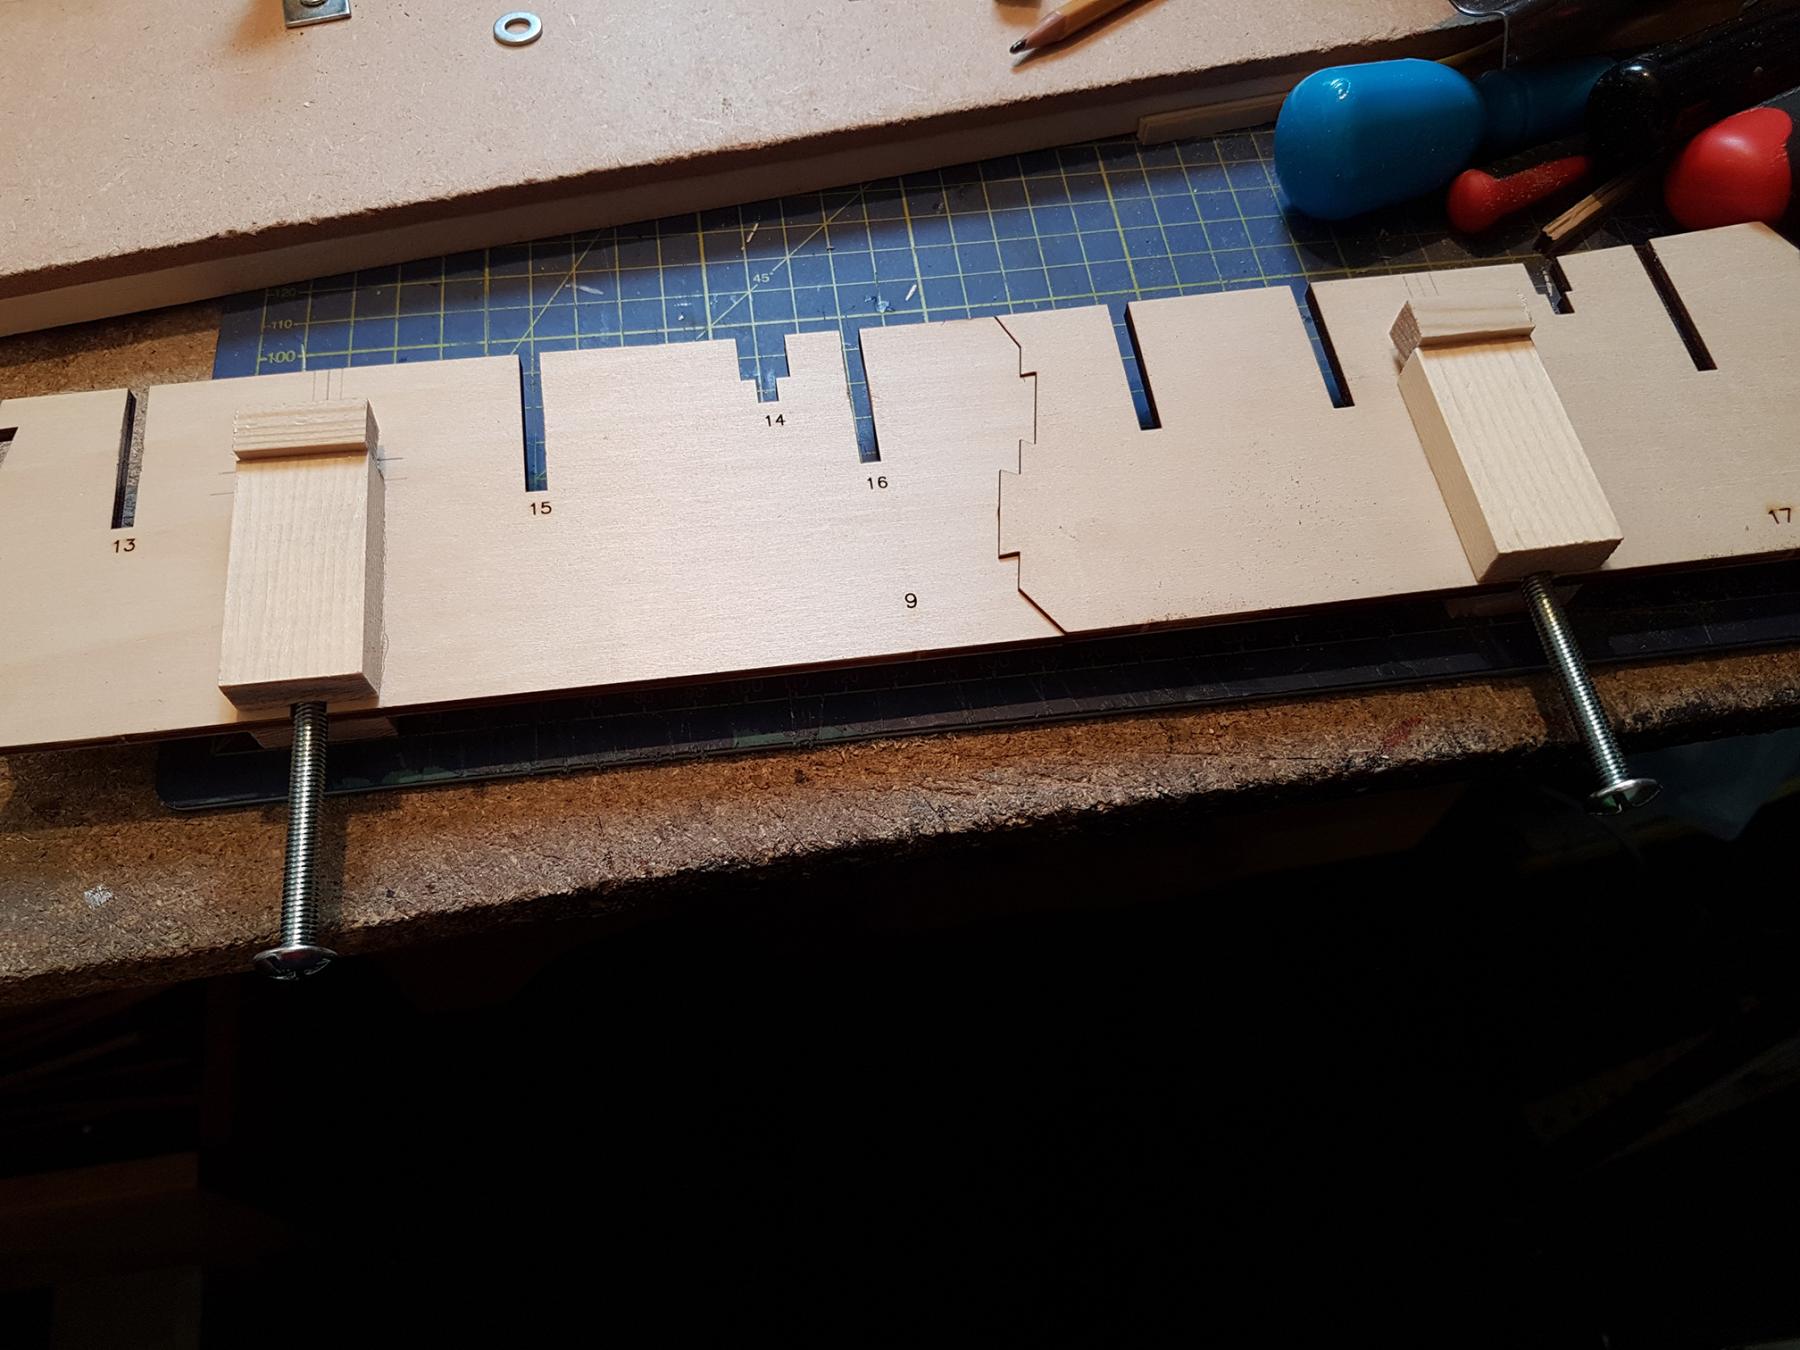
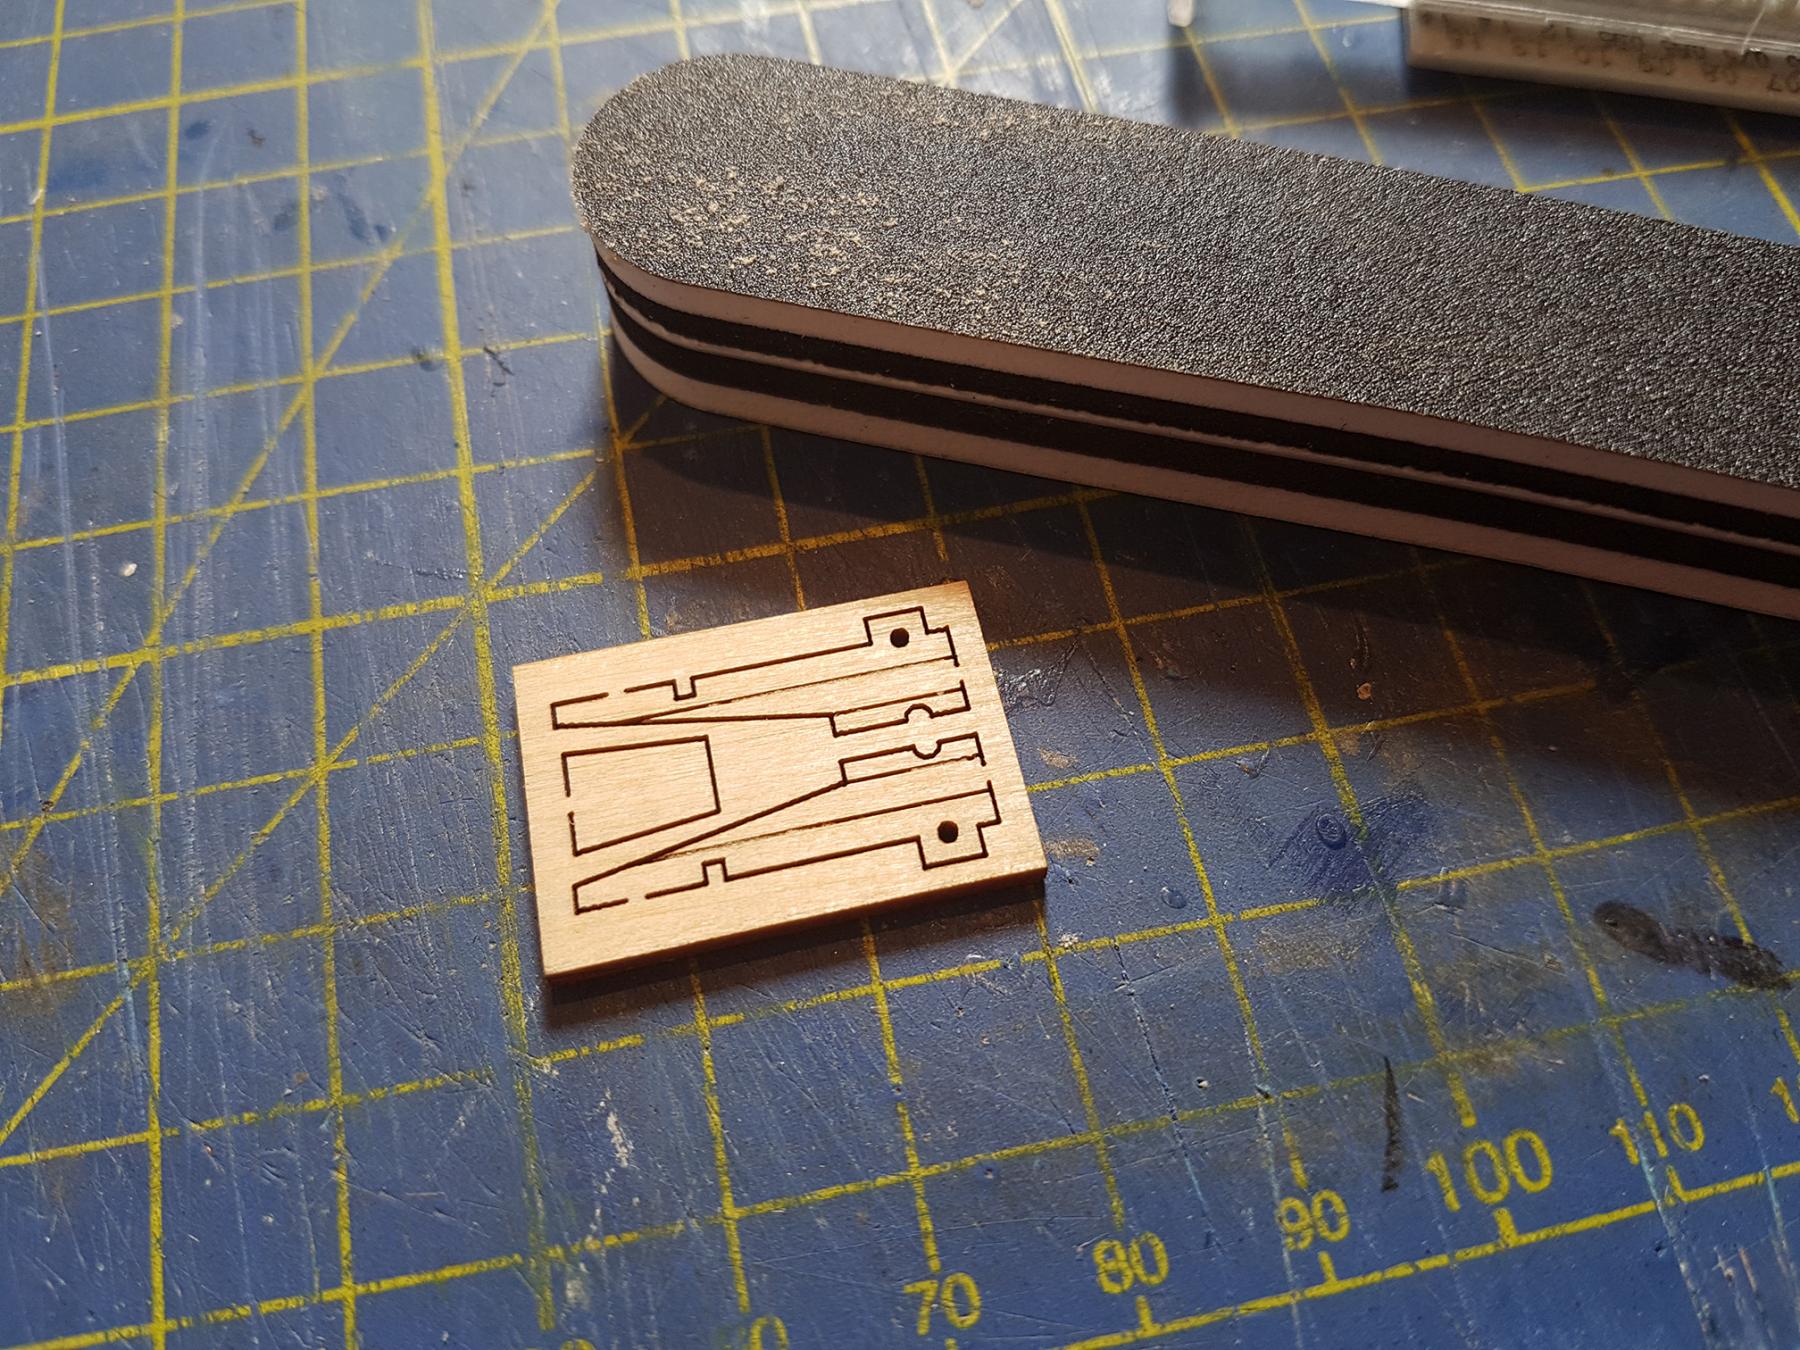
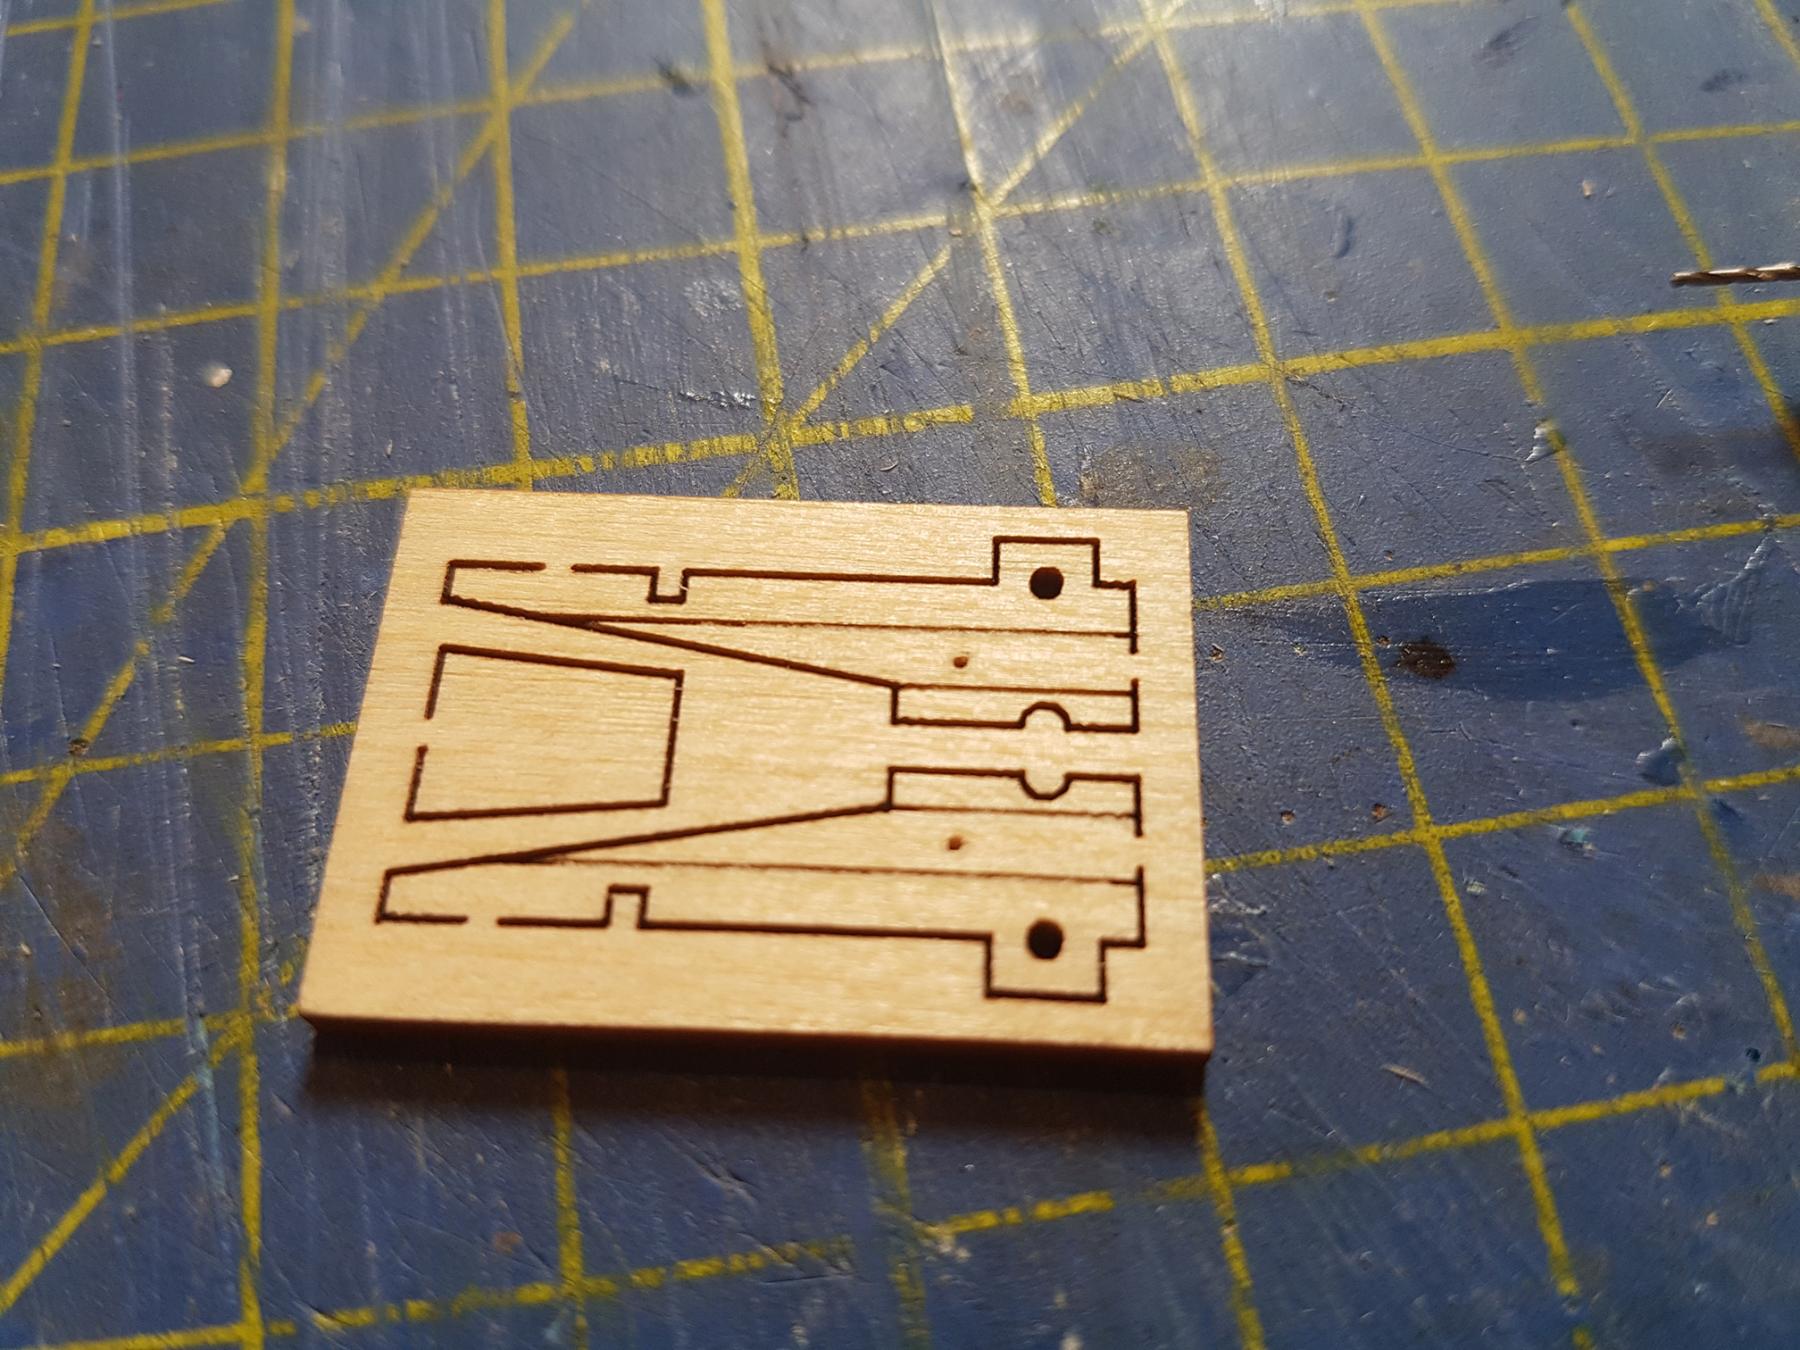
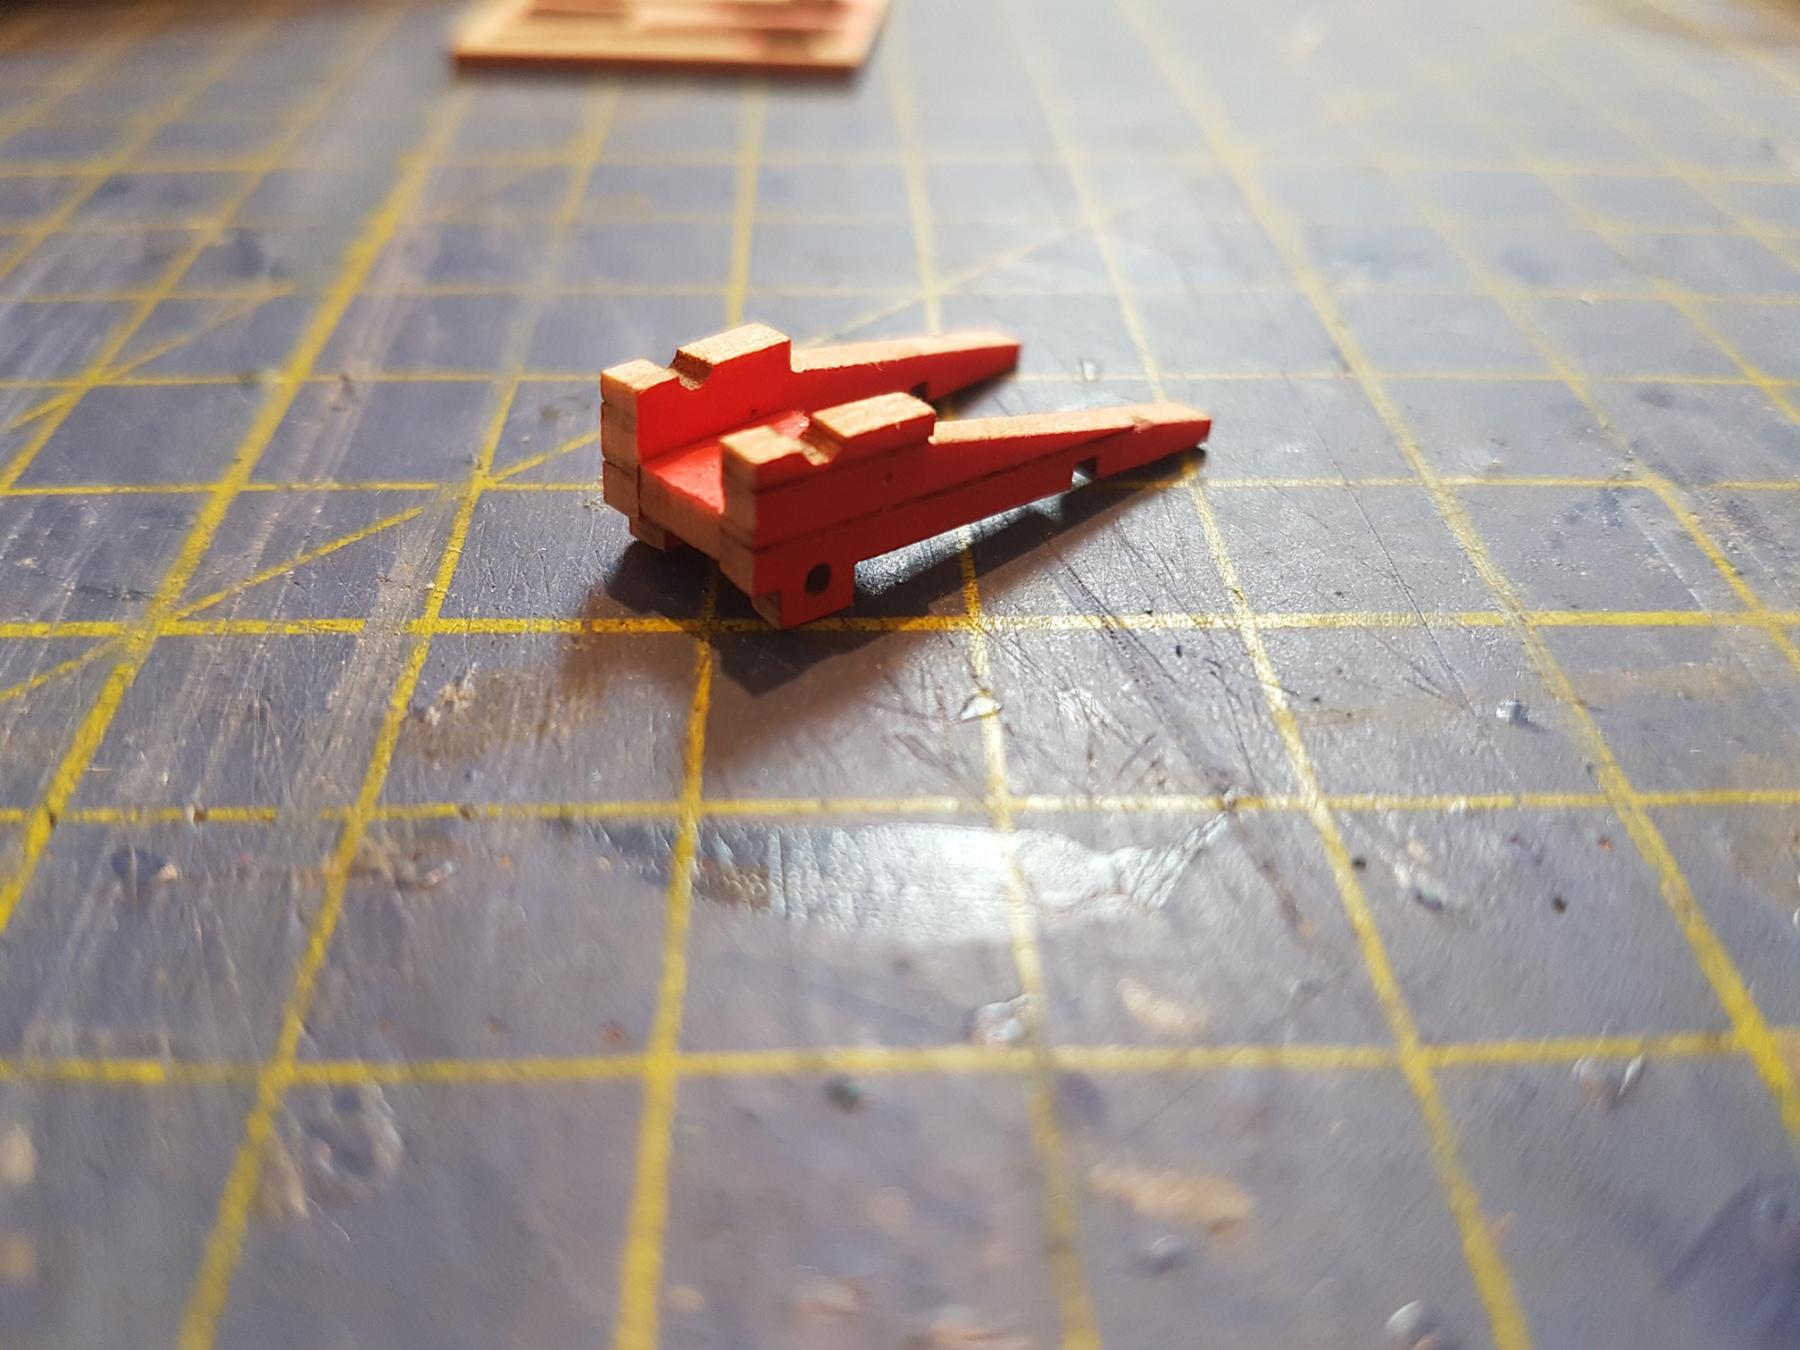
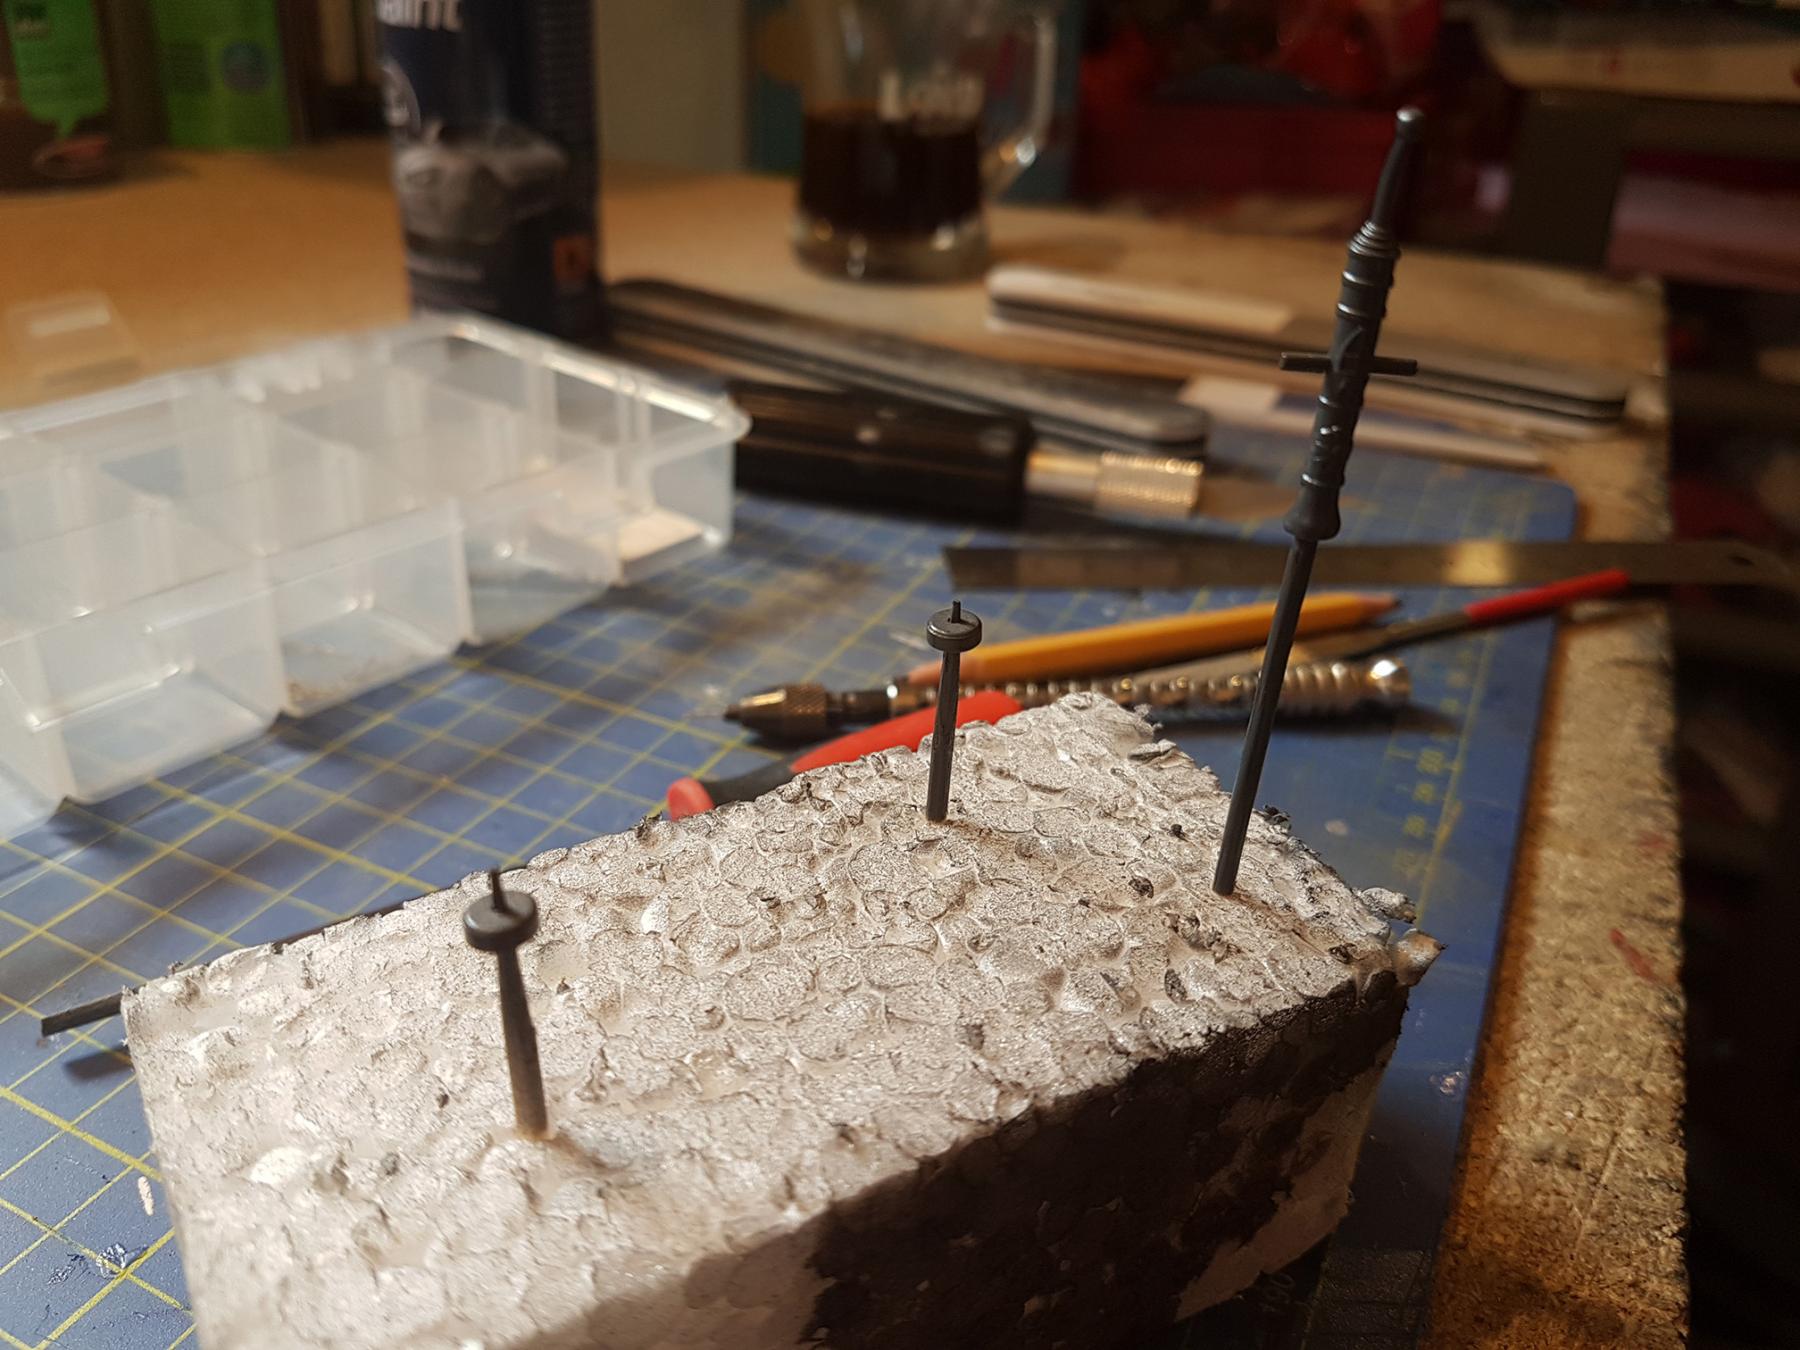
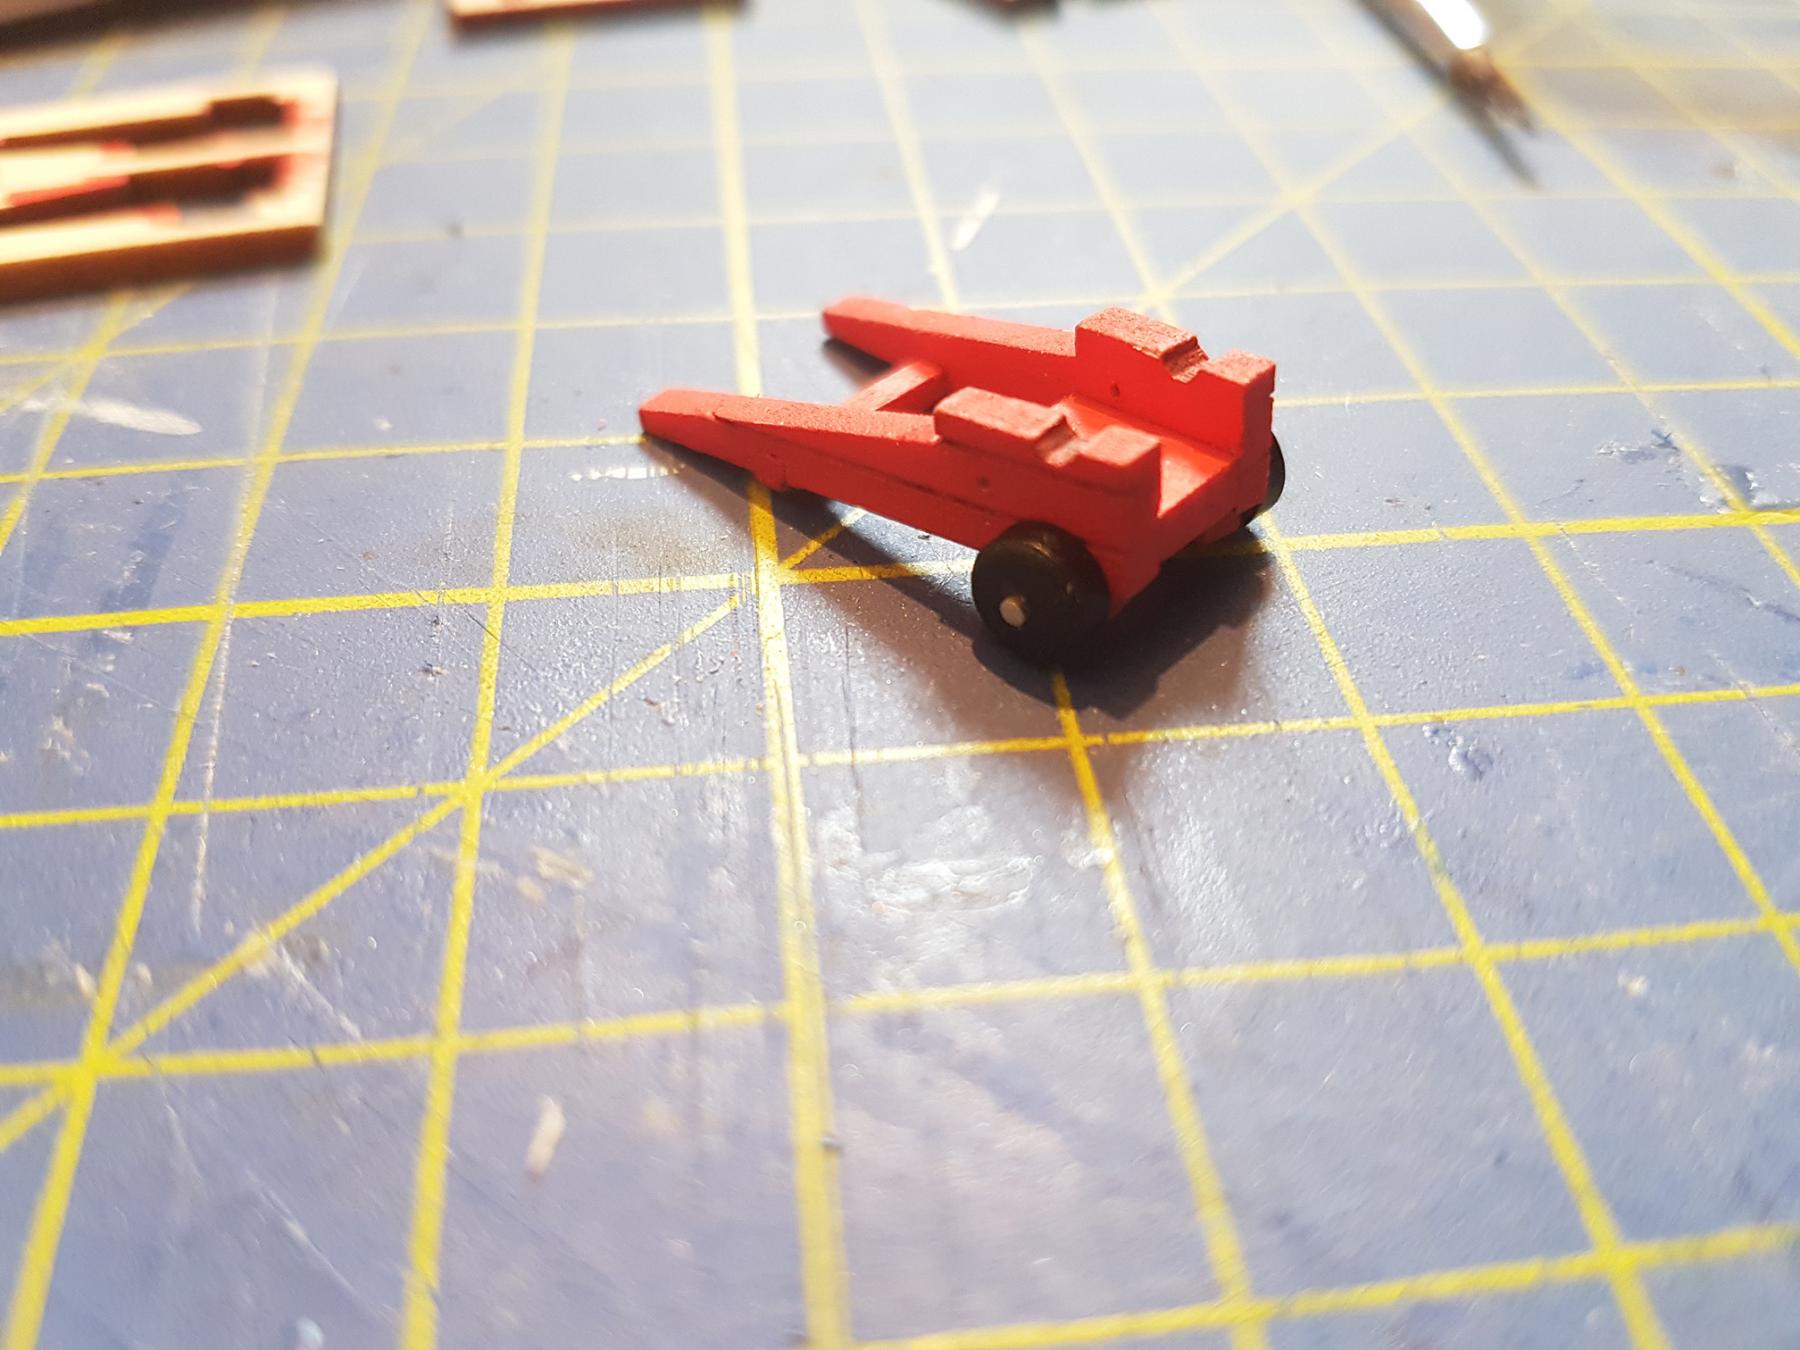
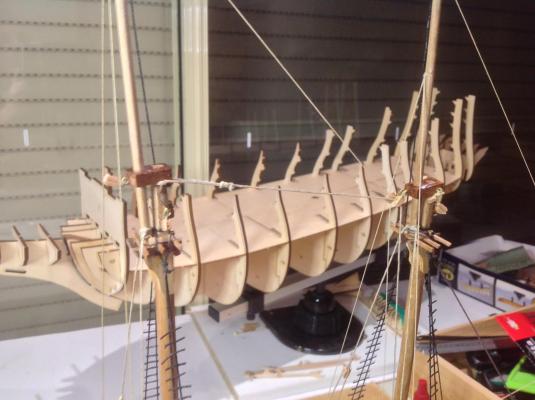
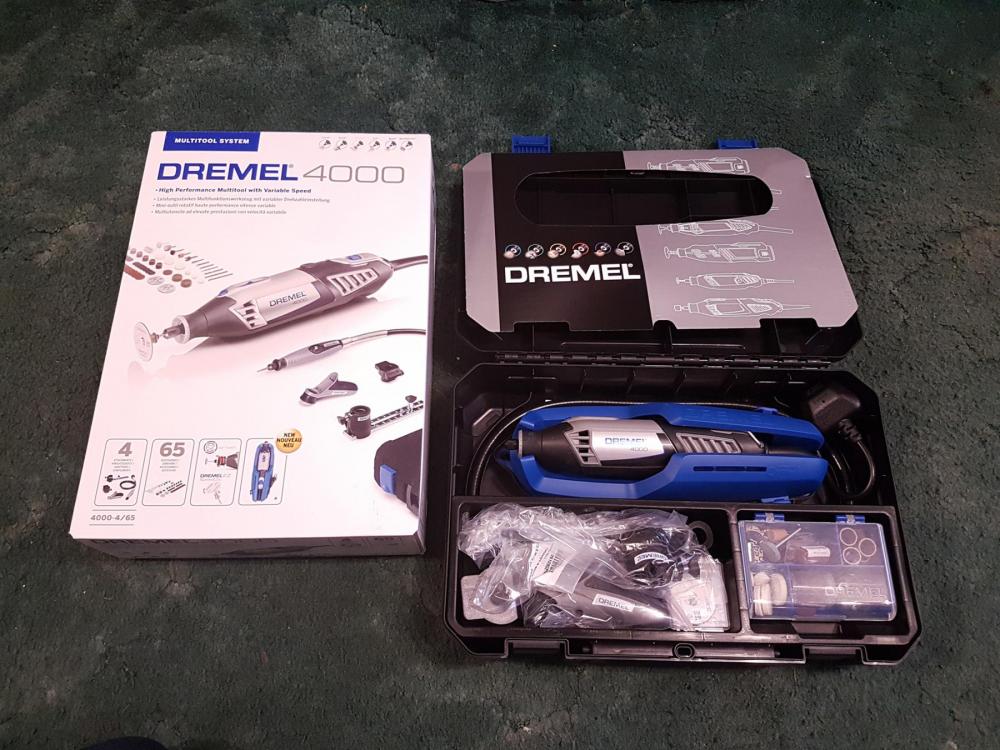
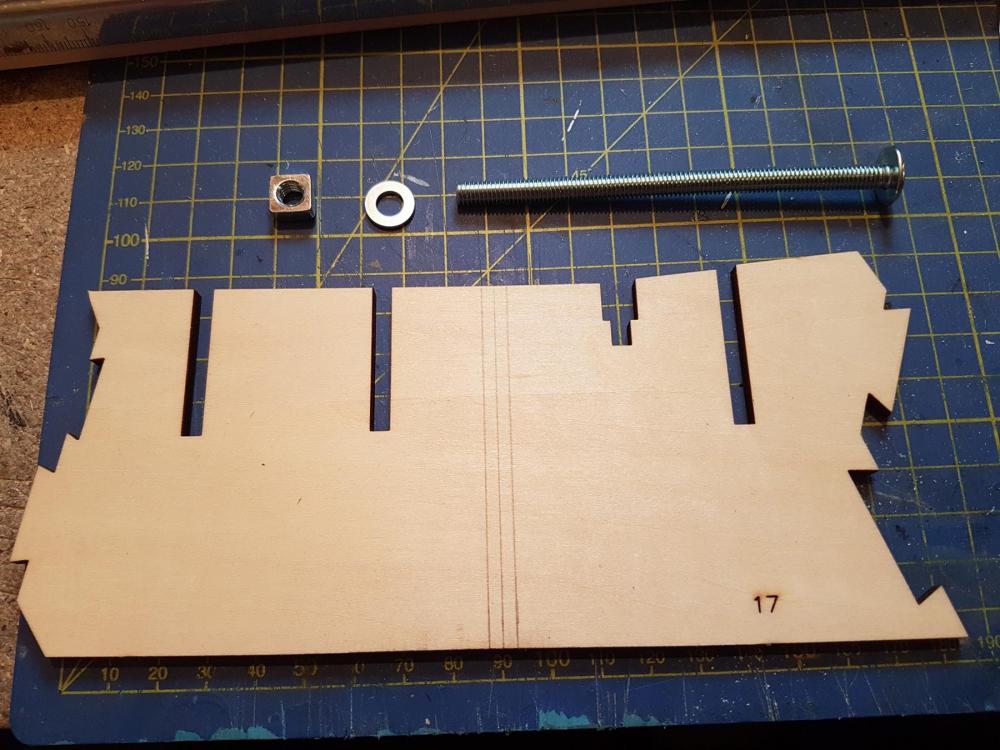
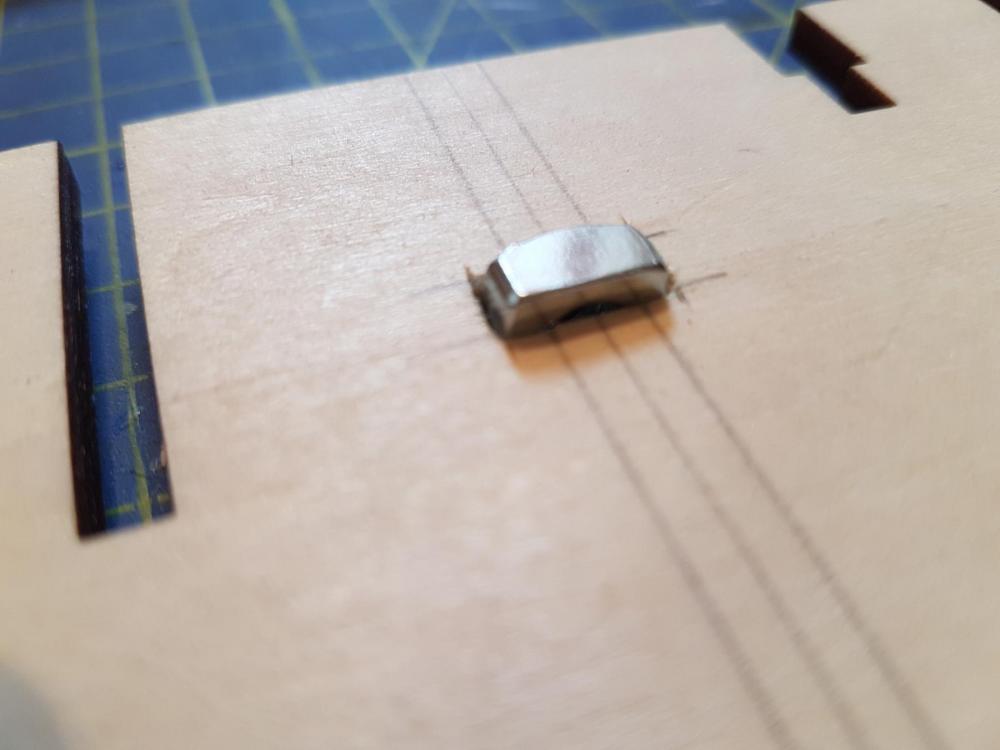
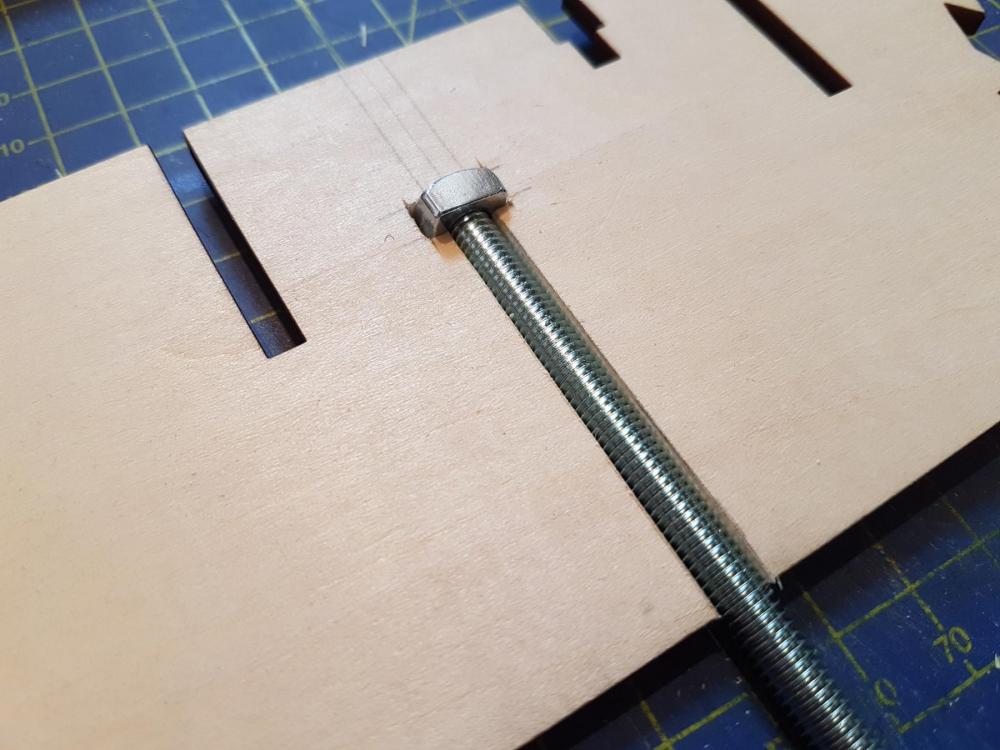
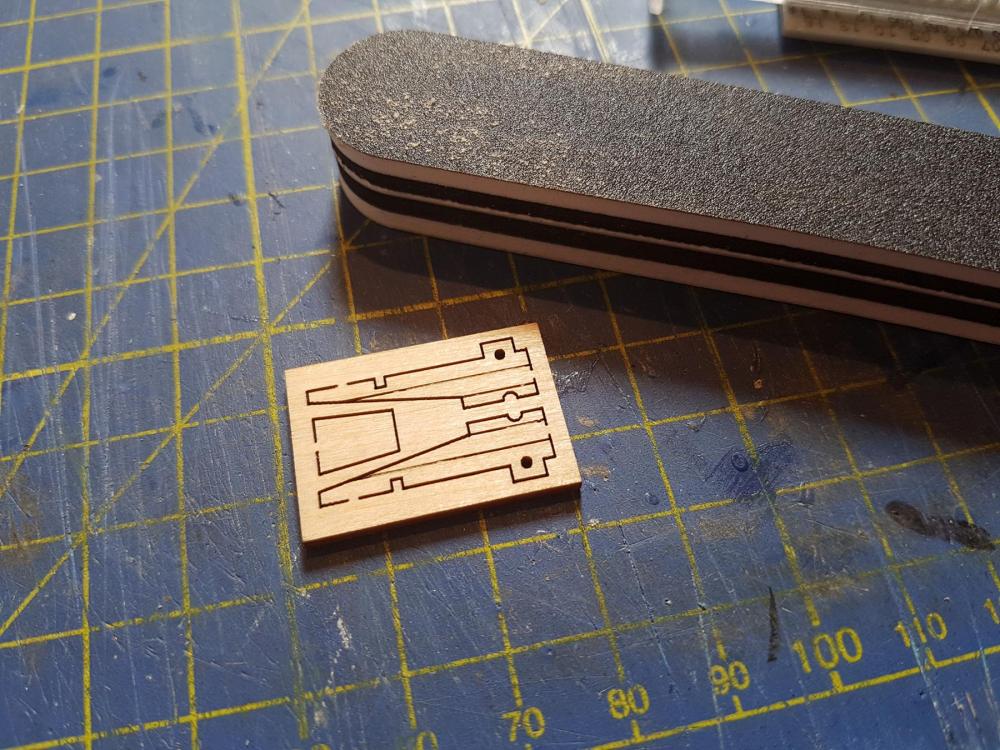
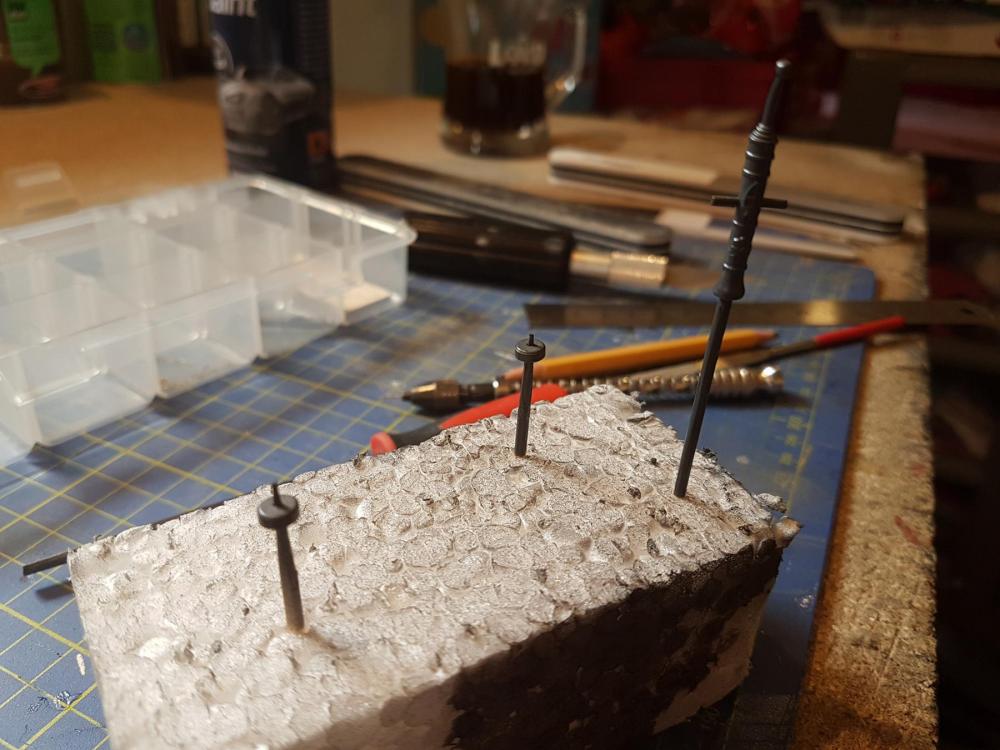
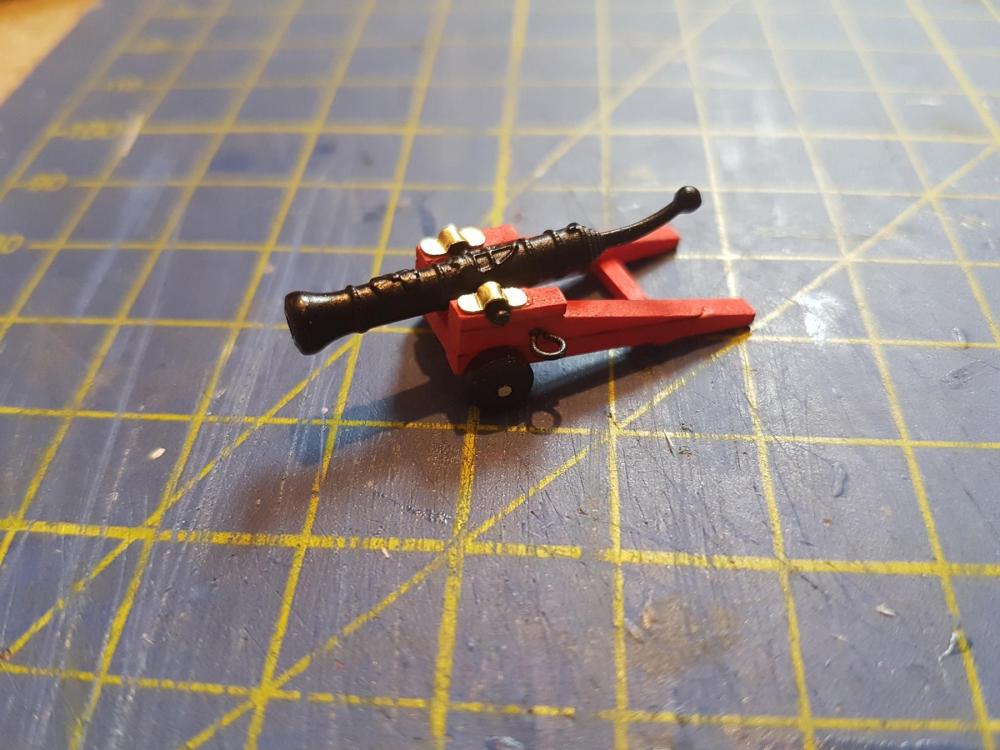
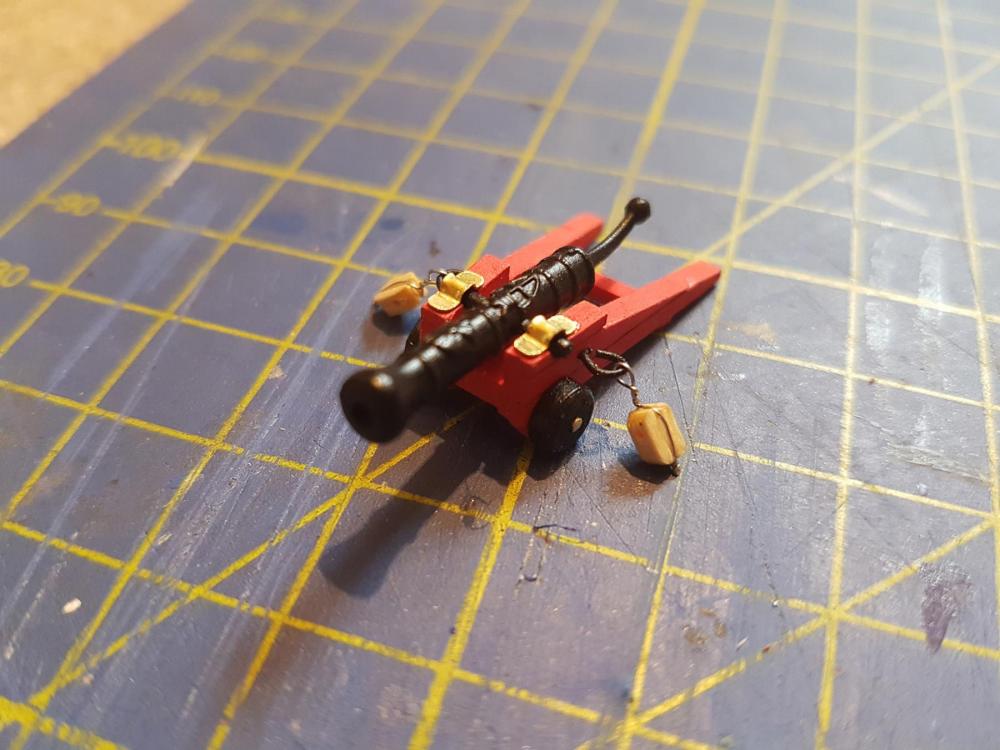
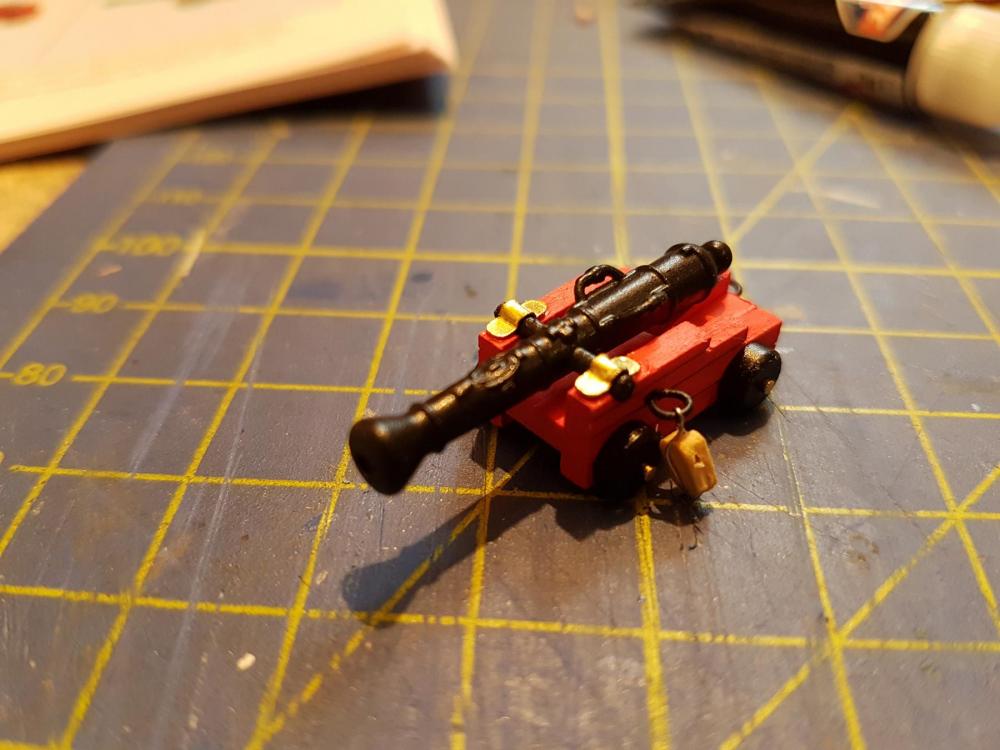
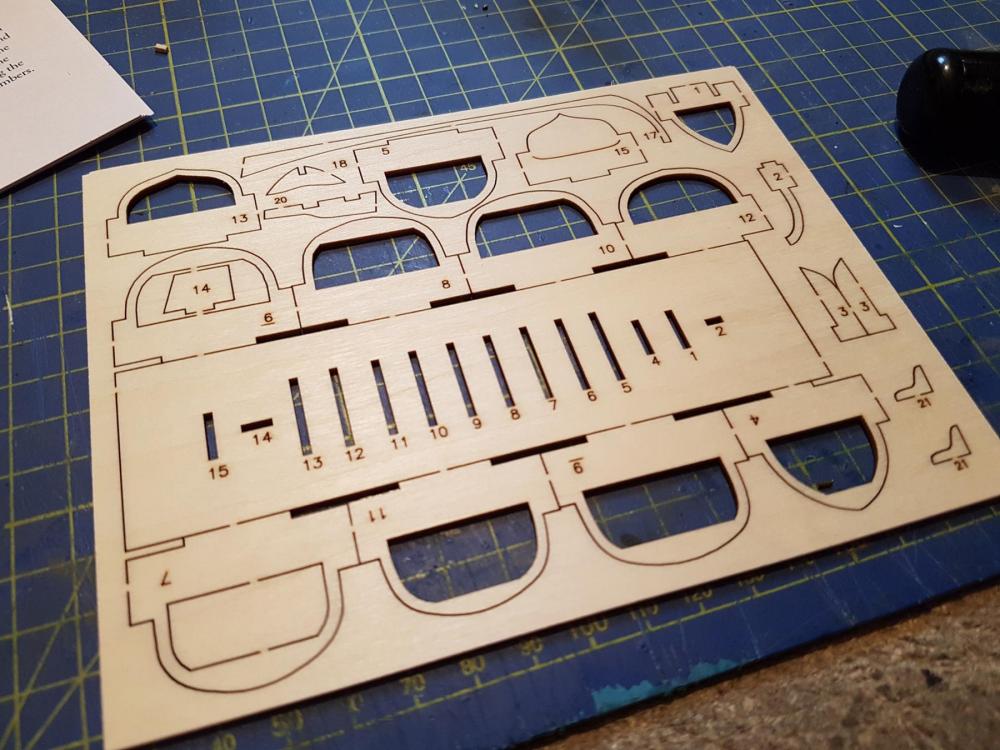
 Hello again folks. I've been away for a while, life and work gets in the way sometimes. However, Fathers day has just been (UK) and I got a pleasant surprise. A new subscription to Deagostini's Sovereign of the Seas and a new Dremmel to go with it Some of you might recall me mentioning I was building this particular one before. I was, as a 3 year part work. Things didn't go according to plan and...well we won't go there. The advantage of that though, is for a good portion of the series I know what is to come, what to avoid, where to correct my first attempt...not to mention a lot of spare parts The first thing I wanted to do before actually commencing the build was to correct the way I made supports in the keel for attaching to the base further down the line. (Remember me saying we won't go there...). So a quick visit to the hardware store I picked up some steel threaded bolts with square nuts. There are easier to fit into the keel. Before starting on the main build, I wanted to build up the two cannons that came with the first months pack. Previously, I collected the cannons to make them in batch. However I found, personally, that I ended up focussing on the overall project of making 10 or 20 cannons at once, instead of looking at each individual cannon as a project. I am hoping the results this way will be better. Not really a lot to say about this, sanded/smothed/painted the sides whilst still in the fret. I used Ensign red instead of Red Ochre as I found it a brighter colour. As there is no hard and fast historical data on the ship, I used artistic licence and will continue to do so throughout the build. I also primed and painted the cannon itself and the wheels. Strictly speaking the cannon should be bronze, as per cannons of the era, but I stuck with a satin black. Then it was simply a case of removing the truck from the fret, sanding the edges and then assembling it before giving it a final coat. Another advantage of having previously built this/having a 12 month sub is again, being able to skip ahead and see what is to come. I knew I would be having to drill holes for the eyelets, and would rather do this before the truck was assembled. Finally, I put everything together and made the first parts of the tackle to go with them. With pack one came the first parts for building the ships launch. I always like these from Deagostini as they are almost like mini kits. The first time I did this didn't turn out too bad, but I knew I could improve on it by tweaking the order in which I did things. The first change was sanding/smothing/painting the ribs before fitting to the assembly jig. I've started on assembling the frames...and that's where I am upto so far Thanks for looking in.
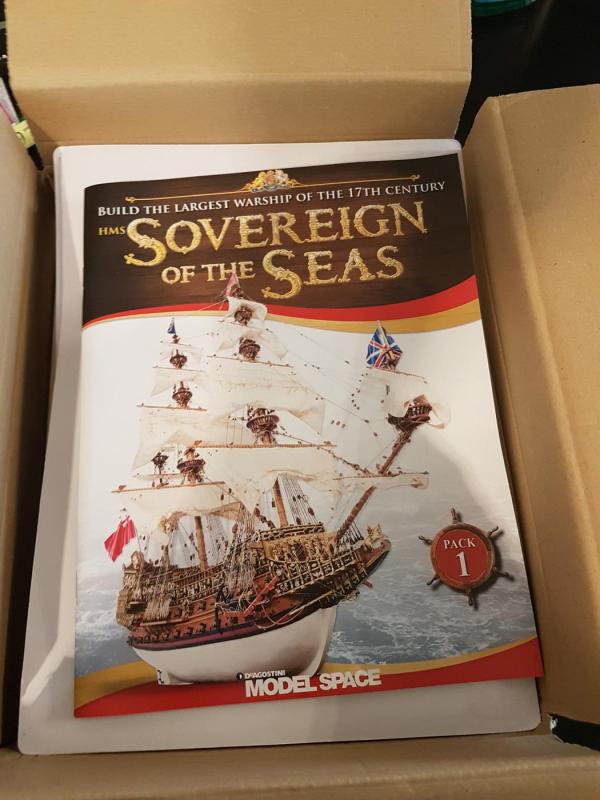


-
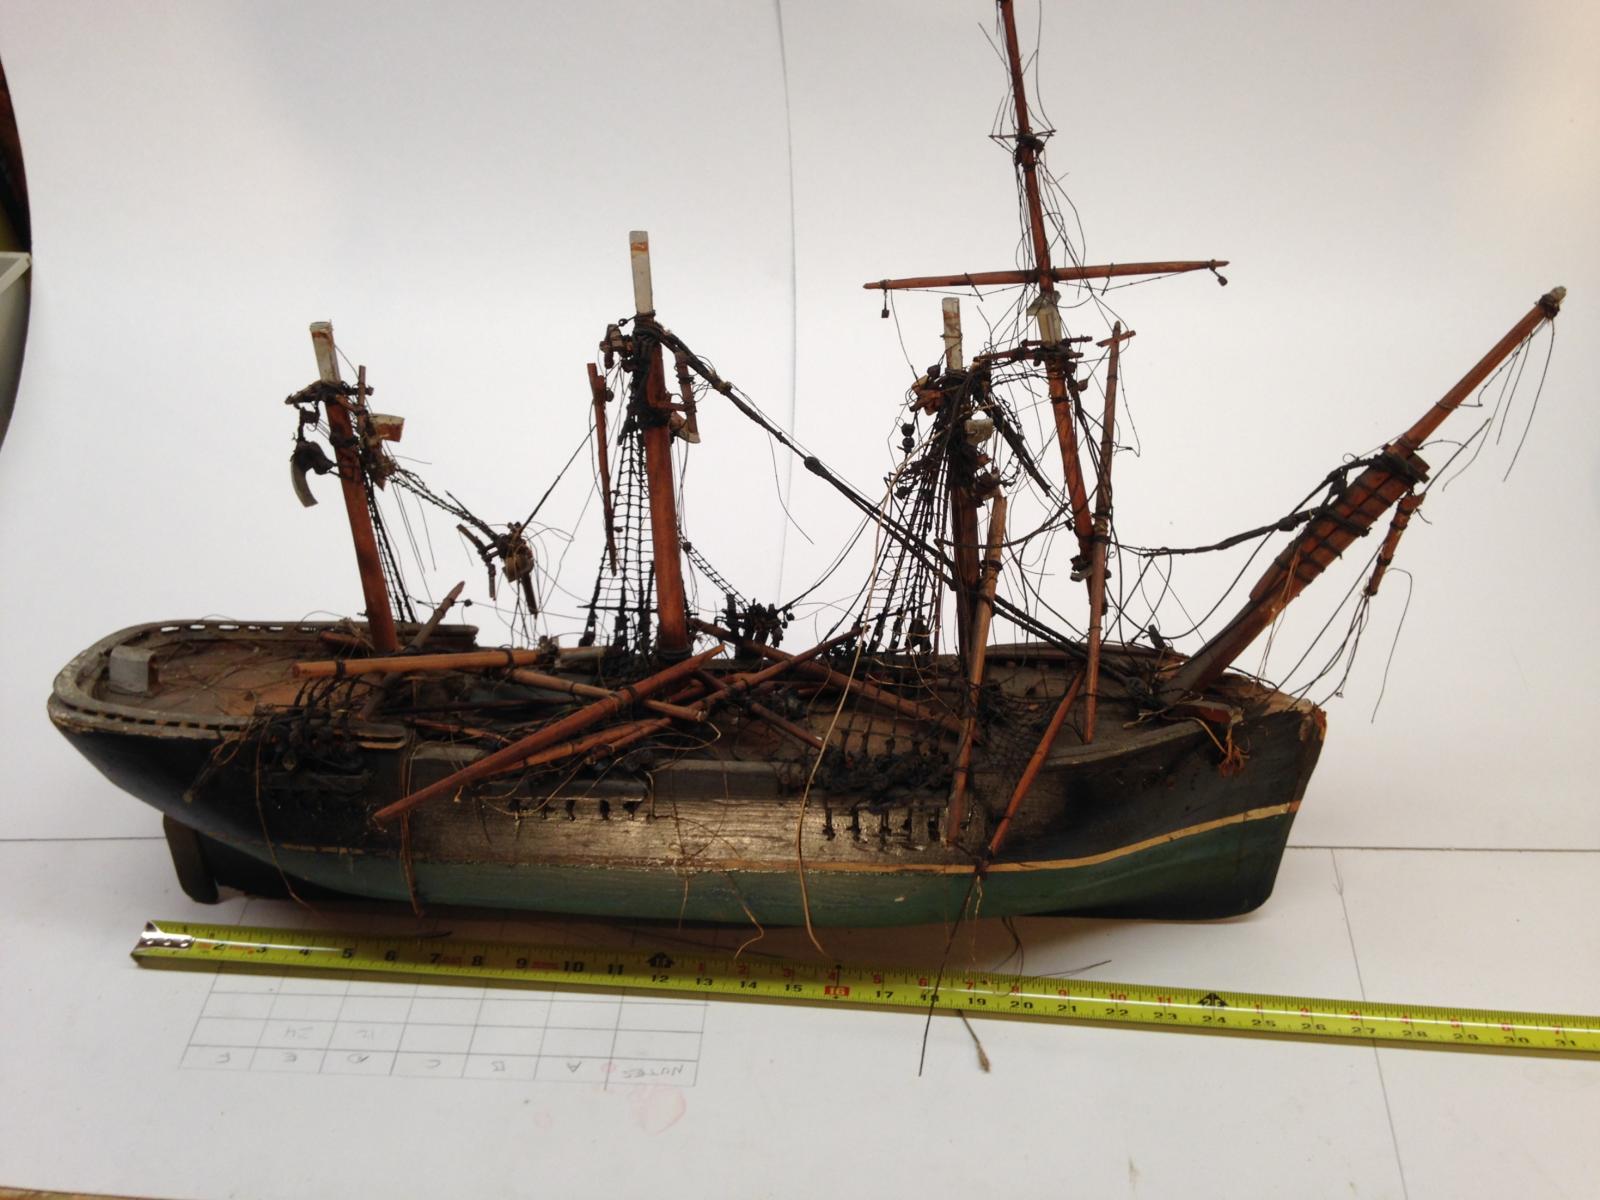
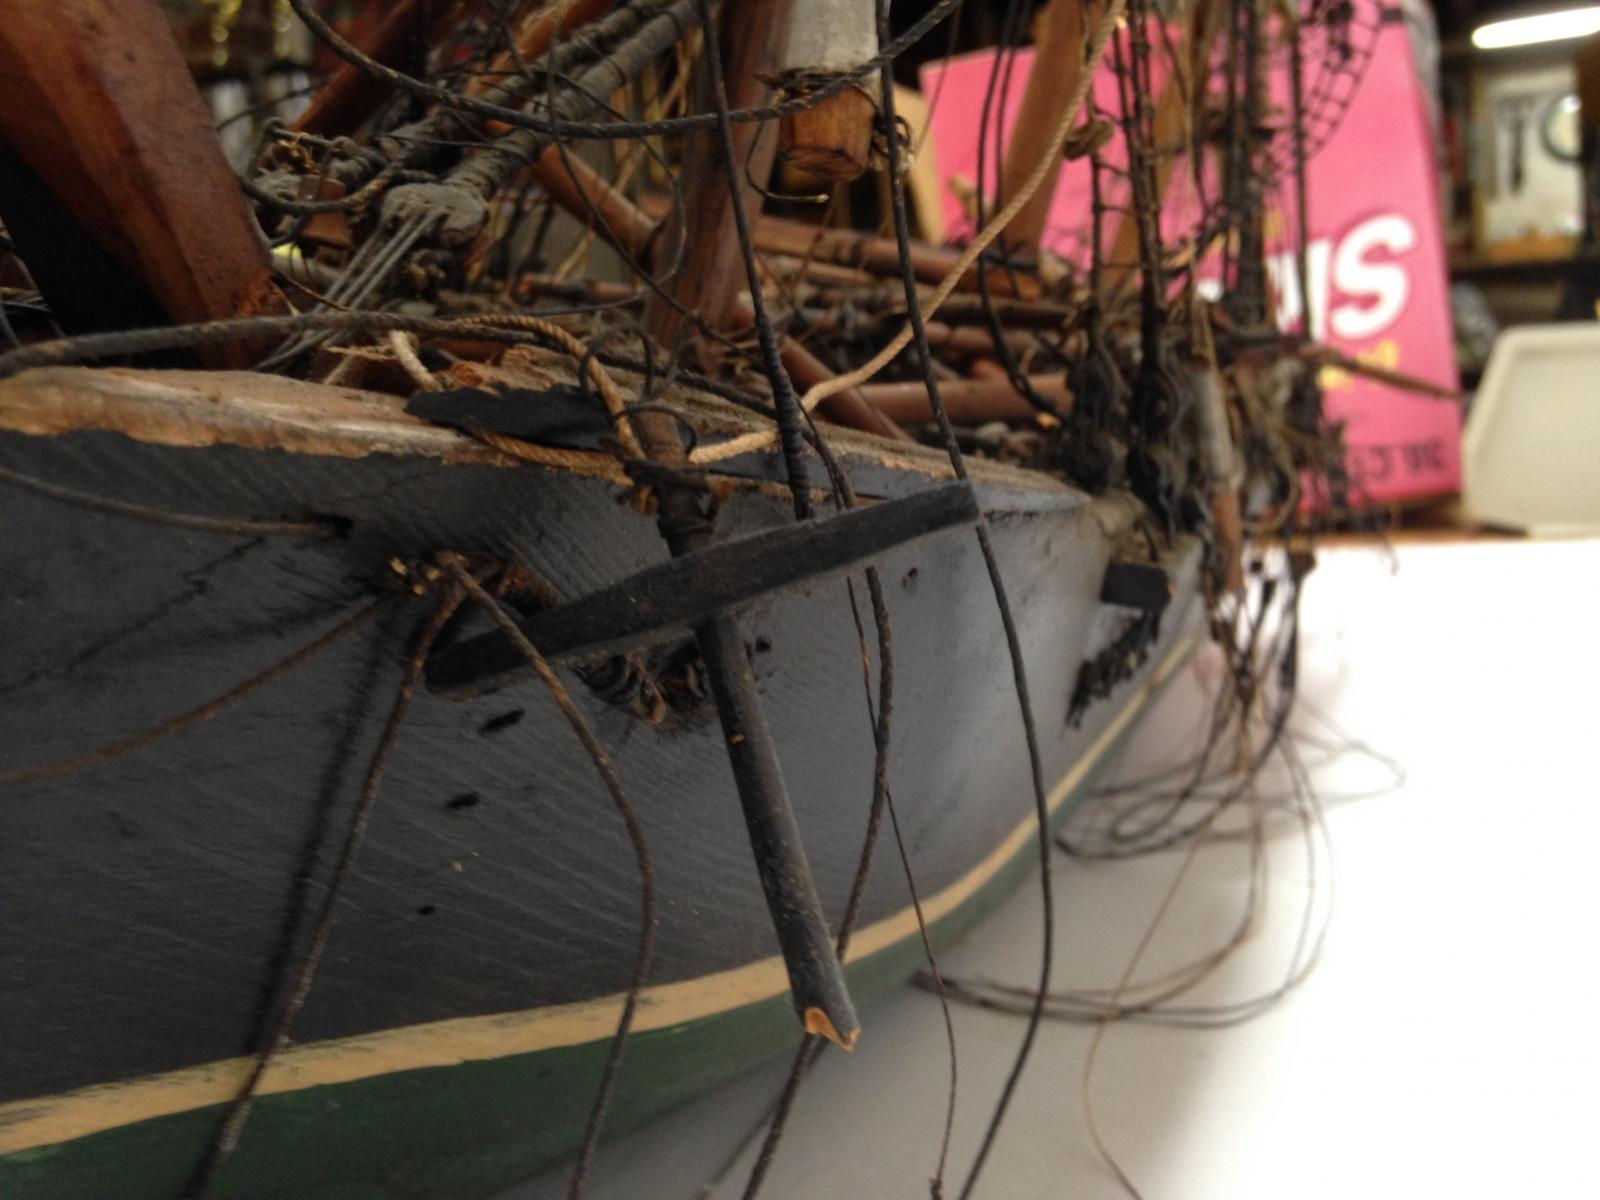
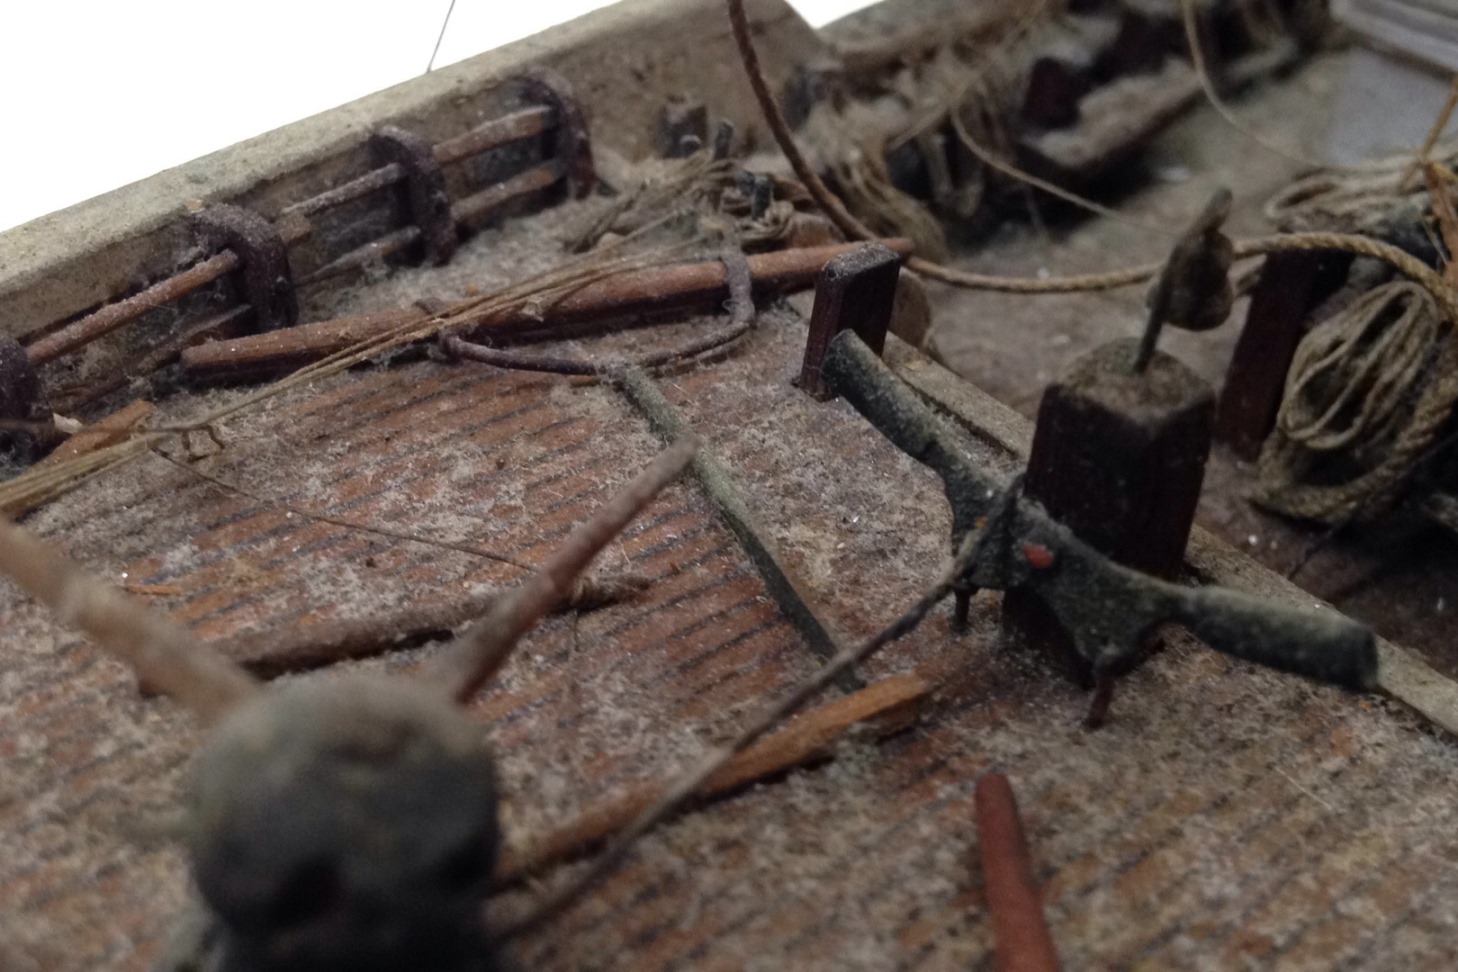
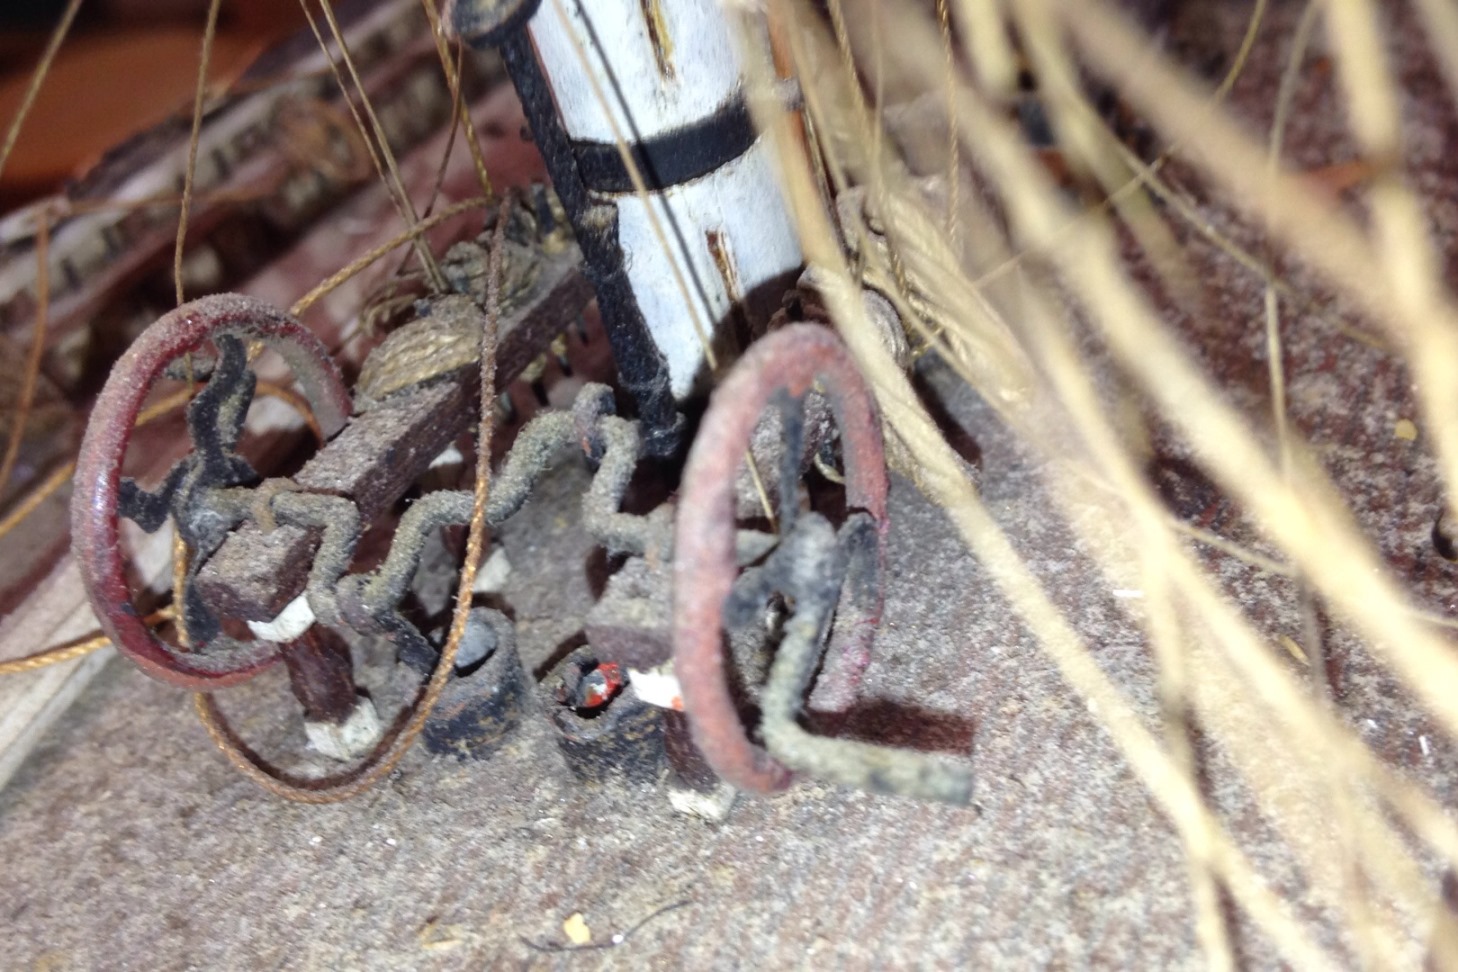
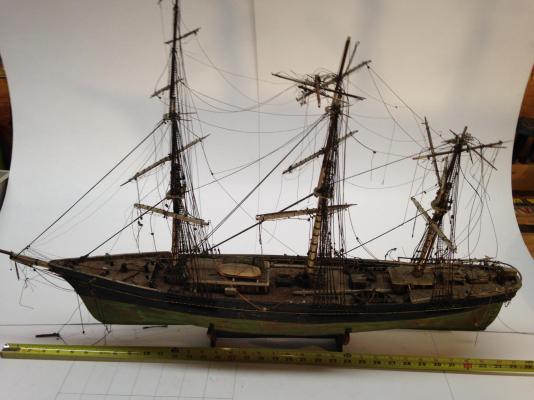
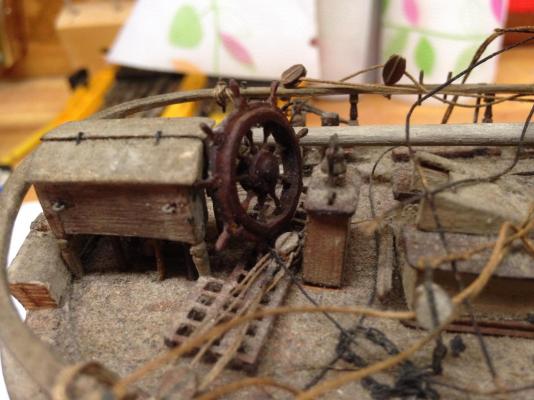
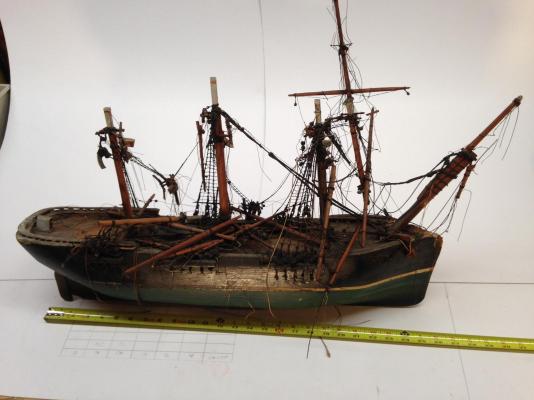
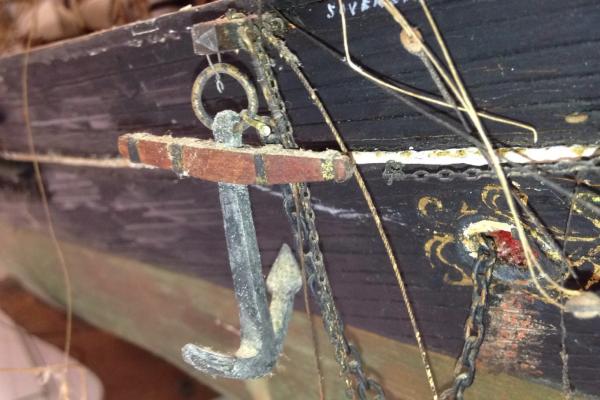
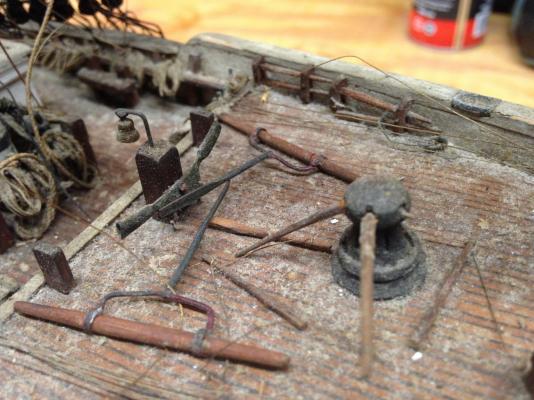
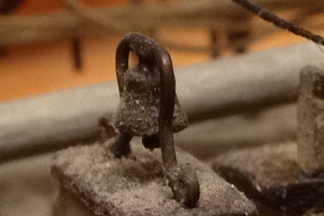
A neighbor recently gave me two antique wooden ship models. They belonged to his uncle and he believes they were built circa 1900. One has no name and was badly damaged when it was given briefly to a 2-year-old to play with. It appears to be completely hand made and the hull appears to be carved from a solid block of wood. The second is a model of Sovereign of The Seas. It is complete with very little damage, but is still in need of a fair amount of work. The detail on this model is far greater and many components appear to be cast metal, suggesting that it was perhaps built from a kit. I've attached photos. Any help identifying the unnamed ship, kit manufacturer(s) or possibly ship builders would be greatly appreciated. Thank you, Ed


-
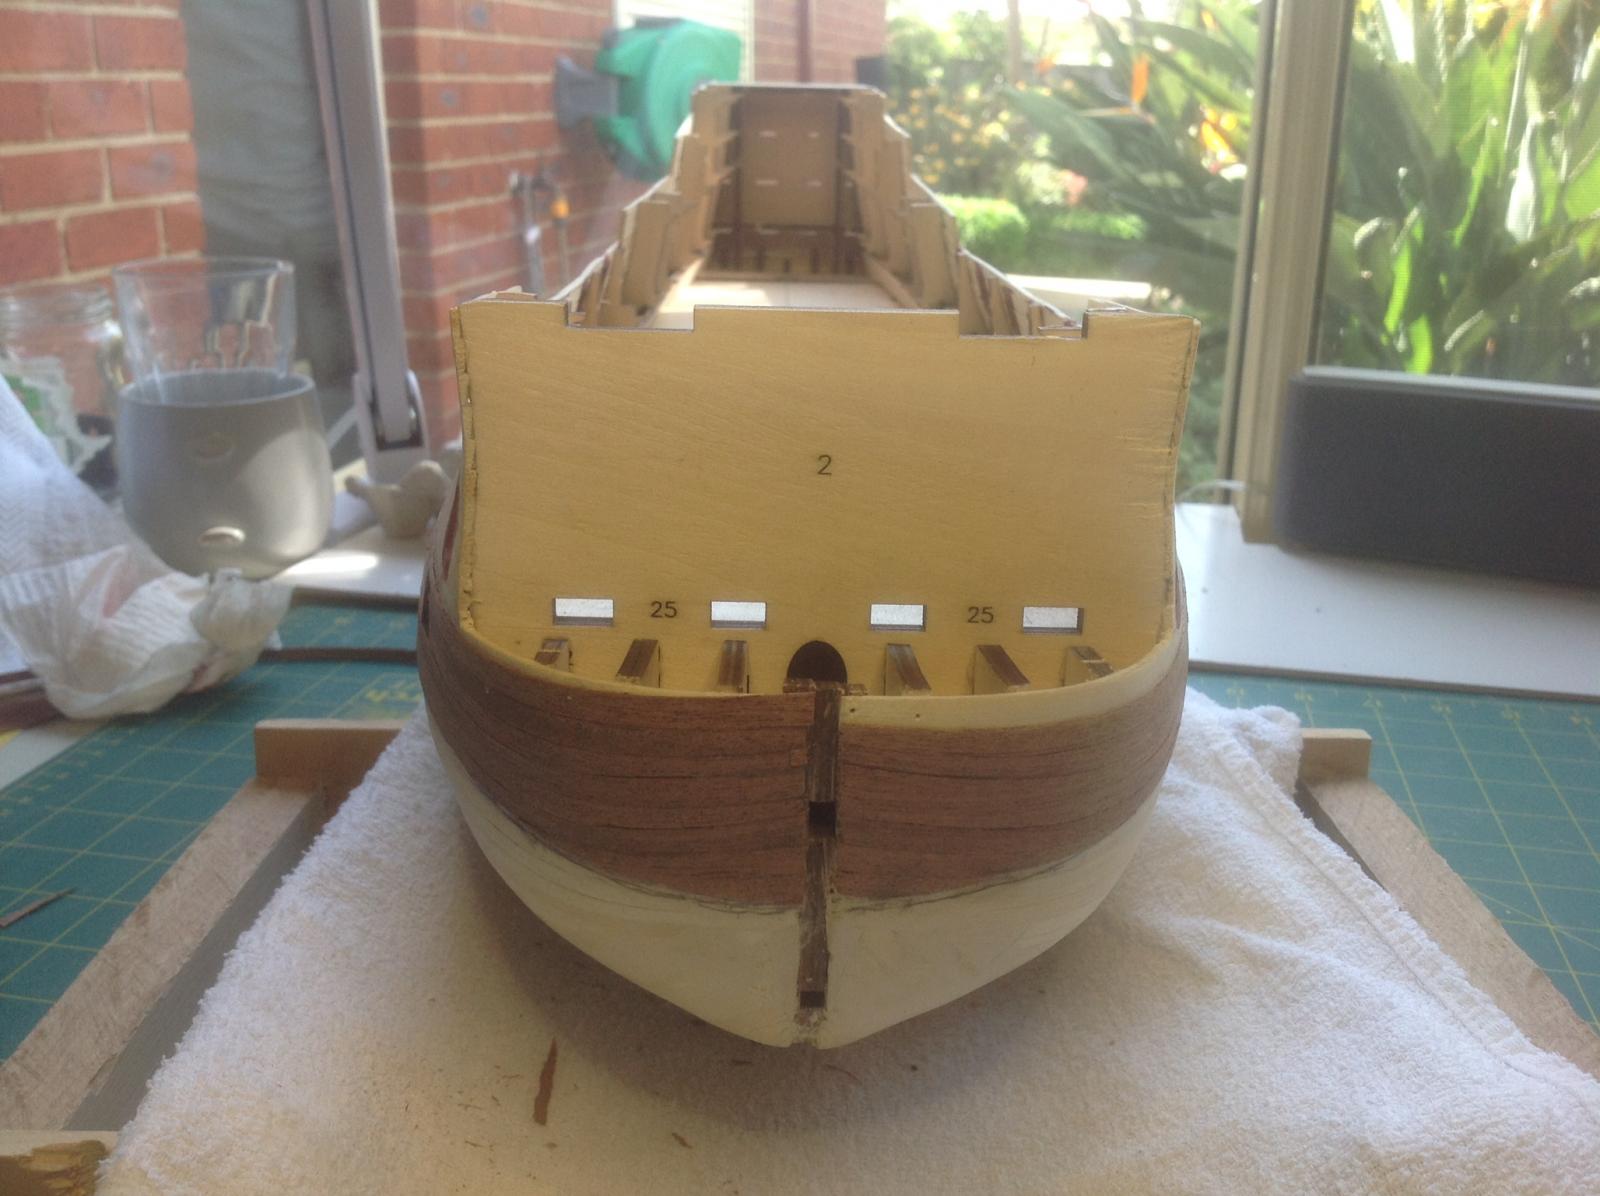
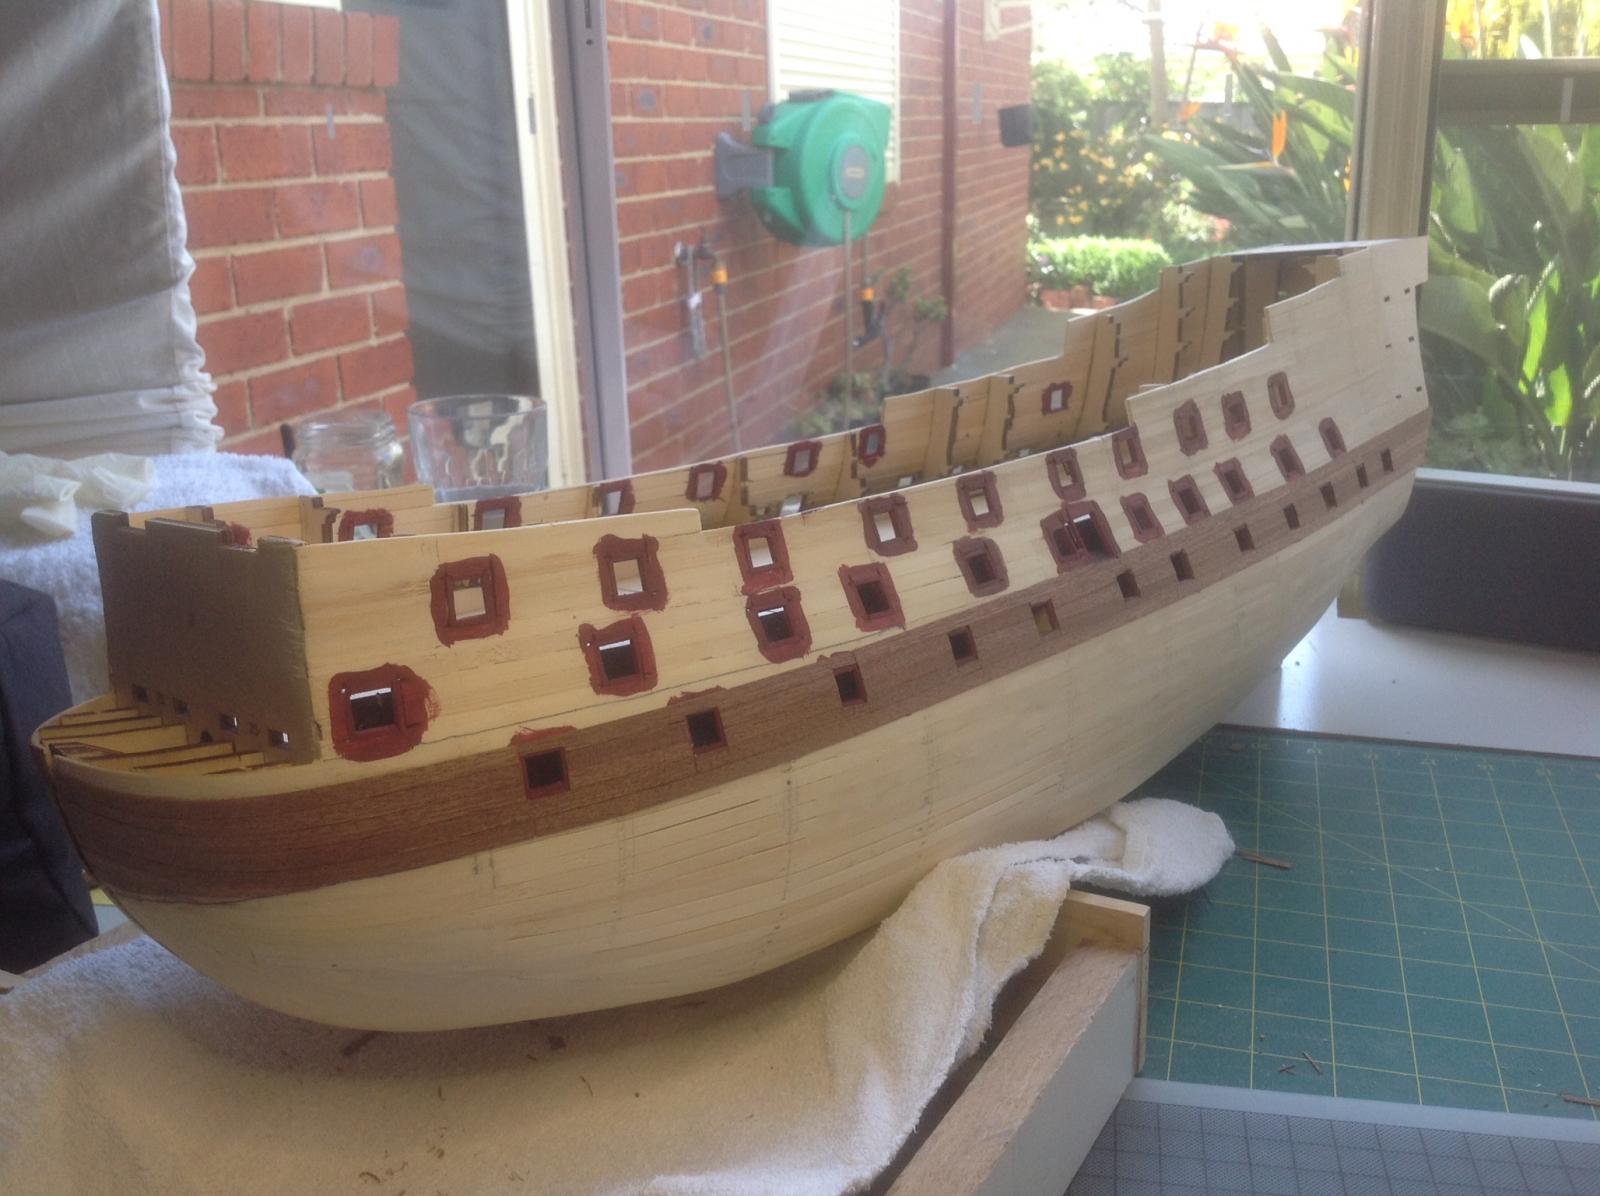
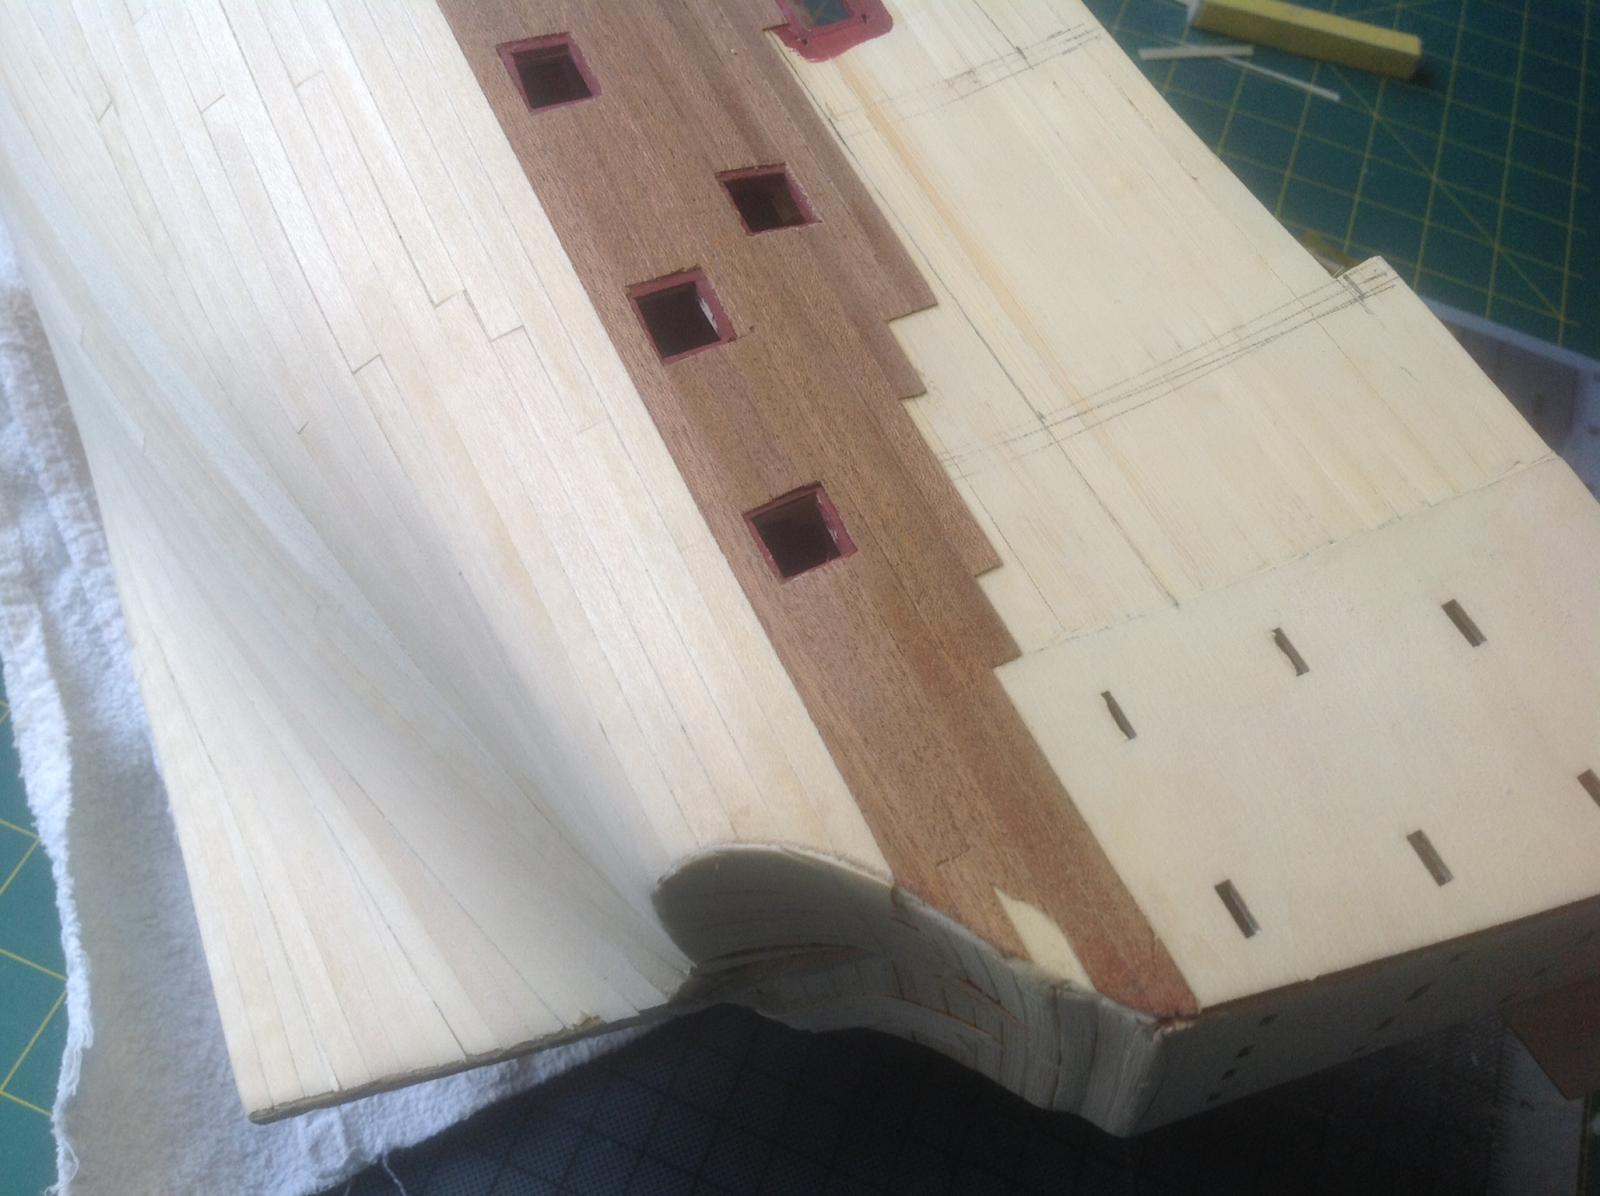
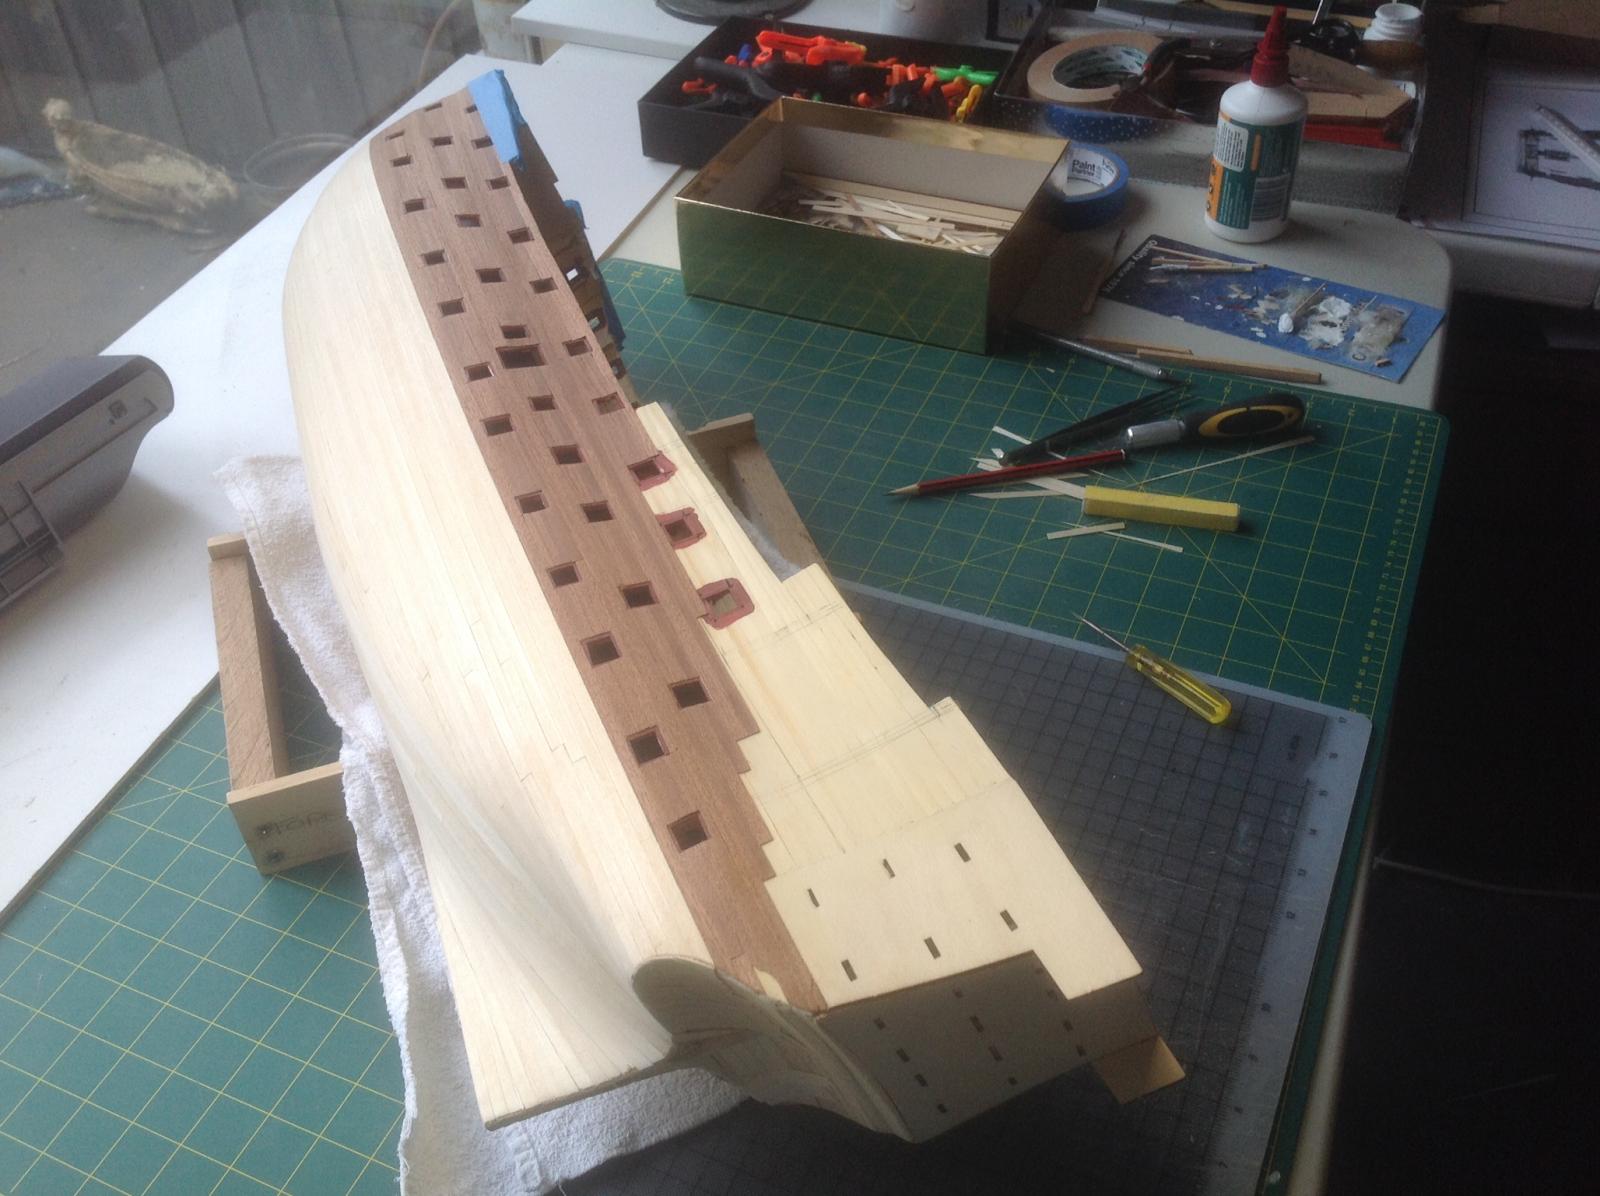
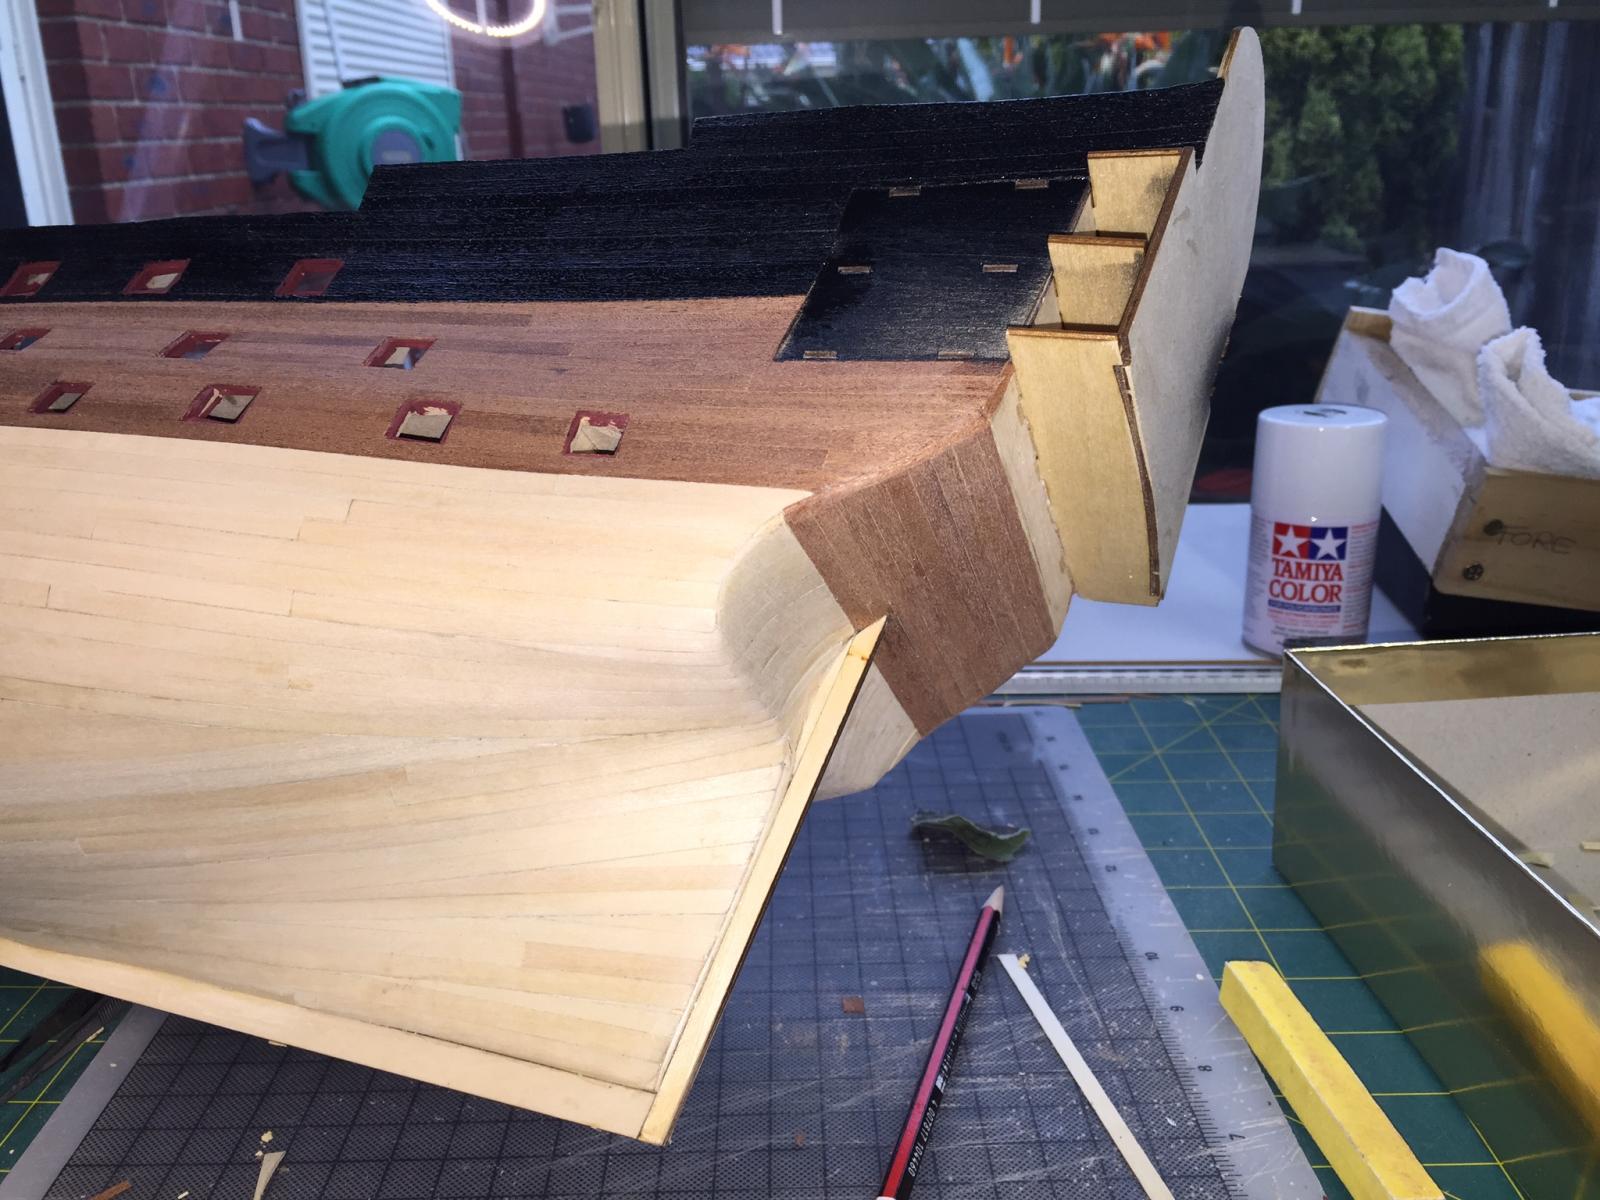
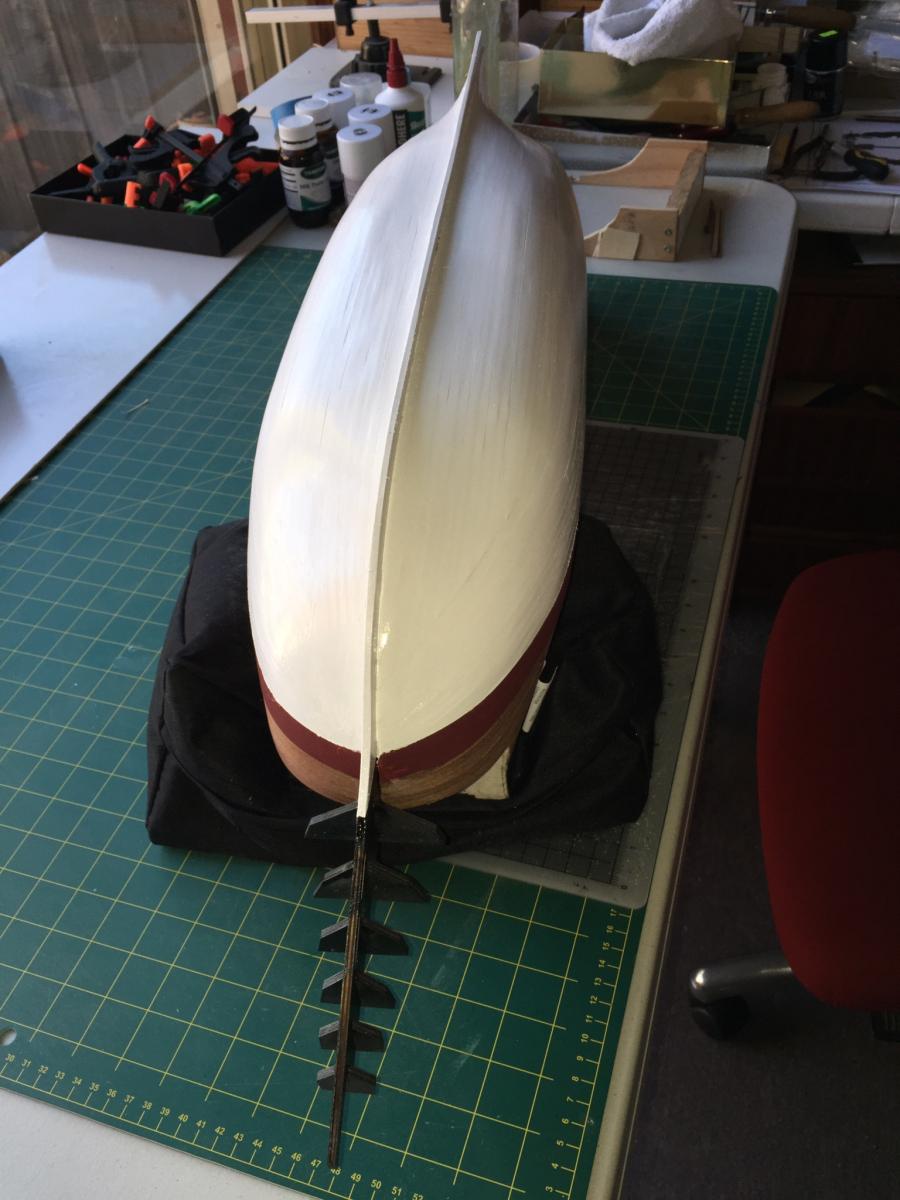
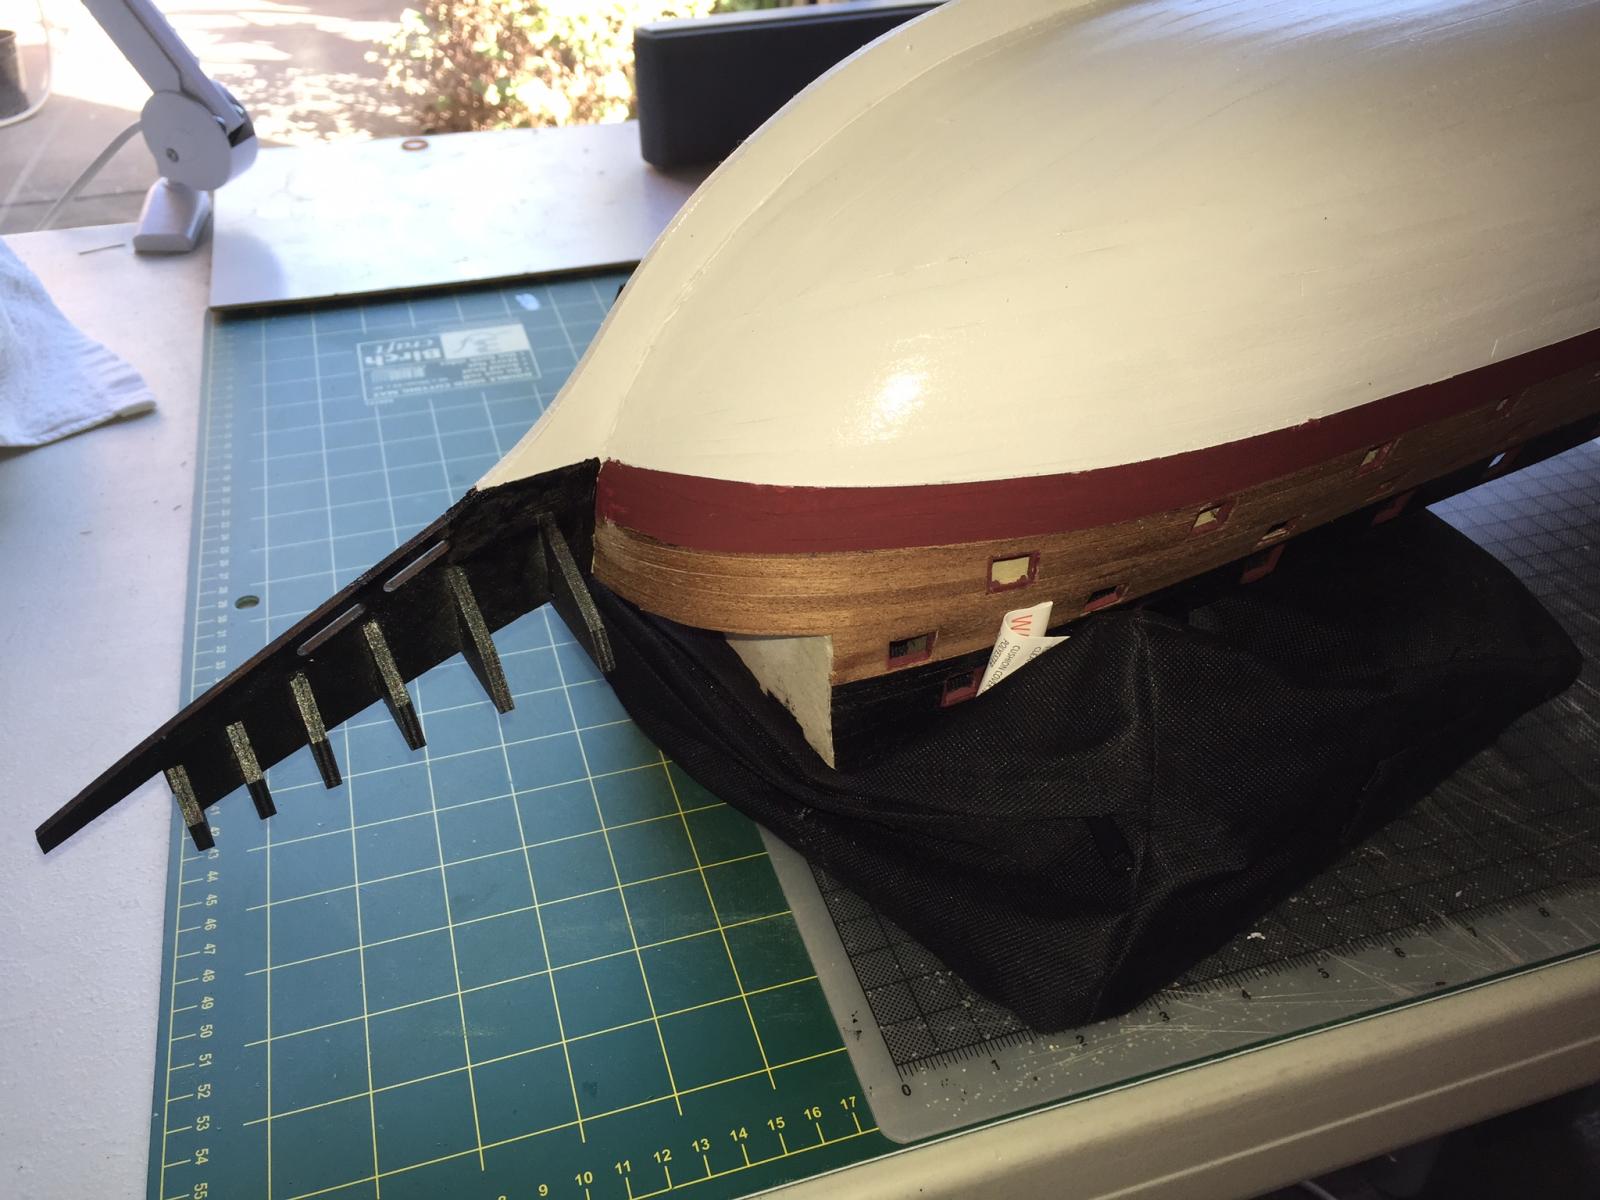
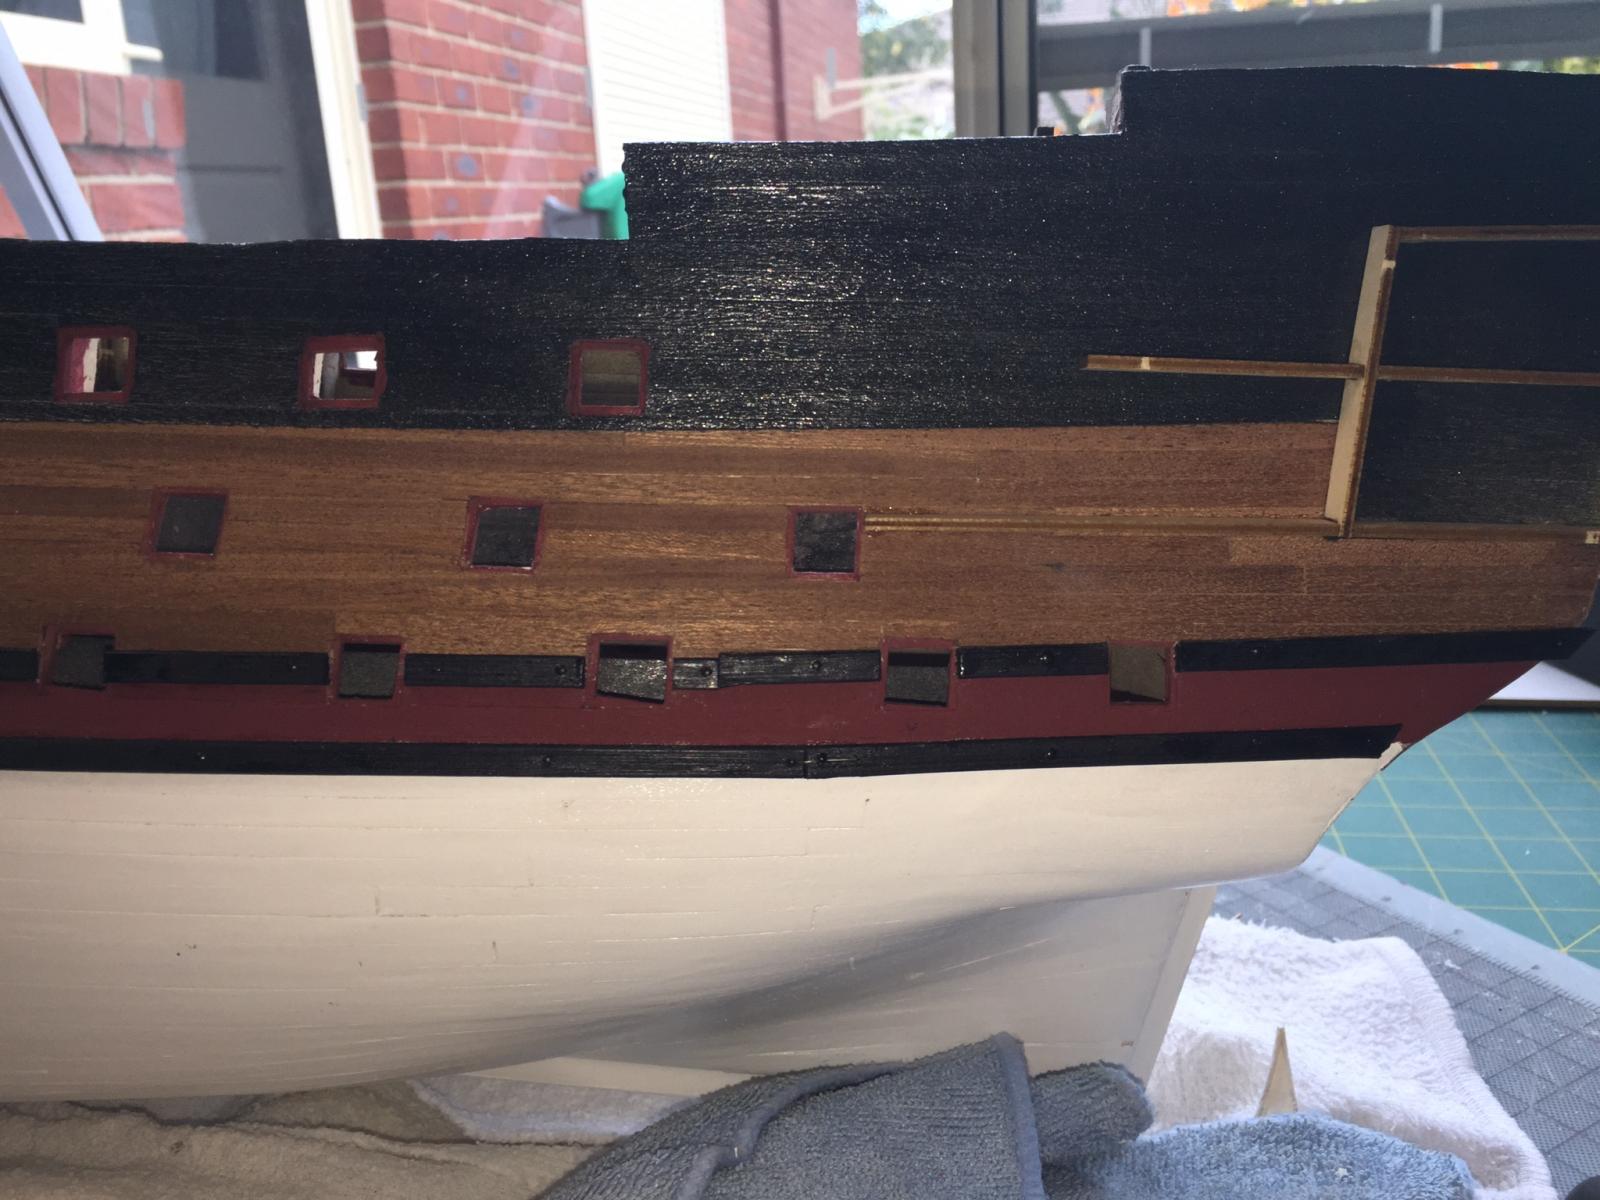
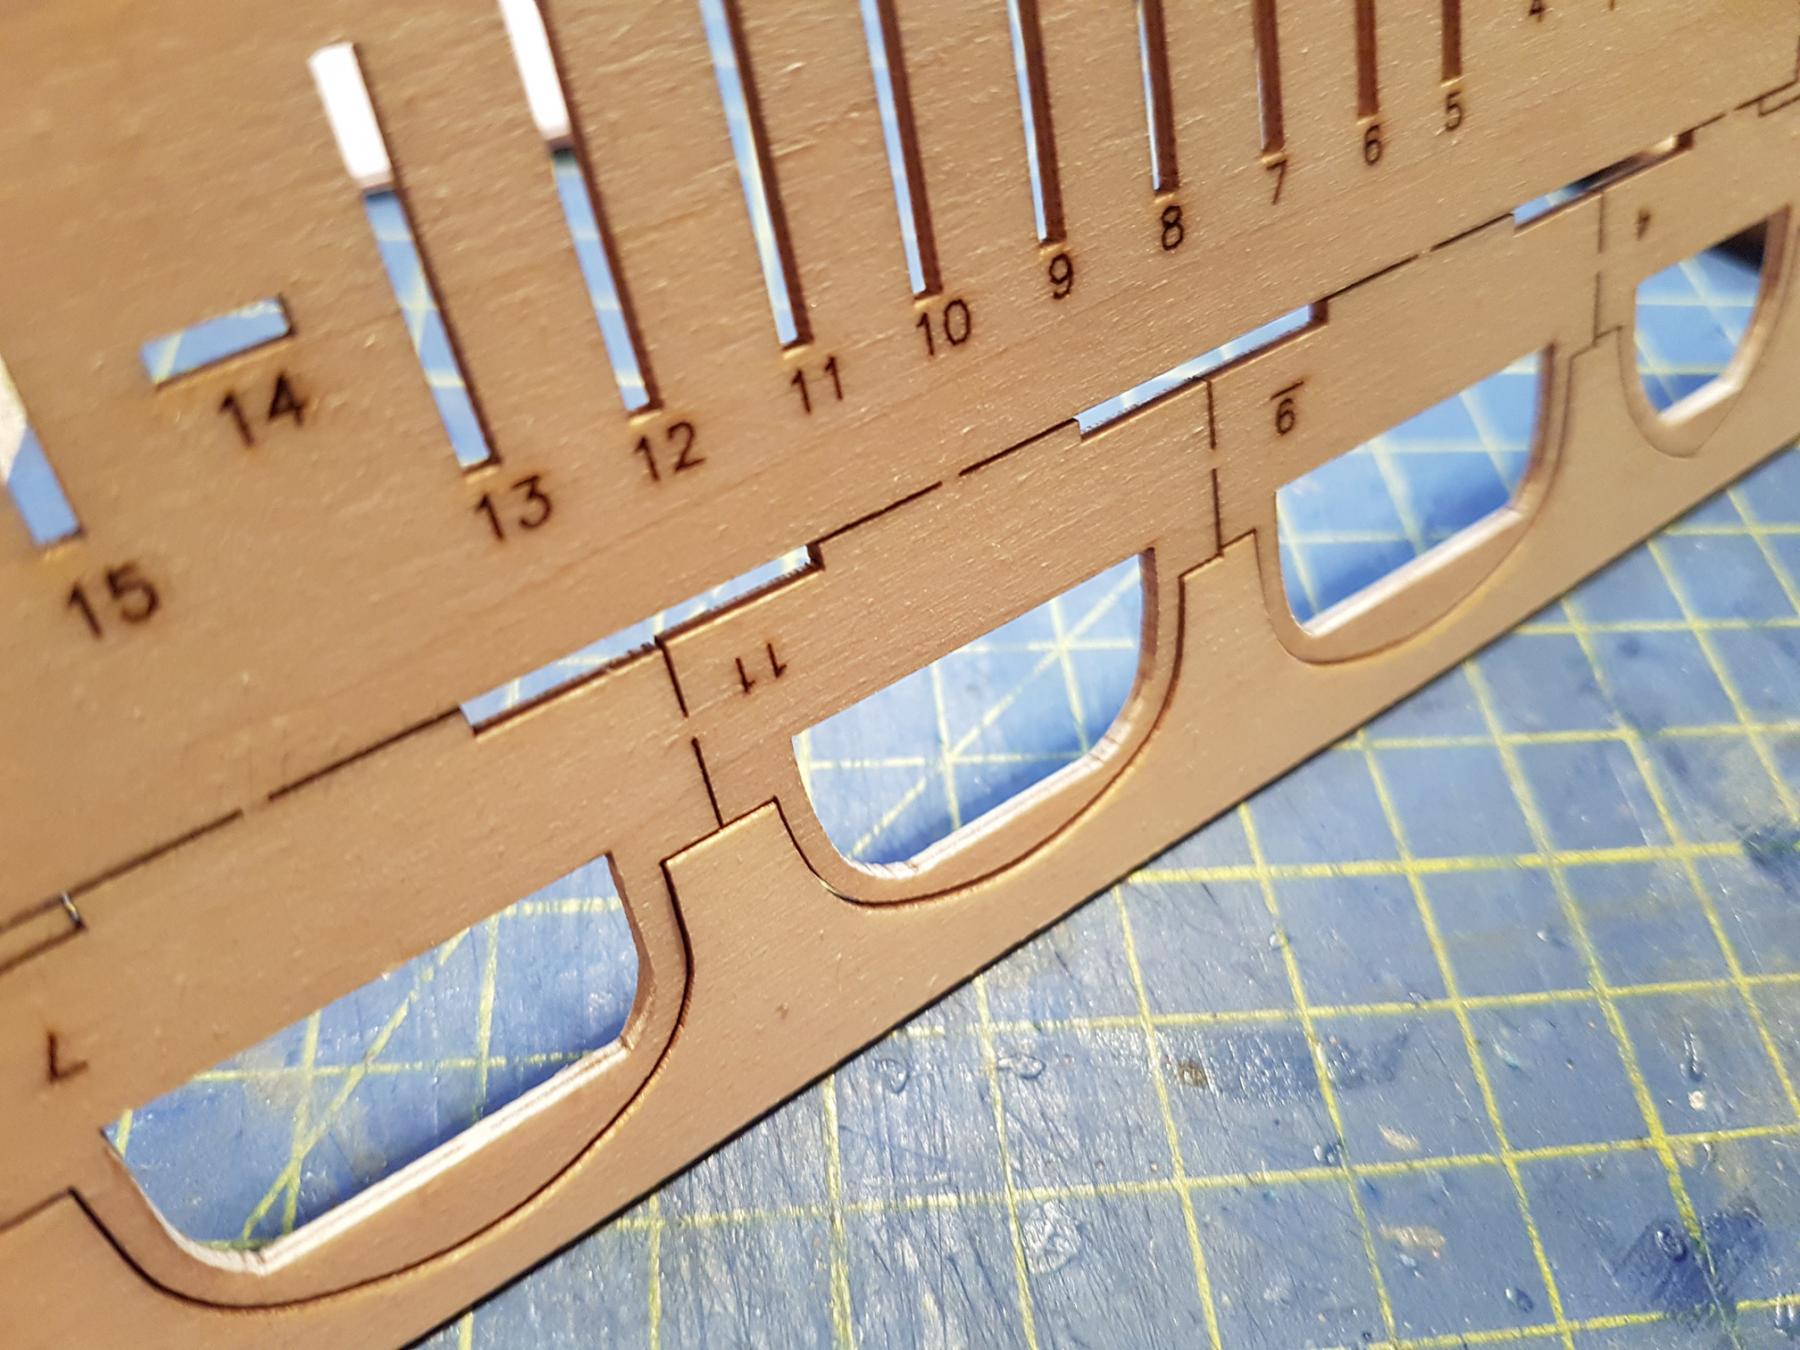
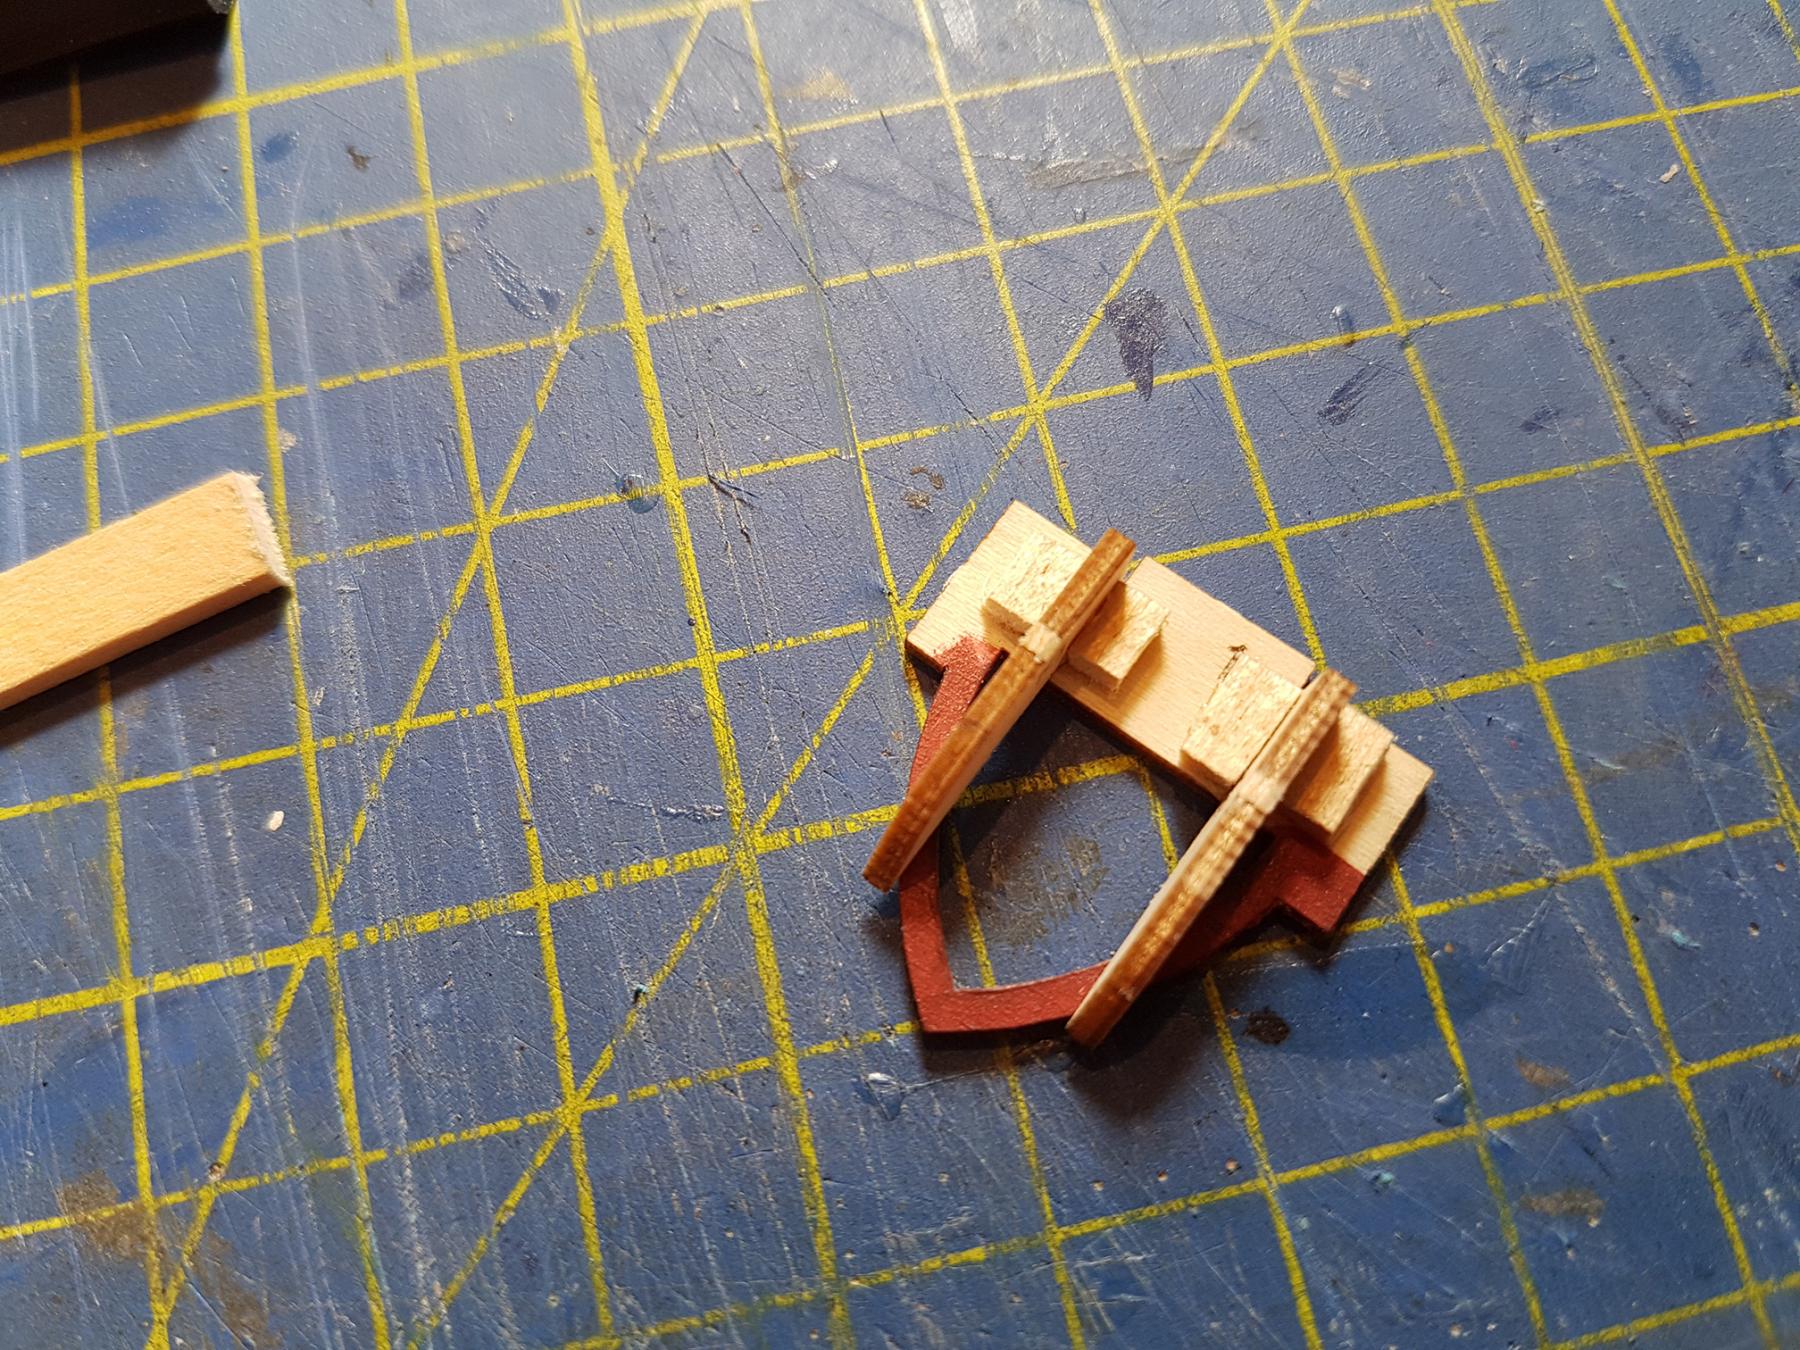
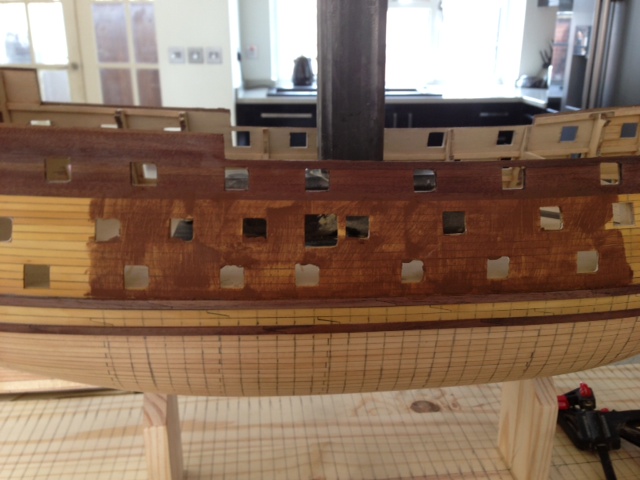
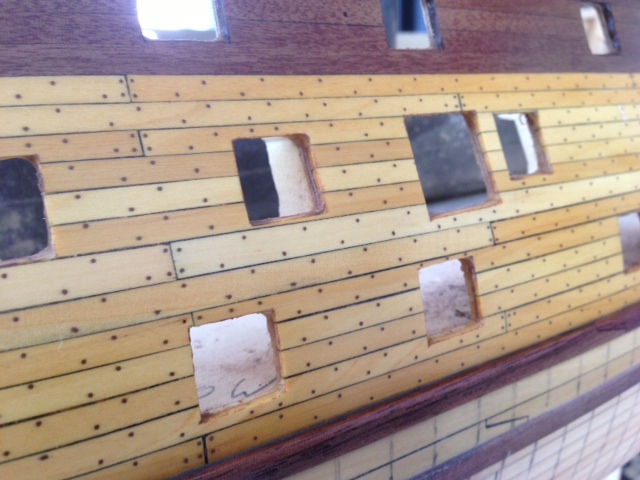
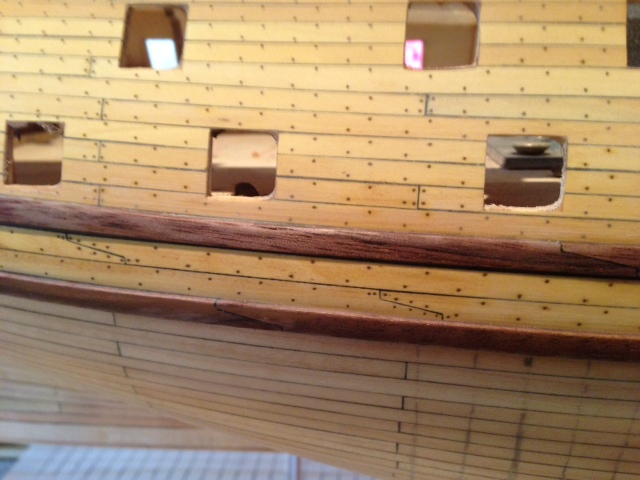
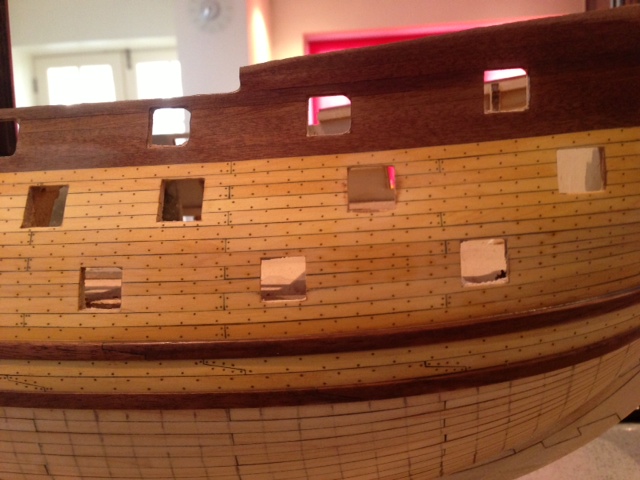
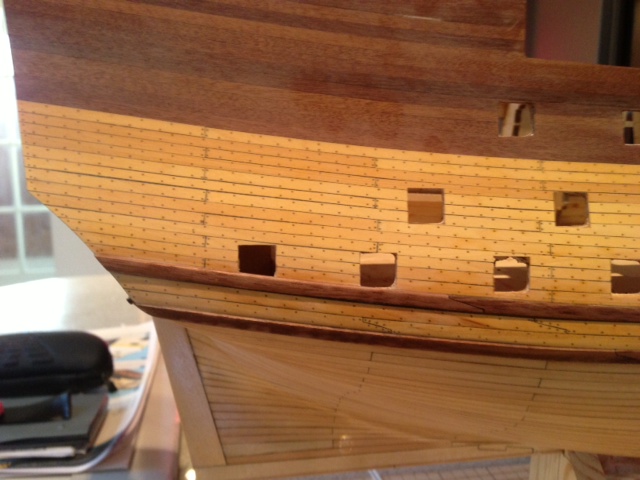
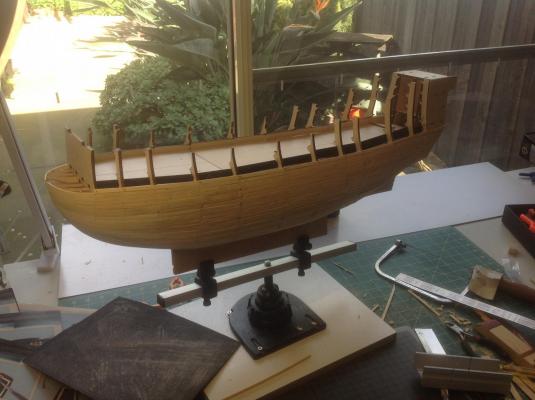
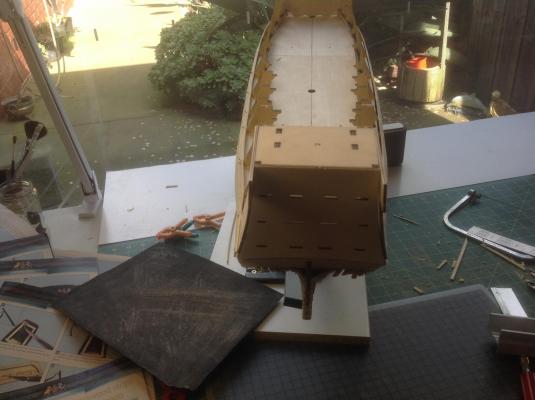
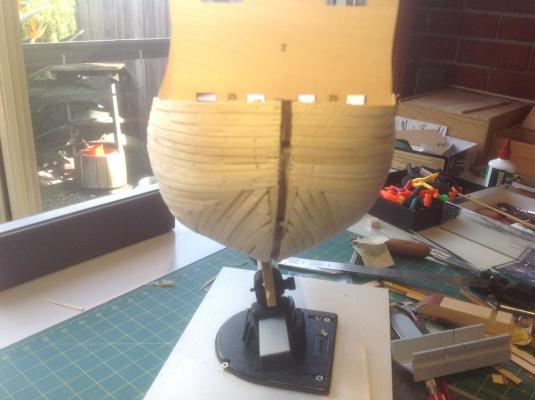
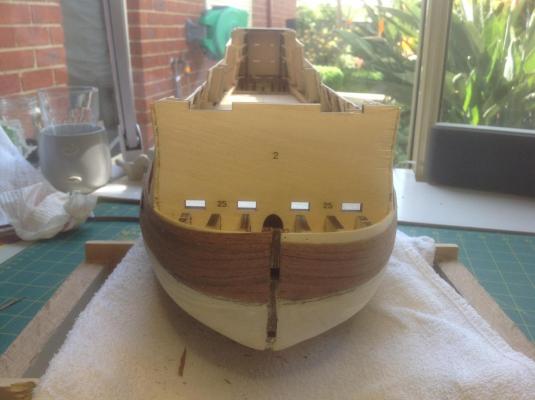
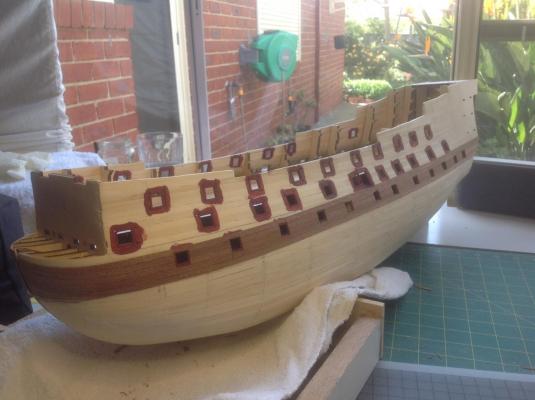
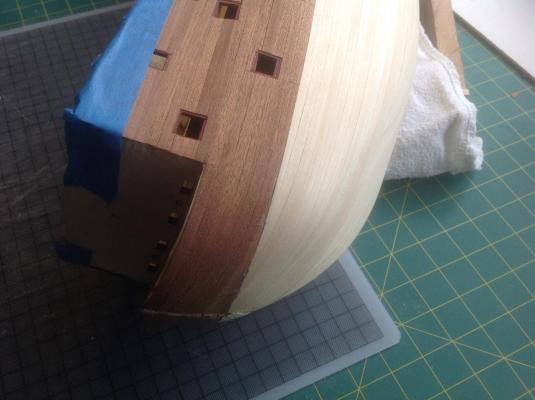
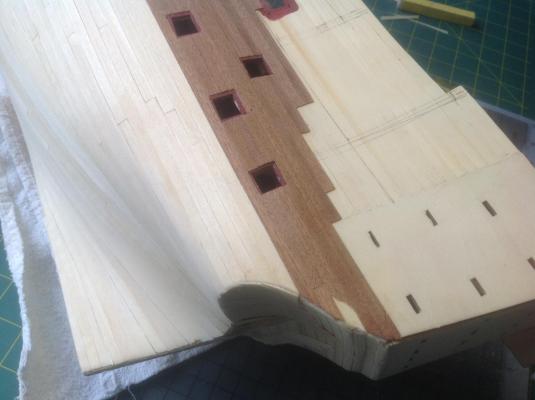
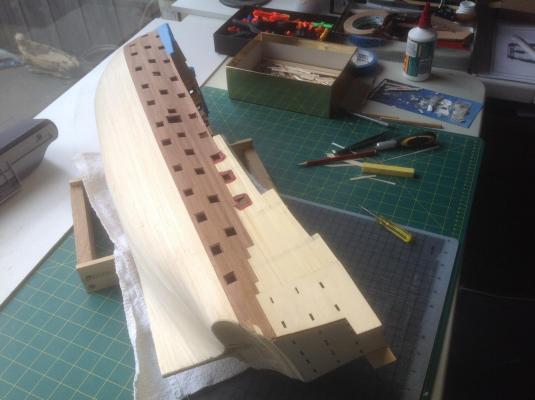
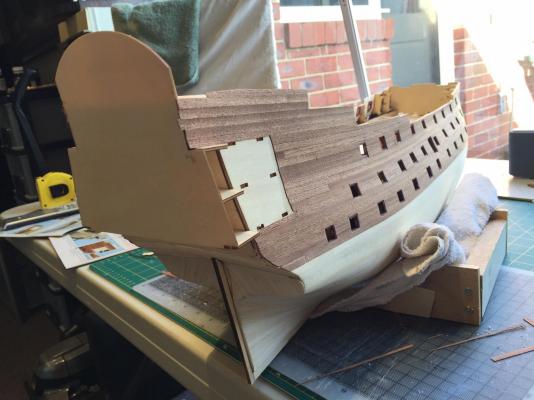
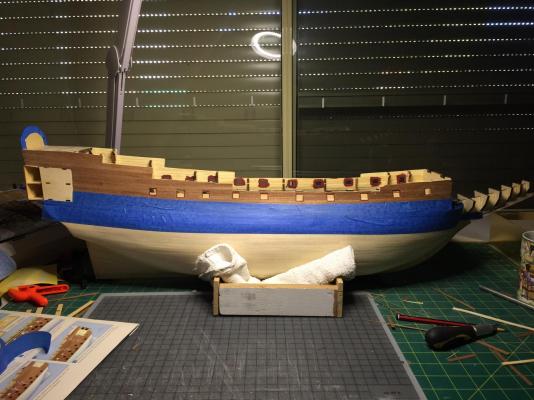
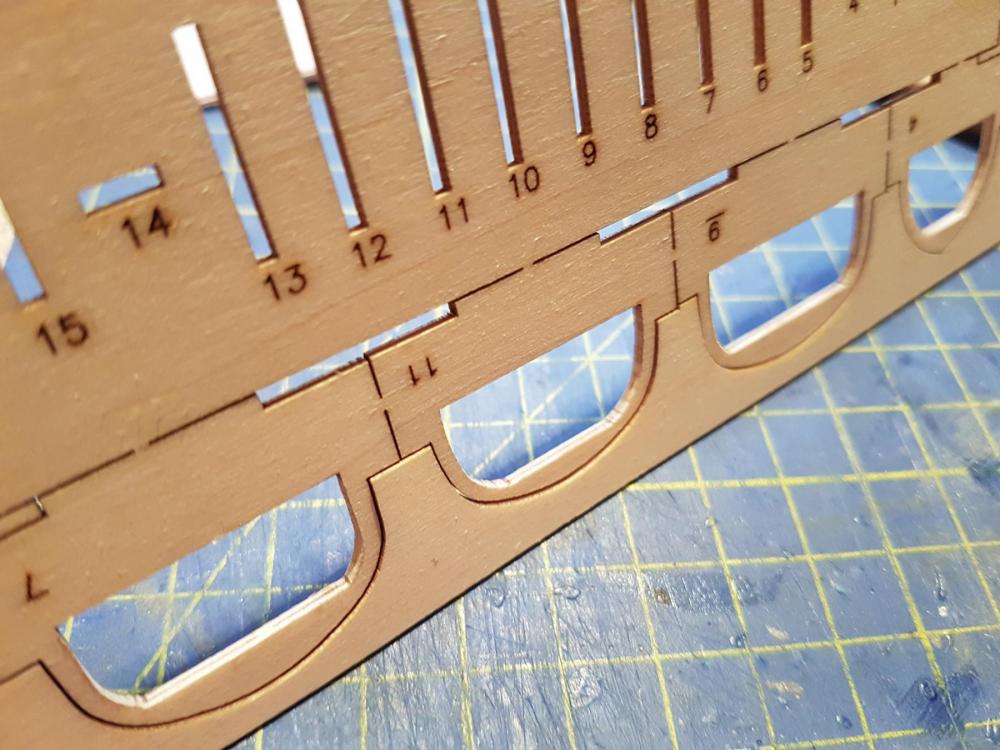
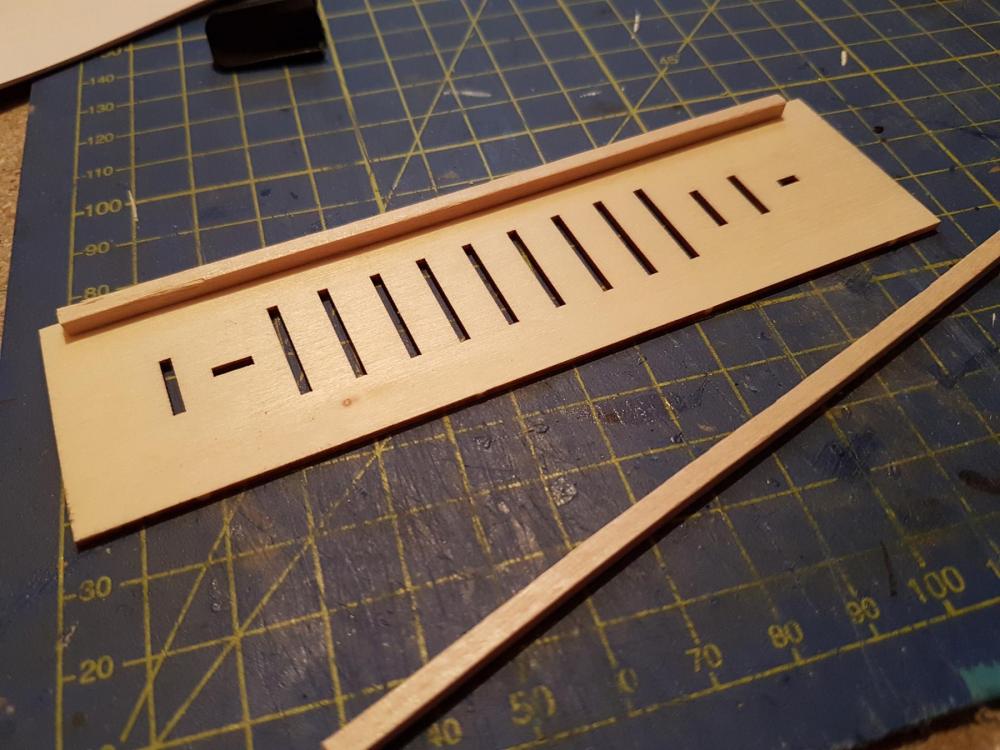
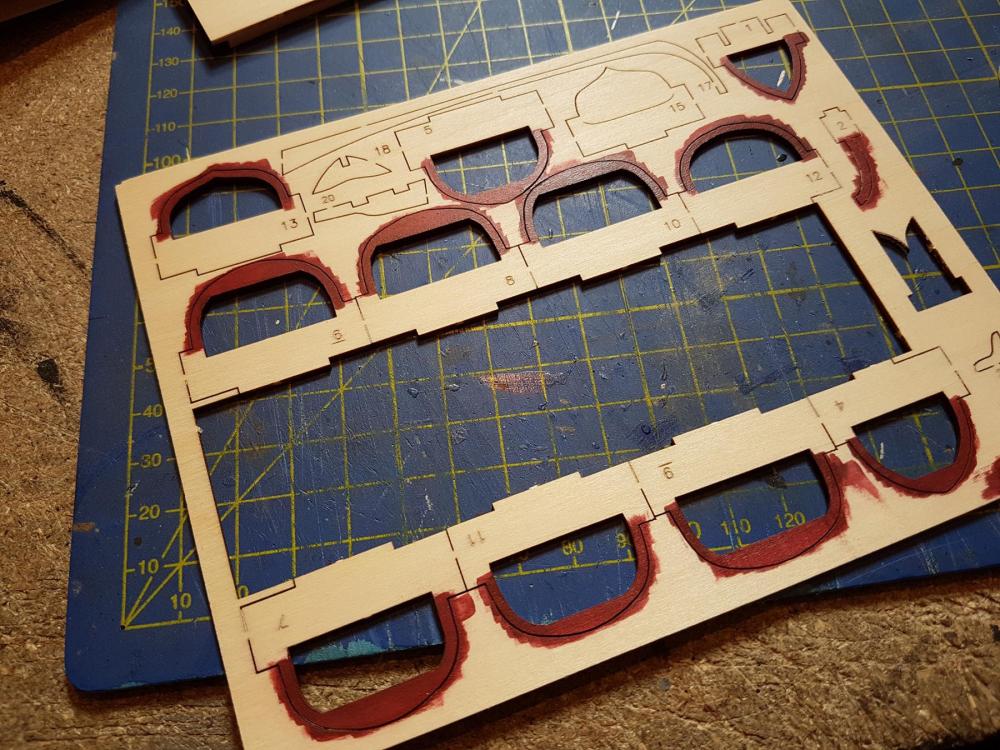
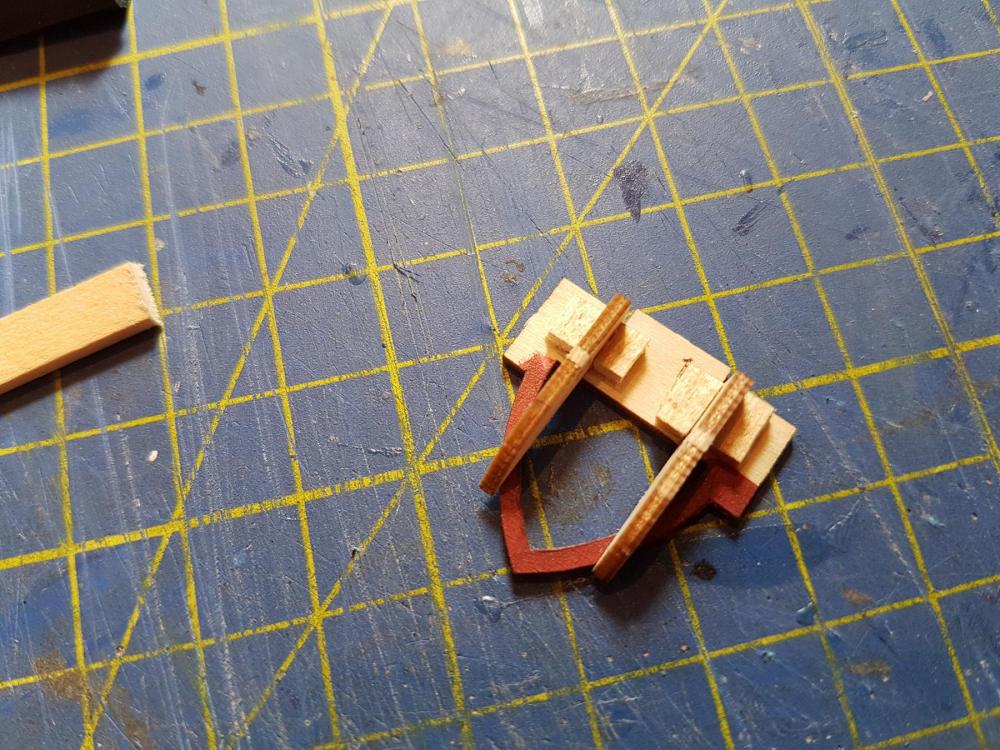
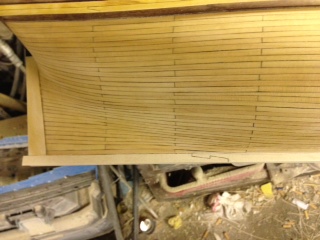
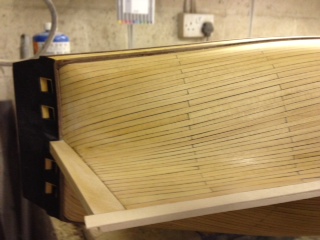
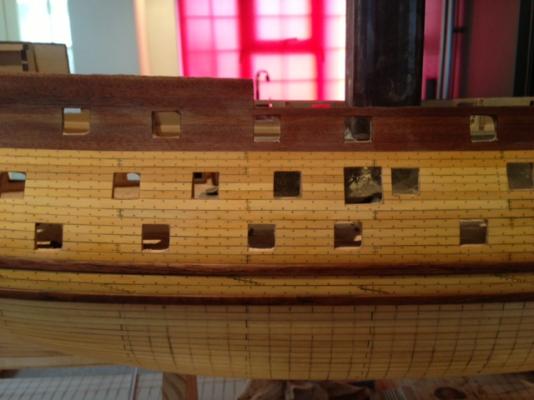
 I have edited this first post in view of my log relocation.This build did start as a modified version of the Deagostini partwork,but as you read through the log,you will discover virtually nothing remains from the kit. To date I have built and planked the hull.So far the only kit parts I have used are the bulkheads.These had to be reprofiled at the stern to give a 'proper' round tuck stern.The planking below the walnut wales is maple and that above is boxwood.The walnut section at the top is to be painted black(I used walnut as it is a third of the cost of boxwood).I have cut the gunports as per the instructions but I am going to 'double line'the gunports on the upper deck to reduce them in size. At present before I final size the gunports and add anymore detail,I am replicating the treenailing on the whole hull.After reading about the many different techniques I chose to drill 0.4mm holes then use dark wood filler.The hull was glass smooth and fully sealed before starting,and I found the process fairly simple akin to grouting tiles,although I estimate at between three and four thousand holes to be drilled!I made a simple jig to assist in marking where the frames would be. Regards Nigel
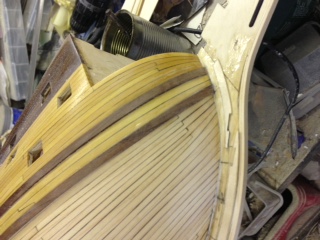


-
 Boy, this is a real pain. Been posting a whole year with my build log including hundreds of photos and now have to start from scratch? Well, I will do it piece by piece. It will take quite a while. Vince
 -
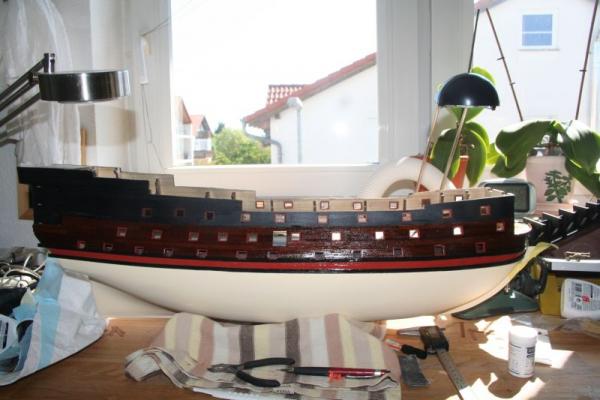
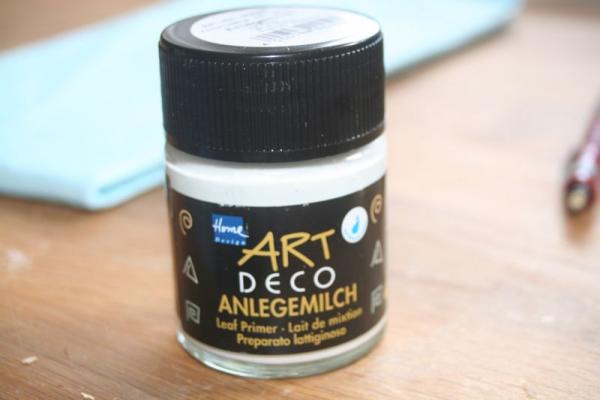
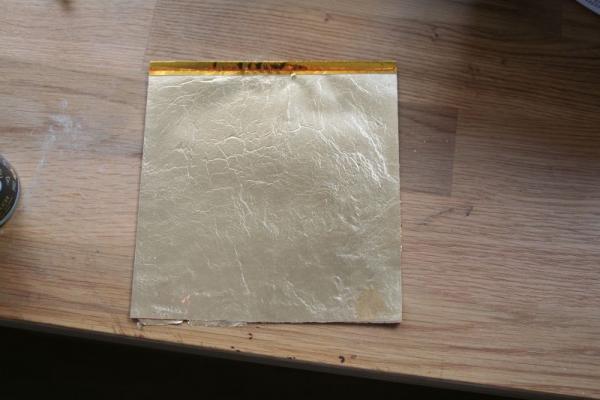
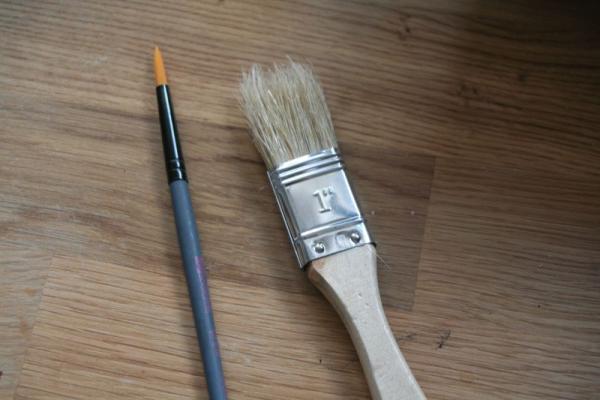
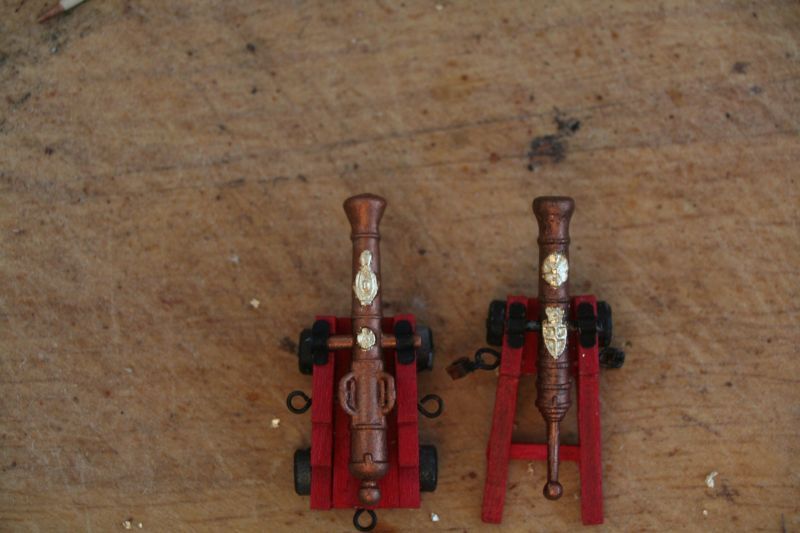
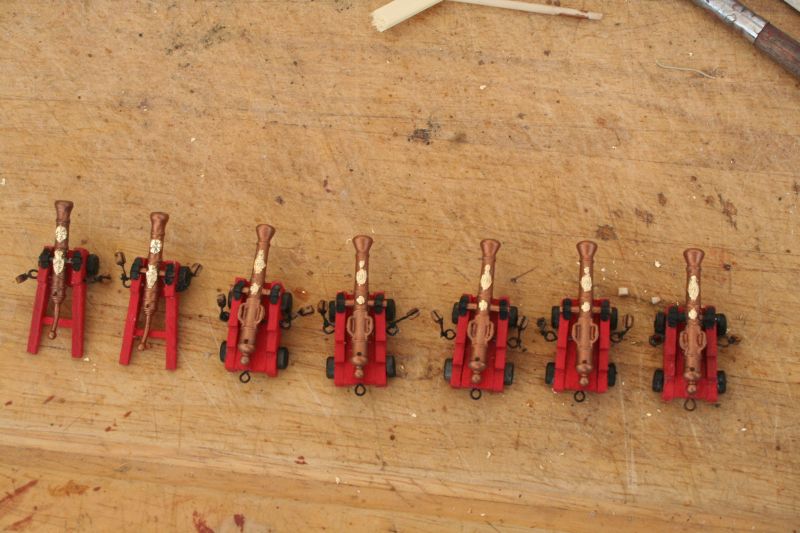
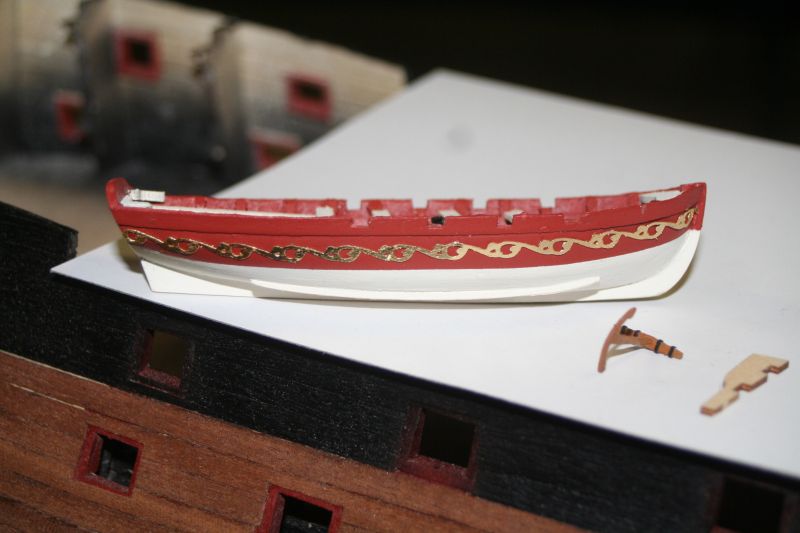
 Hello to everyone.......! This is my main work - The Sovereign of the Seas from DeAgostini and if I wait for the next components (only once a months) I work on the "Le Gros Ventre" I started last year in august and so she looks today, if you want I can put more pictures from the beginning on. We are still not as far as in England, we are in the construction stage 36 from 135 and so I built the cannons and have them finished with gold leaf and so I'll refine all gold parts from the Sovereign and there are many of them here is the dinghy