


kostas_gr
-
Posts
217 -
Joined
-
Last visited
Content Type
Profiles
Forums
Gallery
Events
Posts posted by kostas_gr
-
-
-
-
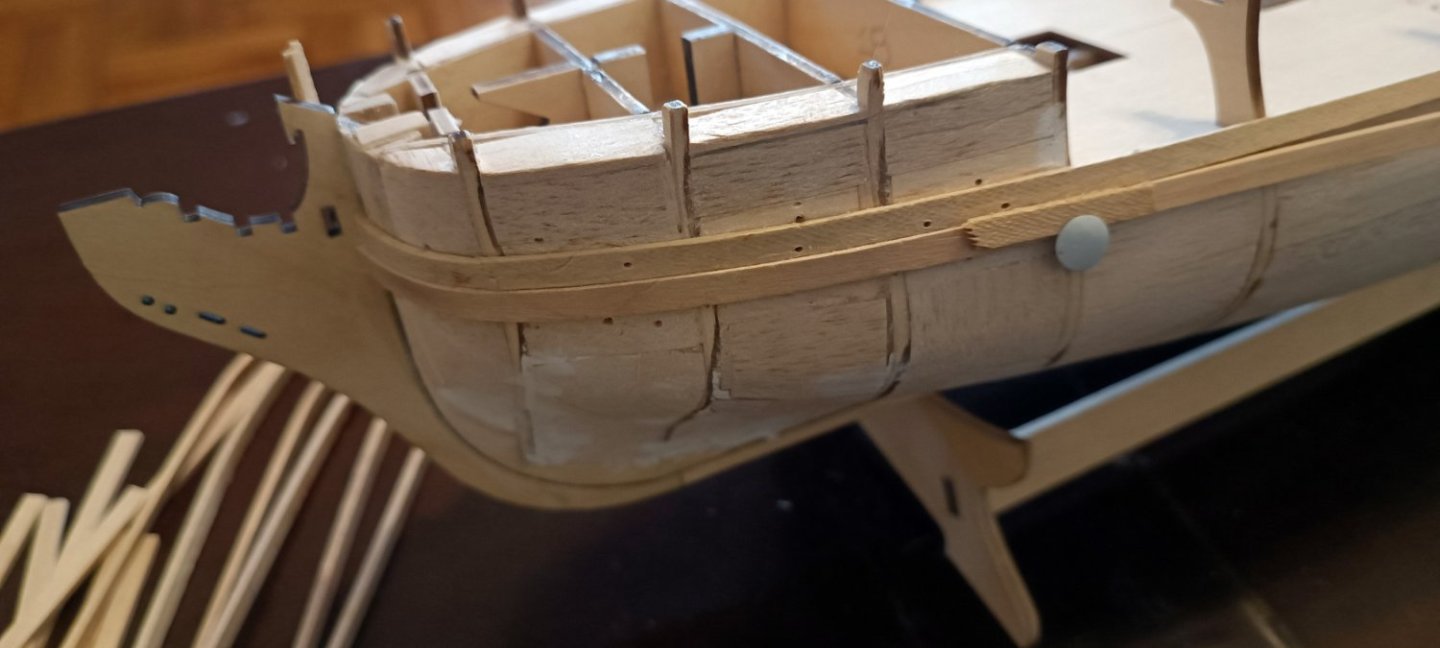
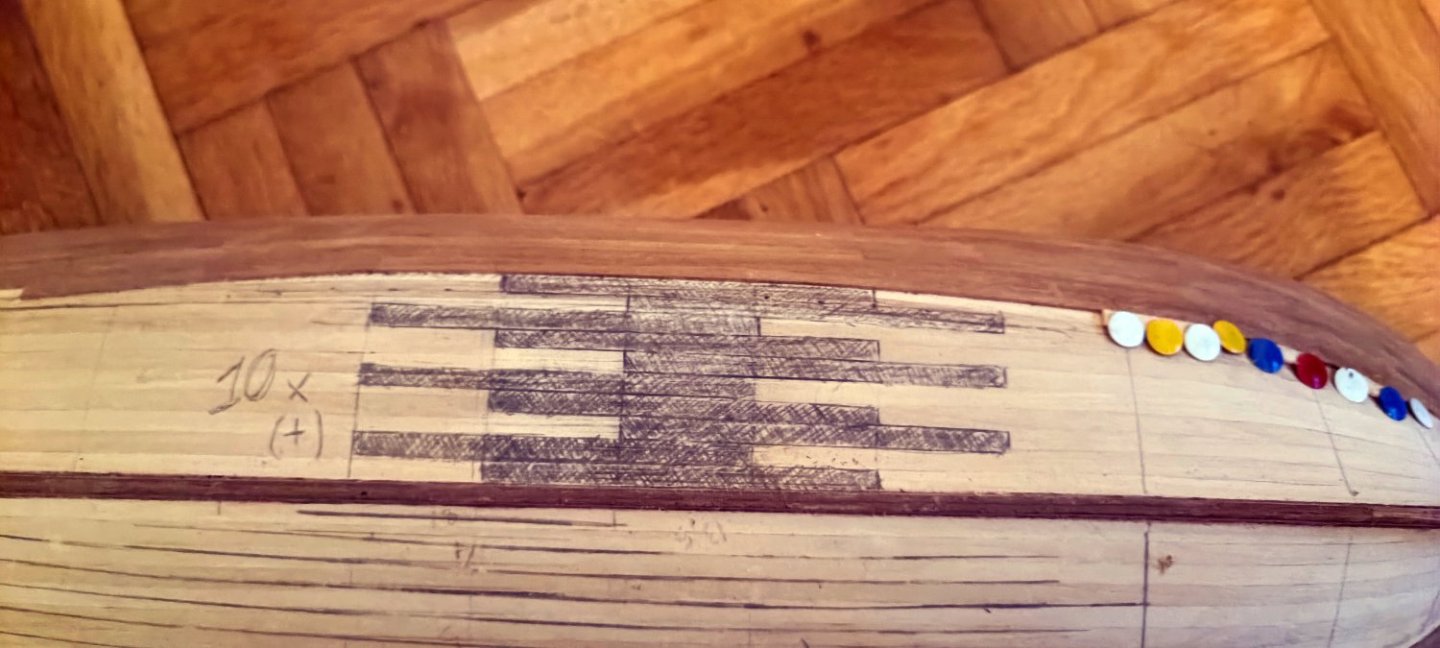
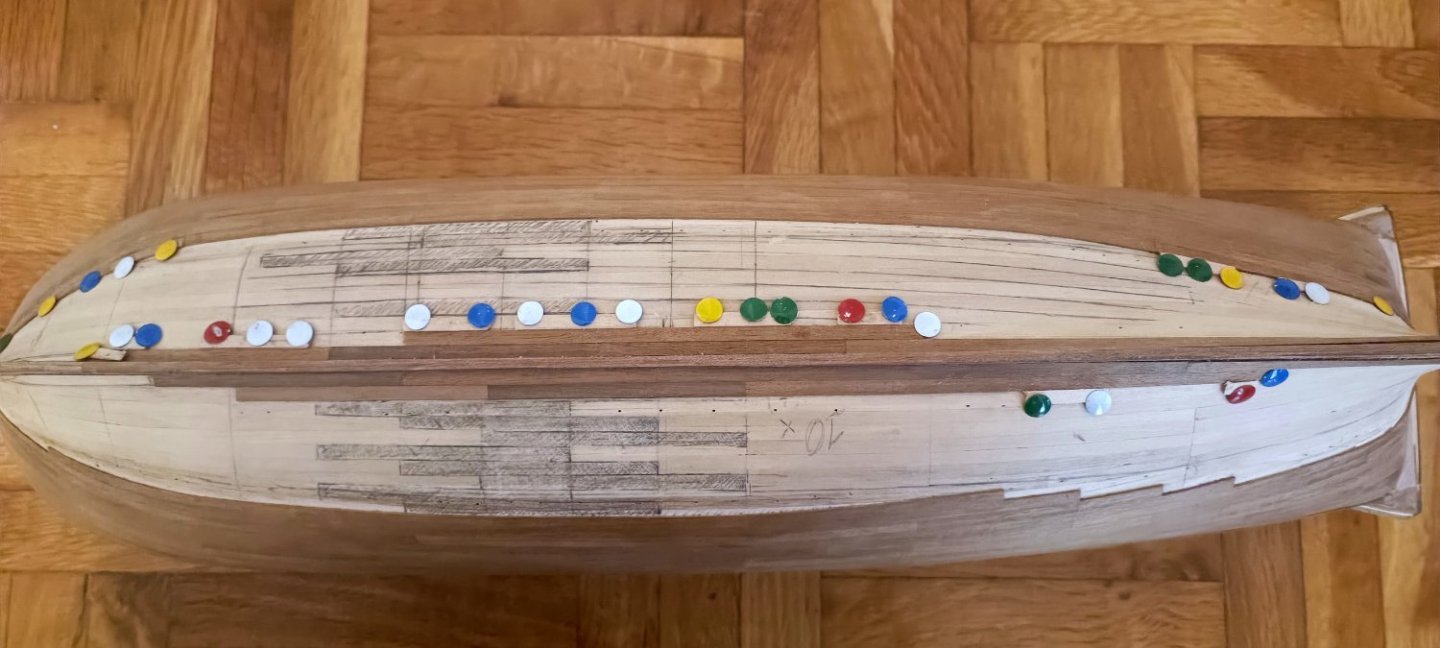
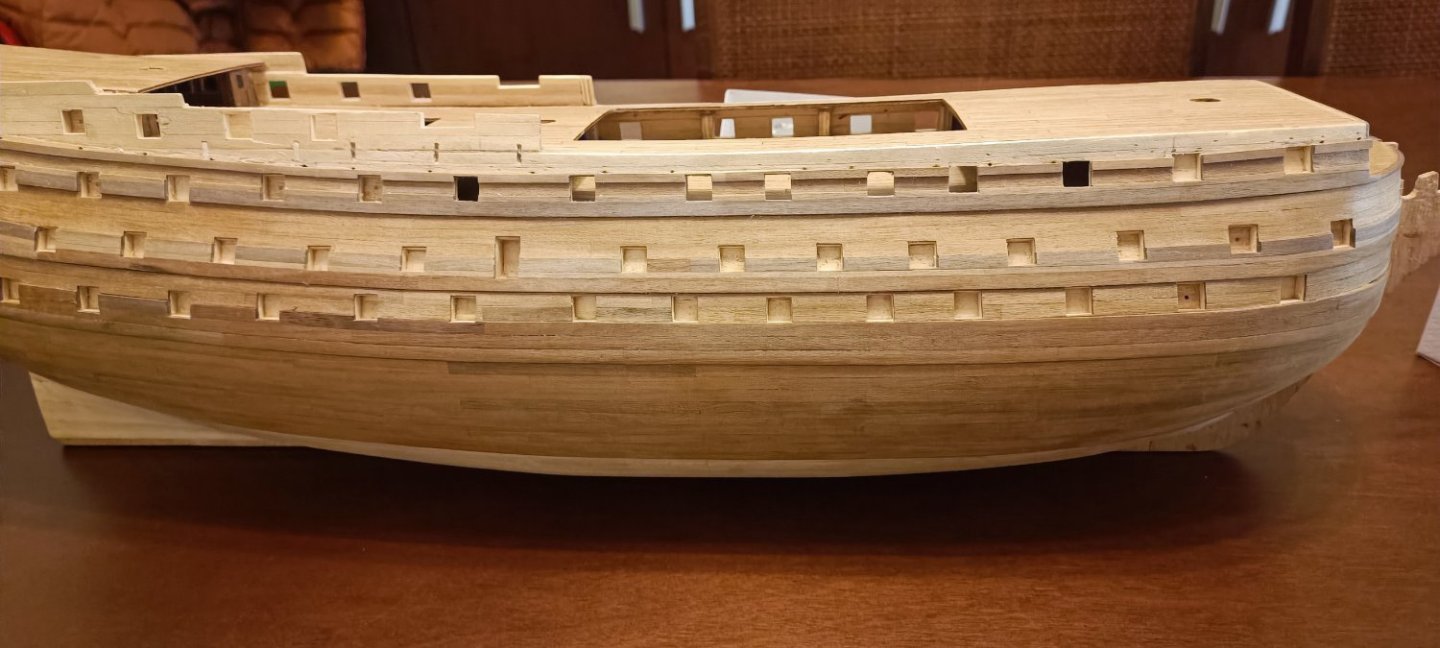
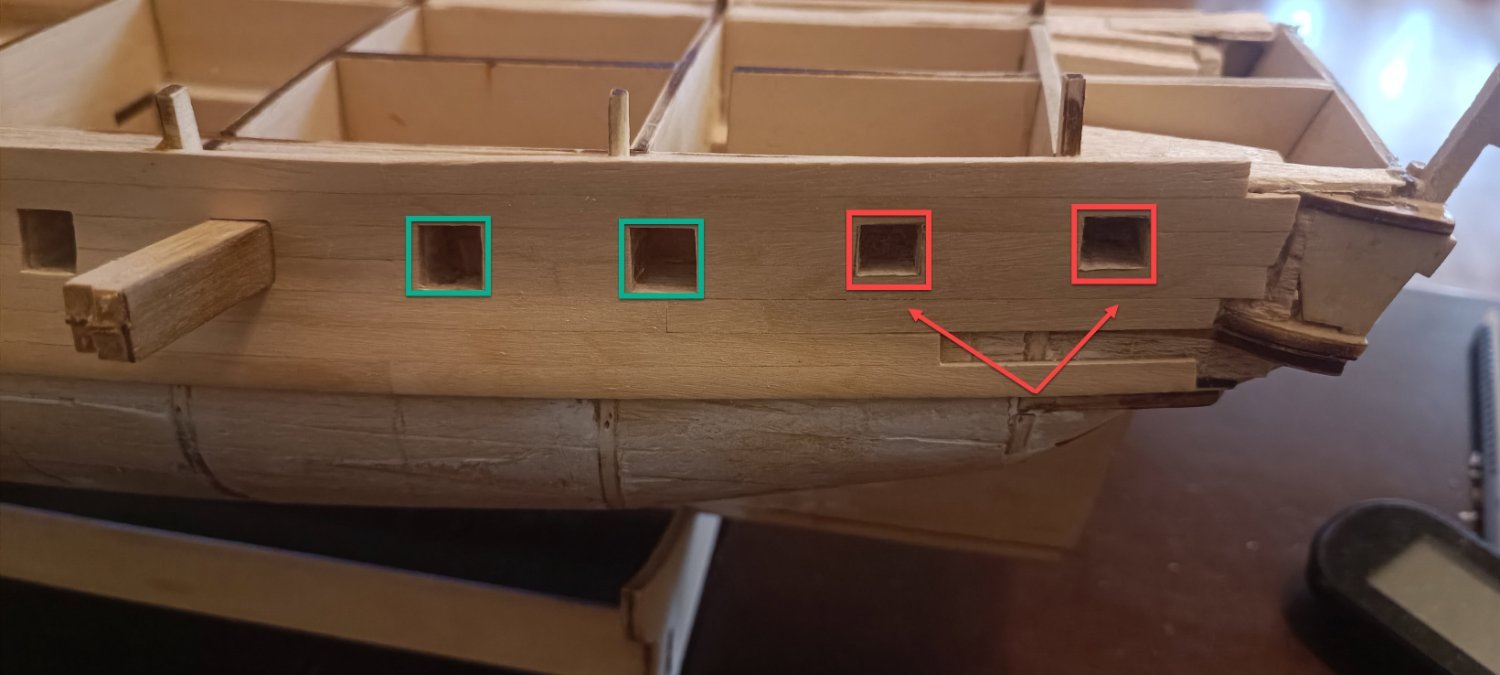
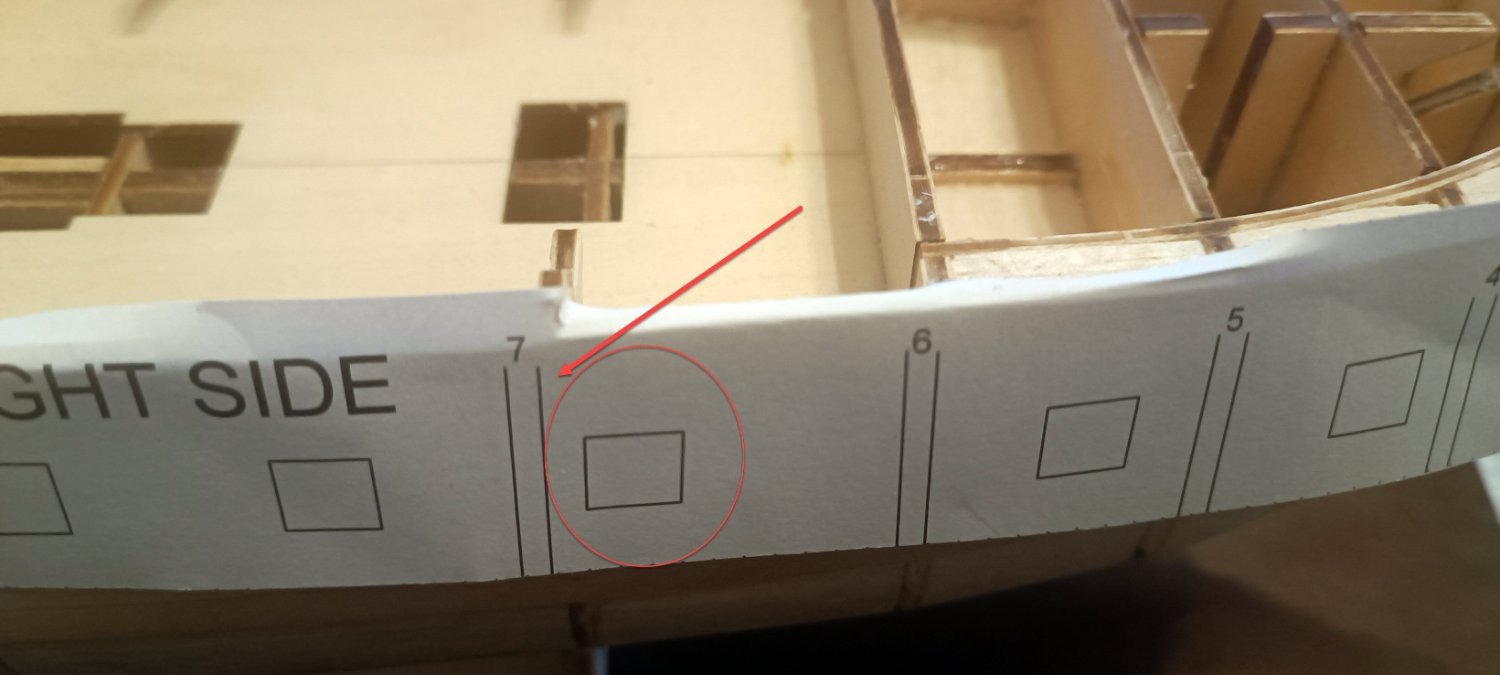
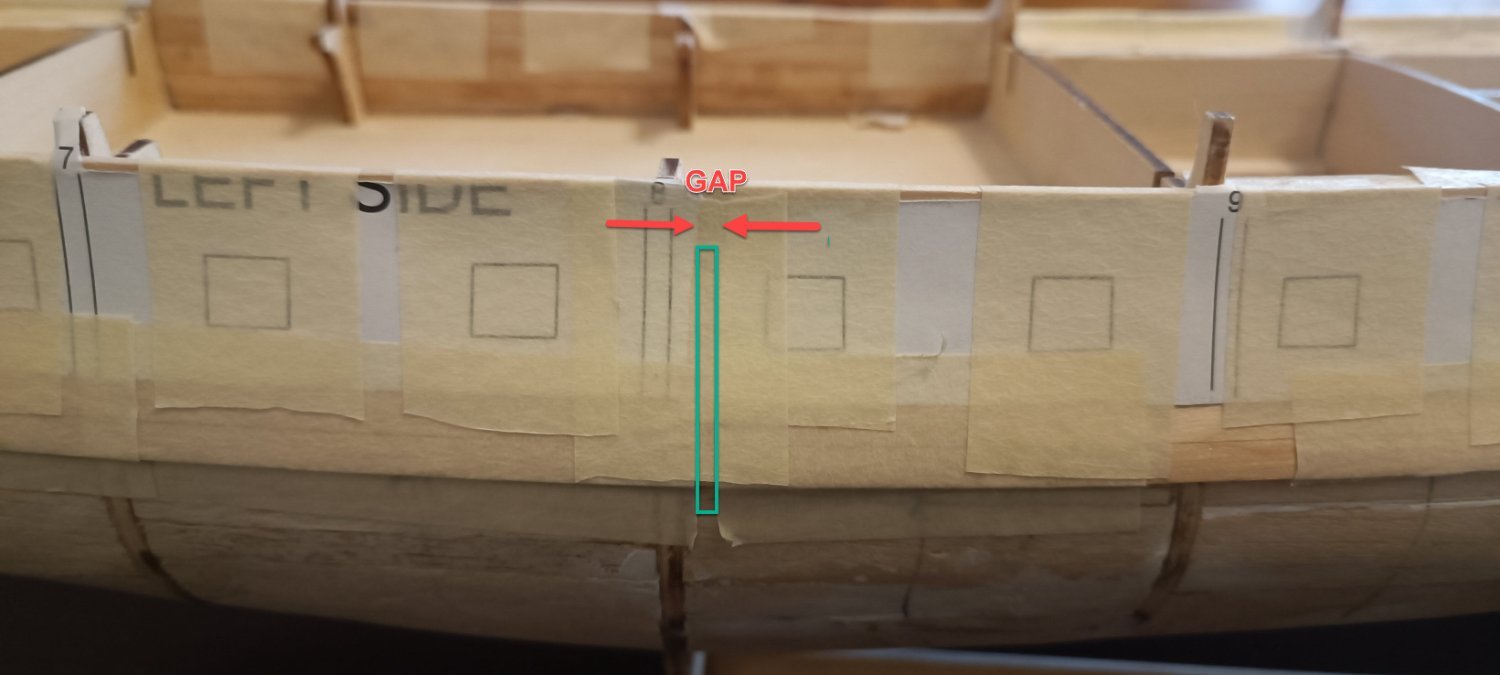
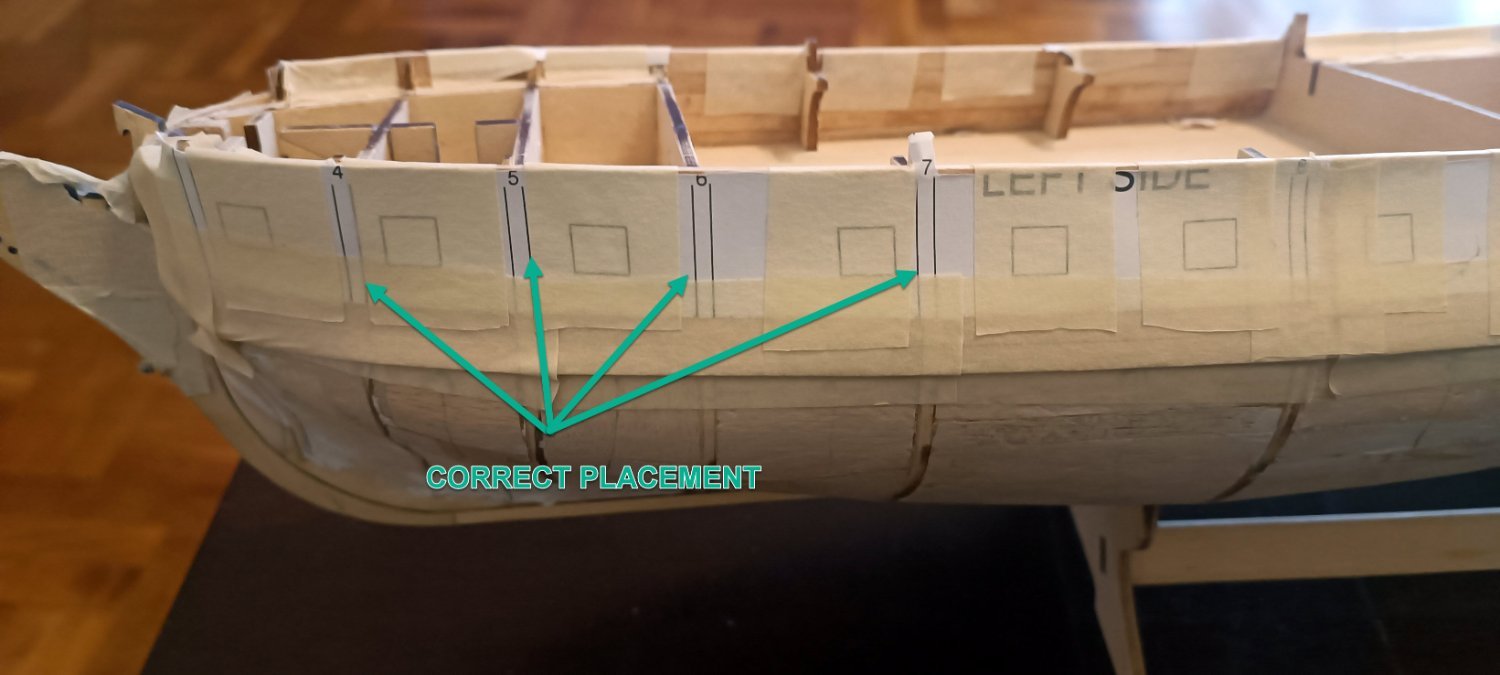
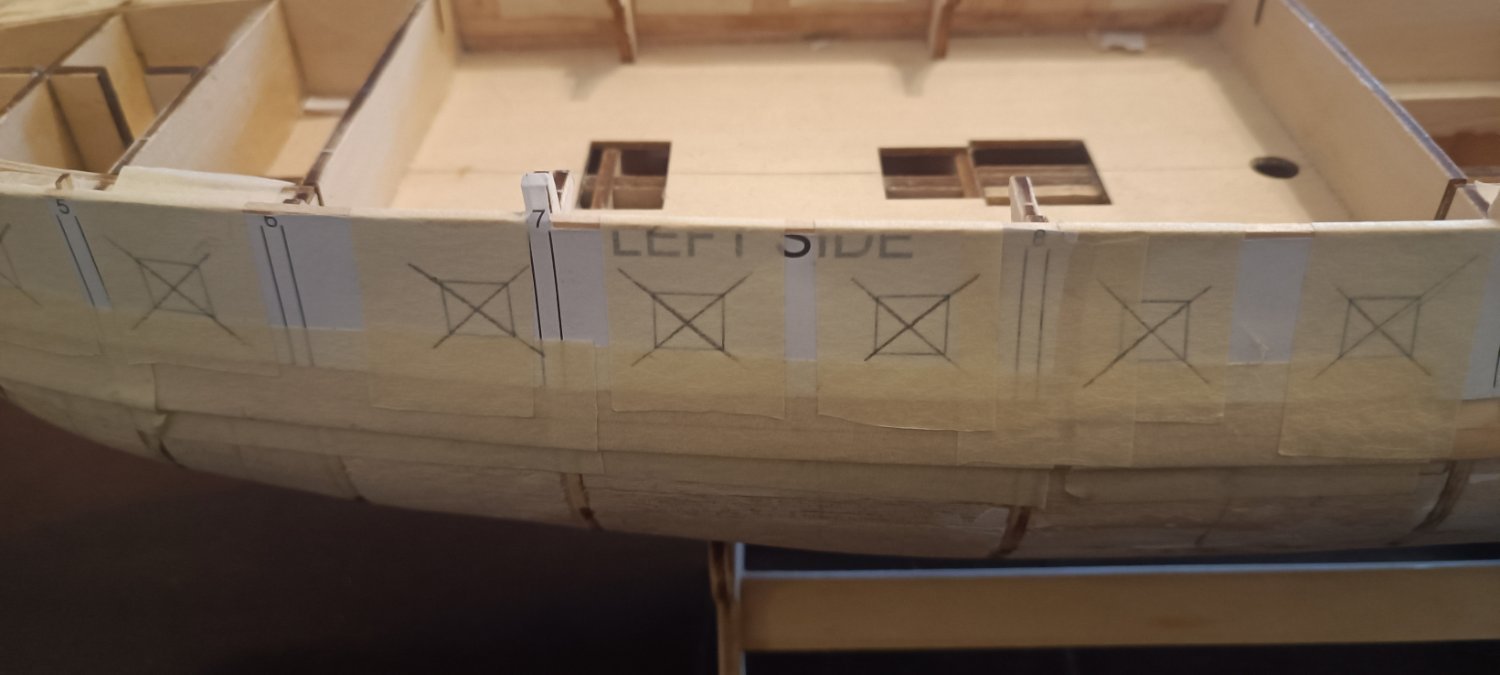
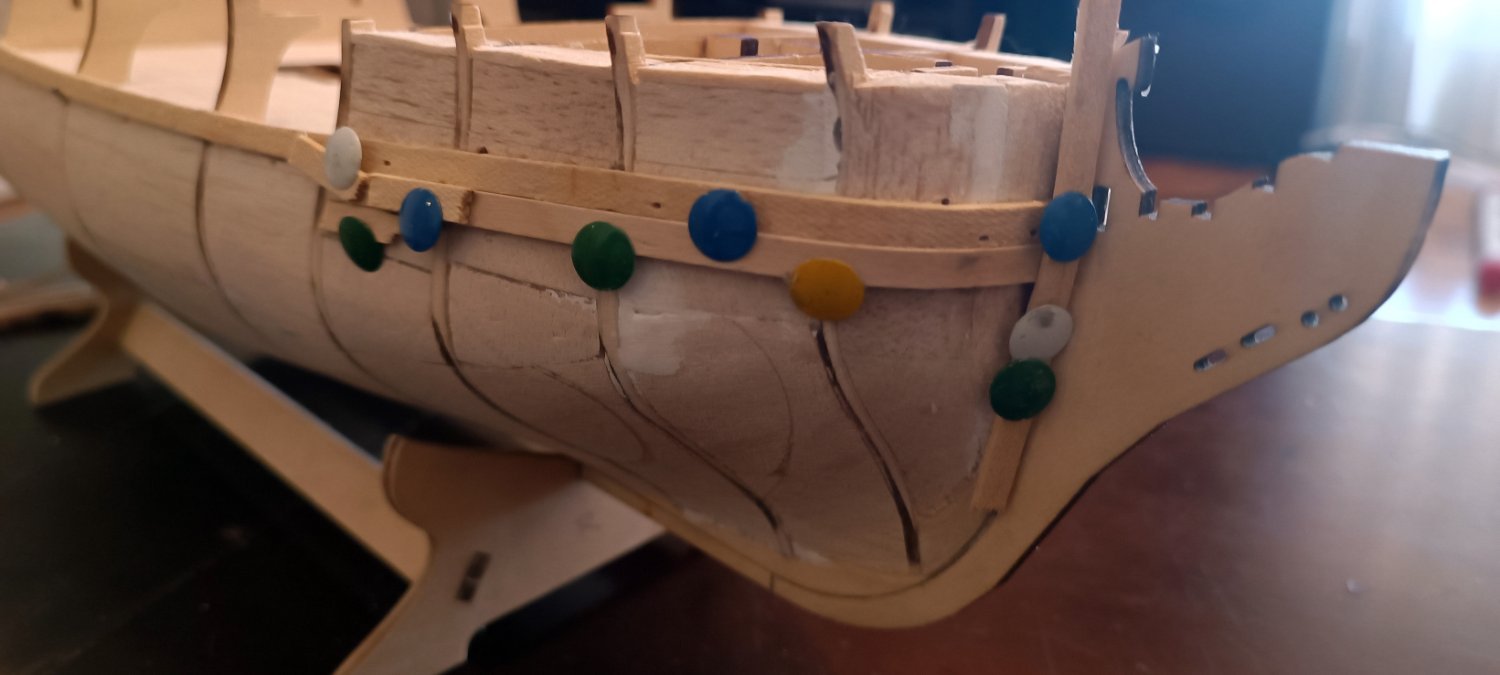
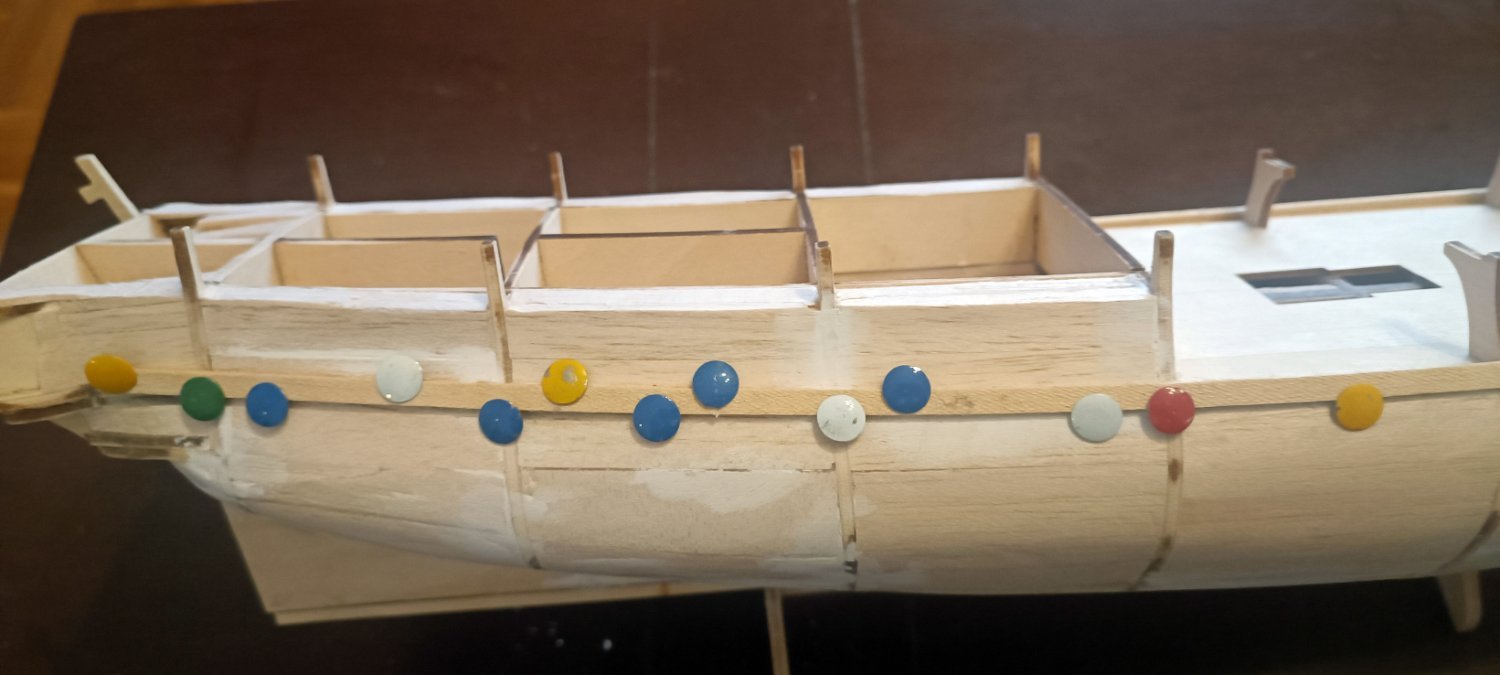
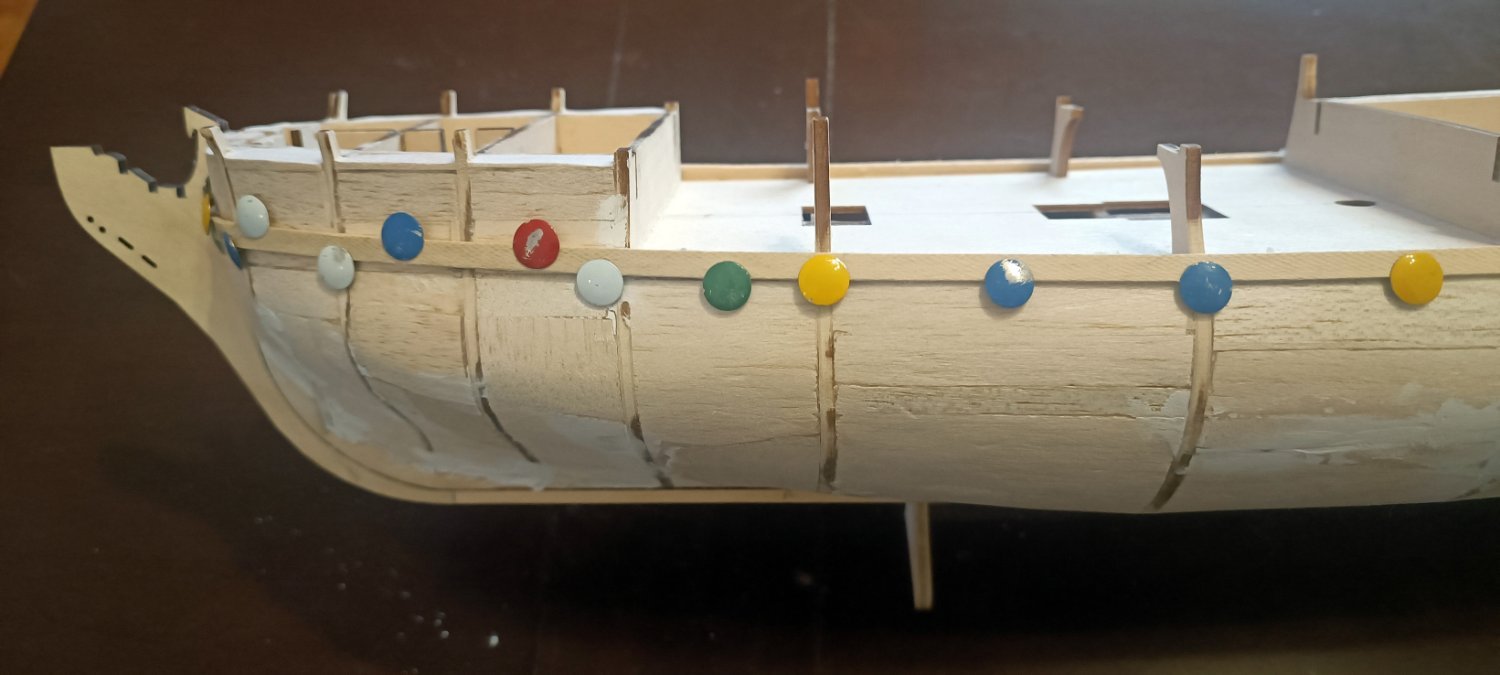
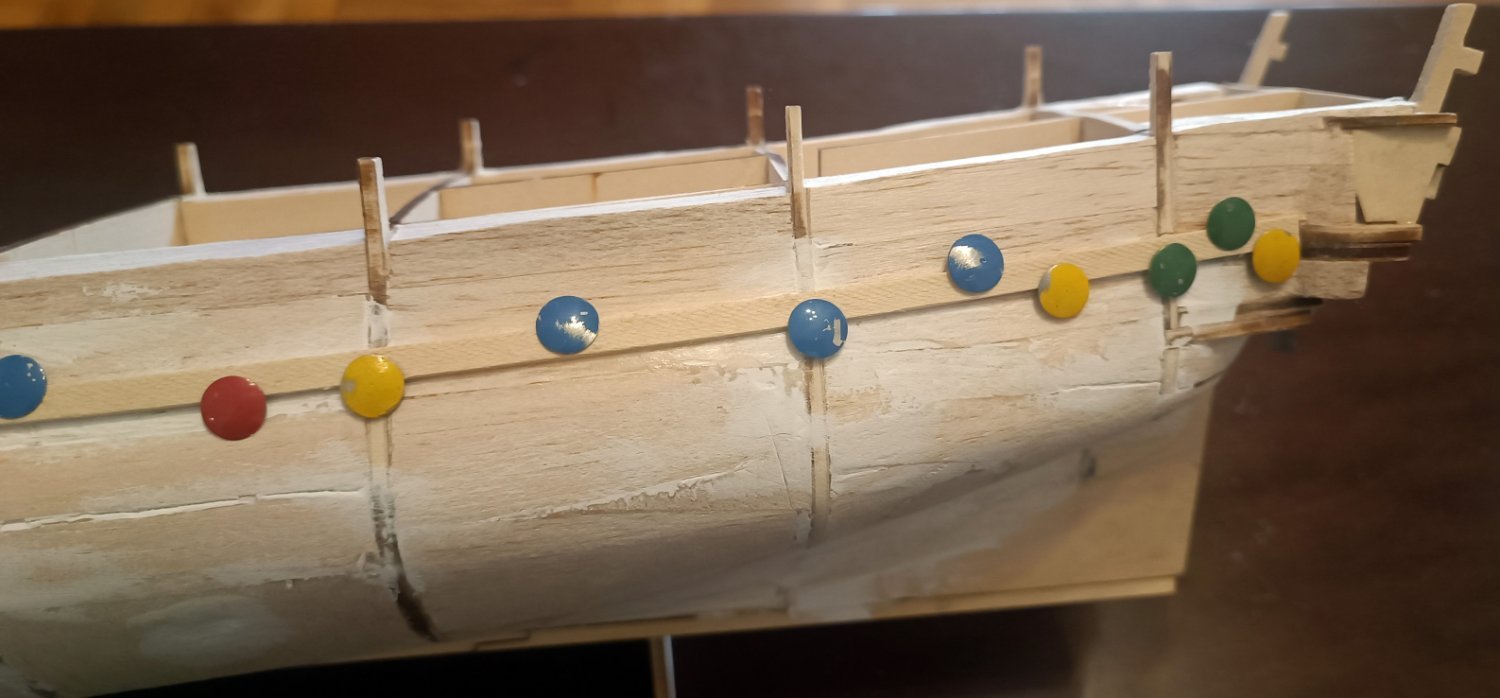
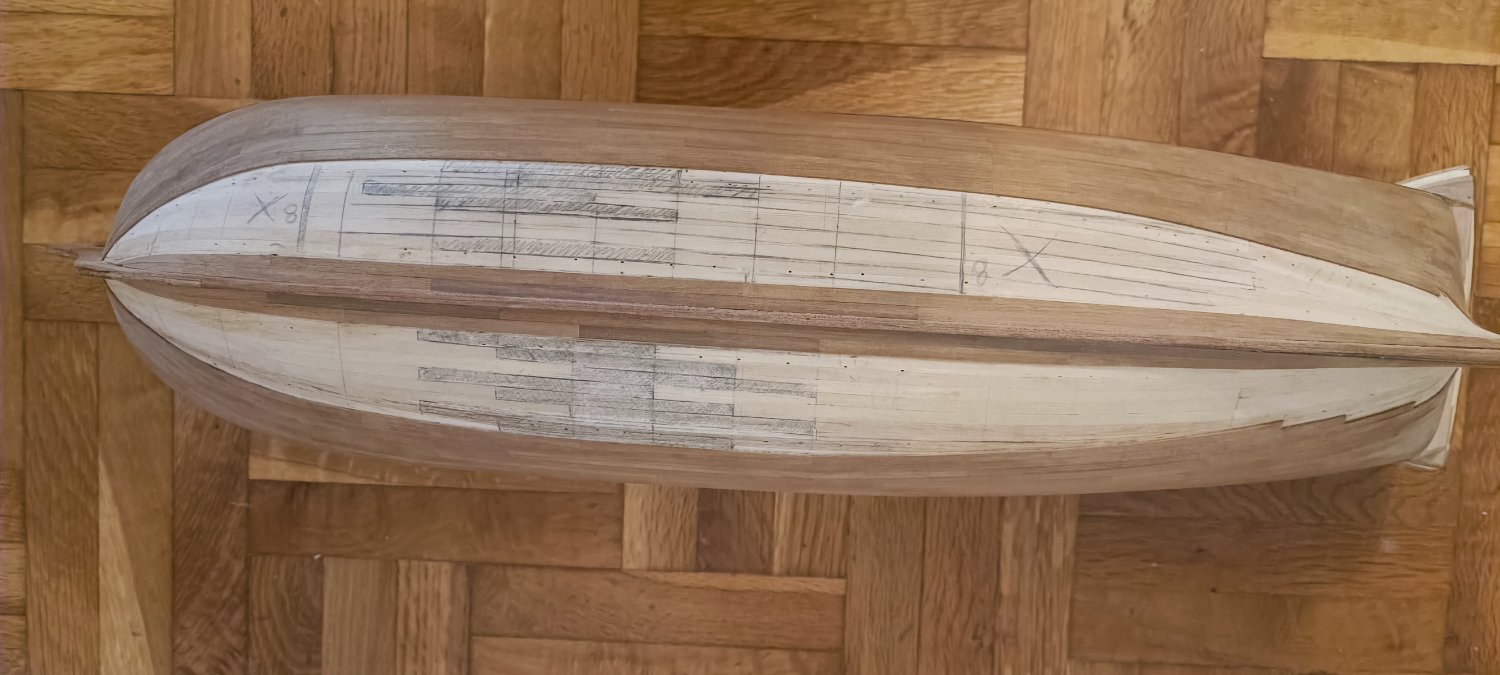
the upper hull planking is done, next step at this point is creating the portholes, Artesania provides a nice paper layout in order to set them up correctly
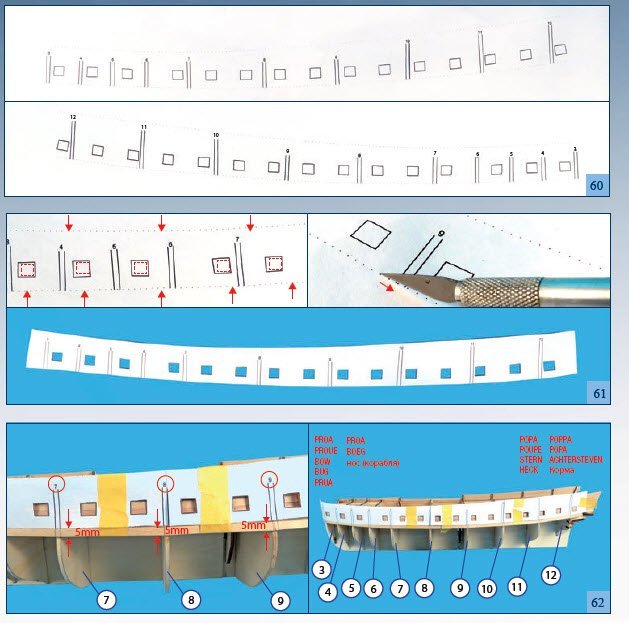
After placing the layout on the hull, I have noticed that the vertical lines are not fully aligned with hull beams
some portholes are very close to hull beams and will be very difficult to install the cannons later ,

so I have decided to cut the paper layout and slide it a bit (creating a gap)

and finally the aligment looks much better now

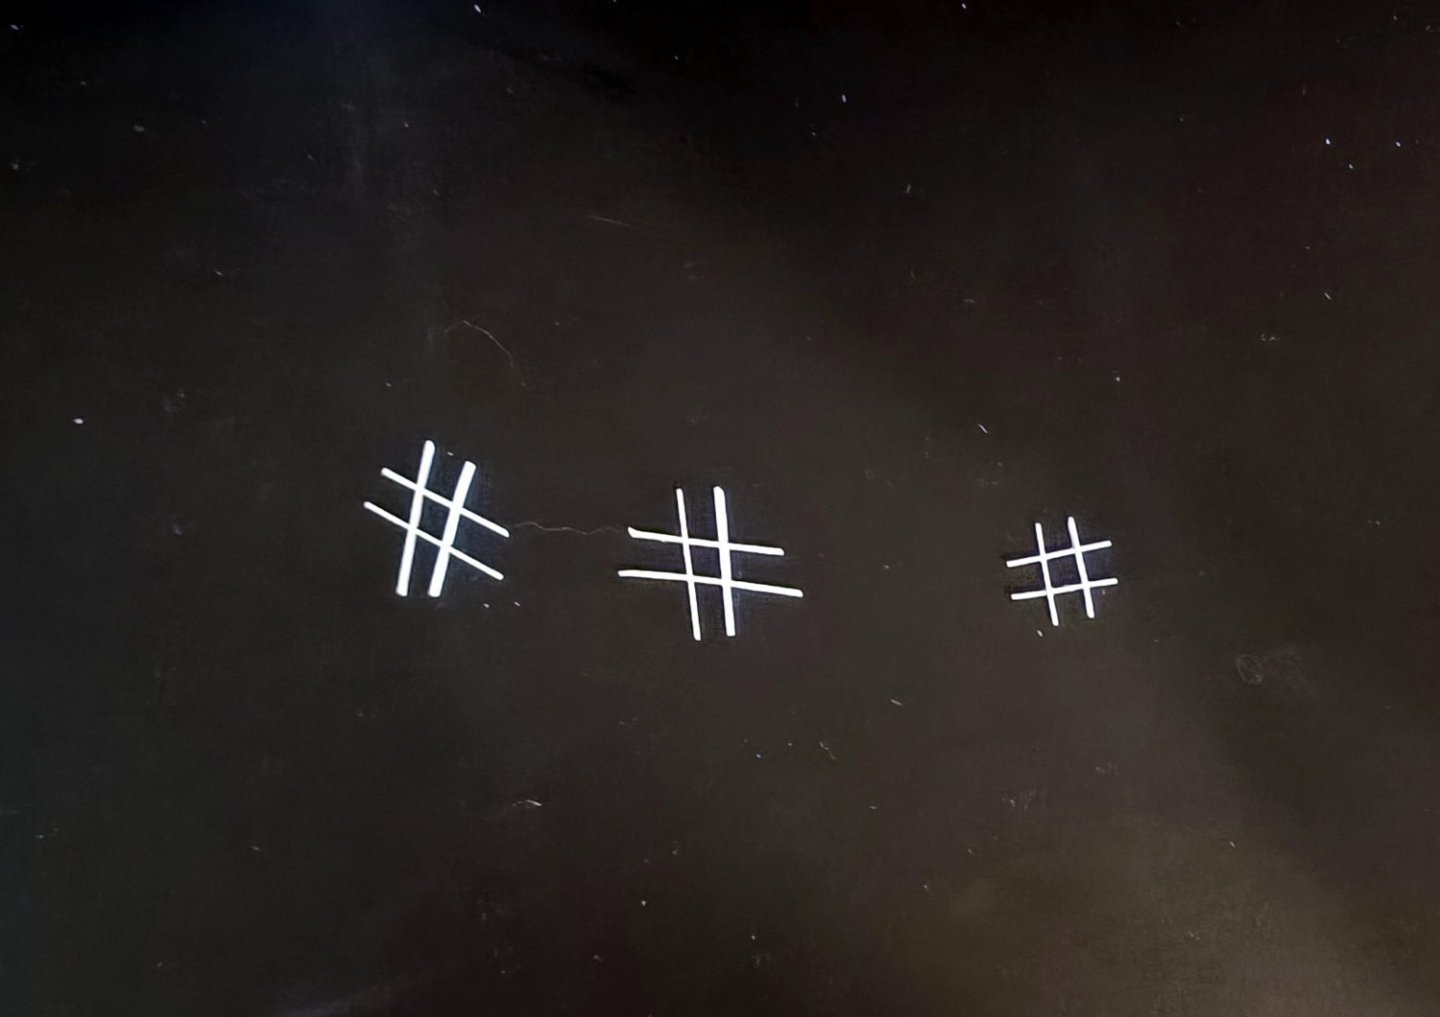
finally before opening the portholes I have marked the centers to drill them first, will be helpfull in a later stage when I have to setup the false cannons.

- Bill Morrison, jks1981 and Mr Whippy
-
 3
3
-
I have just finished 7 rows from the left side. I will sand the the 2 planks that somehow I didnt fit them well...
These planks are quite thick so I need to bend them very carefully, let them dry well, and adjust them without haste in order to fit correctly.


I will sand those planks in order to follow ship's curves
I have done some calulations, to check out how much I need to reduce the width of the planks for the bow section.
- Bill Morrison, ccoyle and Mr Whippy
-
3
-
12 cm planks ready to be installed
few bended planks ready to be used at bow
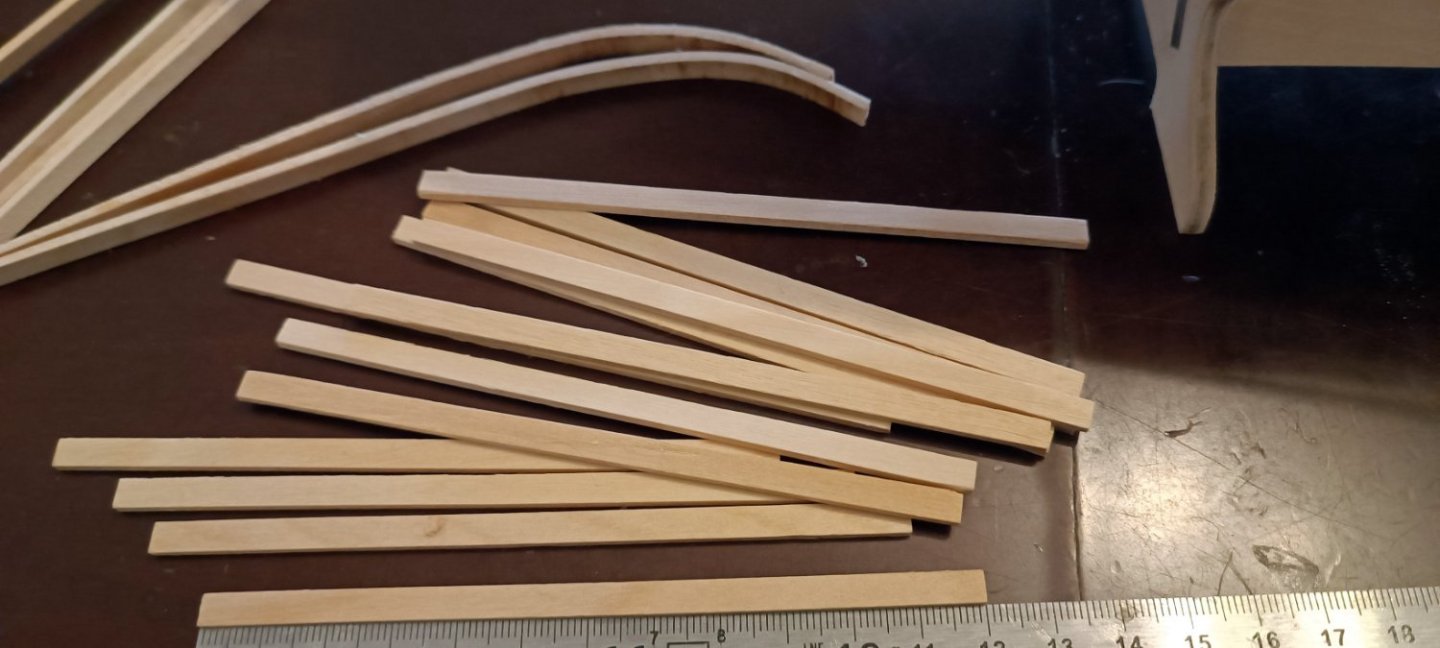

first bow plaks are in place
-
I have installed the first temporary plank from stern to bow to use it as guide, in order to start the final planking using 12cm length for each


- Bill Morrison, Mr Whippy and BenD
-
3
-
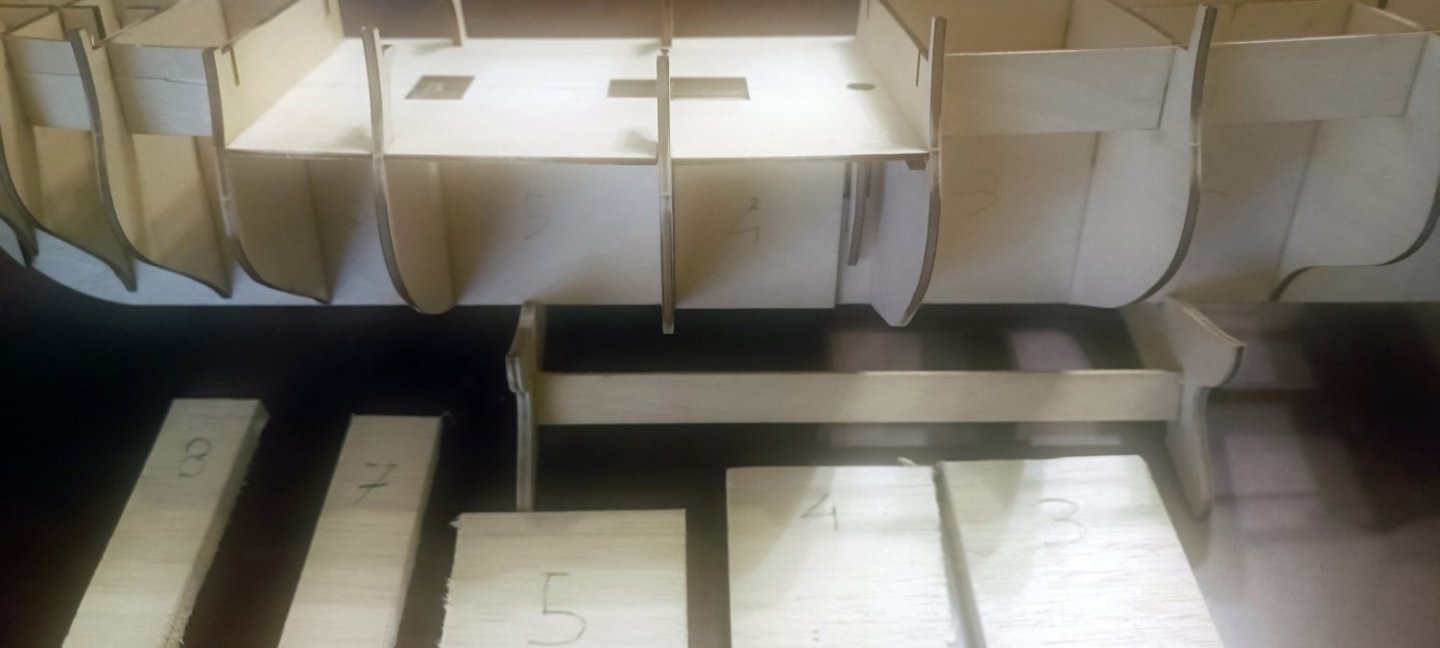
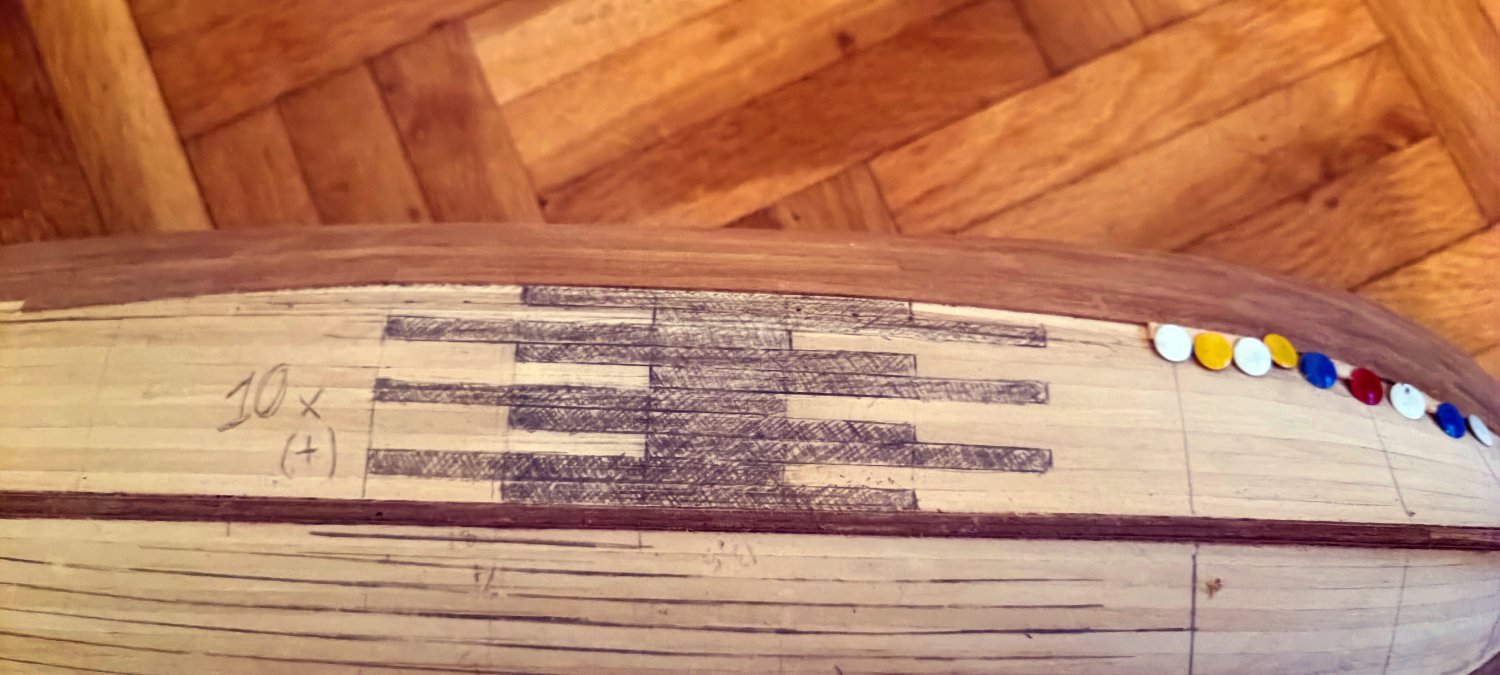
Hull is ready, I will start planking with 12cm planks ( 4cm step using the rule of 3)

- Bill Morrison, hof00 and jks1981
-
3
-
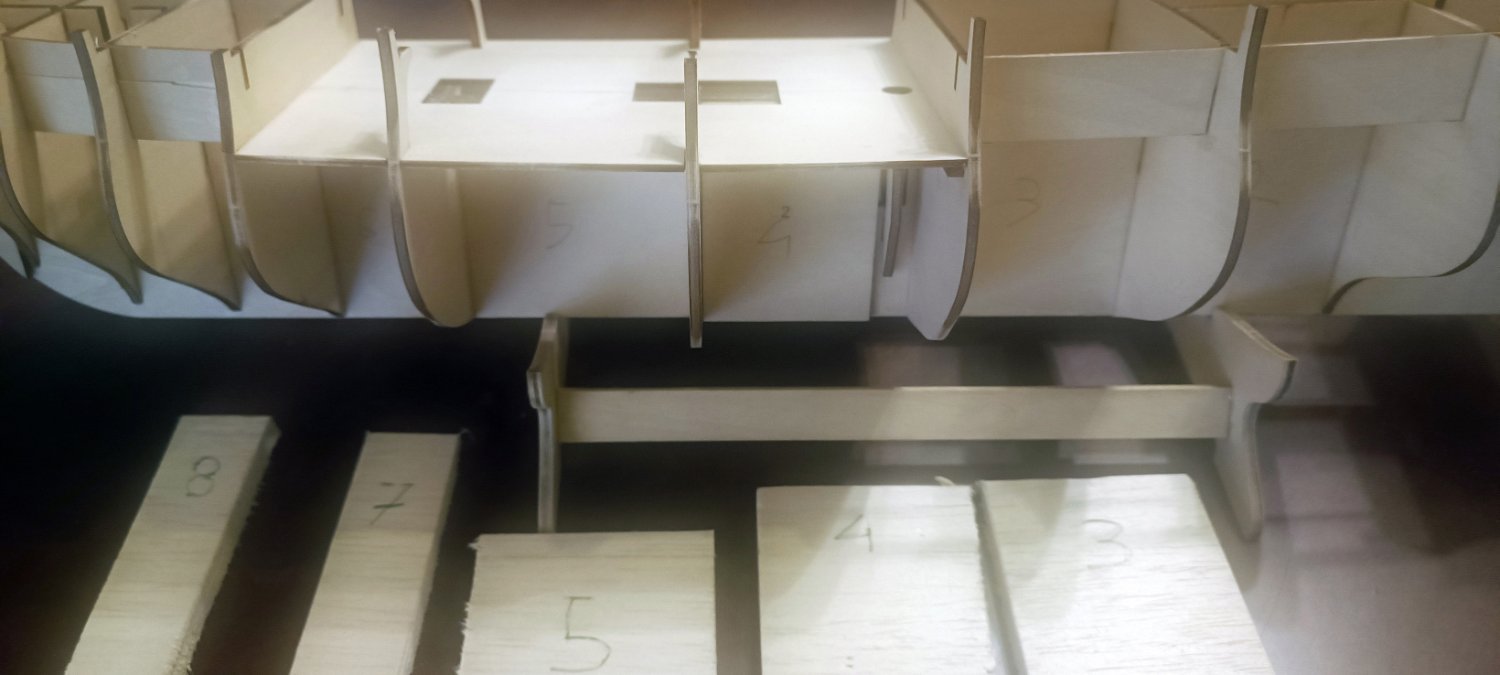
dec beams are installed
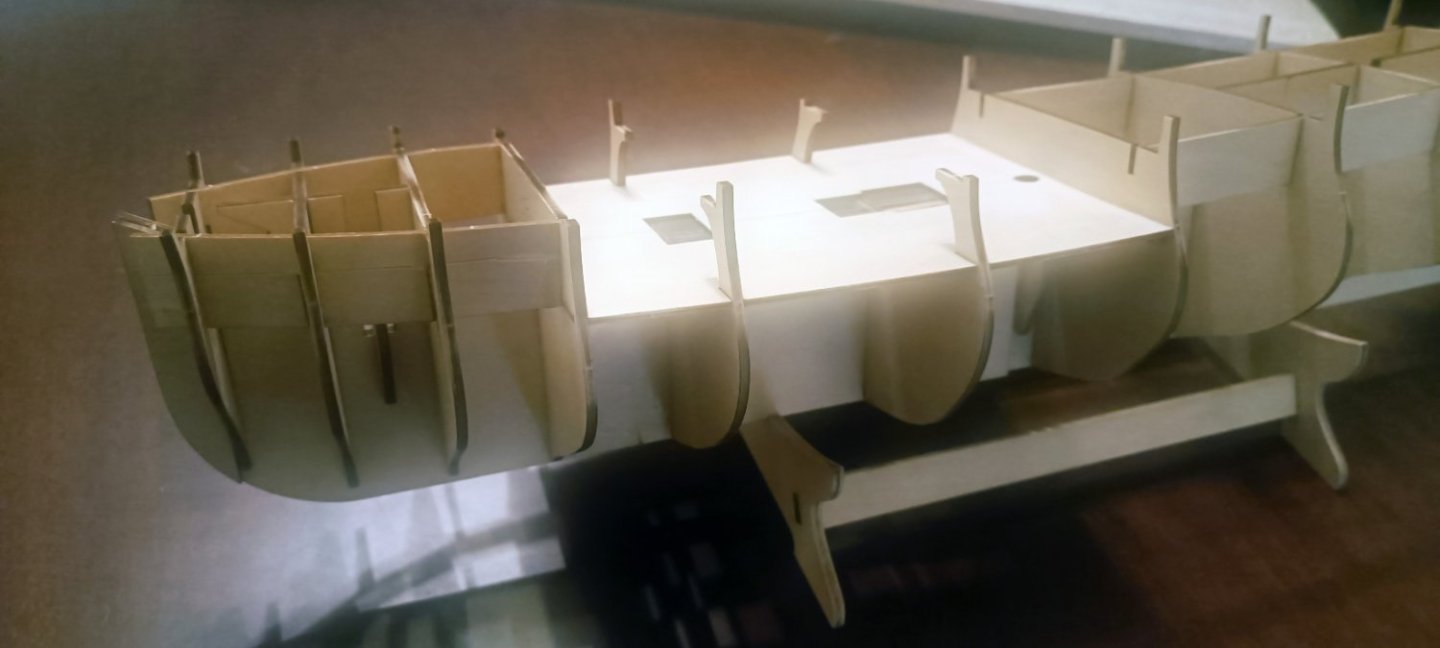
I will be filling up that space beween beams with balsa wood, so I can start planking with 9 cm planks
- Bill Morrison, jks1981, KARAVOKIRIS and 2 others
-
5
-
The entire hull will receive a complete paint job, eliminating any wood detailing.
Following Artesania's guidelines, the next step involves applying putty to the hull.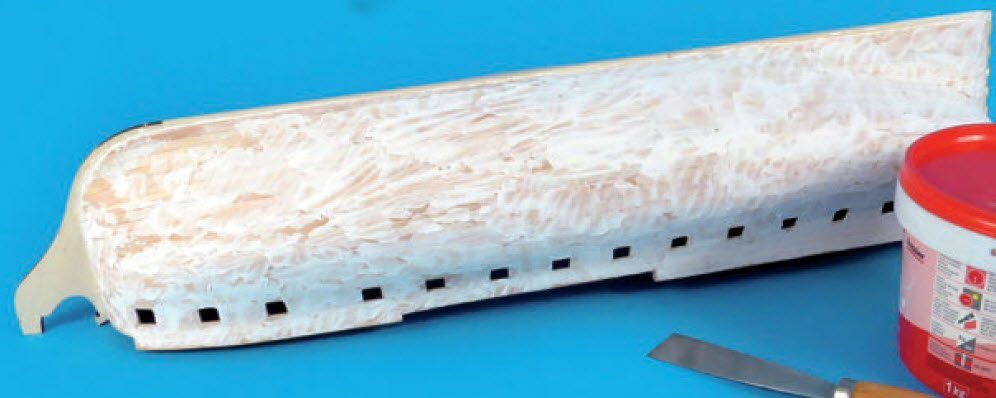
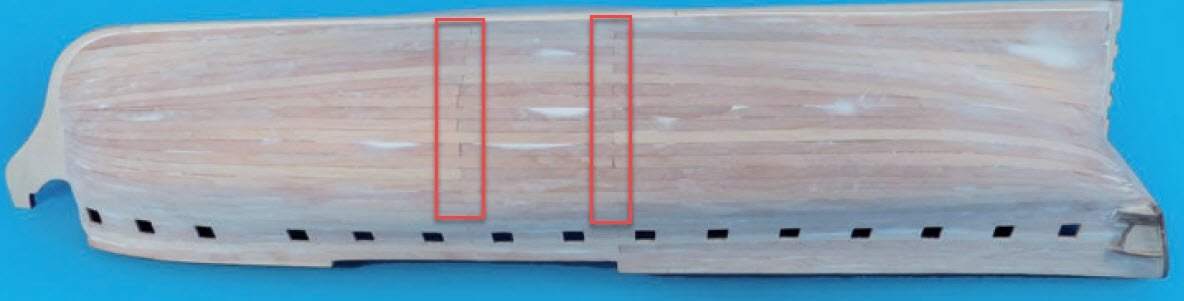
I've decided to plank the hull using the "rule of 3," using 9cm planks (with 3cm repeat mark for each row)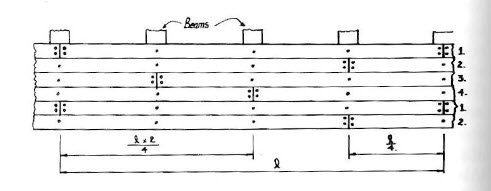
-
I haven't finished my latest project, Victory-Corel, and as I wanted to embark on something new this year, I decided to pull Artesania's Hermione from the shelf....a very promising kit.
Upon opening the box and unpacking its parts, the high quality is evident from the first glance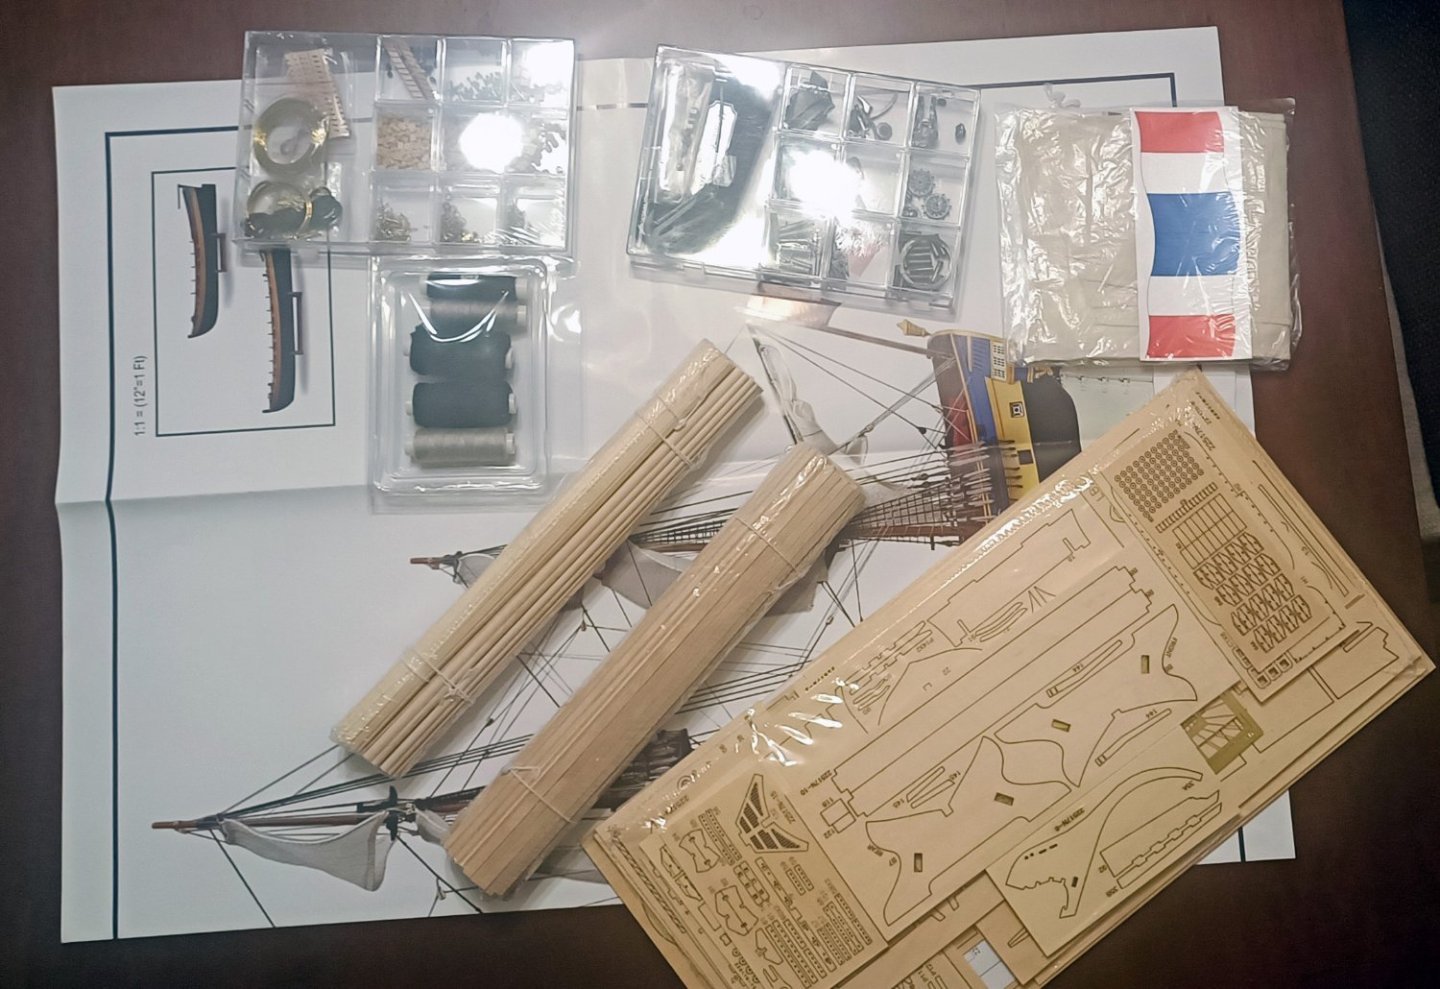
- Bill Morrison, Mr Whippy and ccoyle
-
3
-
-
Corel's HMS Victory cross section is a very nice kit, I believe there is room for improvement. Consider conducting a brief survey through the posts of other members to gather ideas; I'm confident you'll discover them to be intriguing and quite demanding
-
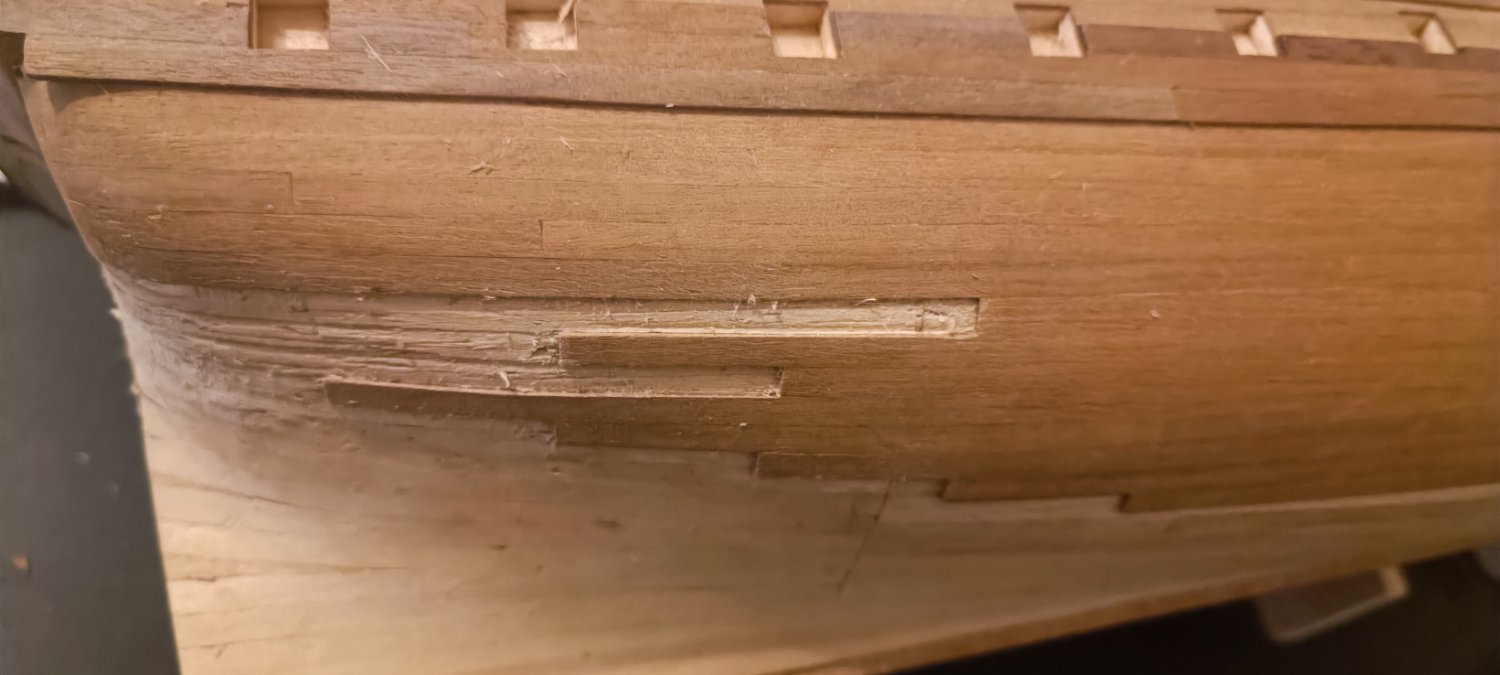
I have to remove old frames,

and replace them with new styrene frames
- Ryland Craze and mugje
-
2
-
On 1/19/2023 at 3:54 PM, allanyed said:
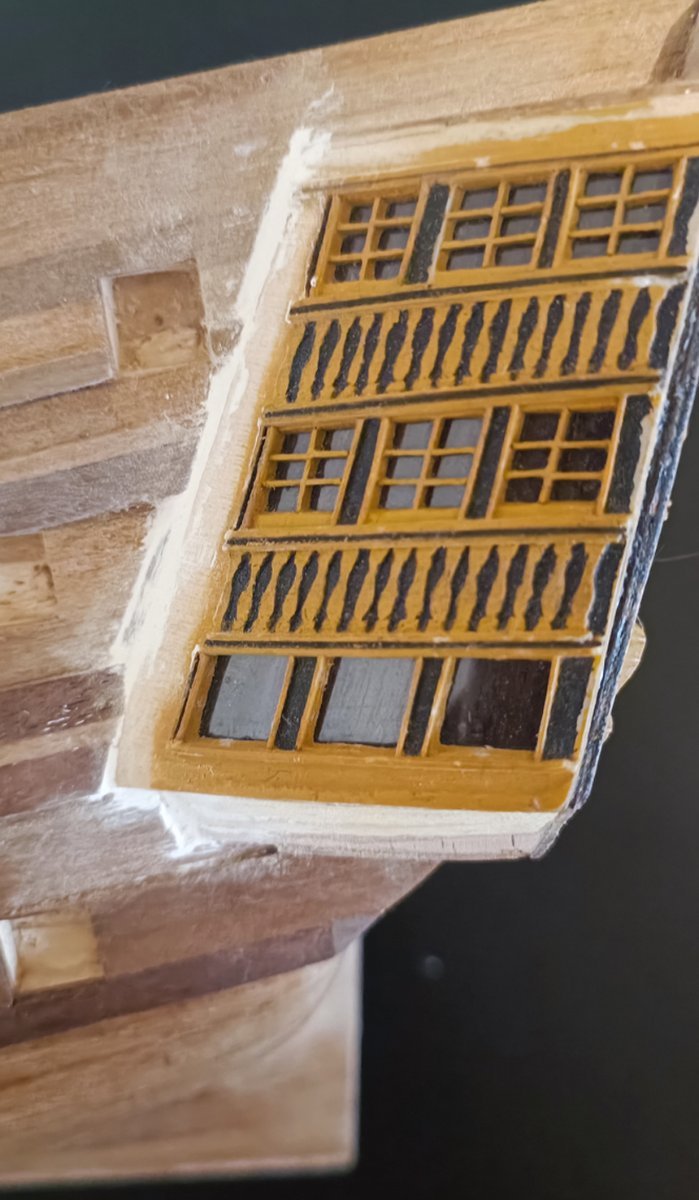
Yes, making the framing for the lights is a challenge at any scale from about 1:48 and smaller. I have even used wire for an experiment at 1:196. At 1:98 the frame parts would be something like 0.01X0.015 so can be done with a good hard wood like box or someother tight grained hard wood. For the future, maybe consider plastic frames. There are styrene strips available at 0.010" X 0.02" that might work for you. It can be mortised with out breaking for a good fit of the parts. I like to make a template for each light then make and assemble the muntons and stiles on the template. Once the framework is complete you can glue a clear plastic piece to the inboard side of the finished unit then glue the entire assembly in place. Just be sure to have a ledge of some sort in the light opening to support the assembly when it is placed and glued in place. It is a challenge to be sure, but they are a very visible and noticeable part of any model so worth the time and effort to make them as neatly as possible for many folks.
Allan
I have followed your advice, right now I am working with styrene strips, takes time but the outcome is great

- mugje, Katsumoto and Ryland Craze
-
3
-
-
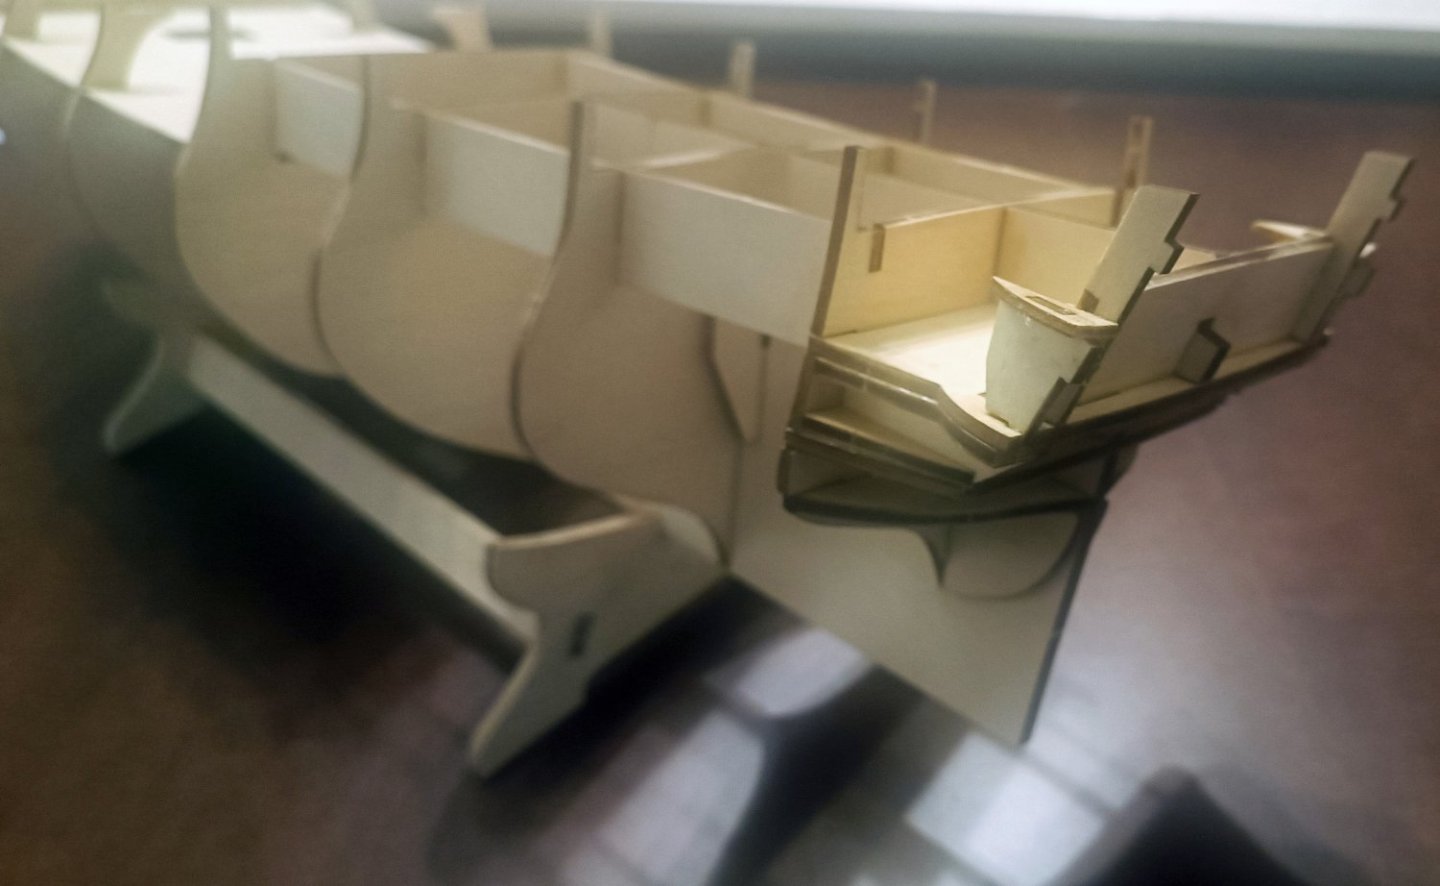
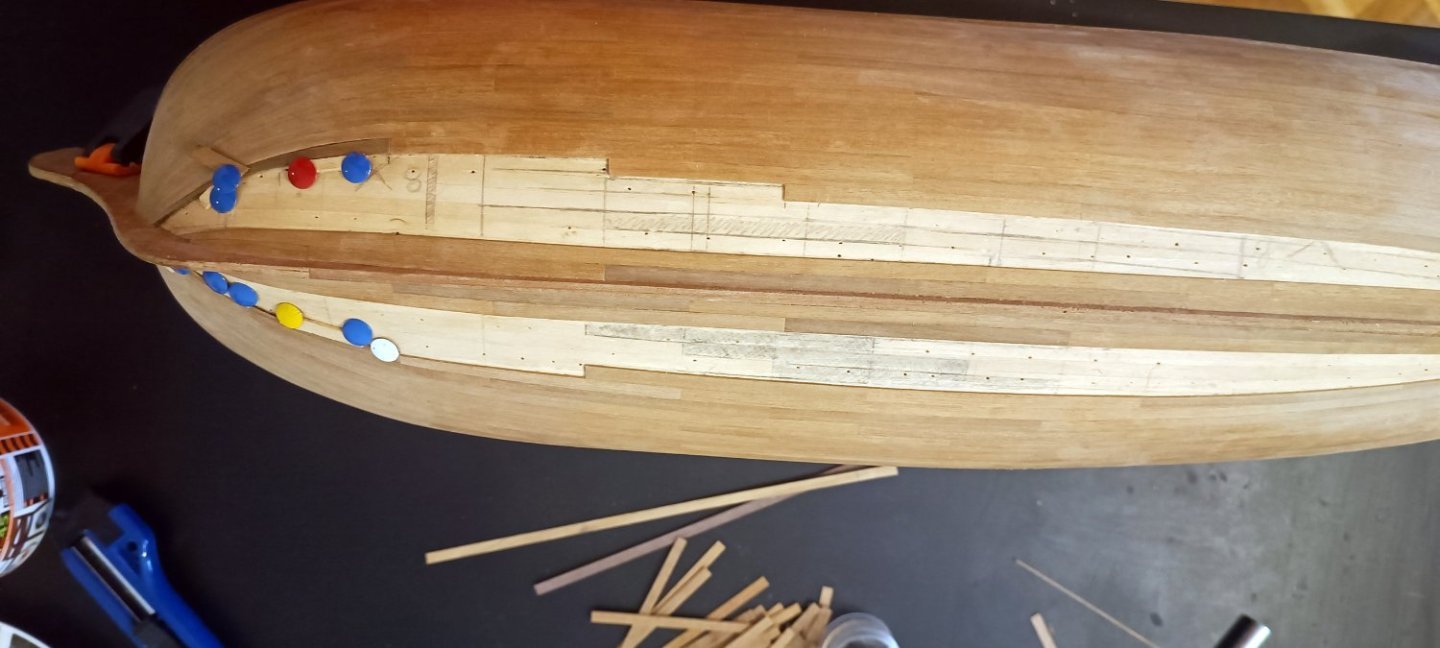
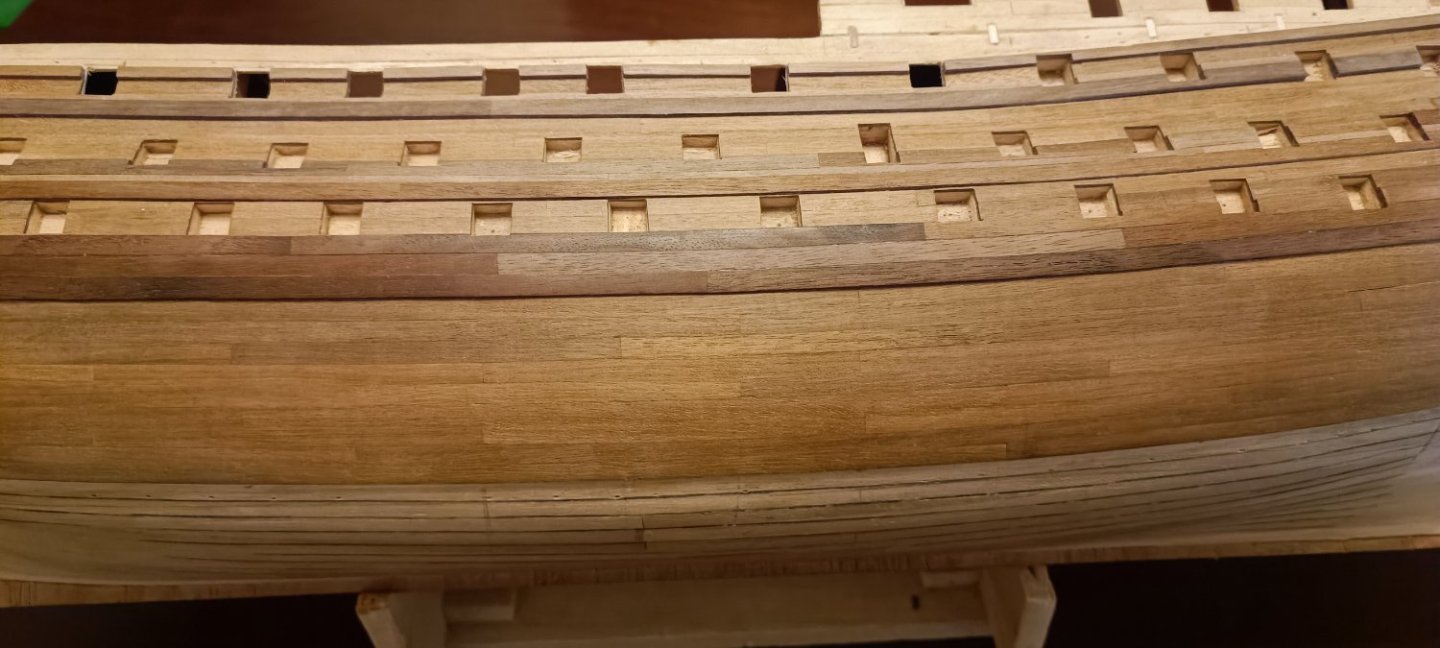
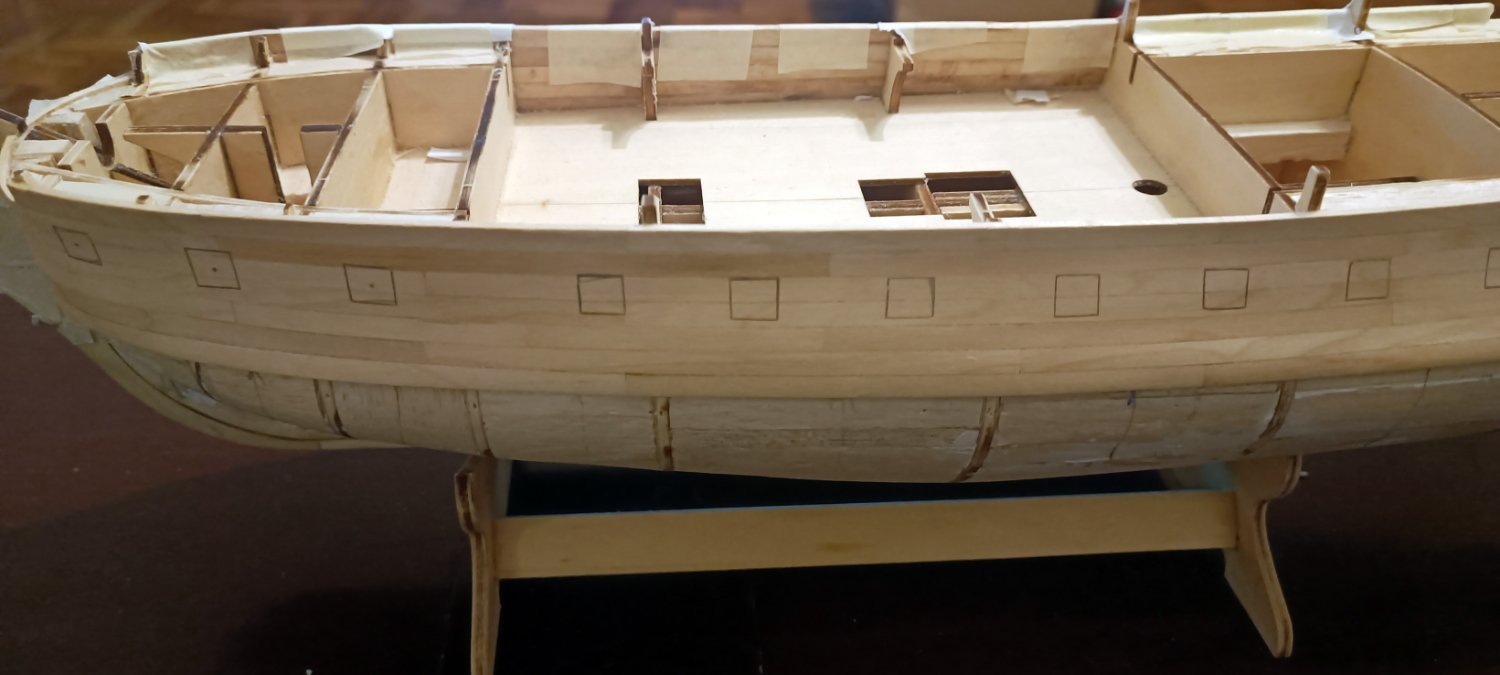
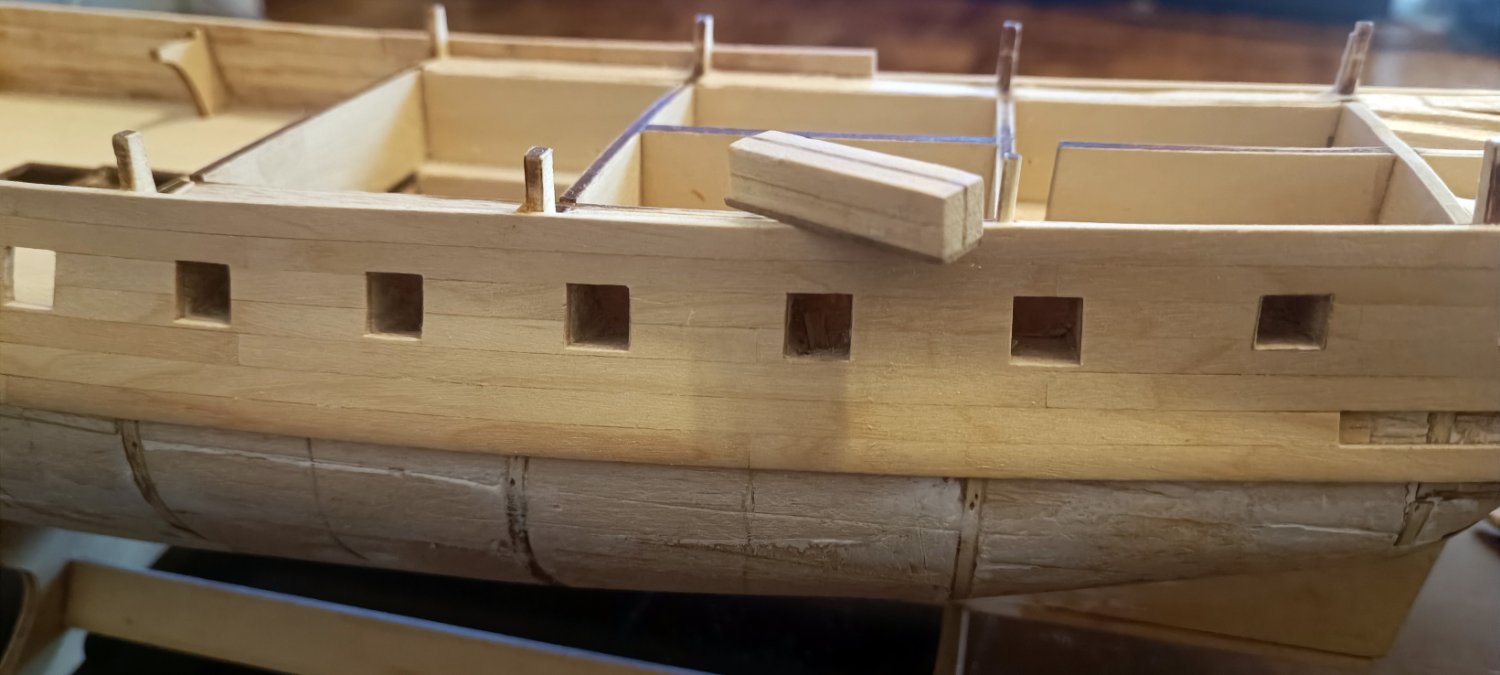
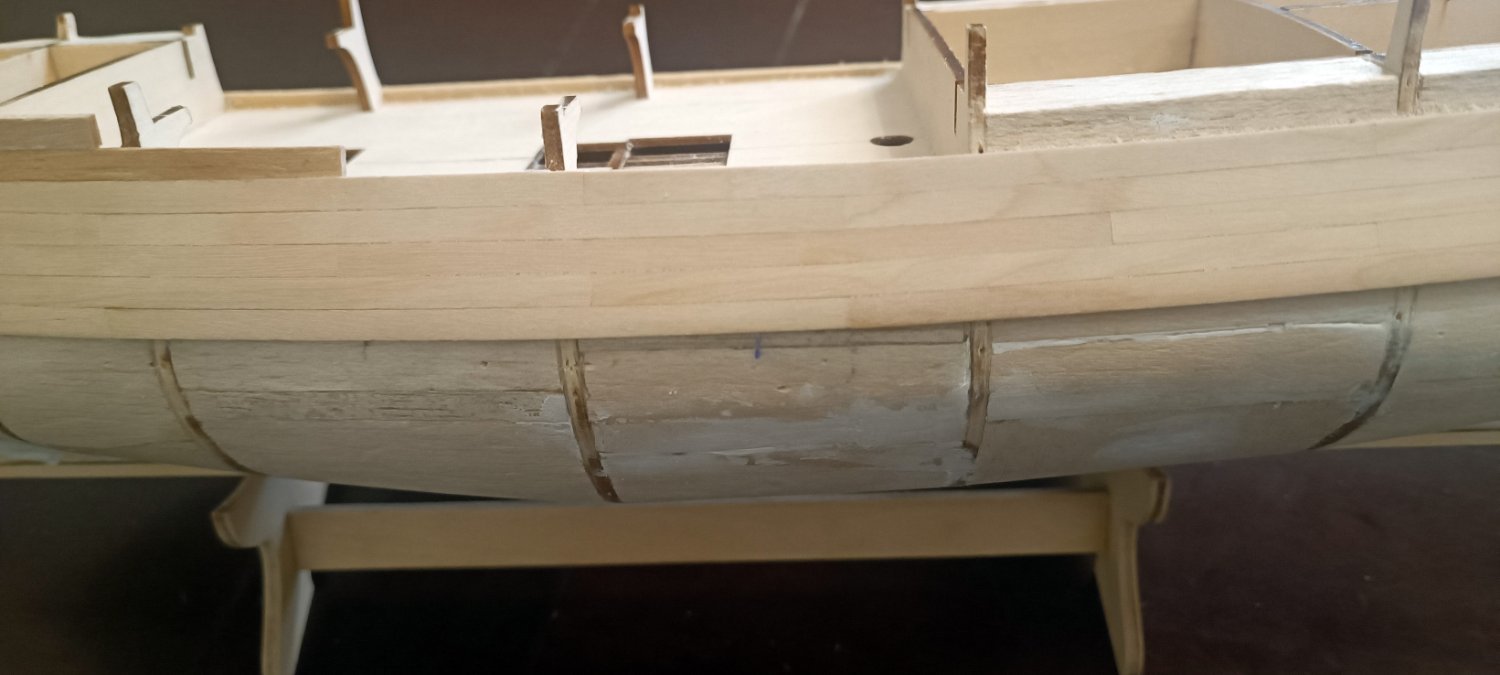
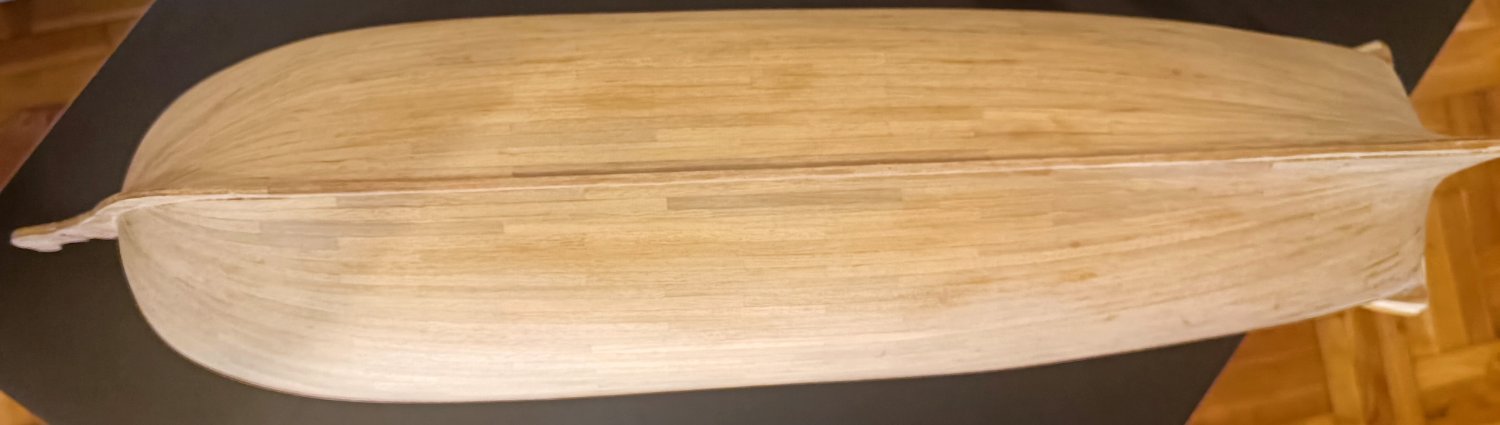
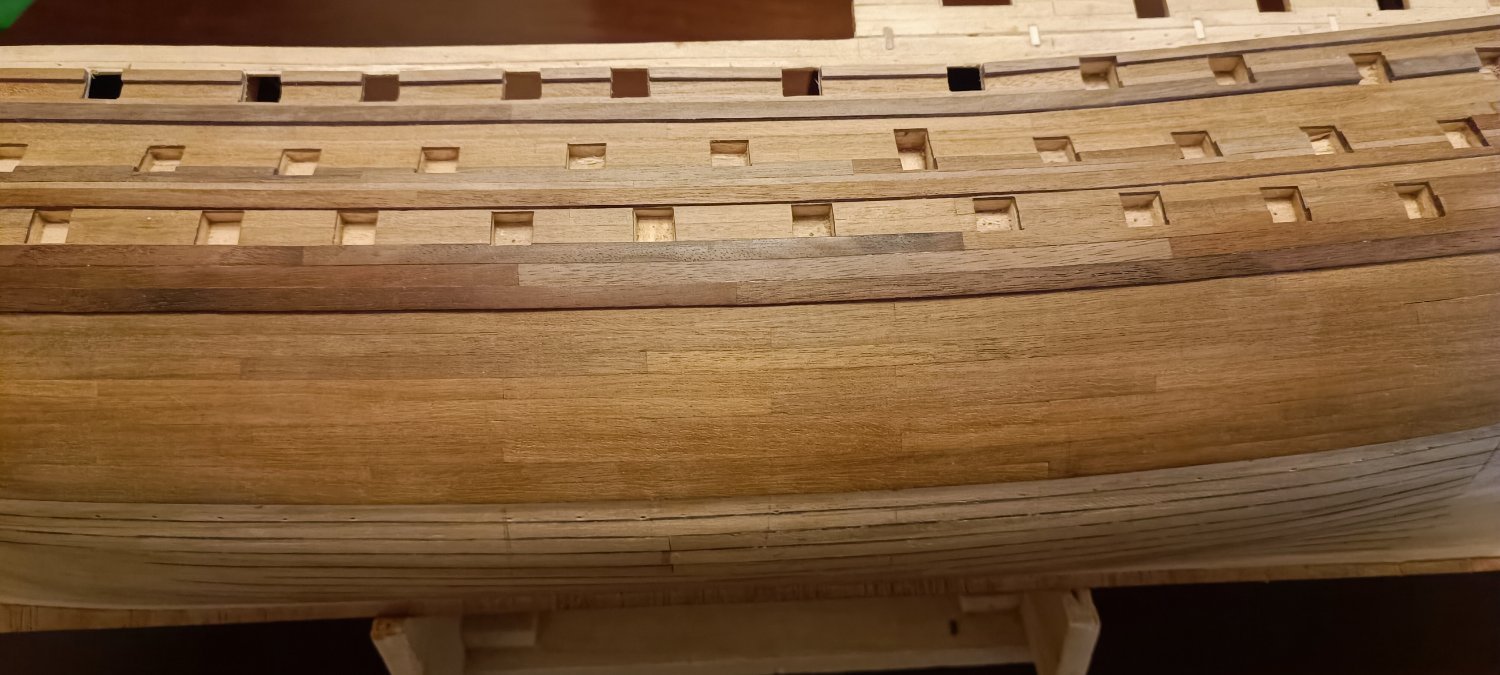
Although the hull planking process is advancing slowly, it is nearing completion
- RossR, chris watton and Dfell
-
3
-
planinking of garboard is finished

- ccoyle, Dfell and BLACK VIKING
-
3
-
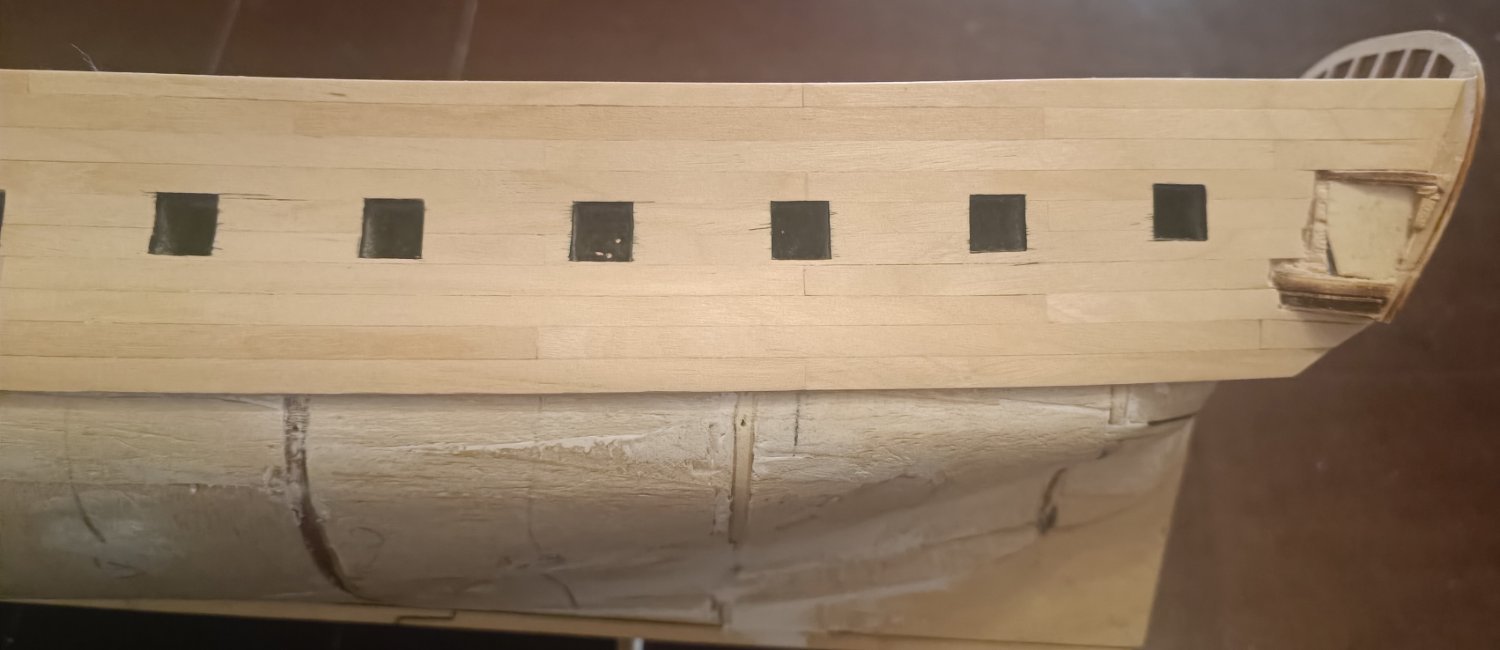
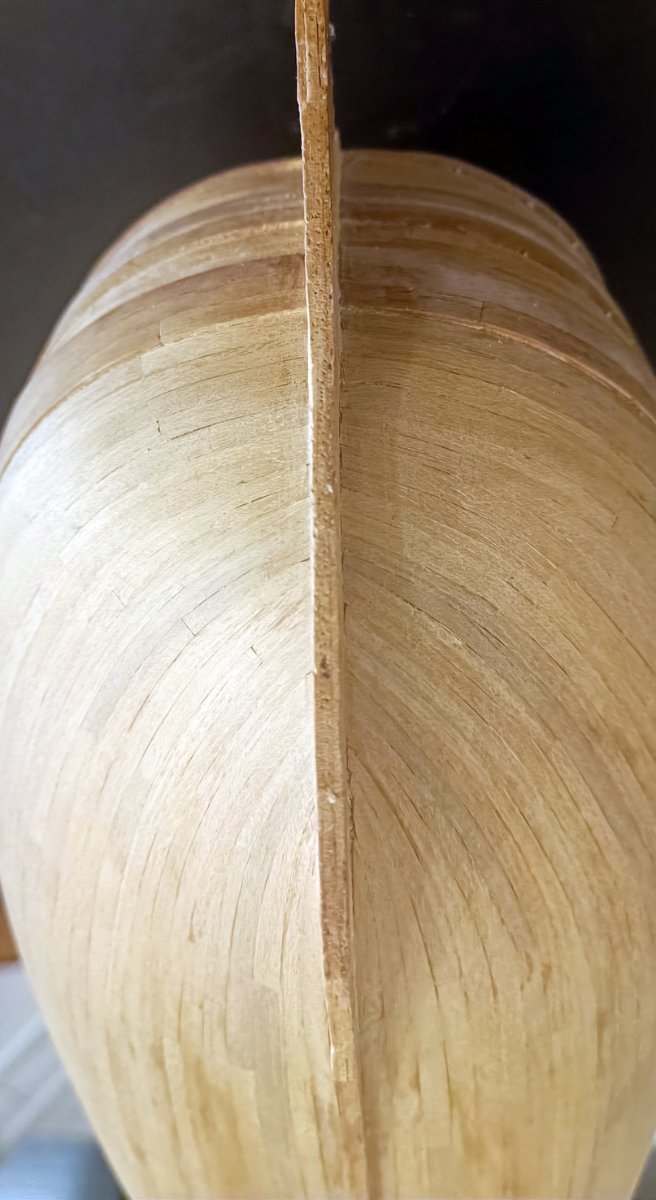
Hull plunking almost done, got to keep measuring at all times
...... pin frenzy!!!!
-
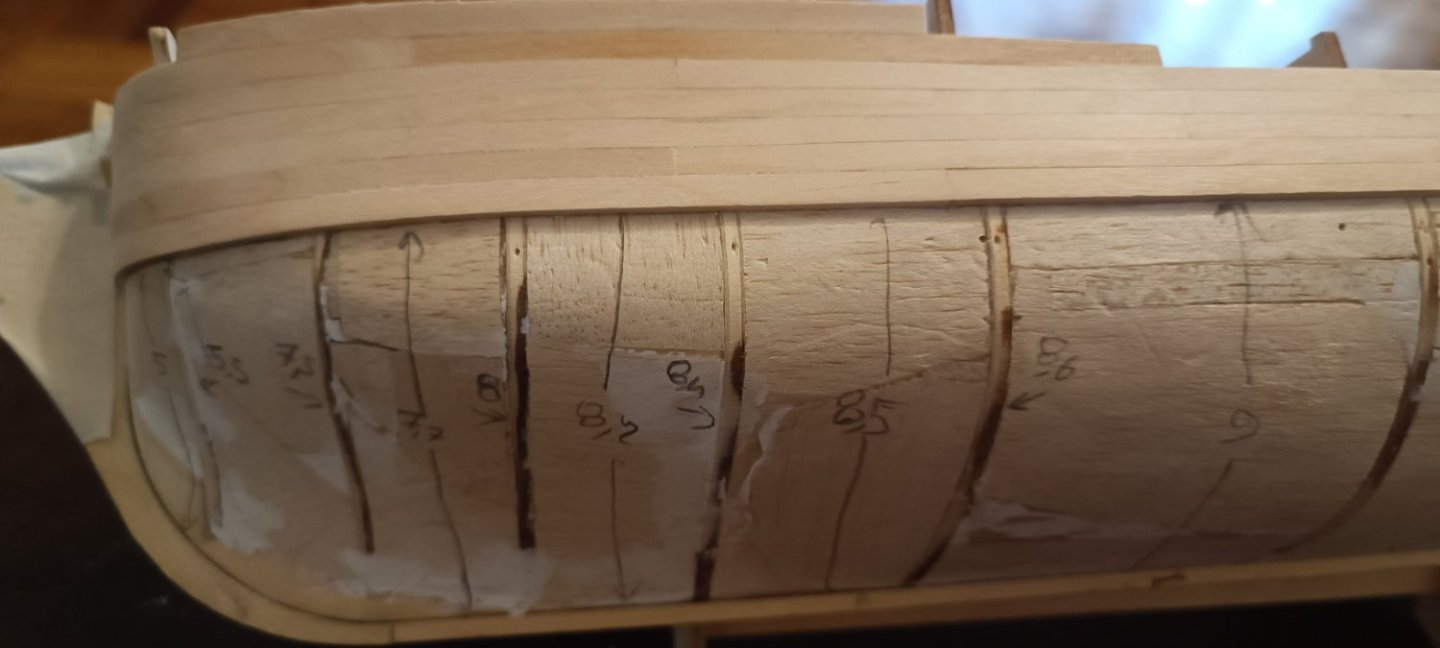
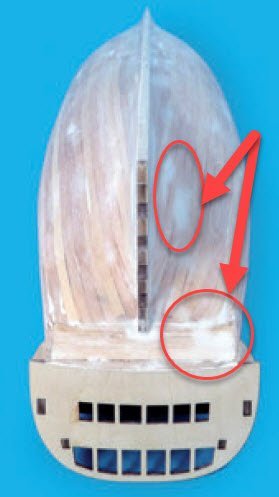
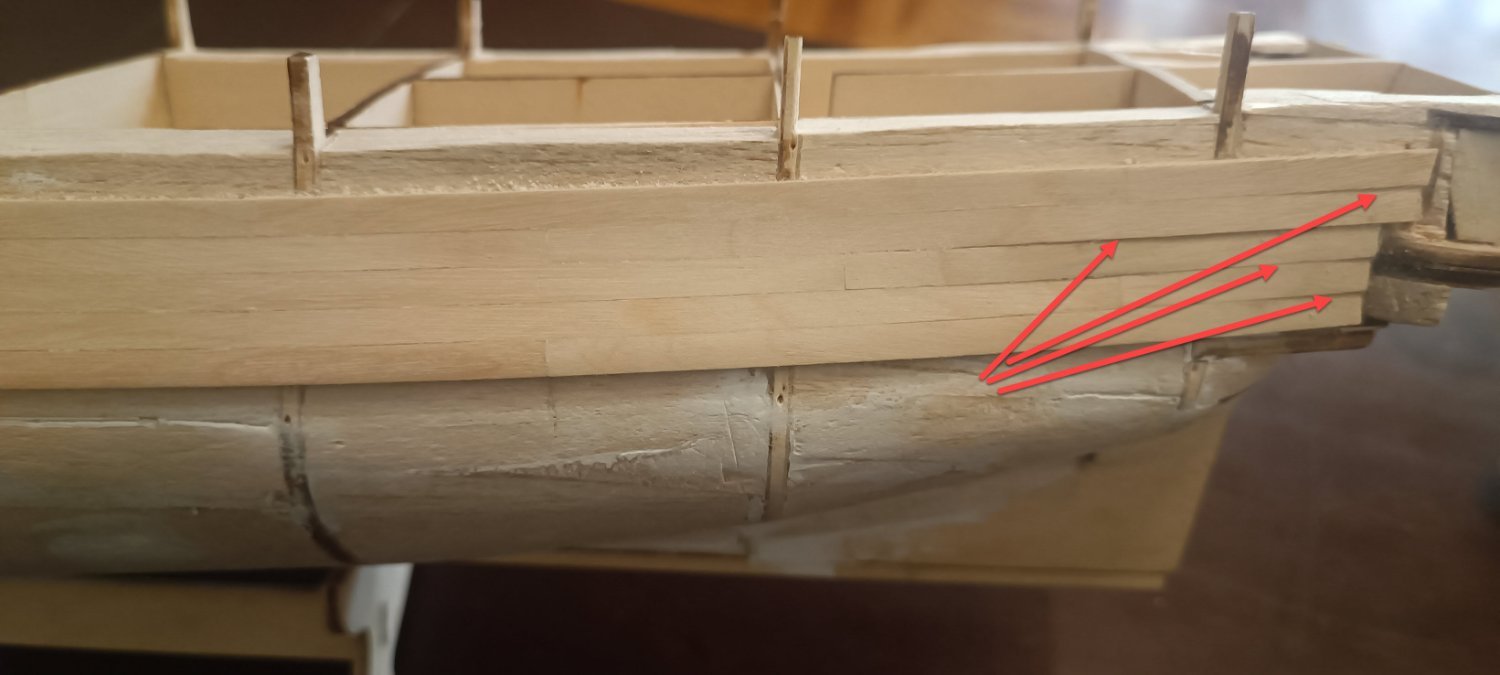
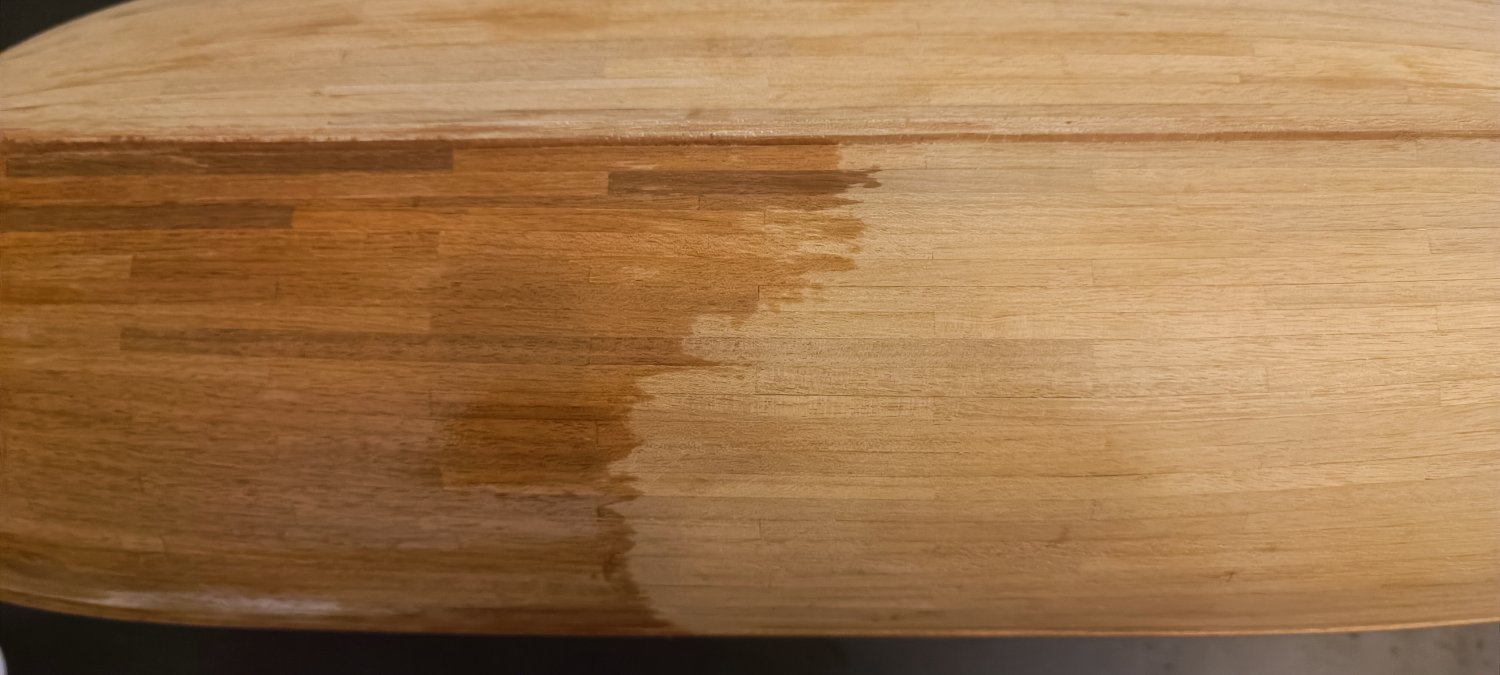
I have noticed that in some areas, the planks were too thin and the first layer was visible. I have sanded the second layer of planks more than necessary.
As a result, I had no choice but to remove several planks and fix them all over again, which was not an easy task.
Now wider planks are to be selected so as to ensure they fit correctly
-
On 3/24/2023 at 5:20 PM, allanyed said:
Your planking is exemplary. It is a pleasure to see planking done as was done in actual practice rather than the fantasy planking seen so often.
Regarding the wales, they were commonly black, so yours being darker is probably a good thing.
Allan
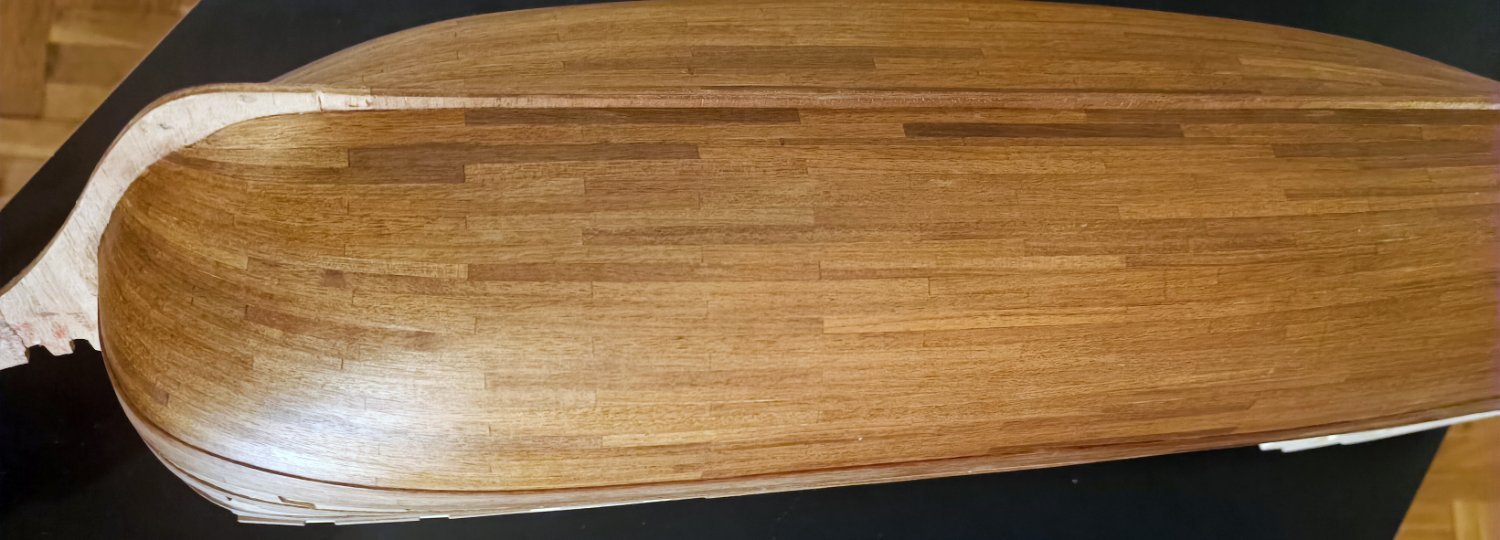
Thank you very much for your kind remarks. You can notice that the fisrt layer was made with the "easy way" becouse I wanted to find out how it looks
I will paint the hull above the waterline with HMS Victory's actuall colors, so I dont mind the color differences.
I am looking forward to finsh the hull, becouse I am thinking of making over stern galleries .... I will definitely try with styrene strips as you suggested
-
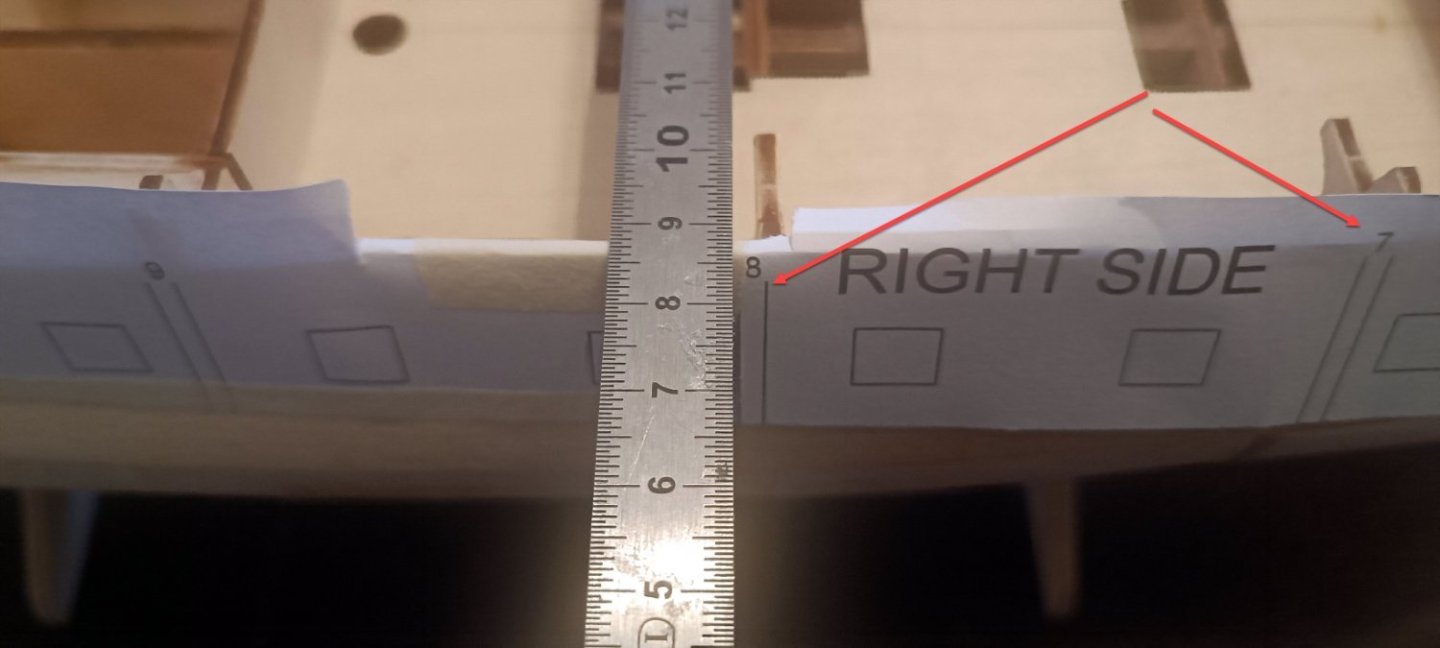
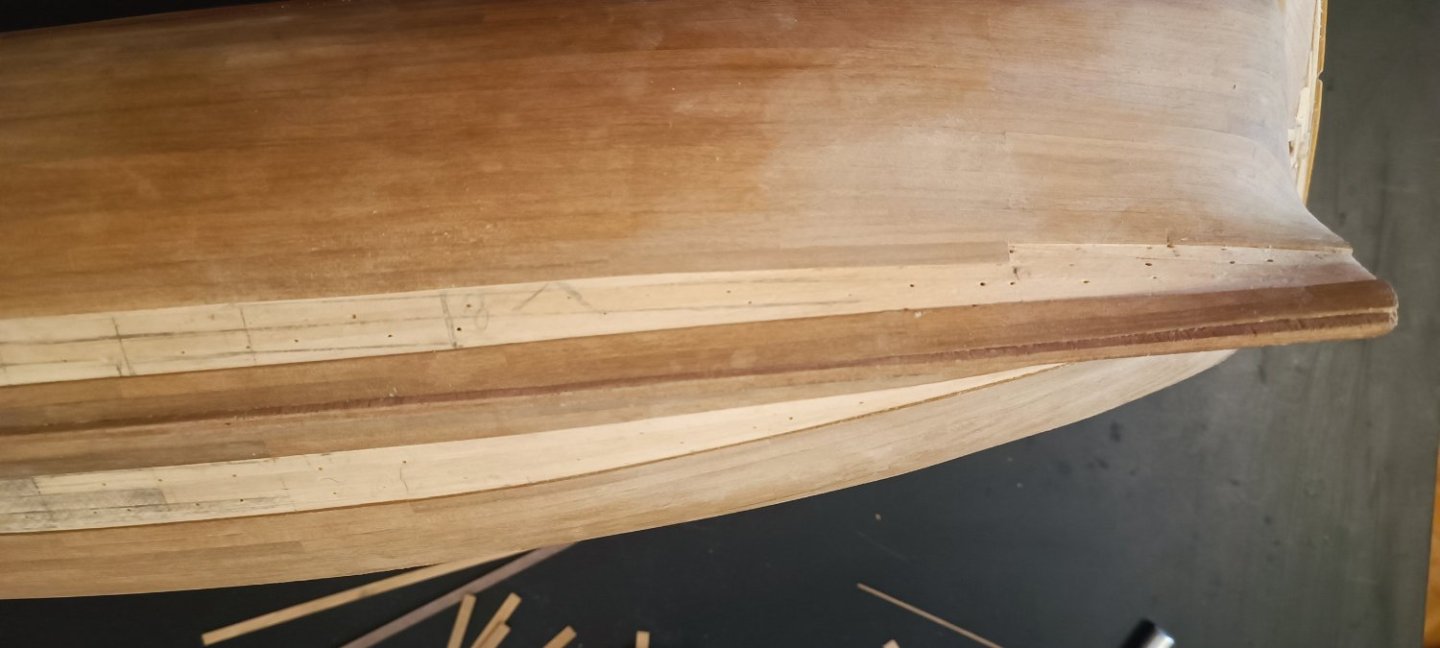
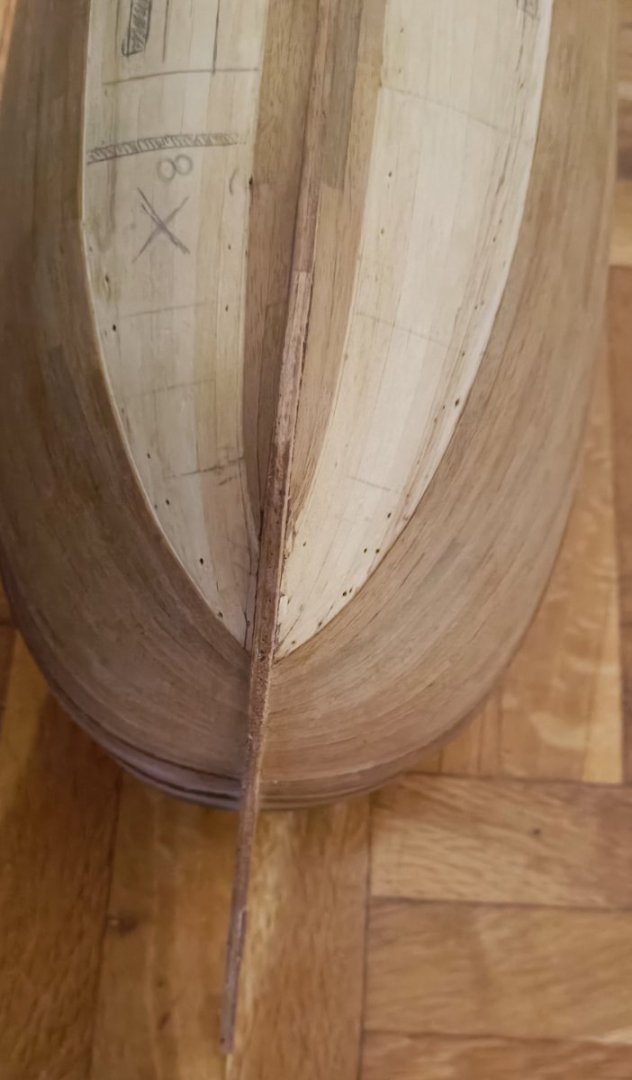
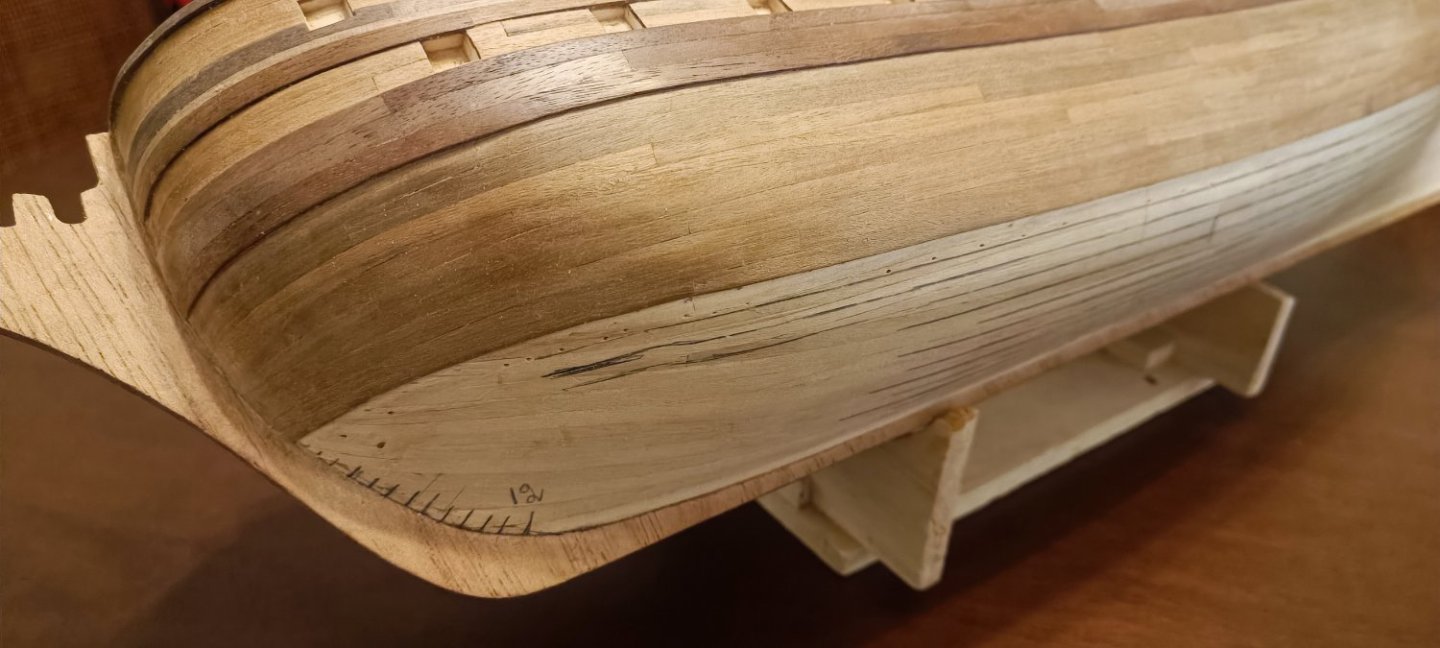
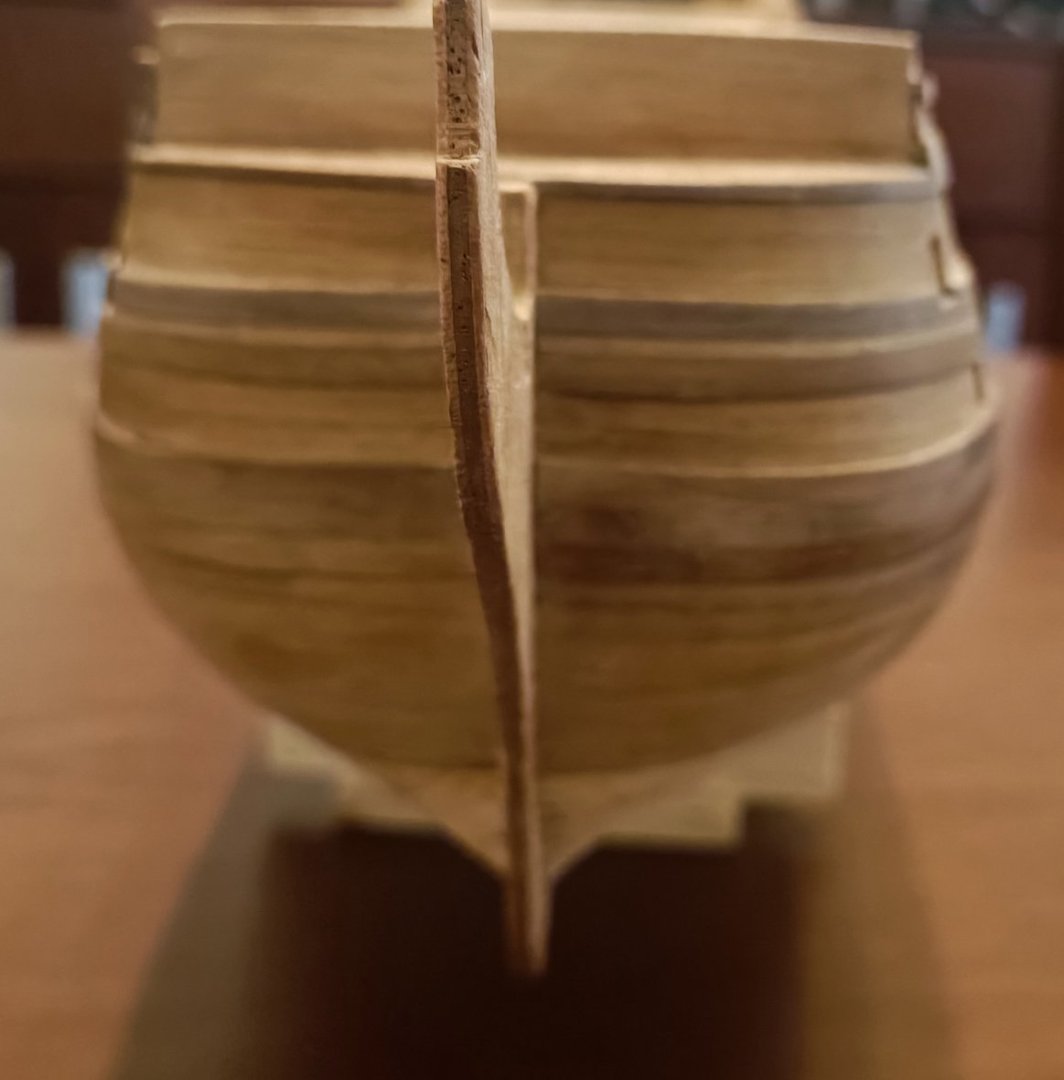
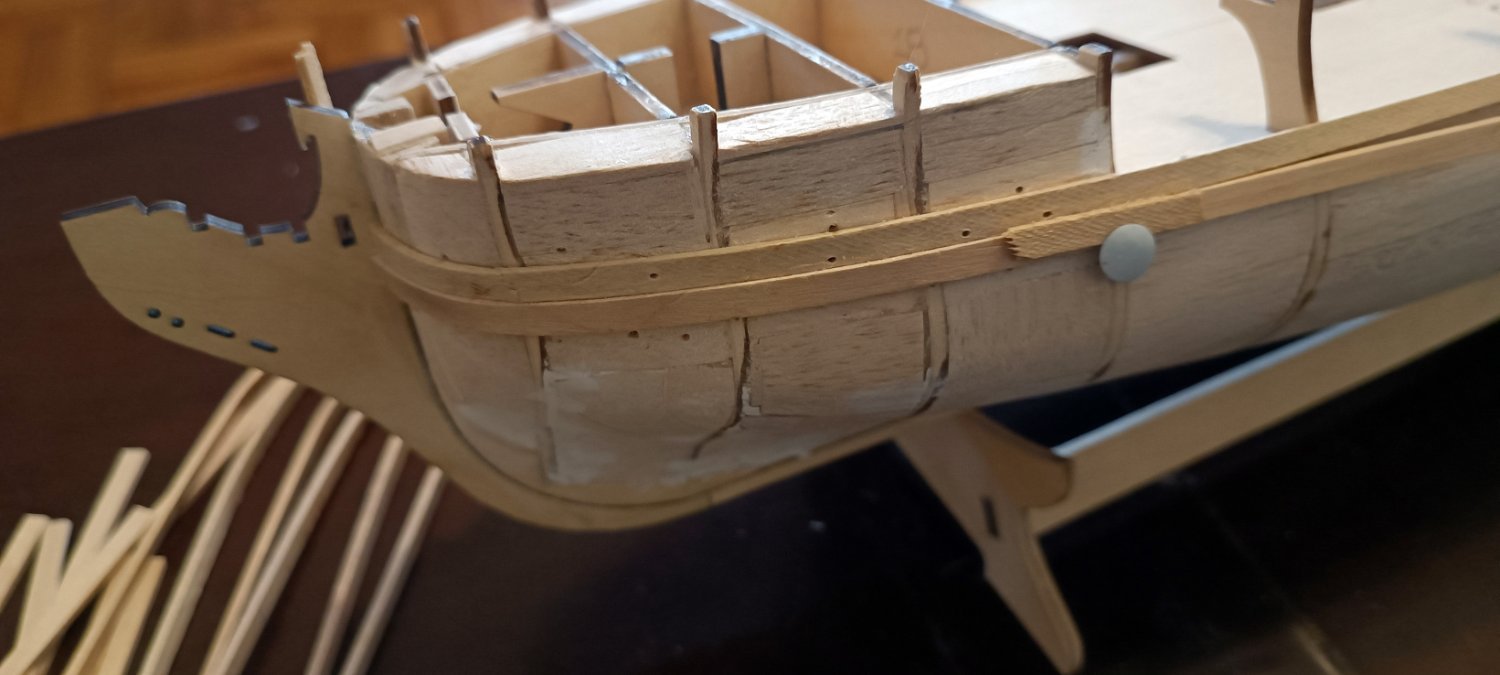
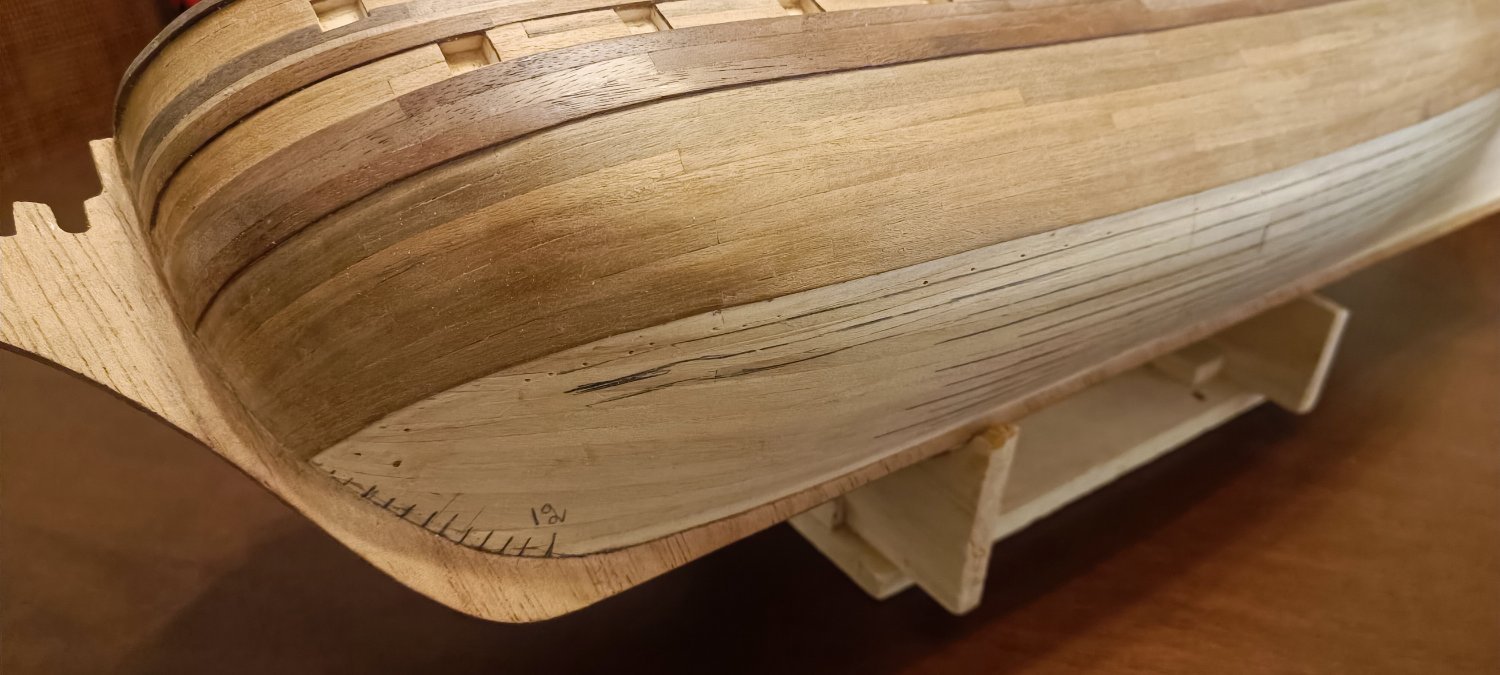
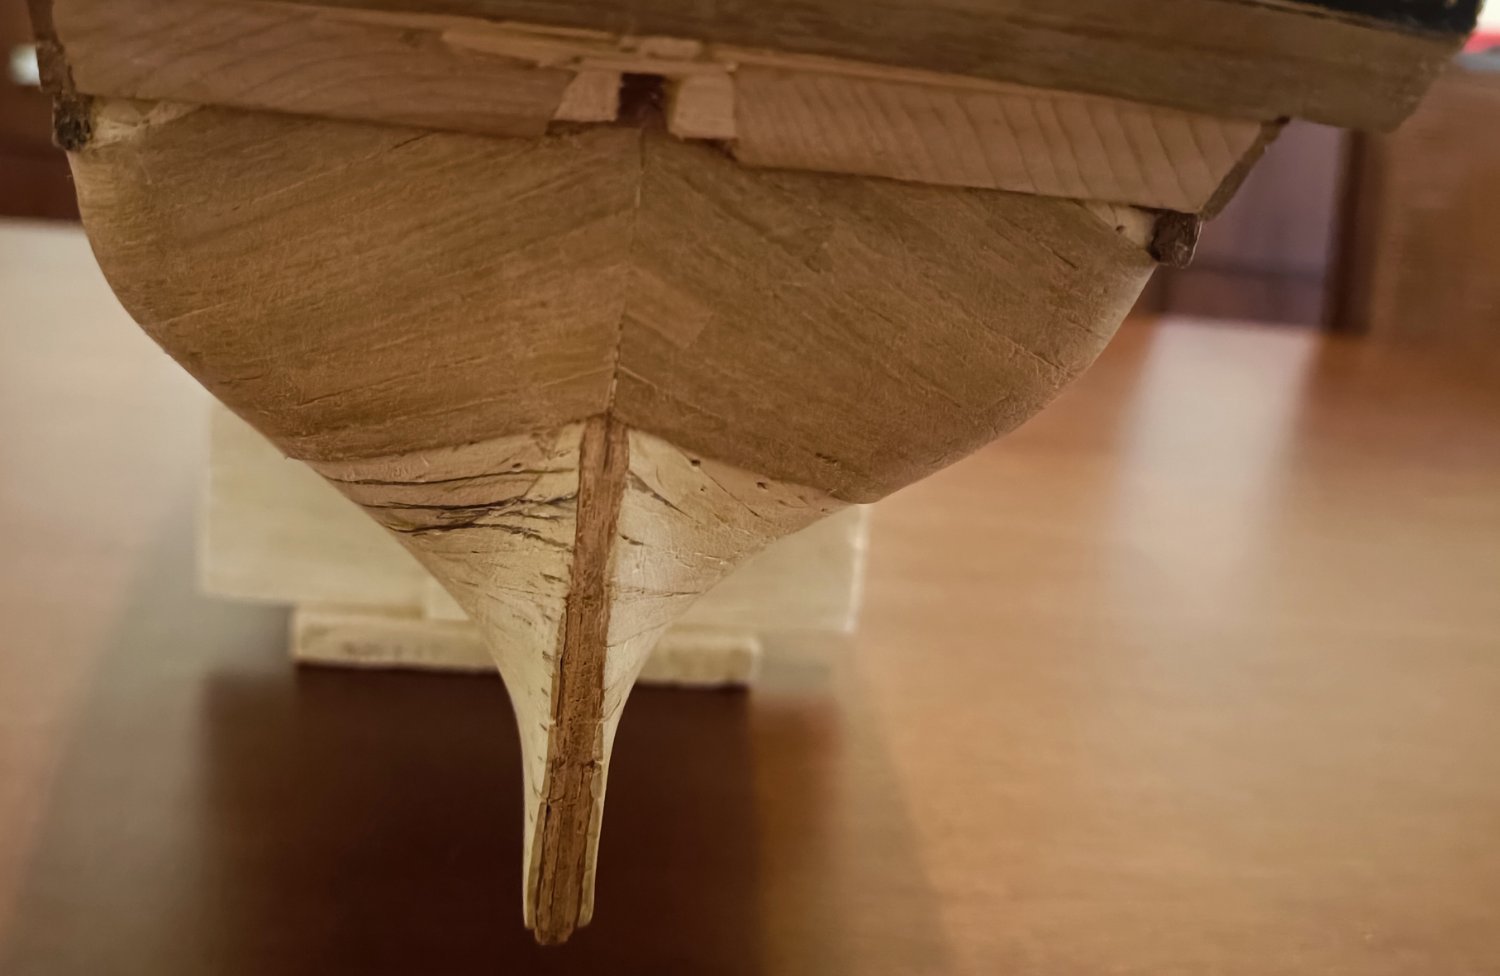
close pictures for the bow & stern


- ccoyle, KARAVOKIRIS and Javelin
-
3
-
hull planking in progress... almost half way done
- Prowler901 and KARAVOKIRIS
-
2
-
On 2/17/2023 at 10:40 AM, Katsumoto said:
Hi Kostas!
You're working on a great model and doing a wonderful job on this Corel kit. Keep up the great work and don't mind the color difference between the planks it will pass in time due UV light.regards,
PeterI have used some extra walnut strips for wales and the color is a bit darker, so I hope UV light will do the work. The hull section above waterline will be painted, so I dont really mind.
-


Hermione La Fayette by kostas_gr - Artesania Latina - 1:89
in - Kit build logs for subjects built from 1751 - 1800
Posted
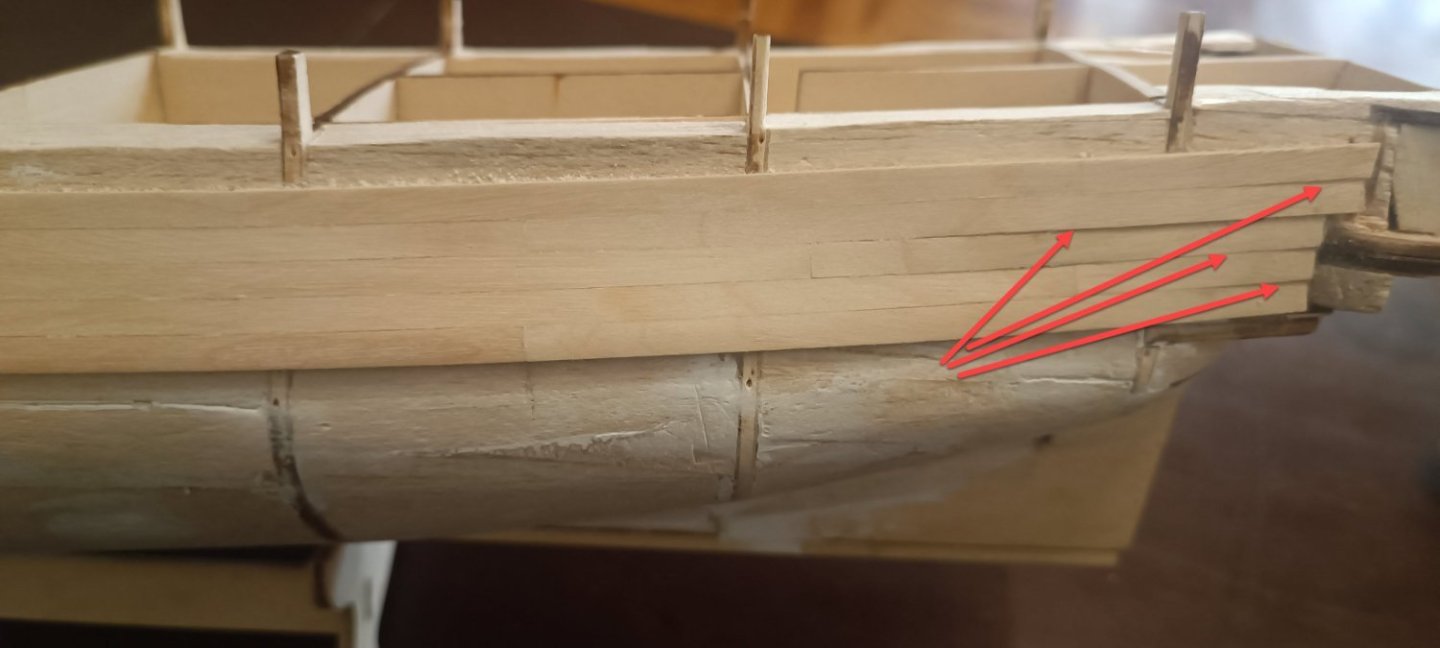
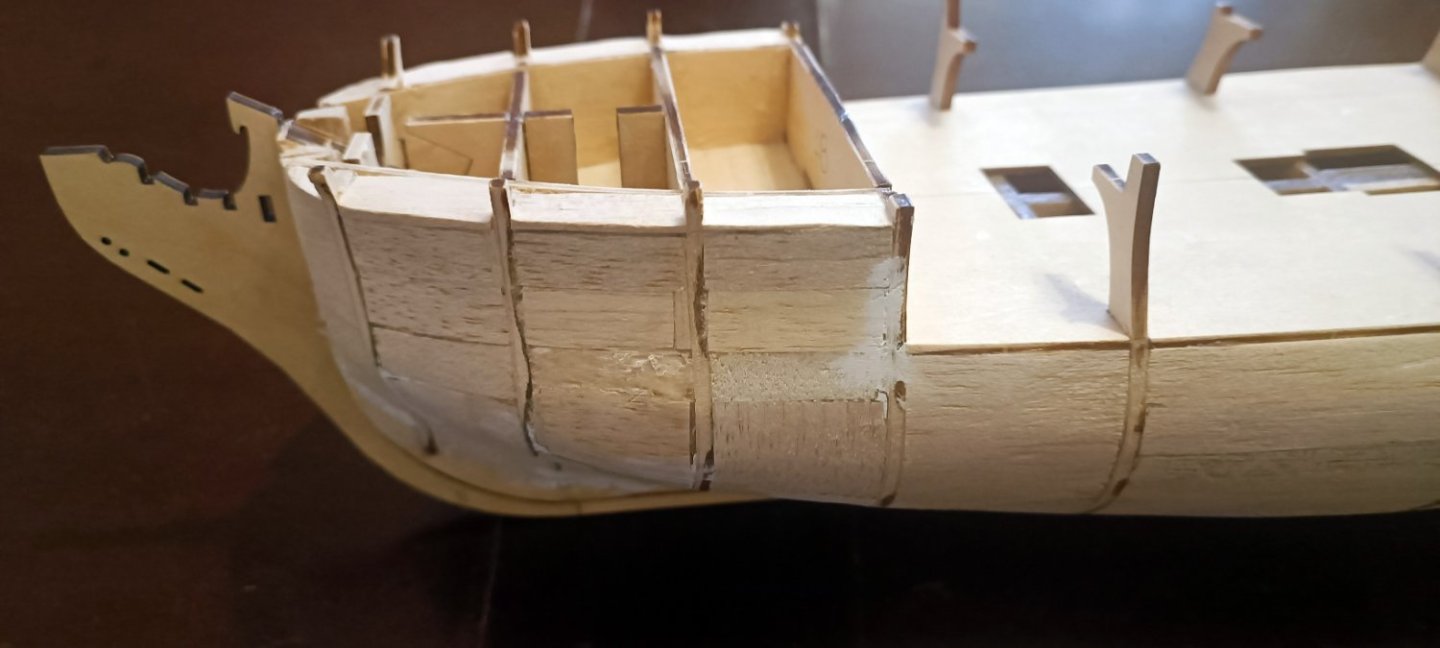
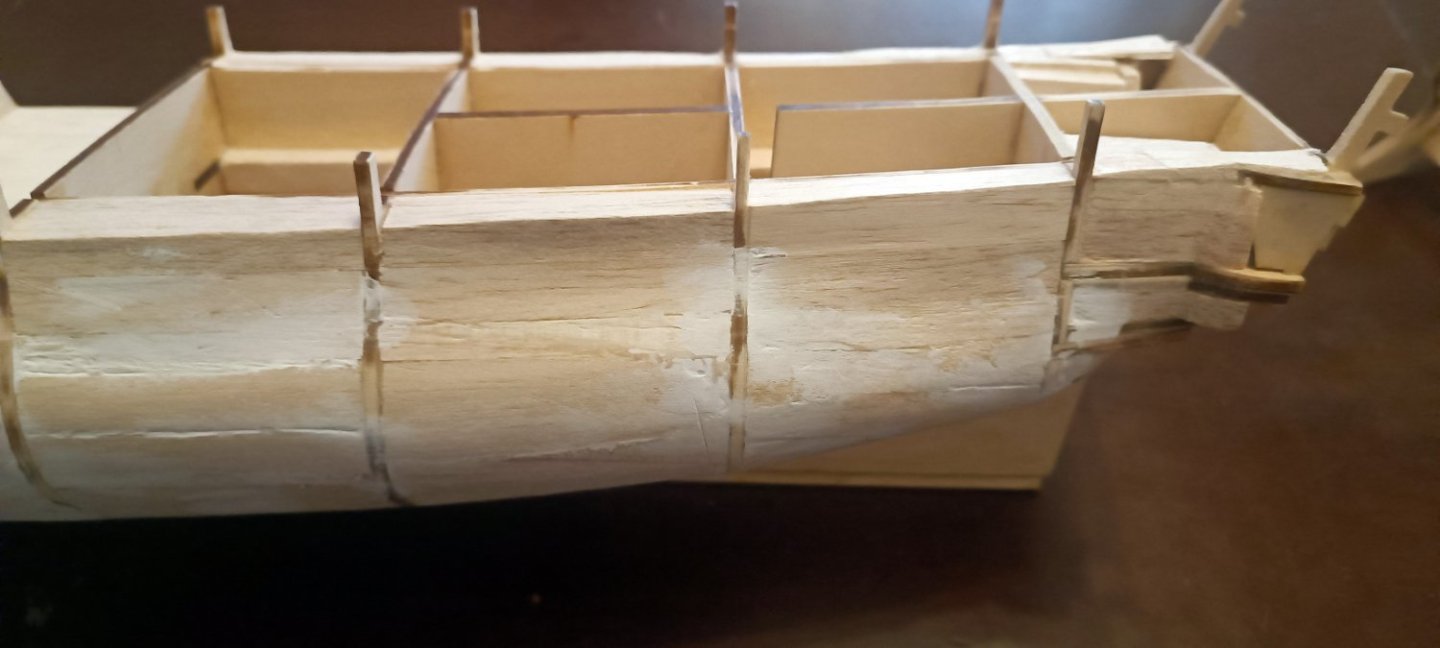
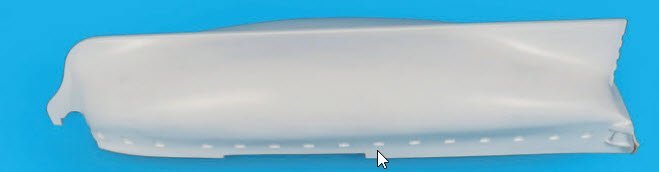
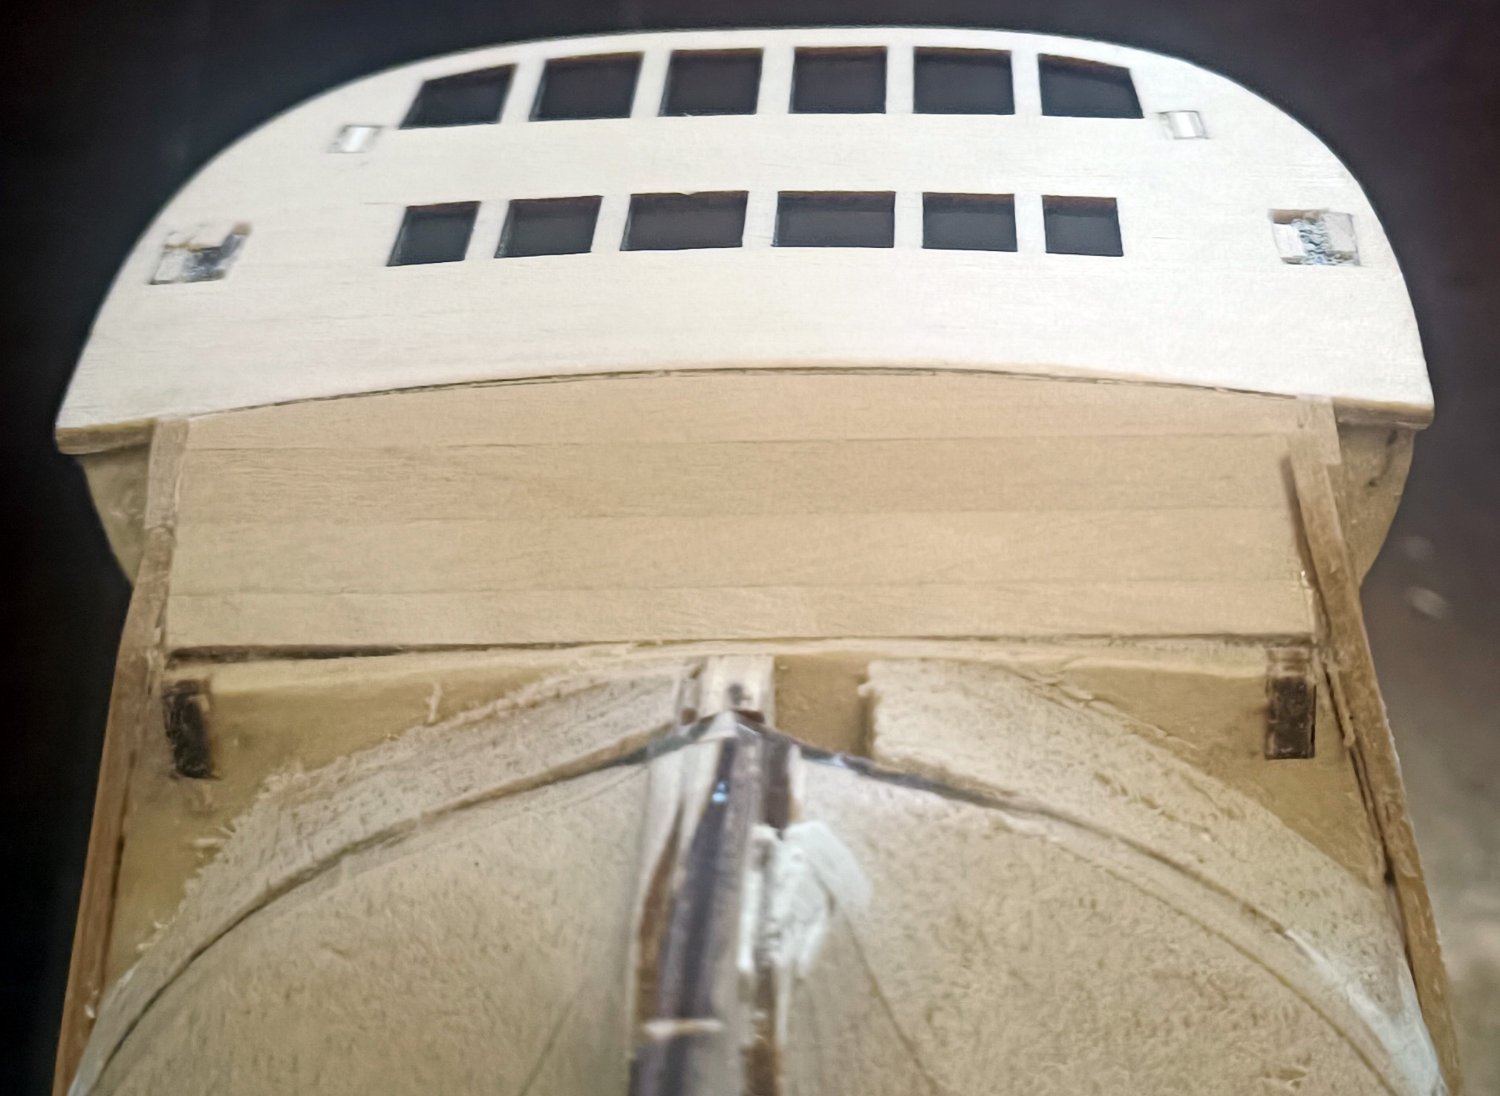
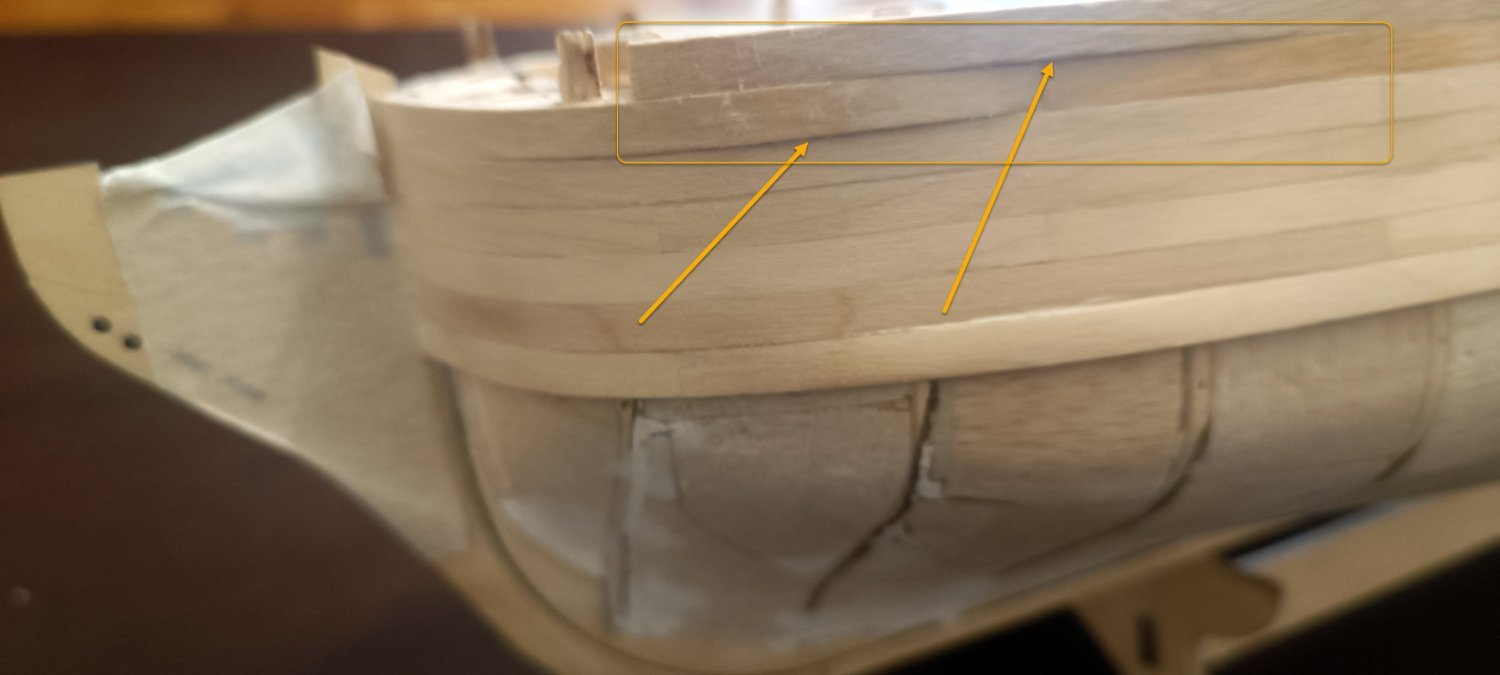
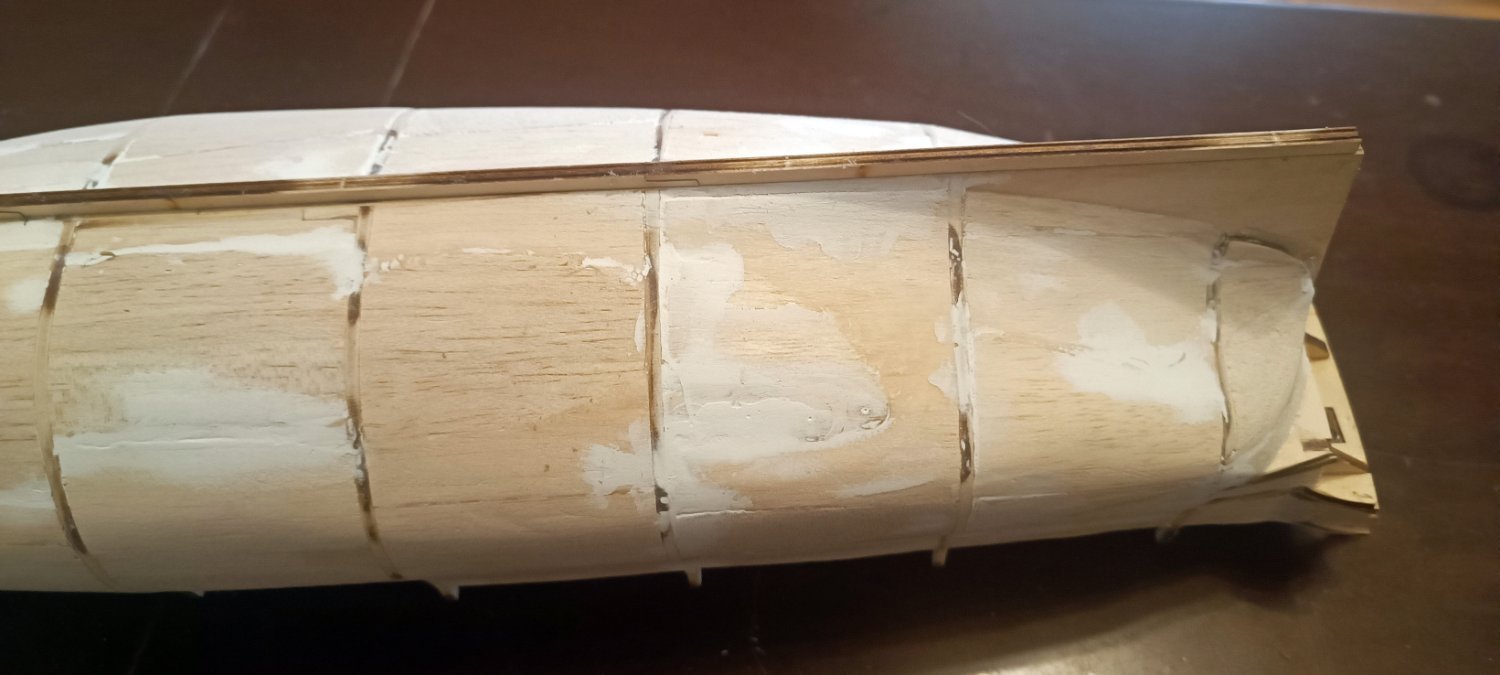
According to Artesania's instructions, I was supposed to trim three stern planks. However, I decided to attempt bending those planks instead
Since this part of the stern will be painted, small gaps won't be an issue for me. My main objective is to ensure the Hull planking is as firm as possible
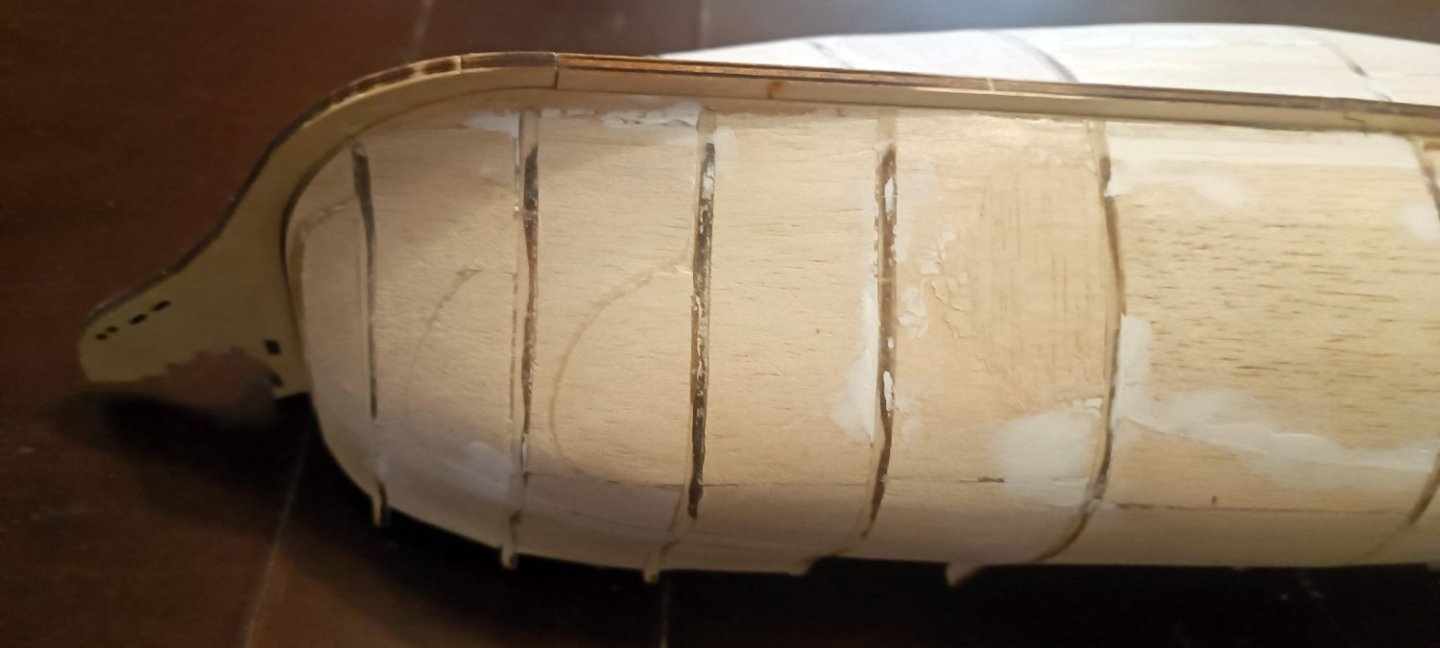
I had to fill some parts of the stern with additional balsa wood to create a sturdy base for the bent planks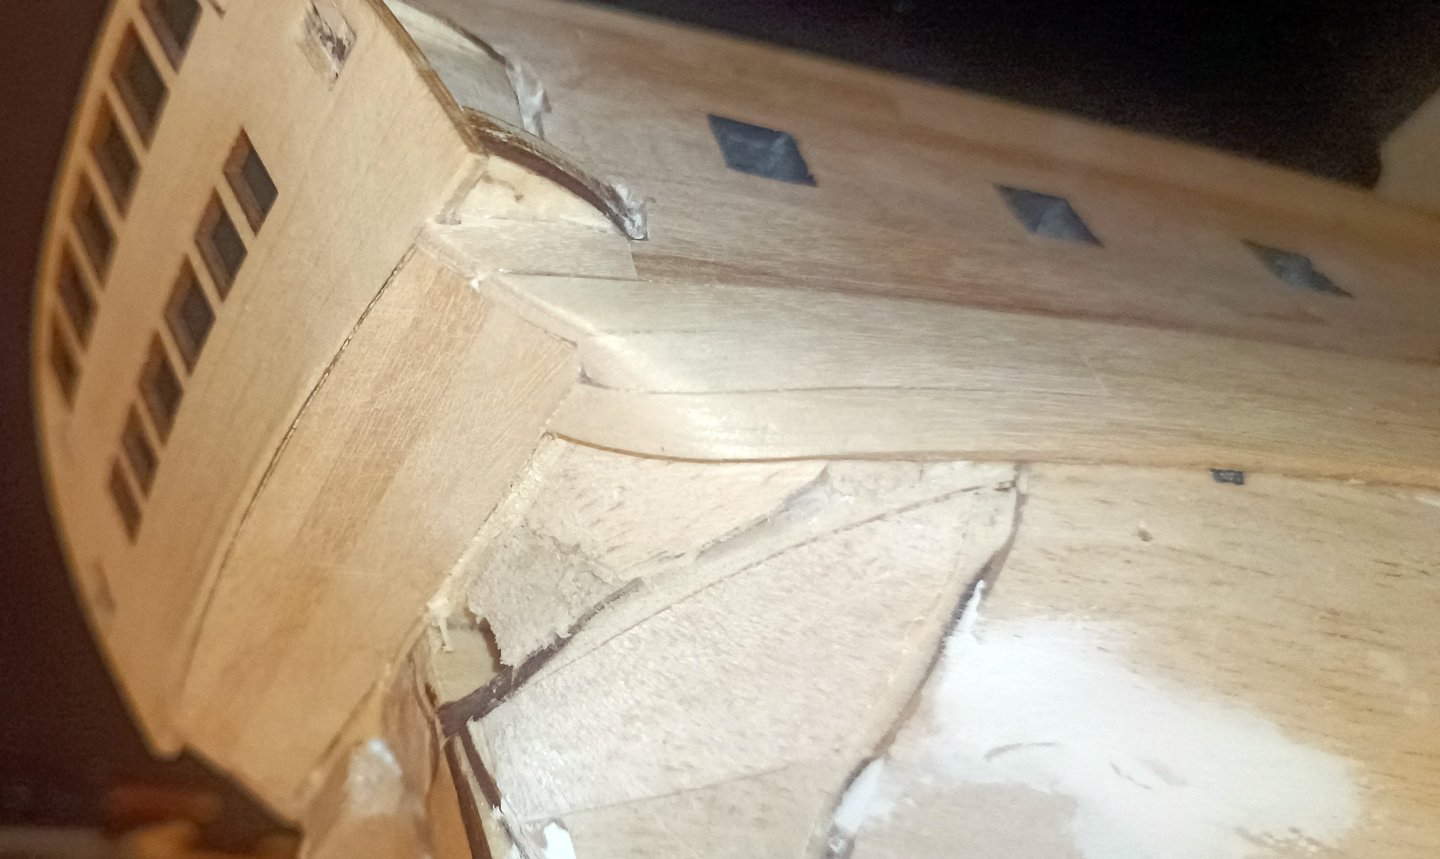
I had to fill with balsa wood