HOLIDAY DONATION DRIVE - SUPPORT MSW - DO YOUR PART TO KEEP THIS GREAT FORUM GOING! (Only 68 donations so far out of 49,000 members - Can we at least get 100? C'mon guys!)
×


TBlack
-
Posts
1,308 -
Joined
-
Last visited
Content Type
Profiles
Forums
Gallery
Events
Everything posted by TBlack
-

HMS Sphynx by TBlack - 1:64
TBlack replied to TBlack's topic in - Build logs for subjects built 1751 - 1800
The grandson inspects: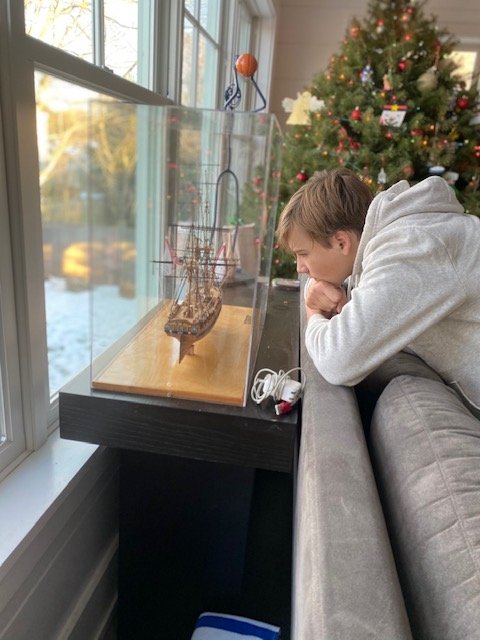
-
Great to see you back, Alex. Can't let your fabulous talent rest on the shelf! Tom
-
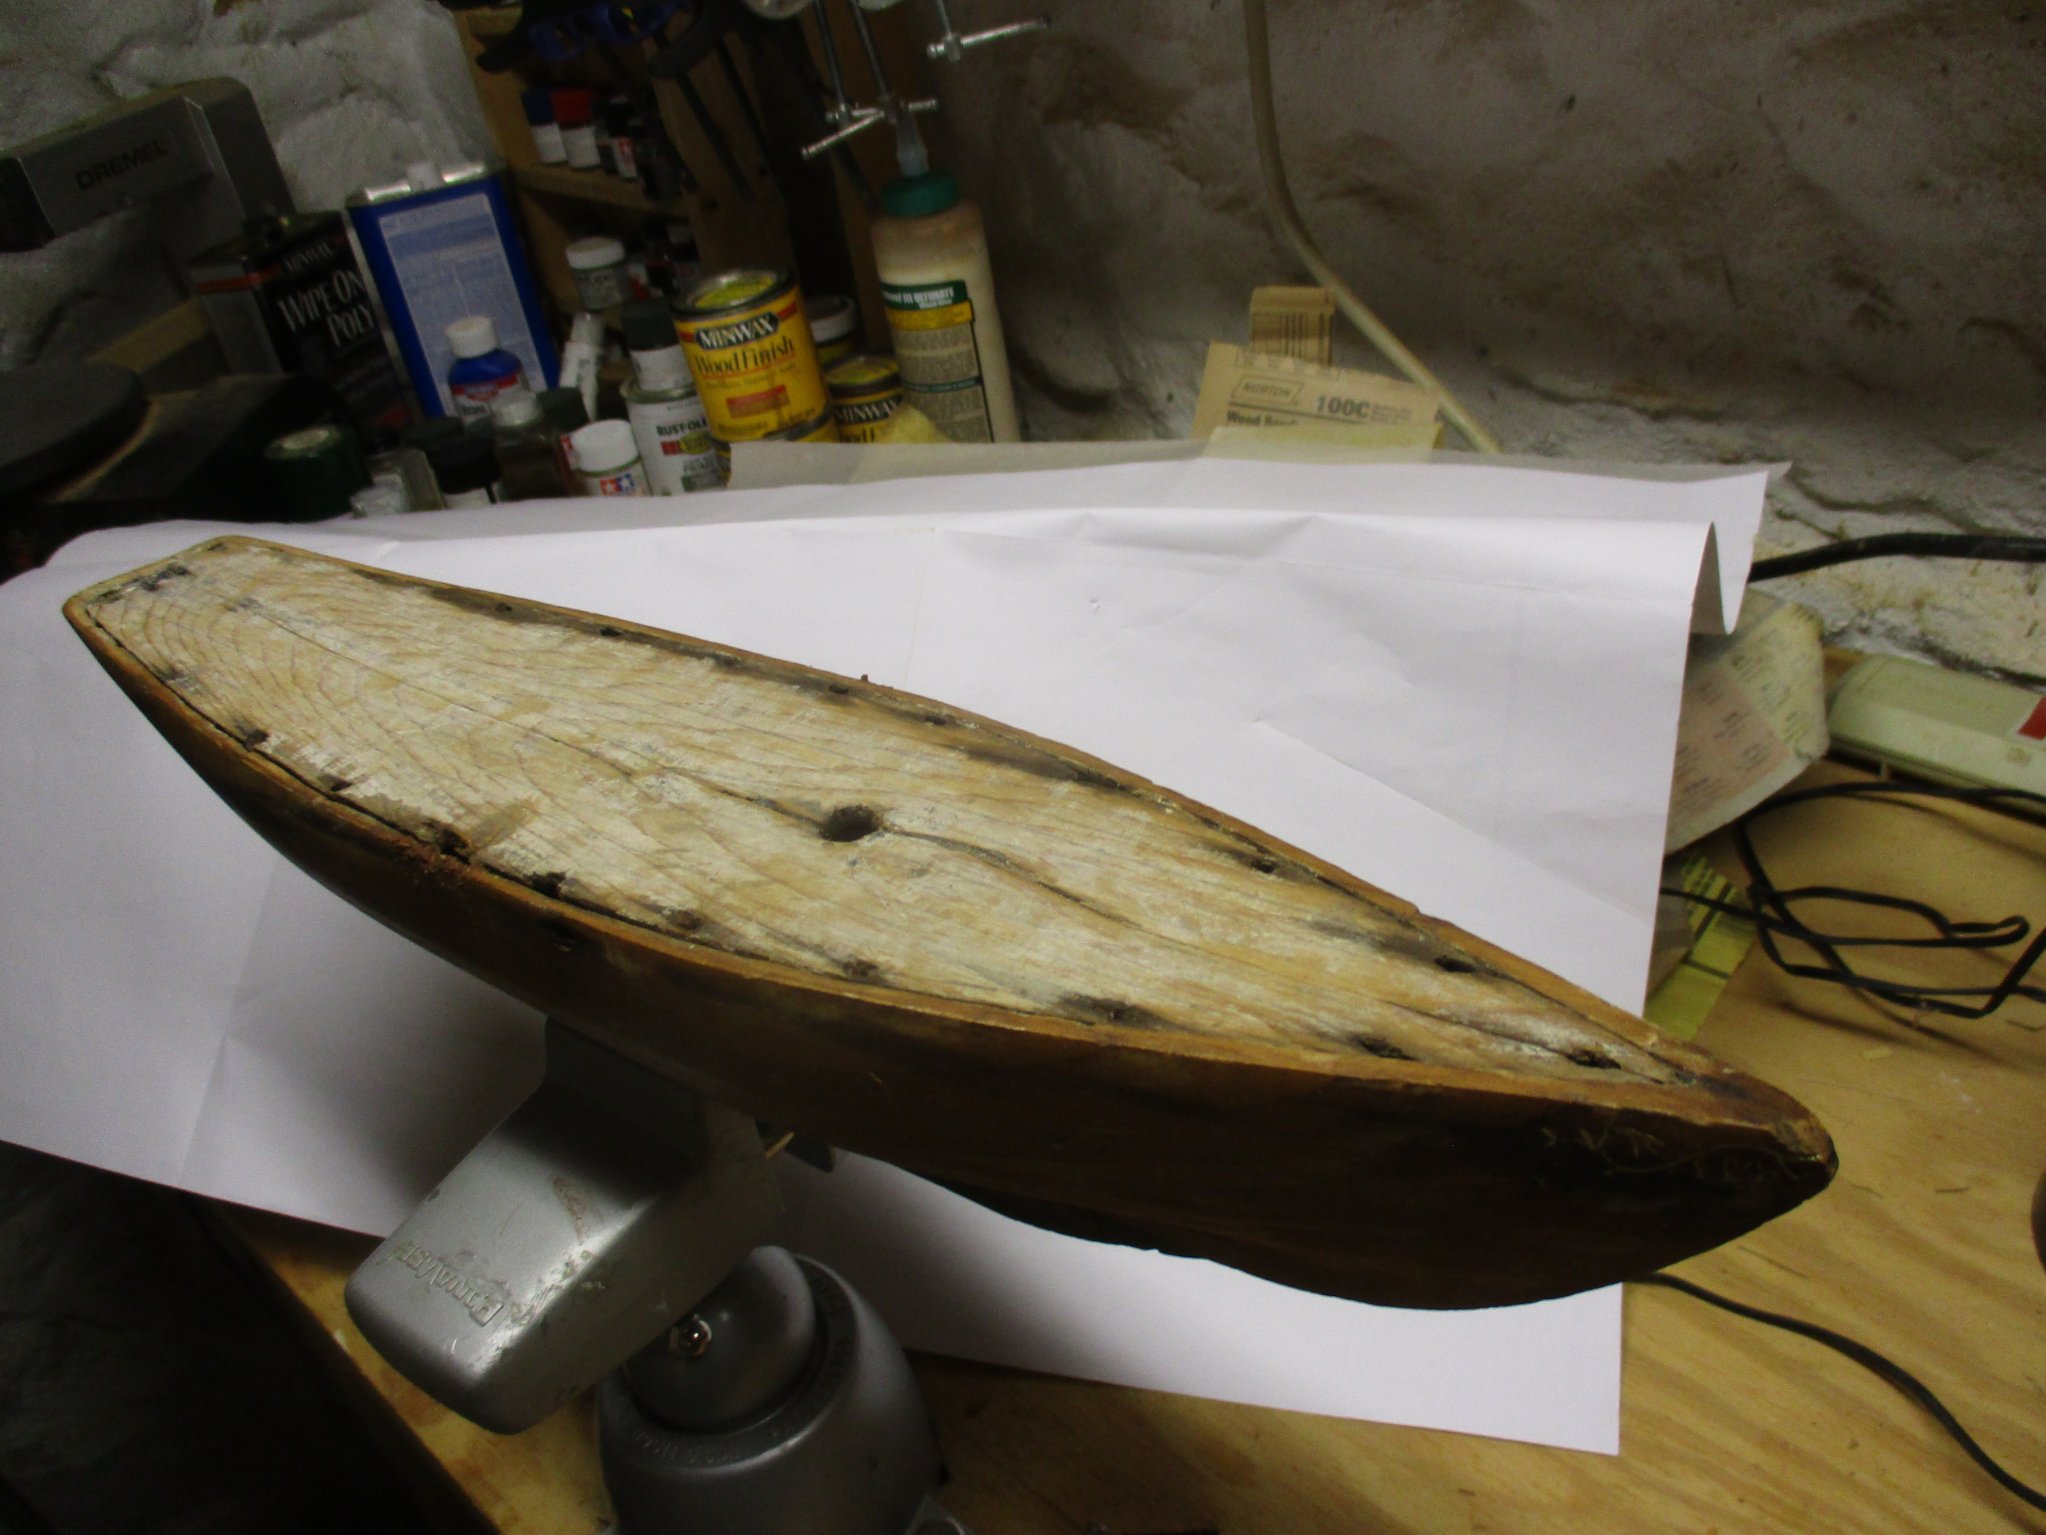
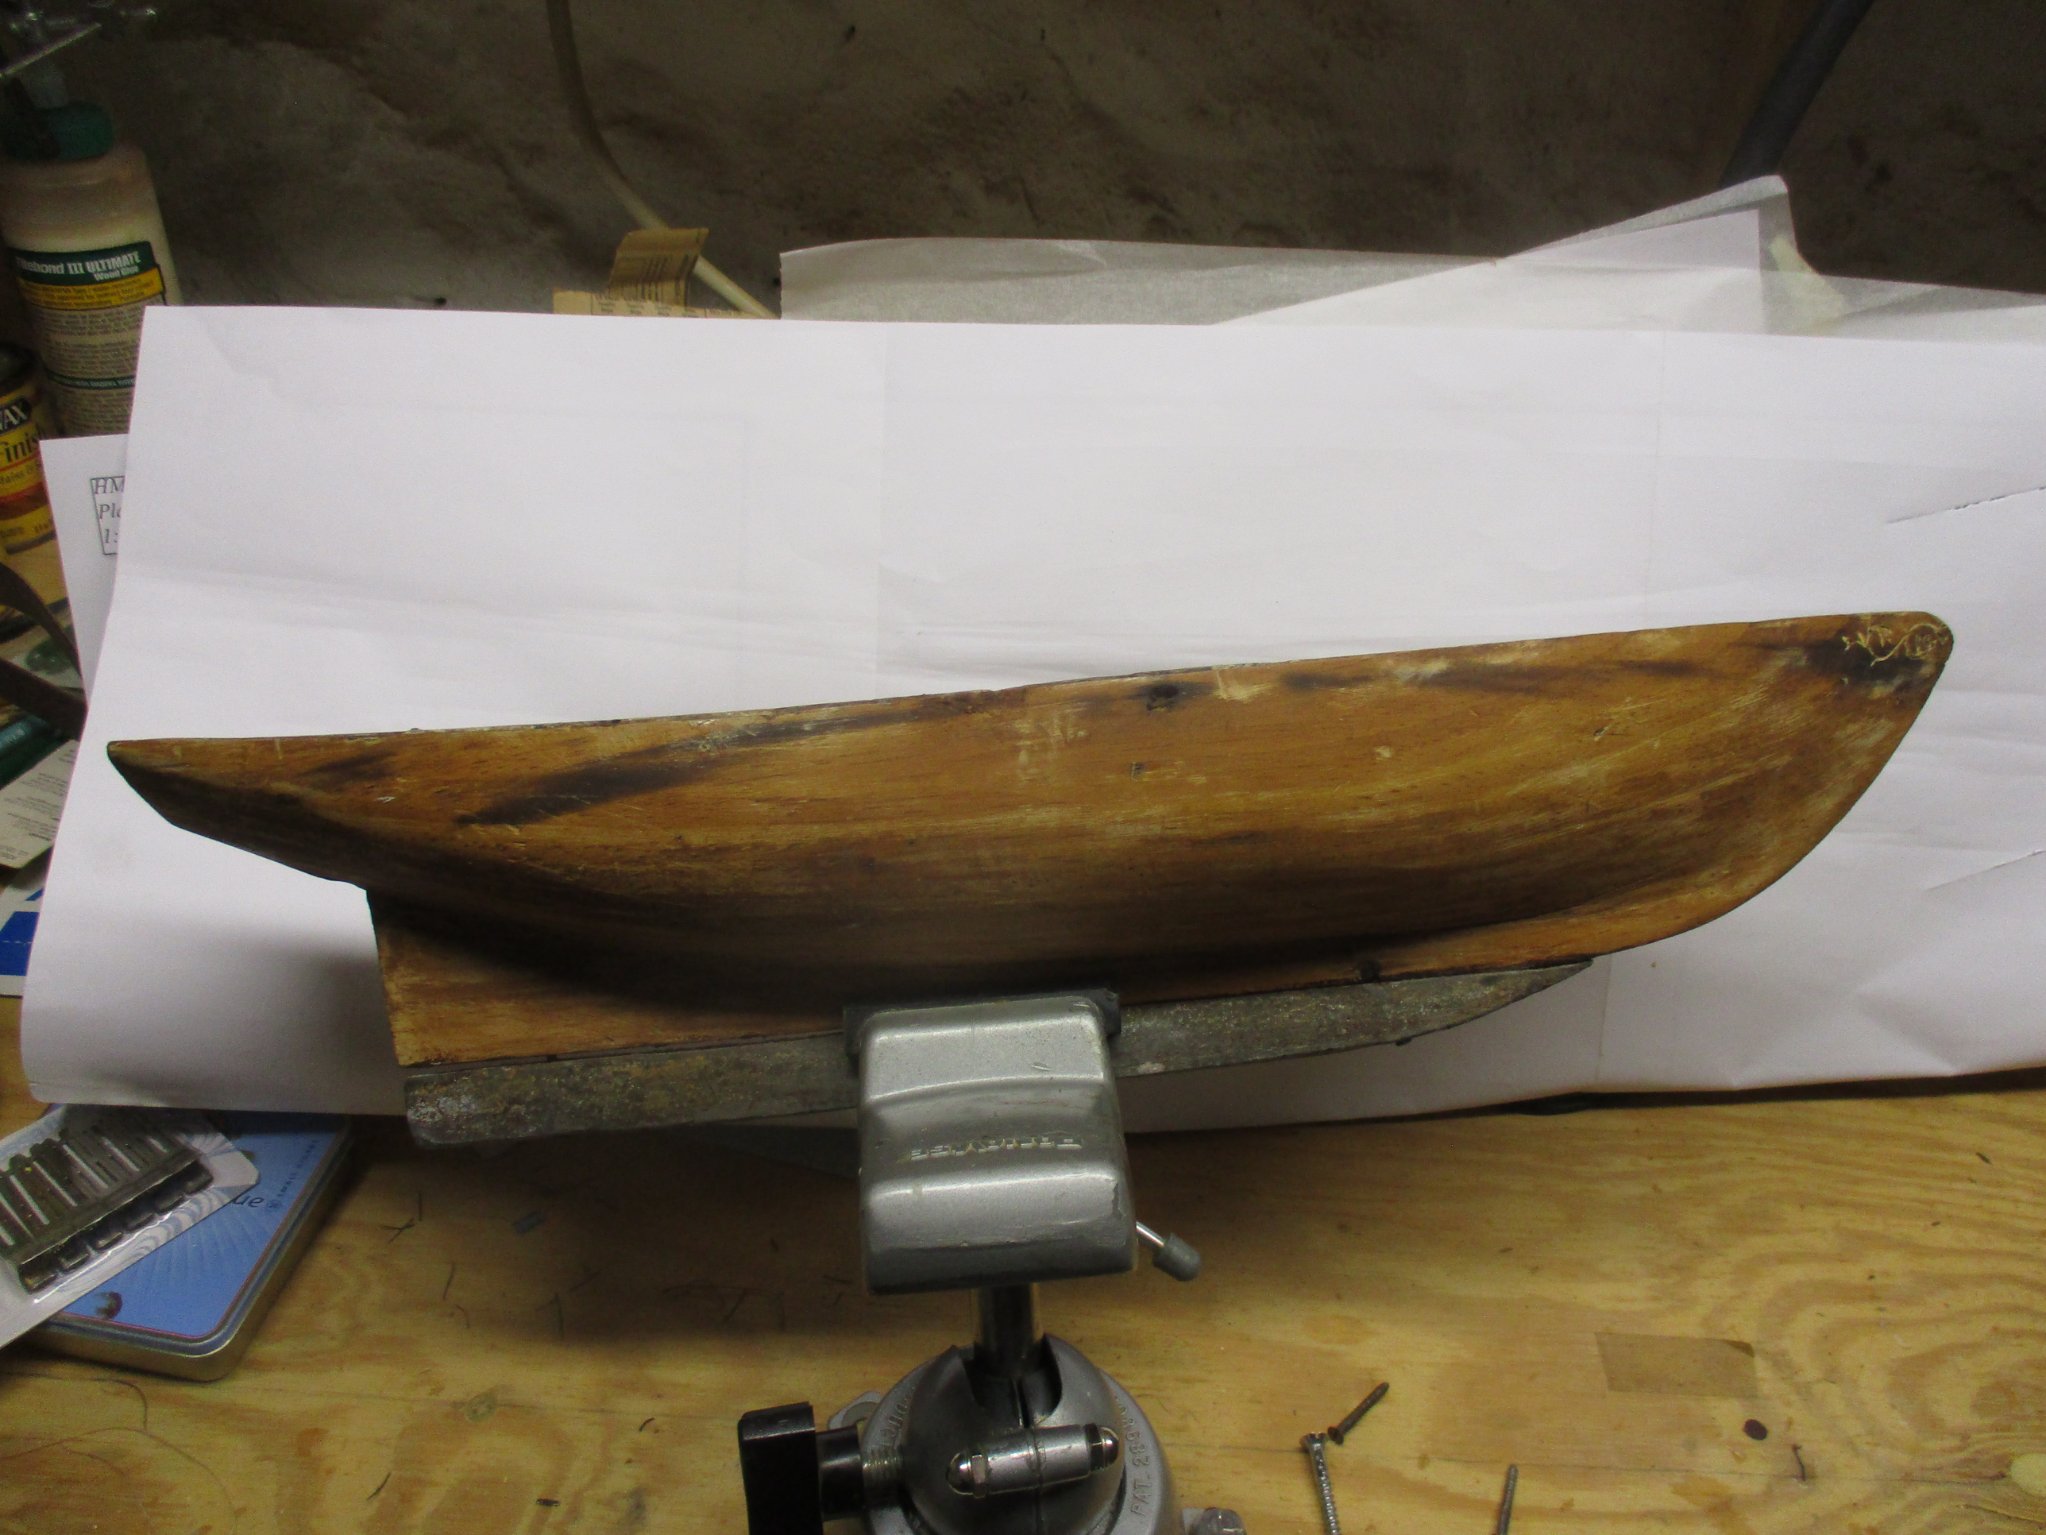
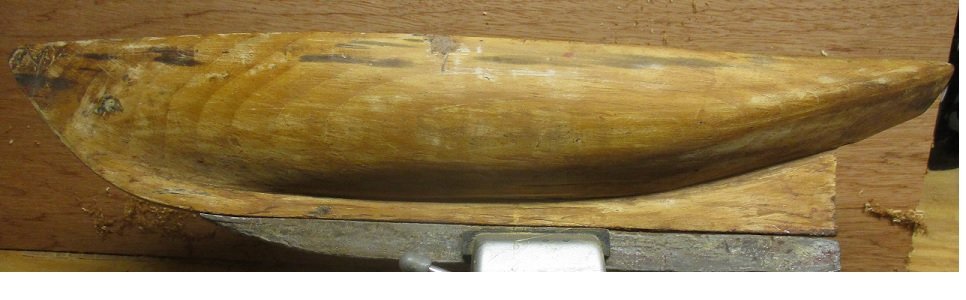
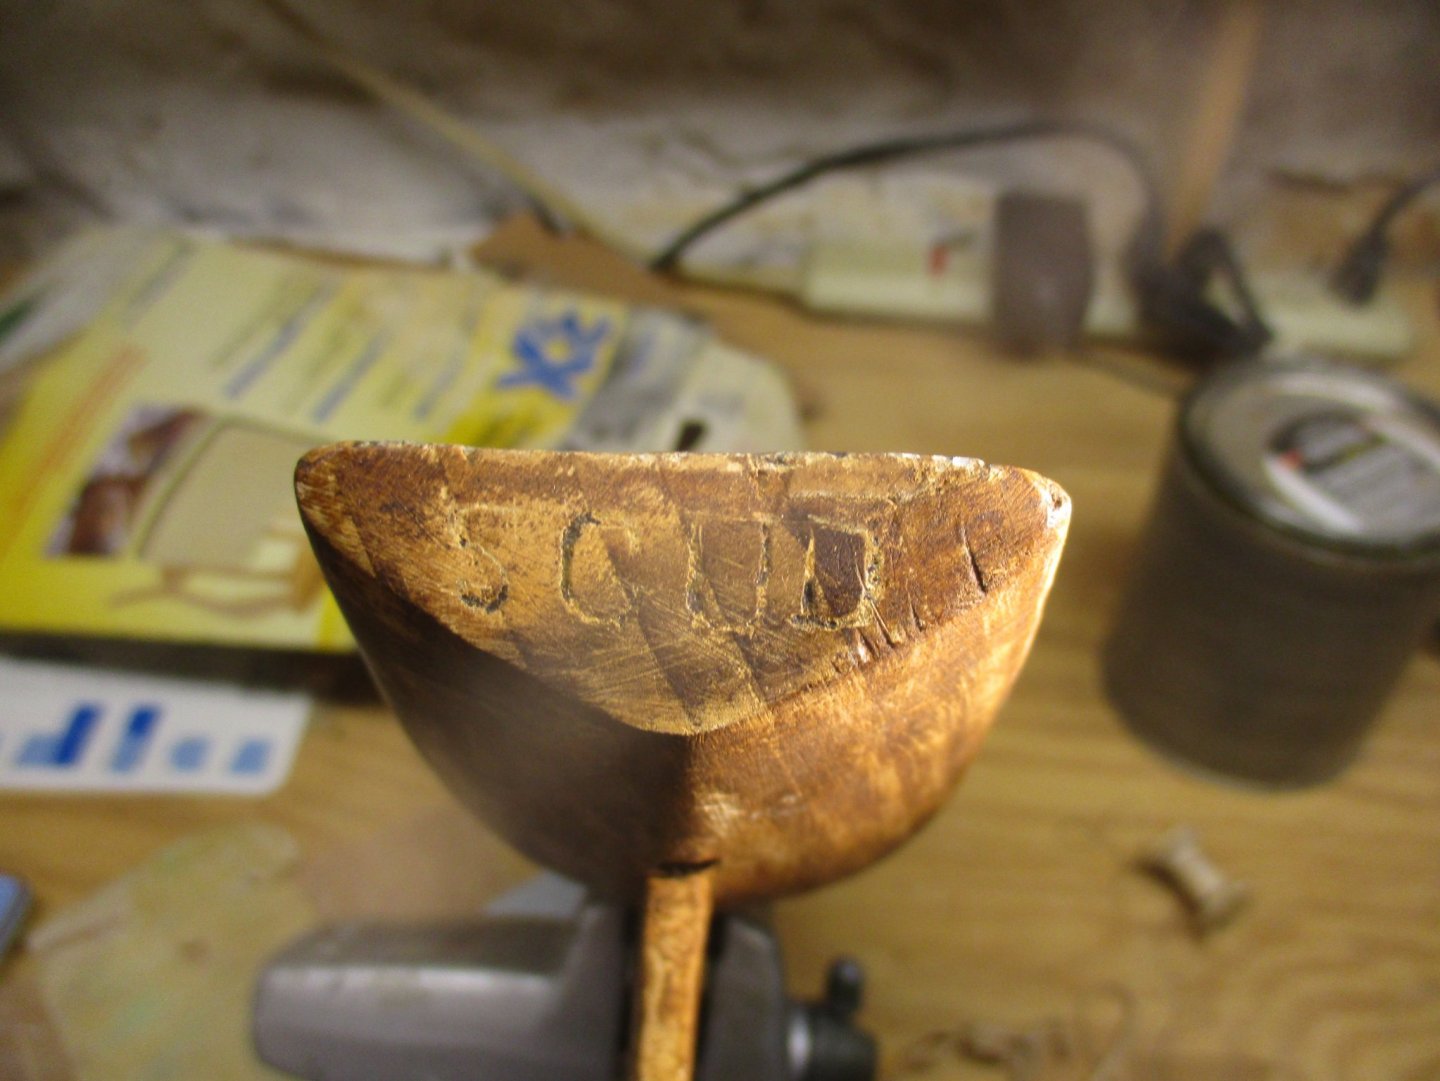
Keith (bro), The client, my uncle, wants it left bright. So I'm just using varnish. As you can see from the photos in #7 above, there are dark places in the wood that are fully soaked in. I'm assuming there was some kind of treatment done to the wood by the original carver, I've tried with fine grit paper to remove the dark places aft....no luck unless I go really deep. Not willing to do that. The dark places are just going to have to stay (a little bit like life, in general!). Hi Spyglass! Thanks for checking in. Yes, I also think it was meant to be a small pond yacht, but never got beyond what you see here. That piece of metal isn't lead, but steel. Also, interestingly, the hull is out of one piece of wood. It's soft, maybe pine? Tom
-
Thanks John and Keith. I’m going to leave it alone.
-
Keith, Hate to tell you this, but you have another older brother, Stanly, born in '46. The benefit is he knows CAD and I don't! Oh!, and another thing, you might have long teeth, but mine are all falling out! Tom
-
Keith, I'm not sure what a lot of money is, but I'd be proud to call you my brother! At 77, I'm the older brother, right? Tom
-
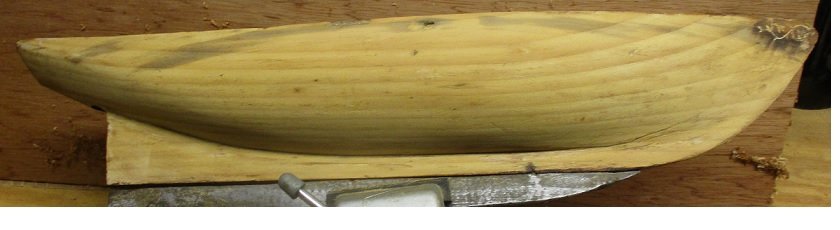
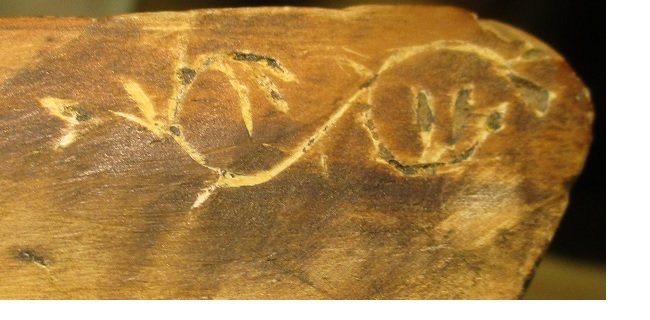
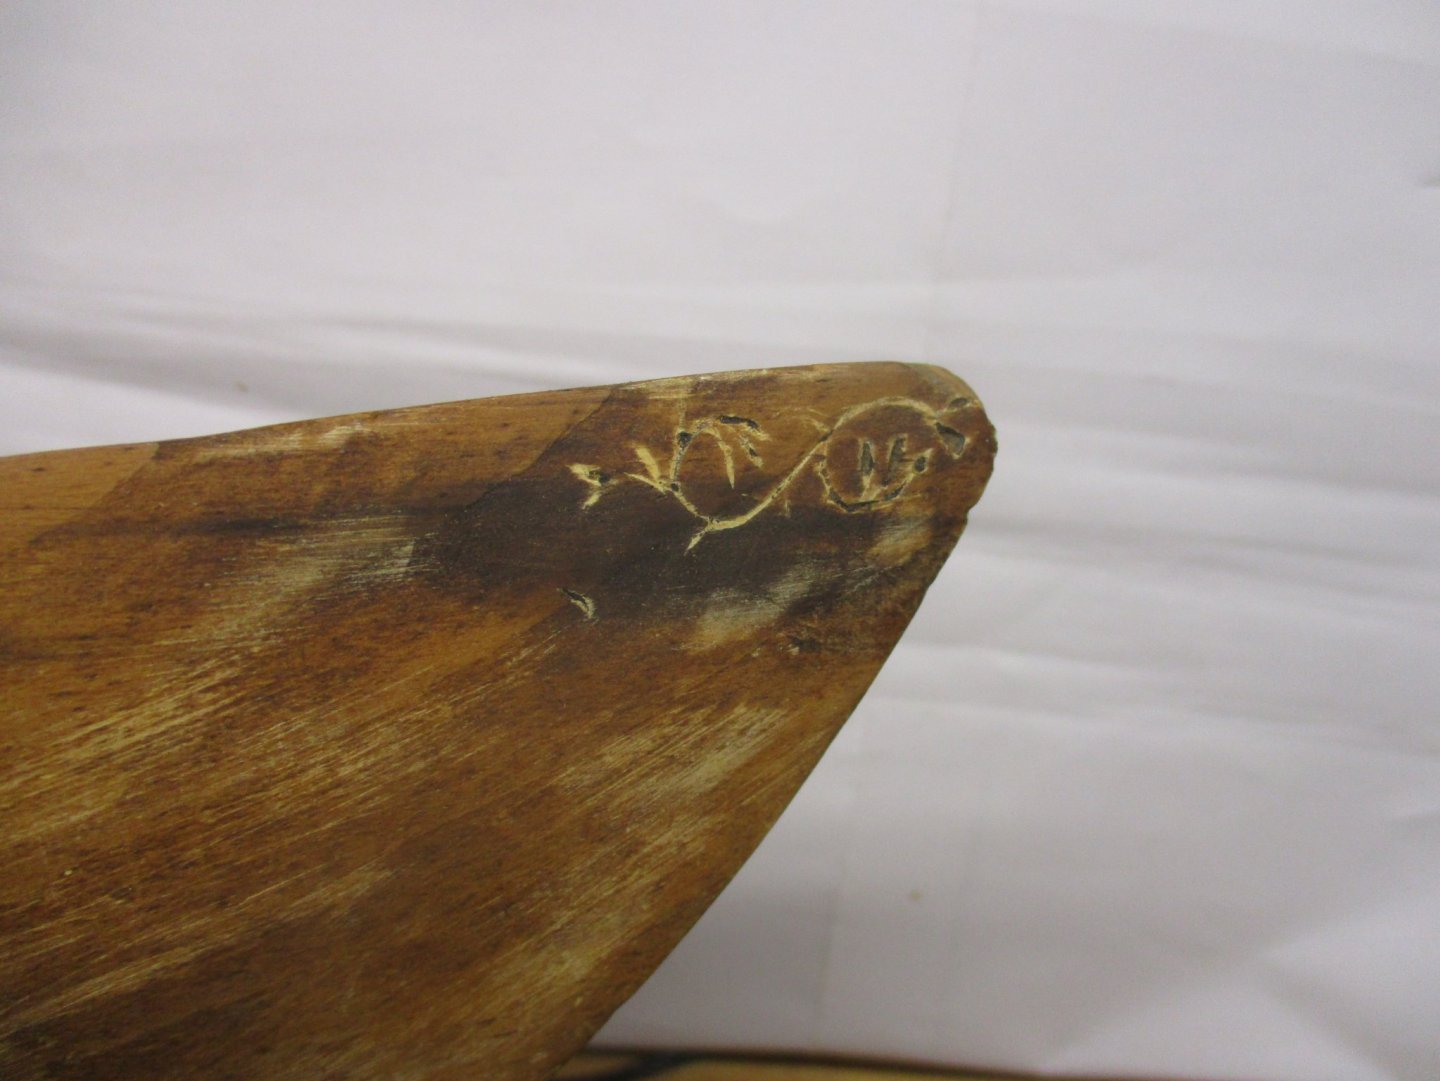
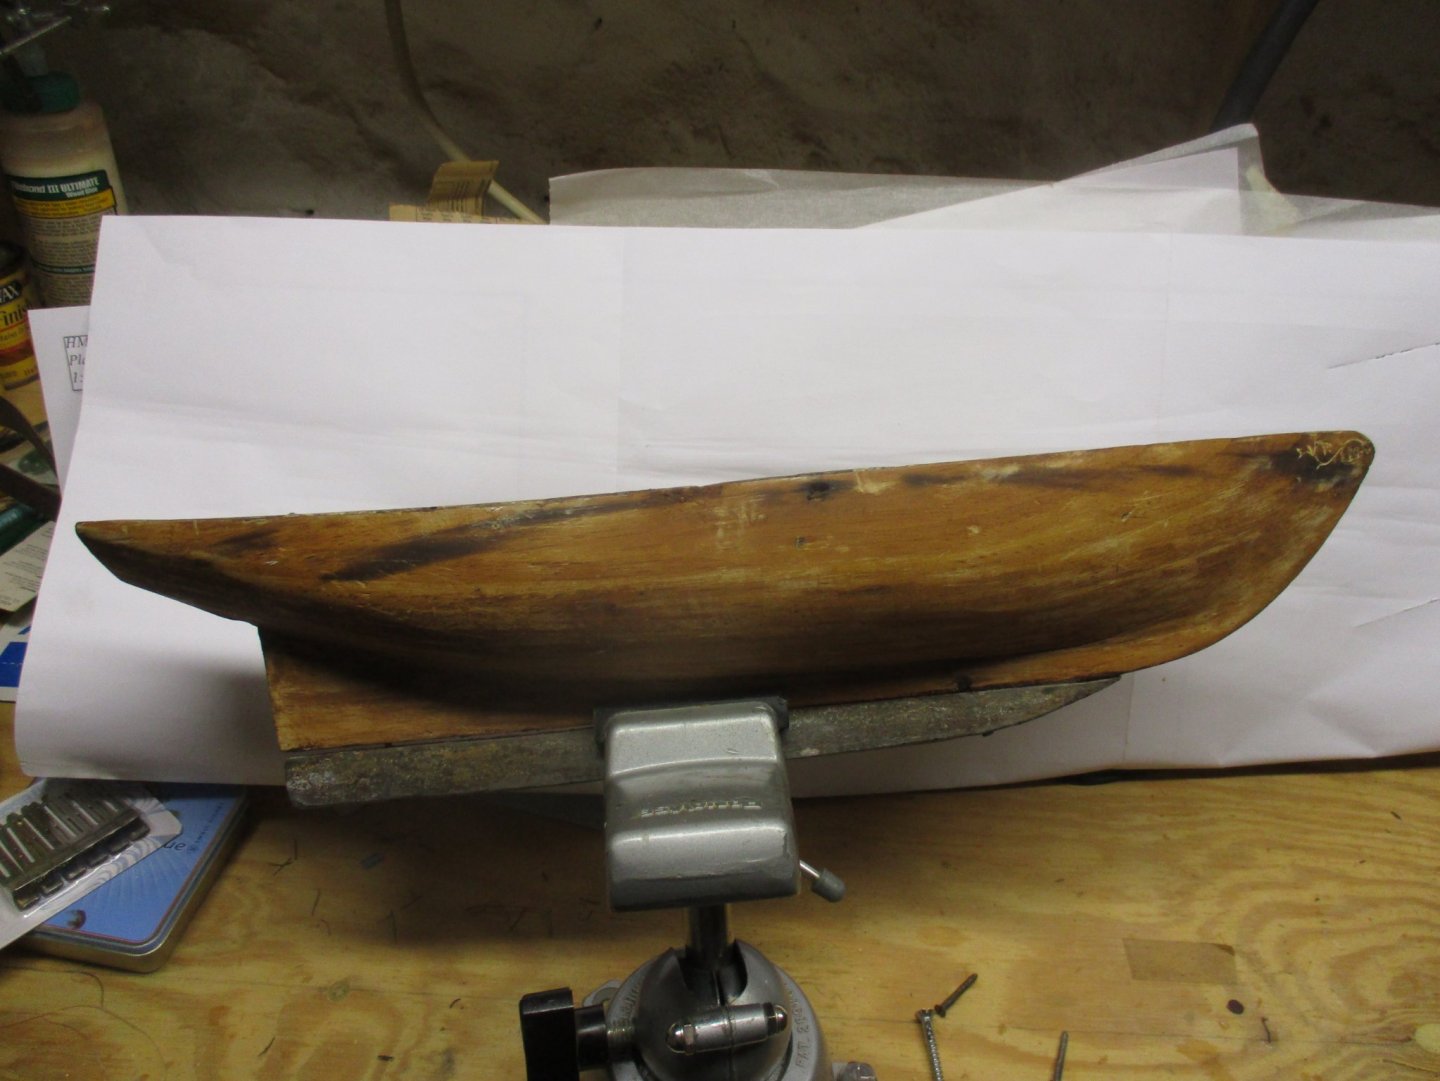
I've made some executive decisions. The scale is going to be 1:32 (3/8" = 1'). The end product will loosely resemble a Bristol pilot cutter. Henry Ford once said, "Never complain; never explain". I shall follow that adage. Anyway, I've been sanding. One side done: Notice The detail at the bow; here's a close-up: I don't know how to clean it up without damaging the artwork.
-
Having multiple photos vs. a set of plans is both a blessing and a curse. On the one hand the photos show you exactly what the ship is supposed to look like and what goes where. On the other hand the photos show all the details not included on the plans which creates an obligation. BTW, Keith how are your eyes holding up? Tom
-
HMS Sphynx by TBlack - 1:64
TBlack replied to TBlack's topic in - Build logs for subjects built 1751 - 1800
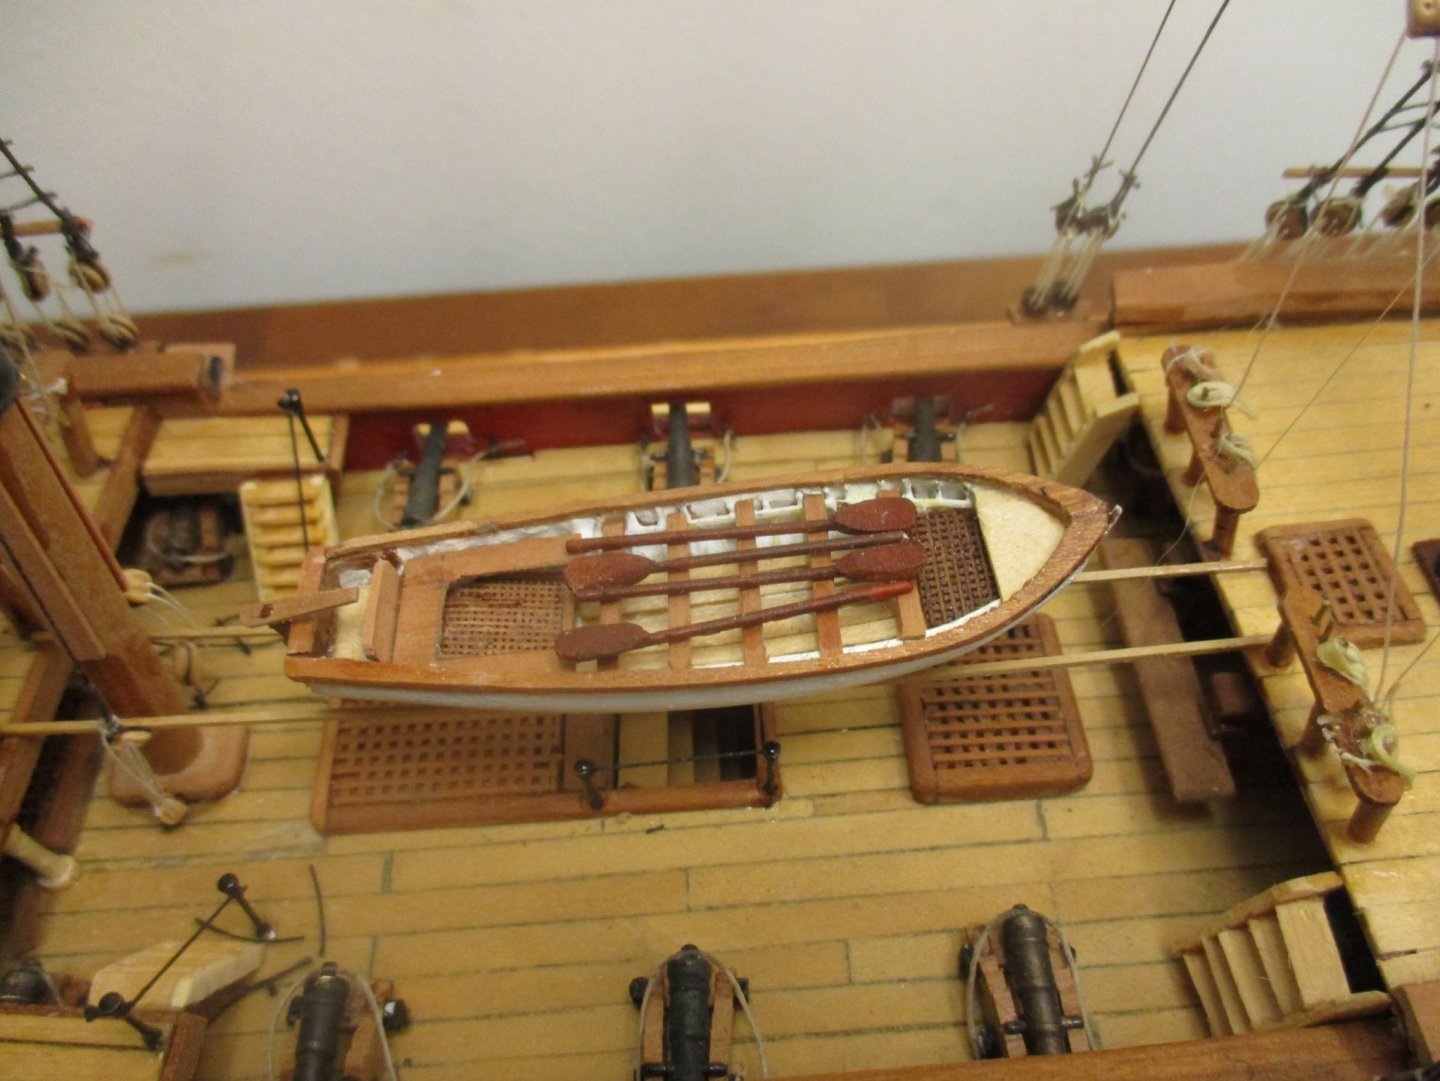
Gentlemen, Thanks for the “likes”. Druxey has been particularly helpful with the rigging and mast tops. Keith Aug has been inspirational in the fabrication of the gratings in the ship’s boat where the openings are just less than 1/64” square. The hull is planked in Apple and cherry for the rest of the darker wood. Couldn’t manage carving on the transom at 1:96; had to do substitutes. Tom -
Dear John & Keith, Thanks for your encouragement. Of course,I have no plans or photos to follow, so I’m just winging it! The first consideration is what scale is this thing!
-
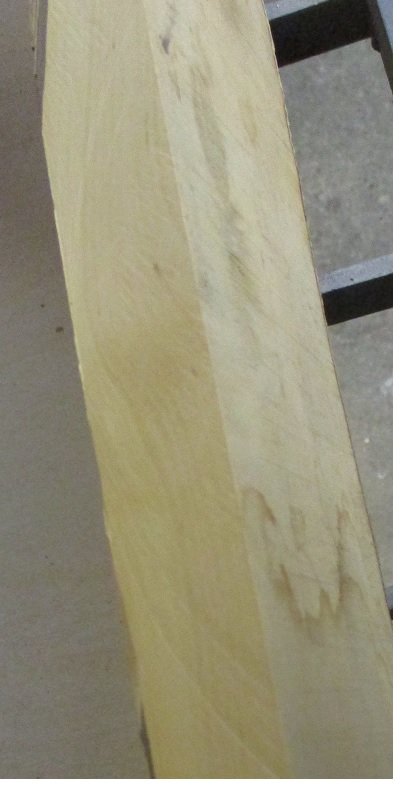
The original deck on this model has lines scored its length to simulate decking. I'm going to replace that with individual planks, and I've got a piece of African Boxwood that I'd like to use. It has a yellowish cast to it, and is the non-distinct tight grain that is characteristic of boxwood.
-
I was given this hull by my uncle and asked to turn it into a display model. It was clearly intended to be a sloop. But how long? I'm thinking a daysailer; just a cockpit. Uncle wants a gaff rig. I have tried unsuccessfully to get these photos in the right order. Not my fault! Tom

-
HMS Sphynx by TBlack - 1:64
TBlack replied to TBlack's topic in - Build logs for subjects built 1751 - 1800
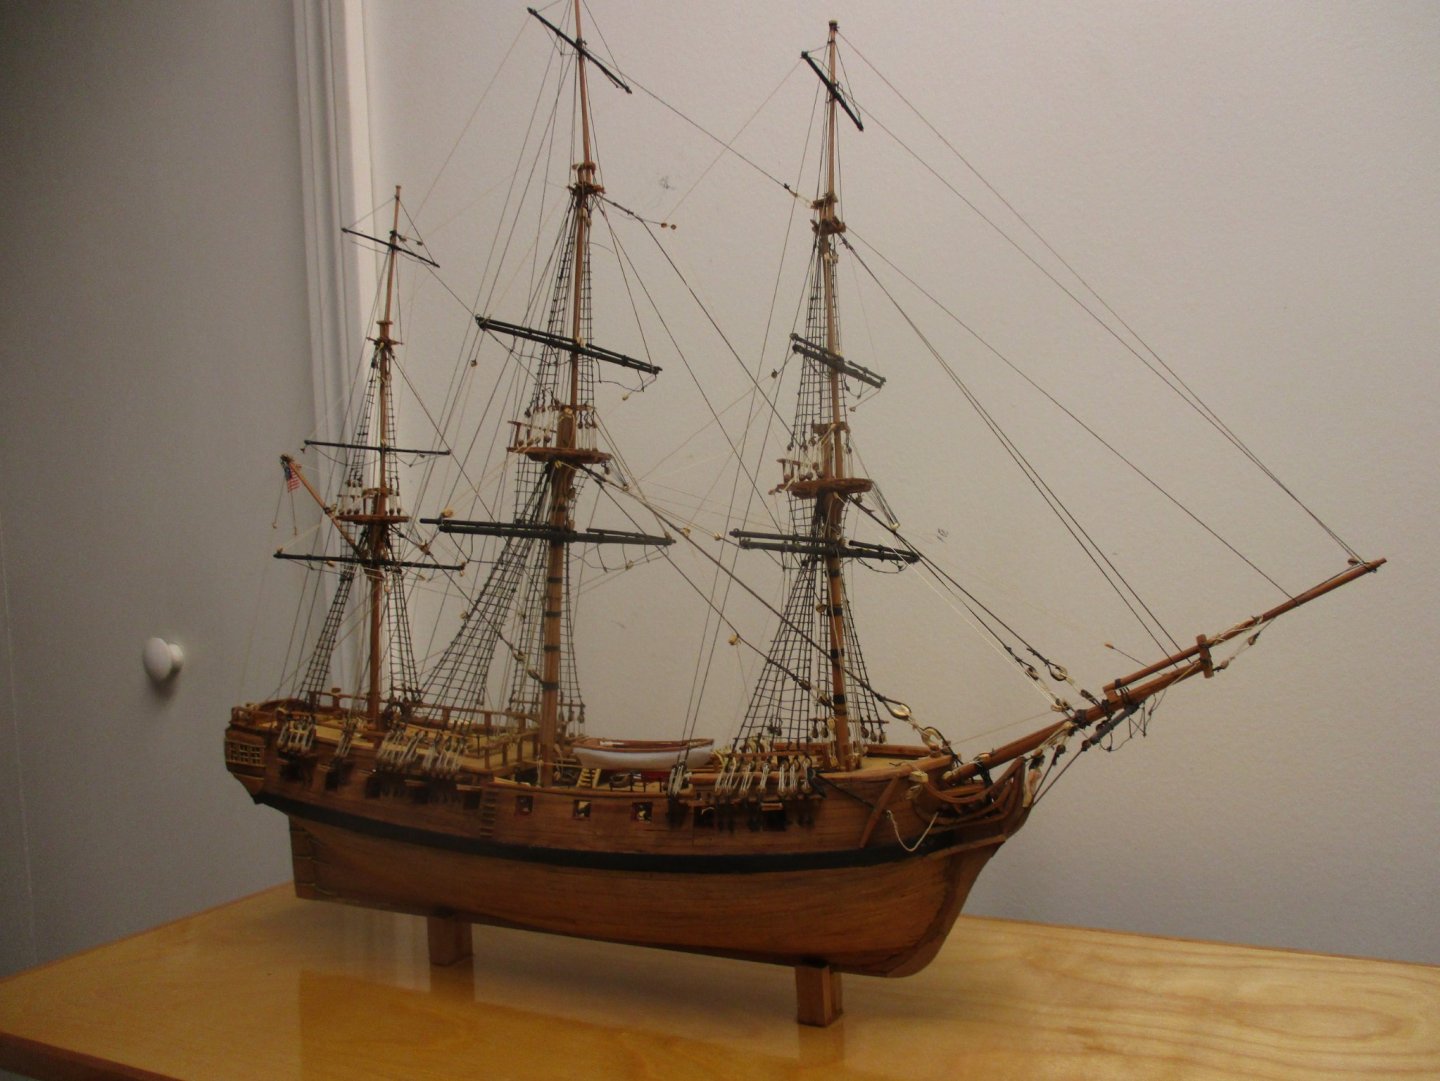
Obviously, there's been no formal log on this build. Nevertheless, it's done. Final photos below: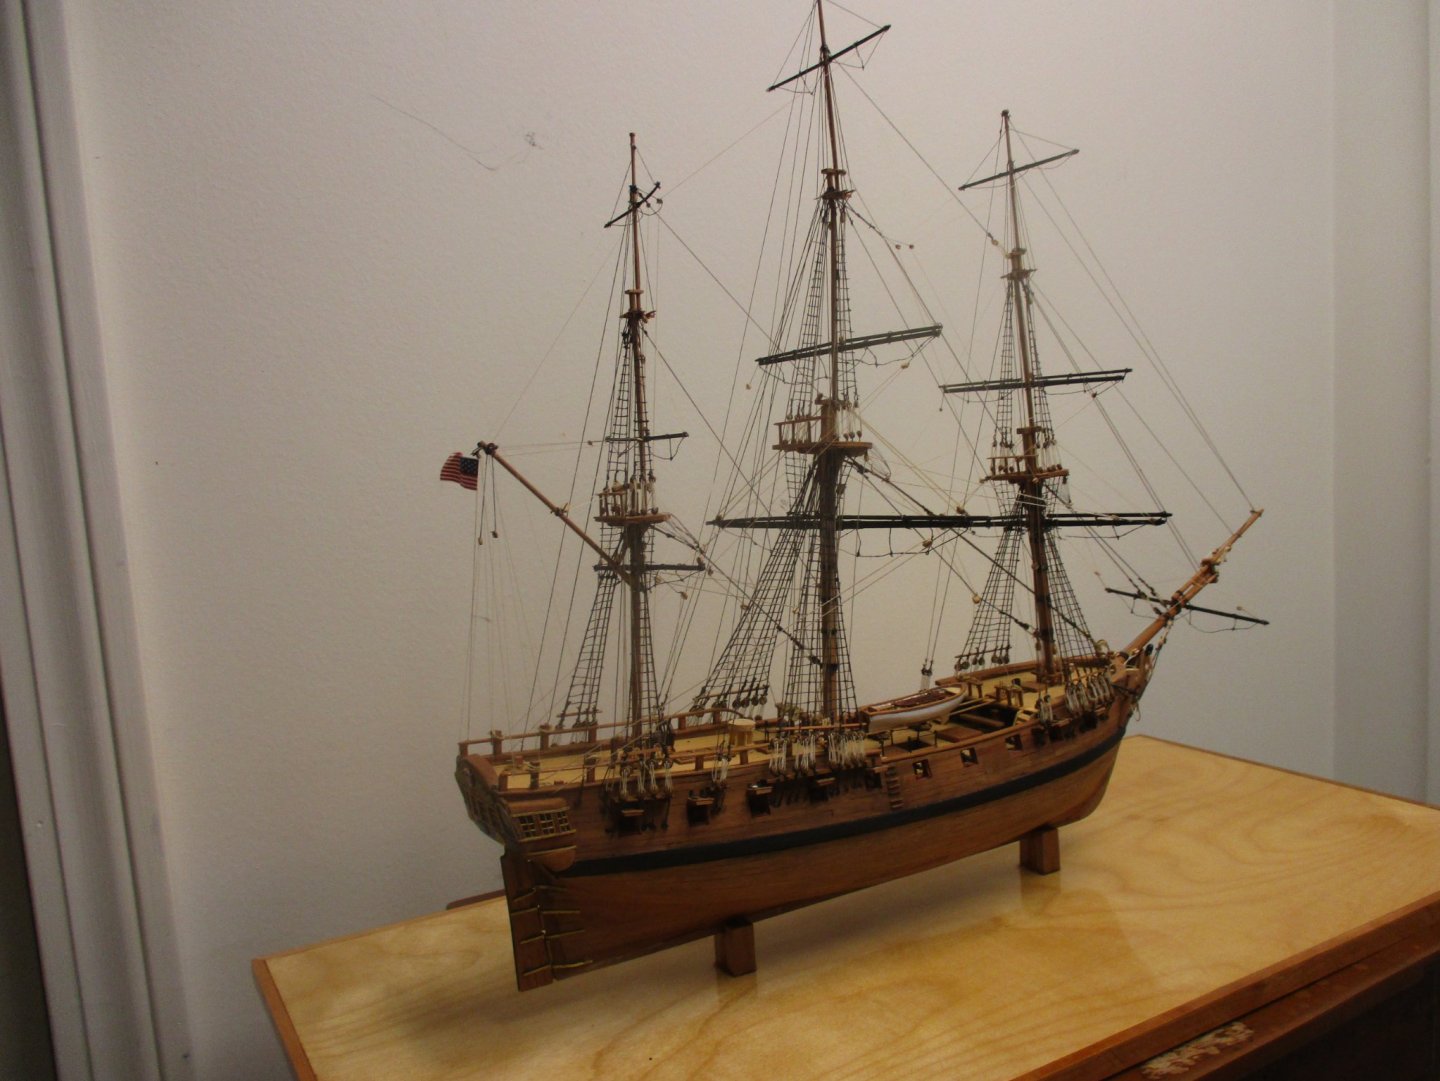


-
Chris! Just got my copy of Speedy. It seems like I ordered it yesterday, so I have this thought: We'll call you Speedy (maybe even Sir Speedy {we'll have to talk to the Queen about that}). Which means the ship is named after you! Anyway, thanks for the wonderful service. Tom
-
This thing is going to be fantastic! BTW, Chris, I don't know what you are using for plans, but my source was devoid of pin rails at the base of the masts, so I had to add them to provide for proper flow of lines. What will you do? Tom
-
I'm with Glenn on the subject of mouldings. Provide the strip and a drawing of the profile. Let it go and move on to the next issue! Tom
-
Chris, Sphynx has molding (moulding?) strips along the hull which Alex has done nicely in his version which is at a larger scale. Are you able to provide such detail in the kit? Tom
-
Coming late to this conversation, as usual, but I've been building a model of the Sphynx class frigates in 1:96 scale. I'm trying to keep the overall length of the model to a reasonable size. At 1:96 the overall length from jibboom to transom is a bout 2 feet. I started out at 1:64 and soon realized that there would be few places in a home that could accommodate the length. In any case, I find the hull lines much more pleasing than the Swan class for about the same bang for your buck. Tom
-
Endeavour Rigging Topmast Fore Preventor Stay
TBlack replied to Mr Pleasant's topic in Masting, rigging and sails
I'm going to crash this party and suggest that the end of the line, after it goes thru the second half of the double block is wound around the lashing between the two blocks and made fast there. Tom -
I built this kit several years ago for a friend who had bought the kit; opened the box; and decided it was beyond his ability. It ends up being a nice product and a decent size for home display. And, Richard, from what I can see, so far, so good! Tom
- 41 replies
-
- 1
-

-
- artesania latina
- dallas
- (and 1 more)
-
You have been busy. Sorry to have missed the journey between hull and now. I'm also wondering about the materials you use to get such crisp results in a small scale. Also, given those hull lines, does she roll a lot?
-
Alex, Great to hear from you again! I'll buy your description. Some of the replies don't seem to recognize the 20 gun Sphynx class frigate. Aside from that, how is it going? I bought your plan and have a version of the class, albeit in 1:96 scale (half your size), so I can't do all the detail that you have done. We'd love to see how you are progressing. Tom
-
I'm currently building a model of a Sphynx class frigate. This is a 20 gun ship, so it's a small frigate, but a frigate nevertheless. As an aid, I'm referring to David Antscherl's book, Rigging A Sixth Rate Sloop of 1767-1780. (volume IV). In terms of size, armament, rigging these ships are very similar, so why is one called a frigate and the other a sloop?
-
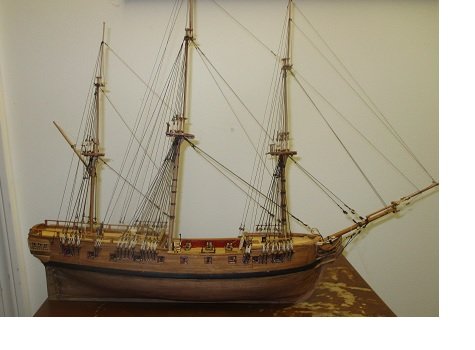
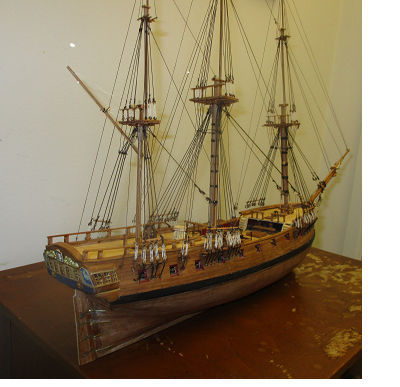
Advice needed - model ship made by my Grandad
TBlack replied to Stee F's topic in New member Introductions
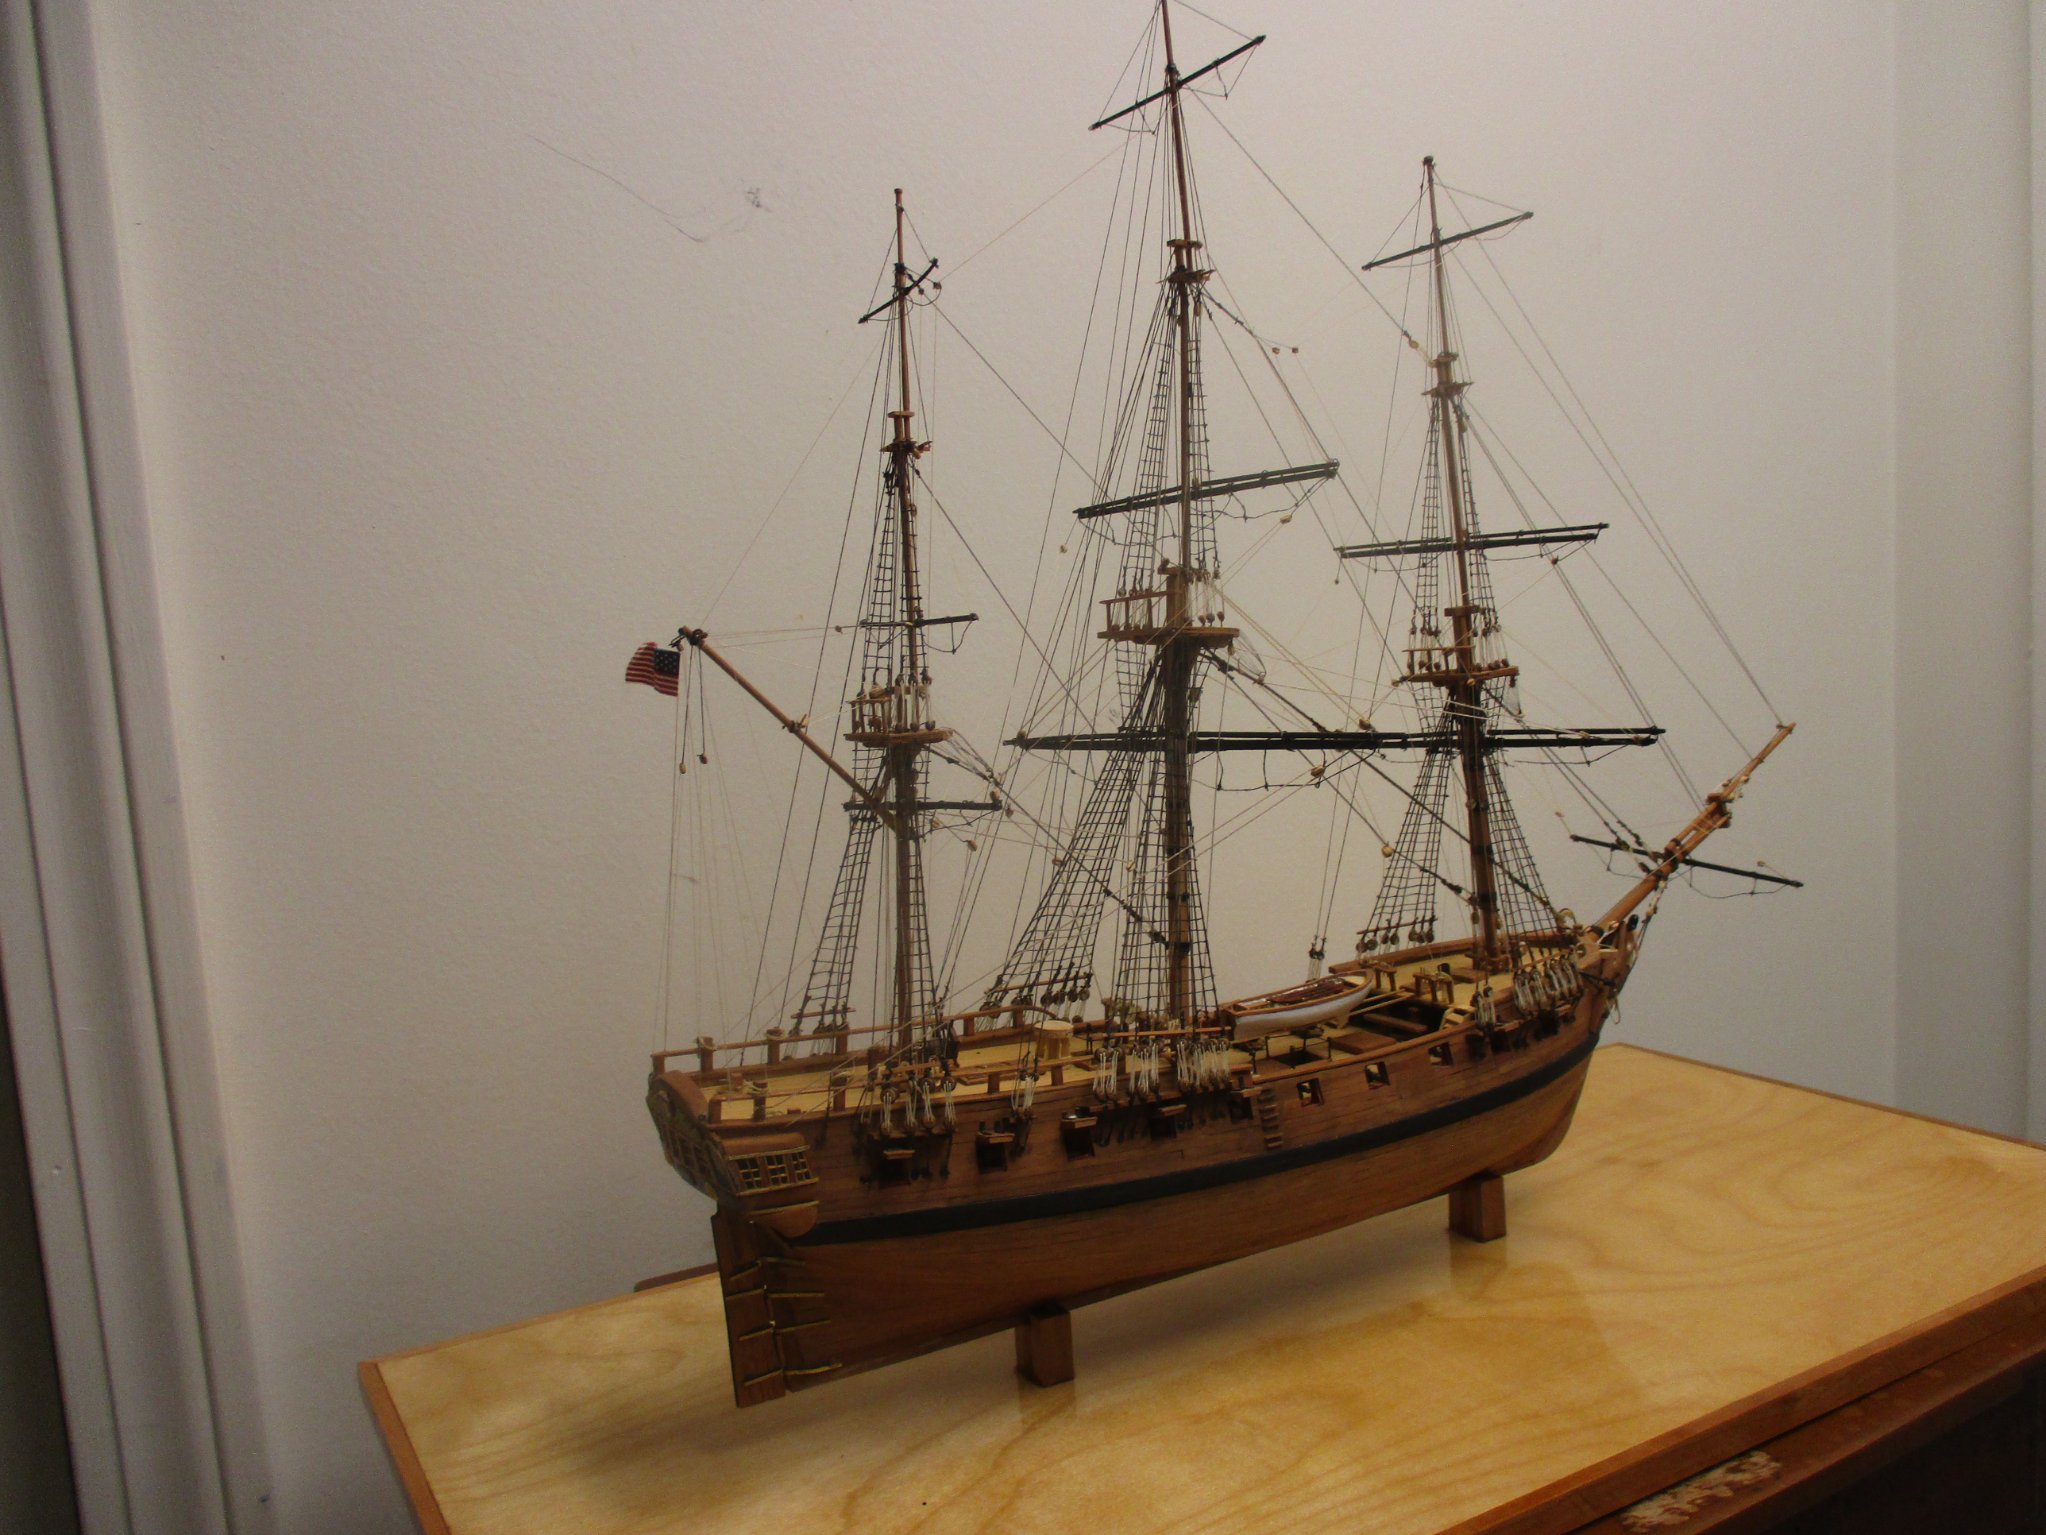
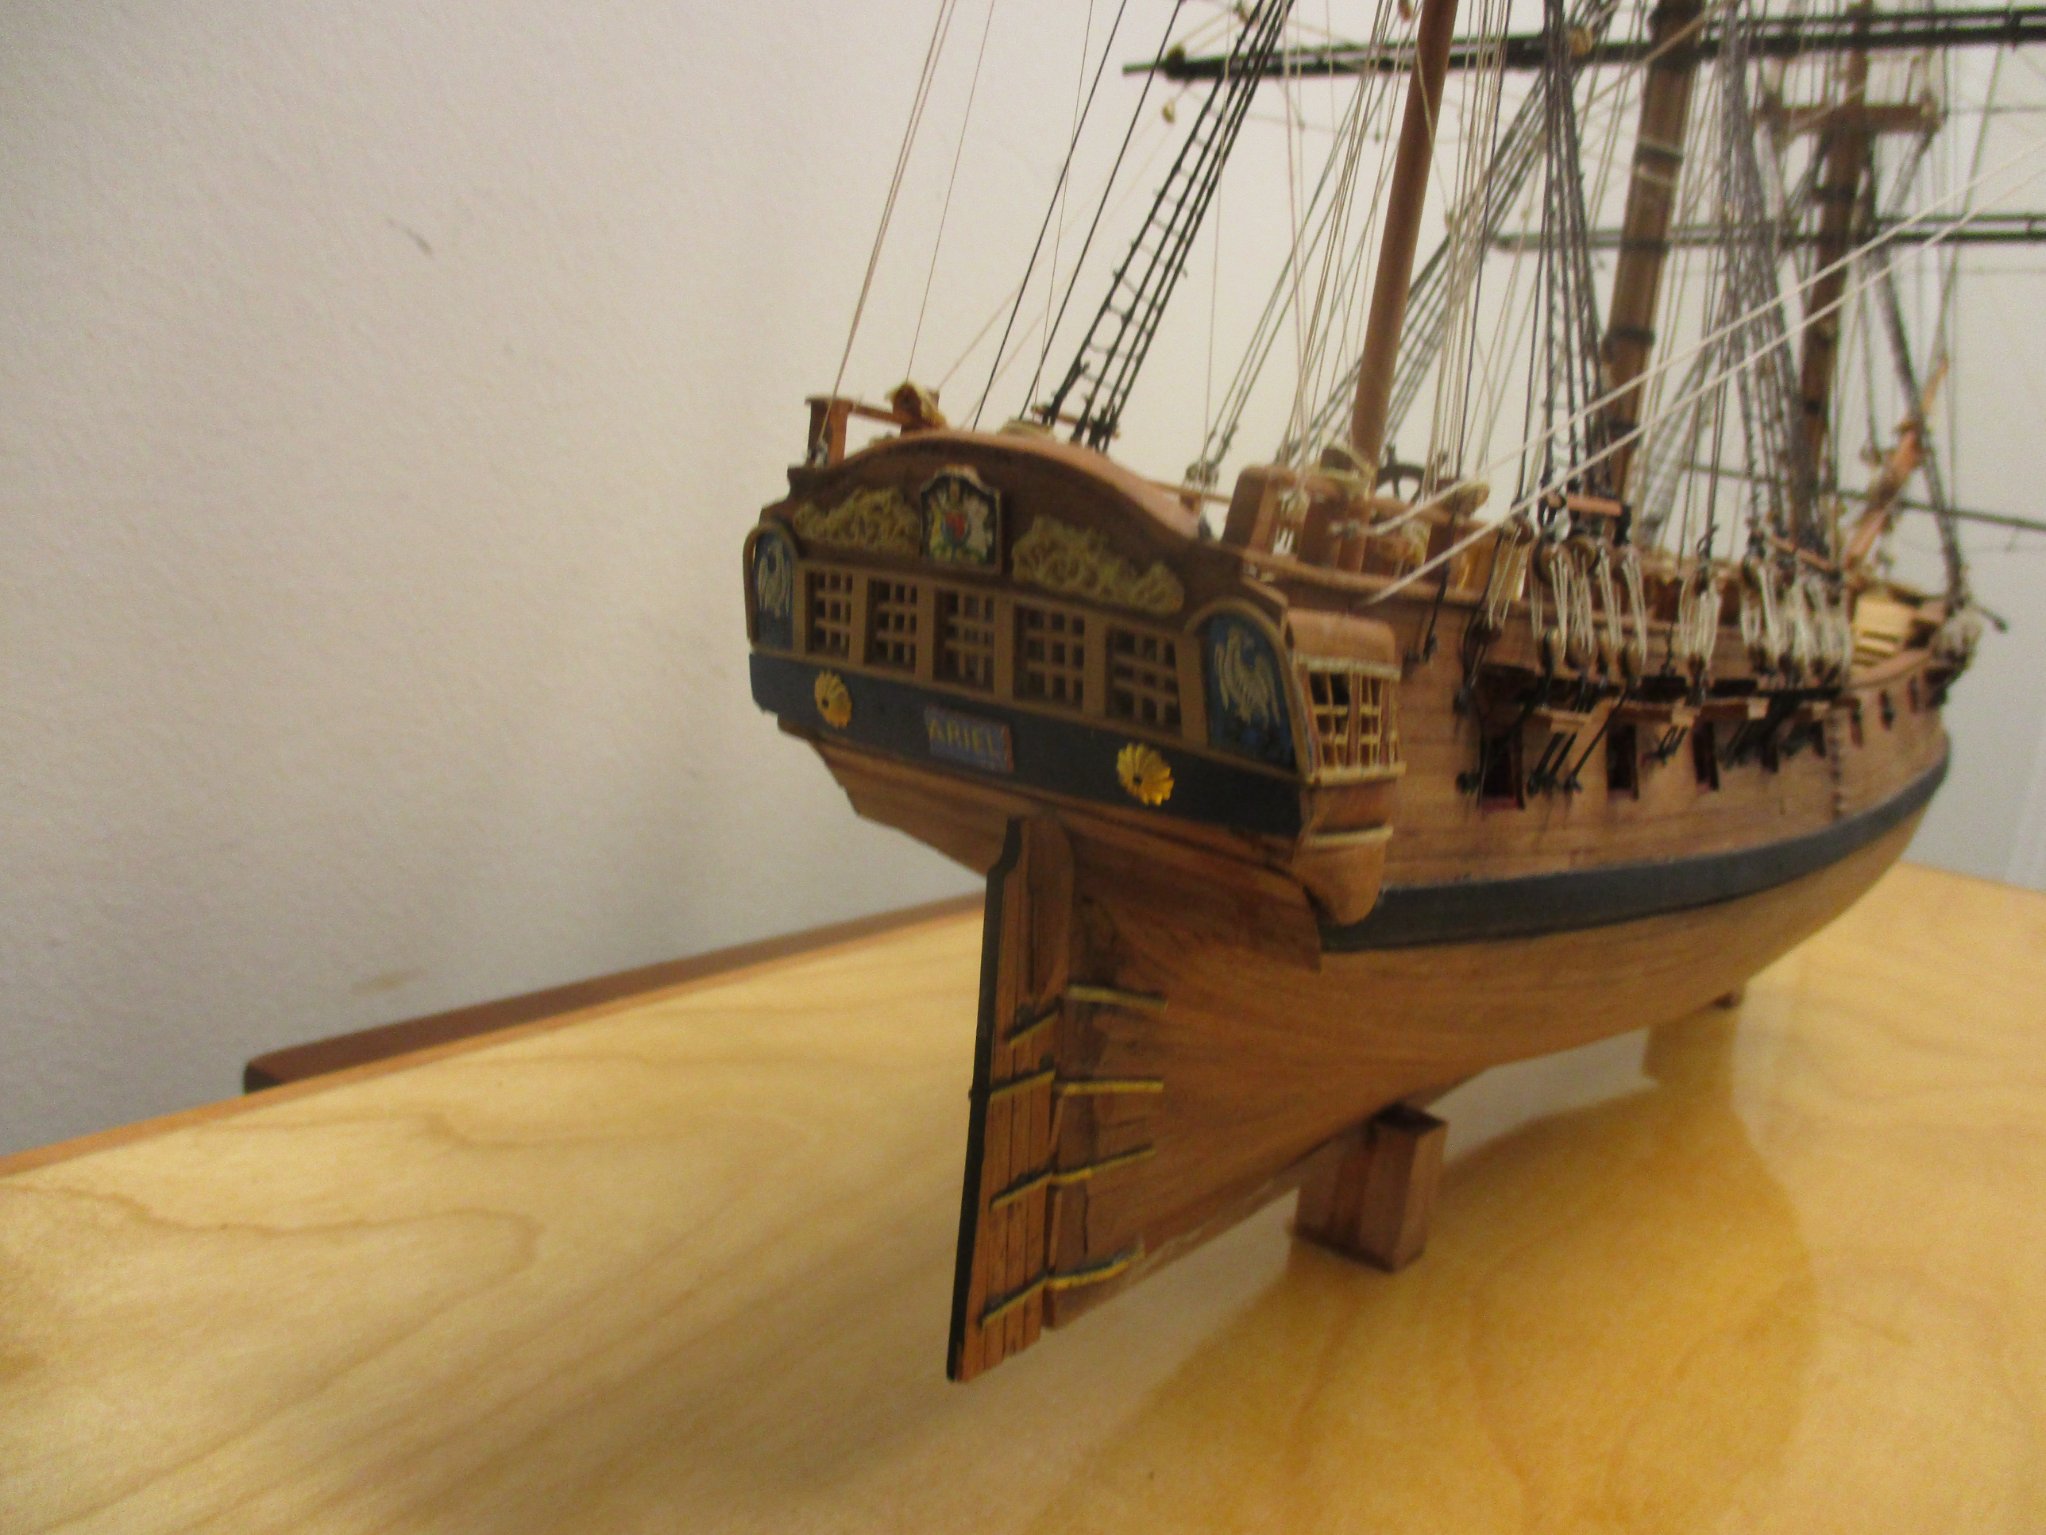
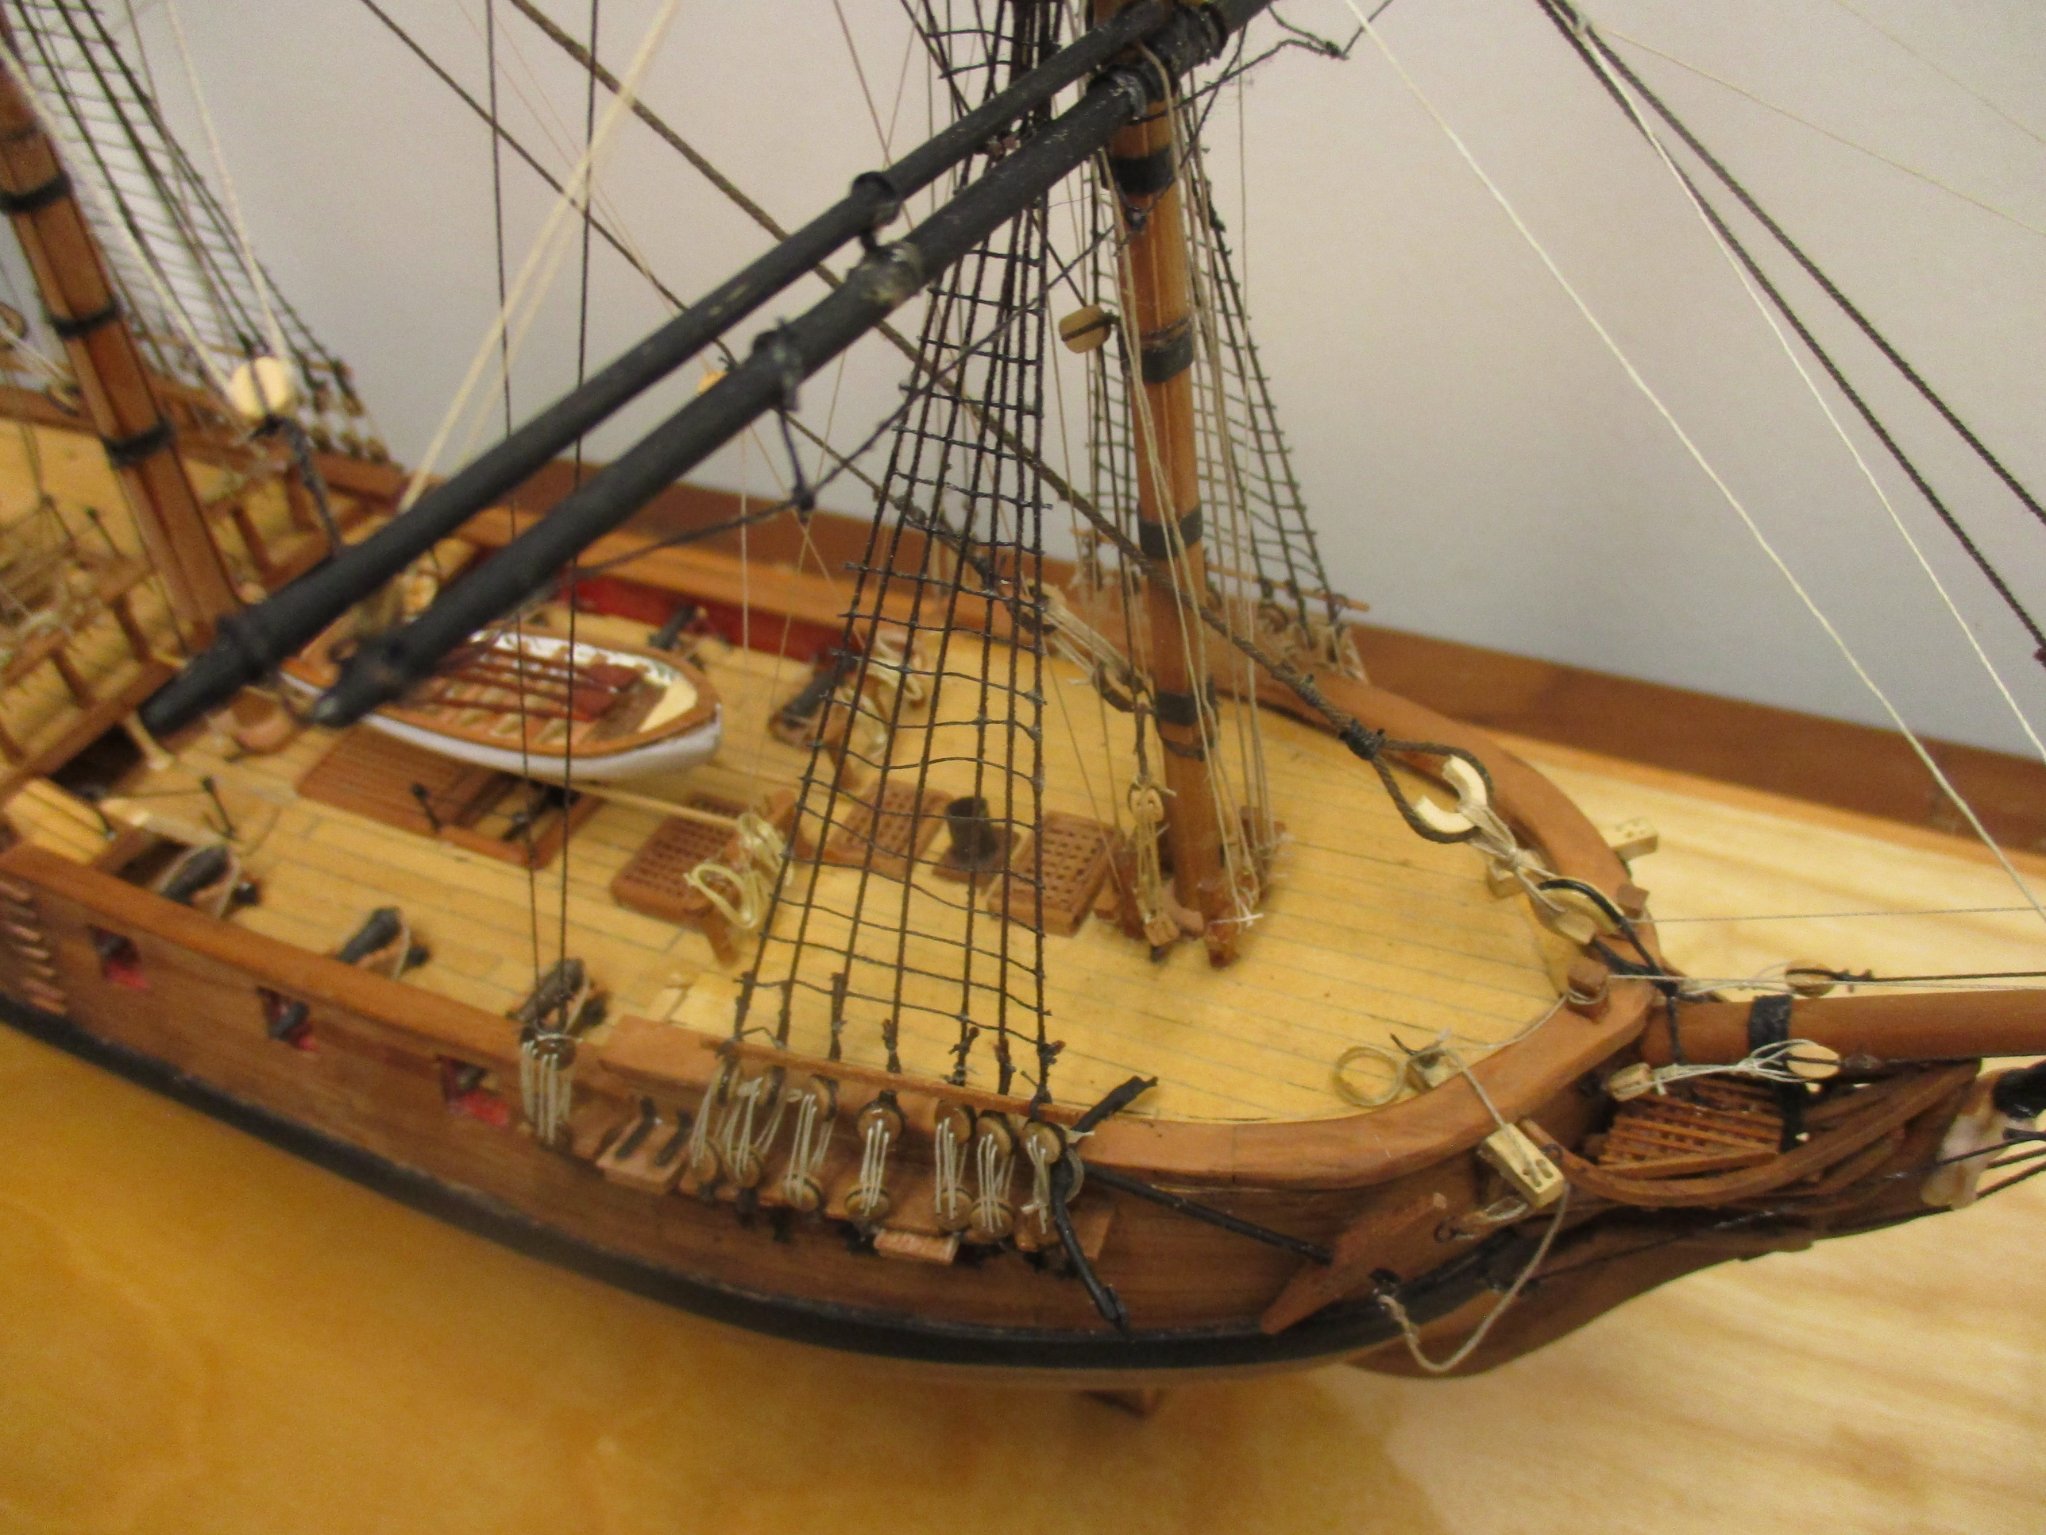
Harold Underhill built a model of a BRIG, Leon, and described the construction in a 2 volume work entitled Plank-On-Frame Models first published in 1958. Your grandfather's work is identical except the foremast would need 5 yardarms to complete. Is it possible that he hadn't finished his work? Leon was a real ship, built in Norway in 1880 (the model is flying a Norwegian flag). Underhill doesn't give much history of the vessel, so I can't help you much there. Judging from the pictures you've supplied, I'd say your grandfather knew what he was doing! First rate work. Also, it looks like it's 2-2.5 feet long? Are you sure you have no place to display it. How about hung from the wall, like a picture? Tom Black -
HMS Sphynx by TBlack - 1:64
TBlack replied to TBlack's topic in - Build logs for subjects built 1751 - 1800
It certainly has, and very well laid out, too. Just finished the standing rigging. Here's a progress photo: