usedtosail
-
Posts
2,421 -
Joined
-
Last visited
Content Type
Profiles
Forums
Gallery
Events
Everything posted by usedtosail
-
 Thanks Popeye. I didn't think of that. Luckily most of the bulwark is not curved. I did soak the couple near the end and clamped them to get them to bend slightly. I gave the deck planks a coat of wipe on poly too. After I cut a few of them, I sanded them and stuck them to some folder material with double sided tape, then gave them a coat of diluted gesso as a primer. The tape keeps them in the right order as I paint them.
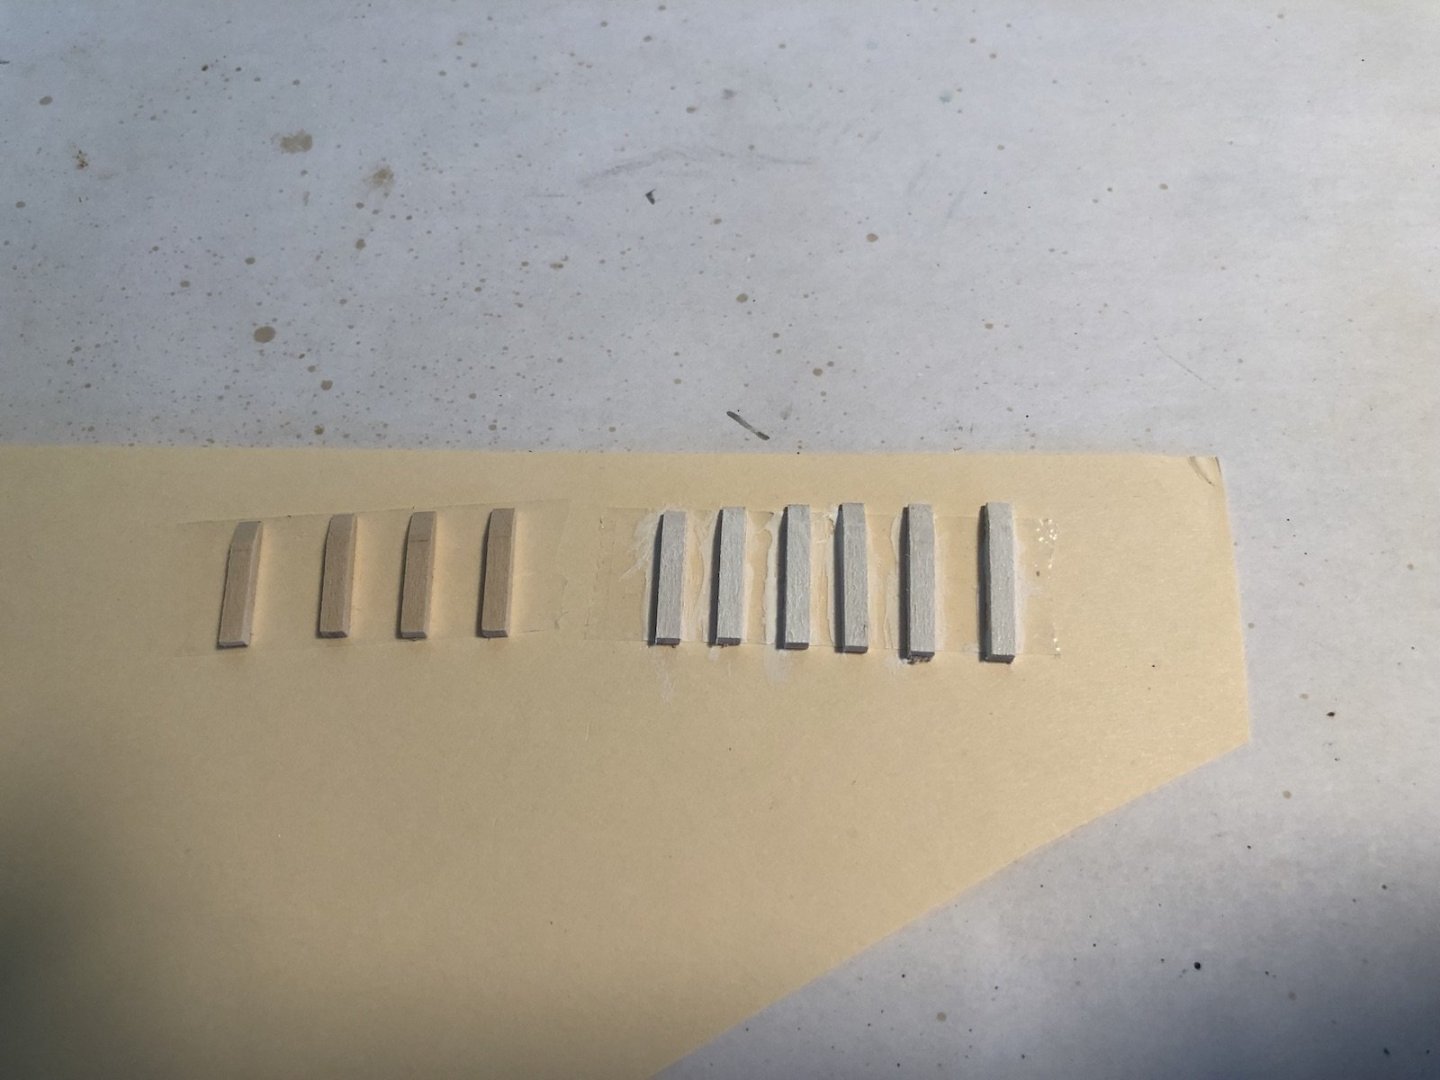

- 131 replies
-
- 3
-

-
- santa lucia
- panart
- (and 1 more)
-
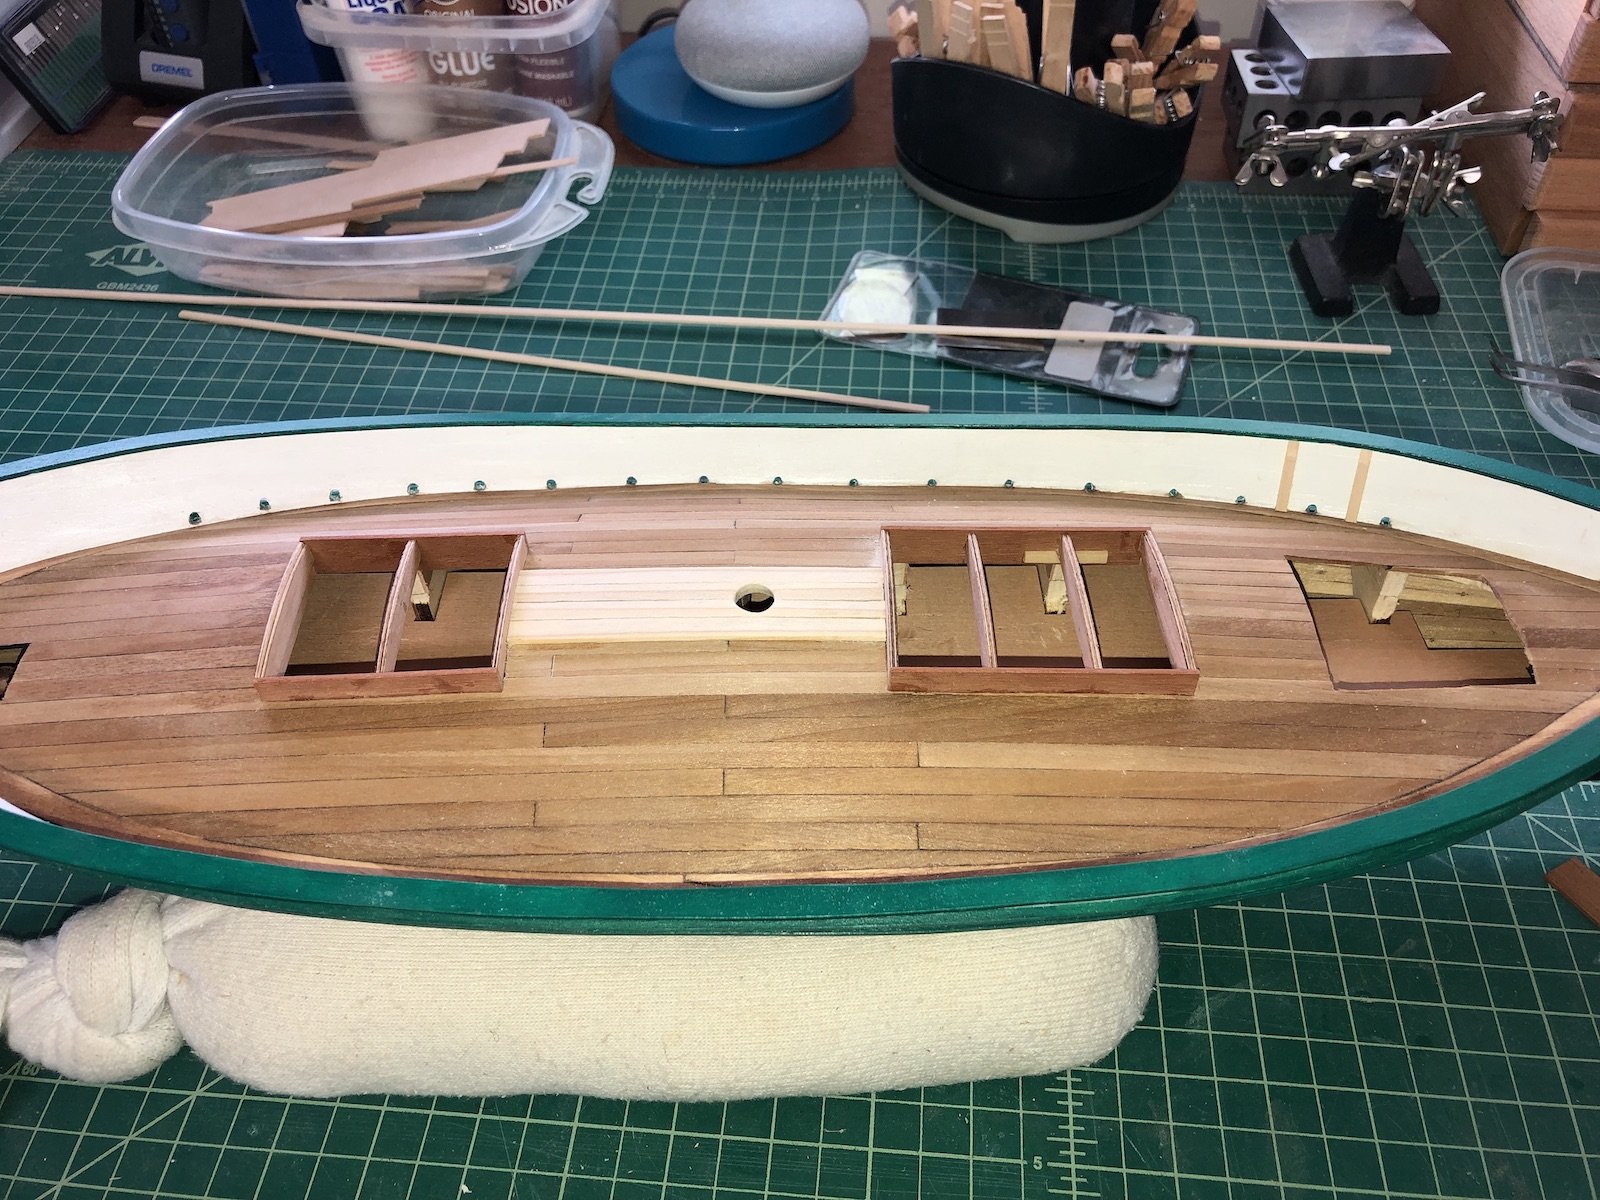
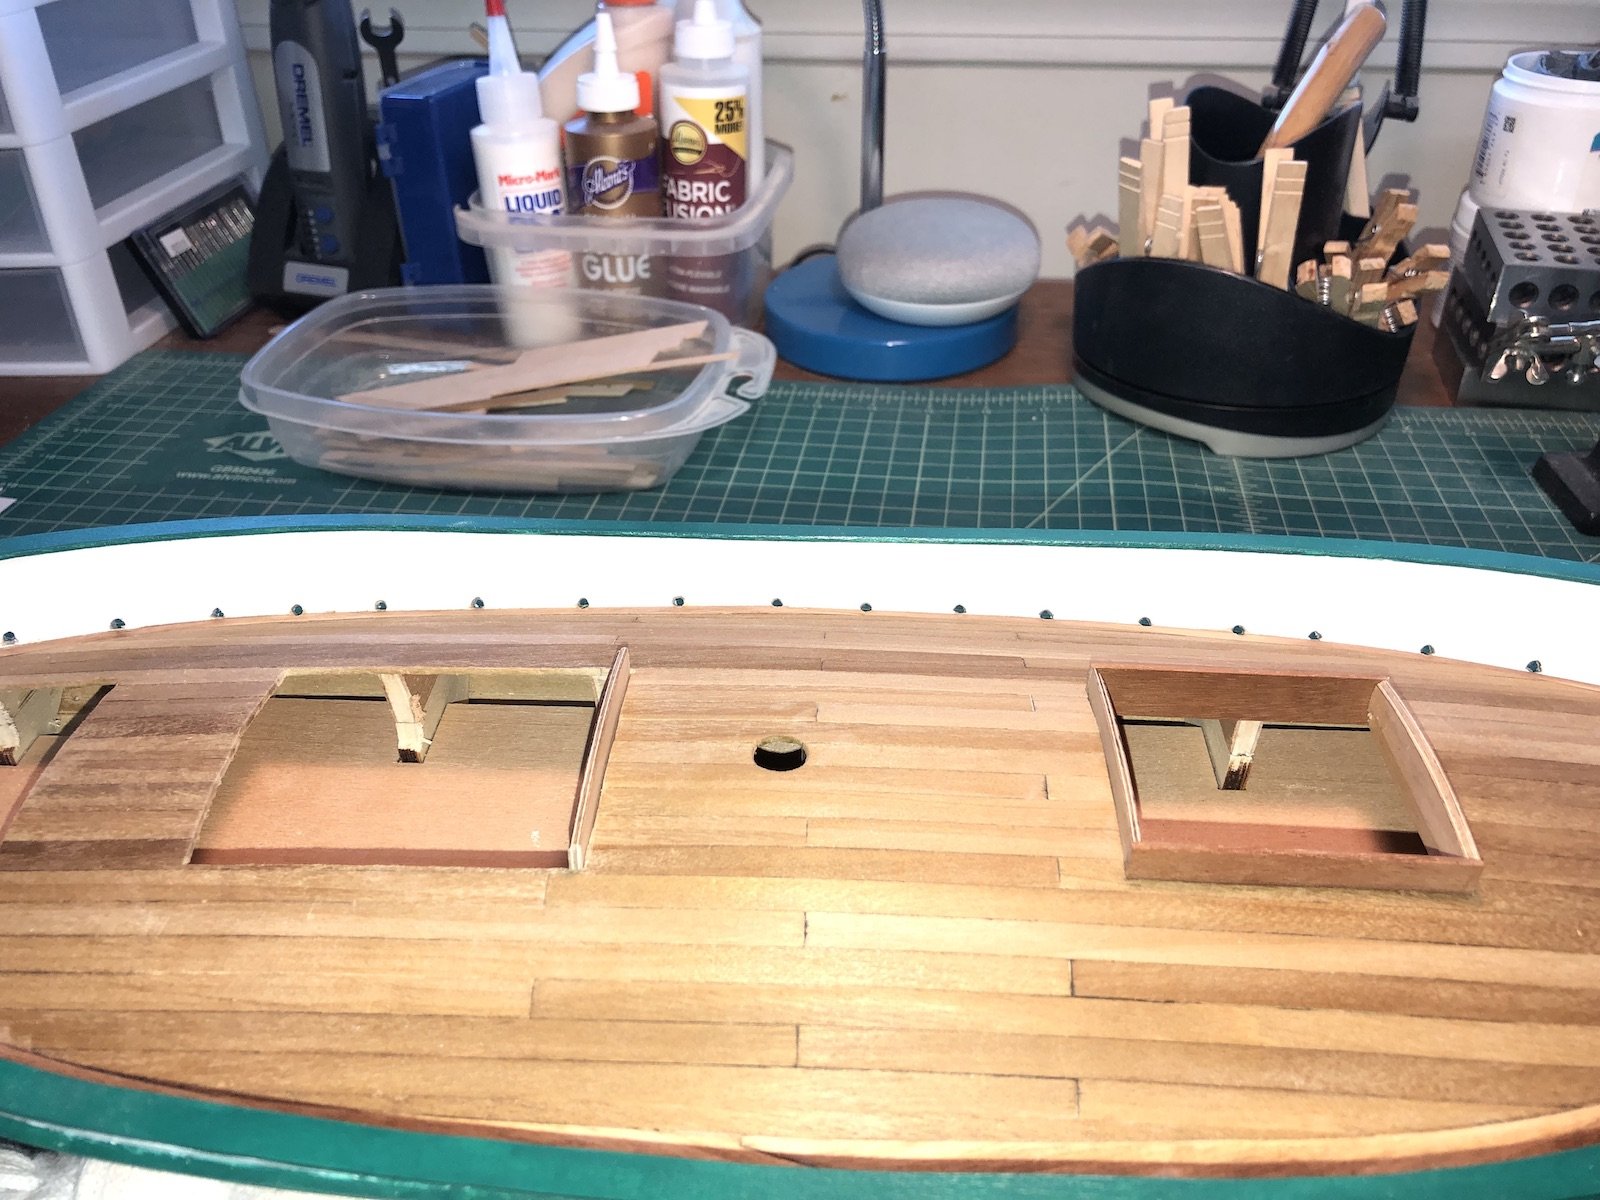
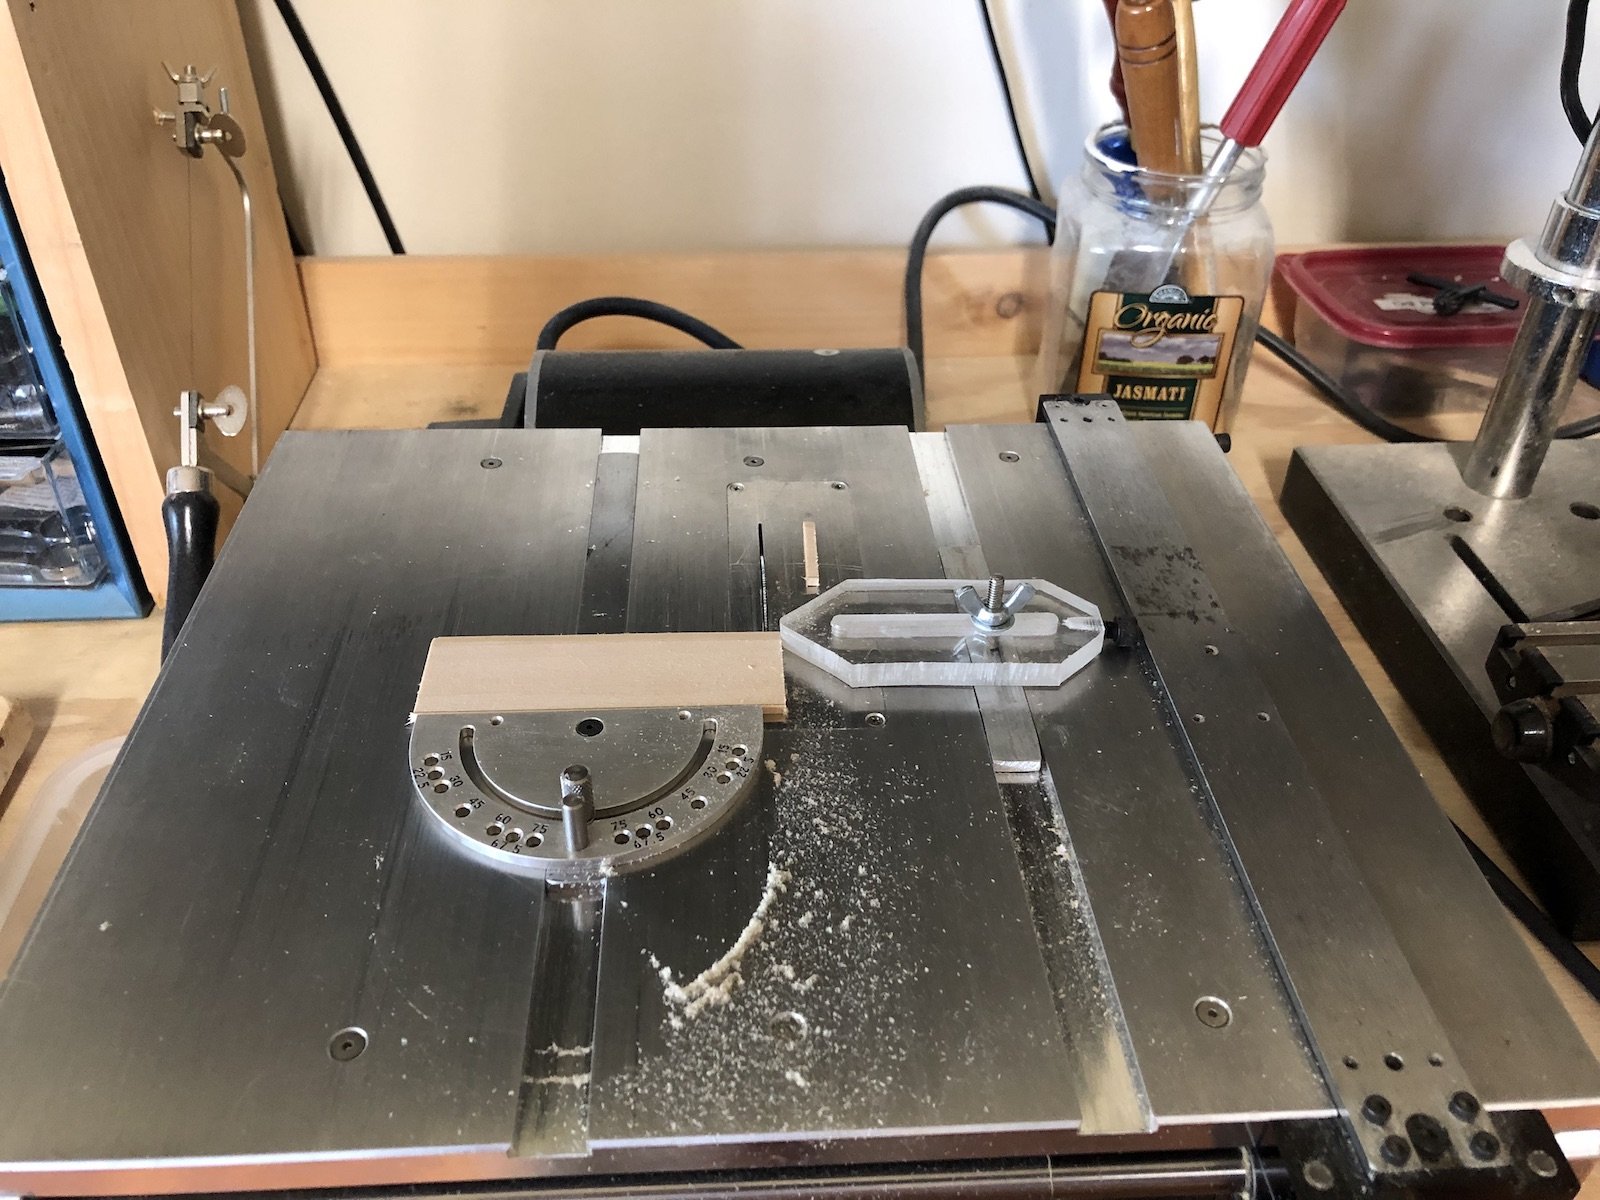
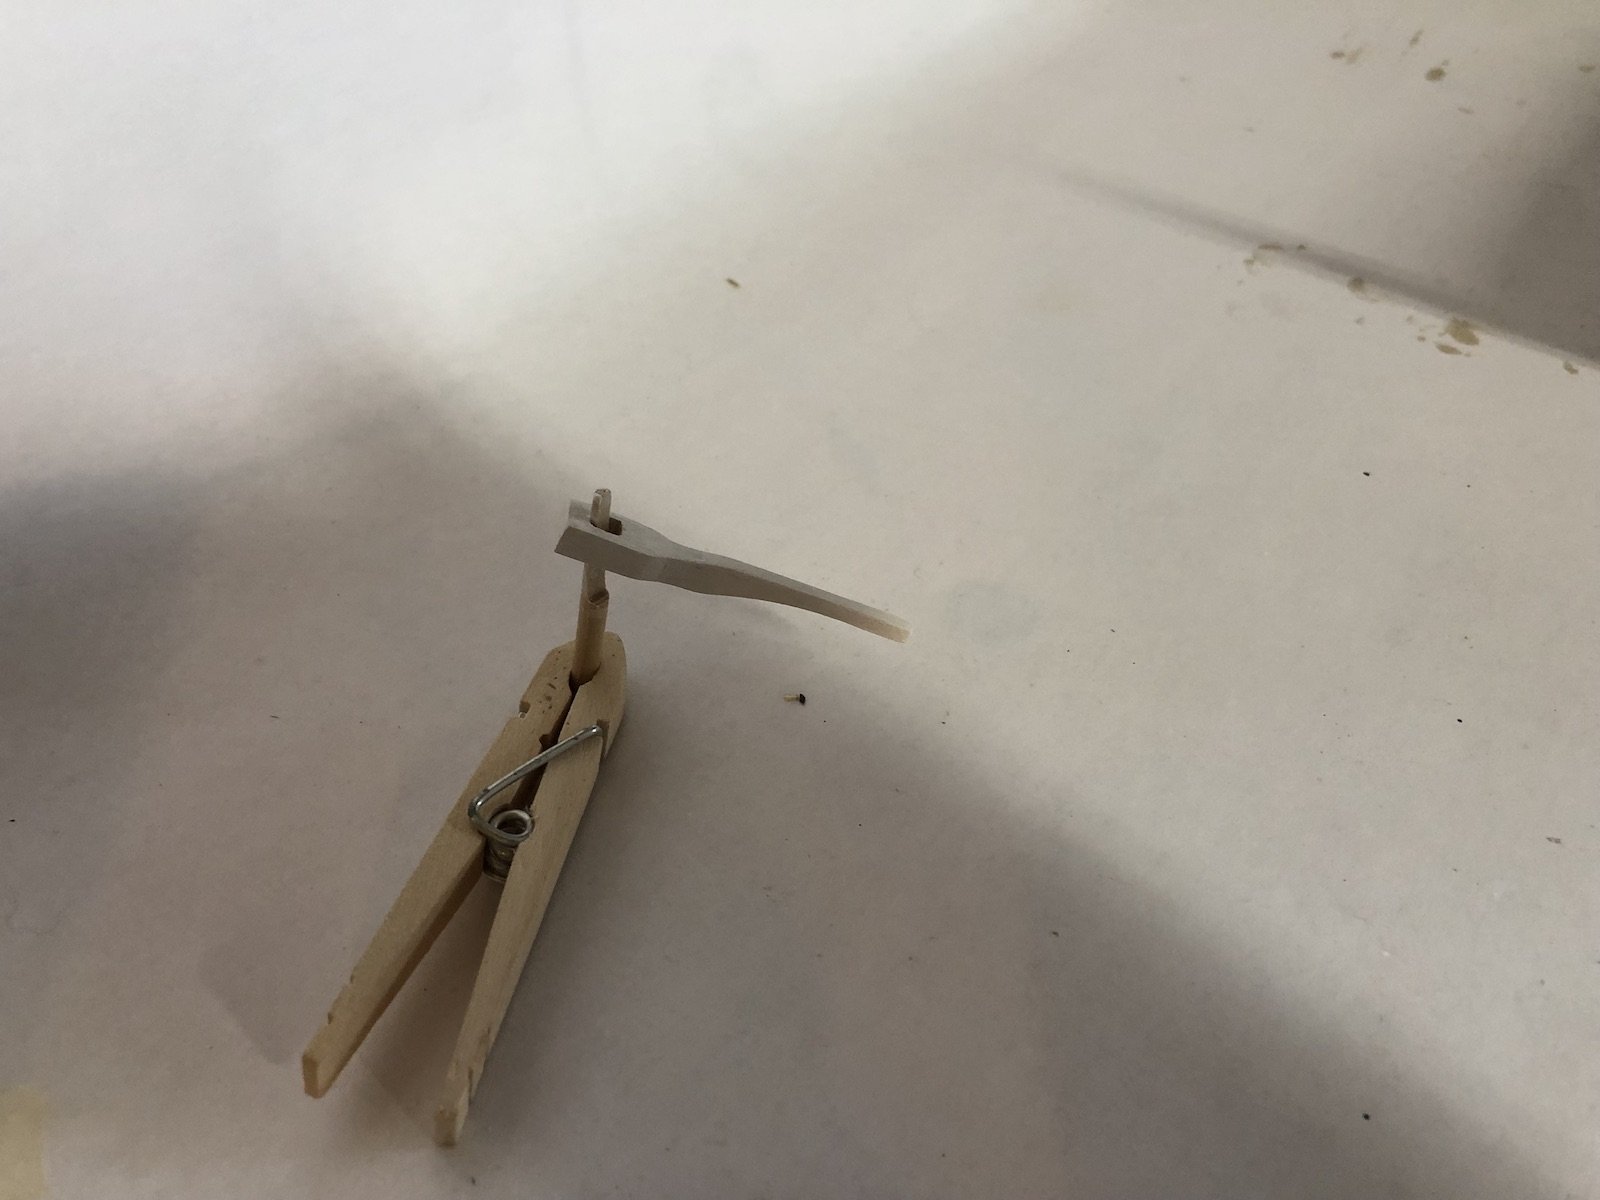
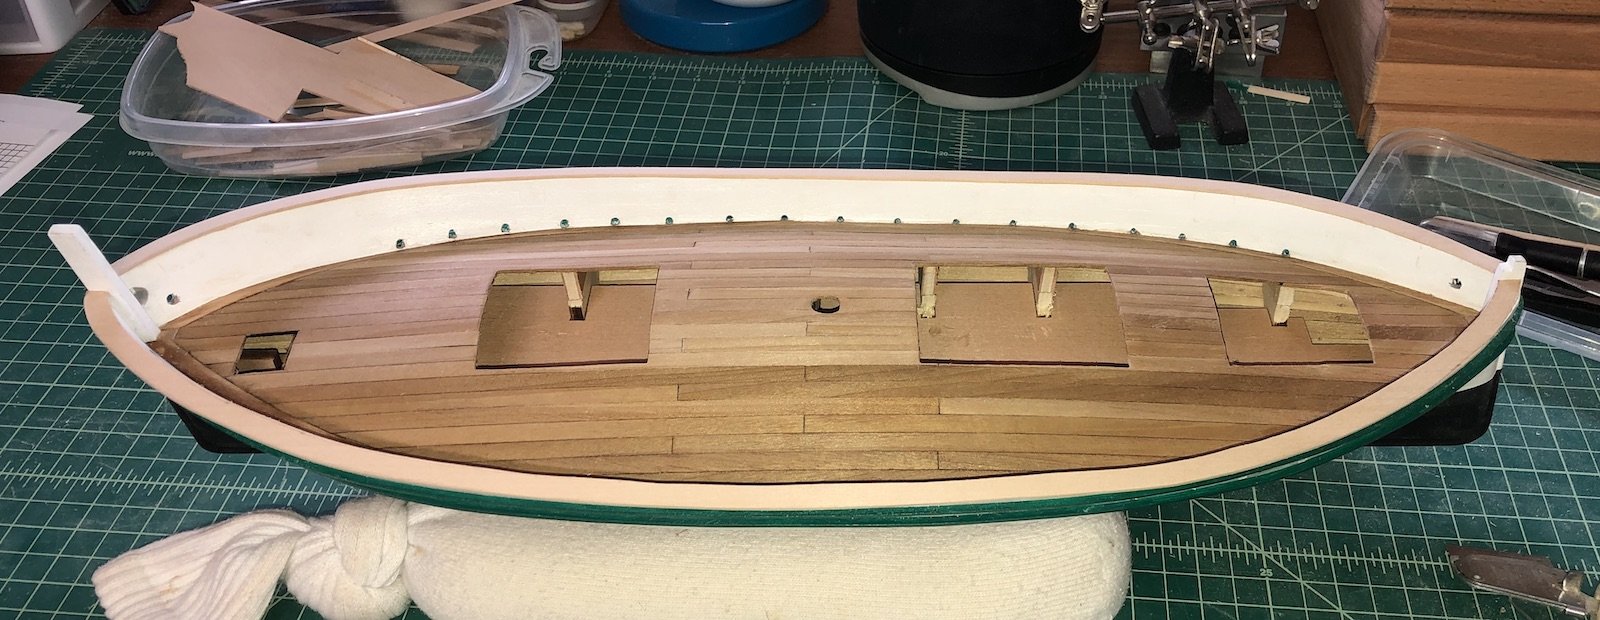
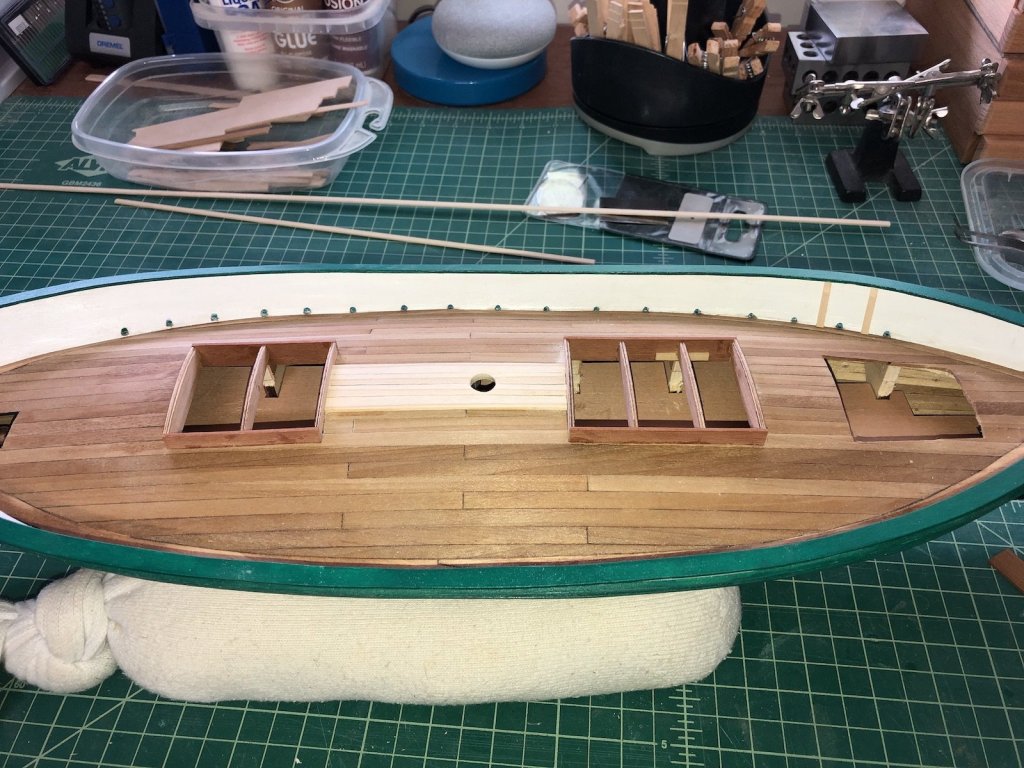
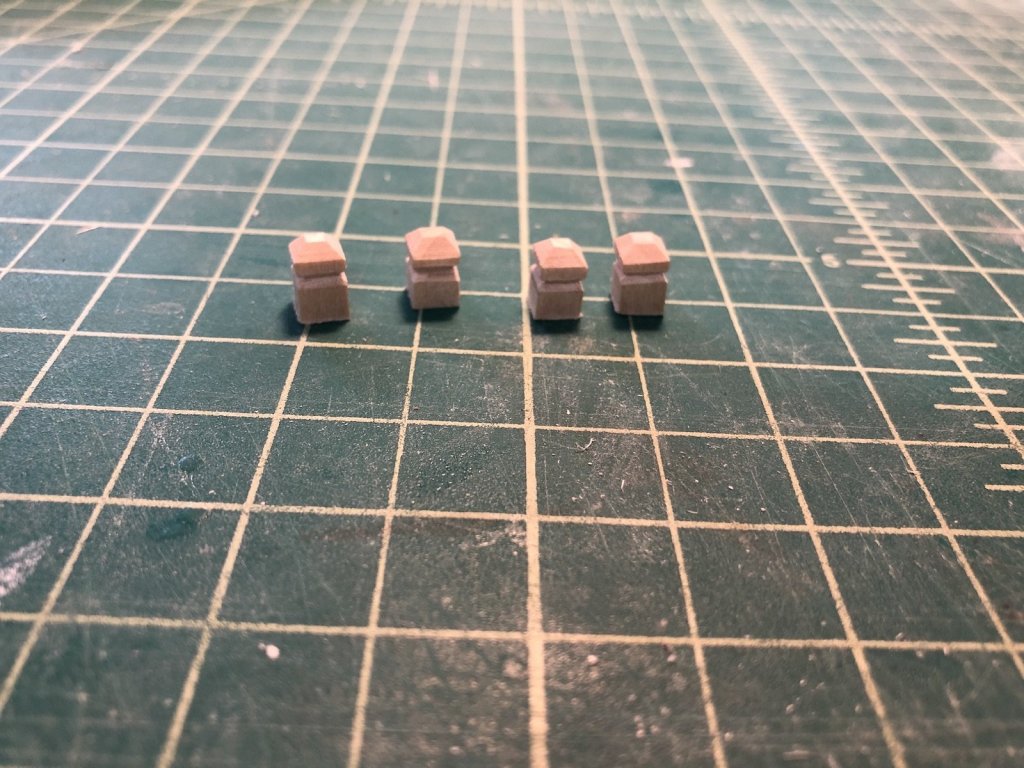
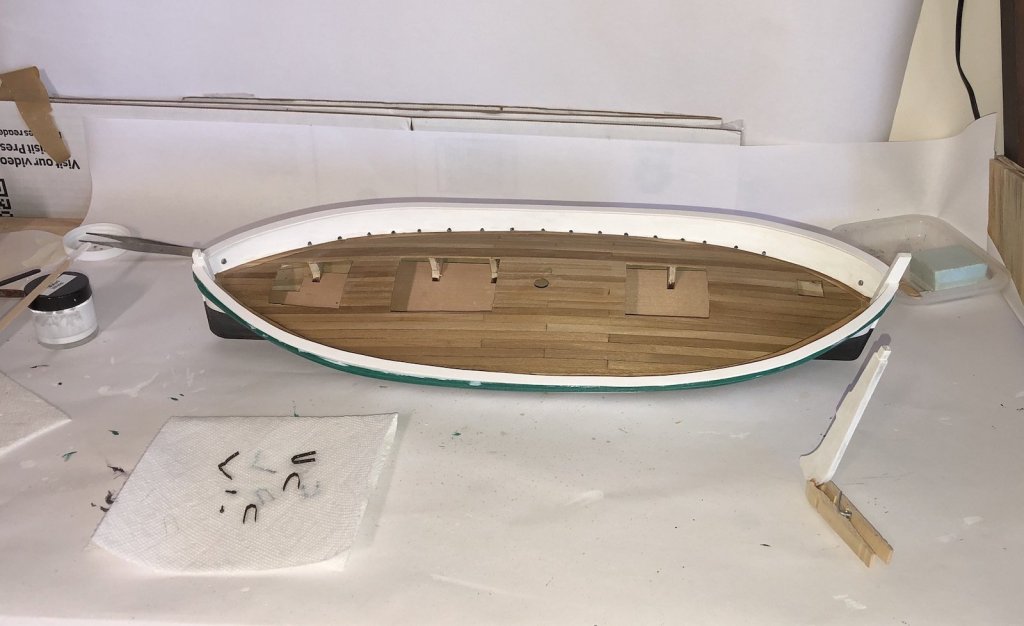
I added the deck planks between the hatch coamings and sanded them for staining. I also started fitting the bulwark supports, but I will paint these white before installing them. I may also soak them and clamp them to the sides before painting them as there is a slight curve on the insides of the bulwarks. I stained the new deck planks and the coamings, then gave all the deck planks another coat of stain. While that was drying I made the four mooring bollards. The instructions said to make them from 5mm plywood but I knew they wouldn't look good, so I thinned down a 1/4" square piece of basswood down to 5mm. I first filed a V groove into the wood using a square file on a 45 degree angle. I then used the disk sander to sand in the 45 degree angles to the groove, then sanded the top to height. I finally cut them off the strip with the table saw. I haven't cleaned these up yet but I was happy how they came out.
- 131 replies
-
- 5
-
-
- santa lucia
- panart
- (and 1 more)
-
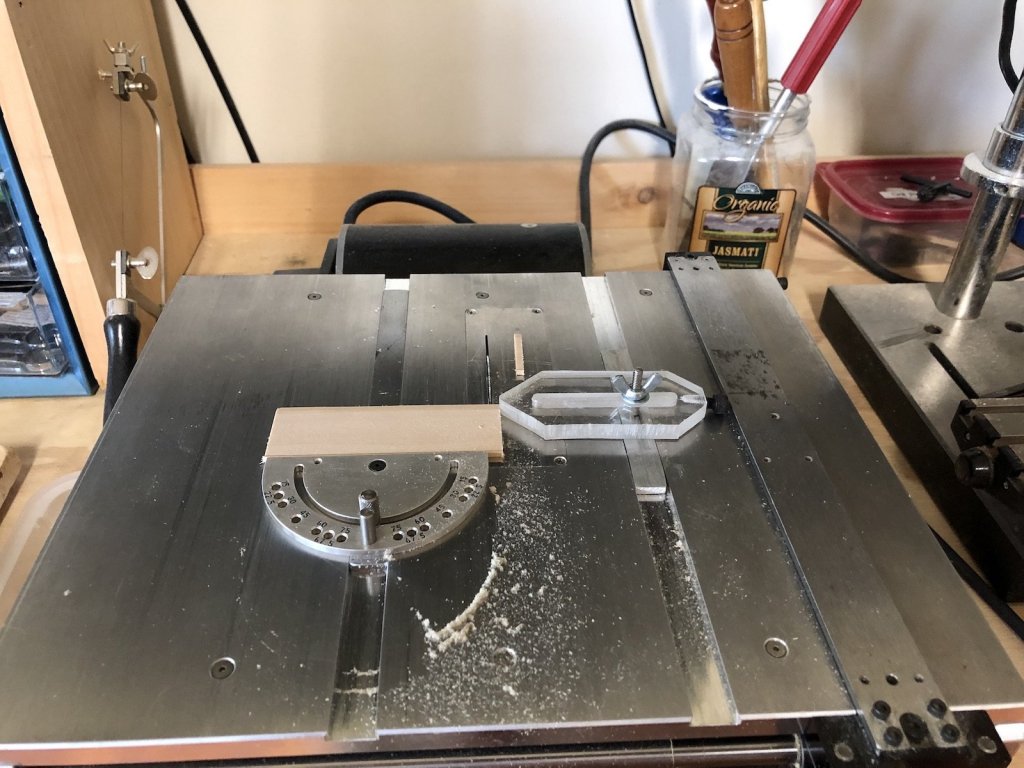
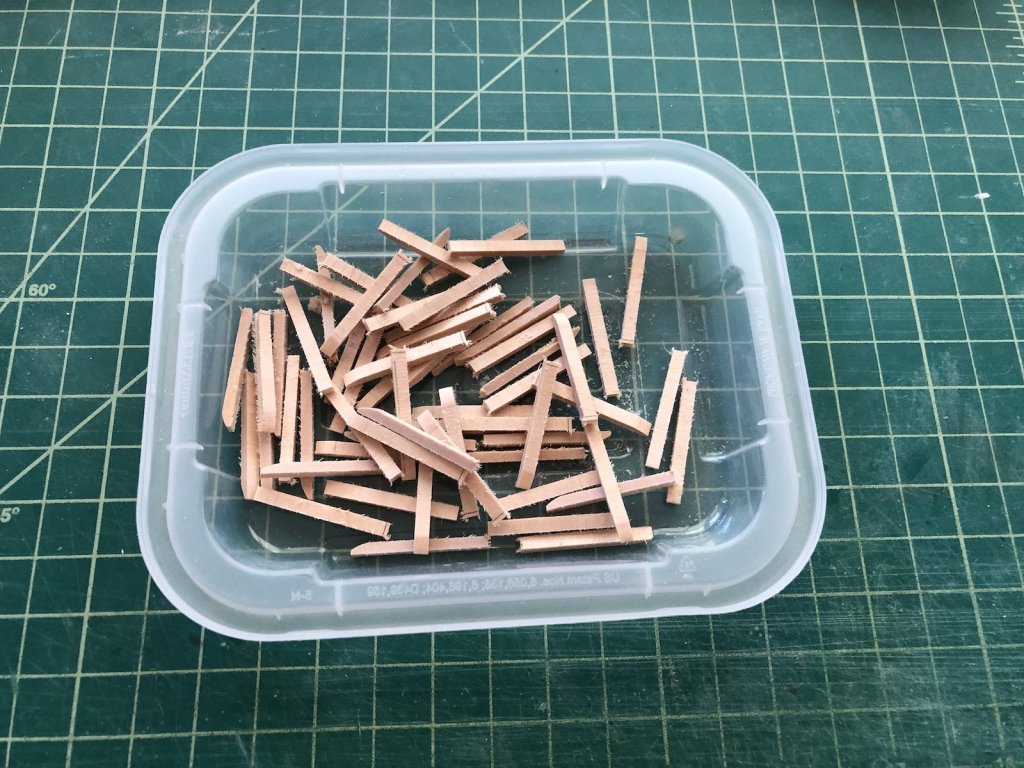
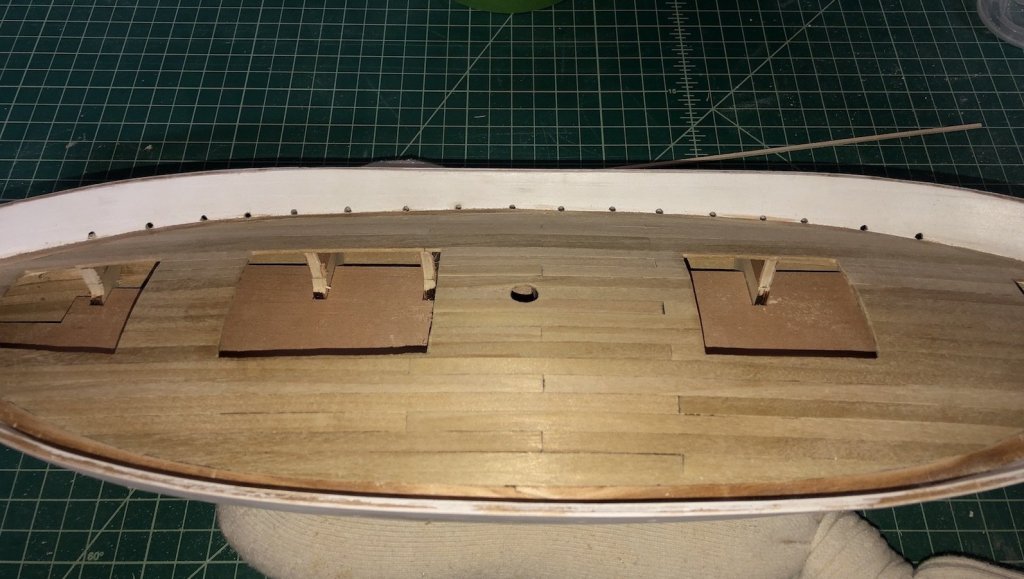
While painting the rudder I started making what the instructions call bulwark supports, which are the strips along the insides of the bulwarks. These have a taper at the top so instead of using strip wood and cutting the taper into each one, I planed down some sheet wood to the angle and cut them out on the table saw. Here is the set up I used to slice them off. The plexiglas guide came from the NRG Journal a few issues back. It worked great cutting 3mm strips from the 2mm sheet. I need over 40 of these so cut about 60. This turned out to be a practice exercise because I didn't pay attention to how the grain ran on the sheet and all the strips have the grain running across them, but worse is the sides are all end grain. I have another sheet sanded down with the taper across the end grain so that when I cut them out again the grain will run the same as if I cut them from strip wood. Another learning experience! I have also started making the hatch coamings for the two storage hatches. I started using the supplied laser cut parts, but I really did not like the end grain of the end pieces showing along the sides, as the side piece were too small to fit all the way along the hatch. So I cut new longer side pieces from some mahogany sheet I had, then cut the end pieces to fit between them, as shown on the right hatch. You can see the ugly end grain in the hatch on the left. I am going to stain not paint these coamings so this will make them look much better. Once these hatch coamings are done I have to add more deck planks between them. At that point I will probably give the deck and hatch coamings a coat of Wipe On Poly.

- 131 replies
-
- 4
-
-
- santa lucia
- panart
- (and 1 more)
-
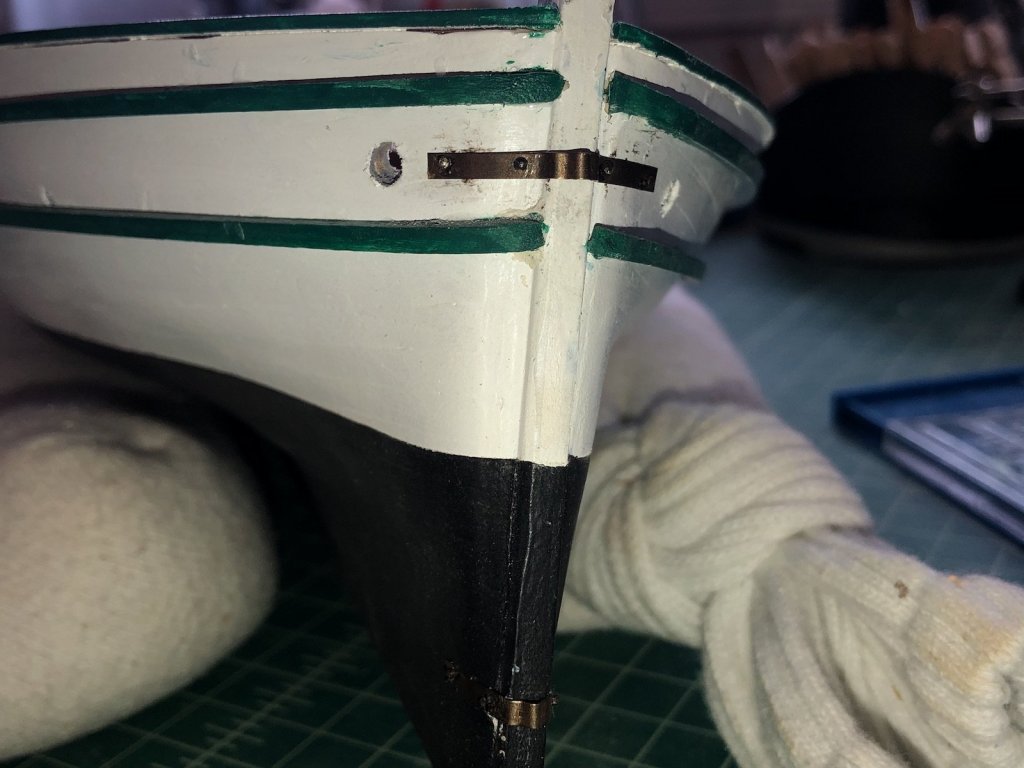
Working on mounting the rudder today. I nailed the gudgeons to the hull using the blackened nails. I first drilled a hole then pushed and glued the nails into the holes. Next I marked the locations of the gudgeons on the rudder then nailed the pintles to the rudder. The top pintles needed to be trimmed to length so I still need to drill another hole in them and add another nail. The instructions said to use a small nail as a pin but they were way too small, so I cut two lengths of brass rod and glued them inside the pintles. I need to do some clean up of the paint and mask the rudder to paint the bottom black to match the black on the hull.
- 131 replies
-
- 5
-
-
- santa lucia
- panart
- (and 1 more)
-
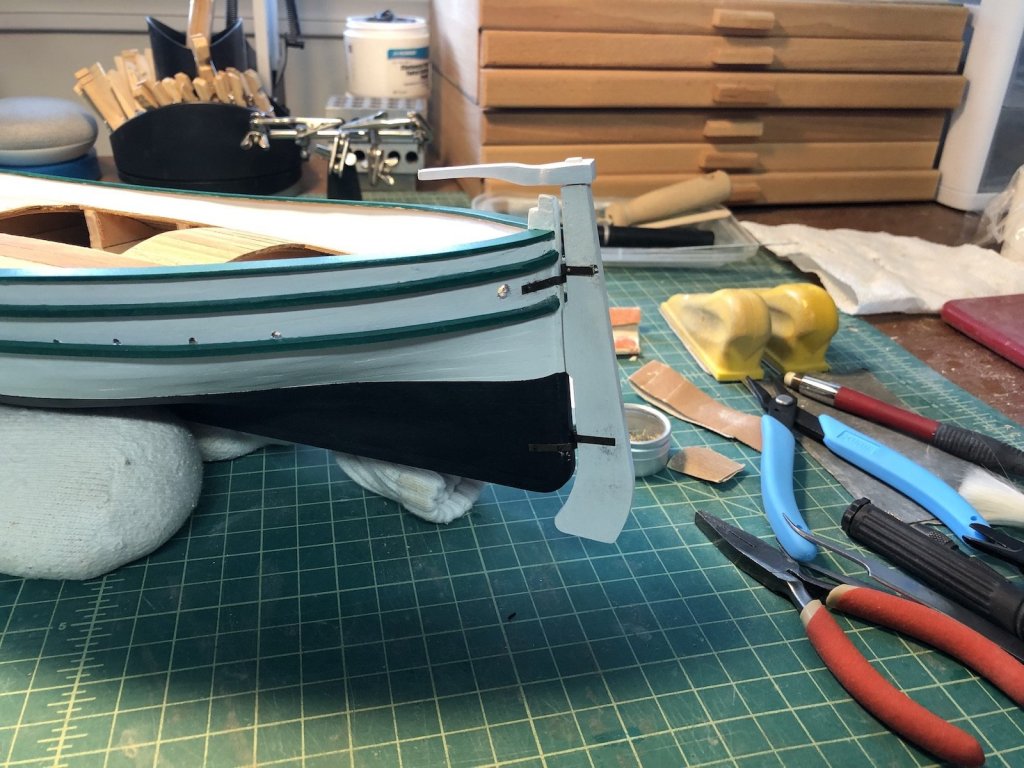
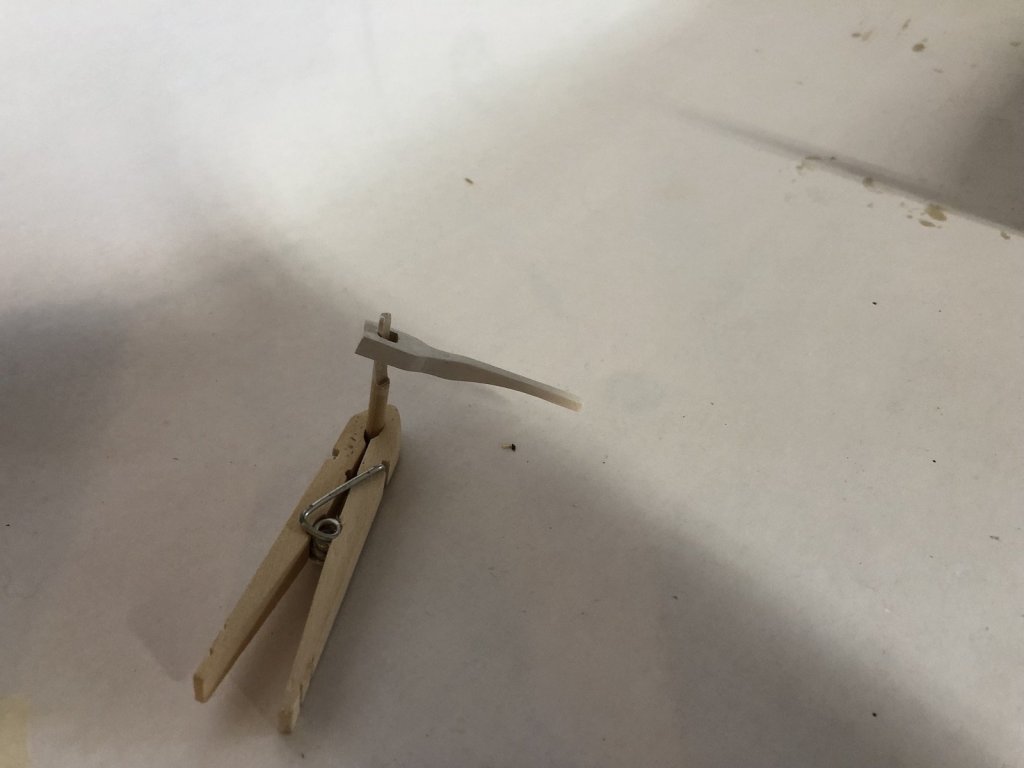
I painted the tops and sides of the rails the same green as the trim pieces and touched up the white paint on the inside and outside of the hull. I have painted the rudder white and will add the black when I know where it will be mounted, so it will match the black on the hull. I made the tiller from a 1/4" square piece of basswood. The plans included a top and side views of the tiller so I copied them to the right scale then glued the side view to the wood. I cut the shape roughly on the scroll saw, then glued the top view on and cut it out. This was very roughly shaped and I used files and sand paper to get the final shape. I then used the mill to cut the slot in the top which I squared up with a square file. I filed the top of the rudder to fit the hole, then gave the tiller two coats of primer. I will finish it with white paint. I will be mounting the rudder next.

- 131 replies
-
- 4
-
-
- santa lucia
- panart
- (and 1 more)
-
No, it was on Long Island in NY. They built gyros for all kinds of ships and aircraft.
-
My dad helped build those Sperry gyroscopes.
-
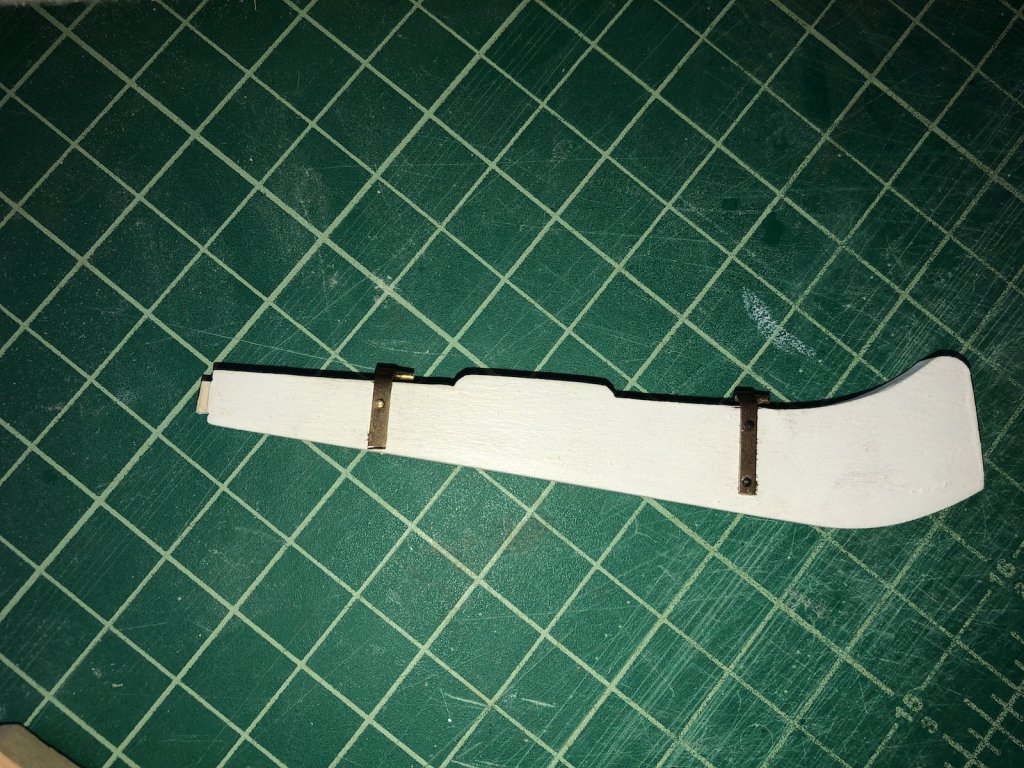
After a week of relatives visiting, I finally got some time in the shop the last couple of days. I finished thinning down the rails and primed them with diluted gesso. I am going to paint the top and sides of the rails green but I will leave the bottoms white. I fit the gudgeons to the stern post and the pintles to the rudder, then blackened them along with some nails. The upper gudgeons and pintles will be painted white, but I blackened them because I find the paint sticks better and they have the same texture and the lower ones. I also started priming the rudder.
- 131 replies
-
- 4
-
-
- santa lucia
- panart
- (and 1 more)
-
Congrats to your daughter. I am glad you liked our part of the world. Lake Winnepasauki is nice but Newfound Lake is our piece of heaven.
-
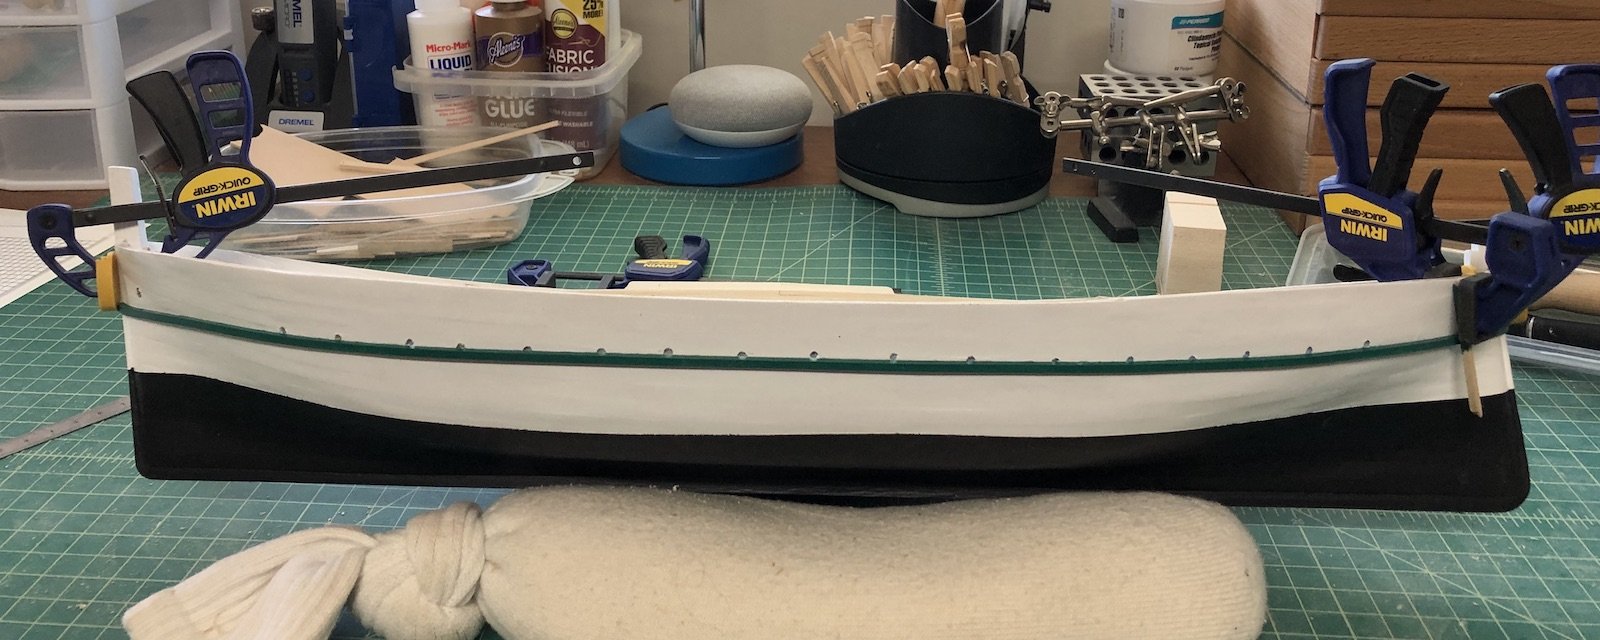
I have cut out and attached the two rails from basswood sheet. I was able to make these in one piece and managed not to break them as I shaped them. I started by cutting out the pieces oversize then sanded the inside curve to fit. I used a compass to mark the outside curve using the inside edge as a guide. I then cut this out a little oversize and sanded the outside edge to the line. I then glued them onto the hull using medium CA, and will do a final sanding once they are dried. The port side especially needs to be thinned a little more. I will then prime and paint them the same green as the trim pieces.

- 131 replies
-
- 6
-
-
- santa lucia
- panart
- (and 1 more)
-
So here is how the trim pieces came out. I touched up the green paint on the ends and I still have a little touch up of the white paint near them at the ends. I have the templates made for the rails so now I need to cut them out of 1/16" basswood sheet.
- 131 replies
-
- 5
-
-
- santa lucia
- panart
- (and 1 more)
-
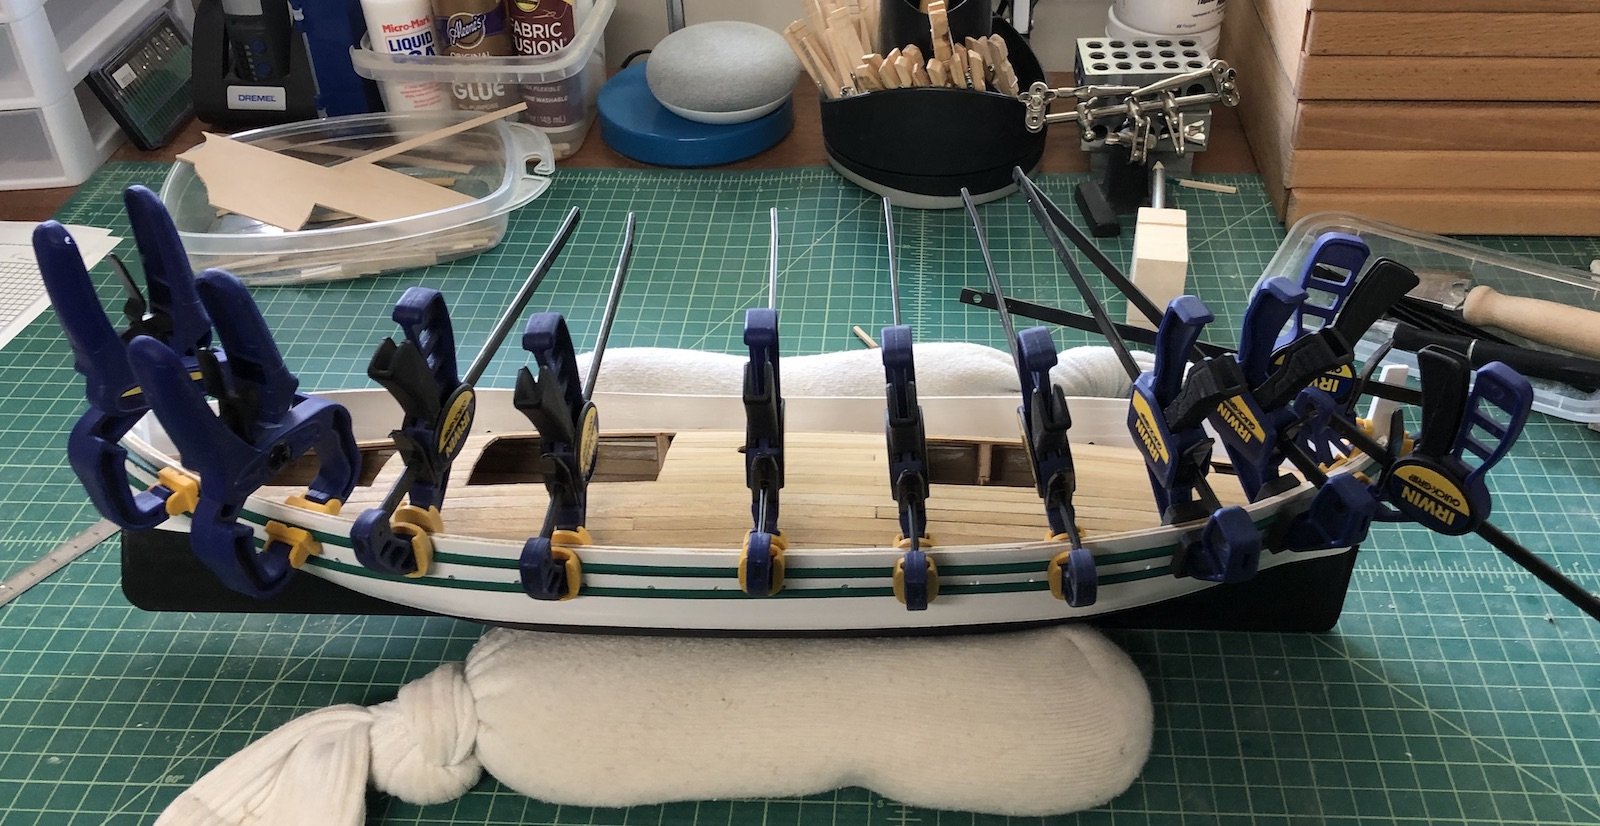
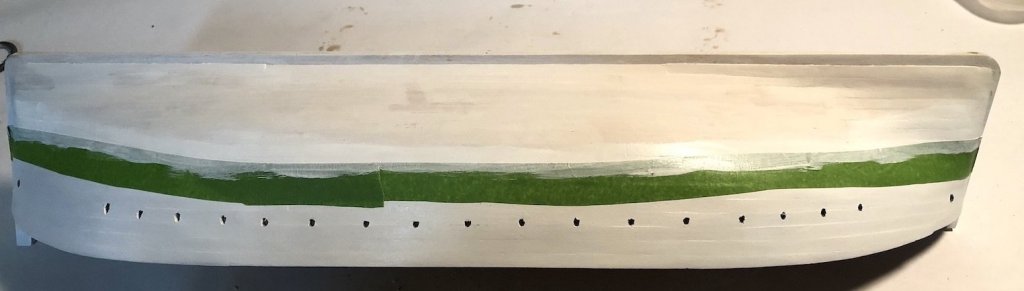
Thanks Fernando and Popeye. After gluing the other side lower trim piece on, I added the two upper trims pieces. These I was able to clamp as I glued them so they were a bit easier to add. I sanded the ends of the trim pieces to be flush with the stem and stern post, so I have a little touch up to do on the green paint. Then I will make and add the rails along the tops of the bulwarks.

- 131 replies
-
- 4
-
-
- santa lucia
- panart
- (and 1 more)
-
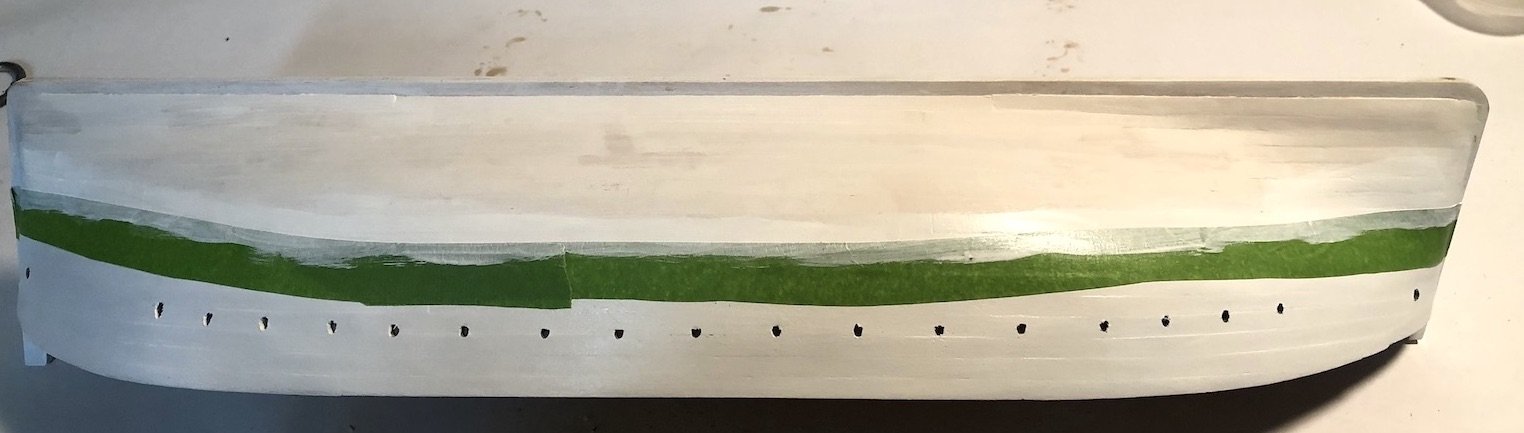
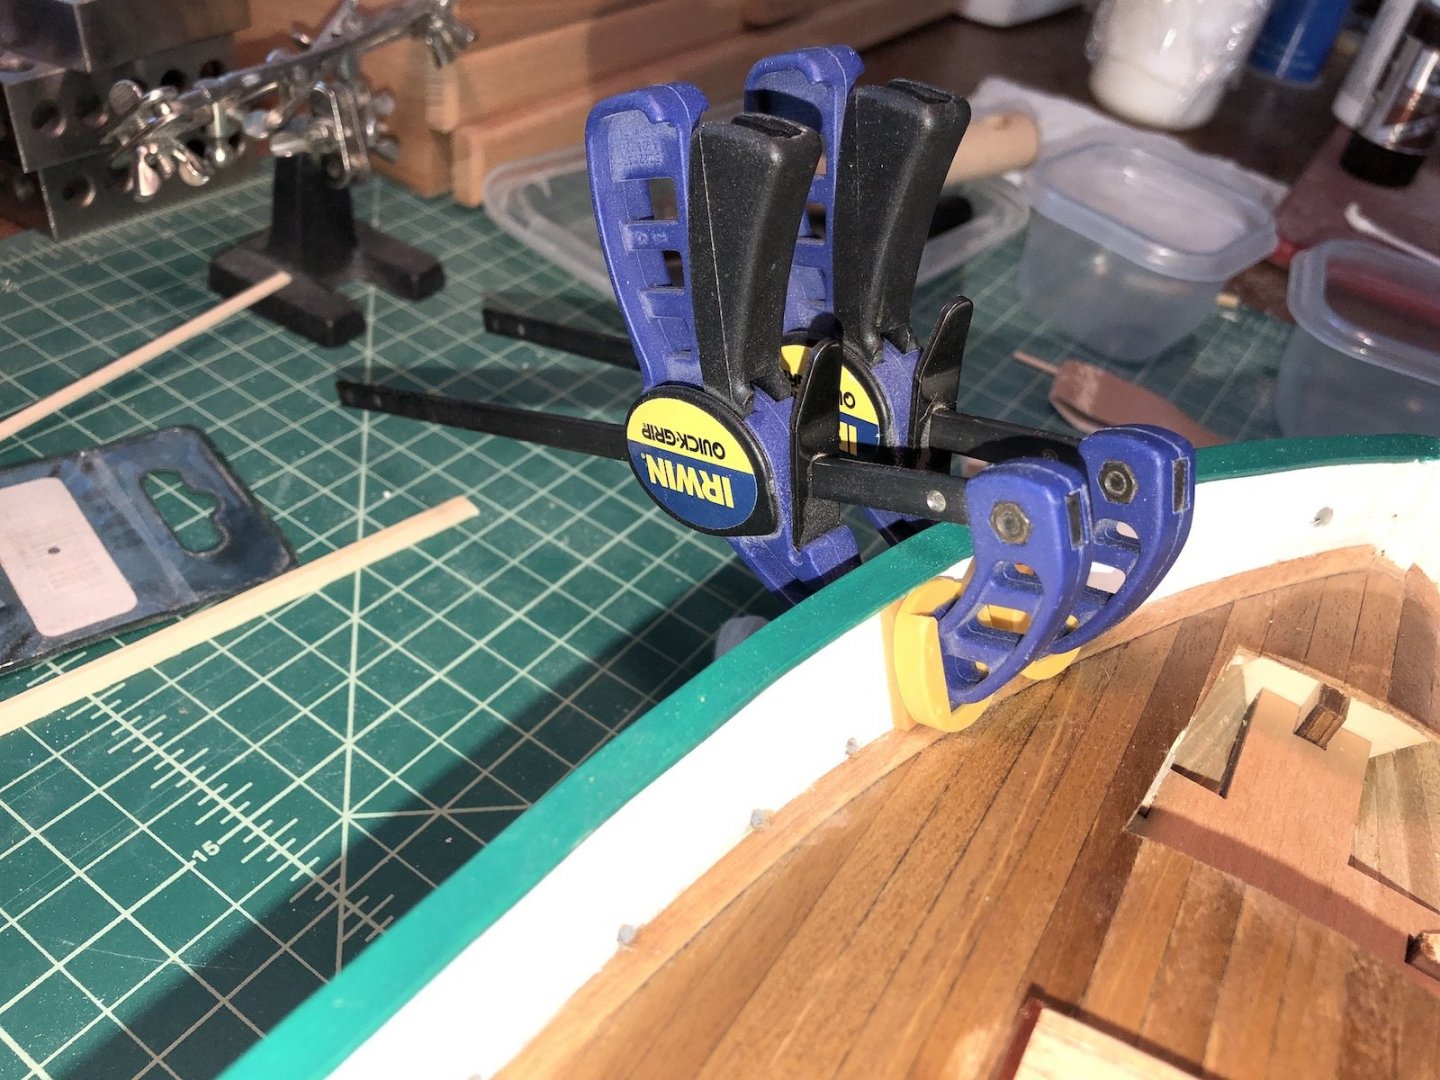
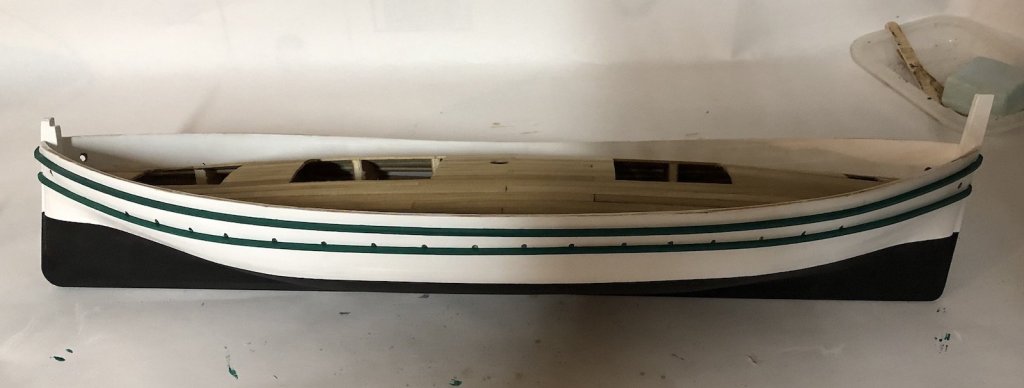
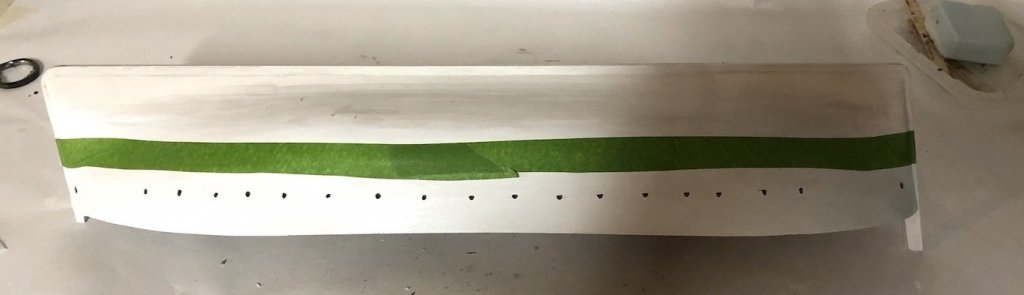
I gave the hull bottom another coat of black paint, then removed the masking tape. I had just one spot at the stem that I had to touch up with white paint. I gave the trim pieces three coats of green paint so now I was ready to start adding them. I started on the port side because I plan to display this model from the starboard side, so this was a good side to practice on. I glued the first trim piece under the port scuppers using medium CA. I started at the forward scuppers and worked my way back to the last scupper, trying to keep the trim piece in a fair line and right under the scuppers. I then glued the forward part of the trim to the stem, using a clamp at the end to get it tight at the stem. I trimmed the aft portion to fit into the stern post, then glued and clamped the aft section. I was really concerned how this was going to come out but I am pretty happy so far. We will see how it looks after I take the clamps off later.

- 131 replies
-
- 5
-
-
- santa lucia
- panart
- (and 1 more)
-
Nice save Jay.
-
I have applied three coats of diluted black paint on the hull bottom and I will probably add one or two more. I also primed the four trim strips, which will be painted green before gluing to the hull. I stuck them in a chunk of balsa wood to hold them while they dried.

- 131 replies
-
- 5
-
-
- santa lucia
- panart
- (and 1 more)
-
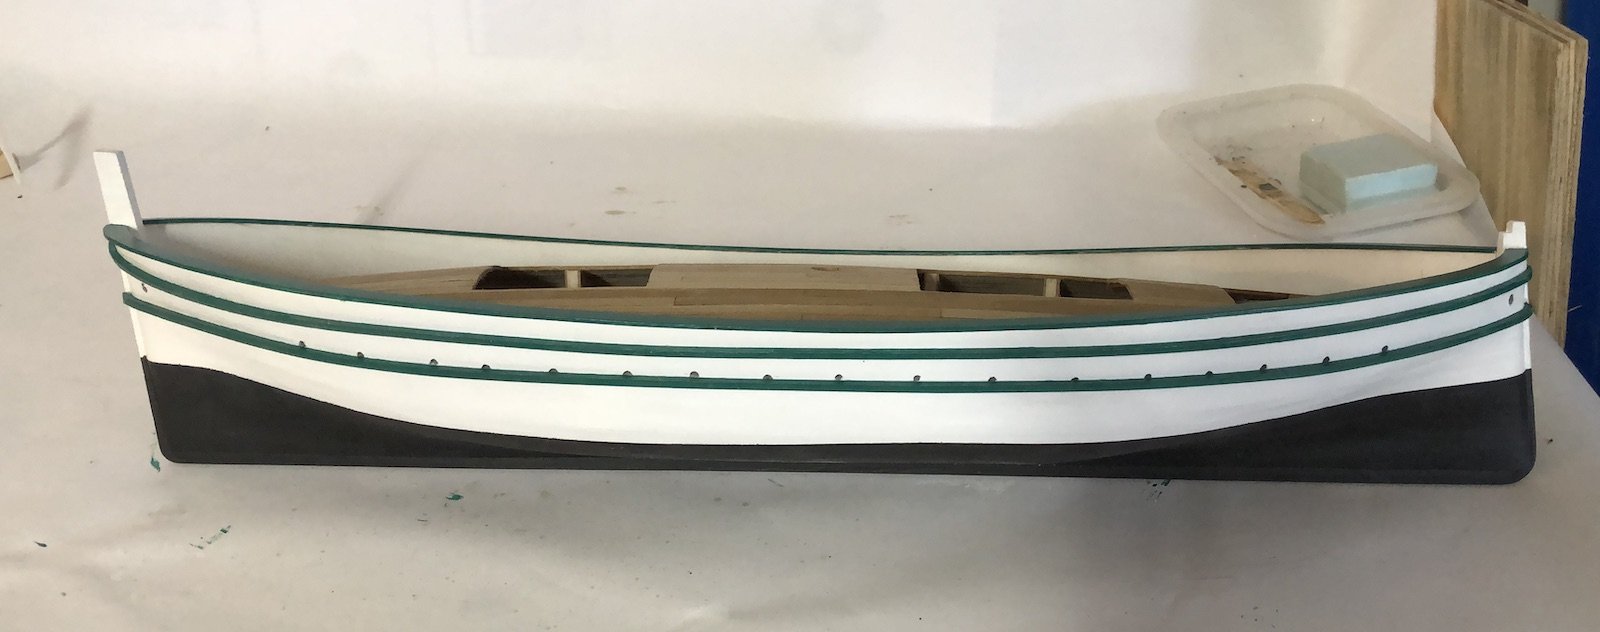
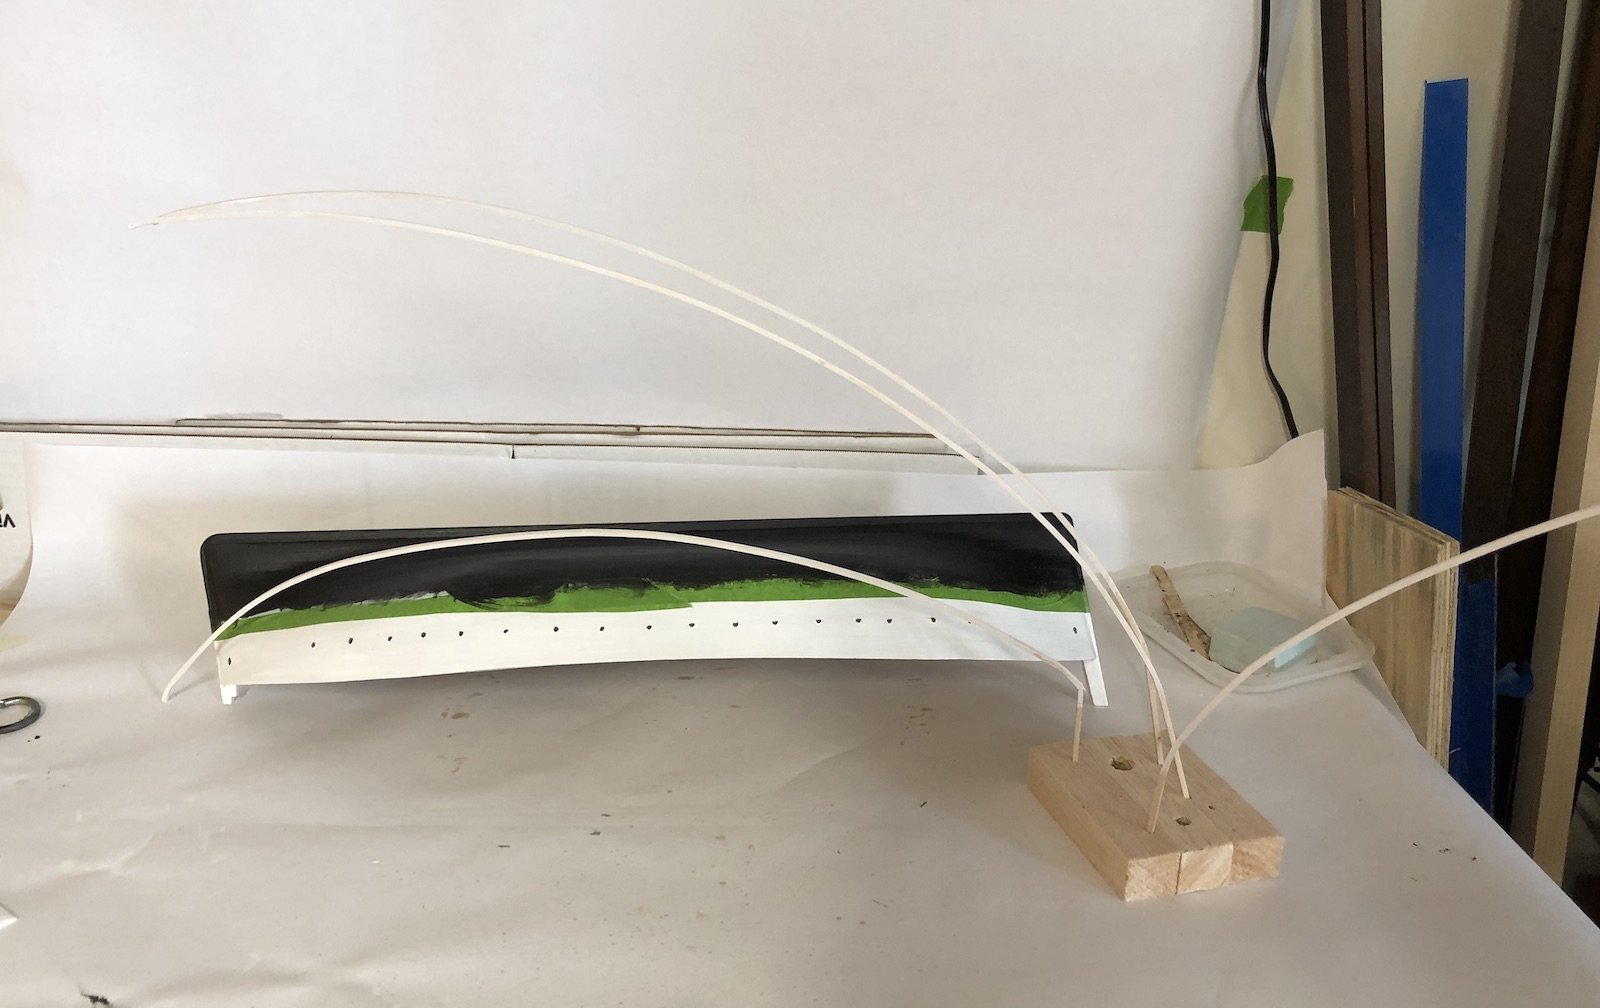
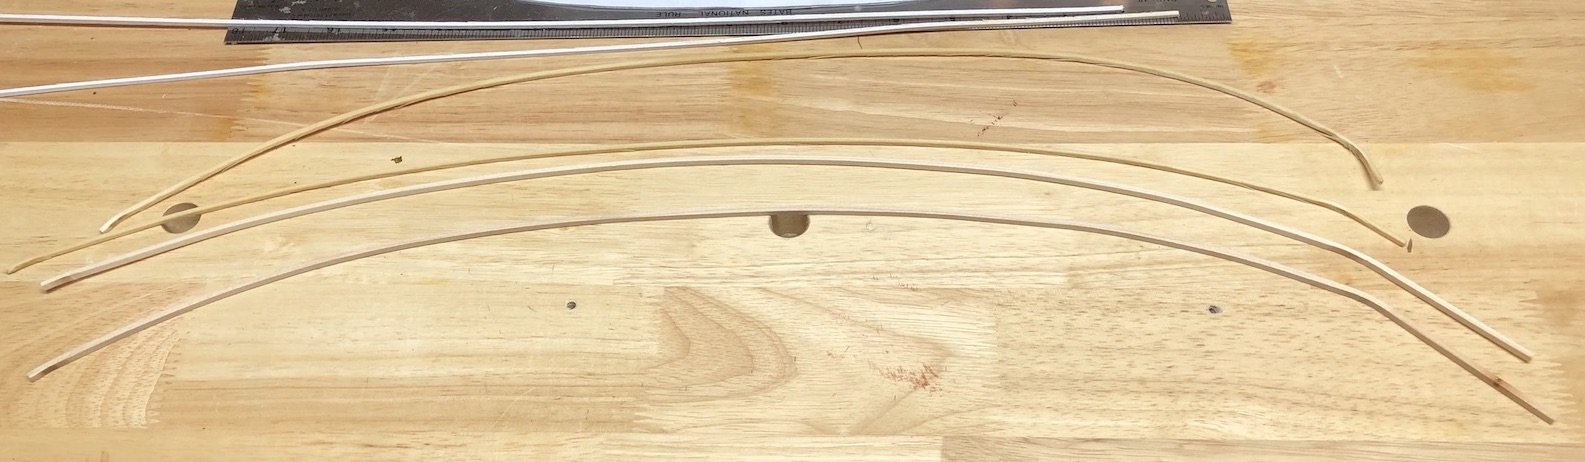
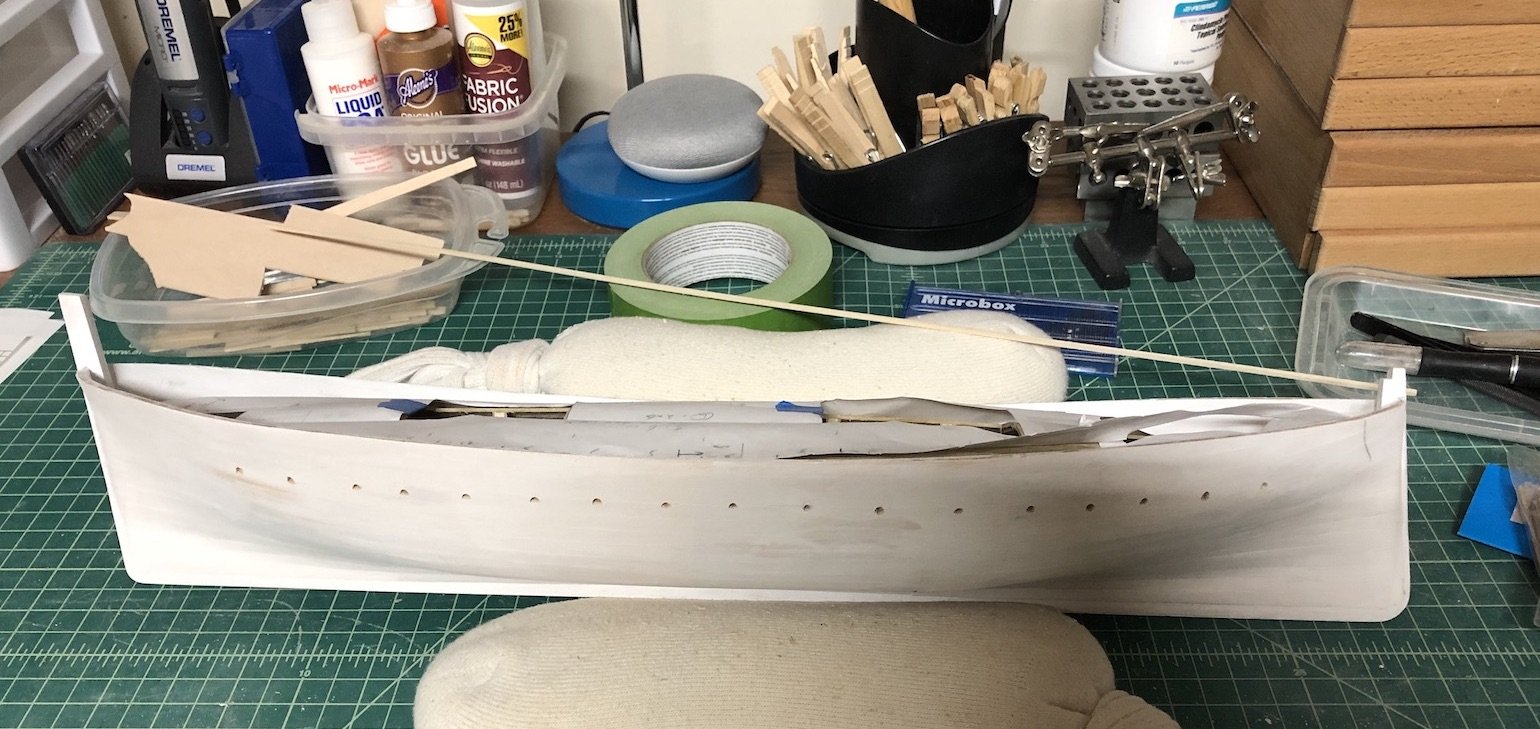
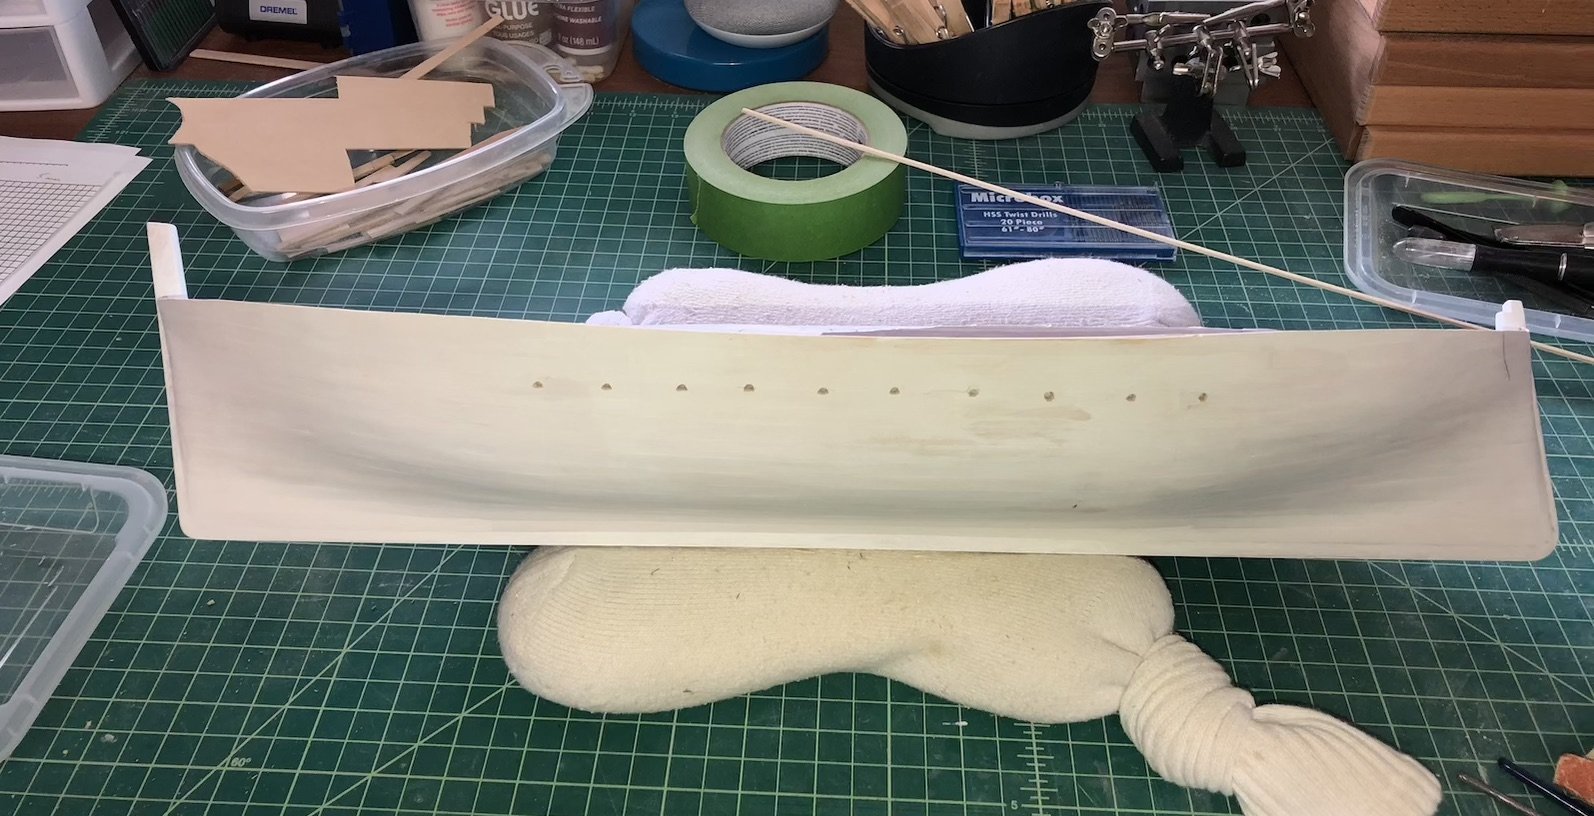
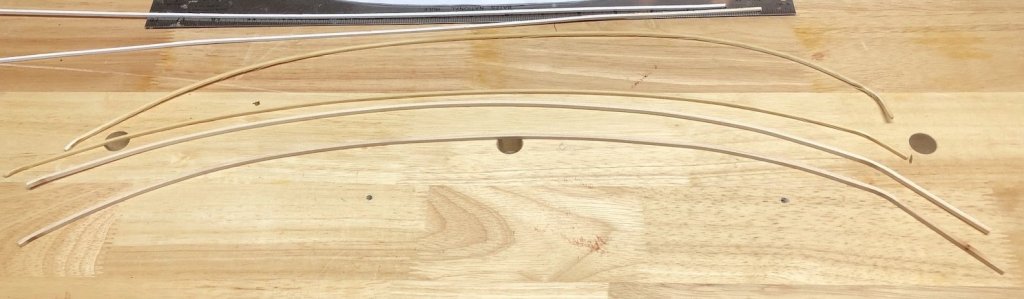
Weather has gotten much nicer but I have found time in the shop anyway. I stained the deck planks with some Oak stain and I really like the look. The plans say to paint the deck red/brown but that is too much paint on the model for me. With the interior set for now I painted the top of the outside hull with 4 coats of diluted white paint. After that dried I masked off the waterline and painted the edge white to seal it, so I am ready to paint the bottom of the hull black. I also bent the four trim pieces that will go on the outside of the hull with a plank bender after soaking them in water. They will be primed and painted green. I through out the 2mm square wood that came with the kit for these as it was very splintered when bent. I am substituting some 3/32" basswood for them which is slightly bigger than the supplied strips but much better quality. The sheet wood I ordered for the top rail arrived today so I will be working on that soon too.
- 131 replies
-
- 4
-
-
- santa lucia
- panart
- (and 1 more)
-
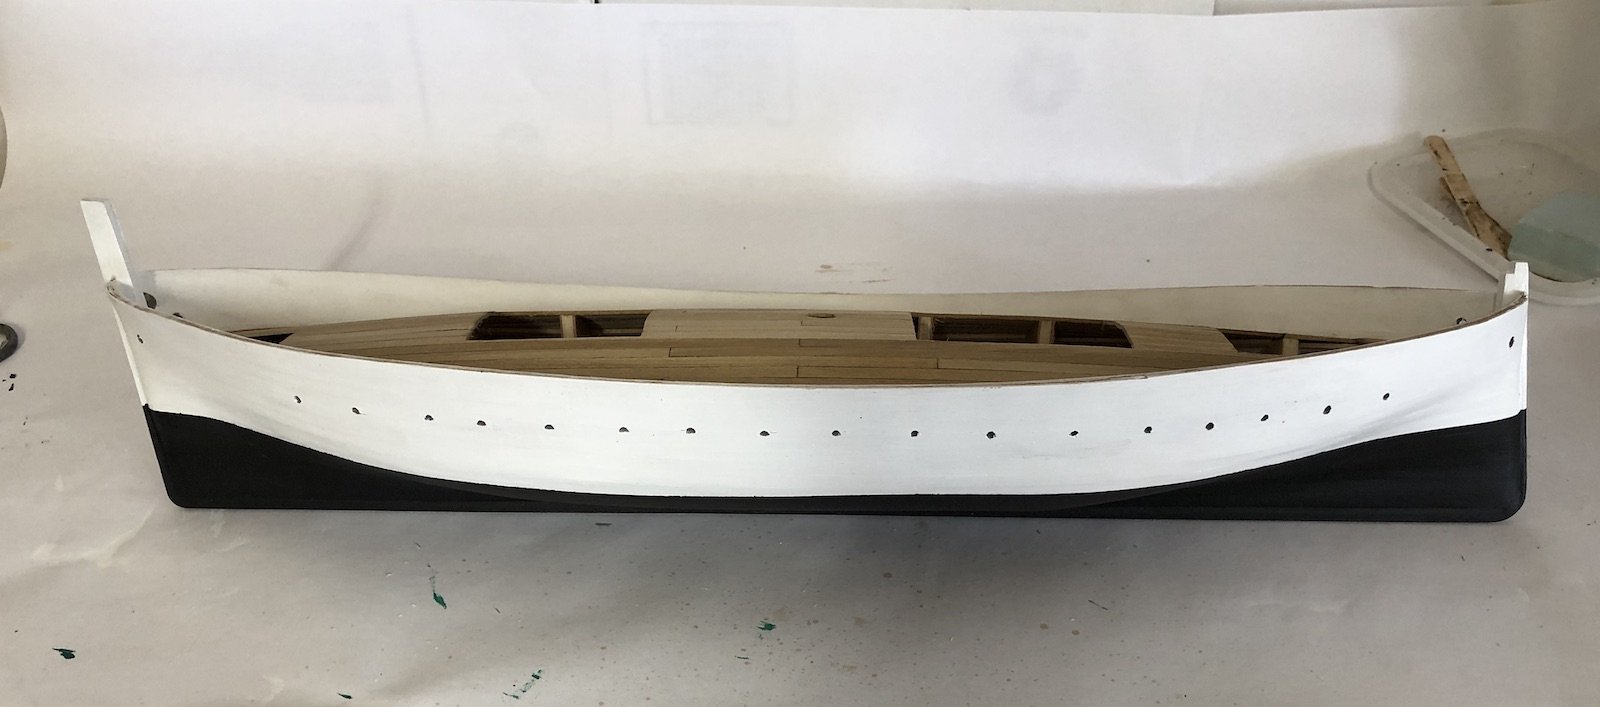
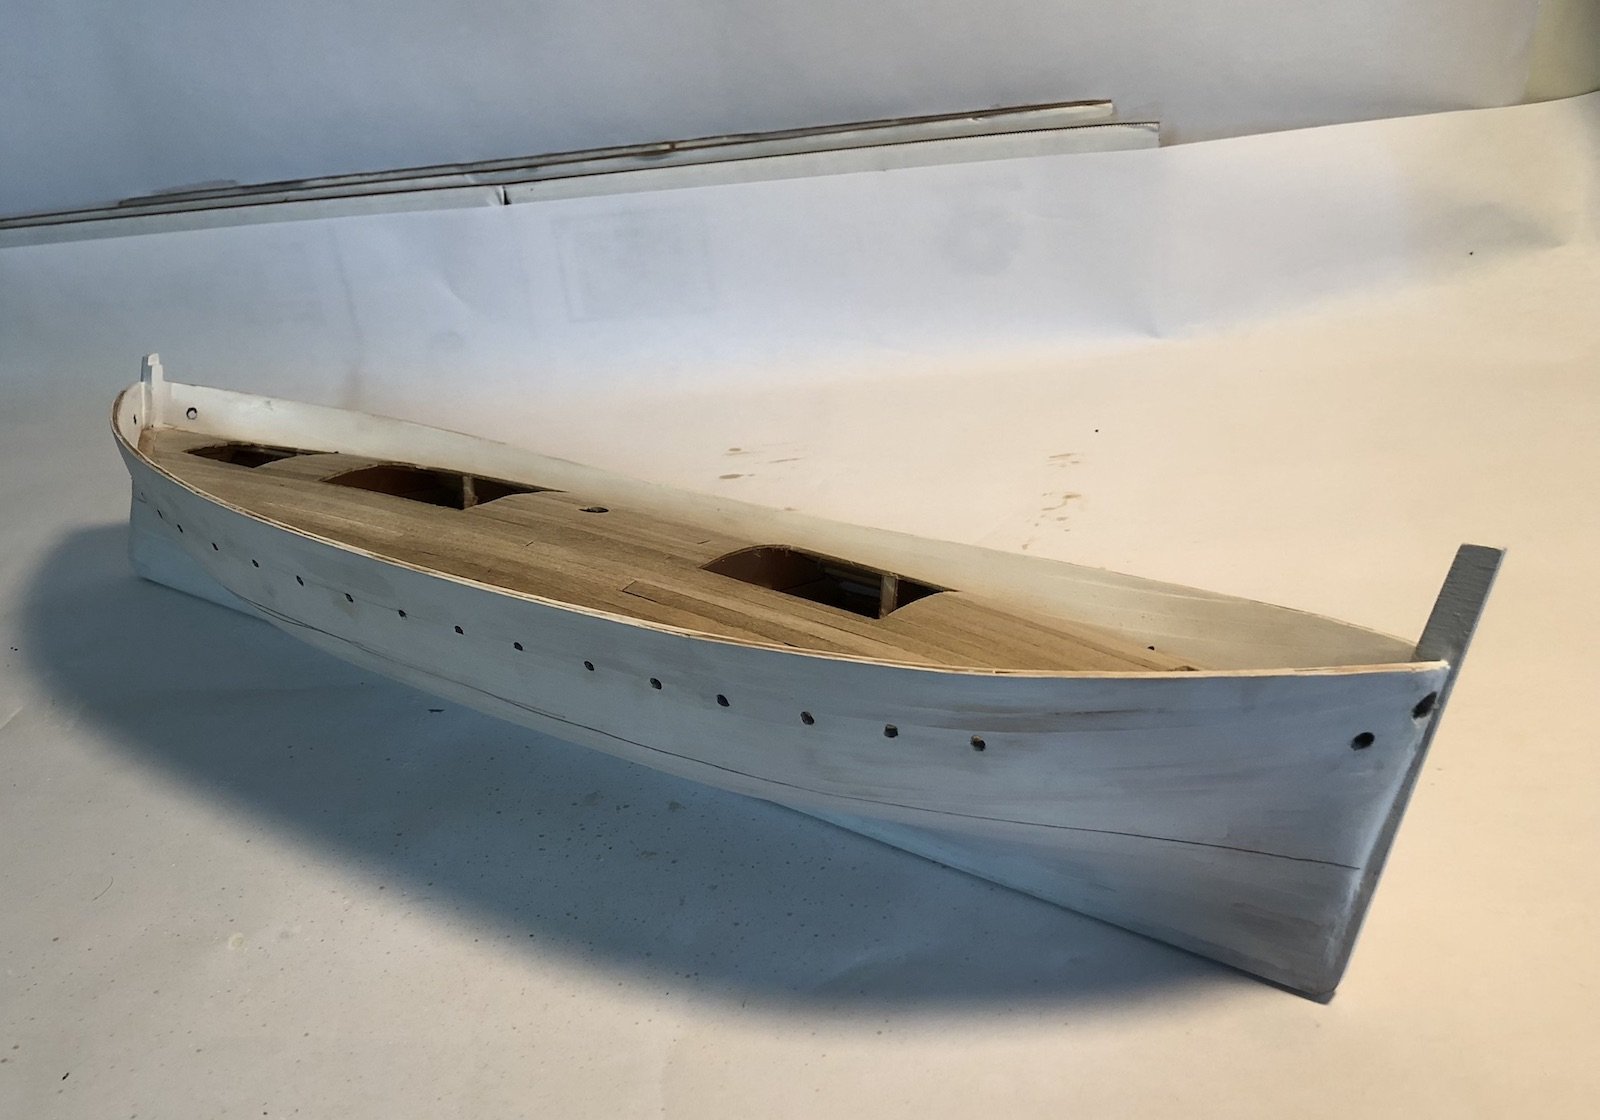
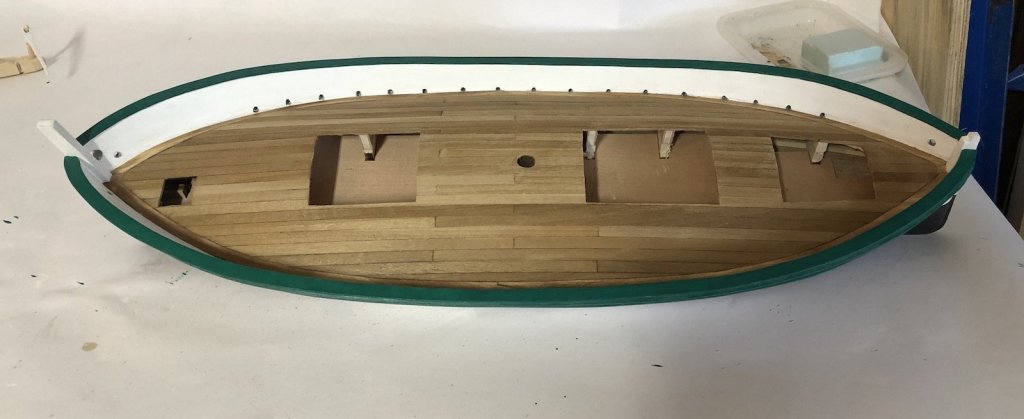
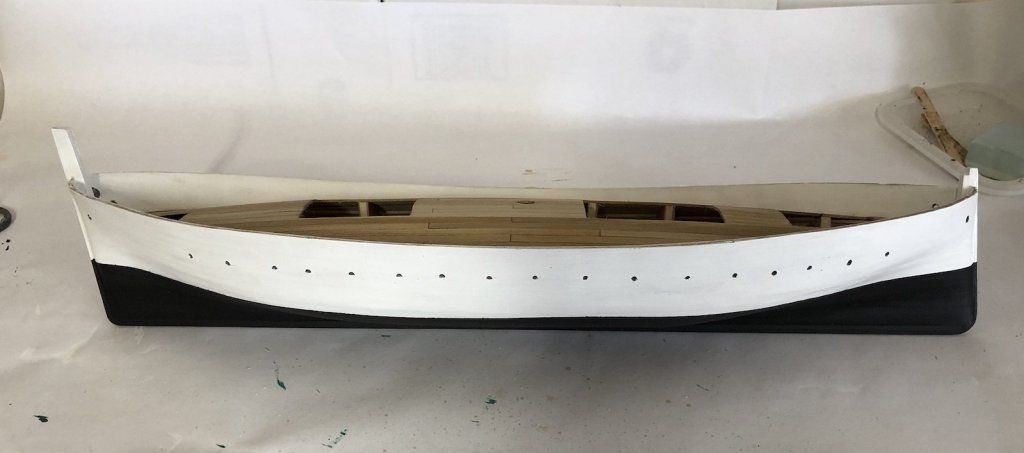
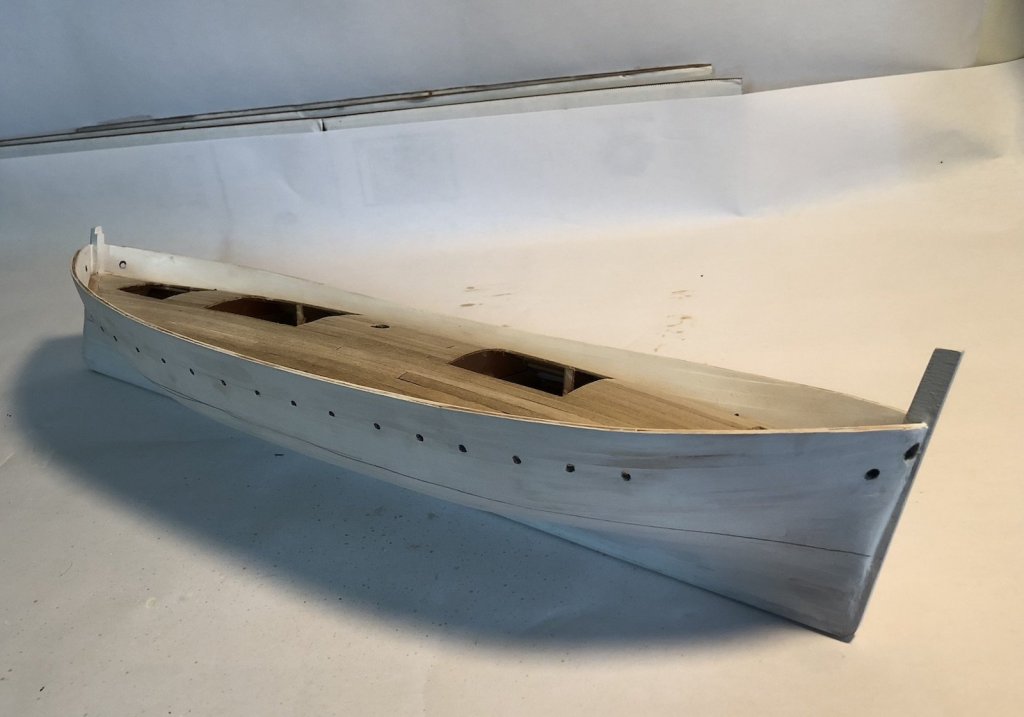
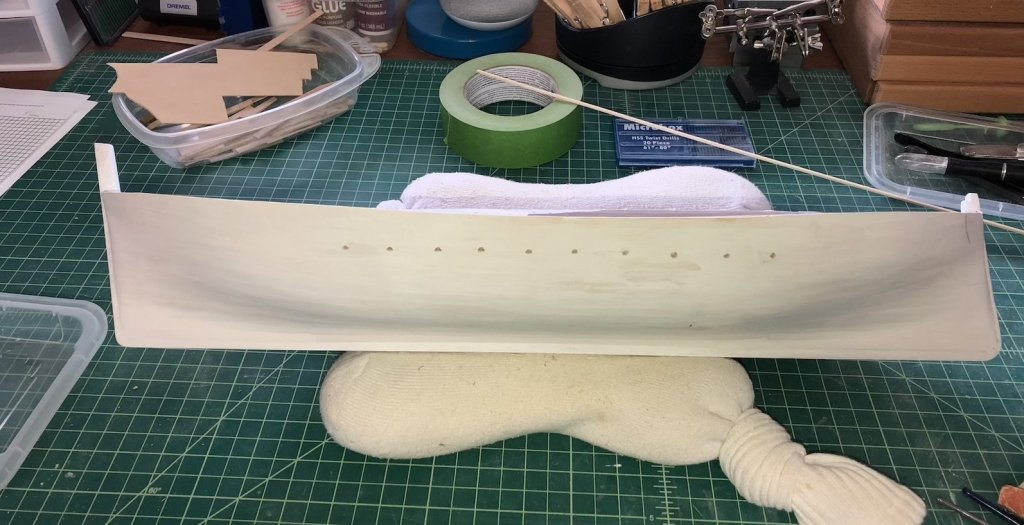
It has been rainy here so I been spending a lot of time in the shop. I drilled the hawse holes and the hole for the bowsprit. I had to locate these holes from the various isometric views that are provided instead of real plans. But they look right so that's all that matters to me. I painted the insides of these holes and the scuppers with a grey paint. I gave the inside bulwarks another coat of white paint too. The bowsprit hole is still a little rough but I will clean that up when I add the bowsprit later. You can also see that I marked the waterline on the hull. This wasn't too hard to locate as they do have a side on view that shows it very well. I drilled a hole in a block of wood at the right height and put a pencil in the hole to mark it. Worked very well. I will be staining the deck then painting the outside of the hull next - white above and black below the waterline. Then I will be adding the two trim strips - one just below the scuppers and one between that one and the top rail. I ordered some 1/16" basswood sheet to make the top rails, making them in one piece for each side. That is the plan anyway. The trim and top rail will be painted green, as well as trim on the deck pieces, so I ordered some green paint too. I separated the laser cut pieces that make up the hatch coverings. Most of the parts are slightly oversize so that they can be fit to the openings, but oddly the side pieces for the two largest openings are too short. The provided dimensions on the plans for the openings are larger by about half a centimeter than these pieces. A bit disappointing but I can use the longer two for the smaller opening and make new ones for the larger opening, as they are simple rectangles.
- 131 replies
-
- 6
-
-
- santa lucia
- panart
- (and 1 more)
-
Thanks Popeye. I finished the scuppers on the starboard side and cleaned them all up as best I could. I sanded down the margin planks where I had scraped them making the scuppers, so I am almost ready to re-stain them and stain the deck planks. I want to drill the four hawse holes through the hull before that though.
- 131 replies
-
- 4
-
-
- santa lucia
- panart
- (and 1 more)
-
I finished the scuppers on the port side and started adding them to the starboard side. It's a bit tedious but getting them consistent is an effort. I will be glad when they are all done.

- 131 replies
-
- 6
-
-
- santa lucia
- panart
- (and 1 more)
-
I have had some success adding the seizing to served lines but not tightening it. I could then carefully slide it into place with tweezers and tighten it then.
-
Thanks Silisurfer. Here is the tool, which I bought on eBay: https://www.ebay.com/itm/Mazbot-7-Hole-Punch-Pliers-5-SIZE-Jewelry-Metal-Leather-HIGH-GRADE-HPP06-/302845942623
- 1,354 replies
-
- 1
-
-
- constitution
- model shipways
- (and 1 more)
-
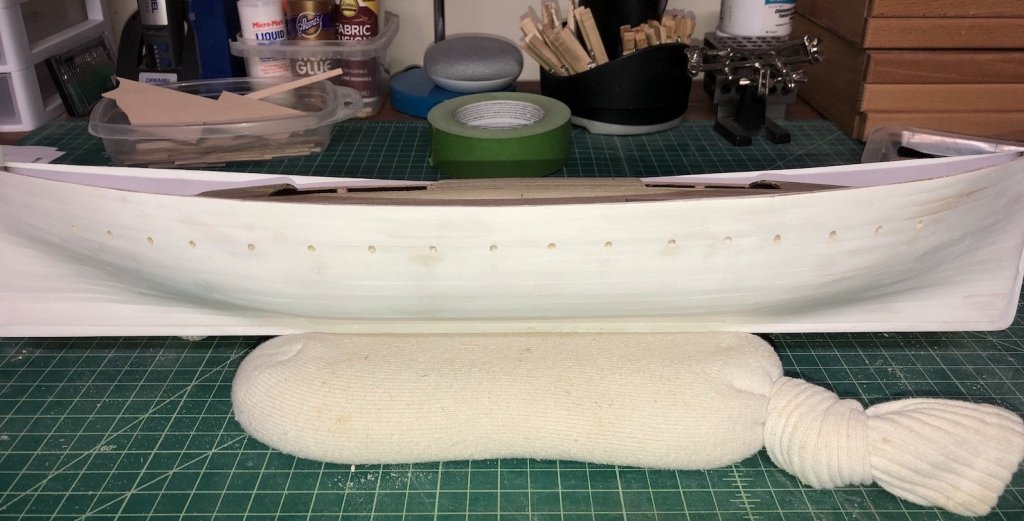
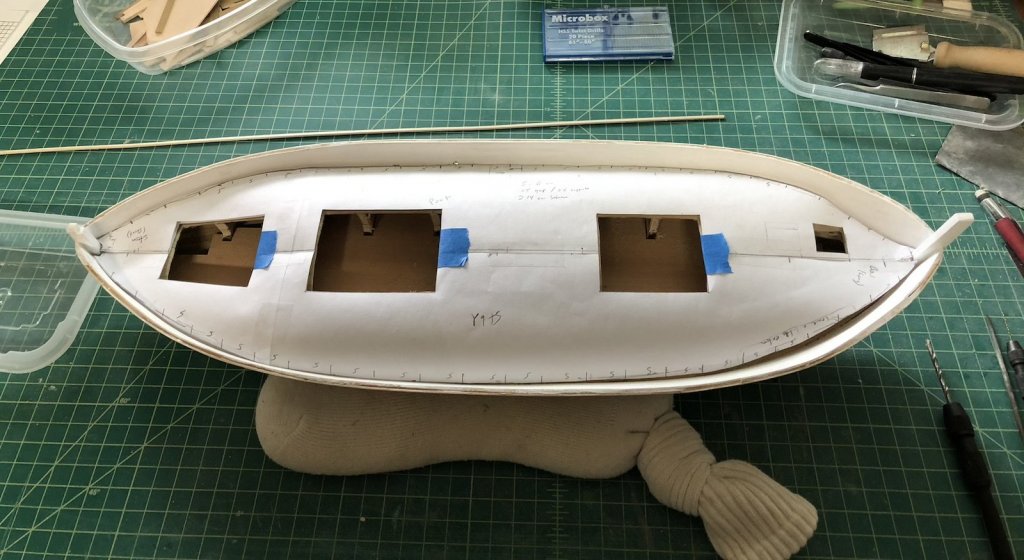
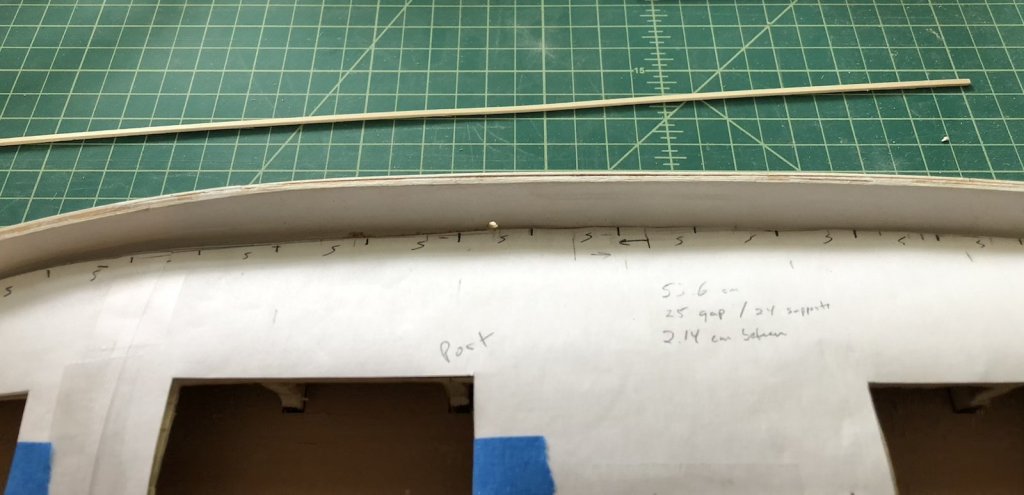
I finished cutting the four openings in the deck and sanded everything down one more time. I then marked the locations of the bulwark extensions and scuppers on the deck template. I lined three of them up with the three frames I used for the deck plank ends and equally spaced the rest based on the number on the isometric views of the "plans". I then started to add the scuppers. These are shown as half circles on the plans. I searched for half round drill bits all over the Internet but no one seems to sell them so I had to come up with a different approach. I first thought I could just drill a round hole and cover up half of it on the outside with the trim piece that goes just under the scuppers, but that wouldn't look right from the inside. So I drilled a smaller hole and used a half round file to flatten the bottom of the hole and a small round file to clean up the top half. This is working pretty well so far. About half on the port side done. Each one takes about 10 minutes to do and I will go back and make them a little more consistent when I have them all in.
- 131 replies
-
- 5
-
-
- santa lucia
- panart
- (and 1 more)
-
I know what you mean David about getting the tensions right. It sounds like your system worked well for you. The results certainly show that.