HOLIDAY DONATION DRIVE - SUPPORT MSW - DO YOUR PART TO KEEP THIS GREAT FORUM GOING! (Only 24 donations so far out of 49,000 members - C'mon guys!)
×


usedtosail
-
Posts
2,407 -
Joined
-
Last visited
Content Type
Profiles
Forums
Gallery
Events
Everything posted by usedtosail
-
 The finish on the deck and hull sides is complete. I test fit the hull onto the display board with the supplied pedestals, which I stained with oak stain to match the display board. I had this board left over from a previous build but the ends were not beveled, so I cut bevels in the ends to match the sides. I have since stained the display board with oak stain to even up the color a bit and I will finish it and the pedestals with wipe on poly. I found two plastic pieces that didn't get chromed - one of the exhaust ports and the cleat for the stern. I decided to try making new ones out of brass instead of using the plastic pieces. I have been watching this excellent class on soldering for jewelry making so I was eager to try out some of the techniques. https://shop.mybluprint.com/jewelry/classes/solder-smarter-strategies-for-better-results/40550 I made two new exhaust ports by soldering some brass tubing to circles of sheet. I am in the process of cleaning them up and will provide some pictures when they are done. I am also going to try making the cleat from some brass wire.
-
This was a great find Bob. I have already started using some of the techniques to create brass parts for my current build.
-
Here is the deck and hull sides with four coats of spray lacquer. I will probably add a few more before I am finished with the finish. With all the issues I had with the mahogany, I must say it finishes up really nicely, so I guess it was worth fighting with it.
-
Another option, which I have started using for Stay Brite soldering, is a small pencil butane torch, which is refillable.
-
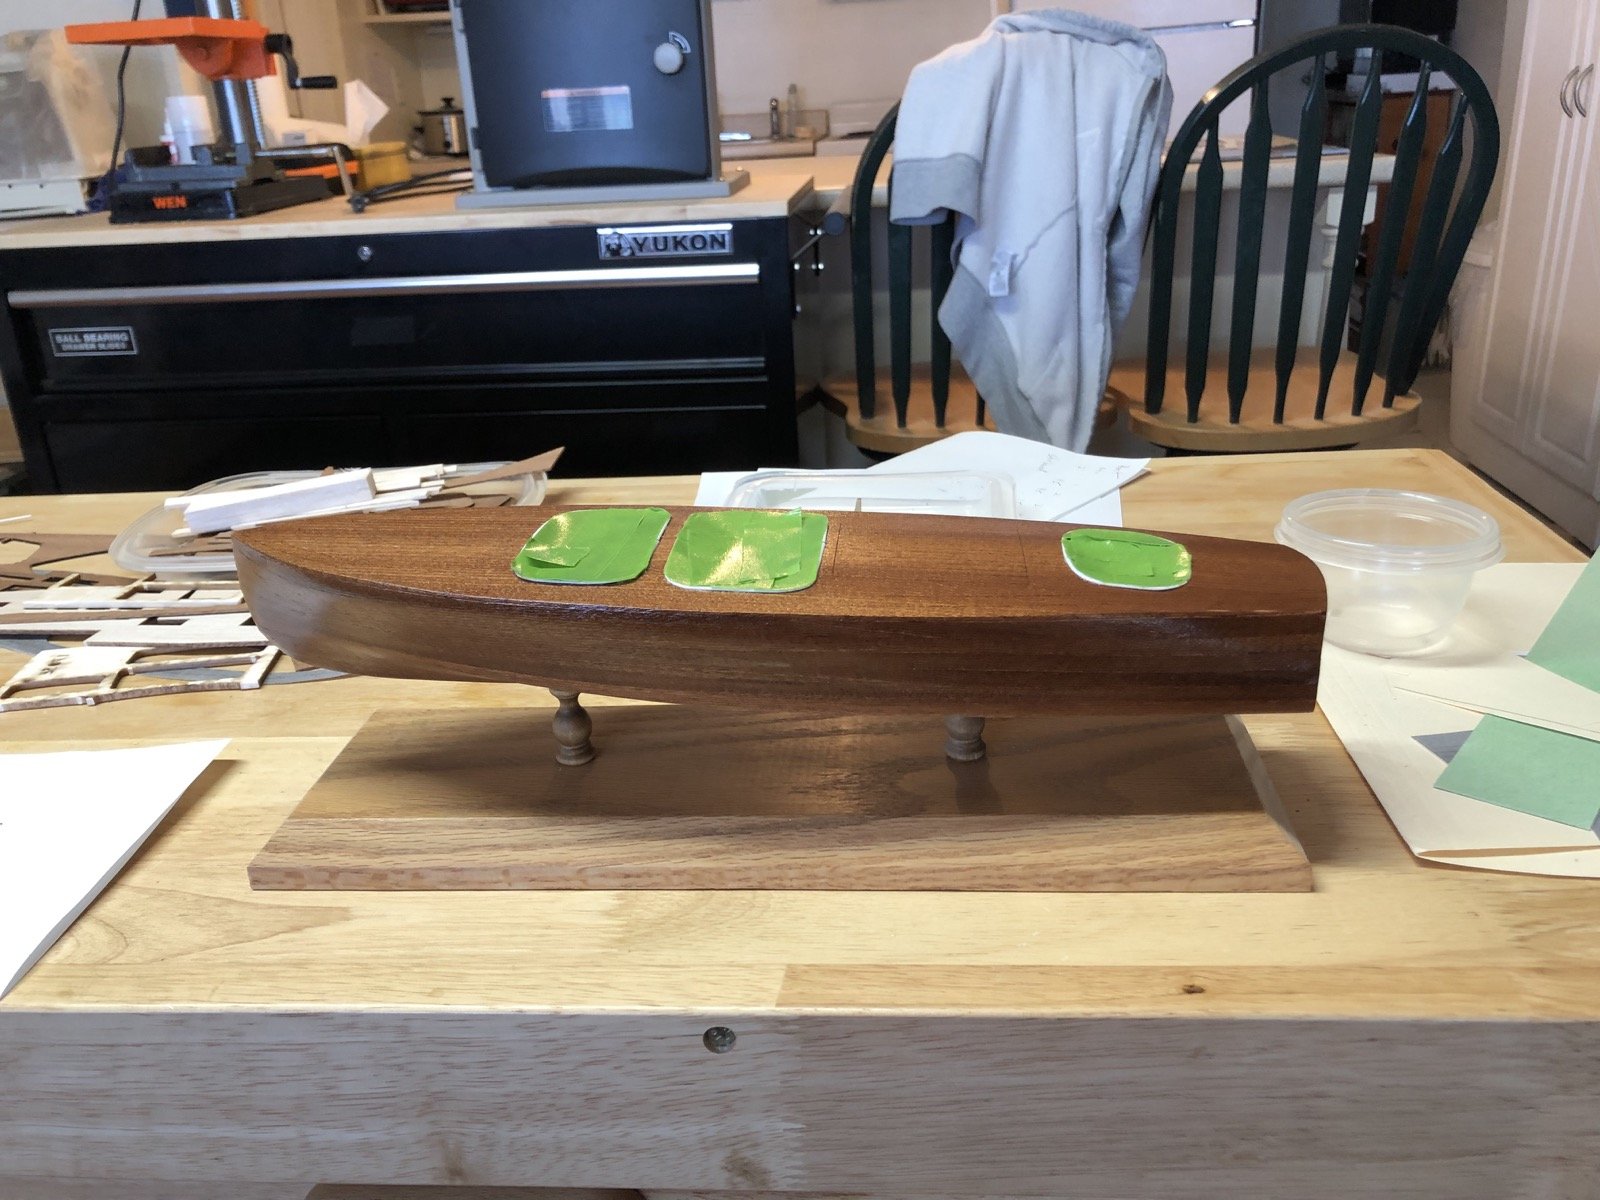
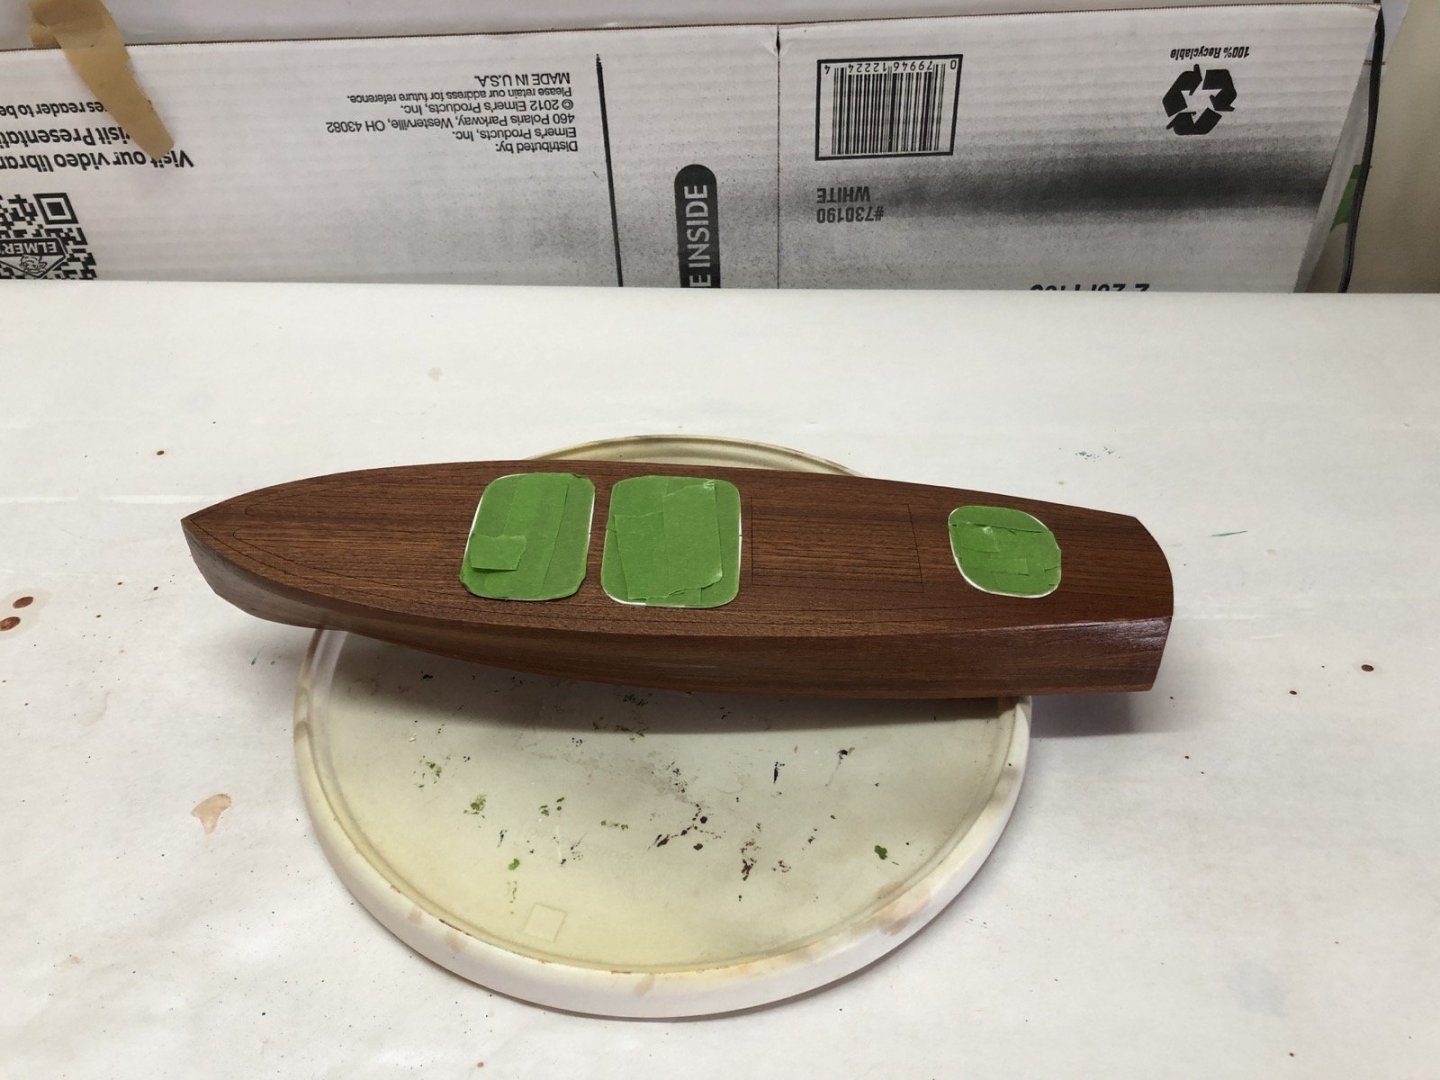
I finished the trim strips around the cockpit openings. I used an X-Acto knife to scrap away the excess glue around the trim. I am now going to attend to the finish on the hull since I am going to use a spray lacquer on the deck and sides, then a spray copper paint for the bottom with a white waterline stripe. This is said to be a classic look for these boats. I have ordered all the sprays so now I am waiting for them to arrive later this week. In the mean time I am masking off the trim and cockpit openings. I also cleaned up the struct more and painted it with some copper enamel.

-
Nice job creating those missing port lids. I used the same technique for copper plating my Constitution model, although I scored the plates into the tape before applying it to the hull. Your cross section is coming out great.
-
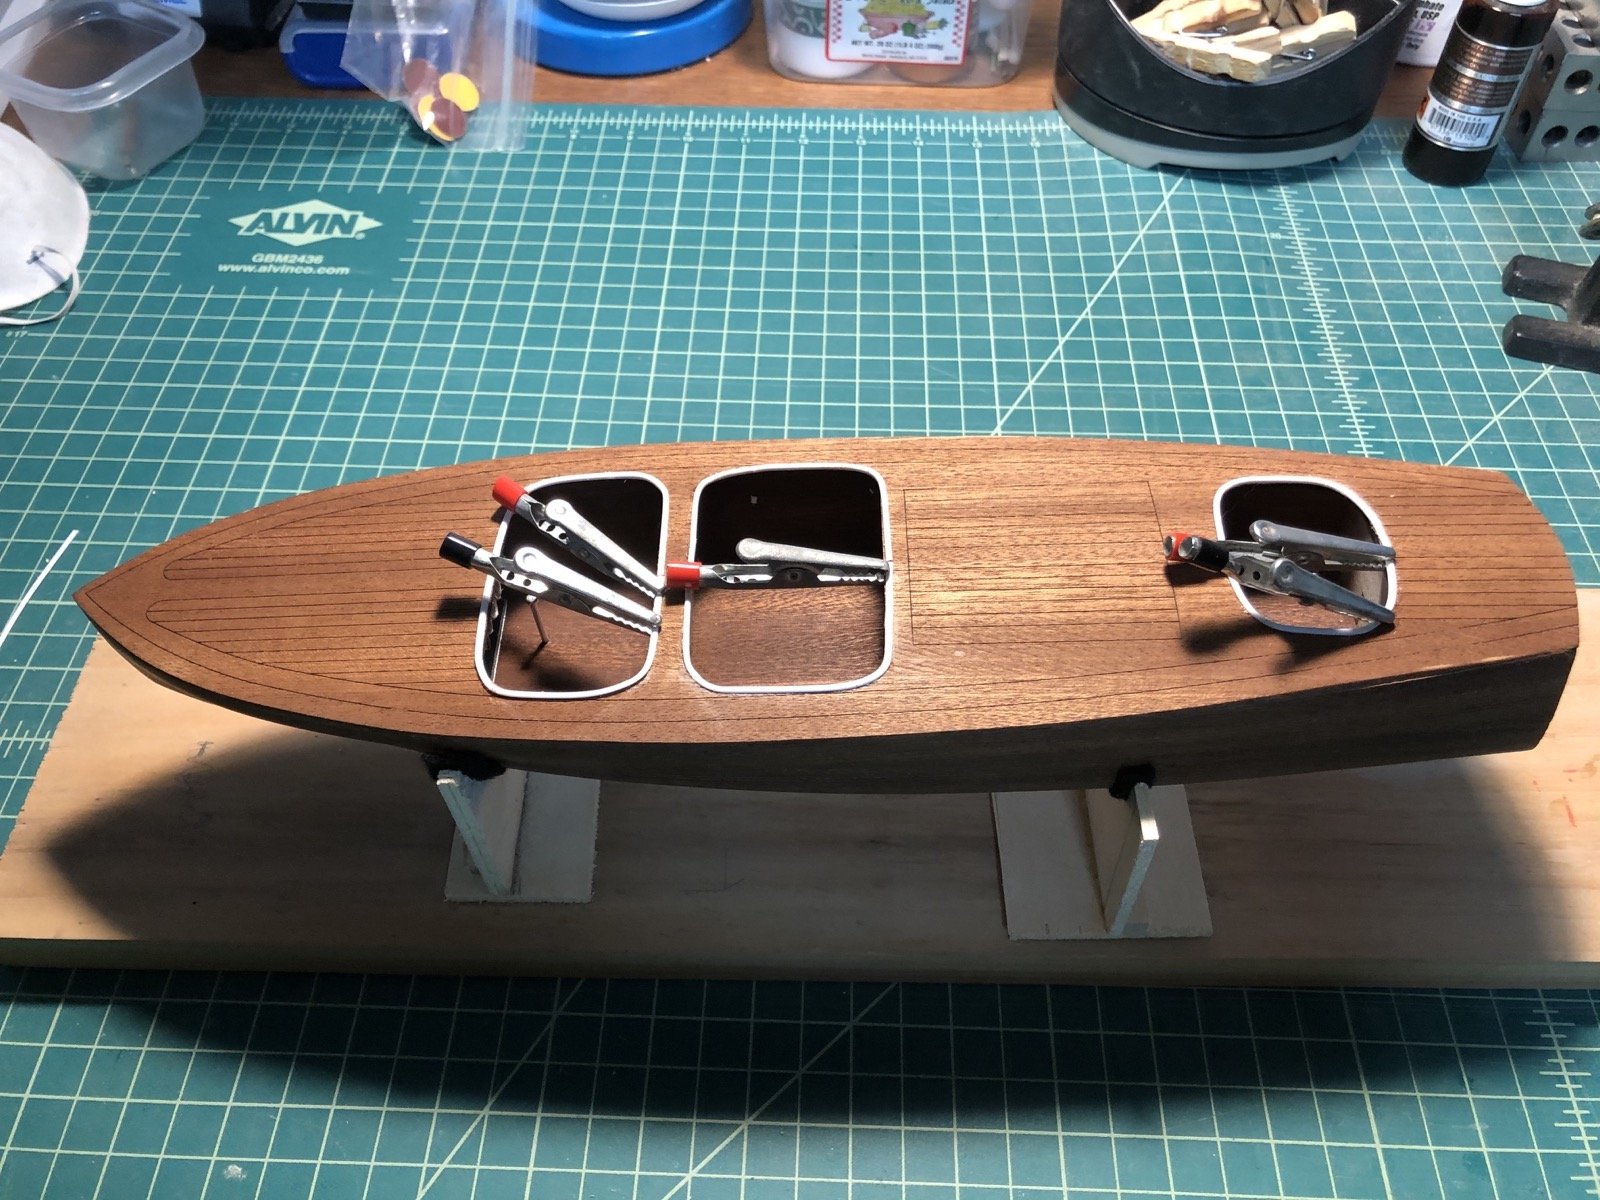
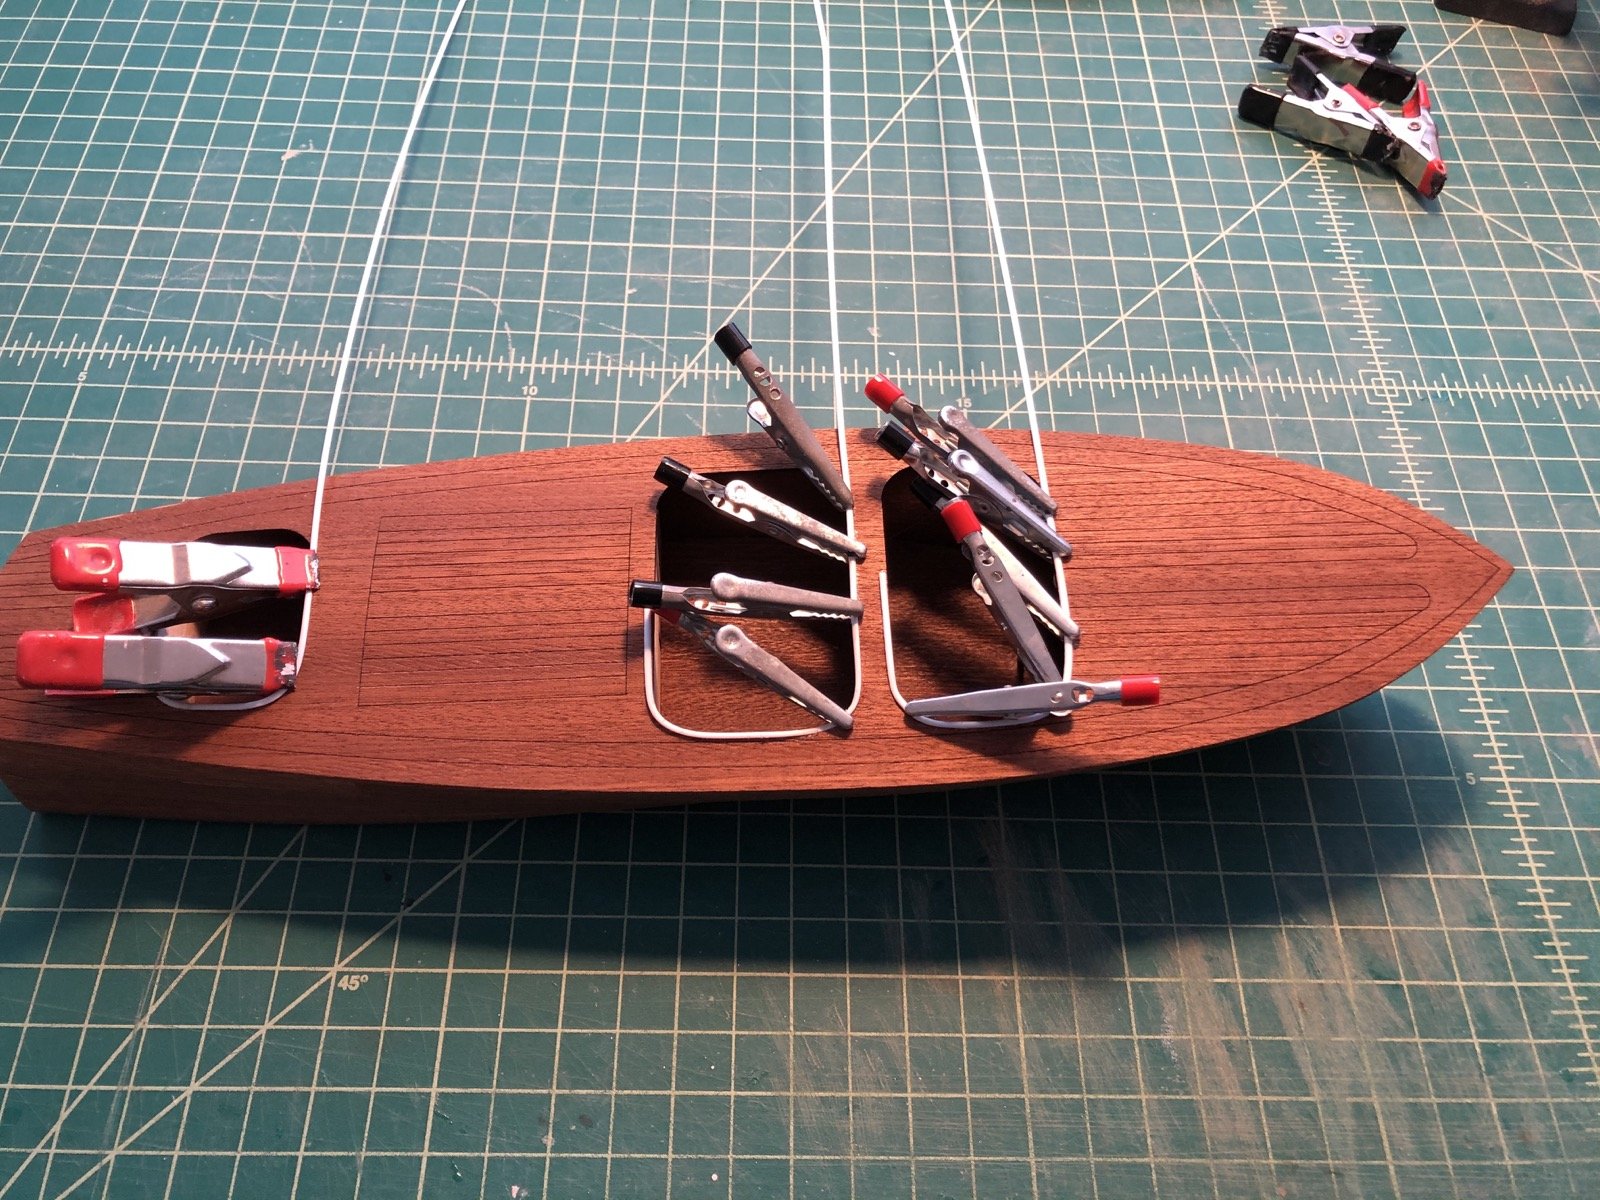
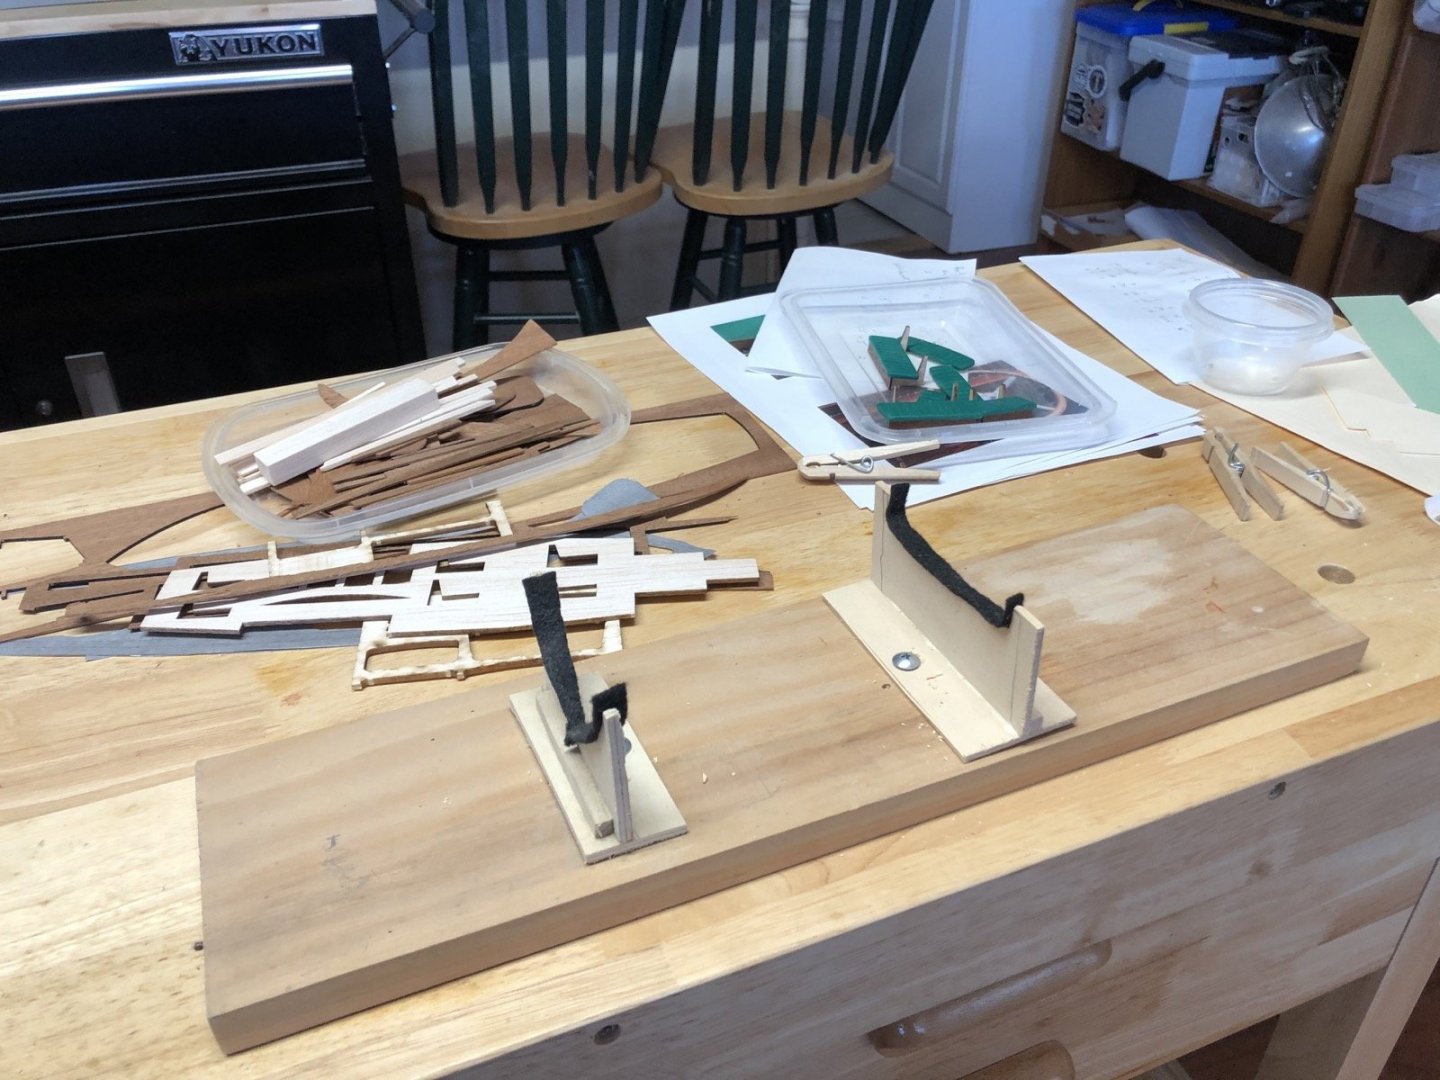
First, here is the new strut I made. I needs more work on the finish as you can see. I continue bending the trim strips around the cockpit openings. There is a slight overlap of the deck which allows a clamp to just bite so I don't have to hold these with my hands. I also modified a working stand I had to hold this hull so I can add the propeller and rudder with less chance of breaking them off.

-
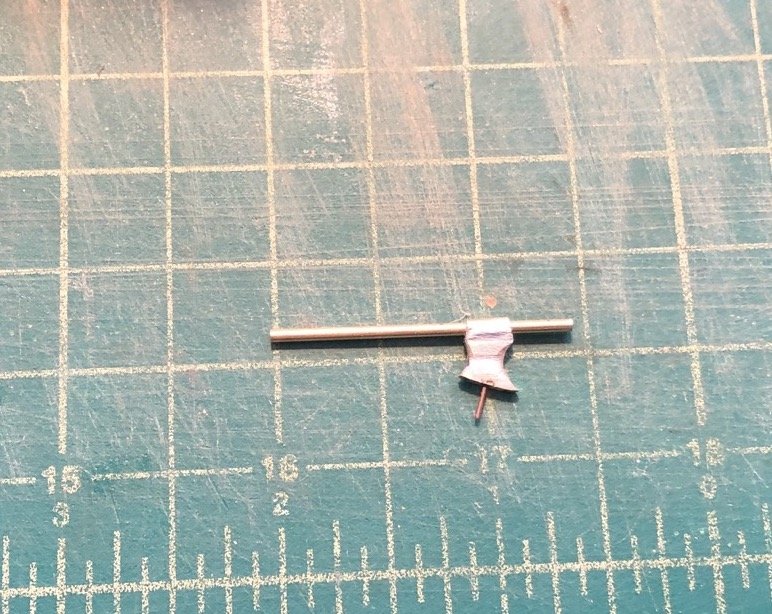
I have the seats ready to install now but first the instructions want me to add the trim around the cockpit openings, which are 1/16" half round styrene strips. I first had to figure out the best way to bend these around the corners while keeping them flat. If I heat them with a hair dryer they are pretty flexible so that is what I am doing. I also experimented with using medium CA or Hypo cement to secure them and found the hypo cement works better. It takes a little longer to dry but seems to hold better. I started by gluing one edge up to the bend, then after that dries, heating the strip at the bend and working it around, then putting glue on the underside of the trim and clamping it to the next edge then flat around the bend. Here is the start of this process. It will take a while to get all three done but I can do a little every couple of hours after the hypo cement dries. I did make a new strut for the propeller shaft yesterday. The kit supplied a thin piece of mahogany to use as the strut which had no strength at all. I made a new one out of a piece of brass with a pin on the face that goes against the hull and a piece of tubing soldered to the other face that the shaft slides in. I am also going to glue a piece of tubing into the hull bottom where the shaft goes into the hull instead just a hole. I will be installing all this after the trim is done.

-
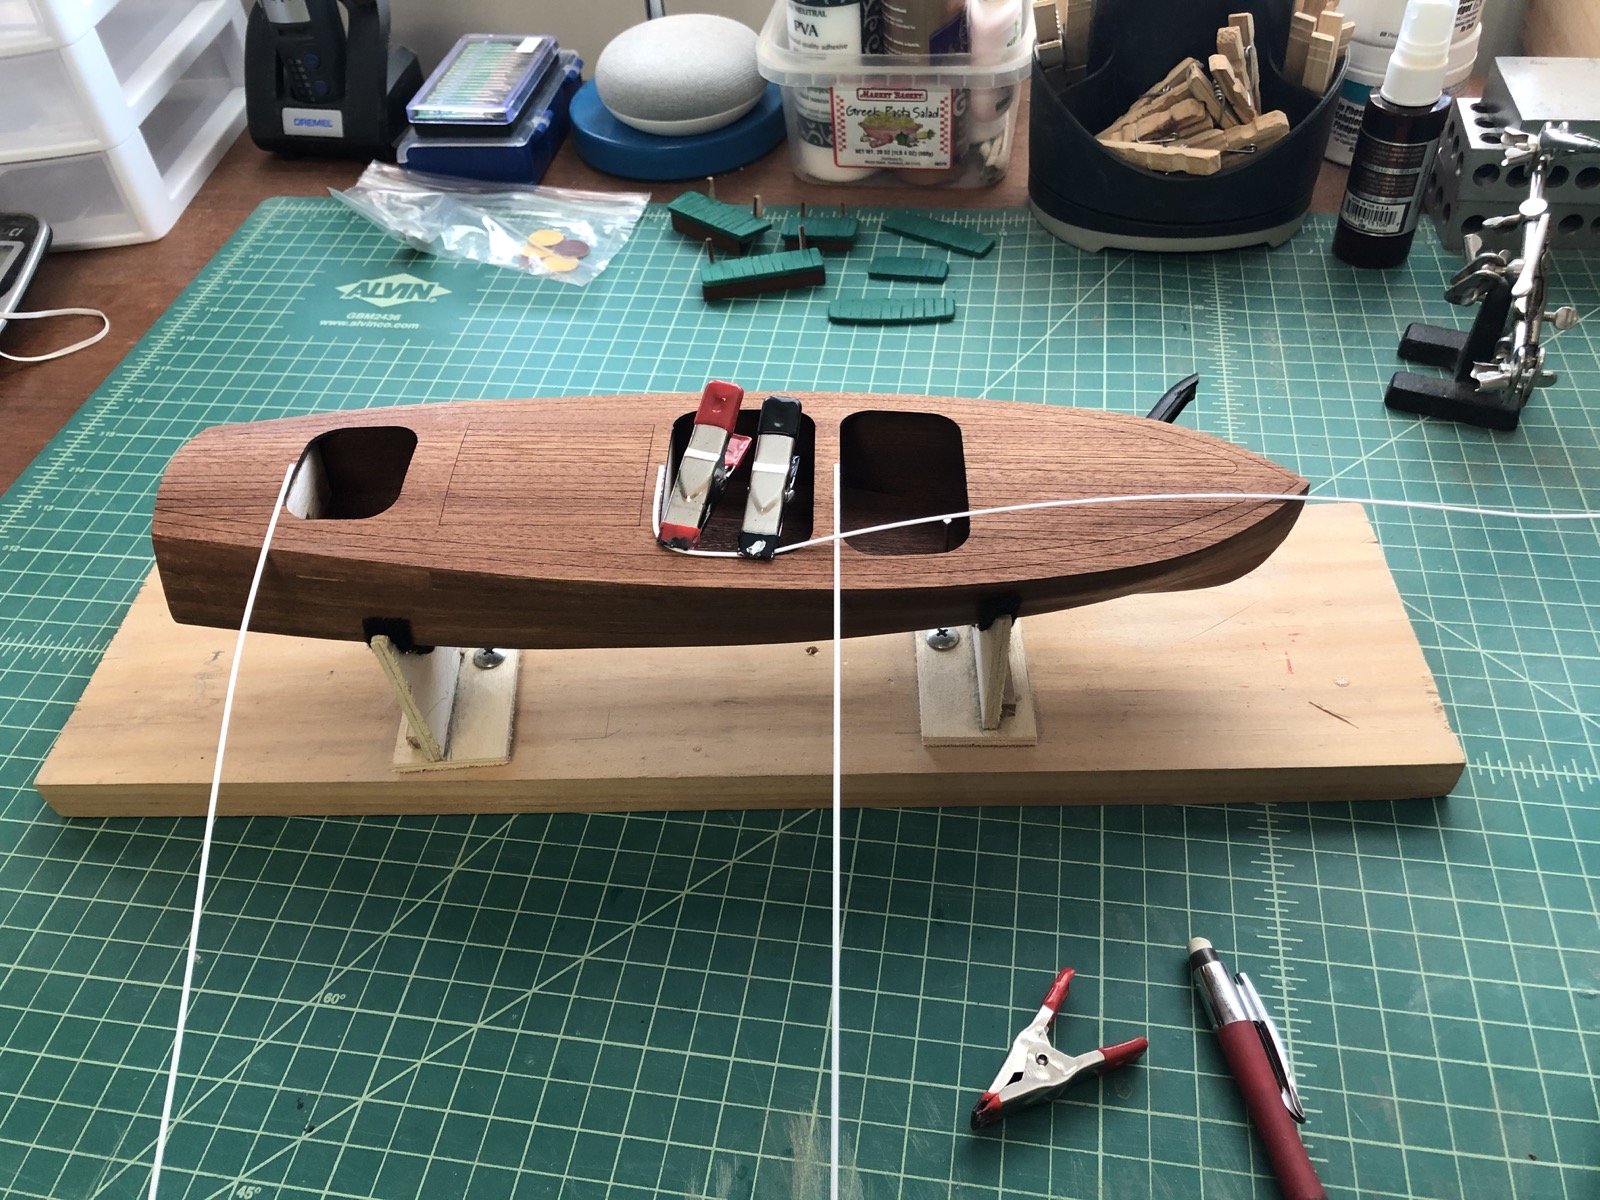
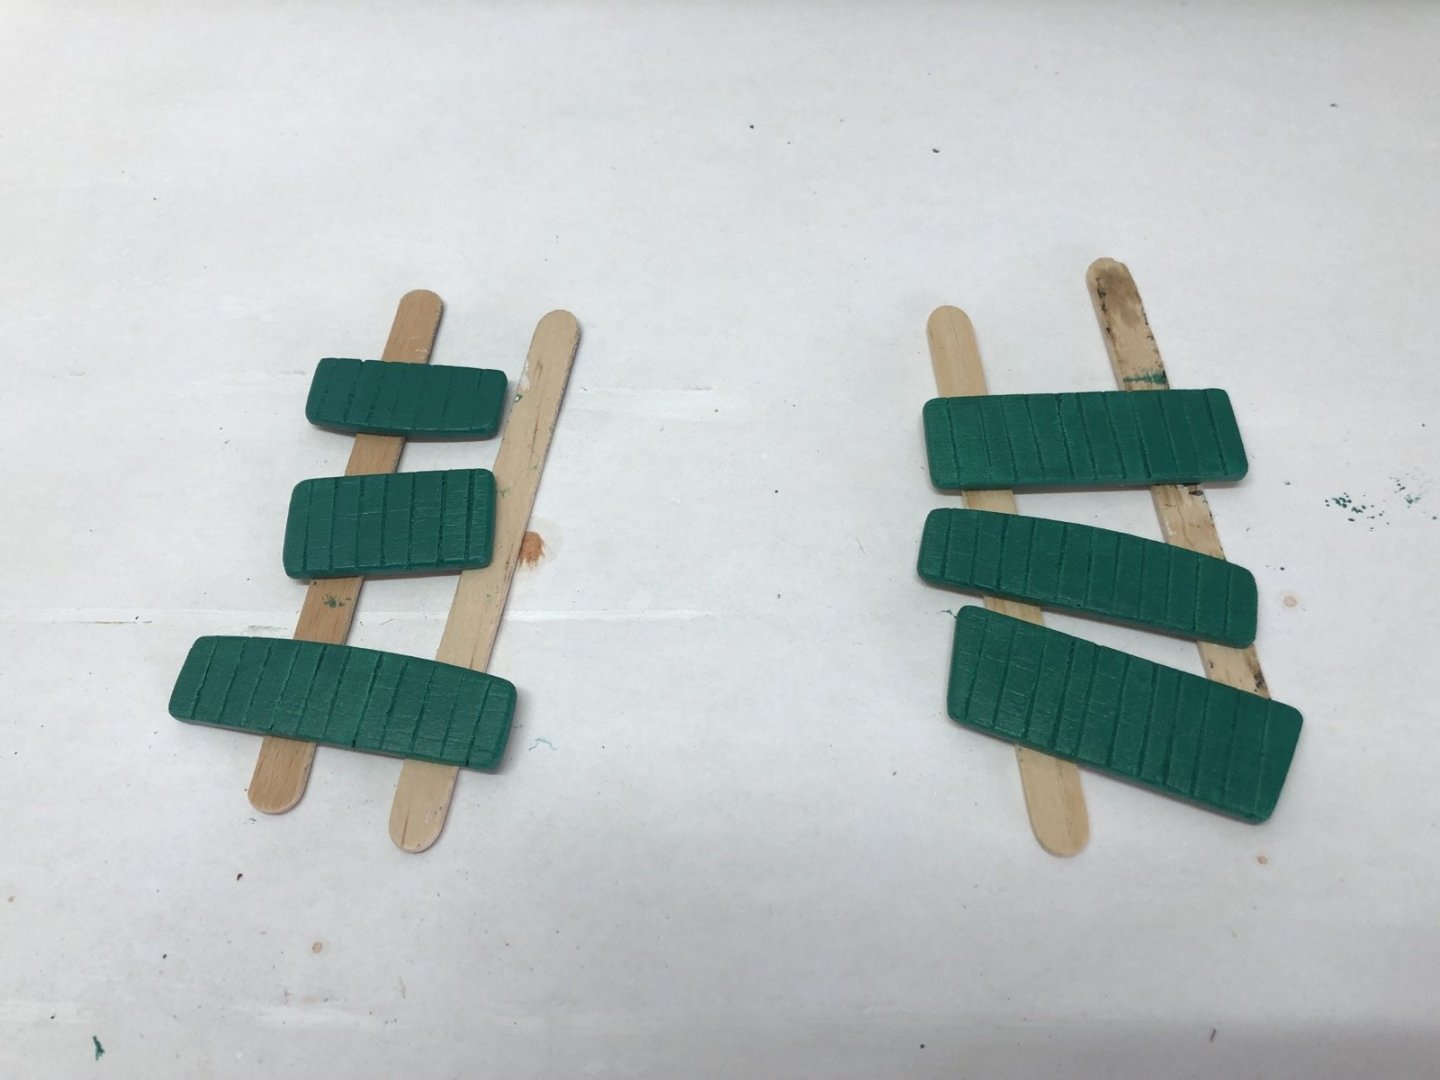
Thanks again Yves. I bought it from Micro Mark many years ago and I find it handy for assembling deck furniture. Here are the seat backs and cushions after many coats of diluted green paint over gesso. Next will be to glue them to the supports and add them to the cockpits.
-
What a beautiful model you have made and your research is top notch, This was a pleasure to follow.
- 335 replies
-
- 1
-

-
- alert
- vanguard models
- (and 1 more)
-
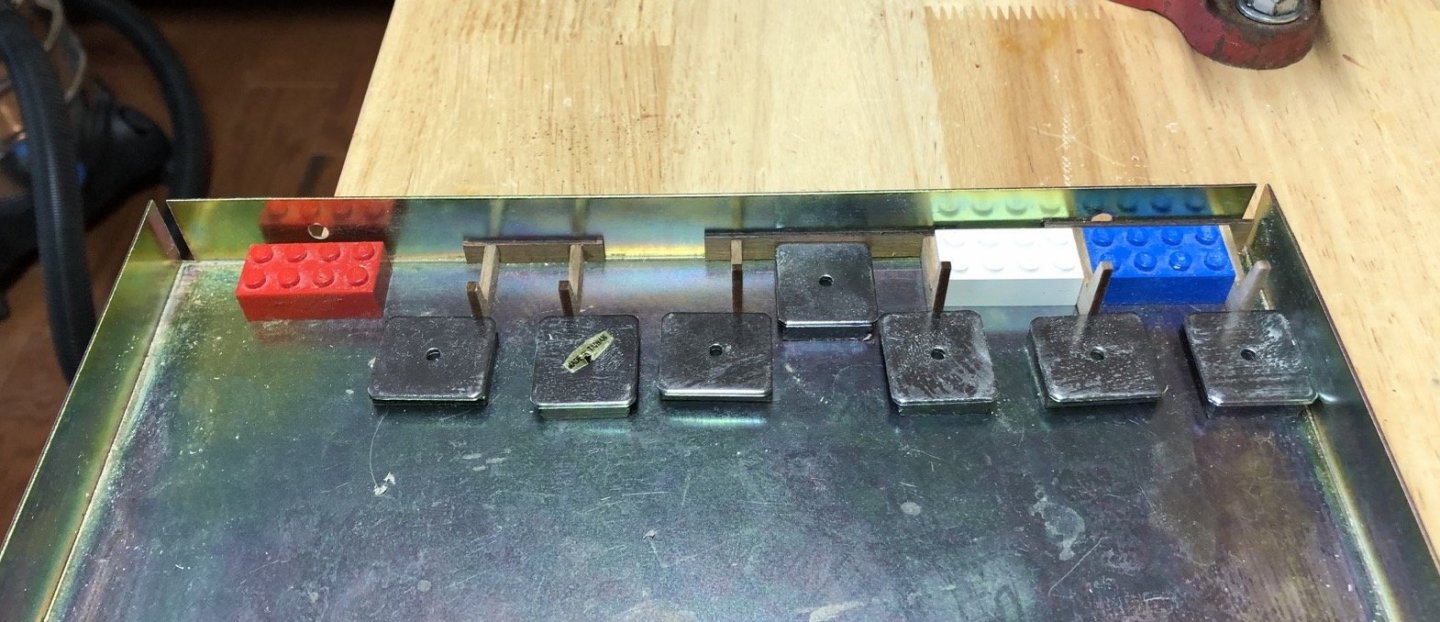
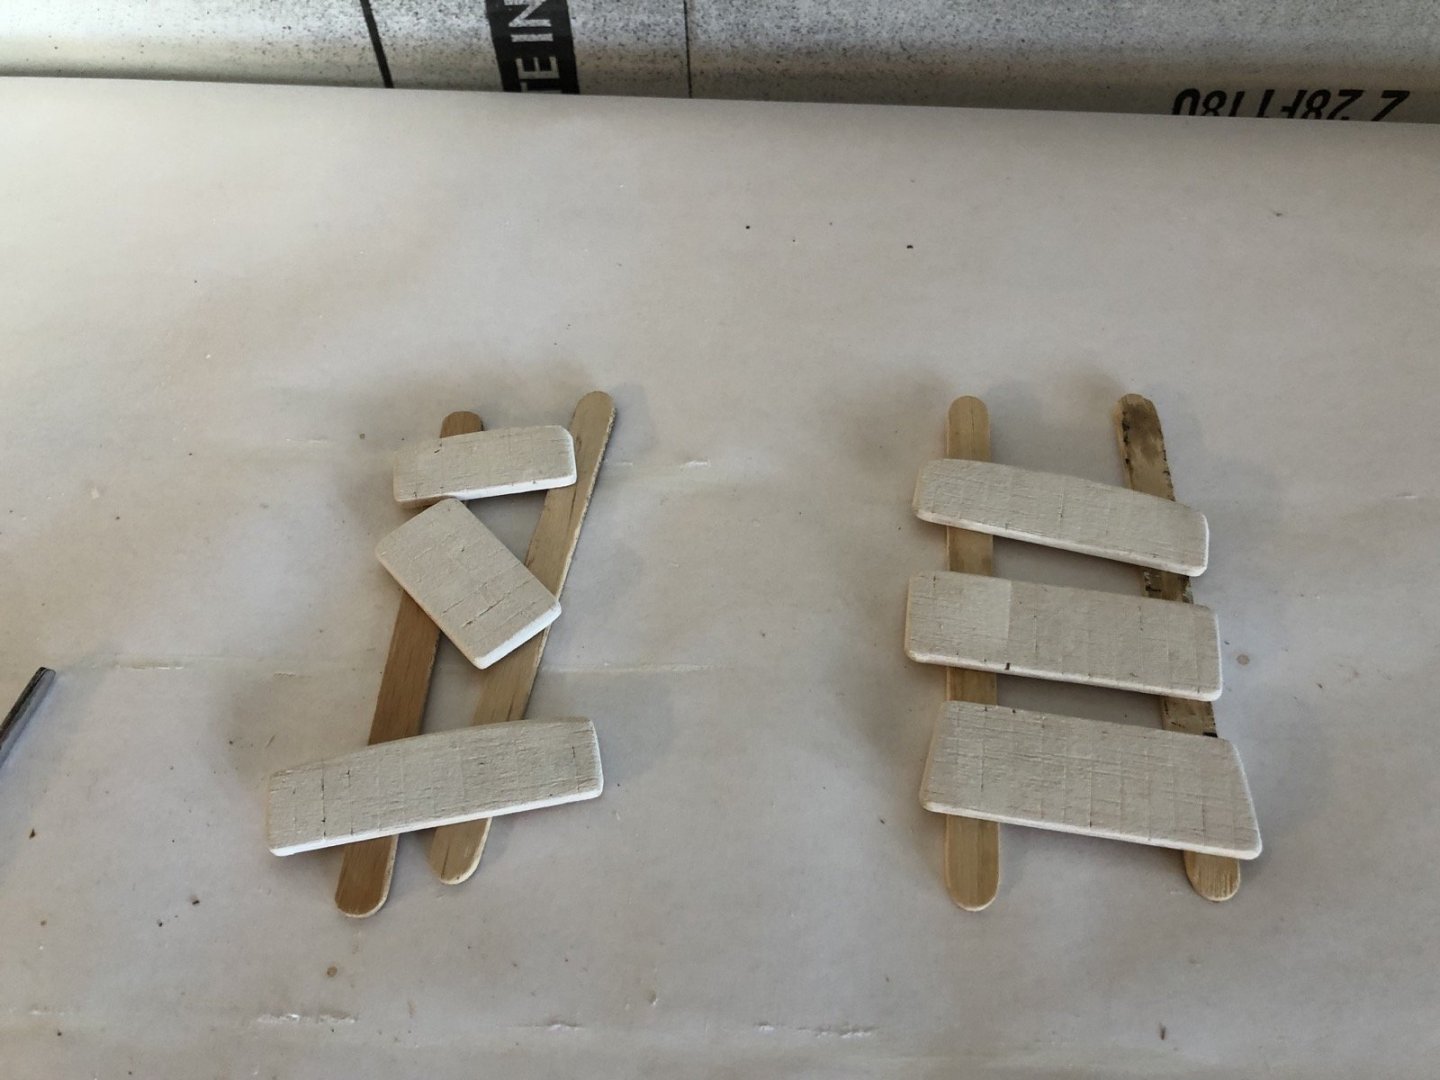
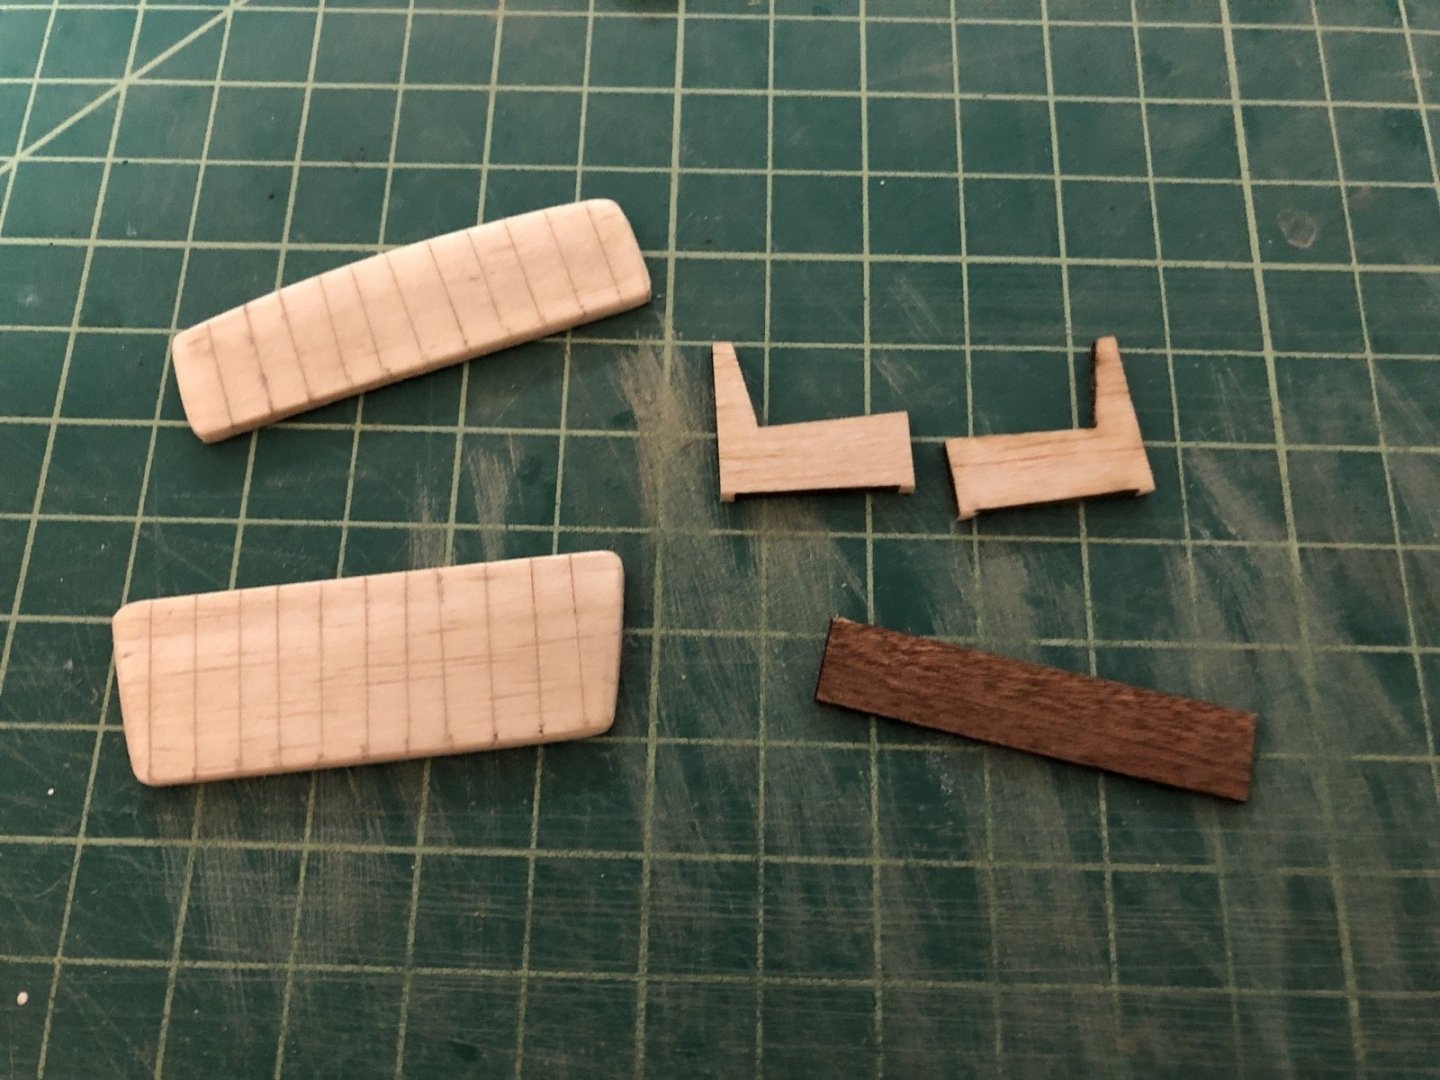
Thanks Yves. I'll hold off on the poly coat until later. I started building the cockpit seats using the supplied balsa seat backs and seats, with mahogany kick boards. I started by scoring the seat backs and seats every 5mm using an X-Acto knife, then rounding the edges. I tried using the back of the knife for scoring but the balsa was tearing too much. I then gave them a coat of diluted gesso. This covered up the score lines more than I liked. While those dried I glued the kick boards to the seat support pieces, using a magnetic jig and Legos to hold them square. Last night I went over the score lines with a triangular needle file which opened them up nicely. I gave the seat backs and seats a first coat of thinned green paint this morning. It's the same paint I mixed up for the Constitution bulwarks and used on the Sicilian cargo boat, since I really like the color. I'll have pictures of those when they are fully painted. I also gave the kick boards a coat of mahogany stain.
-
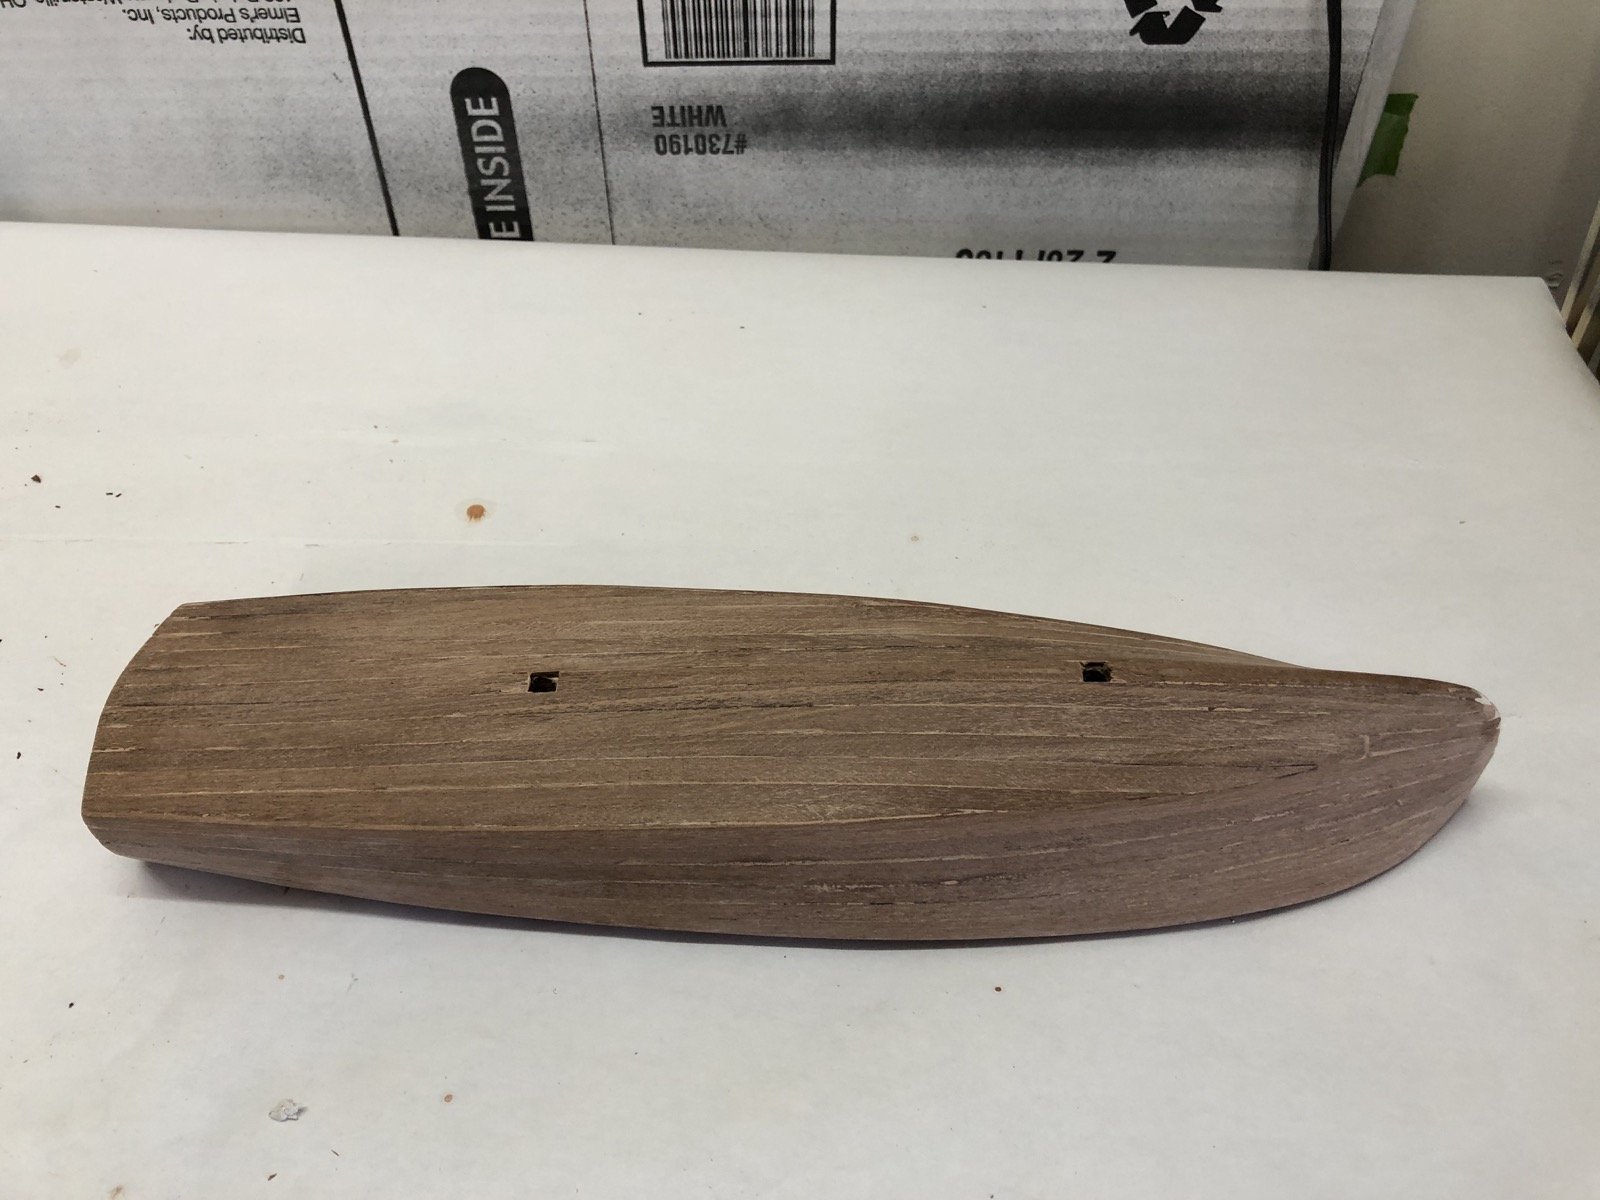
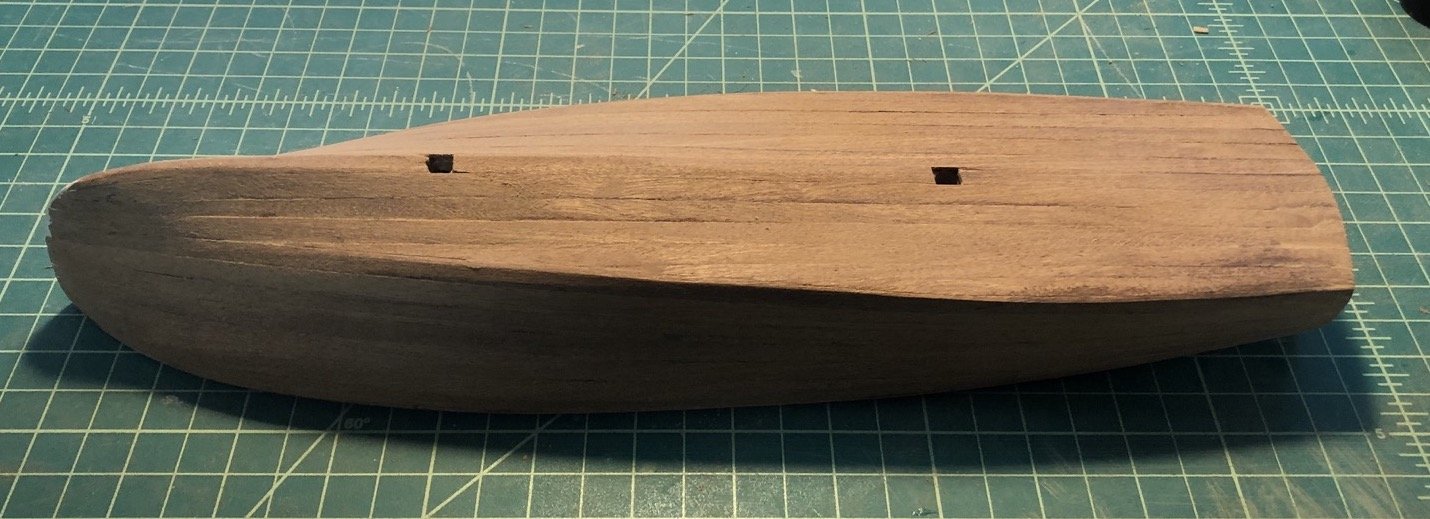
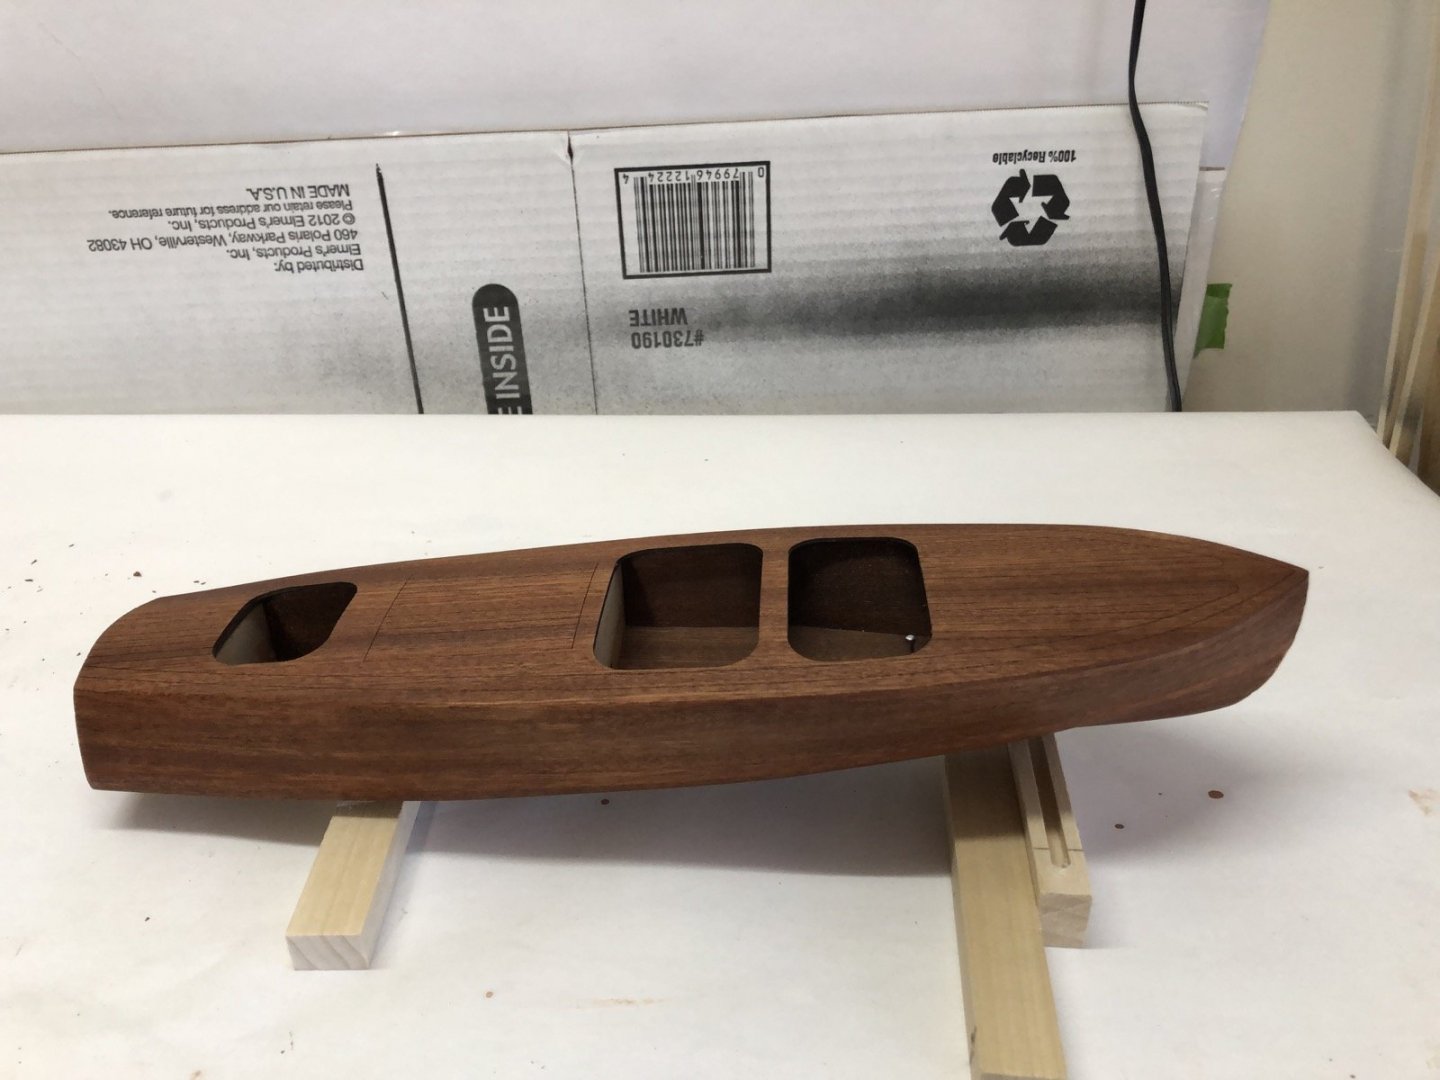
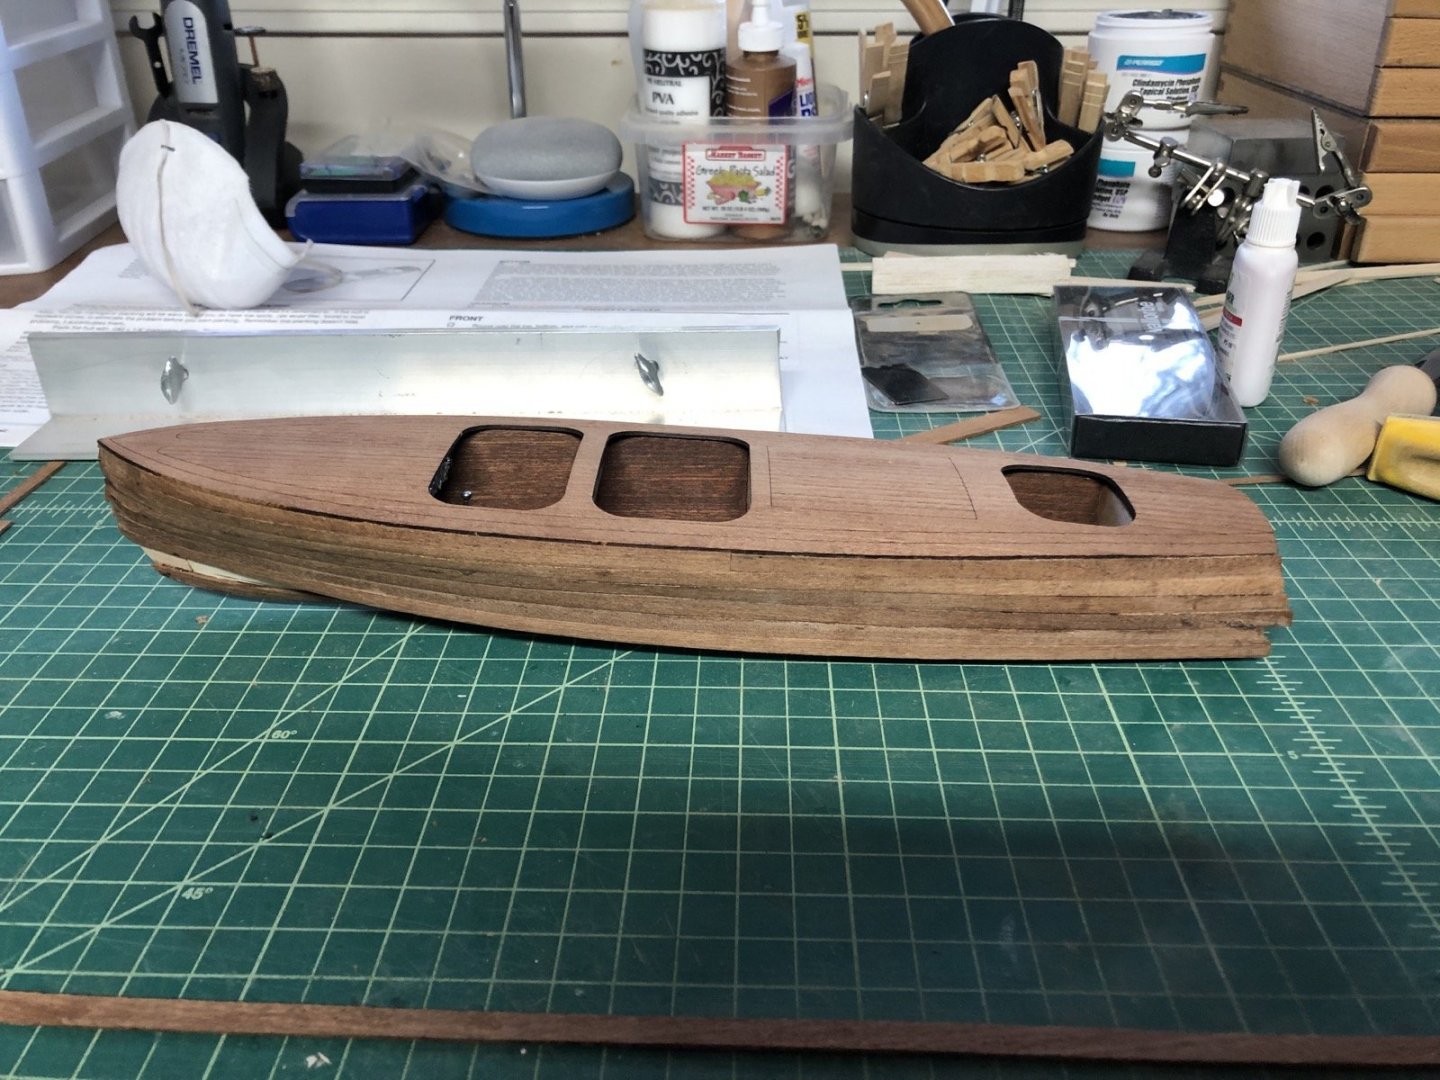
Thanks Mike. I think I got the idea to use the Spaz products from your build log. I was very happy with the results. I hit a bit of a milestone today - the hull is finally filled and sanded after many weeks. I made a thinned solution of wood filler and added some mahogany stain to it, then used it to fill all the thin cracks and tiny holes in the hull. After a final sanding this is what the hull looked like. I then gave the hull a coat of mahogany stain, which evened out the colors really well. I am contemplating giving the hull a few coats of glossy polyurethane but I still have to glue a bunch of stuff to it, so I may wait. Seats are next to do. I am going to practice with some extra balsa to see if I can carve a realistic looking seat cushion. Stay healthy and happy.

-
I am building the Dumas Chris Craft 1938 27' Triple Barrel Back, which is a scale of 1/24.
-
Jeff, I used tulle material for the netting on my Connie. You can get it in different colors at fabric stores like Joanne's. It is the stuff they use for wedding vails.
-
Nice work on the deck planking Mike. I was not successful in my attempt at that. Can I ask you what you used for the seat cushions. In the kit I am working on they provide plain balsa to use for them and I wanted to add some seam details so they look more realistic. Yours look great. Thanks.
-
Just a quick update. I haven't had too much time to work on the model over the last month as we were away for part of that time and some other issues, but I am slowly getting back at it. I planked the transom and have given the whole hull a rough sanding. I am now filling in cracks and holes with saw dust and white glue and sanding the hull with medium grit paper. My goal is to get as smooth as surface as I can, which is difficult with the kit supplied mahogany but it is getting much better. I'll have pictures when it is closer to done.
-
The way I have added hooks to blocks like that is to put the strop around the block, put a seizing of only a few turns around the two ends, then put one of the ends through the hook and put another seizing where the first one was. I use very very thin line for the seizings so they don't look too big when they are done.
-
Byrnes Sliding Table -Input Requested
usedtosail replied to glbarlow's topic in Modeling tools and Workshop Equipment
The cross cut sled is one of the best accessories for the Byrnes saw, in my opinion. I also made one when I bought the saw a few years ago but the one from Byrnes is 100 times better. I highly recommend it. -
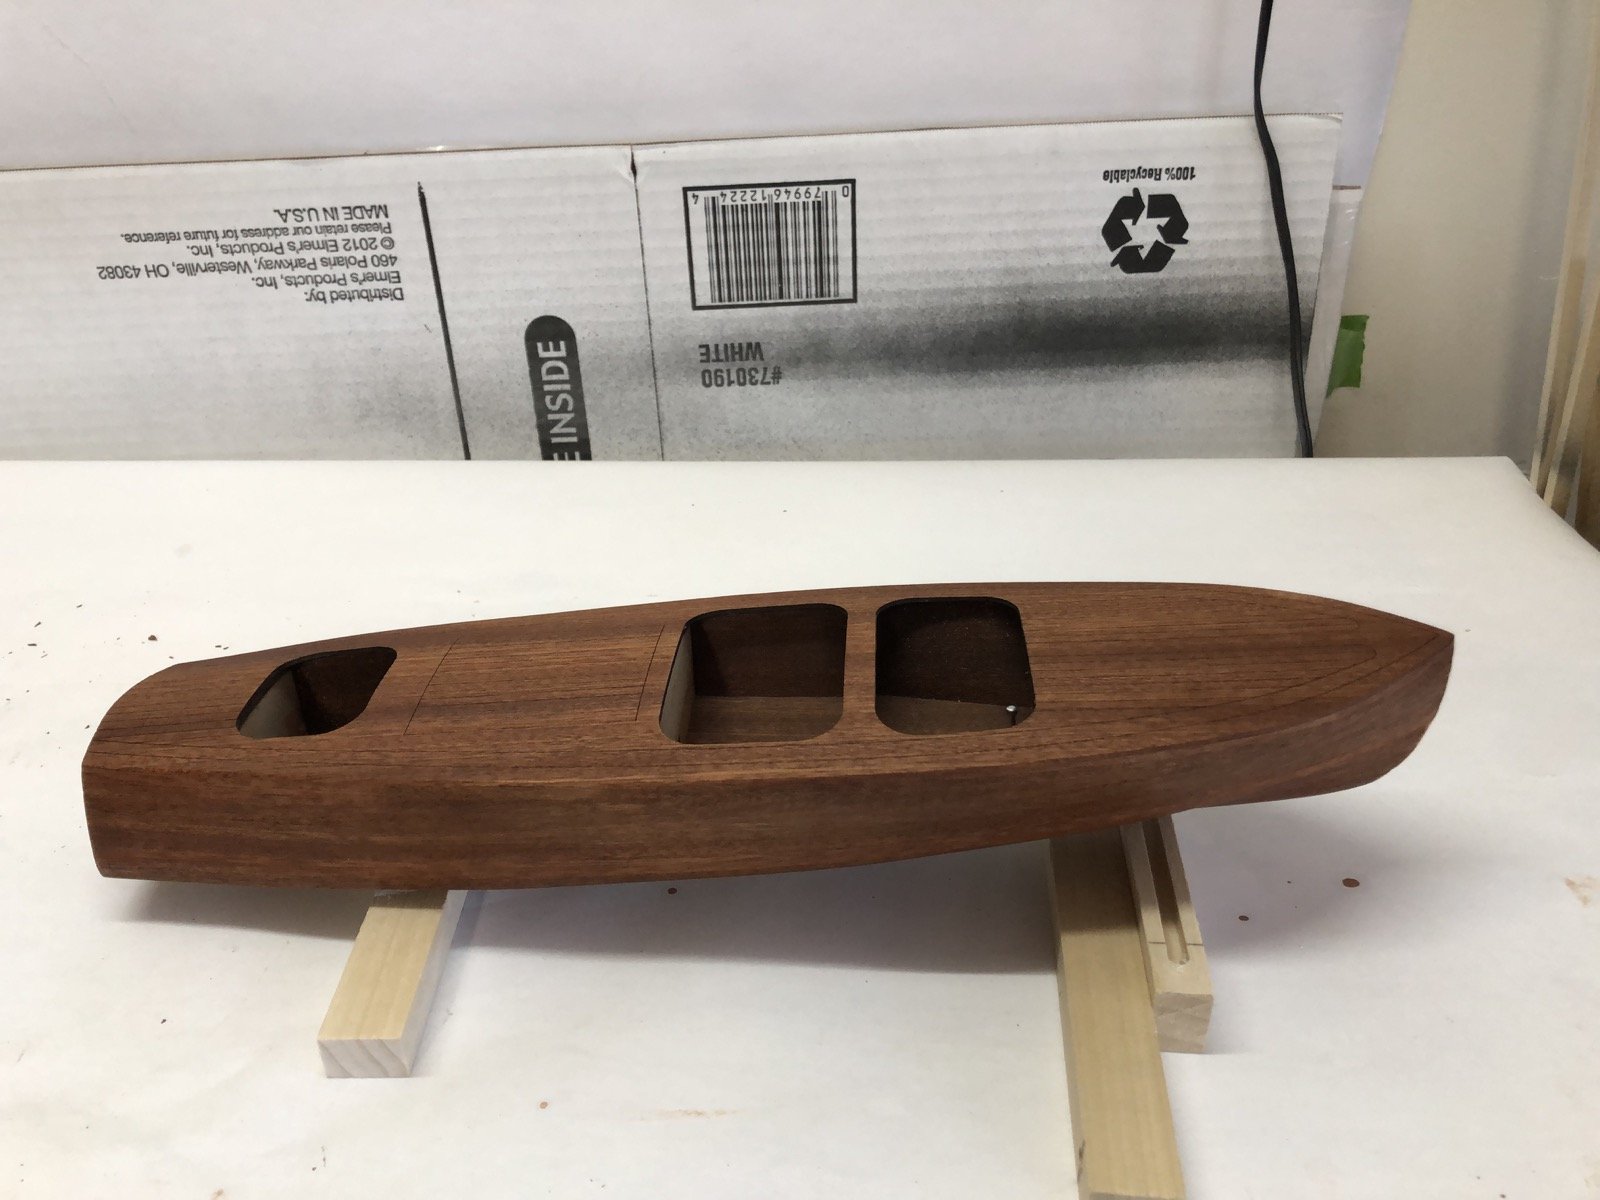
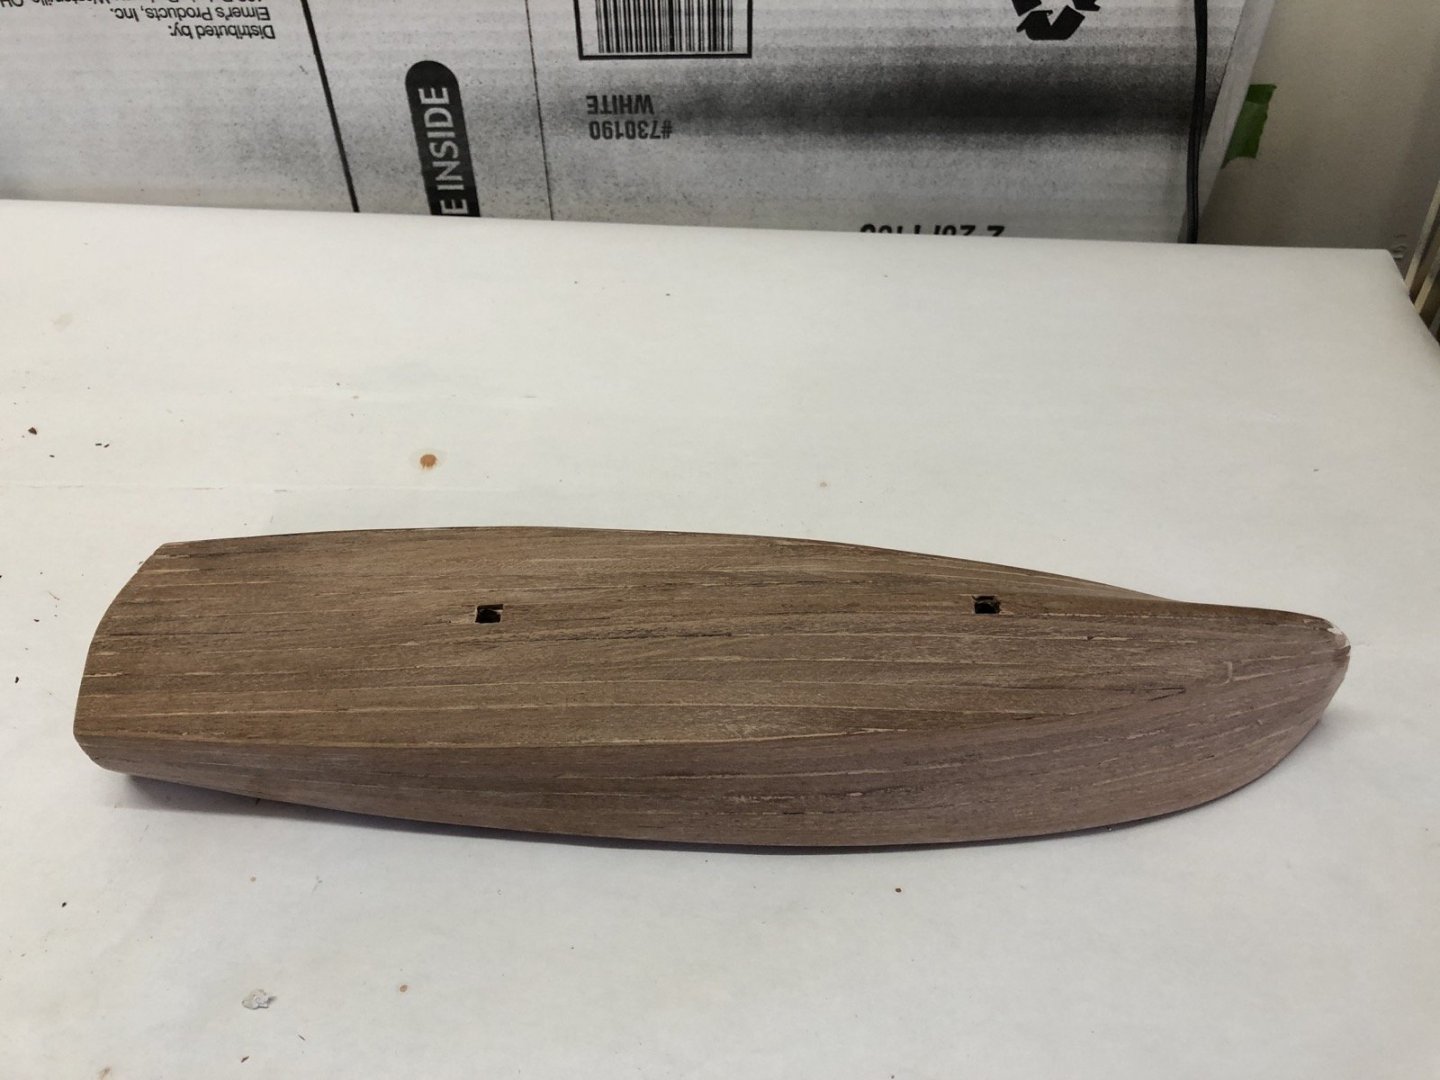
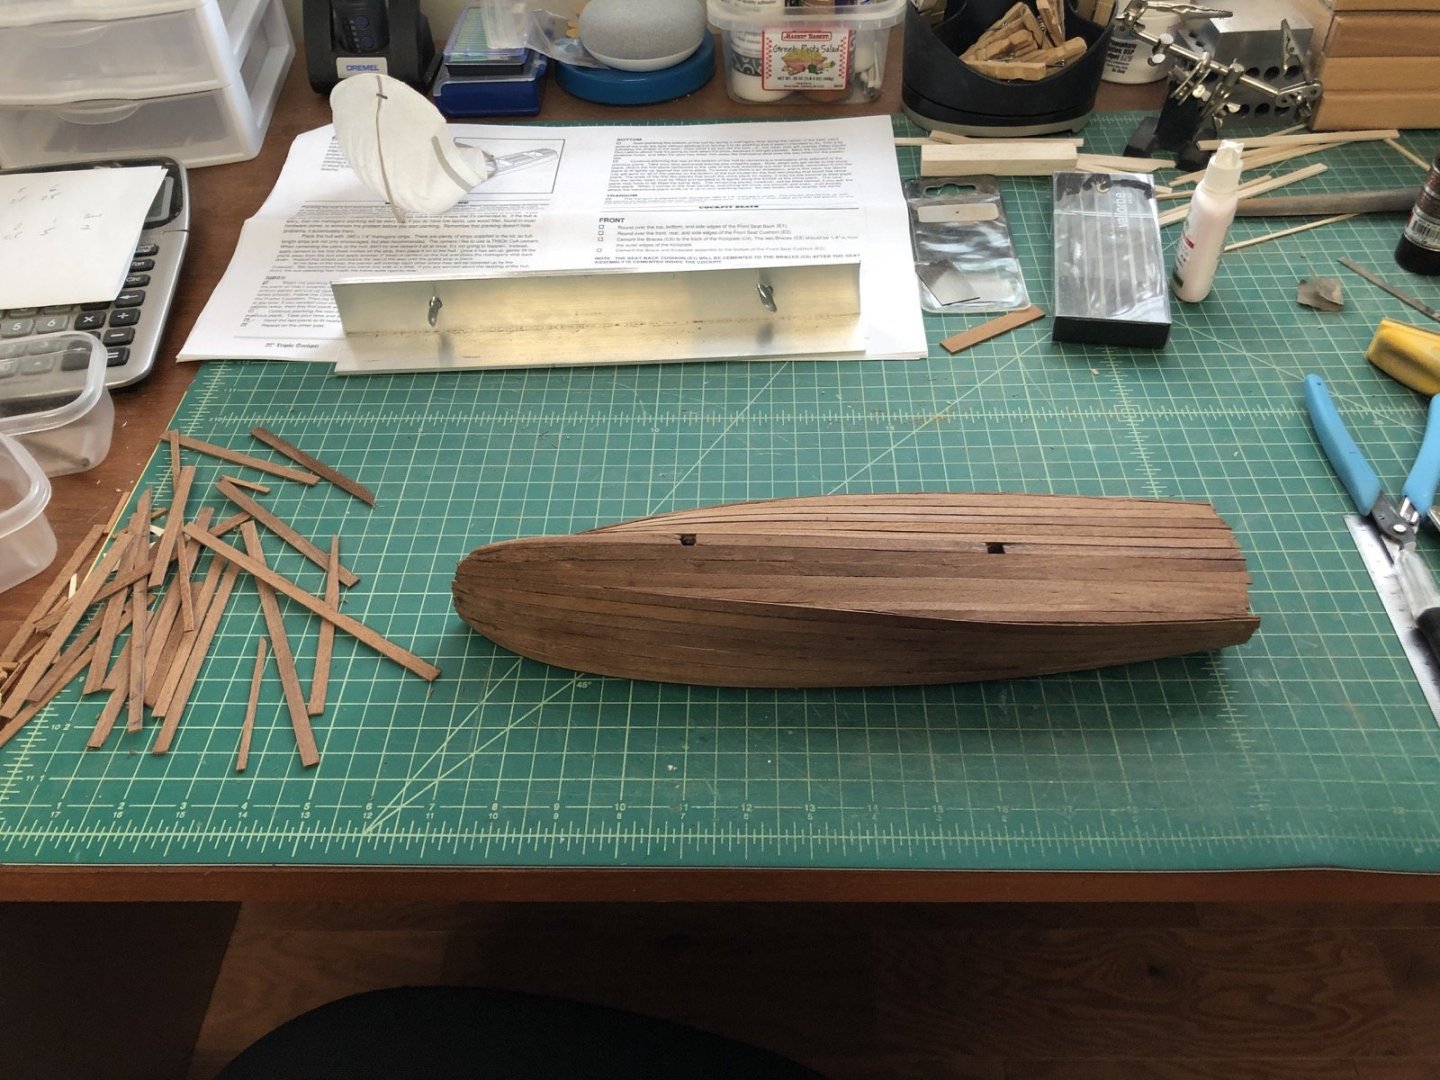
The bottom planking is now completed. I have not started sanding the bottom planks yet. I ended up with square openings around the holes for pedestals because the mahogany was splintering around the holes. The pedestals will cover these square holes so they won't be seen. Only the transom is left to plank. I am going to let the side and bottom planks extend past the ends of the transom planks so the ends will not show from the sides. I had just enough long planks for the sides and bottom. The pile of short planks is what is left which I will use to plank the transom.
-
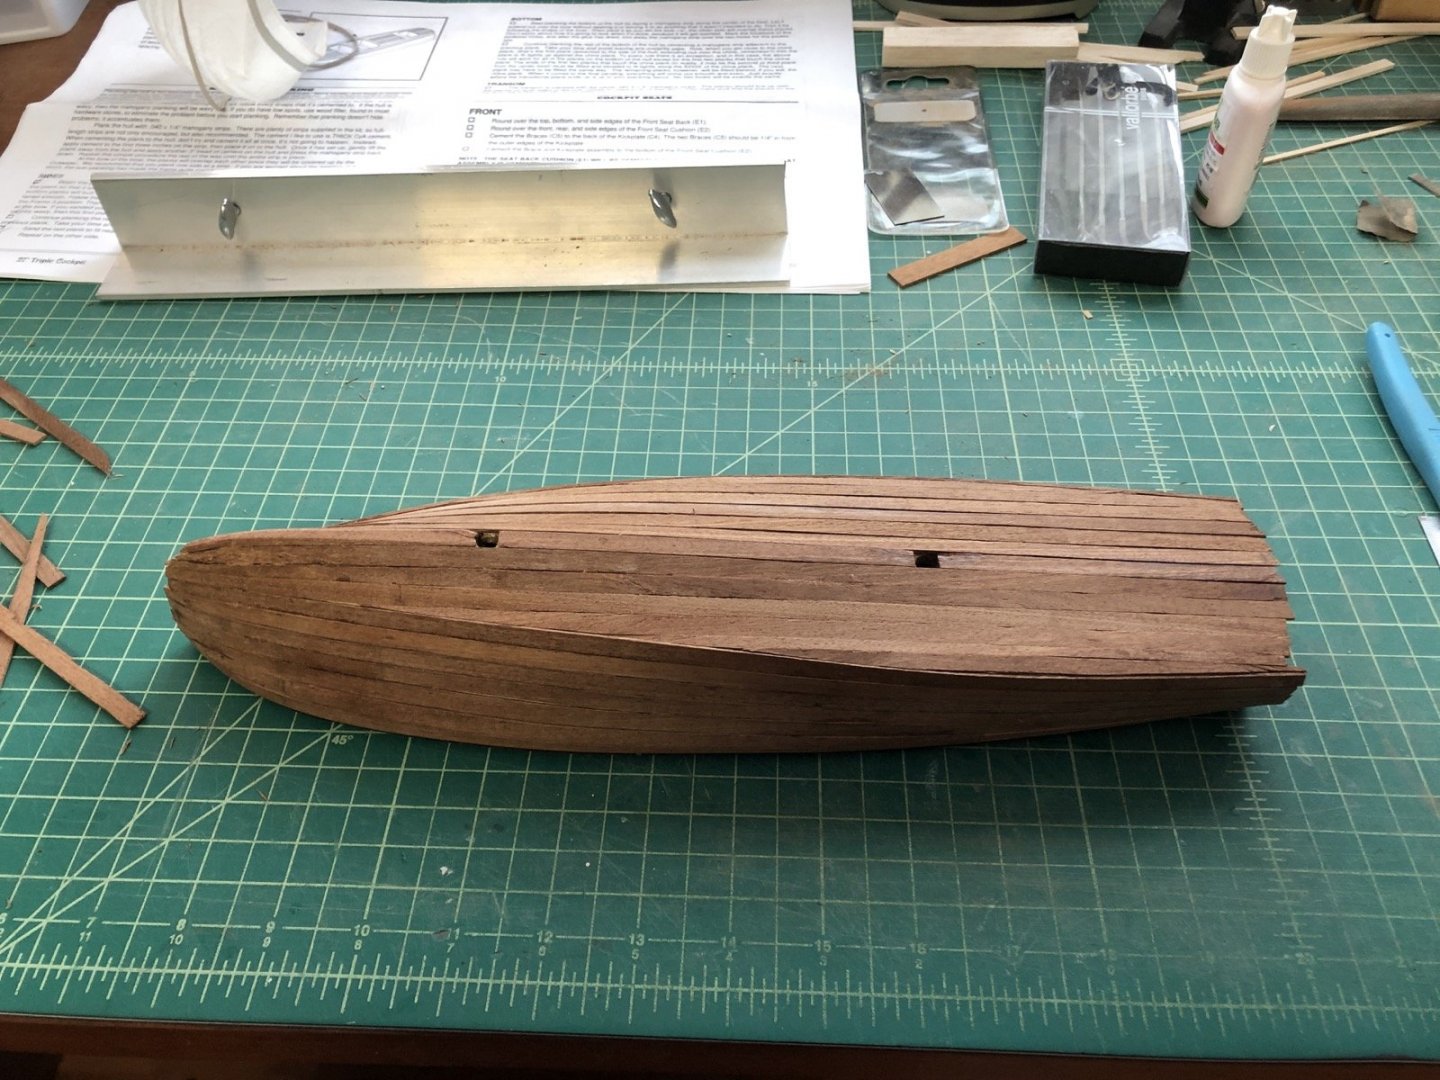
I finished planking the sides of the hull and have started planking the bottom. Here is the port side with a little sanding. Underneath, you can see the first of the bottom planks along the keel. Most of the bottom will be planked with full width planks, trimmed along the edges at the chine.
-
Count me in to follow along.
-
Straightening aftermarket rigging line
usedtosail replied to DonInAZ's topic in Masting, rigging and sails
Try running the waxed line over a light bulb that is on. This worked for me before I started making my own line.