-
Posts
243 -
Joined
-
Last visited
Content Type
Profiles
Forums
Gallery
Events
Posts posted by Jörgen
-
-
Hi all.
Here is another build log from me...again. I did a rethinking at home. Until now I have always had the idea to build what I am currently working on before I start a new build. This actually only result on pressure on me because often when I new kit is released or I find some kit that I am rally exiting on I buy them. But with the thinking that I need to build the old ones first this result in that they end up on the shelf and becomes "old ones" because the initial excitement is lost. So from now on, when I buy a new kit (this don't correspond to the wooden ships because this i another matter) so will I build it directly. And then work my way backward in my collection instead. So here is my new build log over the new Supermarine Spitfire from Tamiya that I received at my birthday in June. I also want to have some easy builds at the side of Sherbourne.
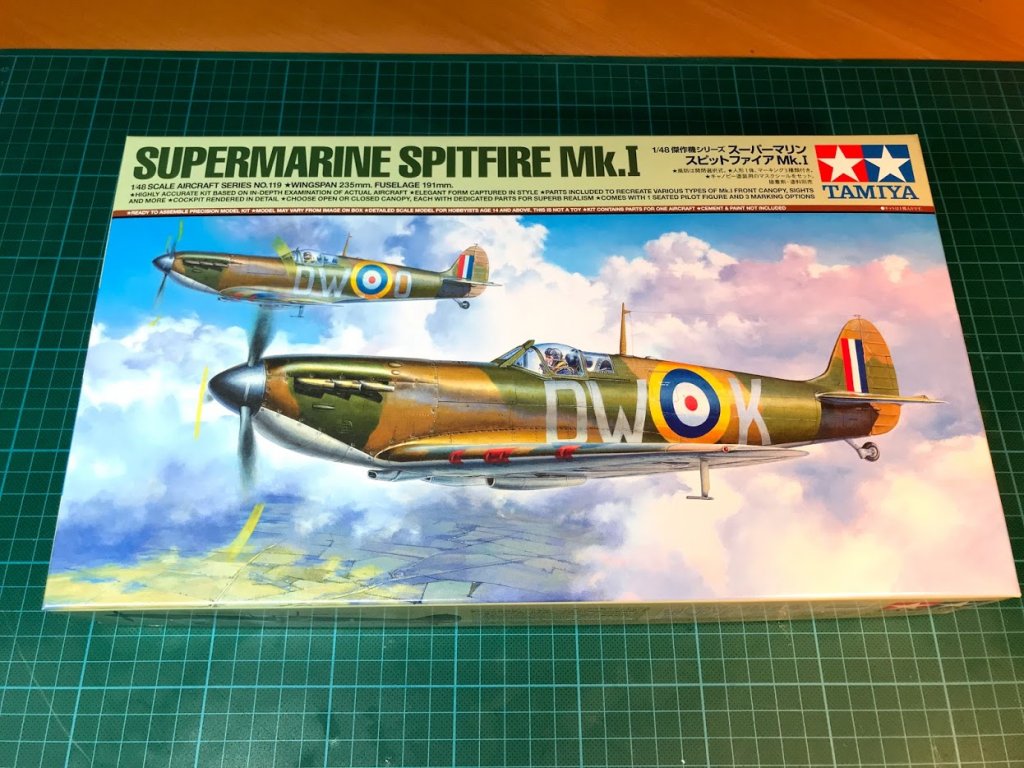
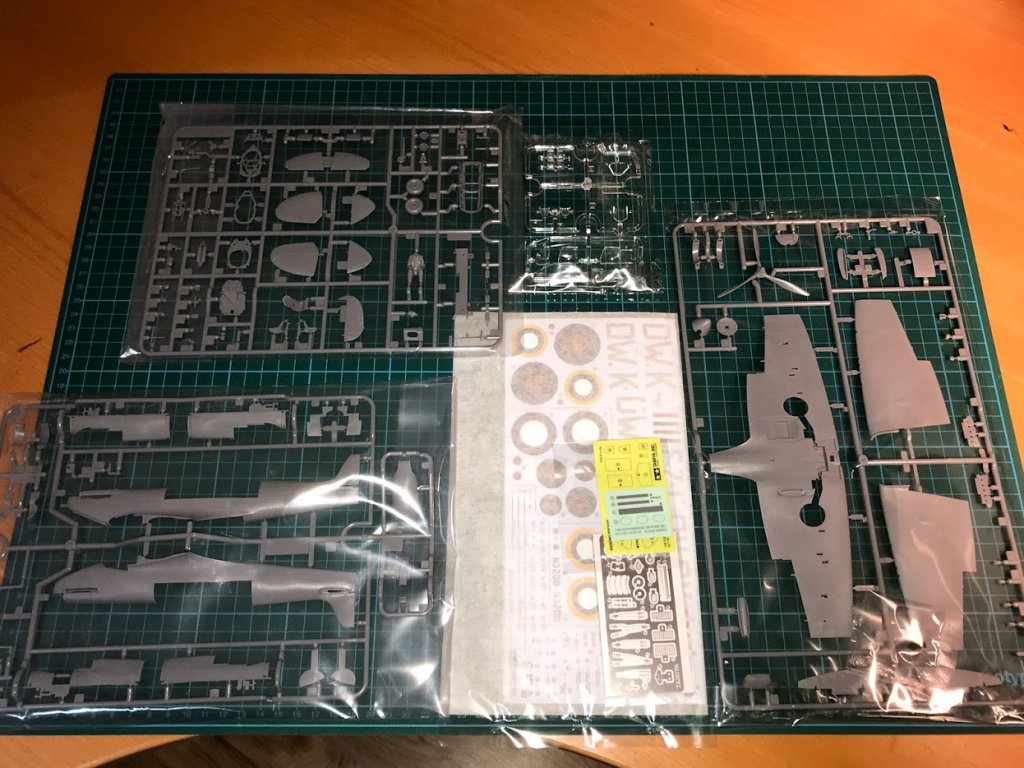
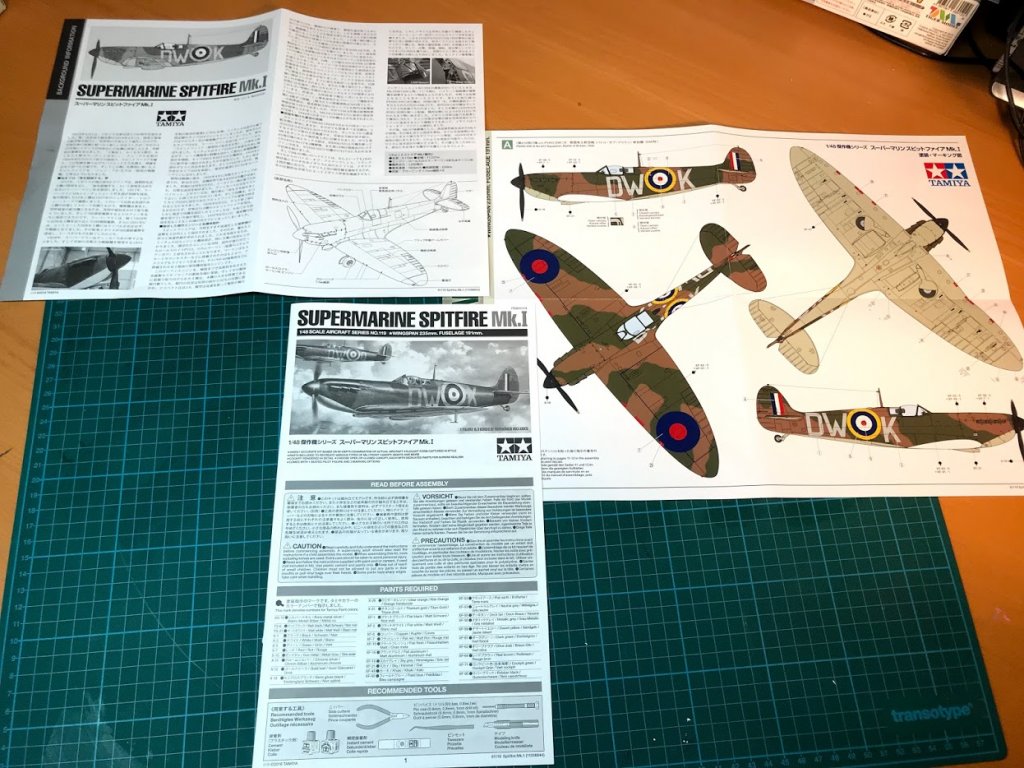
The Tamiya kits are wonderful and are always relaxing builds with minimal sanding and because the fitting is so good. Here is the content in the box:
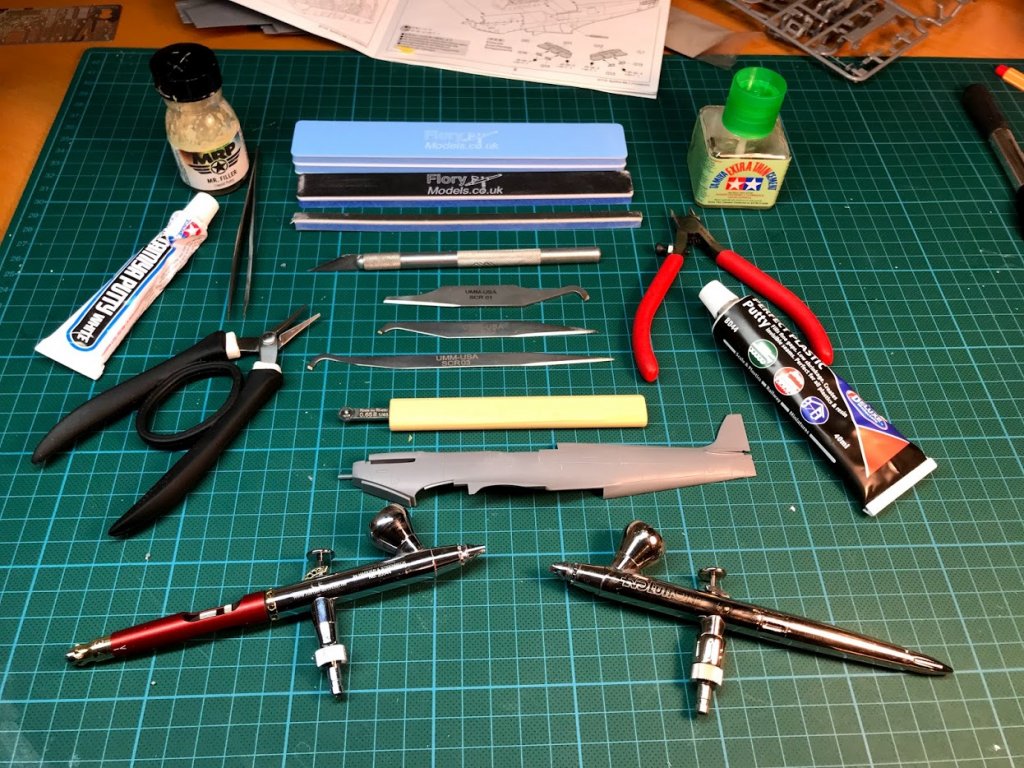
Here are the main tools that I am using when building plastic kits:
So lets begin.
I start with the cockpit and here was it some ejector pins that were needed to fix. Shame on you Tamiya...
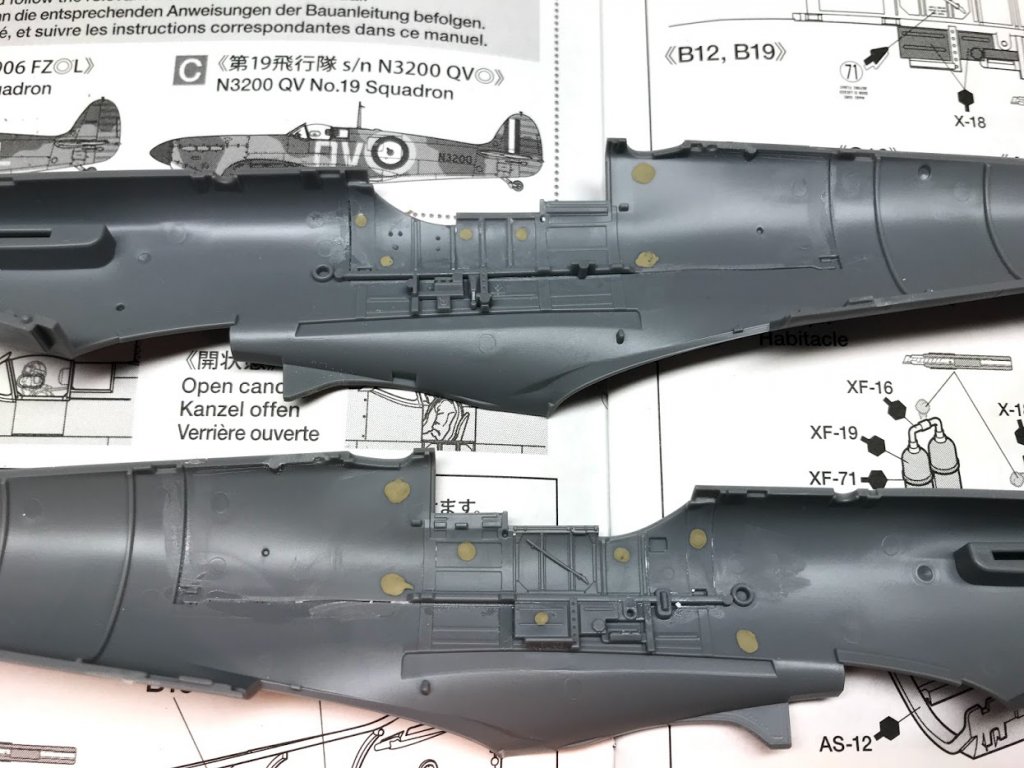
I don't know if I did some mistake but there was a step on both sides between the upper and lower part of the fuselage. And also my often repeated problem with using to much Tamiya extra thin glue...
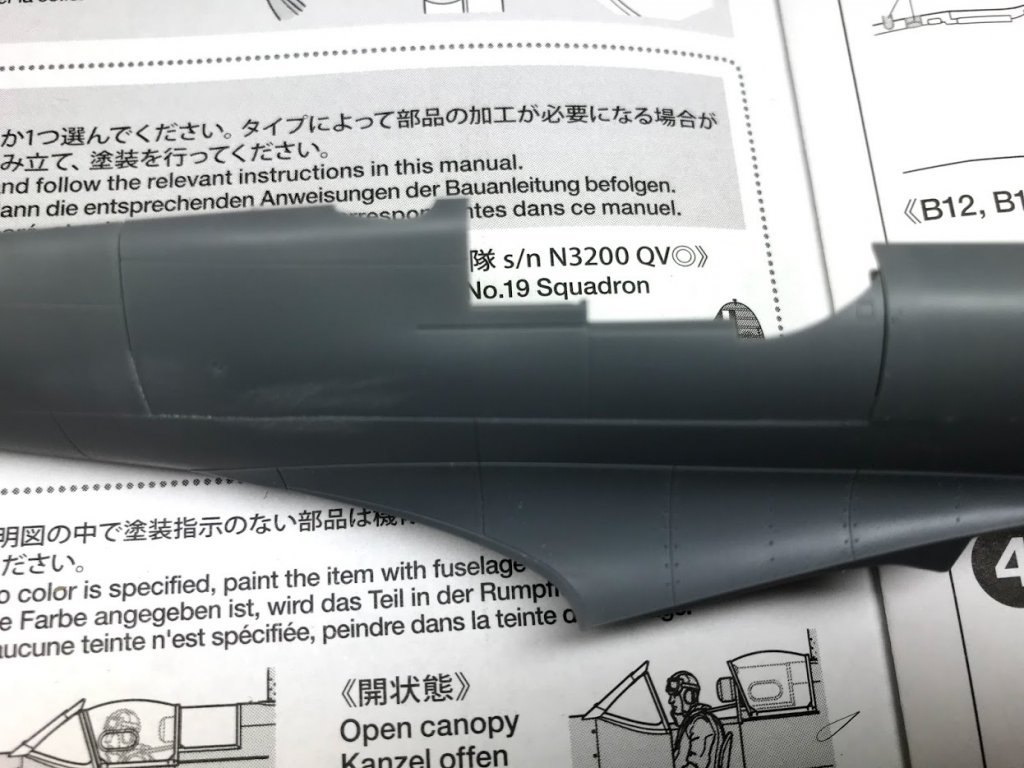
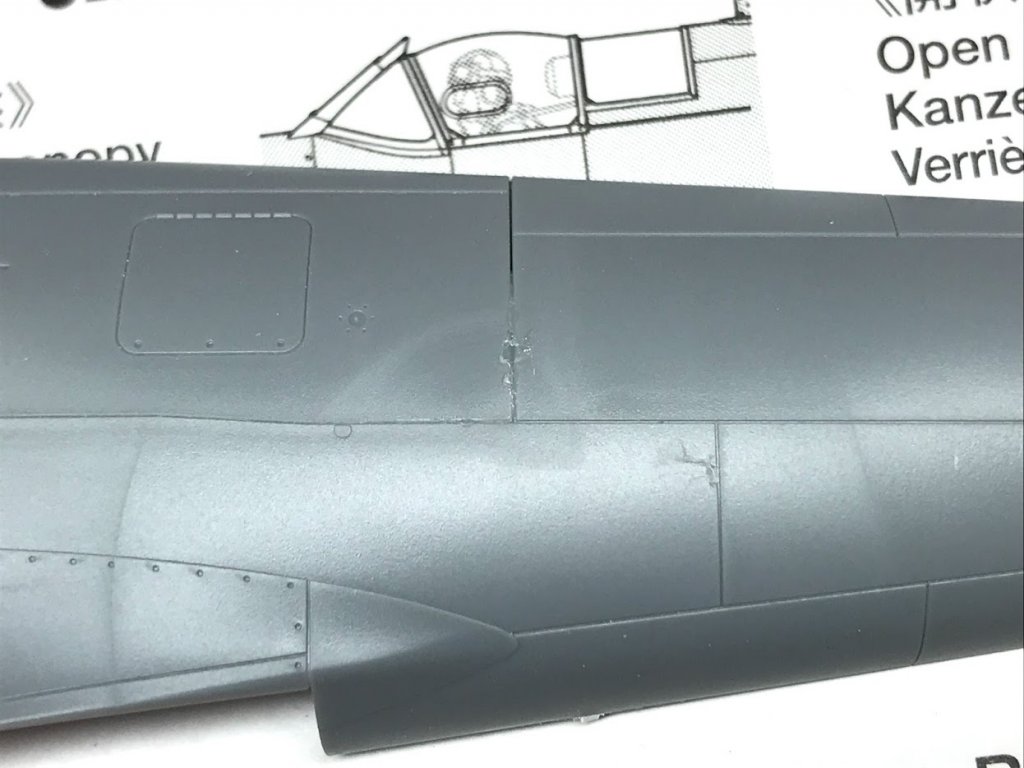
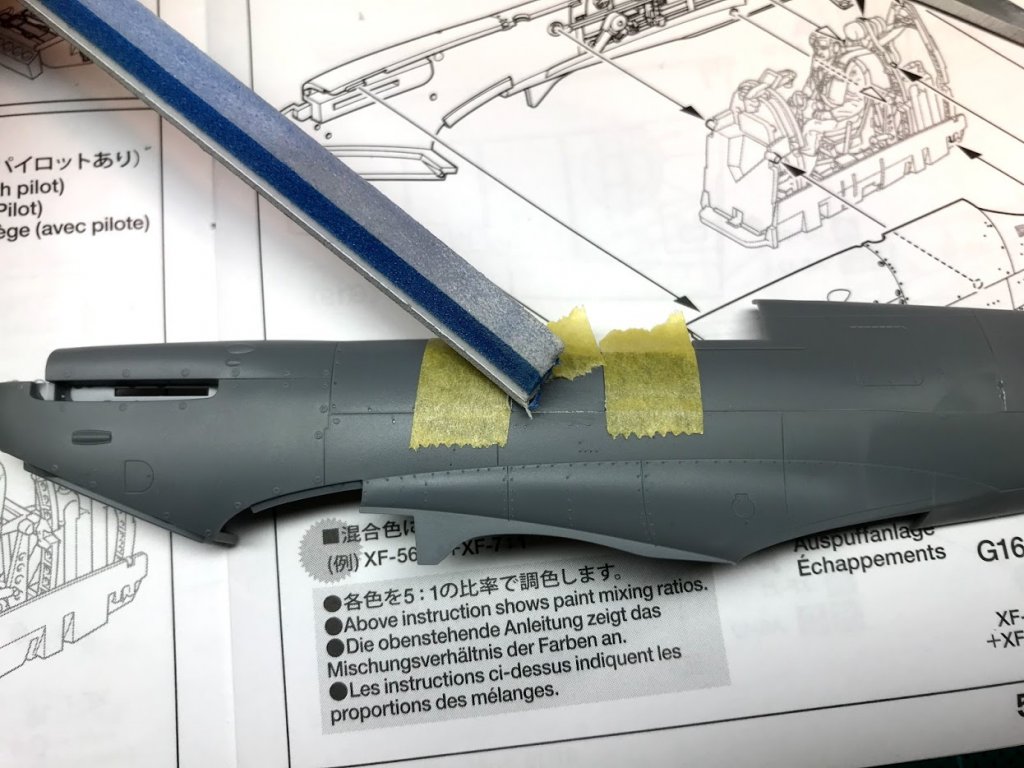
But this was easily fixed with some sanding. I use masking tape to protect details when I am sanding.
The cockpit is really good but some touches are needed to improve it. A 0.6 mm drill in this case.
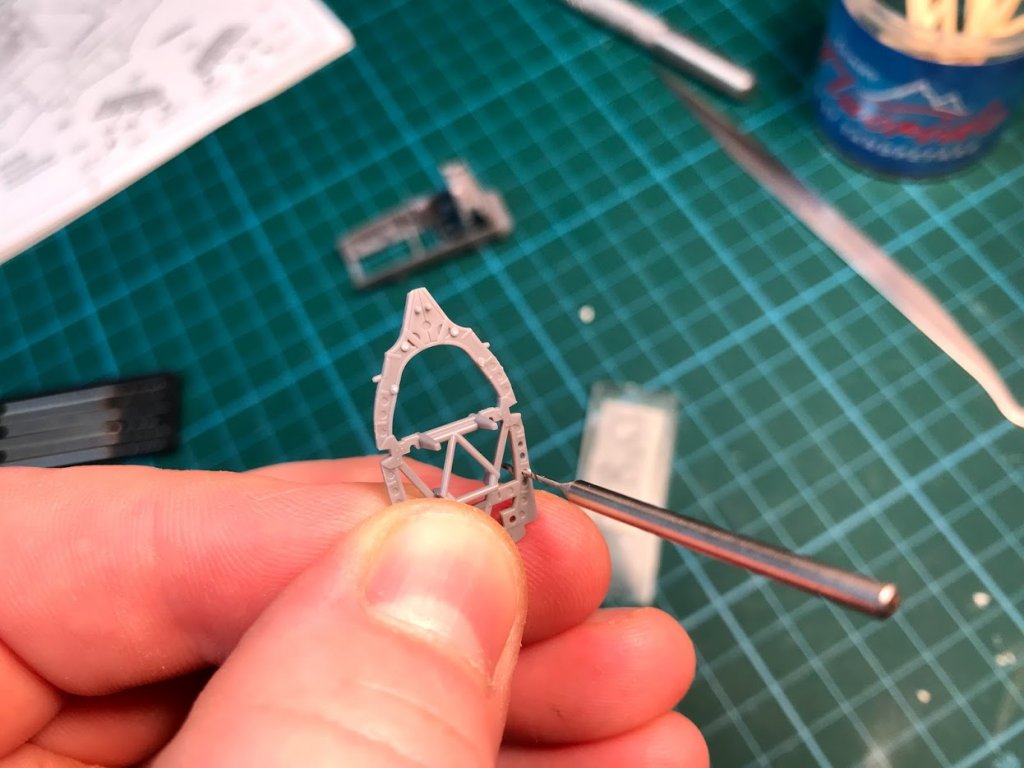
Here is the assembled parts of the cockpit so you can see the high degree of detail.
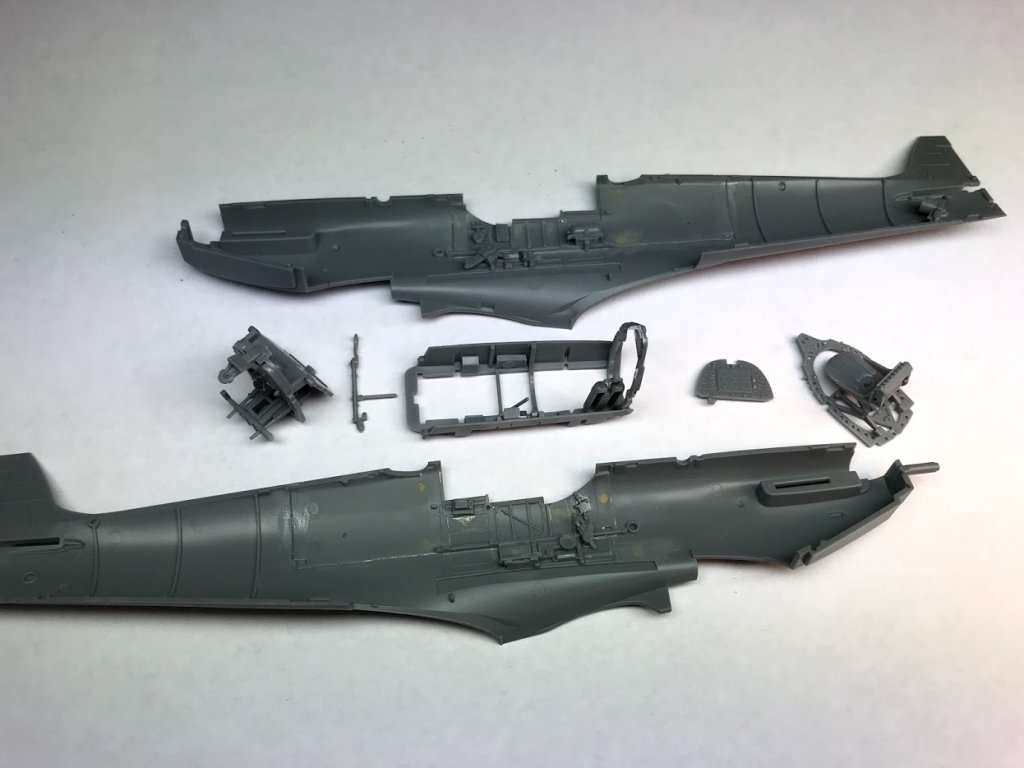
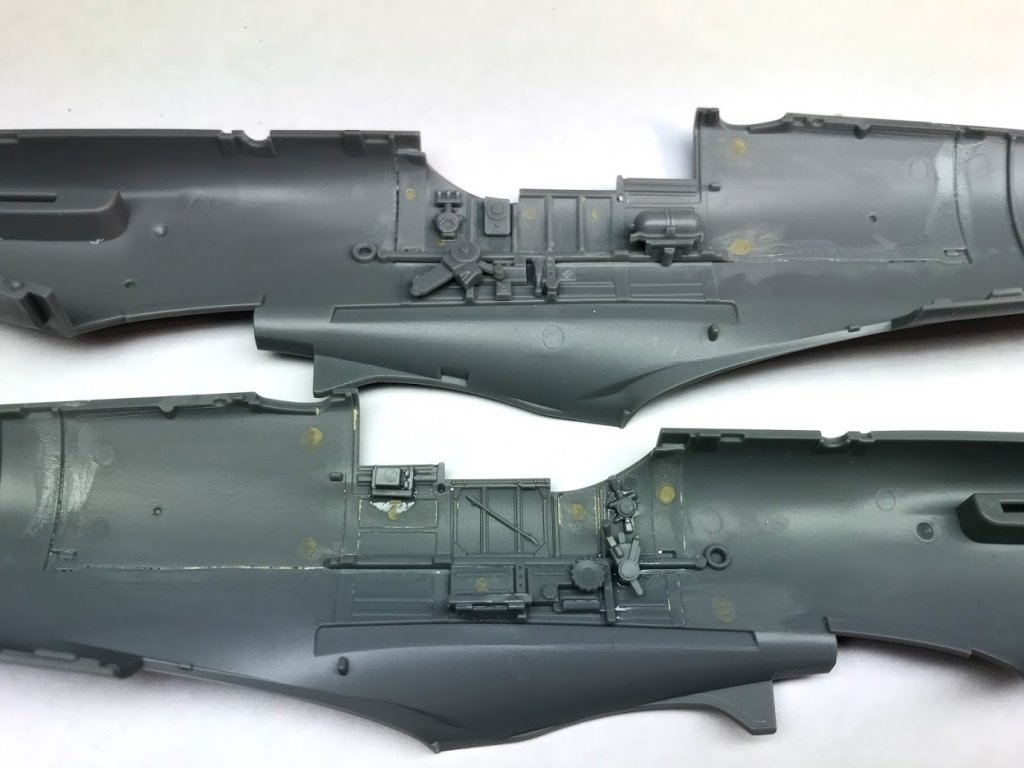
And dry assembled
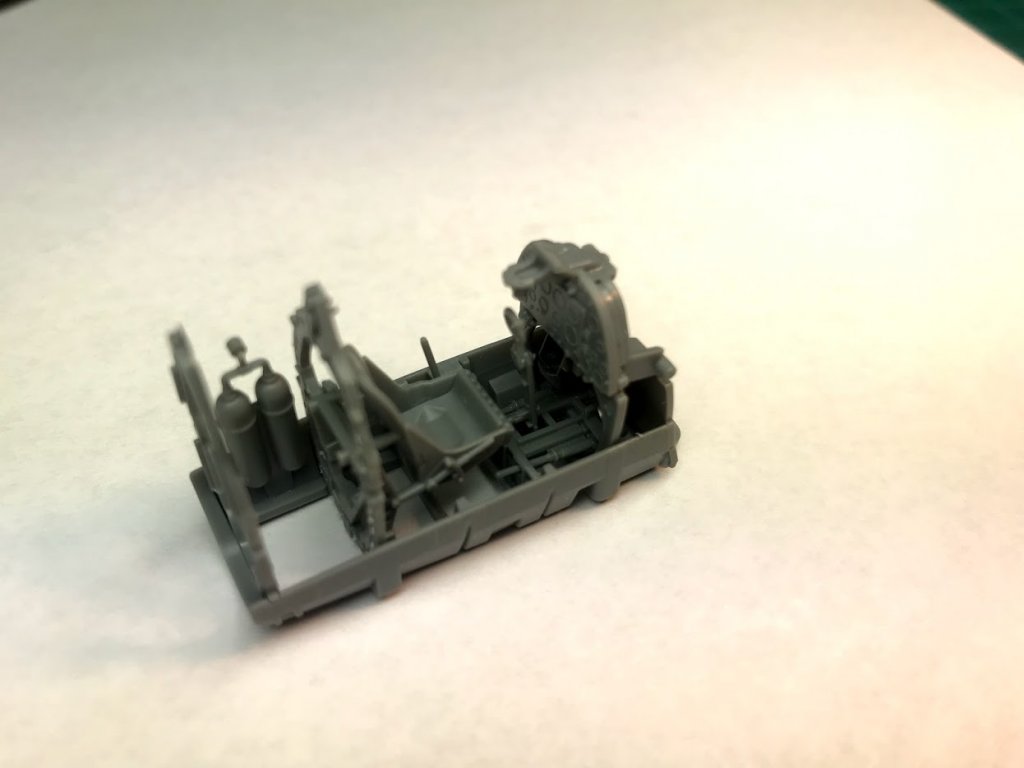
After this I primed the parts. I use a mix of Mr paint primer and Mr hobby primer. I mixed them because my bottle of Mr paint primer was broken...
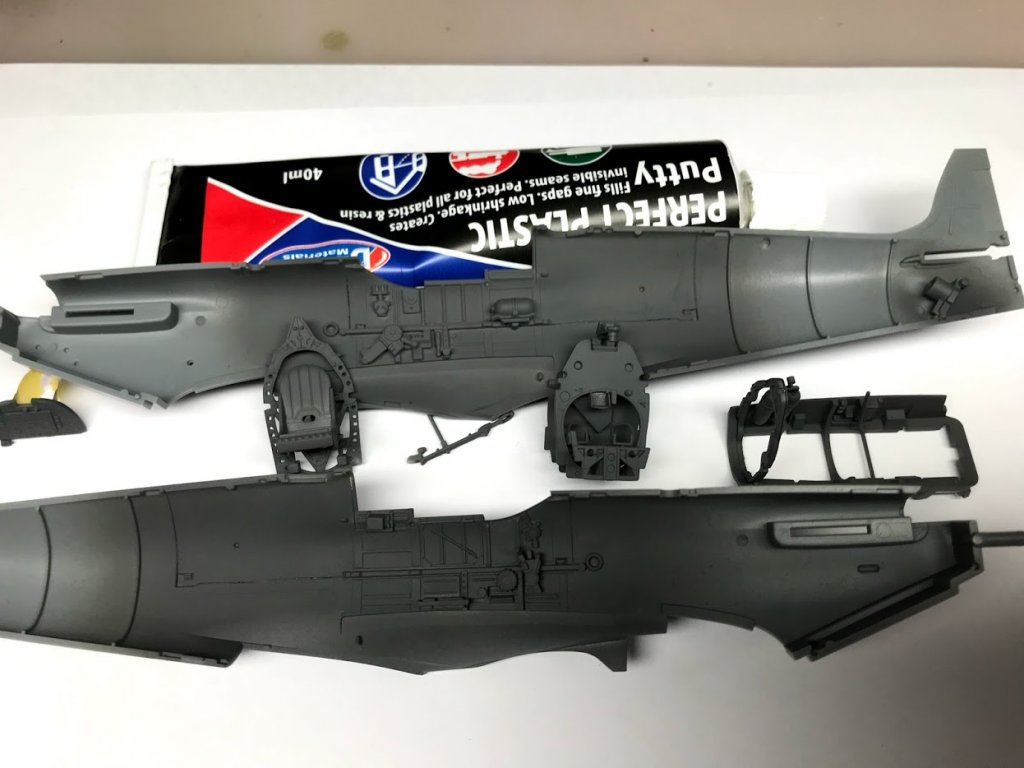
All the details come to life when primer is applied. This is all for now.
-
Really good work and it looks good. And you are a much faster builder than me.....

-
Looks good. For the second planking I only used superglue in combination with wood glue. In the beginning I used pins at the sides but they did marks on the edge of the wood. The superglue is doing the same work as a pin and you can press it in place with your fingers. Then the superglue will keep it in place until the wood glue sets.
- Edwardkenway and mic-art
-
 2
2
-
Nice work and good with another Sherbourne. Good works so far and I will follow.
- mic-art and Edwardkenway
-
 2
2
-
1/64 fits me perfect. I also want to have the same scale on all ships I build so it is possible to compare them. But if it is a battle ship or something like that then 1:350 is perfect. I think 1/48 and 1/200 just are too big.
1/48 is for aircrafts:)
- mtaylor and Edwardkenway
-
 2
2
-
Look really good:) It is your model and you do what you want:) I put hatches on my oar ports.. Maybe missed this before but will you oil or paint it? Much easier to oil it:) Too much work has to be done before painting wood.
-
-
Thank you Jon and Henrik. The master pieces on this site (for example La Créole by archjofo) is so full of details so it blow your mind. I am hence also trying to add as much as I can because I really like the "busy" look. And one reason more is that I want to learn how to craft it it all and every part is practice

- tkay11 and Edwardkenway
-
 2
2
-
Hi again
Have manage to do some more work. The inner hull is now painted and the color ended up to be Admiralty Red Ochre and I really feels that this is the right color. It is little bit bright red on the photo but it is darker in reality.
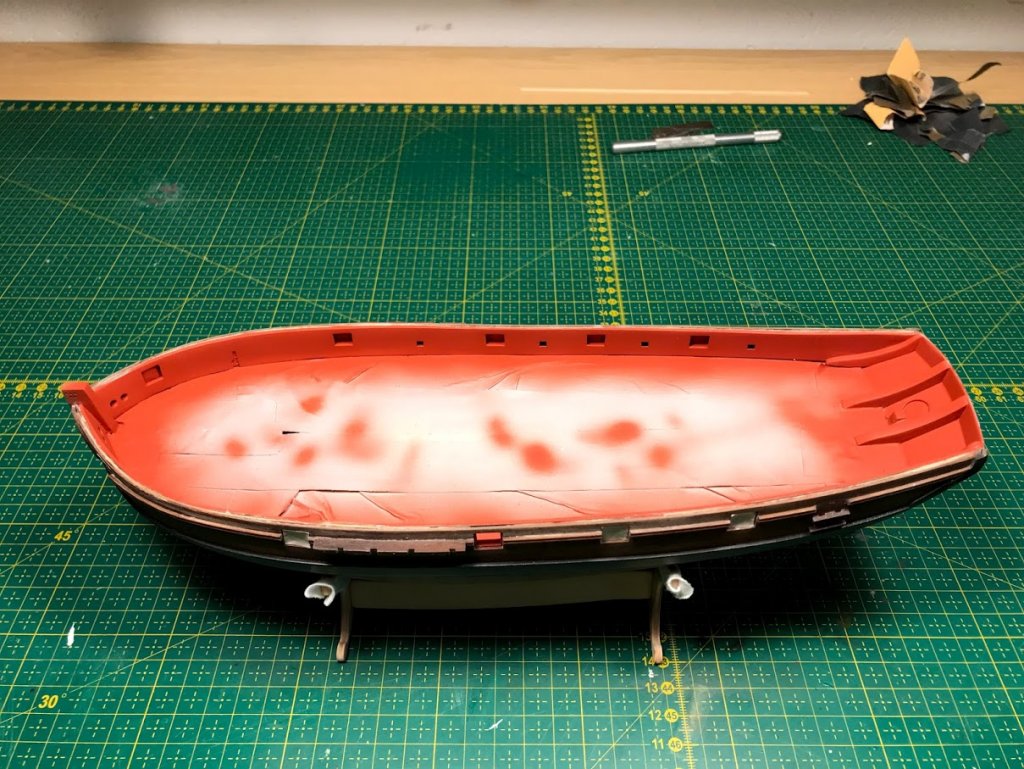
I like the color contrast between the red and the dark brown and black. (some touch ups is still needed:) )
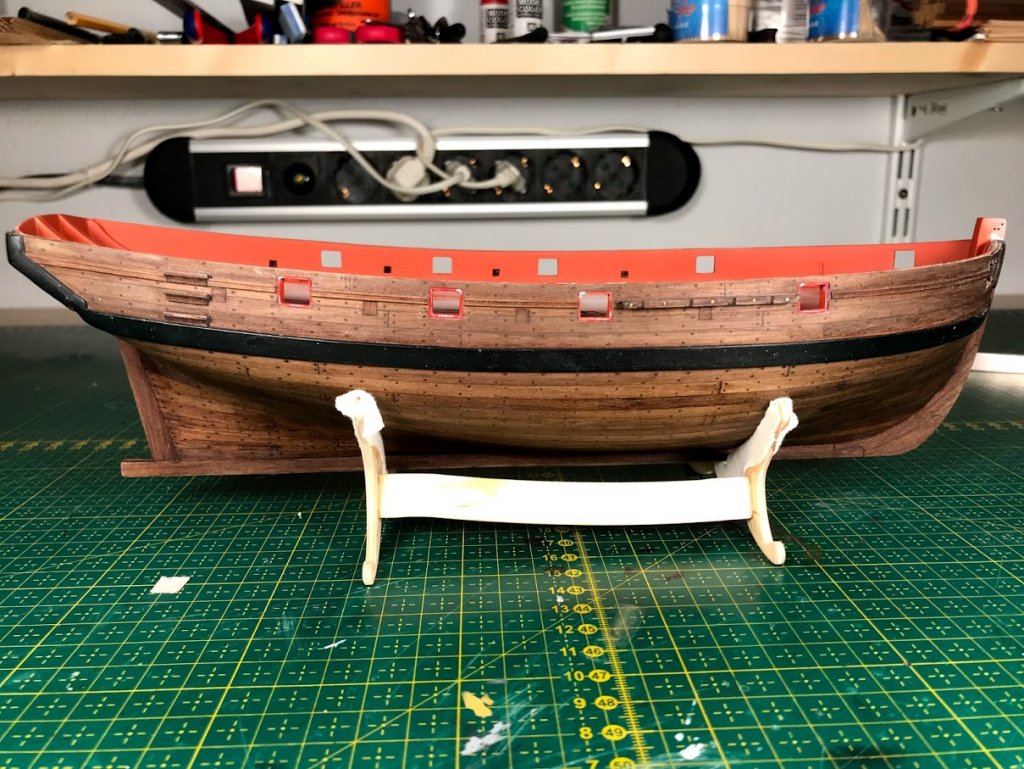
I then made transom knee (i think it is called) on the stern. Here will also bee some belaying points. They are not on the kits drawing but I follow Lennart Peterssons book Rigging Period Fore and aft craft. Here is how I done them.
First I did templates in stiff paper. I started with the little complicated angles.
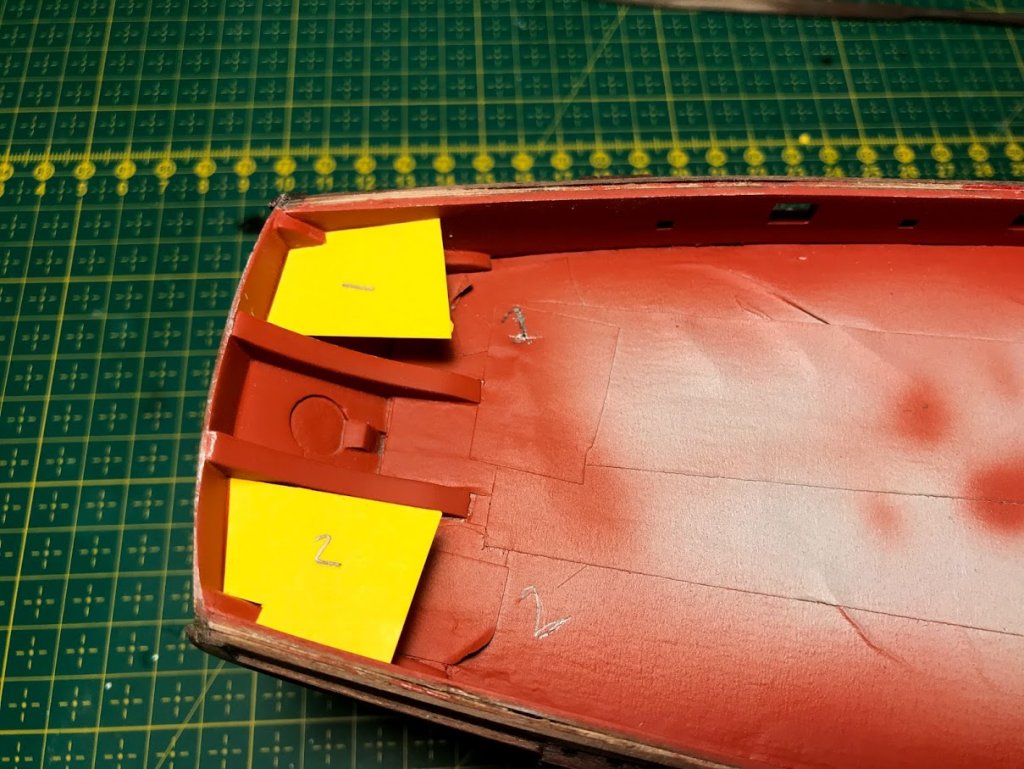
Then I glued the templates on wood and sand down to the right form.
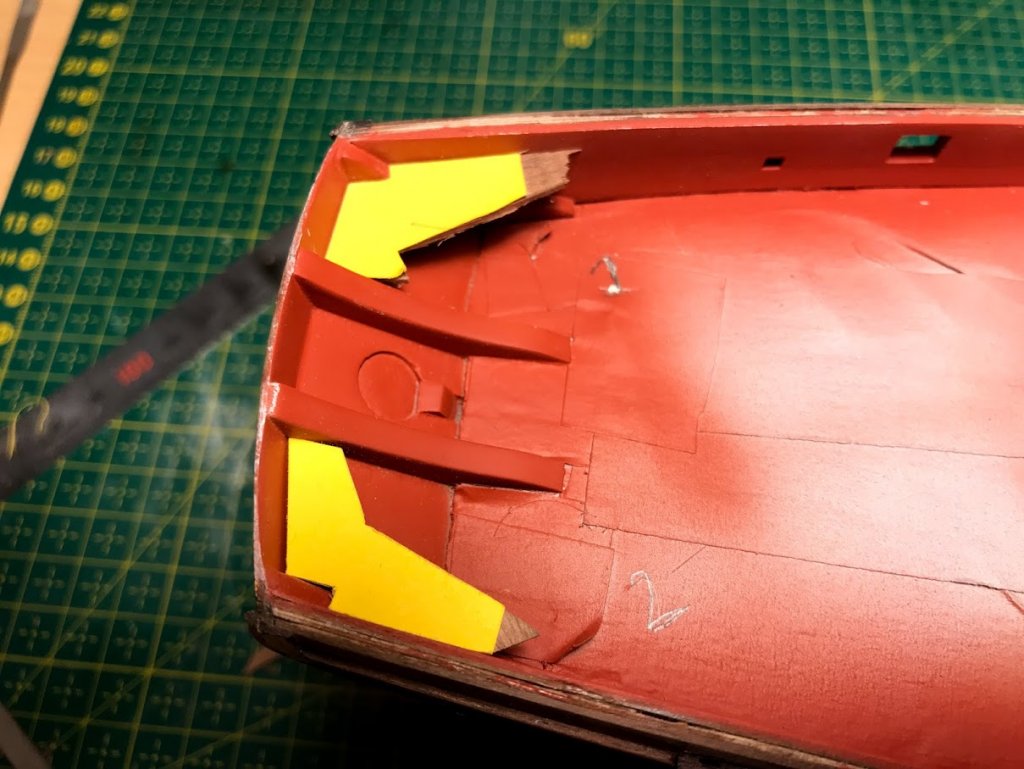
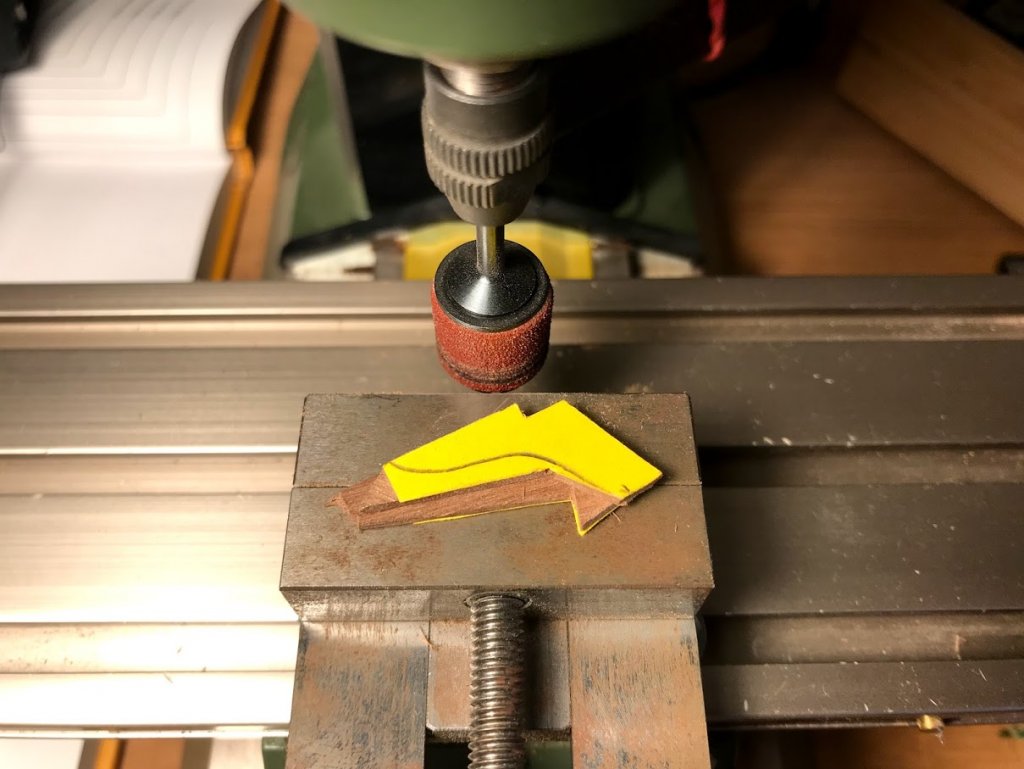
I glued (very little) the wood parts together and applied the outer form and the sand it to shape in my milling machine.
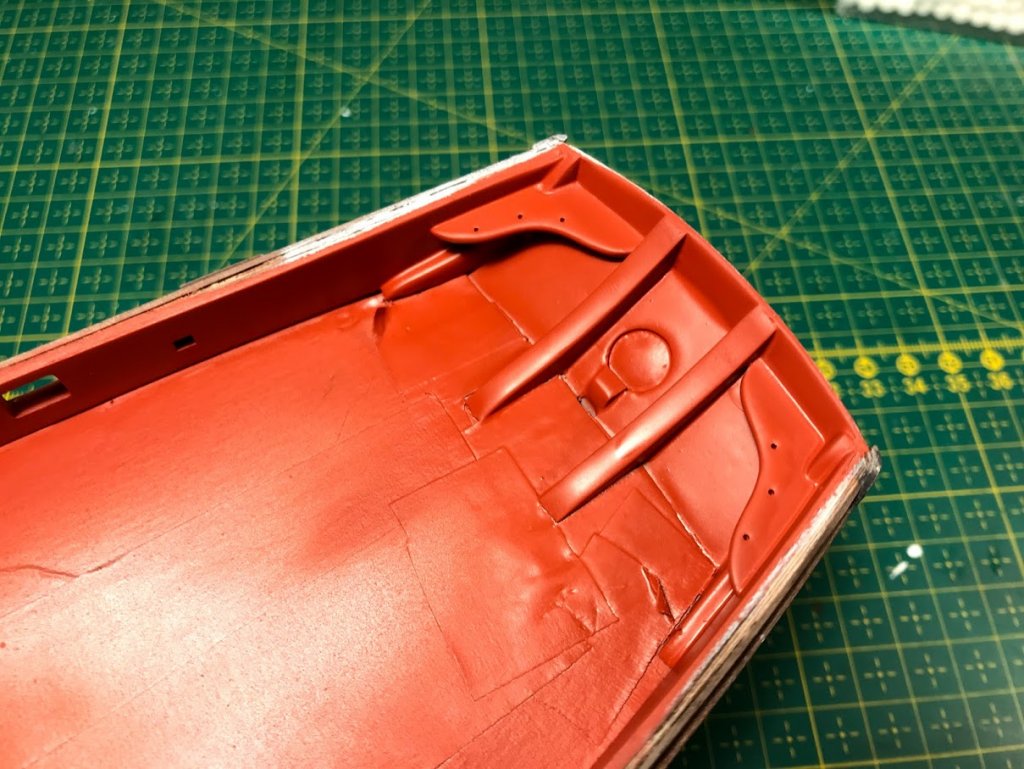
After priming, filling priming and airbrushing this is the result. Maybe to much primer and color... Don't mind the shiny color, it has not totally set yet.
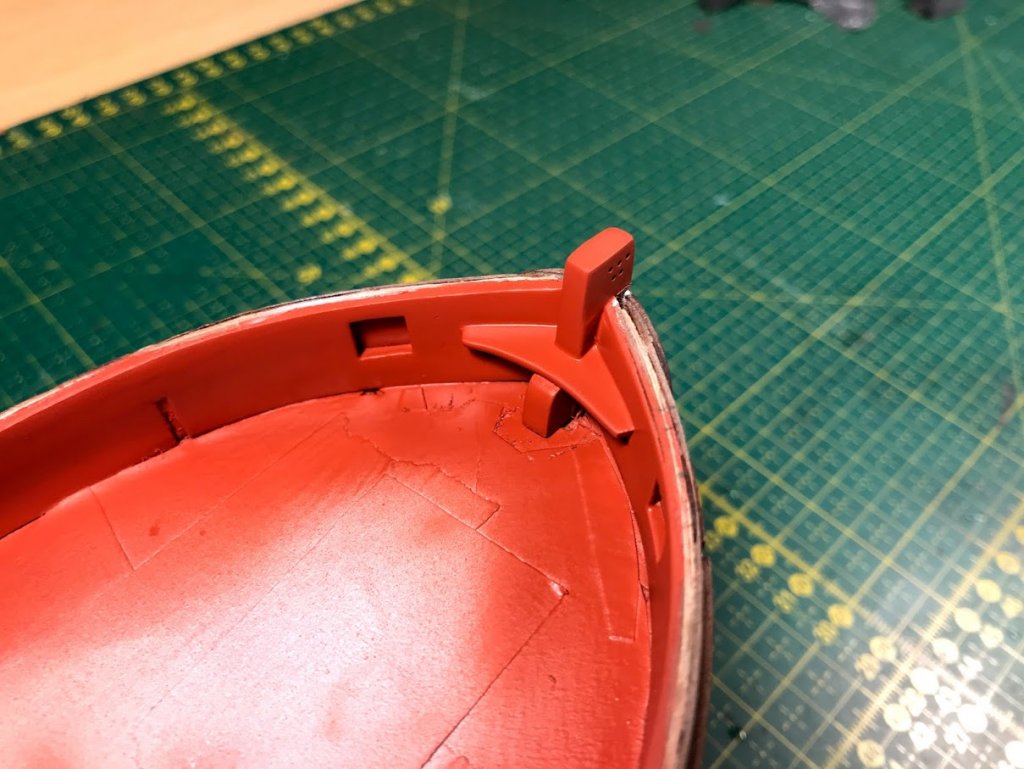
I also added details in the stem in the same way as above. The parts are false post and a deck hook. Here I followed Dubs Sherbourne because I really like these details. I think they add a "deep" to the model.
This is all for now. Have some touch ups to do tomorrow and then will I start to focus on the drift rails.
- egkb, GrandpaPhil, tkay11 and 4 others
-
 7
7
-
Looking good
 Can't wait for the second planking.
-
-
Hi all, a small update. I have to little time to spend on the Sherbourne:(
How ever I have finished the inside planking and sprayed inside with Tamiya grey surface primer. There is two reasons for this. The first is to give the red color a uniform light background (there are big different between the dark Walnut and the brighter inboard planking. The difference will be seen in the red color.
The second reson is to find all of the areas that need to be fix before the red color. Quite many of them...
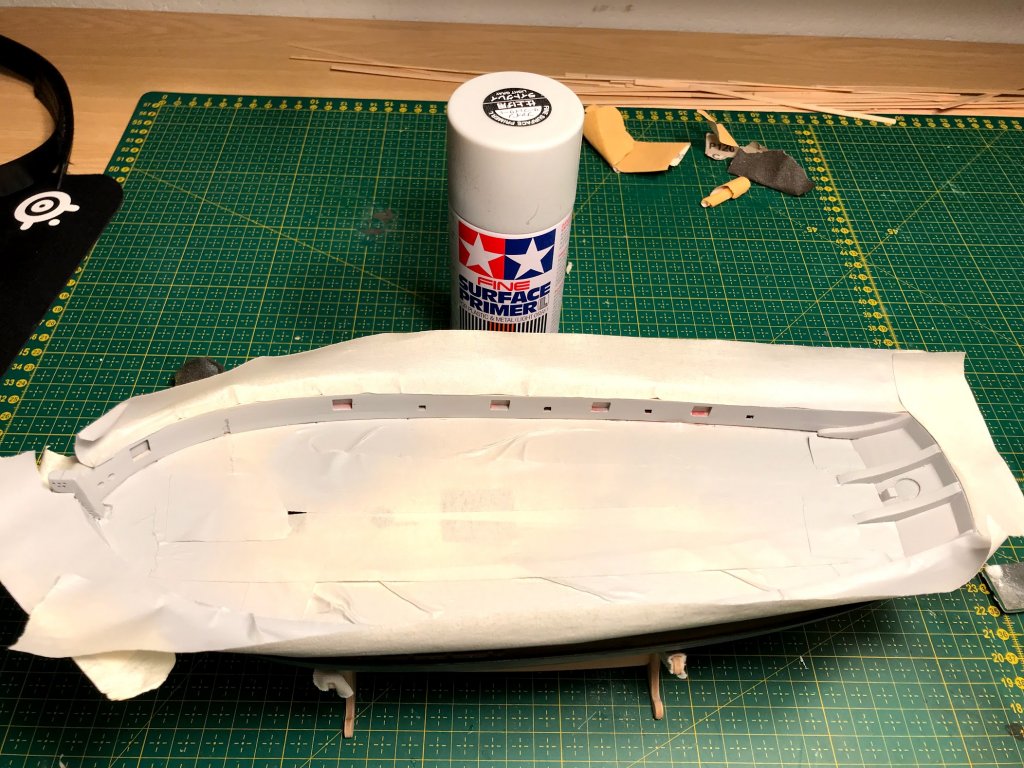
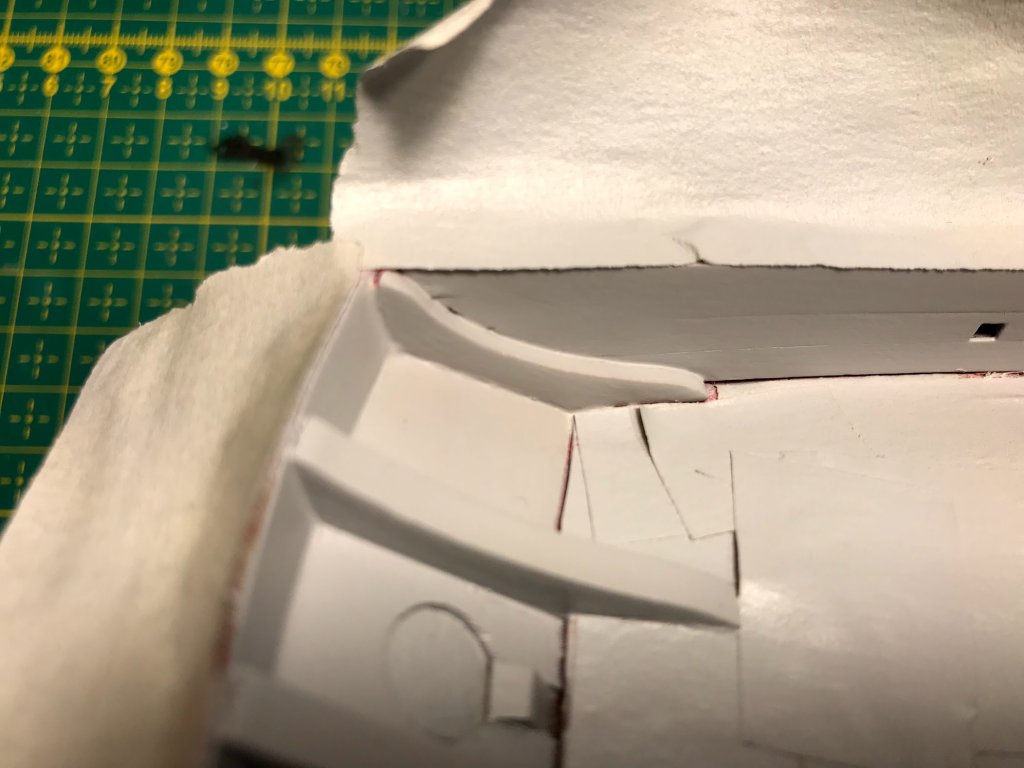
This is all for now. Have also lot of boring sanding work to do on my Focke Wulf 190 D9....
- Henke, KARAVOKIRIS, Edwardkenway and 2 others
-
 5
5
-
I will ofc follow!
 We are some members now in the Club.
-
-
Thank you all for the nice comments. I worked abroad with crazy many travels days until 7 years ago. I never had the time or space to do modeling. But I changed positioning in my company and could then move home and me and my wife bought a small house. Now suddenly I had the space and time to pick up the hobby again. And I think it is the same for many of us, when you go back to the hobby at adult age so is it "all in" :).
7 hours ago, cog said:At what age do you teach your daughter the fine art of airbrushing? I presume it is not the todler on your arm in your avatar!
She is seven now and my second is soon 5. My first daughter was the reason to move home to Sweden again. They grow to fast...

I will give you all links to youtybe channels that I follow and they all have learned me so much:
But I must say that the two big "gamechangers" for me is Flory Models and this site.
- Old Collingwood, cog, lmagna and 4 others
-
 7
7
-
3 hours ago, cog said:
Nice work environment, I am quite taken by it. Any preference for a specific paint brand, I see several different ones.
I have samples of many brands but it is only three that I use:
- Vallejo Model color for all hand painting with brush. The color is really good for that.
- Mr Paint (MRP) for airbrushing. This color has totally changed my airbrushing. I can't stand to airbrush with acrylics. It dries up on the needle and it is sensitive against dust. But the MRP work like a dream. I spray in a different way with these colors. Very close and very small air pressure. It takes longer time but I have total control over what I am doing. you will see this later in the log when I get to the painting.
- AK Extreme metal (sometimes MRP) for metal work. This metal color is so easy to spray and you almost every time get perfect results.
I use MR leveling thinner to all the airbrush work and I prime with Black Mr Finishing surfacer 1500.
For the panel lines I normally use Flory wash but I will try to use AK panelliners because I want to have more control.
The eggshell plane in the spray both is painted with vallejo model air because I am learning my oldest daughter to airbrush:) It is little bit safer than the laquers.....
- mtaylor, Old Collingwood, Canute and 4 others
-
 7
7
-
-
No, it is a new tool version of that one you built
 https://www.scalemates.com/kits/tamiya-35300-matilda-mkiii-iv--122691
I am married and I had got a square box marked Santa Claus as long as I can remember

- mtaylor, CDW, Old Collingwood and 2 others
-
 5
5
-
Hi all
As I promised so will I start a build logs for the plastic kits also. I will start to finish up my half build kits so you must have patience with this :) First out is this:
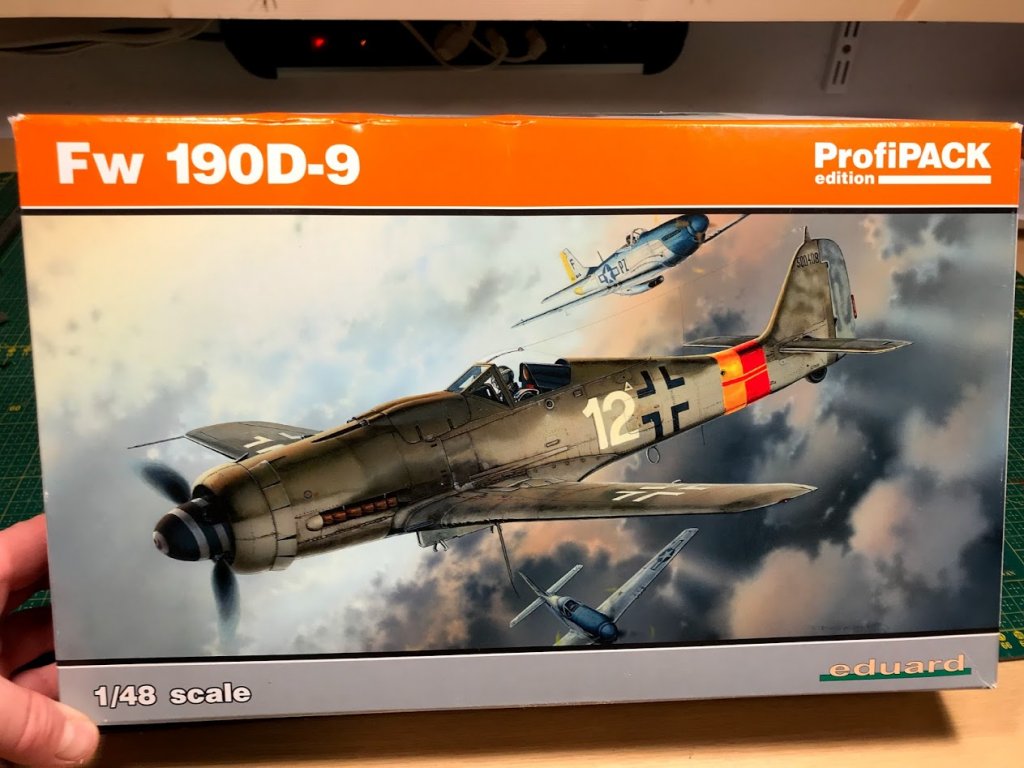
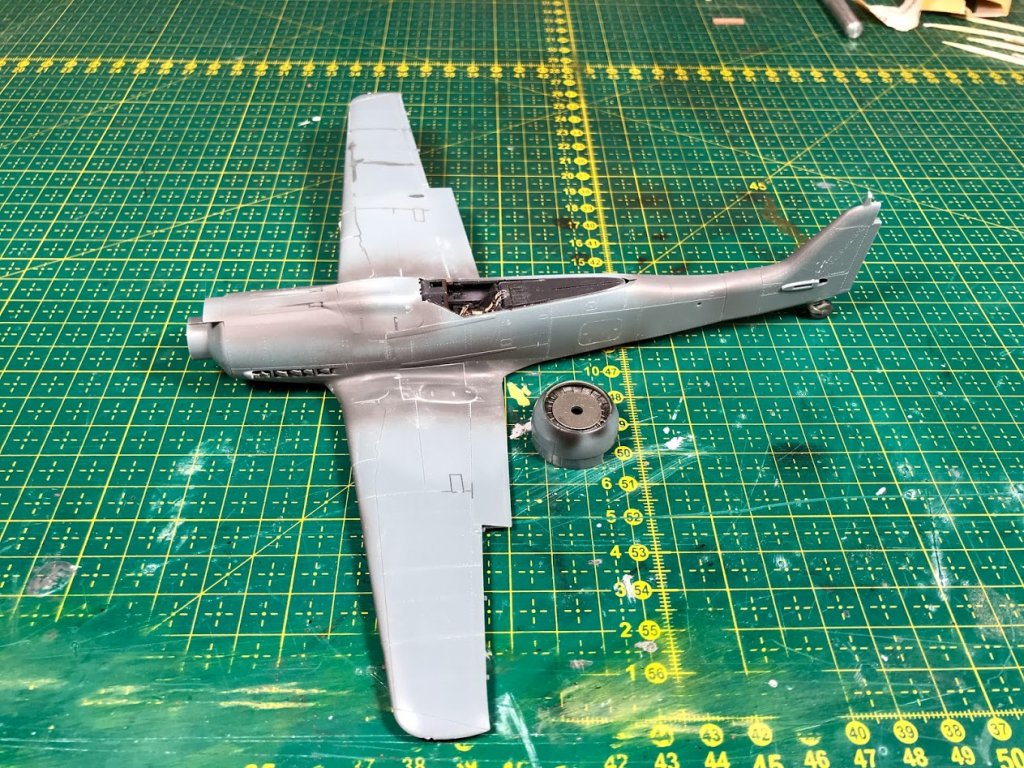
It is a nice detailed kit but there is troubles with it for me. The kit is designed to have the gun covers open but I decided to have them closed and this creates fit problems for me. I am also building it straight from the box. The good thing with Eduard ProfiPack is that there are Etch sheets provided.
This is how far I have I have come and the work will continue to fix the covers for the wing cannons.
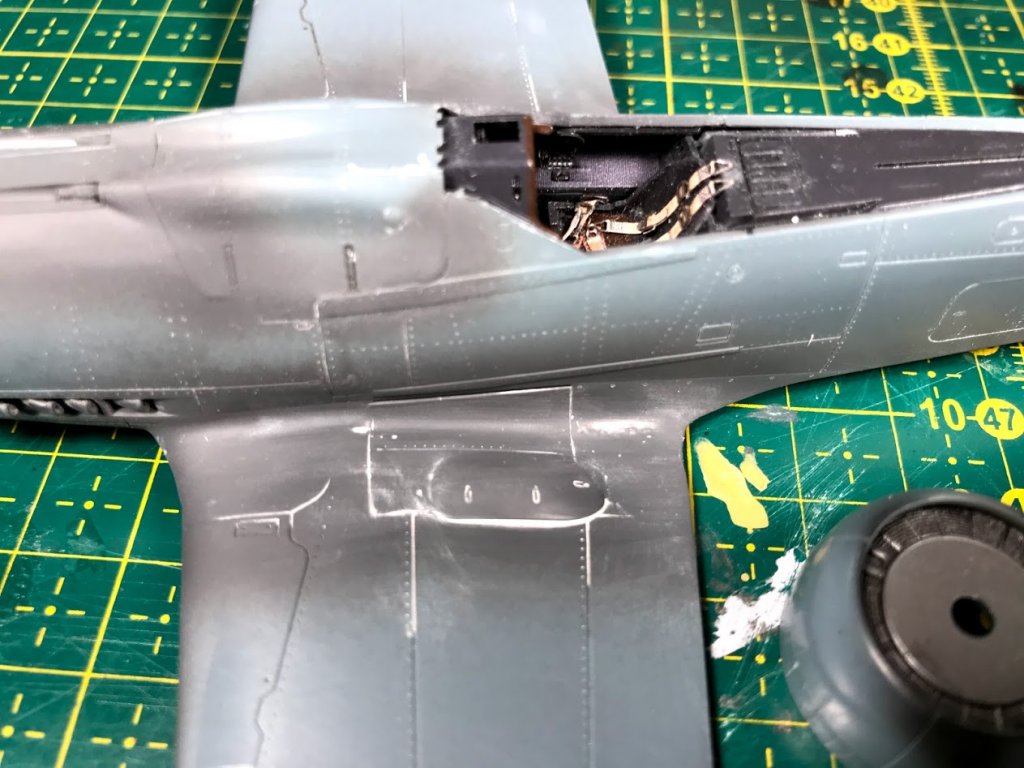
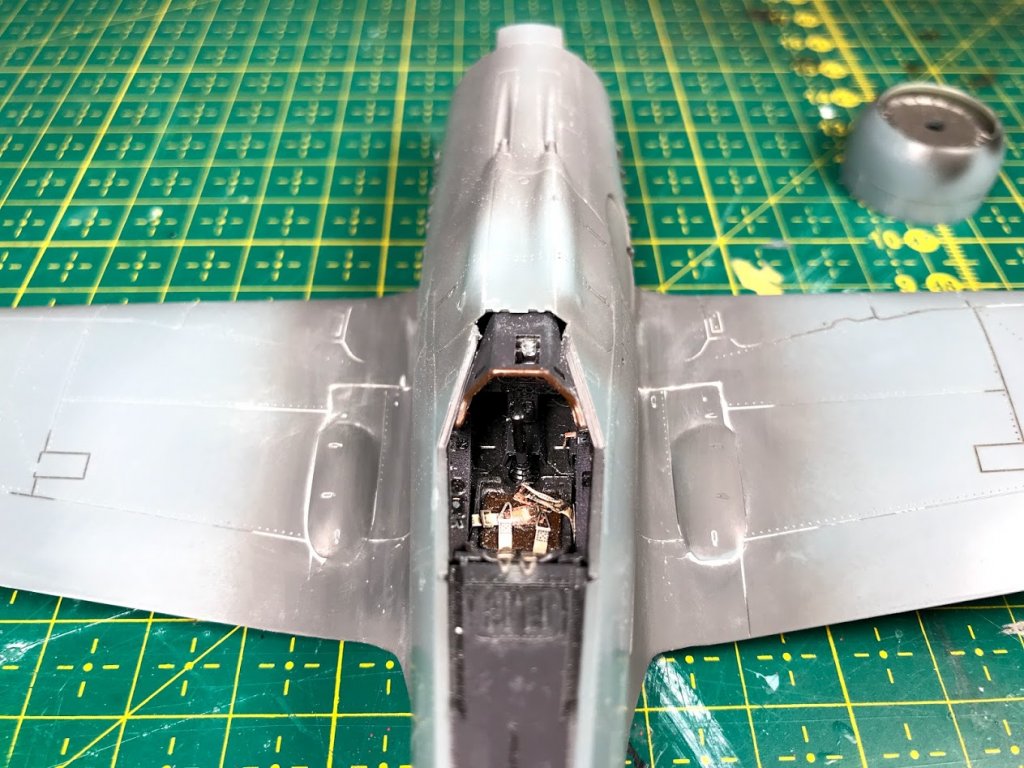
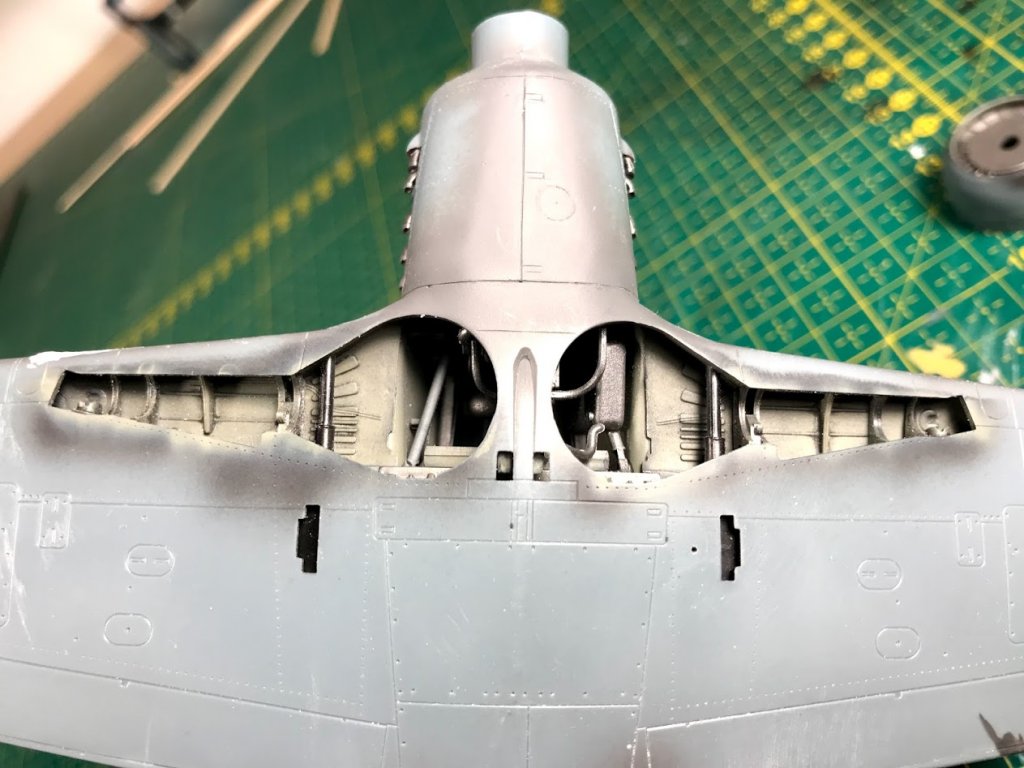
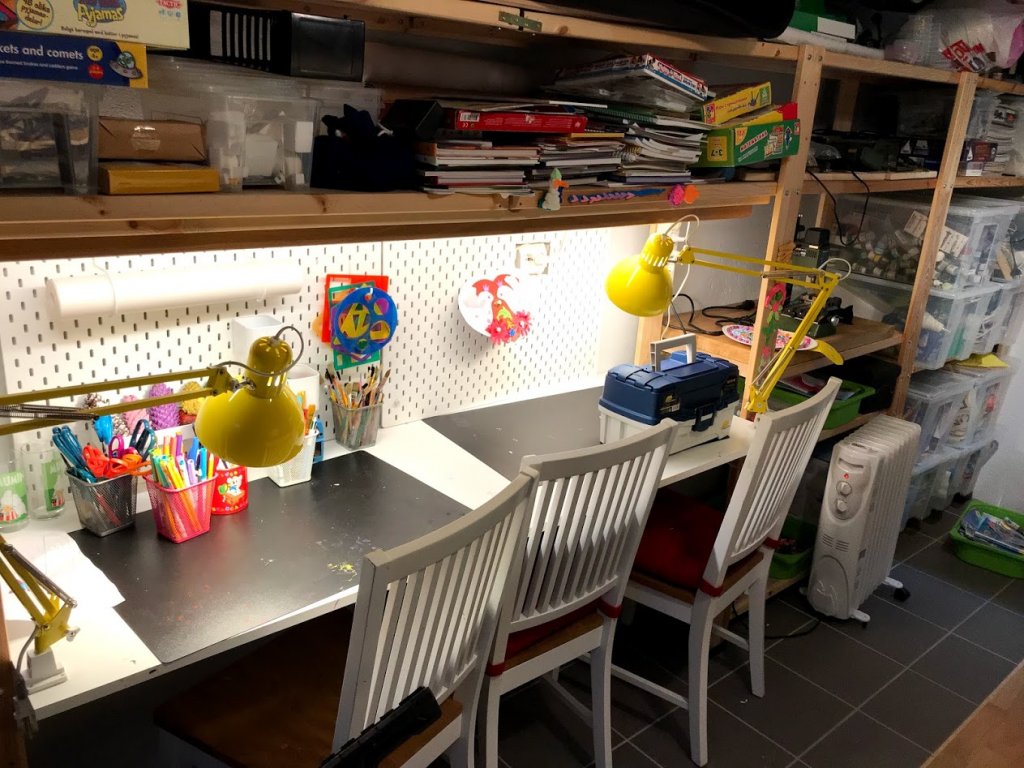
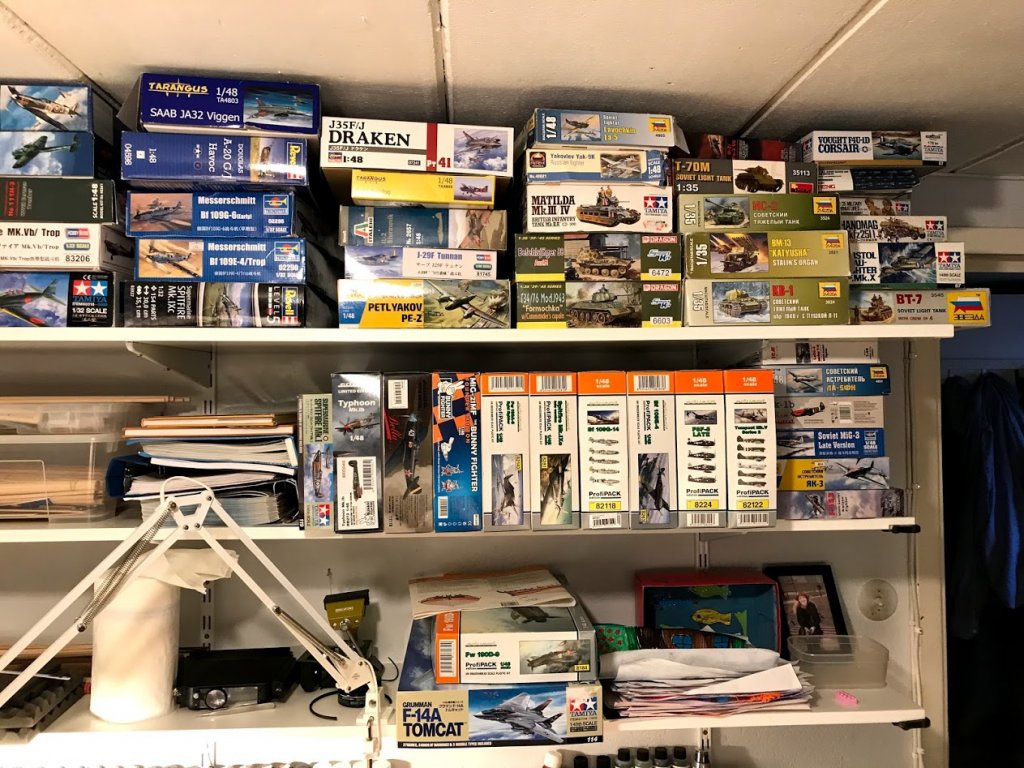
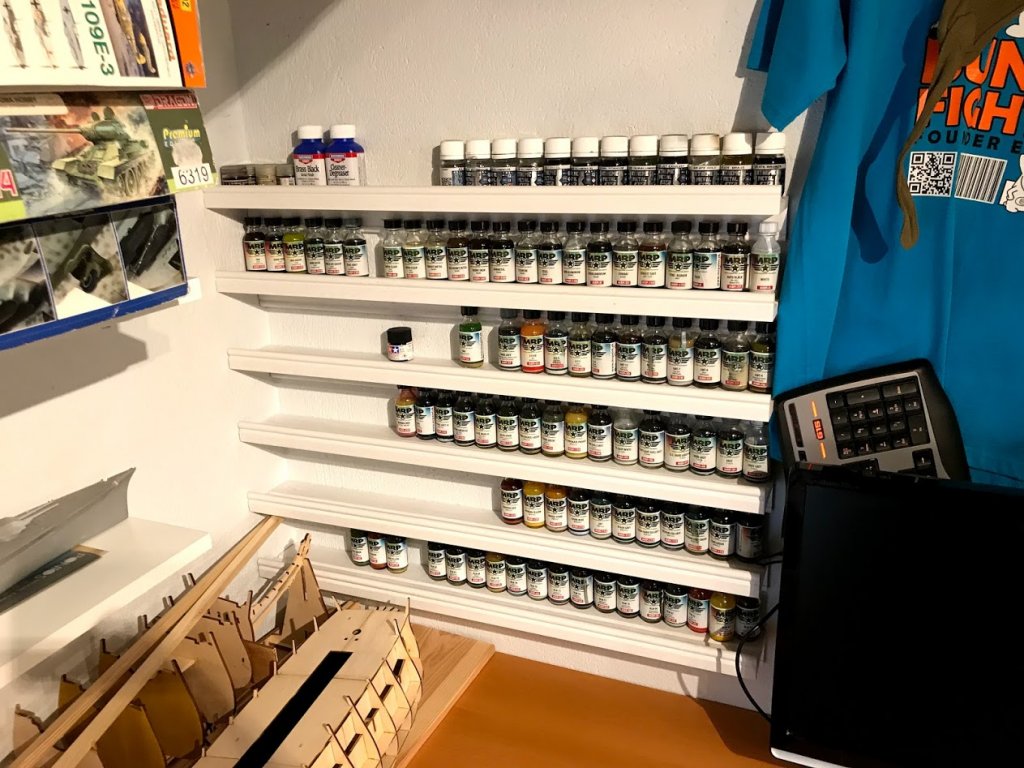
I also want to share some photos of my work space if you don't mind. It is in the basement so it is a real "cave"
 Here is the main place:
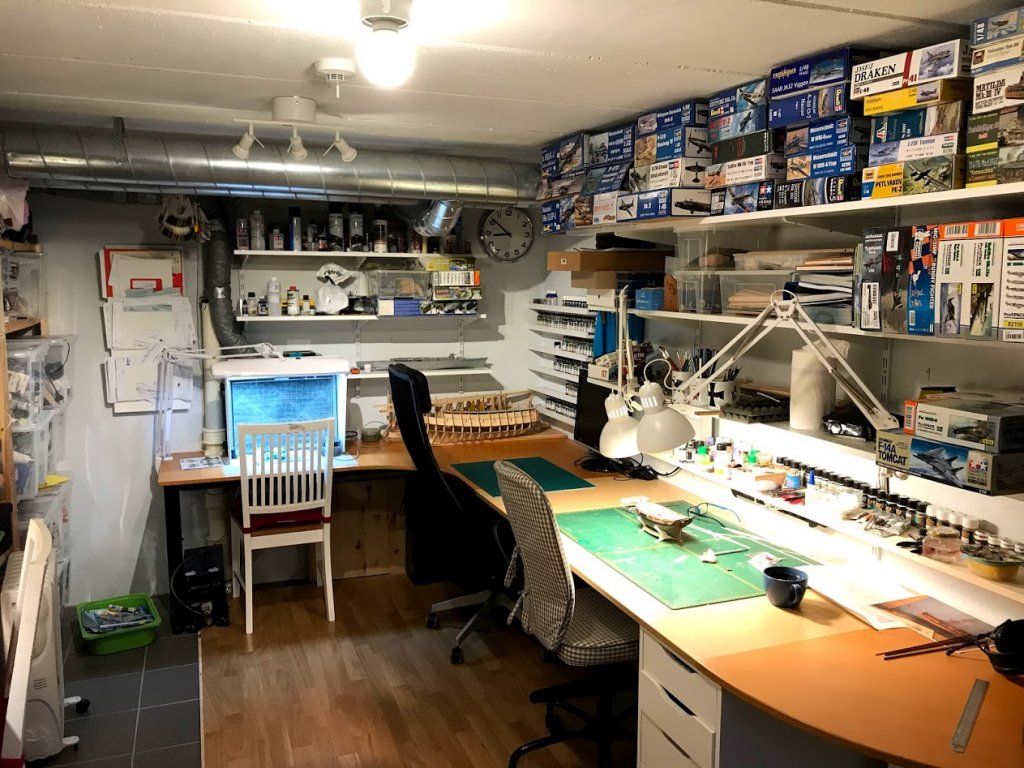
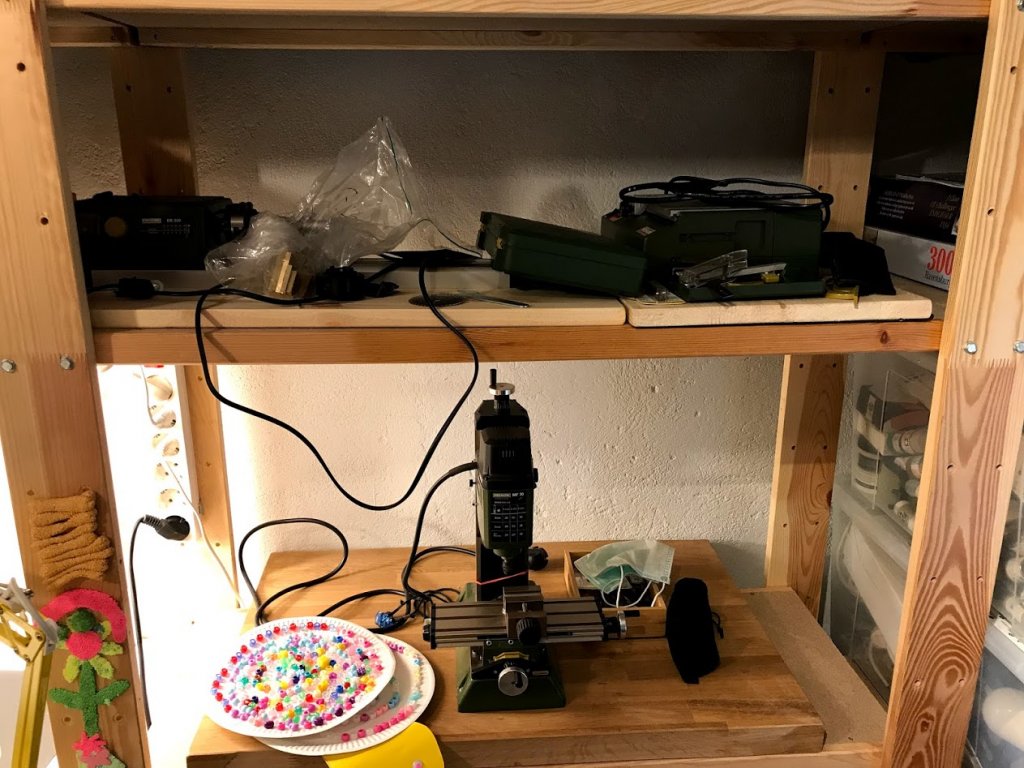
This is my milling ad sawing station. My children (two dotters 7 and 4 year share my place with me as you can see in the photo :).
Wood working tools
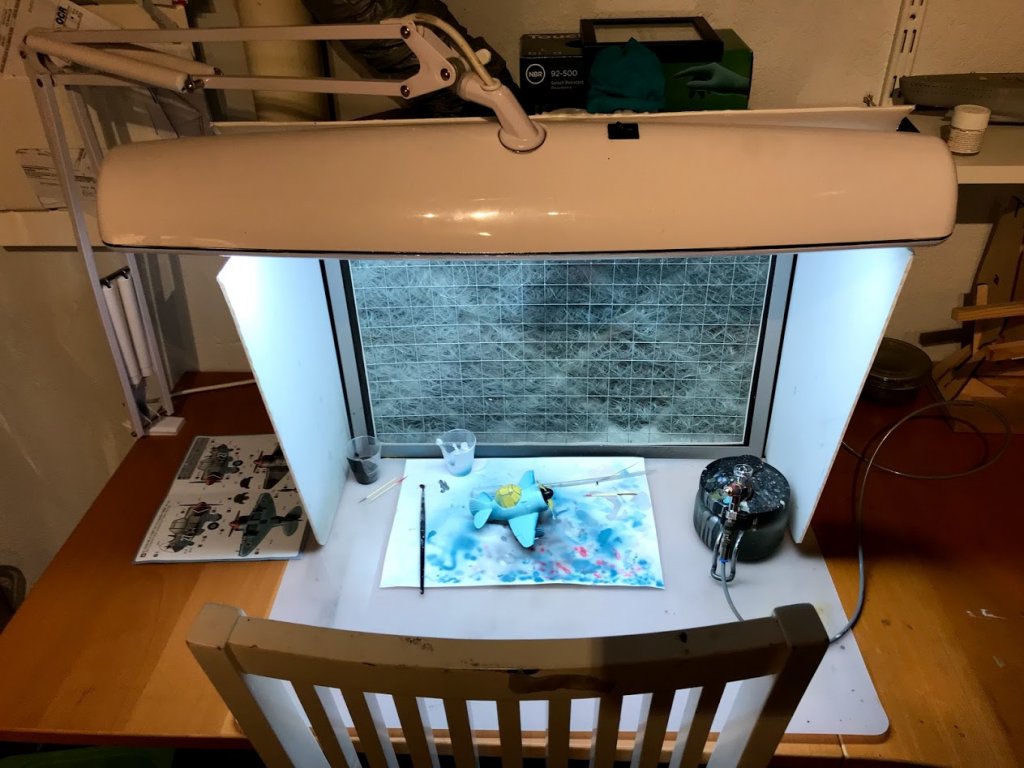
My spray both. It is connected to a old ventilation hole in the wall so I get all of the fumes out of the room.
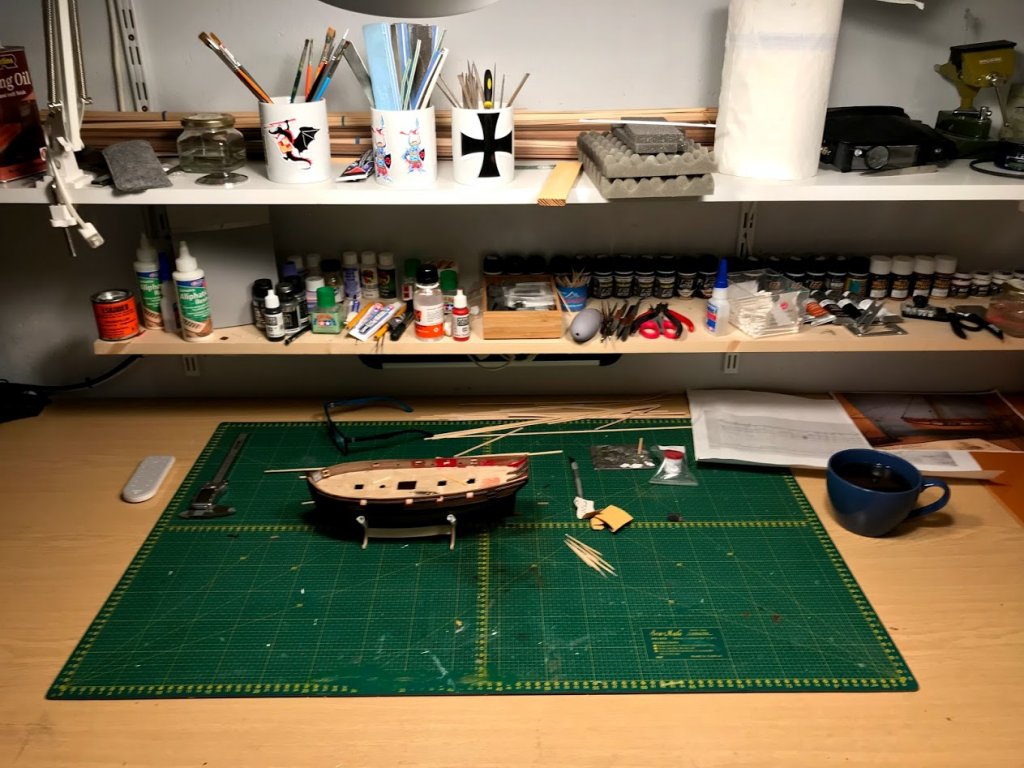
My desk
and my stash of unbuild kits... I have understand that this is quite common for modellers
 It grows faster than I build....
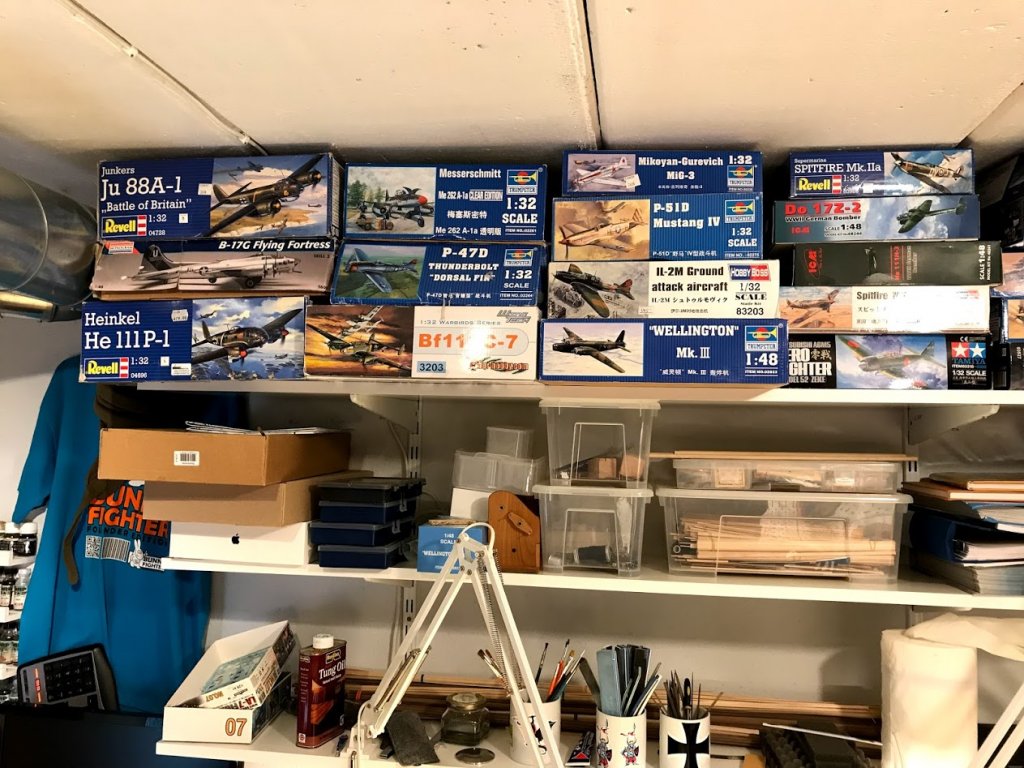
the precious MRP colors
and the unbuild kits
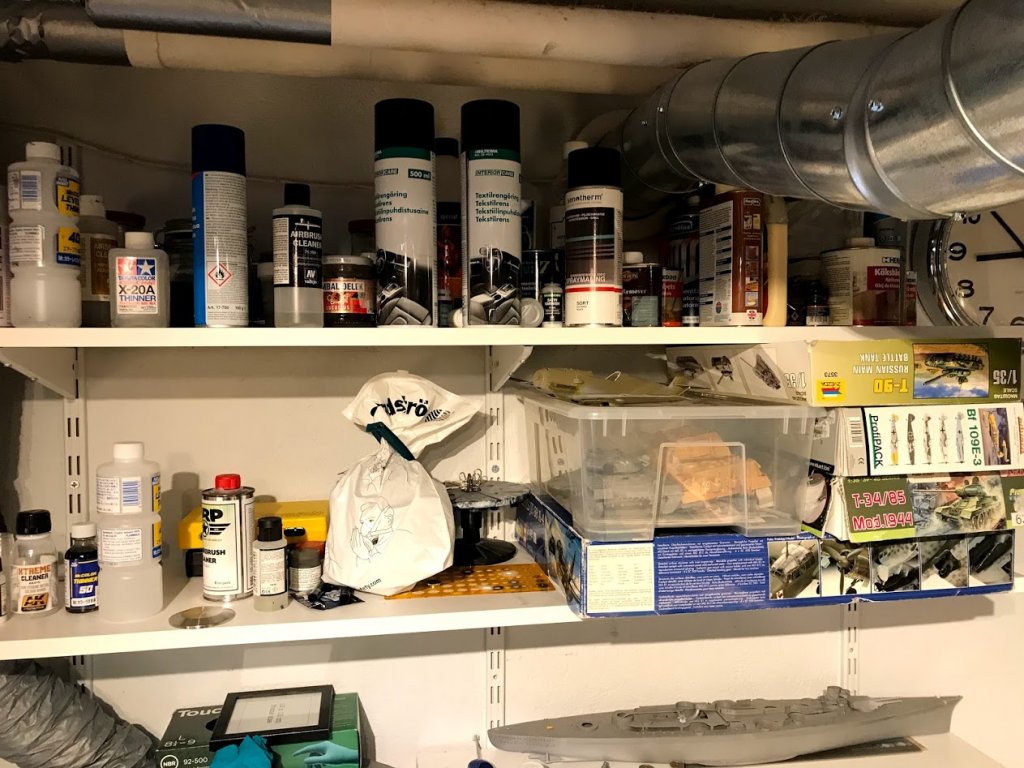
To be continued.
-
Fix that camera!
 I want to see you Tony!
-
My iphone 7.... and no editing att all.

-
Thank you all for the nice comments. I will start to do logs. I have some models half build (here are the tanks Popey) but this is a way to give me the motivation to finish them. You have to take that the first logs will start in the middle of the builds

Greg, I like the approach to build the wooden ship models "clean" and plastic kits weathered. It keep the to "wings" of the hobby separated. Actaully I think it is because of the materials, the wood is alive and natural so it already have that variation that is needed. But the plastic is just dead so it needs extra things to make it pop.
P.S if you look carefully on the Focke Wulf you can se all of my finger prints......the camera is unforgiving:)
- Edwardkenway, lmagna, mtaylor and 5 others
-
 8
8
-
Maybe start to do build logs on the planes also if that is interesting for you. I don’t do it today because I think it is glue and paint
 But when I think on it so it is how I have learned and still are learning when I see other people’s work and technics.
- lmagna, popeye the sailor, mtaylor and 8 others
-
 11
11
-
Thank you Kevin.
I have my main Sherbourne log here and my plastic kits on Flory site:) Just like your Victory.


HM Cutter Sherbourne 1763 by mic-art - Caldercraft - Scale 1:64 - First wooden ship build
in - Kit build logs for subjects built from 1751 - 1800
Posted
I use the Alert book to name the things. And I have no idea what it is in Swedish:) Good job.