Chuck Seiler
-
Posts
1,878 -
Joined
-
Last visited
Content Type
Profiles
Forums
Gallery
Events
Everything posted by Chuck Seiler
-
 I dunno, days...weeks? From the conversation I got the impression "it looked fine a couple days ago and now it is saggy/overstight (pick one).
 -
Ben (and anyone who might know), During a recent discussion about model rope at a model club meeting, two veteran rope makers said that they did not like the polyester rope because it tended to sag or over-tighten over time due to humidity. Does baking fix that?
-
I think that if you build up the quoins you will be fine.
-
We need to petition the moderators to install a feature that stops time while we review all the posts we want to review.
-
LN= Lady Nelson If keeping with the same carriage, I would take a pair of nippers and snip the offending quoin off, then smooth down with a file. If replacing the carriage is being considered, SYREN makes pretty good carriage to go along with the guns. Chuck offers a 6 pounder for his 1:48 Cheerful. That is not a perfect scaledown for a 1:64 3 pounder, but it might be worth looking into.
-
Why 4 inch? When I used to build ships that had gratings, I used Thurston 3" .030 kerf slottings (I think). They worked fine. As mentioned above, Malco is a good replacement for Thurston. Malco Jewelers Slotting # JS30281200, 3 inch, 1/2 inch arbor, 220 teeth $16.67. I just got several at .028, .010, and .006. They also have 4" blades (and 1 and 1.5 and 2 and 2,5).
-
It appears to me the the guns are fully elevated. I would remove whatever metal quoin that is in place and replace it with a larger wooden one. If the barrels were parallel to the deck, they would sit well in the port.
-
No, I am talking about the joints plank-to-plank along the same strake. Attached is an example, but with far too many joints. Figure 5.12 and Foldout 1 of Waschmann show these, but hard to see.

- 83 replies
-
- 1
-

-
- Sea of Galilee boat
- SE Miller
- (and 1 more)
-
Pencils. Use the eraser against the wood. It grips better than wood on wood.
-
You are making great progress. Uhhgggg! No, not the actual mortise/tenon joints themselves. That would be some chore. I was thinking more the line of the actual joint.
- 83 replies
-
- 1
-
-
- Sea of Galilee boat
- SE Miller
- (and 1 more)
-
Lyle, The Excavations of an Ancient Boat from the Sea of Galilee by Shelly Wachsmann (hereafter known as Wachsmann-Excavations) shows the planks have diagonal butt joints. Will you be modeling that into your build...or leave well enough alone?
-
Yowza! What a mish-mash. The keel was made from 2 different types of woods and the rest from pieces-parts left over from whatever was laying around from older boats. Sounds like that Johnny Cash song where he builds a car from parts he got from the junk yard.
- 83 replies
-
- 2
-

-
- Sea of Galilee boat
- SE Miller
- (and 1 more)
-
Asked and answered. The Excavations of an Ancient Boat from the Sea of Galilee by Shelly Wachsmann, 1990 states it was a square sail. The Migdal Boat Mosaic from first century CE indicates this as well.
-
Asked and answered. The Excavations of an Ancient Boat from the Sea of Galilee by Shelly Wachsmann, 1990 states it was a square sail. The Migdal Boat Mosaic from first century CE indicates this as well.
- 83 replies
-
- 2
-
-
- Sea of Galilee boat
- SE Miller
- (and 1 more)
-
Stuglo, Do you remember if the "original" boat you saw was square rigged or lanteen?
-
Checking out Scott's site, I see he has 2 versions; one is square rigged and one is lanteen. Which is correct? Given the propensity of lanteen sails in Arab boats and the Mediterranean Sea, I would think local building custom and wind patterns would say that is correct, but.....????? Any thoughts?
- 83 replies
-
- 2
-
-
- Sea of Galilee boat
- SE Miller
- (and 1 more)
-
I am looking forward to this build. Louie, pass the popcorn.
- 83 replies
-
- 2
-
-
- Sea of Galilee boat
- SE Miller
- (and 1 more)
-
Y'all are just jealous because the hot chicks (can I still say that?) are coming to my ship.
- 130 replies
-
- 1
-
-
- wütender hund
- hanseatic
- (and 2 more)
-
A recommendation when using artist acrylics...this is based on a Chuck Passaro recommendation from either his CONFEDERACY or WINCHELSEA build log: Water down the paint paint and apply many coats, light sanding between coats. This results in an outstanding finish-referred to as "Coach Finish". I buff with a micro fiber cloth vice ultra fine sand paper. This works very well on wales. Not sure how much patience you have for a full hull.
-
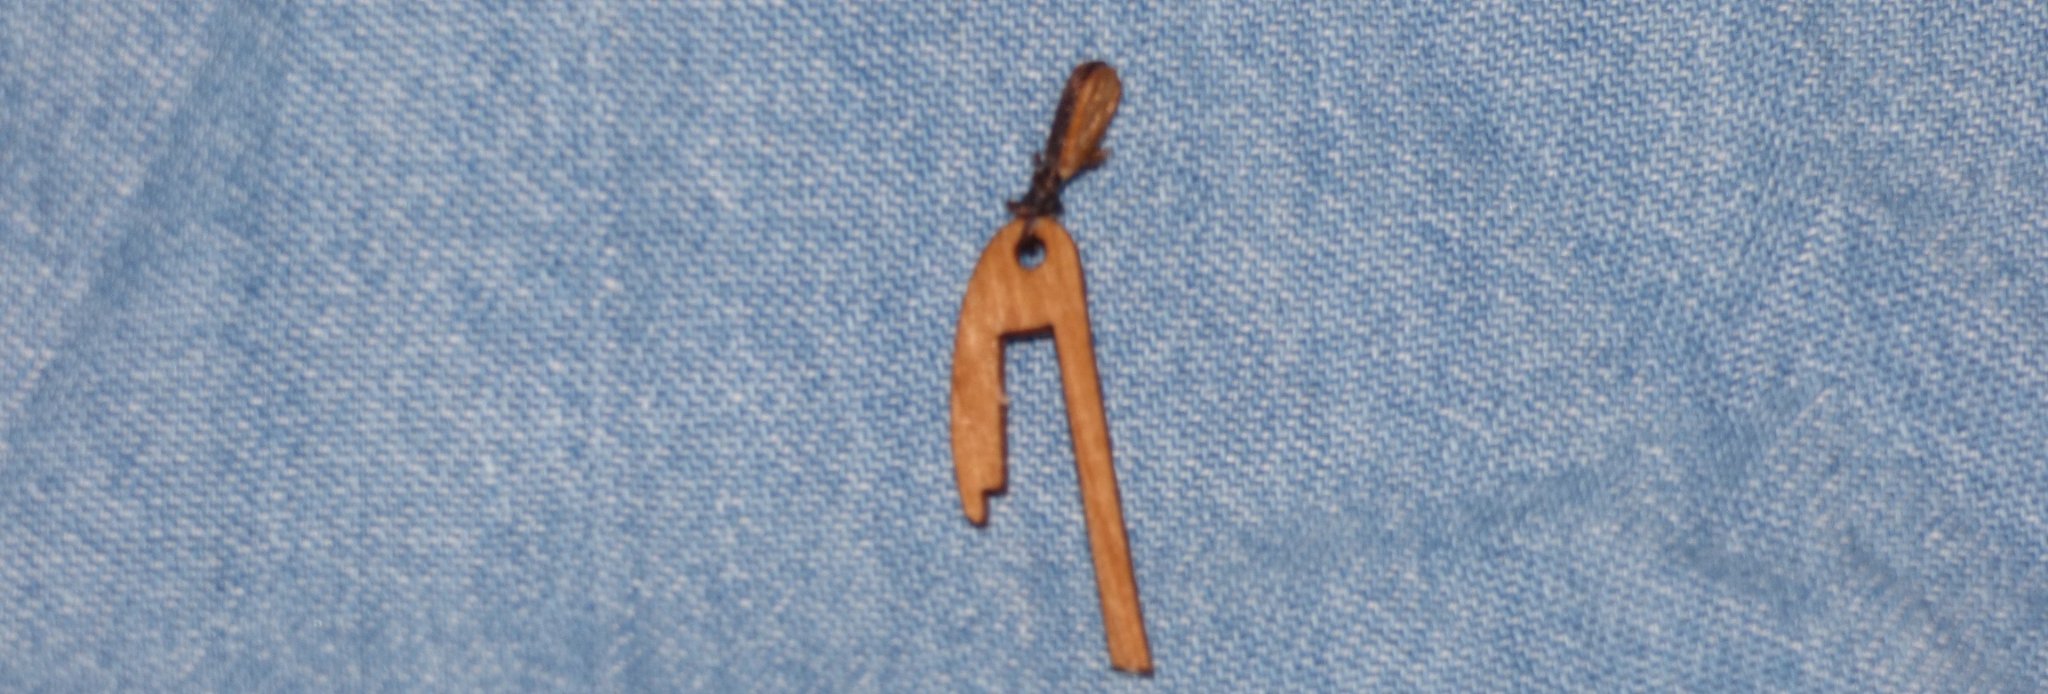
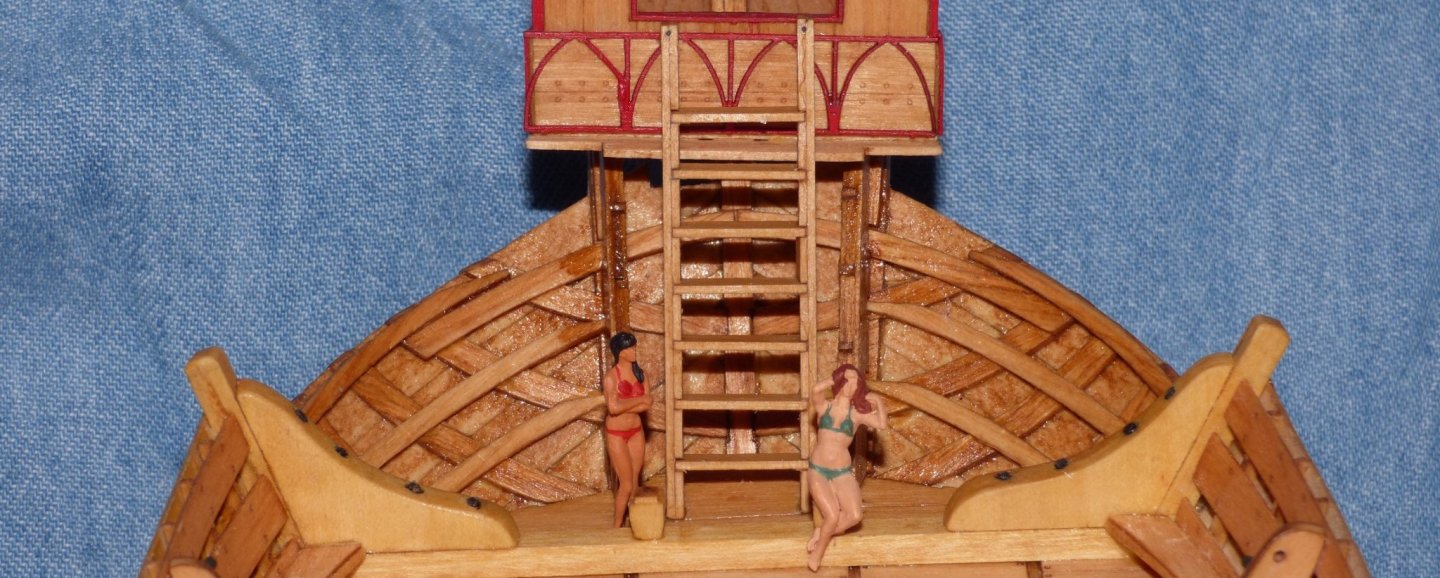
I continue to struggle with blocks and deadeyes. I have made 8 attempts at mounting the deadeyes and have only 1 that is somewhat acceptable. Attached still needs some trimming. Continuing... Meanwhile, those of you following the various cog builds know there has been some discussion about the integrated ladder leading up to the forward castle. As built in this model, it appears very awkward to get from the ladder into the castle. For this and other reasons I decided to add a new ladder. Hey, when you have a ladder company as a sponsor, why not? Some local bathers are waiting for the ladder to open so they can use the diving board.

- 130 replies
-
- 6
-
-
- wütender hund
- hanseatic
- (and 2 more)
-
Sounds like a third-party after market kit opportunity to me. 😉
- 355 replies
-
- 3
-
-
- vanguard models
- Sphinx
- (and 1 more)
-
Will there be an option to get the kit without masting and rigging, or will that be logistically too hard?
- 355 replies
-
- 3
-
-
- vanguard models
- Sphinx
- (and 1 more)
-
Oh my!!! How did I miss that? You held up the container for a good 12 or 13 seconds. Pretty clear. Many thanks.
- 156 replies
-
- 1
-
-
- marisstella
- marisstella model ship kits
- (and 4 more)