


Landlubber Mike
-
Posts
4,543 -
Joined
-
Last visited
Content Type
Profiles
Forums
Gallery
Events
Everything posted by Landlubber Mike
-
 Really great work OC - epic build!
 -
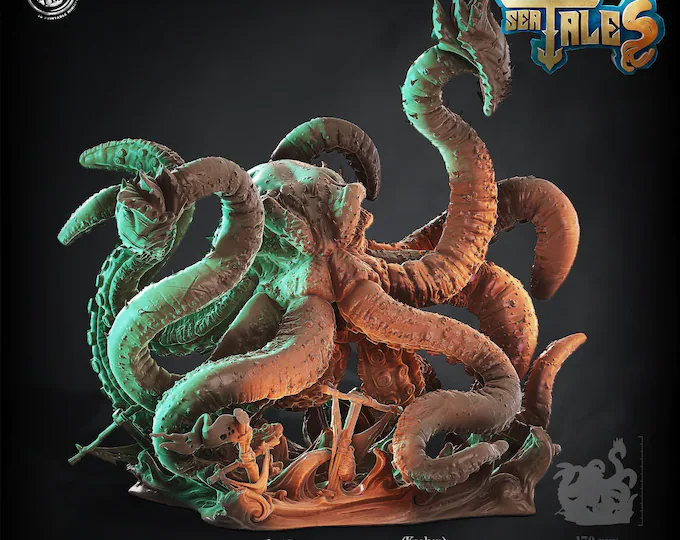
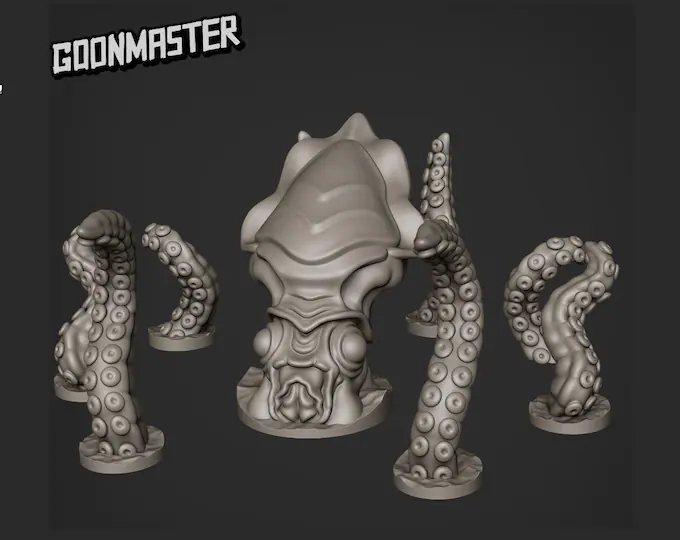
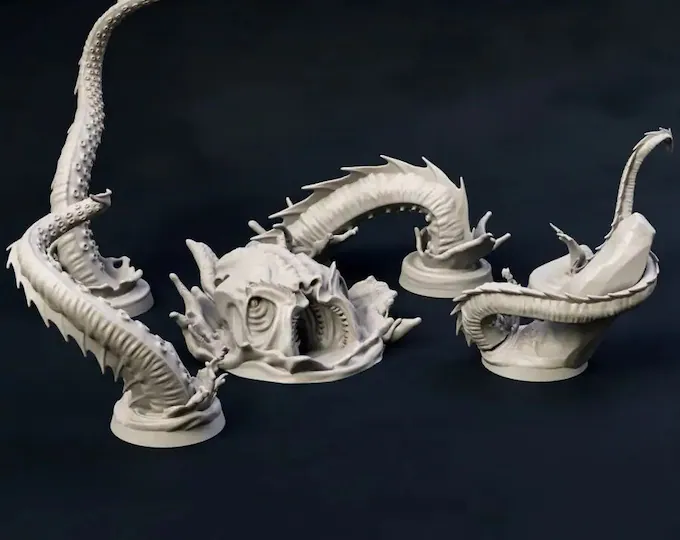
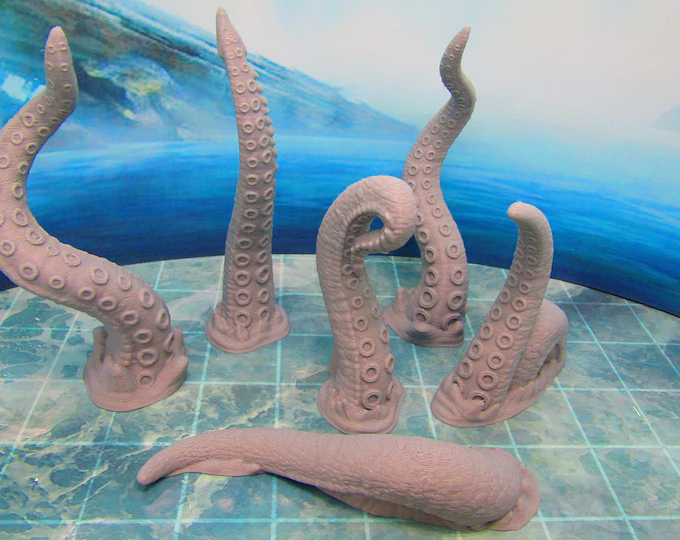
I don't recall much from drinking the rum. Not that I drank the whole bottle which caused me to forget but I am not much of a hard liquor person so I usually water my drinks with mixes. So I certainly don't have a refined palette in this area! This is the one I got a while back: If you go on Etsy, there a ton of these kinds of things. Just search for "kraken miniature." The sellers are using 3D printers to make them, so they can scale them up to the size you need. Or, to ensure the tentacles fit just right in securing the bottle, you could get a smaller one as a model to sculpt it out of modeling clay. With your approach of having the kraken grabbing the bottle, you can even go for one of the prints where the kraken is half submerged and just tentacles and the head are sticking up. https://www.etsy.com/listing/1148454888/kraken-miniature-from-goonmaster-3d?ga_order=most_relevant&ga_search_type=all&ga_view_type=gallery&ga_search_query=kraken+miniature&ref=sr_gallery-1-47&organic_search_click=1 https://www.etsy.com/listing/1161793199/mines-of-maznar-kraken?ga_order=most_relevant&ga_search_type=all&ga_view_type=gallery&ga_search_query=kraken+miniature&ref=sr_gallery-1-37&frs=1&sca=1&sts=1&organic_search_click=1 https://www.etsy.com/listing/933305132/breaching-attacking-kraken-sea-monster?ga_order=most_relevant&ga_search_type=all&ga_view_type=gallery&ga_search_query=kraken+miniature&ref=sr_gallery-1-1&organic_search_click=1 Hope this helps - whatever you decide I'm sure will be really sweet!
-
I'm in for this one Glen, sure to be another creative build! Funny, a year or two ago I was looking for rum and saw this bottle. I bought one thinking I'd do a Kraken SIB with the Kraken in the bottle, but I like your idea a lot better! I actually ended up buying a fantasy miniature of a Kraken just to give me a sense of proportions, head, tentacles, etc. Are you going to build the Oseberg with the oars? That will certainly make things challenging!
-
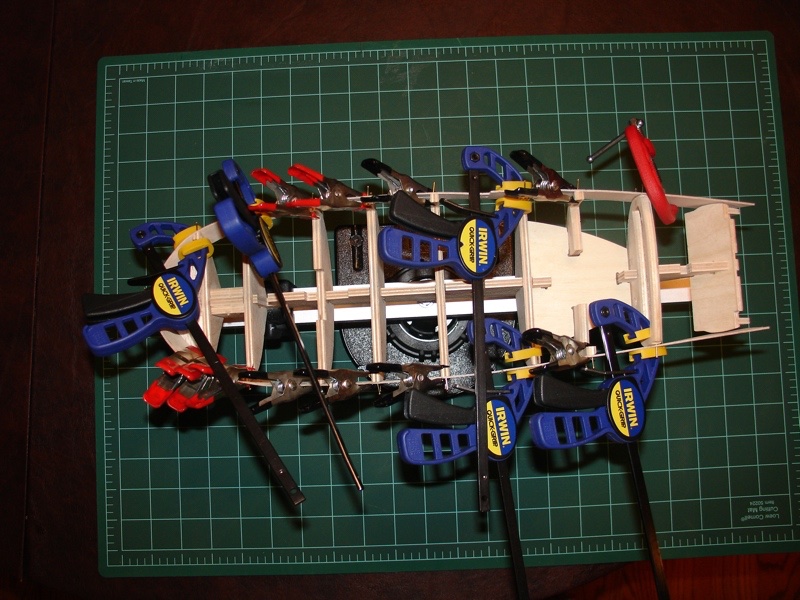
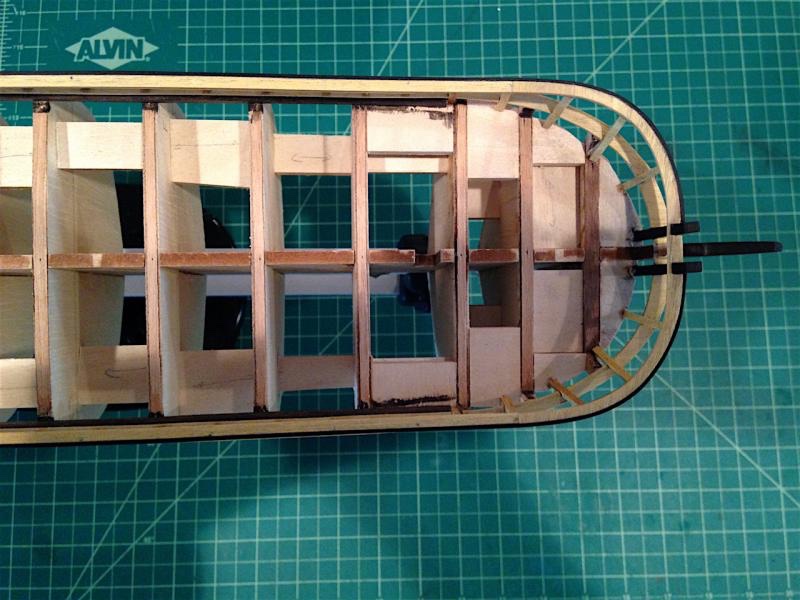
I built it a long time ago and remember having a little trepidation on that step, but just follow the instructions. Pin and glue the gunport pattern as a first step: Then proceed with the first and second outer hull planking. At that point, the planking together with the gunport pattern should be very strong. Once you install the deck base, you can cut off the bulkhead extensions so you're left with this: Then all you need to do is sand the deck base and the portion of the bulwark where the bulkhead extensions were to ensure a smooth fit, and then plank the deck and the inner bulwarks. To cut the bulkhead extensions, a veneer saw is a great tool though not essential. I picked that tip up from Blue Ensign. I agree with Jason - it's a lot easier to get help if you post a build log.

-
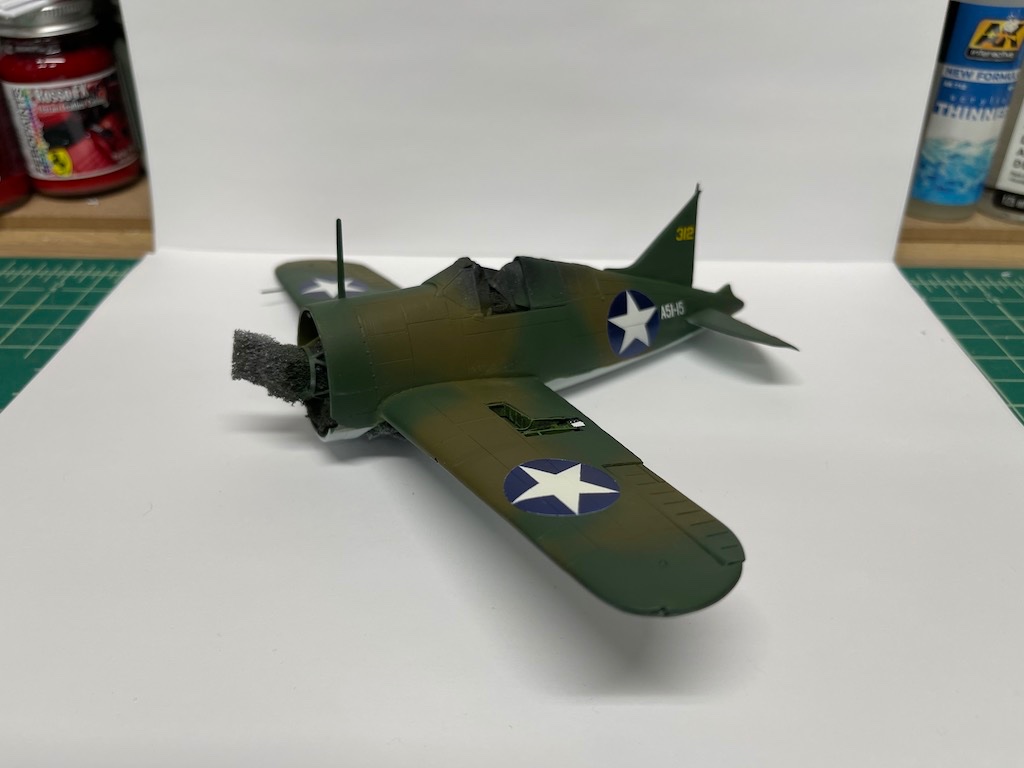
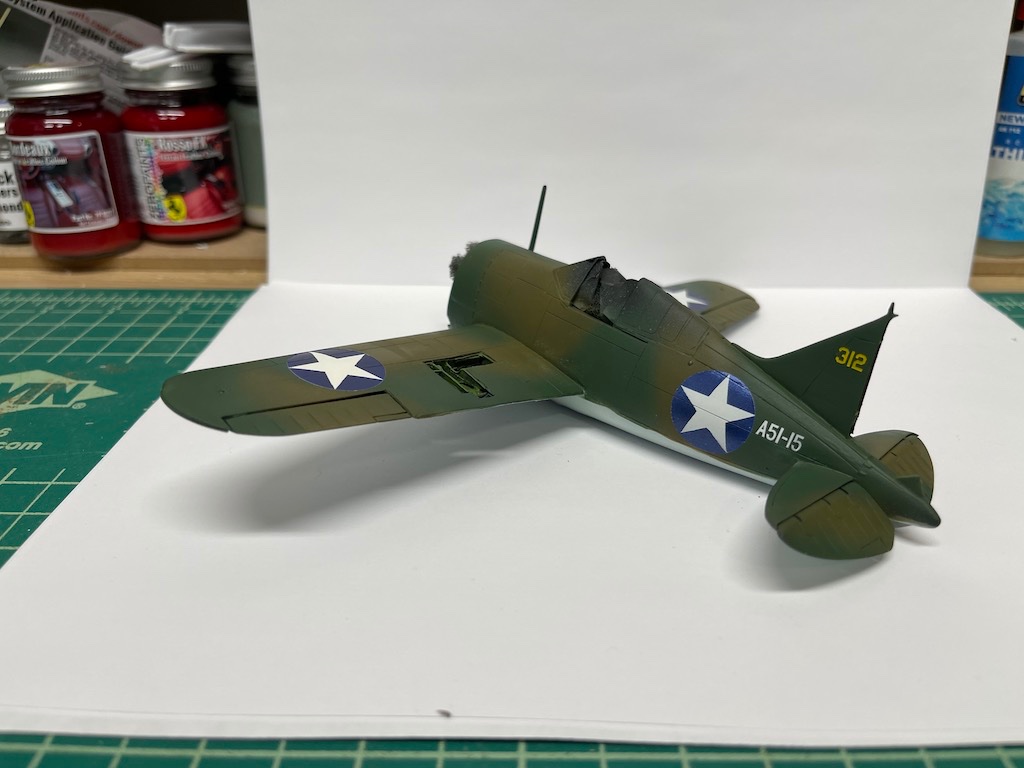
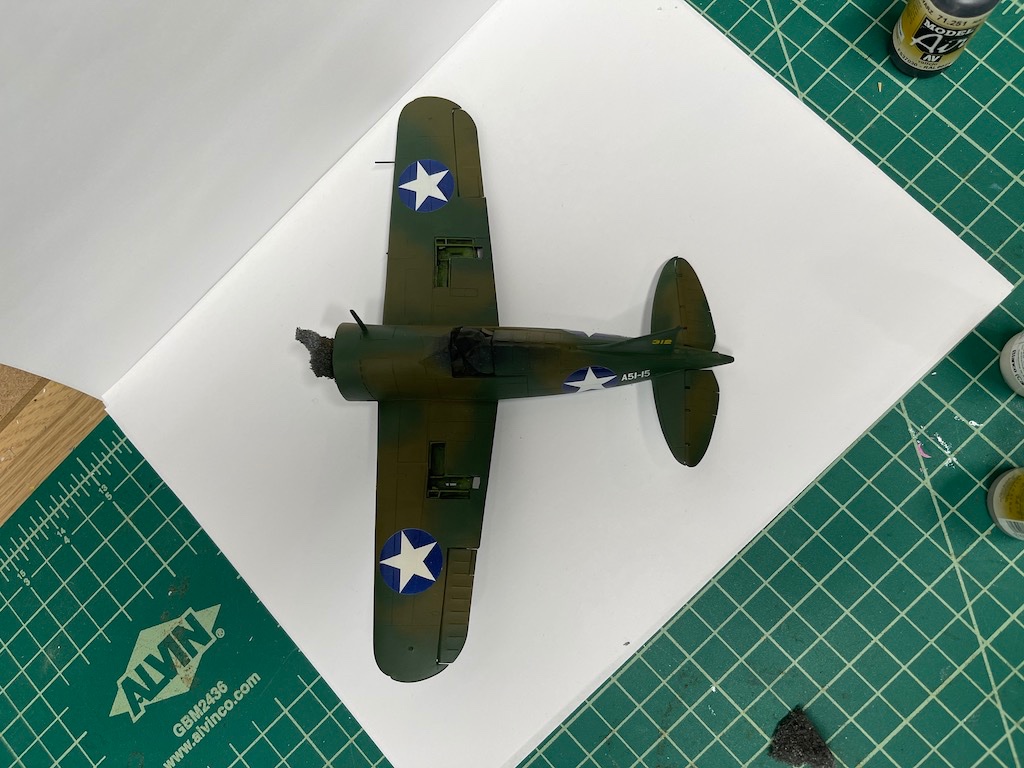
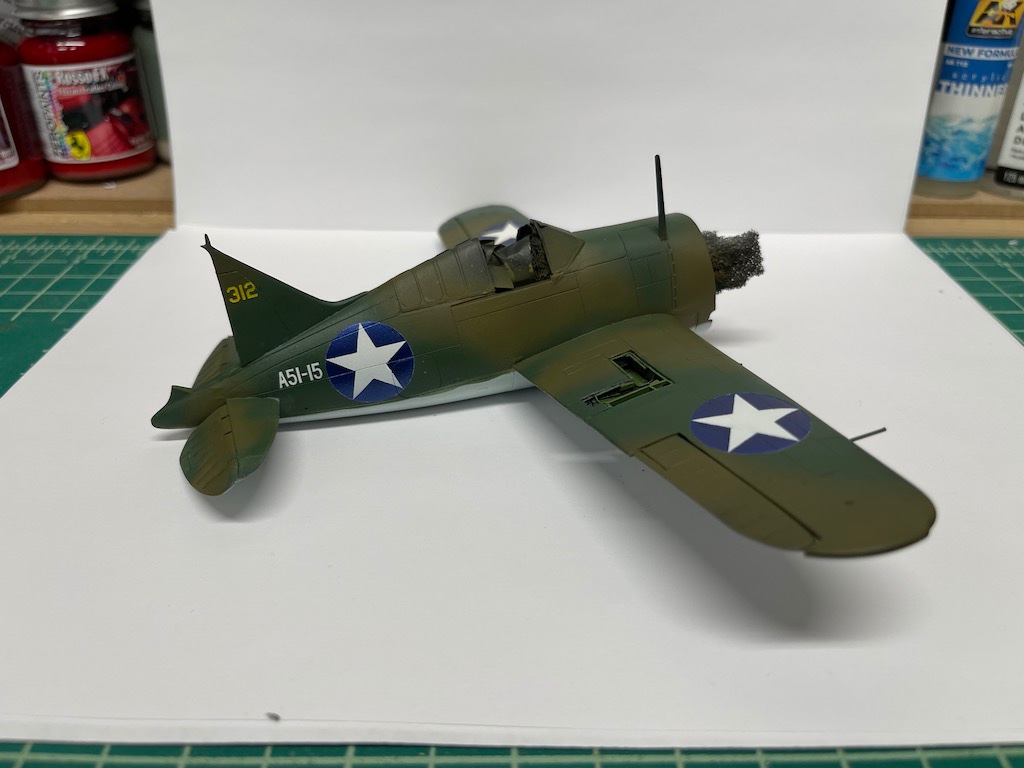
Painted on the insignia and the numbers. The Montex set of stencils worked really nicely. I was a bit worried about the numbers but they came out great with minimal touchup needed. Was hoping to get this one wrapped up before the end of the year, but don't want to rush the clear coating, weathering, etc. Thanks for looking in, and happy new year!
- 51 replies
-
- 15
-

-
Great work Andrew! Very well done!
-
Looking great Alan!
-
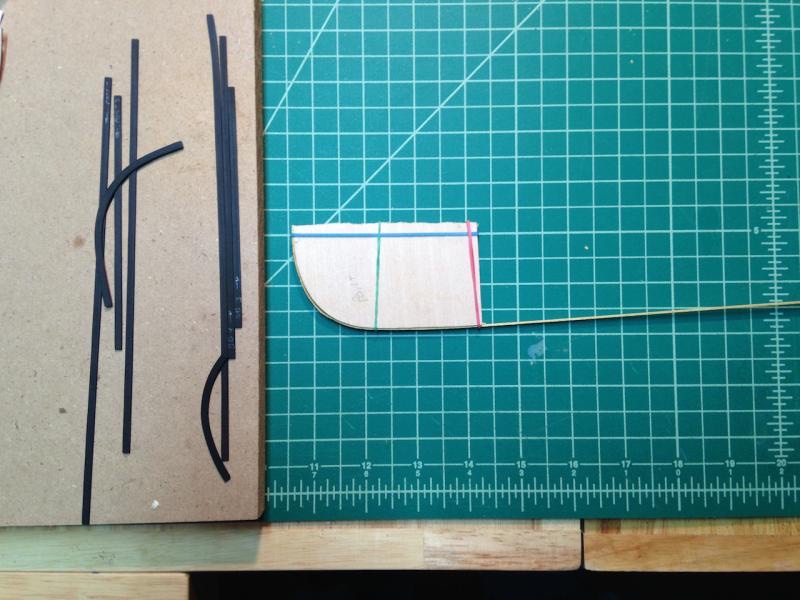
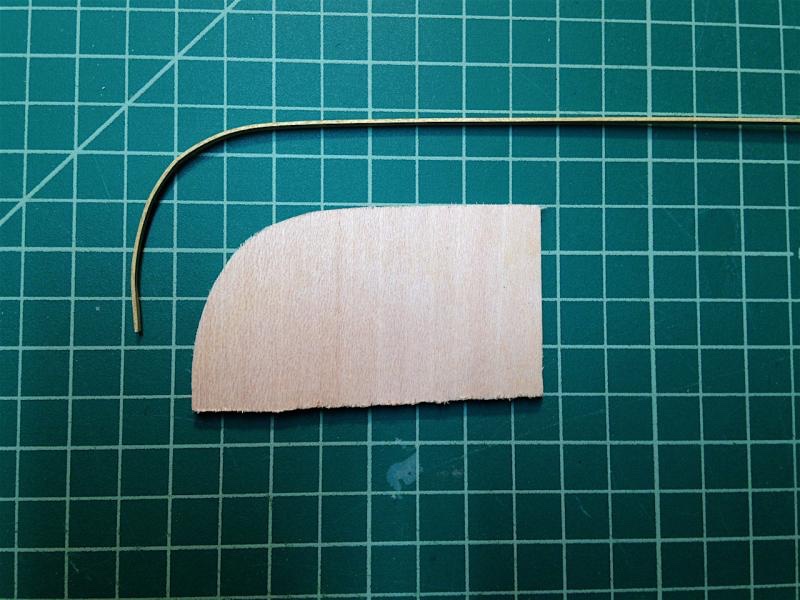
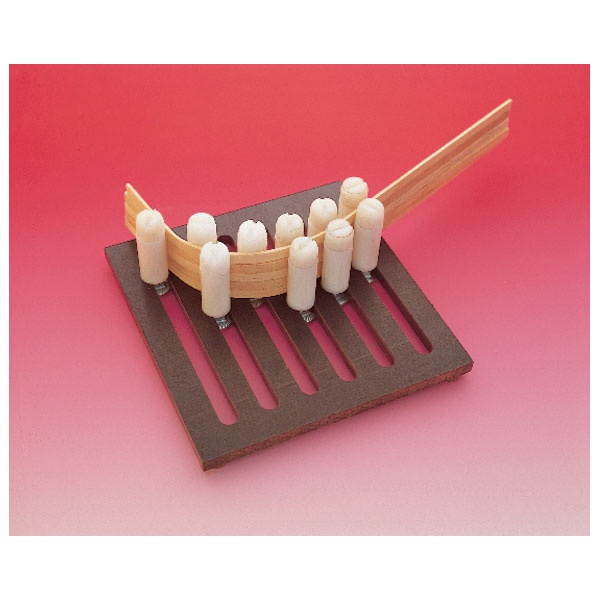
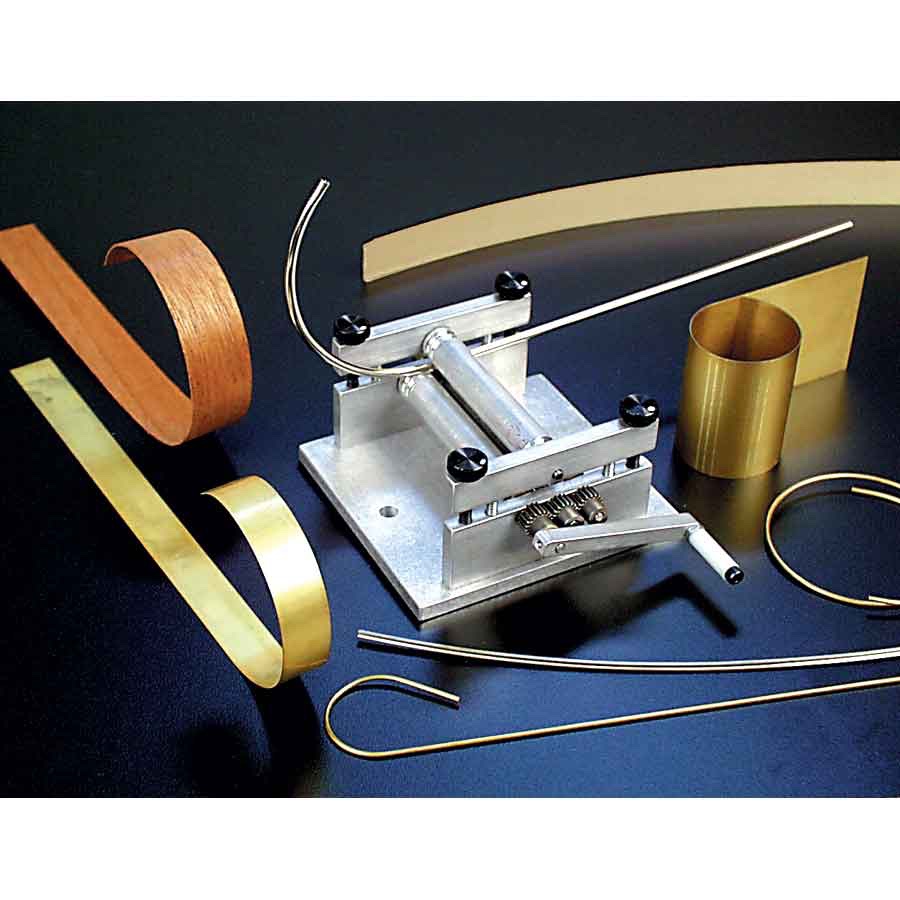
It really depends on the species of wood you're looking to bend. Yellowheart for example just needs to be soaked and placed around a former. Here is a bend I did for my Morgan: I've found that other woods like ebony require lots of heat, and a heating iron is almost a necessity. Here is the same bend of a thin strip of ebony laminated to the main rail along the bow of my Morgan: So the answer is - it depends. For what it's worth, I've found this plank bending jig from Micromark to be very helpful for serious bends: This rolling machine is also very good to get a quick and easy bend into bendable woods like lime - also from Micromark, but a bit pricey: How to Curve Model Railroad Rail Using Micro-Mark #81356 Bending Machine Edge bending where you try to bend the wood laterally across its width is a little different and probably the tools above are less helpful.
-
Thanks guys, really appreciate it! Funny thing is I thought I didn't make the lines soft enough - shows what I know! EG thanks for that info. Didn't realize that. The 339-23 that I'm modeling I believe was first intended for the Dutch, then ended up going to Australia (where I believe they were actually assembled). Some stayed in Australian service, and a few made it back into American service. I'm planning to do this one as a US 339-23. I'm still learning on the painting - the techniques and skills of people are way advanced from where things were when I did plastic models as a kid. It's been fun, even with all the bad words trying to work with a limited run kit and all the aftermarket.
- 51 replies
-
- 10
-
-
Thanks Kevin! Funny thing is on this one, I painted the lines fairly sharp, then tried to dial it back a bit and have softer edges as that is what this Atlantic camo scheme called for. I ended up using thinned Gull Gray paint applied via a sponge to try and get the effect. Did the best I could 😐 On the Buffalo, I could find nothing indicating whether the lines were sharp or soft. I decided to go with soft, given how the green and olive complemented each other. I used the blue tack method to separate the side and overhead camo from the sky-blue-gray under camo, but did the side and overhead camo (the green and olive) freehand. I have a 0.18mm airbrush which helped a lot.
-
https://forum.largescalemodeller.com I believe James runs that site as well. Good group of people, though maybe a little less active than folks here. Great skills on display if plastic (and the occasional metal) models are of interest.
-
This one has been close to the finish line for quite some time as I got a bit bored with it and moved on to other projects. Just about done though now, just have to add the wings and finish the diorama. Warning - even though the kit instructions say you can model it with the canopy open, the sliding piece just does not fit. I came to find out that others had a similar issue, with one person cracking the part to get it to fit. Thankfully, the eBay auction seller included a Taurus canopy, and I was able to replace the kit part. The Taurus canopy was a bit loose though, so when i pressed it to the fuselage, a bit of glue spread further than I was hoping. 🤬 Oh well, not much I can do. I almost threw the whole thing out when clear coating it - I ended up getting spiderwebbing in a few places when using one of the Mr. Color clear products. Even got it when trying out the rattle can version. I think it just pooled too heavily. My spray booth has these really bright LEDs, and sometimes I can't tell how much of a coat is being applied with certain colors and with the clear products. Live and learn. The good news is that was able to lightly sand off the clear coat, reapply a bit of dark wash, and re-apply the clear coat with no issue. Whew! I did spend a bunch of time trying to figure out how to put it in a diorama on a carrier hangar deck, as there aren't many pictures out there of what the flooring at least looks like. I did get a diorama base finished though, and at this point, just have to finish painting some of the mechanics to go along with it. Thanks for looking in!
- 241 replies
-
- 18
-
-

-
Well, I'm trying to wrap up my builds so that I can start an upcoming 2023 group build on MSW's sister site. After a bunch of rounds of filling and sanding, I have the camo scheme painted on the model using Mr. Color paints. Was quite a tricky time getting to this point with all the AM but I'm pretty happy with where things are. The wing gun panels are just blue-tacked in place to take on the camo scheme as they will be removed and put next to the model to show it under maintenance along with the engine. I found a Montex set of stencils to paint the insignia and numbering, so those will go on next. The landing gear and wheels are also painted, so hopefully this will get wrapped up by the end of the year. Thanks for looking in!
- 51 replies
-
- 16
-
-
Another beauty Kevin. I may have to send you some of my in progress kits so that I can join on you on the GB
-
Nice job Kevin!! Not an easy color to make look good. You work so fast I blink and you're done
-
F4U-1A Corsair by DocRob - FINISHED - Tamiya - 1/32
Landlubber Mike replied to DocRob's topic in Non-ship/categorised builds
Super work Rob! Really well done! I love the base. I have a few of them on the shelf for upcoming builds, glad to see they turn out really nicely. -
Nice job Jack!! Really well done! I think the technique you used to prime the figure is called Zenithal Priming or Zenithal Highlighting. I just came across the technique on a miniatures video myself. I need to try it!
-
Another stunner for the display case - nice job Chris!
-
Glen, another creative, fantastic build! Really great job, love the SiB and display!
- 134 replies
-
- 3
-
-

-
- Captain Kidd
- bottle
- (and 3 more)
-
Thanks Kevin! Yes, I do have a preference for the Japanese ships. Most of my stash is IJN - though, I do have a few US (Hasegawa's Gambier Bay and the Trumpeter Enterprise), German (1/700 and 1/200 Bismarck, and a 1/700 Graf Zeppelin) and a 1/72 and 1/144 Flower Class Corvette. I'm really looking forward to trying to build some of those pagoda-style ships like the Fuso. Ultimately, I want to build the 1/350 Hasegawa Akagi. That's been on my list forever. Was actually the second plastic model I bought a couple of years ago, but will probably be one of the last I build given the skill level needed to do it justice -- and I might have bought a few kits in the meantime 🤫
-
Beautiful pristine work! Really nice job!
-
I think Verlinden does some 1/48 and 1/35 life rafts with figures. CMK I believe has some that might work in 1/72 scale. I think if you search using "dinghy" you can find them. Your Phantom is coming along great Craig!
-
Just caught up with your log and watched your insertion video. Wow! You're really getting good at this SIB stuff Glen! I was getting very nervous watching you scrunch down the masts and sails and push it into the bottle. Almost like you needed to spray some WD-40 or other lubricant (not going there!) to get it in. Glad it all worked out! One thing I realized at the end of your video is that having such an angled bowsprit could have made things much more difficult if the bottle had a longer neck. Looked like you had just enough room to be able to tilt the hull to get it in. Something for me to consider if I ever get around to trying to scratch a SIB build. A question for you if you don't mind. Did you let the resin water dry and then glue the bottom half of the hull on top? Or did you put the lower half of the hull in while the resin was drying which served to anchor it? In my mothballed SIB build, I was trying to figure out what way made the most sense. I was concerned that it the hull slipped into the wet resin, I'd have resin on the hull in places I didn't want it. I've seen others insert the hull first, then pour the resin into the bottle letting it settle in around the hull. That avoids the issue of accidentally dropping the hull into the resin, but seems like it could be tricky pouring the resin and having it settle equally around the hull.
- 134 replies
-
- 4
-
-
-
- Captain Kidd
- bottle
- (and 3 more)
