


Landlubber Mike
-
Posts
4,547 -
Joined
-
Last visited
Content Type
Profiles
Forums
Gallery
Events
Everything posted by Landlubber Mike
-
 Funny, I came across this kit for the first time last night looking for subjects to include in a 1/72 diorama. Looking forward to seeing what you do with it!
 -
Really well done Dave! One of the best Mayflowers I have seen. Congratulations!
-
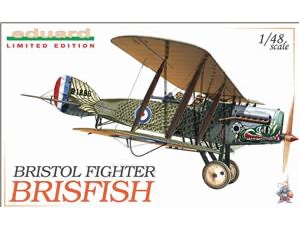
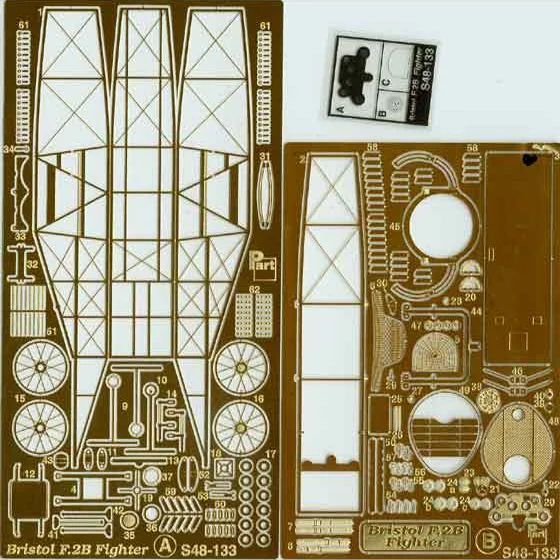
Hey Craig, great choice! I have a couple of the Eduard F.2b kits on the shelf (Brisfish and Crocodile) so will be following your build for sure. There's not that much AM out there for these kits, but I did pick up this Part set (No. S48-133) which is for the Roden kit but has some helpful PE for the build. Worth it just for the much improved radiator in my opinion. If interested, you can look at what this guy did with the Crocodile kit - lots of amazing scratch and other upgrades for the kit. Of course, you can always look at the Wingnut kit to see if there are any details, etc. that this particular kit may be missing. https://www.scalemates.com/profiles/mate.php?id=21997&p=albums&album=42324&view=list

- 140 replies
-
- 10
-

-

-

-
Nice job AJ! Really fantastic work - on both!
-
Wow, this is all so very cool! Clever use of materials!
- 134 replies
-
- 3
-
-
-
- Captain Kidd
- bottle
- (and 3 more)
-
Looking absolutely fantastic Ron. The sails are really impressive! Can't wait to see the ship in it's glory when you get it in the diorama!
- 542 replies
-
- 2
-
-
- Sphinx
- Vanguard Models
- (and 3 more)
-
A really impressive build of an equally impressive subject. Great job Alan! I learned a lot reading your log, thanks for sharing your journey!
- 460 replies
-
- 3
-
-
- Finished
- Flower-class
- (and 1 more)
-
Another true work of art BE! Thank you for sharing your journey with us, including all your clever techniques.
- 857 replies
-
- 5
-
-
-
- Sphinx
- Vanguard Models
- (and 1 more)
-
Wow, that's very clever! Really well done! I agree, they have to be one nicely or they detract from the model as they eye is always drawn to details like these. I'm going to save this for future reference!
-
Great job Alan - came out really nicely! Again, what a cool subject!
-
What an interesting subject Alan! Great job on the camo too - this is really cool, certainly a conversation starter!
-
Wow that came out great! Especially amazing that it's your first card model!
-
I'm in for this one Kevin! Interesting how even in war, the Italians put a nice design stamp on their planes (and ships, etc.). What do you think of the kit? I don't have any PCM in the stash, but just wondering what you thought.
-
Thanks Alan! I'm slowly getting better at it. Once you figure out what tools and techniques works best, and how to apply CA properly, it gets easier. The Five Star set is really nicely done, with pre-indentations along fold lines so folding is pretty easy. I've also found having a hold and fold tool can be really helpful on longer folds.
-
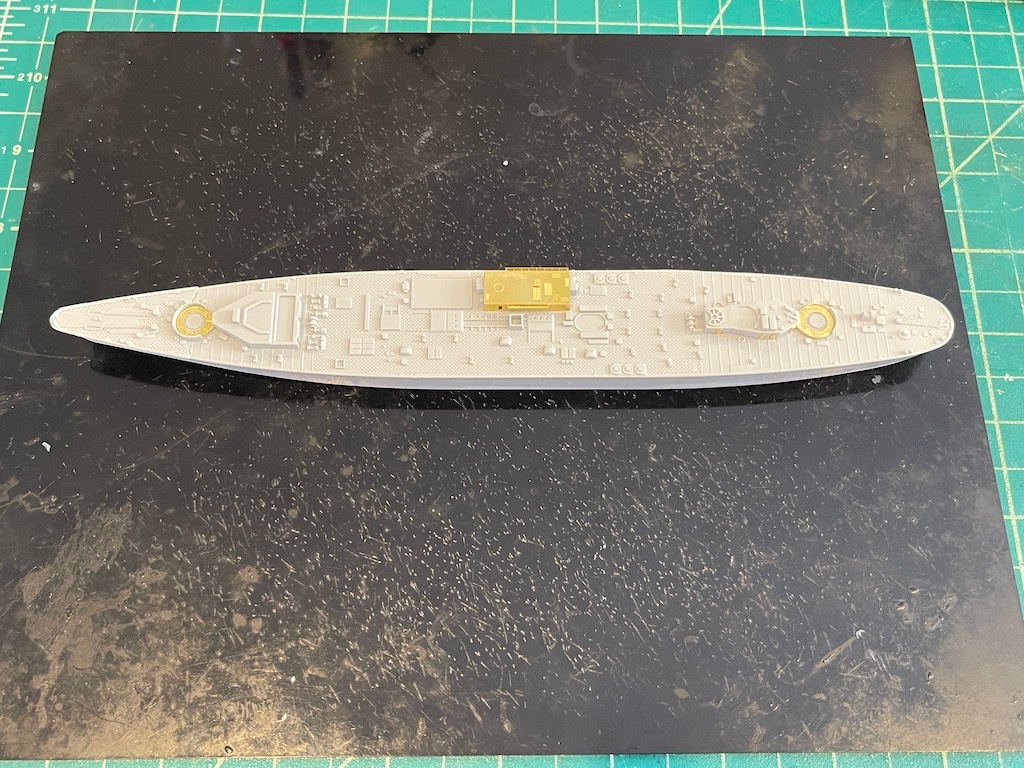
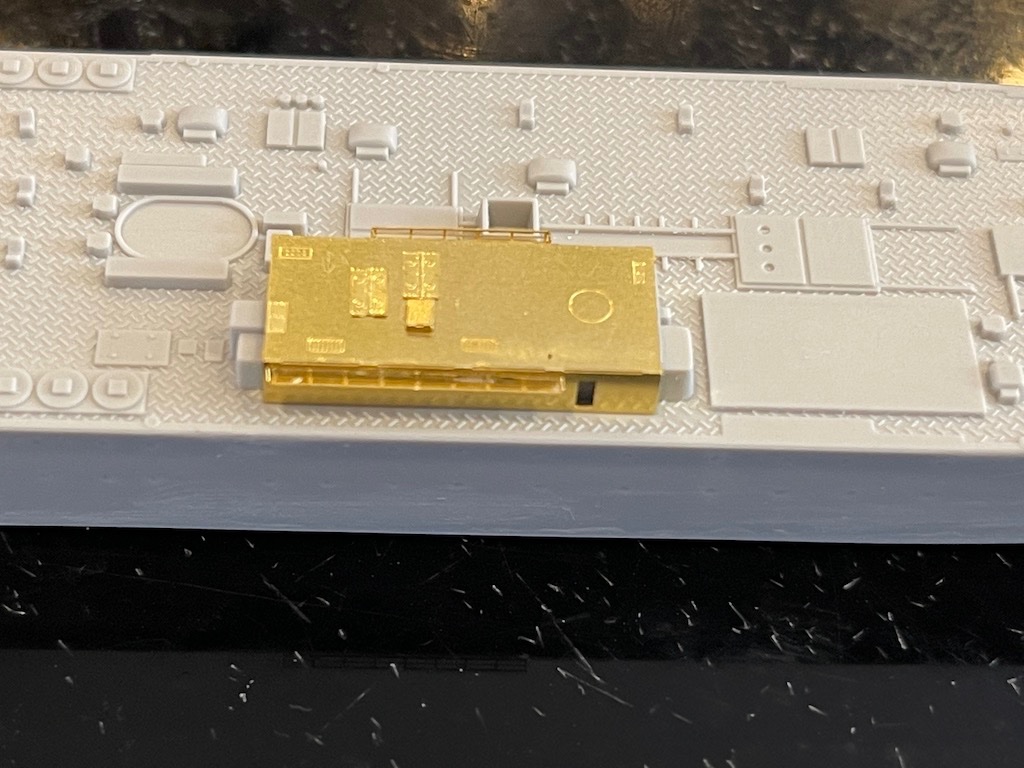
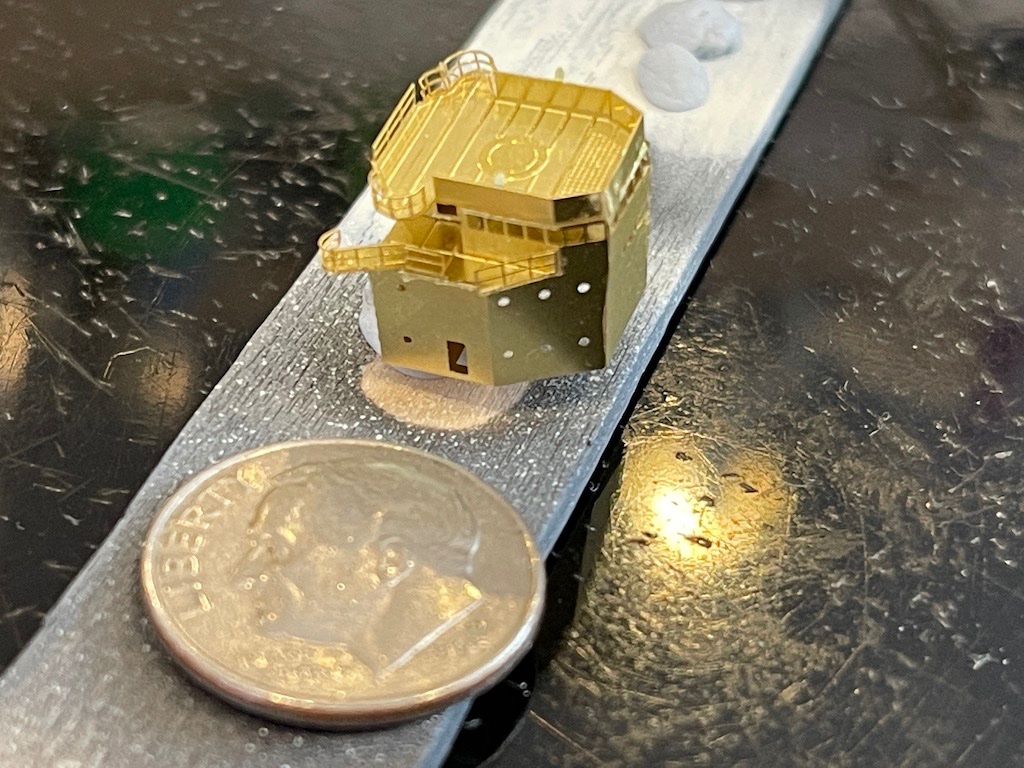
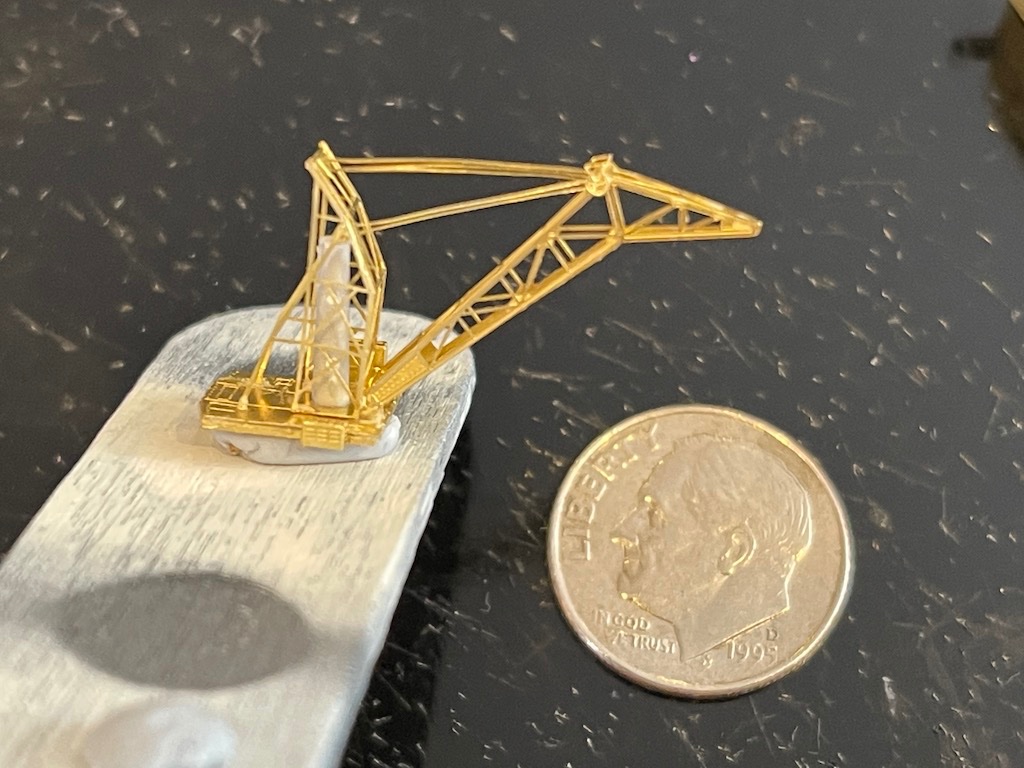
Quick update on this one. With the Asashio mostly built up, I turned to the Akashi. It's an interesting ship with five different cranes and lots of small boats, and the Five Star set is another gem for this kit. The folks at Five Star were also kind enough to email me a high resolution PDF of the kit instructions which already has been of immense help. I built up one of the stand-alone cranes and its associated platform in the middle of the ship, and added some other easy PE to the deck: Next I started on the bridge. All this was built using only two pieces from the PE fret! The middle platform and associated rails fit into the primary assembly, and it probably took me a couple of hours to figure out how to do the folds and in what order. The instructions just have pictures of what the assembled structures look like, with no instructions on how to do the bends. It was a lot more intricate than it first looked when I started, but came together nicely. I still have to add a rear platform and three separate cranes that attach off the back. Thanks for looking in!
-
Agree with Pat - you win the creativity award on MSW! Nice job!
- 134 replies
-
- 4
-
-
-
- Captain Kidd
- bottle
- (and 3 more)
-
Upgrading Mill
Landlubber Mike replied to ChrisLBren's topic in Modeling tools and Workshop Equipment
Sherline is great, they are built like tanks and the accessories are generally interchangeable between the mill and the lathe. They have been around forever, and you can get replacement parts down to the individual screws, etc. Very helpful customer service too. Pricey, but their tools will last a lifetime. -
Thanks Roger - I'll have to see if I can get more info on what happened. Unfortunately can't find any photos.
-
Looking good! Great start of a cool little subject. Even better that it's local to you.
-
Nice display cases! Thanks for passing along the info.
- 460 replies
-
- 5
-
-
- Finished
- Flower-class
- (and 1 more)
-
I'm in for another ride Glen! This one is going to be another fun one to follow. Your creativity on displays is incredible - I can't wait to watch you execute this idea!
- 134 replies
-
- 3
-
-
-
- Captain Kidd
- bottle
- (and 3 more)
-
Hey Brian, thanks for the kind words. Honestly, if you spend some time on youtube you can get a lot of ideas on how to go about doing the sea. There are many brilliant modelers out there that freely share their techniques and demystify how dioramas are done. There are lots of ways - the crinkled foil technique, using artist paper, carving seas in wood or foam board, sculpting it in clay, and even pouring it in resin. Depending on scale, choppiness of the sea, etc., some methods are better than others I would think. For this one, I just used the crinkled foil technique which is fairly simple. I used that same technique on my Hatsuzakura at 1/700. I have some 1/700 ships I'm working on now that will be in calm water situations - there, I might try using a different method. The trickier thing for me at least is how to get the shading of the water to look realistic. You really don't want to paint a single color, but layer on different shades and colors, which is fairly easy using an airbrush. I actually only used 3-4 different colors on mine via airbrush, then went back in by hand to add some of the waves and foam. You should give it a try. Personally, I think ships look better in their element - in the water, with sails, etc.
-
Ron, your sea is really incredible. The mixing of the colors with green in it is fantastic. I can get away with a lot more at 1/350 than you can at the scale you were working in. The trailing edges of your waves are a real work of art - looks just like the real thing! And interesting pictures of the cat hair smoke! @king derelict, your cat looks too comfortable to have someone plucking hairs. Is that a Maine Coon? My parents had them.
-
Thanks Popeye, really appreciate it! Ron, I'll have to check those out and thanks for the offer! For my sea spray/white foam, I used Liquitex as the medium, and generally used cotton balls that I stretched out. The Liquitex dries clear, but the foam turns white from the cotton. I also used a combo of Vallejo white and Tamiya white for different shades of white. My Vallejo was a bit thin and chalky, so it worked well for the areas mid hull to the stern. The areas at the front and back, as well as right up against the hull, were lightly touched up with Tamiya white. Having the two helped make more more contrast and less uniformity. If you want translucent waves, you can form the waves using toilet paper, which when wet from the gesso turns translucent. A good way to show water cascading over the side of the ship. Though, I'm not sure what scale you are working in so the toilet paper might not be strong enough - or you just have to use premium four-ply 😆