Landlubber Mike
-
Posts
4,547 -
Joined
-
Last visited
Content Type
Profiles
Forums
Gallery
Events
Everything posted by Landlubber Mike
-
 Well done! Personally I like it with all that mud on it. Looks like it had a productive day. Great job!
 -
Love it Alan, really nice job!
-
Good to know Kevin - I'm down to the main lines that go down the middle of the ship. And yes, put men on the ship! I have a few dozen on mine.
-
That's fantastic Kevin! I'm just about done rigging my Shimakaze - you said you love rigging, I should have just sent you mine! Took me a while to work out a system on how to attach the lines. Using a dot of accelerator helps a lot!
-
Definitely consider depth. Some of the workbenches out there are 20" deep and that's not very much if it's going to be your primary workbench for building larger ship models. 20" may be fine for smaller power tools, but that's about it.
-
I haven't been very successful in trying to remove the warp in plywood keels. My guess is taking the warp out of a smaller part might be even harder. I'd cut a new one out - shouldn't be too hard. The time you spend now will save issues down the road should you try to use a bulkhead that is not perfectly flat.
-
Wow, that was fast! Looks amazing Craig, very very nice job! The deck is a very nice choice for the display.
-
Nice job on the camo - that must not have been a fun masking job! Looks really great!
-
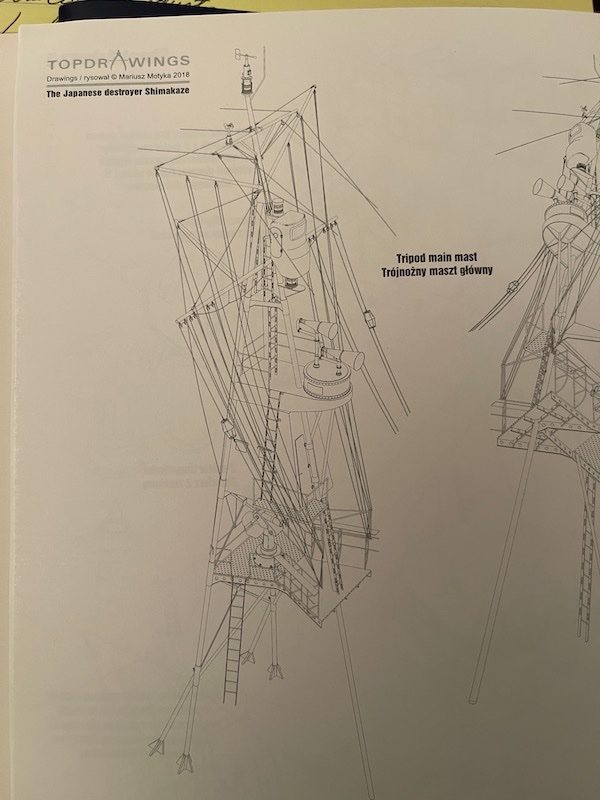
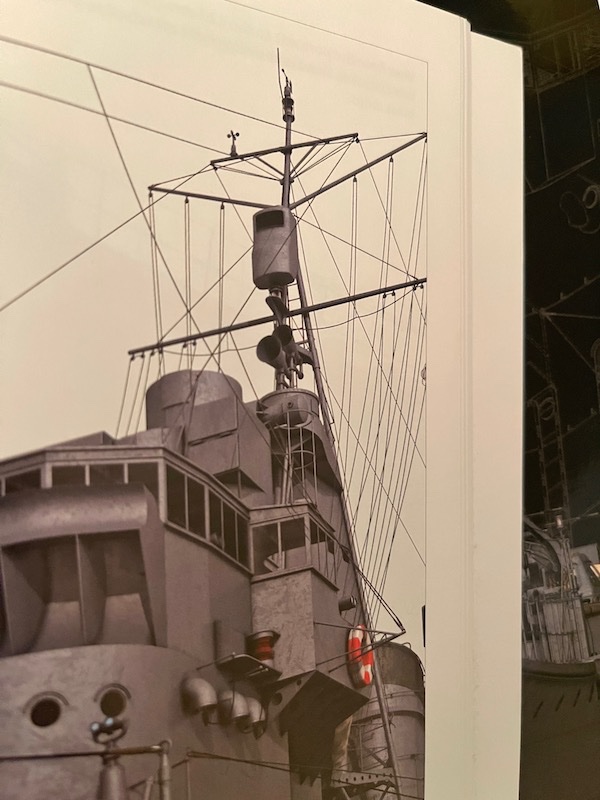
Some from the Kagero and TopDrawings books for the Shimakaze: Here is a video from Ebroin's Miniatures - you can see the stretched sprue rigging from the spars on the bridge mast, and in a different color:

-
Very cool Michael! Clever way of using the punches to get those rounded profiles. I learn something new every time I log on here. Looking forward to watching this one come along!
-
Looks great Kevin! Timely that I read your post as I'm in the middle of rigging my Shimakaze and wondering about whether and how to get a sag in some of the lines. Easy when using EZ-Line, etc. to get a taut line, but I'm wondering about the lines that should be sagged. I ended up rigging the rear tower section, now about to start the bridge area. Speaking of which, on the bridge, are the lines off the main mast that are connected to the pulleys on the spars supposed to sag? Some pictures I've seen them sag, others not. Also, are those lines black or are they usually a lighter color? Some I've seen more white/tan. For what it's worth, I saw someone create sagged lines on the bridge rigging using stretched sprue. Once he got the lines set up, he rolled a cylinder down the sprue one or two times to get a gentle curve.
-
Looks great Craig! The details are fantastic - looks like Takom did a nice job on this kit.
-
Nice work! I always feel like it's a big leap forward in the build finally getting the fuselage buttoned up after all the work that goes into putting together the mostly unseen cockpit.
-
Great start Craig. Looking forward to watching this one come along.
-
Agree with everyone above - looks great, nice job! It's really incredible seeing what you and Chris and others are doing in card, especially with all the compound curves in the subjects you are modeling.
-
Looking good!
-
Welcome back Max - nice work on the FWZP!
-
Great job on those planes Craig - fantastic decal work! And I too am impressed by your painting with white skills - not easy for sure!
-
What an amazing model!! Incredible work BE! I really like your display.
- 857 replies
-
- 5
-

-

-
- Sphinx
- Vanguard Models
- (and 1 more)
-
Looking great Mike!!
-
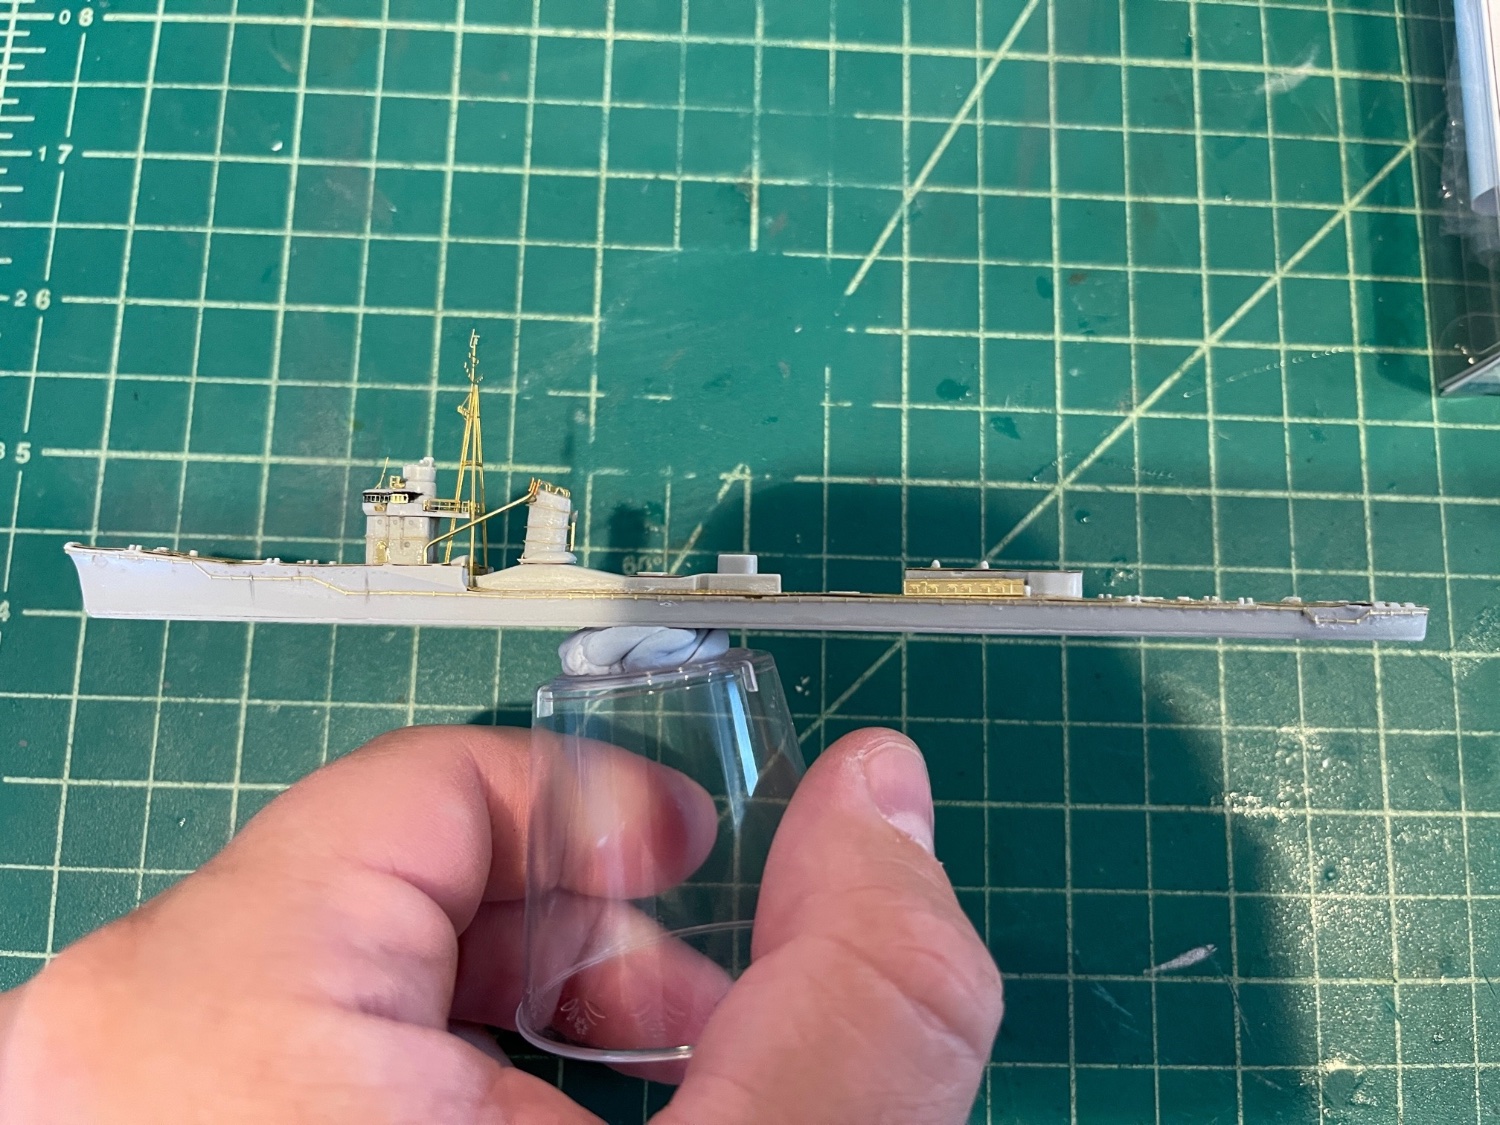
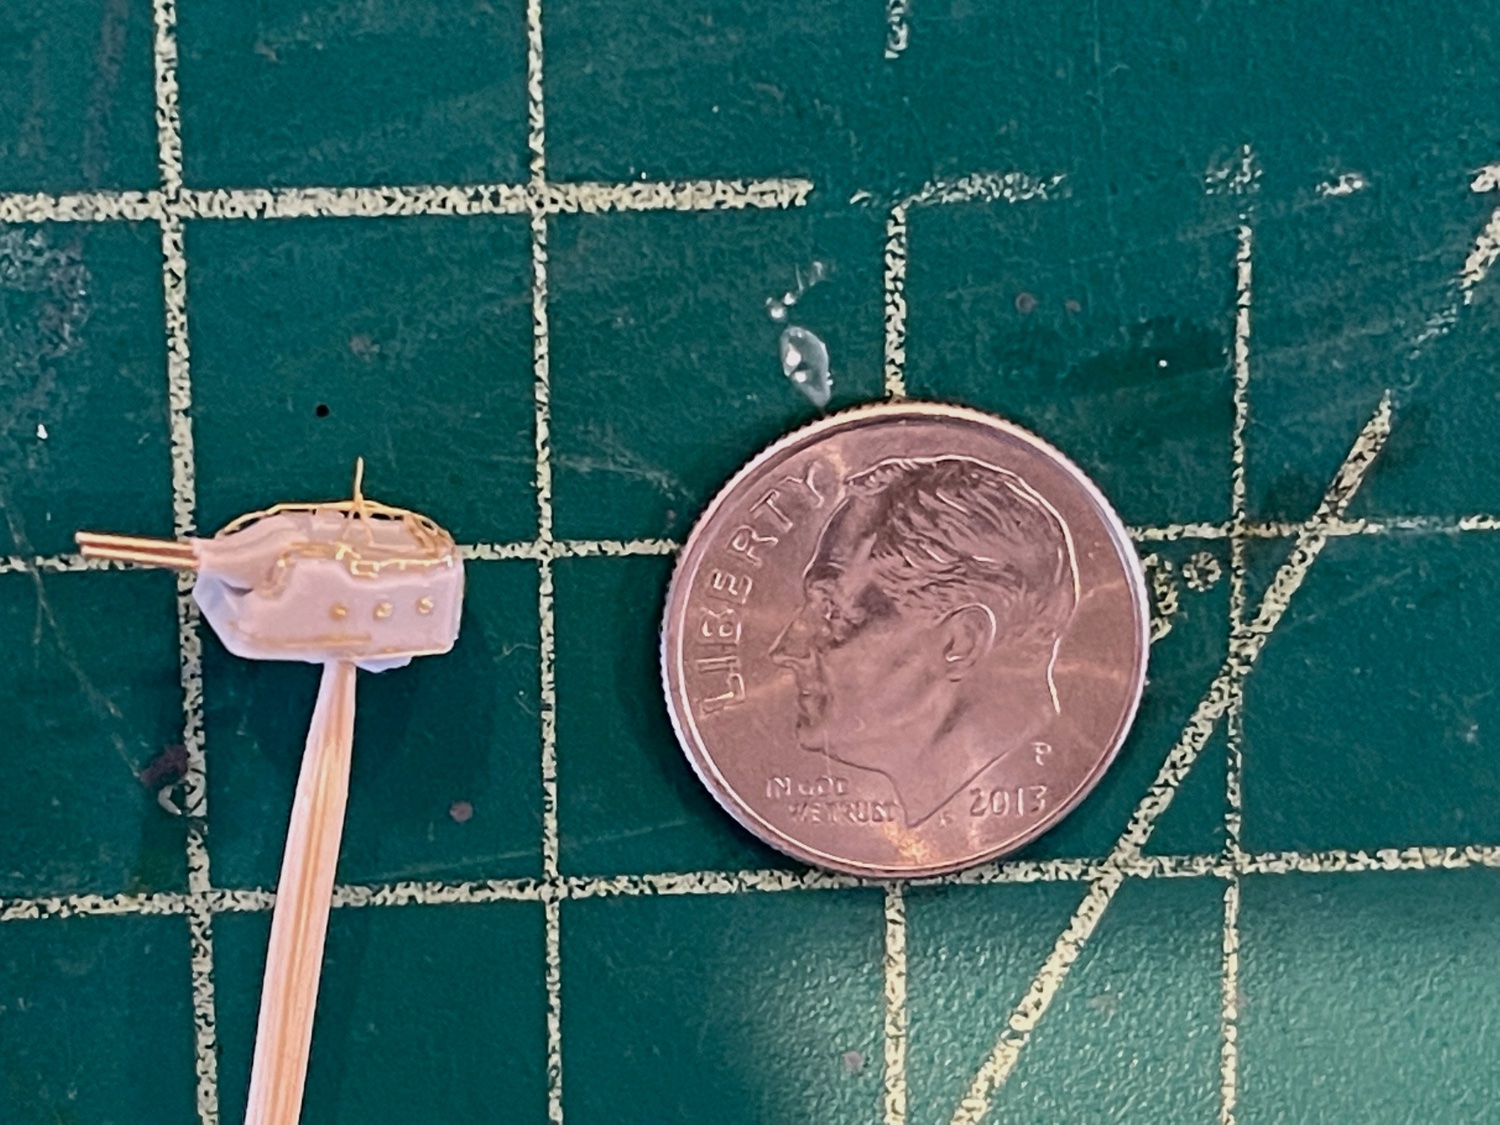
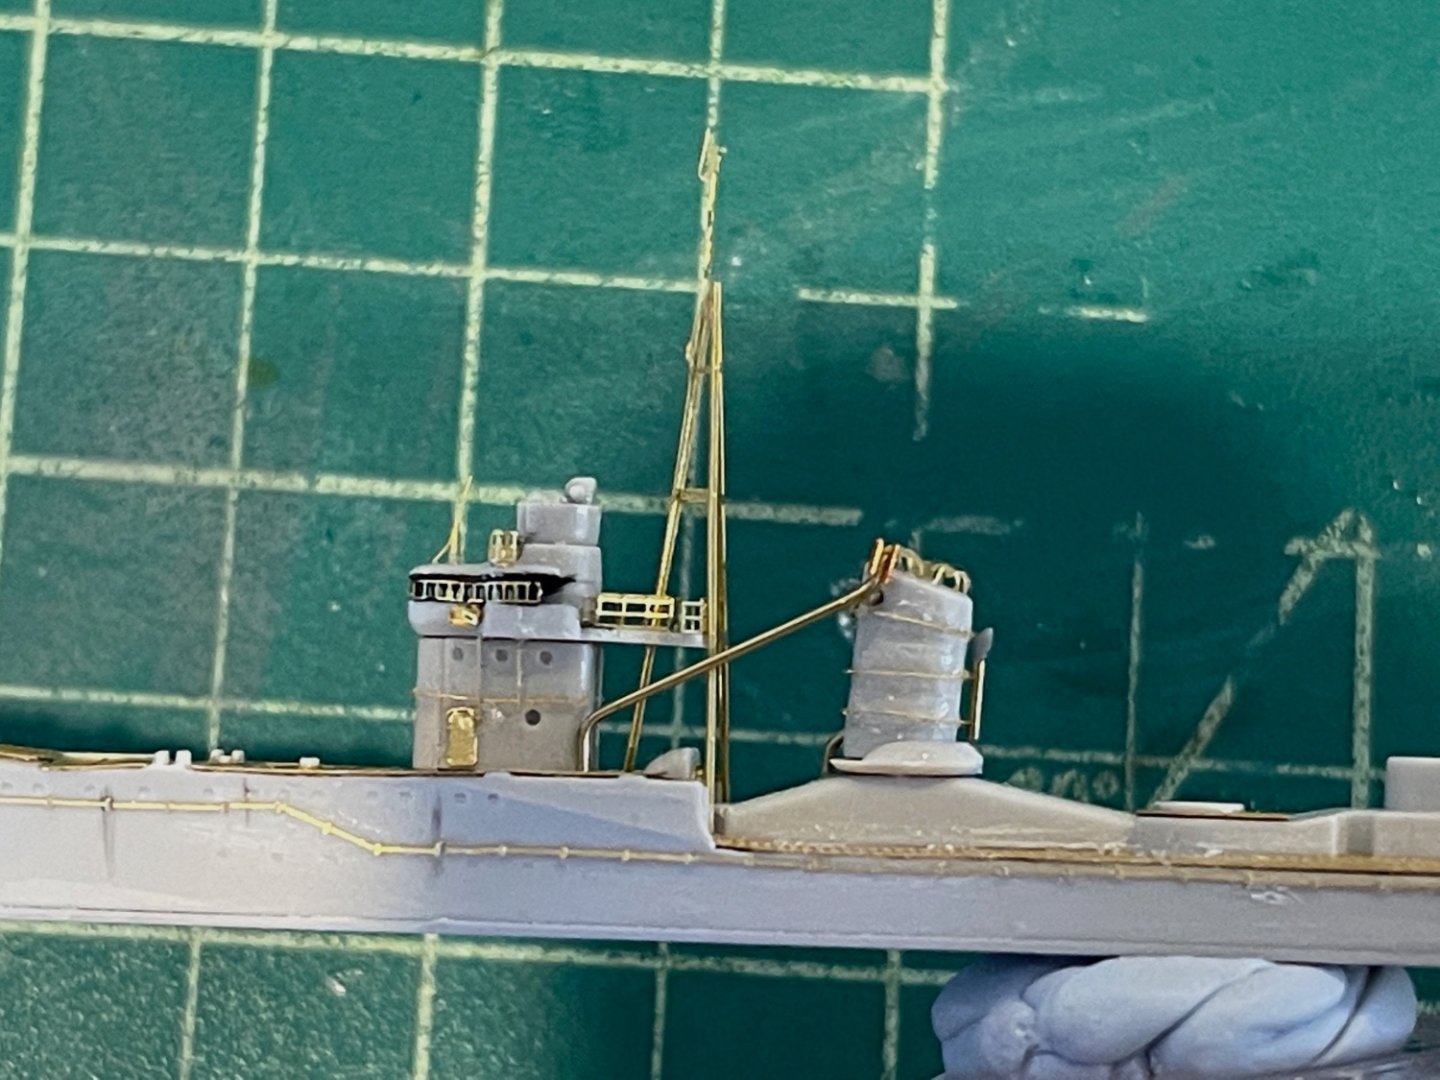
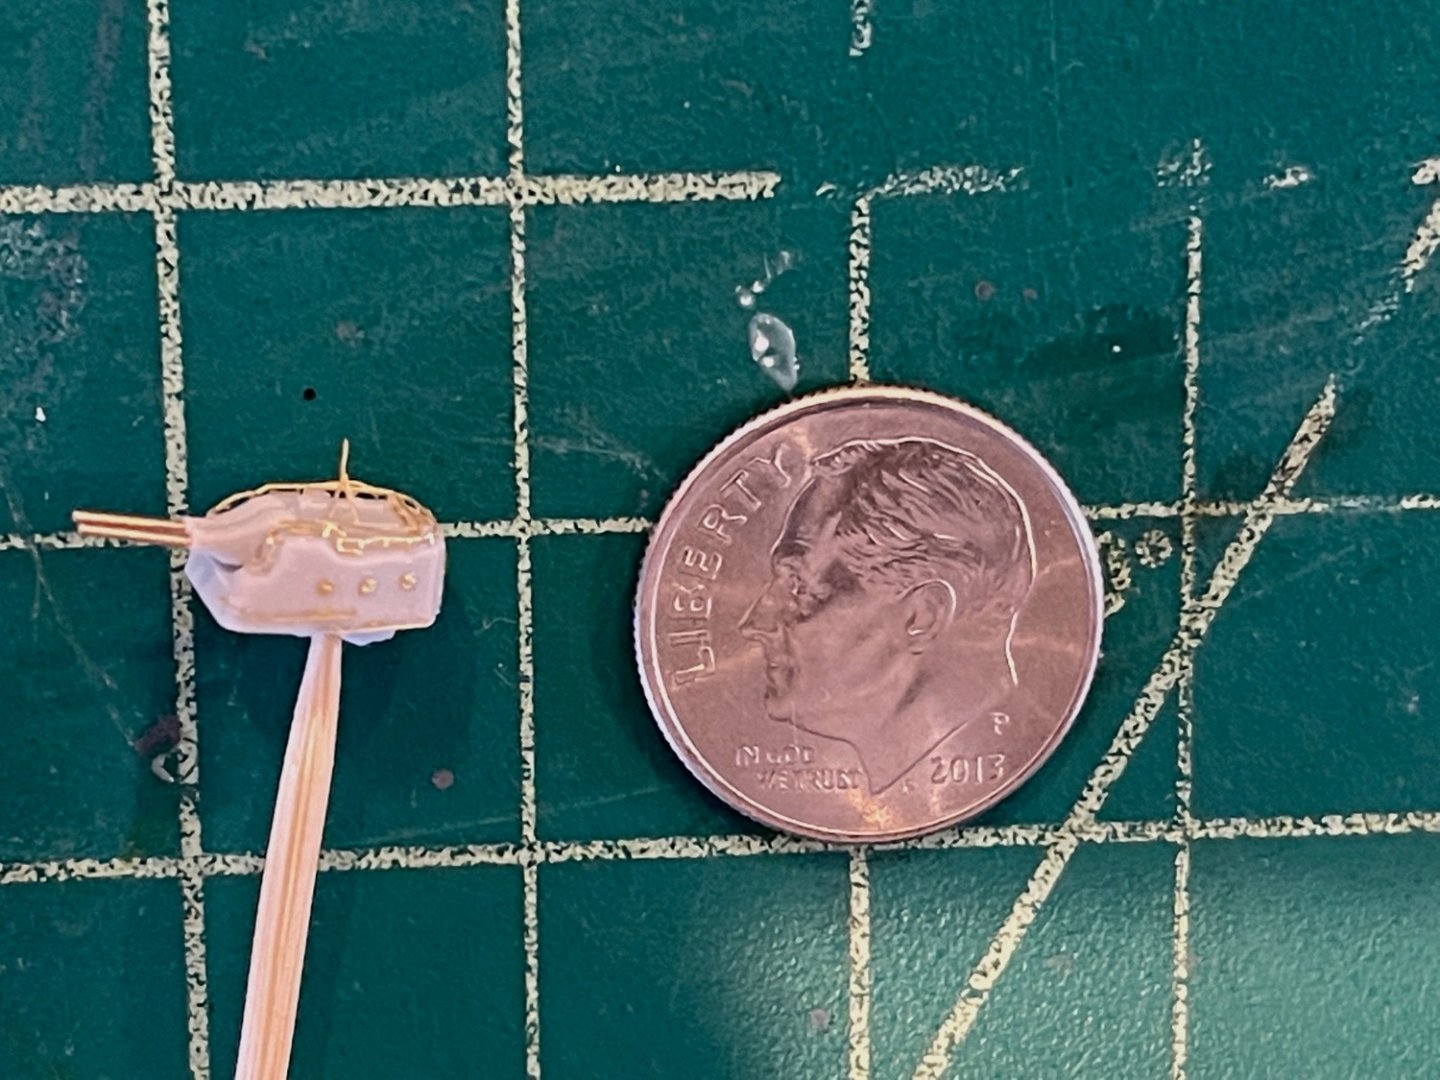
In between other projects, I put in some more time on the Asashio. There are times when the PE work is frustrating (like when a piece pings off the tweezers and you spend a ton of time on the ground looking for it), but otherwise, once you have a routine, I find it pretty relaxing. I added some of the piping details to the fore funnel. I replaced the kit part that runs from the funnel to the bridge with brass - I find the kit parts tend to be a little overscale, at least to my eye. I also added two more vertical pipes - one on backside, one on starboard front side - again using brass topped with funnel openings that are aftermarket. I also finished the three main guns. Lots of PE (15-16 separate pieces per gun, not including the brass barrels). I find detailing the guns to be some of the hardest PE work in that the rails are a bit tricky to bend and get to adhere to the gun, so I'm glad this step is over though the torpedo launchers are up next. But, these came out ok I think. Thanks for looking in!


- 39 replies
-
- 11
-
-

-
Looks great Craig. I love Mr. Surfacer - can't beat it! Is that the Pontos 1/700 Yamato? I almost pulled the trigger on it an it looks like a spectacular kit, but have a Fujimi kit in that scale with a Flyhawk detail set and other AM. The Pontos kit looks very good though...