Louie da fly
-
Posts
7,973 -
Joined
-
Last visited
Content Type
Profiles
Forums
Gallery
Events
Everything posted by Louie da fly
-
 Yes, it's a fair bit of work and needs quite a bit of thought. I certainly don't regard myself as an expert (and I still make a lot of mistakes). But it does make a nicer looking model in the long run. And of course, experience is a great teacher. Steven
- 77 replies
-
- 3
-

-
- Santa Maria
- Artesania Latina
- (and 1 more)
-
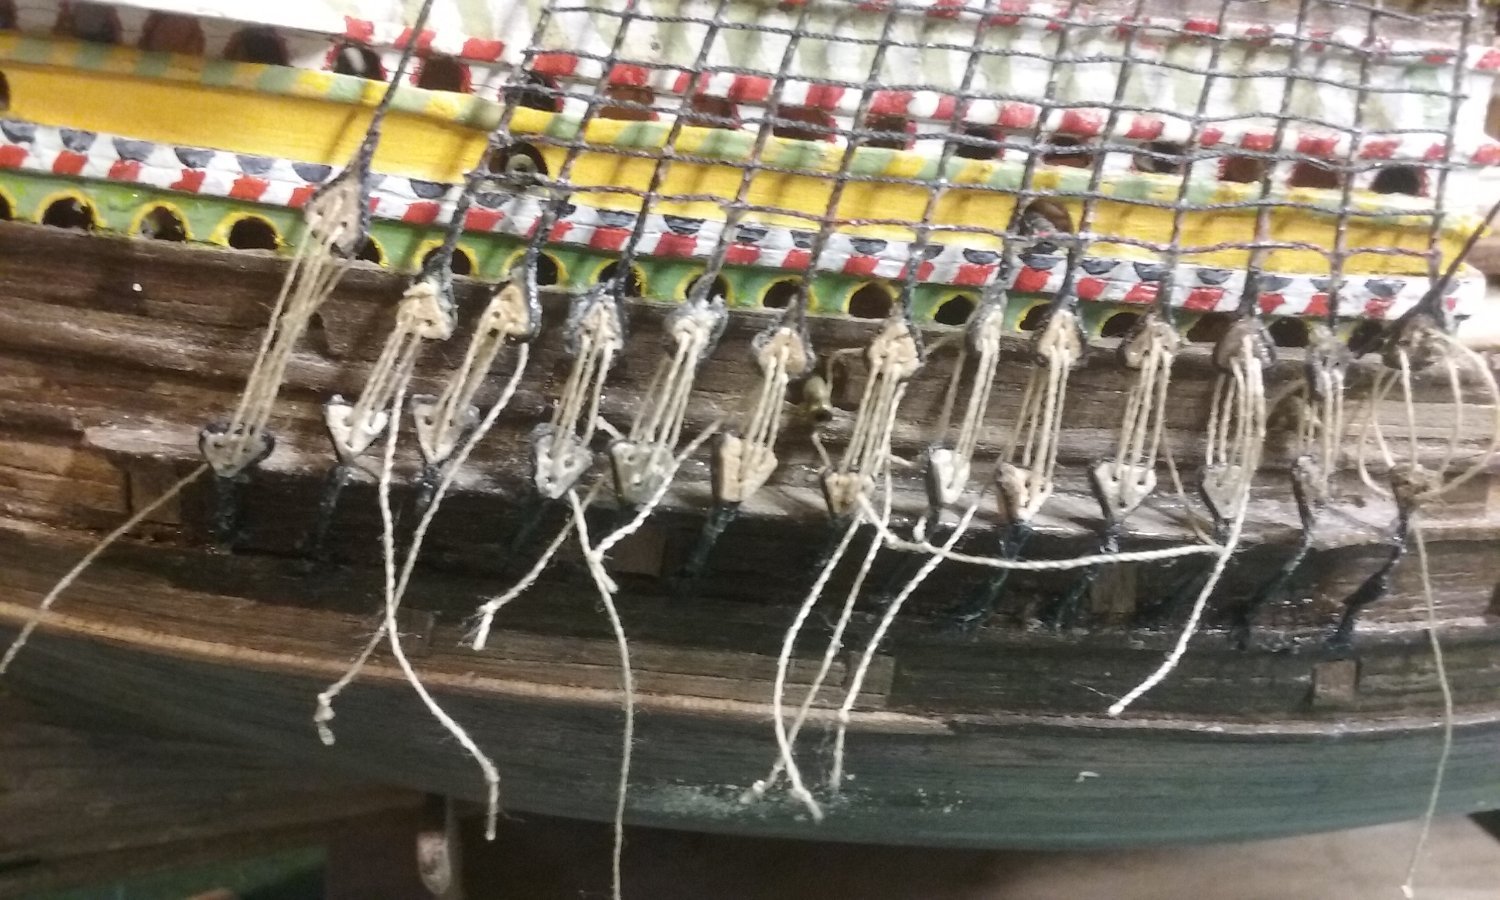
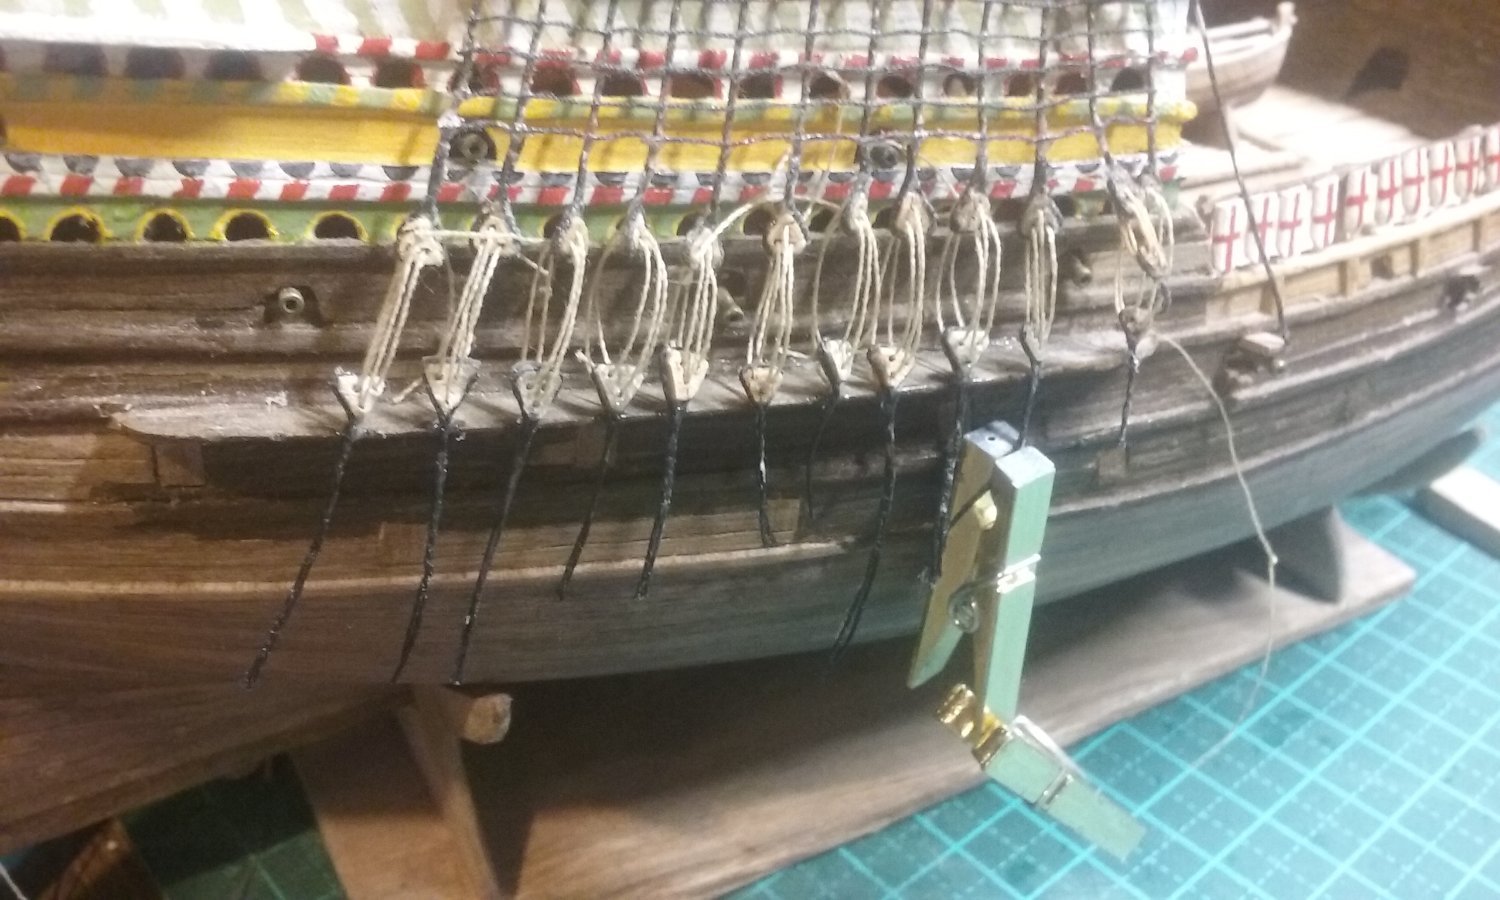
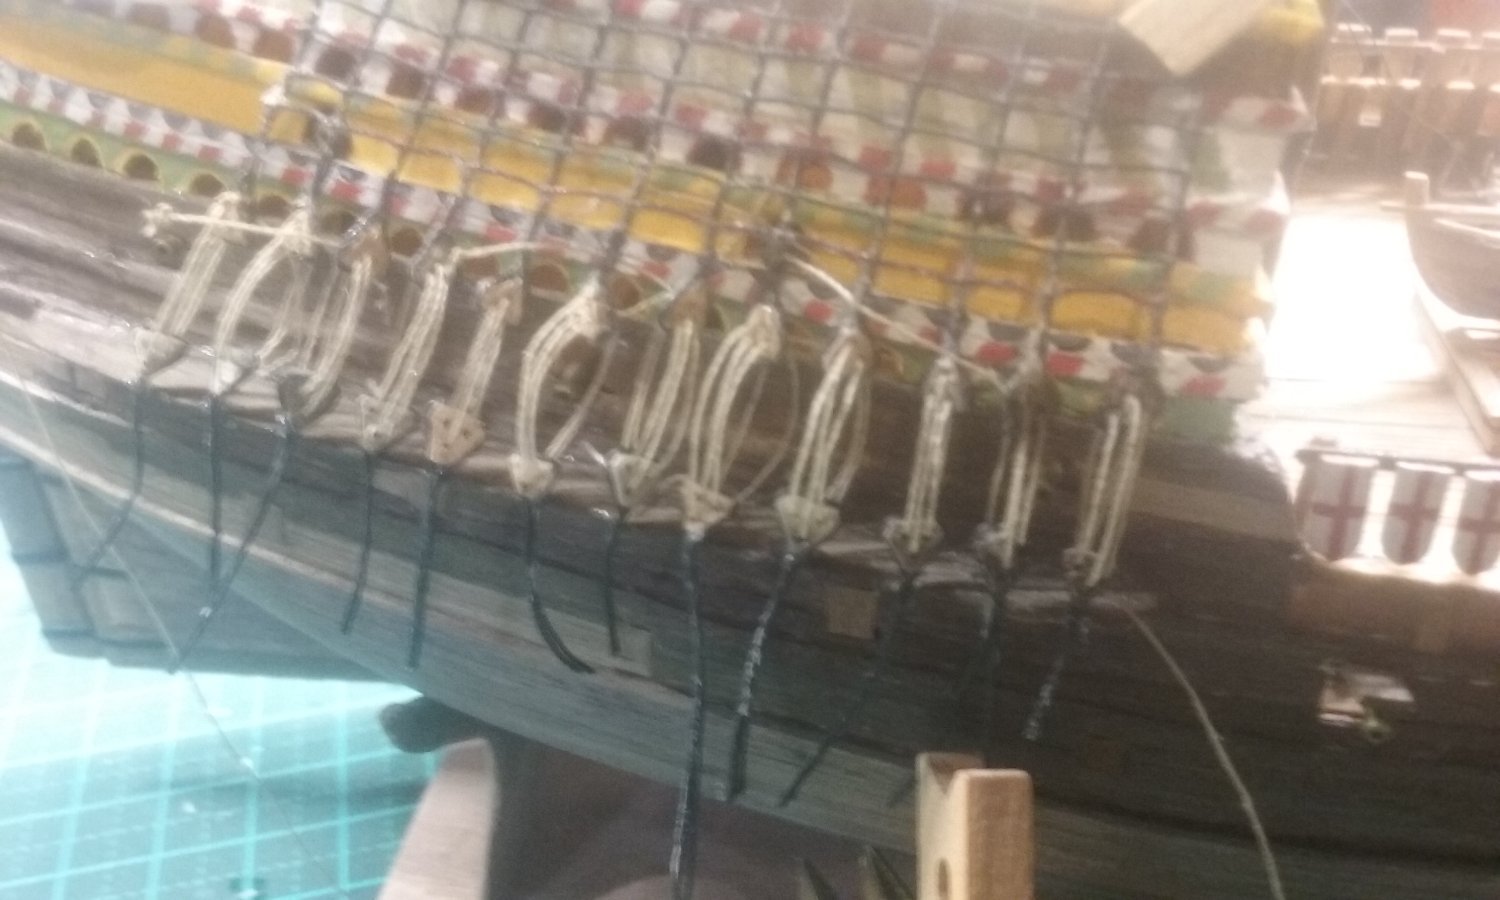
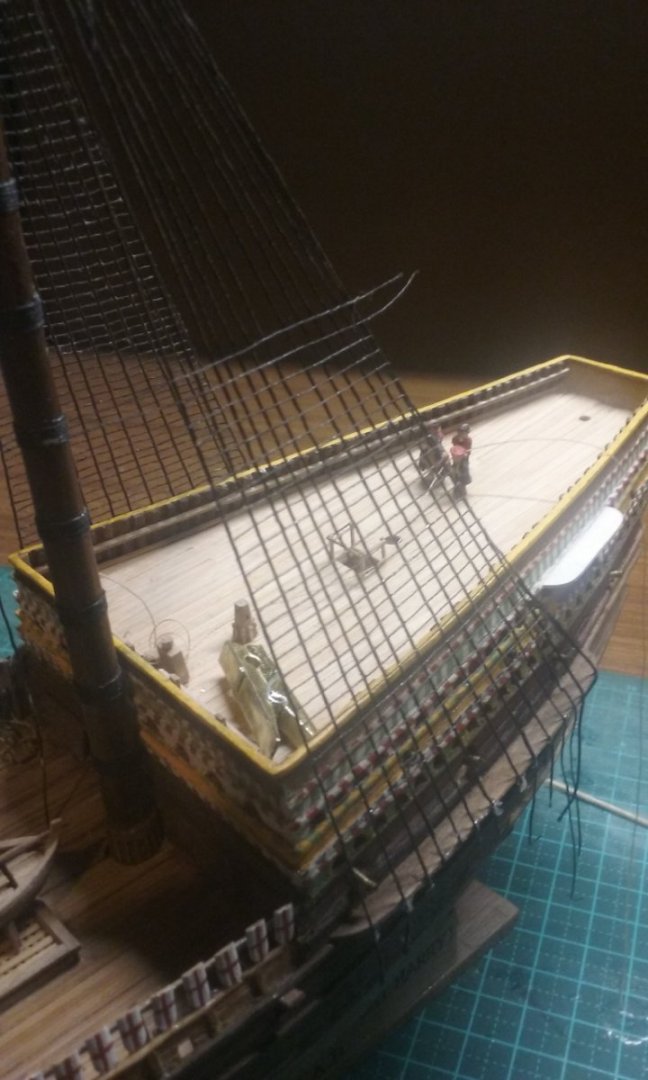
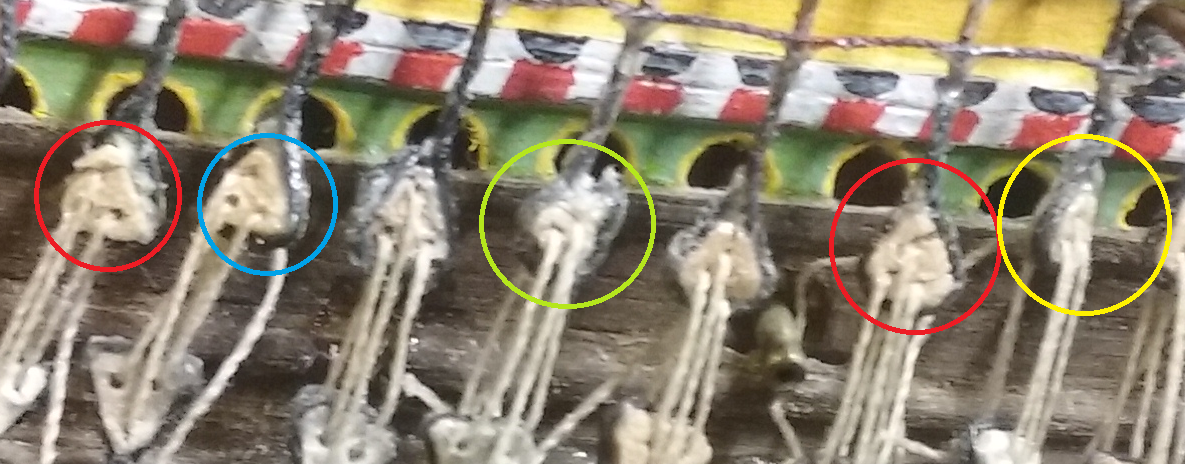
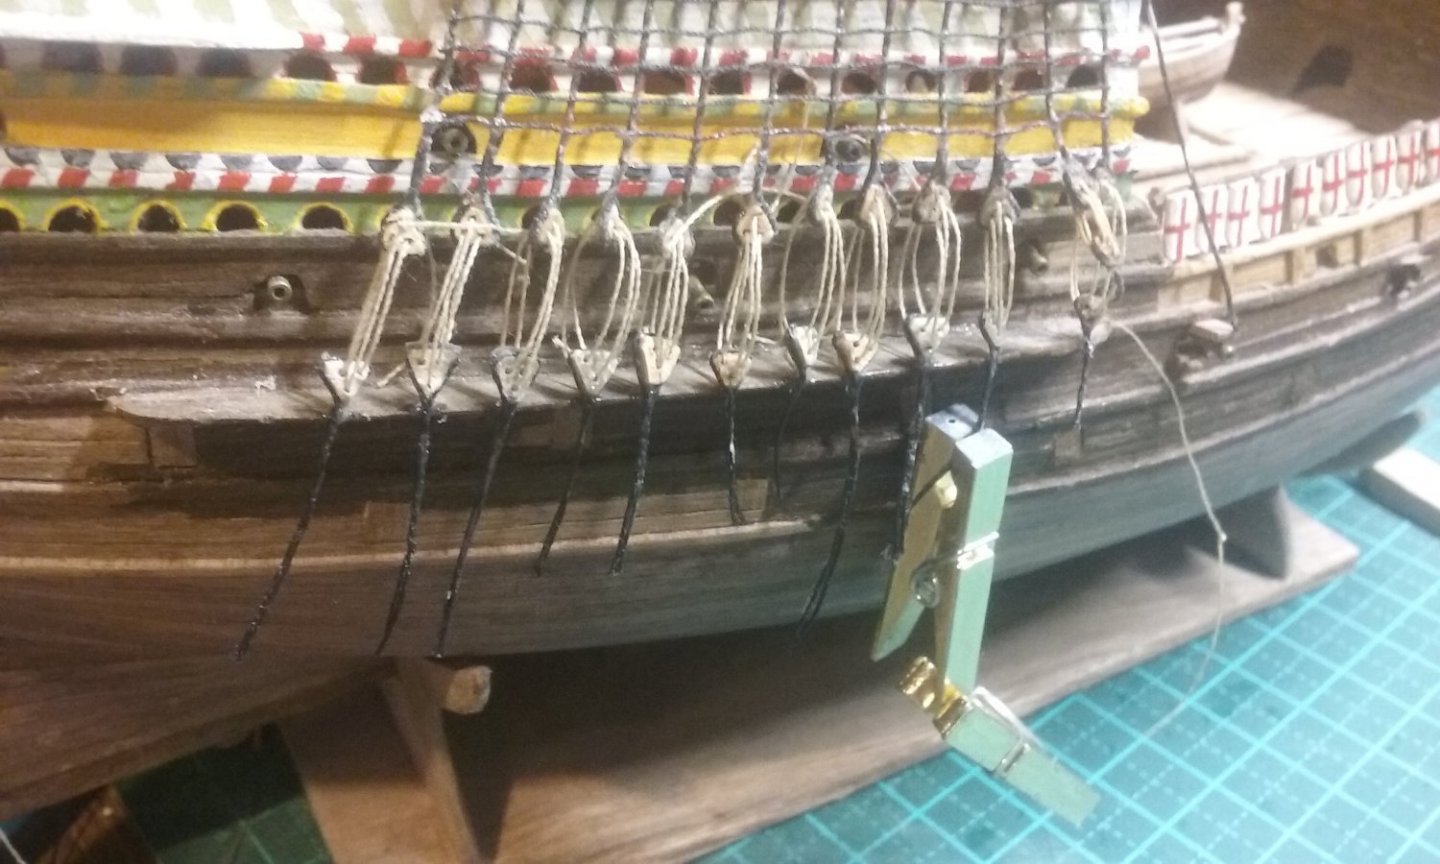
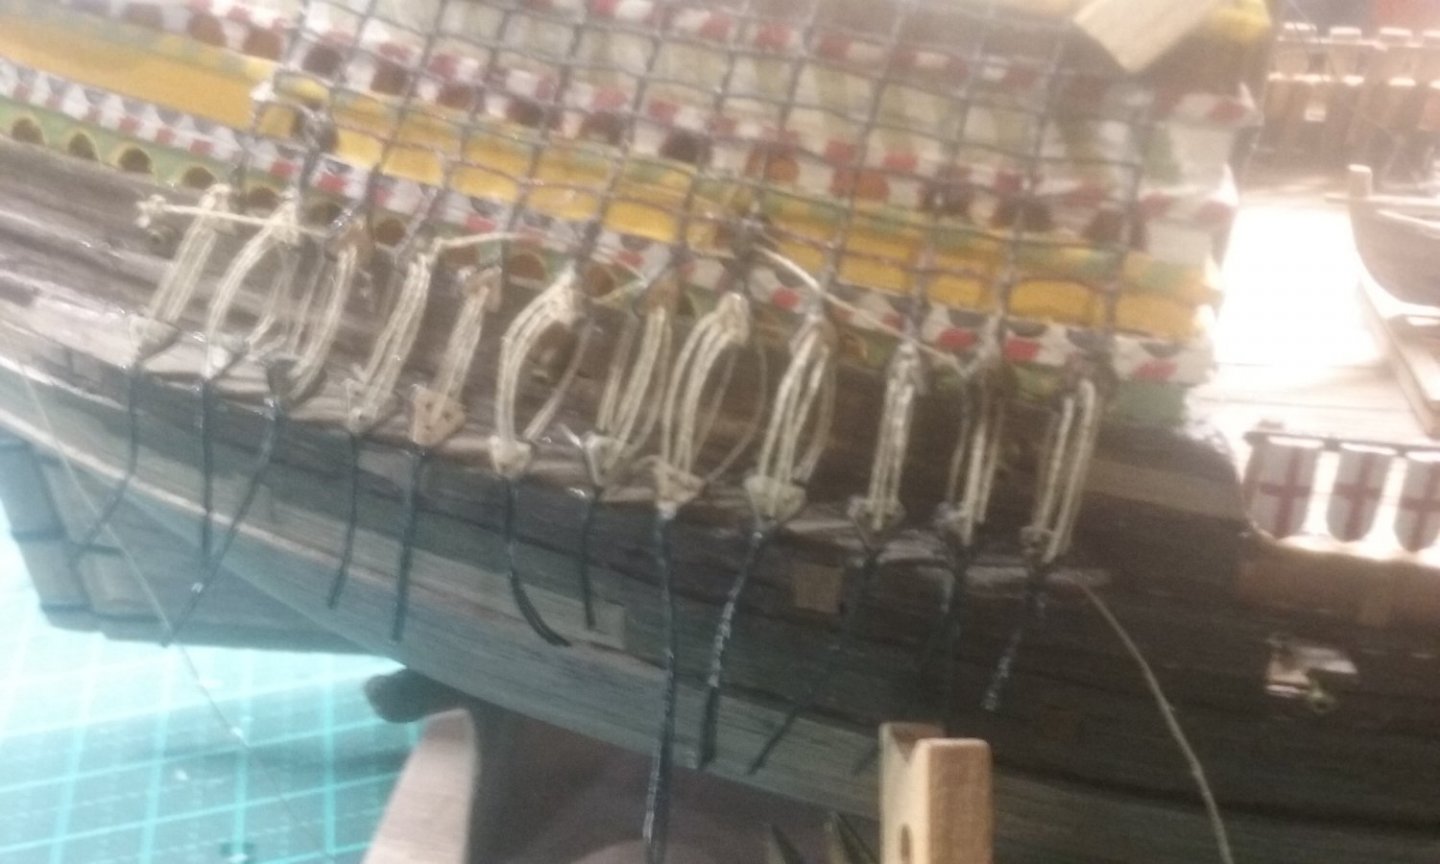
Some good news and bad news. First the good news; I've finished adding the ratlines on the larboard main shrouds. In progress: All ratlines in place but before trimming After trimming Now the bad news - the main starboard deadeyes really aren't working. They're all over the place, some of the deadeyes themselves have broken (red circles below - they're made of wood), they're different sizes, different distances apart, some twisted (yellow circle), the holes have pulled through so the lanyards terminate in the wrong places (blue circle) - and I have no idea what happened in the green circle. Add to that the fact that some of the lanyards got glued into the holes so I couldn't pull them tight. Gak! I think I really need to re-examine all of these, probably rip them all off and start again doing it differently. I've started experimenting, but not having a lot of success so far. Steven


- 740 replies
-
- 11
-

-

-
-
- Tudor
- restoration
- (and 4 more)
-
Hi Masa, your first planking has turned out very nicely, and the sanding has produced a nice smooth shape. But it might be worth knowing that the planking method (which I think is per Artesania Latina's instructions) isn't how it was done in the real world. There are some planking tutorials here: which show how it was done on real ships. At this stage, as you've got a very nice hull shape from your first planking, you have an opportunity to do your second planking more realistically if you choose to do so. It does take more work, but in my opinion the end result is worth it. However, this is your model, and it's your decision. Either way, you'll have a very nice looking model. Steven
- 77 replies
-
- 2
-
-
- Santa Maria
- Artesania Latina
- (and 1 more)
-
Good to see, mate. I'd thought of doing a Sophie myself at one point but never got around to it. There's a wealth of information about her in Master and Commander as I'm sure you already know. Good to see you've got it happening.
- 326 replies
-
- 2
-
-
- Sophie
- Vanguard Models
- (and 1 more)
-
My own nef was built plank first over a wooden mould or plug, but I have to admit I did find it difficult to get it exactly symmetrical, and frame first would be better in that respect. Steven
-
Just be aware that I changed my mind about the frame construction partway through, and started making them a completely different way - see post #158 and #166 in my build log. The hefty through-beams and the deck-beams help keep the hull shape, compensating for the weaker construction method, as you can see in post #171. You could probably assemble each of your frames as a unit consisting of the floor-timber, the futtocks and the deck-beam, which would add to the rigidity of its construction (strictly, the deck-beams should rest on the beam shelf, but all of that would be covered by the deck anyway, so it would be invisible). Keep in mind that these ships almost certainly were built planking-first, not frame-first - the planking was put together then the frames were added. Frame-first construction was a later development. But unless you've got your wits about you, plank-first construction has a tendency to "squeeze" inwards resulting in a narrower vessel. There's nothing to stop you building yours frame-first - in fact there's a lot to be said for it, for consistency and symmetry and getting the hull-shape right. Steven
-
Oh boy. I hope we're not making your life too hard for you . . . Steven
-
Yes, sort of plywood if you like. But of course each ply should be half the final thickness of the frames.
-
Thanks for the comment, Roger, and to everyone for the likes. I just looked at the date on the first page of this log. It's taken me over 6 years to get to this stage (though on further inspection it appears I had a gap of two and a half years where I did nothing on it. Don't feel quite so bad about it . . .) Steven
- 740 replies
-
- 3
-
-
- Tudor
- restoration
- (and 4 more)
-
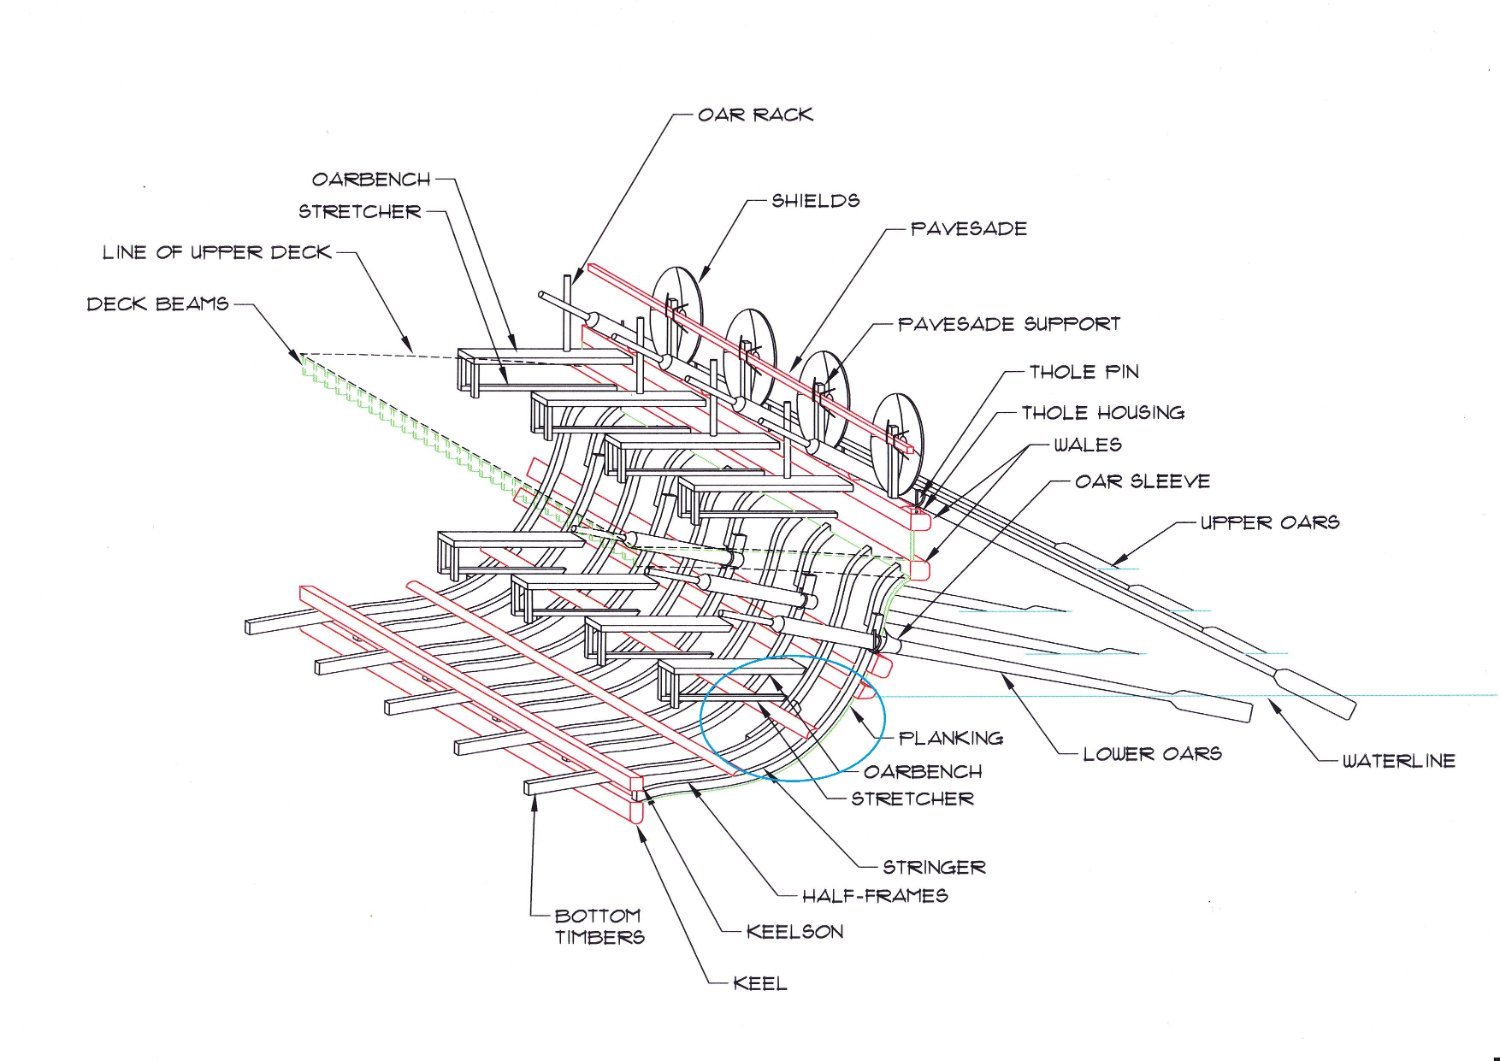
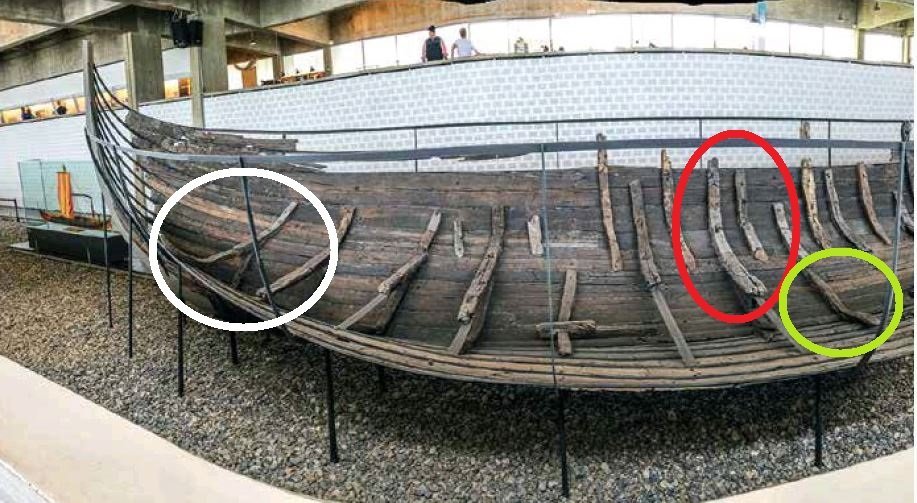
I'd second Druxey's advice. It'll save you a lot of grief down the line. If you have a look at the archaeology, you'll find that the frames at this time were usually not continuous, but instead made of several separate futtocks, often set side by side and overlapping rather than being joined in one continuous line, as in this diagram of a dromon's framing (circled in blue) and a different layout but with similar characteristics from the knarr Skuldelev 1 Steven

-
Very clean work, Mr Pleasant. Looking very good. This is going to be a very attractive model. Steven
- 50 replies
-
- 1
-
-
- mary rose
- caldercraft
- (and 1 more)
-
Looks like a really good subject for a build. I've always liked the look of HMAS Australia (II) and she has a distinguished service record. Are you going to paint her in dazzle patterns? I hope you don't mind me adding this link which I believe is a good summary of her life and achievements - https://www.navy.gov.au/hmas-australia-ii Steven
- 88 replies
-
- 4
-
-
- Australia II
- Finished
- (and 2 more)
-
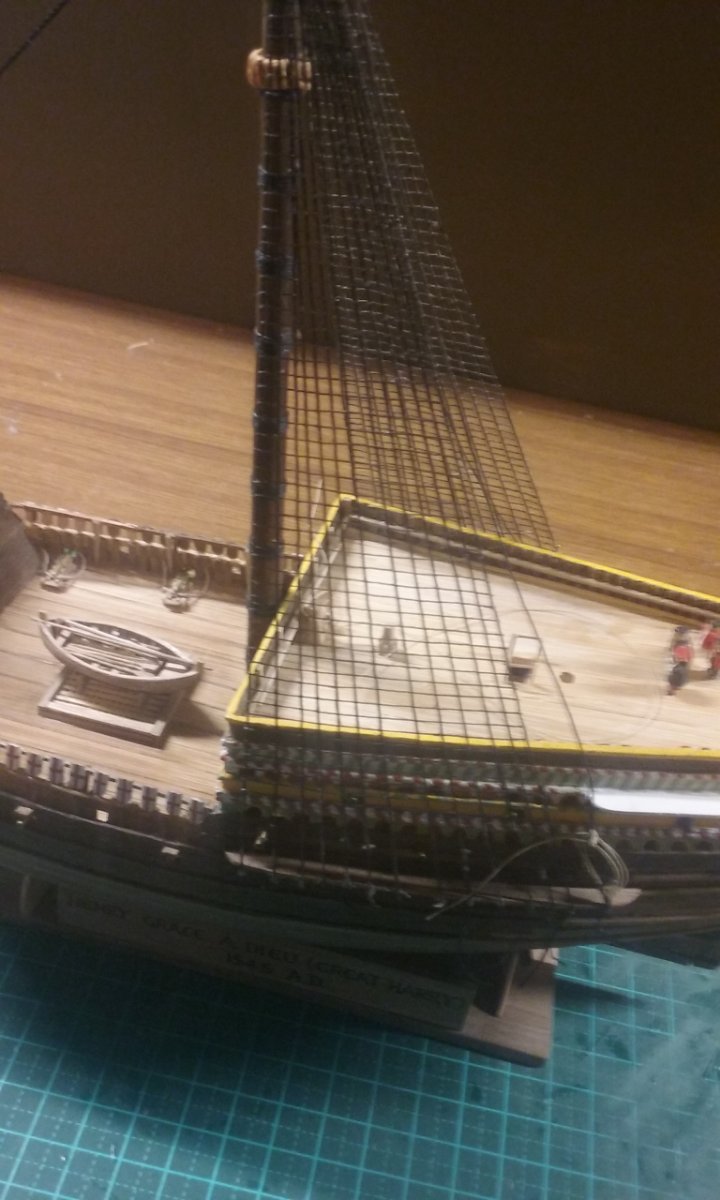
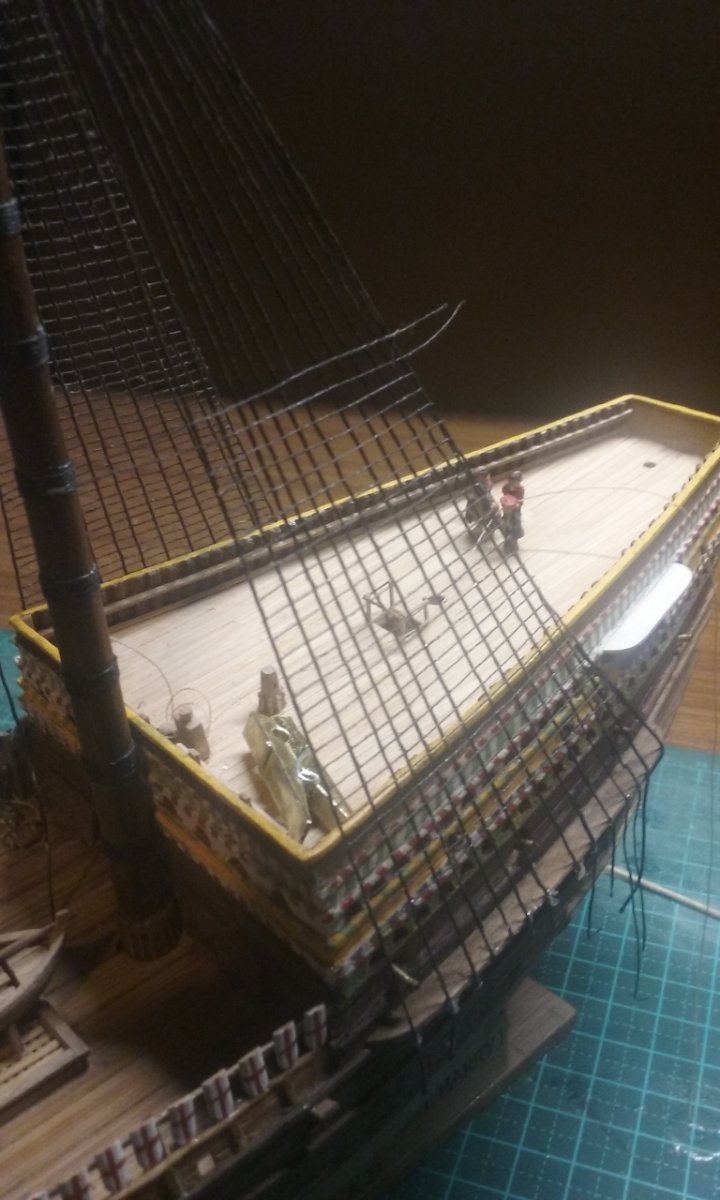
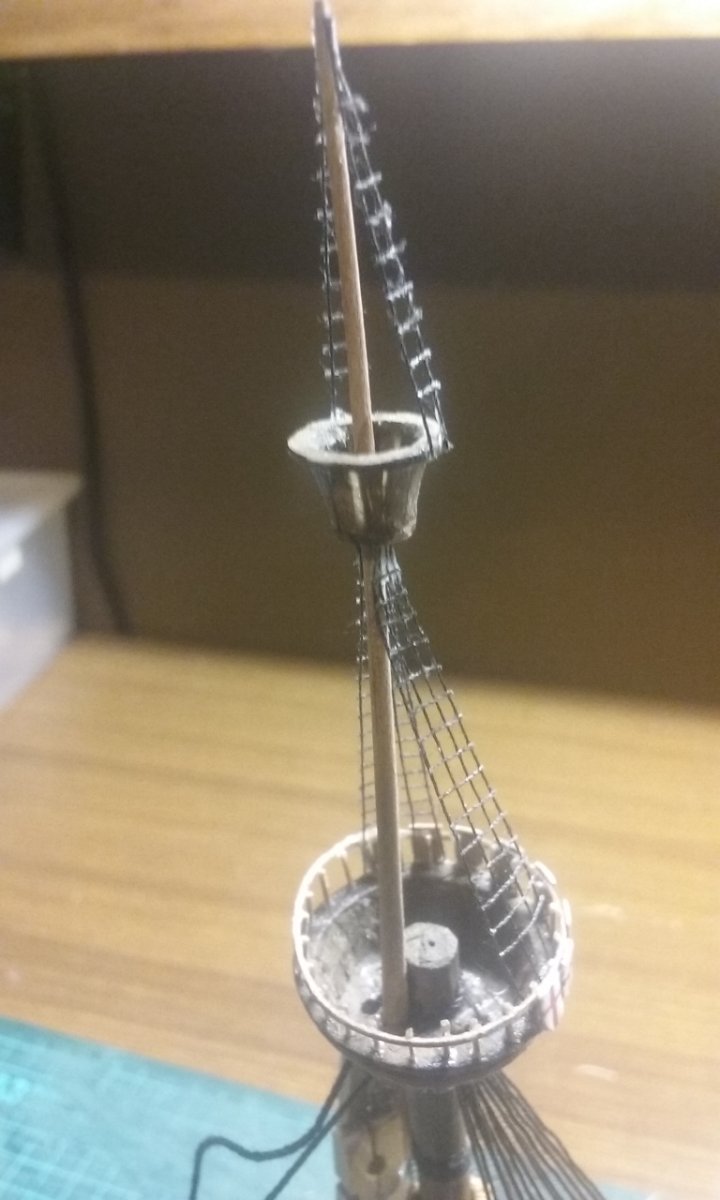
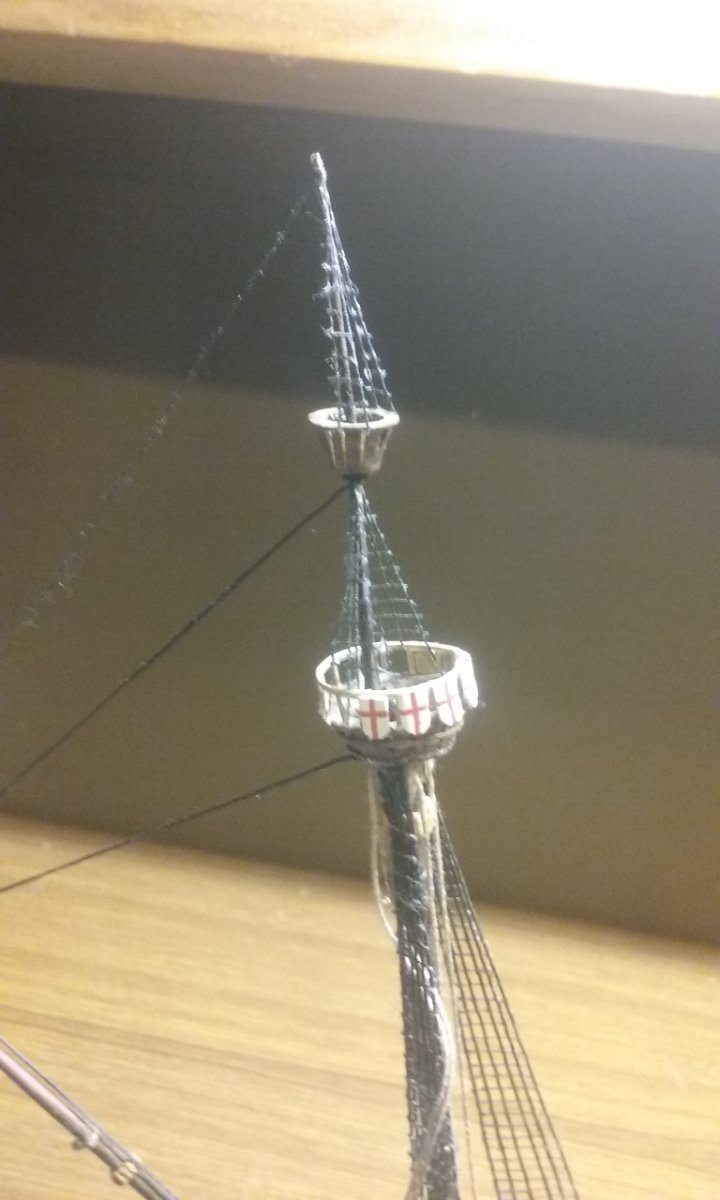
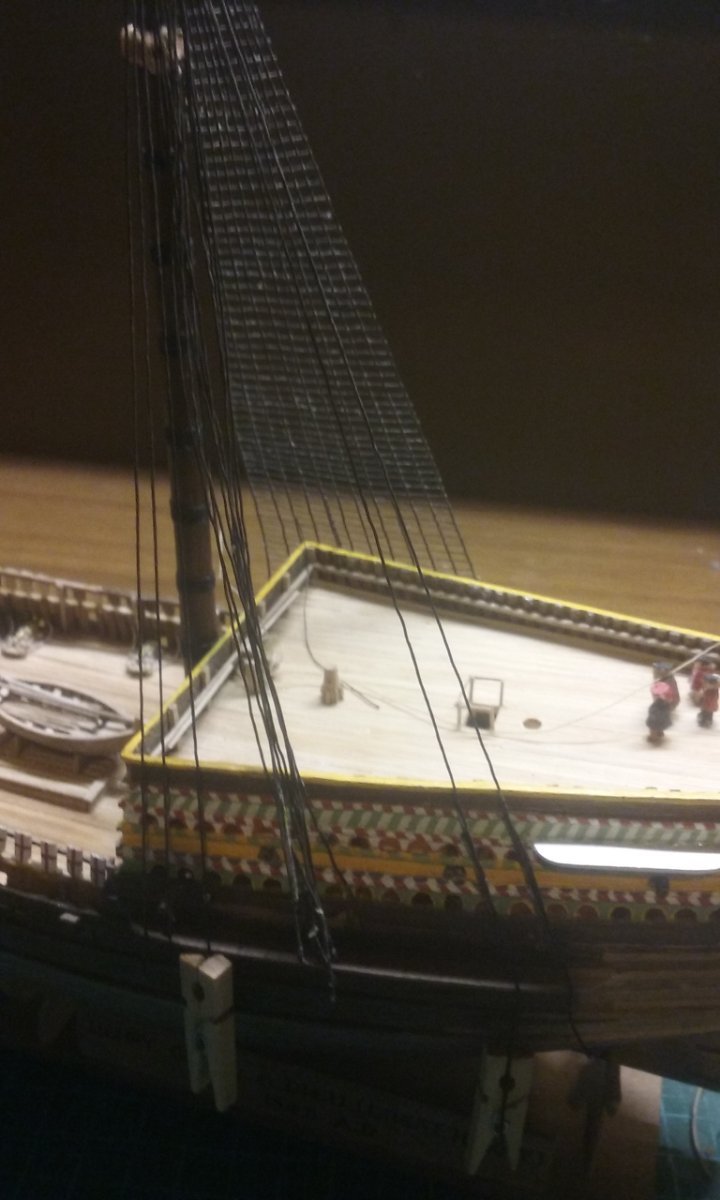
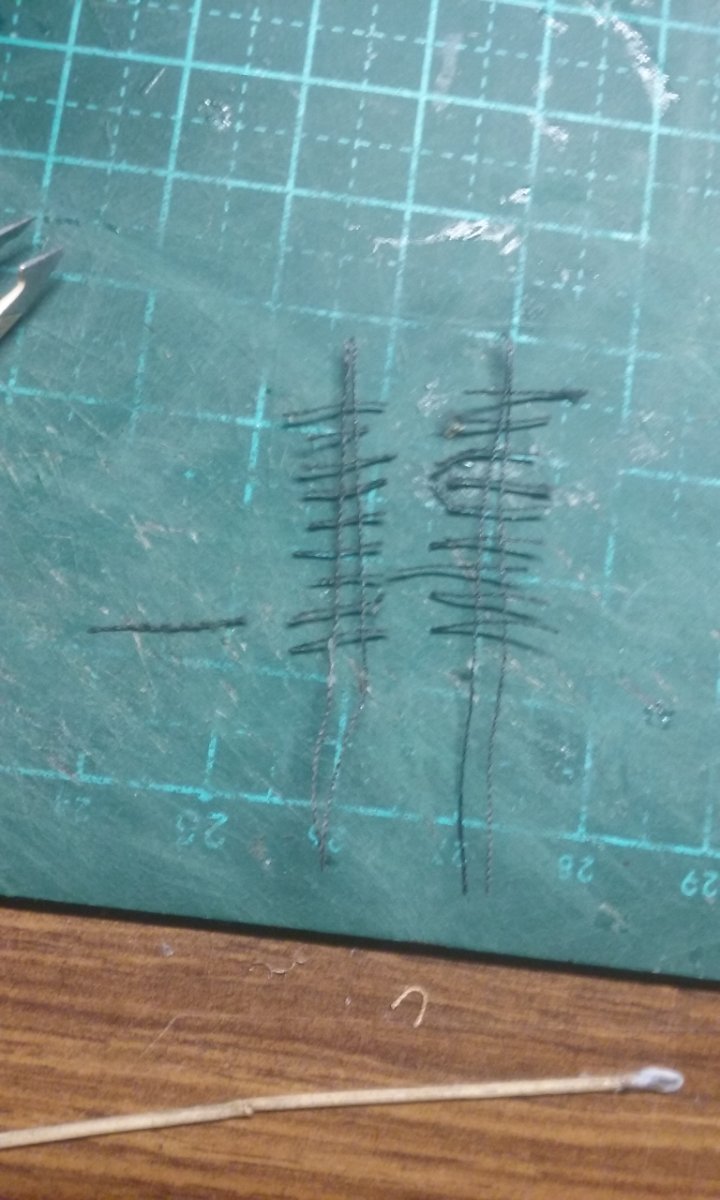
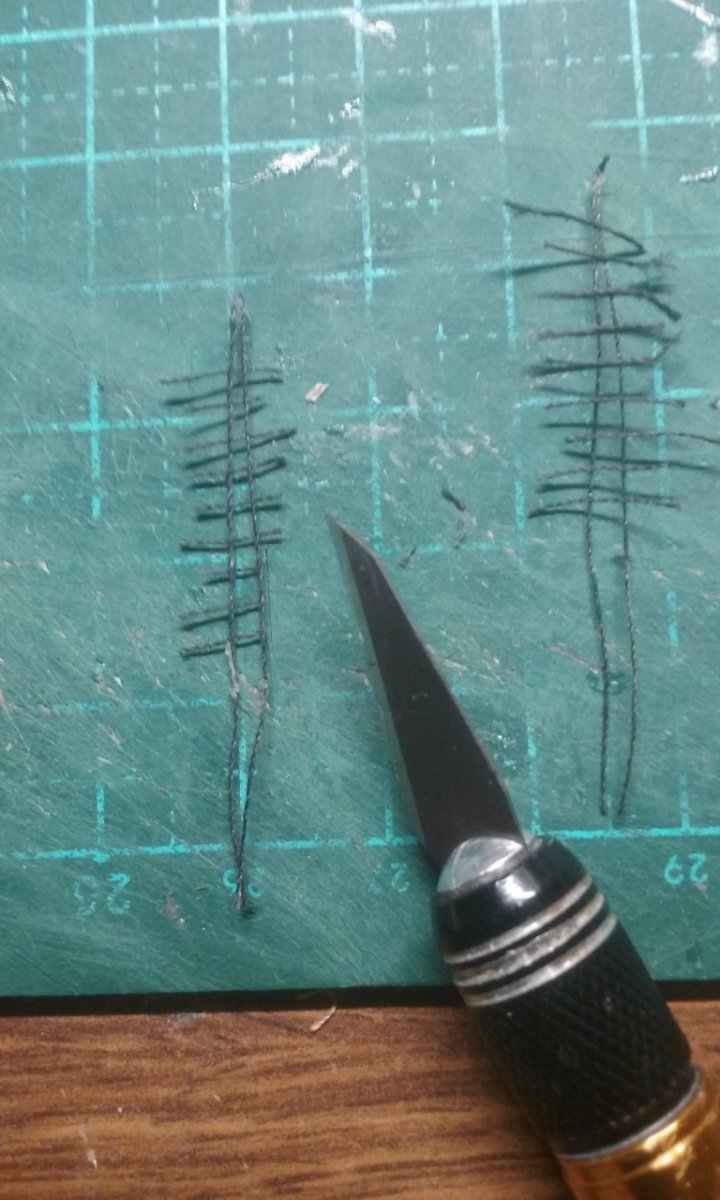
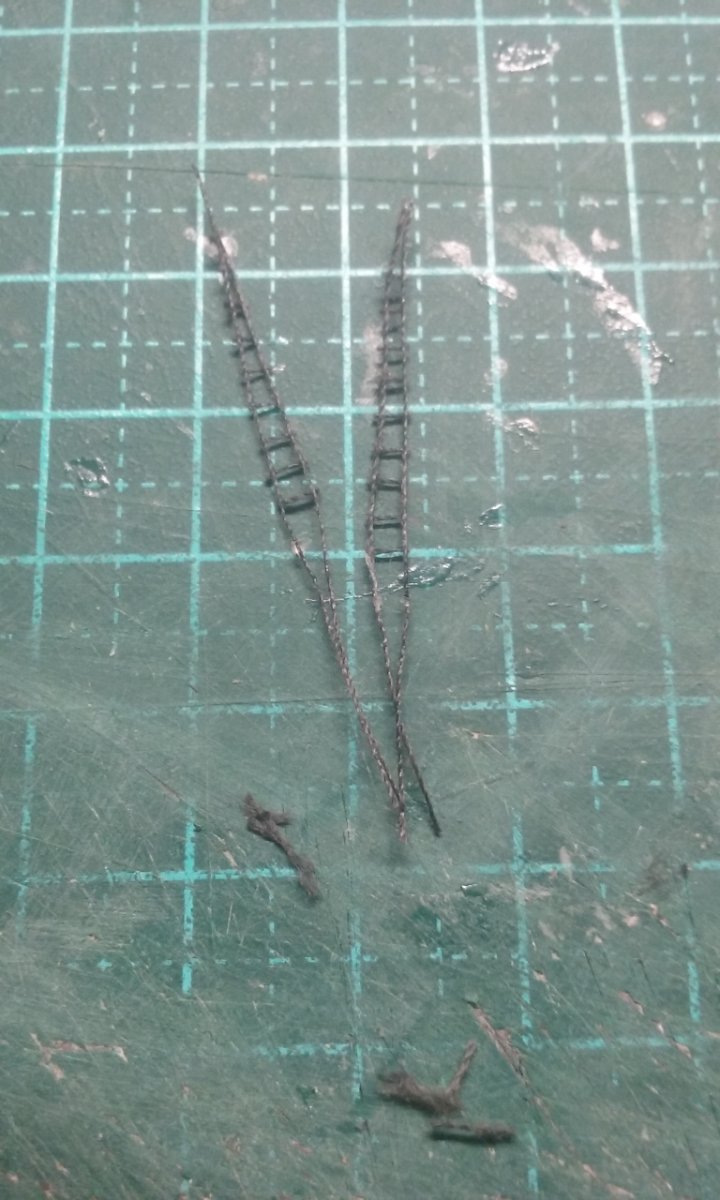
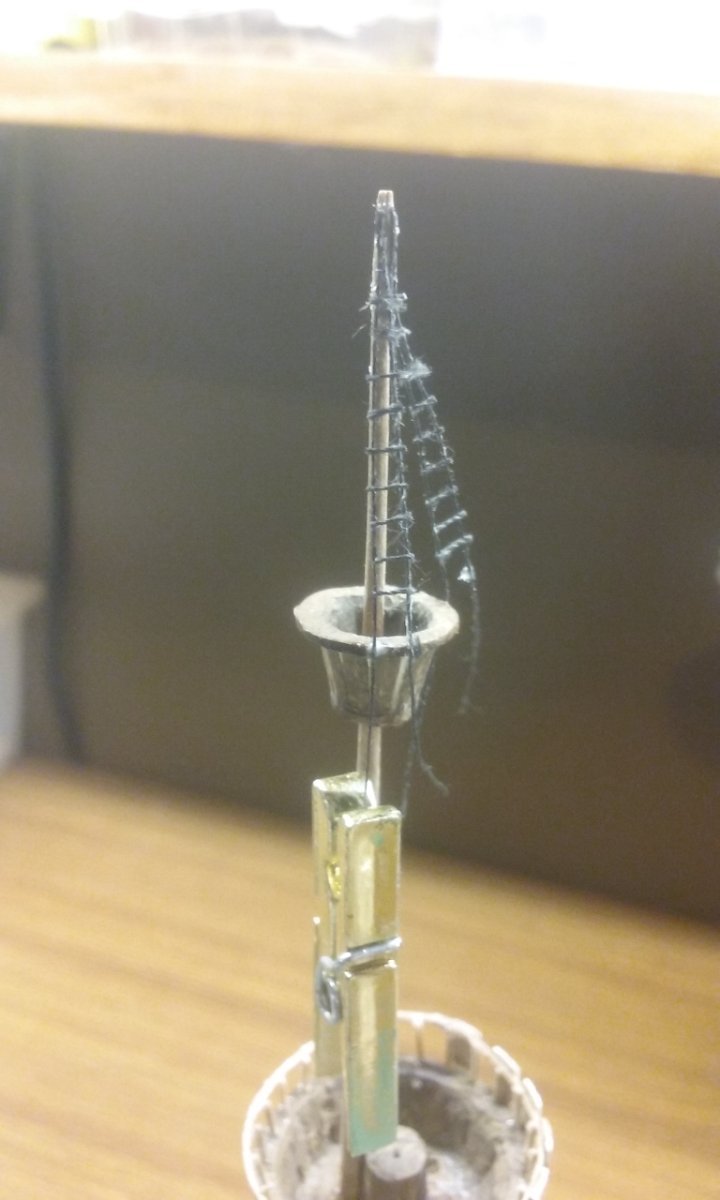
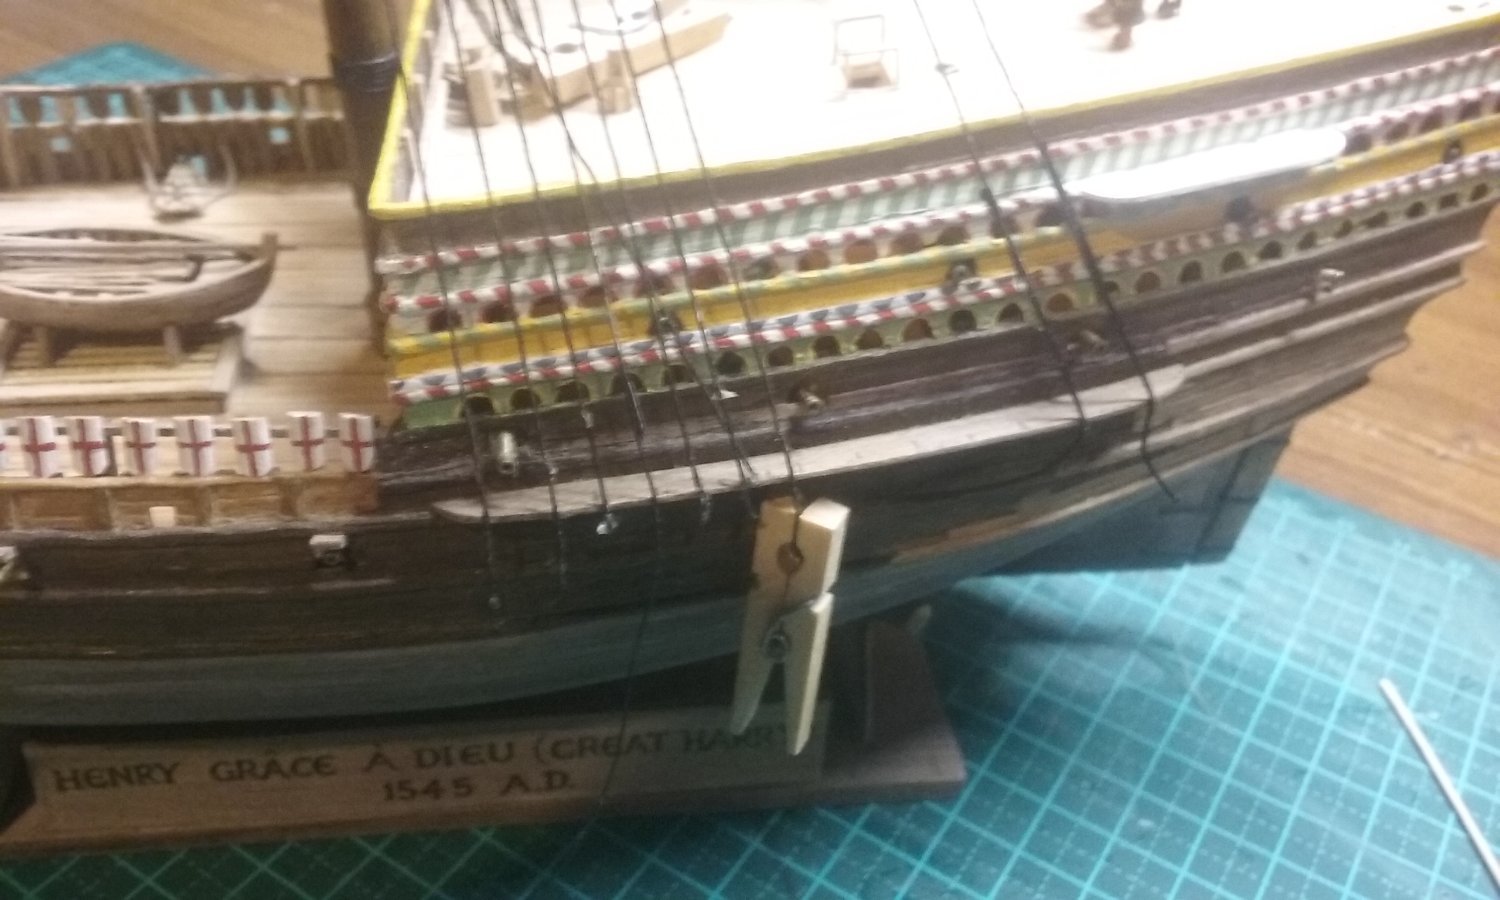
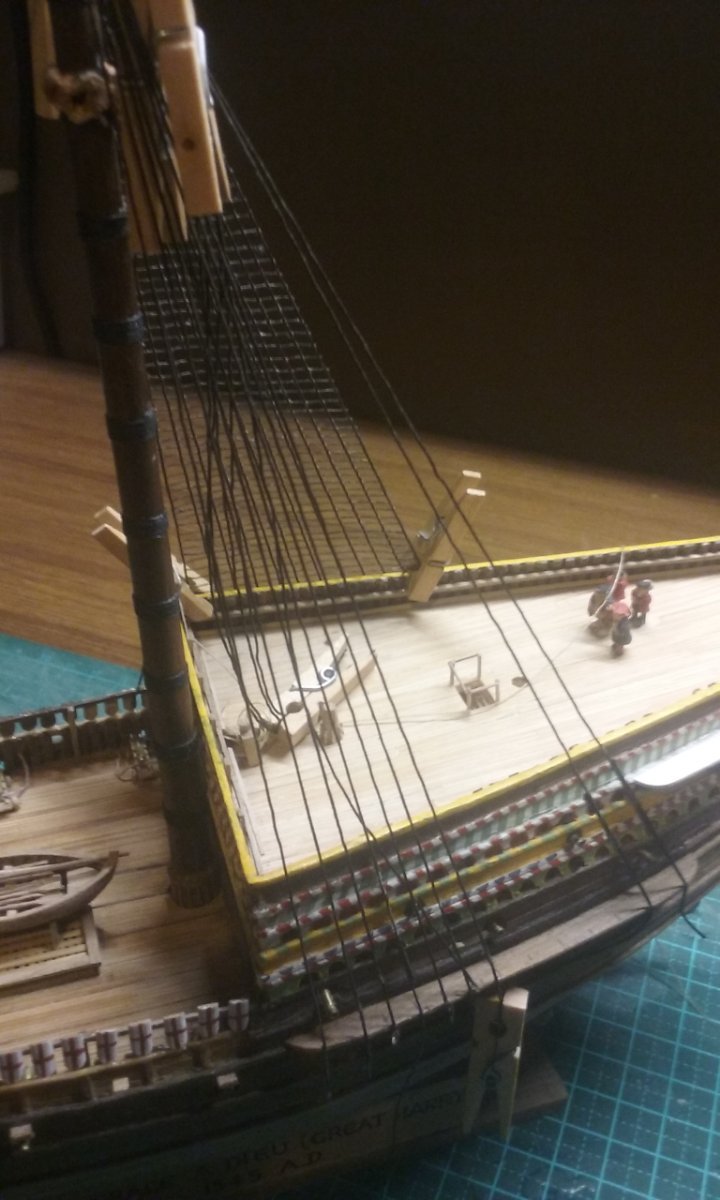
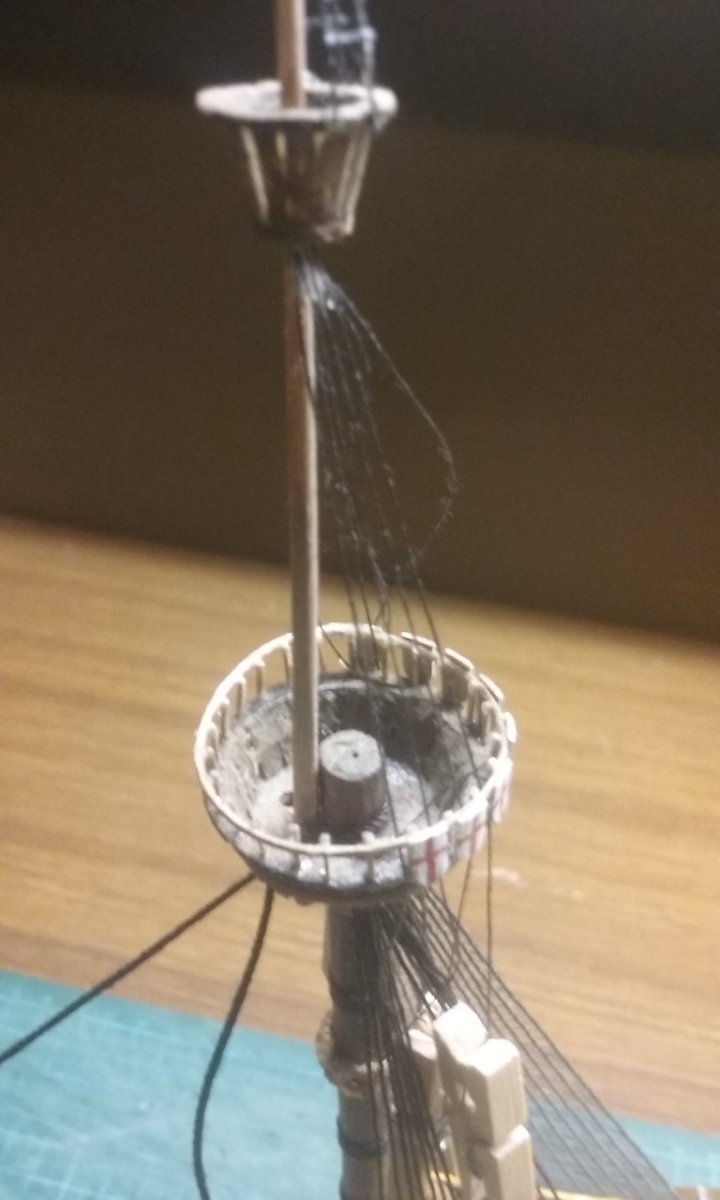
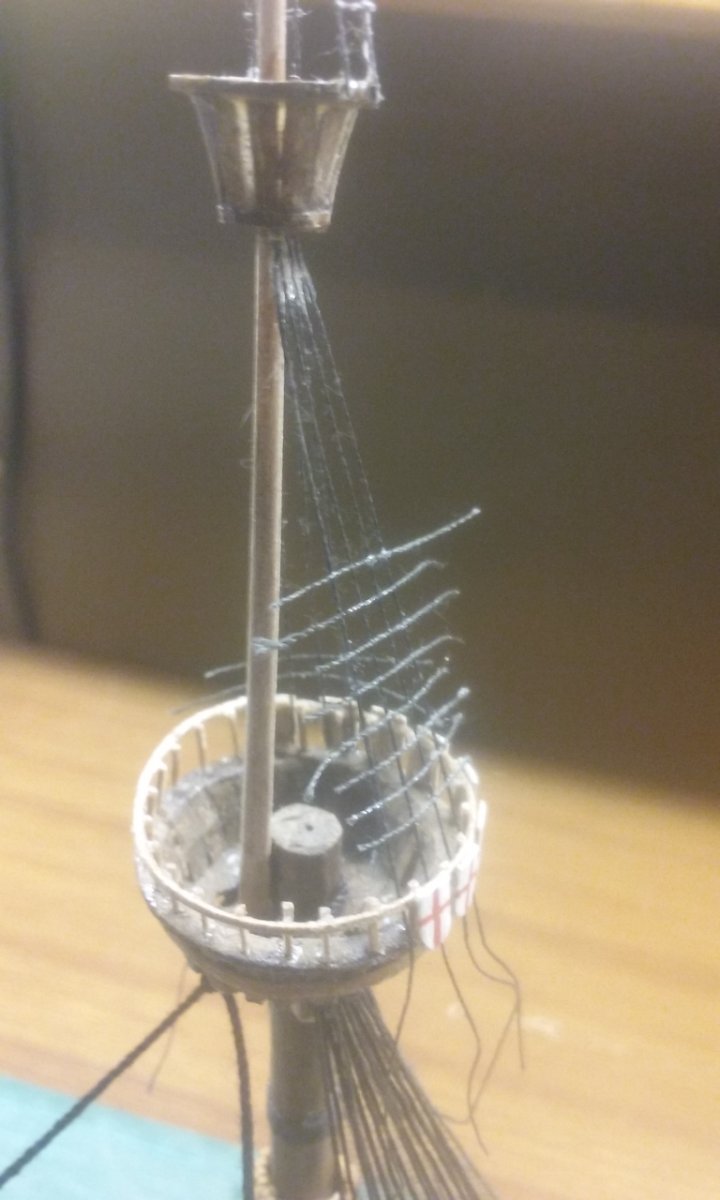
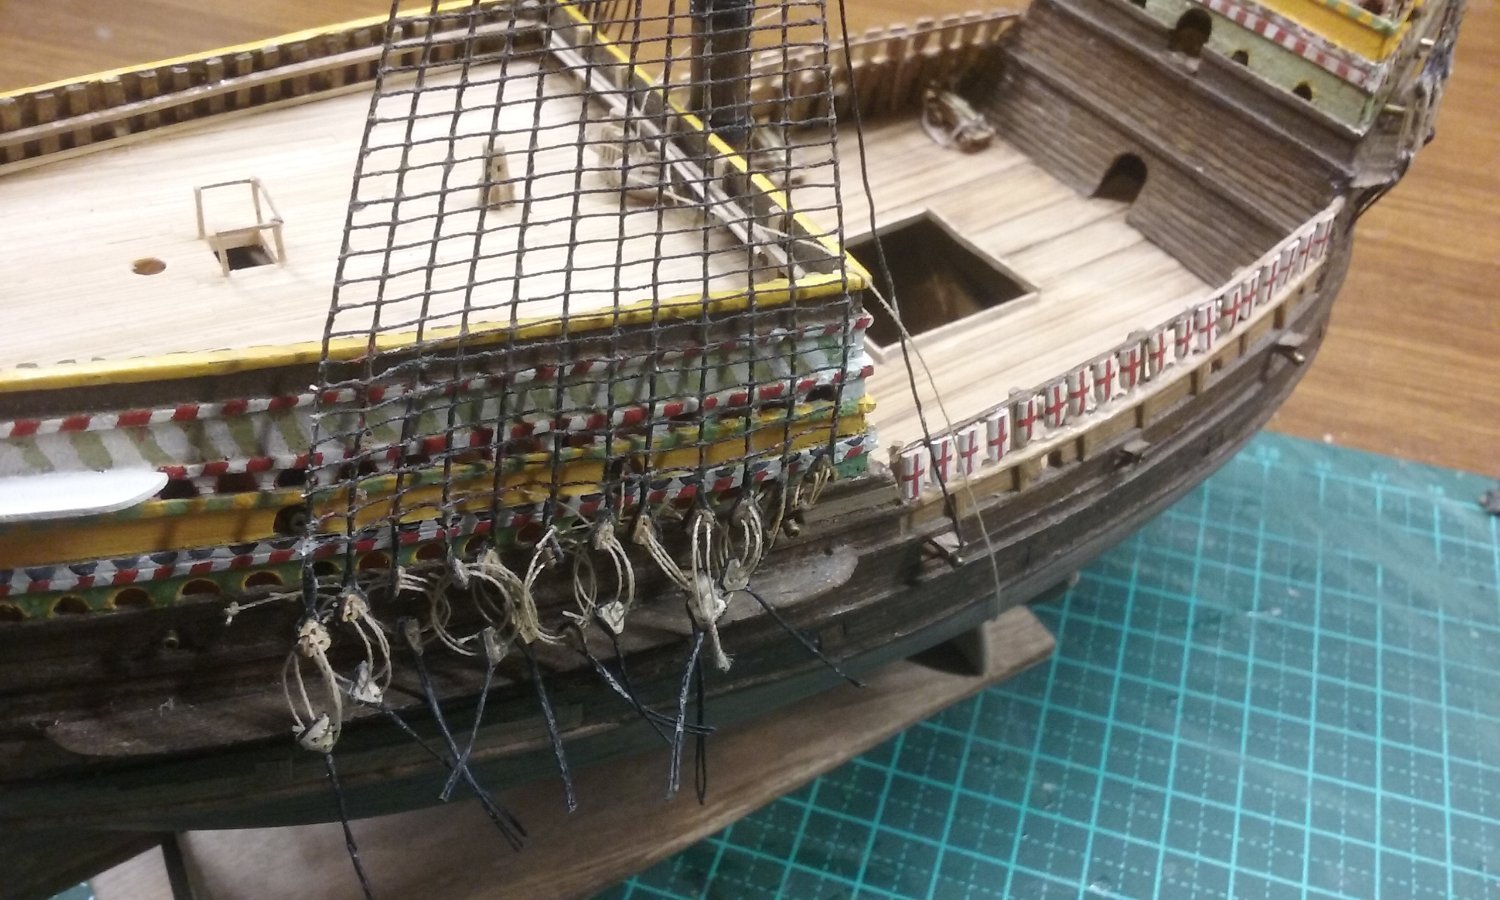
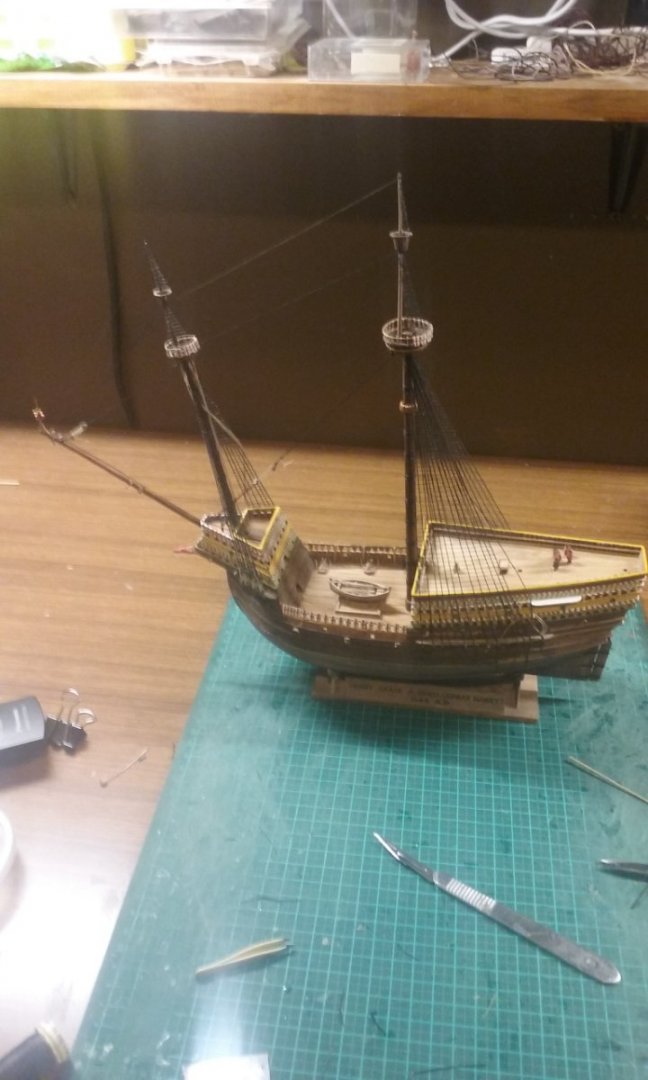
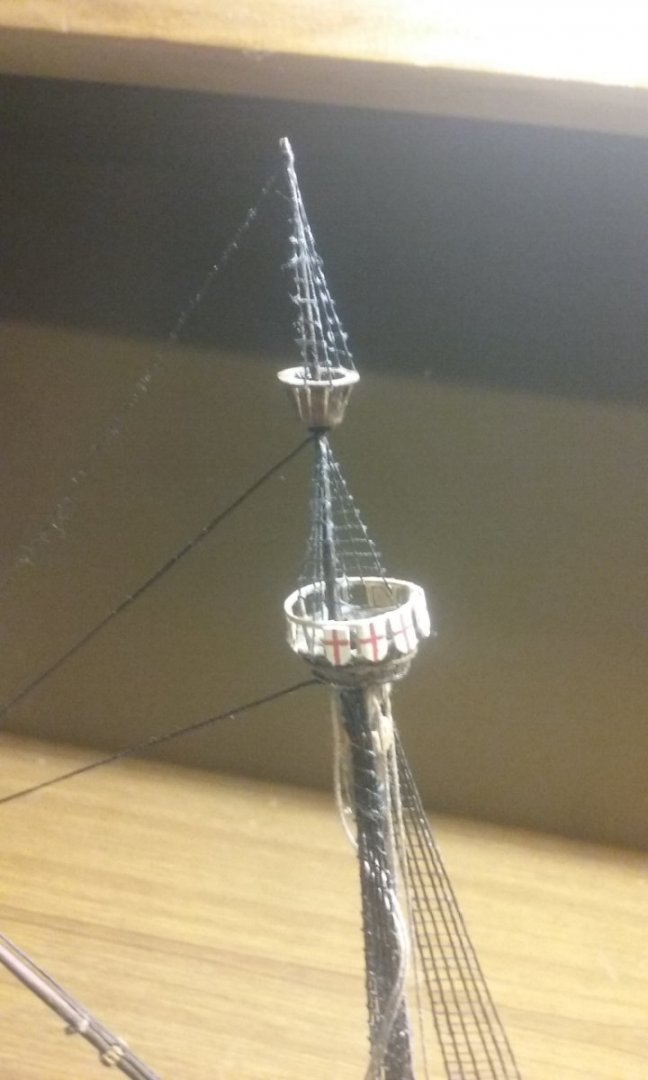
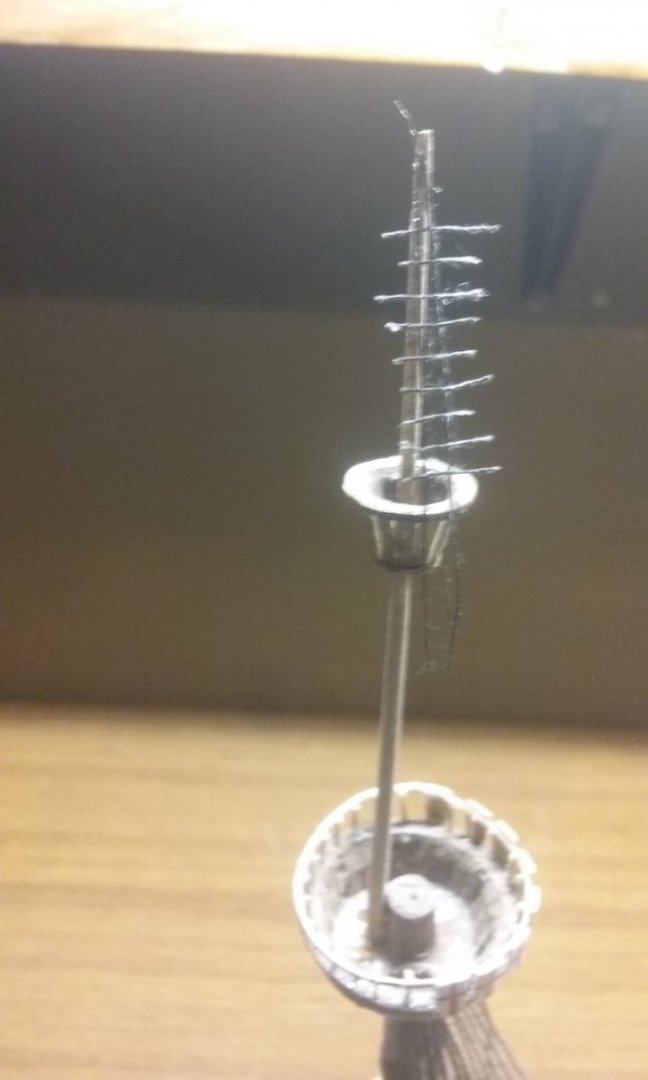
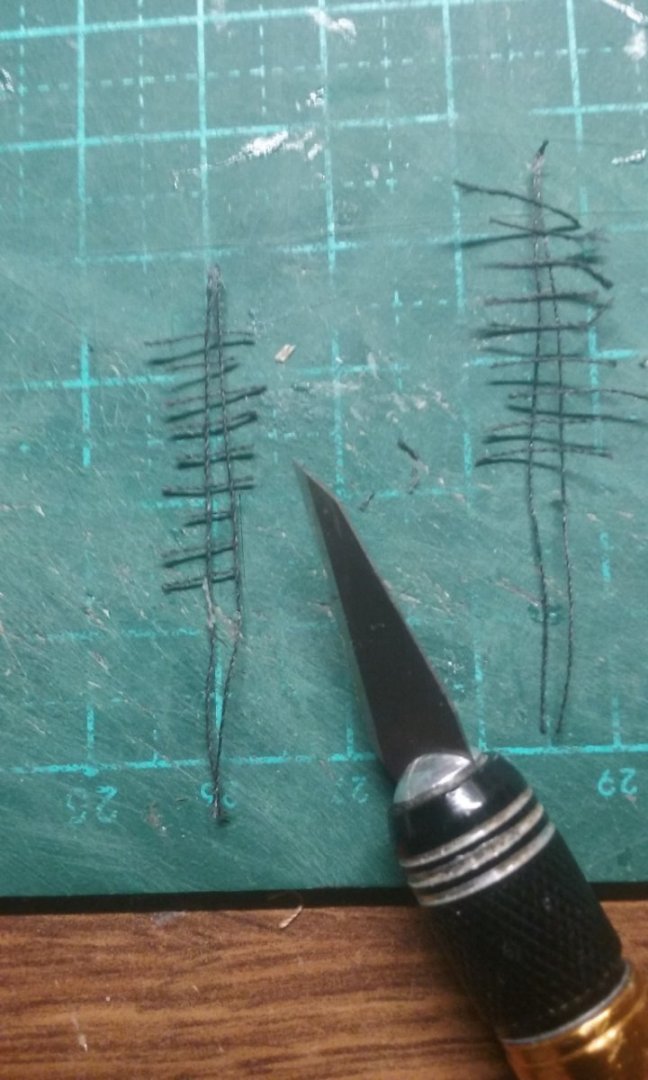
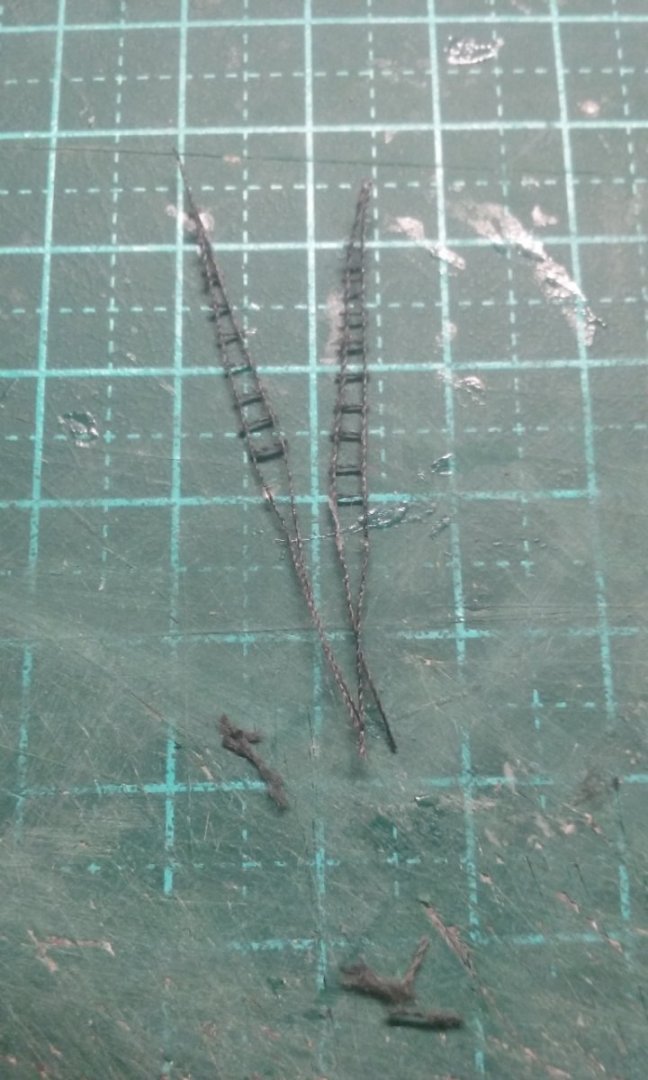
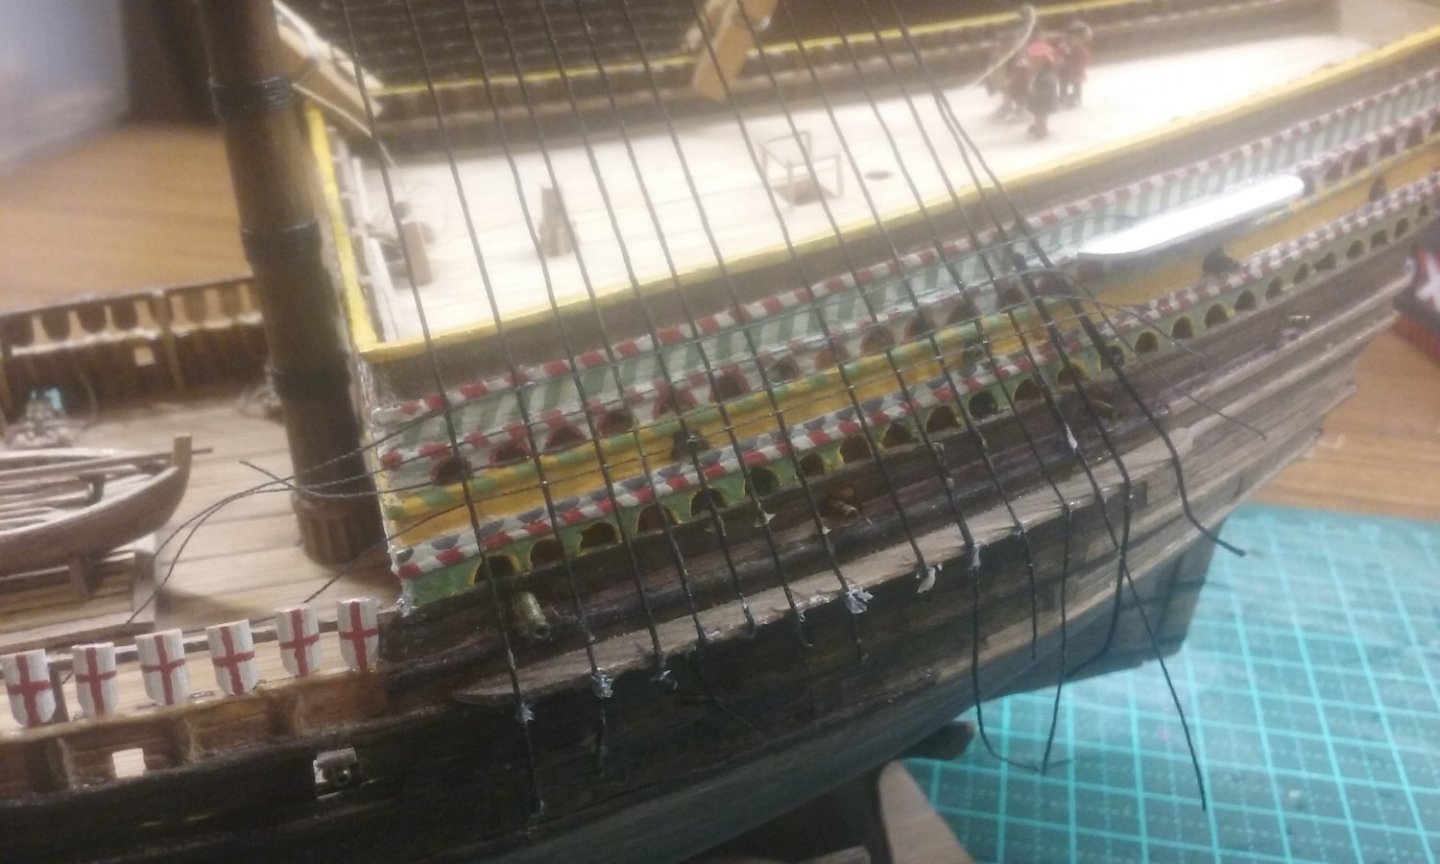
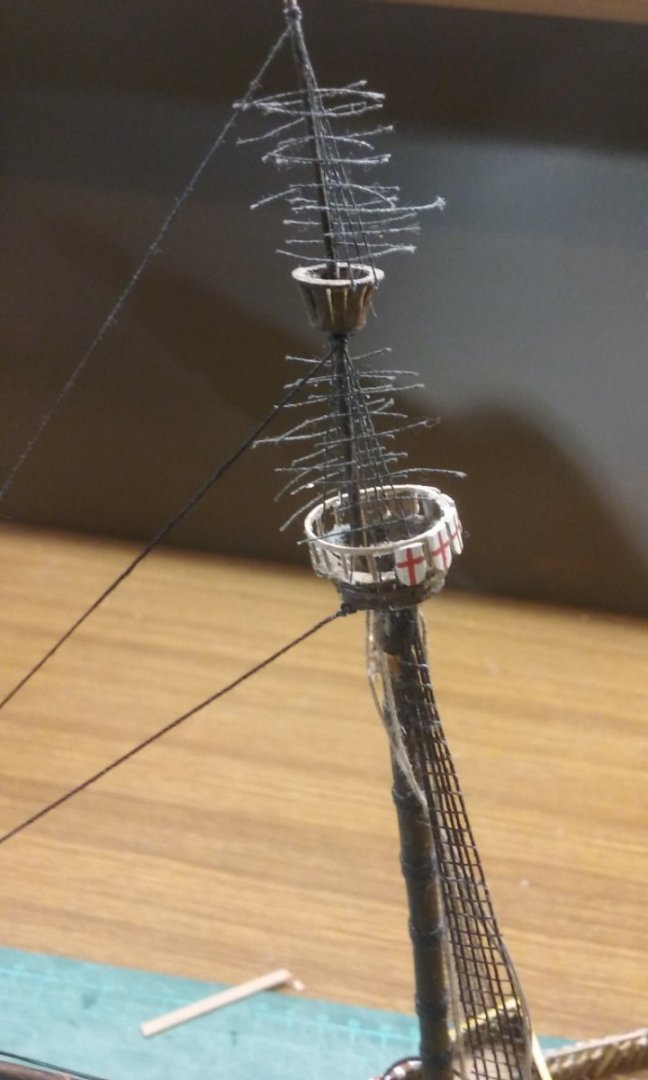
I wasn't happy with how the ratlines on the fore topmast and topgallant worked out - cutting off the free ends with scissors, craft knife, anything, just didn't work well. Nothing was sharp enough, even when I used a brand-new craft knife blade. The thread "feathered" and went messy; sometimes even came away. So I decided to try a different method on the main mast, and if it worked I'd re-do the foremast. First steps the same - glue the shrouds together, and then onto the mast at the top, with a lot of free thread at the bottom. Then glue each shroud to the edge of the fighting top, with a small peg as a weight to pull the shroud straight. Then glue the ratlines on one by one, with an overlap at each end. So far exactly the same as before. But here's the change. Once all the ratlines were glued on, I removed the shroud/ratline assemblies from the mast, turned them over on the cutting board, and trimmed the ends off with a sharp craft knife. Then glued the assemblies back in place. Still not perfect, but a lot better than the previous method. So I'll definitely re-do the ones on the foremast. Now attaching the lower deadeyes, one by one, to the starboard main channel. NOTE: This is NOT the standard way of doing this - it's my own method that I evolved because I already had the shrouds and ratlines in an existing assembly, because I didn't know what I was doing when I was seventeen. And all deadeyes in place (sorry about the photo quality). I was even able to re-use some that I'd made back in the day. I'll be fixing these in place with CA so they don't come loose when I tighten the lanyards, and also trim and fix the lower ends to the hull, as though they are the chains - because when I was seventeen I didn't know chains existed. Now on the larboard side, temporarily gluing the shrouds to the main channel so I can glue on the ratlines to match the starboard configuration. Again, I'm re-using the old shrouds - in this case I never got around to gluing the ratlines on. Note the small peg used as a weight to put tension on the shroud. All lower shrouds in place and beginning to glue on the lower ratlines - don't worry about the scruffy glue at the bottom where the shrouds meet the channels. That will all be sorted later when I add the deadeyes. And now completing the main stay by adding its upper deadeye and lanyards. I won't fully tighten it up until later in case the other rigging affects the tension. As mentioned before, the mainstay splits into two and passes both sides of the foremast. Adding the main topmast shrouds. And gluing the ratlines onto them. Steven


- 740 replies
-
- 15
-
-
- Tudor
- restoration
- (and 4 more)
-
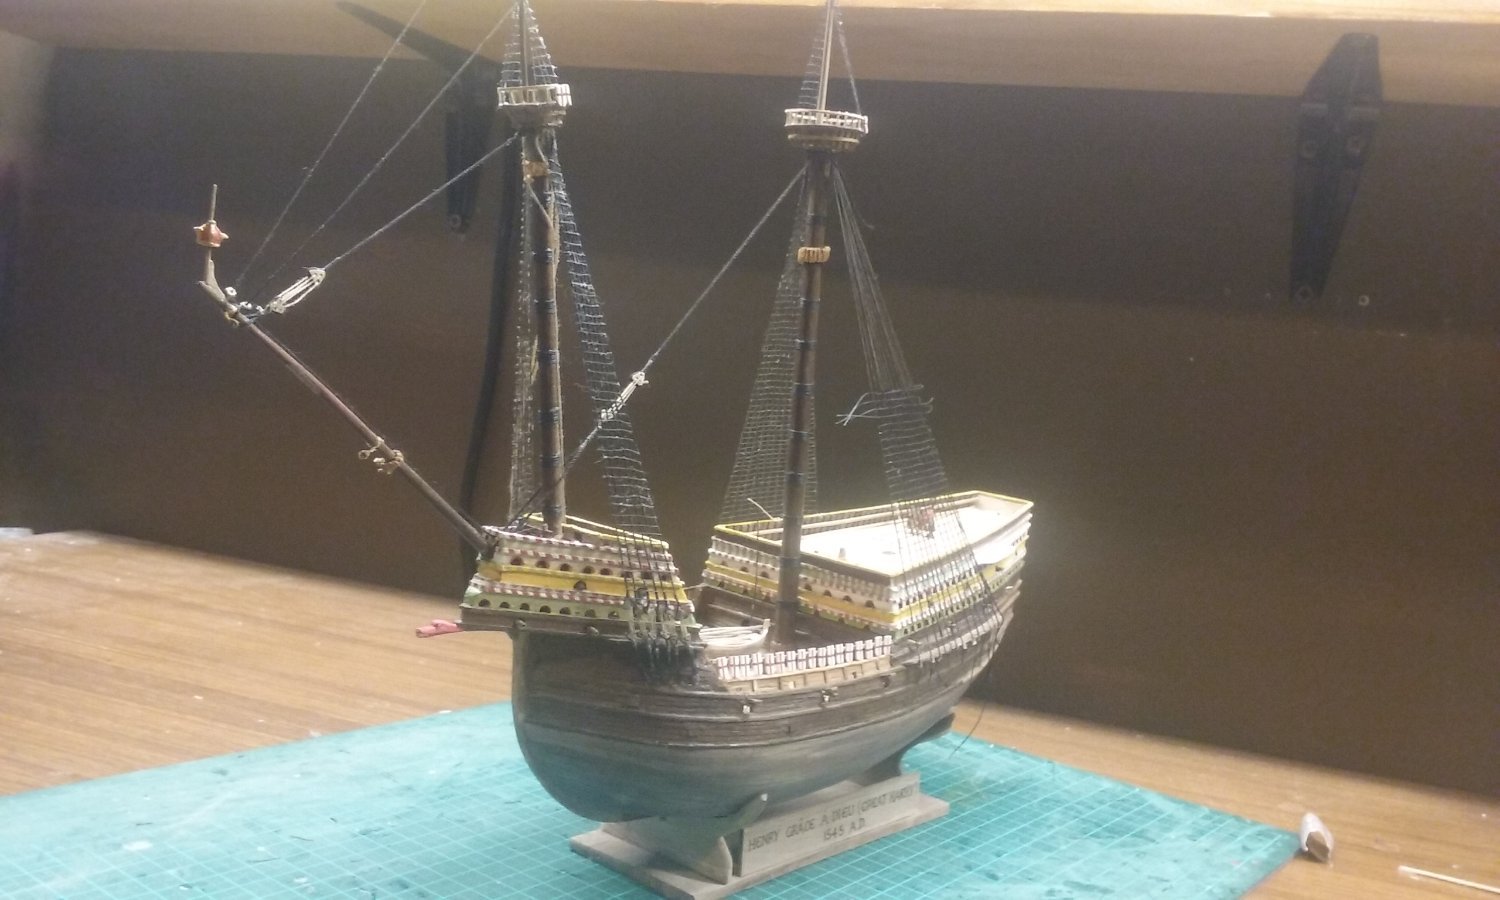
She really is tiny, isn't she? (the ship, not Her Majesty the Queen). Steven
-
To be honest, most of it isn't really much harder than in bigger scales - except the deadeyes! Oh, dear, they're a real problem (not threading them, making them small enough and drilling the holes so they don't split. Then finding fine enough thread to run the lanyards. In the end I gave up on the deadeyes for the topmasts and topgallants - just wasn't practical - I just left them off. They're so tiny you really have to look hard to see they're missing. Steven
- 740 replies
-
- 6
-
-
- Tudor
- restoration
- (and 4 more)
-
Brilliant work. This is a model to be proud of. Steven
-
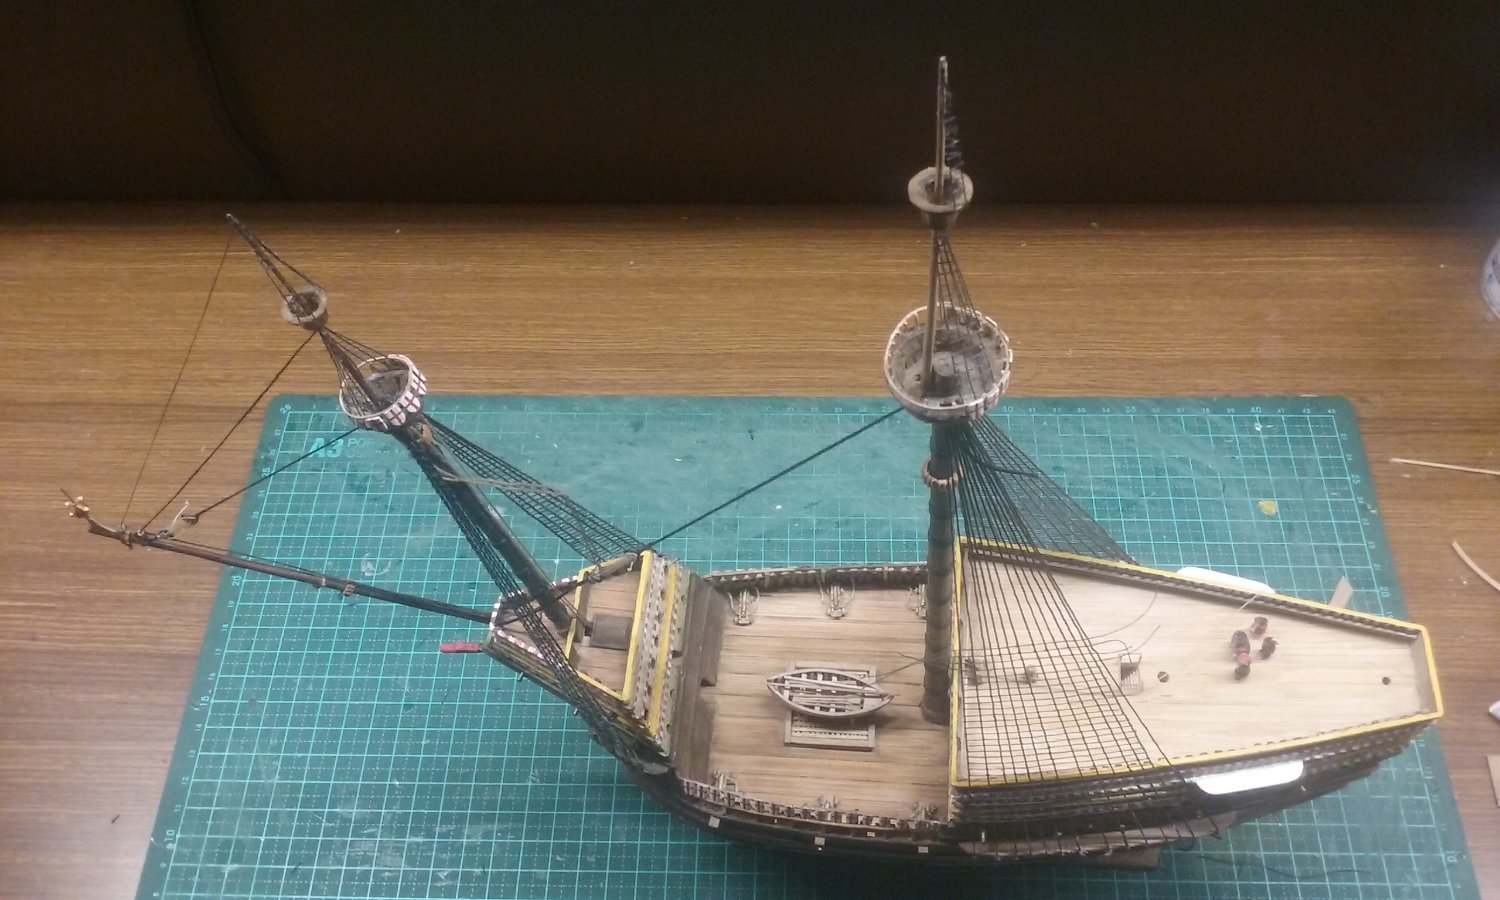
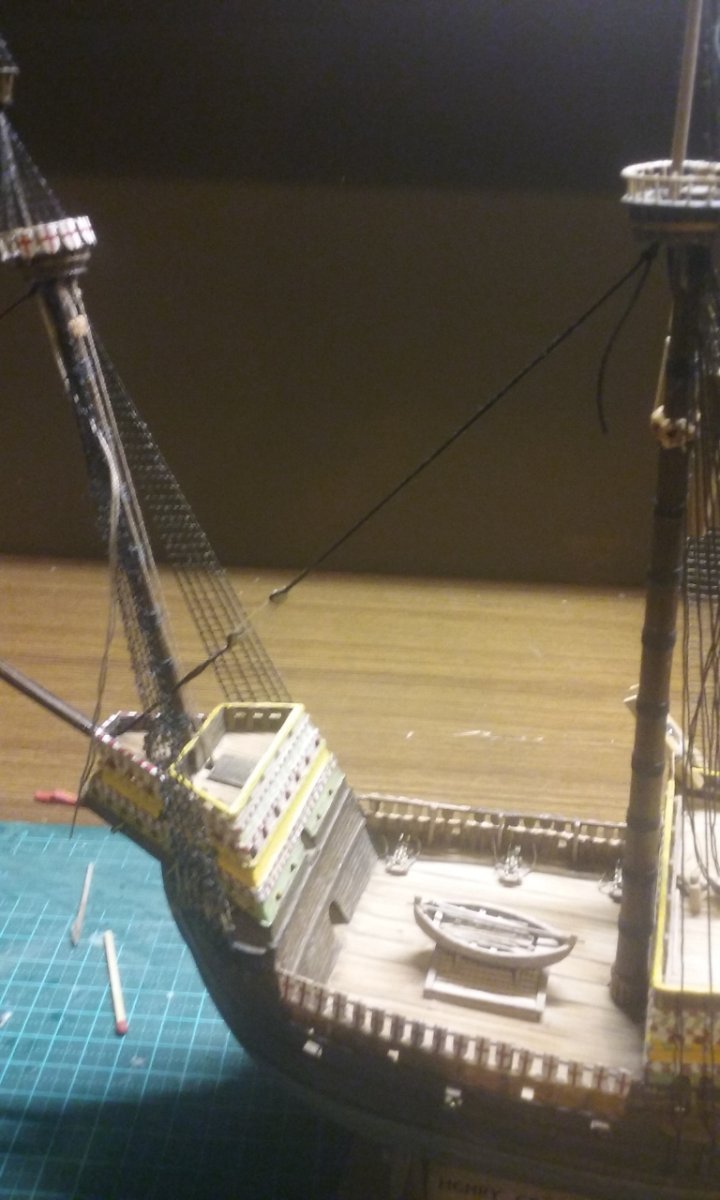
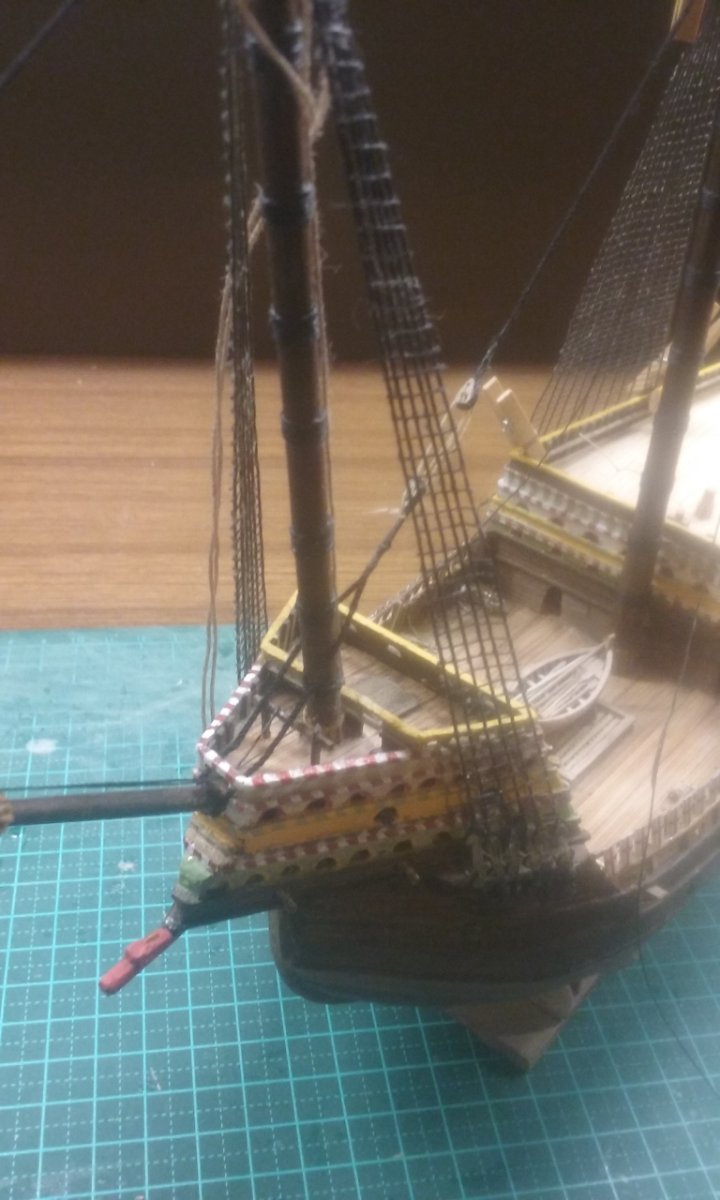
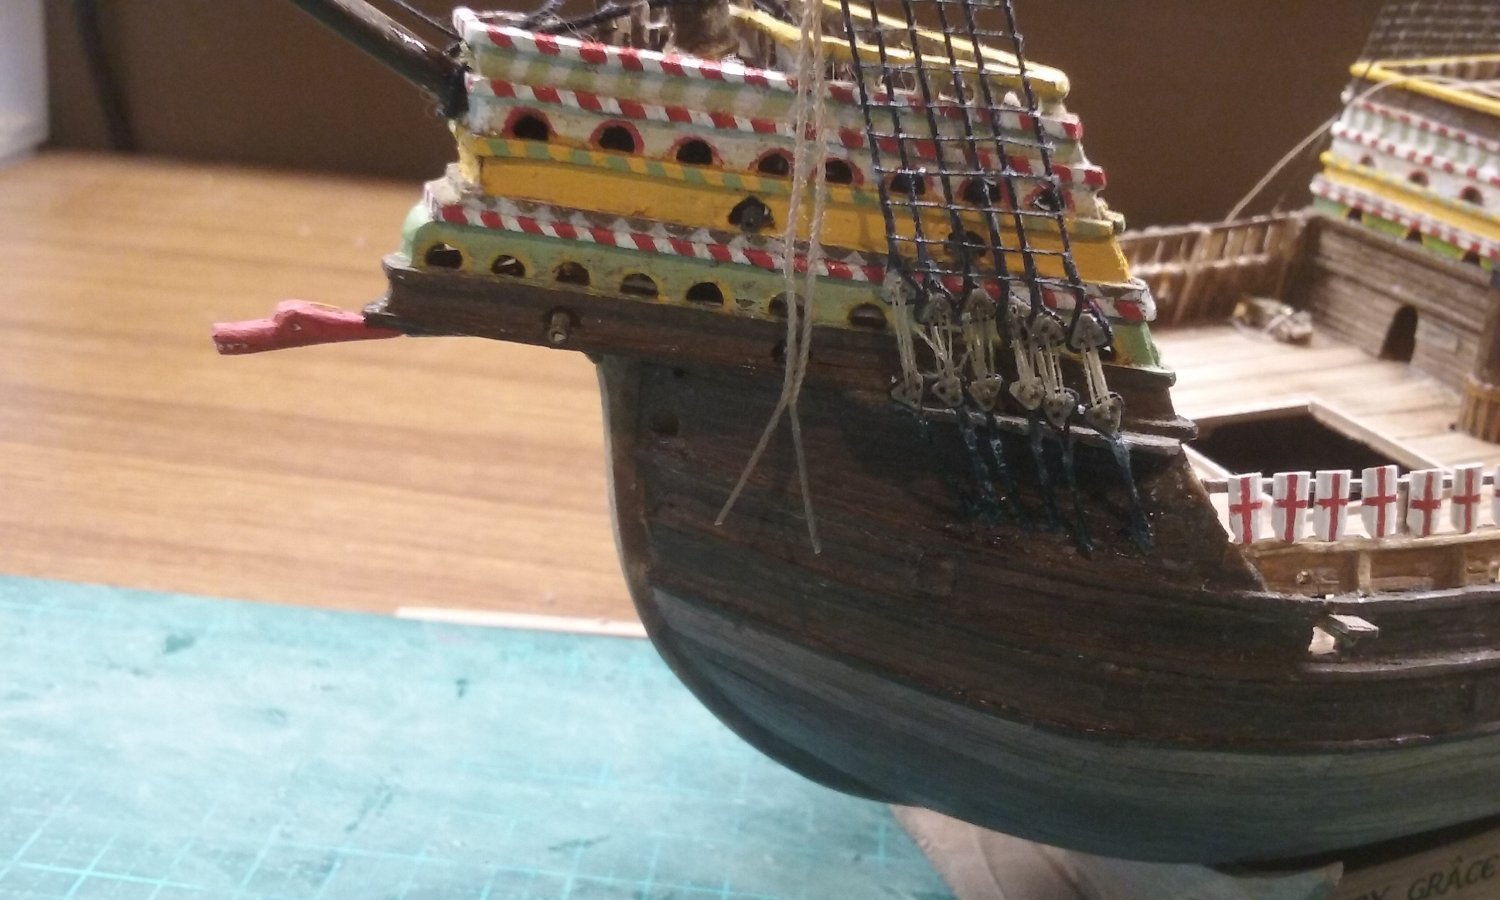
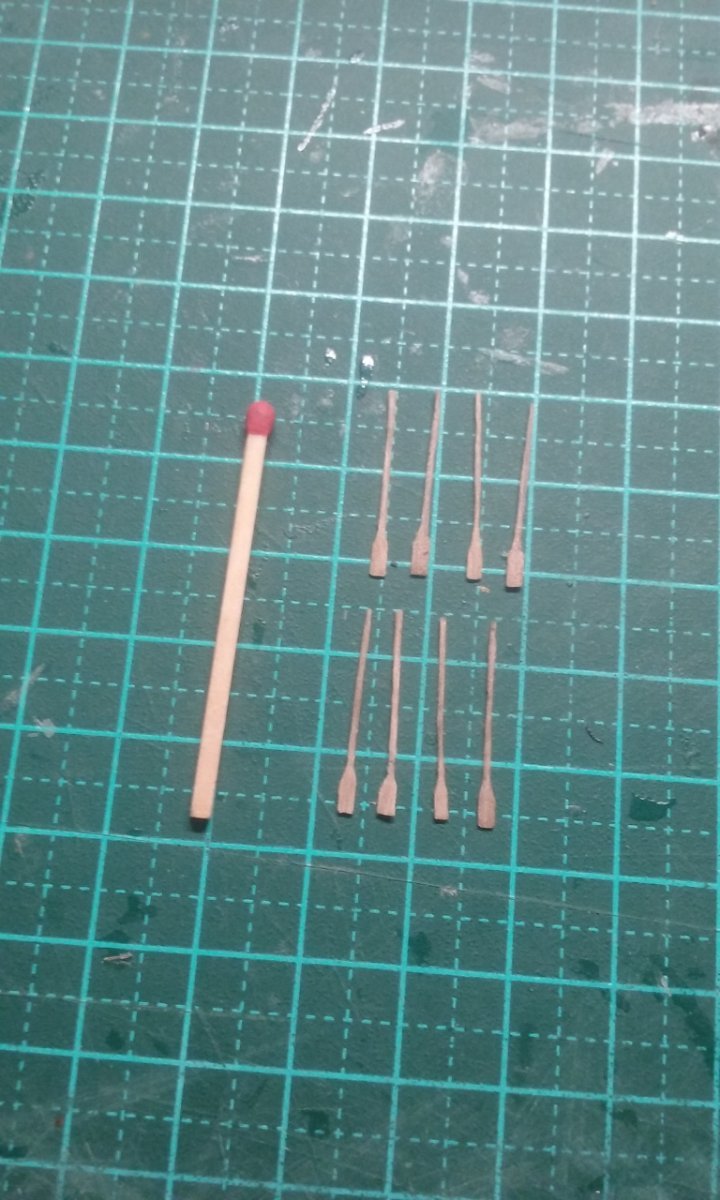
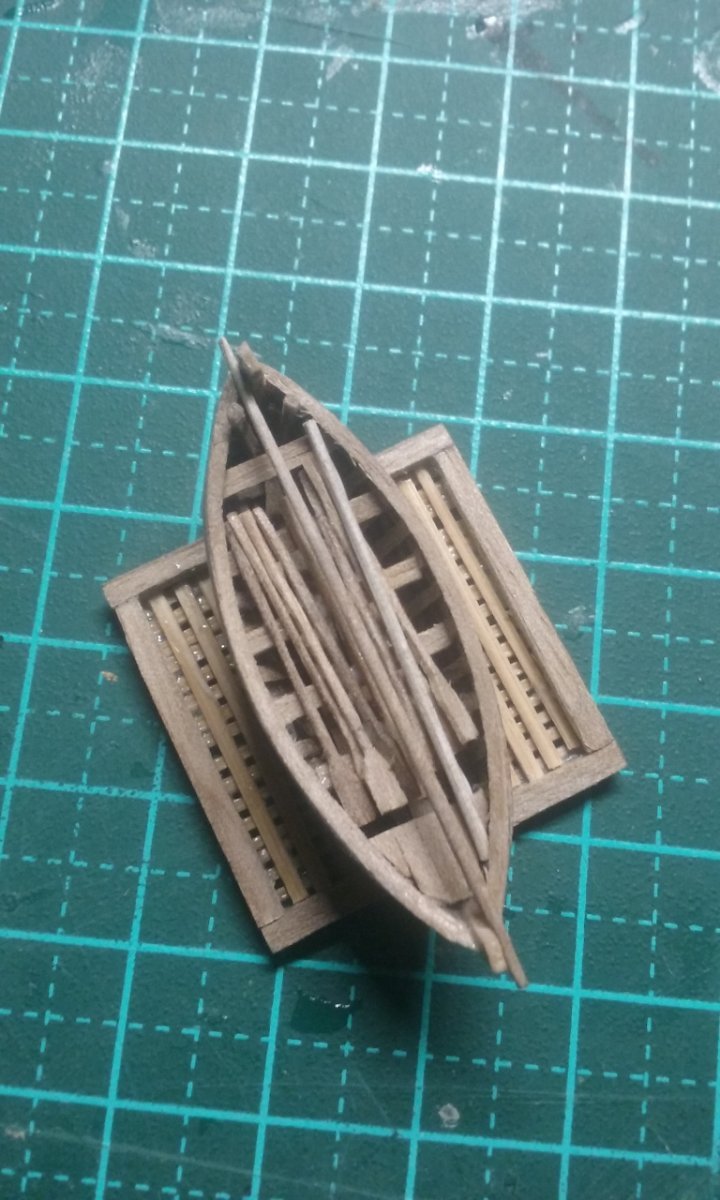
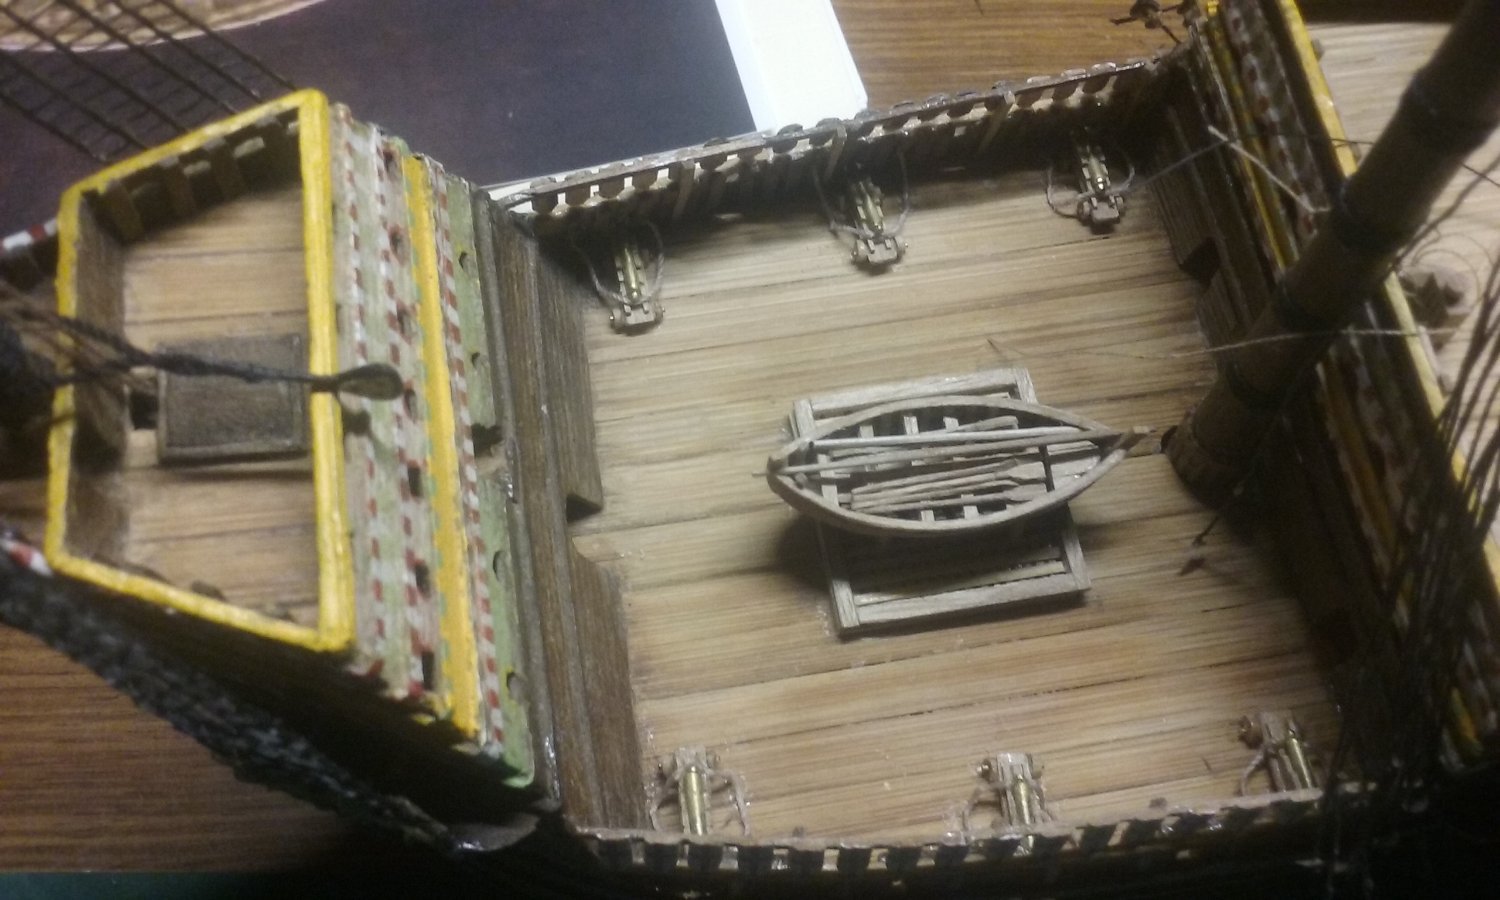
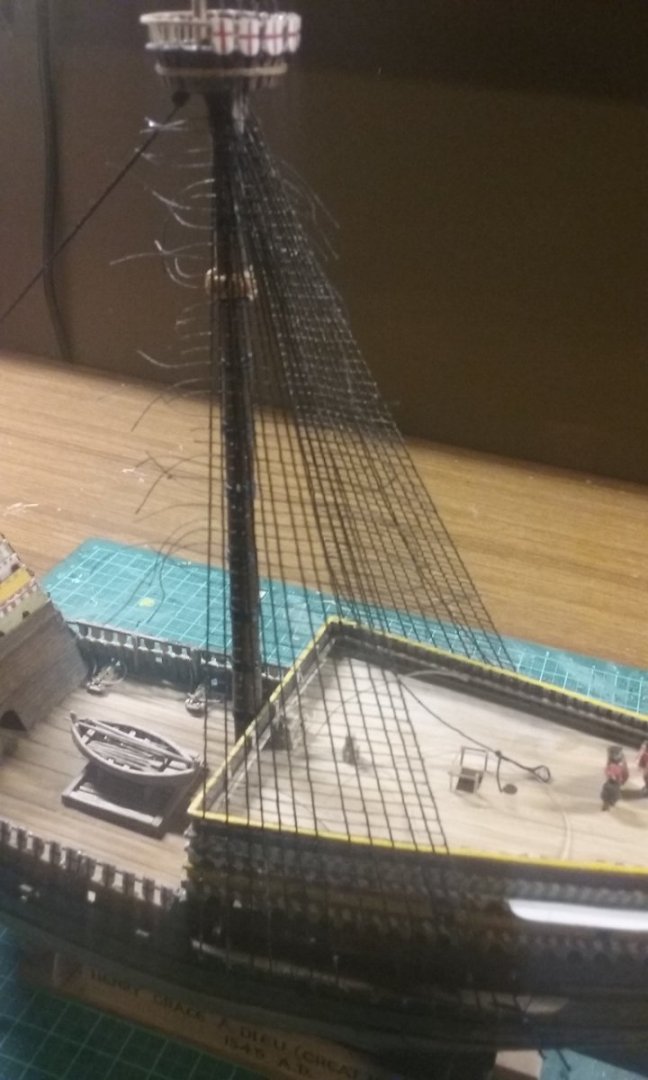
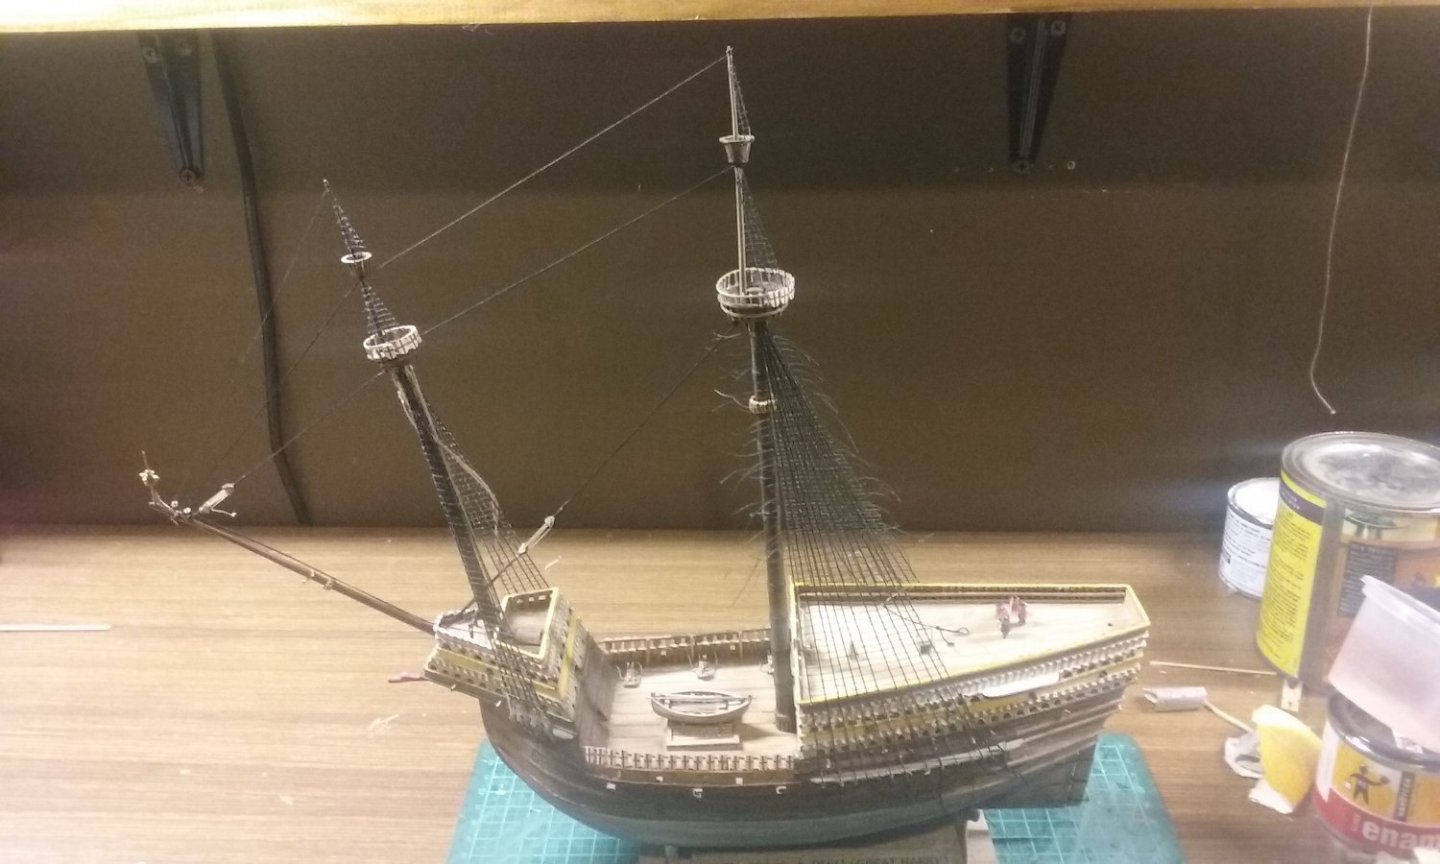
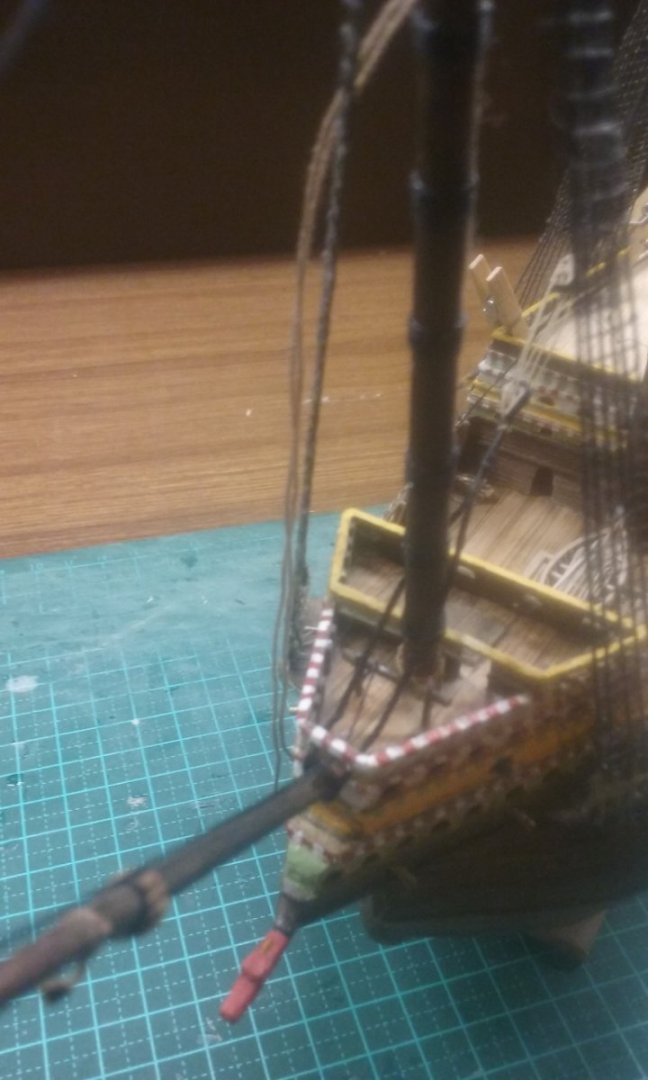
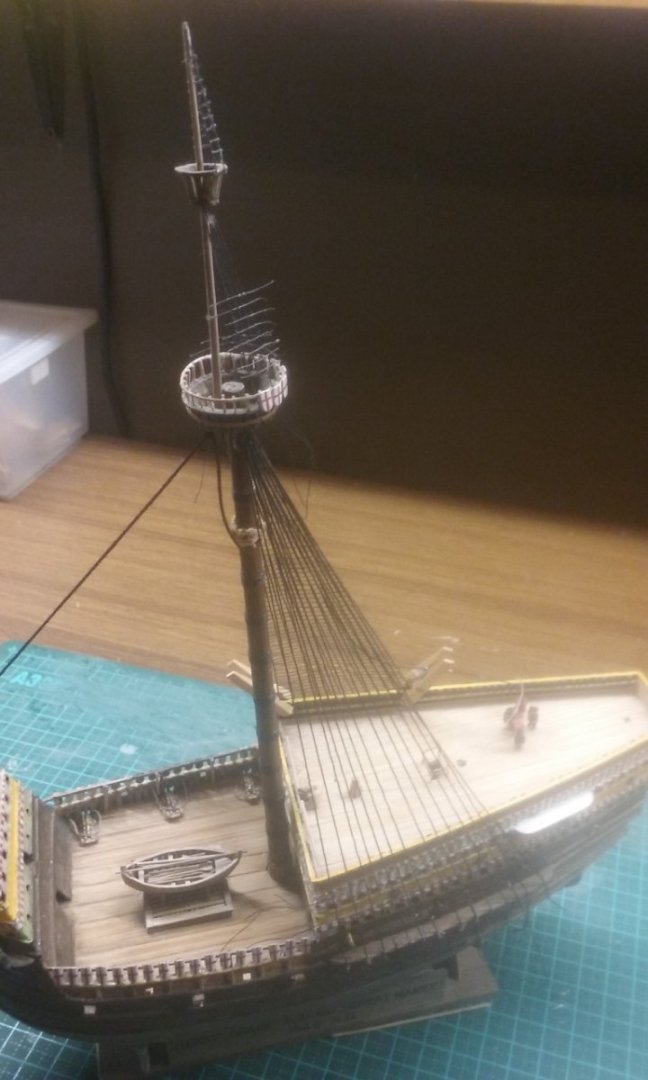
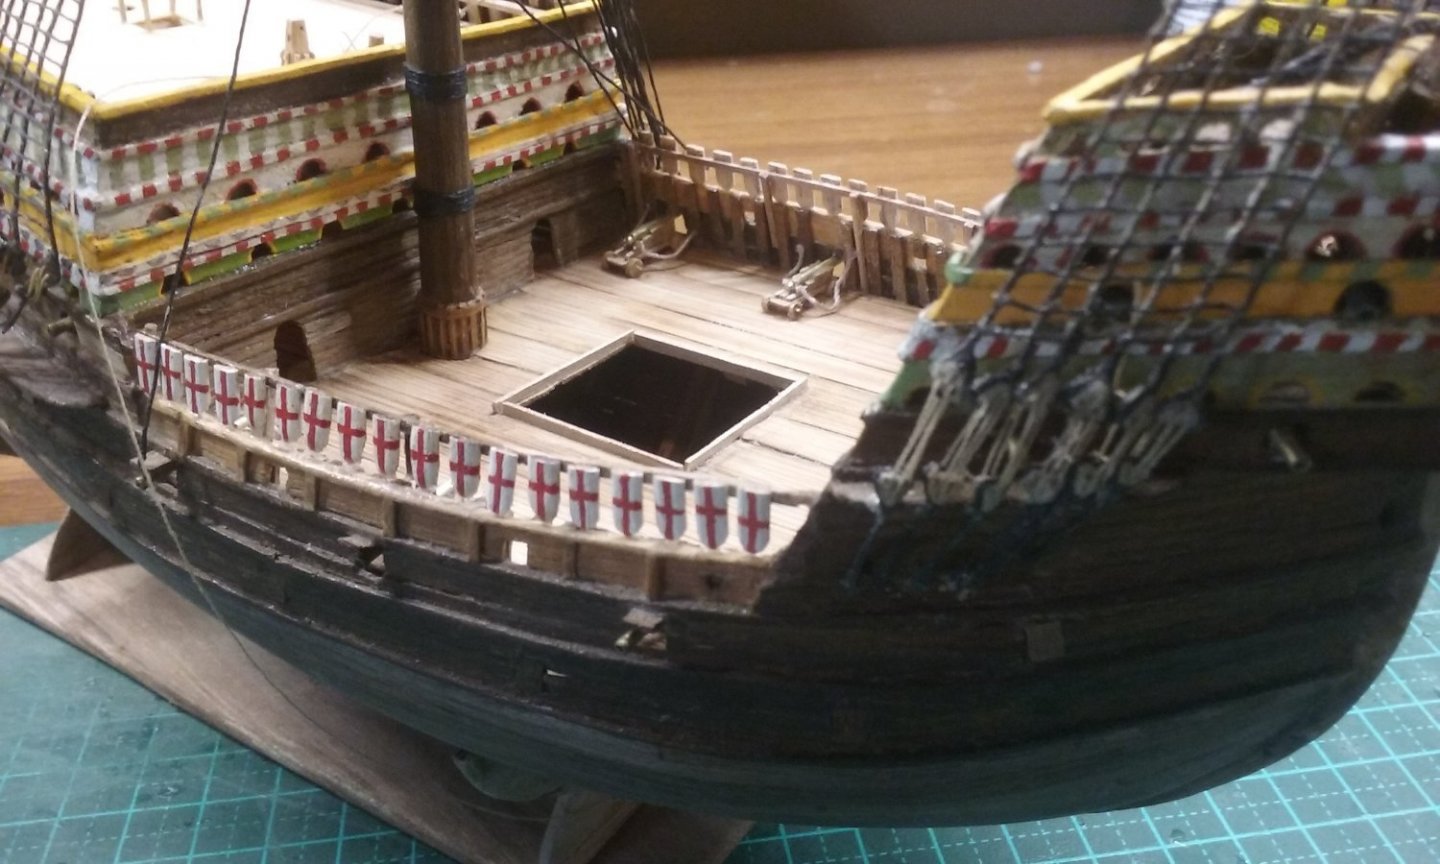
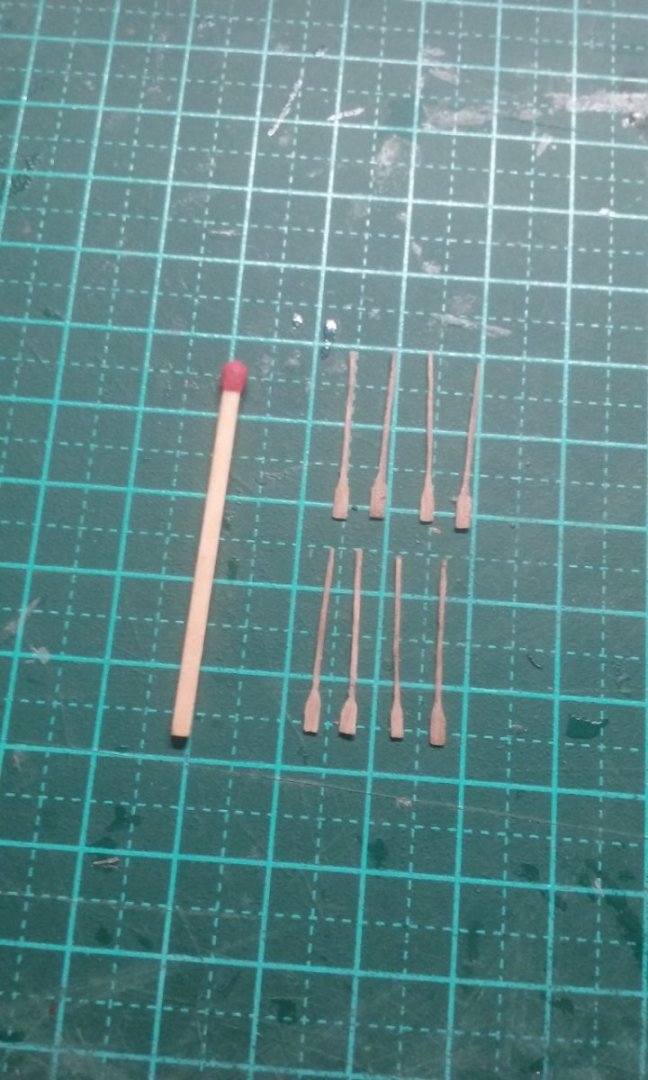
Gluing ratlines to the fore-topmast and fore-topgallant shrouds (to be trimmed later). Finally glued the mainmast in place, and added the lower main shrouds - the starboard ones already had ratlines glued on and deadeyes in place, but needing to be attached to the channel. Glued the dragon figurehead in place. Carved oars for the longboat And added the oars, the mast and spar (I haven't been able to find anything out about what rig these vessels would have had, so I've copied Dutch contemporary pictures and given her a spritsail rig) And glued the hatch cover and longboat in place on the main deck. I had to wait until the mainmast was glued in place before I could close up the hatch - otherwise I wouldn't have been able to see when I was slotting the bottom of the mast into the mast-step - it's been quite a wait. Steven


- 740 replies
-
- 13
-
-
- Tudor
- restoration
- (and 4 more)
-
Yes, the convexity (I'd forgotten its name - it's called the camber) is small, but it does make a difference to the look of the model and I feel it's worth the extra effort. Then there's the "sheer", the horizontal curve of the ship from aft forward via midships. Normally it curves down from one end to midships then back up to the other end. The sheer of the decks may not be as extreme as that of the gunwales, but it is certainly there. The height of the deck beams should be arranged to cause this sheer in the decks. It takes a bit of fiddling, but again, it's worth it. Steven
-
Sounds good. Once the deck beams are in place, they and the frames form a rigid triangle. However, it does make it even more important to get the deck beams horizontal and in line with each other, otherwise your deck won't have a smooth line to follow. And of course the deck beams need to be slightly convex upwards, to allow water to run off the deck. Steven
-
We've all been there. There's nothing wrong with the frames themselves, it's just a matter of ensuring they're all in line/perpendicular in each of the three possible dimensions. More work, but worth it. Steven
-
Yes, Carroll (Dodgson) effectively demolishes the argument that this is evidence that he wrote nonsense, by explaining how it happened in an even sillier set of circumstances than the original statement. Steven
- 186 replies
-
- 2
-
-
- keelless
- reverse clinker
- (and 4 more)
-
As we're getting close to the end of this build, perhaps a celebration is in order? (Hope this doesn't derail the thread too much). Steven
- 186 replies
-
- 3
-
-

-
- keelless
- reverse clinker
- (and 4 more)