-
Posts
7,990 -
Joined
-
Last visited
Content Type
Profiles
Forums
Gallery
Events
Everything posted by Louie da fly
-
Yes, this is only the second time I've carved a hull this way, but it seems to work well. Damn! I miscounted! I learnt German for two years in high school - all gone - too long ago. And I never got any good at it, anyway. Why, thank you - I think . . . Have you ever eaten emu? Tastes like petrol! Steven
-

Divers Discover 2nd Century Military Ship off Egypt
Louie da fly replied to Ian_Grant's topic in Nautical/Naval History
Thanks very much, Ian. Very interesting. Steven -
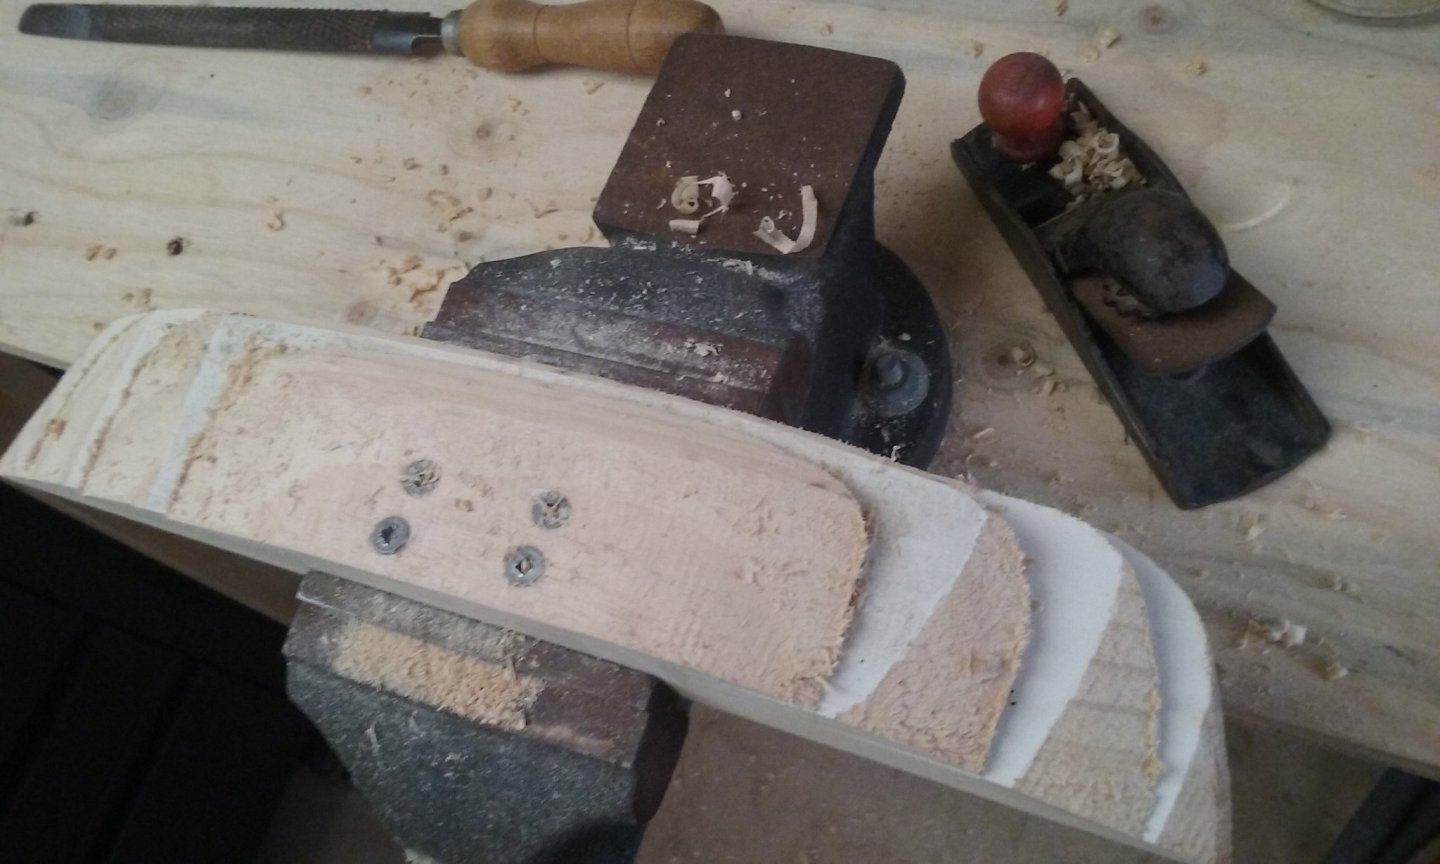
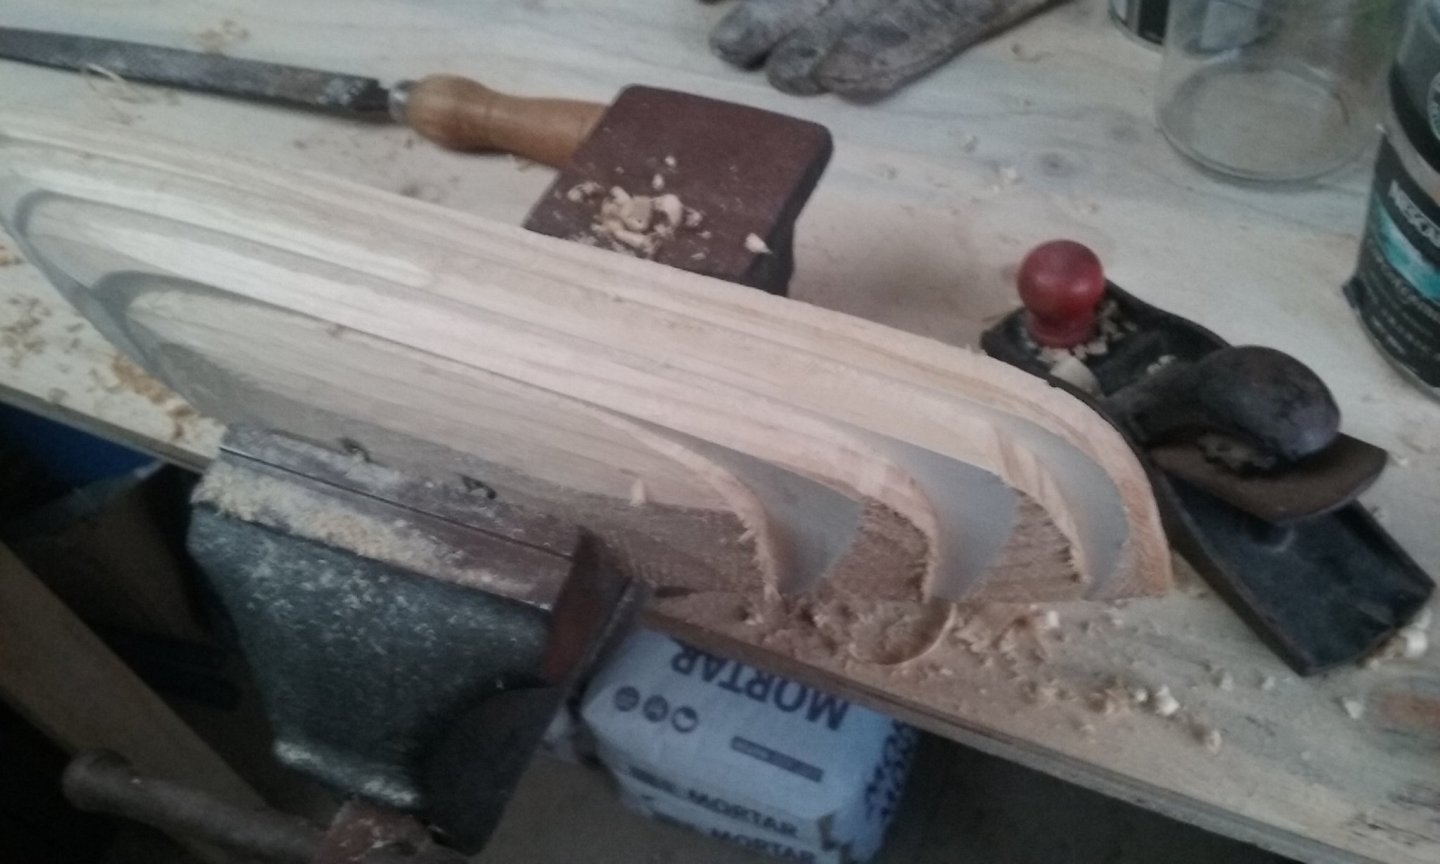
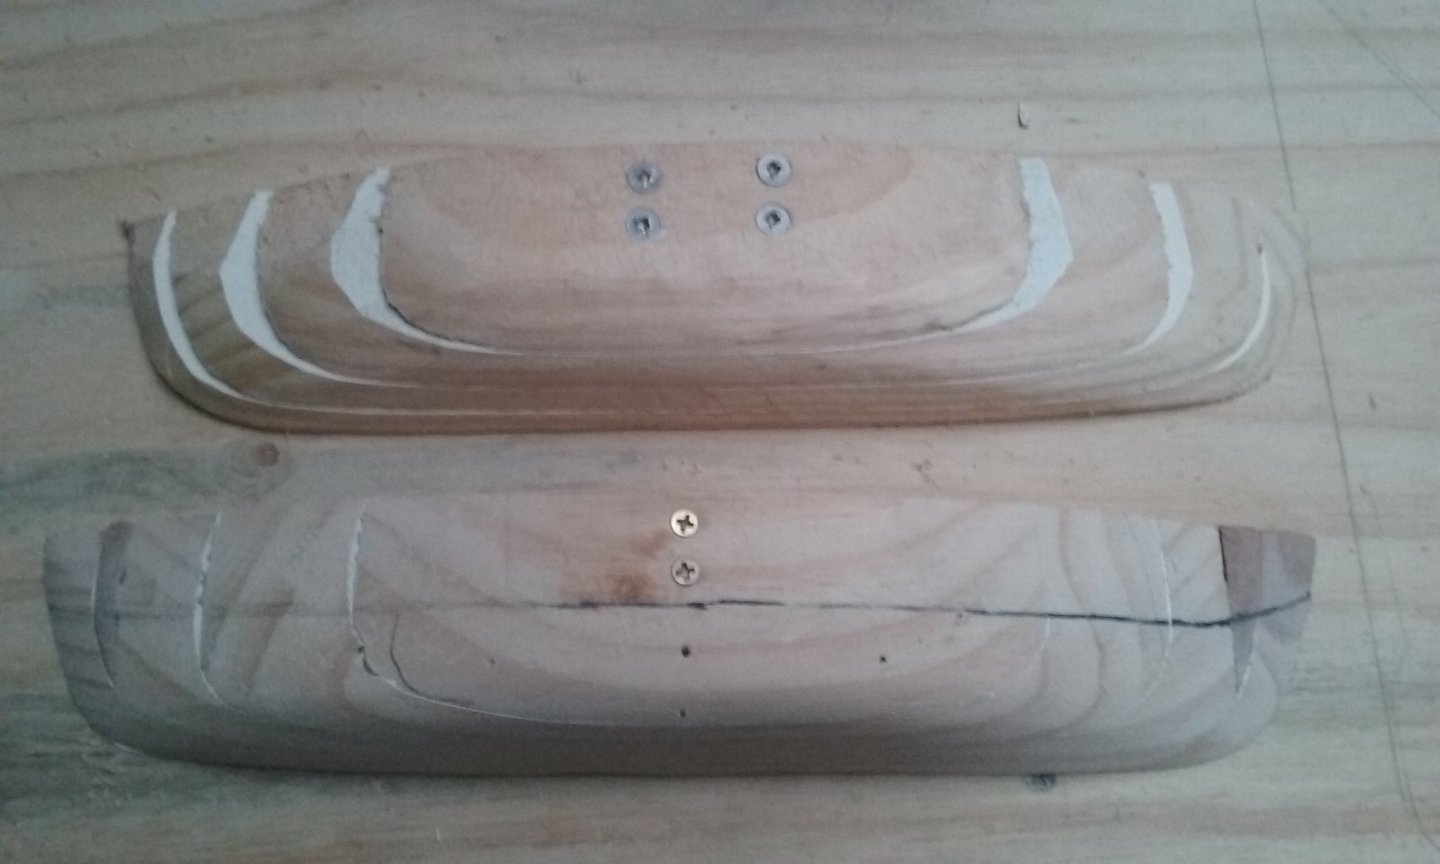
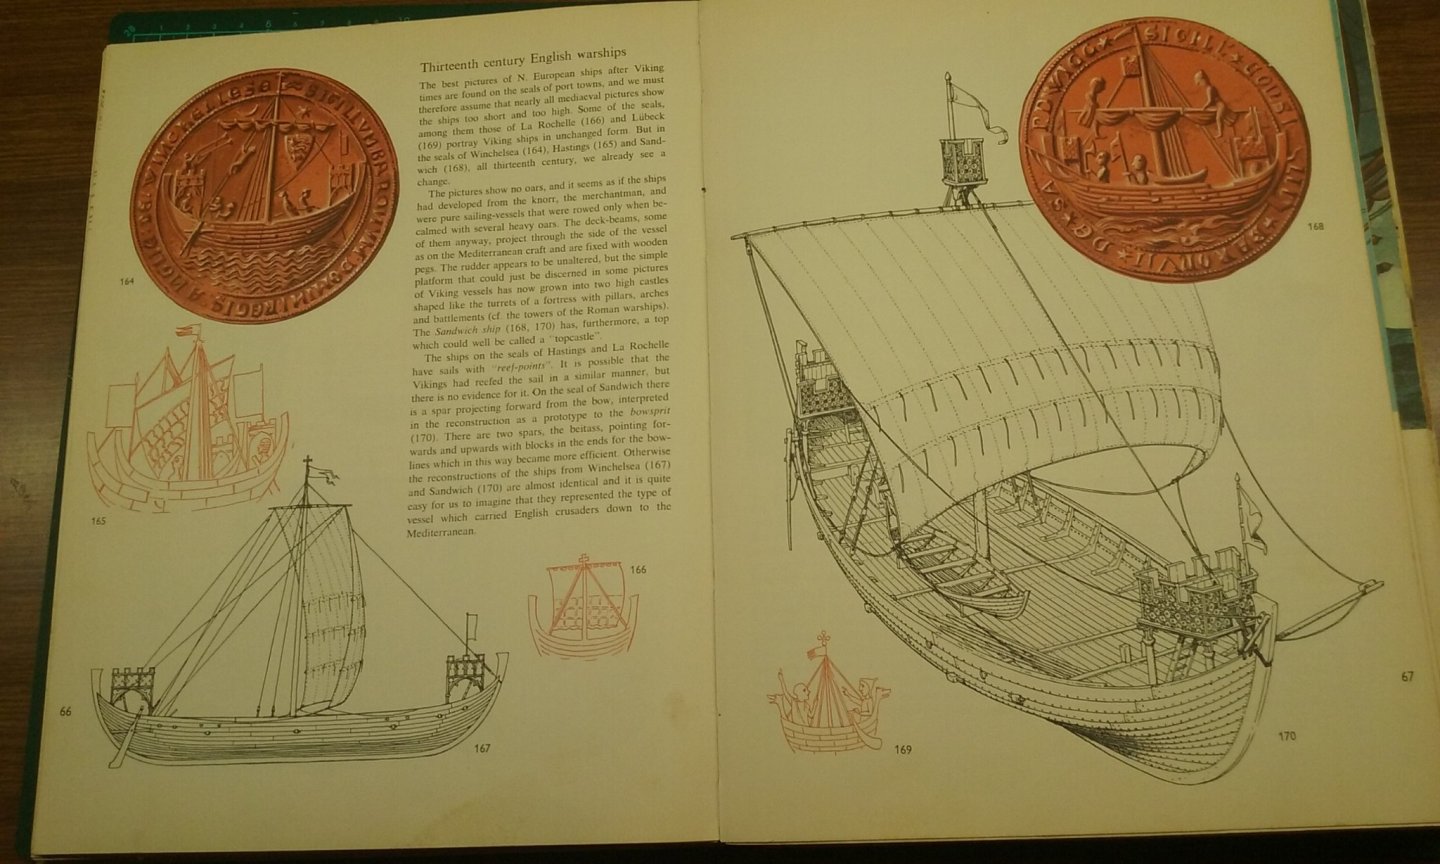
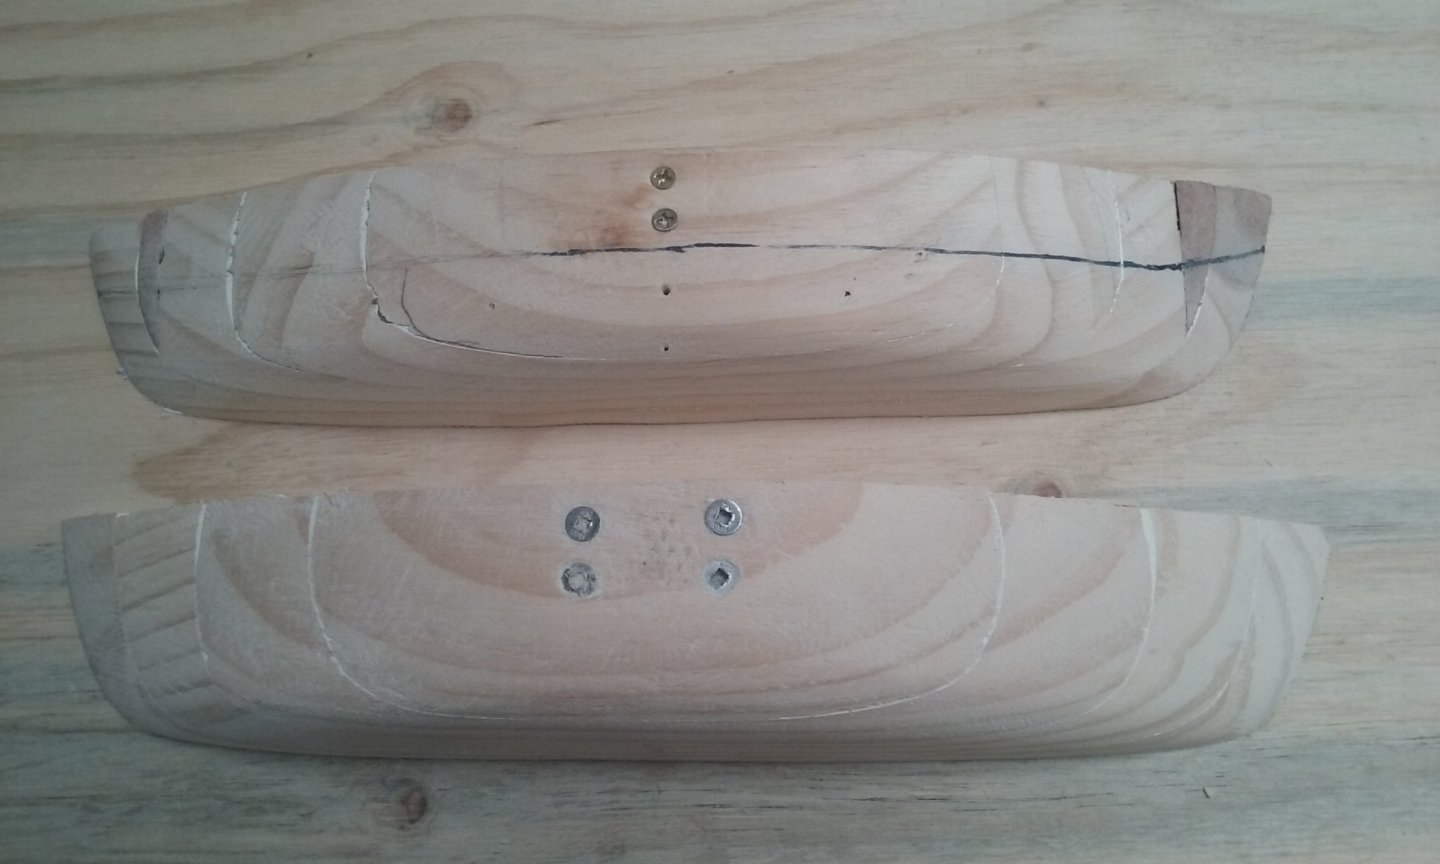
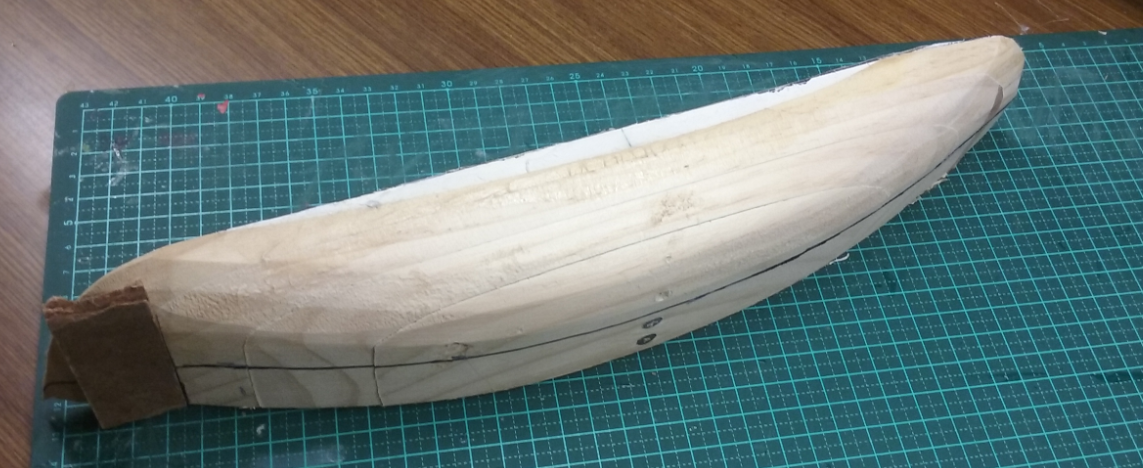
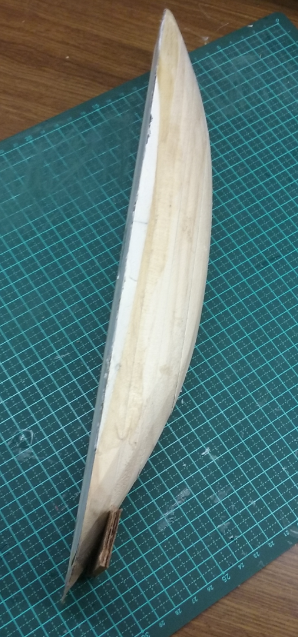
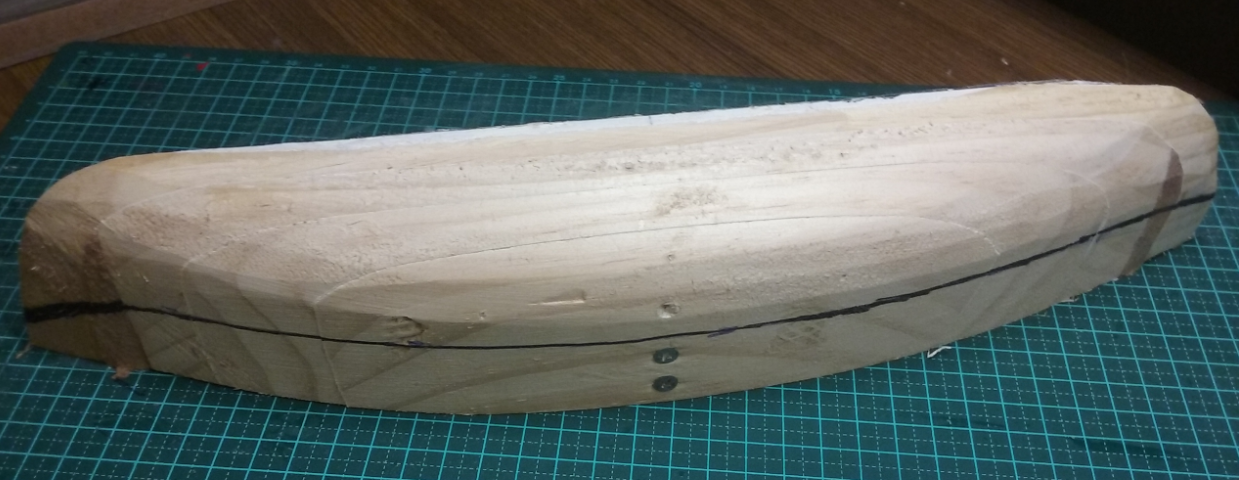
That would be very good, Christian. I'd like to see what Zimmerman's conclusions were, (and how they compare to my own). In the meantime, here is some more progress on the plug: I'm pretty happy that I've got both sides the same (at least as much the same as I'm able to do!) Next I need to put in the groove to take the keel and the stem and sternposts. And here's Landström's take on the Winchelsea and Sandwich ships. He does do very seaworthy-looking reconstructions, unlike some I've seen. It looks like he has the idea of removeable panels of planking for access to the hold. And you can see his idea of the "bowsprit", which he is calling a beitass as in Viking ships, though with rather a different application. Should I be adding a boat? I think that just because the Winchelsea seal doesn't show it doesn't mean the ship was without one . . . Steven
-
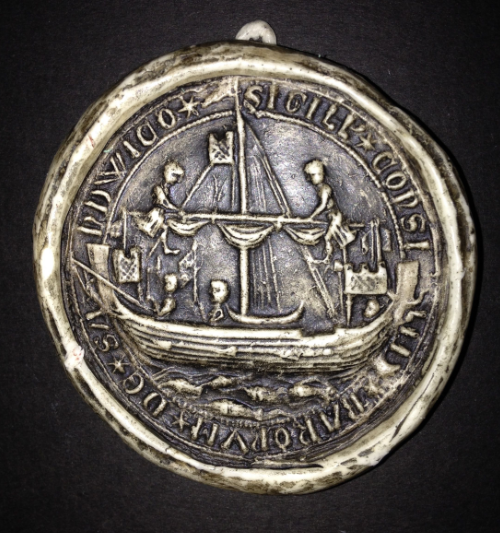
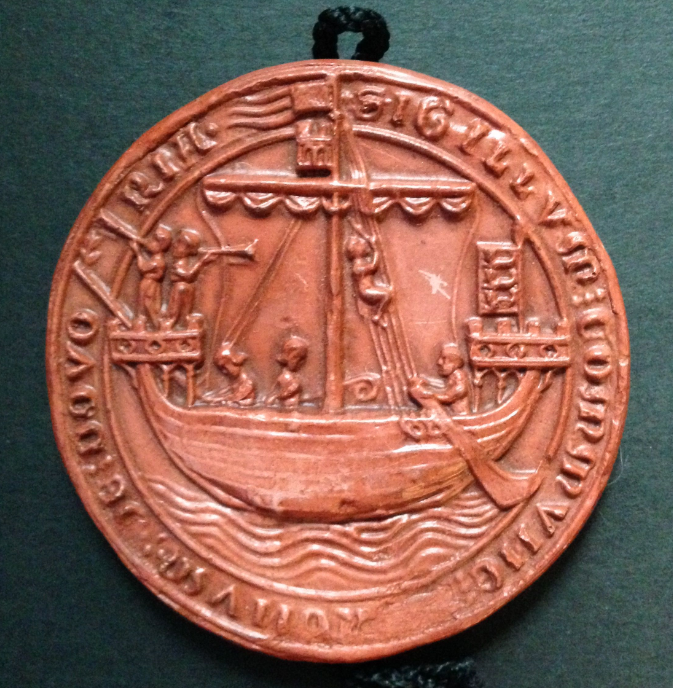
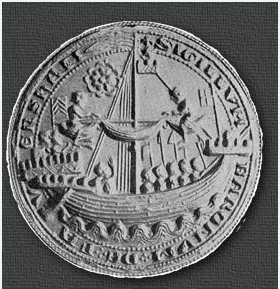
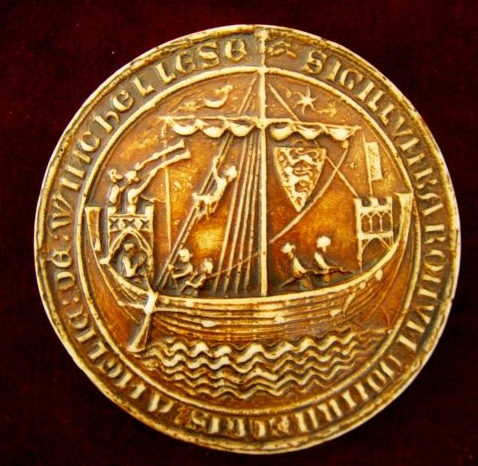
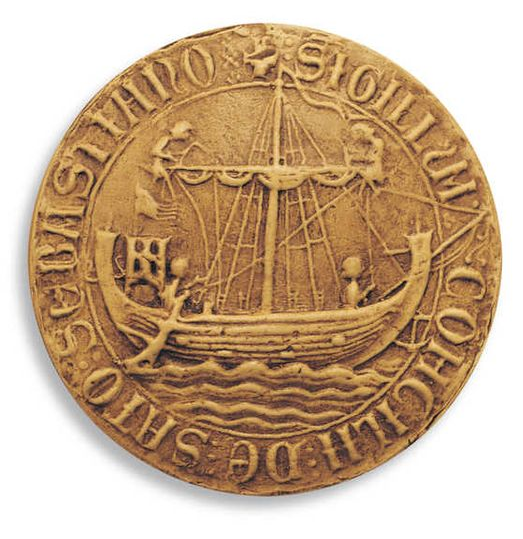
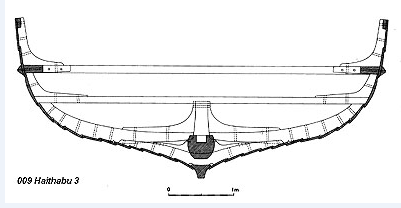
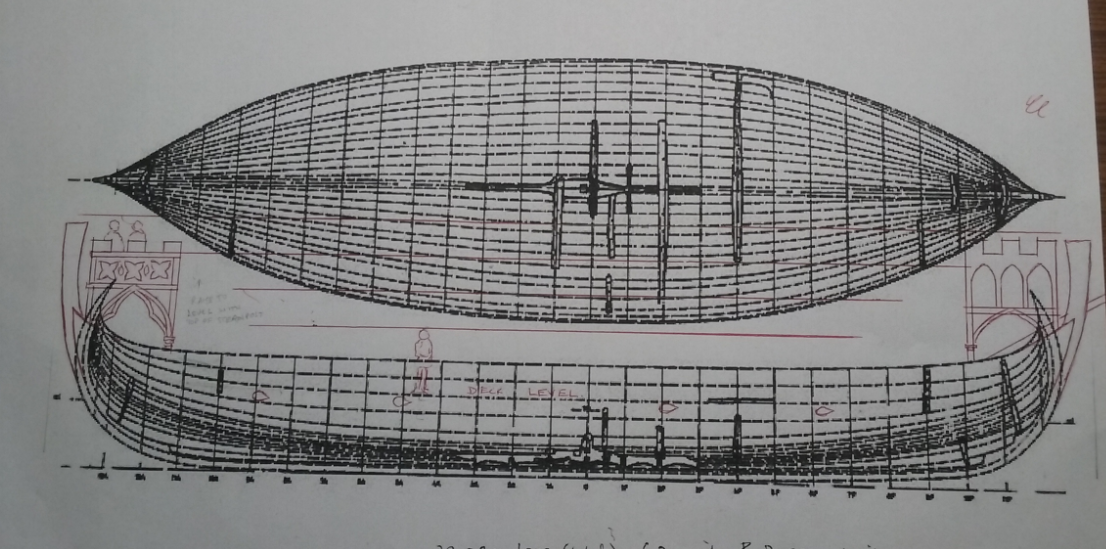
Yes, as closely as possible. I chose the Winchelsea nef because the castles are so beautifully decorated compared with other examples. Note where the deck level is (as estimated from the ends of the through-beams shown on the city seal) and the little man standing on the deck. This would give the ship a fairly good amount of depth for the hold. Correct. But the Winchelsea seal doesn't show one, though most seals do (as can be seen on 4 out of the 5 other seals in my first post). Now I have to decide whether the seal-maker just forgot to put it in, or whether the ship actually didn't have one. I've just been through my pics and of the nefs with one or more castles shown, (I haven't included in the list pictures of nef-type ships that don't have castles). The following have bowsprits: The seals of Poole, San Sebastian, Sandwich, Dover, Yarmouth, Melcombe Regis, Faversham, and Haversham West. Two illustrations from the Bodley Bestiary, two illustrations from BL Egerton MS 3028, plus another manuscript illustration of a sea battle which has what might be interpreted as a bowsprit. [Nope: looking back again, it's a spear held by someone on the opposing ship, stabbing someone on this ship]. A small number of representations show a green leafy branch at the end of the bowsprit or on the top of the stem and/or sternpost. Without bowsprits: The seals of Hythe, Hastings, New Shoreham, Dunwich, and of course Winchelsea, plus five illustrations from BL Egerton MS 3028 (though in some the bowsprit may be obscured rather than missing). It appears that the bowsprit may have been a development that was fairly new and not used by all vessels. Landström interprets them as light booms to take the bowlines, and his reconstruction shows one on each side of the stempost. I'm not sure I agree about there being two - there is no firm evidence to back this up, and it could simply be a single spar running alongside the stempost, rather like the offset bowsprit in early carracks. Anyway, after looking at the evidence above, I think rather than cobble several nefs together I'll stay faithful to the Winchelsea one. Which means no fighting top on the mast, either. The crossbeams on Hedeby/Haithabu 3 could be used as a sort of deckbeam to support removable panels of decking, to allow access to belowdecks for cargo storage. That's perhaps the way I'll approach things. If not, I'll make them proper deckbeams, but with one removeable deck panel for the hatch. Steven
-
Yep, I already did that part way through the process, but it brought in its own problems - the glue "blobs" against the contact (well, actually I used sticky tape, but the effect is the same). Steven
- 740 replies
-
- Tudor
- restoration
-
(and 4 more)
Tagged with:
-
Yes, I found that out after I'd posted. And if I recall correctly, Haithabu 3 (which is what I'm mainly working from) was found in the 1970's. Yes, but assuming the model above is built from those drawings, based on my own investigations I already disagree with two details - the triangular castles (where the shape of the castles can be determined in contemporary pictures they are never shown triangular - that shape didn't come into use until the rise of the carrack in the 15th century) - and the through-beams above deck (I agree with Druxey about them being an obstacle course if they're done that way - I believe they are in fact deck-beams). As I can't read the German to check what Zimmerman based his conclusions on, I find going back to the original evidence (contemporary representations, plus whatever archaeological evidence exists) works well for me. Steven
-
One of my favourite words, ever since I saw a quote containing it in a book Steven
- 72 replies
-
- fishing boat
- Barco Catalan
-
(and 1 more)
Tagged with:
-
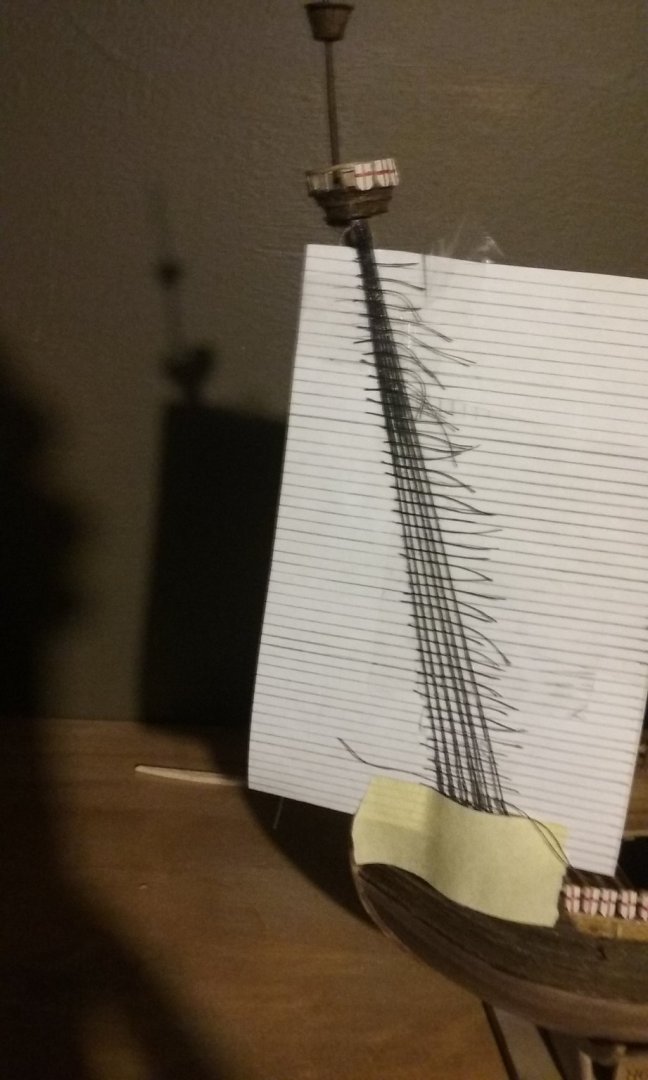
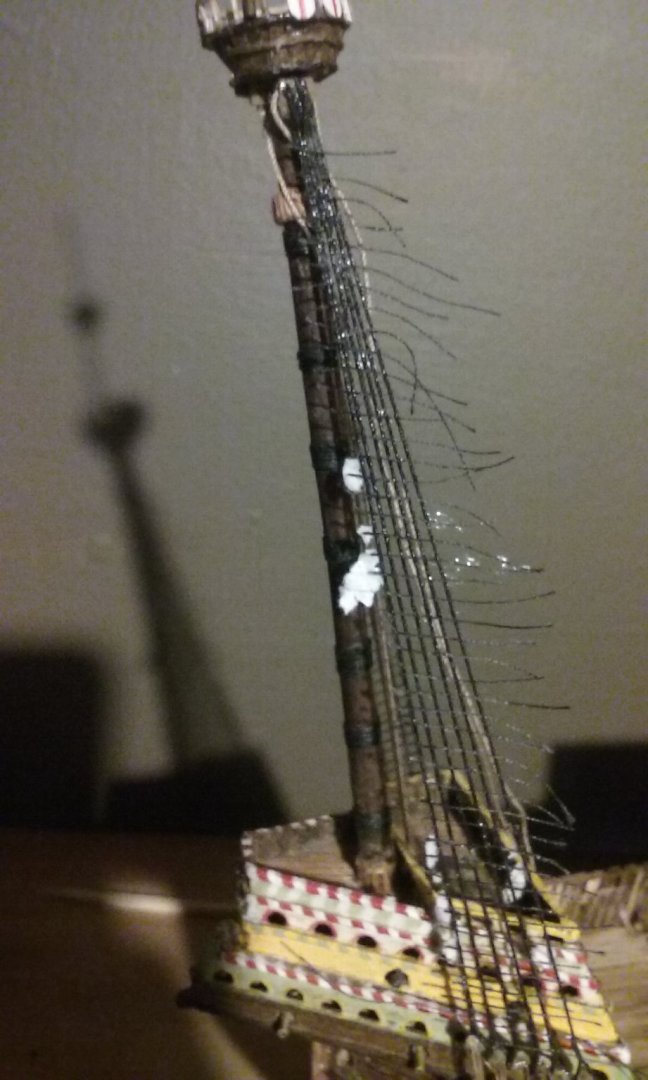
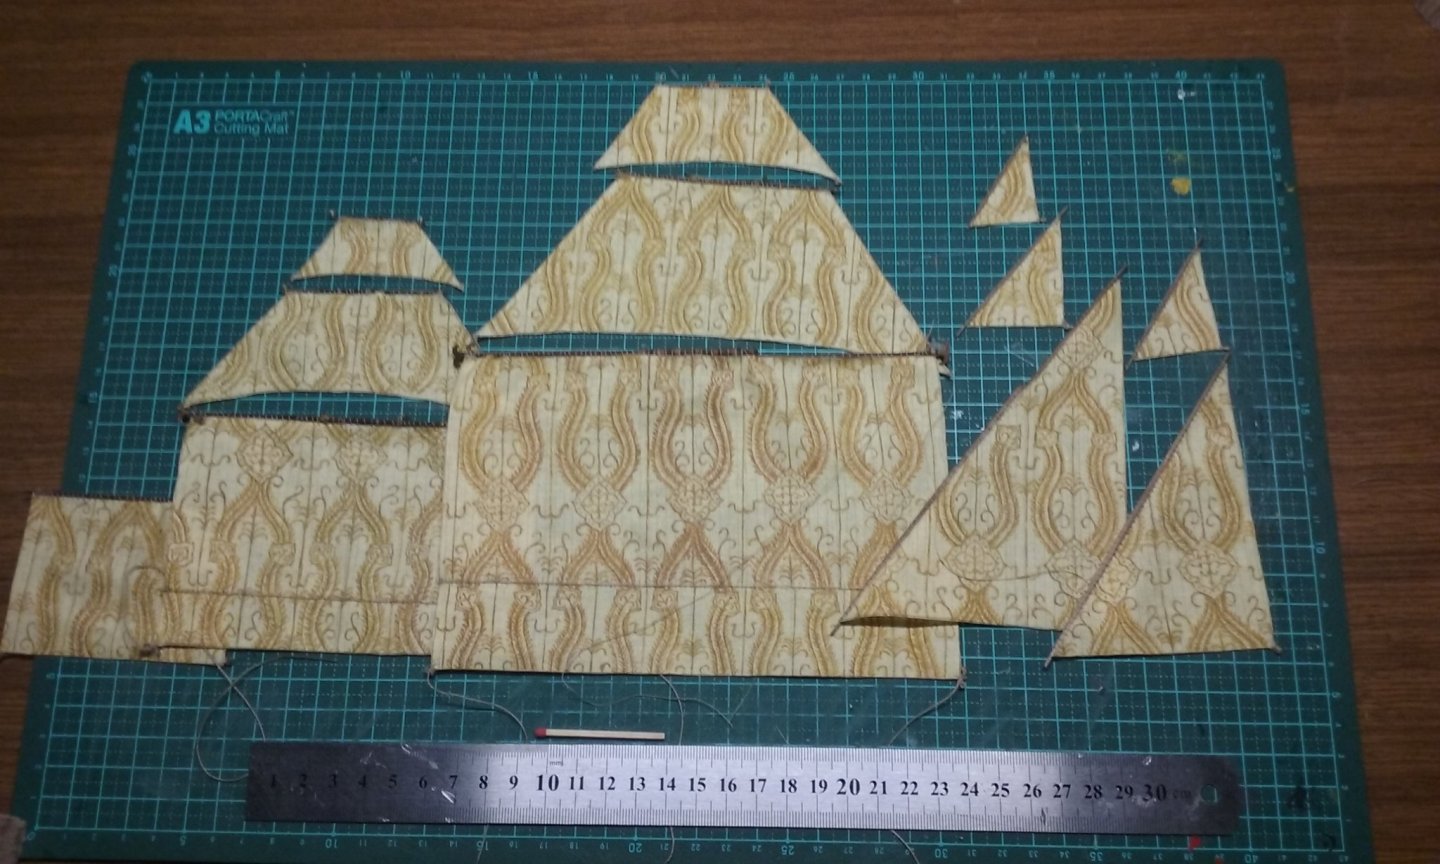
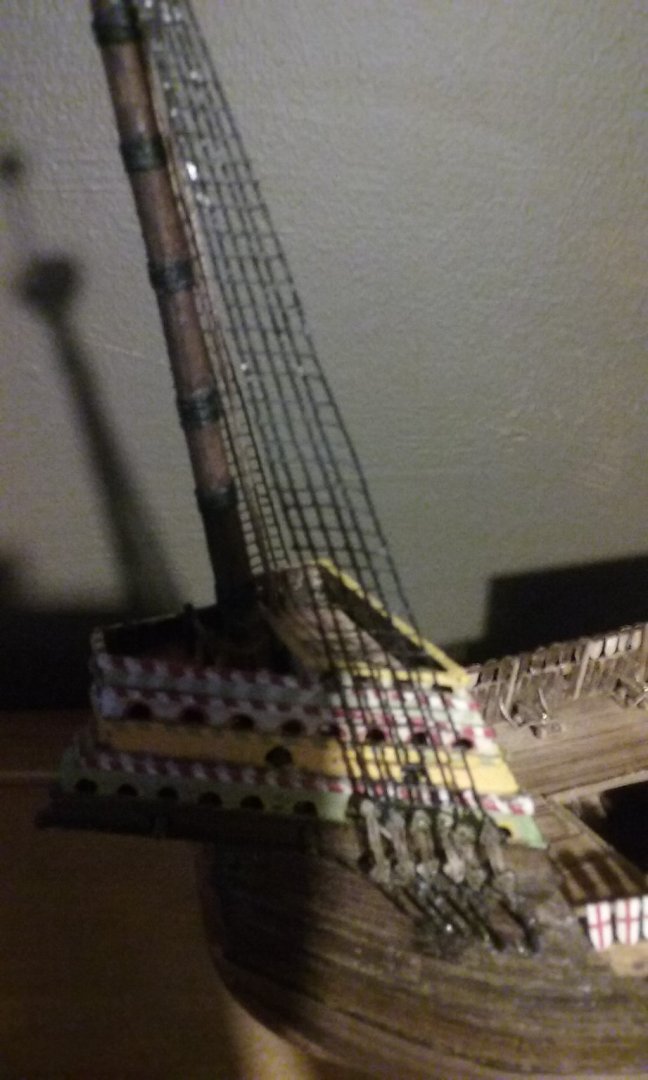
Finally got the foretopsail yard fixed and sewn to the sail. And I've now done the lateen sails as well. Here's the complete suit of sails, with yards attached. And I've finished gluing ratlines to the lower larboard foremast shrouds. Paper from the guide stuck to the shrouds before I put the sticky tape onto it, and glue blobs that stuck between the back of the shrouds and the sticky tape, that had to be removed. I picked the paper off with tweezers. For the blobs of glue I've used water, rubbing alcohol etc. Not a perfect result and I think I'll be revisiting these shrouds to clean them up further. And I'll need to re-think the whole process for the next sets of shrouds and ratlines. Steven
- 740 replies
-
- Tudor
- restoration
-
(and 4 more)
Tagged with:
-
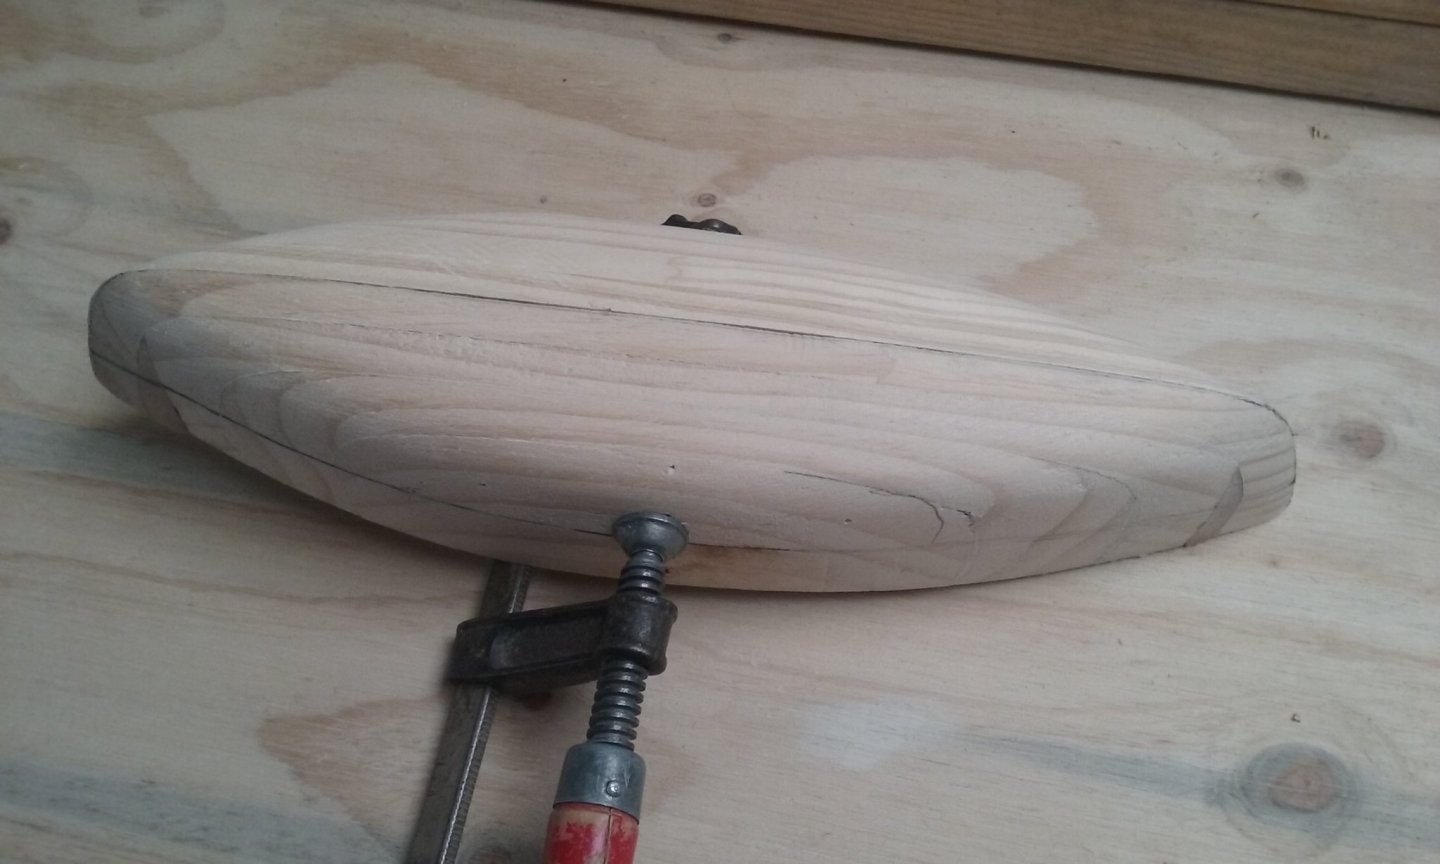
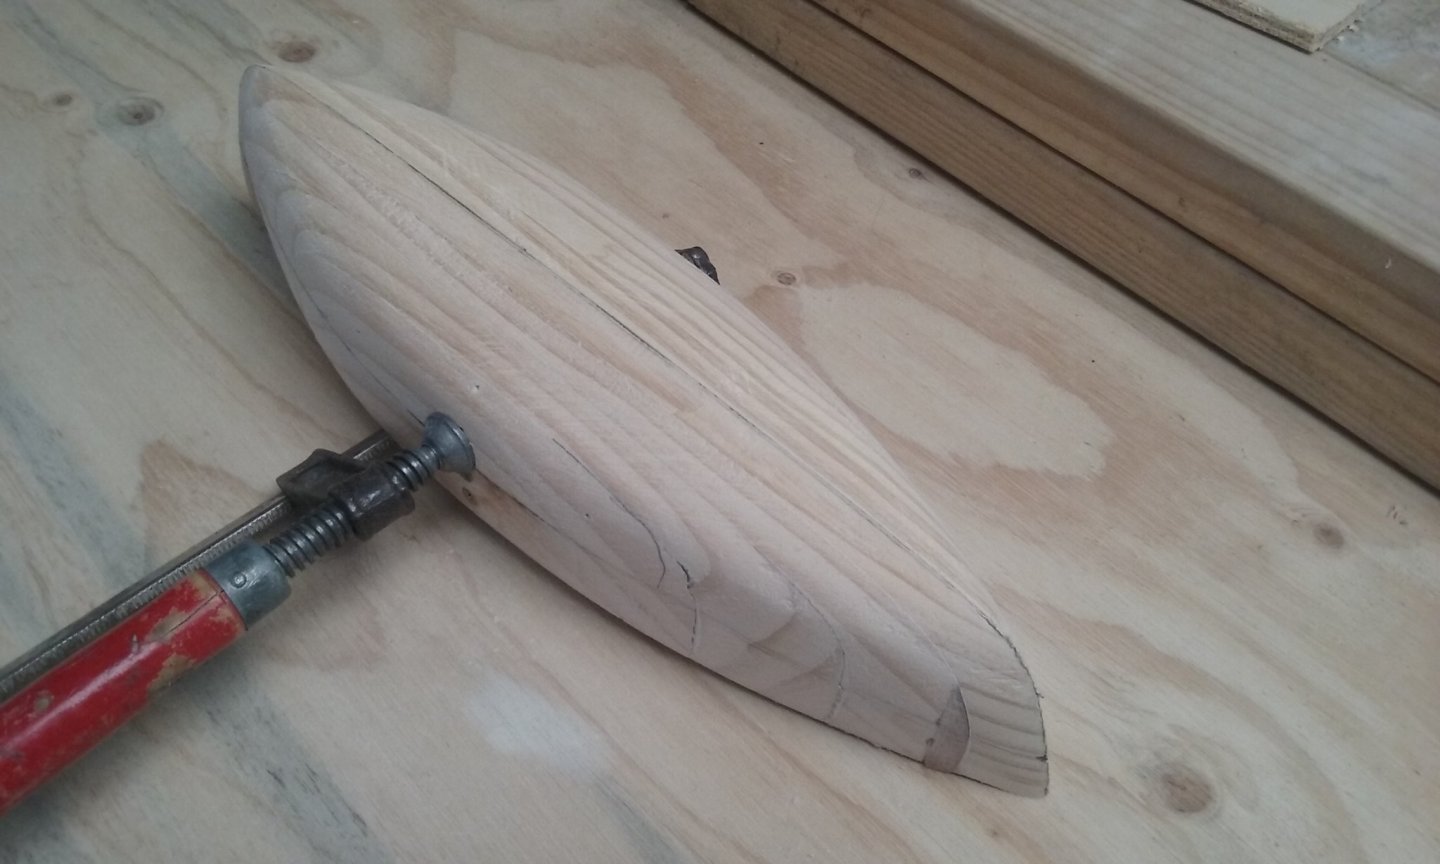
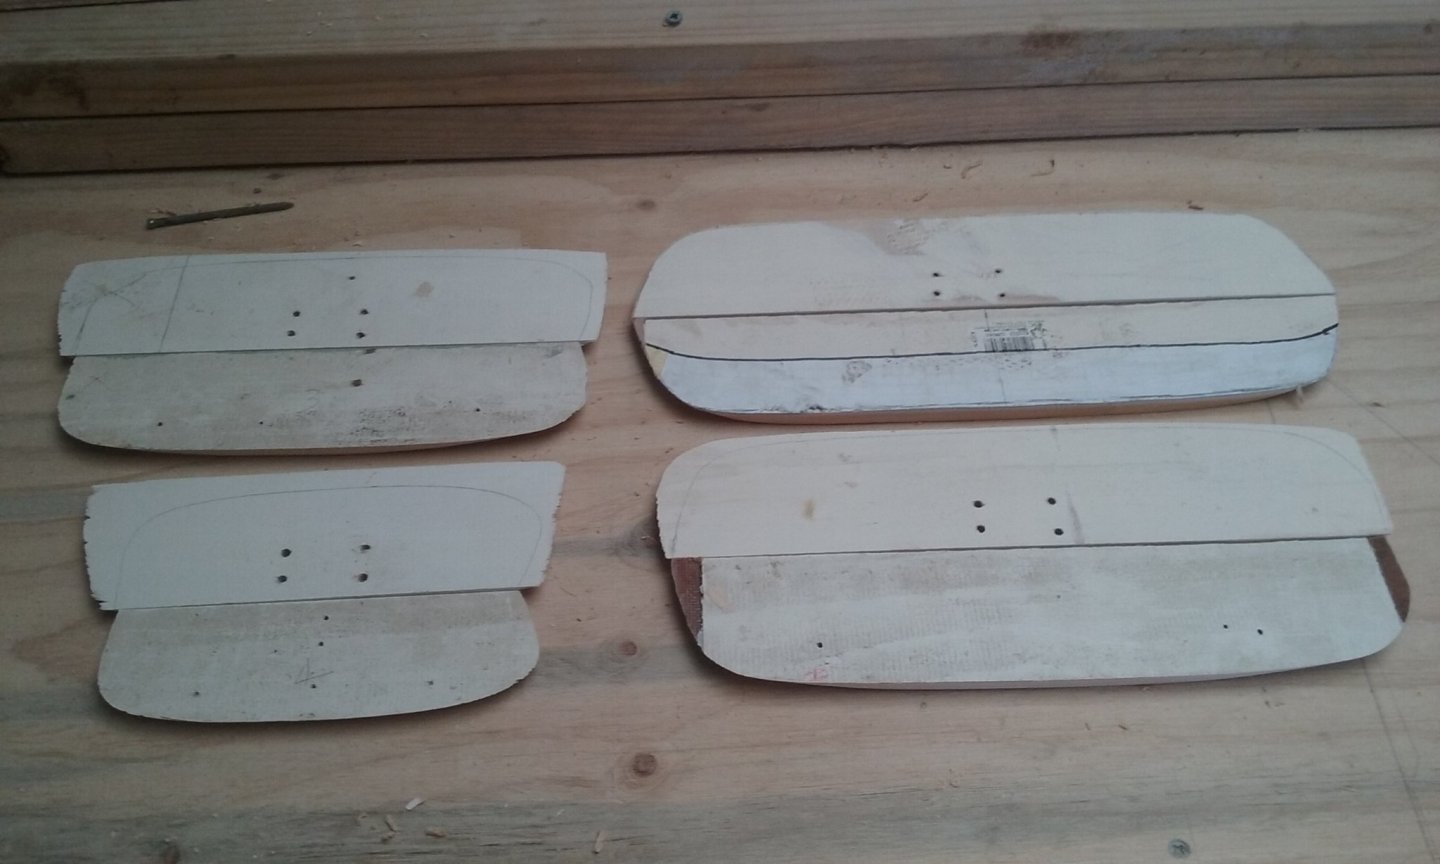
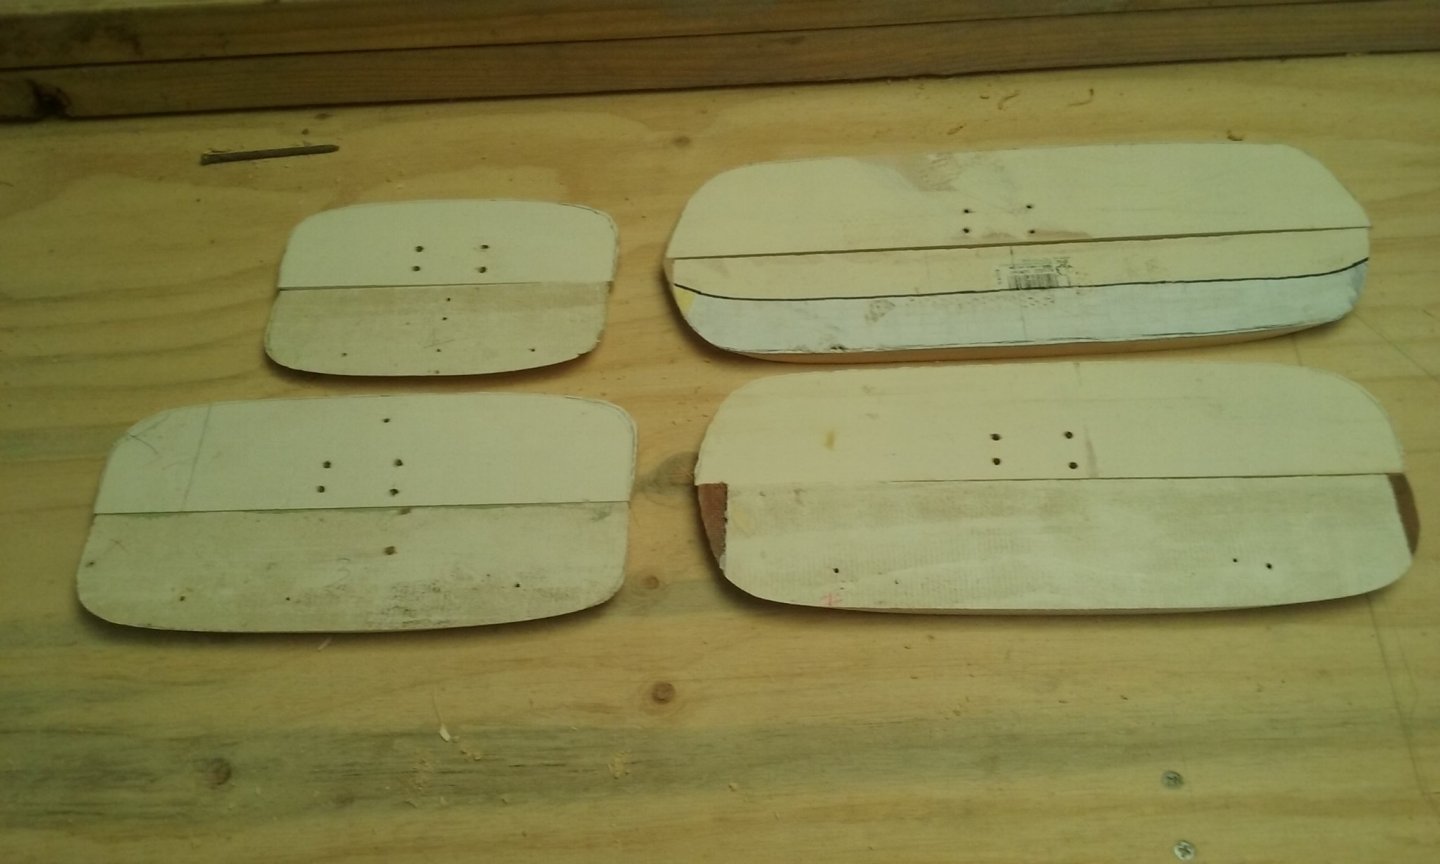
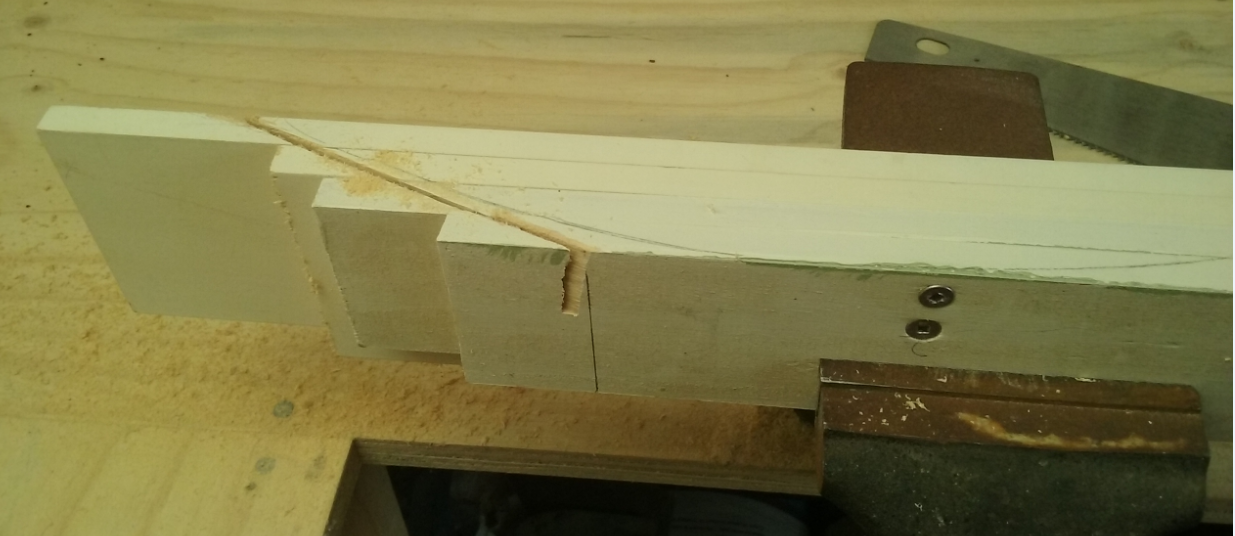
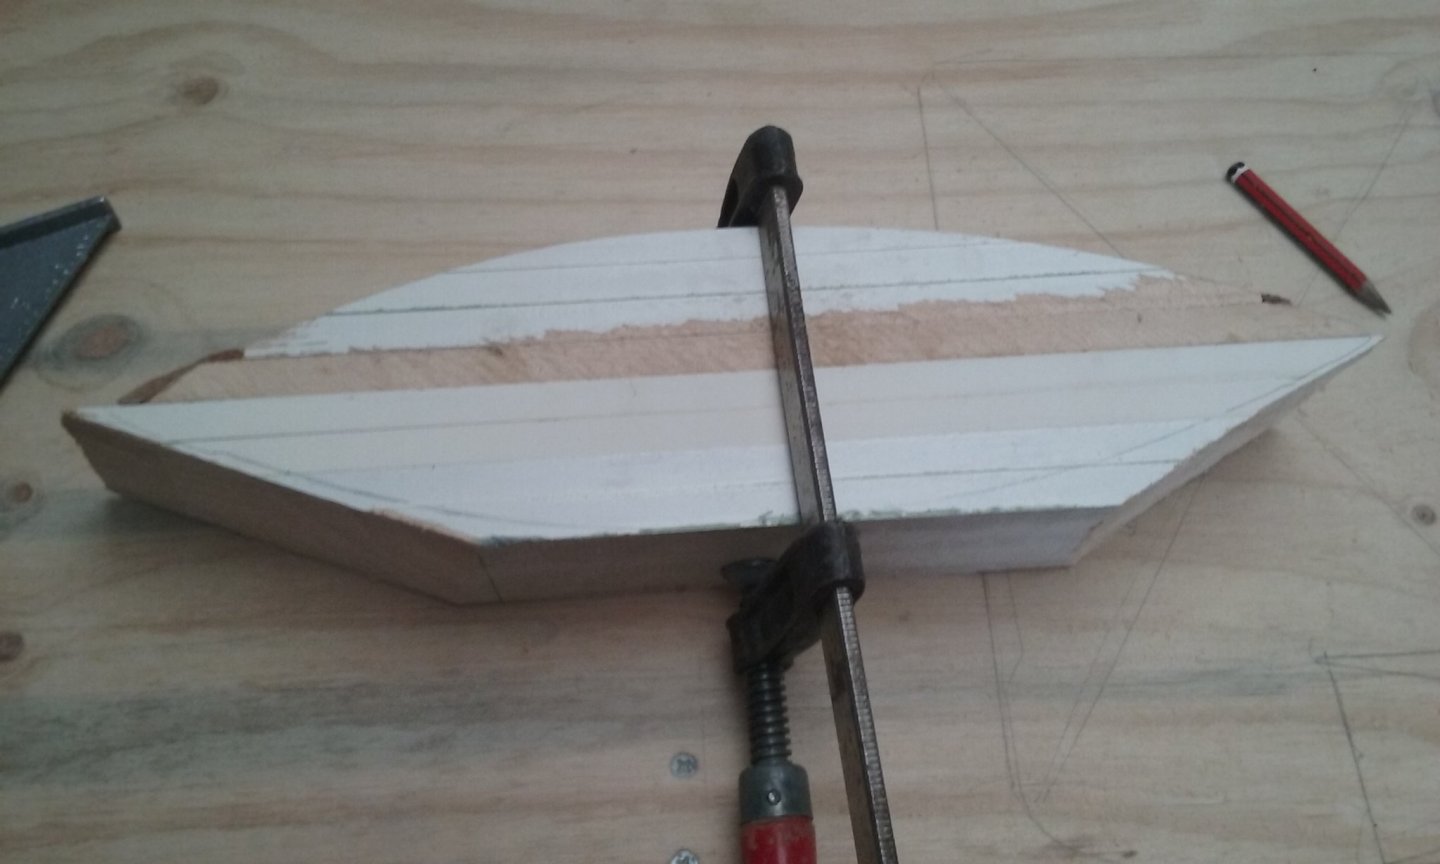
Marked the wooden strips that make up the second half of the plug, so they match the first half: Then I noticed that the strips were somewhat the wrong shape - the ends should either slope inwards as they go lower on the hull (towards the ends of the ship), or at midships they should be vertical - otherwise the ship will have a tumble-home - effectively it would be wider than the extreme breadth as taken from the drawings I was working from. So I re-shaped them somewhat, and have also cut the outlines of the second half's strips to match them. Next step is to fully shape the second half. Steven
-
Ah, yes. I know this one. I have admired it for quite a while. Mine will look very similar, but some of the details will be different - closer to the details on the city seal. For example there will be no bowsprit, the castles will be "tapered rectangles" rather than triangles, and some of the detail of the castles and their supports will be different. The hull shape and the mast and sail will be very similar. Steven
-
Looking very good, mate. Real progress! Steven
- 83 replies
-
- Sea of Galilee boat
- SE Miller
-
(and 1 more)
Tagged with:
-
Thanks, AnobiumPunctatum. Chapman has already alerted me to this book. However, the fact that it's in German (which I can't read) and it was written in 1984, before the knarr finds, means that it would probably only be of incidental interest. However, I'd be interested in seeing the shape Zimmerman proposed for his reconstruction. I have Landström's book, and I'm taking a lot of his ideas on board. Steven
-
I've just been doing some research to find out how thick I should be making the planking on the nef, based on the knarr finds which are the only near equivalents to a nef for which archaeological evidence exists. The planking on the knarr Skuldelev 1 was 1" (25mm) thick on the bottom, but on the sides it was as much as 2.5" (62.5mm), much thicker than the planking on the Gokstad (long) ship, which was 25mm (1") at its thickest, tapering down to even less. So if this (admittedly rather small) sample is to be believed, the knarr was much more strongly built than the longship, sacrificing seaworthiness for strength, as befits a cargo vessel which carries a load of 15 tons. On the other hand, it has been calculated the ship I'm basing my model on, Haithabu 3, could have carried 60 tons, so it was probably even more strongly built. At 1:75 scale, that means the bottom planking will be 0.3 mm thick, while the sides should be 0.83mm - but I'll probably make it somewhat thicker because the ship I'm building carries four times the load of the knarr from which I got my figures. Worth knowing. Steven
-
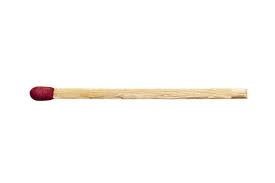
Pat, you've caught me out! Yes, it's an enormous matchstick, made bespoke to fool people. (Maybe I'll put in a ruler as well, for those who can get their heads around that.) Dammit! I just broke the fore topgallant yard again! Oh well, back to the drawing board. I'm determined to keep the original yard if I can, but it's very annoying having this happen. (My own fault, by the way). Steven
- 740 replies
-
- Tudor
- restoration
-
(and 4 more)
Tagged with:
-
Very interesting, Chapman. Unfortunately, ich spreche nicht Deutsch . . . But it would be interesting to see how Zimmerman interpreted the available evidence - mostly it's just what we see on the seals, plus three manuscript illustrations (as far as I've been able to discover so far) - plus a lot of speculation based on such things as Haithabu 3 and Skuldelev 1 (if I'm right in thinking nefs were a development from ships like the knarr, which is by no means certain). Thanks for your interest. Popcorn's on the table as you enter . . . Steven
-
You're very welcome, Bruce, and anybody else who's interested in unusual builds . . . Steven
-
Ian, to get the motion to approximate the real thing, you might like to look at the sea-trials of the trireme reconstruction Olympias in 1990 - I've seen RC galleys with an oar action which is nothing like this - with the oars on the back-stroke going right up in the air. As you can see on the video, in reality they almost skim the water. I hope this is of service to you. Steven
- 536 replies
-
- Quadrireme
- radio
-
(and 1 more)
Tagged with:
-
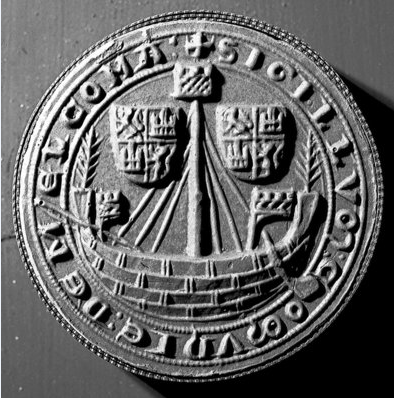
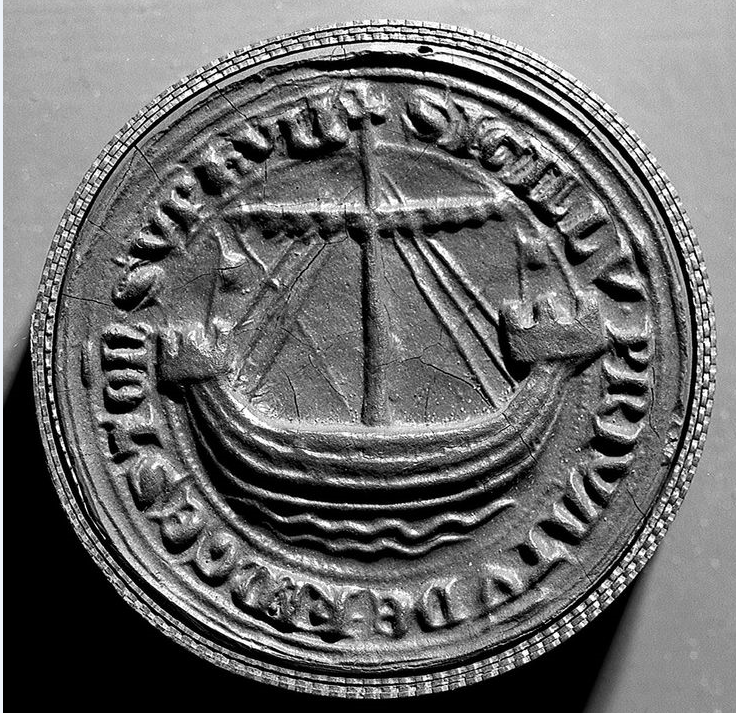
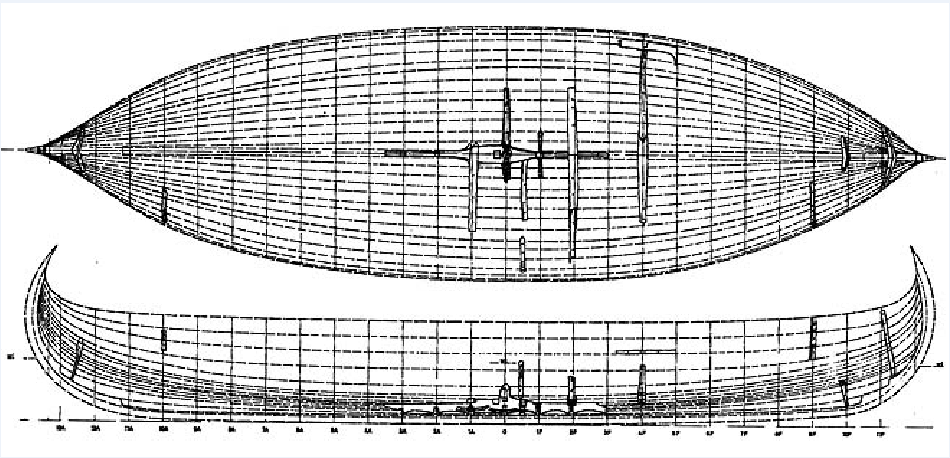
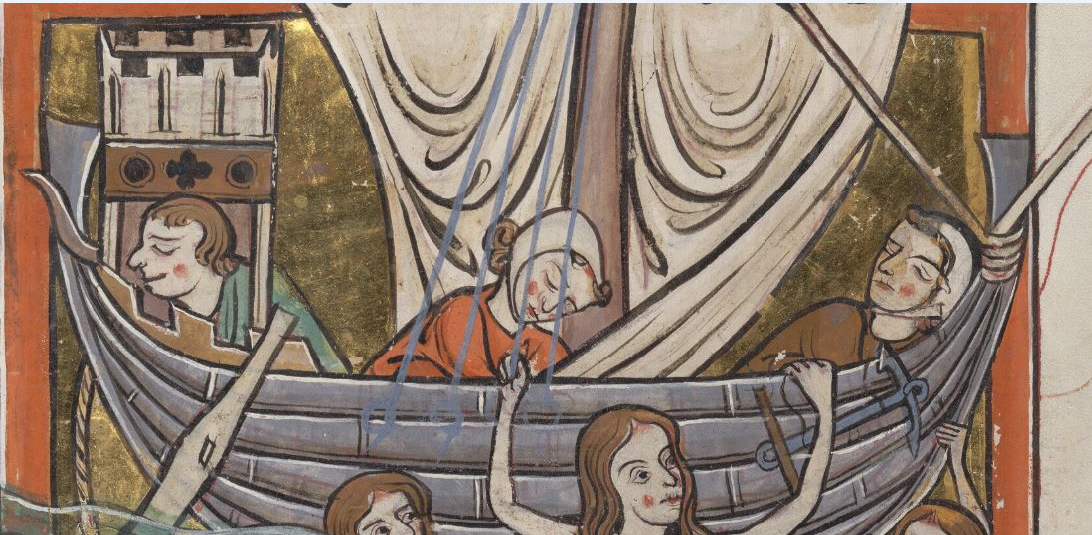
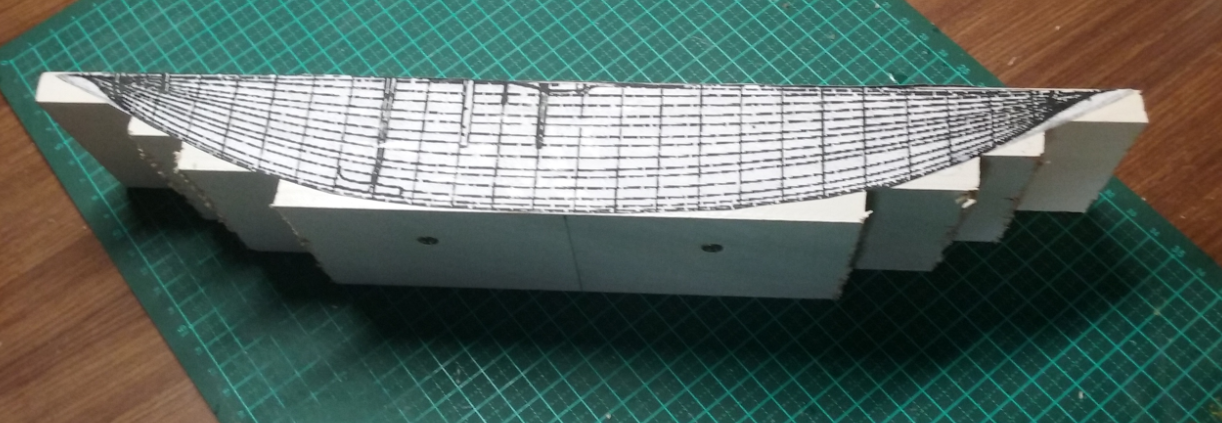
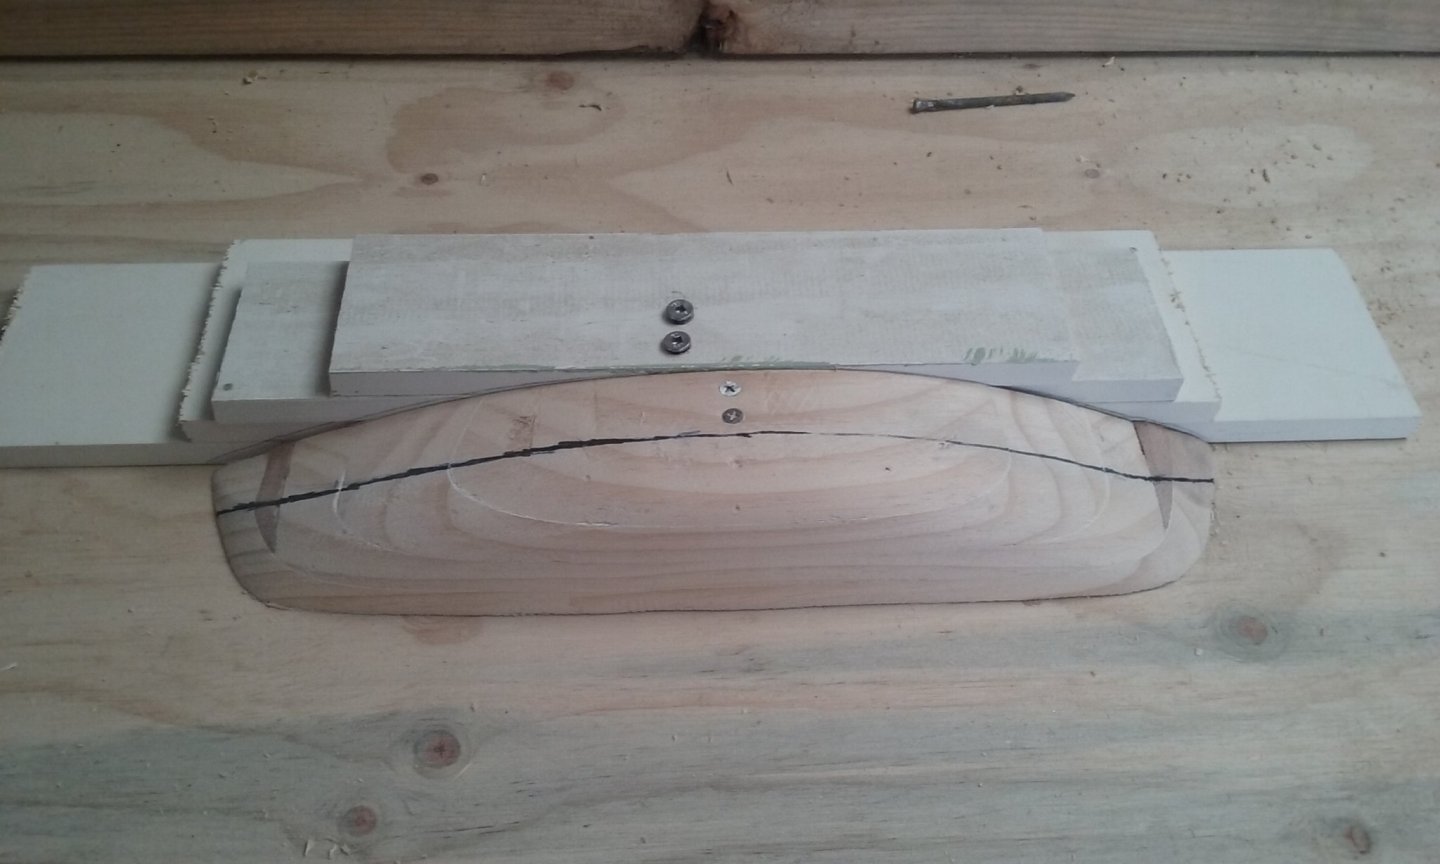
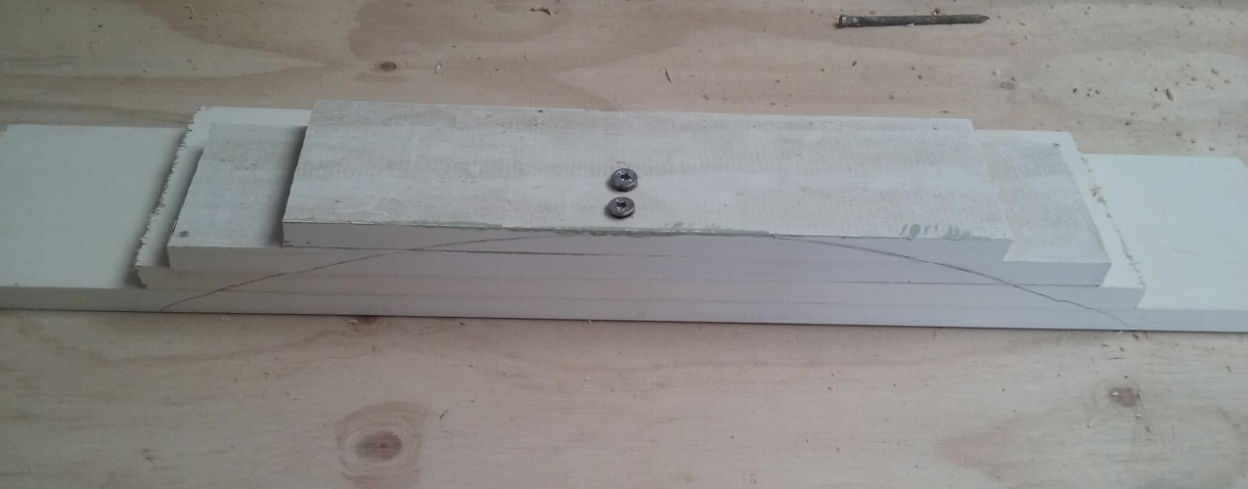
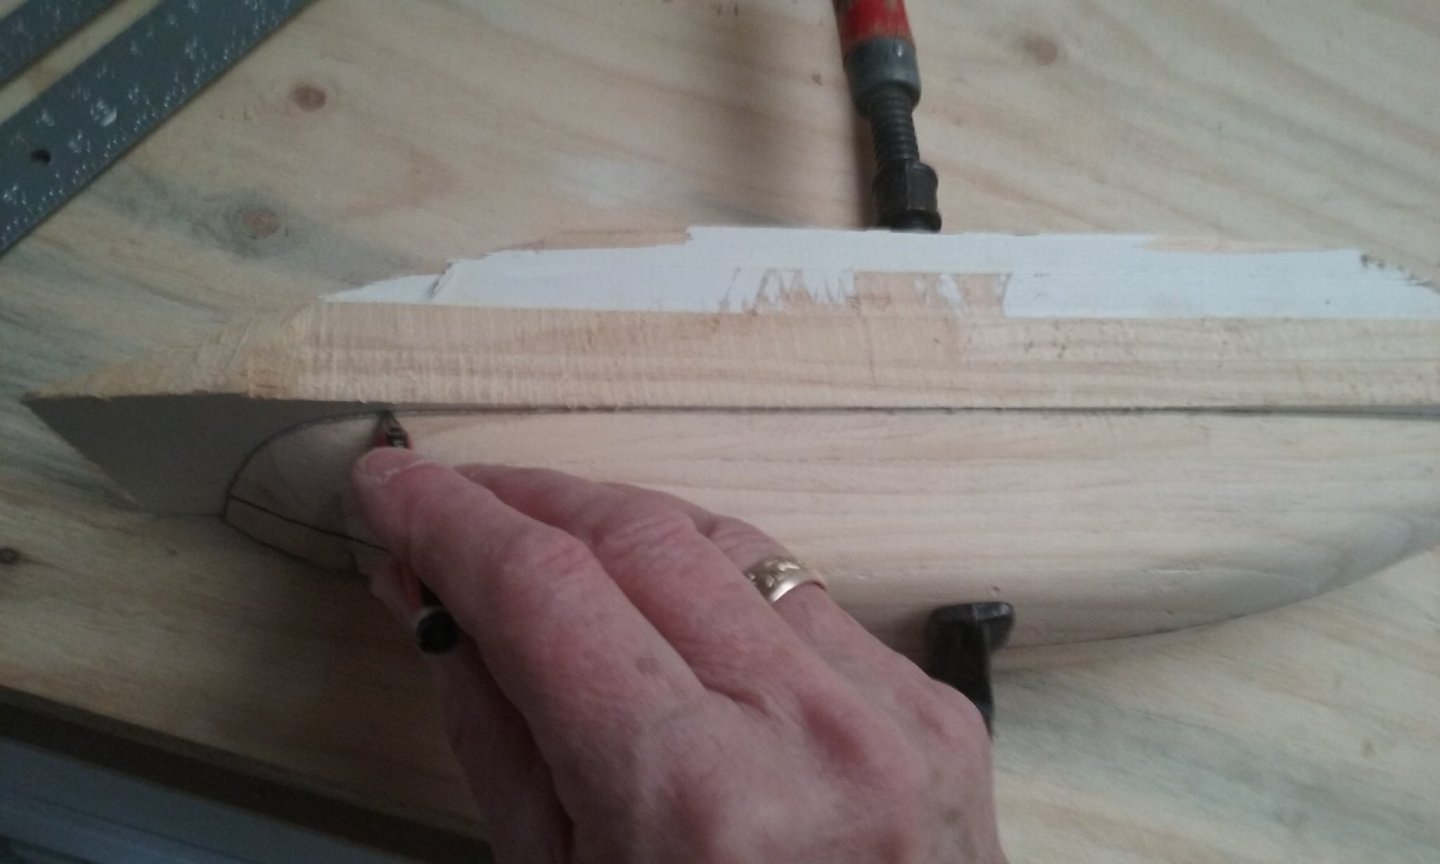
I've found that since I finished my dromon and was left with only the Great Harry, concentrating on a single build I sometimes get a bit stale, so I've decided to start another one. When I get tired of working on one, I can go to the other with a fresh viewpoint. It's also good while I'm waiting for the glue to dry. I've always been enchanted by the "longships" with castles (often described as "nefs" - the Mediaeval French word for ship) shown on the seals of port cities from the end of the 13th century. Though I originally thought of these as Crusader ships, by the time they start appearing, the main Crusades were all but over. The first of these had castles separate from the hull - many with a castle at each end, but some with only one, at the stern. Here are a few examples, out of quite a large number I've managed to collect while researching these vessels. Seal of Sandwich - 1238 Seal of Melcombe Regis - 1290-1305 Seal of San Sebastian, Spain - 1297 but over time they were incorporated somewhat, with the castles extending over the stem and sternposts. Seal of Dover - 1284 Seal of Kingston-on-Hull - 1348 Seal of Faversham - Date unknown I like the earlier ones better - they're much more attractive in my view. And the most beautiful of all is the ship from the seal of Winchelsea, dating to 1274. I spent quite a lot of time thinking about the form the hull would take - were they long and sleek like the Viking longships (Gokstad, Skuldelev etc)? It is usually assumed the representations on the seals are shown shorter than the reality, to squeeze them into the circular shape of the seal, but on the other hand, though these would certainly serve as warships, I believe their main function would be as merchant vessels and would have to be wide and deep enough to carry cargo. Getting a bit speculative here, bit I decided to take mine as following the tradition of the knarr, the cargo ship used by the Vikings. So I'm basing the hull shape on the largest knarr found, Haithabu/Hedeby 3. From the website https://www2.rgzm.de/navis/ships/ship009/ship009engl.htm "According to the reconstruction the ship had a total length of 22.08 m [72 feet], a width of 6.2 m [20 feet] and a height of 2.52 m [8.26 feet]. The cargo capacity would have been about 60 tons." Using information from the above website, I managed to get diagrams of the ship as reconstructed - from above, from the side, and a midships section. There is more information out there to help with the shape of the hull. One thing I will change, however, is the shape at the bow and stern. The stem and sternposts of knarrs curve backwards into the body of the ship, but in a nef they curve outwards. In fact, the shape of stem and sternpost in these vessels seems to be characteristic throughout the type, always wider at the top, with the outside of the curve following the line of the hull, with the inner surface of the stem/sternpost curving inboard somewhat. I'll be building this ship on a plug - rather than work out frames on paper, I decided to make a shape that looked right, using the midships section and other information I've collected (from other knarrs) to give an idea of the bow and stern sections. And it'll be clinker built - I'm going to try just overlapping adjoining strakes on a smooth plug and see how that works. So, here we go: The plug is made of 4 relatively thin strips of wood each side, which are temporarily screwed together and then shaped. Note: I stuffed up a bit with the 2nd inner strip - made it a little too short - so I had to add a bit to pack it out, then sand it to fit the rest of the hull. And now the other side: Marking out the hull shape. Next step is to smooth off this side of the hull to follow the pencil marks, then pull the two halves apart and line up the strips of the second half with those of the first half, and shape them so they are mirror images of each other. More to come. Steven
-
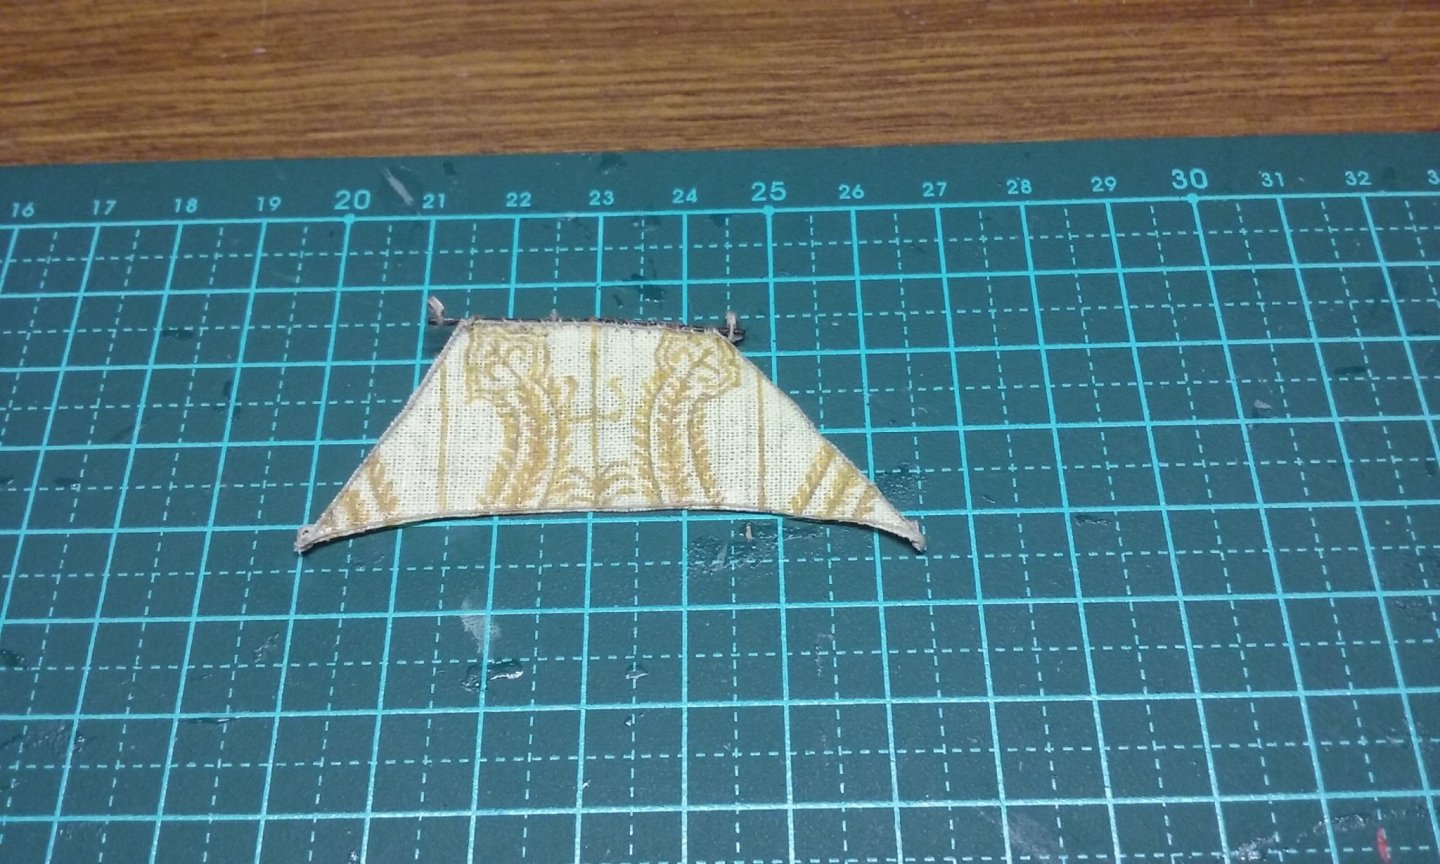
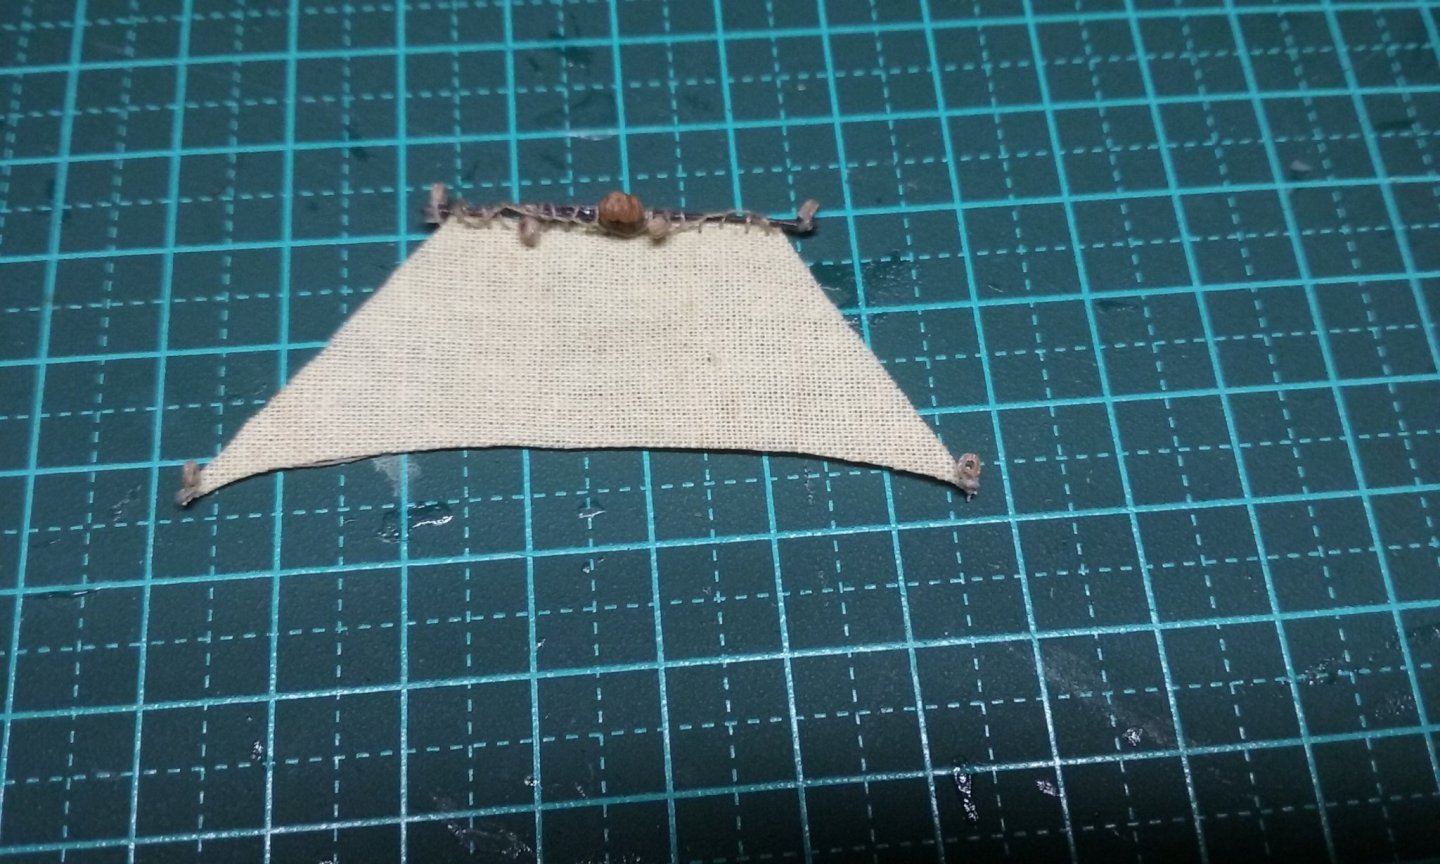
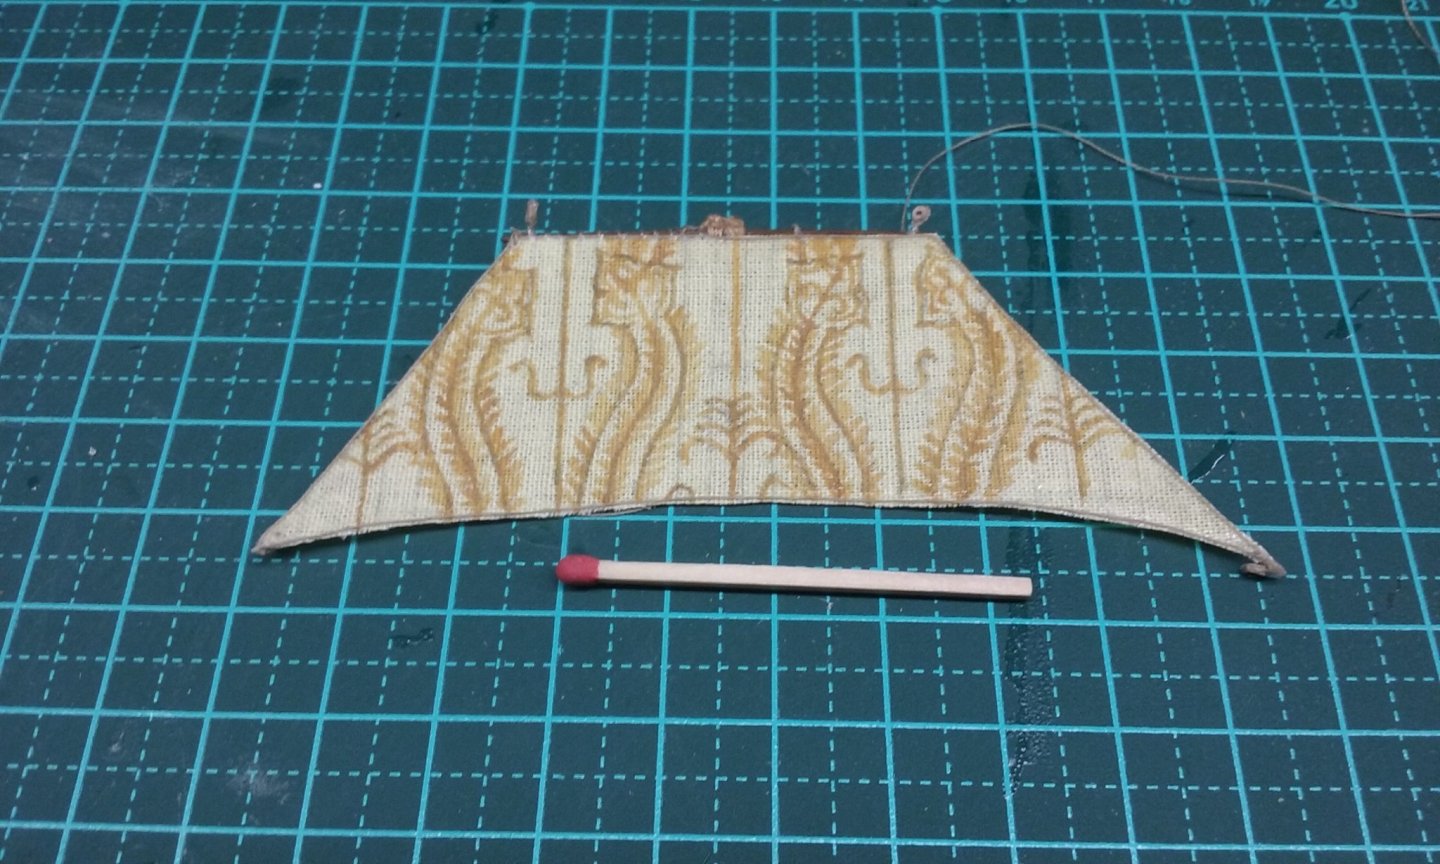
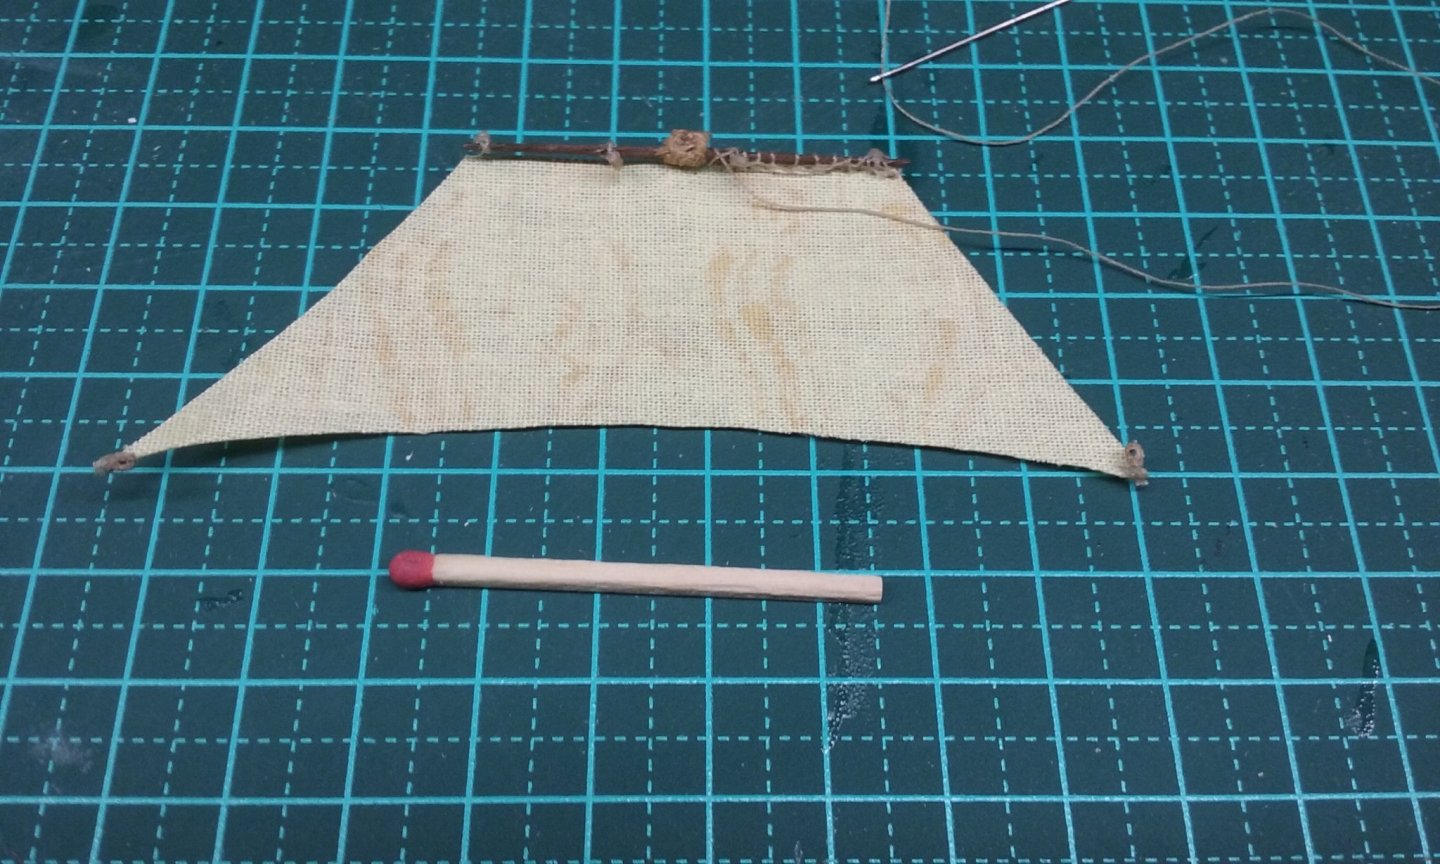
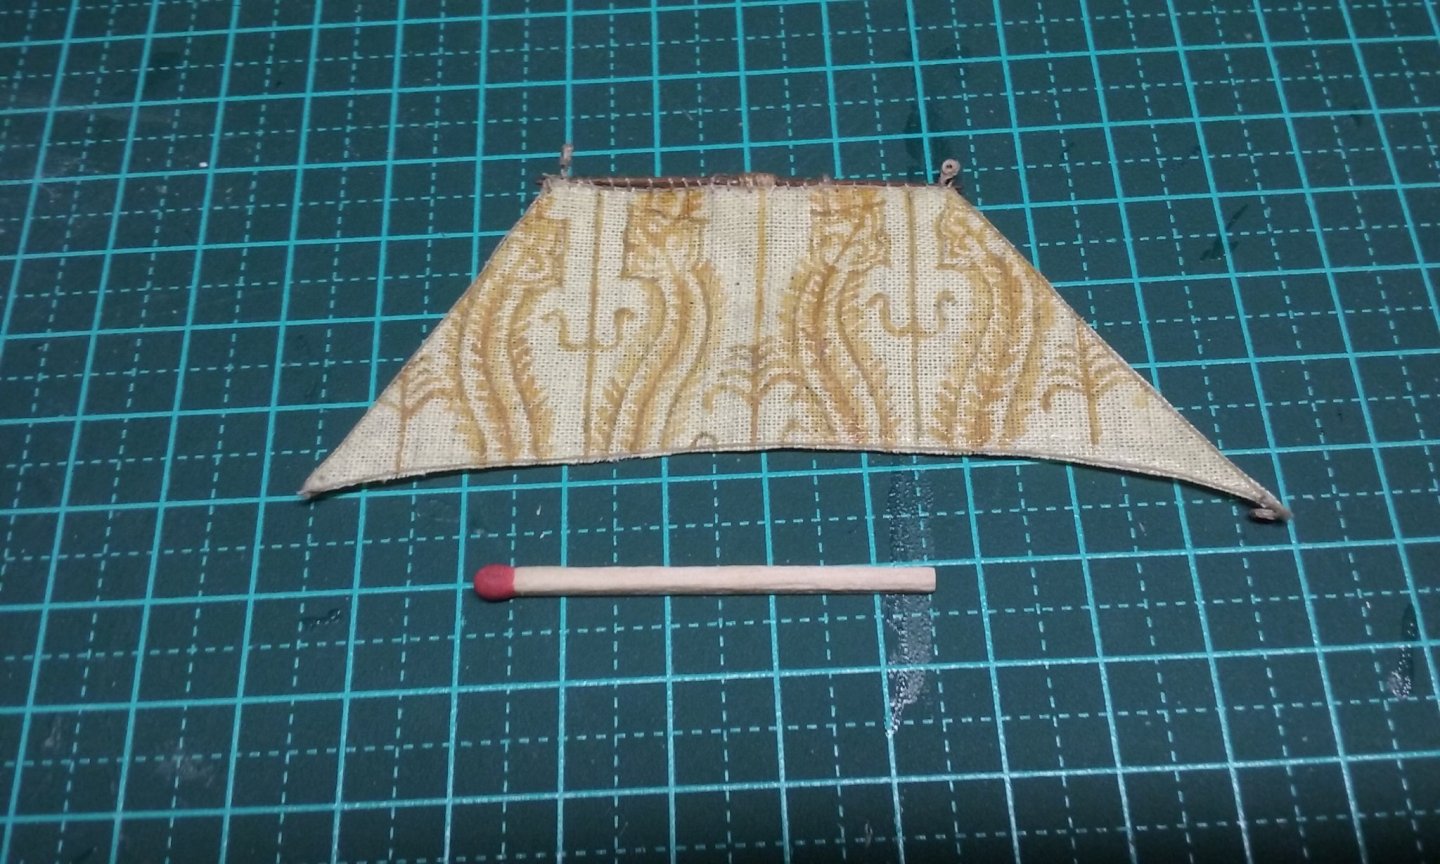
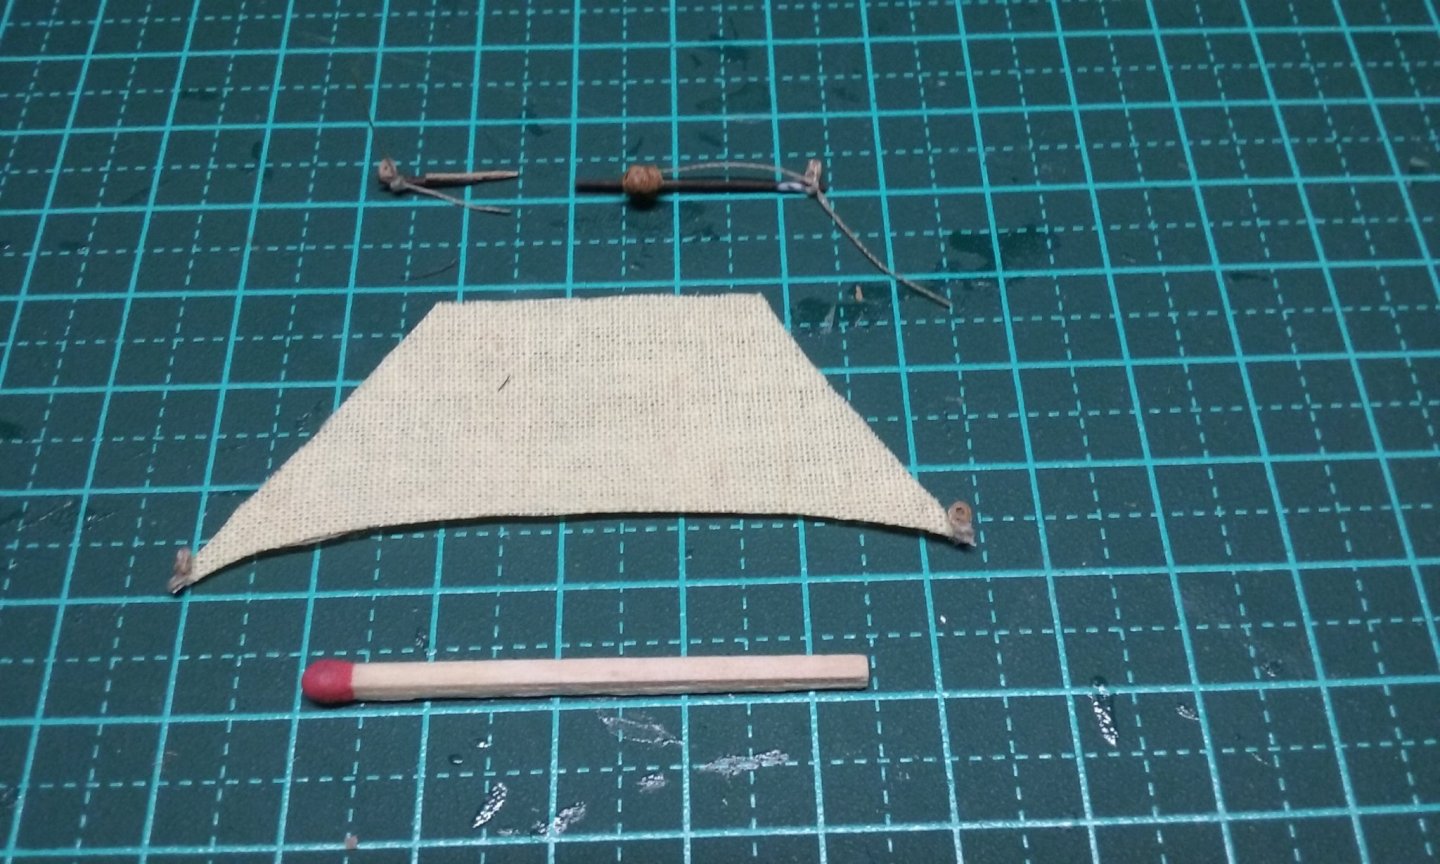
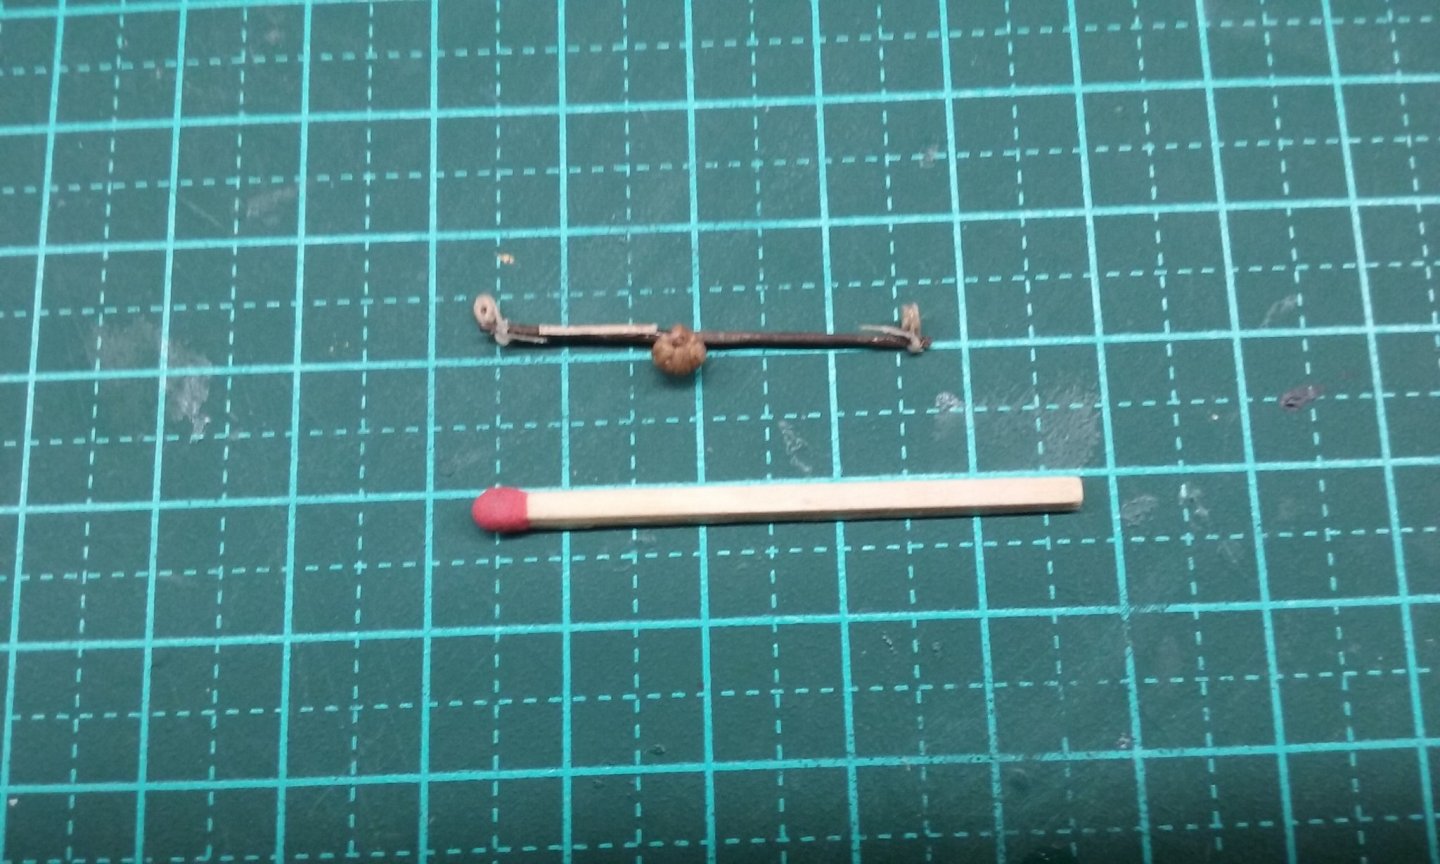
And on to the topgallants. For a change, the main topgallant yard didn't break while I was working on it. I think that's the only one that hasn't, so far. And (just for Pat ), a matchstick for comparison. Front view: And rear view. Sewing on the "robands" is in progress. If you look carefully you can see the blocks for the lifts at the yardarms and for the clewlines attached to the yard. The fuzzy thing in the middle is the parrel truck, made entirely of cotton thread way back when I was 17 and had no idea what they were or how they worked. And at the lower corners of the sail, the blocks for the clewlines. The sheets will be added later, when everything is ready to be put in place. And complete. Fore topgallant: I started putting the blocks on for the lifts and - surprise! surprise! the yard broke. But being experienced at this kind of thing now, I added a fish (the lighter coloured strip attached to the yardarm) And glued it back together Once that's dry and secure, I'll trim it to shape and add the blocks for the clewlines. Then sew the sail to the yard. Very slow and fiddly, but the result is worth the time and trouble. This is the last of the square sails, and all the yards for the lateens are newly made, so I shouldn't have problems with them breaking because of age and brittleness. Steven
- 740 replies
-
- Tudor
- restoration
-
(and 4 more)
Tagged with:
-
To be honest, it never occurred to me. But really, my main concentration is on restoring the model I built way back then, which was based on the theoretical reconstruction in Björn Landström's book The Ship, published before the Mary Rose discoveries. I admit I haven't been consistent with this - I've changed things and added things reflecting my current state of knowledge, but mostly I've tried to keep it as close as I can to the original idea rather than to bring it up to date. Steven
- 740 replies
-
- Tudor
- restoration
-
(and 4 more)
Tagged with:
-
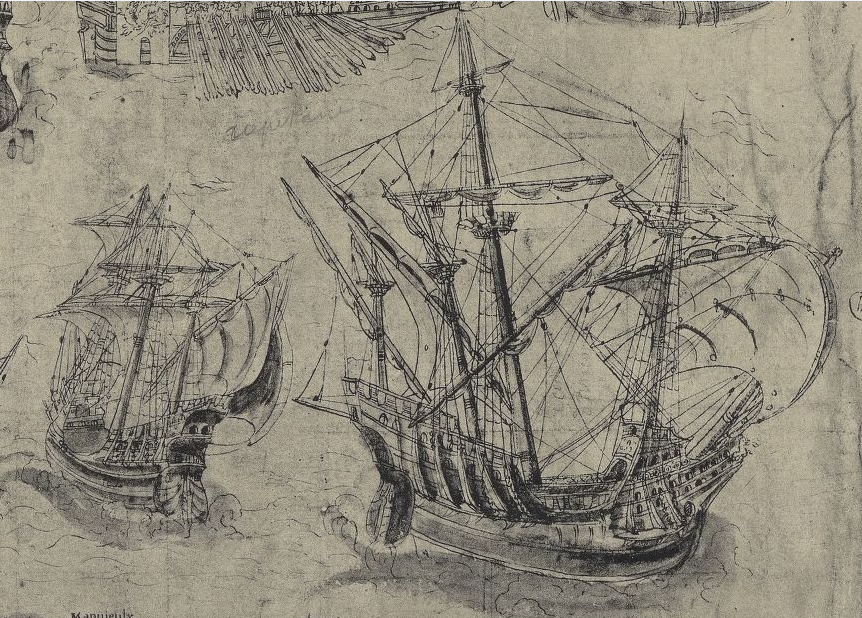
Actually, Jean Jolivet's map of Normandy of the same year also shows a ship (in this case a galleon) with a topgallant, but in this case only on the main mast. [Edit] And are those reef points on the forecourse? At a time when bonnets were all the go? Hmmm . . . [/Edit] Steven
- 740 replies
-
- Tudor
- restoration
-
(and 4 more)
Tagged with:
-
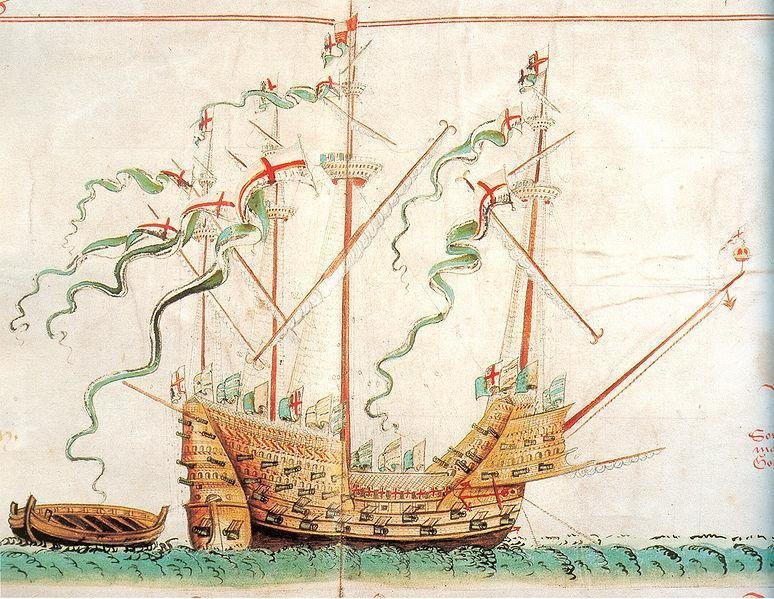
Thanks everybody. Pat, I usually add a matchstick (the wooden one, not the pastry) to the picture for scale, as a lot of people (me) have trouble with mm or inches, and matches seem to be a standard size throughout the world, unlike coins etc. Working on the topgallants next. As far as I can remember, this (the Anthony Roll of 1545) is the earliest representation of ships with topgallants. Steven
- 740 replies
-
- Tudor
- restoration
-
(and 4 more)
Tagged with:
About us
Modelshipworld - Advancing Ship Modeling through Research
SSL Secured
Your security is important for us so this Website is SSL-Secured
NRG Mailing Address
Nautical Research Guild
237 South Lincoln Street
Westmont IL, 60559-1917
Model Ship World ® and the MSW logo are Registered Trademarks, and belong to the Nautical Research Guild (United States Patent and Trademark Office: No. 6,929,264 & No. 6,929,274, registered Dec. 20, 2022)
Helpful Links
About the NRG
If you enjoy building ship models that are historically accurate as well as beautiful, then The Nautical Research Guild (NRG) is just right for you.
The Guild is a non-profit educational organization whose mission is to “Advance Ship Modeling Through Research”. We provide support to our members in their efforts to raise the quality of their model ships.
The Nautical Research Guild has published our world-renowned quarterly magazine, The Nautical Research Journal, since 1955. The pages of the Journal are full of articles by accomplished ship modelers who show you how they create those exquisite details on their models, and by maritime historians who show you the correct details to build. The Journal is available in both print and digital editions. Go to the NRG web site (www.thenrg.org) to download a complimentary digital copy of the Journal. The NRG also publishes plan sets, books and compilations of back issues of the Journal and the former Ships in Scale and Model Ship Builder magazines.


