Louie da fly
-
Posts
7,990 -
Joined
-
Last visited
Content Type
Profiles
Forums
Gallery
Events
Everything posted by Louie da fly
-
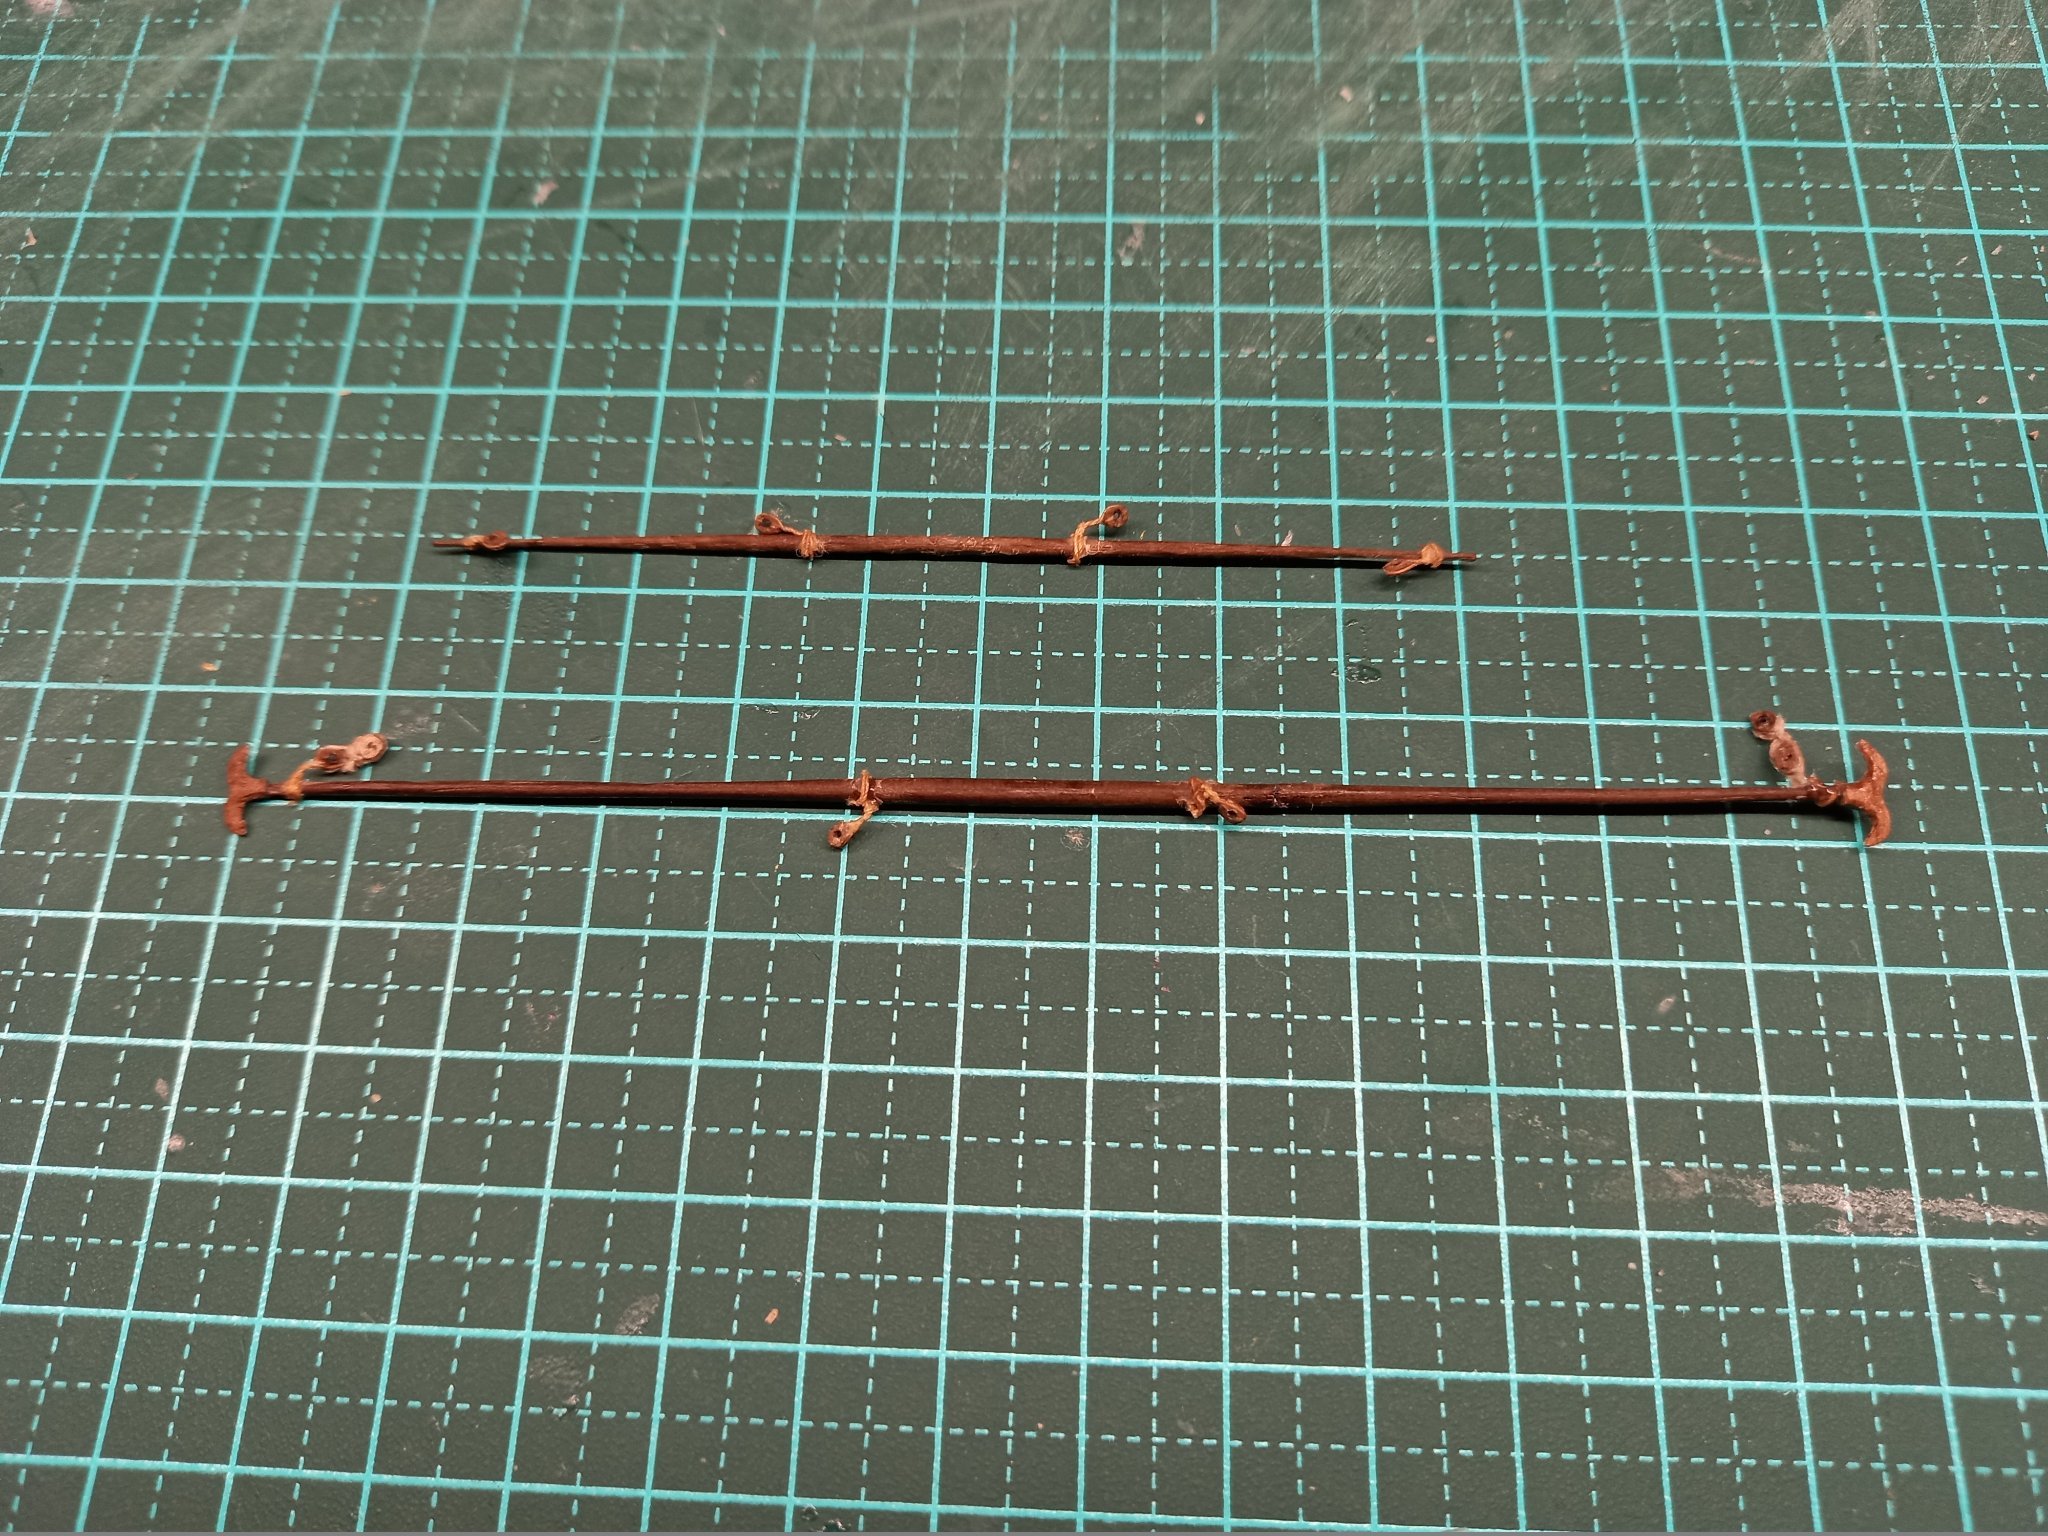
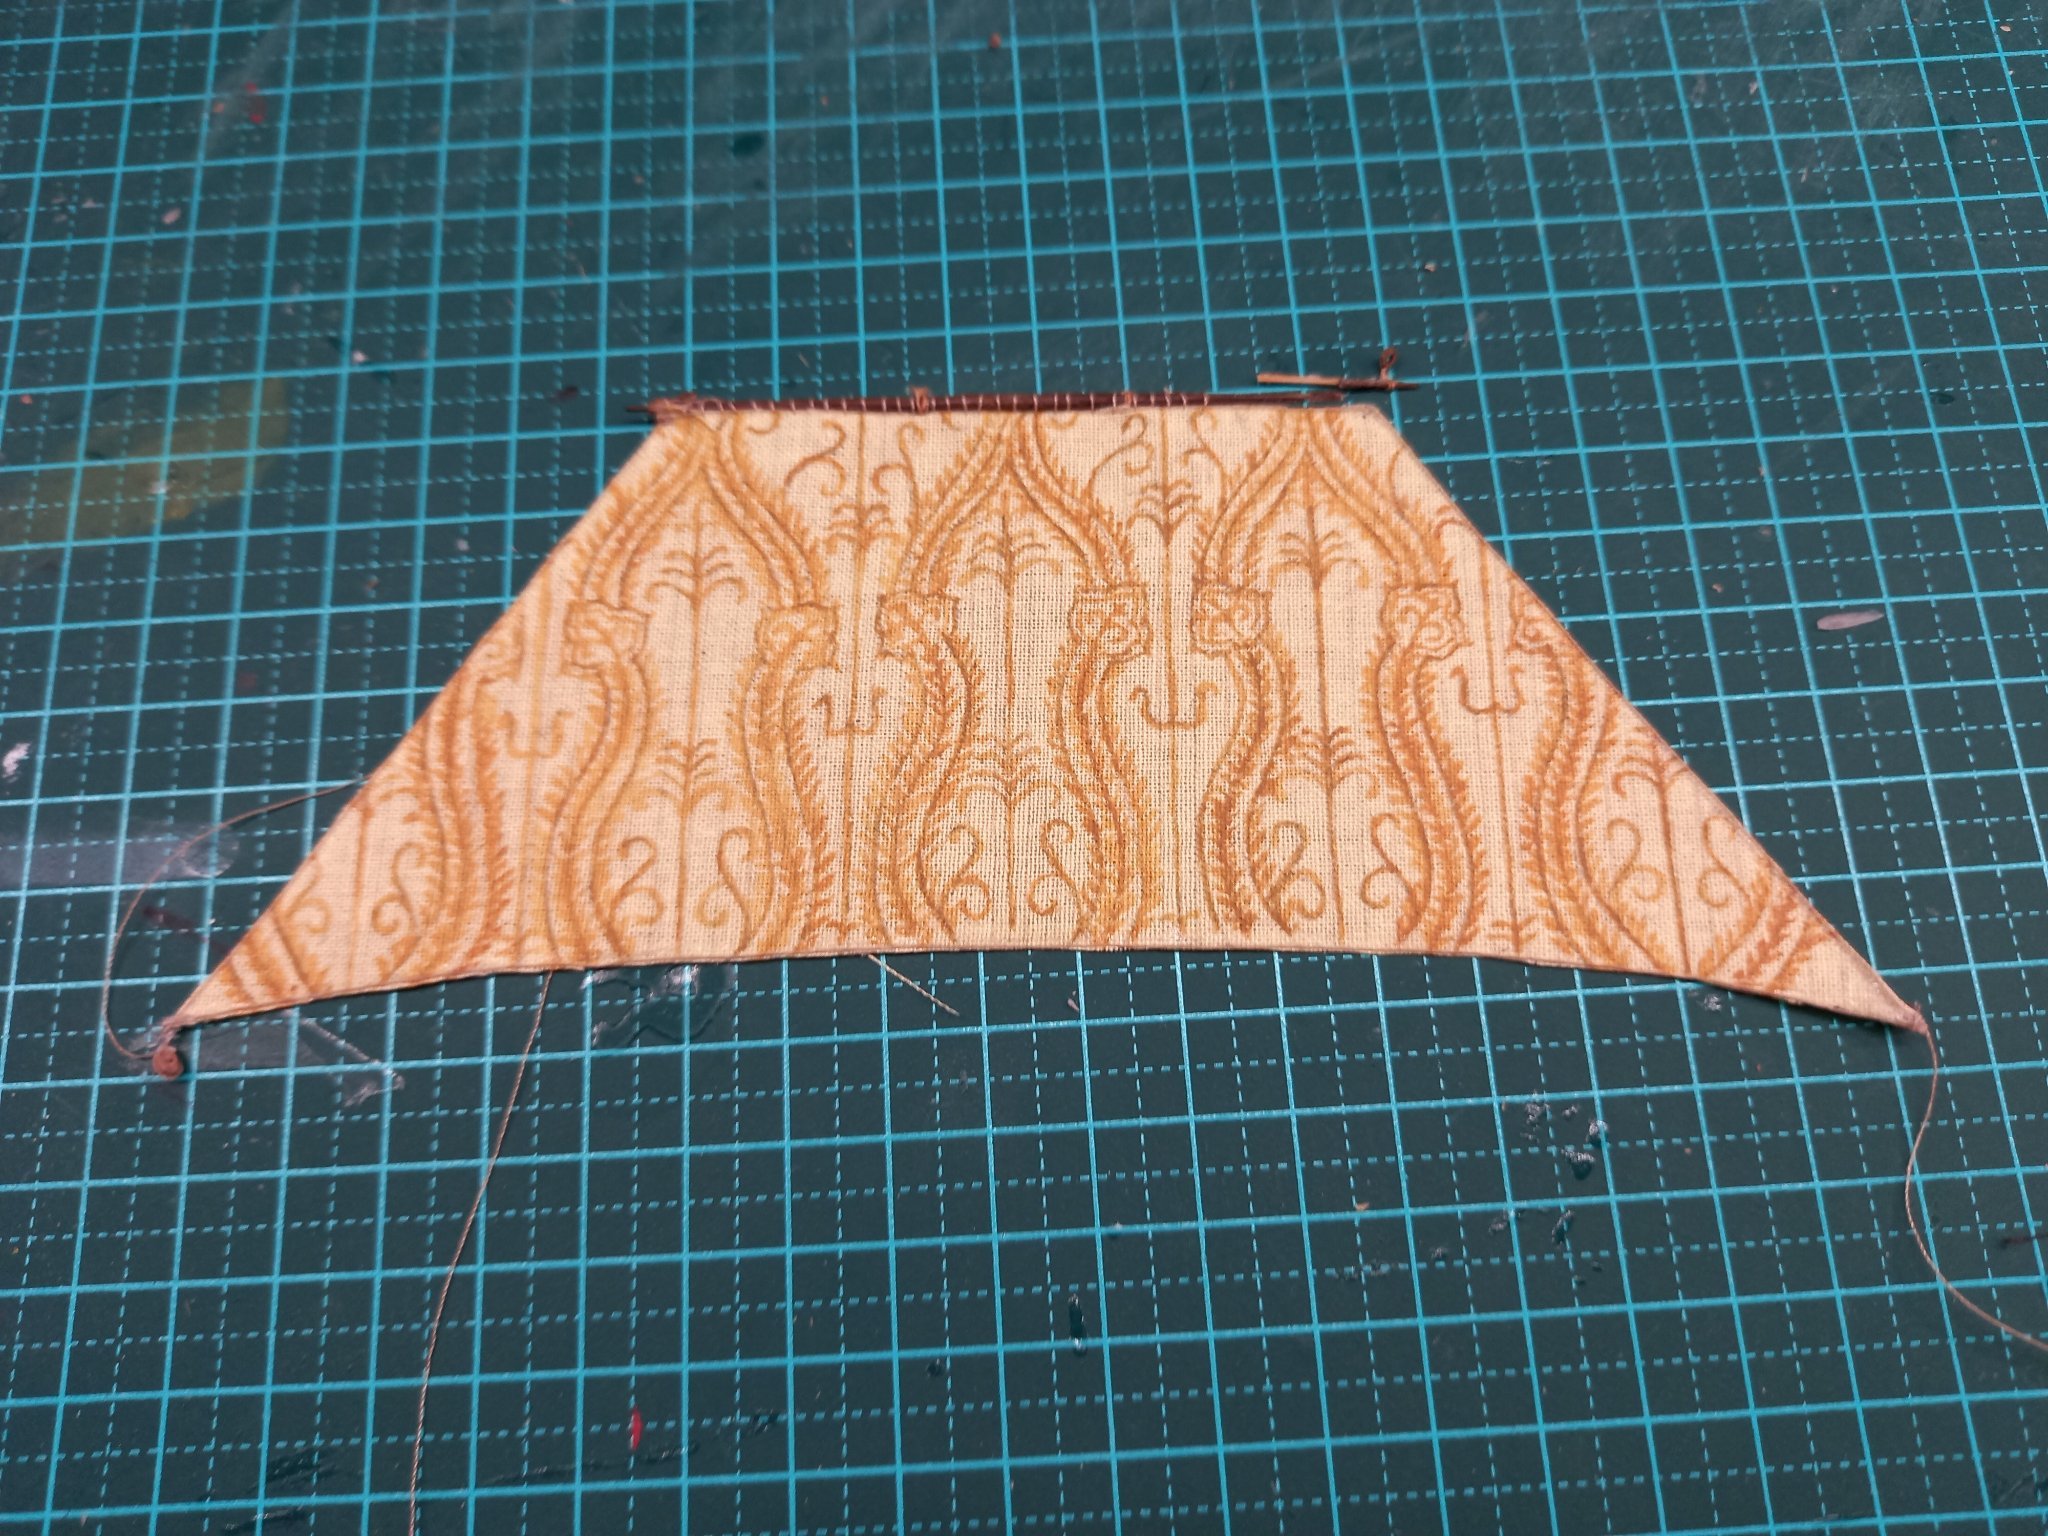
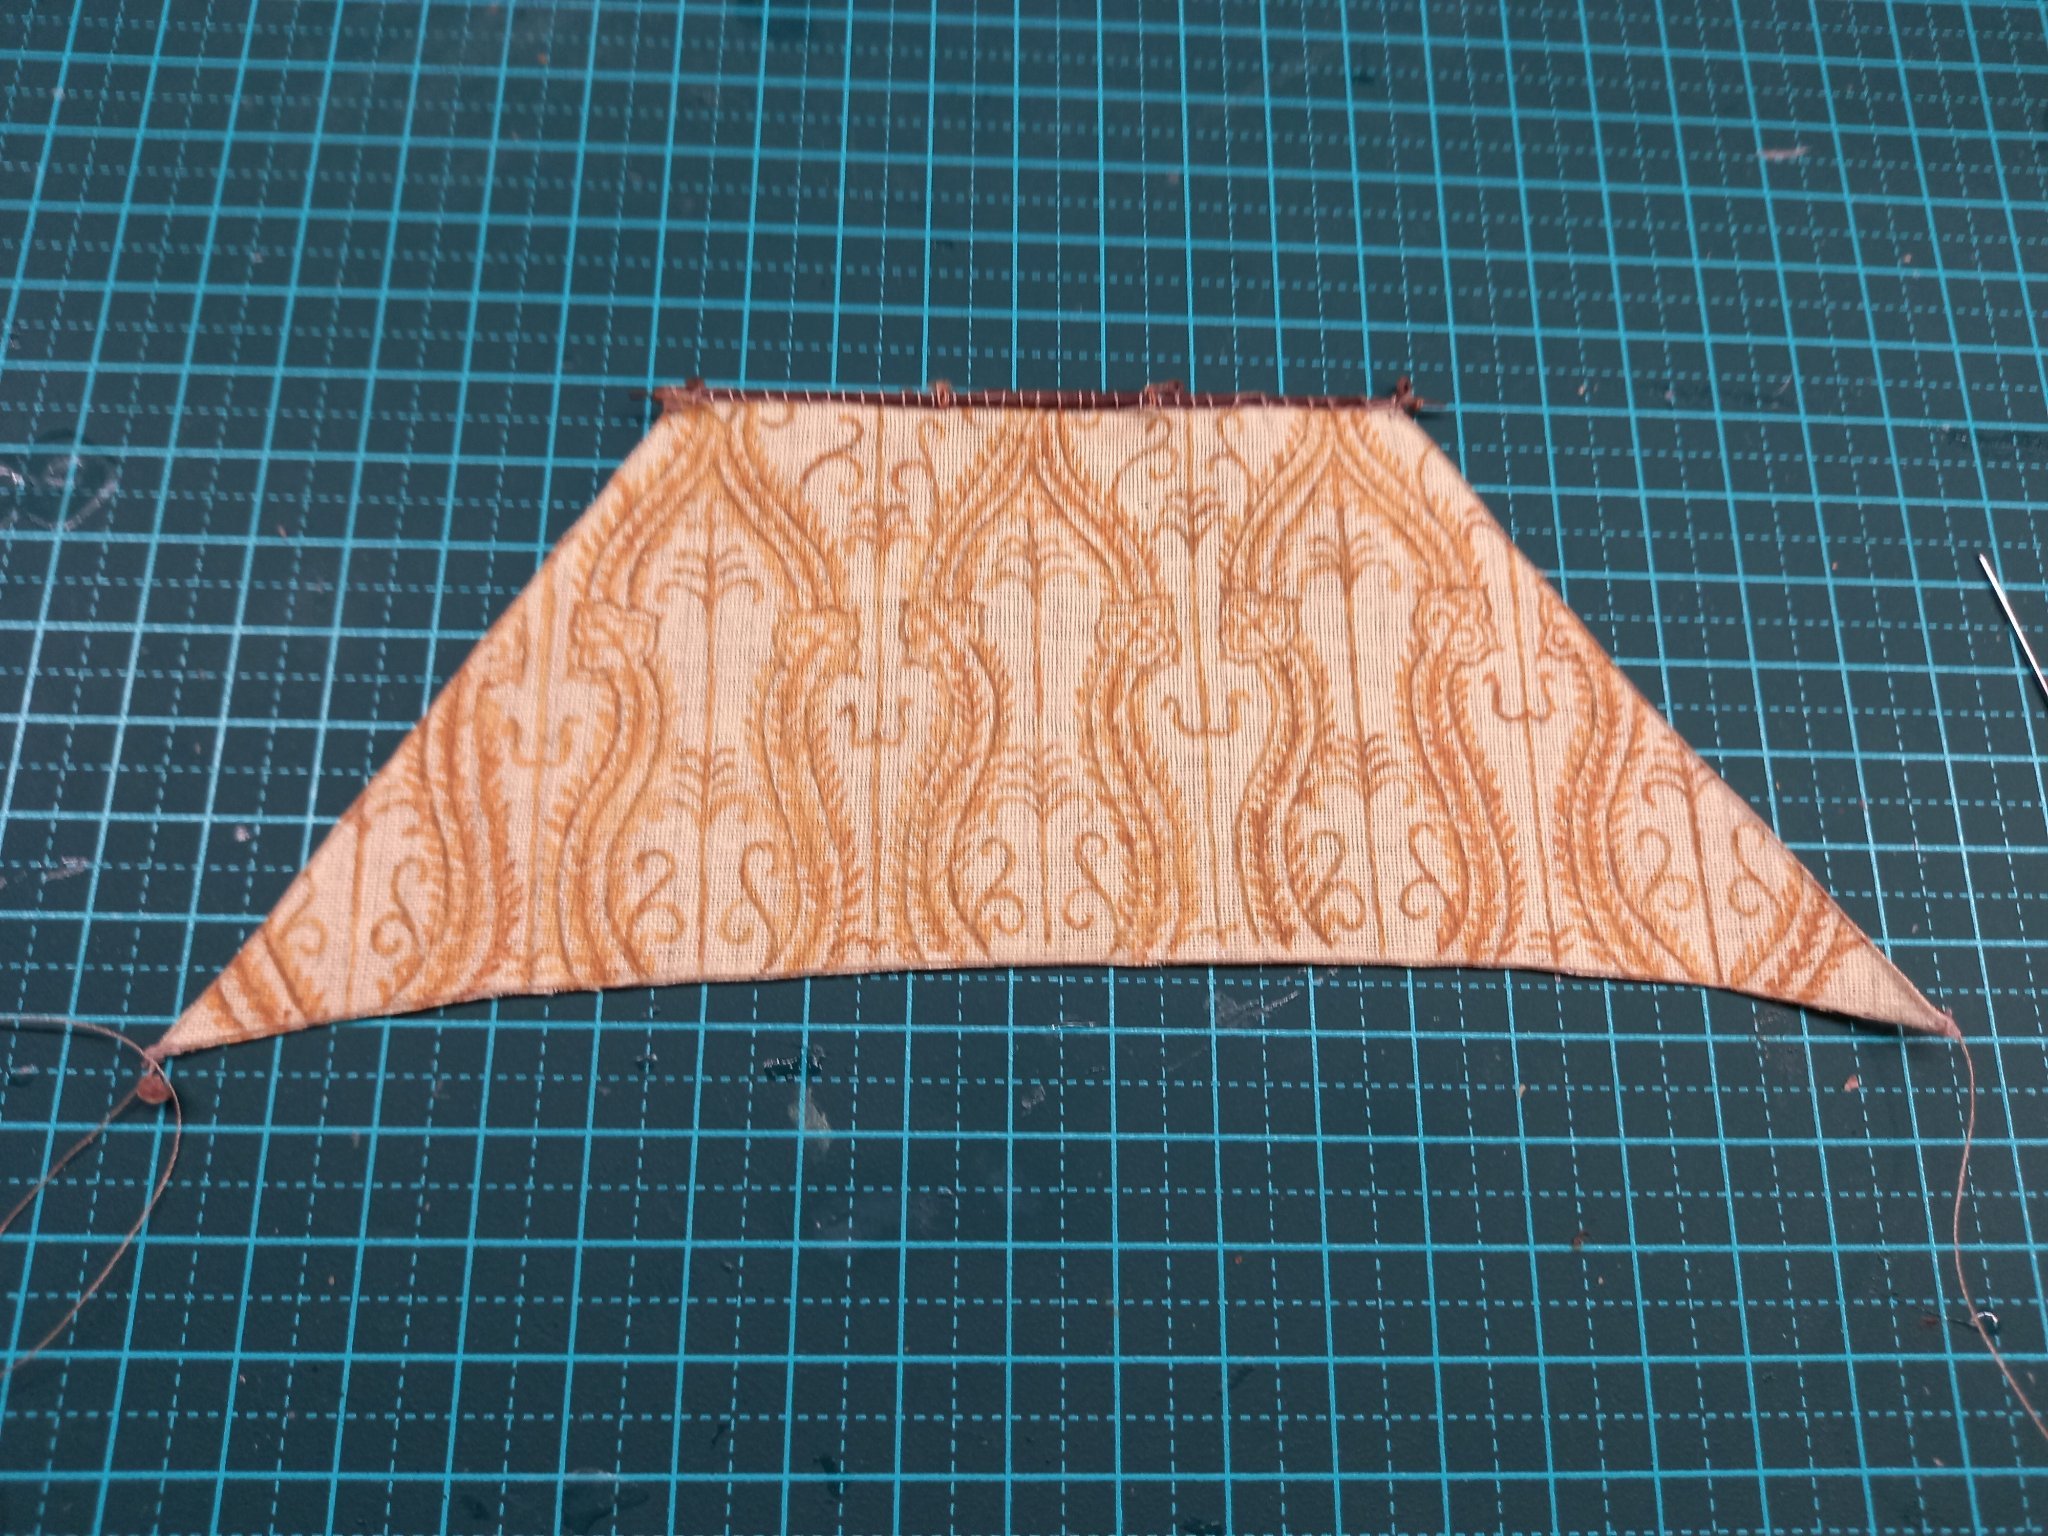
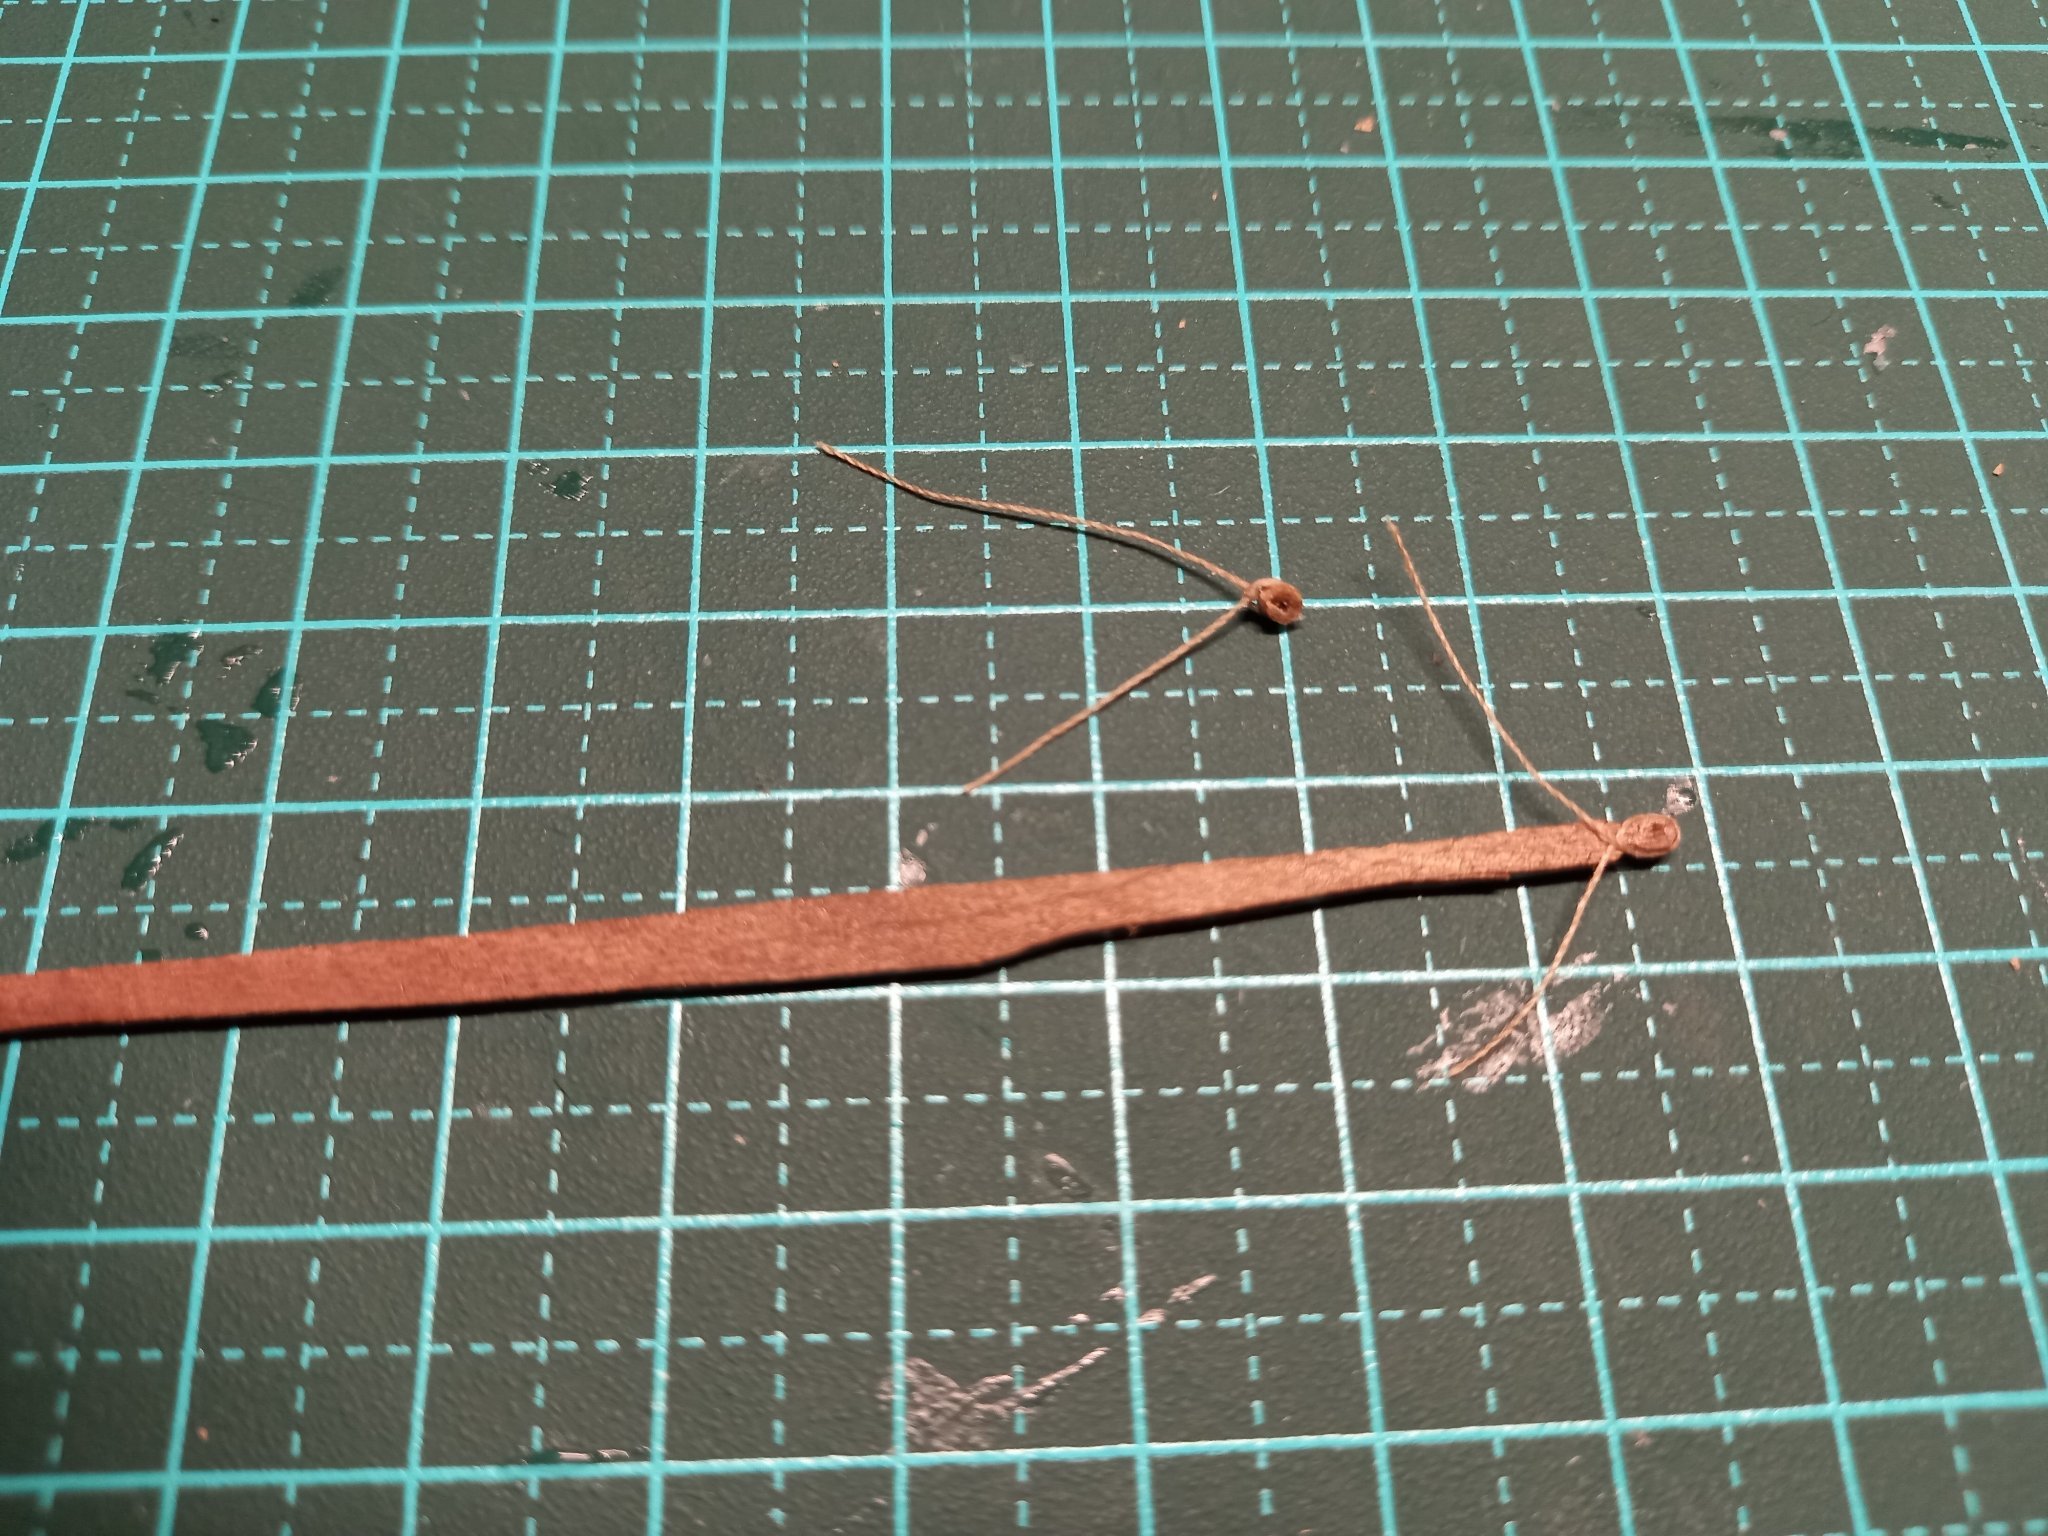
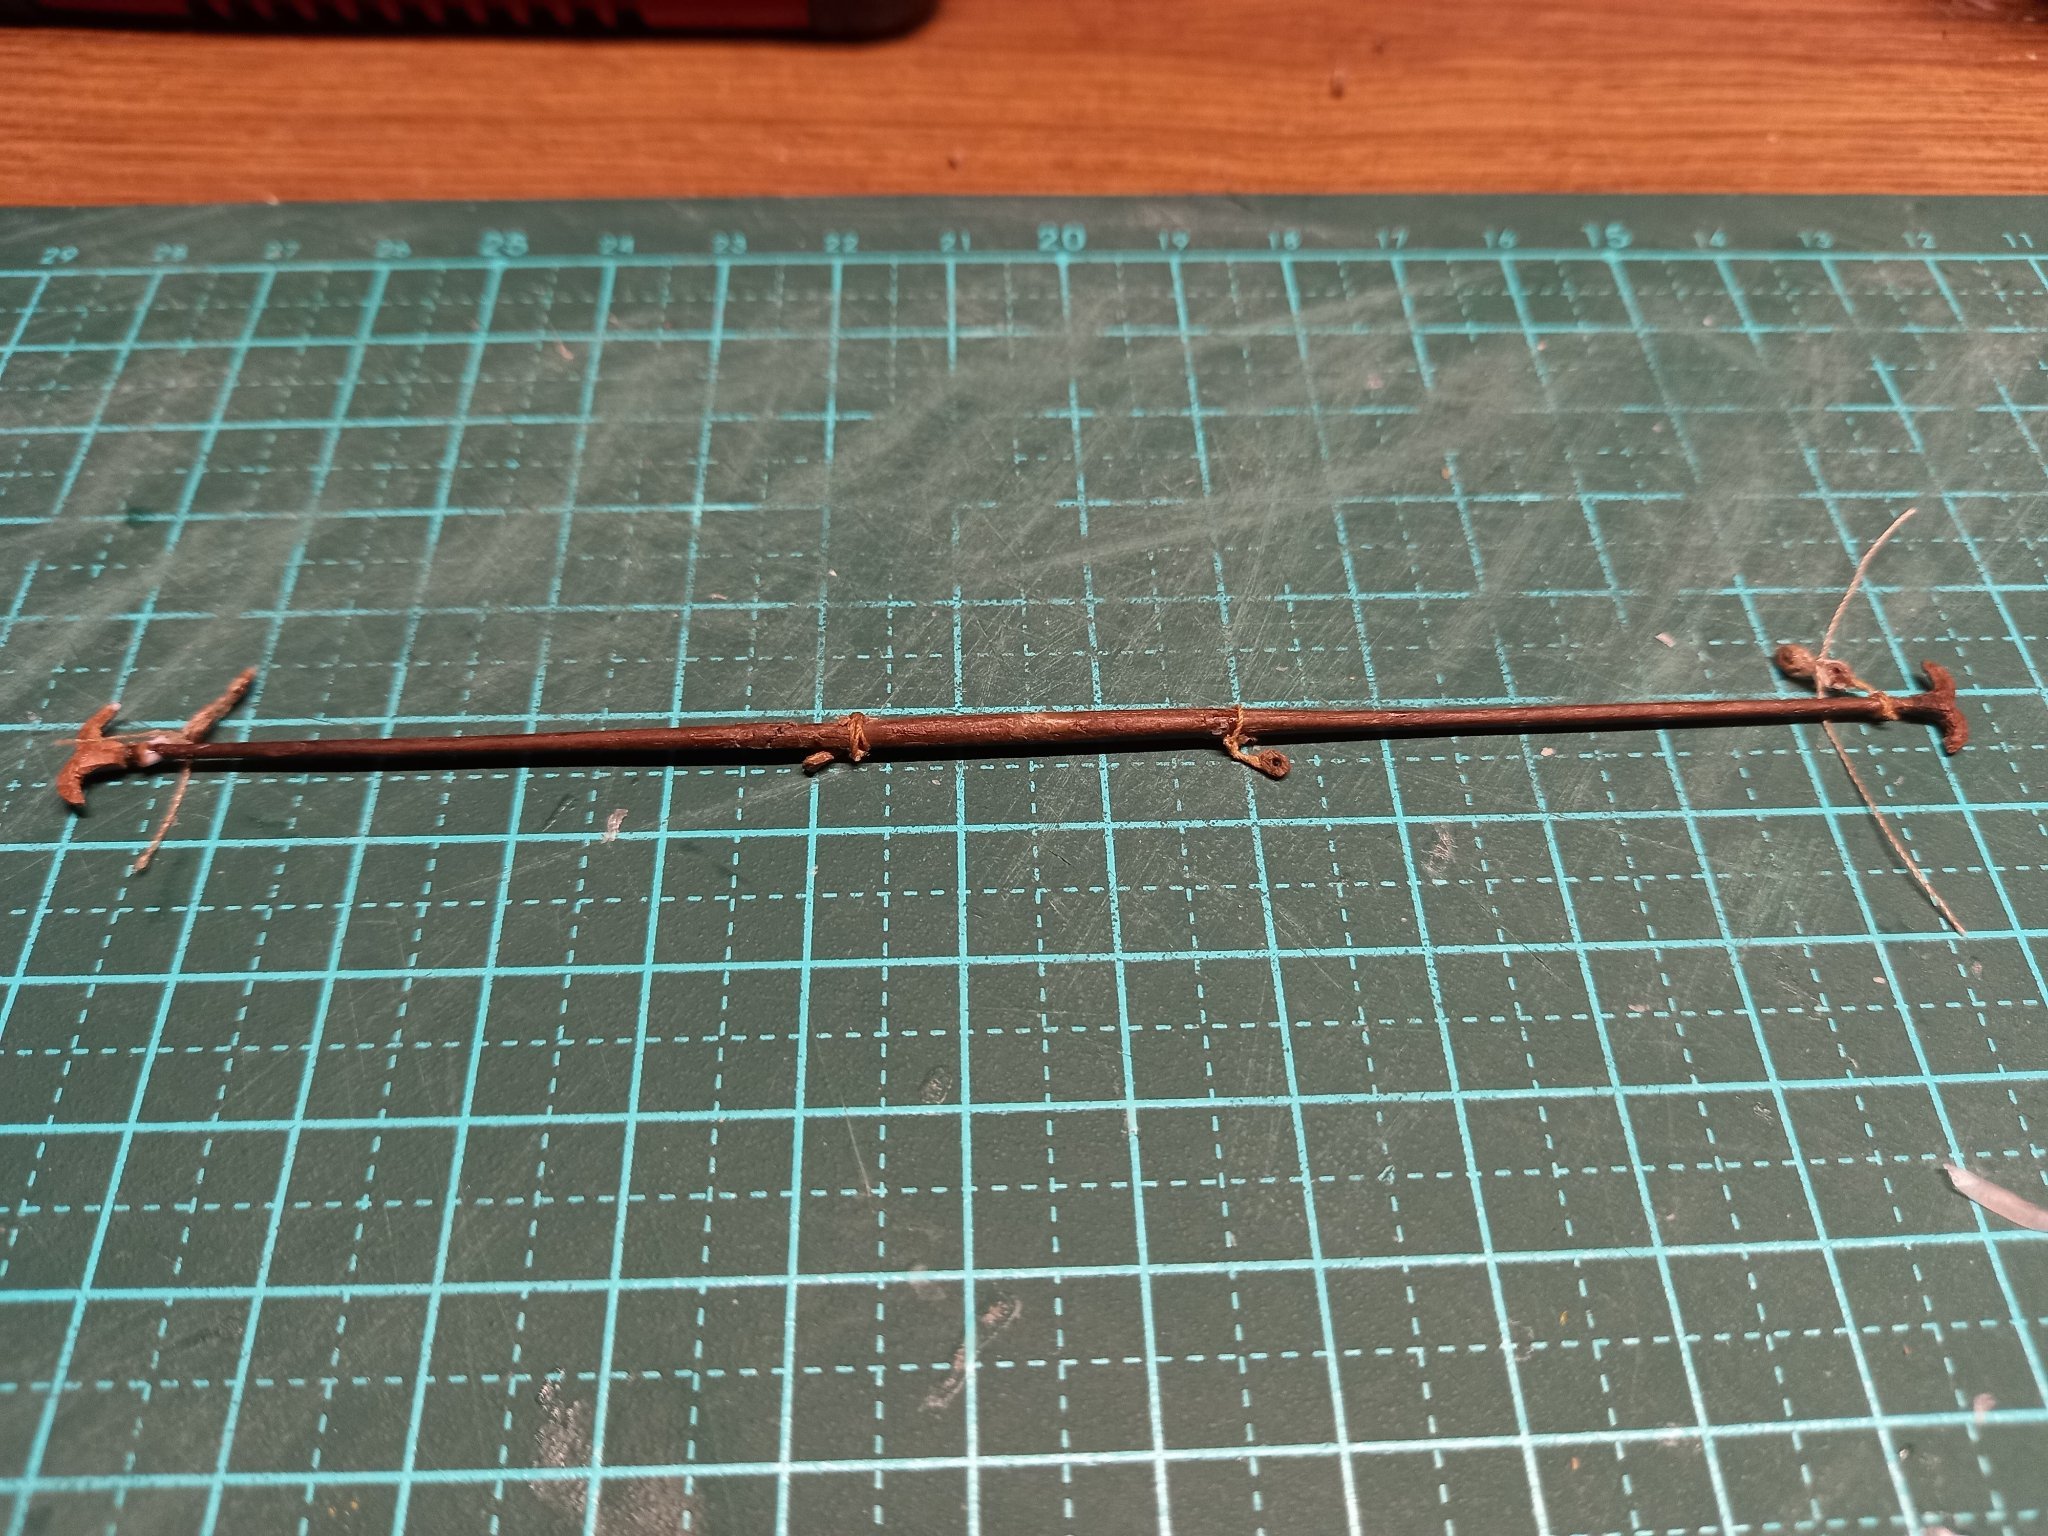
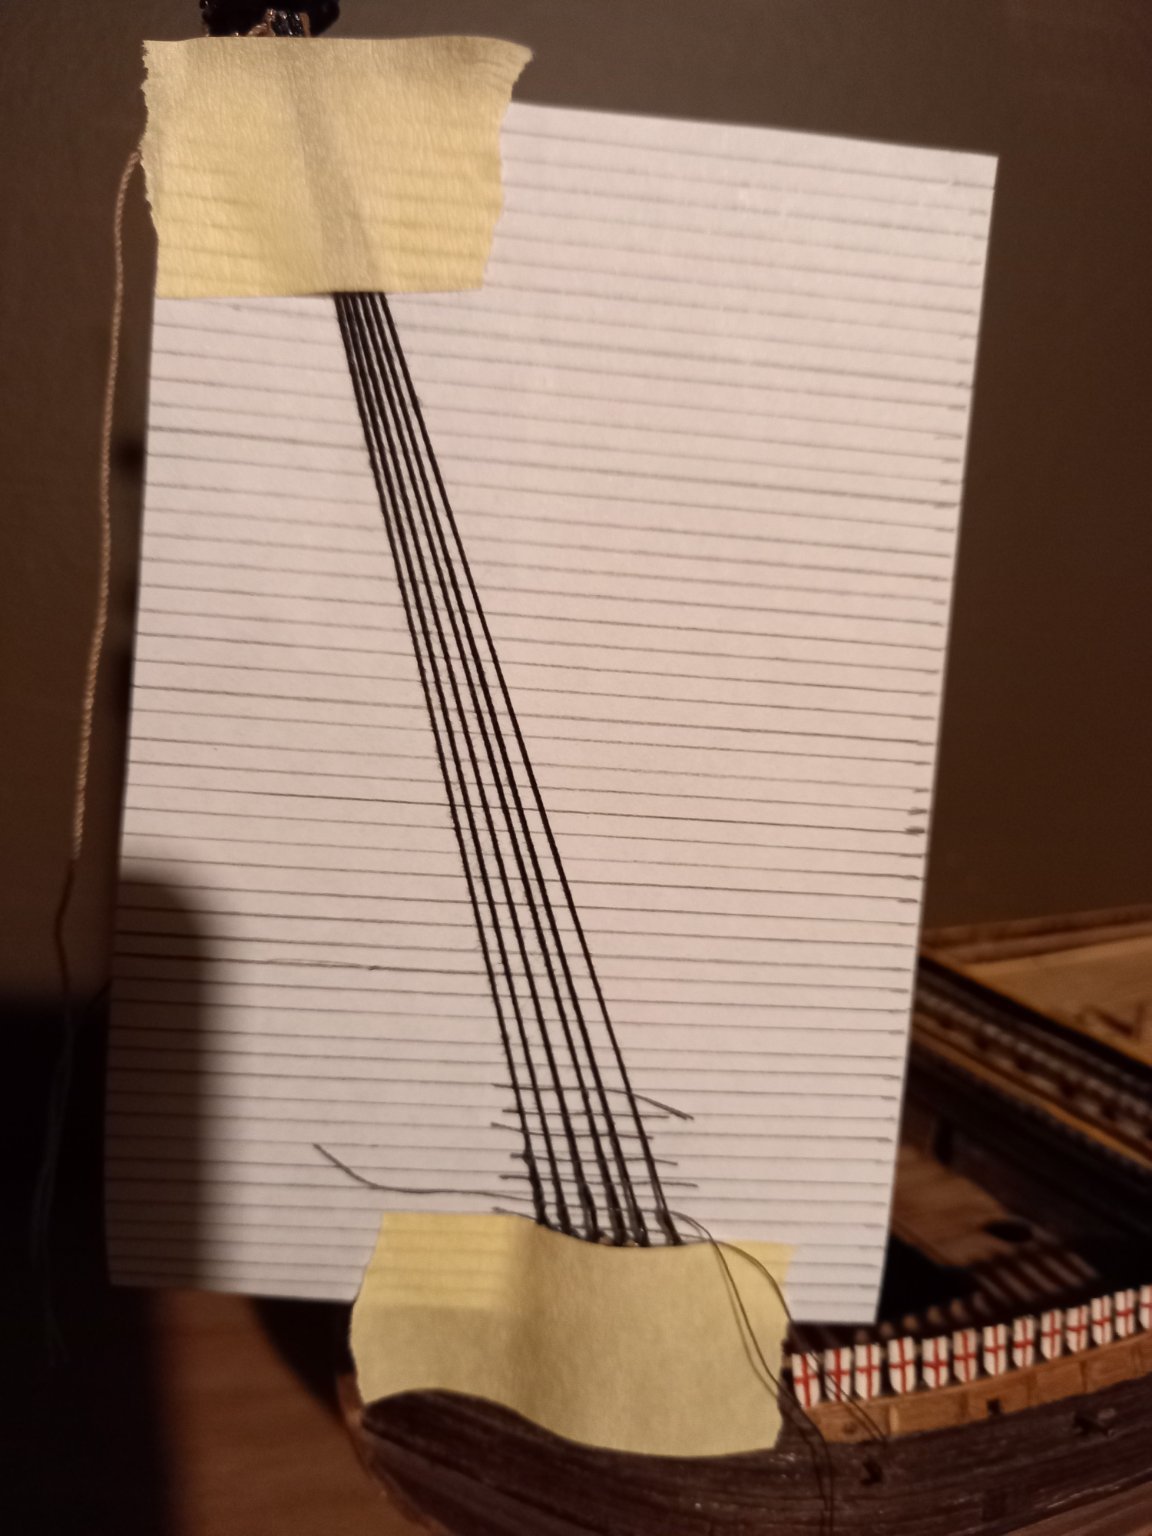
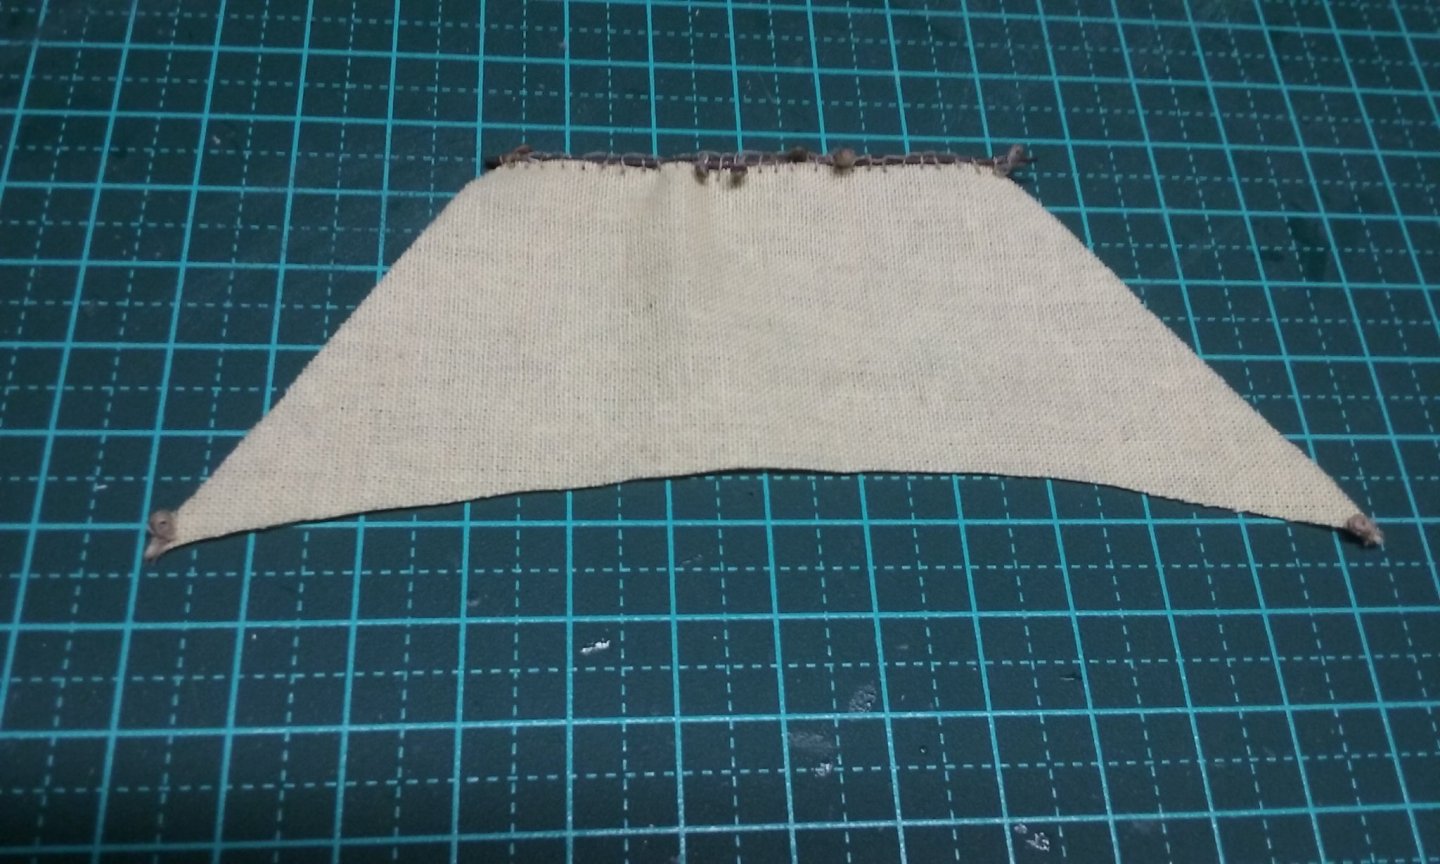
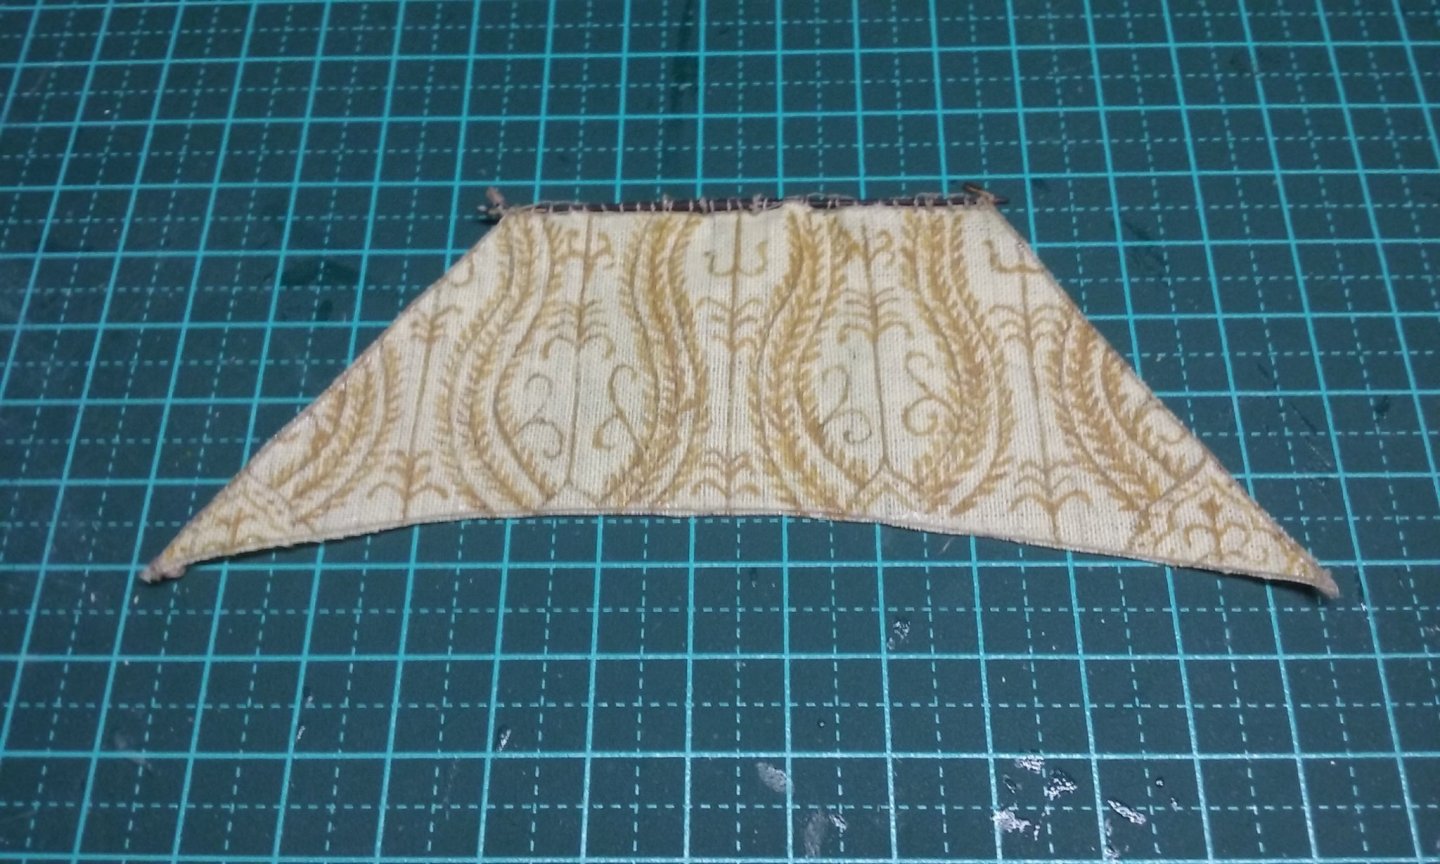
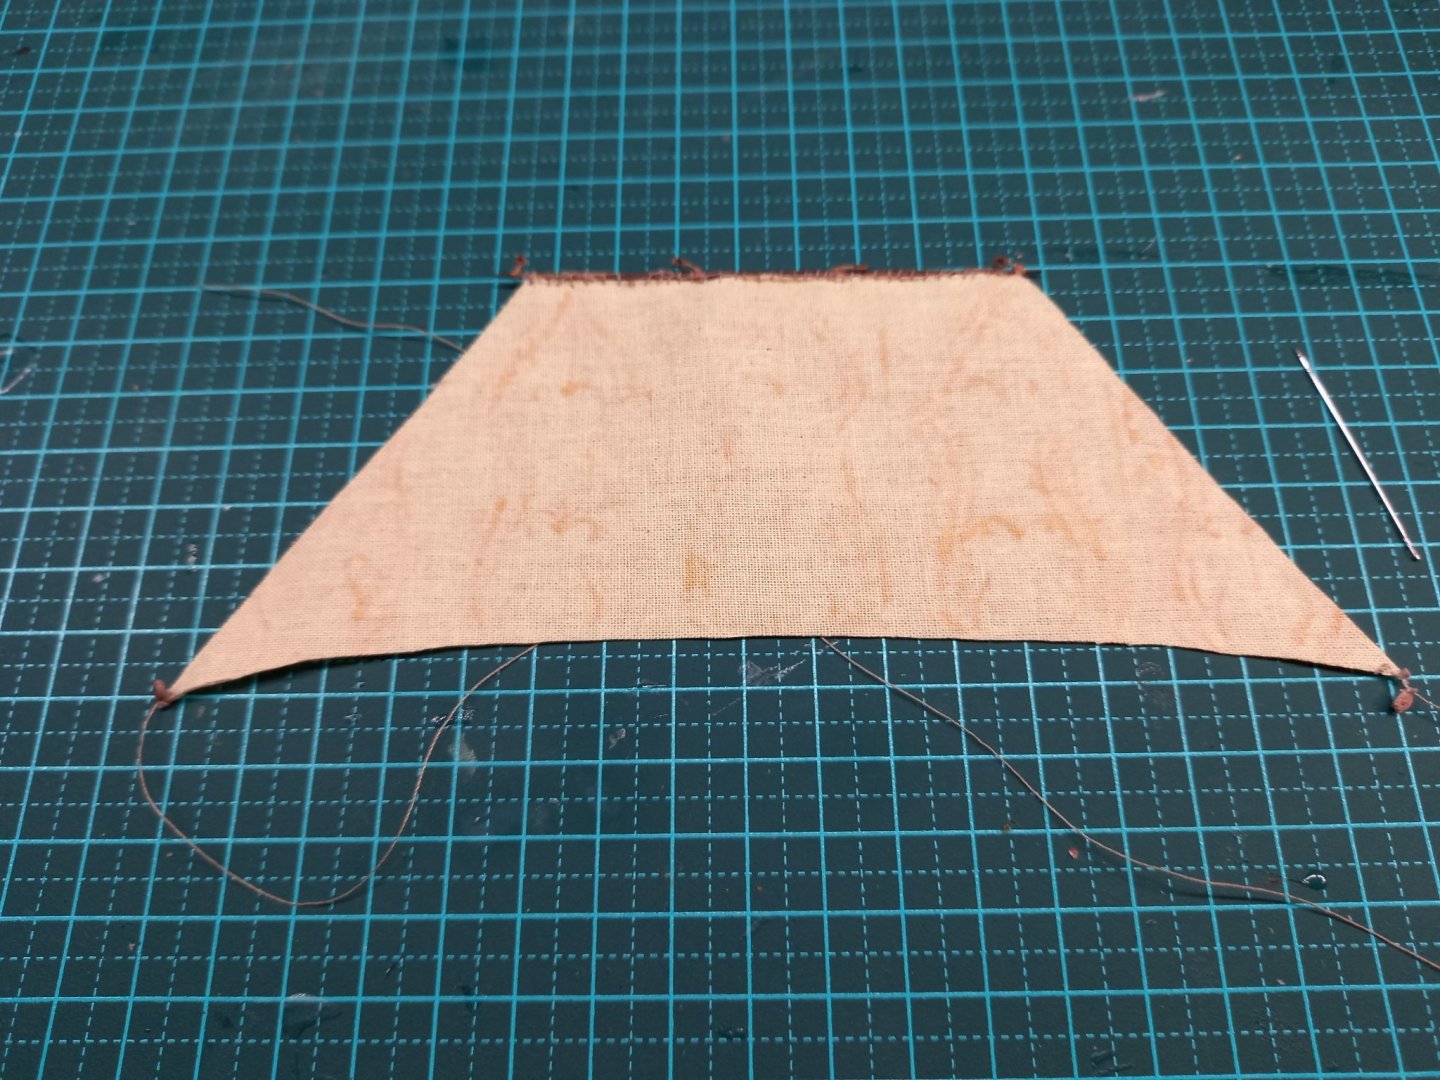
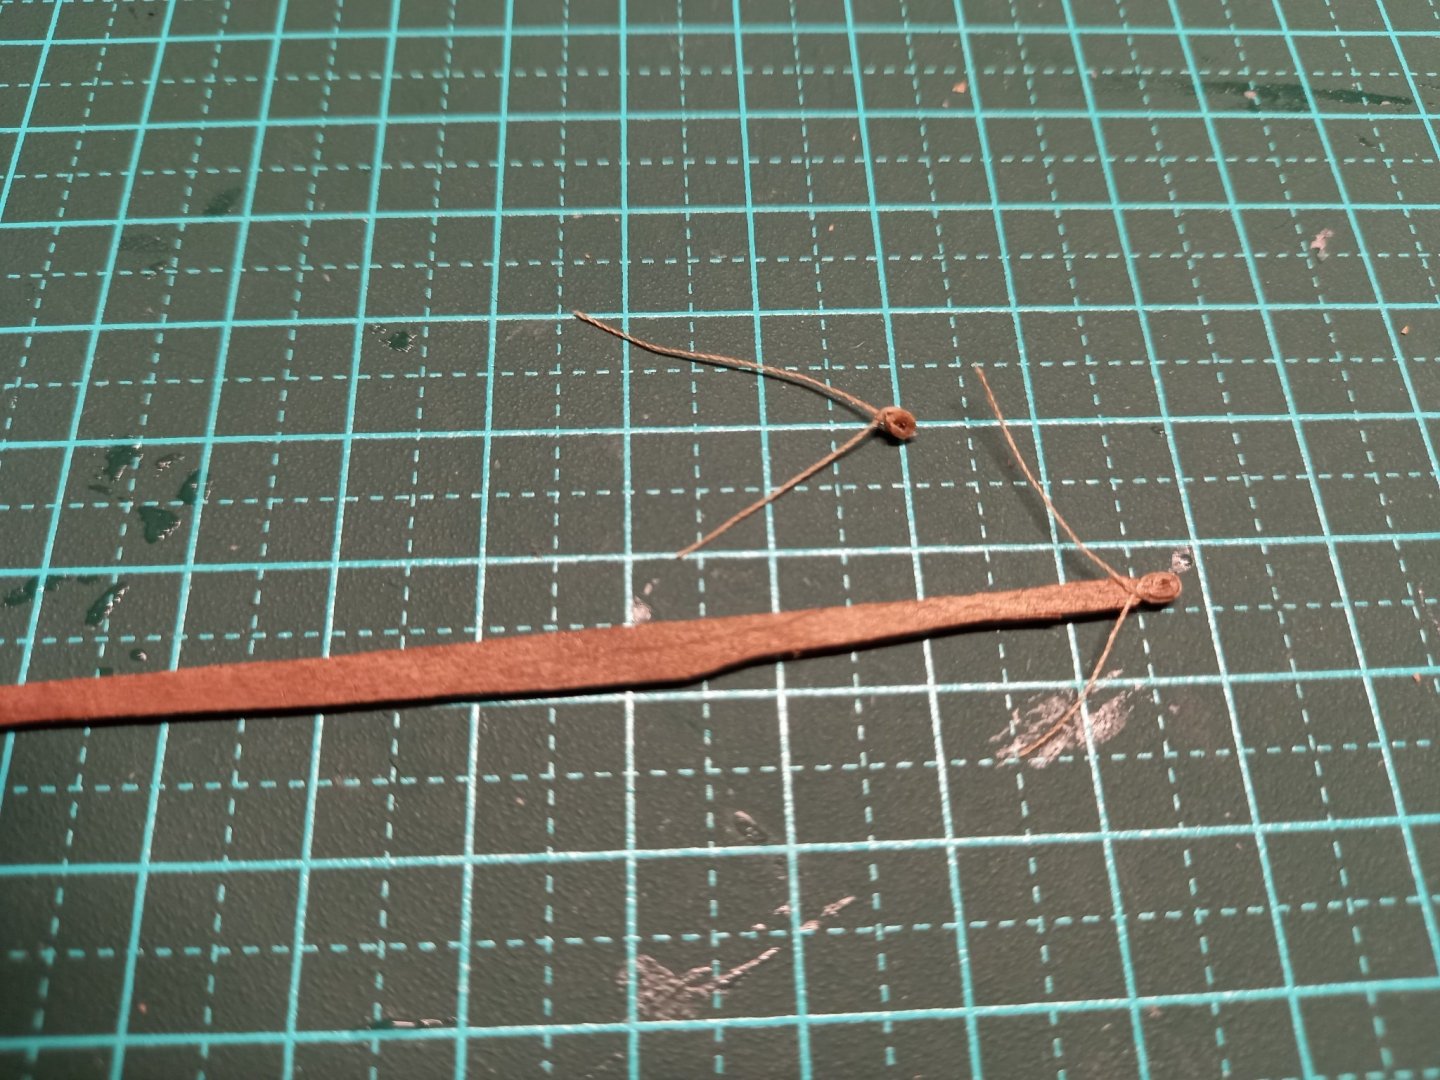
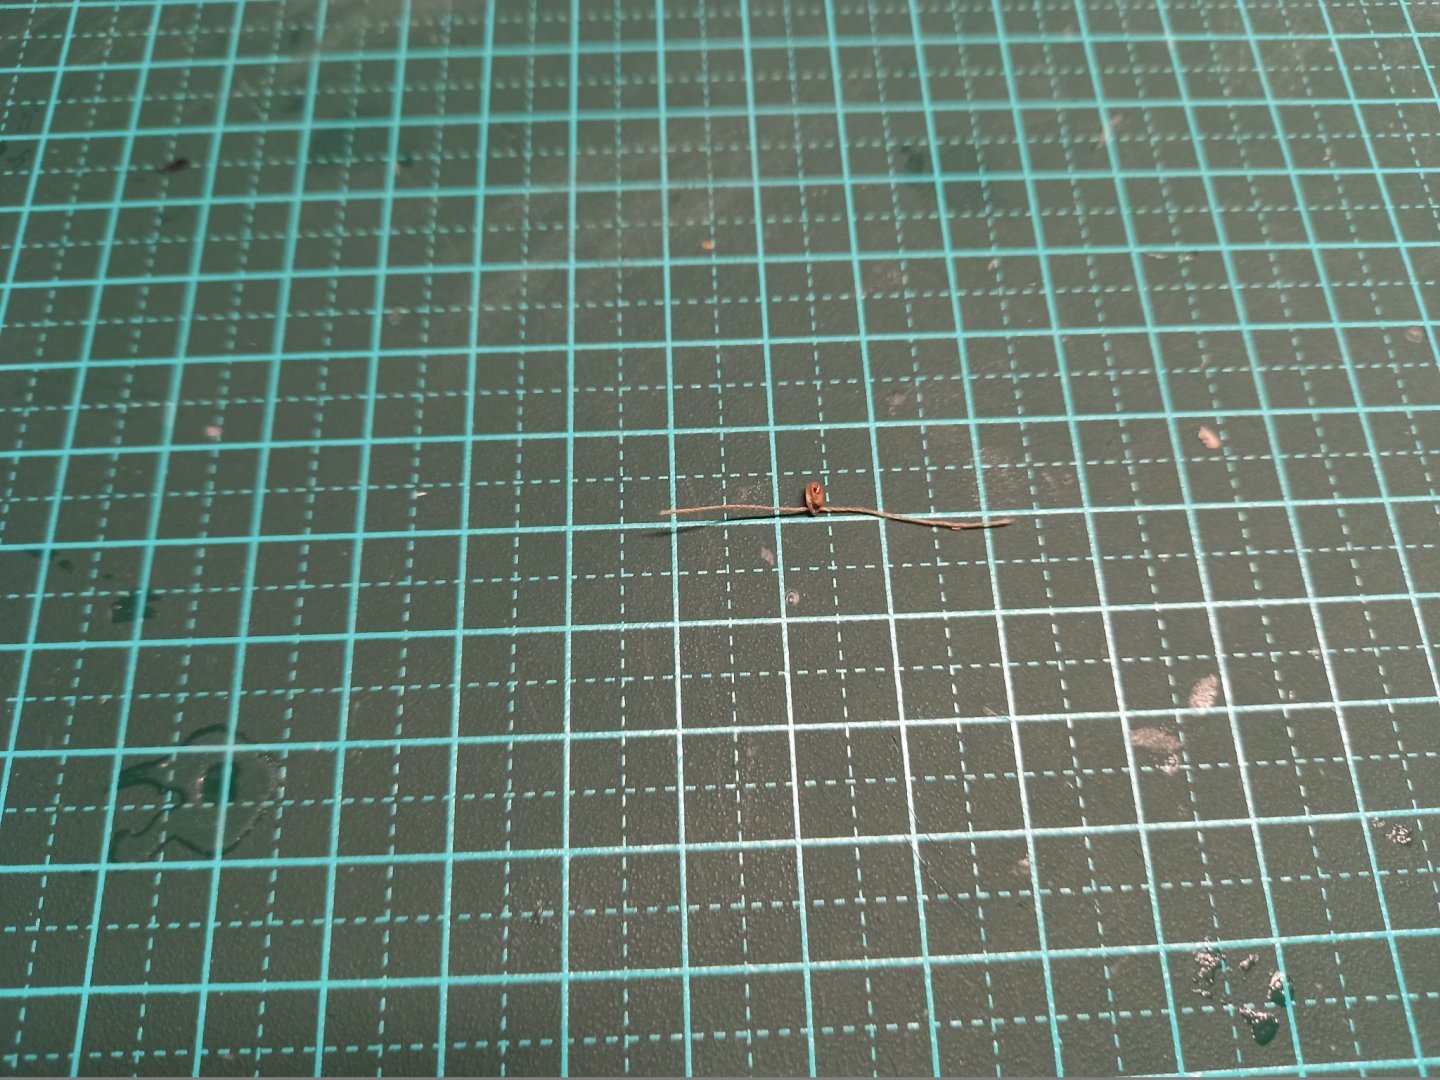
 Well, as Effie in the TV series Acropolis Now would say - "How embarrassment!" No alien abduction - just a senior moment on my part. I had the yard all the time, but the fact that I'd cut the topsail too big (to allow for the sail to "belly") meant it didn't line up with the yard, so I thought it must be for another sail. Going back to the original picture I'm working from sorted that out, and I finally worked out what went with what. One problem I've been hitting is that the threads holding the old blocks to the yards have got brittle over the last fifty-plus years, so they often fall off and have to be re-attached - which in turn involves stripping the strop off the block and doing it all again. Also, so far I've only had one existing yard that didn't have a break in it - and this one is no exception. So I had to fish the yard at the very end. (See below - the fish is at the right-hand end) So here's the yard, with all the blocks attached. First with the new strops uncut and trimmed to length Sail with yard And "robands" in place holding the sail to the yard. From the back And from the front. Now I can go ahead with the next part of the build. Sigh. Steven
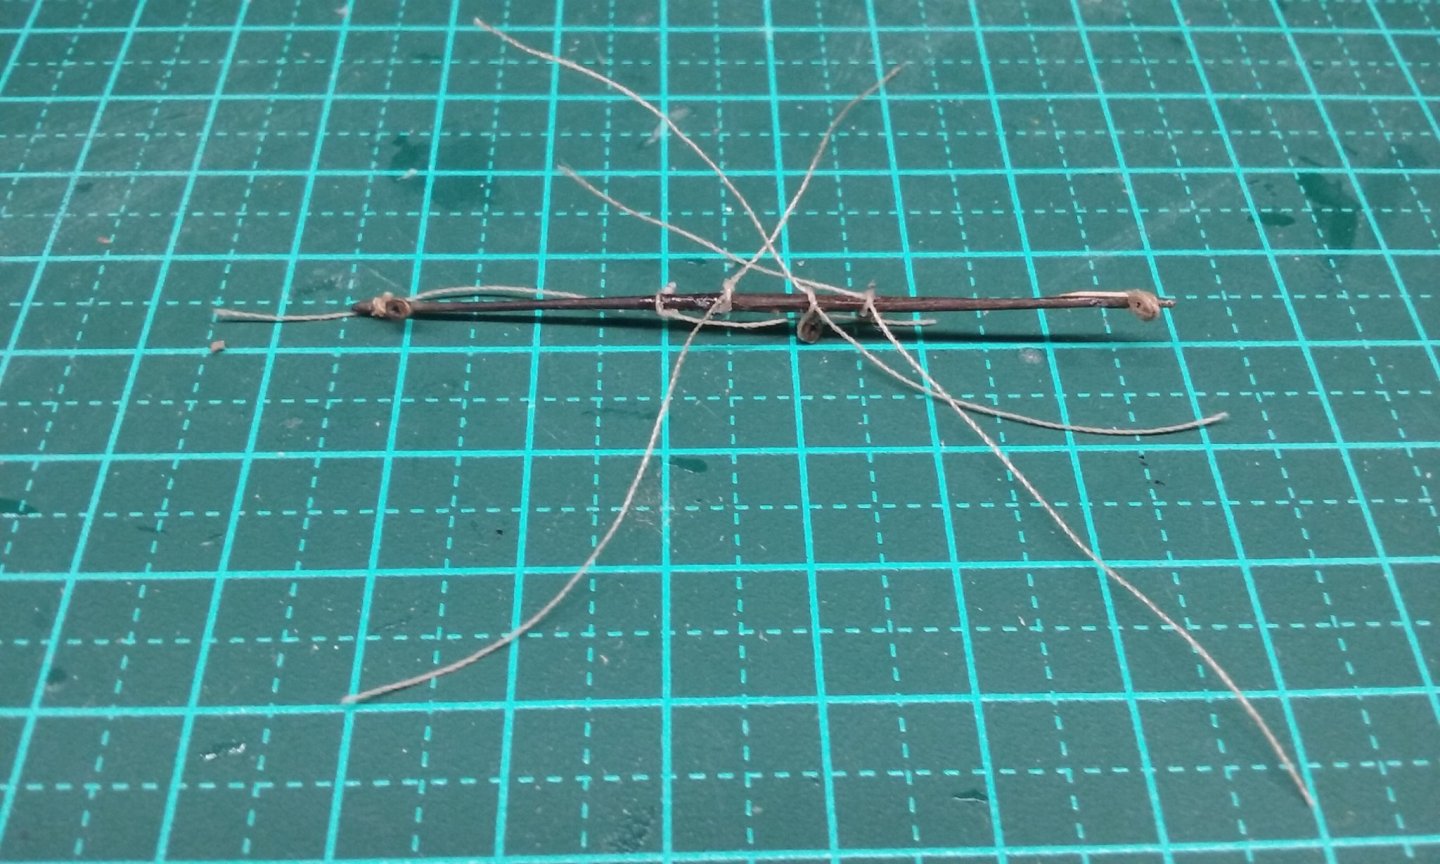
- 740 replies
-
- 10
-

-
- Tudor
- restoration
- (and 4 more)
-
Welcome to MSW, Joseph! You'll find quite a few plastic models among the build logs, and quite a few Constitutions as well. It's a very popular ship to model. You might find them helpful. Just use the search bar at the top right of this page. And if you have any questions, the build logs might have the answers, and if not, the people here are very happy to help. Don't get intimidated by the quality of some of the builds (as I was when I started). There is a wide range of skills here, from total beginner to acknowledged experts in the field, and every build is a learning experience. Welcome aboard. Steven
-
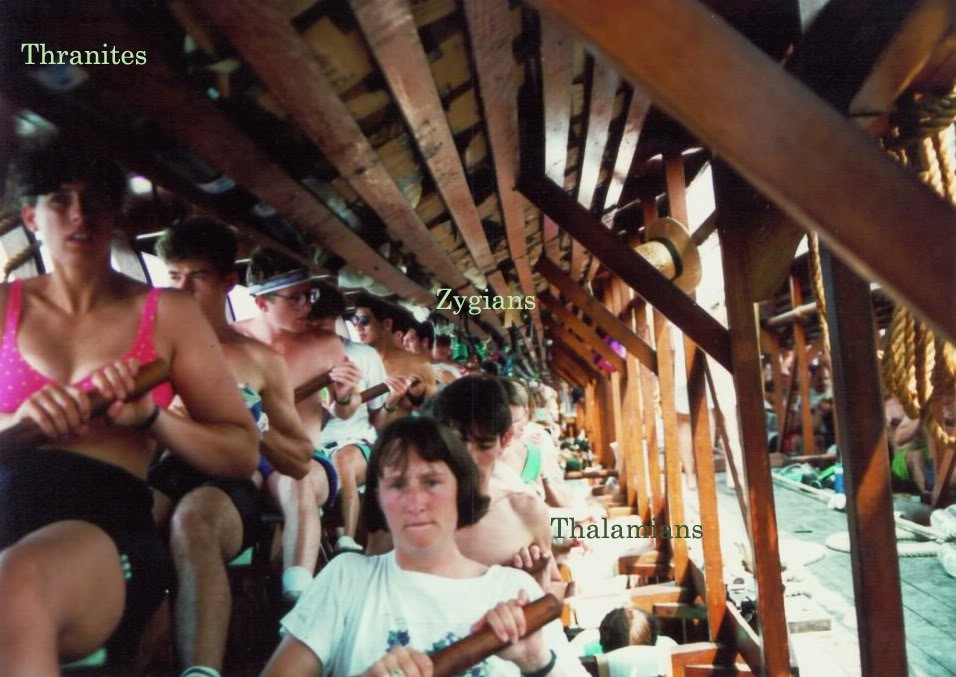
From the Olympias sea trials 1990. See also the video of the sea trials earlier in this thread. Steven


-
If I recall correctly, the sagas mention taking the figurehead off when entering a friendly port so as not to offend the local trolls and bring a curse down on the ship (not sure - I read this along time ago). But apart from the Oseberg ship I know of no "figureheads" or fittings for them - and the Oseberg's one is pretty much integral with the ship itself. Aha! Here's a reference - from https://www.tandfonline.com/doi/full/10.1080/00253359.2020.1778300 - "Viking Age figureheads are sometimes described as magical. According to the Landnámabók, an Icelandic text describing the settlement of Iceland by the Vikings, these frightening figureheads should be removed when approaching land in order to not upset the spirits on the land." Steven
-
It all looks good to me, and though the figurehead is fairly simple, it seems to me that it's well within the "window" of Viking decorative styles and known "figureheads" (and let's face it, no actual figureheads have ever been found), as discussed earlier in this thread. Steven
-
Looking very good, Rodolfo. The naus had enormous mainsails and the yards were very wide indeed. You've captured that "look" very well. Having done furled sails on my dromon, I know how difficult that is, but again, you've done a brilliant job of yours. Steven
-
Fascinating. What an unusual shape. Steven
-
Absolutely magnificent job, Greg. I dips me lid, sir. Steven
- 53 replies
-
- 4
-

-
-
- photo etch
- resin
- (and 3 more)
-
So putting a link to an MSW build log onto another forum is ok? Because I do that a fair bit, as I believe MSW is the best forum around and reference to its build logs can help others who aren't even members, and - who knows - might persuade them to join. Steven
-
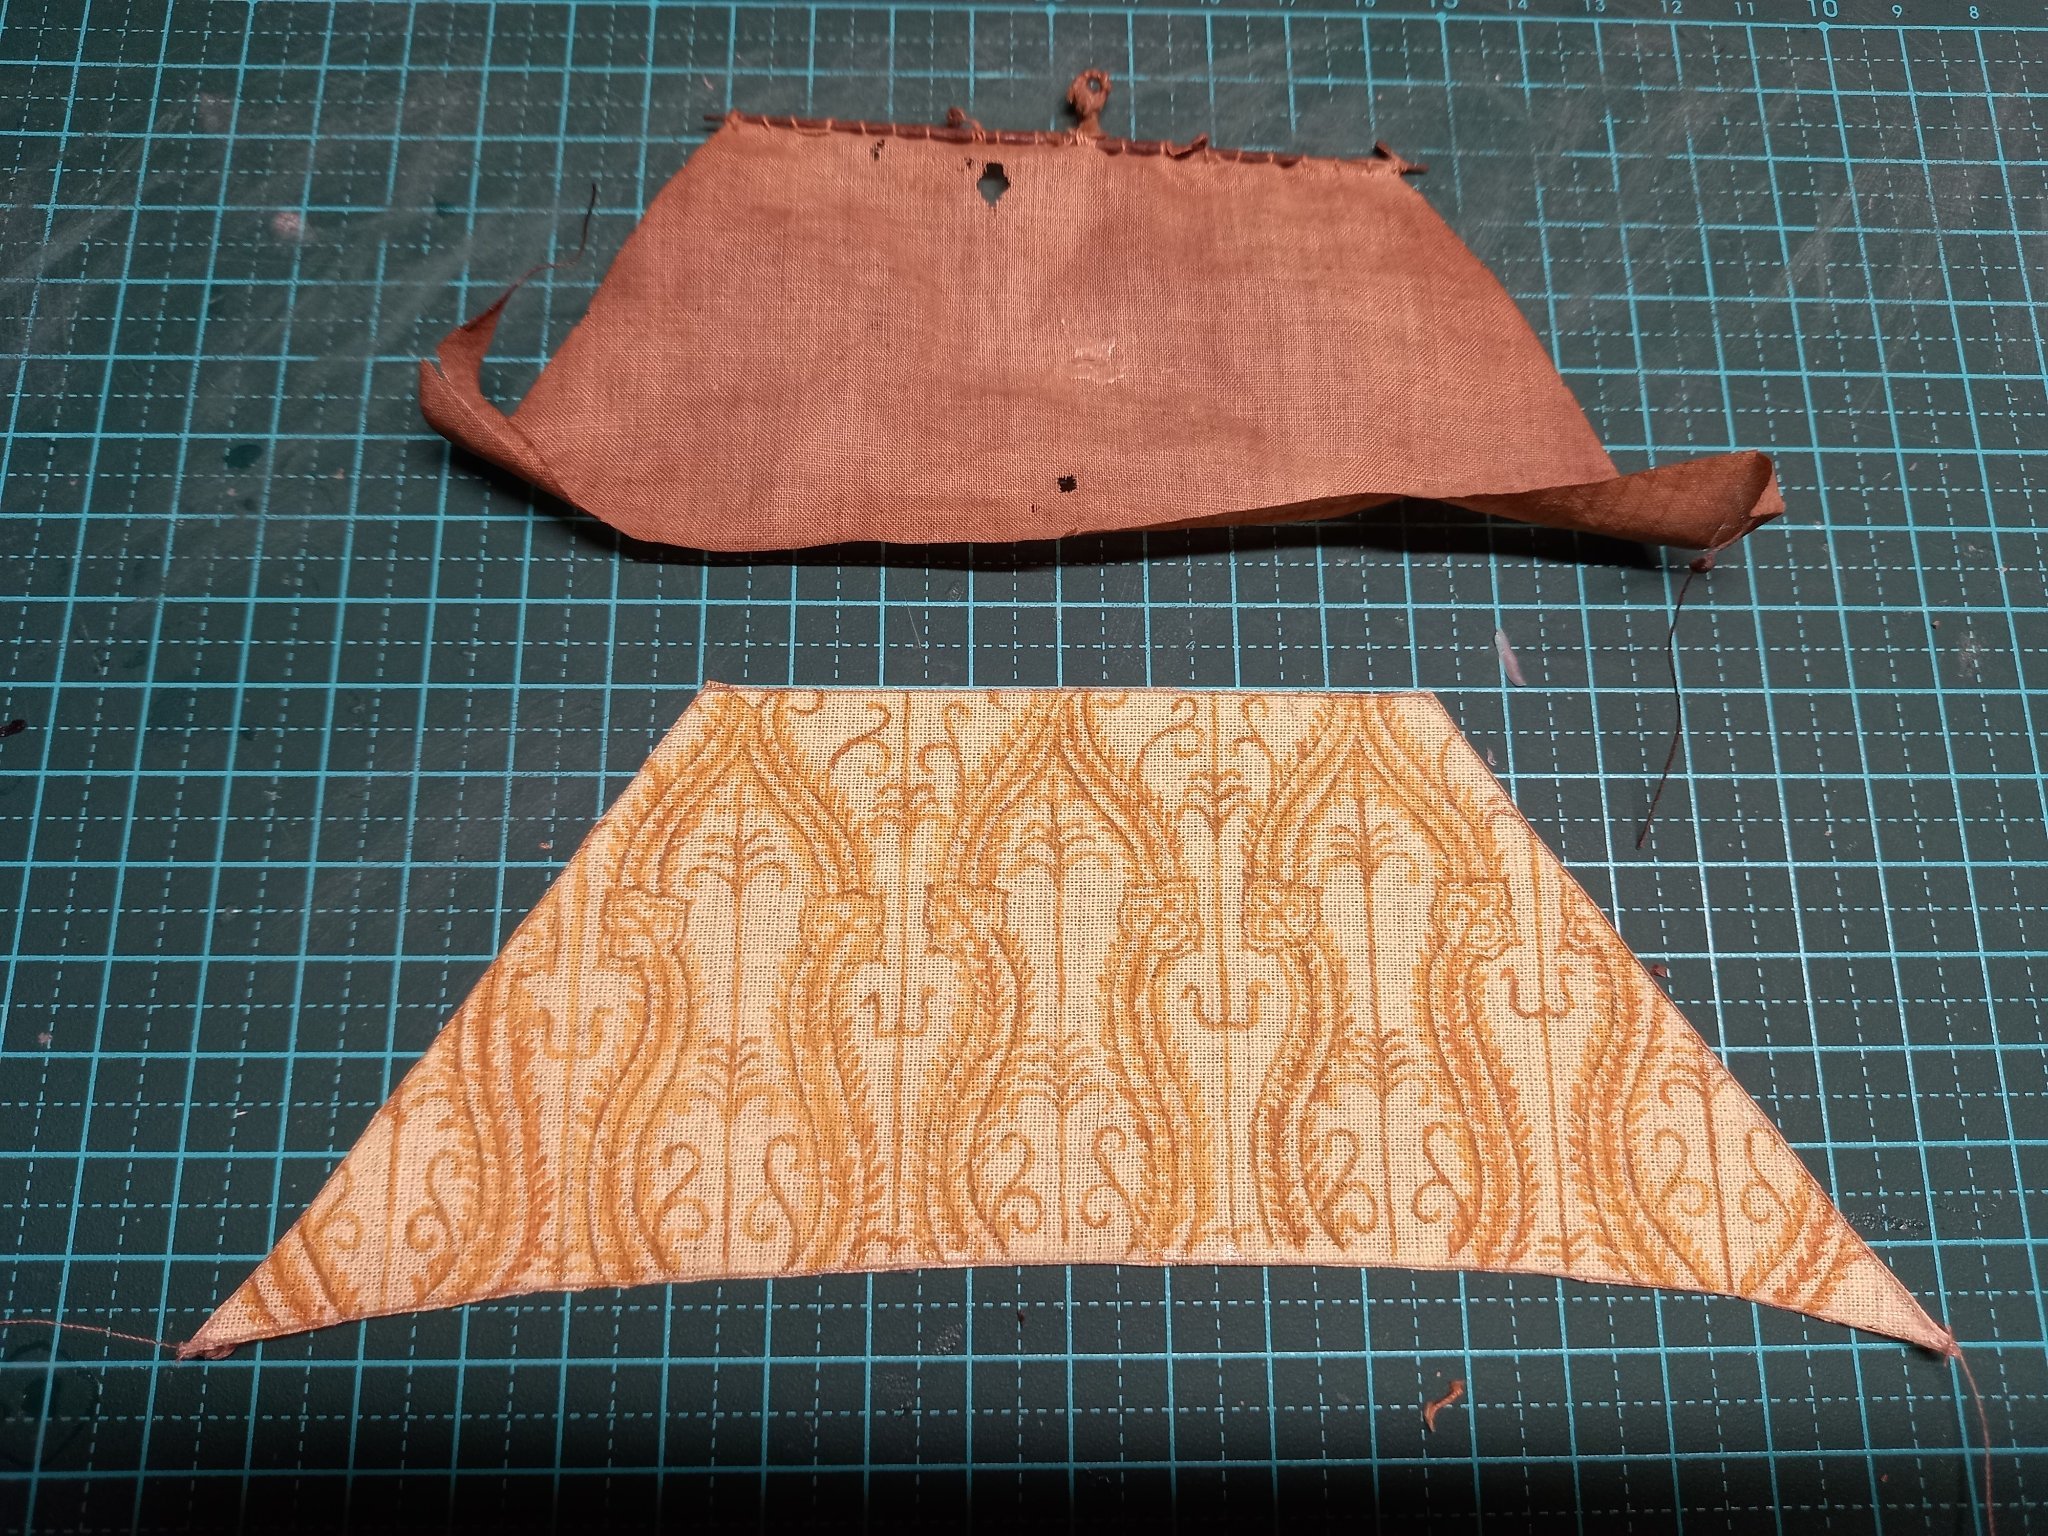
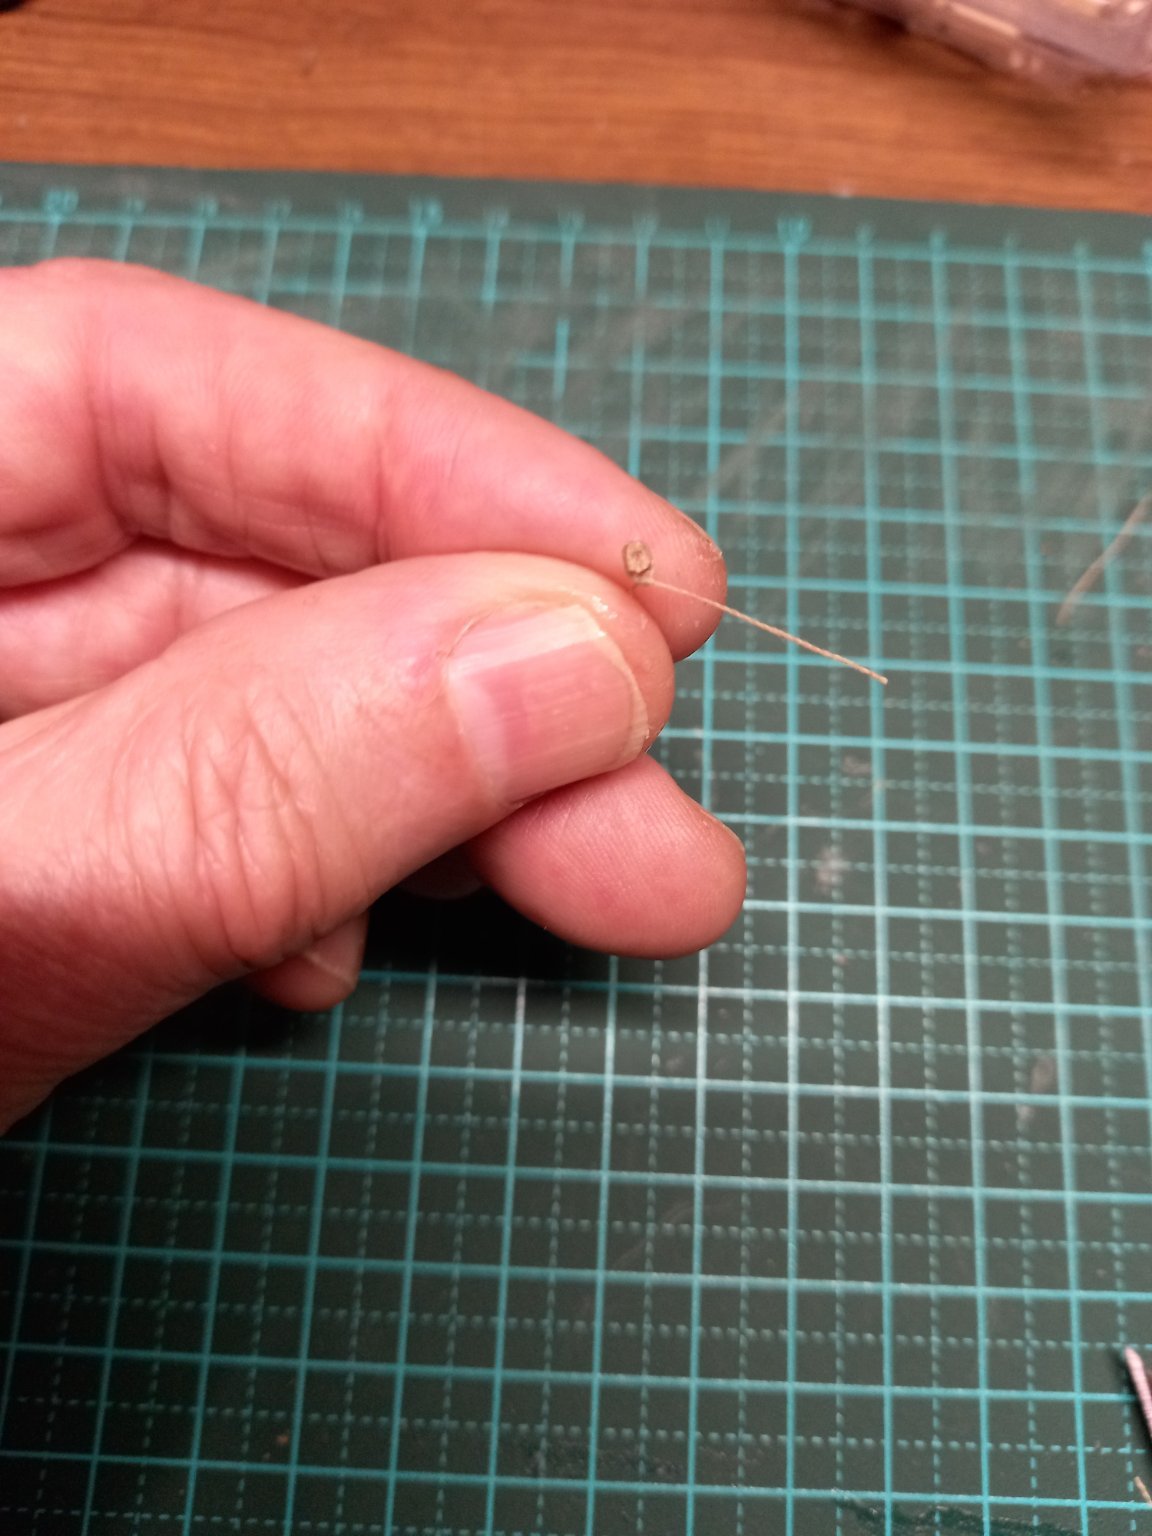
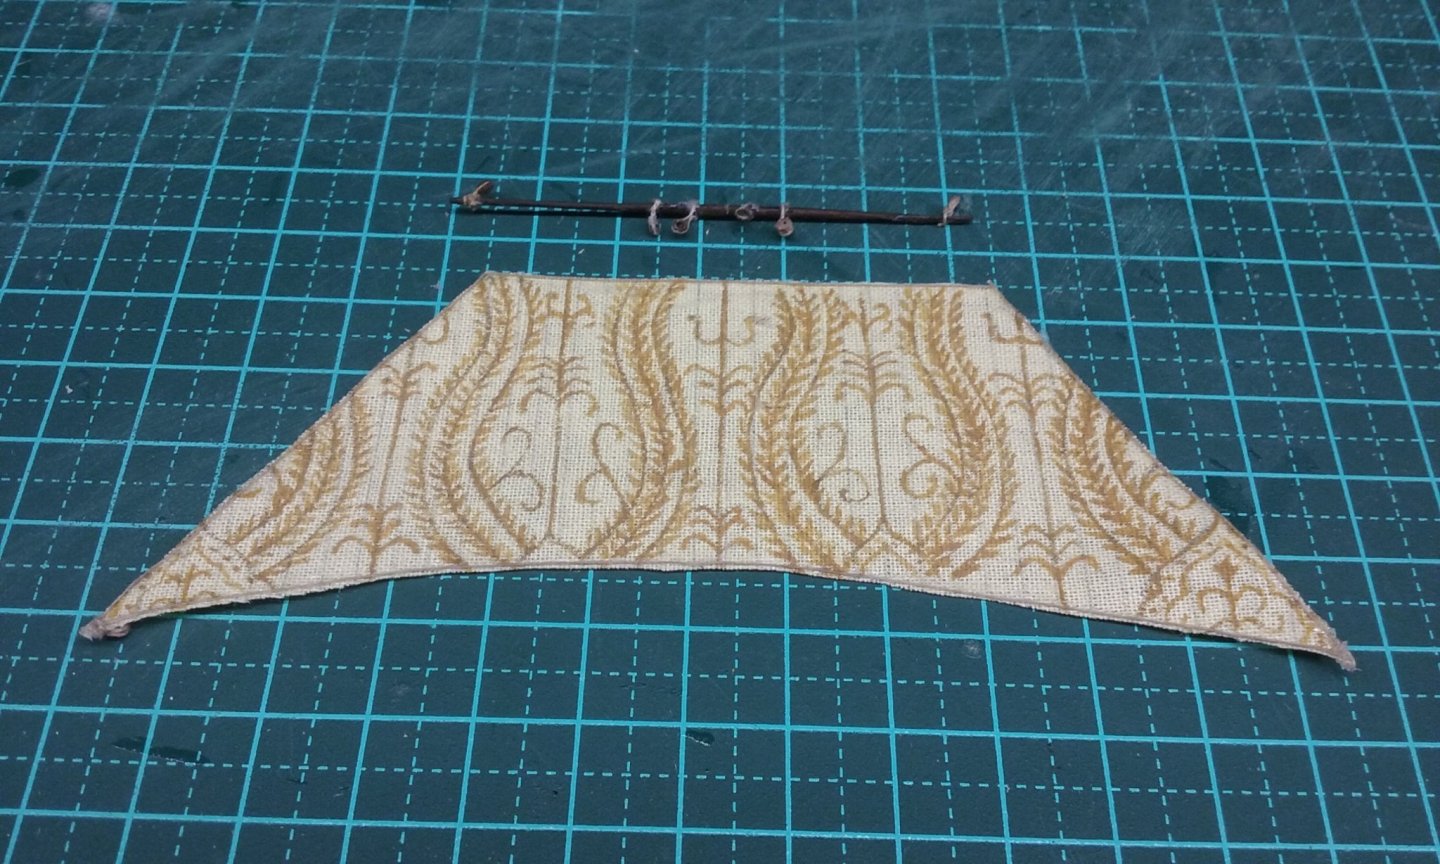
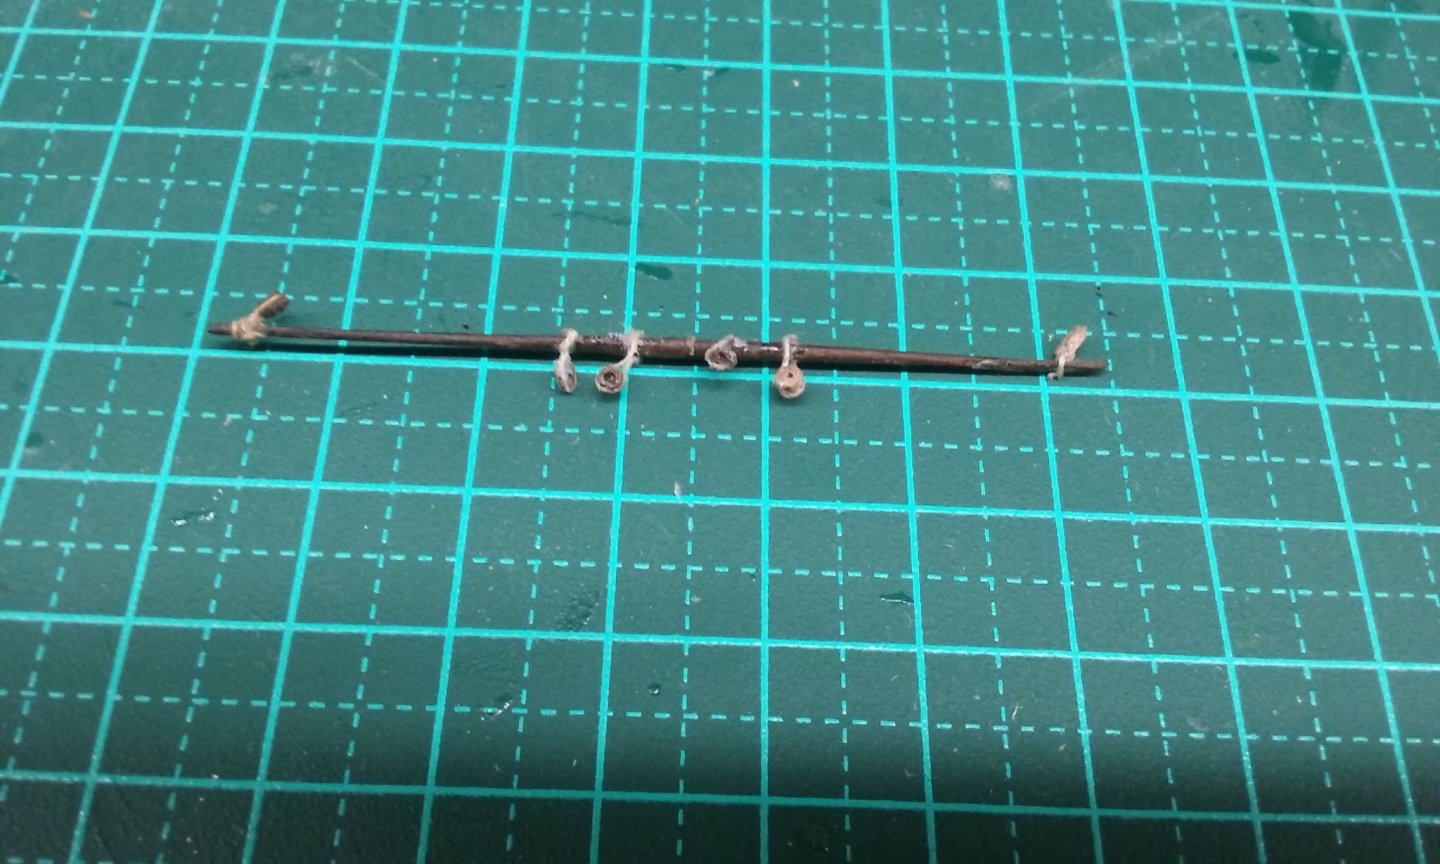
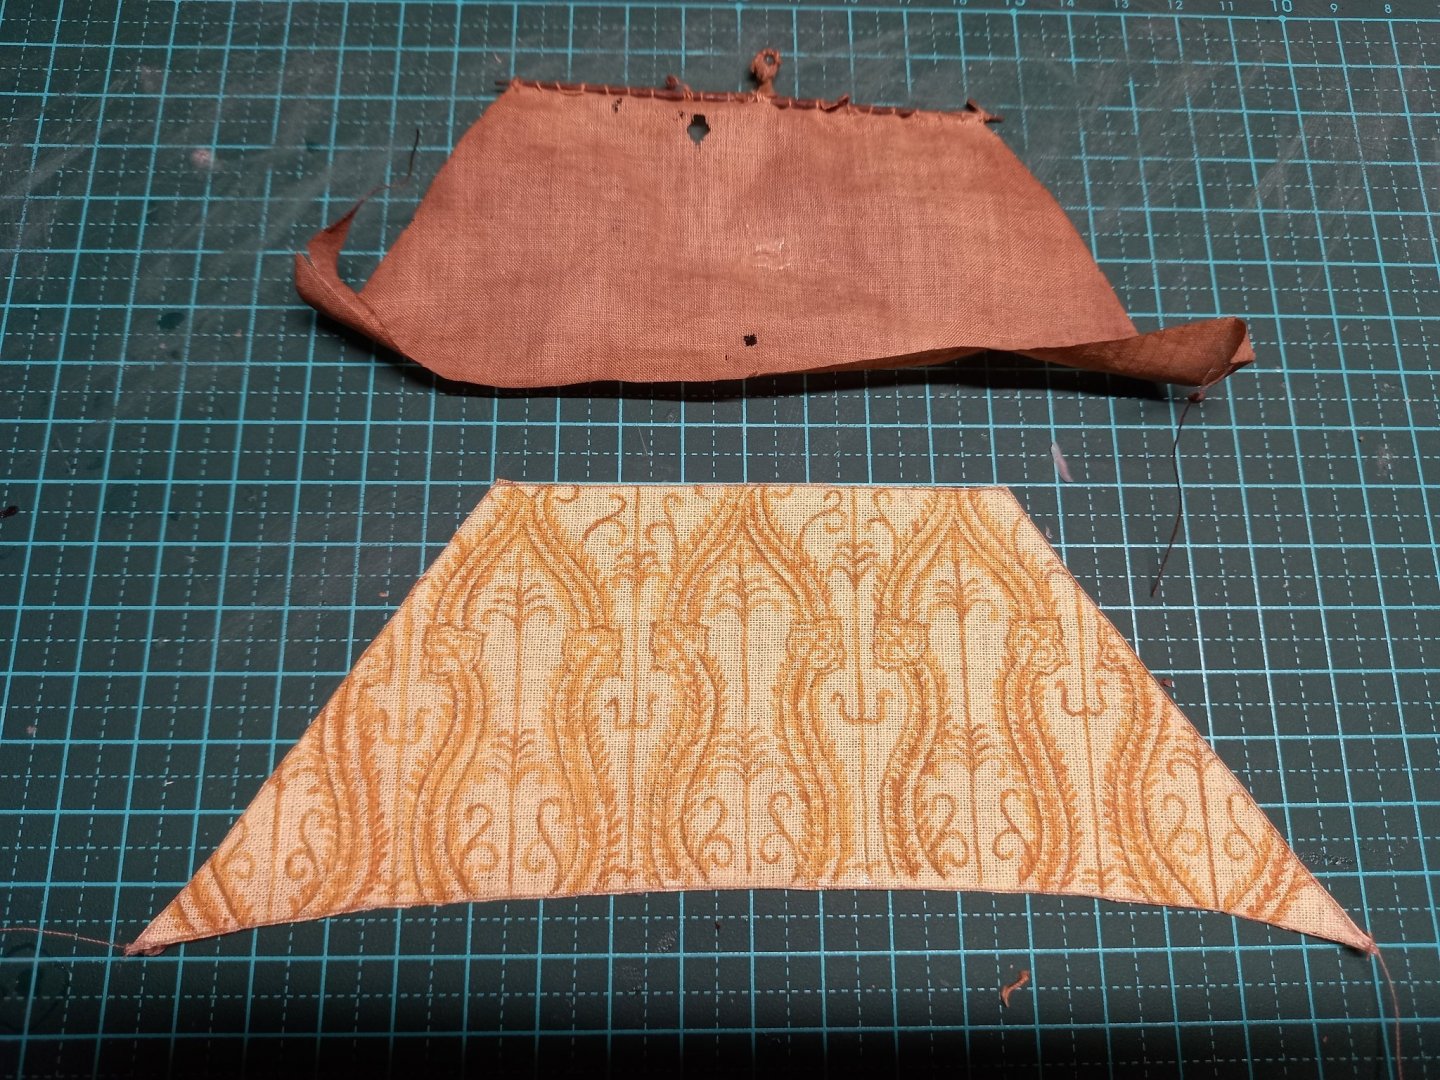
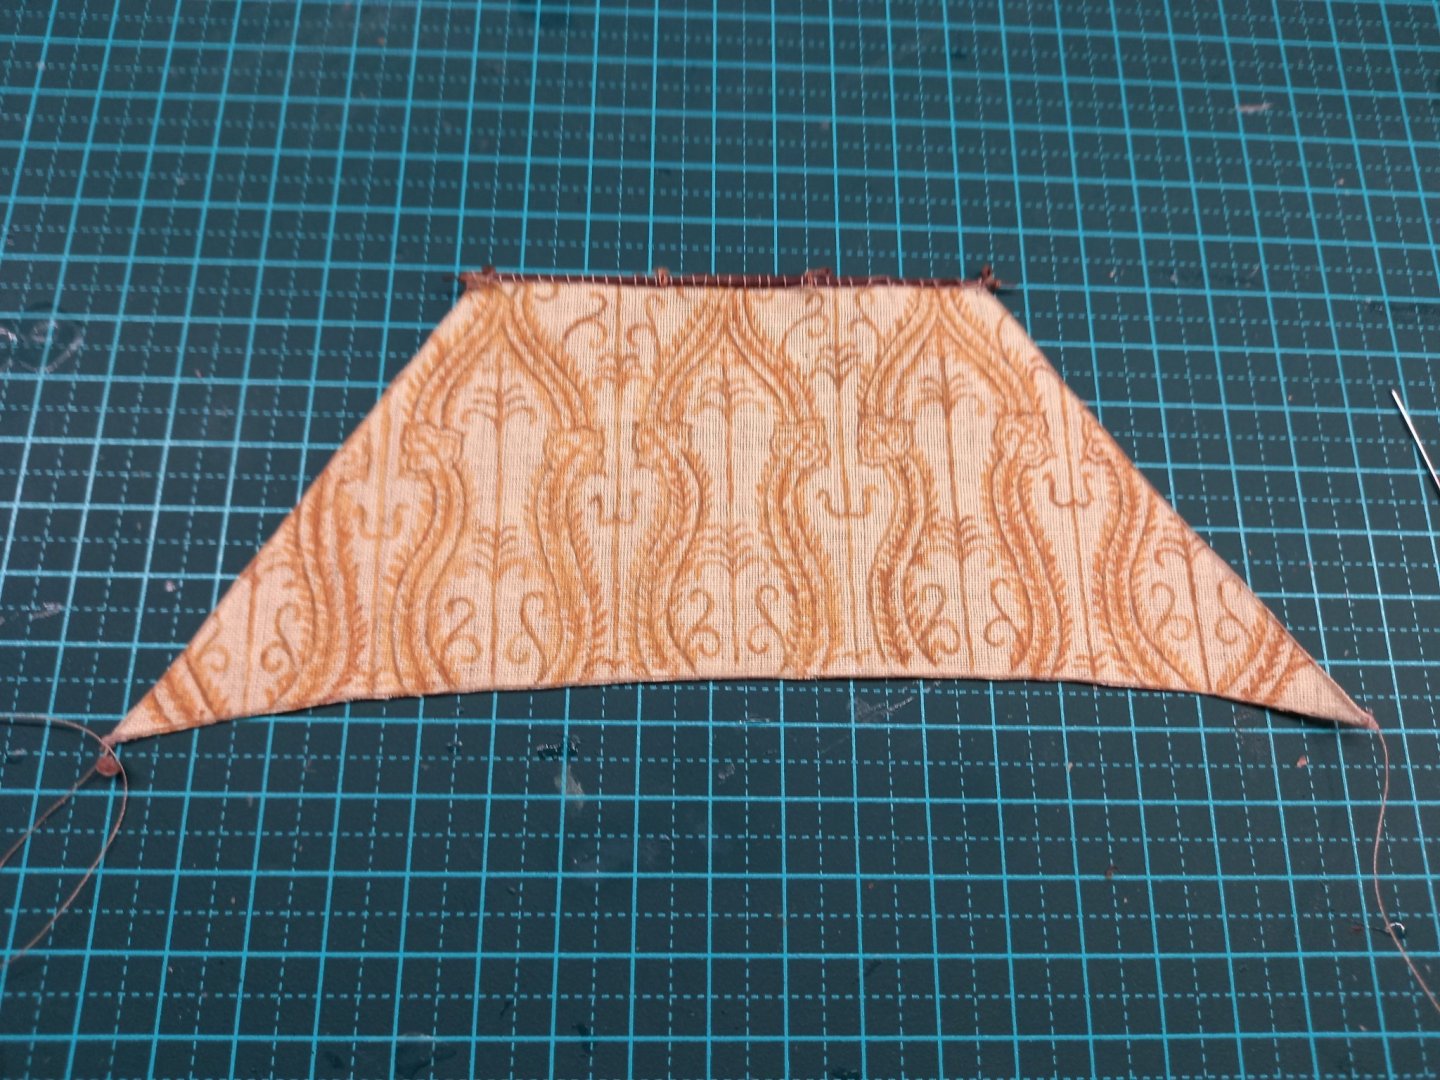
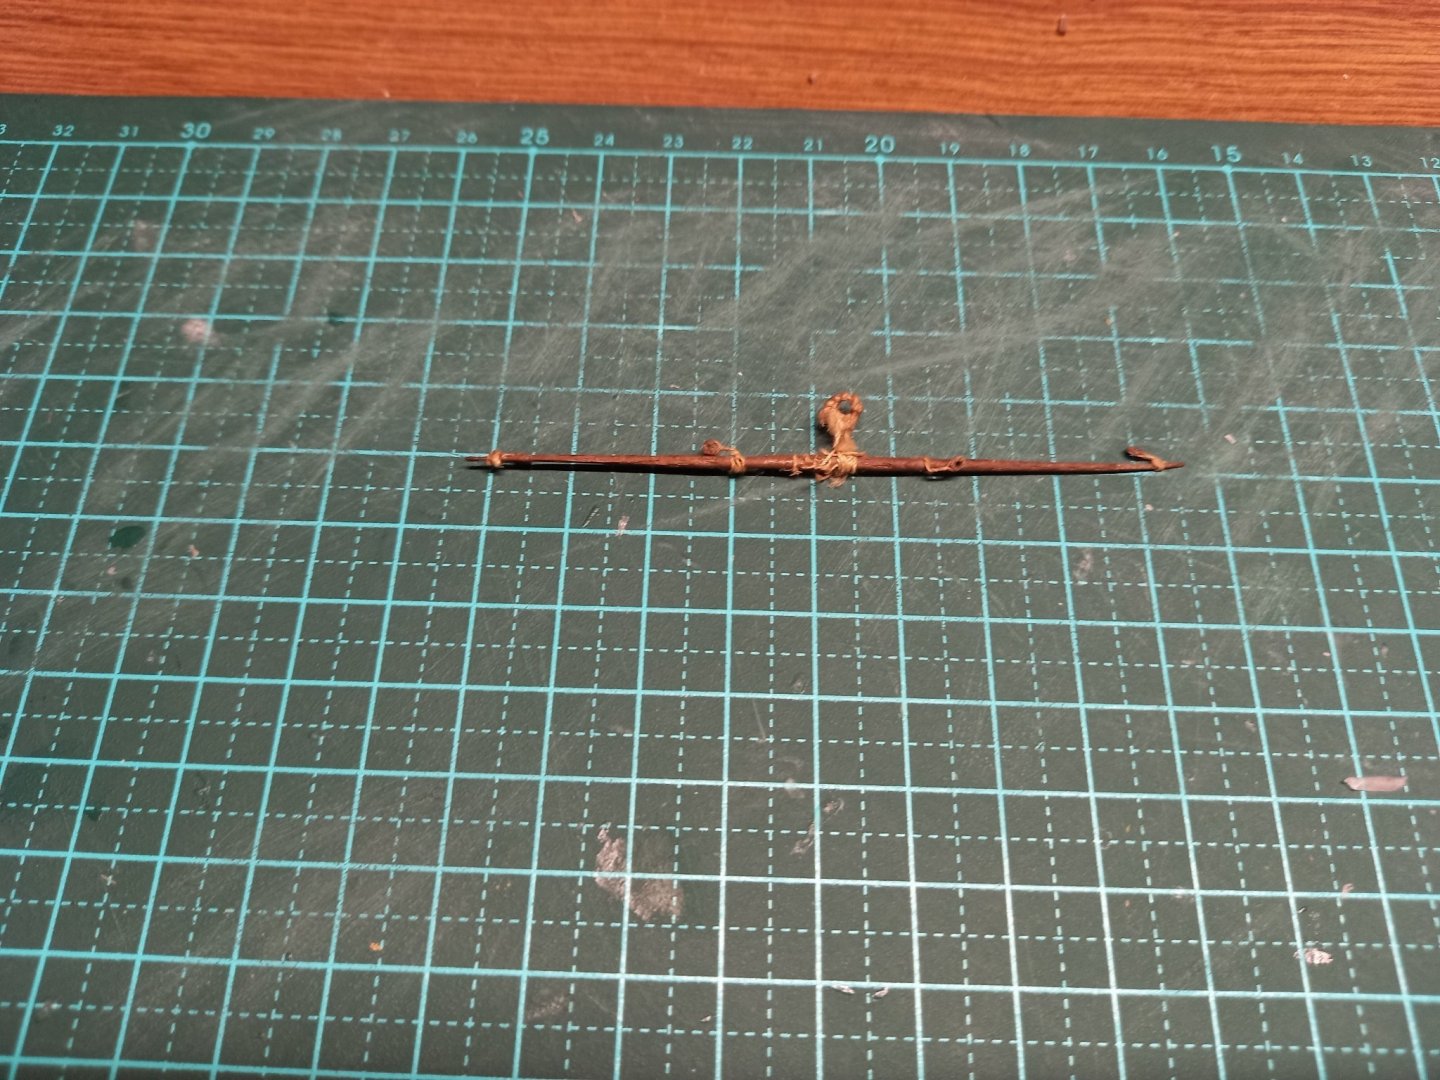
Well, the aliens have visited again. Here's the main topsail yard - with the old sail on it and the new sail ready to be added: And here is the yard off the sail and being cleaned up. And fully cleaned up, ready to go (it's the upper one) And I got ready to put the new sail on the yard last night, and could I find the yard? Of course not! The aliens had taken it. I've turned the workshop over, taken everything off the desk and swept it down, searched under the desk with a flashlight, swept up everything that may have fallen underneath - NOTHING! I really don't want to make a new yard to replace the old one - one of my main goals in restoring the ship is to keep as much of the original as possible. But where is the rotten thing? The only other explanation I can think of is that I must have put it in a safe place. Which means it'll be found when they go through all my effects after I'm dead . . . In the meantime, every now and then I feel I have to take my hat off to my seventeen-year-old self. I'd thought I'd made the tiny (1mm) blocks by rolling up cotton thread into a ball and gluing it together and shoving a pin through it when it was dry to make the hole for the thread to go through. I did do that with a couple of them, but almost all turn out to have been made of wood, presumably the way I'm doing it now. And if anything, they're even finer than the ones I'm making today! (The circular thing on the left is a parrel truck I made back in the day just out of cotton thread - I have no idea how I did it.) Steven

- 740 replies
-
- 10
-
-

-
- Tudor
- restoration
- (and 4 more)
-
Bill, do you have any pics of these depictions? I've never seen anything prior to the above with anything resembling a lateen. Yep. That's fair enough - it appears that the frames do overlap each other after all - every frame overlaps the ones either side of it, so there's no "zone of weakness" where the joins are. The Byzantine ships found at Yenikapi have a similar layout, but the overlap between adjacent pairs of frames is more pronounced. Steven
- 83 replies
-
- 2
-
-
- Sea of Galilee boat
- SE Miller
- (and 1 more)
-
Looks great, Arjan Steven
-
Nice. Are you intending to double up the frames so they overlap each other?
- 83 replies
-
- 1
-
-
- Sea of Galilee boat
- SE Miller
- (and 1 more)
-
I sue both scalpels and craft knives. The comments about scalpel blades breaking are true, but only if you force it a bit. My main problem with craft knives is that the handles keep undoing themselves so the blade keeps coming loose. I've come to terms with it to a certain degree, but I still prefer scalpels. Steven
-
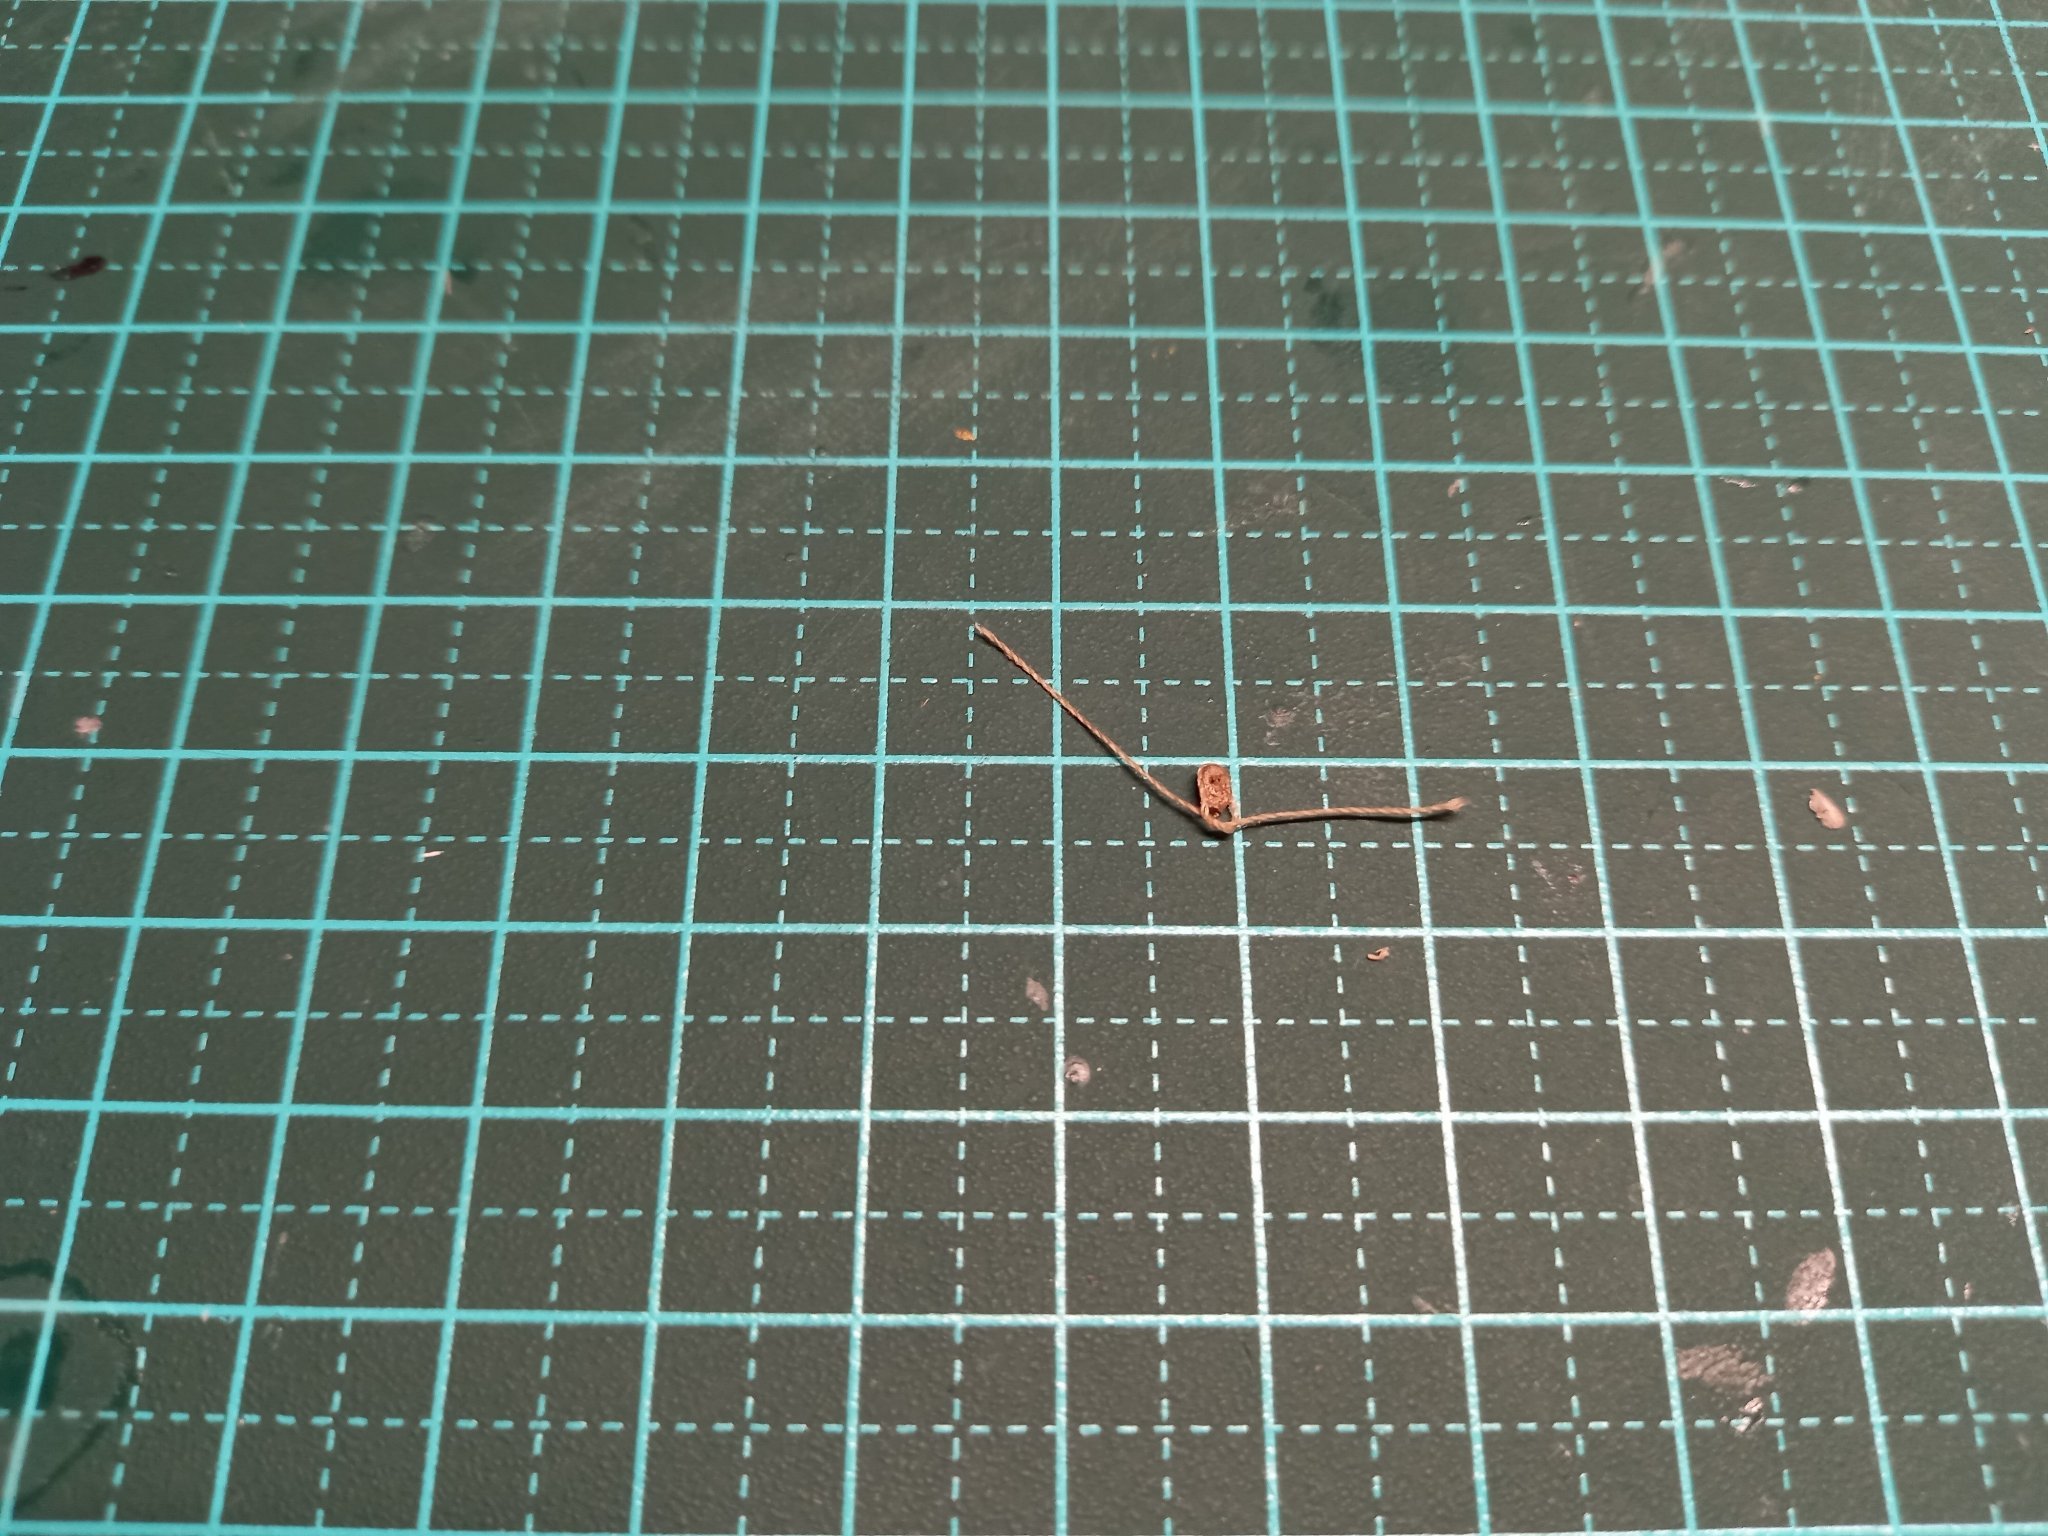
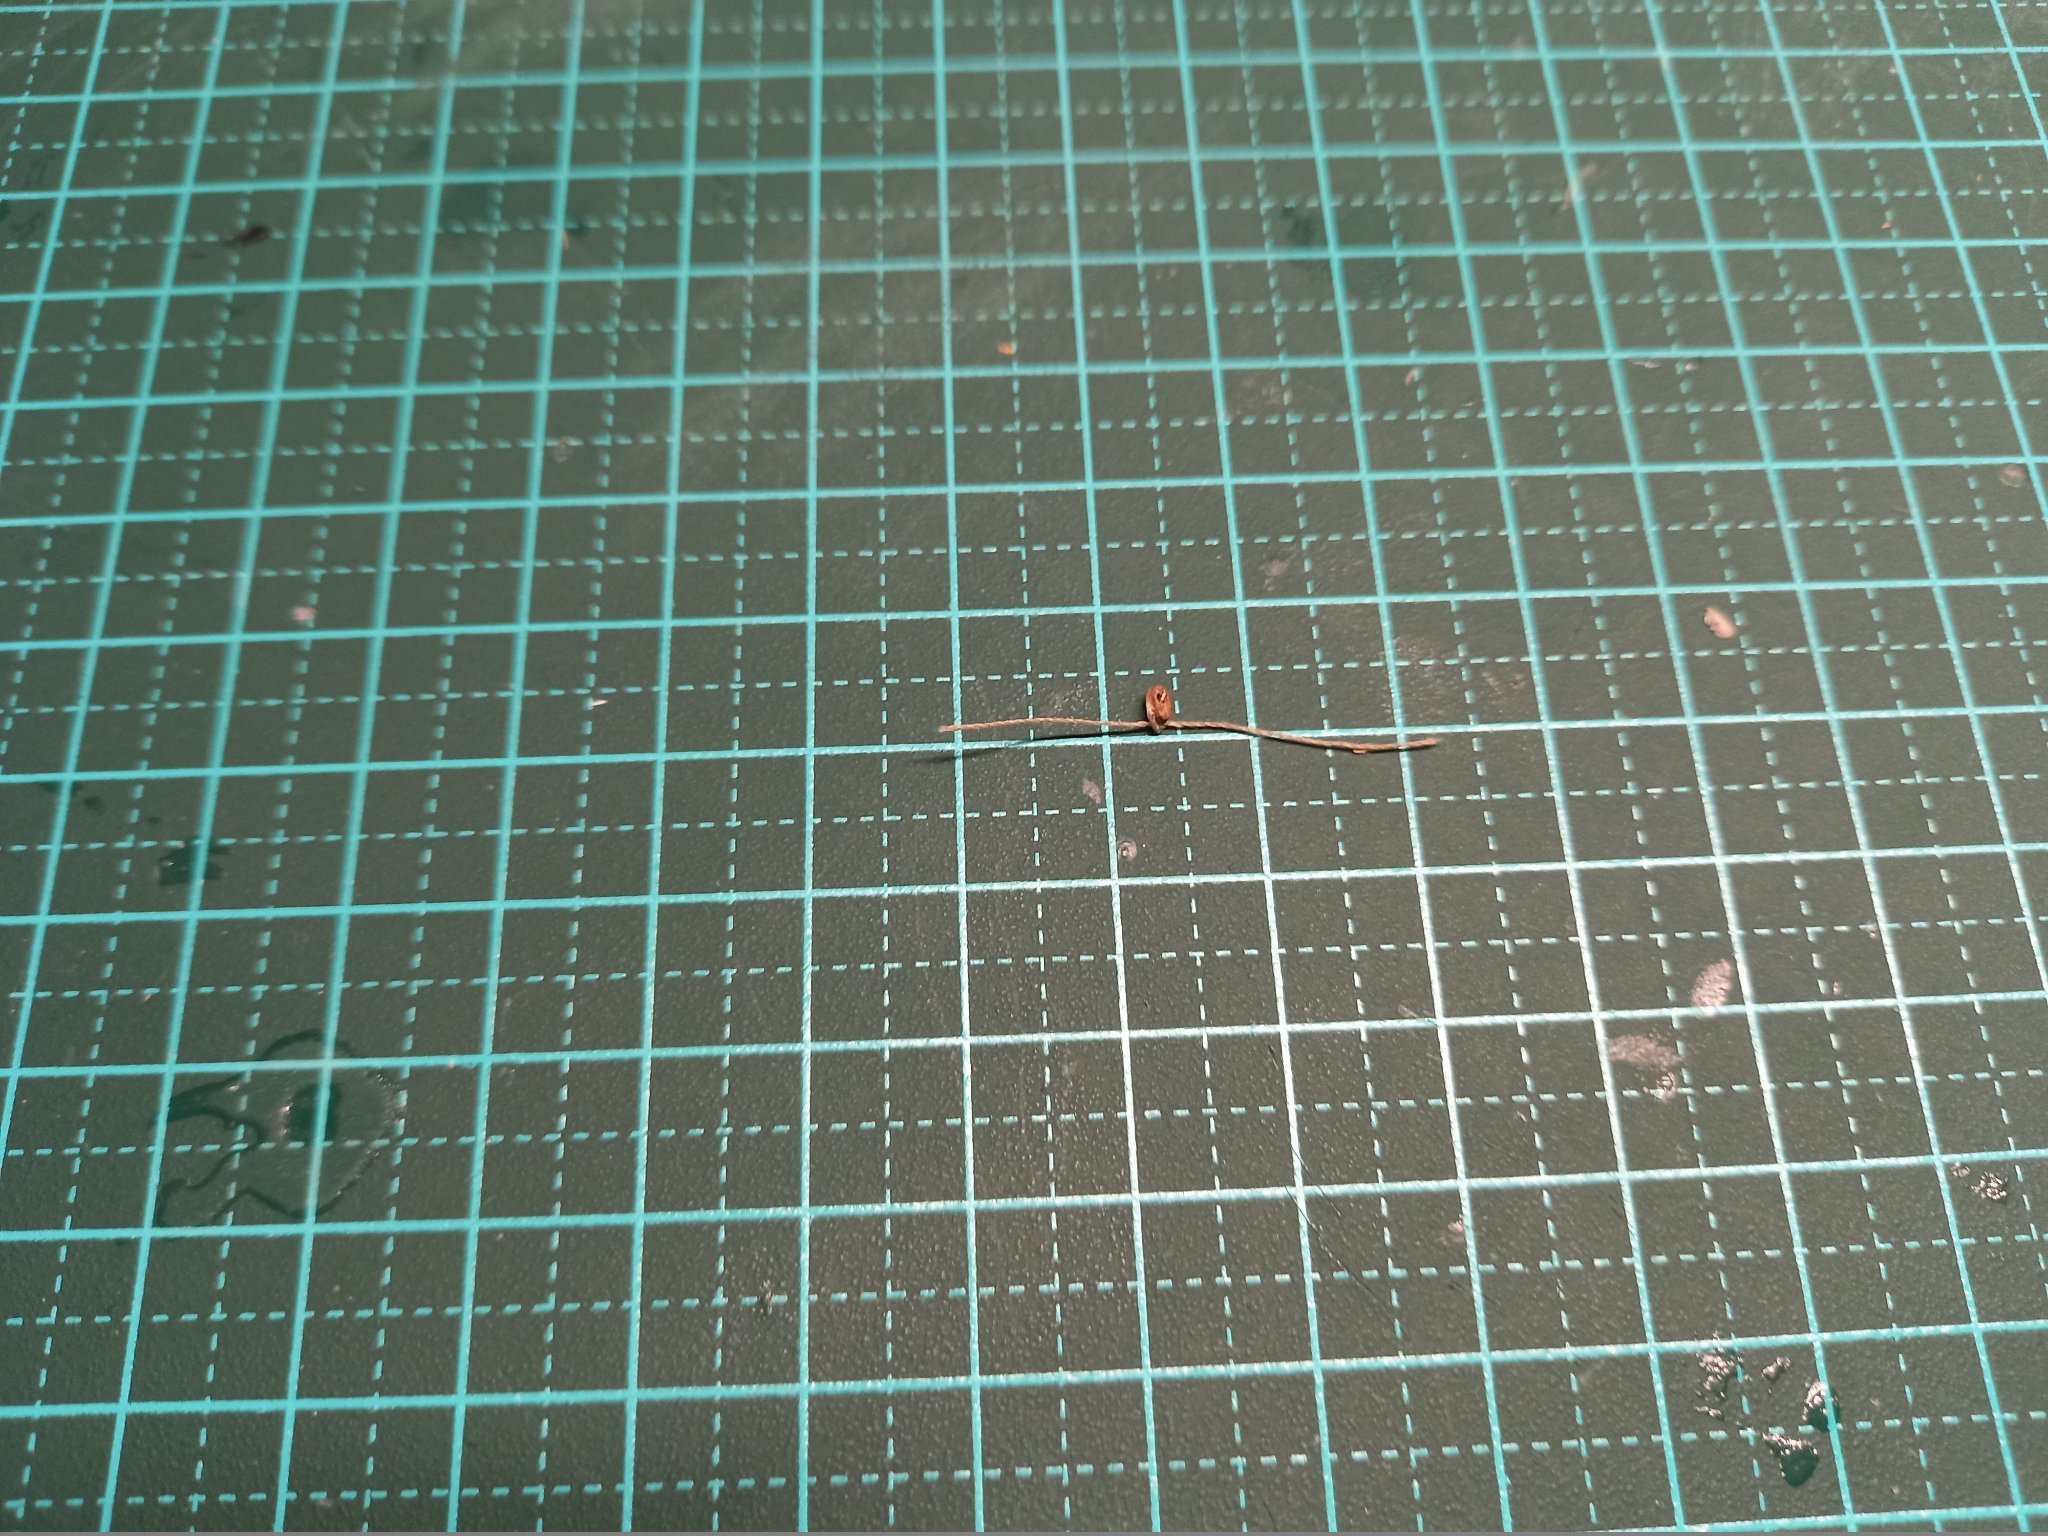
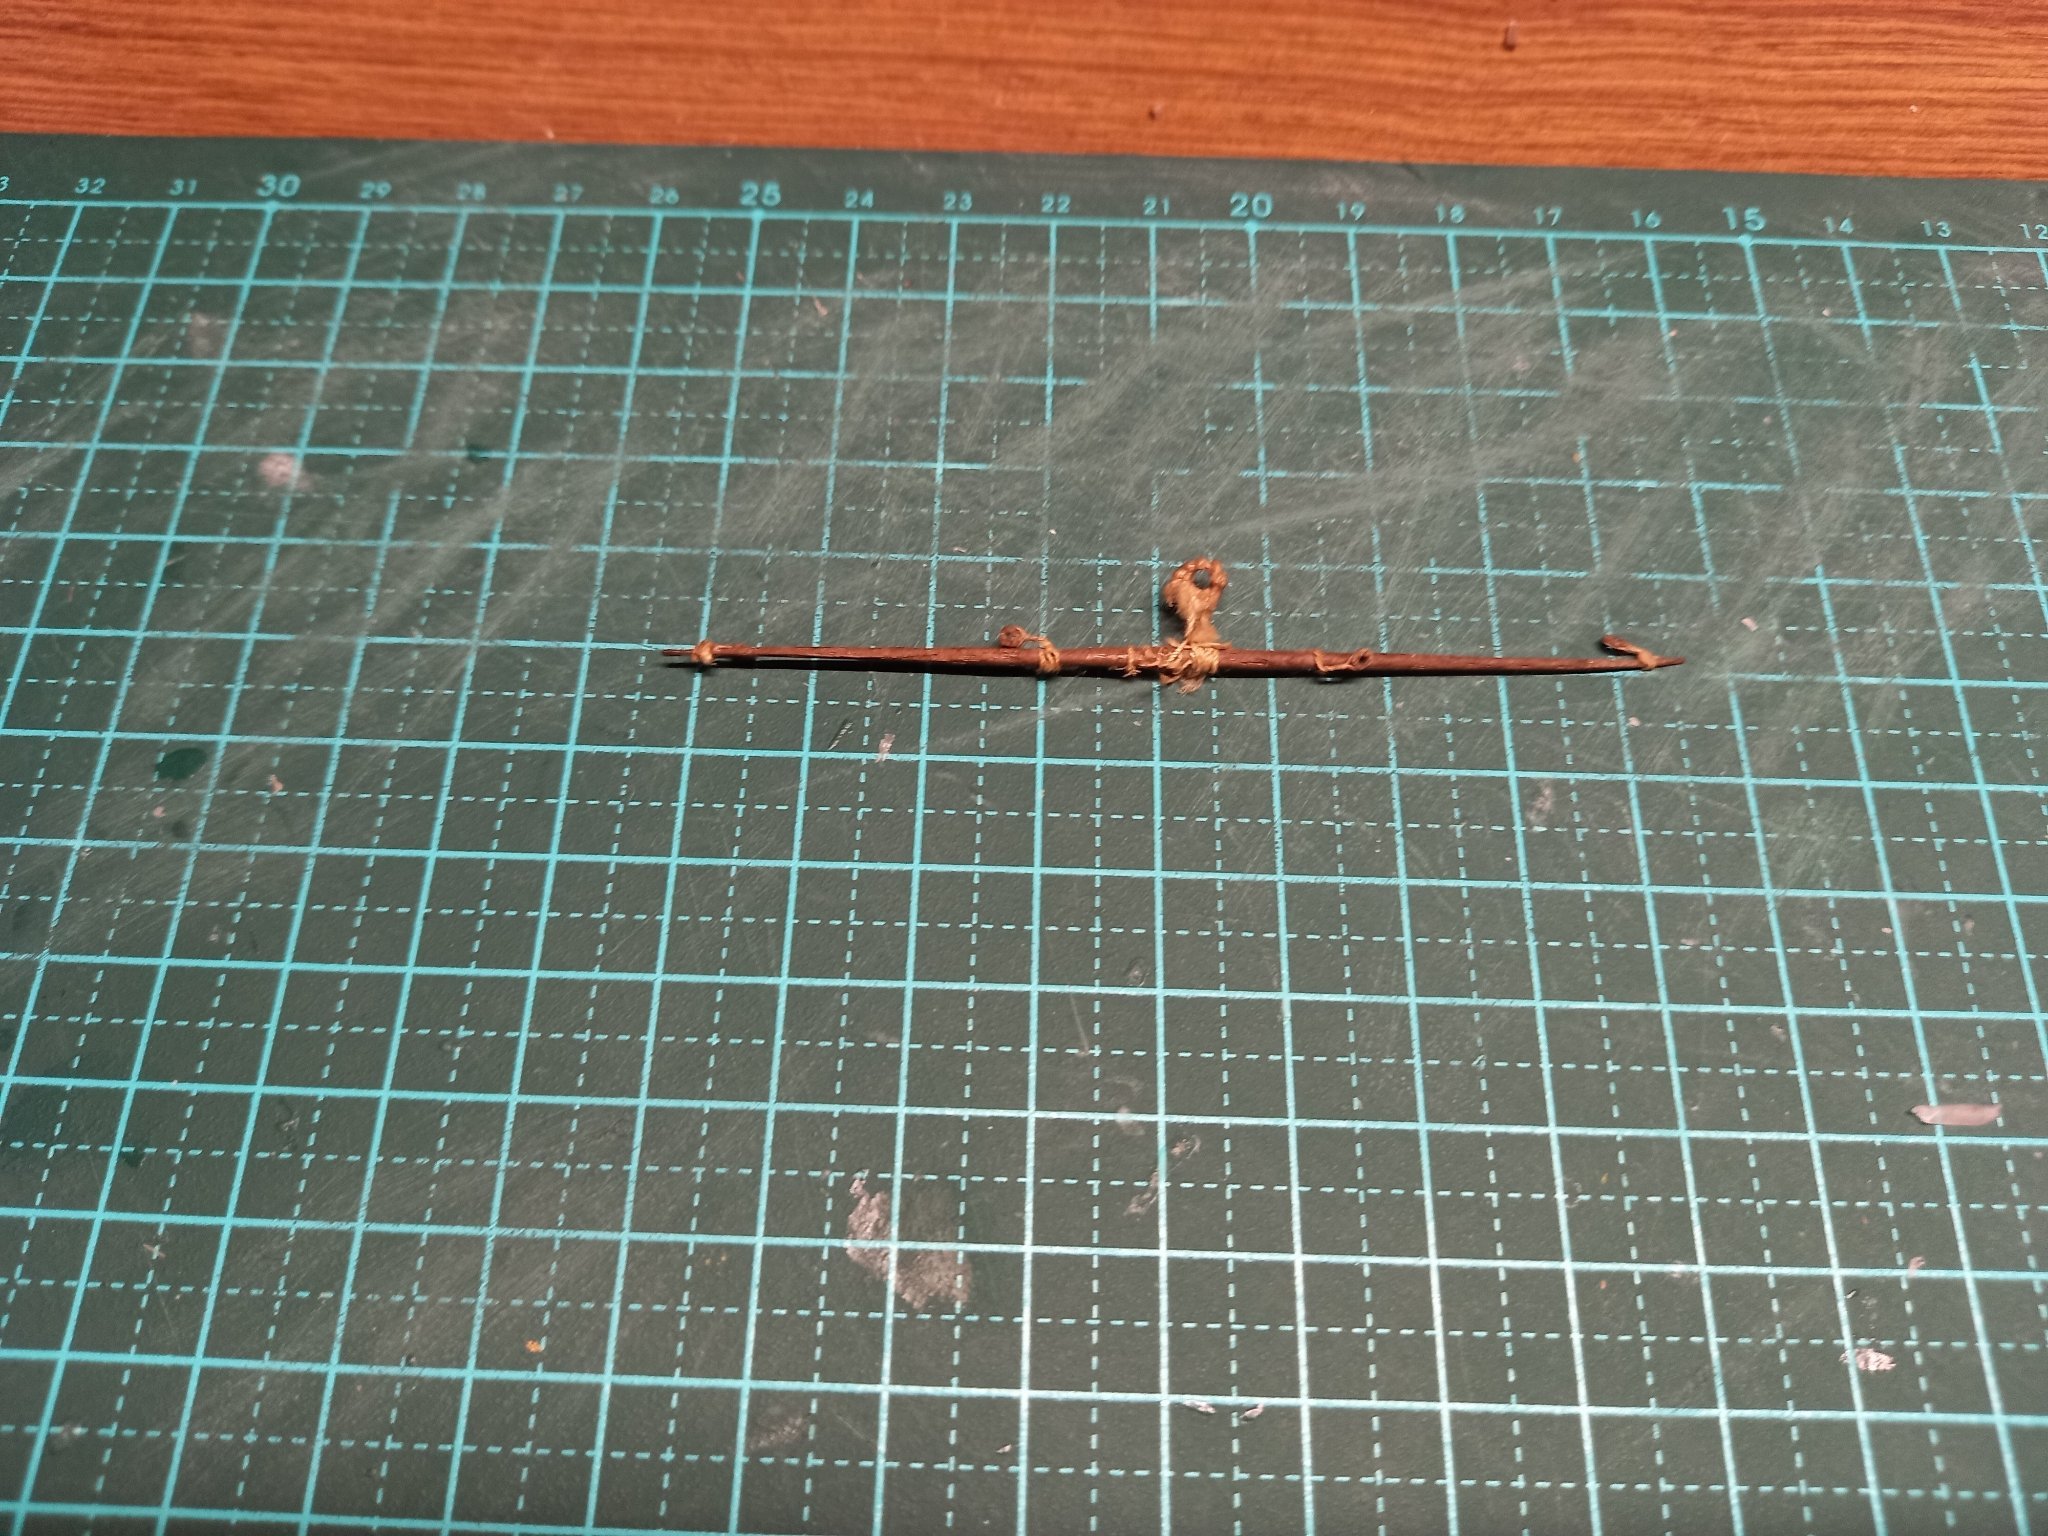
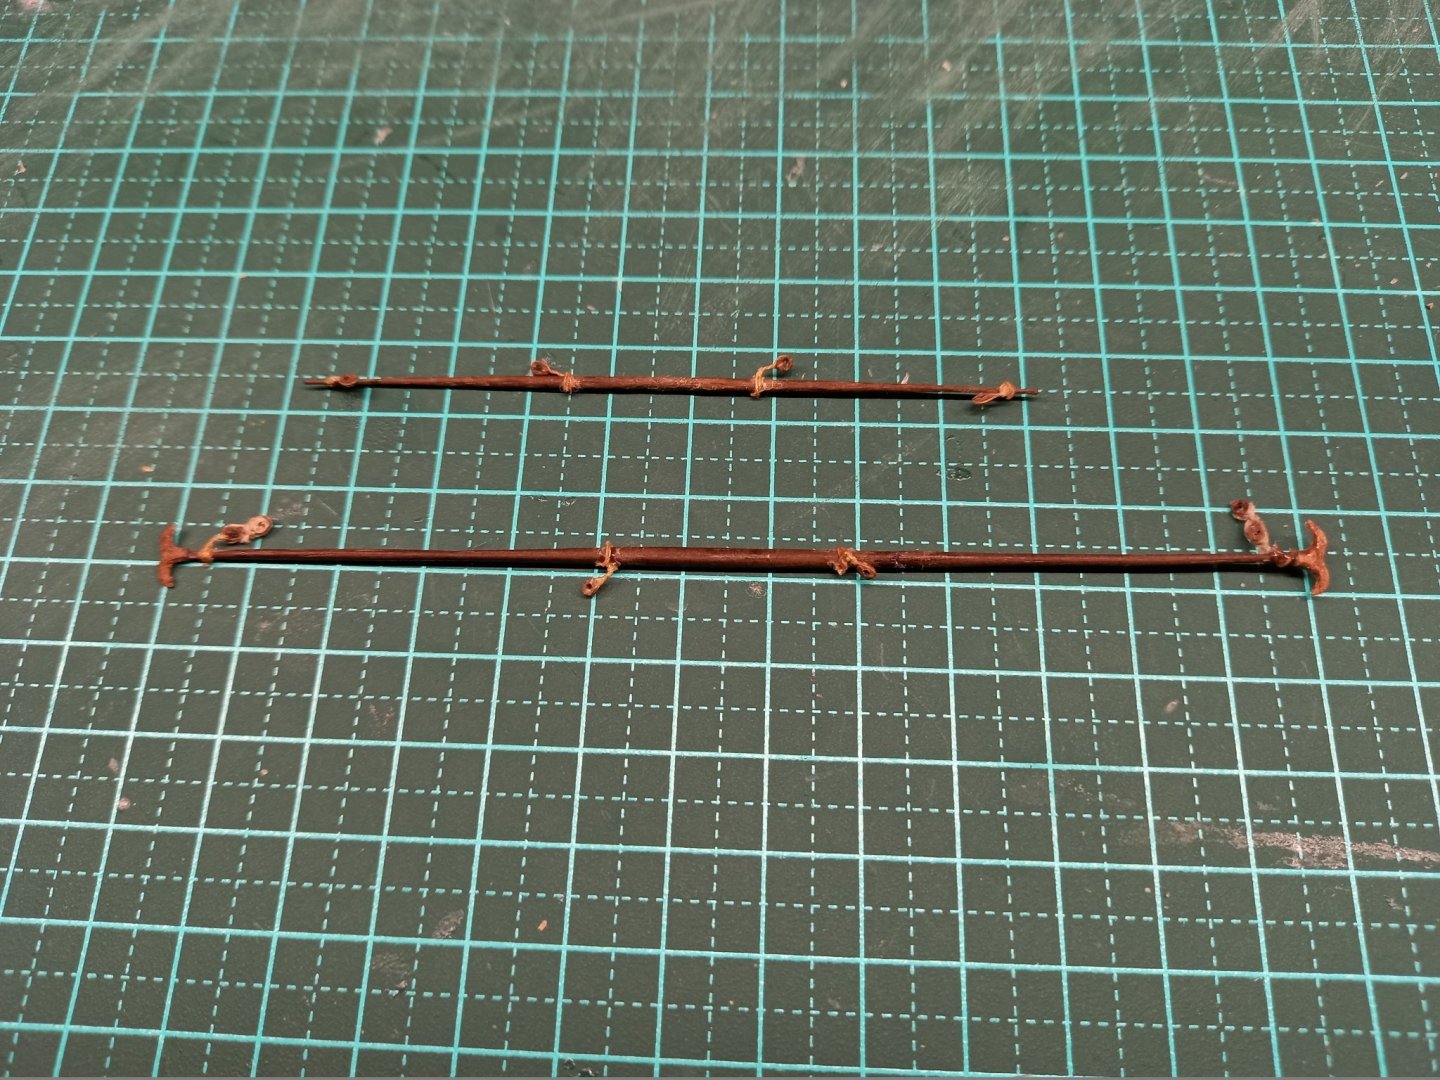
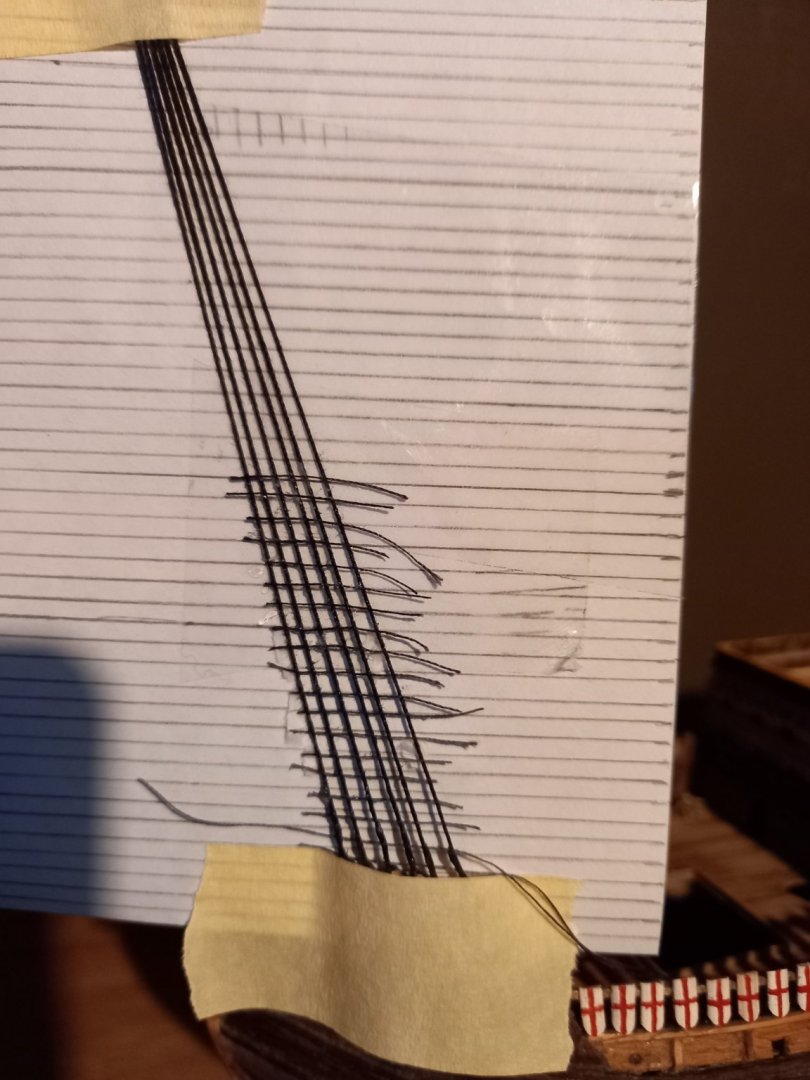
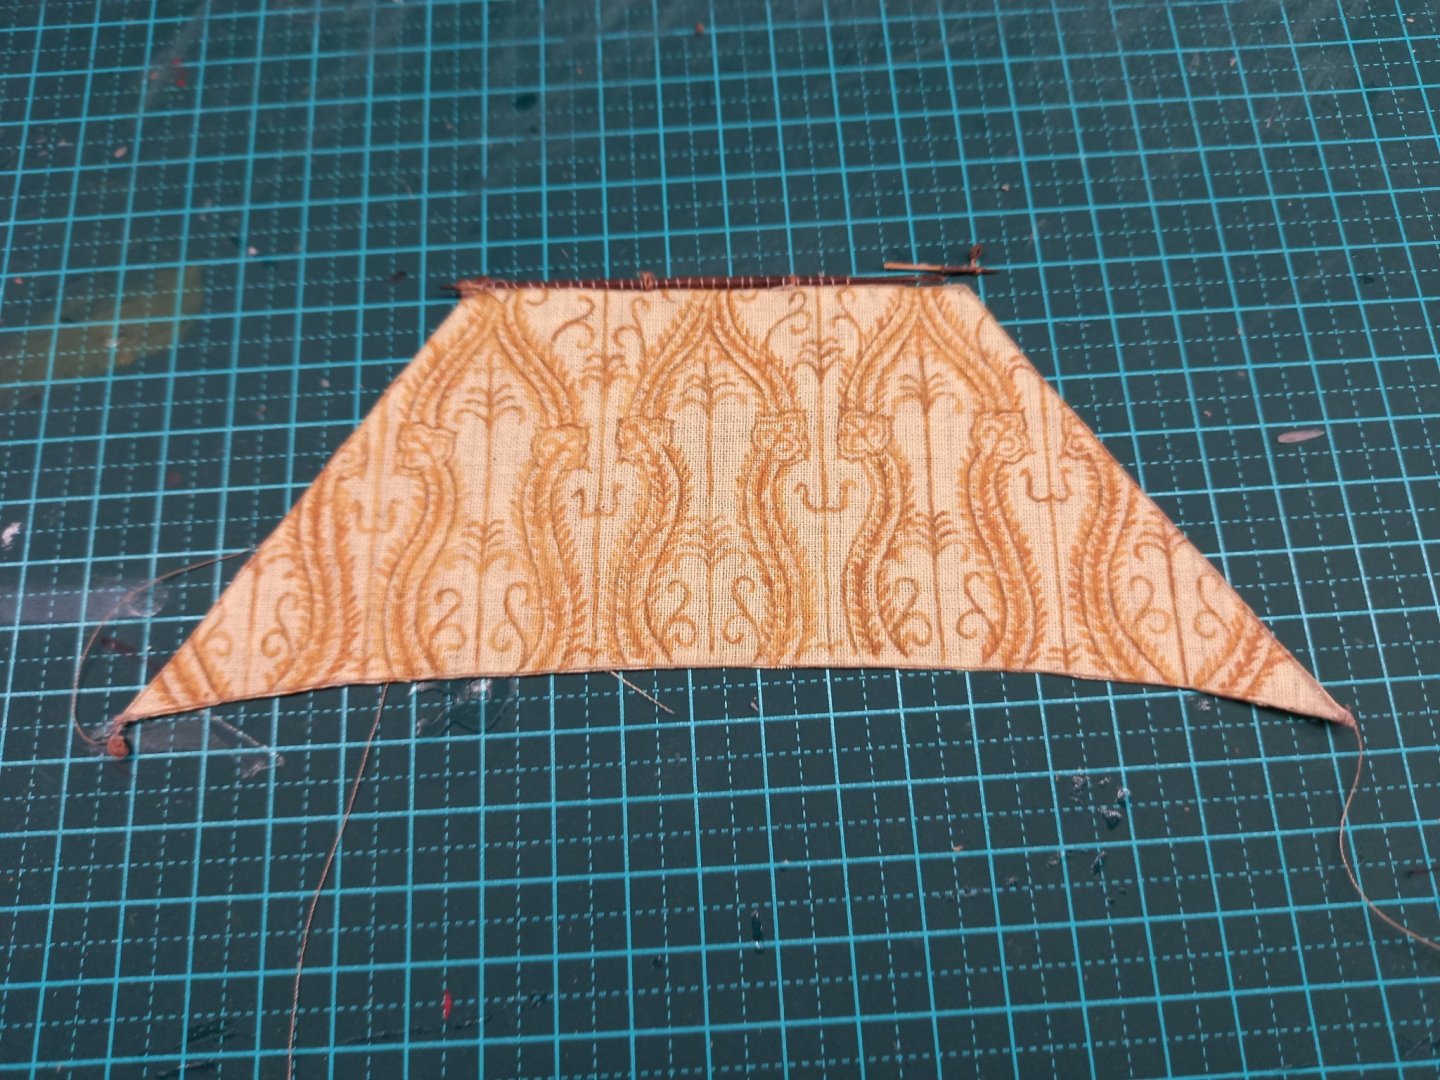
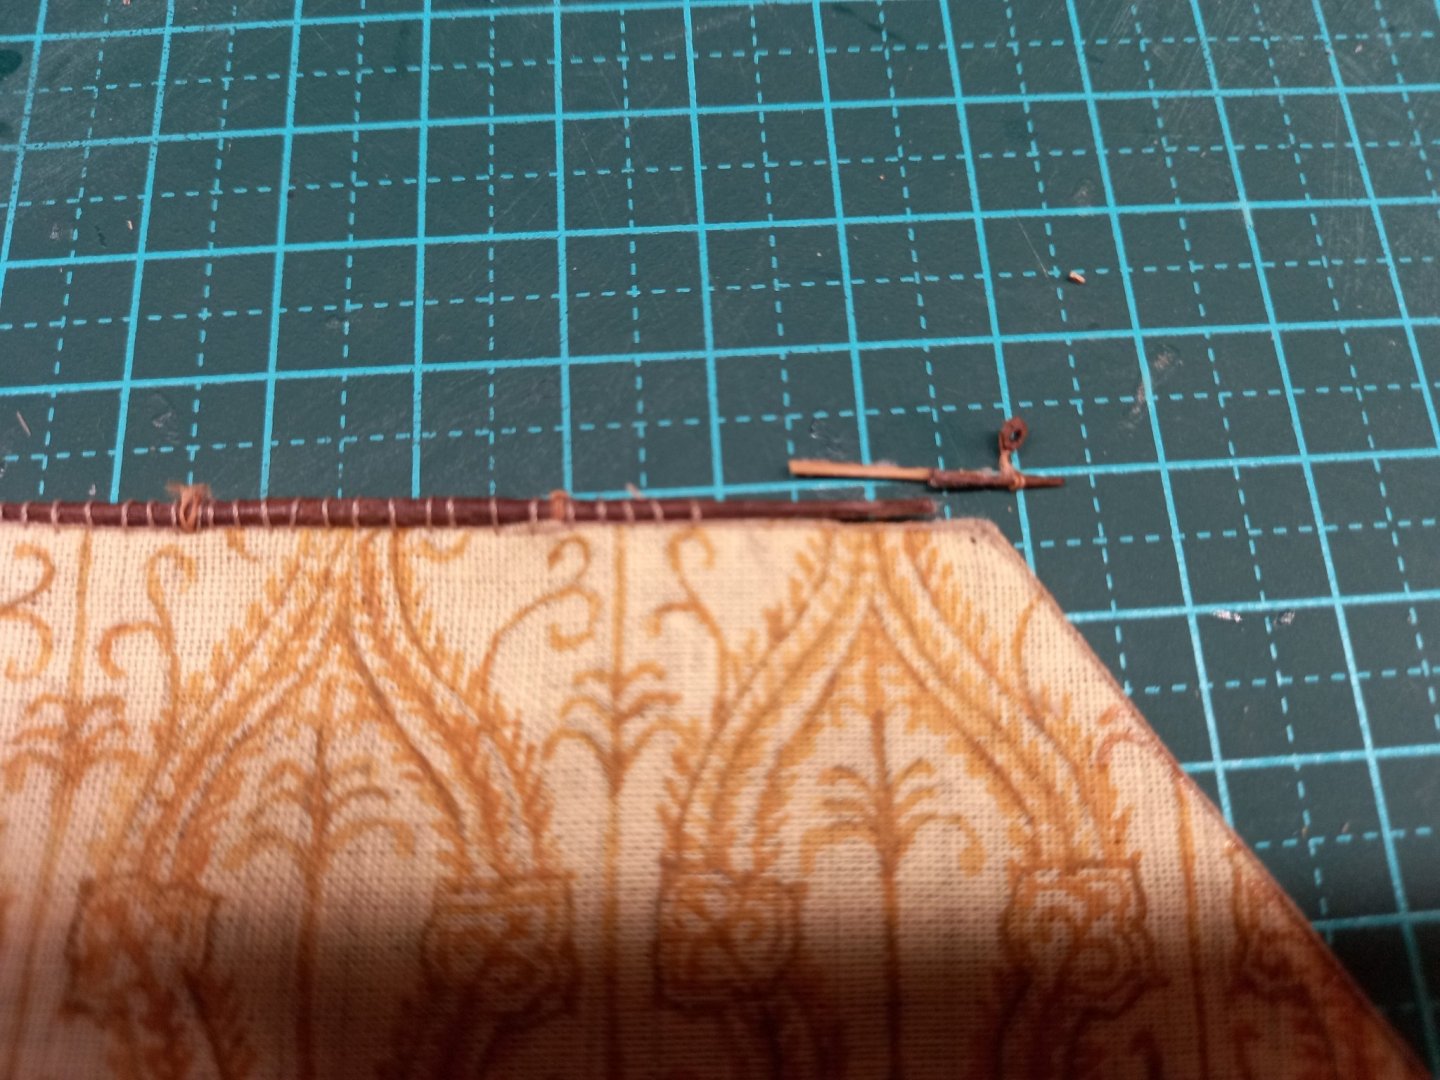
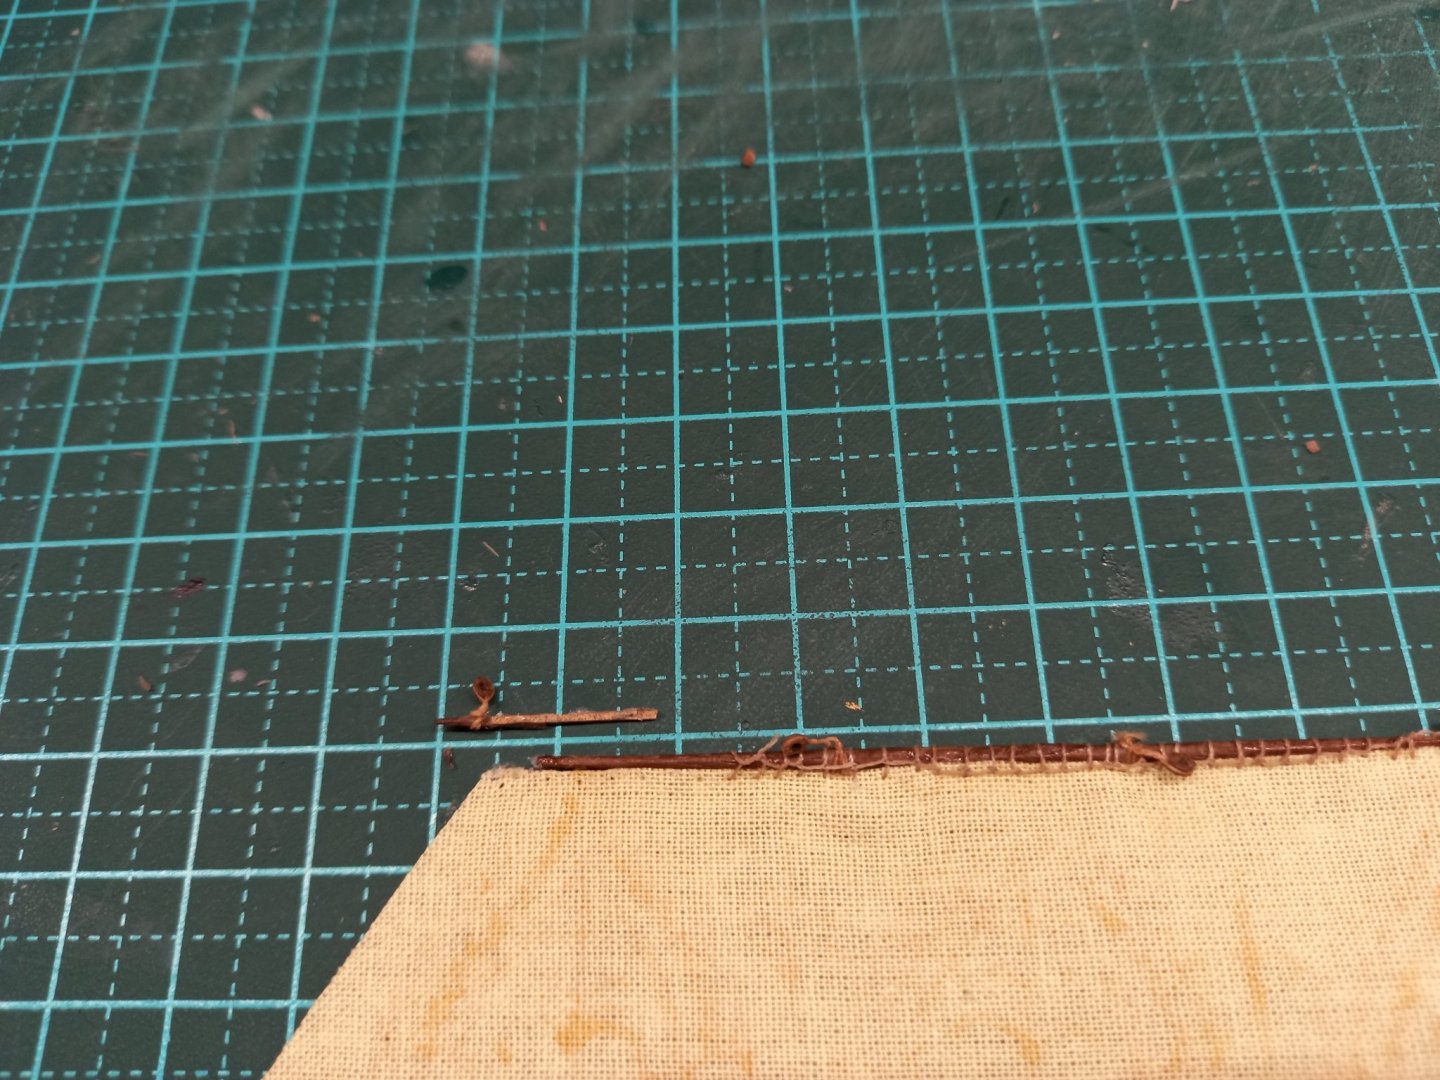
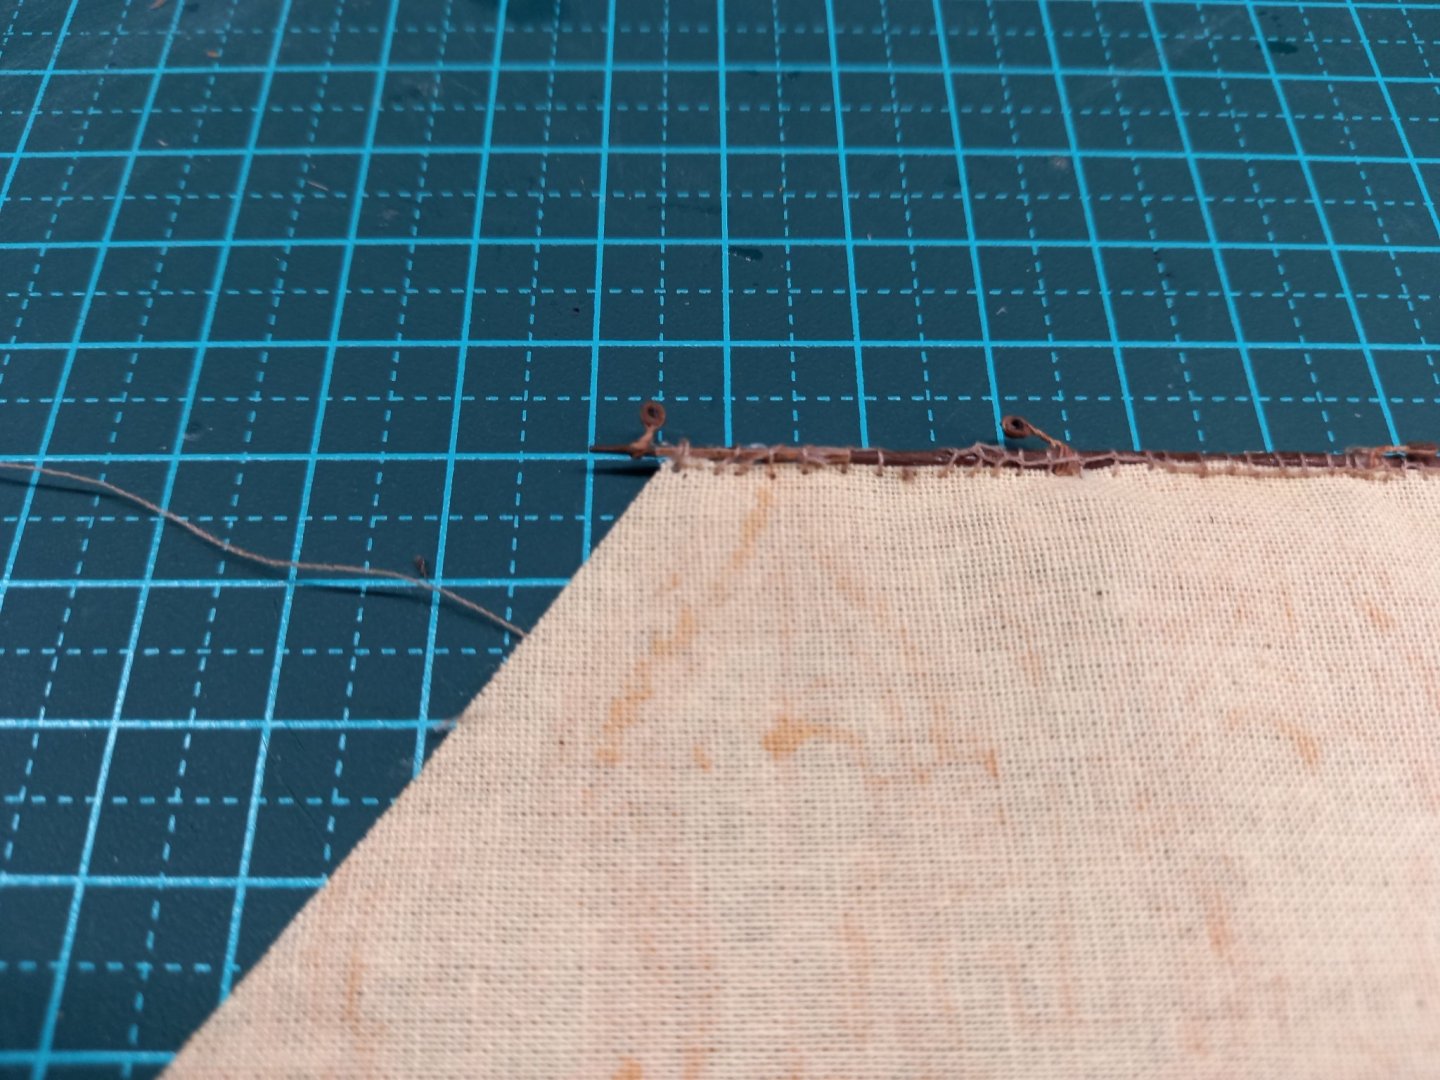
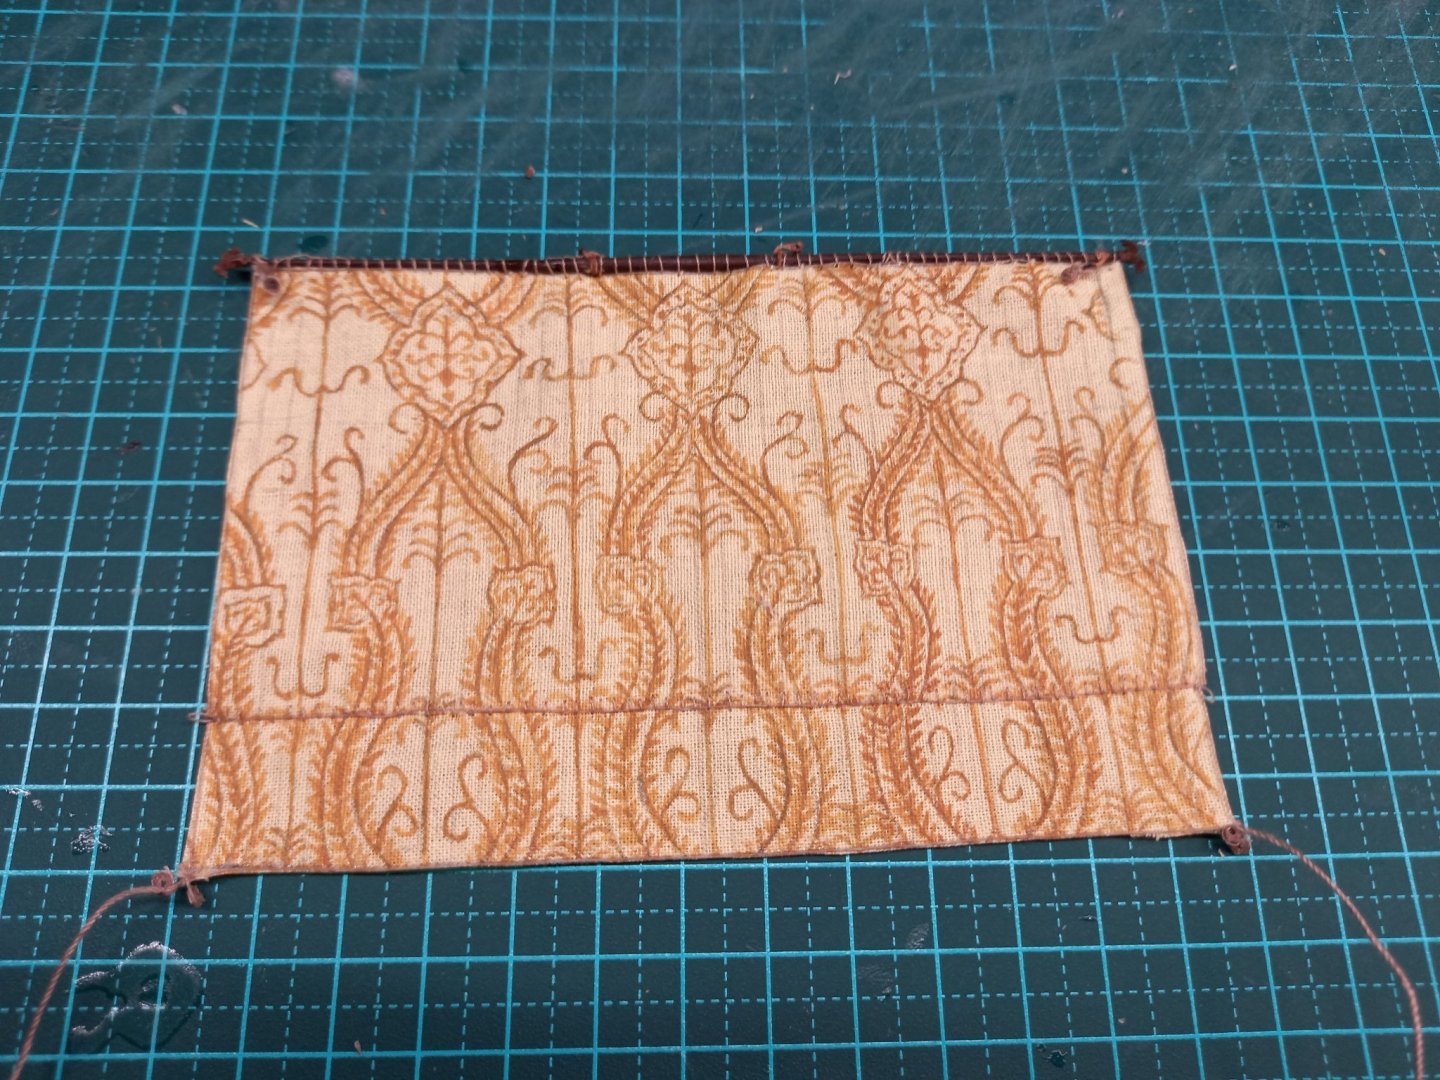
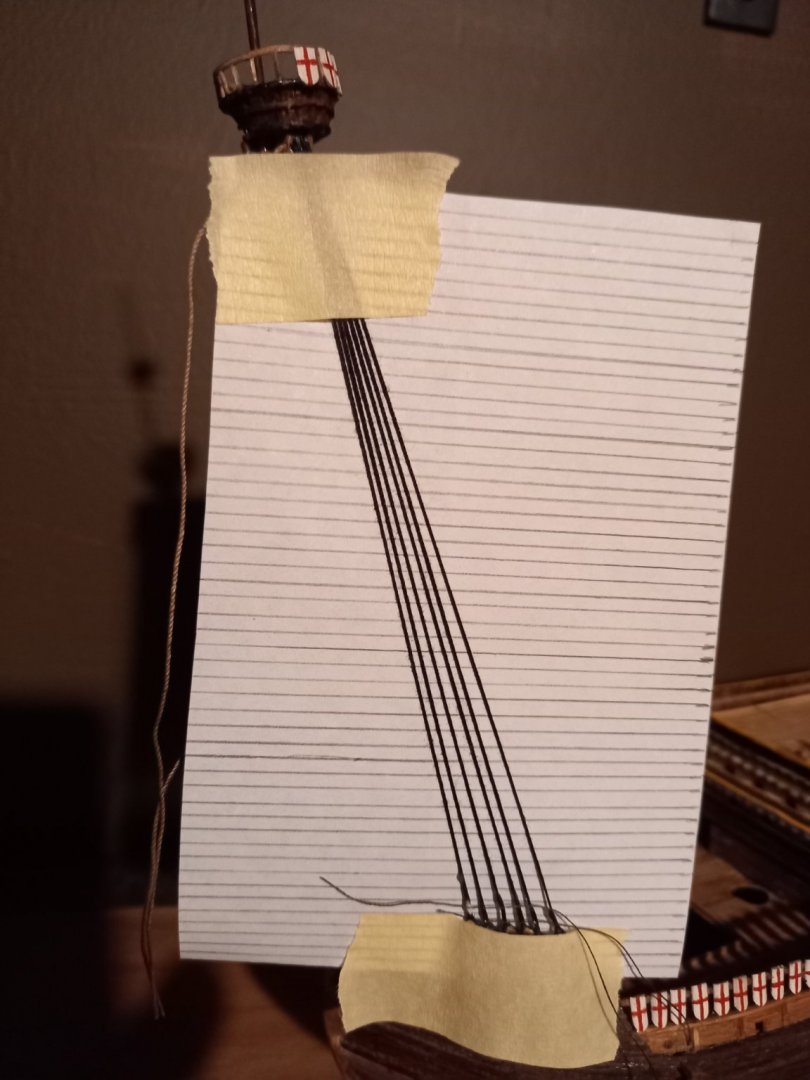
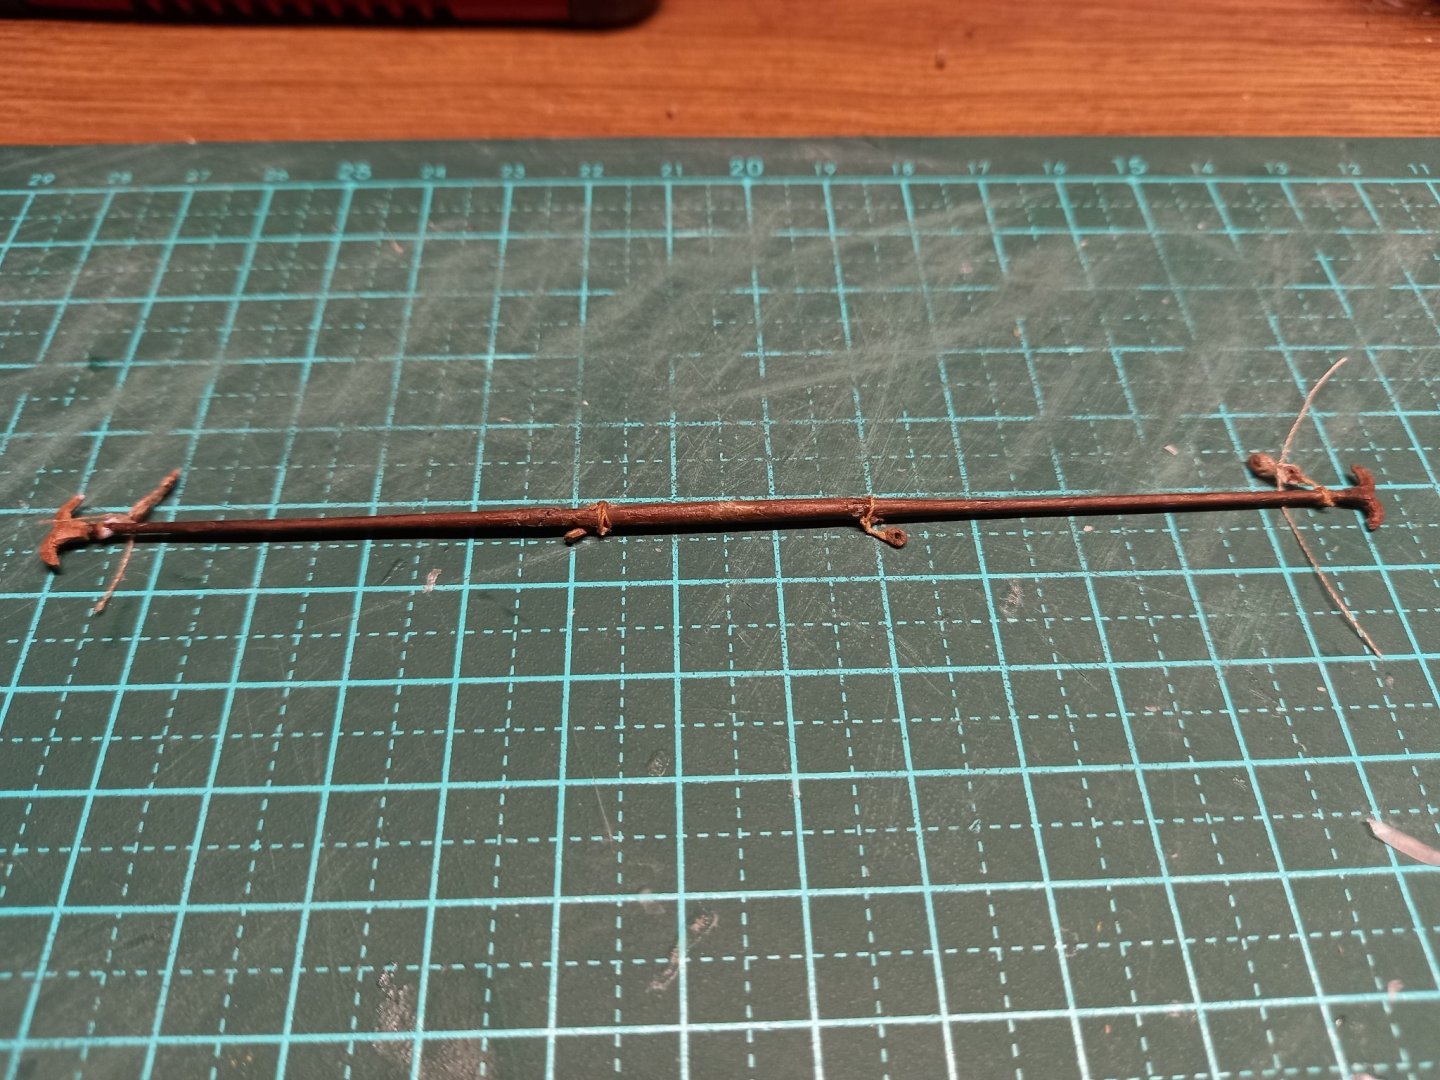
Thanks everybody for the likes and encouraging comments. In the process of gluing the ratlines onto the port side foreshrouds, I realised the technique I used has its drawbacks - the glue not only sticks the ratlines to the shrouds, but also the paper backing. I had to gently prize the backing off before I could go on. Then I stuck transparent sticky tape over the paper so the problem wouldn't recur. Learn something new every day . . . but making steady progress. I hope to have it all done by the next post. I was re-using the old fore yard - I only discovered had a break in it after I'd almost completely finished attaching the sail. I had to take the sail off, glue the yard back together (only took three attempts before I had success - ended up slopping CA on the join, as PVA didn't give the join enough firmness) and fix the sail back on. And the re-used Main topsail yard also had a break - the yardarm snapped off - also discovered late. Had to pull it apart three times to fix it - ended up fishing the yardarm to the yard with a sliver of bamboo (much stronger than mere wood). Seen from the front - you can see the broken arm with its fish at the right. And from behind And complete, seen from behind - sorry about the crappy photo. And from the front. A little frustrating but slow and steady progress. Steven
- 740 replies
-
- 9
-
-
- Tudor
- restoration
- (and 4 more)
-
That arrangement looks very workable, Cathead, and increases the "genuine" look of the model. Well done! Steven
-
That's beautiful work Rodolfo. I have also seen quite a few toggles made of wood - as early as the 10th century, and even in modern use. Steven
-
Hi Mike, and welcome to MSW. Do you have a particular model in mind? When you get started, make sure you begin a build log - it's a great way to get help and advice. Steven
-
Nope - seeing the mistakes - and how you overcame them - may help someone else in a similar position. We've all been there at some point or another. The experienced modellers just make more interesting mistakes. And of course it's all a learning process - you'll do better with the next model , and better still with the one after it . . . You're right to take your time with the second planking. It's not a race. Good luck with the eye op. By the way, are you planning to plank over the plastic hull of the ship's boat down the track? I've seen it done on other models and it really lifts the look of the model. Steven
-
There's a real sense of achievement in finishing the planking - particularly when it's this difficult. Well done, sir! I look forward to seeing it when the sanding is done. It can make a huge difference to the look of the model. Steven
- 83 replies
-
- 1
-
-
- Sea of Galilee boat
- SE Miller
- (and 1 more)
-
Alternate Views
Louie da fly replied to Patrick Matthews's topic in CAD and 3D Modelling/Drafting Plans with Software
That's pretty darned good, Patrick. I can use AutoCad and Revit and Sketchup, but none of them seem to be terribly good for 3D modelling of ships. I've never tried Fusion, but it looks very good. Do you find it easy to learn/use? Steven -
Struth! That's certainly changed since I was there! Steven
-
Another step in the progress of the build. Following with interest. Steven
- 186 replies
-
- 1
-
-
- keelless
- reverse clinker
- (and 4 more)
-
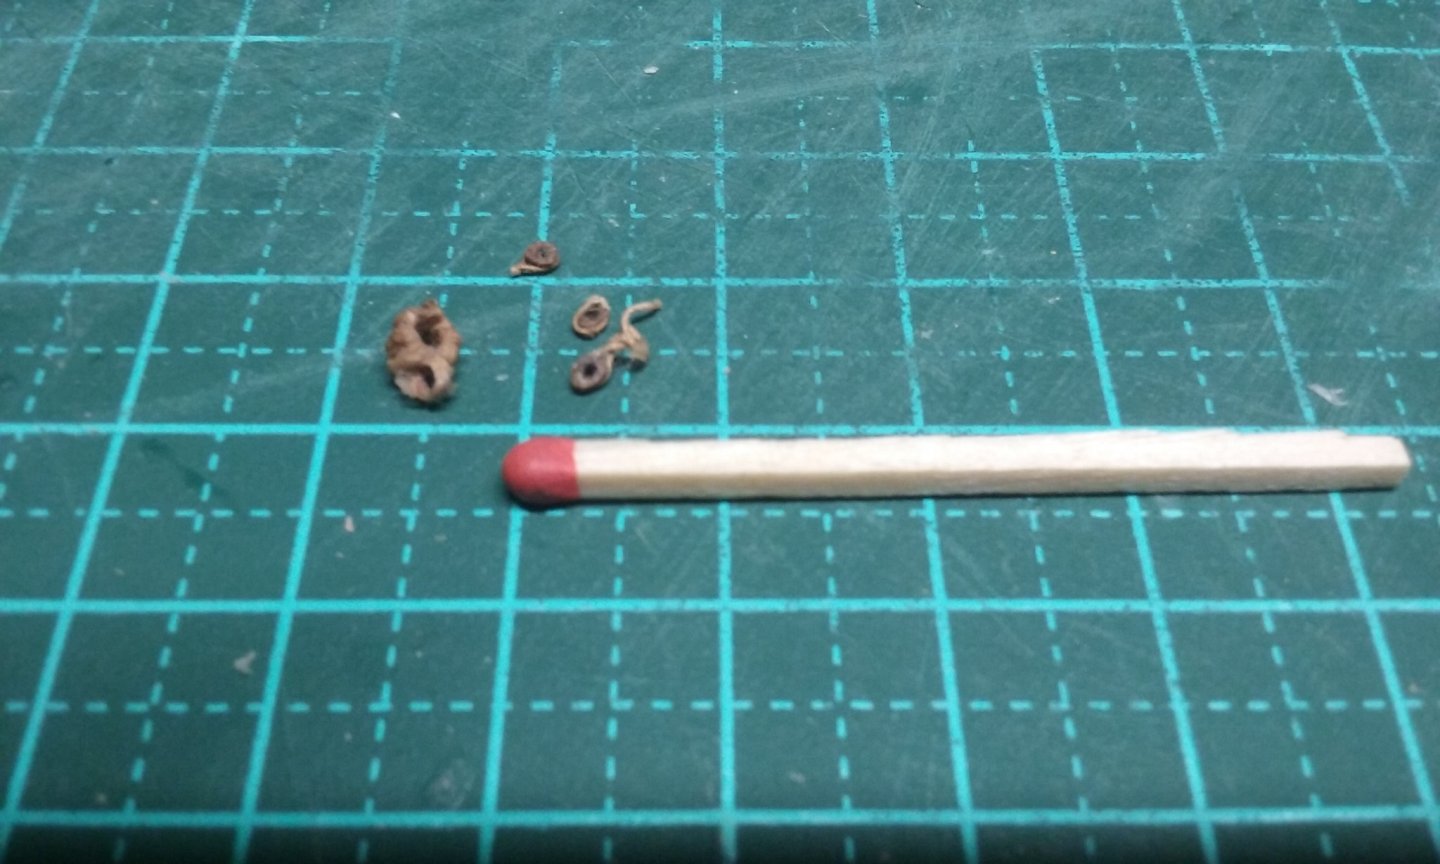
Latest activity; I realised I was getting a bit ahead of myself - I should be dealing with the standing rigging before I put the spars, sails and running rigging on. So, first things first - add ratlines to the fore-shrouds on the port side of the model. Used the technique I learned on MSW for spacing the ratlines, though I'm gluing the ratlines on instead of using clove hitches (2 reasons - this is the way I did it back in the day, and the difficulties of tying clove hitches at 1:200 scale). More to come, and I'll tidy it all up when all the ratlines are in place. In the meantime I'm also getting on with fixing up the old yards. Here are the new blocks to be added to the fore-yard for the lifts. About to remove the old main topsail from its yard, with the new one ready to be added. The yard with the sail removed. Unfortunately the yard-arm broke off and had to be re-glued on. Seems to happen every time I remove a sail from a yard. And the fore-yard with the new blocks added. Note the loose ends from the strops. Unfortunately, when I trimmed these off, I also trimmed off one of the blocks and had to do it again. Fore-yard and main topsail yard all cleaned up and ready to go. I've also removed the "parrel truck" from the main topsail yard for future re-use. (When I first built the ship I had no idea how a parrel truck worked, so I made something out of sewing cotton that resembled the one in the picture I was working from.) Steven


- 740 replies
-
- 12
-
-
- Tudor
- restoration
- (and 4 more)