-
Posts
685 -
Joined
-
Last visited
Content Type
Profiles
Forums
Gallery
Events
Everything posted by captain_hook
-
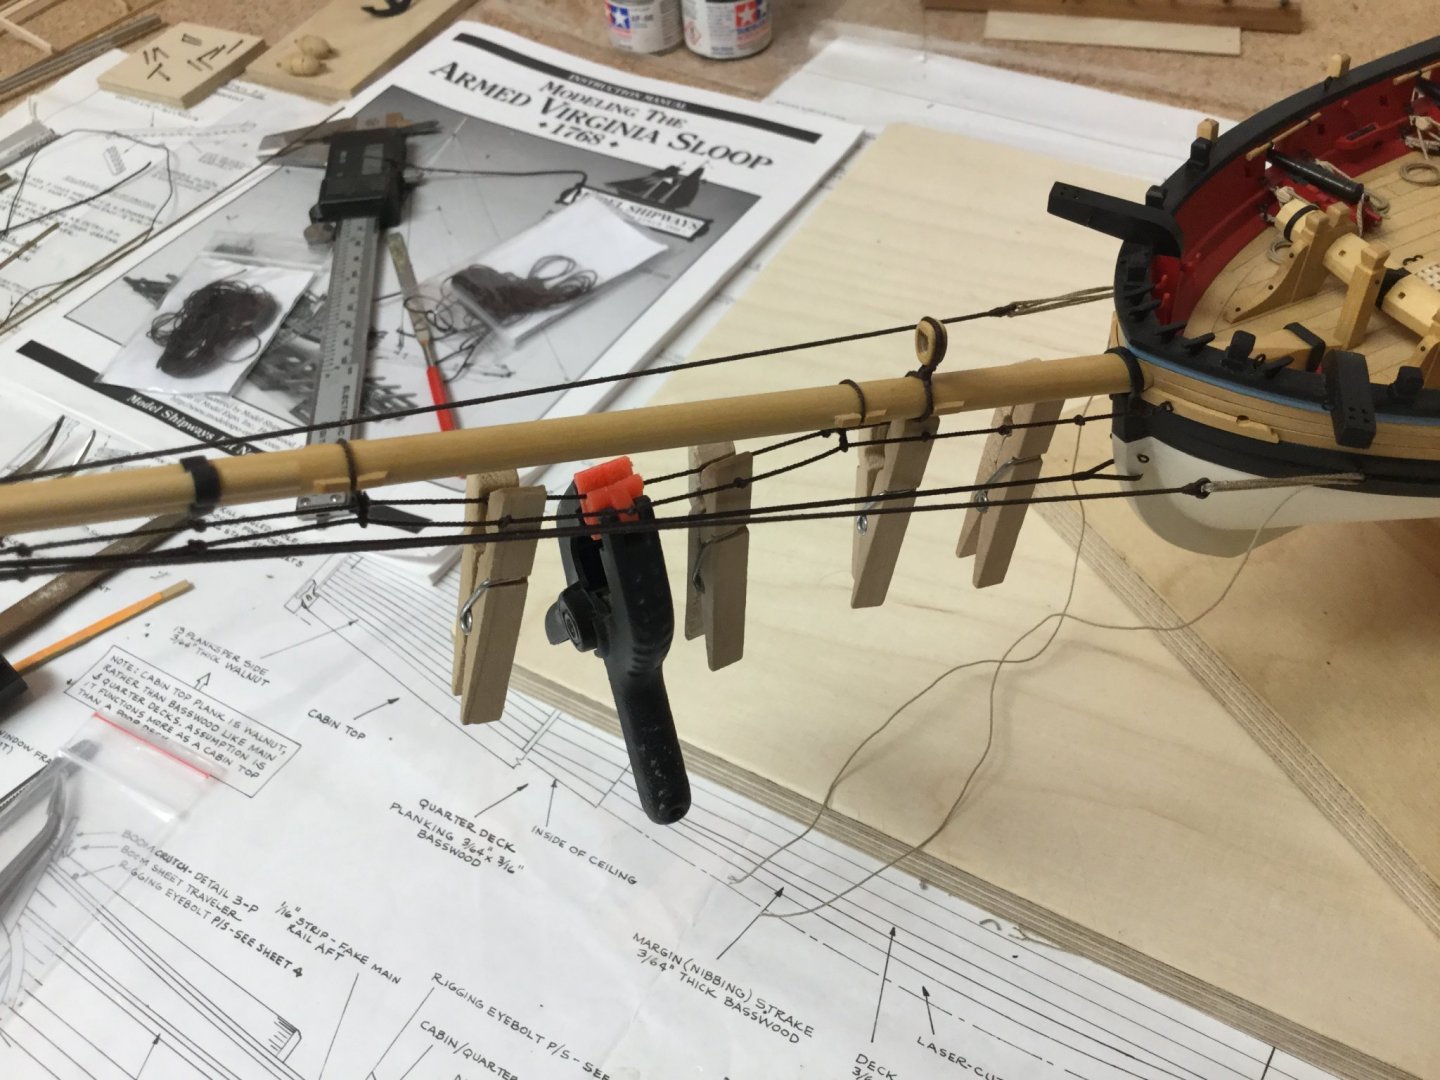
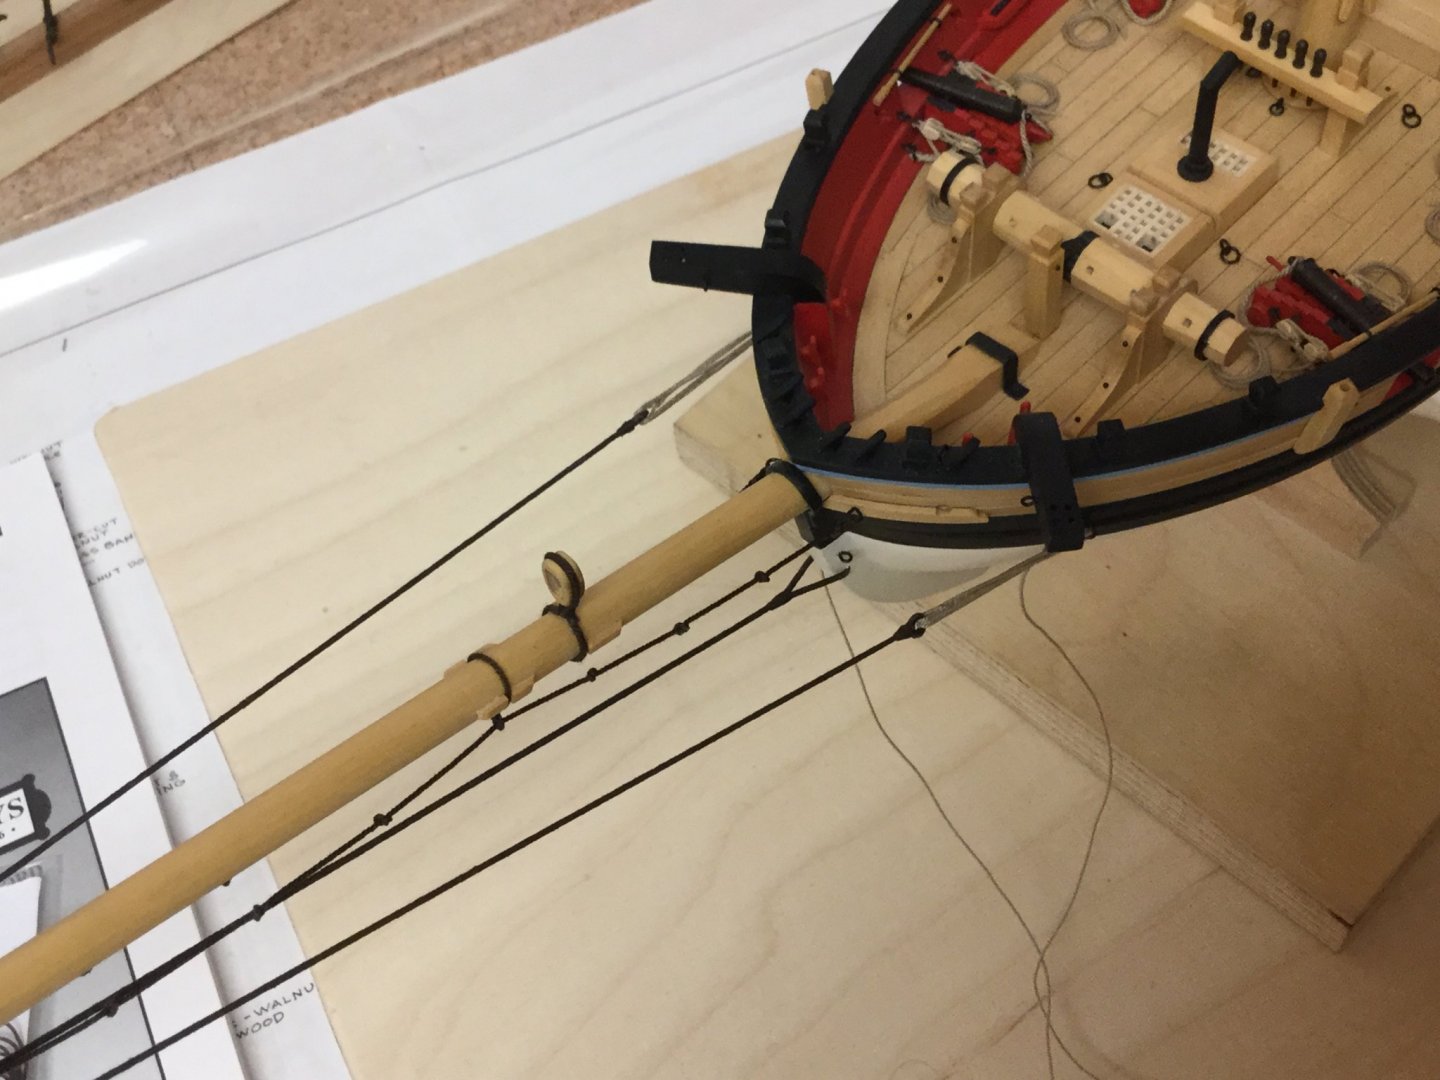
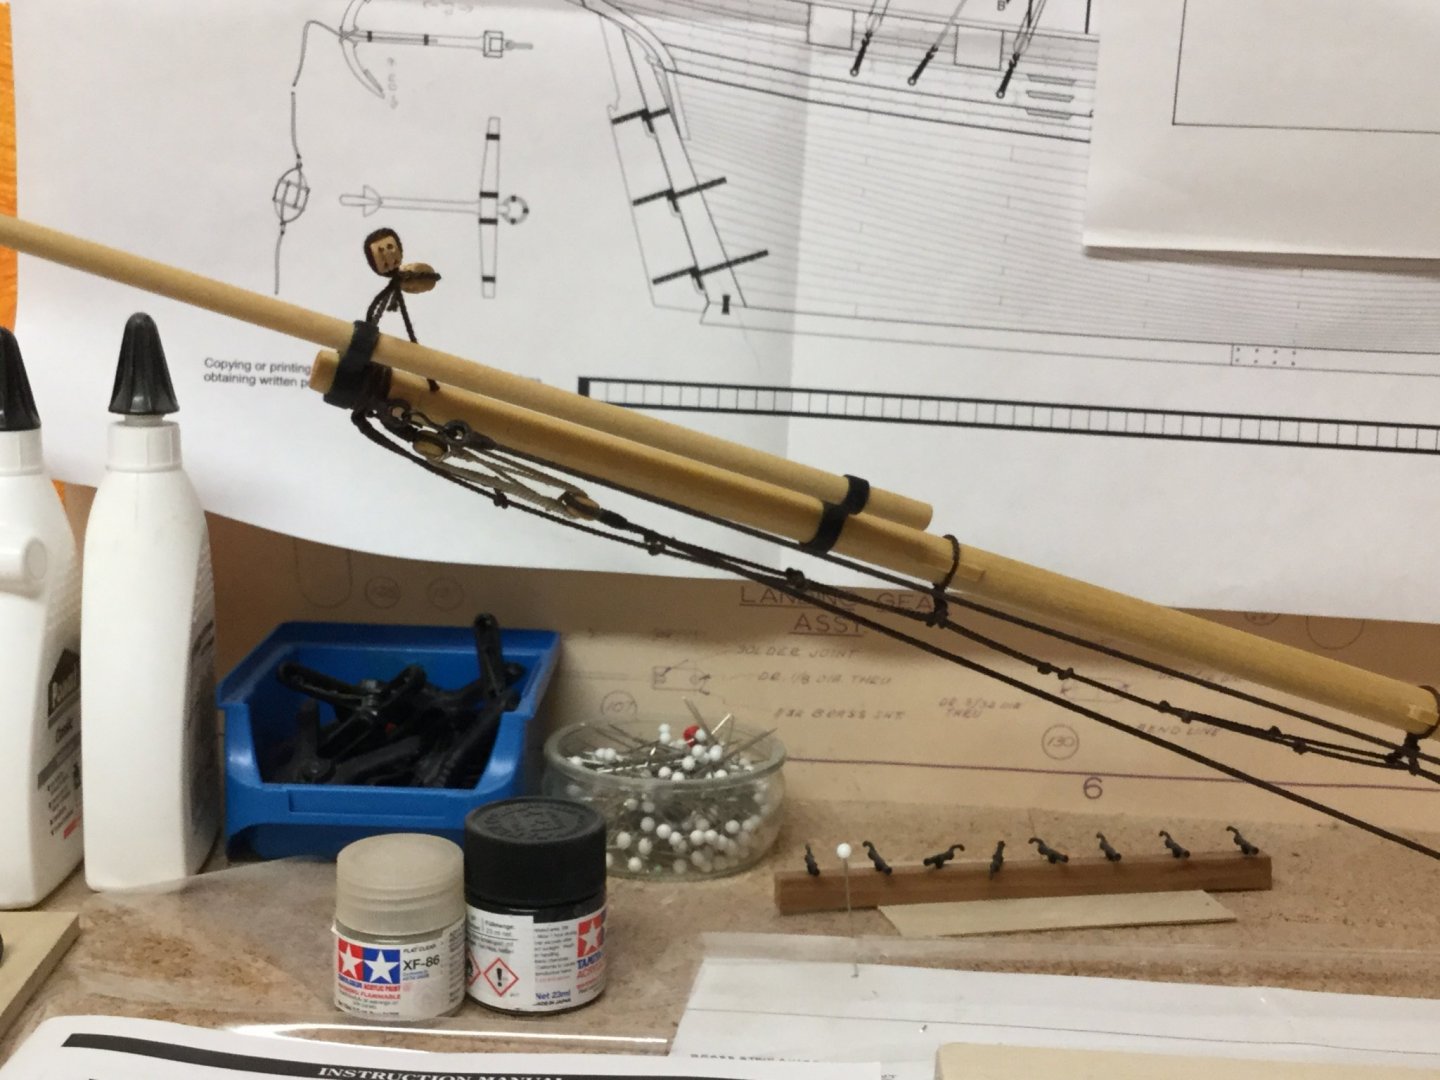
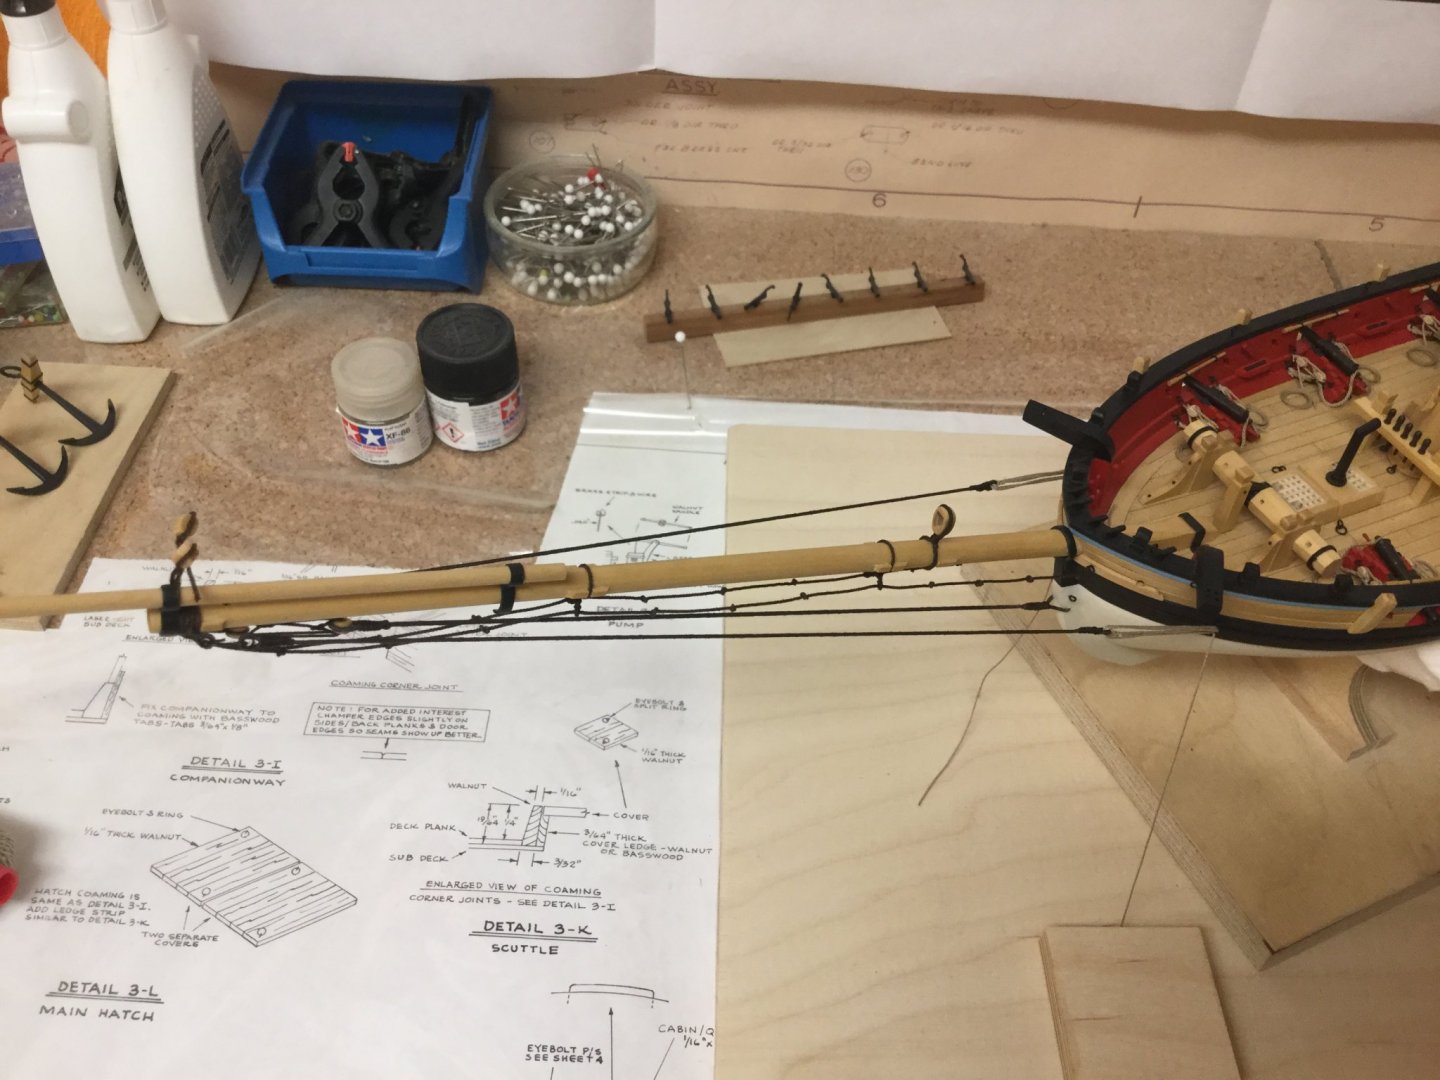
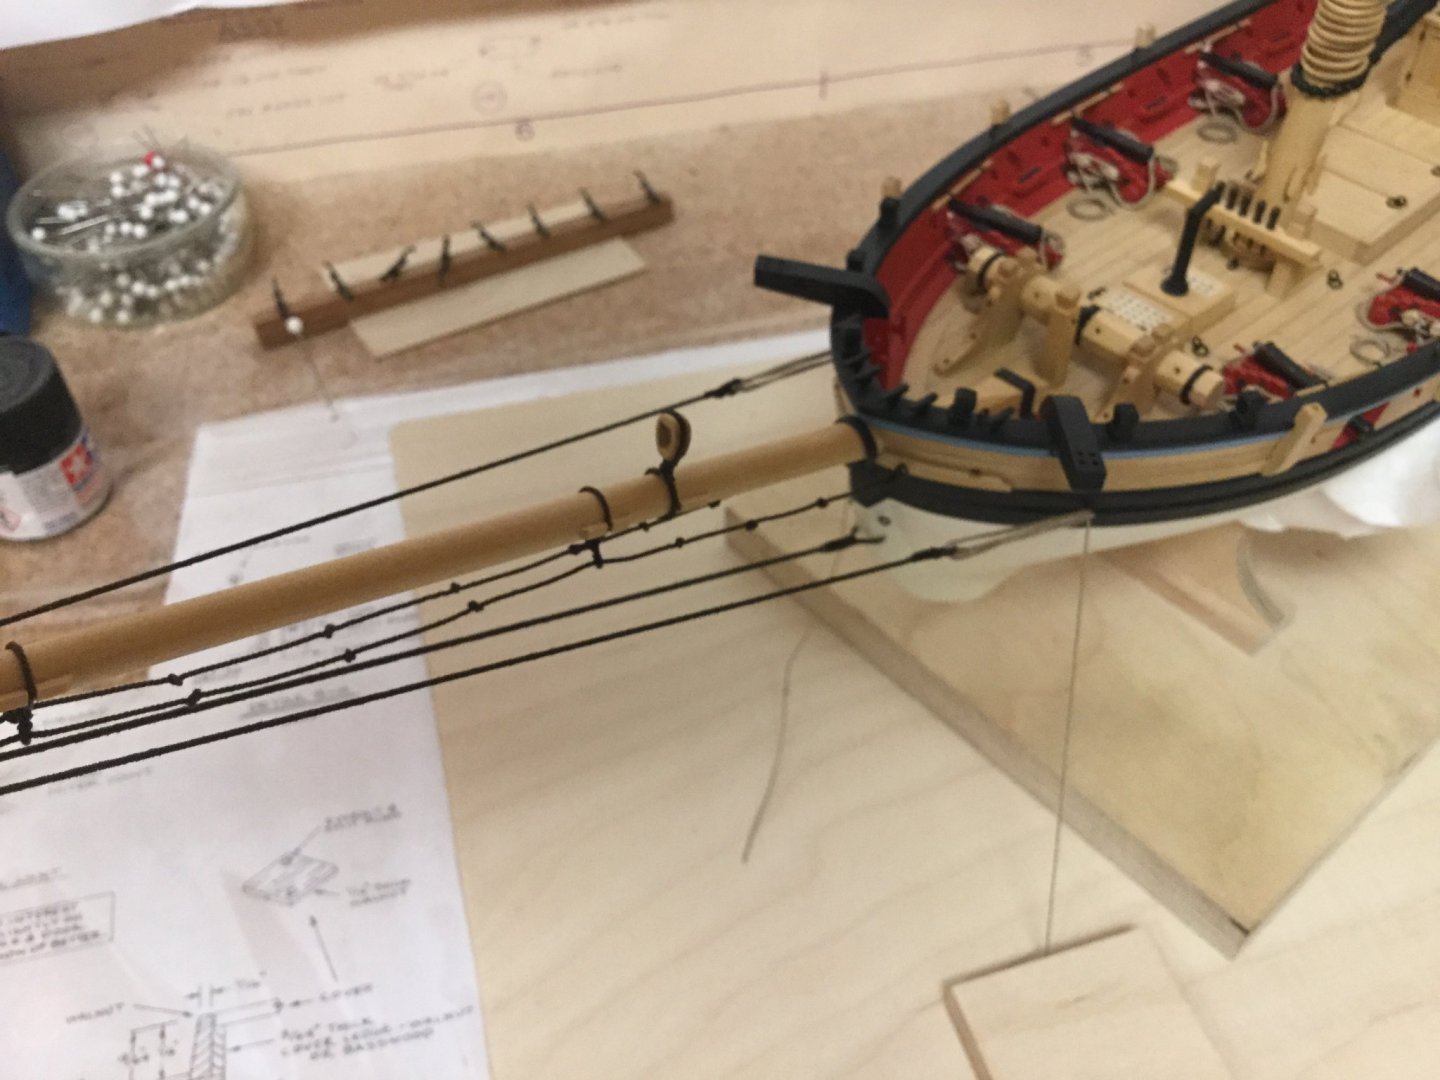
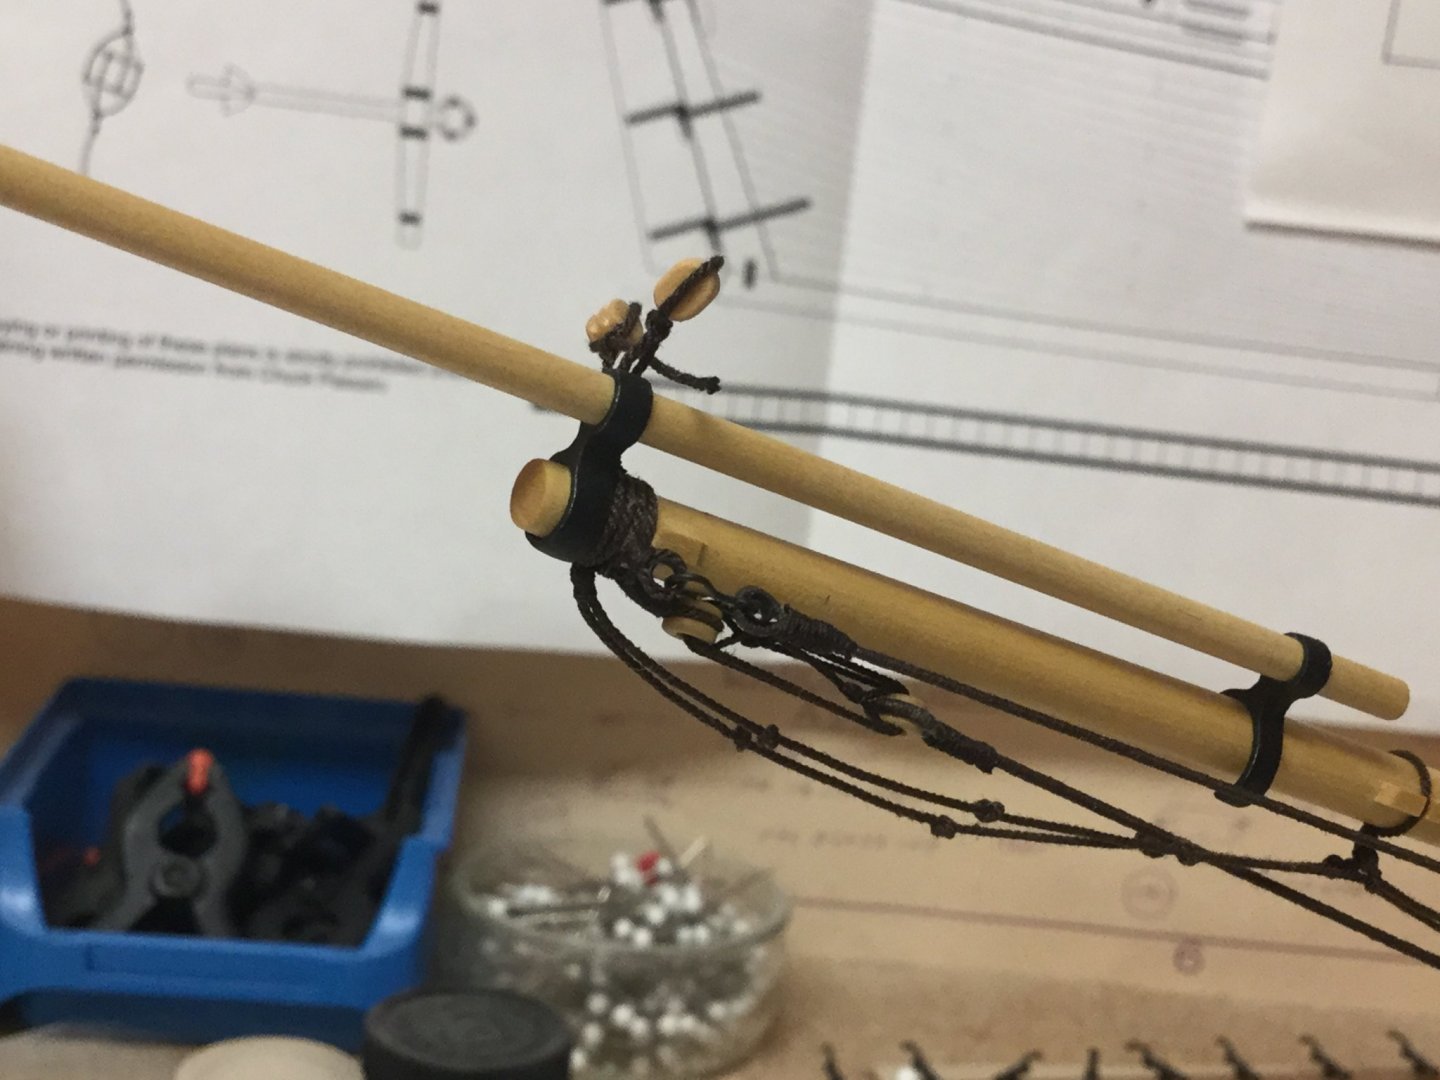
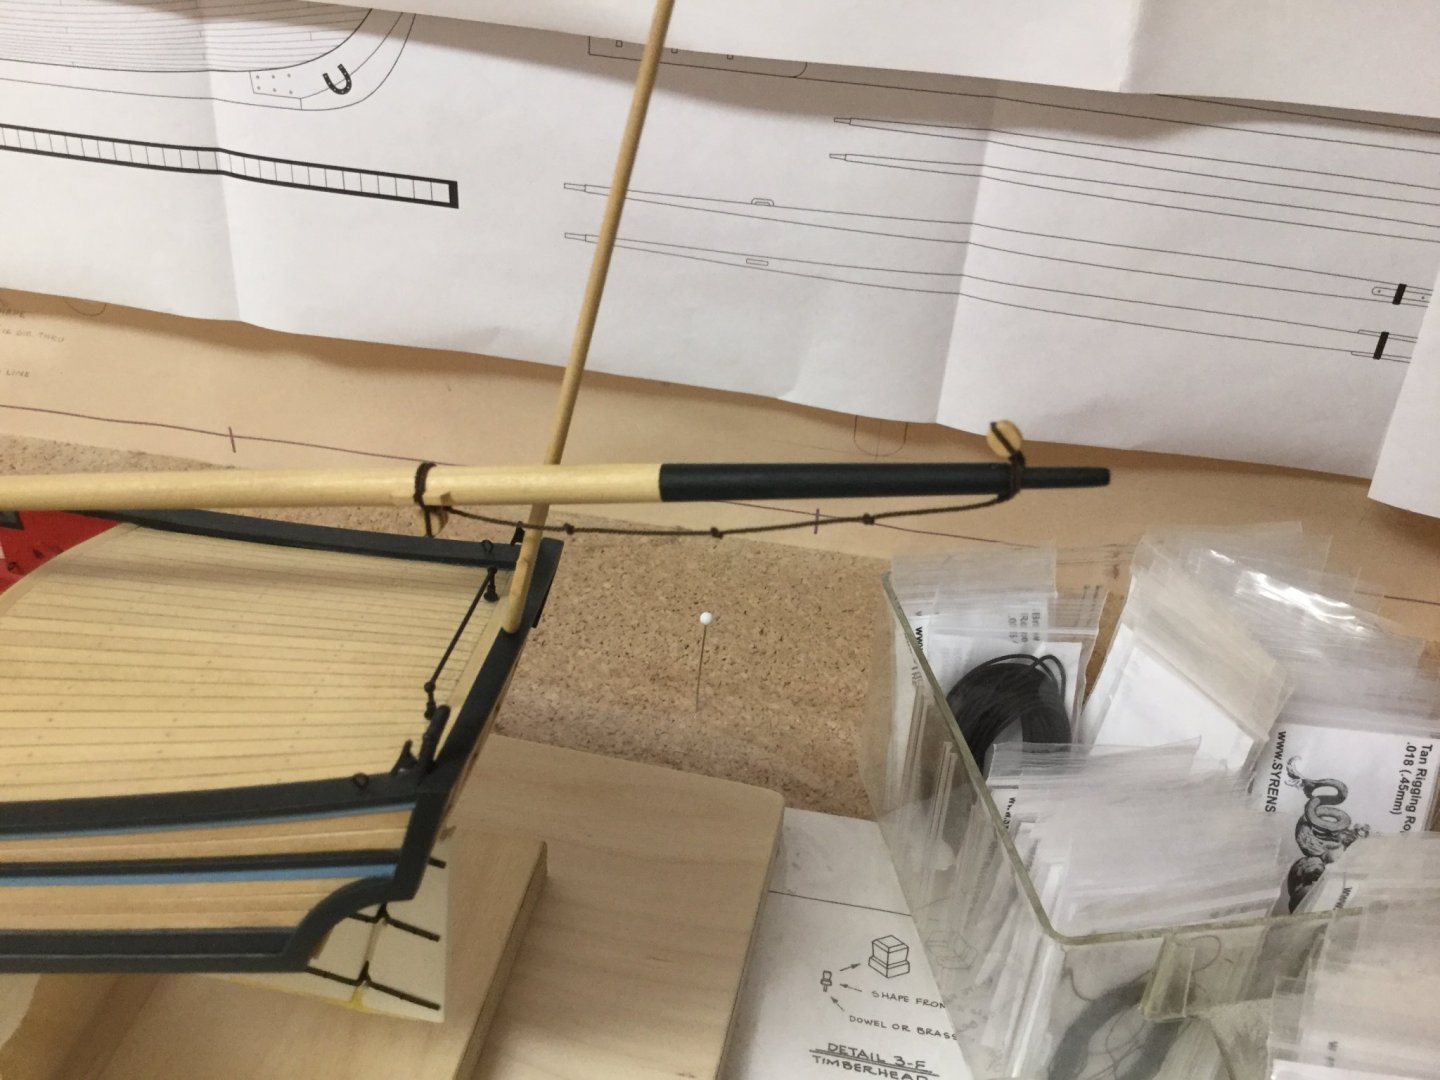
Thank you very much John for the kind words. The bobstay and bowsprit shroud seizings were way to large so I decided to redo them. Now they look more scale. Next time I will use my serv-o-matic to do the seizing but I have to make myself a fixing tool first. I wanted to bring the footropes to shape with some diluted white glue but as I put the glue onto the cotton rope it suddenly started to shrink 😱. But in the end I managed to bring them back into the former shape by hanging some weight at it. That finishes the standing rigging on the bowsprit except for the heel lashing. I will do that tomorrow.
- 231 replies
-
- model shipways
- armed virginia sloop
-
(and 1 more)
Tagged with:
-
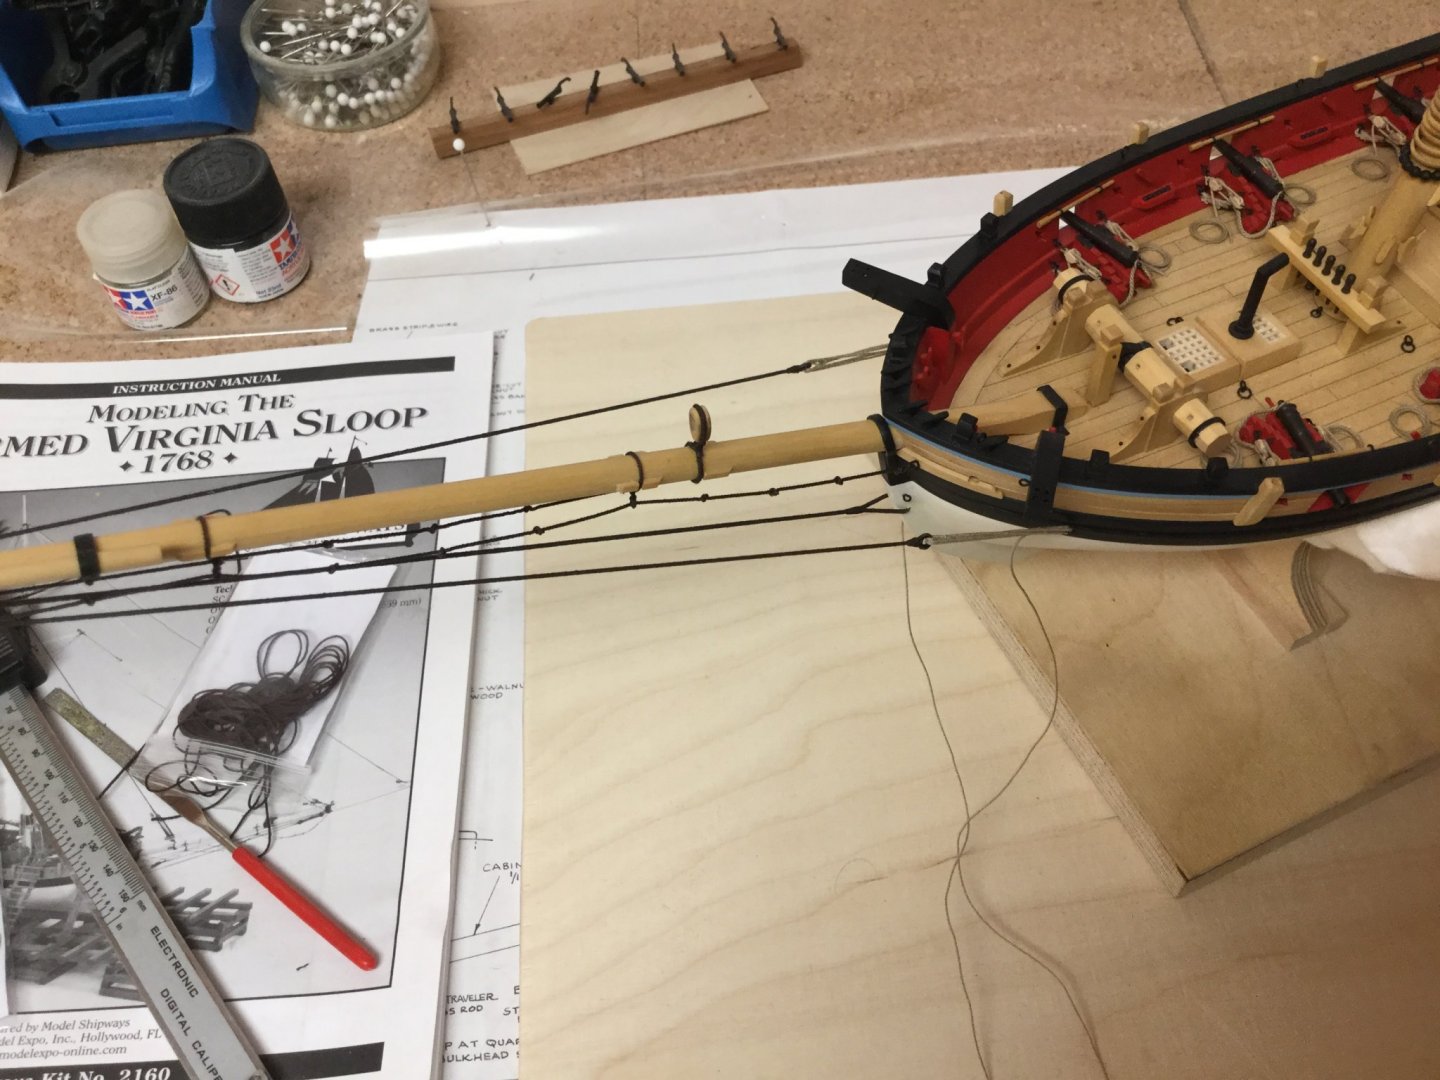
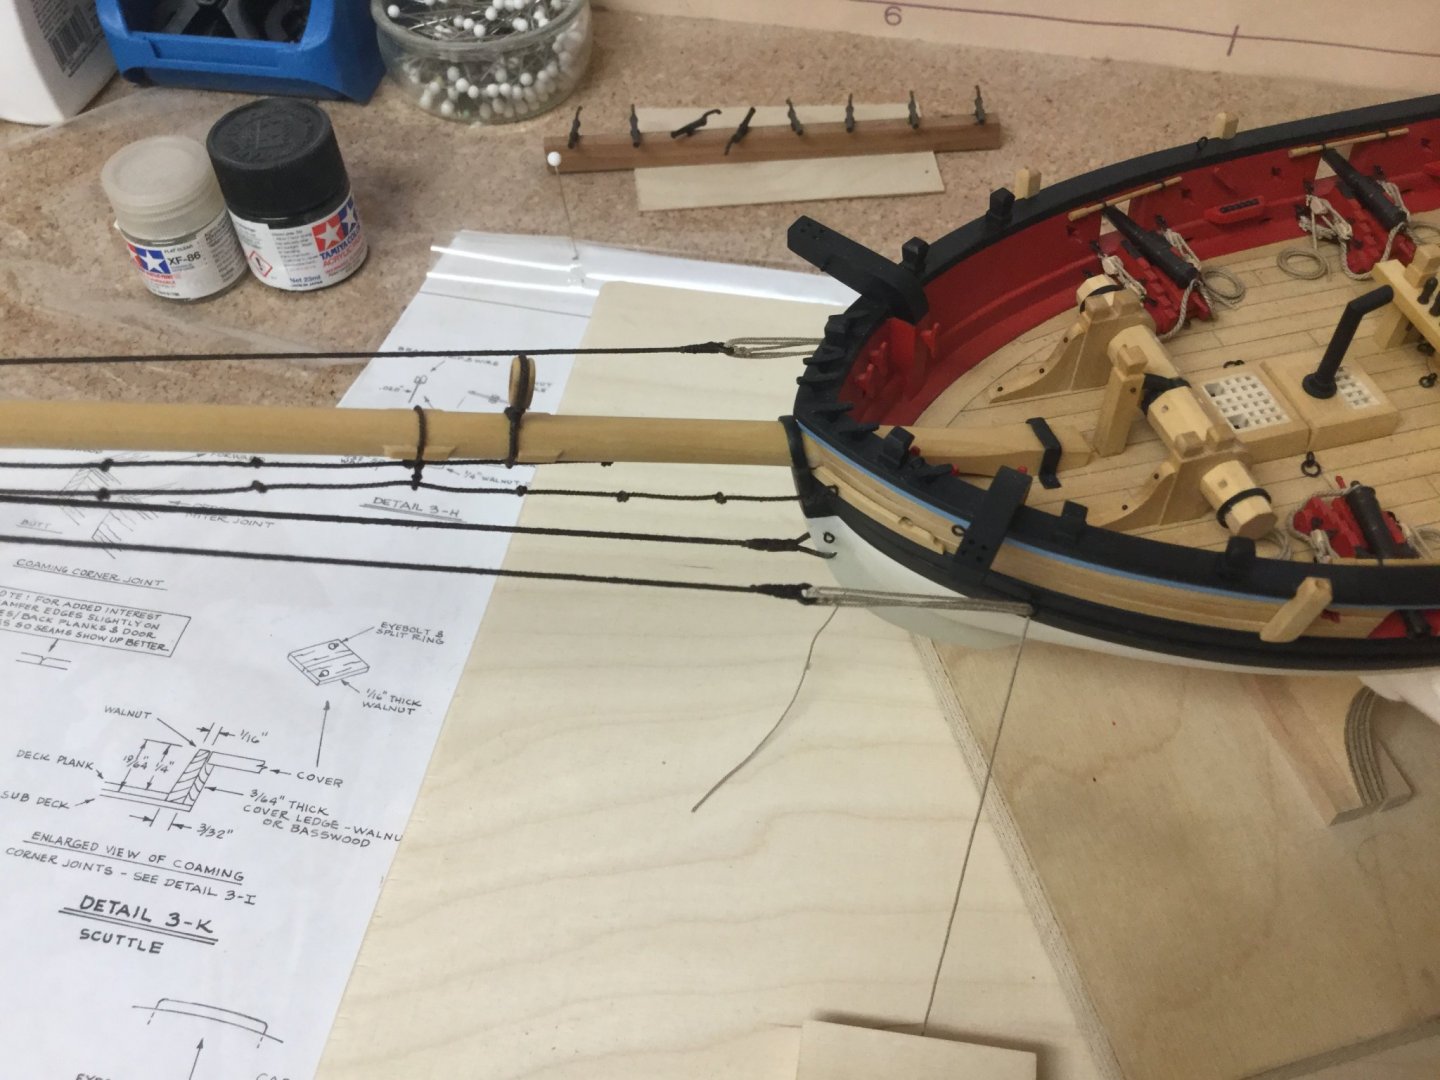
Started to rig the bowsprit. The bobstay and the bowsprit shrouds were served via the serv-o-matic. Took some time til I got them done. Also installed the footropes, wil bring them to shape later.
- 231 replies
-
- model shipways
- armed virginia sloop
-
(and 1 more)
Tagged with:
-
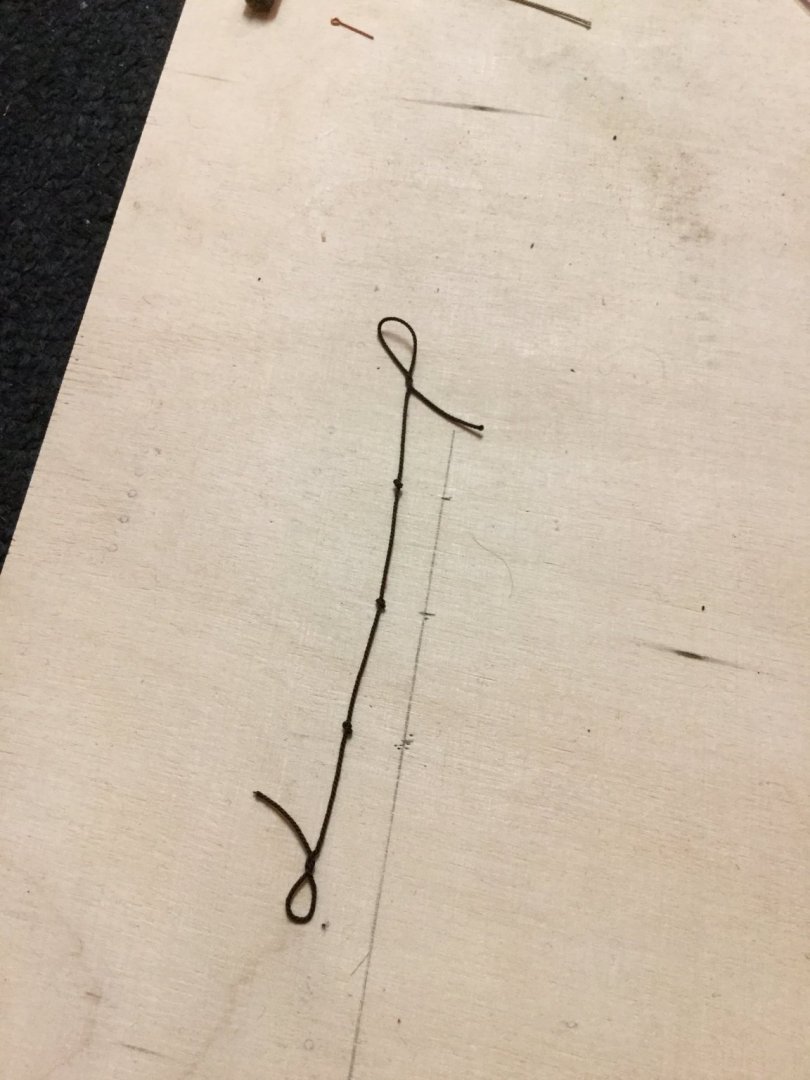
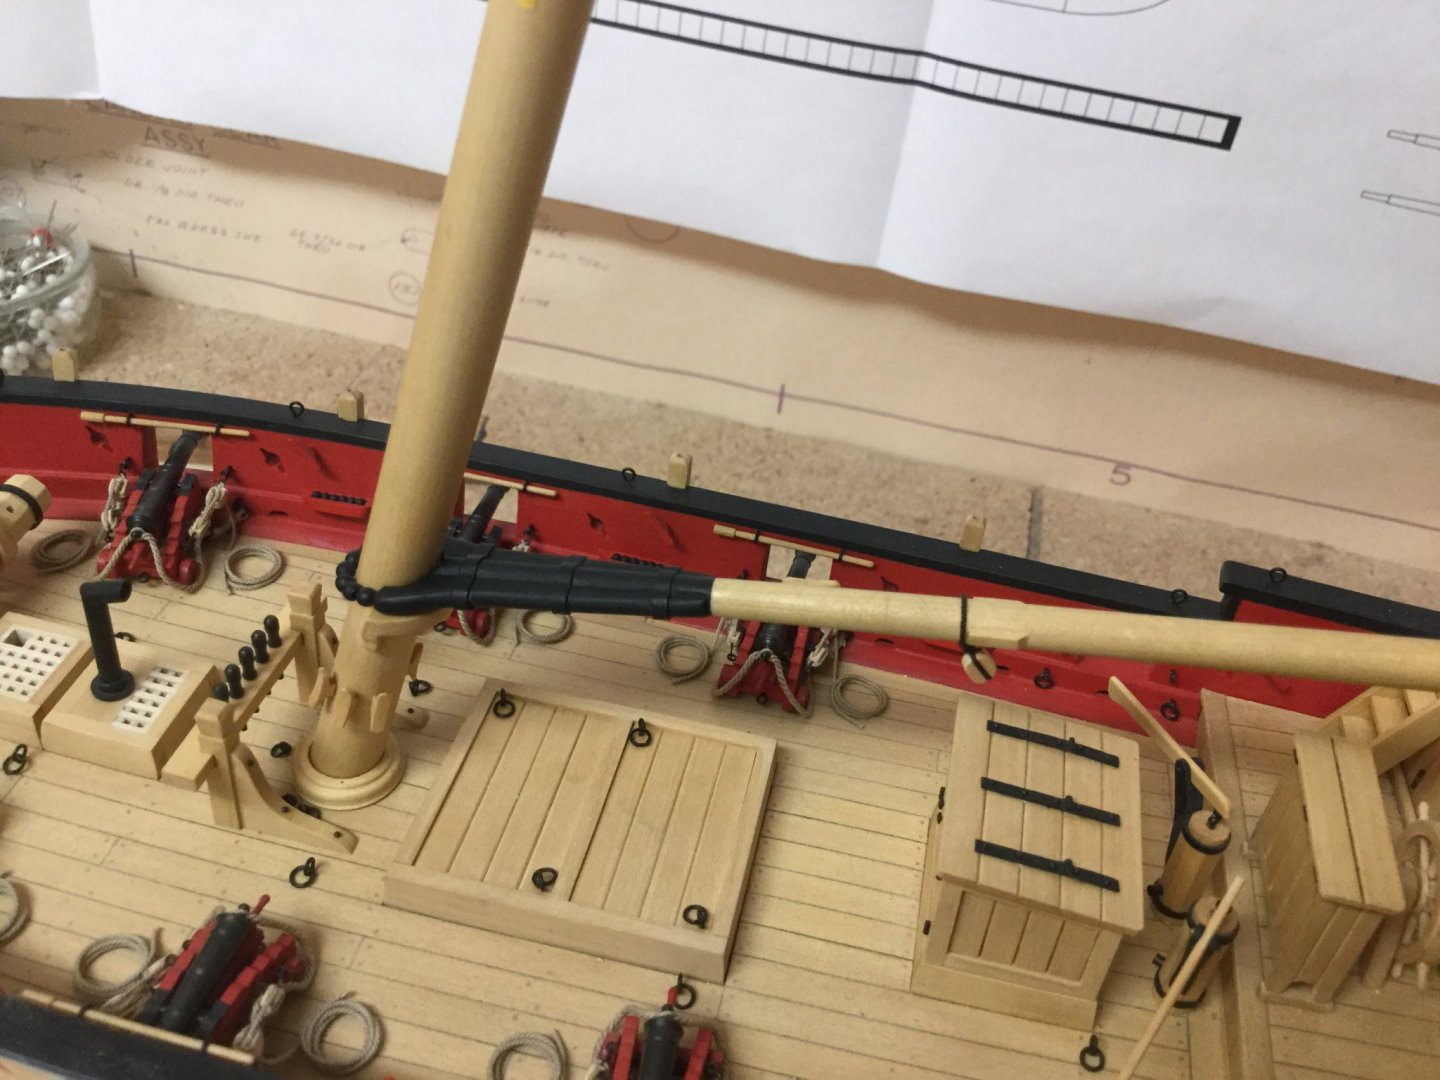
Gaff and boom installed. For the footrope I made a template with similar distances for the knots and made an eyesplice to each end. All blocks on the boom are prepared also.
- 231 replies
-
- model shipways
- armed virginia sloop
-
(and 1 more)
Tagged with:
-
Thank you for that information. I will try the different treatments and see if I get good results.
-
Hello everyone, just another newbie rigging question. It is the first time that I use after-market rope for rigging. Shall I use some treatment on cotton rope (I.e. syren miniature rope) like bee-wax or varnish or leave the rope untreated? If yes, should I use the treatment before installing the rope or after that? Thank you for help. Best regards, Andreas
-
Attaching rope to blocks.
captain_hook replied to captain_hook's topic in Masting, rigging and sails
Thank you very much for all the help. Next weekend I will try and eventually post results. -

Attaching rope to blocks.
captain_hook replied to captain_hook's topic in Masting, rigging and sails
Thank you very much, that helps a lot. @druxey: I don‘t want to bother you but may I ask you if you have a picture of the completed false splice? My visual perception may be more effective than my literal understanding (and my english vocabulary). Else I will try and post a picture of my tryouts. Thanks again. -

Attaching rope to blocks.
captain_hook replied to captain_hook's topic in Masting, rigging and sails
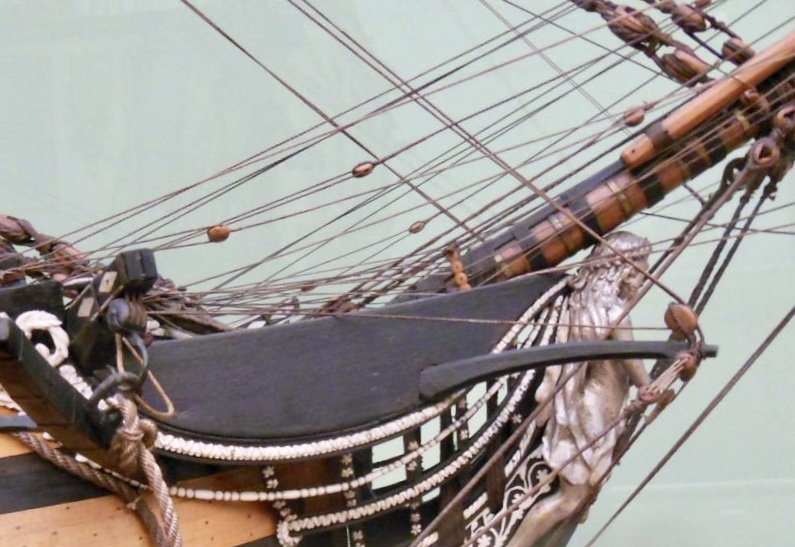
Thank you for that, that is very useful for simulating a strop. But I also need some more informations for blocks attached to tackles. Here is a picture of a contemporary model. The blocks shown (running rigging) don‘t seem to be connected to the rope by knots but by twisting the rope or some sort of splicing. The diameter of the connection only slightly larger than the rope itself. -

Attaching rope to blocks.
captain_hook replied to captain_hook's topic in Masting, rigging and sails
Thank you, this is an option I haven‘t thought of before. But it is also very time consuming. I‘m looking for generic technique that involves only the block and the rope that I want to attach onto it. Any suggestions? Thank you for the feedback. -
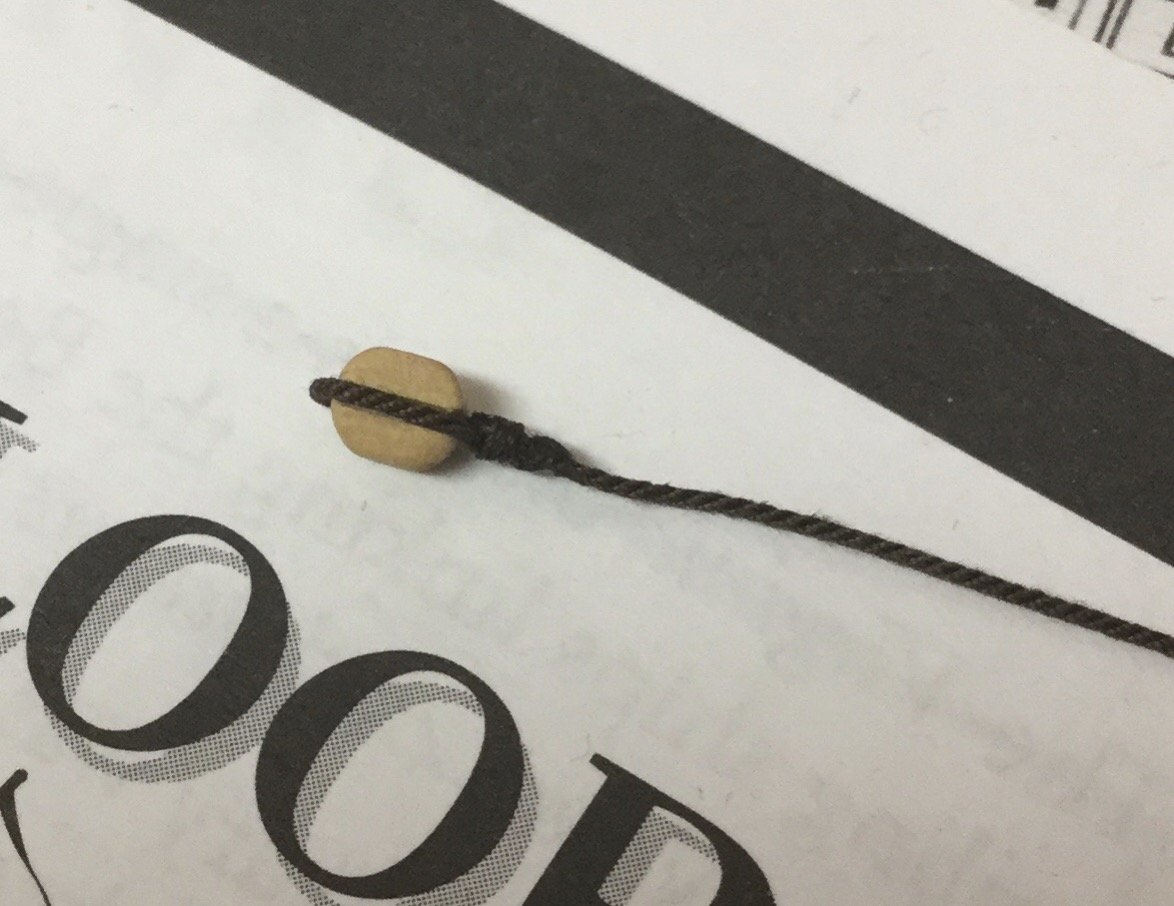
This is a rigging beginner question, but I‘m going to despair on that. I have searched in different books and the internet but no technique seems to be accurate. I‘m searching for an adequate and universal way to attach cotton rope to wooden blocks. Shall I use knots (I.e. overhand) or some sort of splice and seizing? What is the best and more scale way for a model ship for rigging blocks? My best guess has been to lay the rope around the block, twisted both parts of the rope, put a drop of ca glue on the twisting and secured that with a thin (gutermann 50) cotton threat seizing around. A photo is attached. Any better suggestions would be highly appreciated. Best regards, Andreas
-
Hello, This is an old topic but maybe anyone can help. I‘m looking for a way to simulate a strop surrounded block with a hook attached without gluing both ends of the rope together at the back of the block. I quoted a picture of what i mean. Is there a way to simulate a continuously strop - maybe gluing the rope together like a ring, put that around the block and cover that spot with seizing?
-

Standing rigging and served rope.
captain_hook replied to captain_hook's topic in Masting, rigging and sails
Thank you all for that informations. -

Standing rigging and served rope.
captain_hook replied to captain_hook's topic in Masting, rigging and sails
Thank you, that is indeed very helpful. -

Standing rigging and served rope.
captain_hook replied to captain_hook's topic in Masting, rigging and sails
I forgot to mention: The AVS is a single-mast ship with a cutter-like rig. -
Hello everyone, I am in the process of rigging an armed virginia sloop and i wonder which part of the standing rigging (i.e. shrouds) were actually partial or full size served? Best regards. Andreas
-
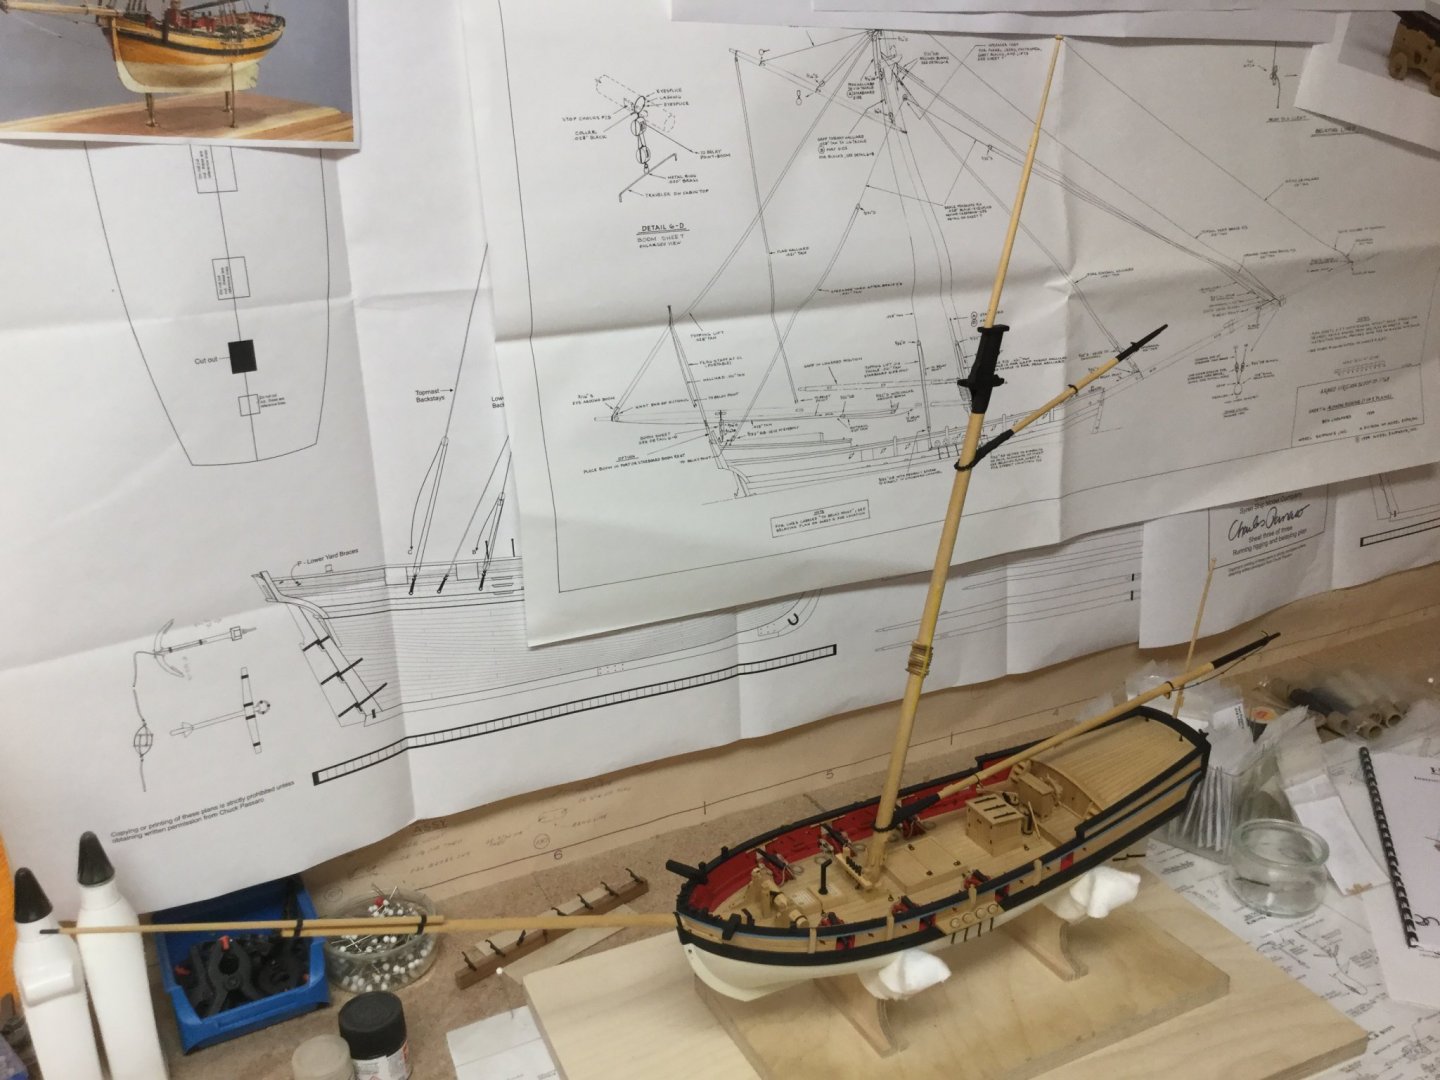
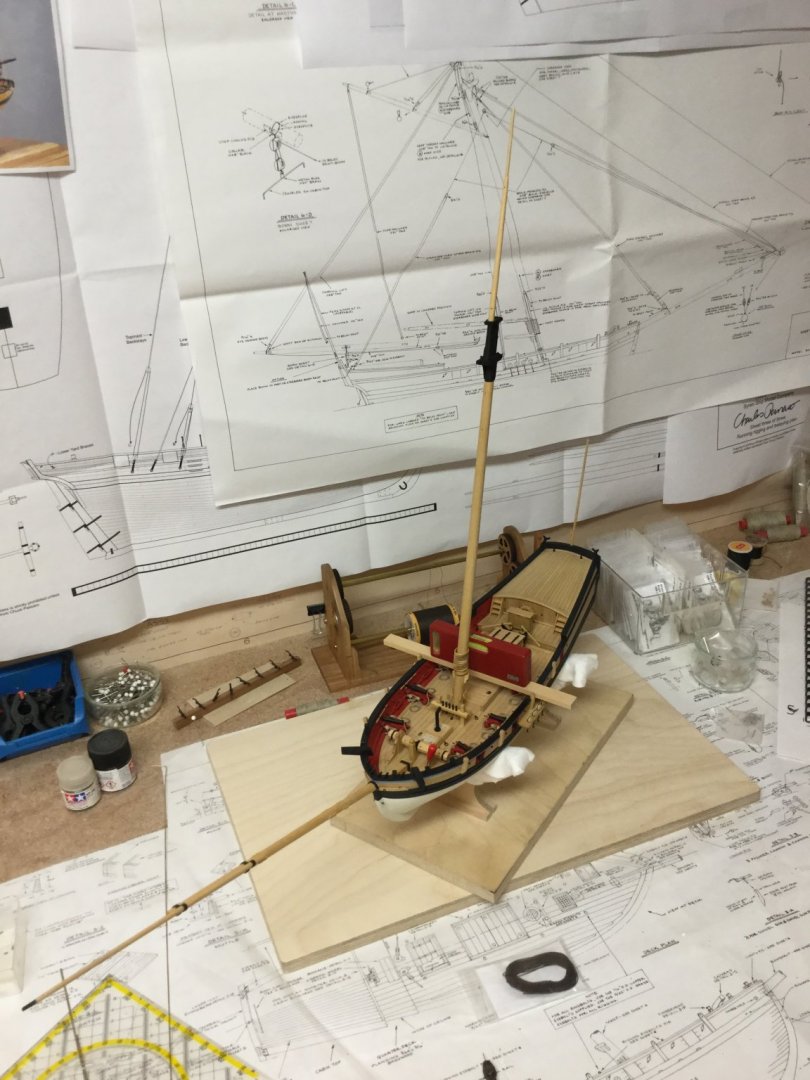
@GuntherMT: That is surely another possibility I haven’t thought of before. But the mast can still be adjusted by the rigging for minor corrections. The mast is now fixed permanently, makes the hull look pretty small in comparison. I have to attach the boom and gaff next but will add some ropework before that so that I don‘t have to do that later when they are already glued in place. Then I will have to determine the order of rigging the ship.
- 231 replies
-
- model shipways
- armed virginia sloop
-
(and 1 more)
Tagged with:
-
It raises my hairs when I think of headrails and that I have to do them once I will begin building bigger ships. But you have done them very nice. Keep up the beautiful work.
- 550 replies
-
- confederacy
- model shipways
-
(and 1 more)
Tagged with:
-
Looking very good. Beautiful work. Although I find cross sections a little scary to look at I will try one myself as a first POF scratch project in the future.
-
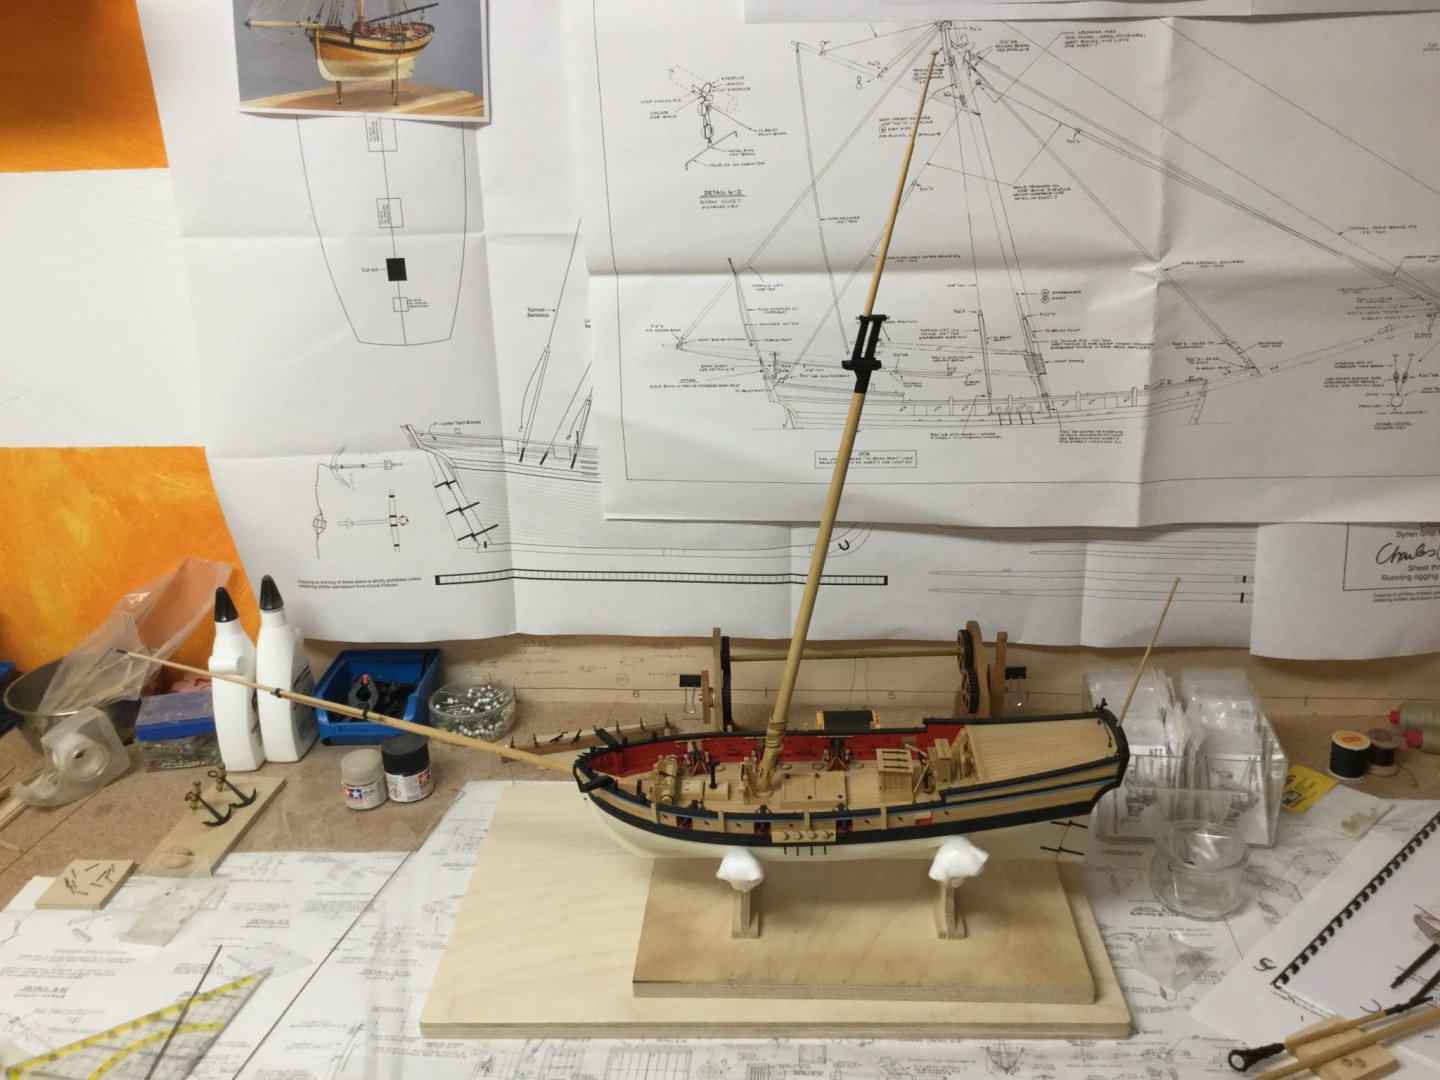
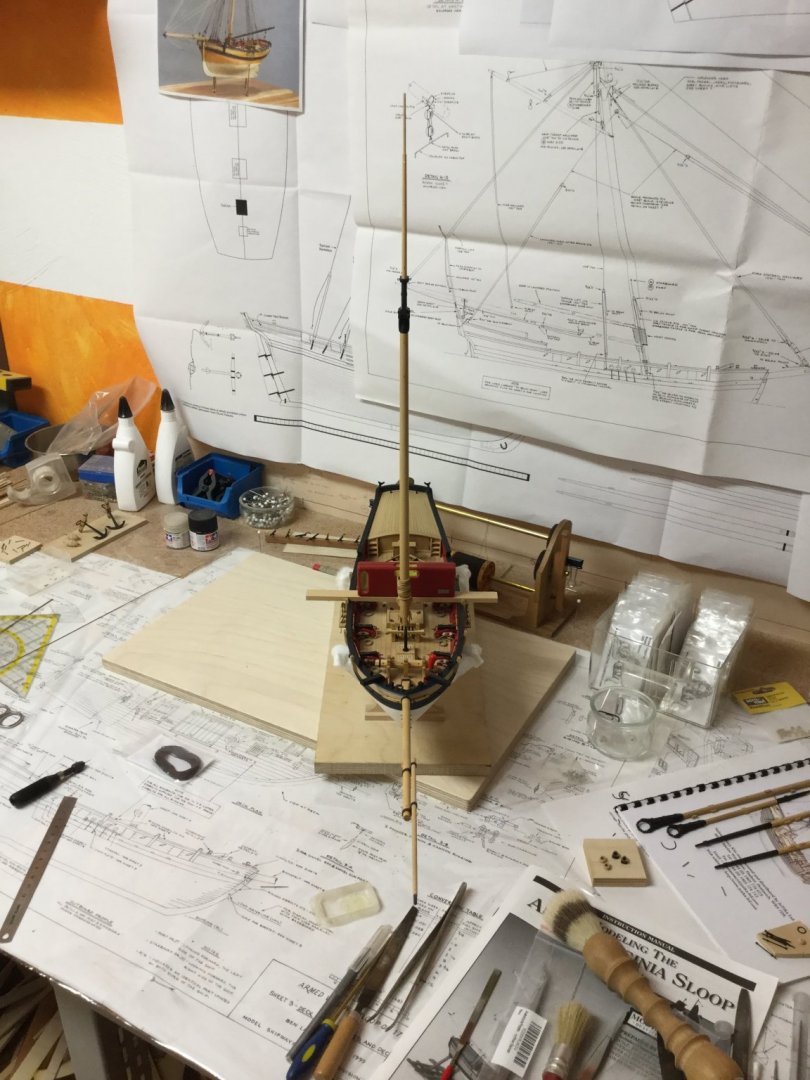
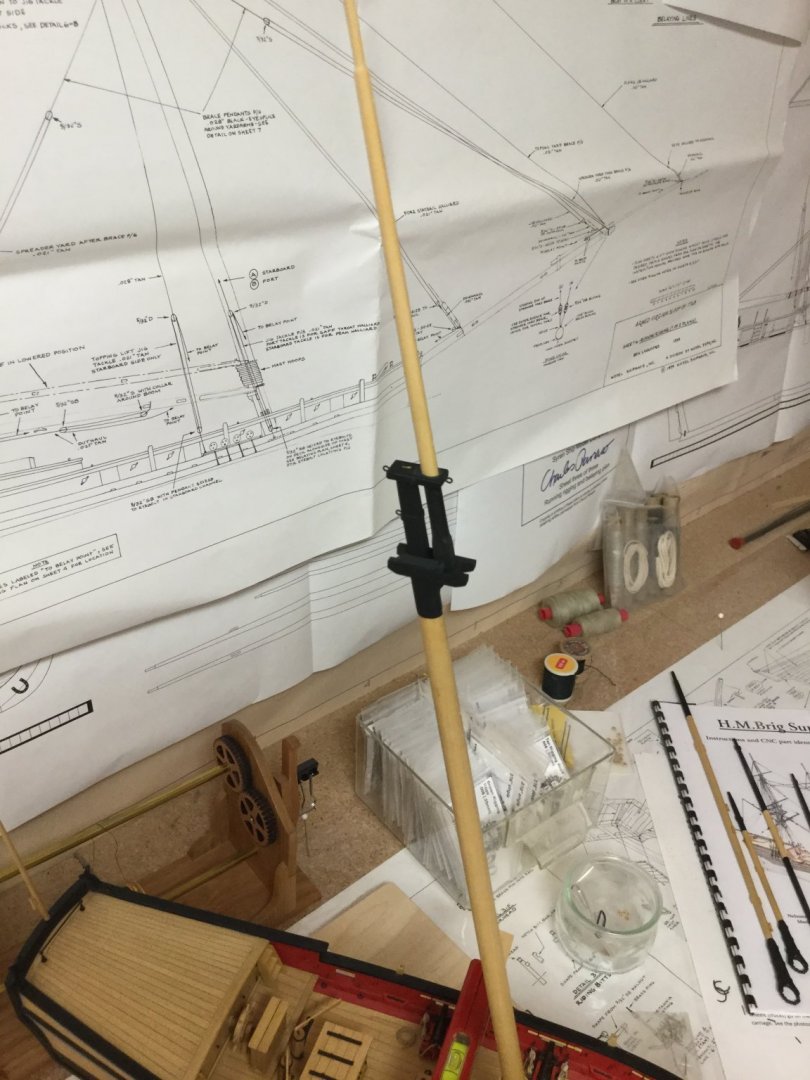
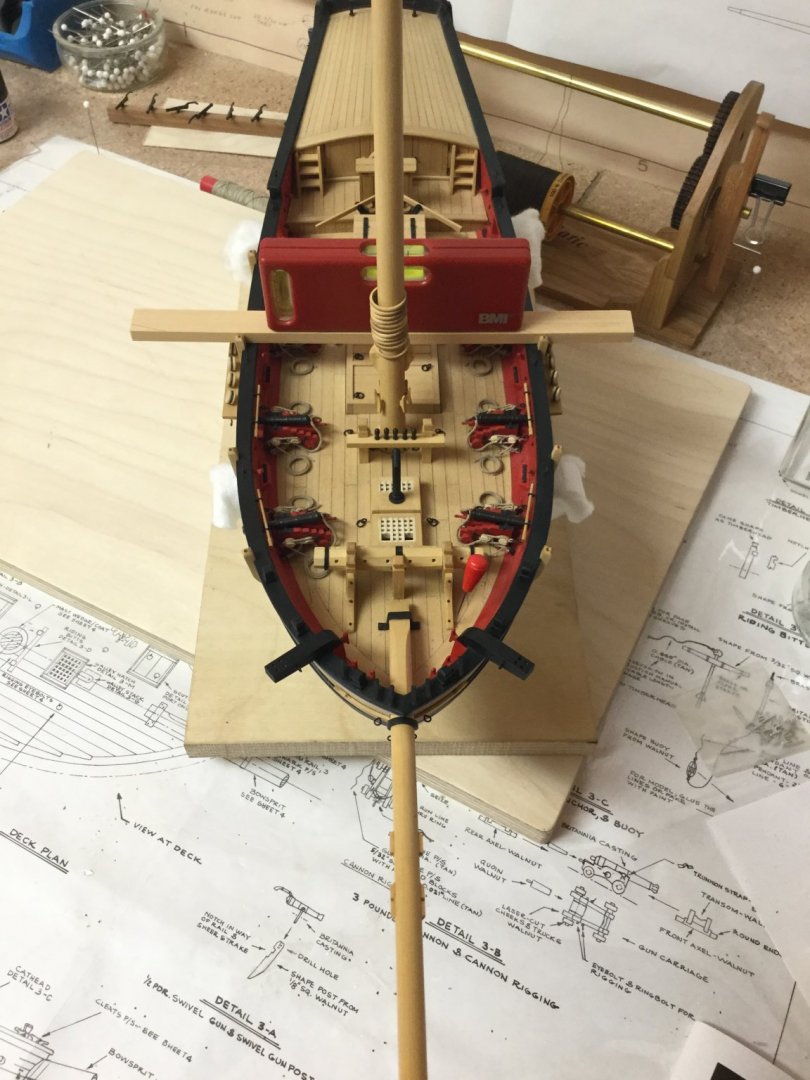
Today I finally glued the mast in place. As I tried to put it in place I developed some sort of obsession whether it was upright or not - starting to mistrust my perception. Sometimes when I look at that ship I only see mistakes. But in the end I gave myself permission to leave it as good as it was then. Hm, Hope the mast keep staying in place until epoxy is cured or I will end up checking it every 15 minutes.
- 231 replies
-
- model shipways
- armed virginia sloop
-
(and 1 more)
Tagged with:
-
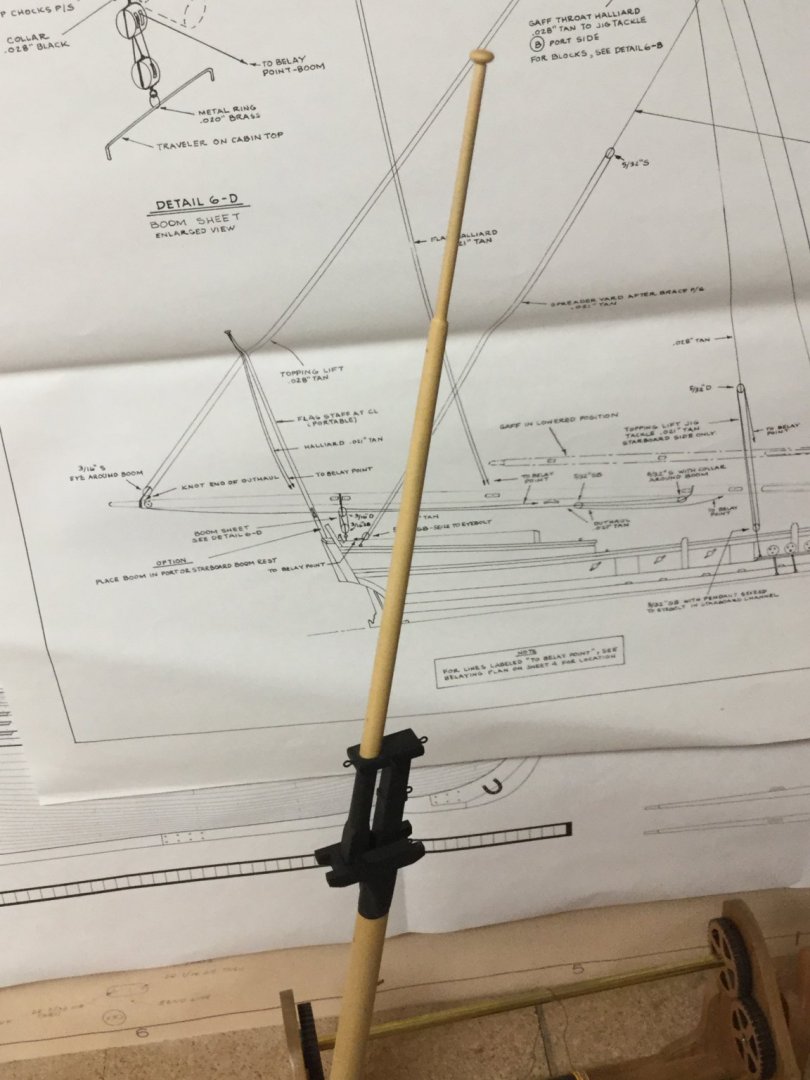
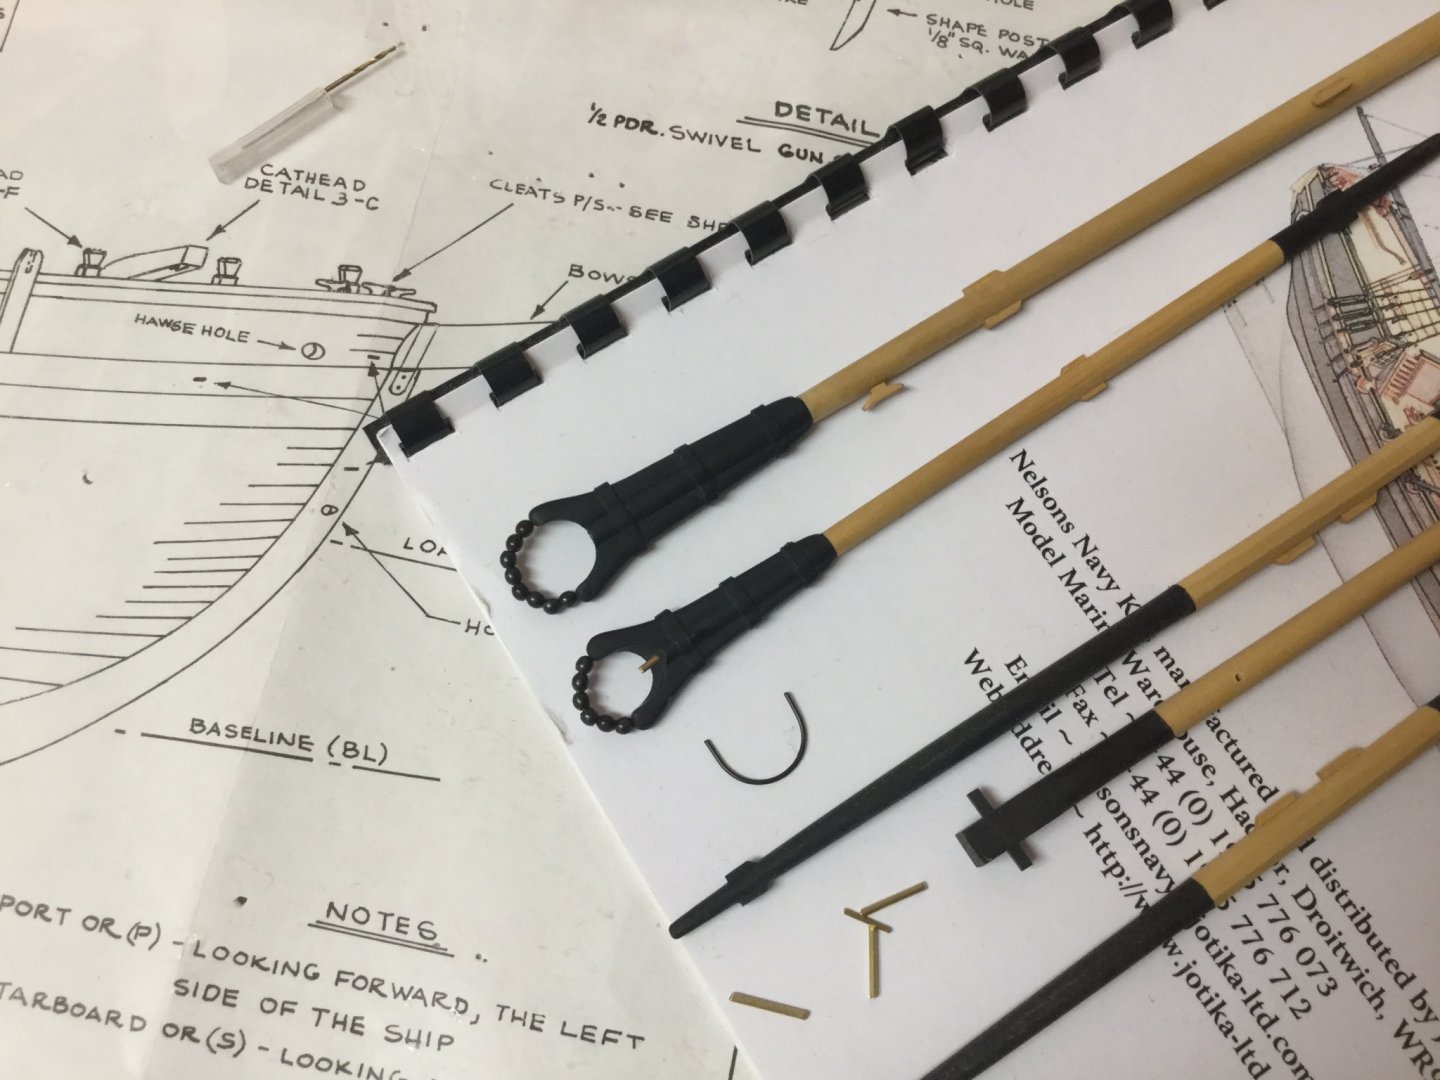
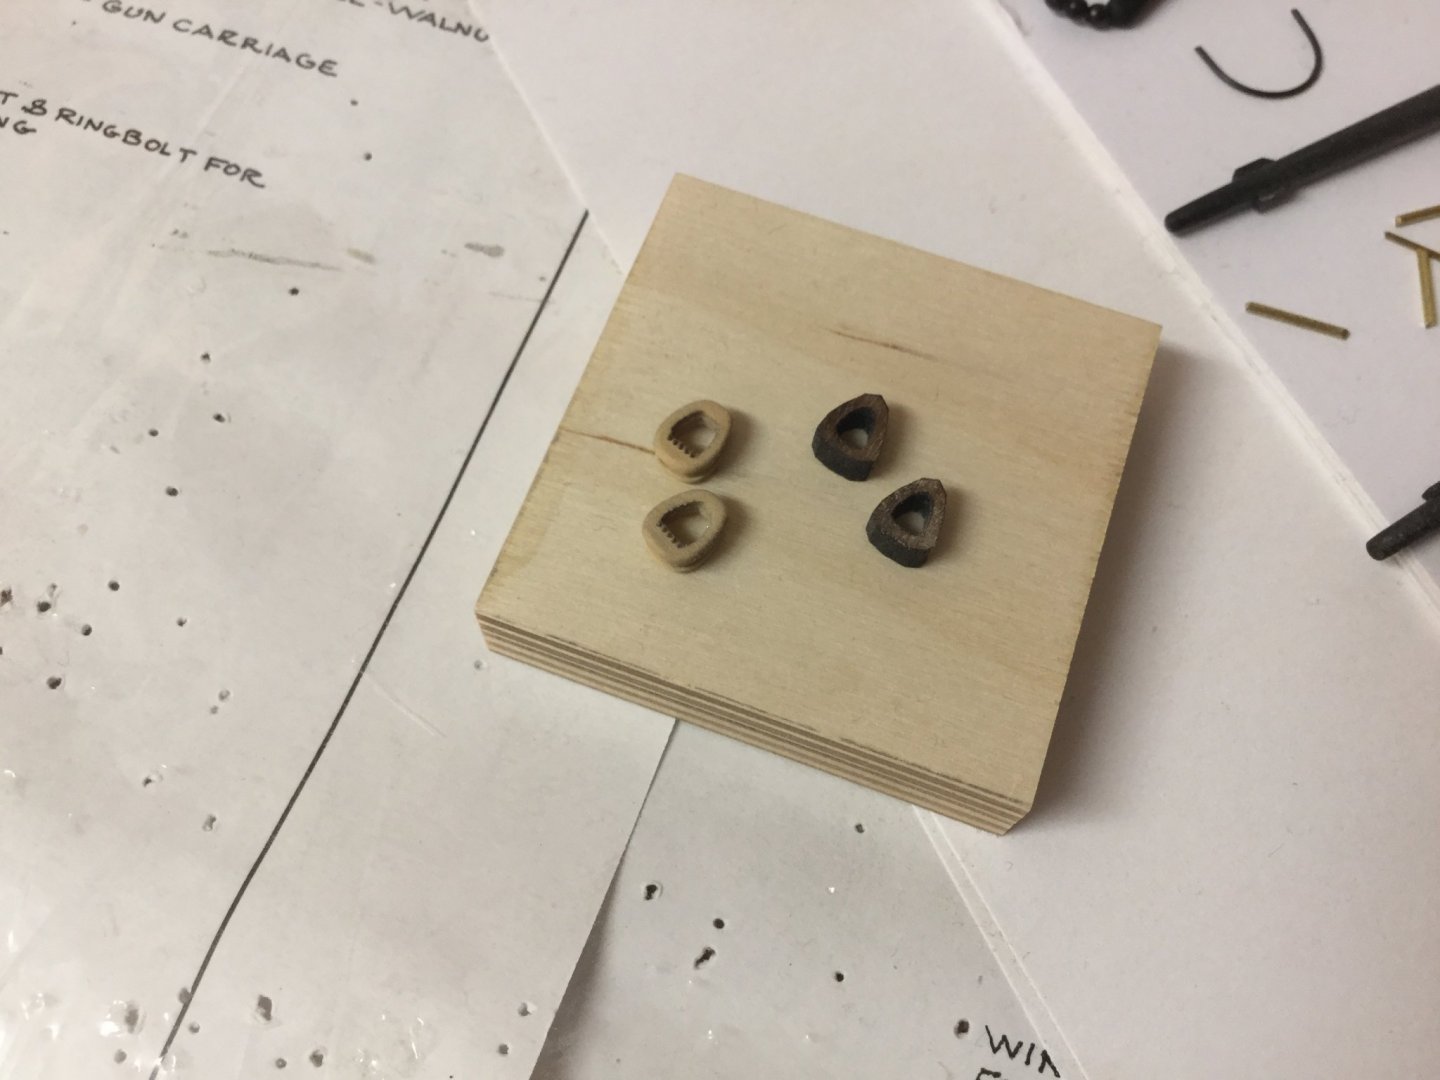
Some more updates. The small stuff takes lot more time than the major steps. I finished boom and gaff, simulated the rope parrel with blackened 0,7mm brass wire. Wanted to make some wood beads out of boxwood but decided to use the supplied brass ones and blackened them instead. That gives a nice contrast to the boxwood mast hoops. Assembled two closed hearts from syren that match the size of the kit-supplied ones. In comparison the two supplied walnut closed hearts.
- 231 replies
-
- model shipways
- armed virginia sloop
-
(and 1 more)
Tagged with:
-
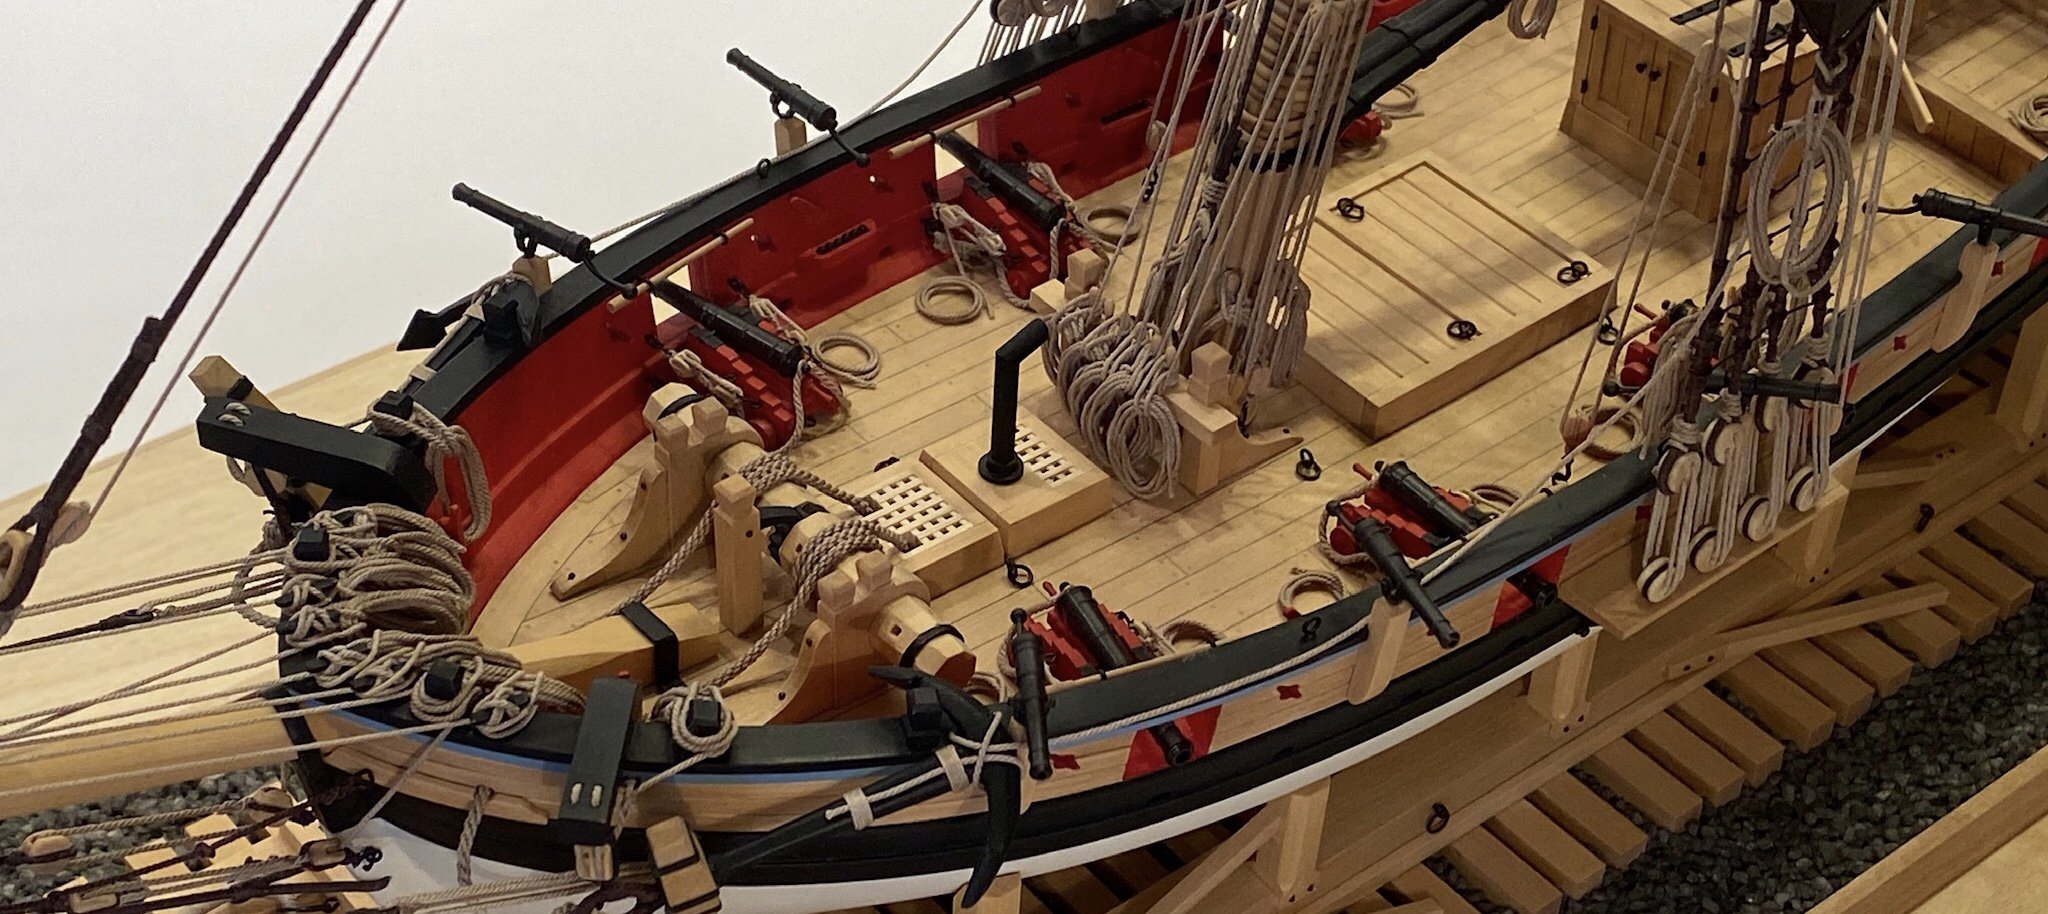
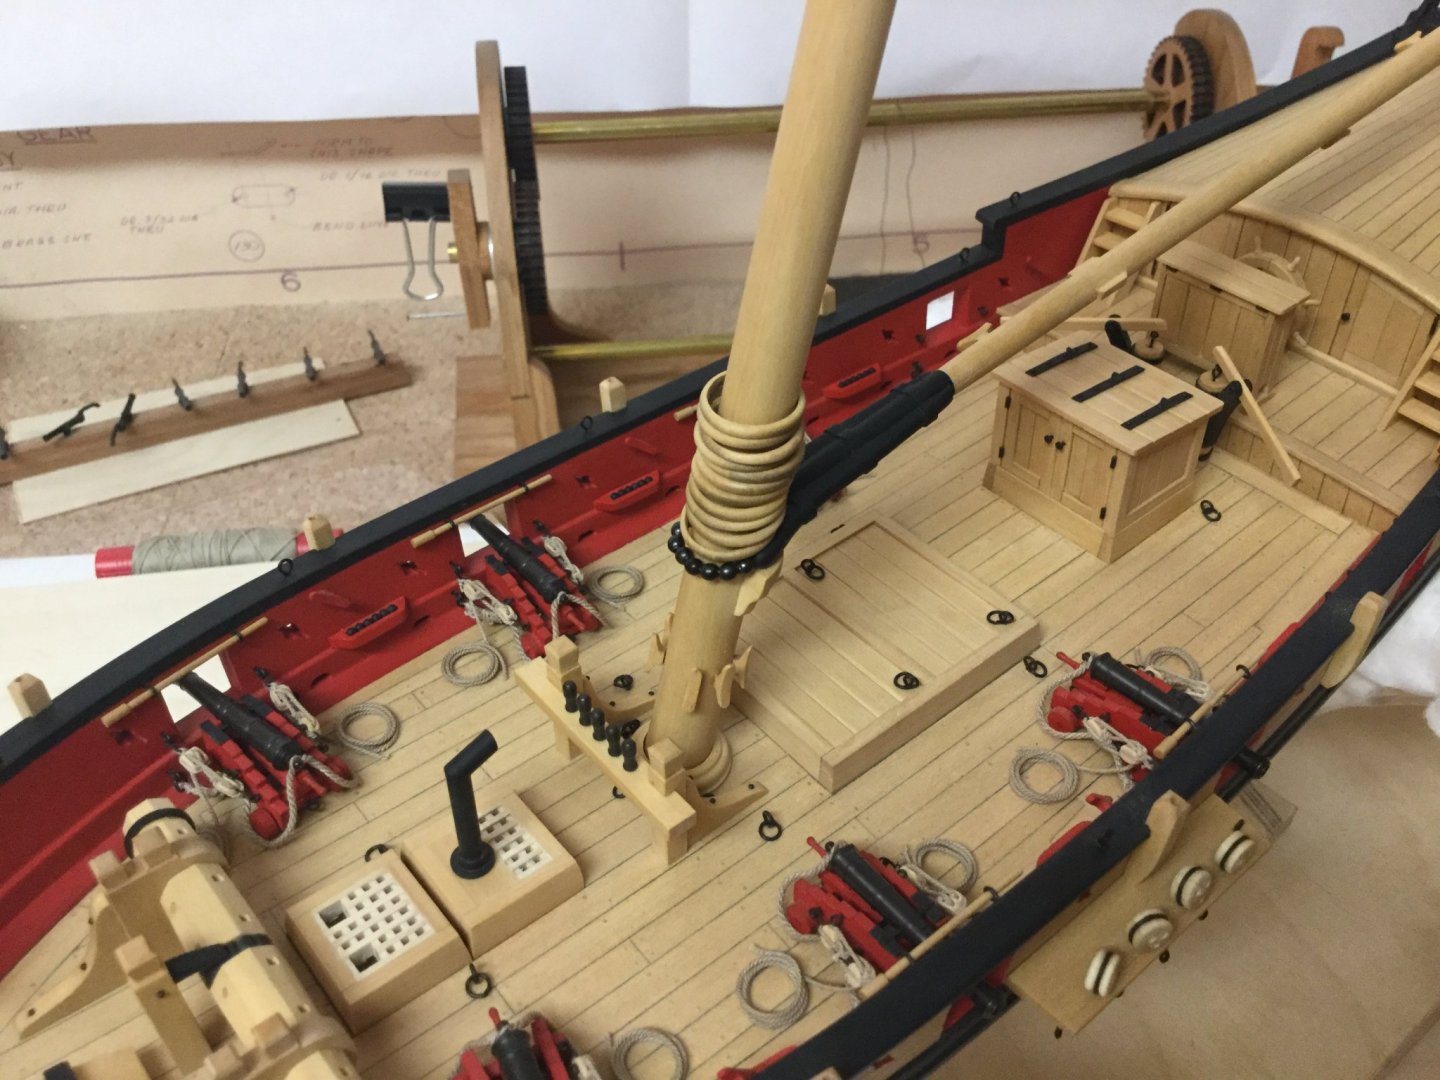
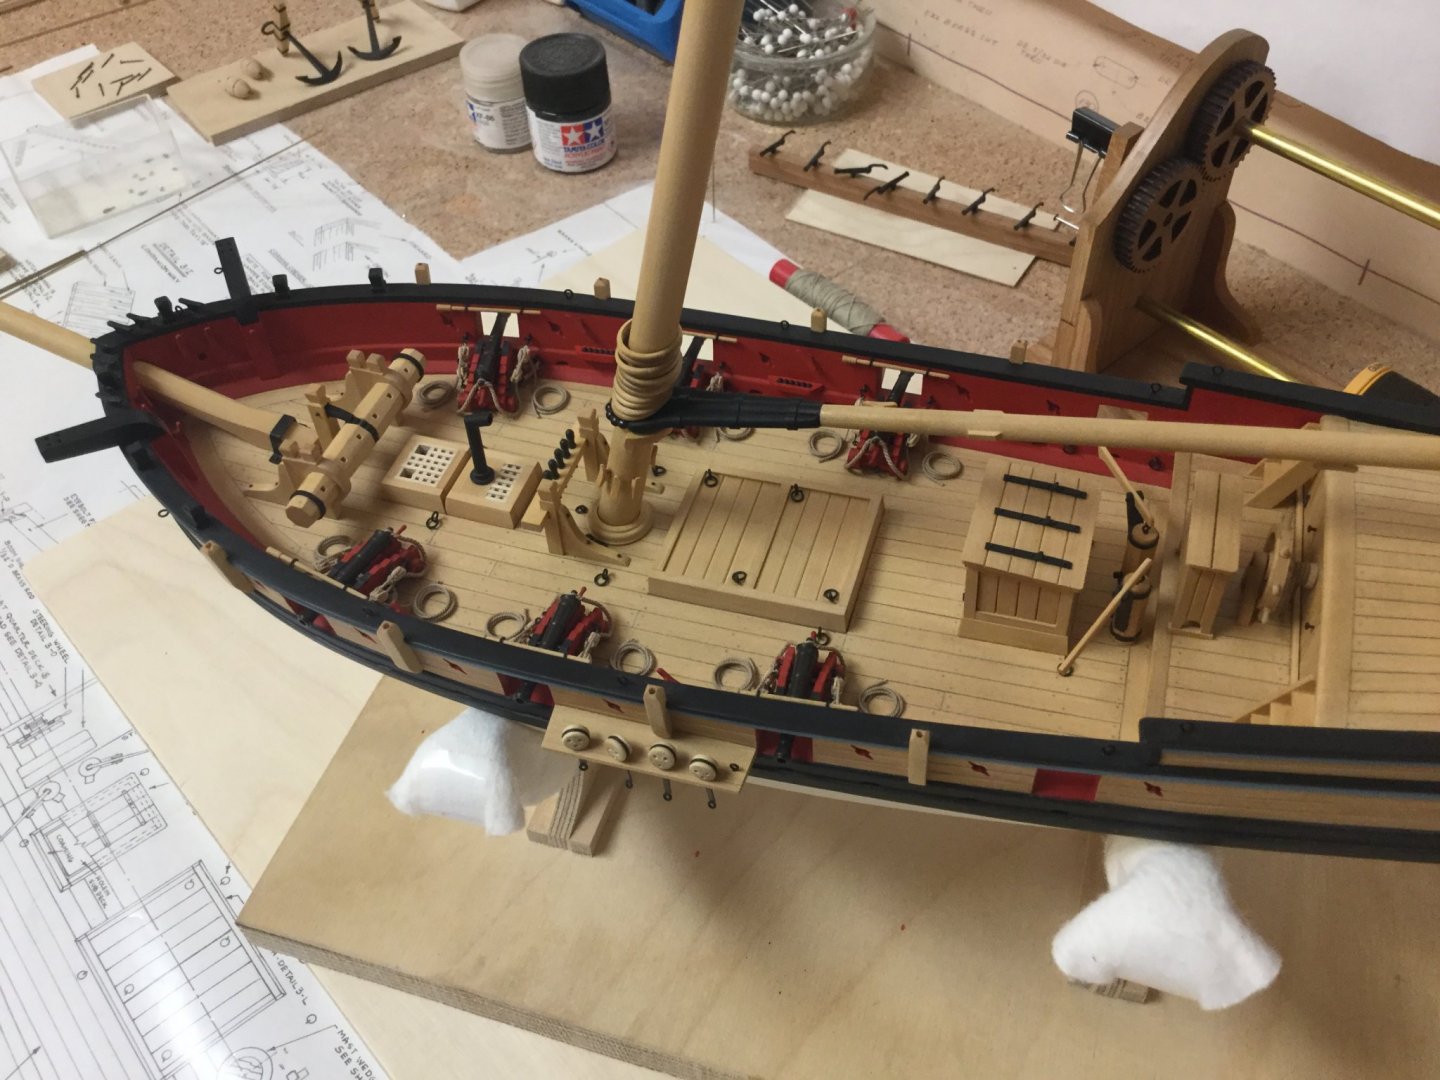
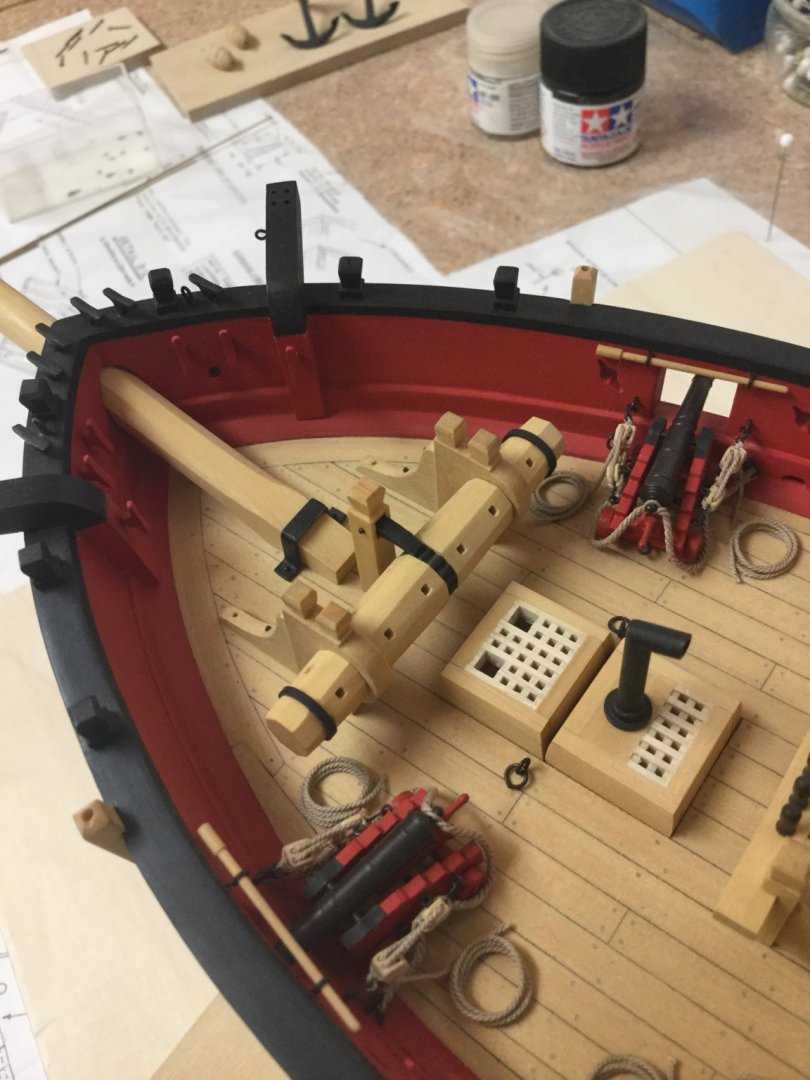
Summer break has passed. Because of high temperature during the last weeks the humidity in my workshop has been so high that even white glue wasn‘t drying in time. So I took a break from building, but now back to work. The stopping mechanism of the windlass was done today. I copied the one Chuck Passaro used as a part of the bowsprit step for cutter cheerful. Basically three layers of boxwood with the iron part fixed inside with two pins on each side and brought to shape with a needle file.
- 231 replies
-
- model shipways
- armed virginia sloop
-
(and 1 more)
Tagged with:
-
A really beautiful ship. Incredible work to be proud of.
- 306 replies
-
- schooner
- la jacinthe
-
(and 1 more)
Tagged with:
About us
Modelshipworld - Advancing Ship Modeling through Research
SSL Secured
Your security is important for us so this Website is SSL-Secured
NRG Mailing Address
Nautical Research Guild
237 South Lincoln Street
Westmont IL, 60559-1917
Model Ship World ® and the MSW logo are Registered Trademarks, and belong to the Nautical Research Guild (United States Patent and Trademark Office: No. 6,929,264 & No. 6,929,274, registered Dec. 20, 2022)
Helpful Links
About the NRG
If you enjoy building ship models that are historically accurate as well as beautiful, then The Nautical Research Guild (NRG) is just right for you.
The Guild is a non-profit educational organization whose mission is to “Advance Ship Modeling Through Research”. We provide support to our members in their efforts to raise the quality of their model ships.
The Nautical Research Guild has published our world-renowned quarterly magazine, The Nautical Research Journal, since 1955. The pages of the Journal are full of articles by accomplished ship modelers who show you how they create those exquisite details on their models, and by maritime historians who show you the correct details to build. The Journal is available in both print and digital editions. Go to the NRG web site (www.thenrg.org) to download a complimentary digital copy of the Journal. The NRG also publishes plan sets, books and compilations of back issues of the Journal and the former Ships in Scale and Model Ship Builder magazines.

