HOLIDAY DONATION DRIVE - SUPPORT MSW - DO YOUR PART TO KEEP THIS GREAT FORUM GOING! (Only 36 donations so far out of 49,000 members - C'mon guys!)
×


captain_hook
-
Posts
685 -
Joined
-
Last visited
Content Type
Profiles
Forums
Gallery
Events
Everything posted by captain_hook
-
 Looking good. If you bend wood, you might try a little overbending them. The wood sometimes has a tendency to reshape into its former form, so a little overbending give you some room to work with. And it is easily bend to shape by hand after it has dried.
- 34 replies
-
- 3
-

-
- lady nelson
- victory models
- (and 1 more)
-
The Alaskan yellow cedar may darken over time, so the color might end up more like the ships in the NMM. Beautiful work and very clean. I like the way you do your model design - well thought out.
- 1,784 replies
-
- 2
-
-
- winchelsea
- Syren Ship Model Company
- (and 1 more)
-
Definitely a must-have for all swan class projects. The images are awesome and self-explaining. A great addon to the book series.
-
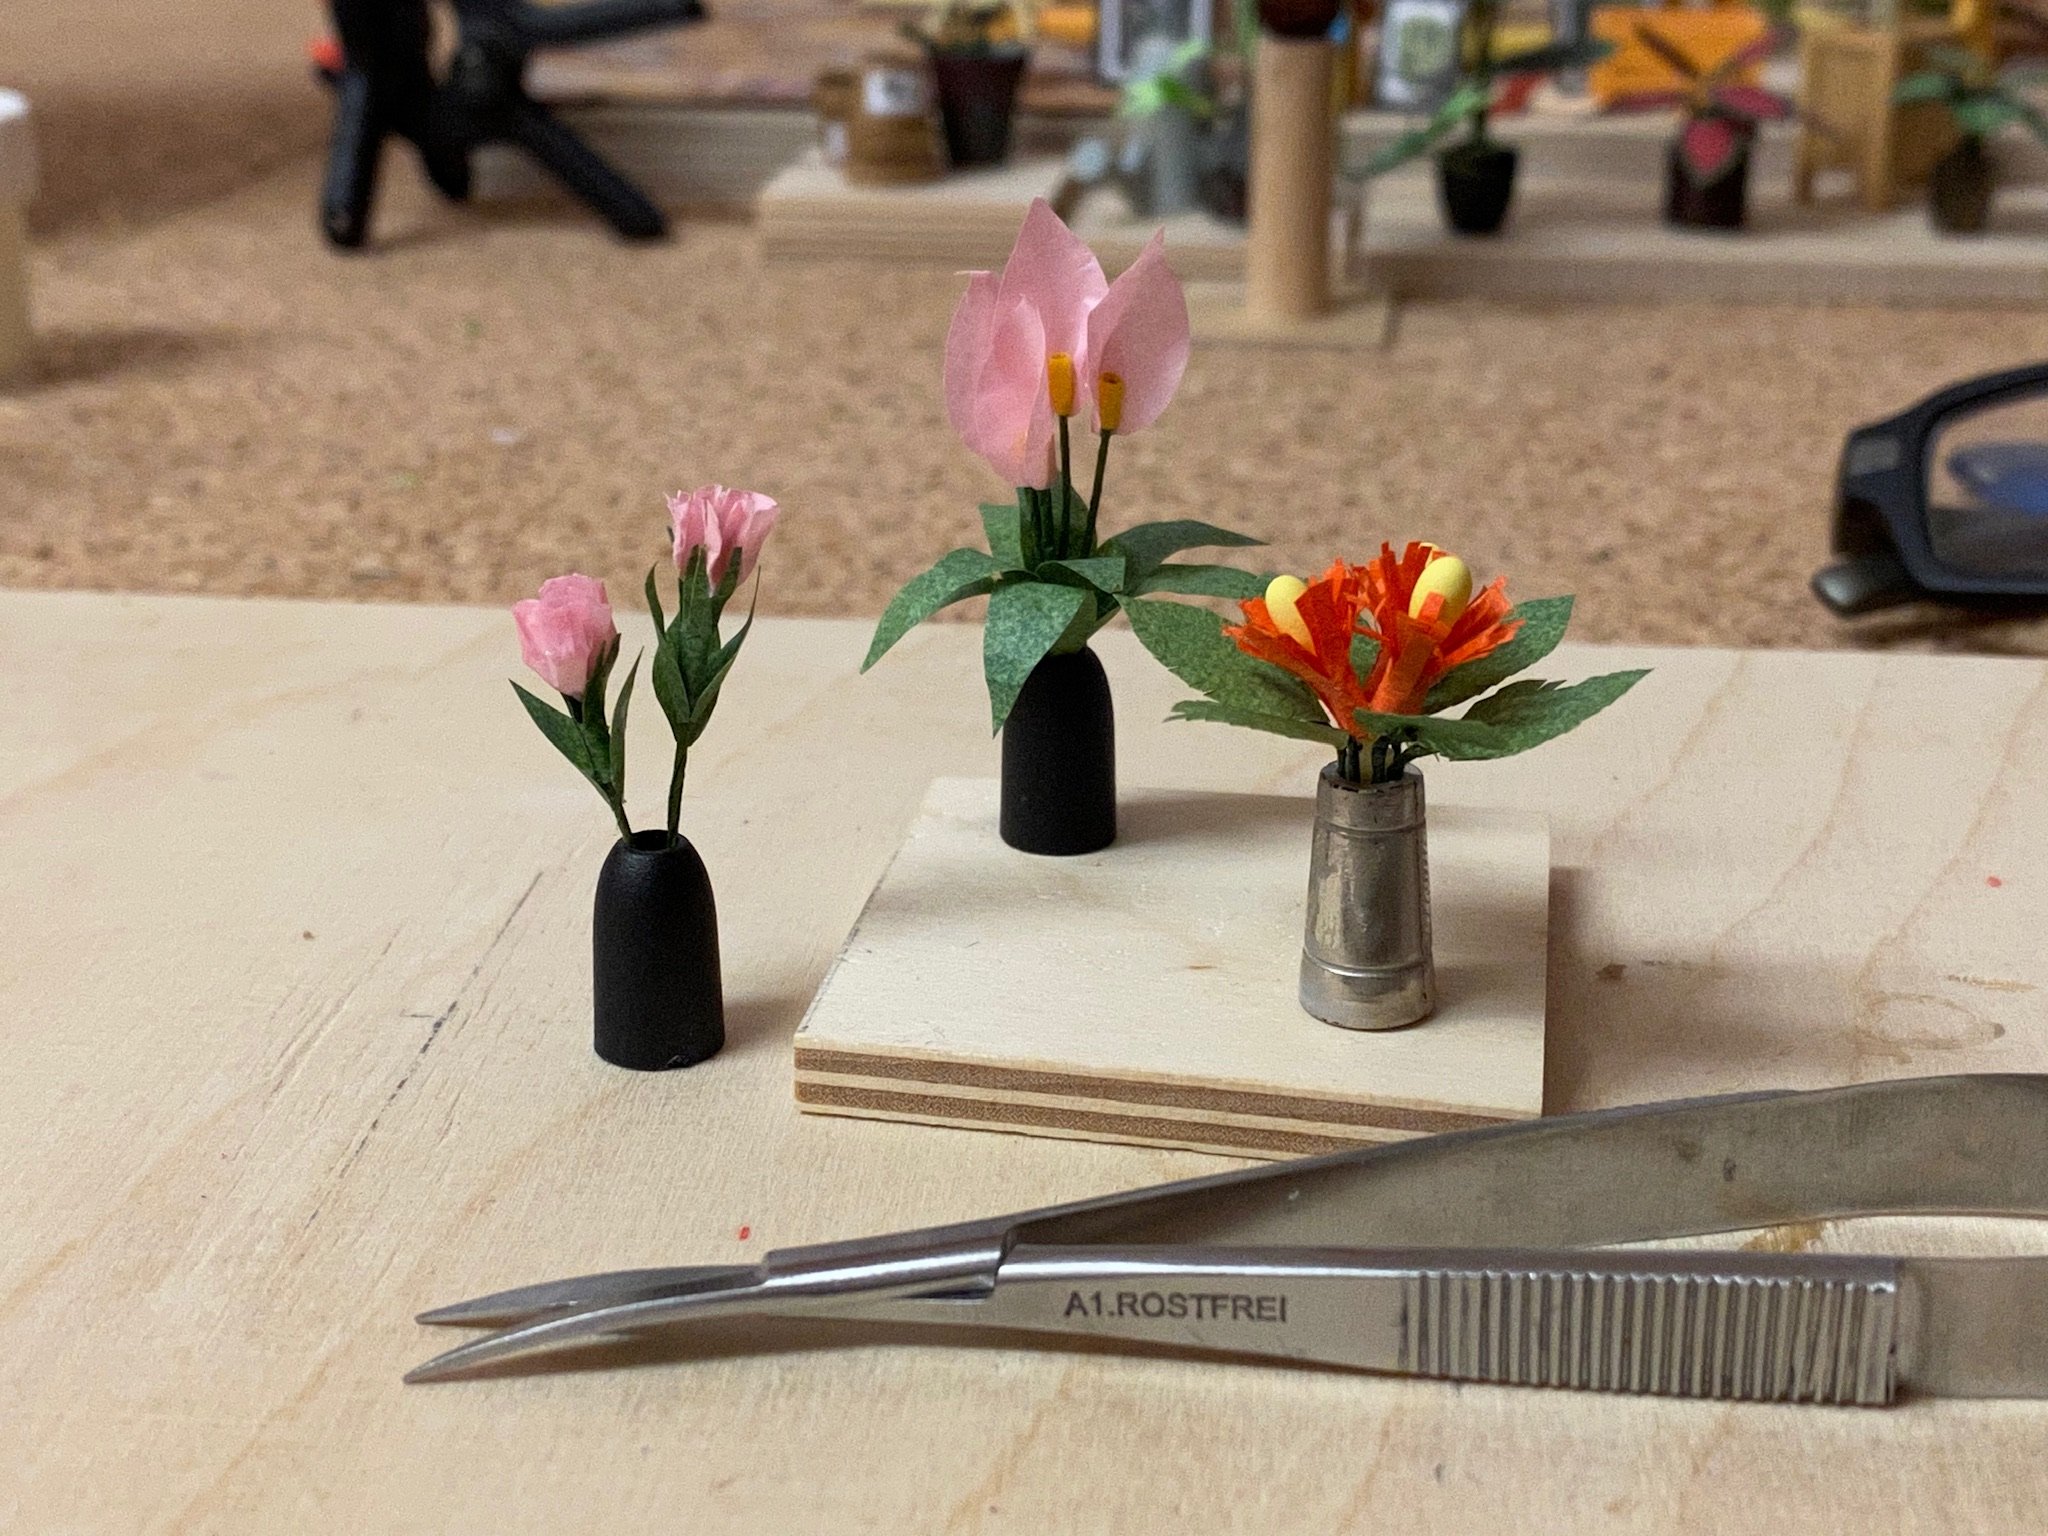
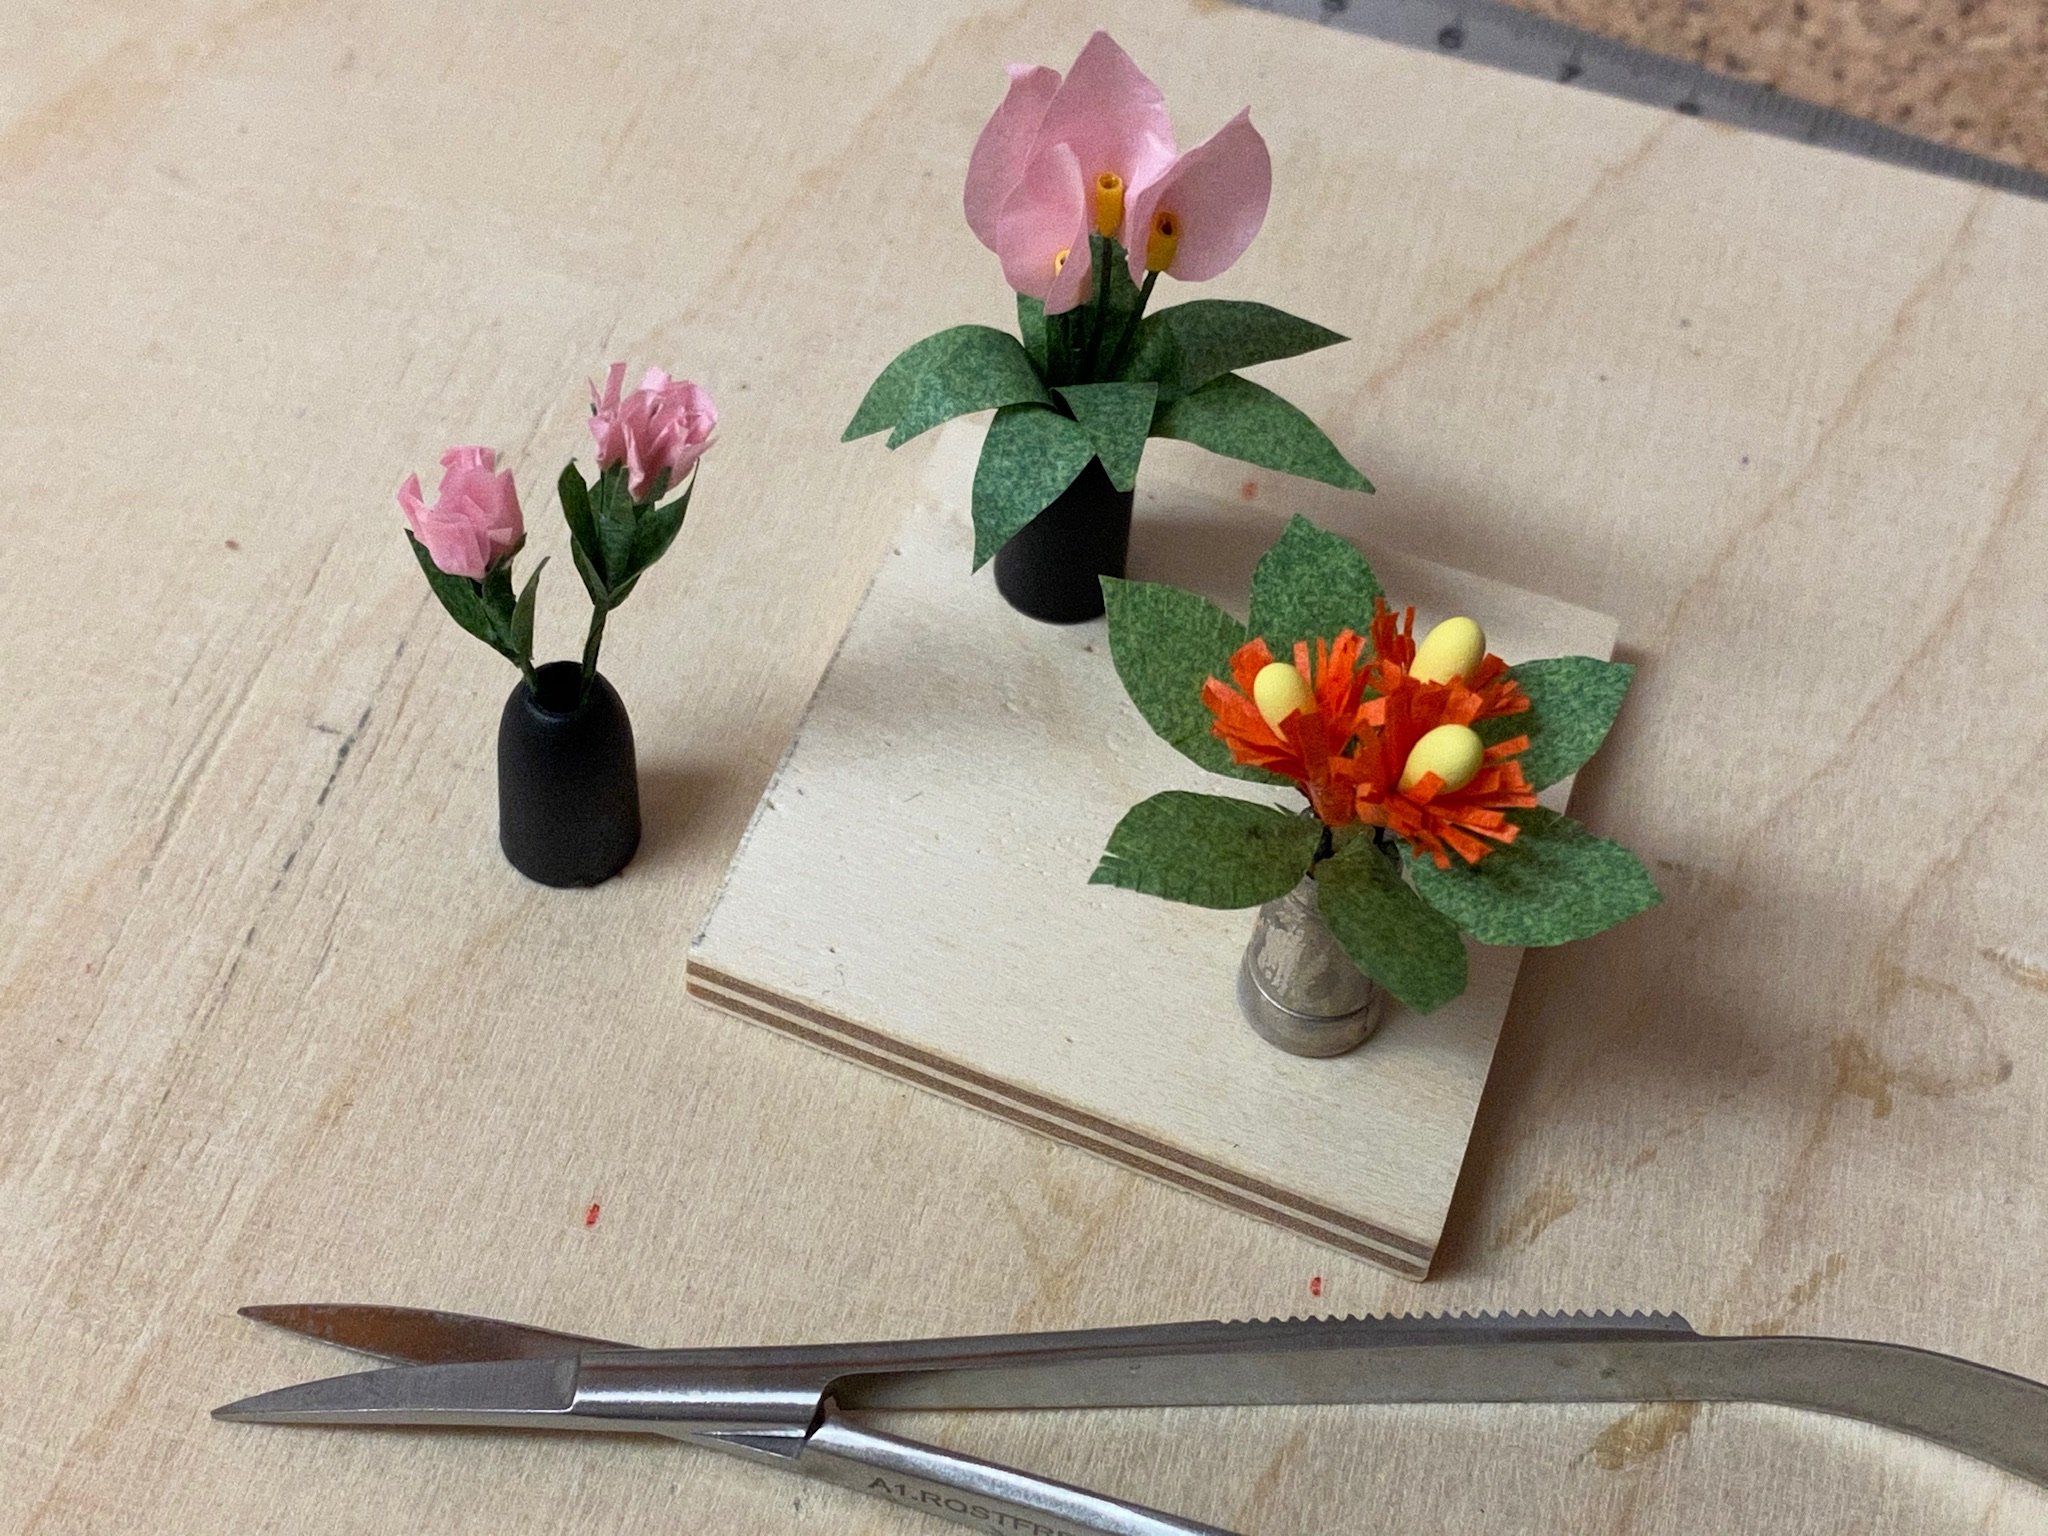
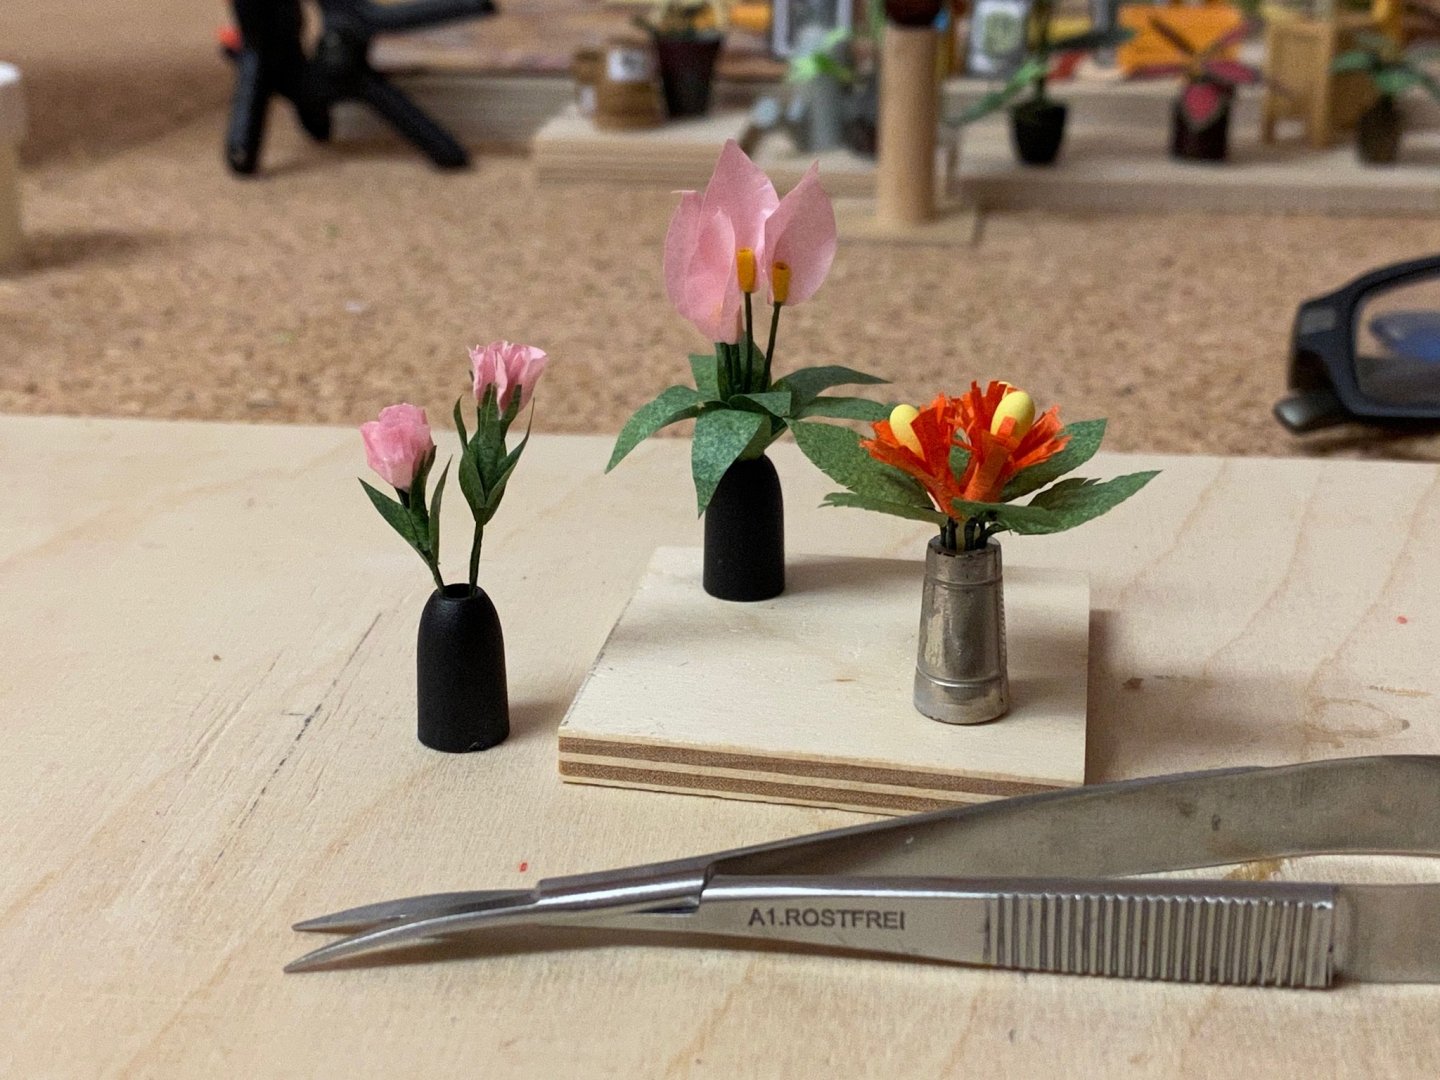
The flowers are also made of thin colored paper and paper covered wire. I made the first three ones with supplied flowerpots.

- 54 replies
-
- 12
-
-
The village looks very realistic. Nice work!
-
Thank you Popeye. The last of the more complex flowers is supposed to be hung on the roof later. It is made of light and dark green paper and paper covered wire. The wooden flowerpot is supplied.


-
Welcome to MSW and you made a nice progress on the Terror so far.
-
Fokker Dr.I triplane by cog - multiple - 1:72 - PLASTIC
captain_hook replied to cog's topic in Non-ship/categorised builds
Wow. Is the stripdown-version a 1/72 scale model too? They all look great. Always loved the colourful schemes of the flying circus. -
Welcome to MSW 😉
-
Very well done for a first build. Congratulations.
-
That‘s a pity. But for me that is a well-known phenomenon. Almost every small part that is falling of my desk is lost forever, no matter how long I will search for it. But as your model looks so beautiful and you have already put a lot of effort in it it would be a huge pity if you leave it that way. So maybe making two scratch-sails are good practice for future modelling and maybe they won‘t take that long.
-
I‘m sorry for that. But the white painting is a very good substitute.
-
When a shipmodel has only a few bulkheads the balsa should support the planking to run smooth especially where the planks are more curved - at bow and stern. As the planking is more straight in the middle section, balsa fillers are not really needed there. When the first planking is done you have a very solid hull to glue the second planking on. The AVS has a lot more bulkheads that the sherbourne or Lady Nelson so balsa fillers weren’t needed. You can give filling all spaces a try anyway but glueing large balsa blocks into the bulkhead spaces may result in warping the ships keel or structure as wood is always working.
-
🤔 What has happend? The coppering looked fine last time.
-
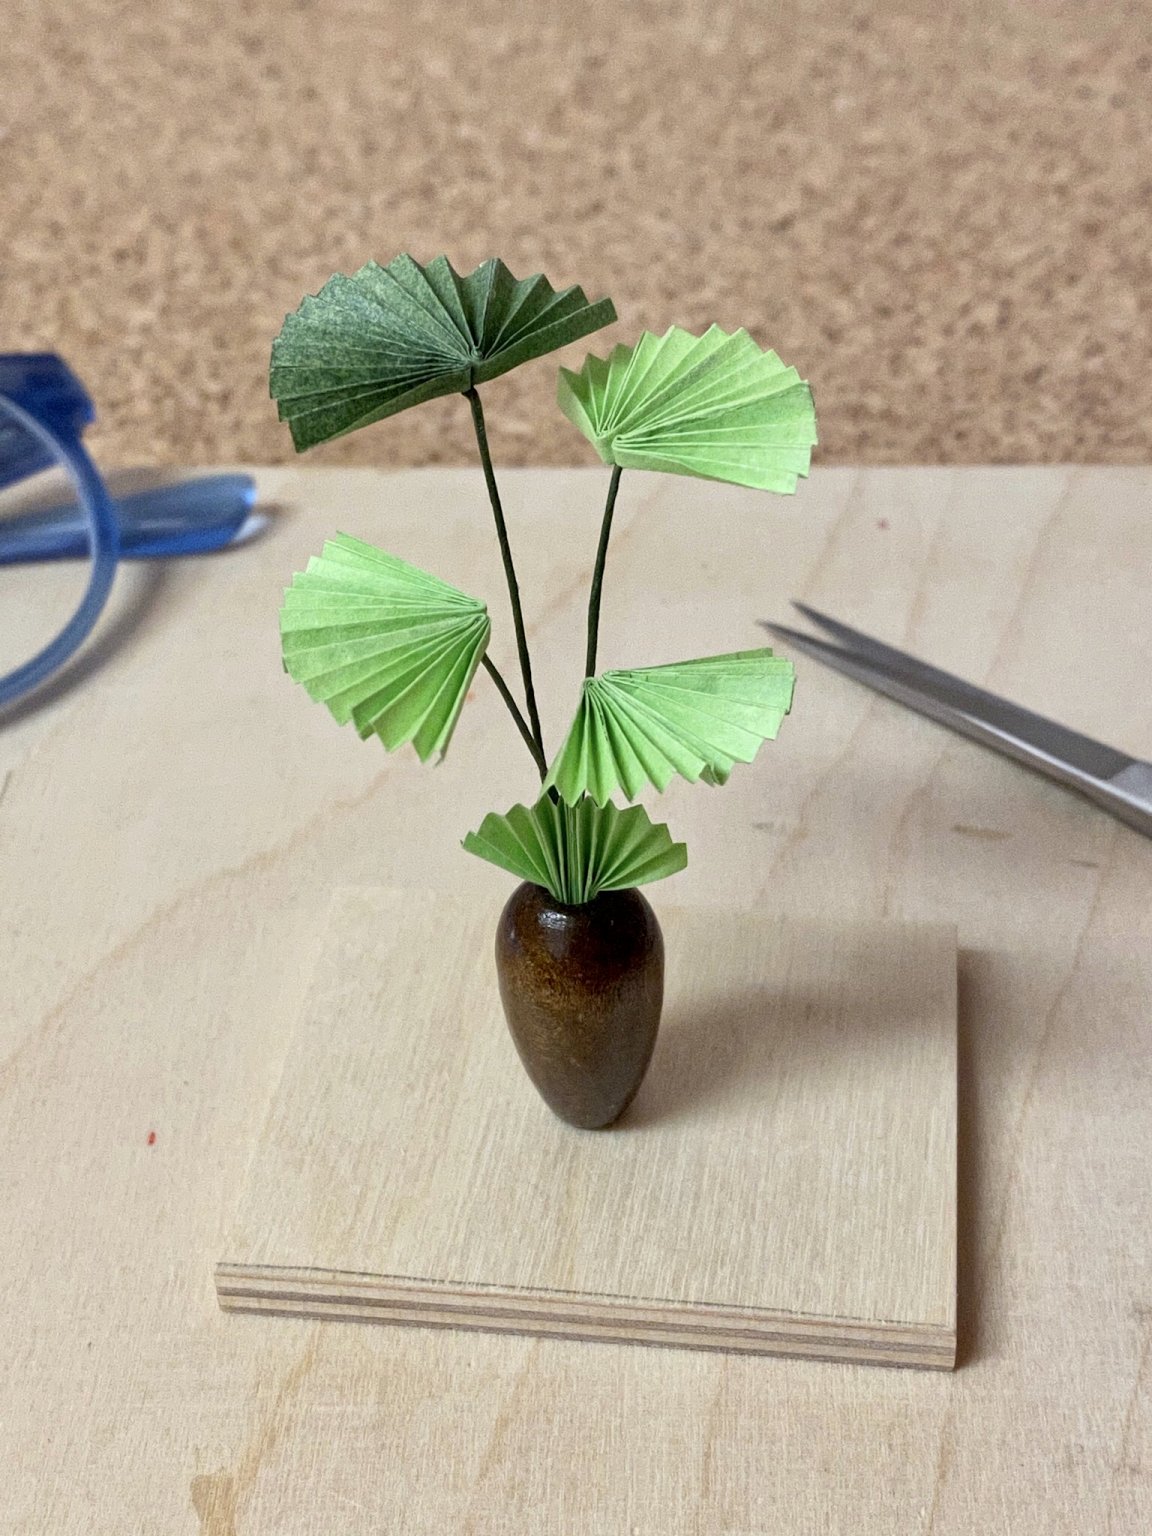
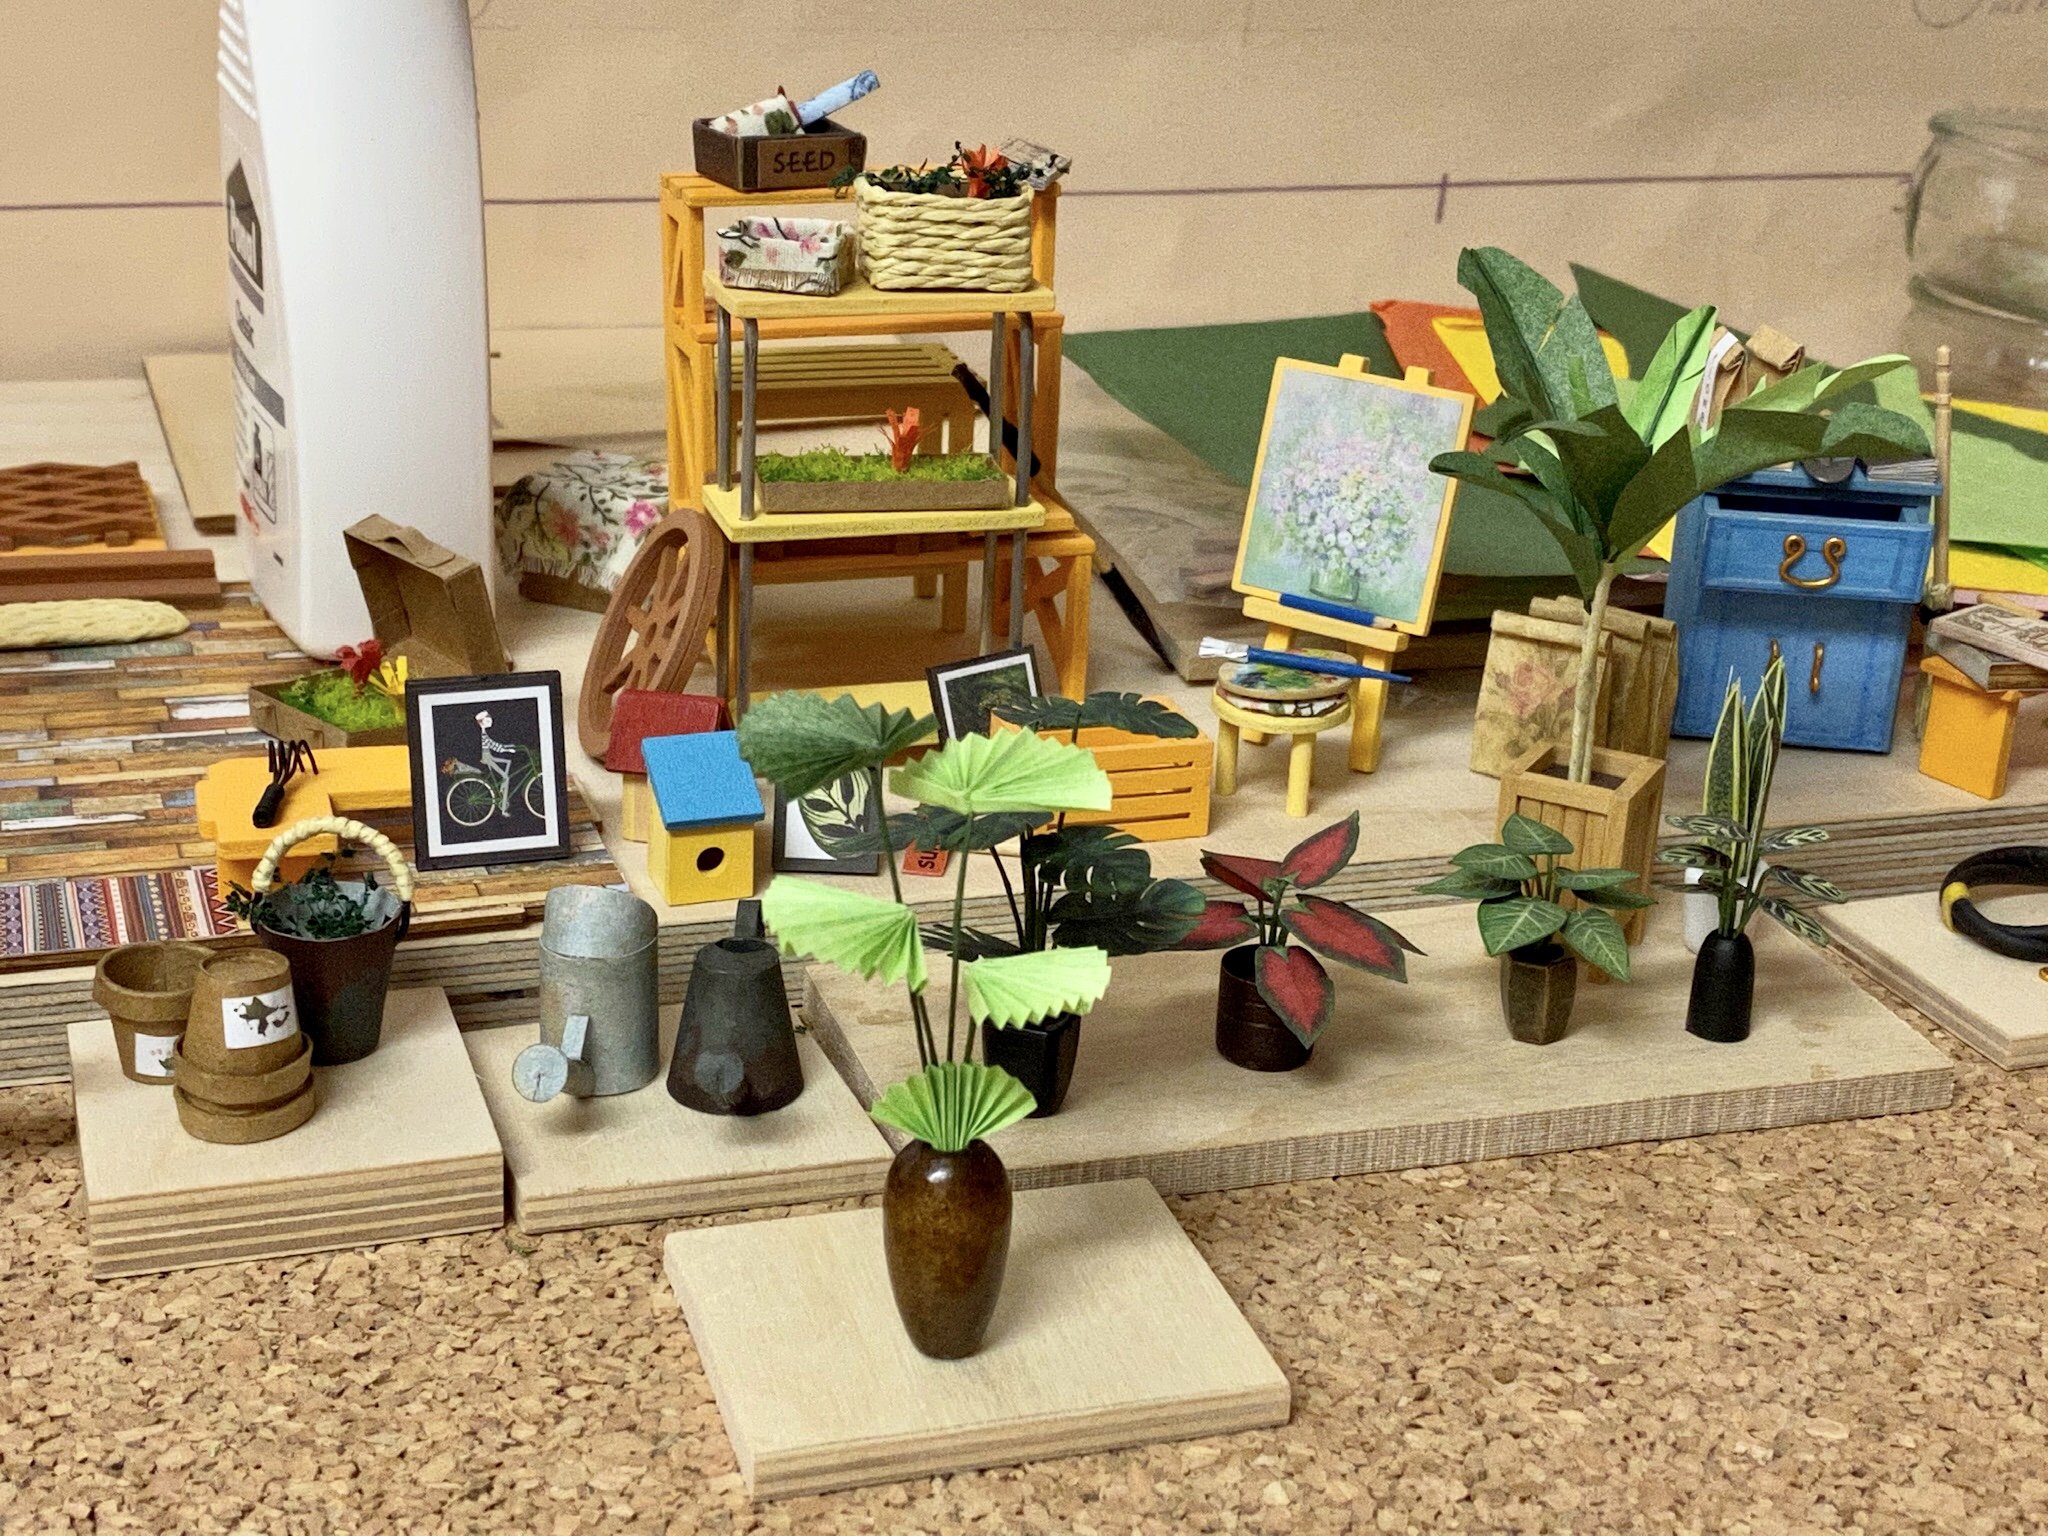
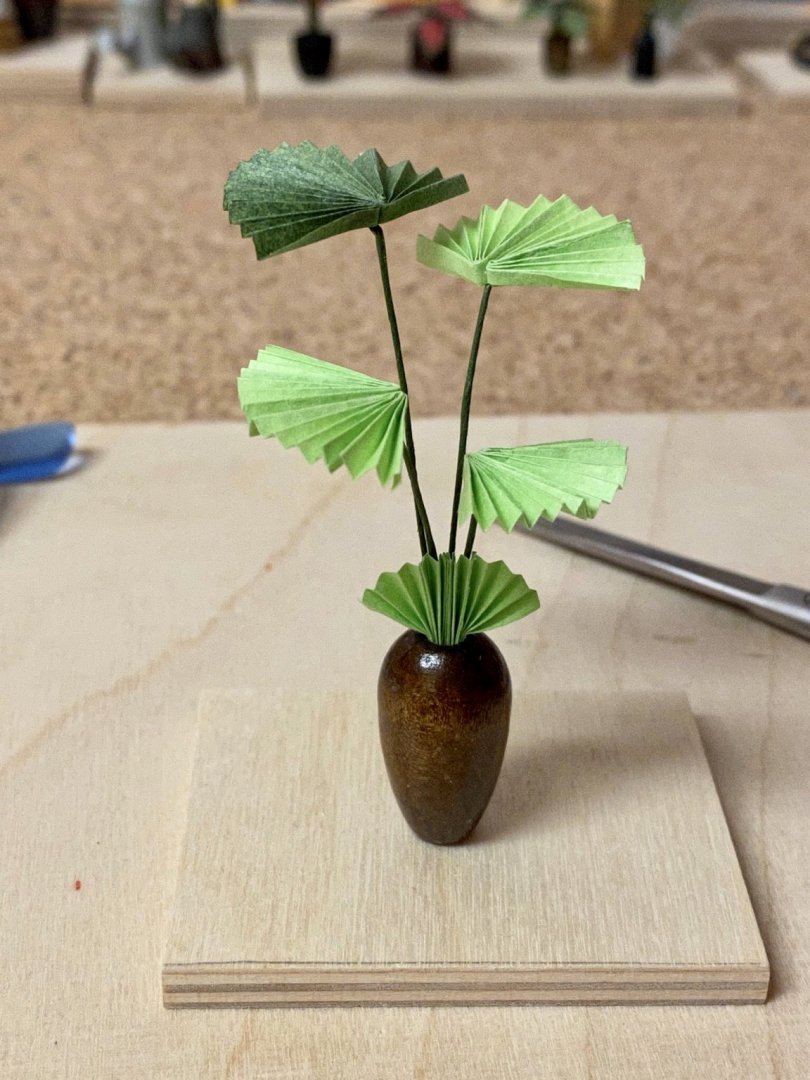
Here is another palm. Made of thin dark and light green paper. The paper is folded and glued together to form a section and then two sections are glued together to form a leaf. A paper covered wire is attached to each leaf. The pod was supplied so no scratch building needed this time. Meanwhile the desk is crowded with stuff...


-
Thank you for the nice words. The little girl has just turned 12 - the kit was stored about 2 years due to the long building time of the AVS. But she is still excited to see how it turns out ... will do my very best.
-
Nice start so far. You may consider inserting balsa between the bow and stern frames only as they will first ensure a smooth run of first planking especially at the bow and make that tricky part much easier. If you have a first planking that runs smooth and doesn‘t need much sanding or filler use you may use wood glue for second planking - this has a much longer dry phase than CA and you can correct the laying of the planks if needed (and no glueing fingers to the hull 🤗).
-
The stern gallery is beautiful!
-
Your build speed is incredible. I will watch the build with interest. It‘s a pity there is almost no brig-kit in 1/48 scale.
- 109 replies
-
- 3
-
-
- Vanguard Models
- Flirt
- (and 1 more)
-
Well done. This kit is on my wishlist and I like the way you have enhanced it.
-
Fokker Dr.I triplane by cog - multiple - 1:72 - PLASTIC
captain_hook replied to cog's topic in Non-ship/categorised builds
At 1/72 the wingspan must be only about 10cm / 4‘‘ ! I could only do that with a magnifying glass attached to my head. Nice work.