mugje
-
Posts
931 -
Joined
-
Last visited
Content Type
Profiles
Forums
Gallery
Events
Everything posted by mugje
-
 That looks real good! Nice and clean!
 -
Starting to make some sawdust again...fairing the hull.

-
Thanks and welcome! I like this kit a lot and it's so well designed, I enjoy working on it
-
I let the lasered gun deck drying for 2 days and it's flat again, so that's good. But what I noticed is that the diluted PVA fixated the wood in such a way that it is substantial larger than it was. It doesn't fit anymore. I need to sand it quite a bit more to get it right again. It's even bigger then the other gundeck that I replaced with this one and that one isn't even sanded haha. So this morning the idea slipped in my head that maybe planking the deck myself would be a better option for me. It's a bit easier to handle, only more work...but that's not a problem. I'm first going to plank the outer hull so I can let this idea sink in a bit and decide later on.
-
Thanks Glenn, that's nice of you to say ...your Winnie is a very good example for me regarding attention to detail 😮
-
Thanks Chuck! And everybody else for the likes! First glue attempt of the main gun deck failed 😂. It's really a tight fit and with the diluted PVA....lot's of warping etcetera...I couldn't get it flat on the false deck. So took it quickly off. Tried to clean as much glue off the parts with some acetone. After that I made the lasered gun deck a bit moist with some water and put something heavy on it so I hope it's getting a bit flat again. Maybe need to do that several times before it's flat. We'll see...
-
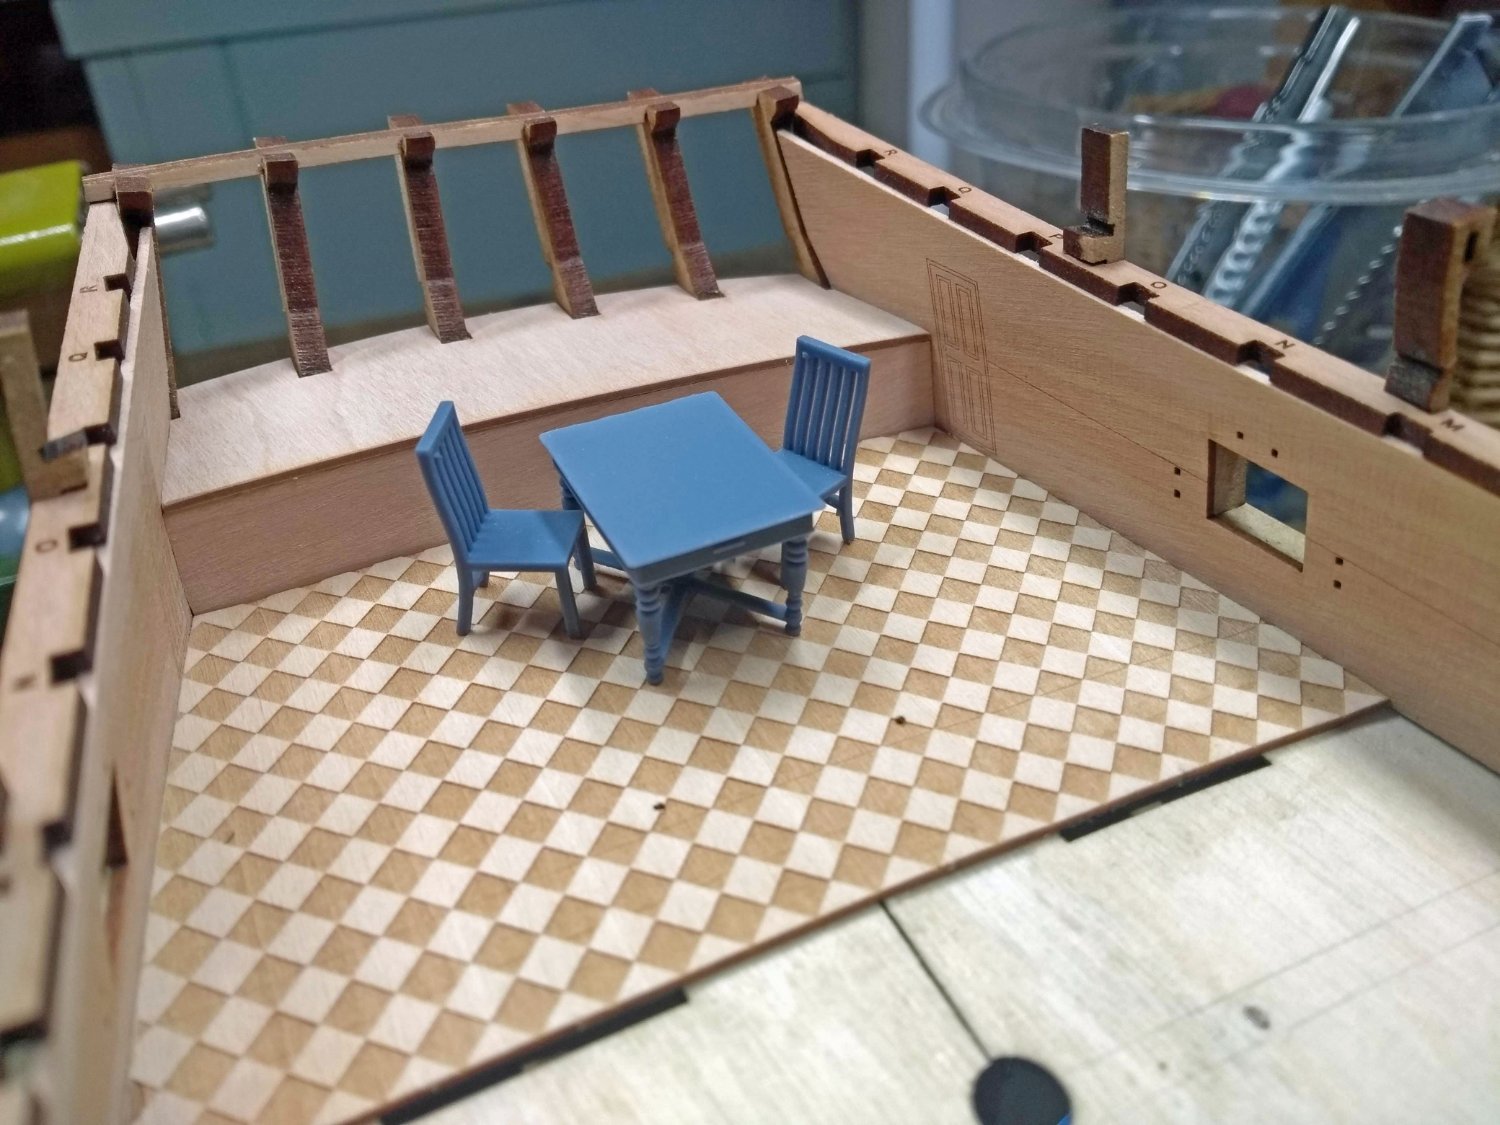
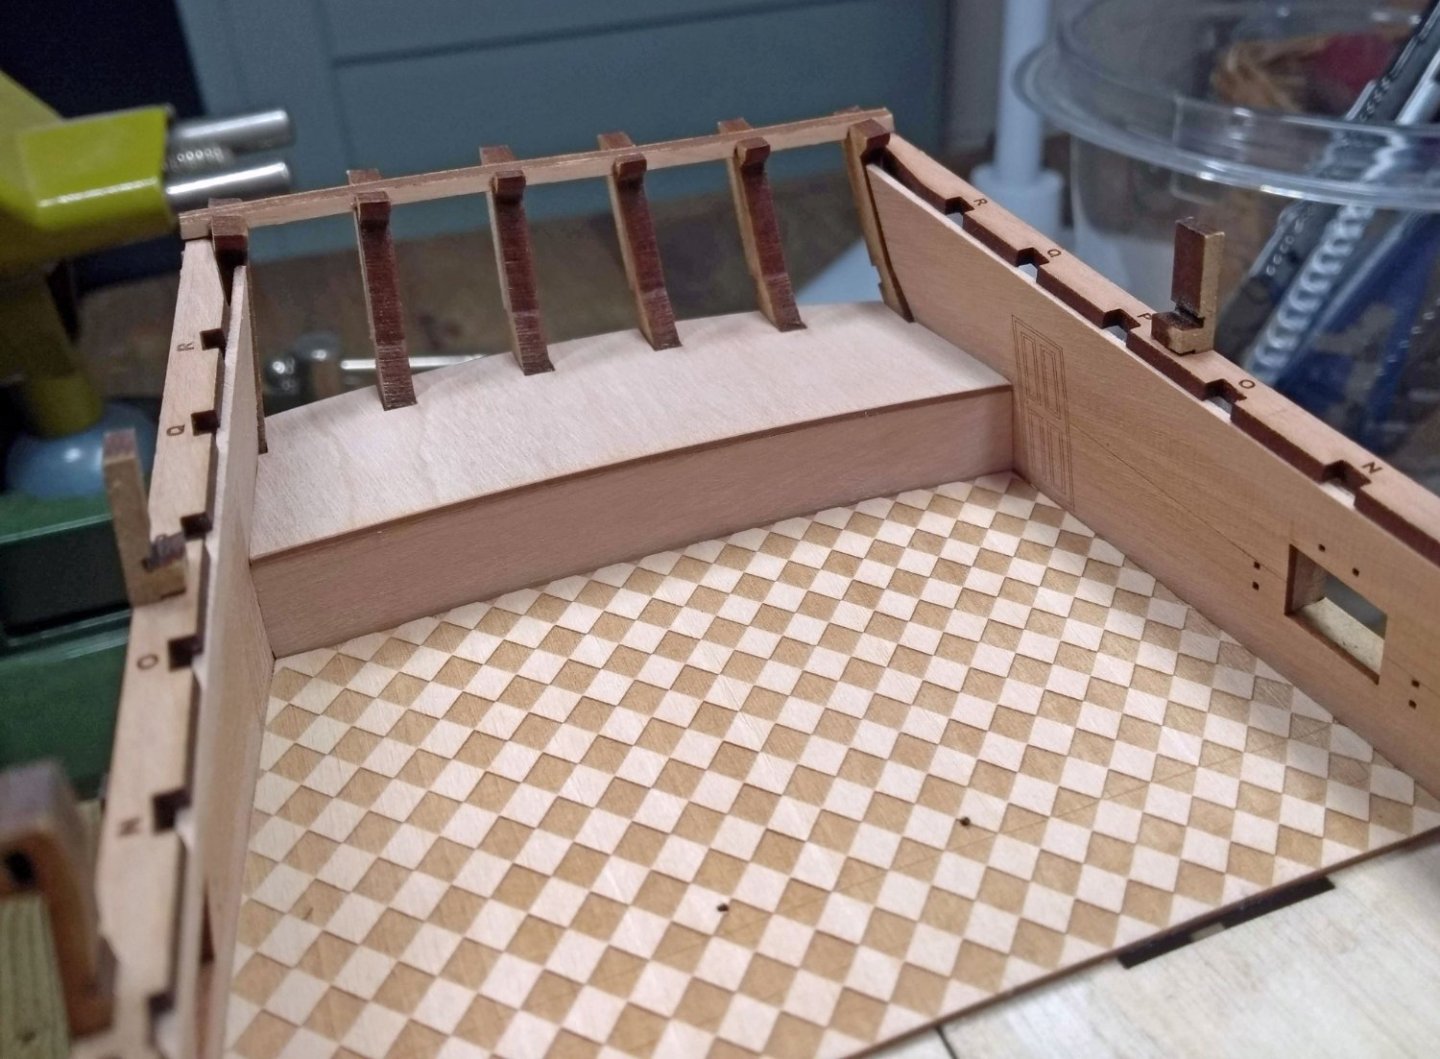
Before I glue the lasered main deck I wanted to do this little job at the stern cabin. These two patterns give the cabin a nice clean finish. Because the patterns are both a bit oversized due to individual building differences, I traced both pieces on some card, cut them out and tested them where they need to belong. Just removing a little bit every time until I had the right shape. That final card shape onto the wooden pieces....and well you know the rest. Happy with the clean result and placed some purchased furniture from Vanguard Models to see how it looks. I like it a lot! I have also a desk, but I think...with also the cannons in the cabin I think it would be a bit overkill...but that comes later.


-
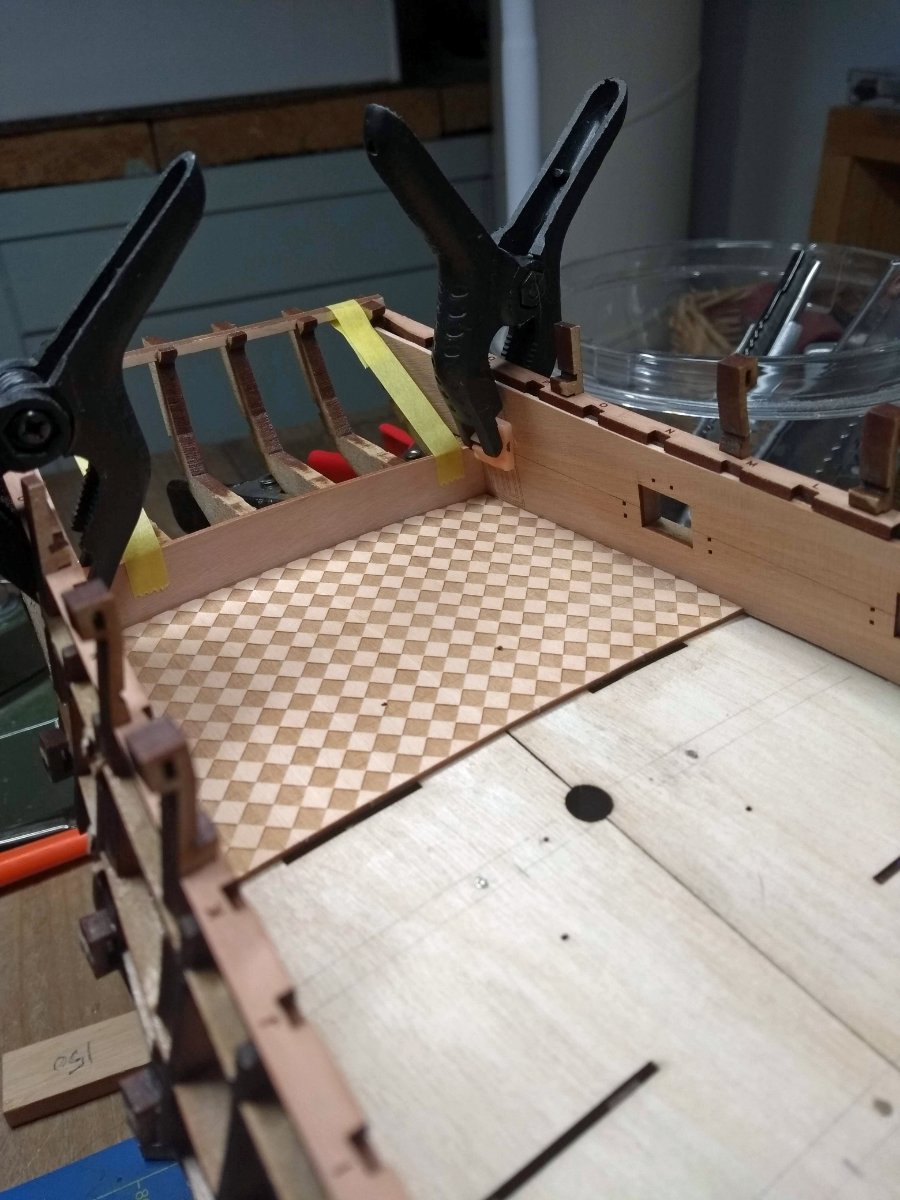
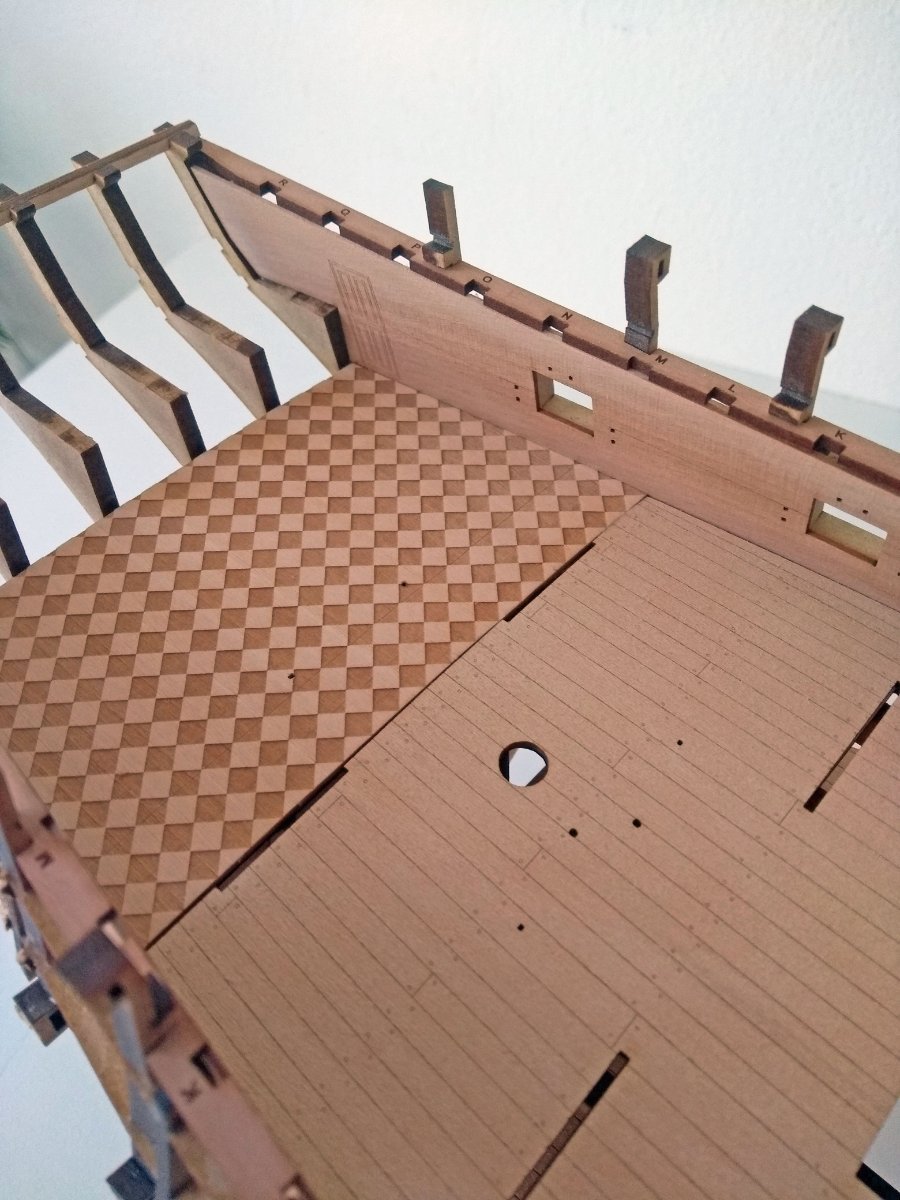
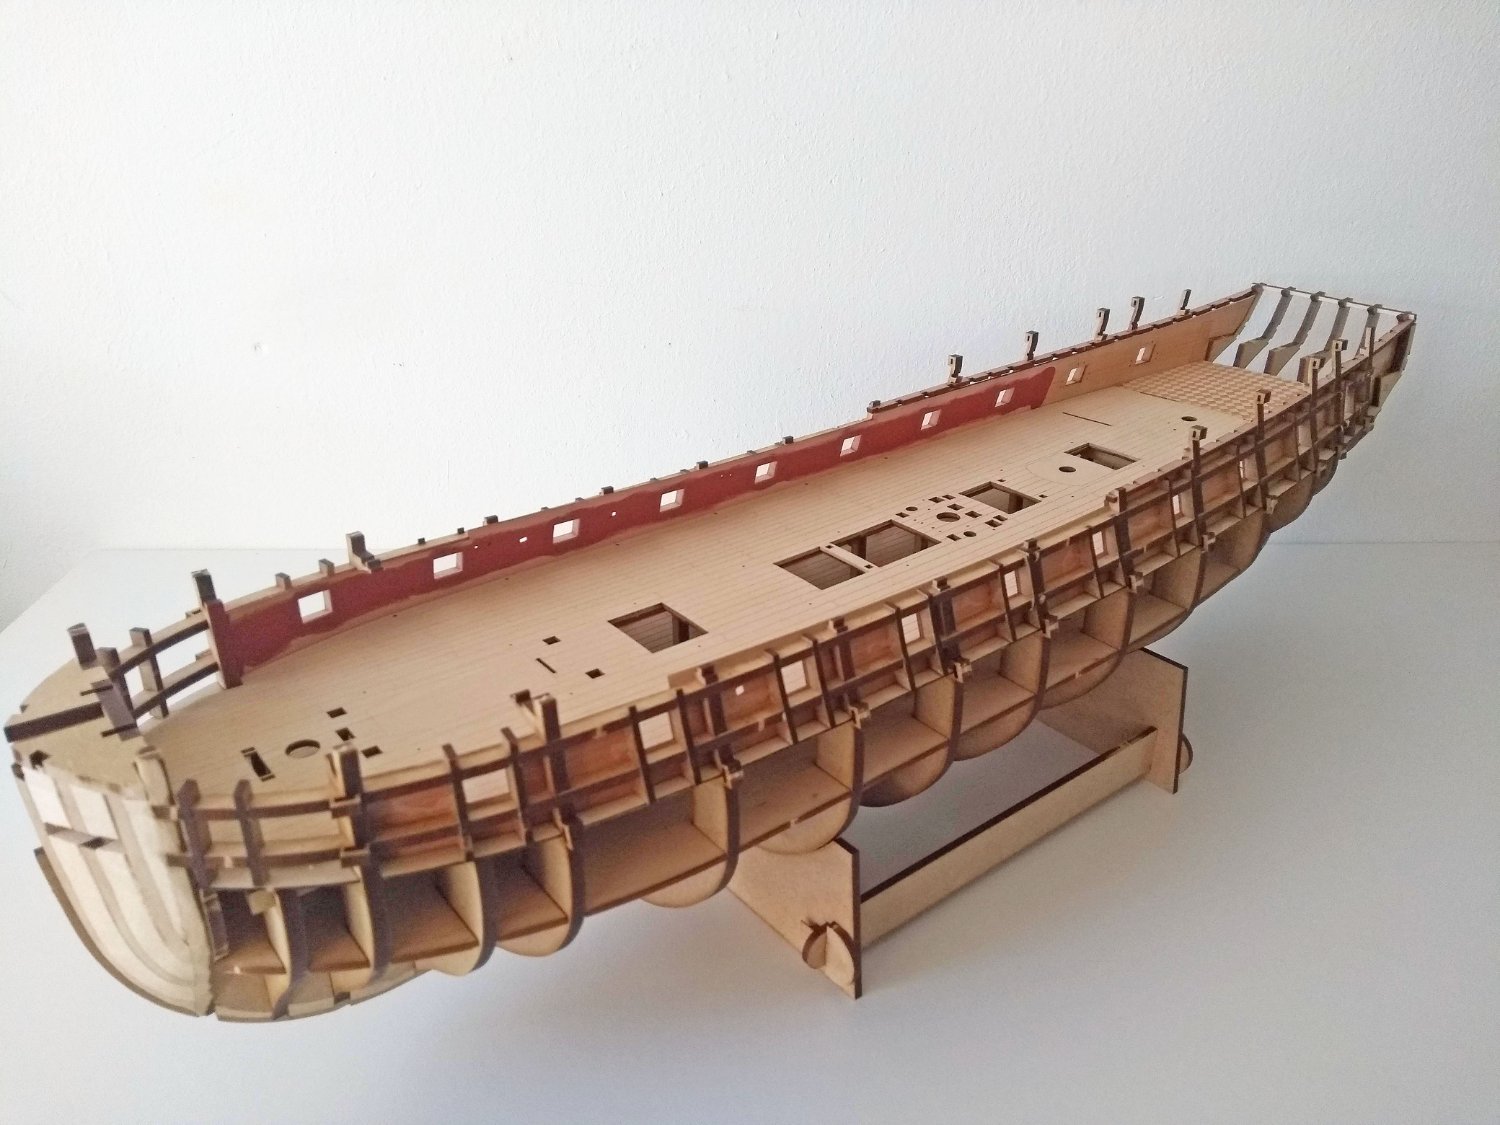
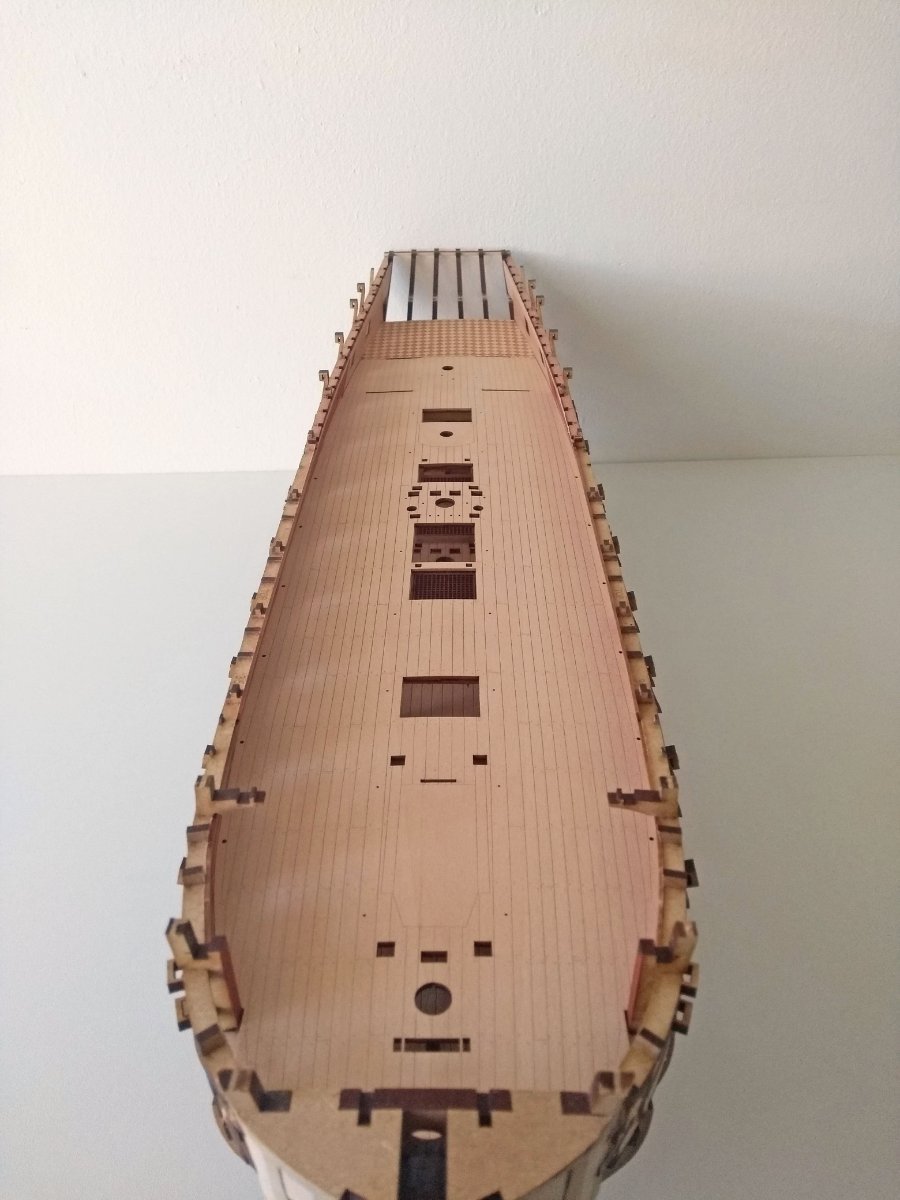
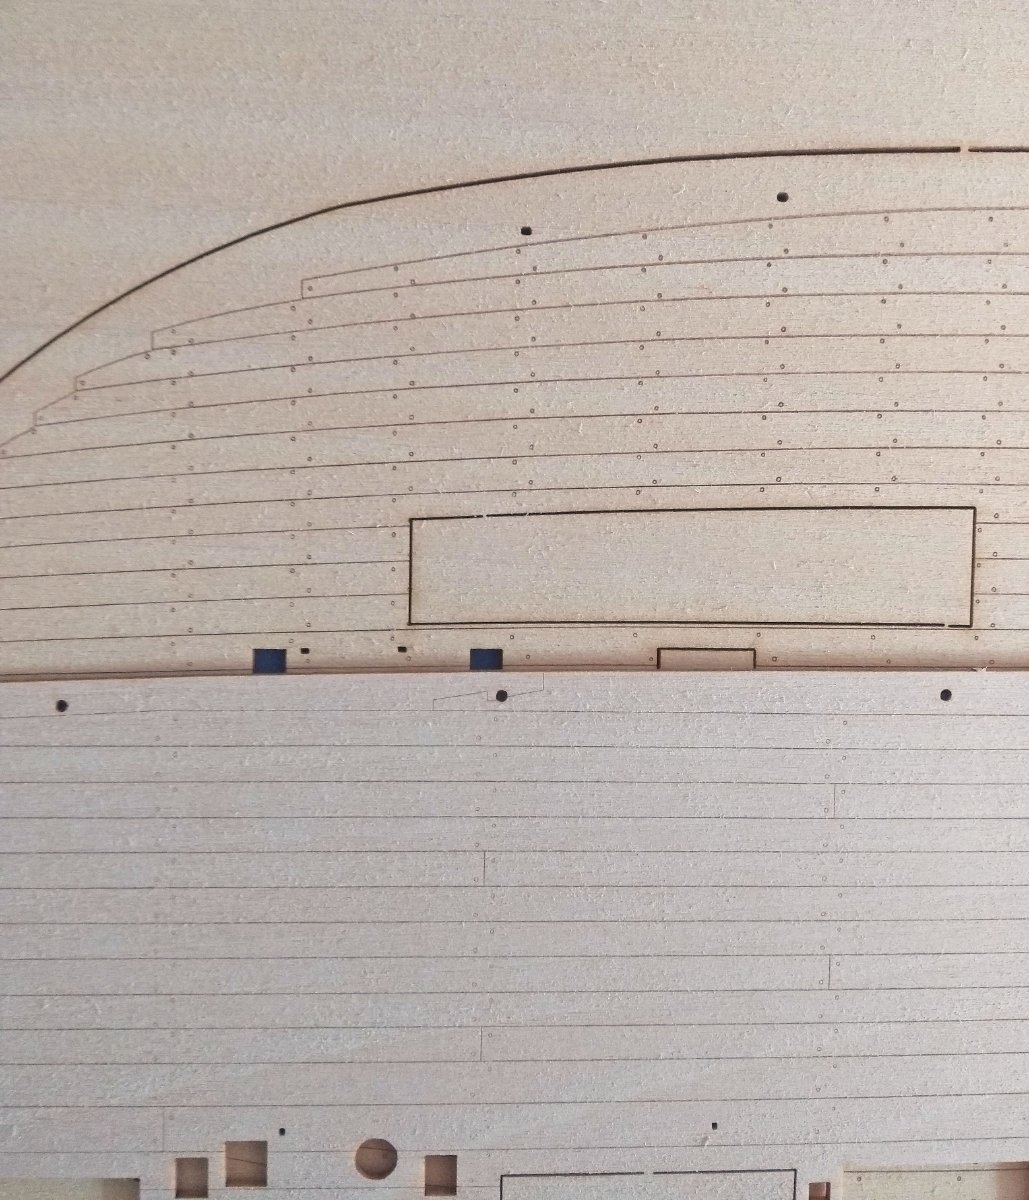
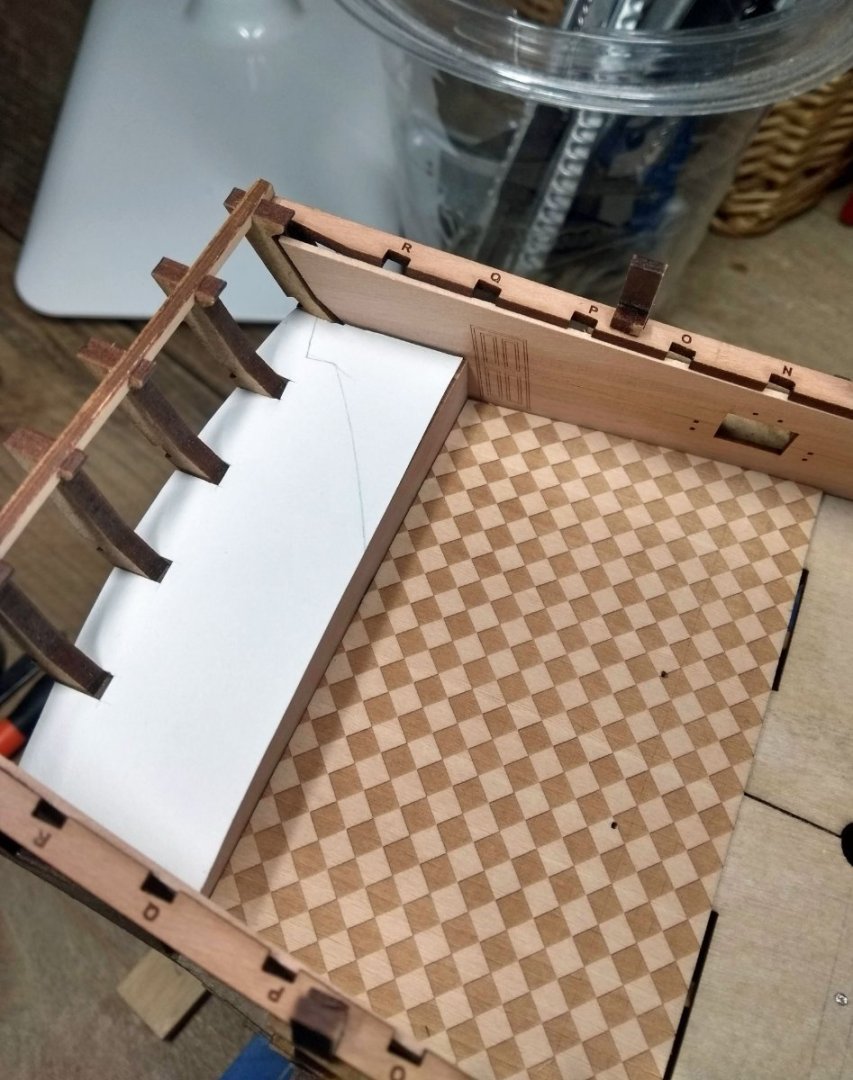
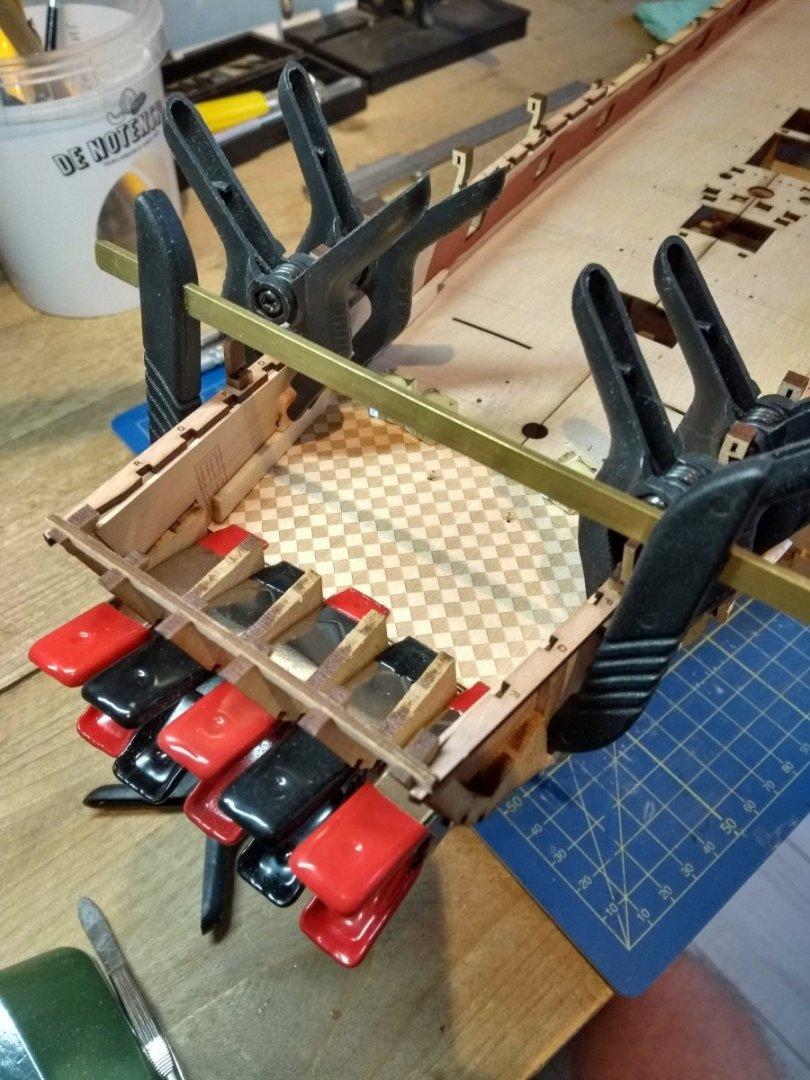
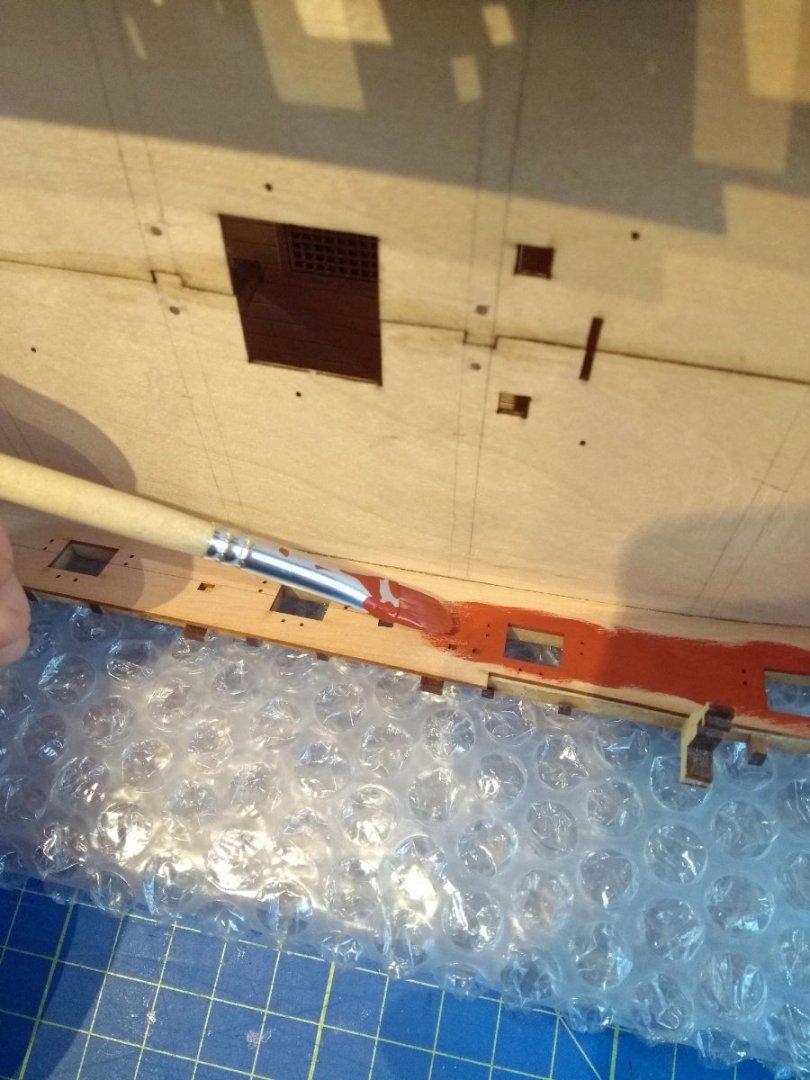
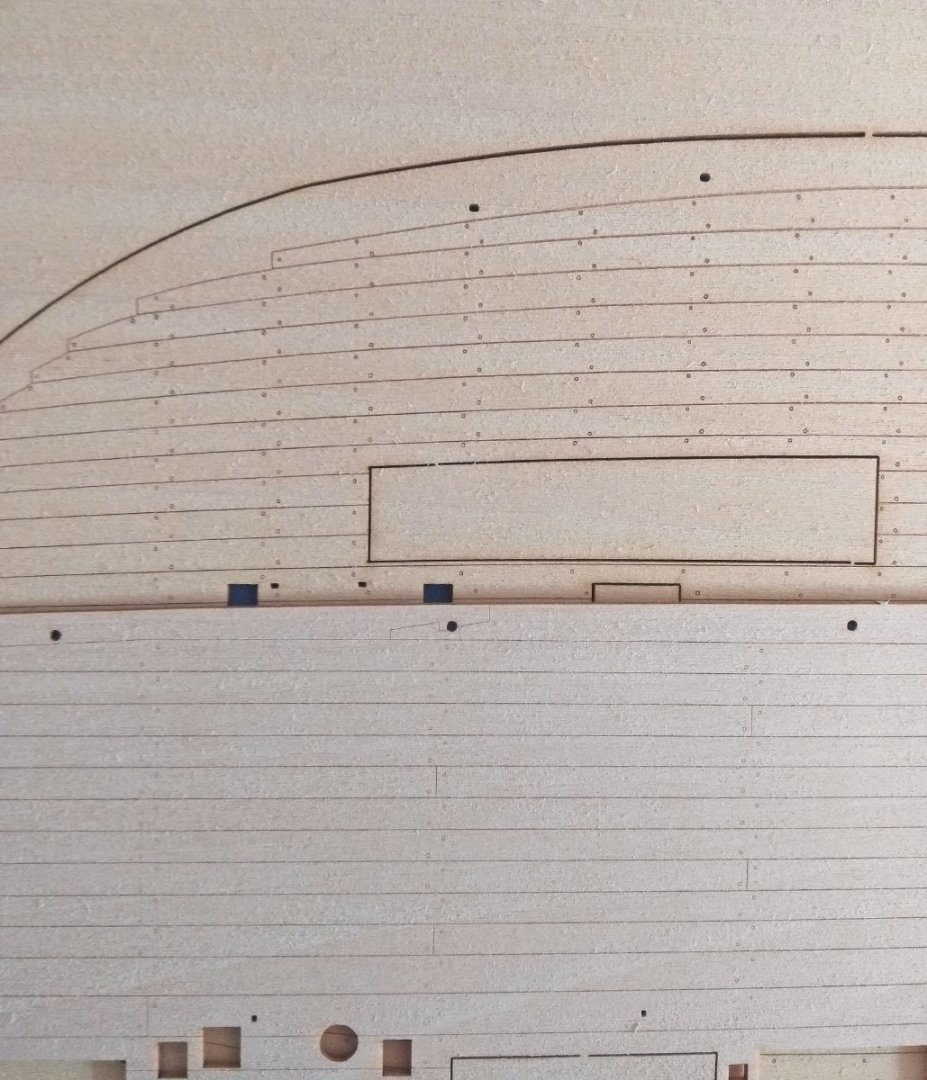
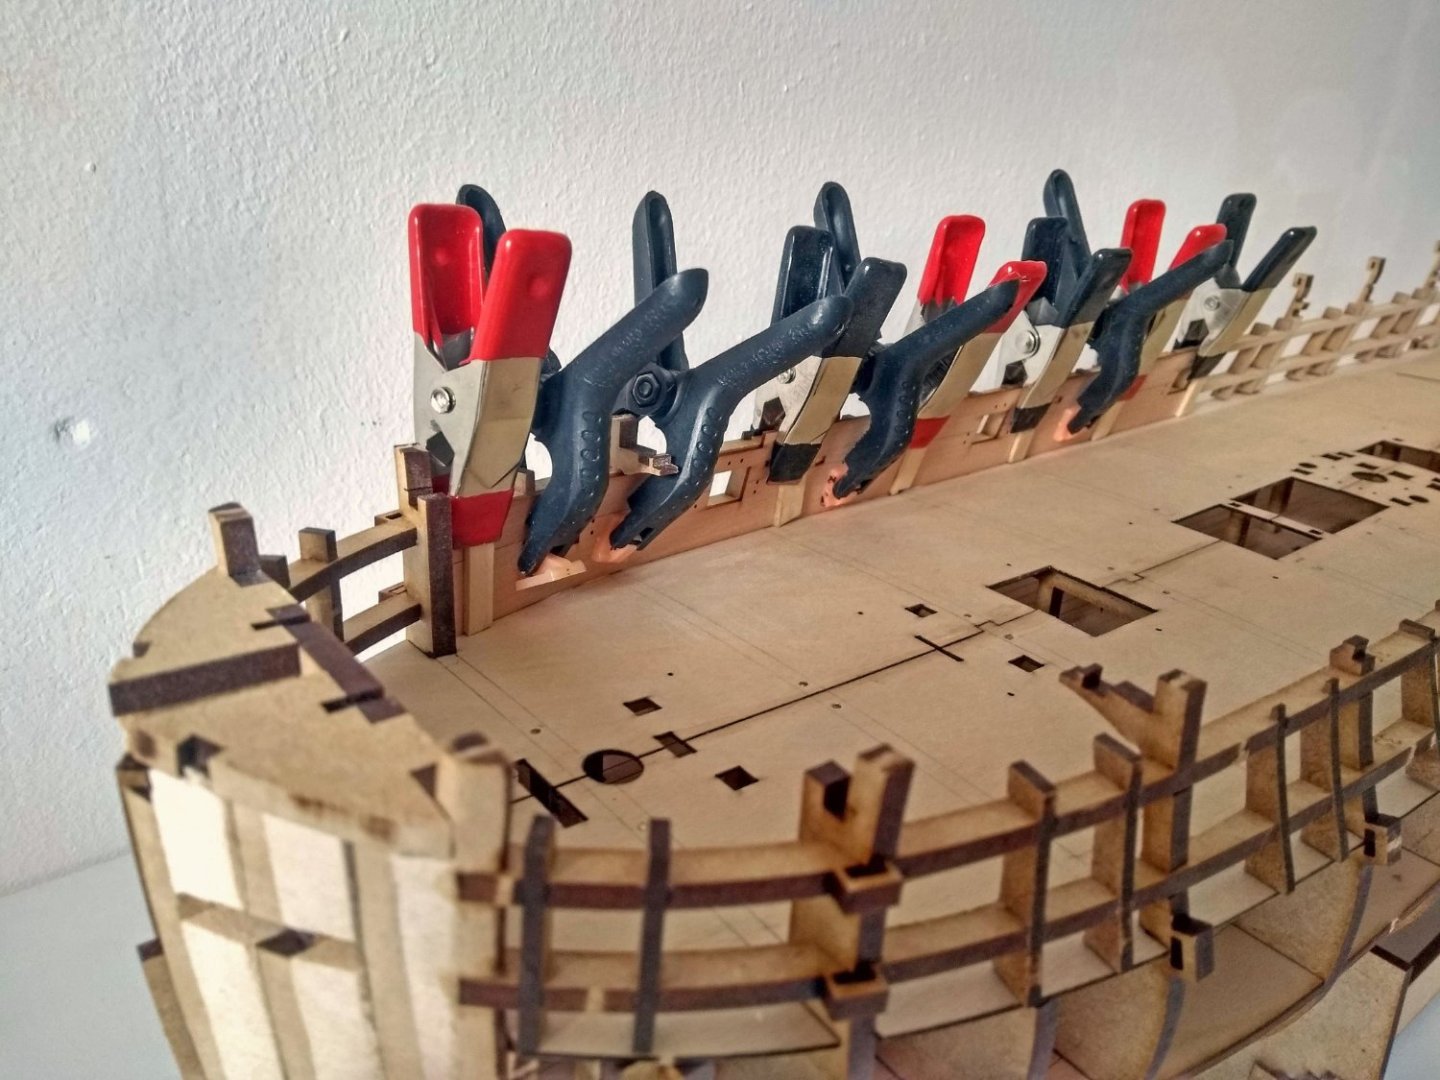
Update: first the montage of the gundeck bulwark patterns. Went really well. The tin pieces bent nice, so no soaking. (pictures are a bit dark because of the sunblinders are down) Next step was to test fit the gundeck and chequer pattern. I found the gundeck quite a difficult part to get right. First I tried a bit intuïtif, but that to unclear where to sand the edges a bit off. Then I saw in Glenn-UK his Sphinx log that he used a card pattern for this. This was a good solution and gave me more steering about how much to trim the edges. The Chequer pattern looked a good fit so no trimming there. The gundeck pattern just lays at a very small angle on the false deck. Personally I don't think it will matter much and i'm not daring to sand anymore of the edges because then there would appear gaps between the deck and bullwark that are to big to hide with the spirketting strips. You can see the gap here in the lower picture. Don't know if other people noticed it too that the outlining of the lasered gundeck lays in a slight angle in comparison with the deck planks. Because I measured everything from the middle plank of the gundeck and with a triangle I saw the lines at the back of the deck and the little notches at the front were a bit in angle. Not a problem I think because the cabin bulkheads will cover this gap or I fill it up a bit with a scrap piece. I read in Glenn-UK his Indefatigable log about 3M spray mount so that thin pieces of wood wouldn't curl when you use PVA. At first I didn't really understand it why and how, until I smeared some PVA on the chequer pattern....wow that curled immediately! That was quite a panic situation right there . But with a lot of clamps I got the thing flat on the false deck. So after learning the hard way haha...need to have that 3M spray mount asap! Just for my information...will this curling happen with all the thin pieces of wood? Or is it with specific pieces? And has this glue a strong bond on wood? Some reviews on the internet say that it comes off after a week or so. (not sure if they use it on wood, because it's normally for paper?) I see that "Pattex" and "Bison" also have a glue spray. Most important quality is that it's not PVA I asume. Also painted the inner bulwarks with red ochre Admiralty paint. Thinned it down with some extra water so the details wouldn't get lost. So this is the state she is in now...I haven't glued the main deck yet, so that will be the next step. ( Big step!)


-
That's beautiful in the natural outside light!
-
Congratulations with finishing your Victory. A real masterpiece! Well done!
- 521 replies
-
- 1
-

-
- caldercraft
- victory
- (and 1 more)
-
Your work so far looks really good! Very clean, I like it
-
I love these little interiors so much! It adds so much realism...it gives more sense of scale and you really get a grasp of how big these vessels were. You are doing a great job at it Glenn!
-
Chris is so very kind to send me a replacement of the main gundeck. That's topnotch service right there! I was planning to shop some figures and furniture for the ship so Chris can ship the replacement with it. Great stuff!
-
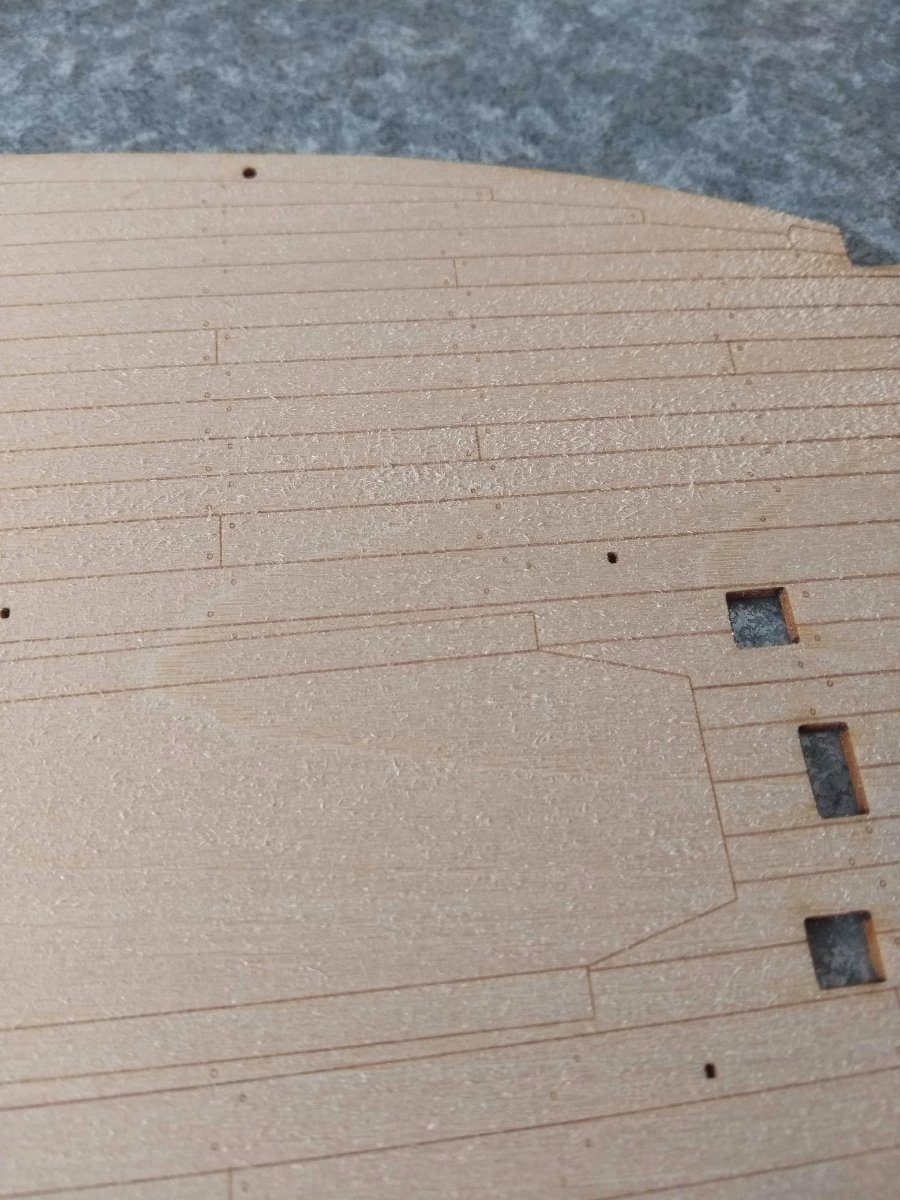
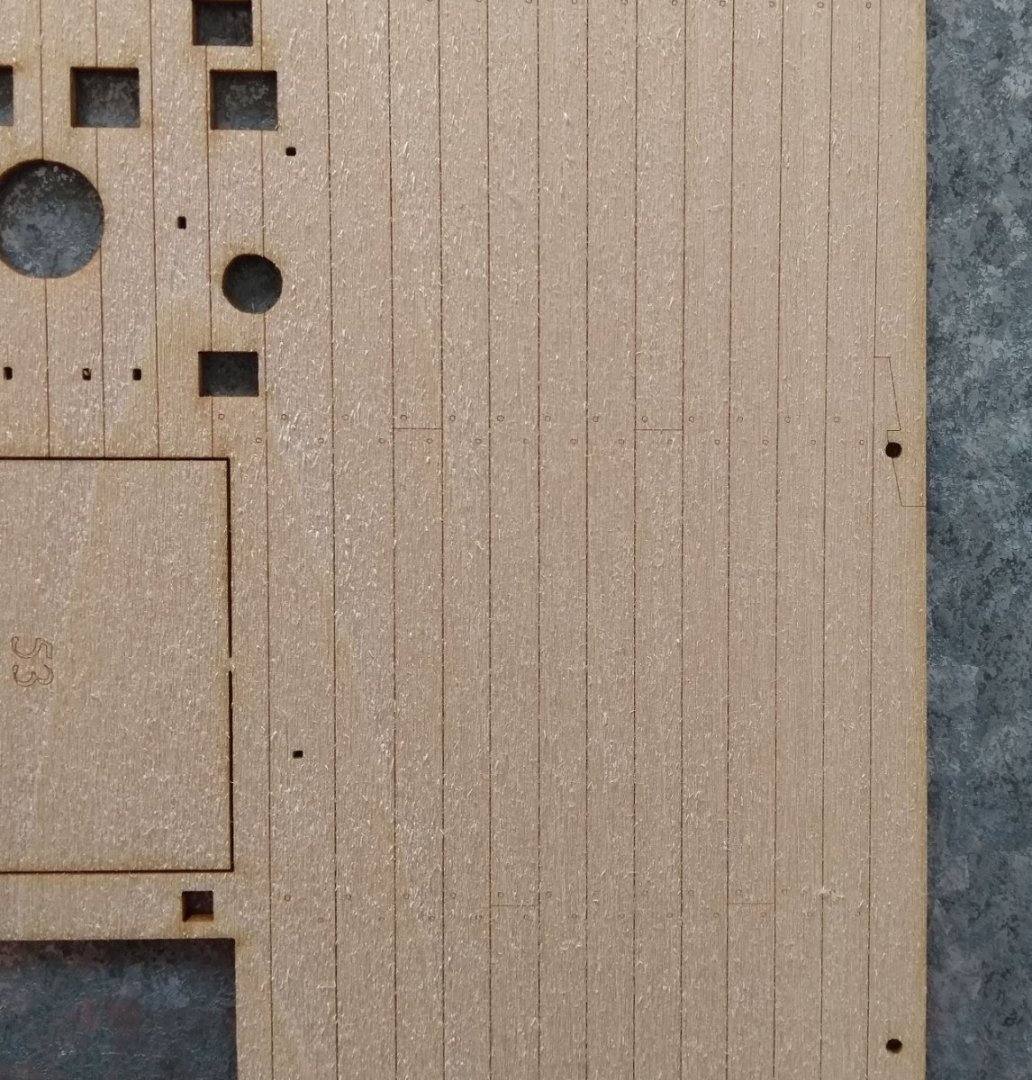
Couldn't sand away all the hairs, because the lasered details will fade away i'm afraid. The main gundeck was already a bit lighter lasered then the forecastle and quarterdeck patterns...so I hope some varnish will seal the hairs a bit and bring up the details a bit more, because they not that visible on this part.

-
Thanks James! I'll try both methods...first the parts you don't see well in the finished built
-
Thanks! I think that's the best way too...with less pressure on the blade then normal. I will experiment a bit
-
I took a look at the lasered maple gundeck and it is a bit 'hairy' on top, what would be the best way to get this surface smooth without loosing the lasered details? I asume scraping, or is sanding a better approach? Anyone some tips?

-
kit review 1:64 HM Britannic Majesty's Cutter Trial 1790 - Vanguard Models
mugje replied to James H's topic in REVIEWS: Model kits
Lovely kit and review 👍 -
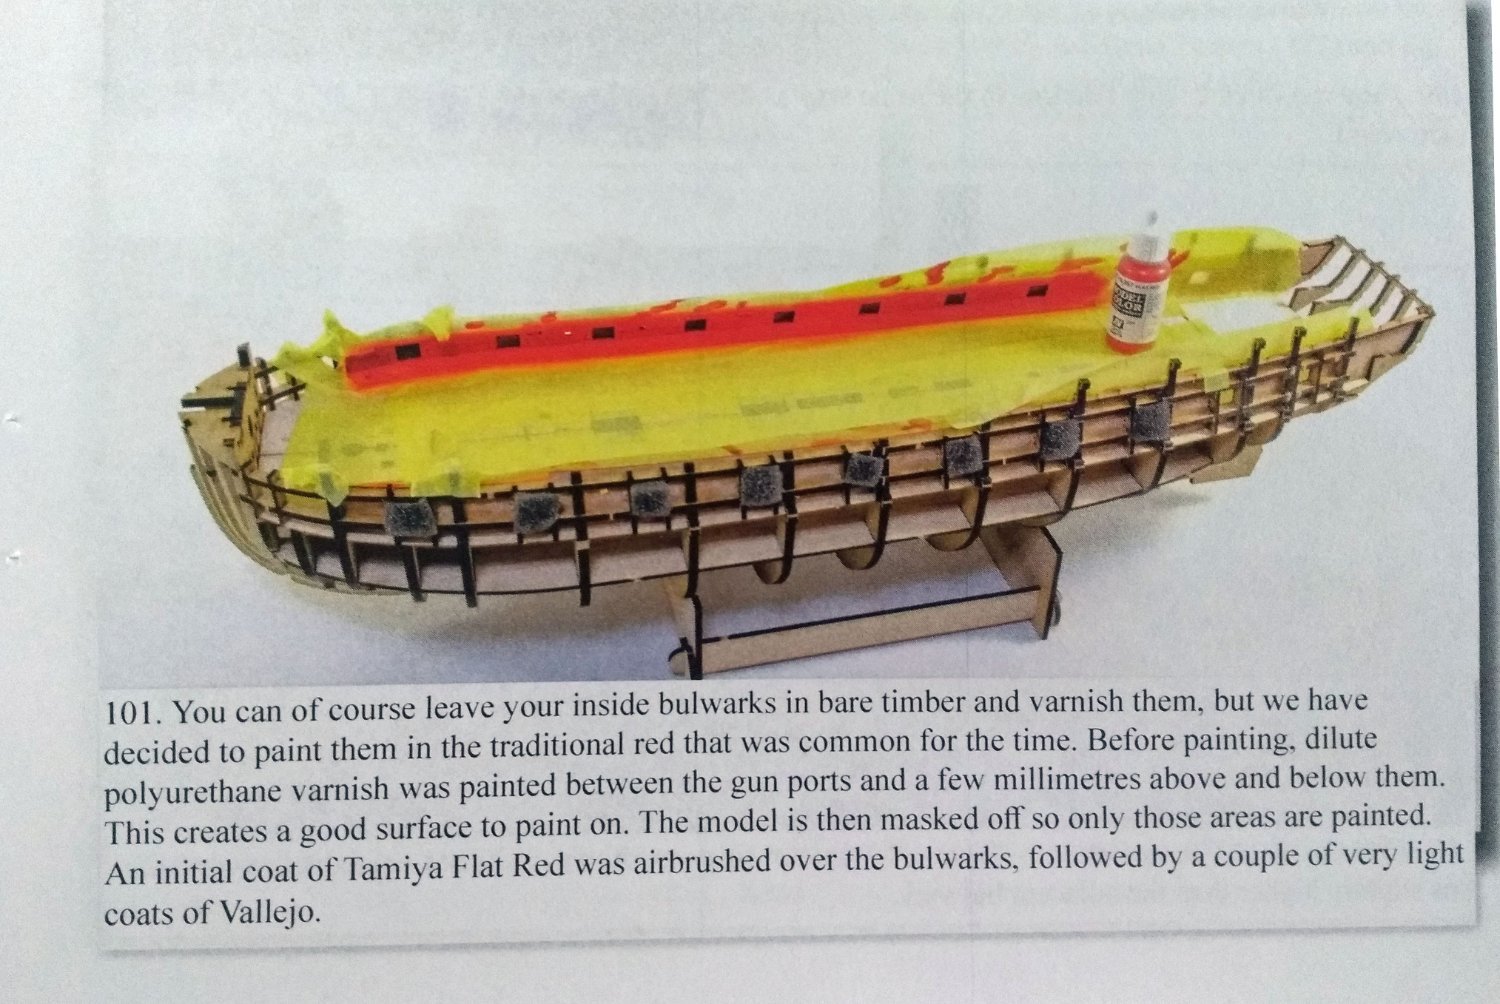
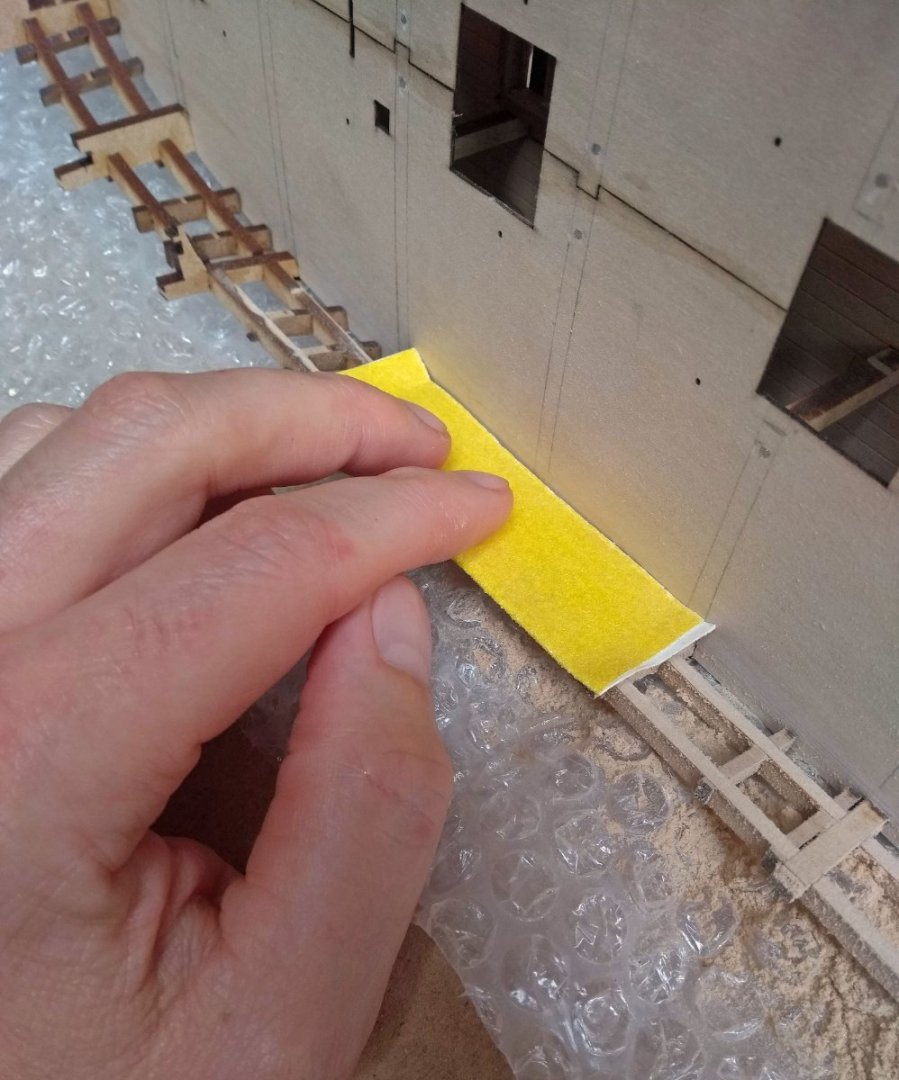
Next step was to sand the inside of the frames so the gundeck bulwark pattern can lay flat against it. Took quite a substantial time and my fingertips to sand all the char off But the result was nice and flat so the pattern could lay against it and glued on the backside with diluted PVA I looked a bit forward in the manual and saw that James when painting the inner bulwarks red, he first brushed some diluted varnish on the bulwarks and then the red? Never heared of that before...is that as a sort of primer for the color? I always painted the color on the bare wood so wondered where this was for. Or I just don't understand it properly

-
Thanks James! Can't wait to go to the next step. It is such a fun way to build this one, a real pleasure