Ronald-V
-
Posts
1,934 -
Joined
-
Last visited
Content Type
Profiles
Forums
Gallery
Events
Everything posted by Ronald-V
-
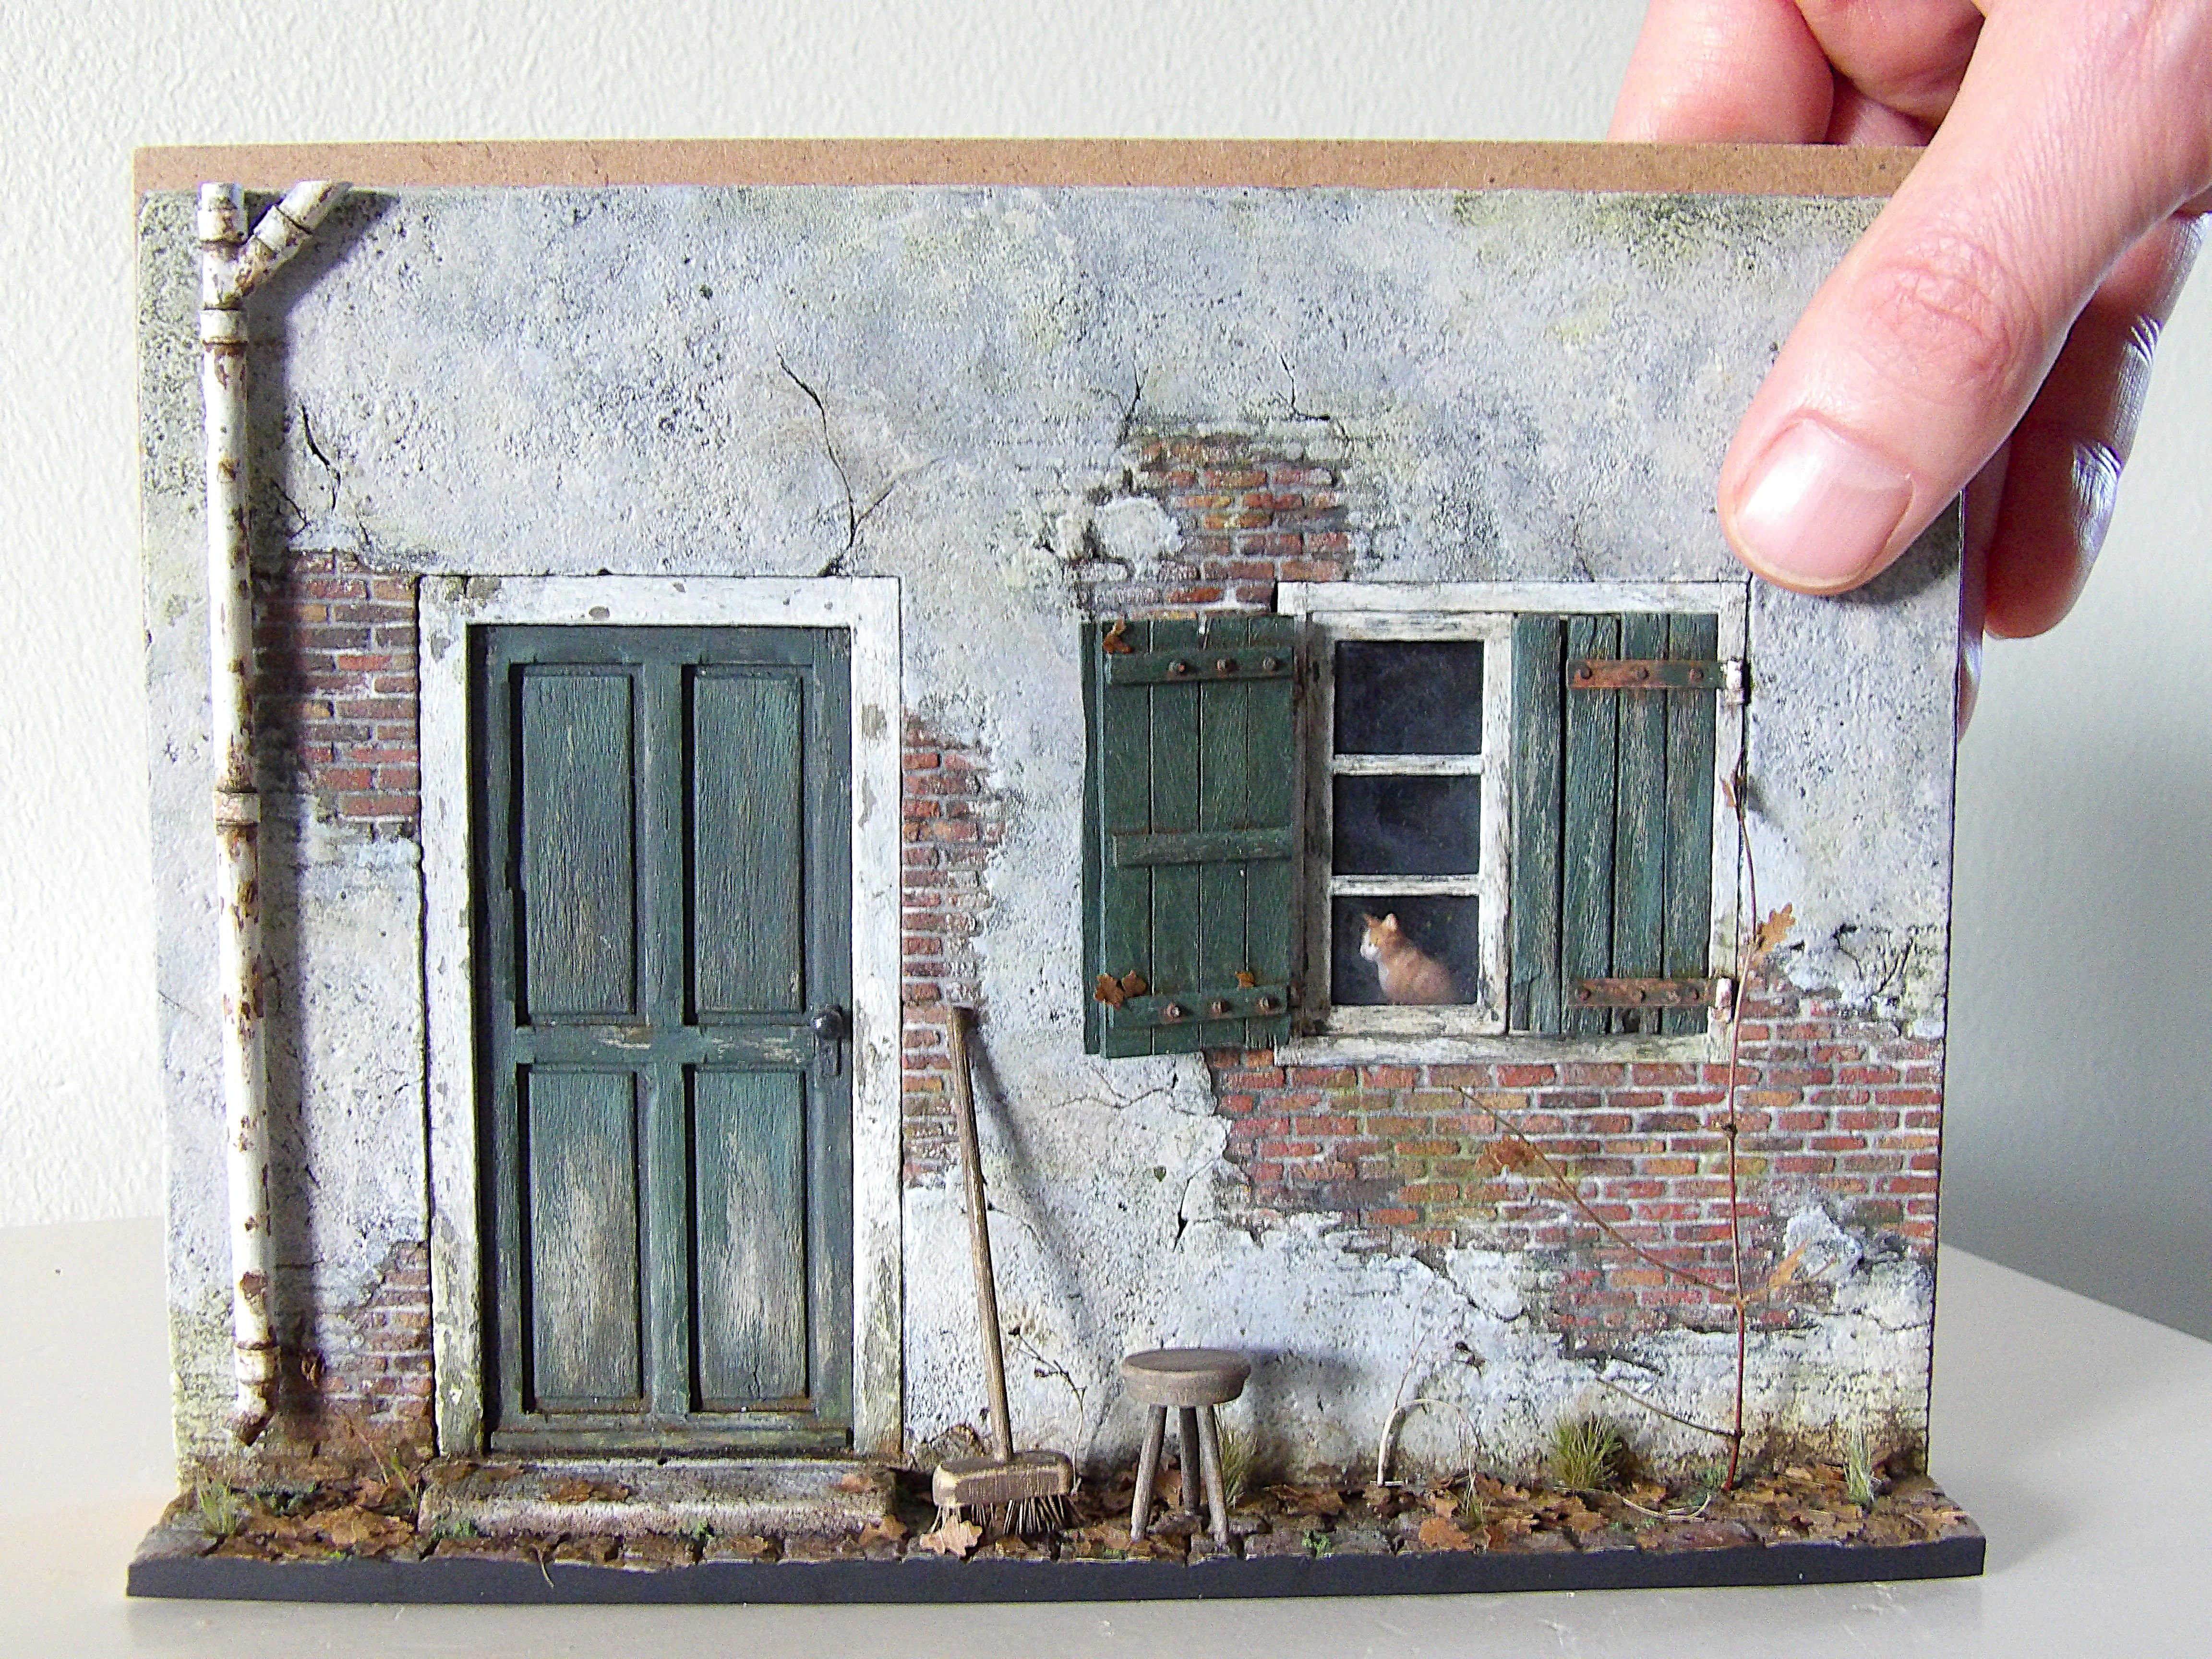
Been a little busy with other things in life. Also side tracked a bit with exploring other modelling things. Made a "facade" in 1/24 scale. Was fun to do and liberating not to care about measurments etc. . Will definitely make something like this in the future again. Now trying to get back in the Sphinx

-
Great result! And she looks beautiful in her display case, very well done! I need to try and get back on track with mine
-
Very nice result! Love the sharpness that comes through with the oil. Well done
-
Love it! Very nice done, congratulations on finishing
-
Lovely planking, but also a nice red color, very well done!
- 88 replies
-
- 2
-

-

-
- Lady Nelson
- Amati
- (and 1 more)
-
Sorry for your loss! Must be very difficult to say goodbye after such a long time together. Wish you all the strength in this upcoming time. The little ships look beautiful by the way...
-
Very exciting new build! Wish you all the best and fun with this one
-
Really...really nice build! Congratz with finishing and with the medal
-
Congratulations on the sale! I can imagine that at some point you have to sell models because there is simply no more room for them, especially this one! But it will indeed hurt a little bit, because you have put so much time and energy into it. Especially if it is gone so soon!
- 587 replies
-
- 3
-
-
-
- Indefatigable
- Vanguard Models
- (and 1 more)
-
Congratulations on finishing this masterpiece Glenn! Superb
- 840 replies
-
- 3
-
-
- winchelsea
- Syren Ship Model Company
- (and 1 more)
-
Planking fan
Ronald-V replied to Ironhead's topic in Planking Techniques's Planking Downloads and Tutorials and Videos
The video's in which Chuck Passaro explains how he planks his Winchelsea model are here: Planking tutorial Winchelsea -
Welcome! And l echo the others...start a build log, it really helps to track your progress and get help from forum member who are building also the Dory. Even the designer of the Dory kit is a member here
-
I would try different materials and see what you like best. Everyone has their own preferences. I have experience with wooden battens and tape. Wooden battens follow the natural curves more easily without "sharp corners". And with tape you have to be more careful not to get "sharp" corners. For example, with my current Sphinx build I used wooden battens for the first layer because I didn't quite understand how the lines would be, and for the second layer I used tape because I already felt a bit more confident to set out the lines with tape. (Tape is easier to attach than wooden battens). In terms of dimensions I wouldn't go wider than 4mm (and not to thick say 1mm), whether it's tape or wood...and anything below that is fine. Again, experiment to see what you like
-
Lovely work again...the use of colors and weathering with your build is spot on 👌really liking it
-
to paint or glue first?
Ronald-V replied to Mark Pearse's topic in Painting, finishing and weathering products and techniques
Not related to your question, but lovely planking! -
Very nice and clean build! Congratulations on finishing it
- 65 replies
-
- 2
-
-
-
- Maine Peapod
- Midwest Products
- (and 1 more)
-
That is some serious bending there! But you managed that well, looks good
- 35 replies
-
- 4
-
-
-
- vanguard models
- Adder
- (and 2 more)
-
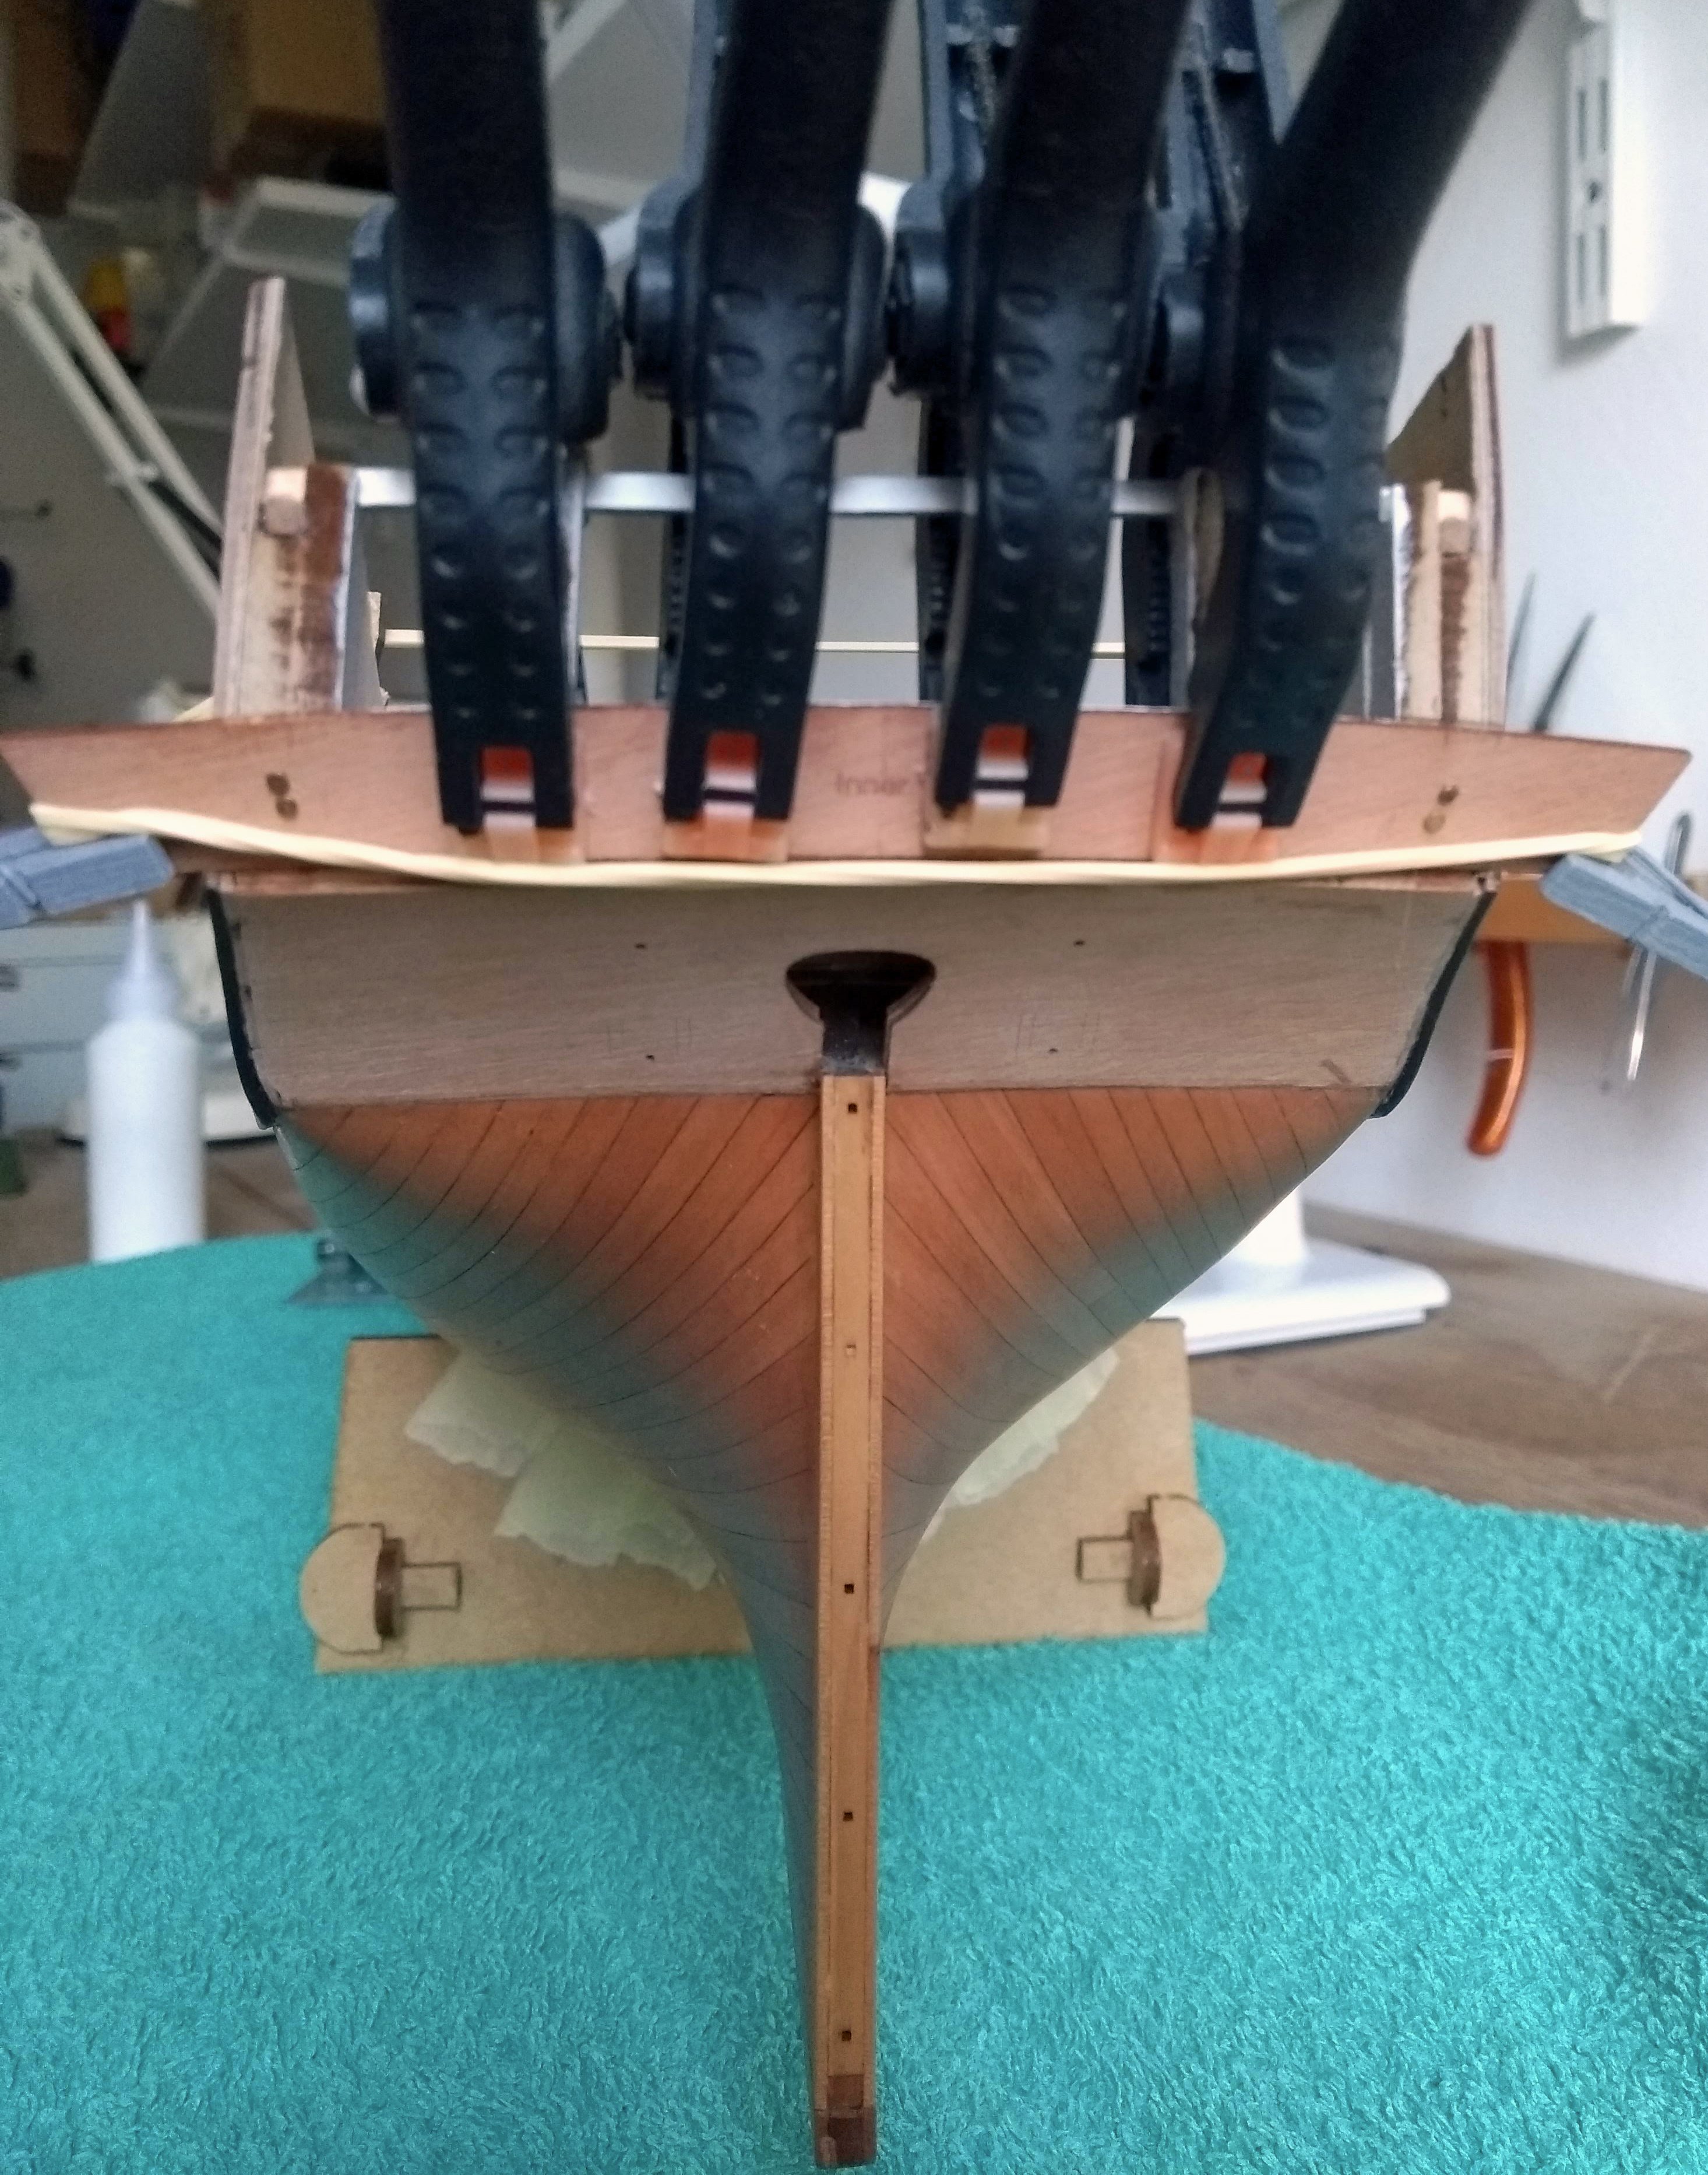
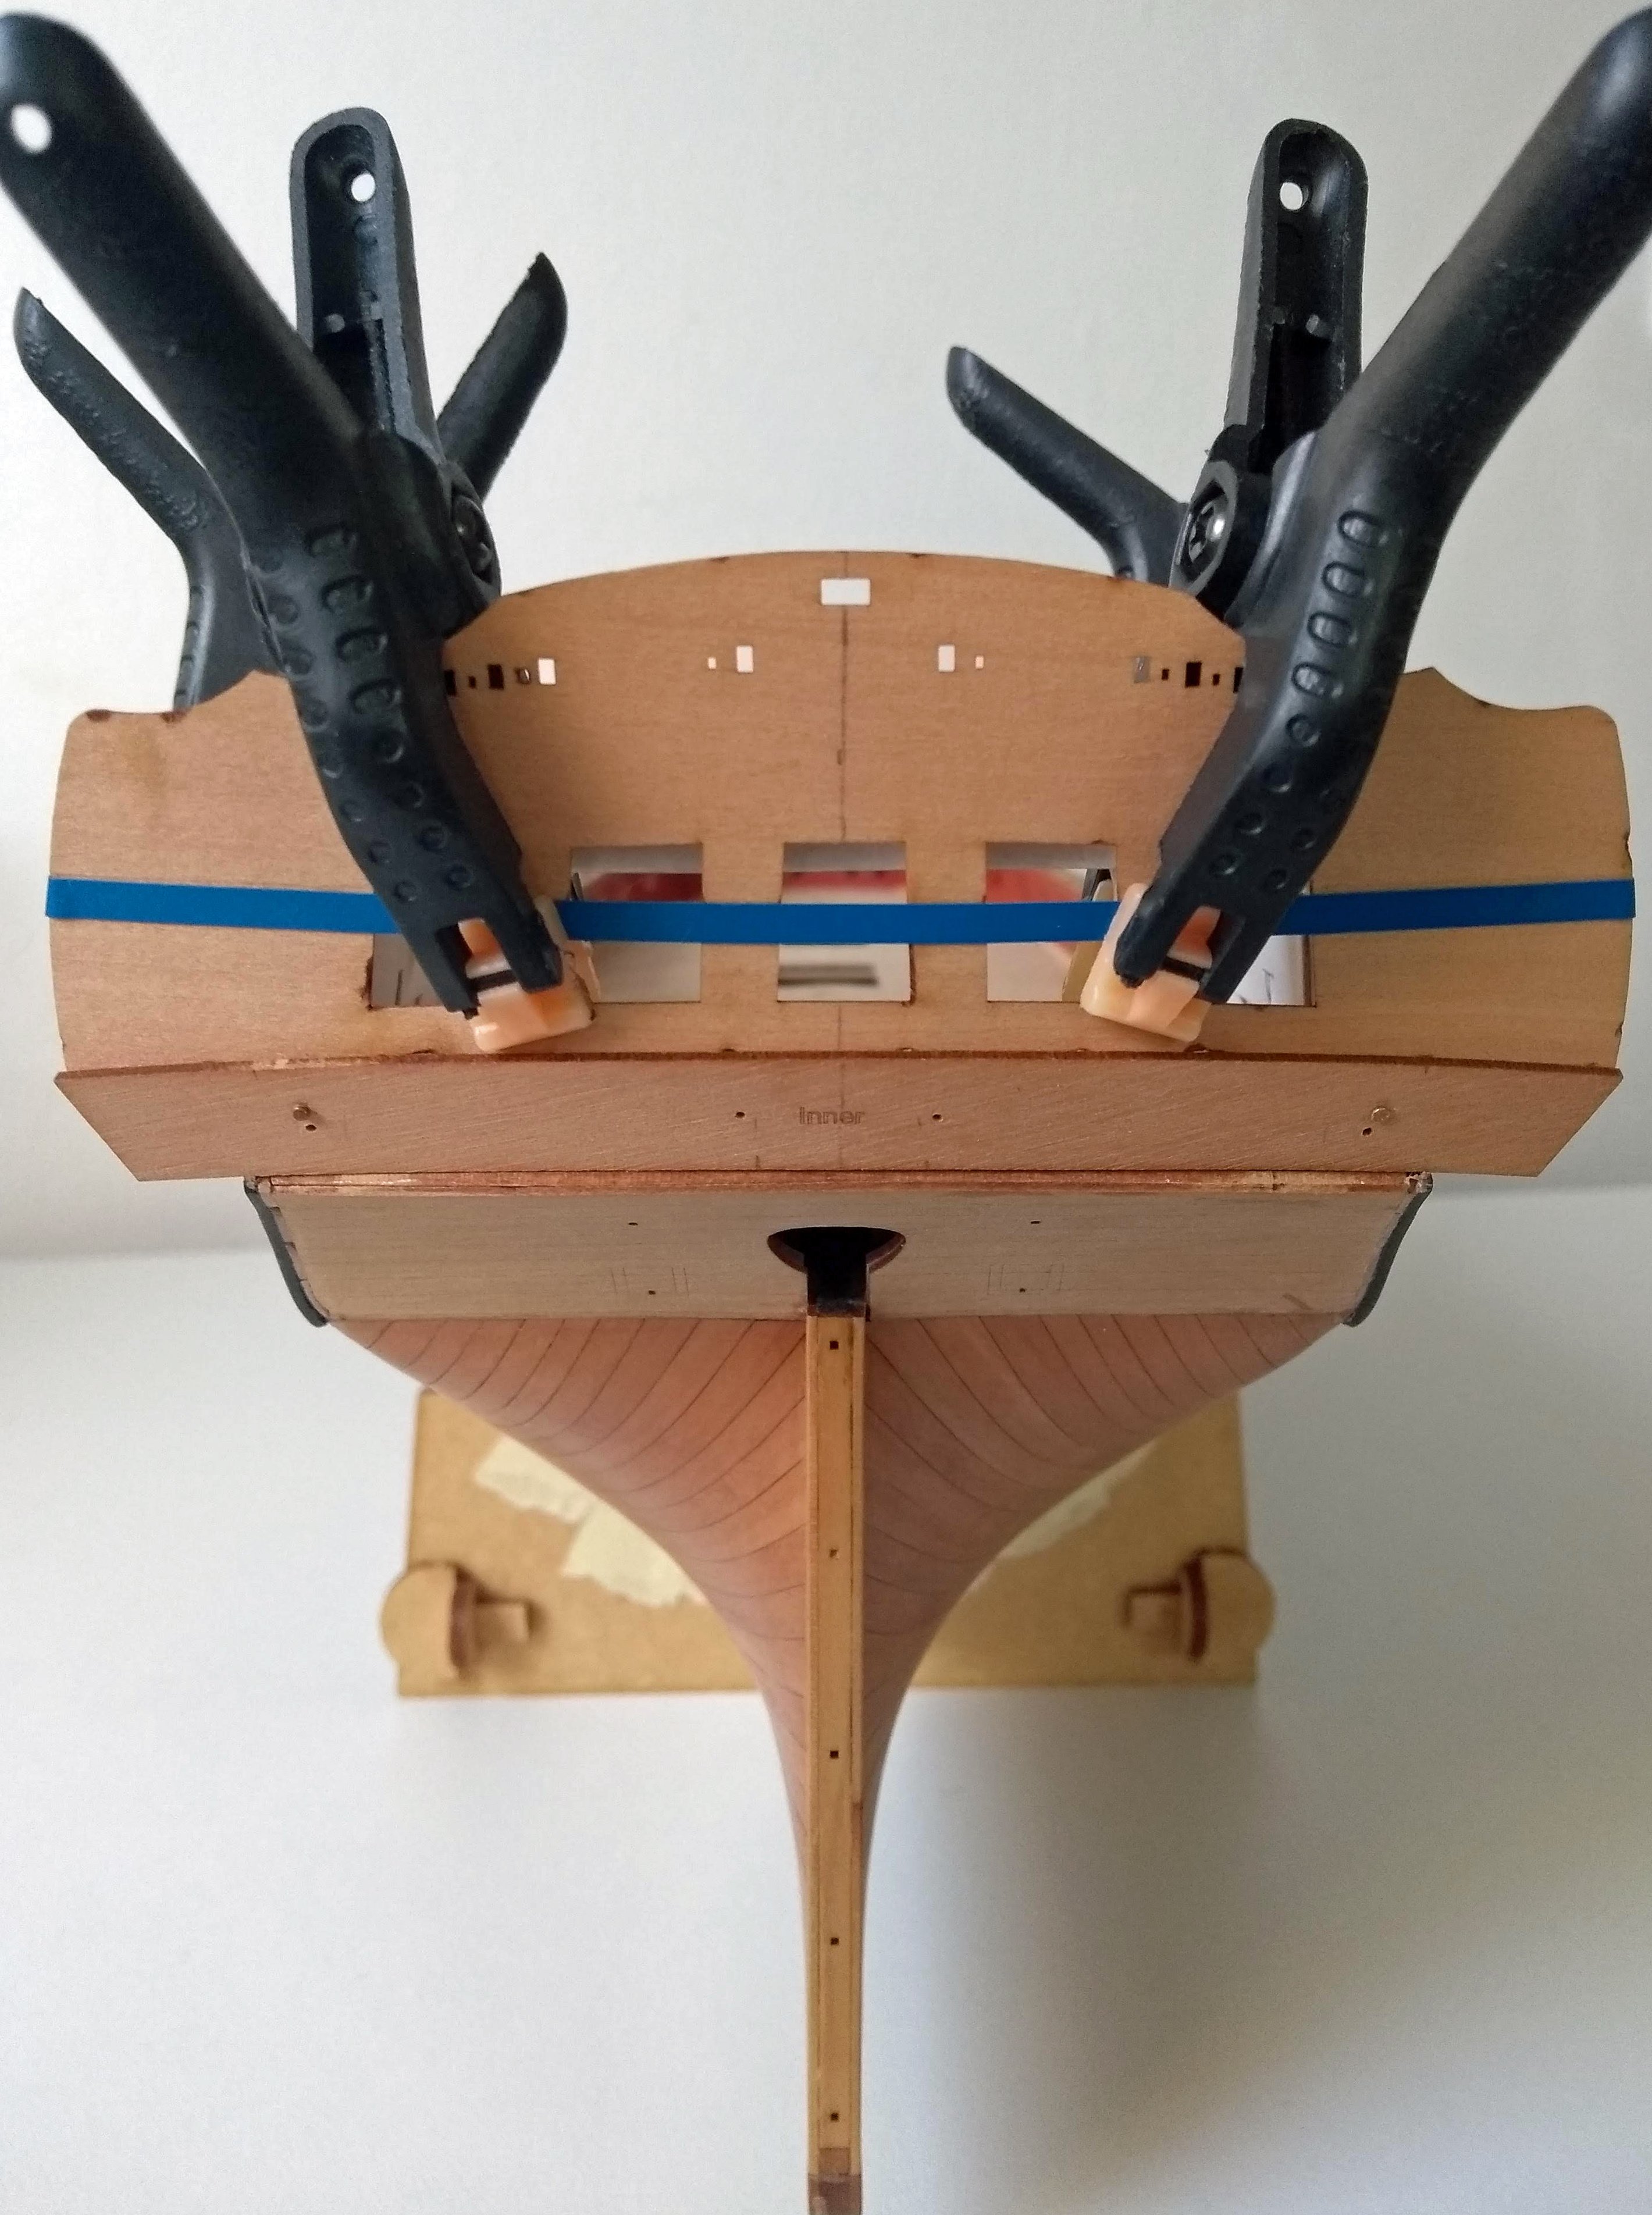
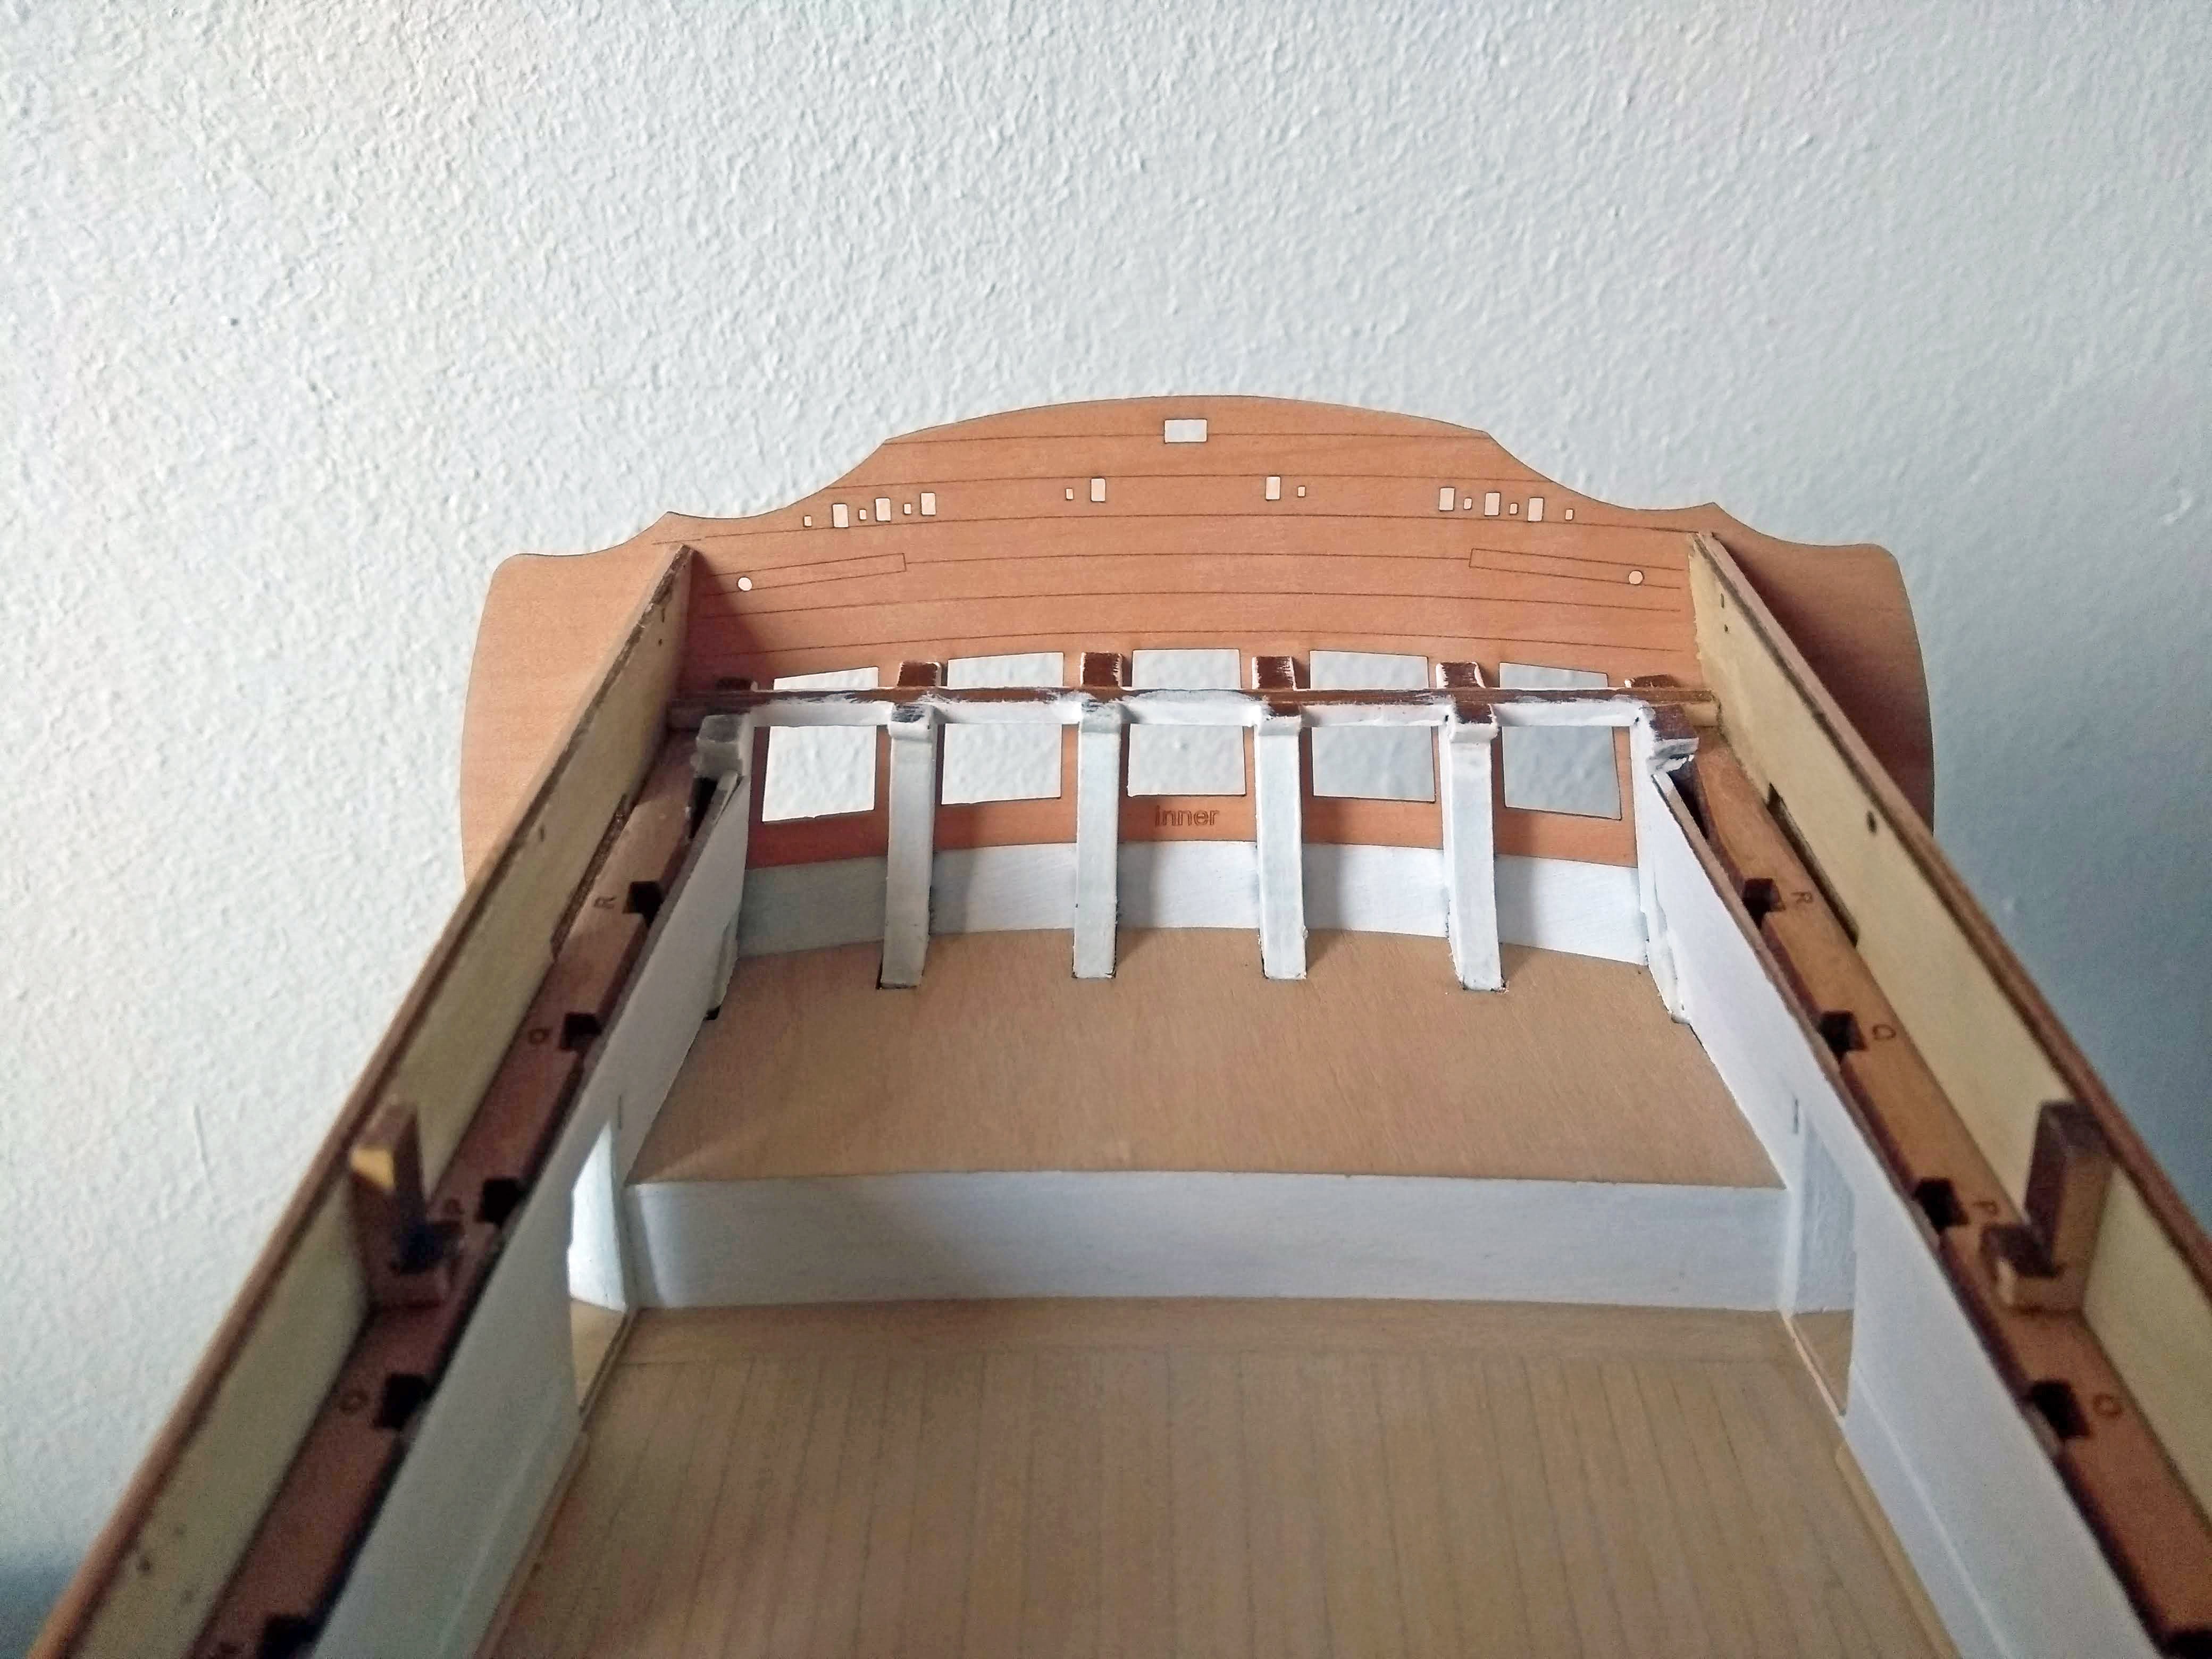
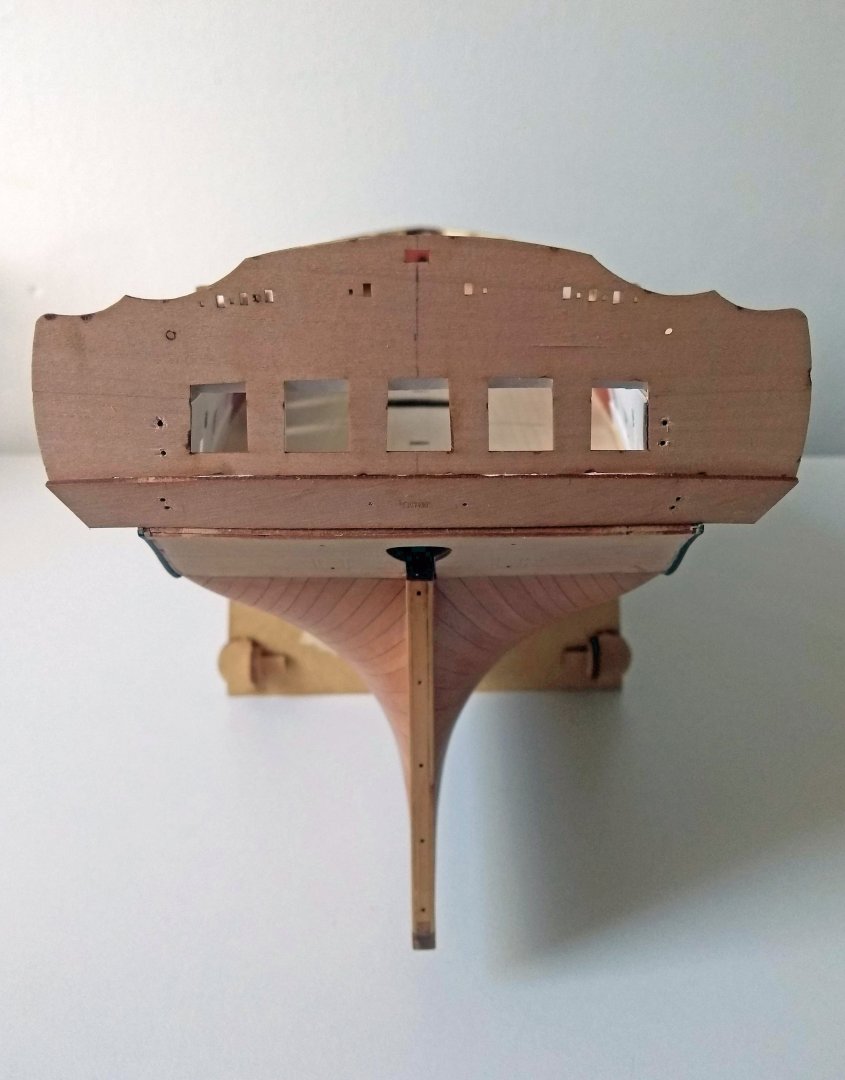
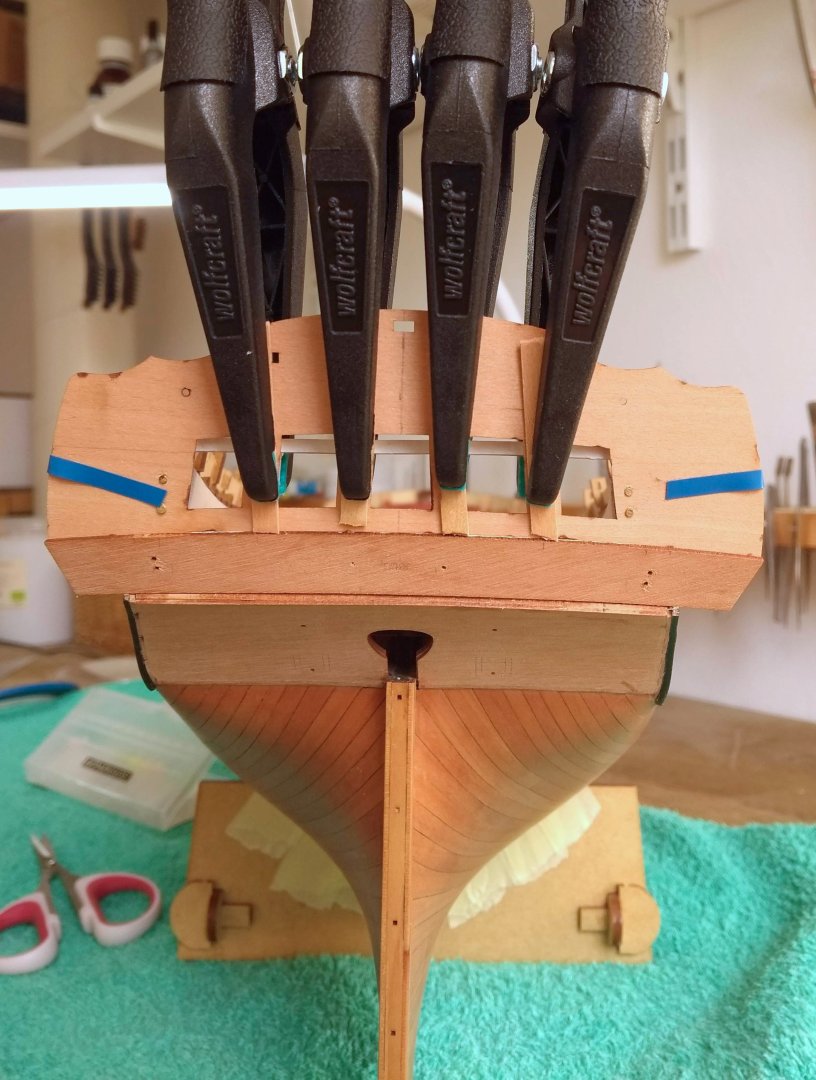
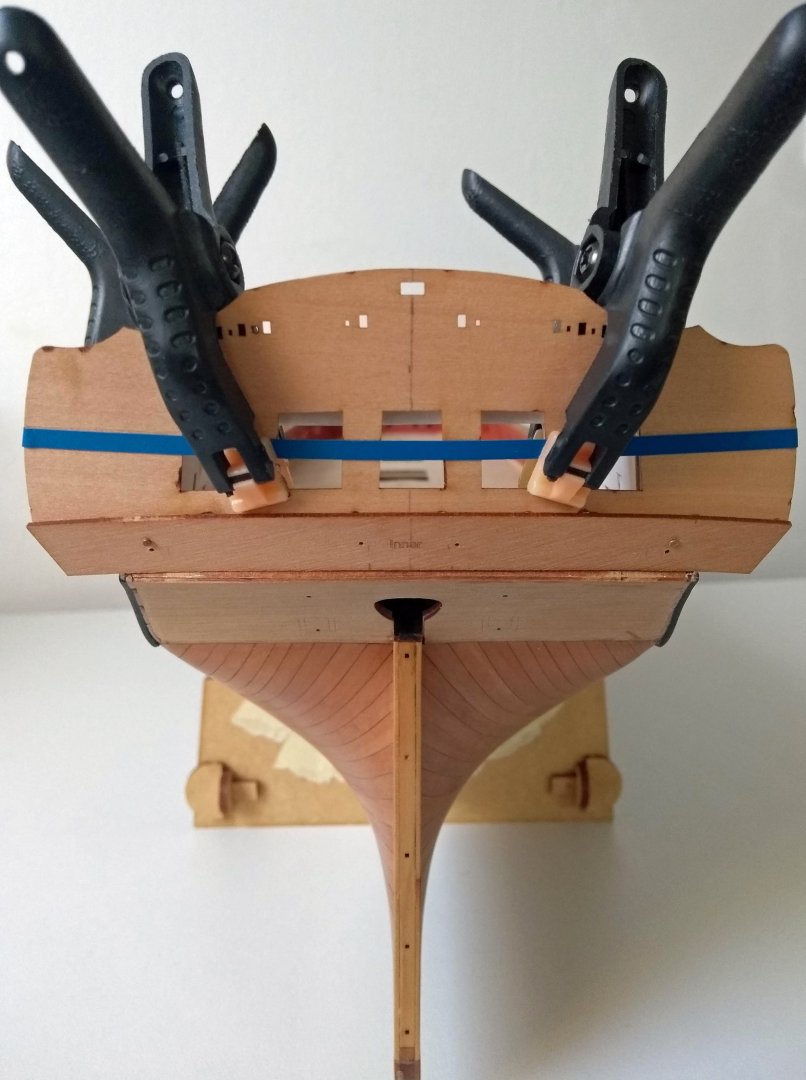
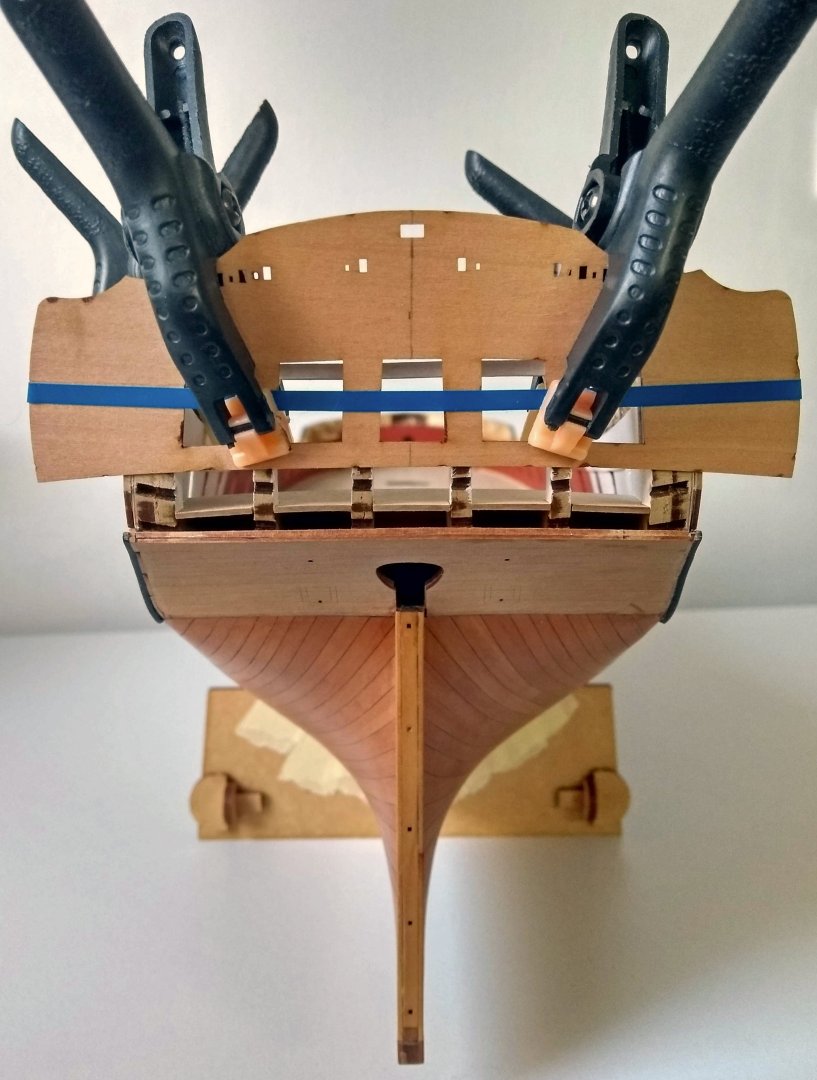
Update: Installing the stern gallery...this part went pretty smoothly! I think the pre-fitting when I was attaching the lower stern counter (post #92) definitely helped everything fit nicely...below is a photo report of how I glued the parts. First pre-fitting the (inner) stern fascia. This is the base that has to look good. Everything measured and worked from there. It turned out that the (inner) upper counter fit perfectly in between, which was a relief and confirmation that everything was exactly where it should be. Already tried the nails so that I can later push it into place with gluing. Gluing was easy and clamping was not difficult. Then it was just a matter of gluing the Stern fascia in place (it could rest nicely on top of the upper counter) And the result looks nice and straight and good (I think so ) Now comes the trickier part...the side galleries that probably need some modification since I have open doors. Let's take a step by step look at how I'm going to tackle it.


-
I wish you all the best with this one! A brave choice to go for an (old) Corel kit but I think it will be good in your skilled hands I do think it's a nice handsome little ship when it's finished.
- 97 replies
-
- 1
-
-
- Corel
- Große Jacht
- (and 2 more)
-
It would be nice if manufacturers would upgrade their products as newer techniques become available...but of course there is a price tag attached to that. I do wonder why some manufacturers continue to stick to white metal castings (like Artesania Latina with the new Victory) and don't switch to new techniques in the newer models
-
Agreed...I have it too and I don't think the quality and accuracy are very good, perhaps the Proxxon is more accurate here...although I have no experience with it (but since they are more focused on model building, you would think it should be)
-
Great planking!