DONATION DRIVE - SUPPORT MSW - DO YOUR PART TO KEEP THIS GREAT FORUM GOING!
×


ccoyle
-
Posts
10,520 -
Joined
-
Last visited
Content Type
Profiles
Forums
Gallery
Events
Everything posted by ccoyle
-

1/200 Trumpeter IJN YAMATO - issued by MRC/Gallery Models
ccoyle replied to yvesvidal's topic in REVIEWS: Model kits
Just call it "market research."- 104 replies
-
- 6
-

-

-
- MRC/Gallery
- Yamato
- (and 1 more)
-
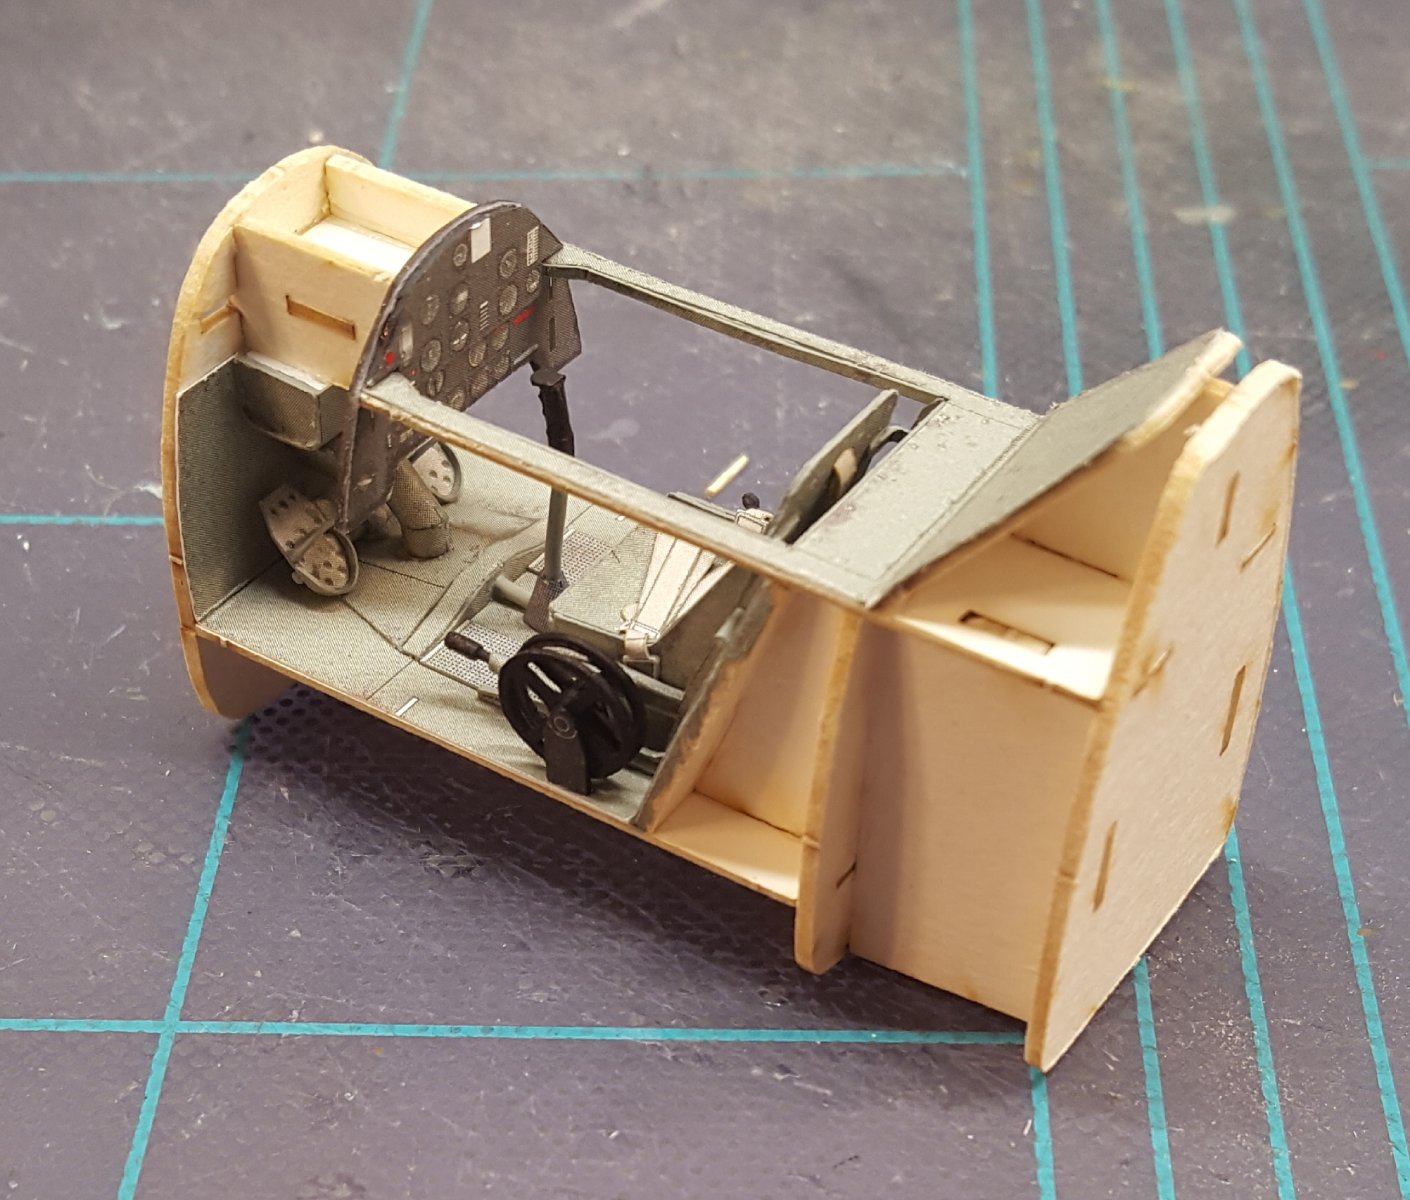
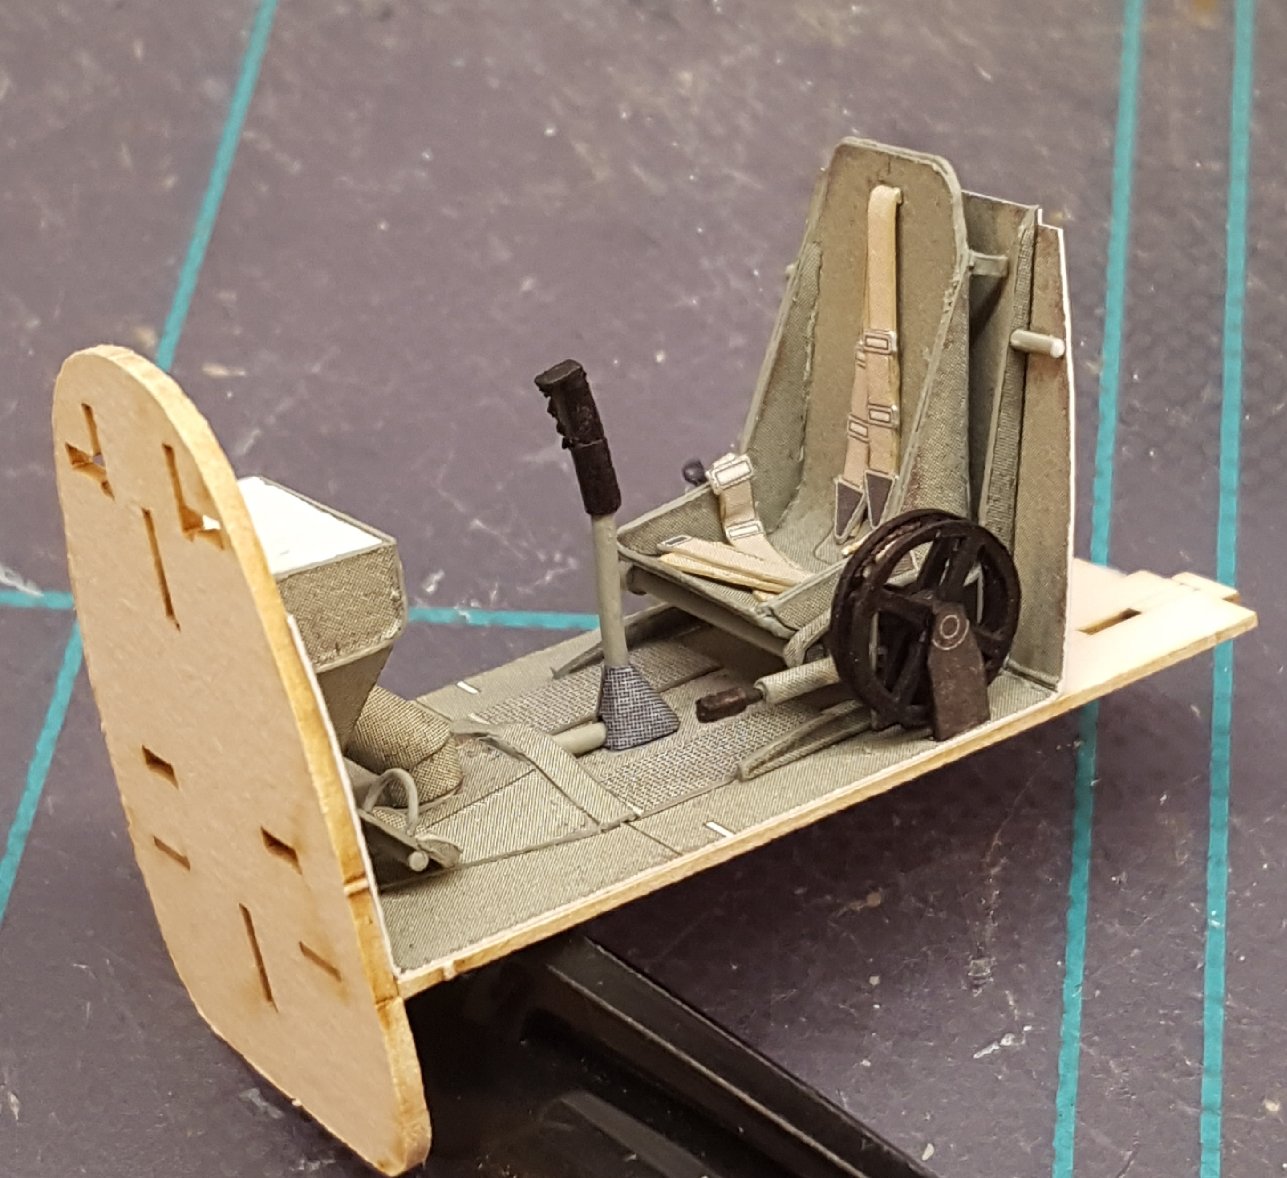
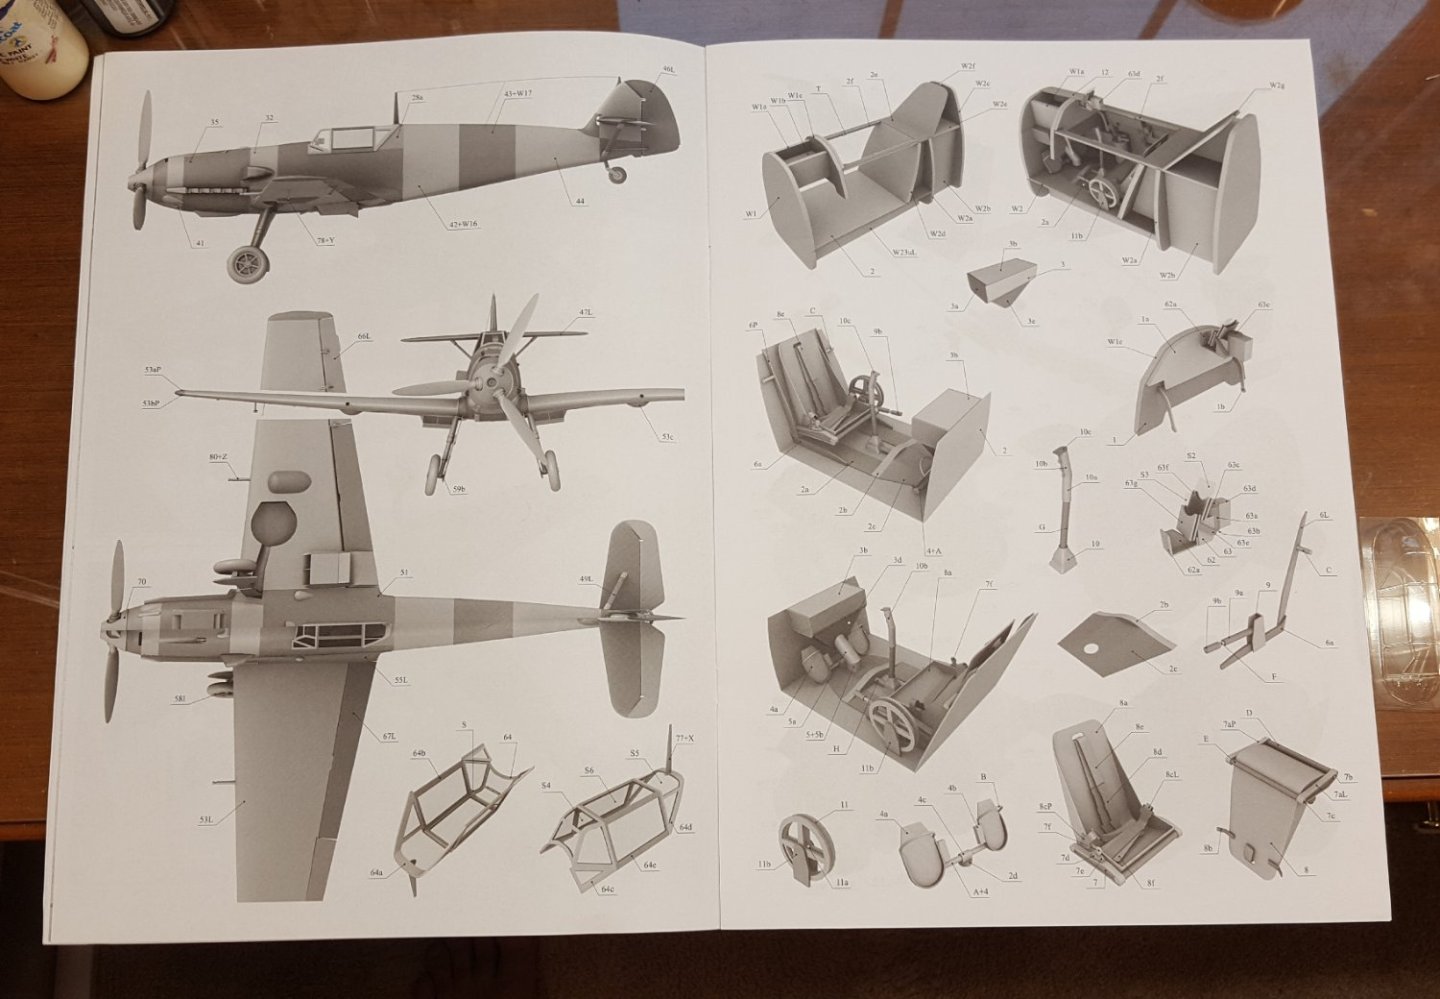
The outboard wheel is for raising and lowering flaps; the inner wheel controls the elevator trim tabs.
- 165 replies
-
- 10
-
-
No, this was forty years ago.
-
That's really a striking model -- congratulations!
- 55 replies
-
- 1
-
-
- Nordlandsbaaden
- Billing Boats
- (and 1 more)
-
Hey, Greg. I just came across this thread. I had this kit back in the day, sans PE upgrades. Never got around to building it. I just saw a video about this aircraft a few weeks ago. The narrator mentioned that this aircraft had an unfortunate tendency to fling its cockpit crew forward into the spinning prop upon hard landings -- not a trait that endeared it much to its crews.
-
Wow! The Hellcat got selected as Picture of the Month at Paper Modelers. I was kind of shocked when I saw it there -- it's quite the honor.
- 150 replies
-
- 13
-

-

-
-
Bonjour, Alexandre, et bienvenue à MSW. Veuillez noter que MSW est un forum en anglais uniquement. Vous pouvez utiliser un traducteur en ligne si nécessaire. Pour tirer le meilleur parti de votre temps à MSW, veuillez lire nos directives de forum ici. Nous avons également un article qui explique comment utiliser les différentes fonctions de notre site. Parce que les modèles que vous souhaitez exposer ici sont des pièces finies, le meilleur endroit pour les exposer est dans notre galerie de modèles finis. Vous pouvez créer un dossier pour tous ensemble ou séparément pour chaque modèle. En attendant, je vais combiner vos publications récentes en un seul sujet et les déplacer dans votre introduction. Sincèrement, Chris Hello, Alexandre, and welcome to MSW. Please note that MSW is an English only forum. You can use an online translator if necessary. To get the most out of your time at MSW, please read our forum guidelines here. We also have an article that explains how to use the different functions of our site. Because the models you want to display here are finished pieces, the best place to display them is in our finished model gallery. You can create a folder for all together or separately for each model. In the meantime, I'll combine your recent posts into a single topic and move them into your introduction.
-
I always told my kids that if I bought a lottery ticket, I had a 1 in however many million chance of winning, but if I didn't buy a ticket I had a 1 in 1 chance of saving a dollar.
- 165 replies
-
- 12
-
-
-
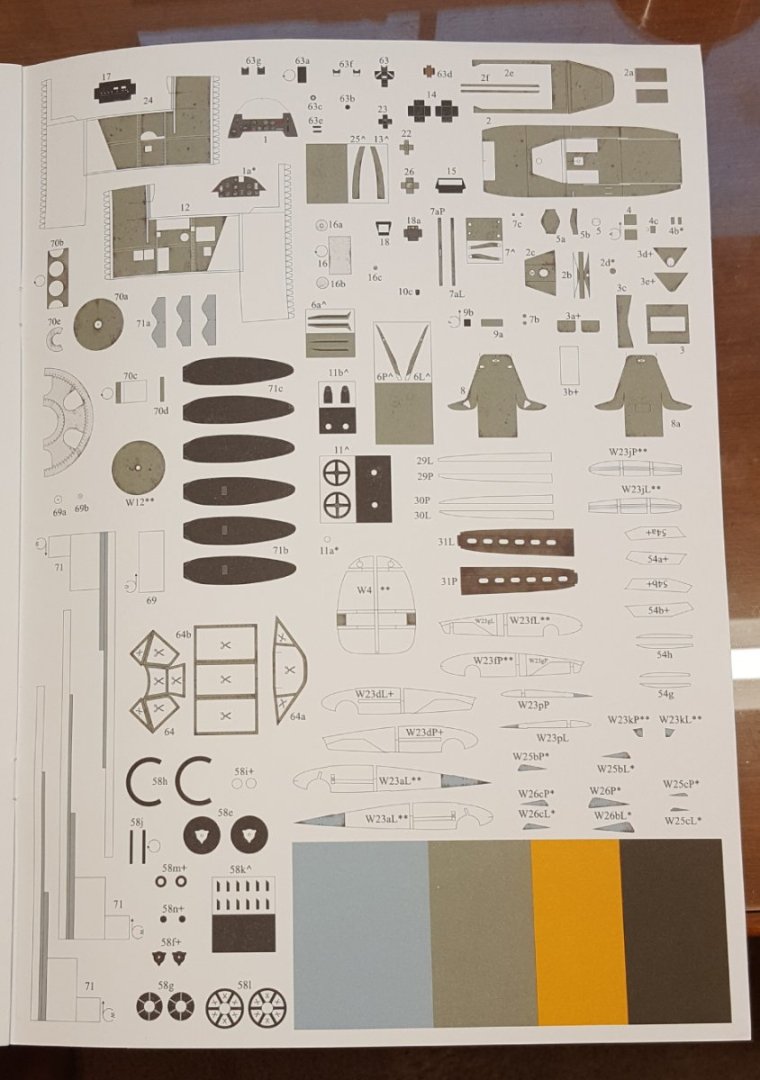
First cuts -- started work on the cockpit. Typical for Halinski, the kit has a lot of details that will not likely be visible on the finished model. This first bit contains 32 parts. Rather fortuitously, I once again happened to have all the necessary edge colors on hand already. That's two kits in a row! 😮

- 165 replies
-
- 20
-
-
Thanks, Dan. I have been trying to get in touch with Darius to get this project moving forward, but no joy yet.
-
Congratulations!
-
Superb work, Craig! Looks a properly grungy, hard-working piece of machinery.
-
It's labeled as "fine" but doesn't specify the diameter (actually width, since it isn't round in cross-section).
- 98 replies
-
- 12
-
-
-
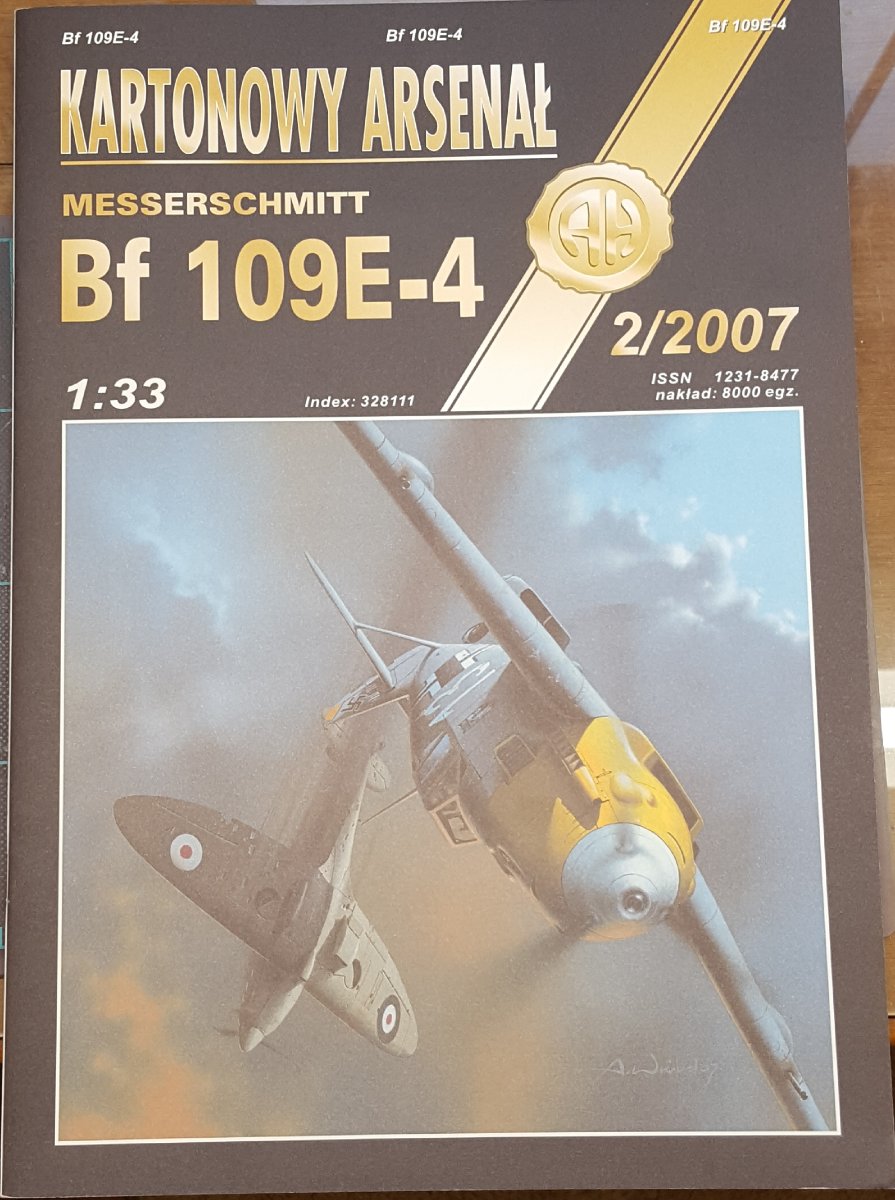
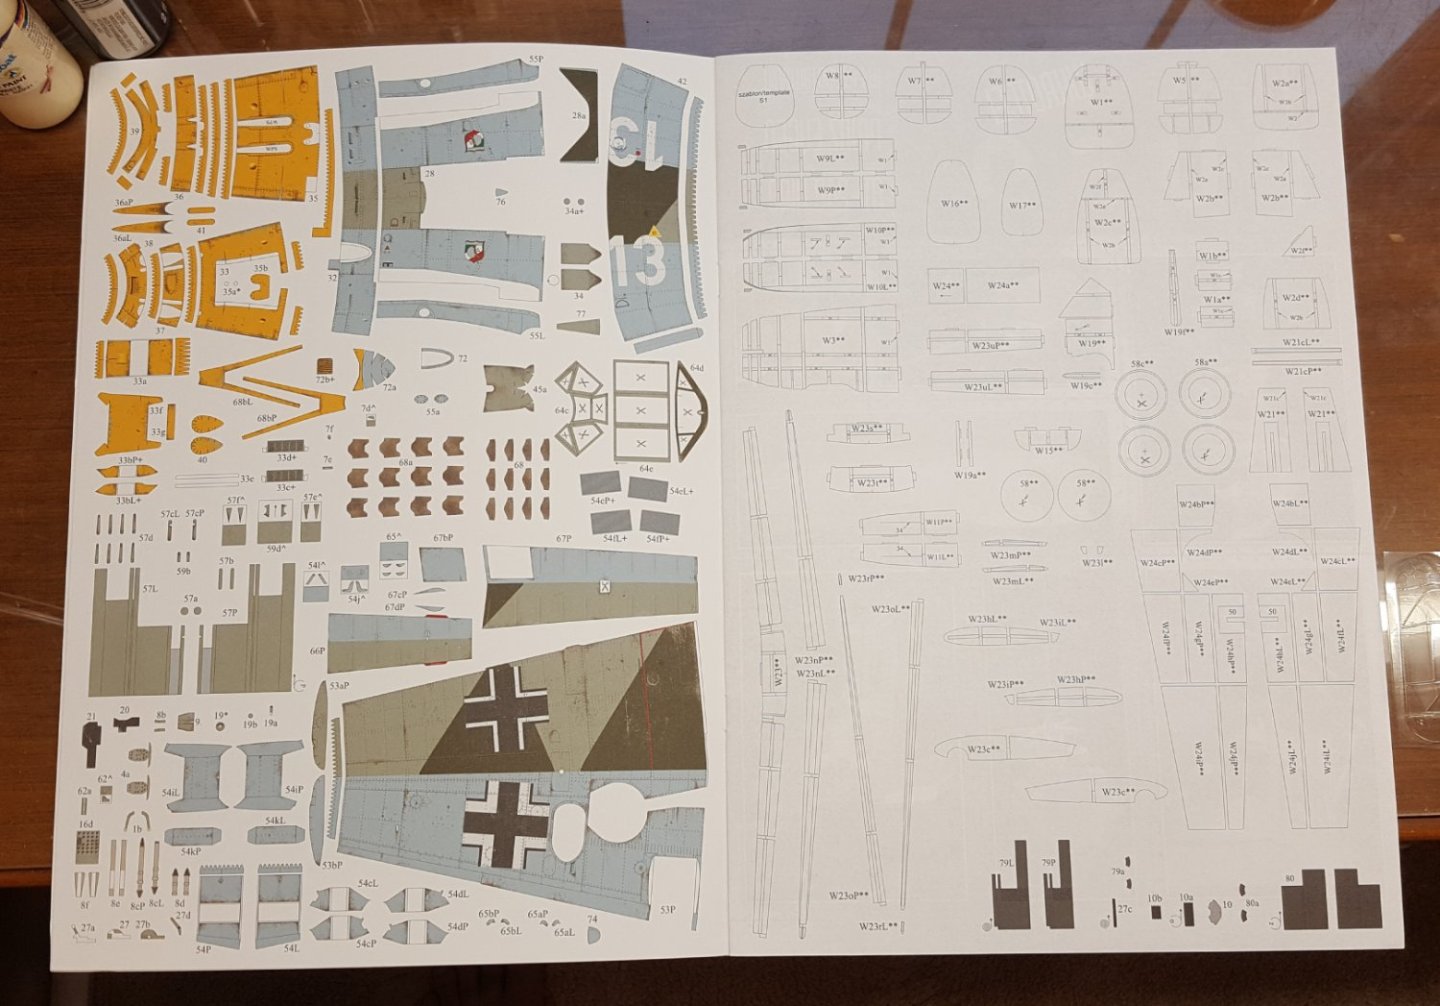
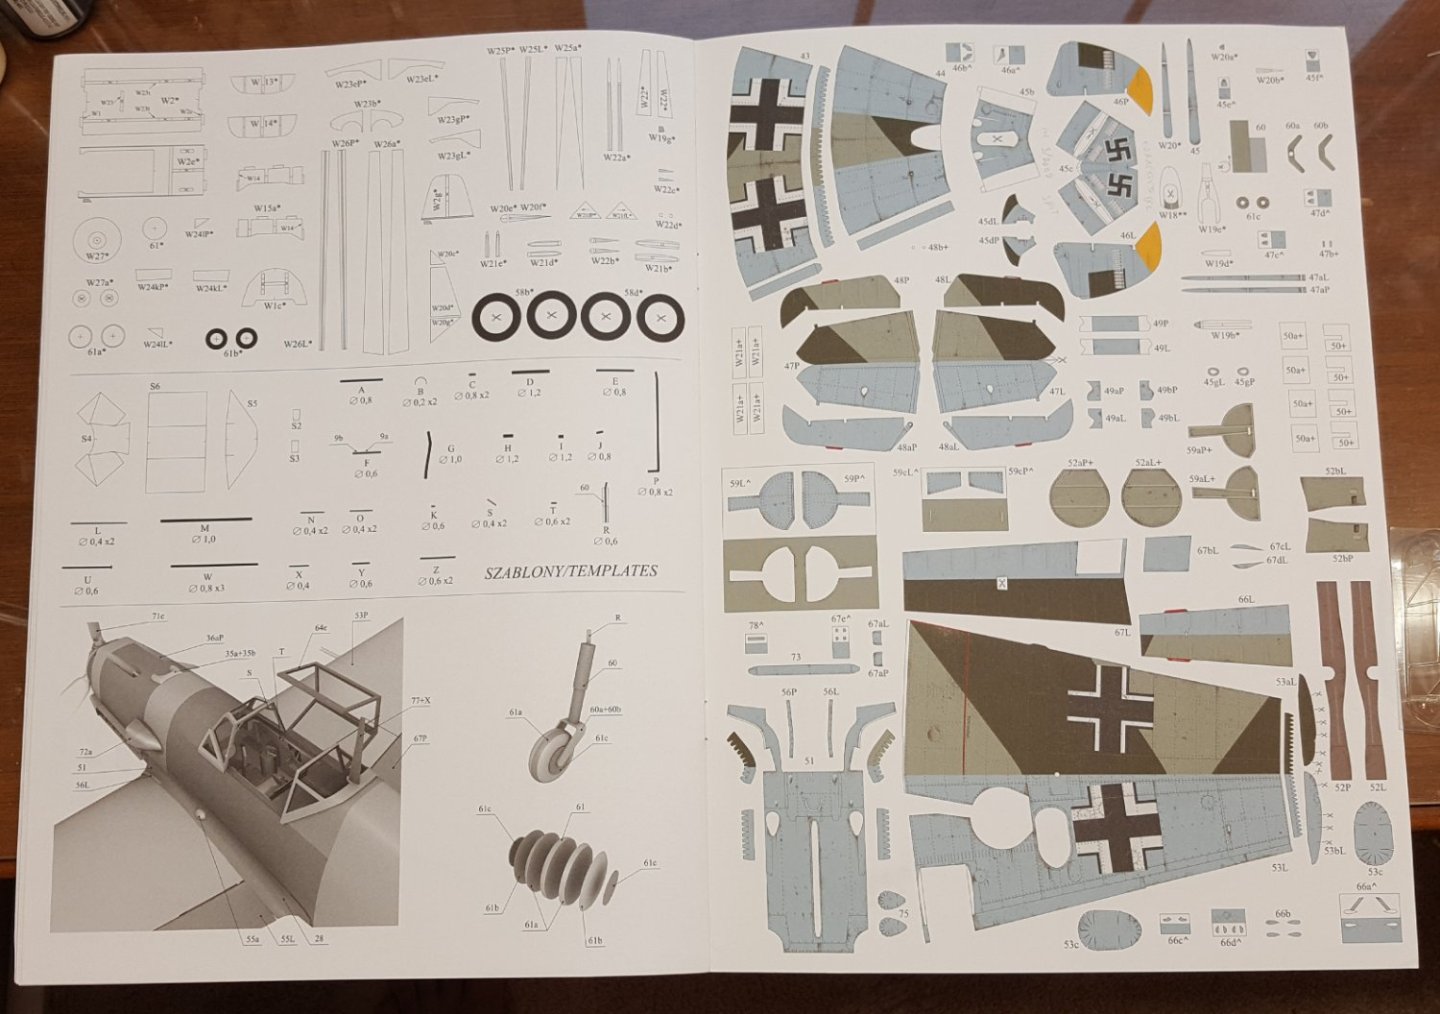
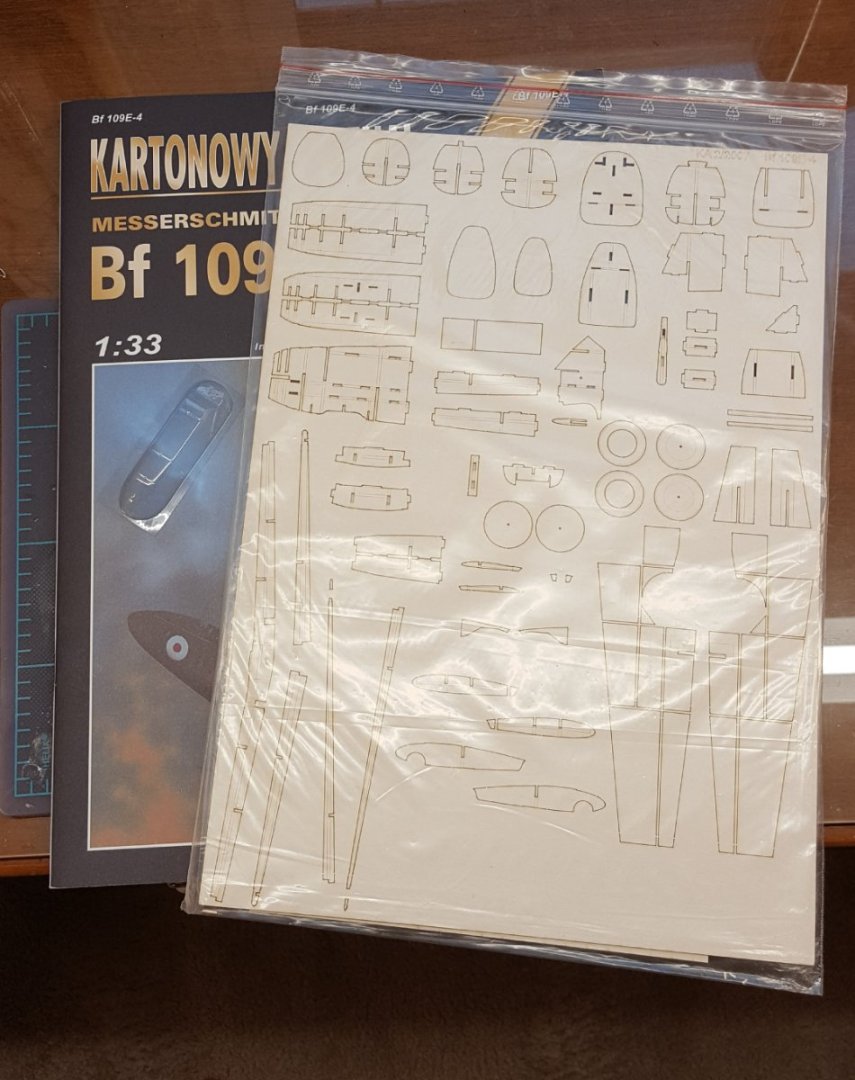
And off we go again! I still have USS England on hold for the moment while I look into to getting some after-market parts, so for now I have decided to go with the hot hand and take on another airplane project. This time I will be tackling Halinski's Messerschmitt Bf-109E-4, a 2007 issue depicting the mount of Walter Oesau of JG 51 in 1940. I chose this kit for several reasons: I feel like I need a contemporary for my recent Spitfire Mk Vb. The Emils had largely been replaced by the Bf-109F in Luftwaffe service by the time the Mk V came into service, but close enough. Believe it or not, I don't have a single Luftwaffe plane in my finished collection as of yet, nor even a Luftstreitskraefte mount. It shouldn't take too long to build. It's a Halinski -- 'nuff said. But it's also not hugely complex by Halinski standards. It's small, so unlike the Hellcat, it will fit on one of my shelves. Okay, on to the kit! Halinski kit covers always feature artwork of the kit subject in action. Sometimes the subject is shown in an interesting flight attitude. This is one such kit. The kit features Halinski's usual high-quality graphics, including realistic weathering. An unusual feature of some Halinski kits is that some parts are printed on the inside back cover. Plenty of CAD diagrams are included. And to round things out, I have the laser-cut frames (two frets) and molded canopy (but not the resin wheels). So, first thing to do will be to seal the parts sheets and rummage through my paints to see if I can find some edge colors, otherwise it'll be off to Hobby Lobby tomorrow. Look for first cuts soon!

- 165 replies
-
- 23
-
-
I almost bought the Val that was available from the recent estate sale at Paper Modelers, but it's a bit large for my display options.
- 98 replies
-
- 10
-
-
Welcome aboard! Cutters make excellent first kits, and many kit manufacturers offer one. You can use our search feature to find these at MSW to get lots of visual hints. Besides Lady Nelson, look for Alert (Vanguard Models), Sherbourne (Caldercraft), Hunter (Mamoli), and Le Cerf (Dusek). As for second kits, assuming you complete Lady Nelson you will have acquired the skills needed to tackle a wide variety of available kits. You could shoot for something a step up in complexity, such as an armed schooner or brig. Mainly you'll need to watch out for something that will keep you engaged during a lengthy building process. Cheers!
-
I don't know a particular site off the top of my head, but if you do a Google search, you should find something.
- 84 replies
-
- 1
-
-
- Statenjacht
- Kolderstok
- (and 1 more)
-
Which ones? I think my next one (when I get to it) will be the Bf-109E-4 (#43).