ccoyle
-
Posts
10,520 -
Joined
-
Last visited
Content Type
Profiles
Forums
Gallery
Events
Everything posted by ccoyle
-
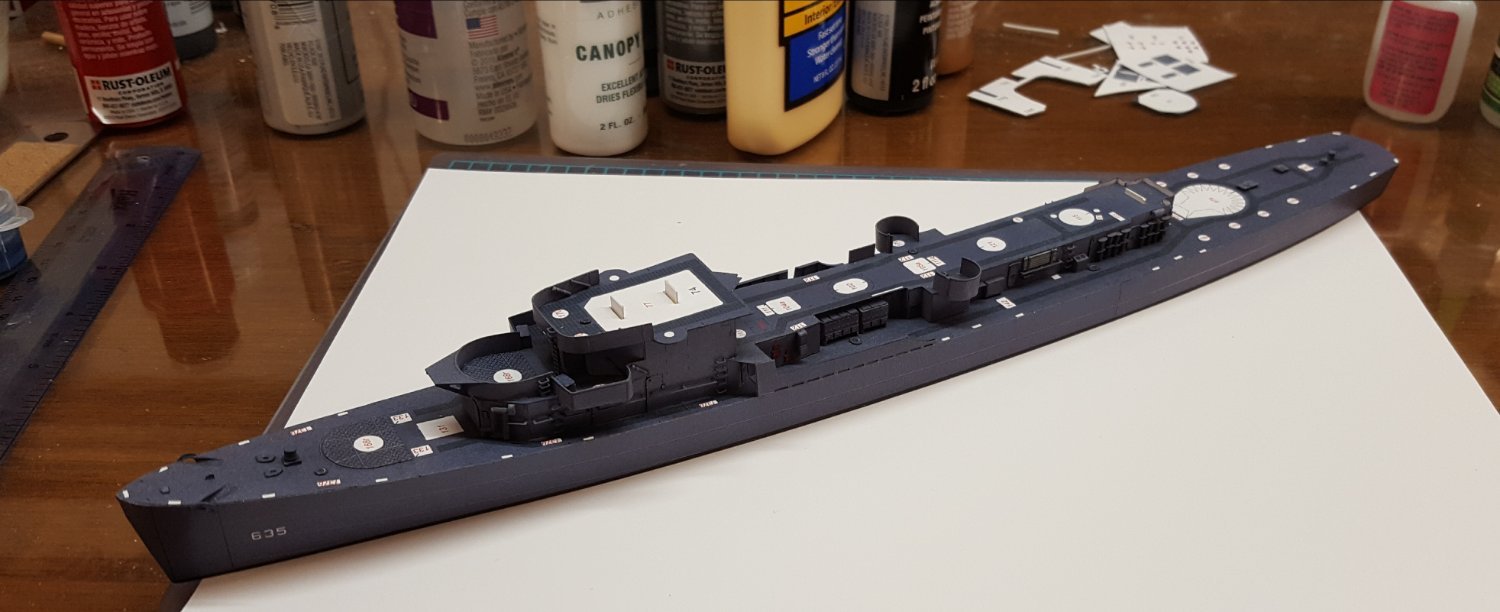
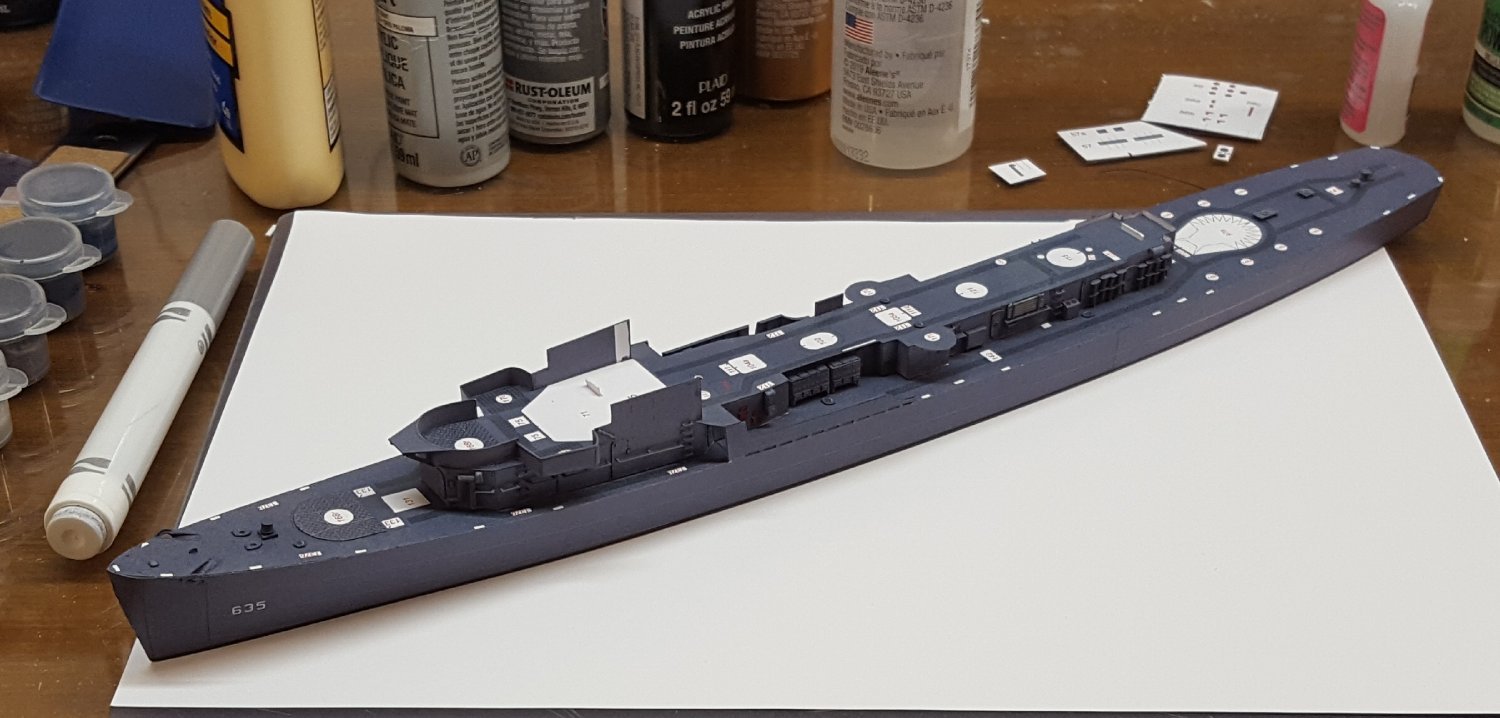
 10: Superstructure (cont'd) This completes the construction sequence up through Step 10. The hull and superstructure are now joined. I hope you are enjoying this "10,000-foot view." Personally, this bit left me with a bad case of the "Curse of the Headband Magnifier" -- can't work without it, but the trade-off is that every stinkin' little cosmetic error is highly visible while I work. It's a little depressing, honestly. Thank goodness for low-res photography!
- 331 replies
-
- 17
-

-
Congratulations! Your dory looks charming. Are you of Dutch extraction? Some of my Dutch ancestors settled in New Amsterdam circa 1650, and one was the first schoolmaster of Flatbush.
-
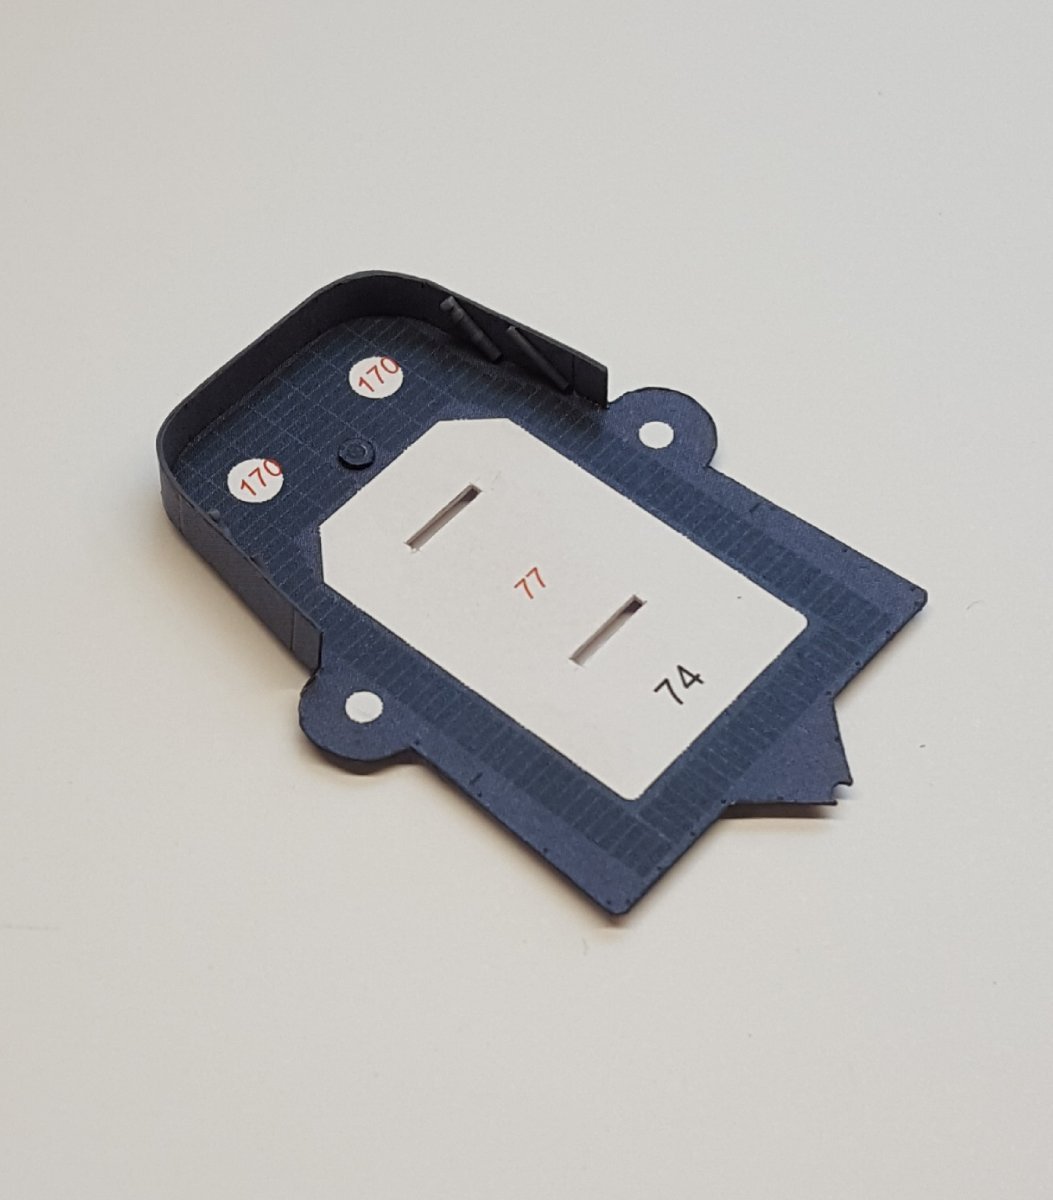
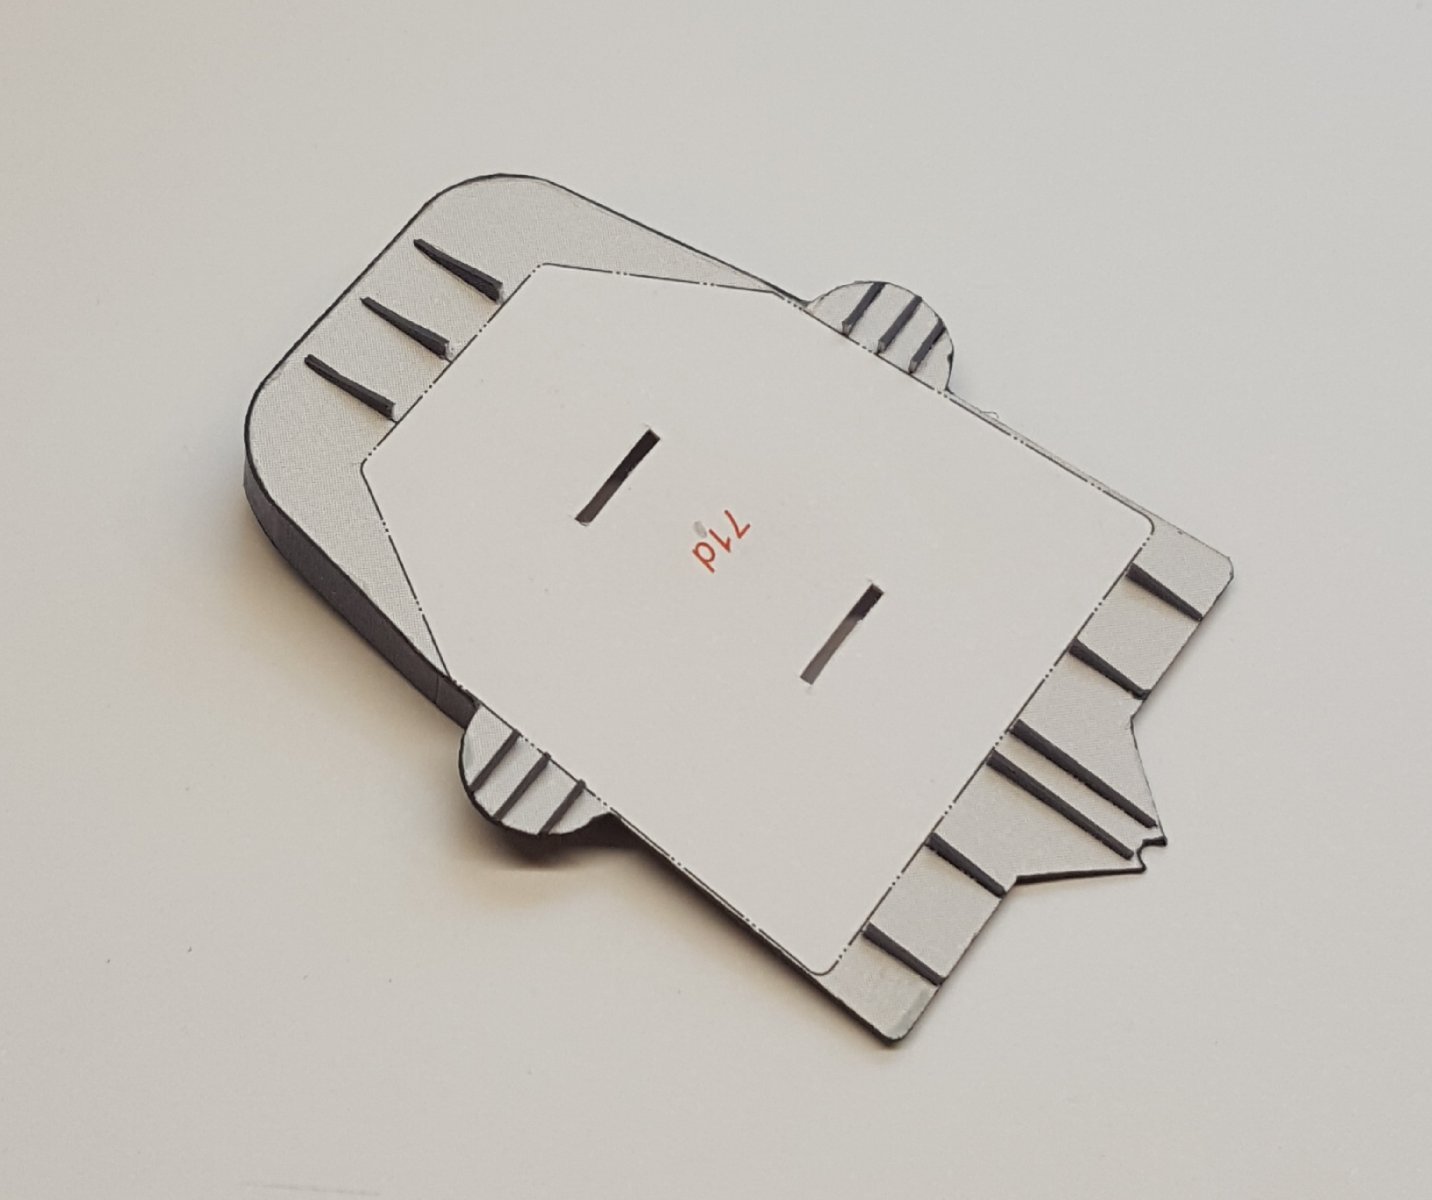
10: Superstructure (cont'd) Not much in this post. I finished up the CIC roof. Not a whole lot to see on the top side, though I did make things only slightly more interesting by accidentally gluing in the inner wall upside down. The underside has helped inflate the parts count thanks to its 15 support brackets. A test fit of the roof was successful. Finally assembly will take place once the hull and superstructure are mated, which is next up on the to-do list. 😬


- 331 replies
-
- 14
-
-
I have been experimenting with using the Evergreen Canopy Glue for paper-paper joints, and actually so far I quite like it -- has a few seconds of working time, but then locks up tight. Dries clear. And one important feature that pleasantly surprised me is that it can be applied to long edges in a nice bead without beading up, if you catch my meaning. It also fills small gaps nicely.
-
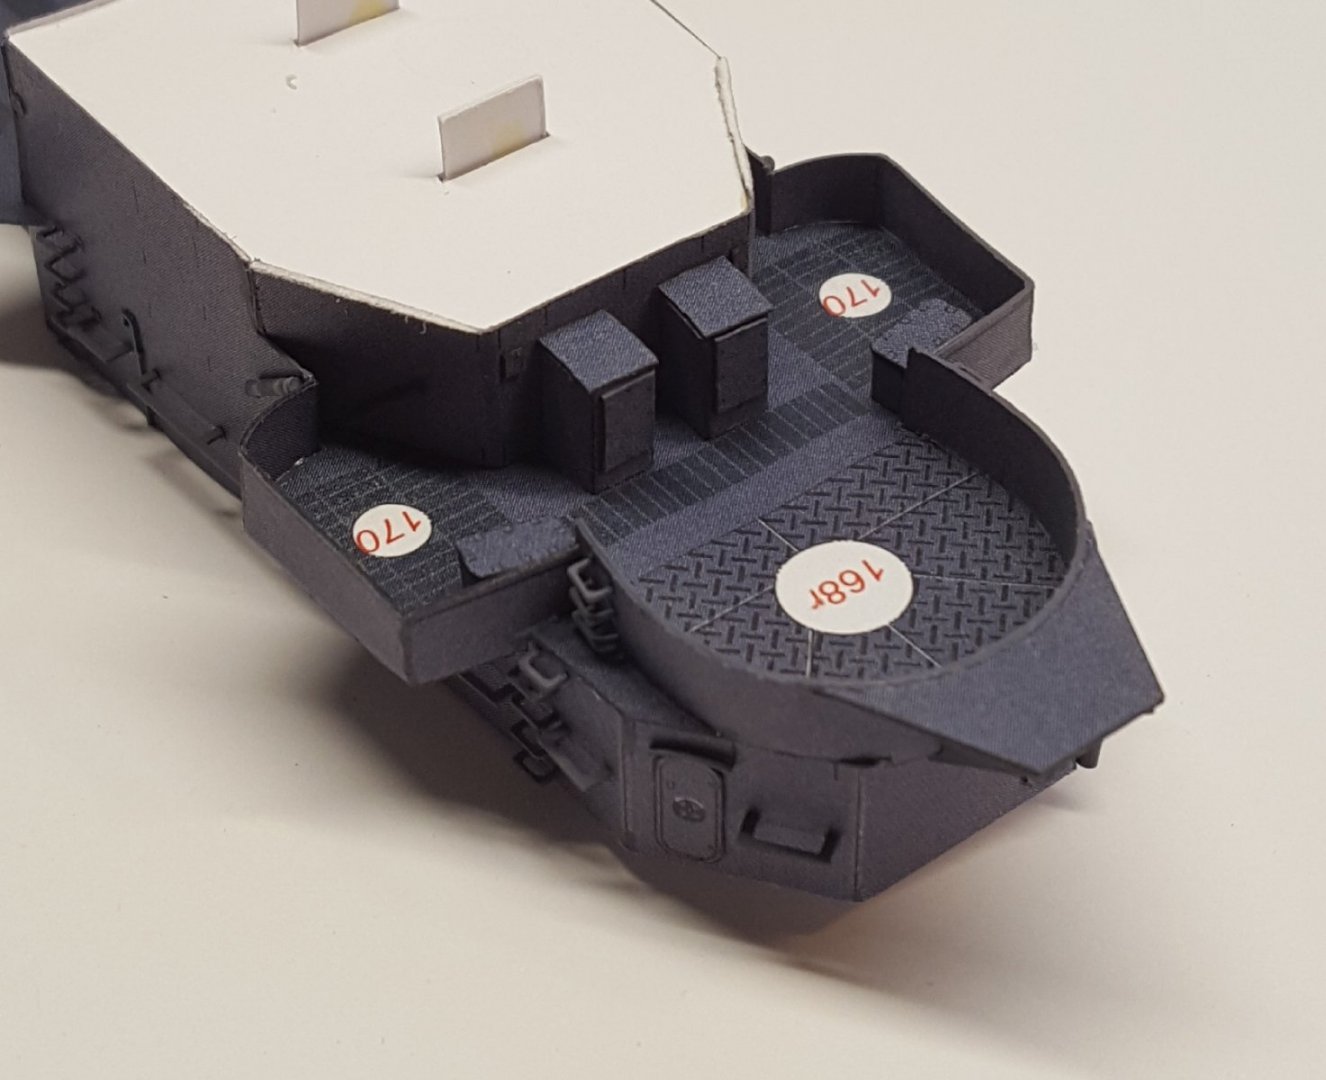
Hey now! That's not fair to mention Doris in my build log. Comparing her to me is like comparing Rembrandt to Bob Ross. 😉 If you're talking about Doris, her skills are even more awe-inspiring when one considers that she builds from scratch. Anyways, back to us mere mortals! 8, 9: Superstructure (cont'd) I don't know exactly what this next bit is, since I don't have any diagrams of a Buckley-class DE, but based on its location I'm inclined to believe that it must be the CIC. I also cropped part of it out of the photo, because I thought I'd already shown it -- sorry! There's roughly four hours of work shown here. Along with the presumed-CIC are some lockers for the #2 3"/50 mount.
- 331 replies
-
- 18
-
-

-
I was an exchange student in West Germany in '79-'80. Franz Josef Strauss, the West German Minister of Defense at the time the Bundesrepublik made their F-104 purchase, was still politically active at the time and still haunted by the rumors that Lockheed had greased the skids of the sale with some bribe money. I don't think that anything was conclusively proven, but then rumors don't need corroboration to be damaging. The fact that so many Luftwaffe Starfighters were lost in accidents certainly didn't help Strauss's public image.
-
Beautiful! Just what an ocean greyhound should be!
-
Maybe so, but one with an appalling accident rate. From the Wikipedia entry: "The cumulative destroyed rate of the F-104 Starfighter in USAF service as of 31 December 1983 was 25.2 aircraft destroyed per 100,000 flight hours. This is the highest accident rate of any of the USAF Century Series fighters. By comparison, the cumulative destroyed rates for the other Century Series aircraft in USAF service over the same time period were 16.2 for the North American F-100 Super Sabre, 9.7 for the McDonnell F-101 Voodoo, 15.6 for the Republic F-105 Thunderchief, and 7.3 for the Convair F-106 Delta Dart.[166] By comparison, the Royal Australian Air Force (RAAF) experienced an overall loss rate of 11.96 per 100,000 flying hours with the Dassault Mirage III, losing 40 of 116 aircraft to accidents over its 25-year career from 1965 to 1989."
-
Um . . . yeah. Sports groups are brutal. 😬
-
They wrap around projections of the deck. No tabs. Like most of my models, they look great when viewed from the right distance and/or angle! 😉
- 331 replies
-
- 10
-
-
7: Superstructure (cont'd) Step 7 is all done now -- another 38 parts. The amidship 20 mm gun tub walls were much easier to do. Thanks to their being more than a half-circle, they sort of clamp themselves when glued to the main superstructure.
- 331 replies
-
- 16
-
-
First I've ever heard of it, but from the product description it sounds very similar to Evergreen's canopy glue.
-
Yep, this is the method I suggest when folks ask about where to buy eye bolts. Why buy them when you can quickly and easily make them yourself? And for much less money, too!
-
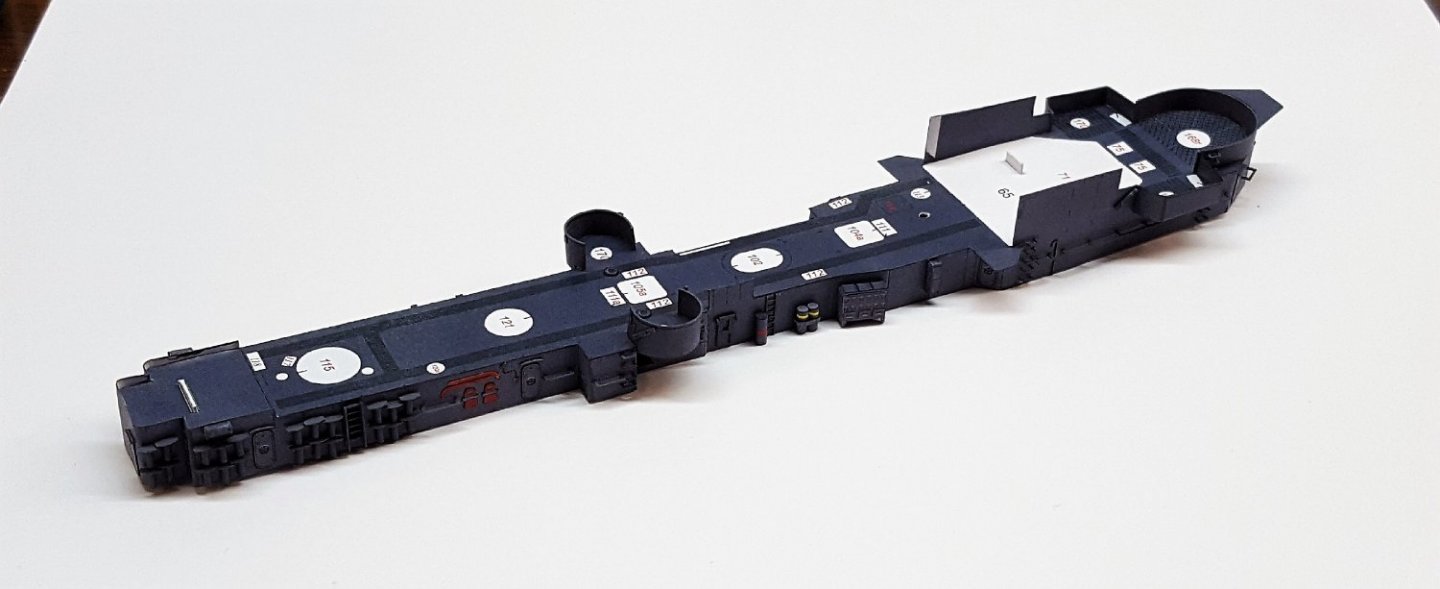
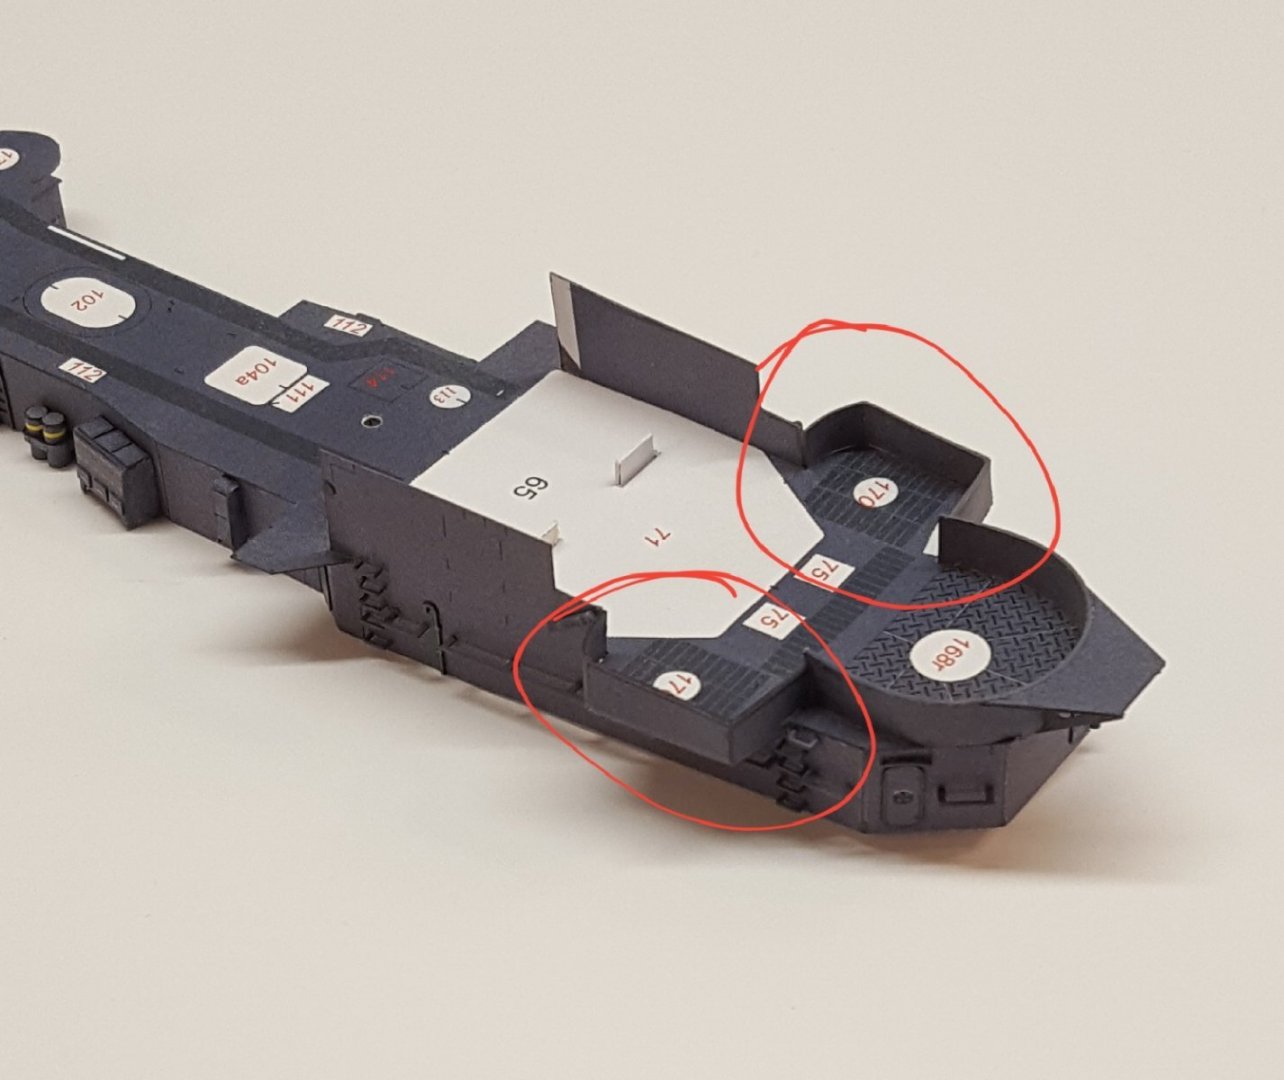
So, do you ever run into a part of your build that seems like it should be easy but then just goes 🤬🤬🤬🤬? Yeah, well I ran into that with the walls around the 20 mm positions. Each is just two parts, shaped, glued together, and then ready to afix to the superstructure, but ai yi yi!! For some reason, once they were folded, they wanted to slip from my grasp constantly, after which they inevitably fell to the floor. Then they proved to be too long and needed a trim, then they wouldn't stick properly, then I managed to get glue seemingly everywhere. Ugh! I finally got them done, but they exhausted my patience, so the shipyard is closed for the evening. There are a number of underside parts and brackets that are supposed to be glued to the superstructure deck before it is added to the superstructure. I did all of the flat parts, but I didn't add the brackets at that point -- the suggested sequence just seemed like a recipe for disaster for me. I went ahead and glued the deck on and then added the brackets. Not a big deal. Here's a just-for-fun shot of the superstructure sitting on the hull. It's not glued down yet, but I may need to do that job soon, regardless of the suggested construction sequence. The superstructure has a slight twist, which means it will need to be clamped when it's glued to the hull, and I won't be able to do that once all of the various superstructure bits are added. Cheers!

- 331 replies
-
- 19
-
-
Definitely check out the Vanguard kits, then. Owner Chris Watton is one of the best in the business.
-
Those are Spanish roundels. Late last year there were a lot of reports coming out about Spain wanting to purchase 50 F-35s; there were also an equal number of reports that Spain were not interested in buying them. I don't know if they made any final decision.
-
Welcome aboard! I have no personal knowledge of the MarisStella kits, but the company is well-regarded. Model Shipways also offers a progressive series of kits aimed at beginners, designed by David Antscherl, who is a respected modeler and member of our community. You can check those kits out HERE. BlueJacket Shipcrafters also produces kits for beginners, particularly those who think they might prefer the solid-hull approach to modeling; the owner of that company is likewise a member here. You can browse the BlueJacket offerings HERE in the "Ensign Builders" category. Cheers!
-
See? Now you've just made me go and question the coloring of every card model I've ever done or will yet do. 😆 Oh, well. That's one of the limitations of the medium -- we are to a degree beholden to the research and creative skills of our kits' designers.* Sure, we can fix a few bits, but making too many changes sorta defeats the purpose of doing card models. *I guess this is true for all kits, isn't it? 🤔
- 331 replies
-
- 12
-
-

-
I thought that might be the case, but it was worth a shot. Try looking at these finished builds for visual hints.
- 65 replies
-
- 1
-
-
- Ballahoo
- Caldercraft
- (and 1 more)
-
I'm going to flag @chris watton on this, as he designed the kit. Usually the bulwark strip is supposed to sit level with the tops of the bulkhead extensions, but I can't state that authoritatively for this kit.
-
Hello, Tomek! You are off to a nice start on this interesting subject.
- 17 replies
-
- 2
-
-
- Vistula barge
- card
- (and 1 more)